Bacon Meatball Stroganoff
This recipe is from Cuisine At Home, an all recipe magazine (no ads) that does not publish all their recipes from the magazine on the world-wide web. But they do promote some of their recipes through http://www.CuisineRecipes.com and this is where I was able to get the link.
Anyway, I used to subscribe to this magazine but stopped. I had too many food magazine subscriptions and this was one I let go. I highly recommend it though, if you are looking for a different sort of food magazine. The recipes are usually all really good! Like this one! Lots of flavor in the meatballs! I could eat them just as they are, with no sauce. They would probably make great hors d’oeuvre, too, with a little spicy ketchup! mmmmmm……….
The recipe is supposed to make 28 mini meatballs (that is really mini) but I doubled the meatball recipe as suggested (which is the recipe below) and made them a bit larger, about 1 ounce. But making them mini would really lend to the hors d’oeuvre idea: definitely trying that!
Bacon Meatball Stroganoff (from Cuisine at Home Mini Bacon Meatballs and Meatball Stroganoff)
for the meatballs:
4 strips bacon, diced (I like Oscar Mayer Naturally Hardwood Smoked Bacon)
1/2 cup diced onion (about 1/2 large onion)
2 cloves garlic, minced
l pound 93% lean ground beef
1/2 cup dry bread crumbs
4 tablespoons minced fresh parsley
1 teaspoon paprika
1 teaspoon kosher salt
1/2 teaspoon pepper
2 eggs, beaten
Preheat oven to 400 degrees. Spray a large rimmed cookie sheet with canola oil spray and set aside.
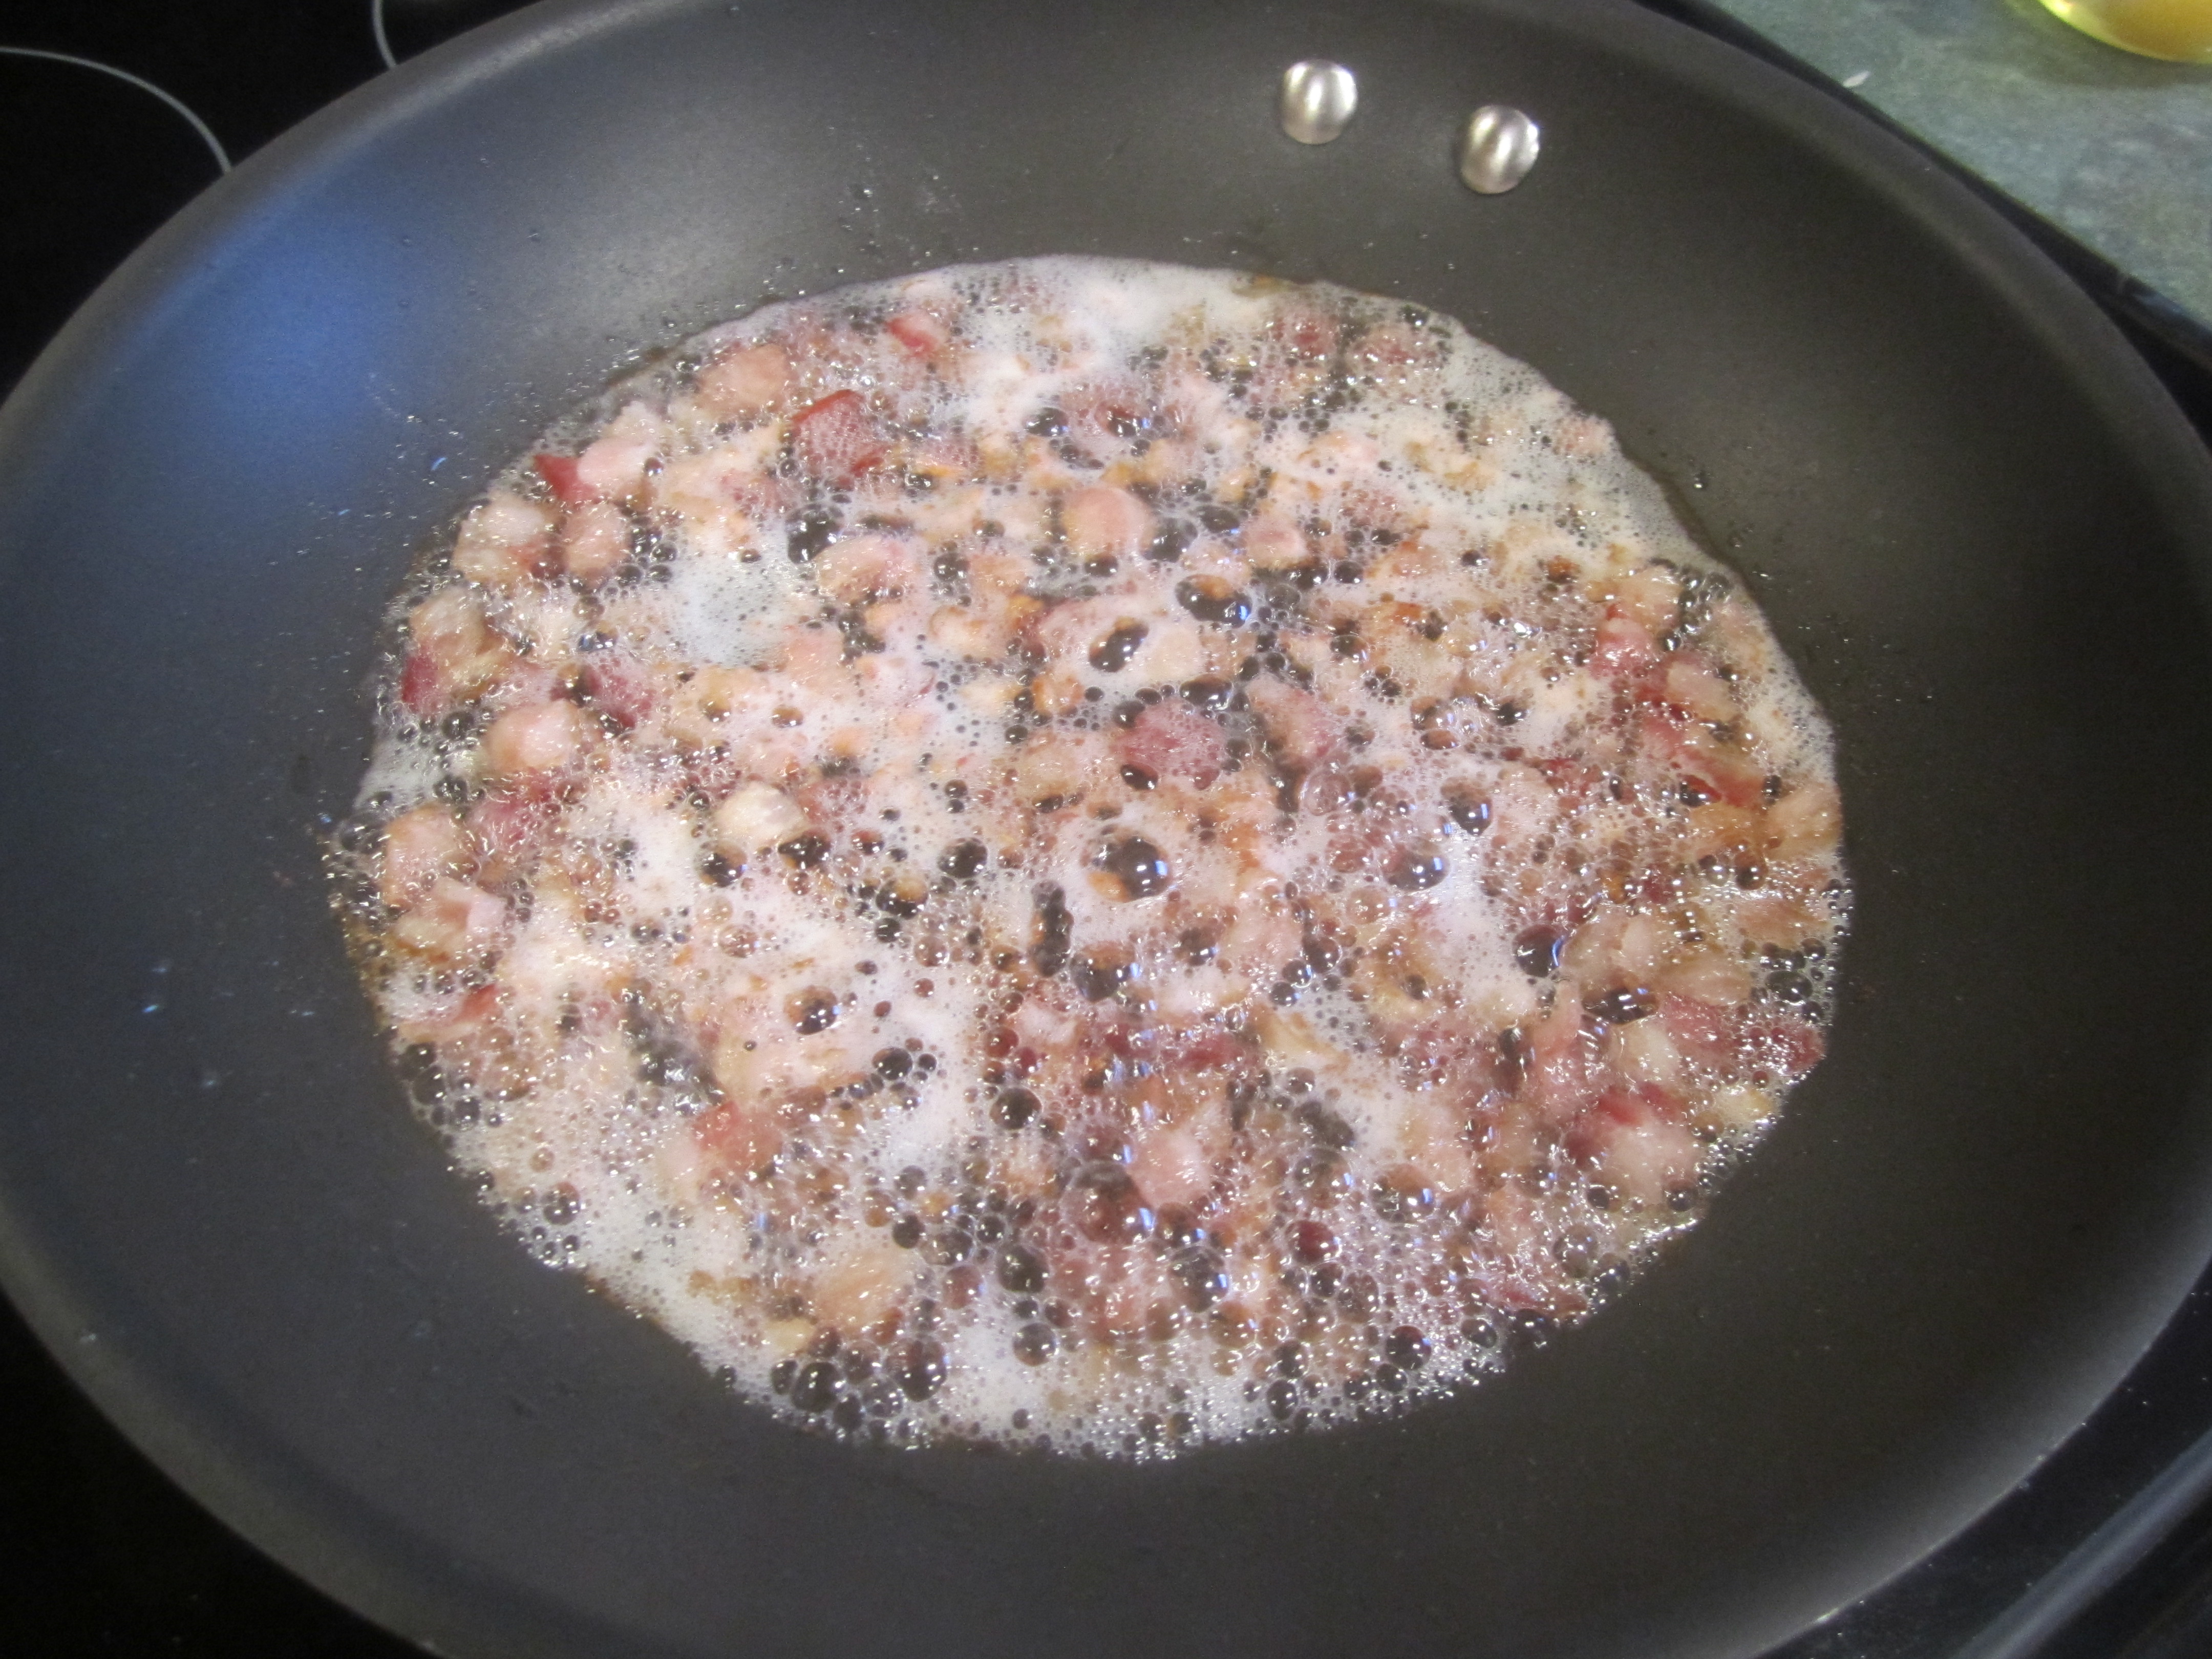
Cook bacon in a non stick fry pan, over medium high heat until starting to crisp, about 4 minutes. Remove from pan with a slotted spoon and set aside on a paper lined plate. If there is plenty of bacon fat left in pan, pour off all but 1 tablespoon. If there isn’t enough bacon fat, then make up the rest with olive oil to make 1 tablespoon.
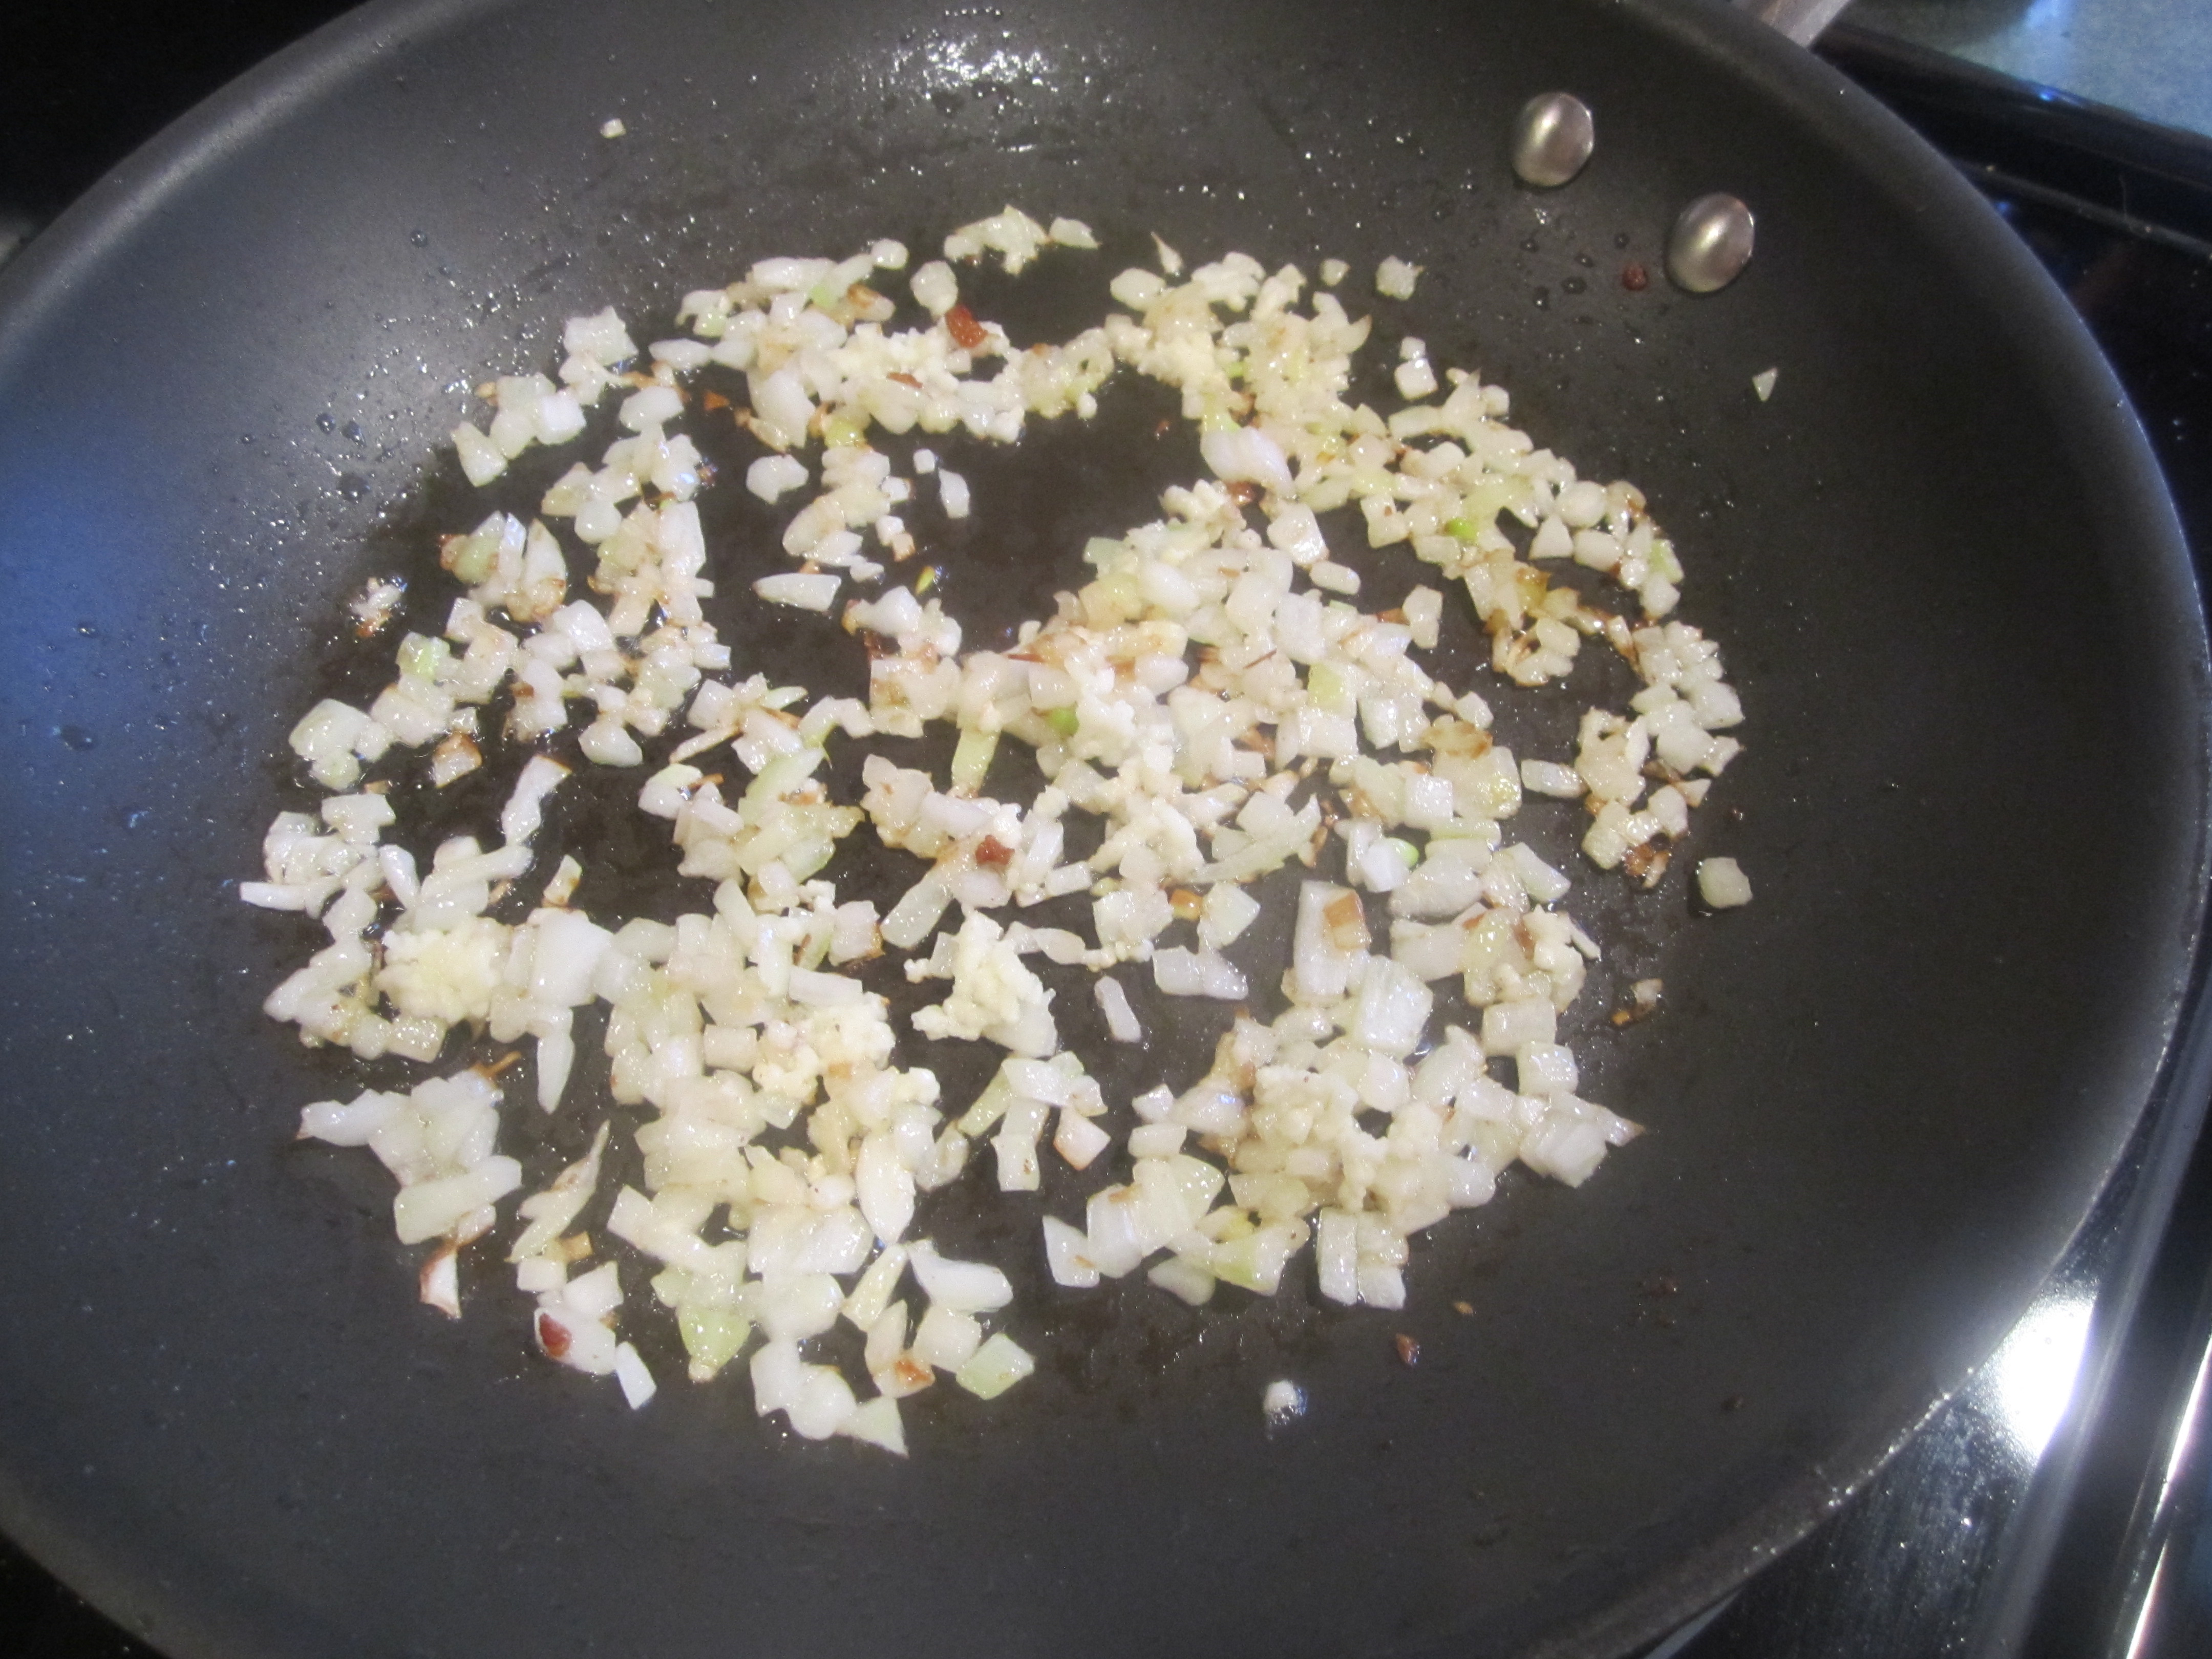
Saute onion in same fry pan in bacon fat and/or olive oil over medium heat until softened, about 3 minutes. Add garlic to fry pan and cook one minute.
Combine ground beef, cooked bacon, onion mixture, bread crumbs, parsley, paprika, salt and pepper in large bowl. Stir in beaten eggs. Form into 1 ounce balls (or any size you want, you will just need to adjust the baking time) and place on prepared cookie sheet. Bake for 10 minutes or until fully cooked.
for the Stroganoff:
6 ounces sliced mushrooms
2 tablespoons vegetable oil, divided
1 cup diced onion, from 1 large onion
1/2 teaspoon paprika
1/4 teaspoon cayenne pepper
1/4 cup dry white wine
2 tablespoons flour
2 cups Swanson’s Chicken Cooking Stock or something similar
1 tablespoon lemon juice, from 1/2 lemon
2 tablespoons stone ground mustard, like Grey Poupon Country Dijon Mustard
1/4 cup sour cream
1 tablespoon chopped fresh dill
1/2 recipe (or more, depending on how hungry everyone is) of Mini-Bacon Meatballs (I froze the other half, as a potential other dinner, possibly with tomato sauce: yum!)
Saute mushrooms in 1 tablespoon oil in non-stick fry pan over medium high heat until browned and their water has been released, about 5-10 minutes. Transfer to a plate and set aside.
Saute onion, paprika and cayenne in remaining oil in same fry pan until onion is soft, about 5 minutes.
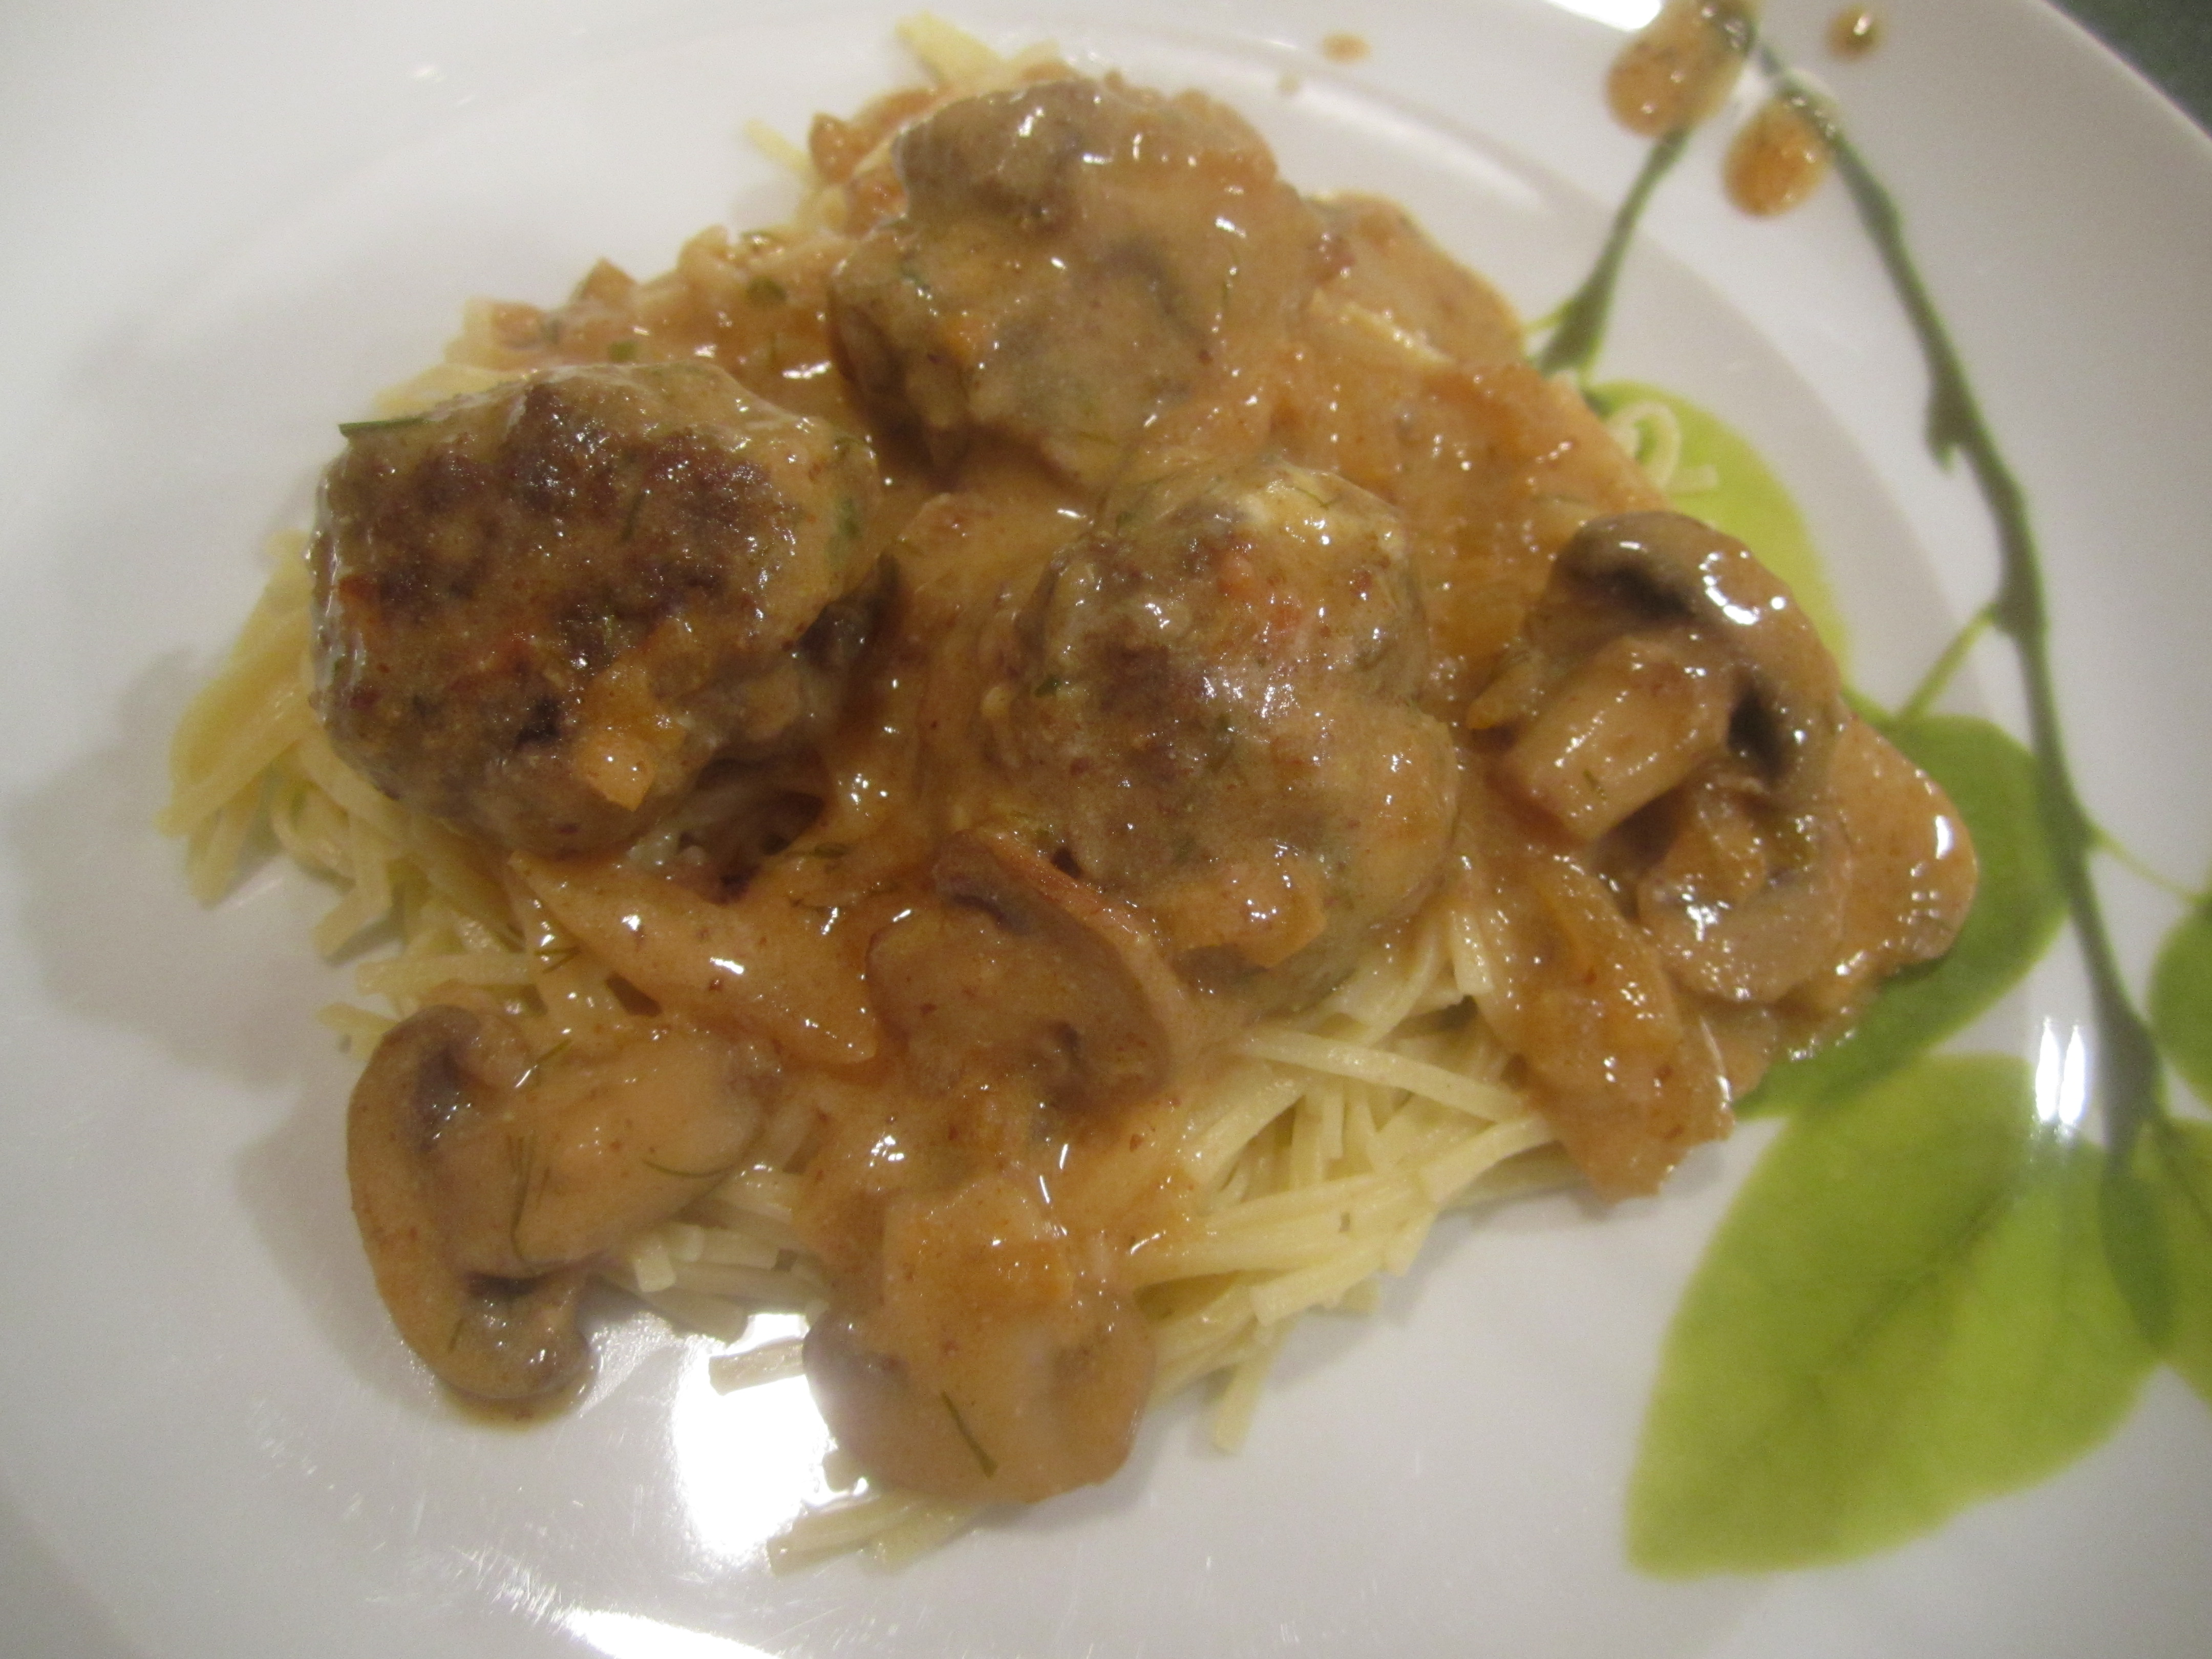
Add wine to fry pan and simmer until liquid is nearly evaporated, about 1 minute. Sprinkle flour over onions and stir to combine. Whisk in broth . Add lemon juice and mustard, whisk together. Simmer until thick, about 8-10 minutes. Stir in cooked mushrooms, sour cream, dill and meatballs and simmer until meatballs are heated through, about 3-5 minutes. Serve over noodles or rice.
mise en place, meatballs:

frying bacon:

onions and garlic:
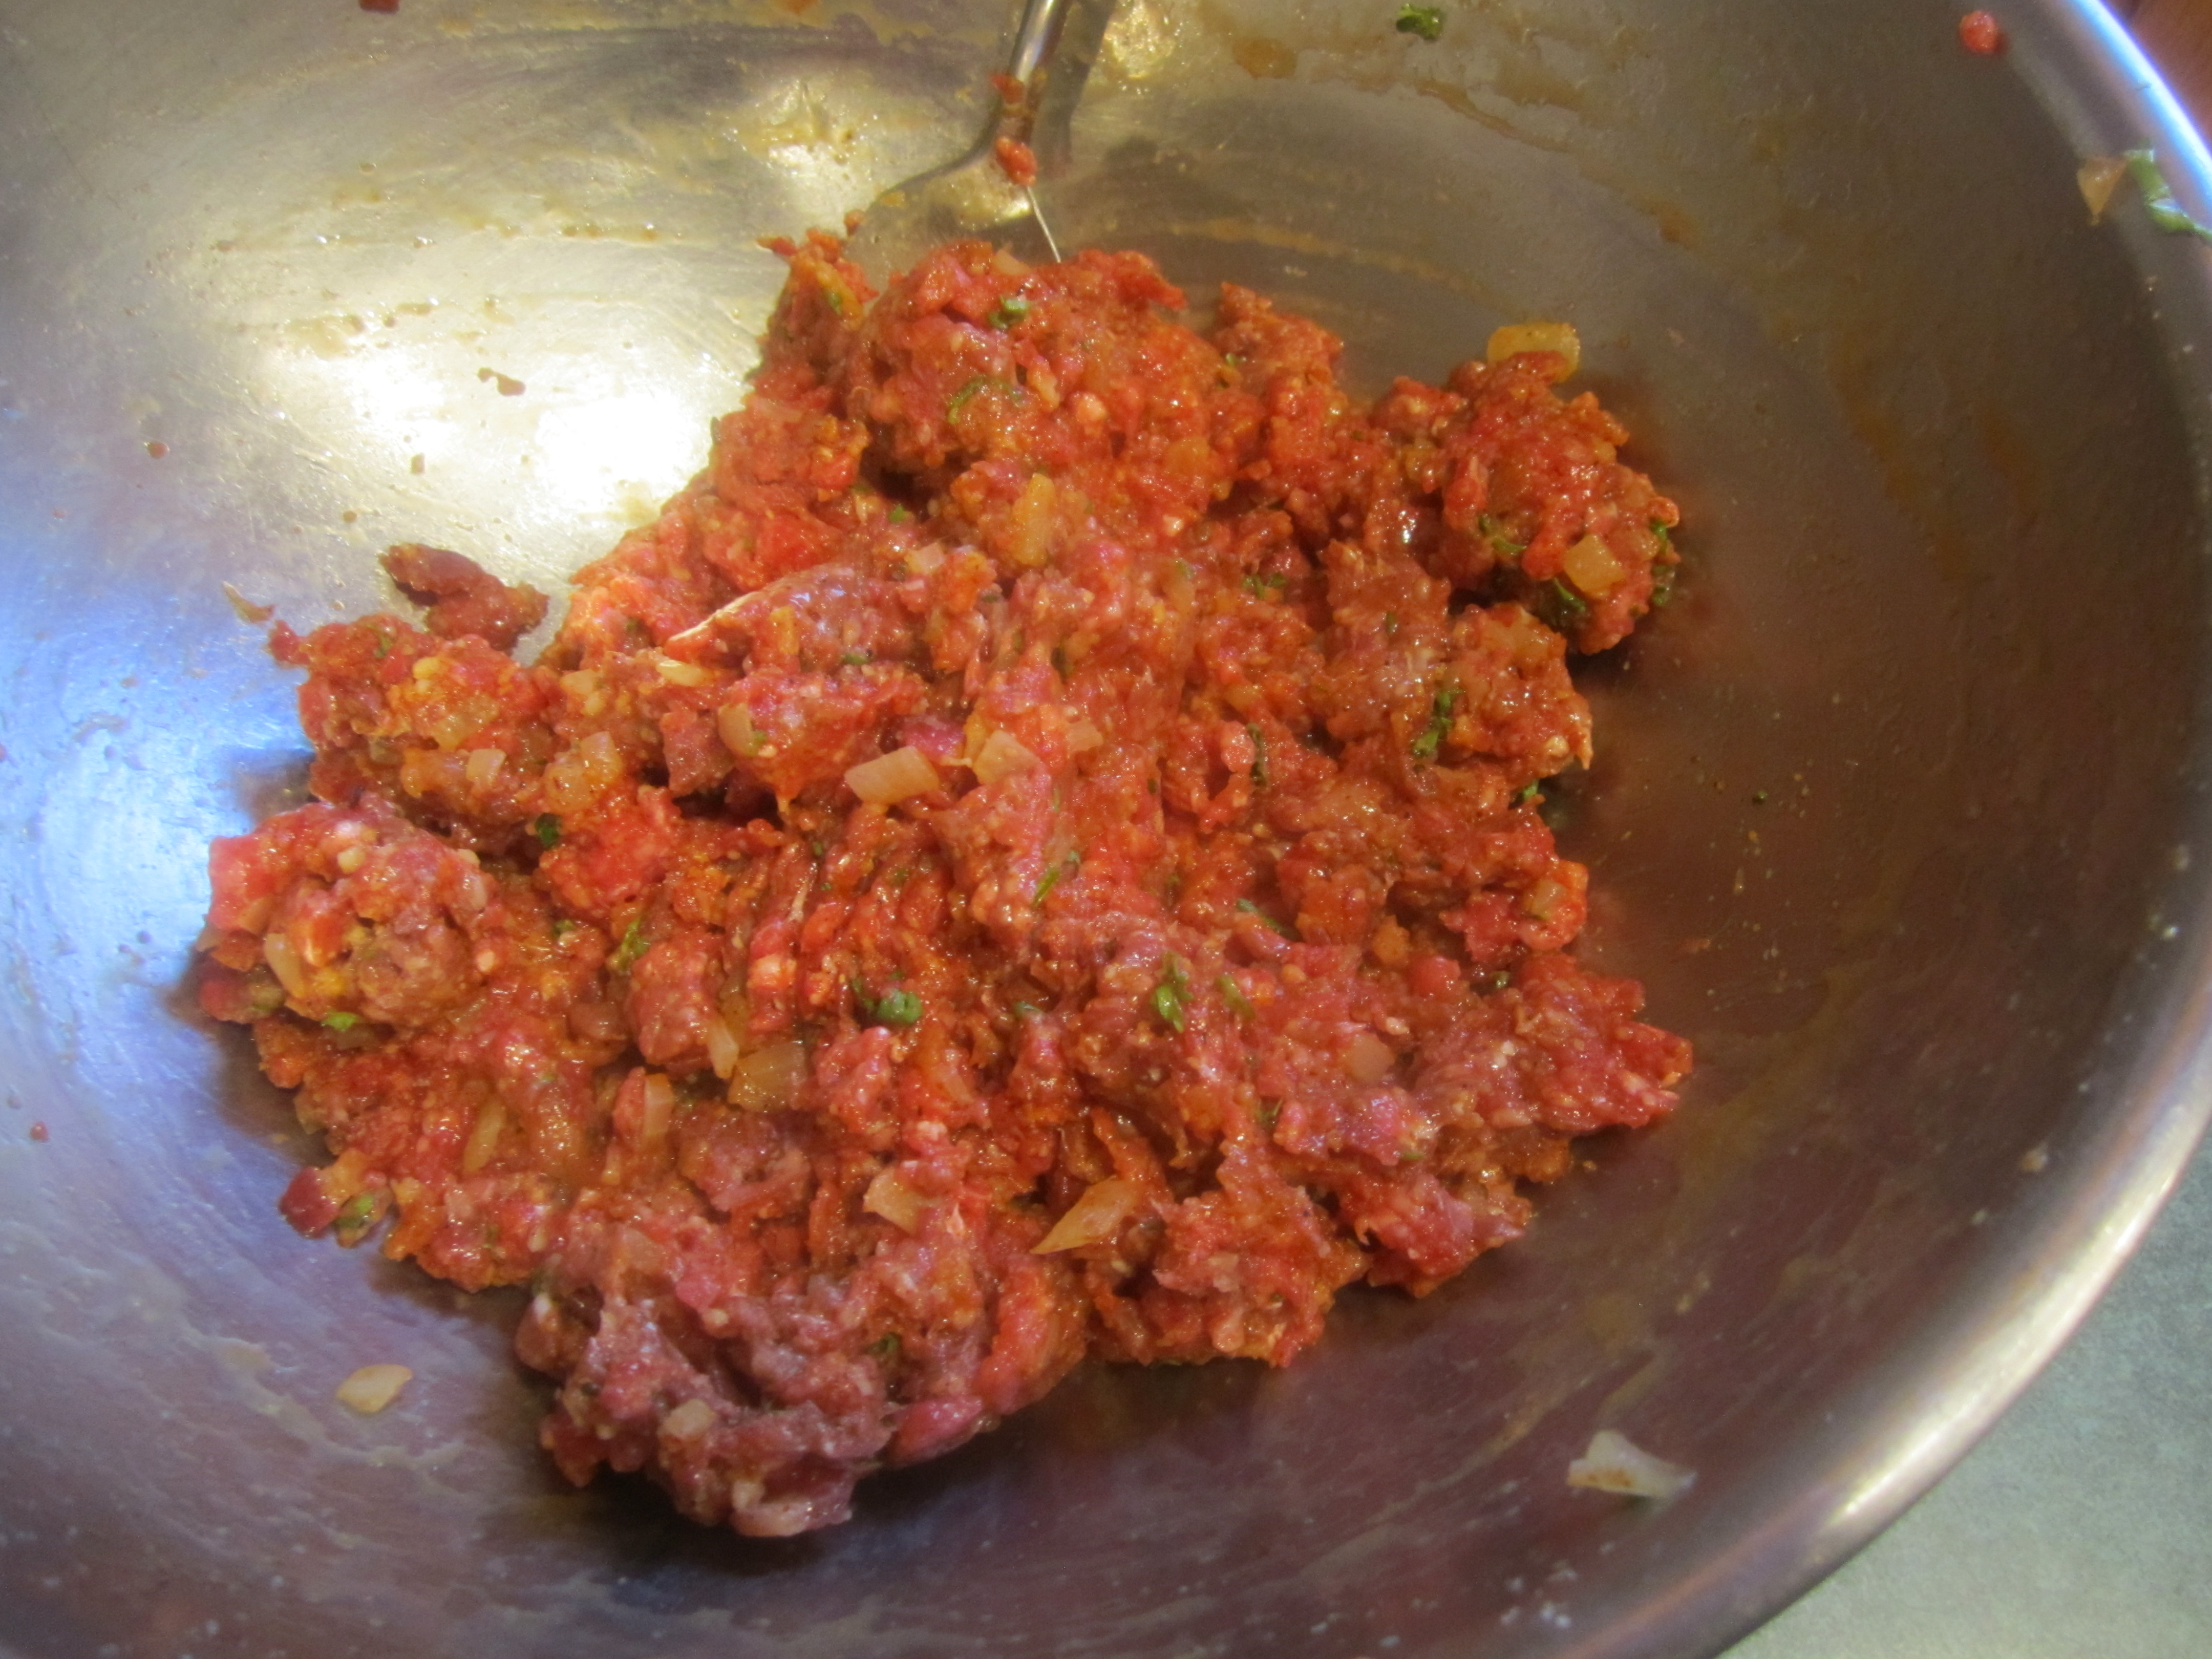
ground beef, bacon, onion mixture, bread crumbs, parsley, paprika, salt and pepper:

add eggs and mix well:

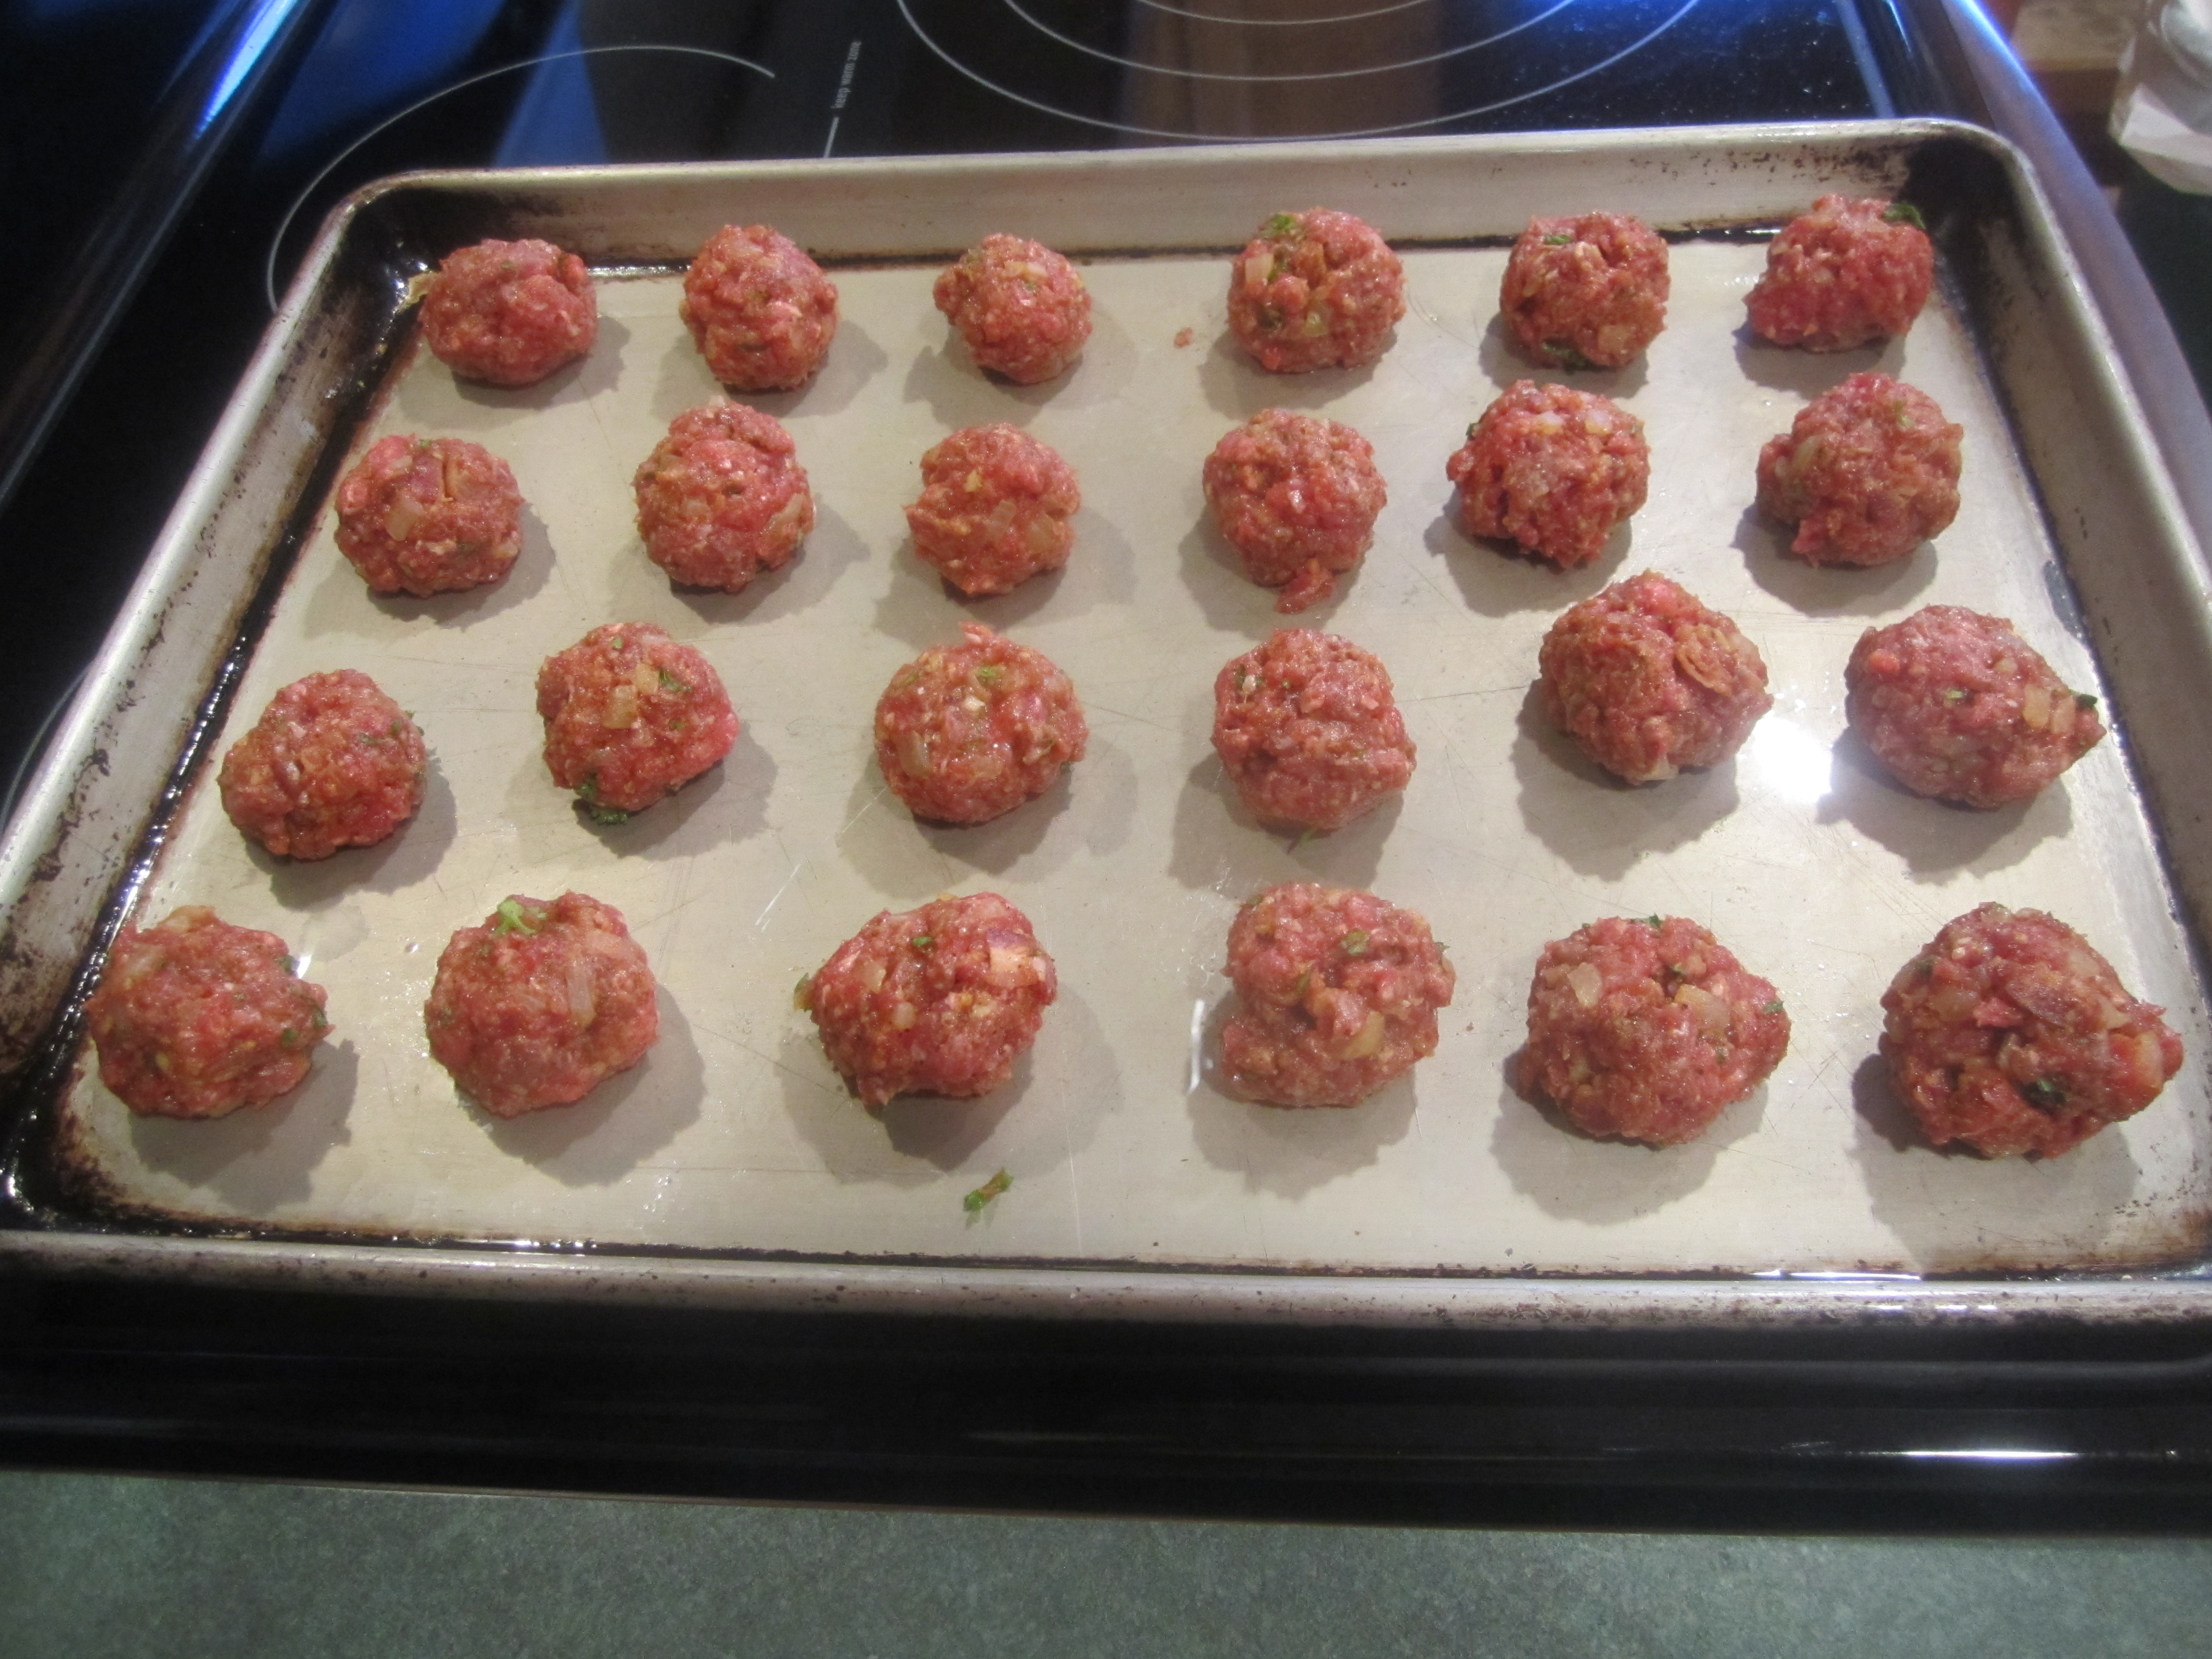
mini meatballs ready to go in oven:
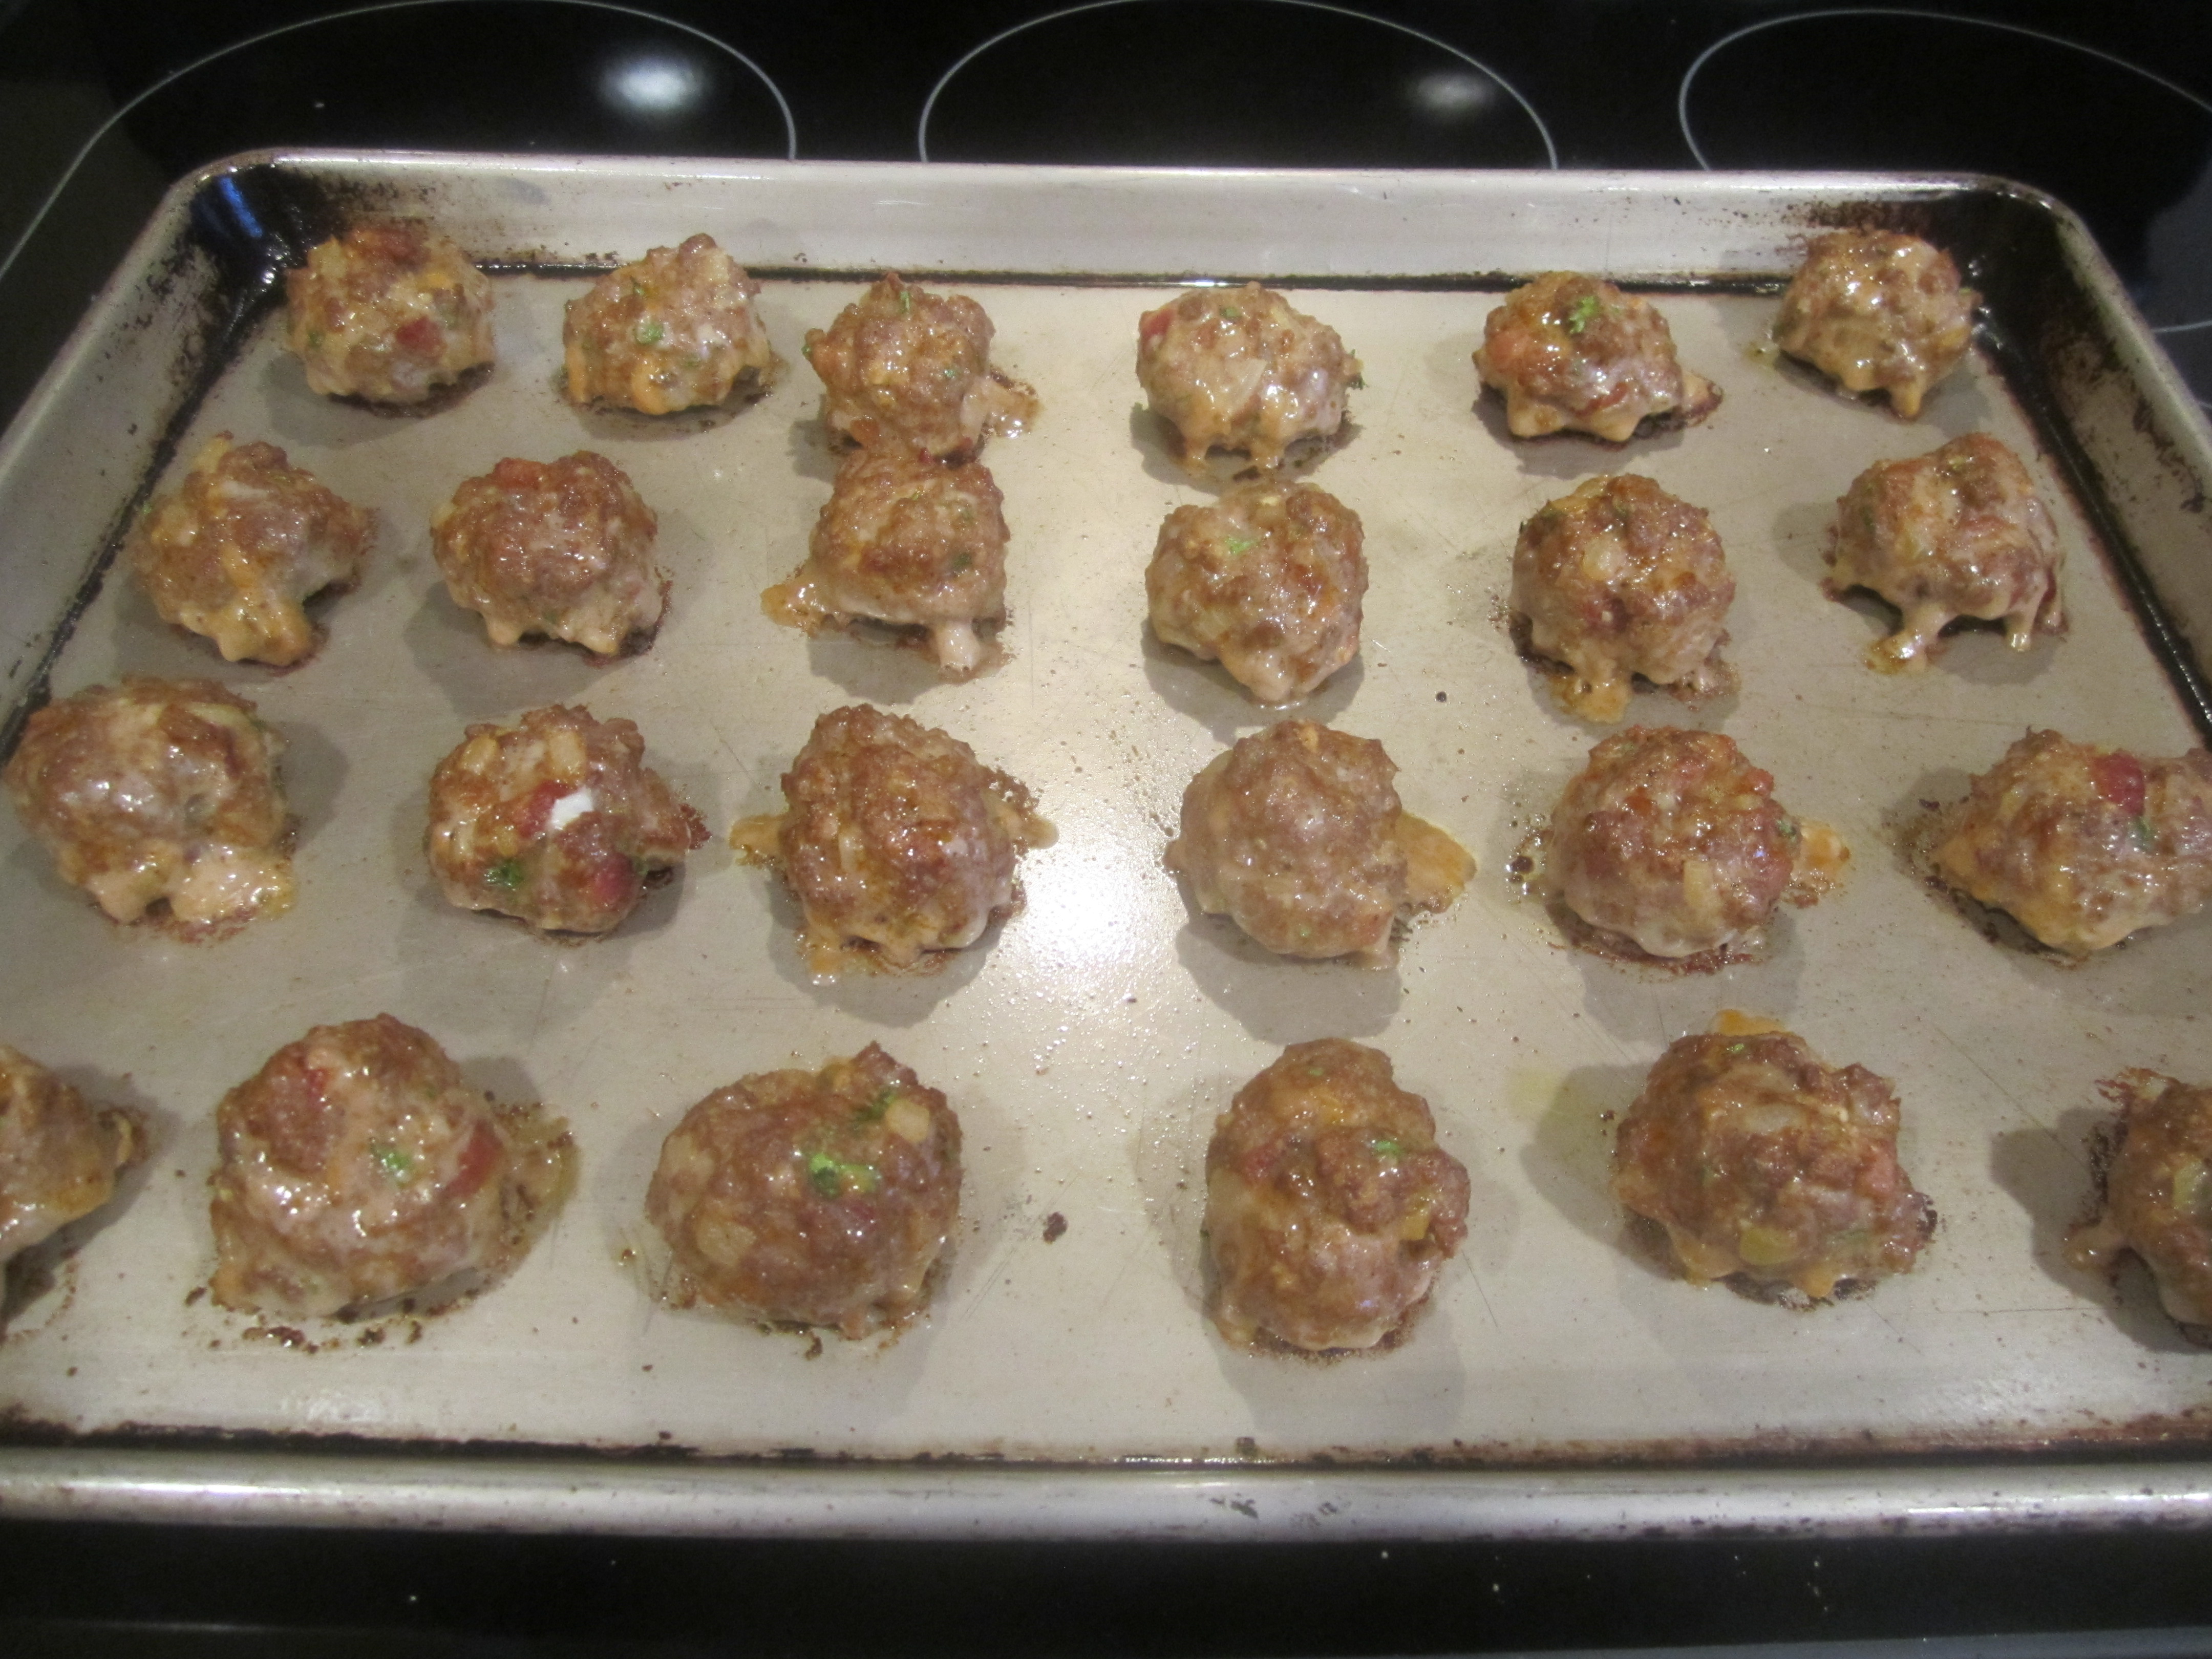
all done:
mise en place, stroganoff:

saute mushrooms:

onions sauteed, wine added and liquid nearly evaporated:

add flour and stir:

broth, lemon juice and mustard simmering:

mushrooms, sour cream, dill and meatballs stirred in and heated through:

served over noodles:

Maple Bacon Barbecue Sauce
I’m not a big fan of the bottled barbecue sauces out there. I eat them but there is no slathering going on. I dab some on my ribs for just a bit more moisture and a bit more flavor but that’s about it.
Then our friend, who is also a caterer (The Traveling Chef), took care of our family party and made this Maple Bacon Barbecue Sauce to go on the ribs. My son was a huge fan and Julie supplied me with a similar recipe that she uses (thanks Julie!) and it is delicious. Slatheringly delicious, eat off the spoon delicious. Any way, you get the idea.
It takes a bit of time but well worth the effort.
Maple Bacon Barbeque Sauce (via Julie from http://www.napoleongrills.com which, unfortunately does not have the recipe on-line anymore)
8 slices of bacon, diced (I like Oscar Meyer Naturally Hardwood Smoked Bacon)
1/2 large onion, diced
1 cup ketchup
1/2 cup applesauce (Like Mott’s Natural (no sugar added), one of the snack cups is about 1/2 cup)
1 cup maple syrup (the real stuff and make sure you refrigerate after opening)
1/4 cup cider vinegar
2 tablespoon soy sauce
1 teaspoon mustard powder
3 tablespoons brown sugar
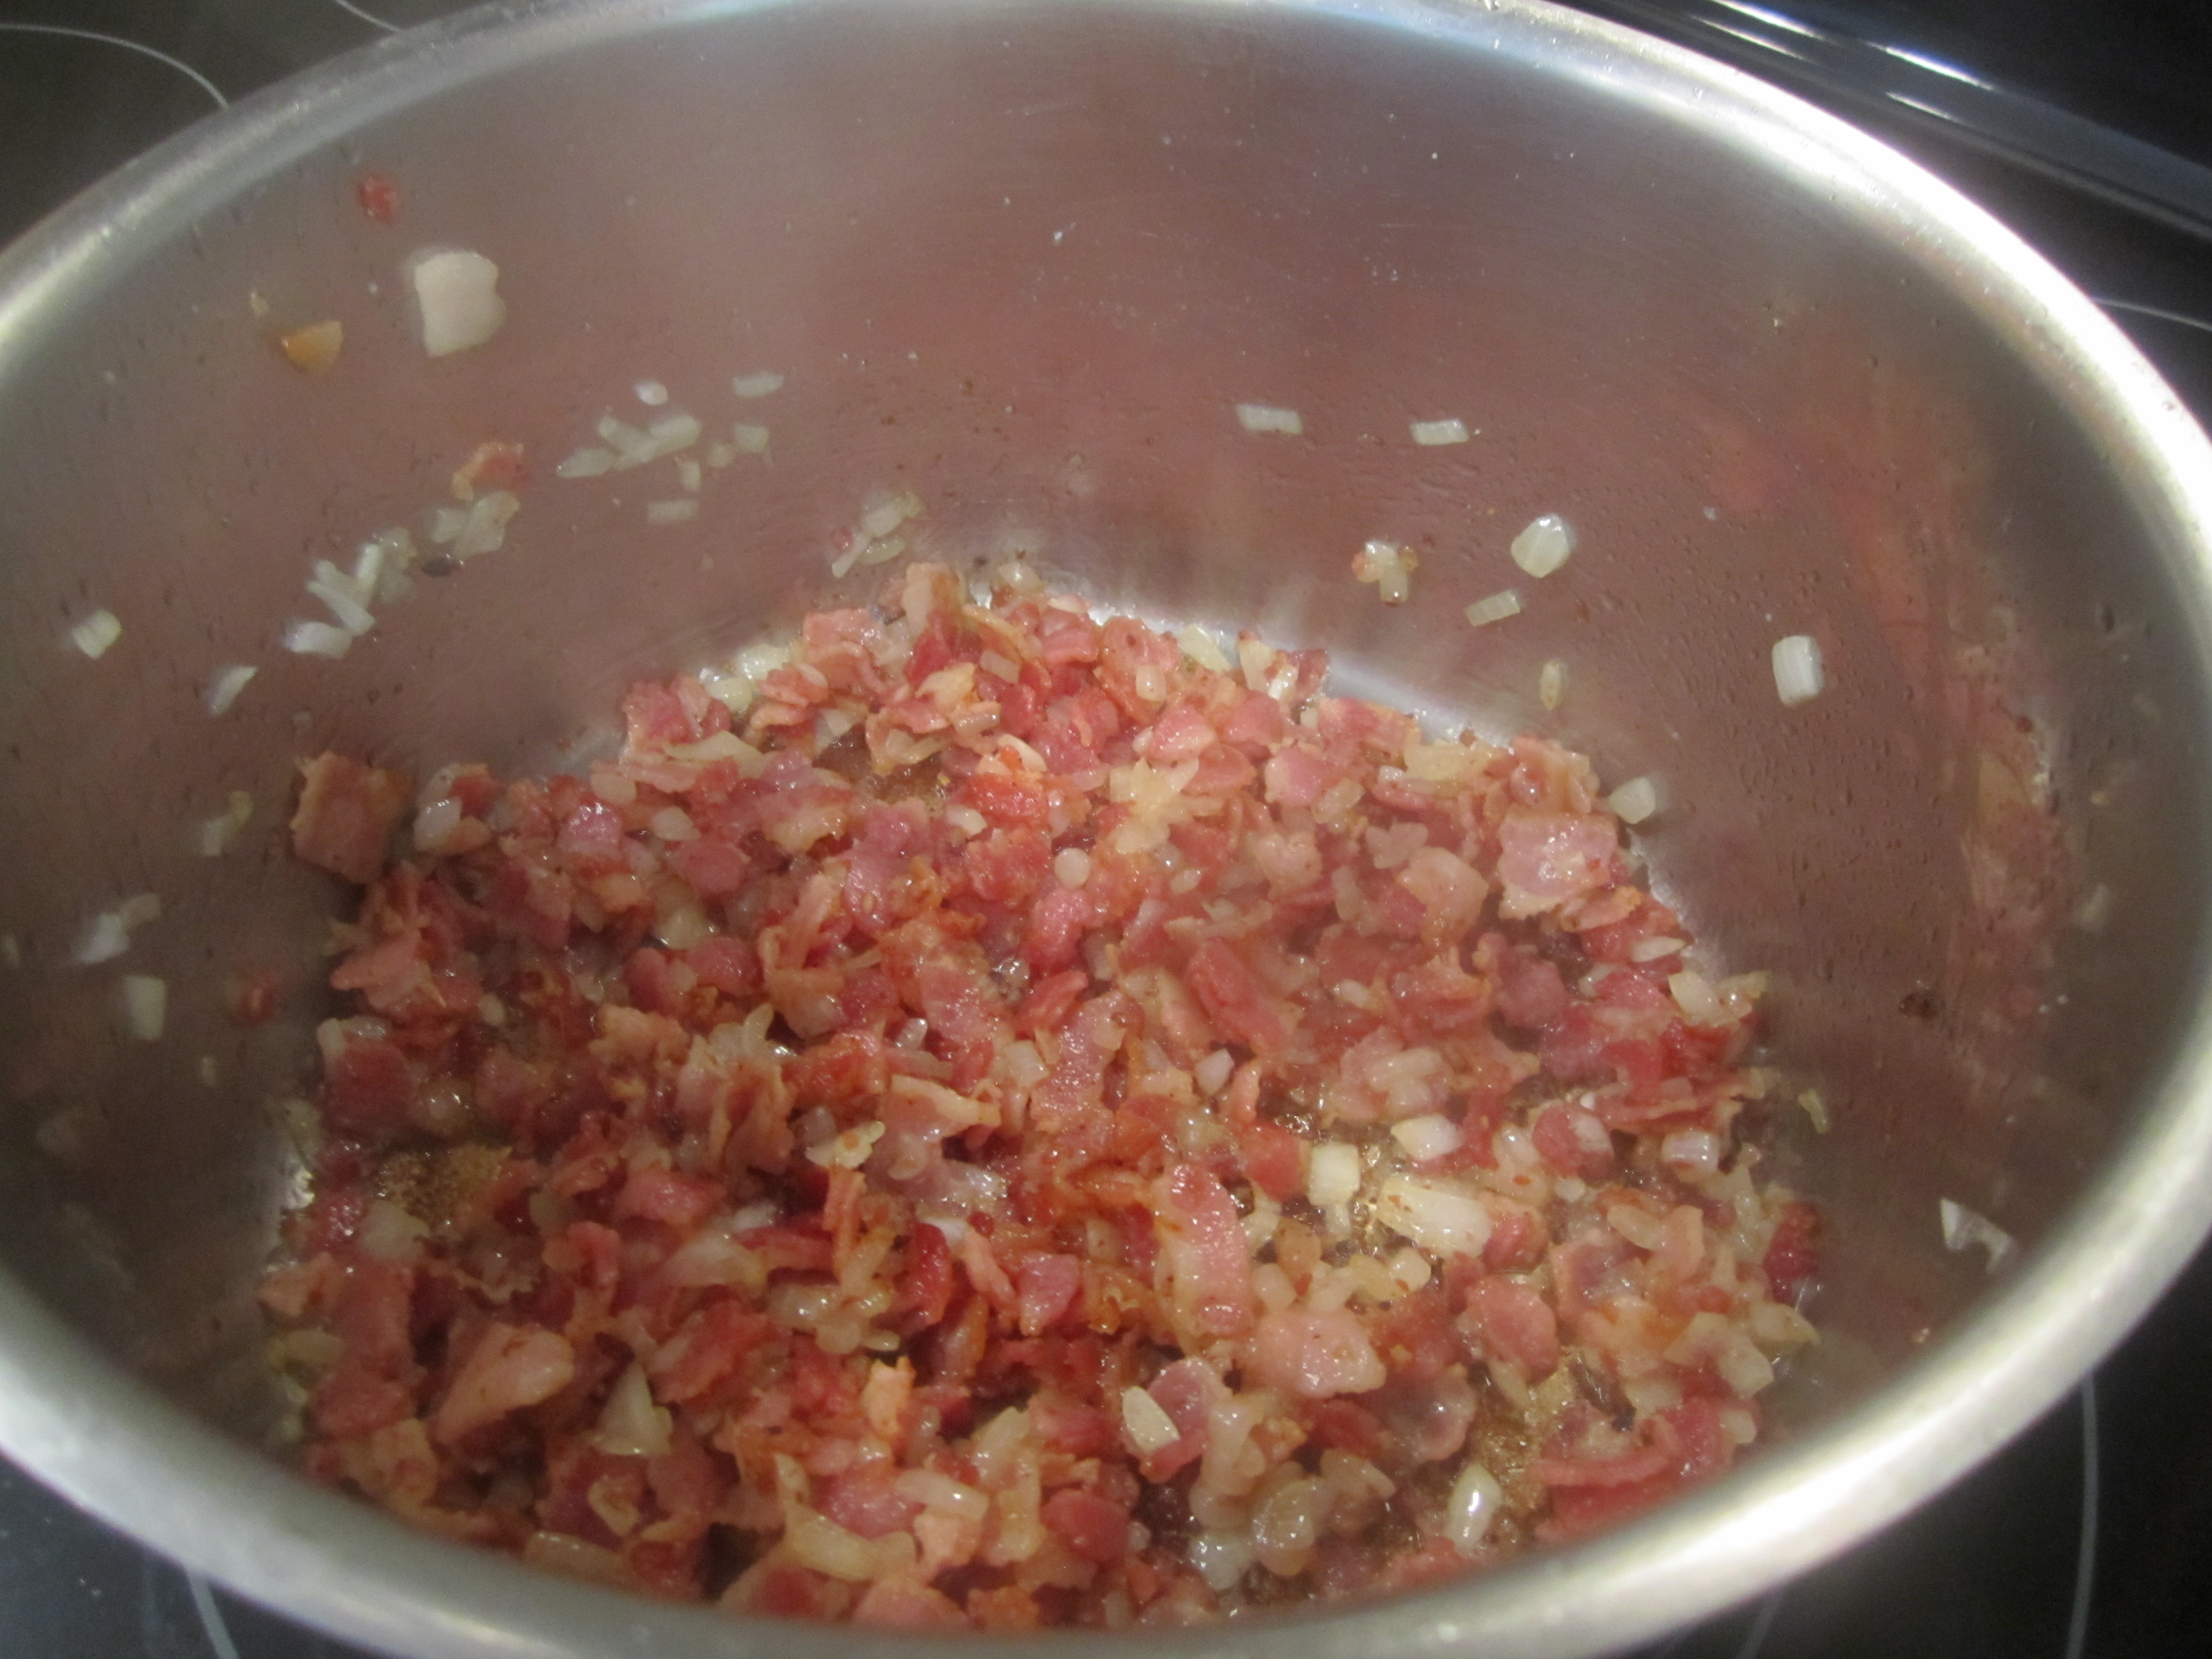
In a medium sauce pan, place the diced bacon in the pan and cook until half way done. (It says to drain off all but 3 tablespoons of fat but I had very little fat, so this was not necessary). Add the onion to the bacon and fry until the onions are tender and beginning to brown.
Add the ketchup, applesauce, maple syrup, vinegar, soy sauce, mustard powder, brown sugar and bring to a boil. Reduce heat to low and simmer for 15 minutes, stirring occasionally.
Let the sauce cool for about 1 hour and then blend in your food processor until smooth. The sauce will be very thick and there will be tiny bits of bacon dispersed throughout. 🙂
Place in a container in the refrigerator until ready to use. This stuff just gets better with time, so enjoy!
mise en place:

cooking bacon:

cooking onions:
rest of ingredients:

simmering:

after blending:

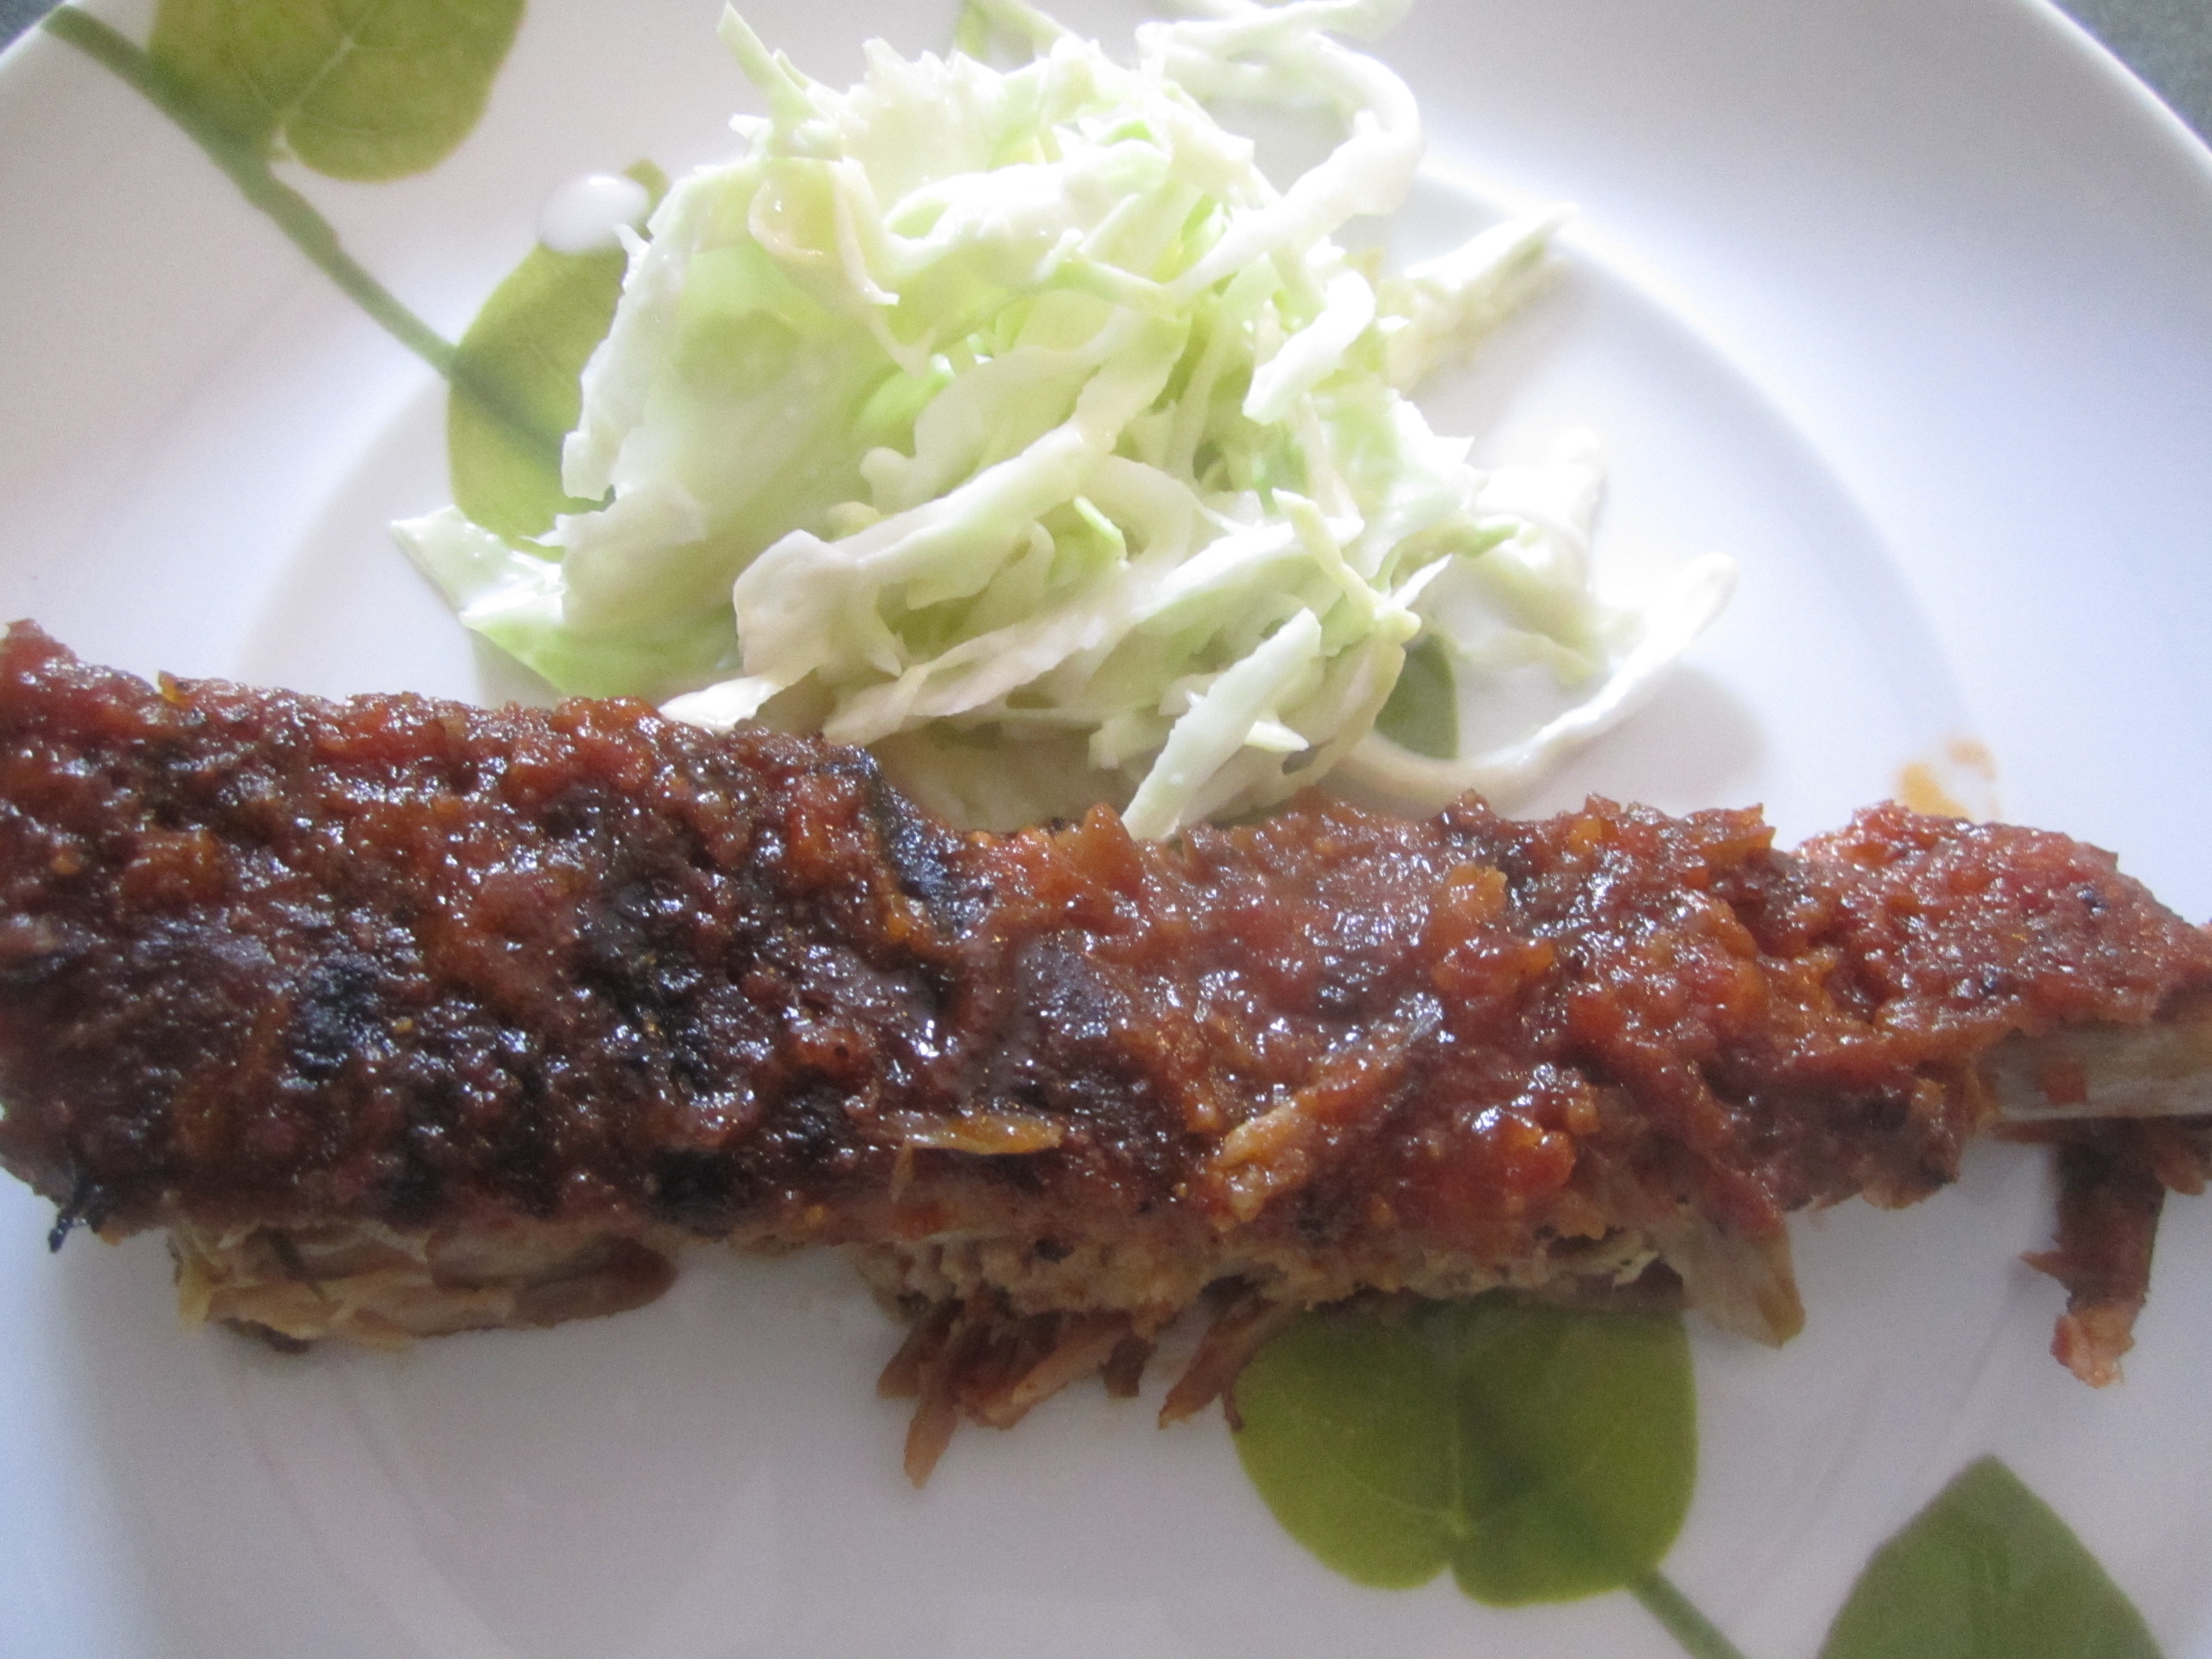
on ribs:

Morning Glory Muffin

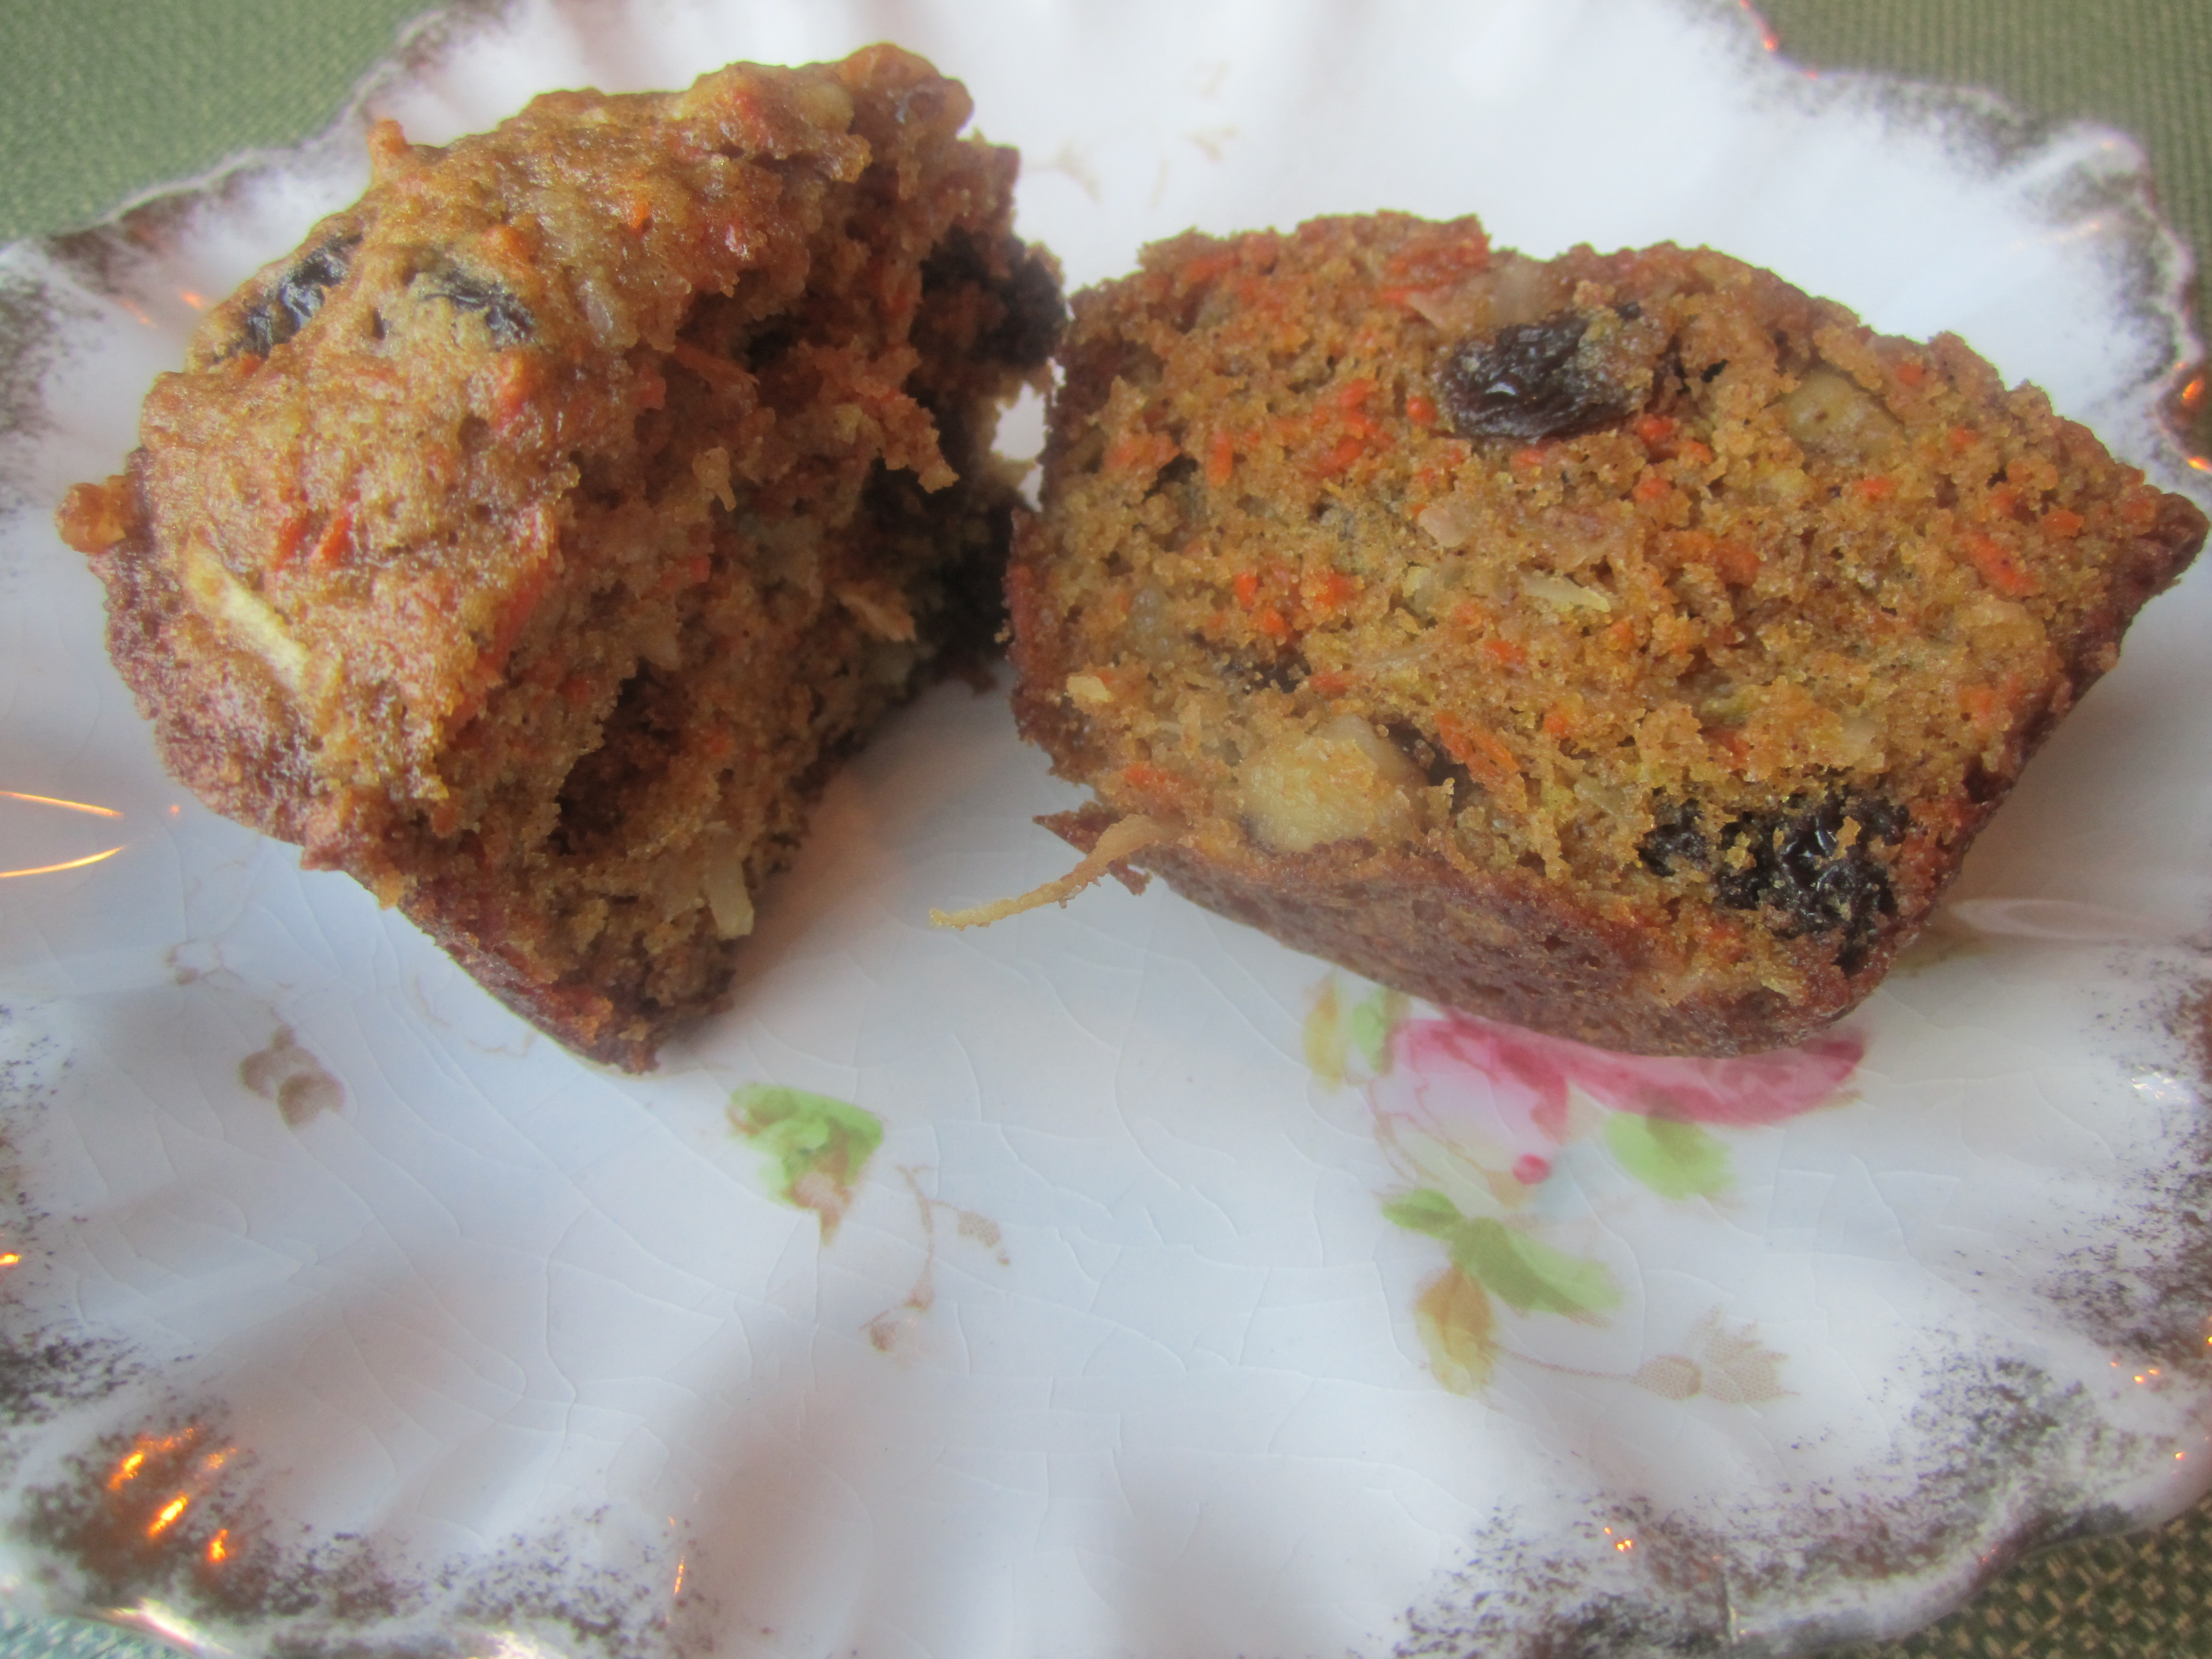
The Morning Glory Muffin was created by Chef Pam McKinstry for her Morning Glory Café on Nantucket Island. This recipe, from King Arthur Flour, is a great representation of the original muffin, full of carrots, apple, coconut, walnut and a little orange juice. A super moist muffin that could easily pass as a nutritious breakfast on the go.
Morning Glory Muffin (from King Arthur Flour)
1/2 cup raisins
2 cups White Whole Wheat Flour (King Arthur)
1 cup packed brown sugar
2 teaspoons baking soda
2 teaspoons cinnamon
1/2 teaspoon ginger
1/2 teaspoon salt
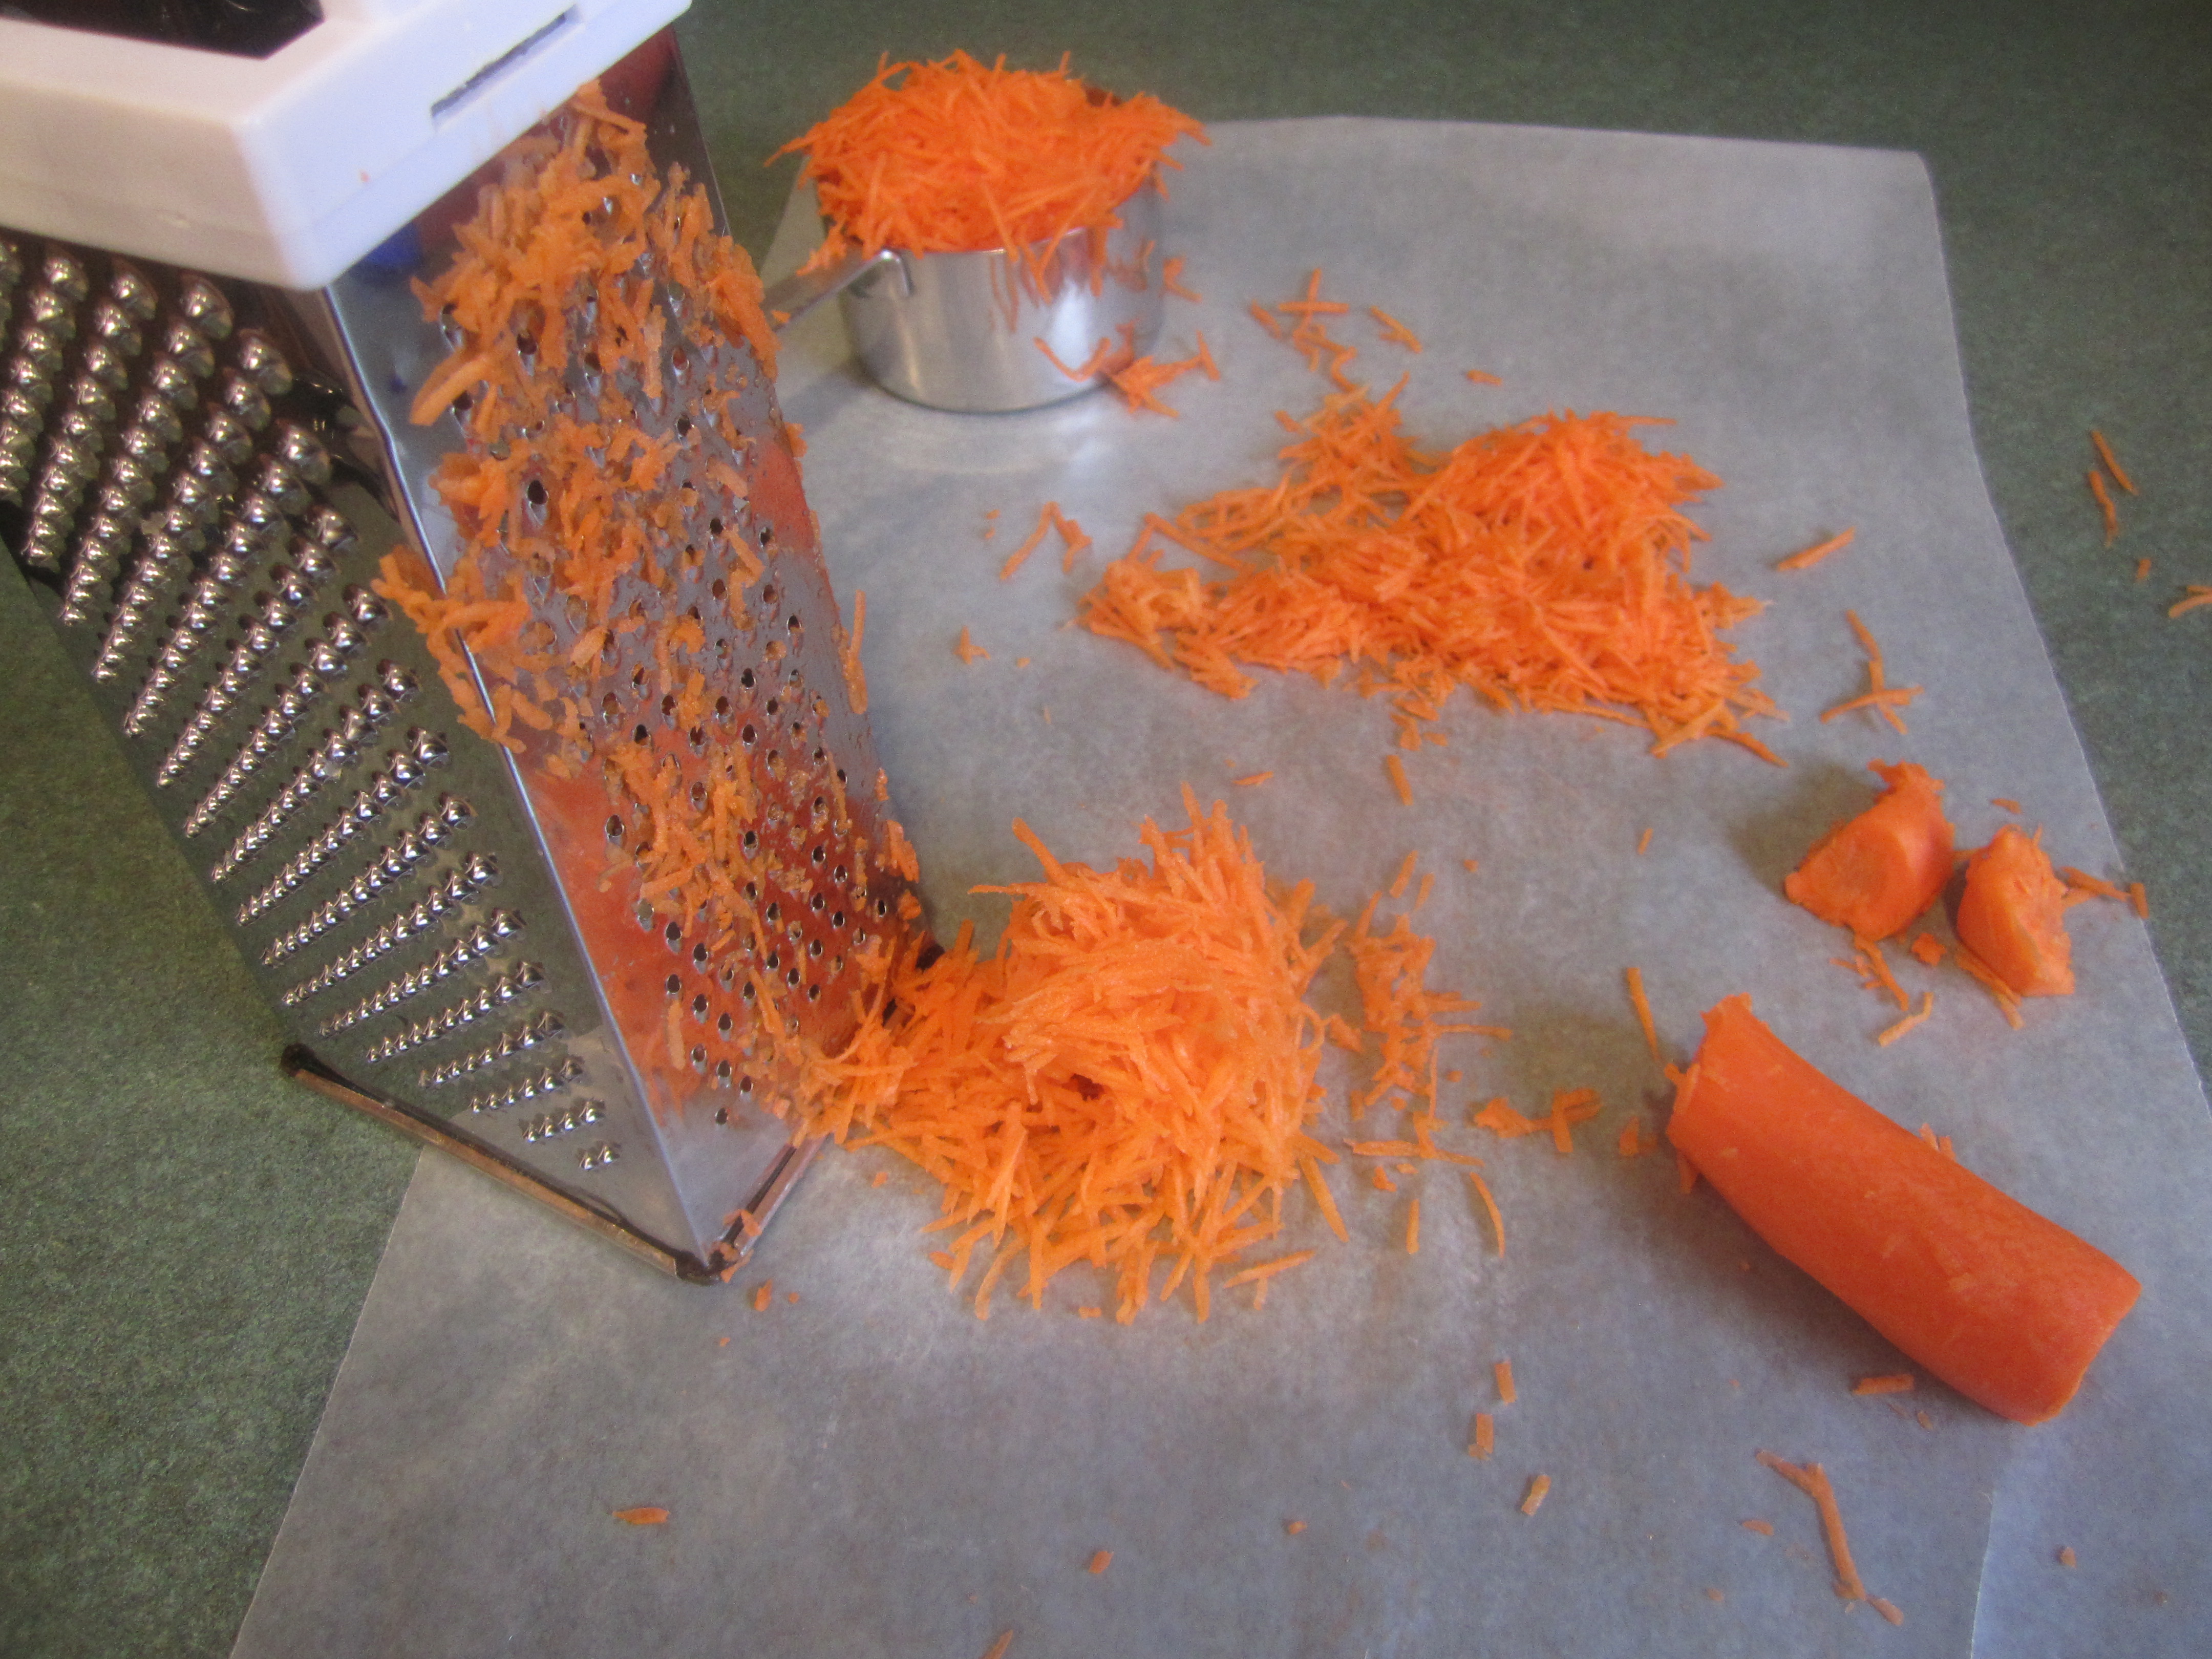
2 cups peeled and grated carrots (~ 3 large or 6 medium, grated on the smaller holes of the box grater, see picture)
1 large Granny Smith Apple, peeled, cored and grated (using the large holes of box grater)
1/2 cup sweetened shredded coconut
1/2 cup chopped walnuts
1/3 cup wheat germ
3 large eggs
2/3 cup vegetable oil
2 teaspoon pure vanilla extract
1/4 cup fresh orange juice (from 1/2 to whole orange, depending on size)
Preheat oven to 350 degrees. Spray a 12 cup muffin tin and 6 cups of another 12 cup muffin tin, with canola oil spray.
In a small bowl, cover the raisins with hot water and set aside.
In a very large bowl, place the flour, sugar, baking soda, cinnamon, ginger and salt. Stir together with a whisk. Then add the carrots, apple, coconut, walnuts and wheat germ. Stir together until thoroughly combined.
Place the eggs, oil, vanilla and orange juice in a medium bowl and stir together with a whisk. Add this to the flour mixture and stir together until almost combined.
Drain the raisins and add to the mixture stirring until just combined.
Divide the batter among the 18 prepared muffin tins (if you have an ice cream scoop, use it. Makes quick works of dividing up the batter.)
Bake for 20-23 minutes until toothpick inserted comes out clean.
Remove from oven and let cool for 5 minutes on rack. Remove muffins from tins and continue to cool.
grating carrots on the small holes of box grater:
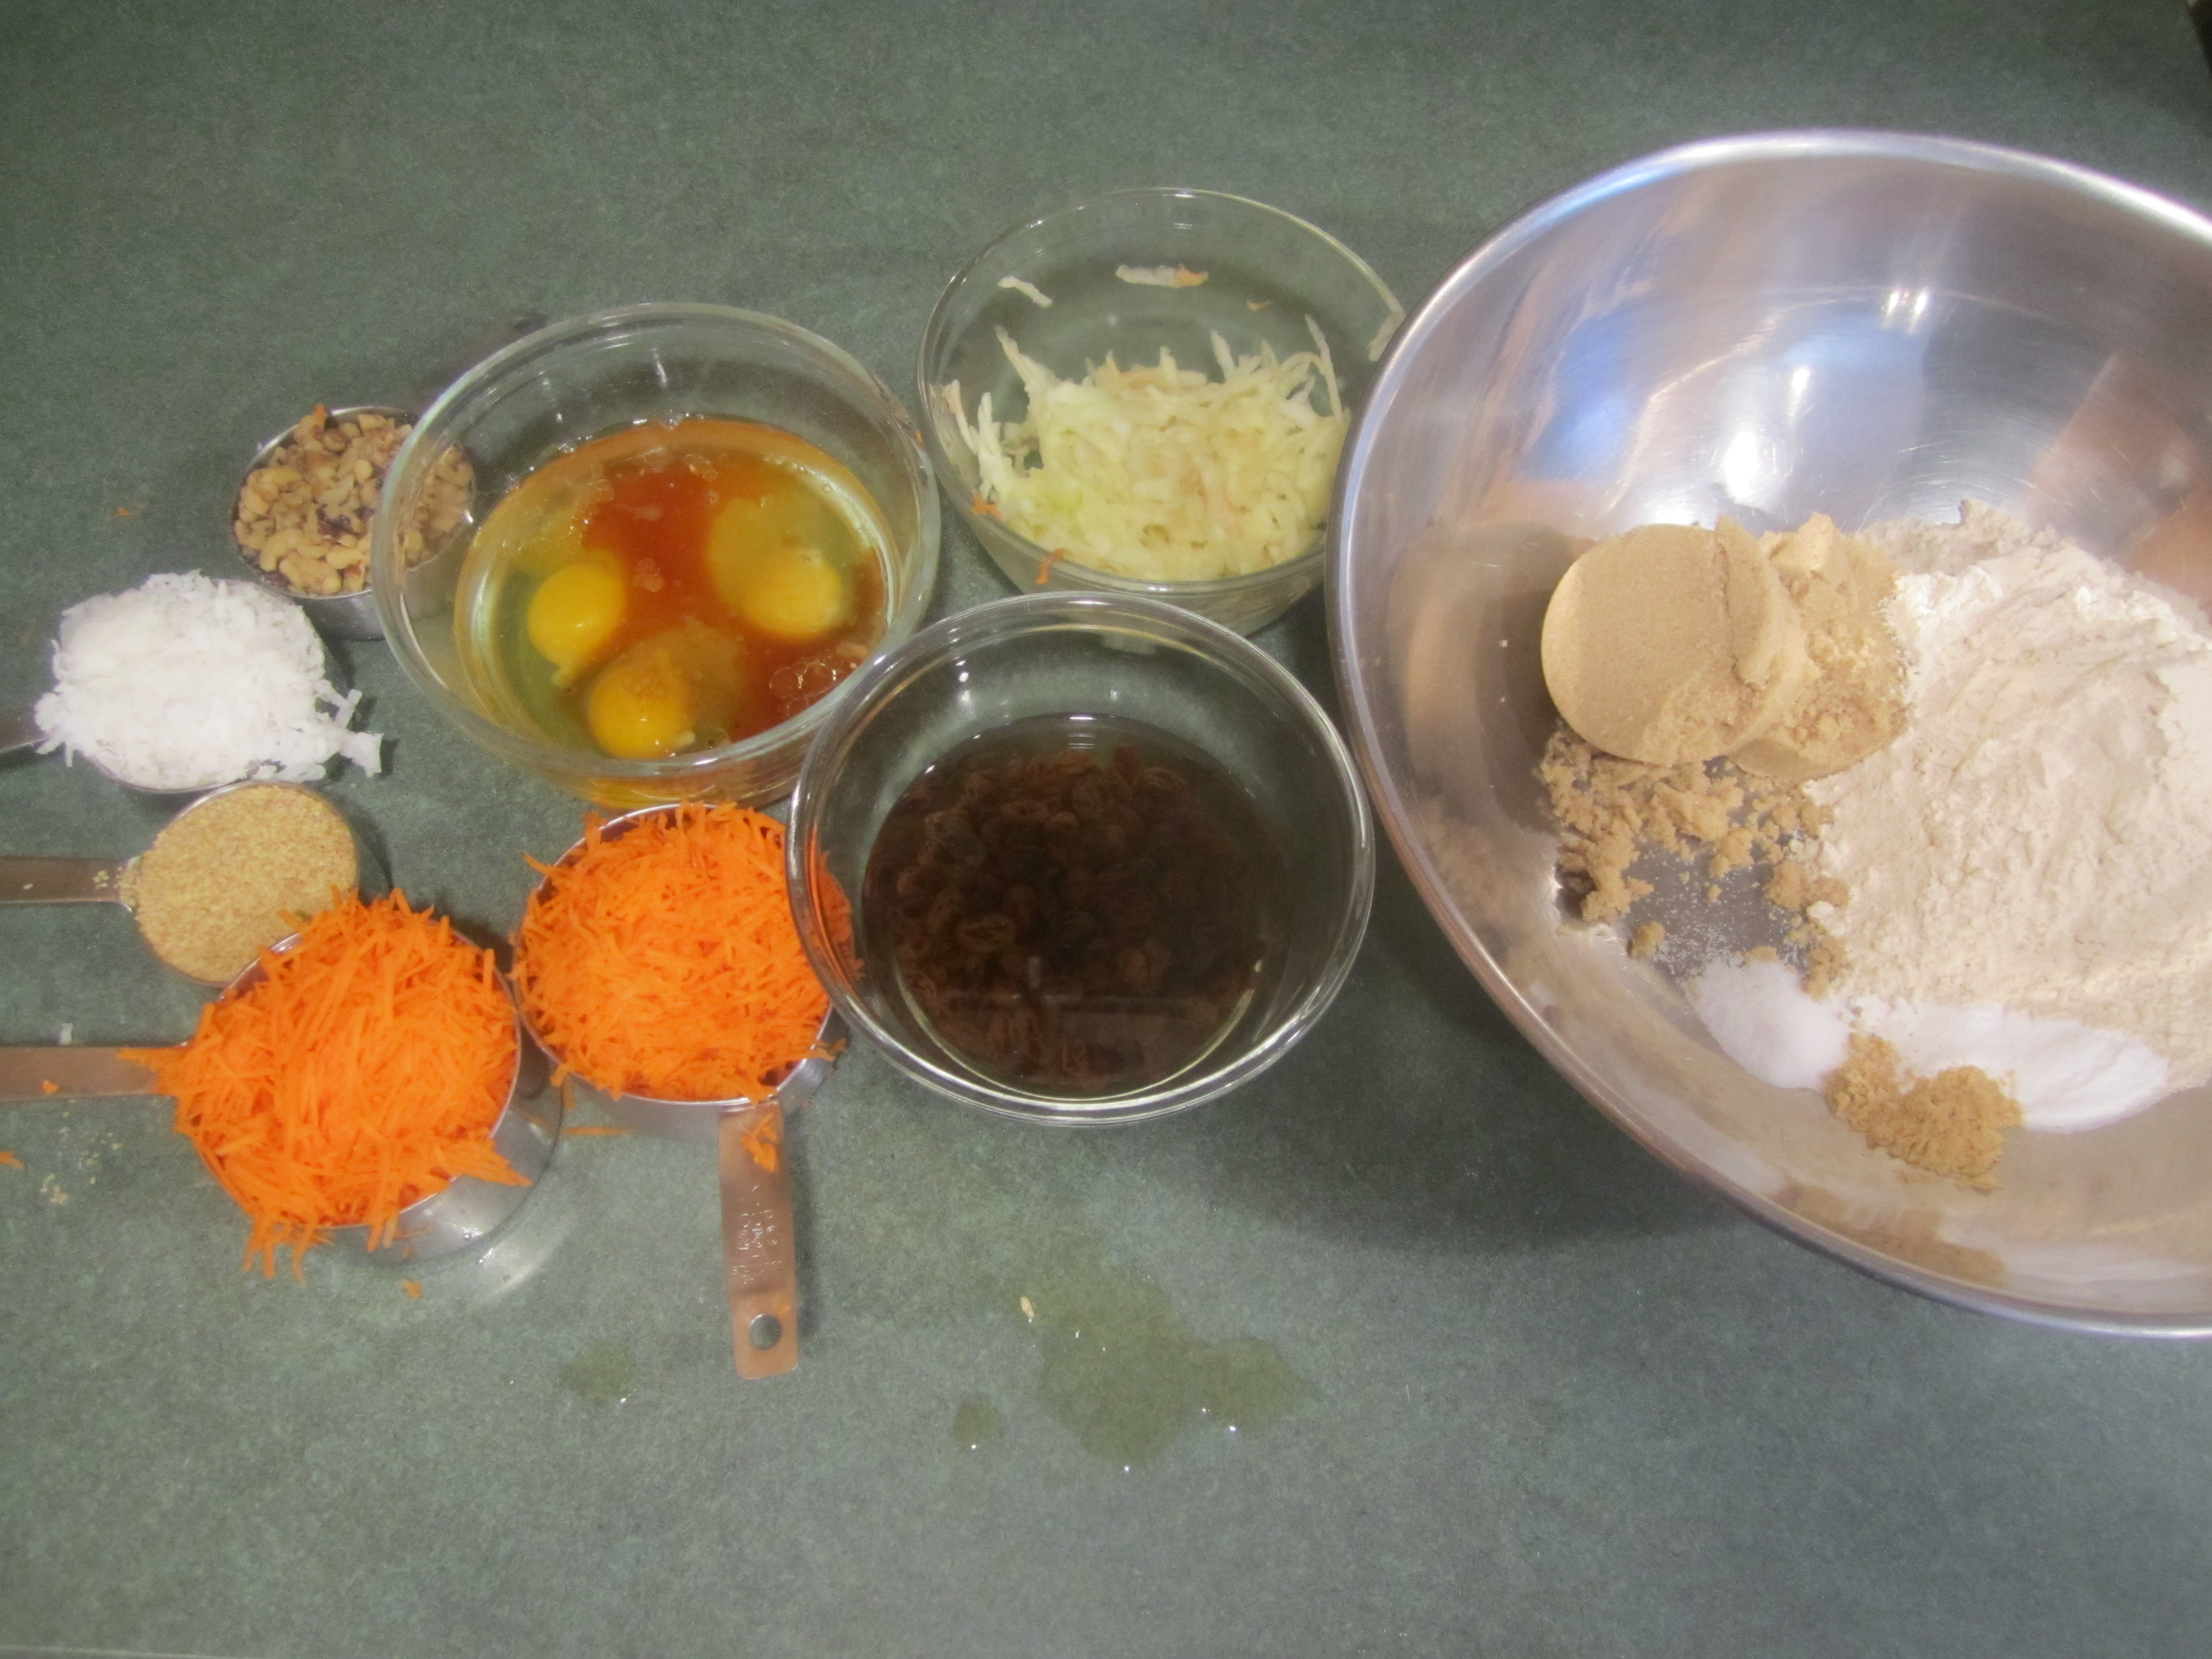
mise en place:
dry ingredients plus carrots, apple, coconut, nuts and wheat germ:

add the liquid ingredients and stir together:

add raisins:

batter complete:

divide amongst muffin tins:

out of the oven:

cooling:

Apricot Almond Muffins

The quest for an apricot almond muffin came when my husband wistfully reminisced about the ones he used to get from Magnolia’s, a great little cafe in our town, which unfortunately closed.
I searched the internet and finally came up with one that had the ingredients that I was looking for.
Mariani Dried Apricots are my favorite. I tried other brands but they were bitter, not something you want in a muffin. If the Mariani brand is not available, just make sure you taste the apricot before using them in the recipe.
Apricot Almond Muffins (adapted from Food.com via Cooks Country Magazine )
2 cups White Whole Wheat Flour (King Arthur)
1/3 cup granulated sugar
1/3 cup packed light brown sugar
2 teaspoons baking powder
1/2 teaspoon baking soda
1/2 teaspoon salt
1 cup sour cream or buttermilk
1/2 cup canola vegetable oil
2 large eggs
1-1/2 teaspoons pure vanilla extract
1/2 teaspoon almond extract
6 oz. package of dried apricots, diced 1/4 inch.
2/3 cup of sliced or slivered almonds, toasted
1/3 cup apricot preserves
Preheat oven to 375 degrees. Spray a 12 cup muffin pan with canola oil spray. To toast almonds, place in medium non-stick skillet, on medium heat and stir occasionally for 5-10 minutes, until they start to color. Keep a watchful eye on them, they burn easily.
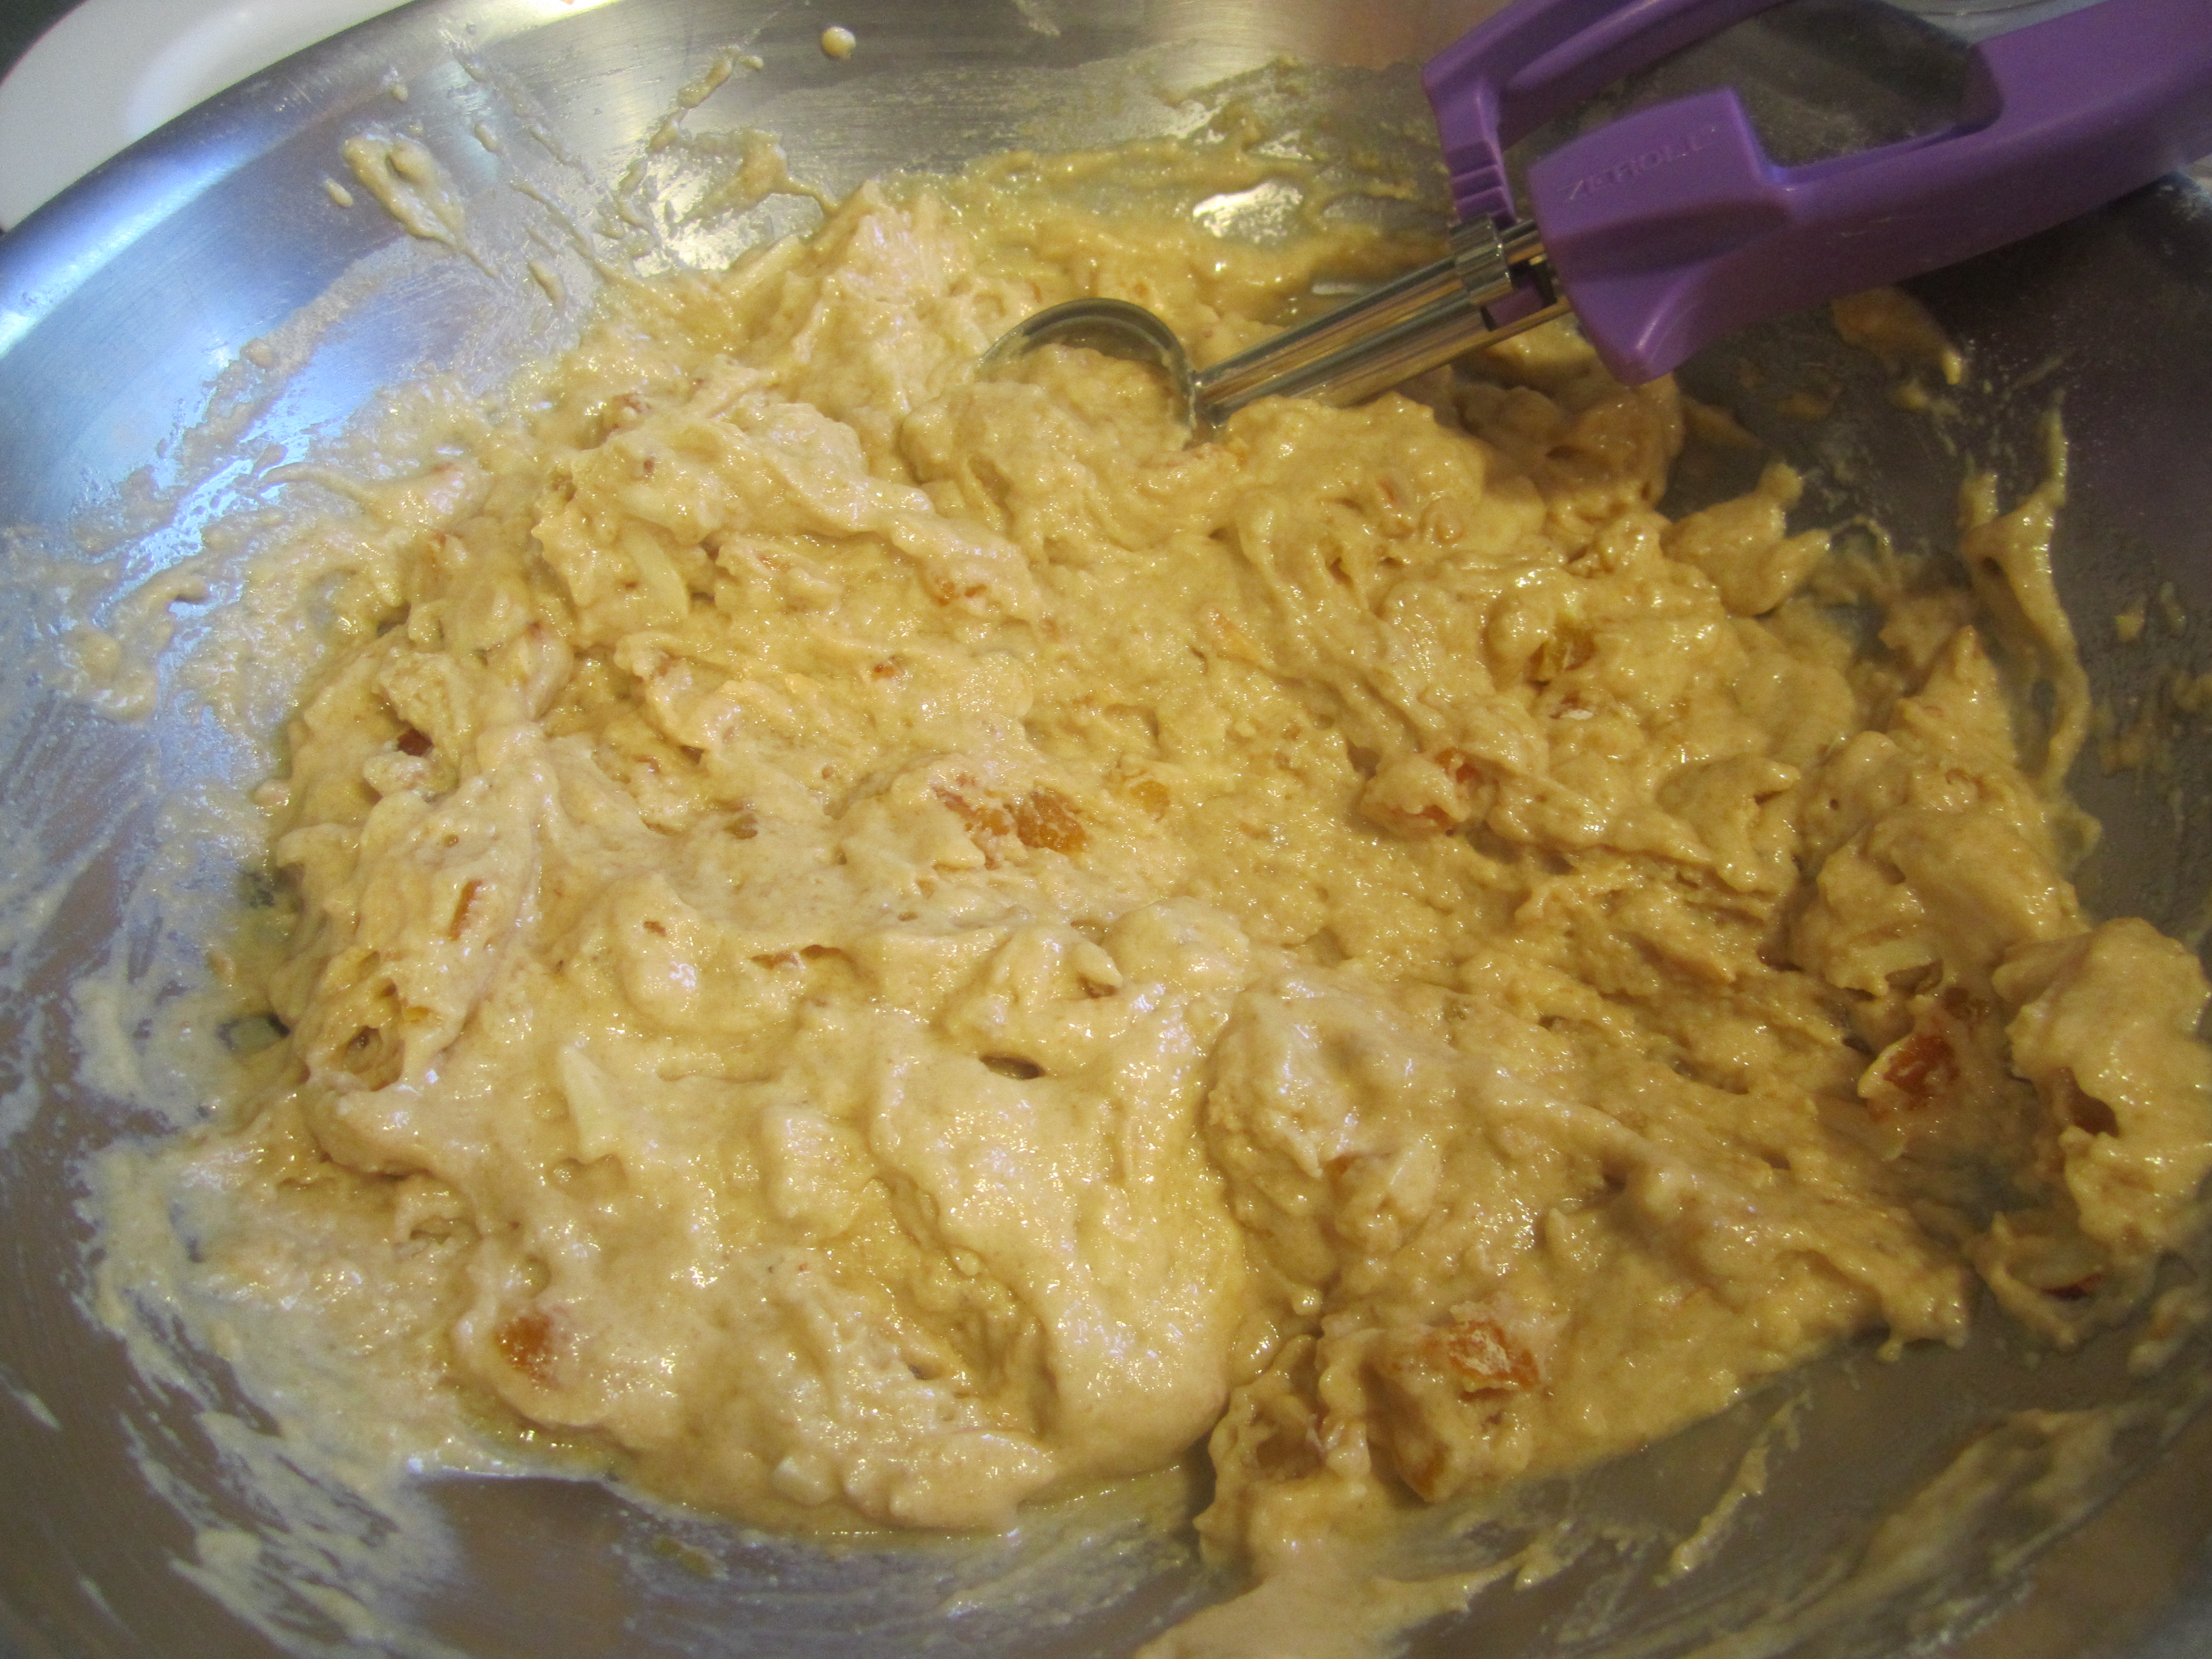
In a large bowl place the flour, sugars, baking powder & soda and salt. Stir together with a whisk. Add the diced apricots and almonds and stir together completely with the flour mixture, using a rubber spatula. Combine sour cream or buttermilk, vegetable oil, eggs, vanilla and almond extracts in 2 cup glass measuring cup and stir together with a whisk. Fold into the dry ingredients until just combined.
Place about 2 tablespoons of batter into each muffin cup. Place about a 1/2 teaspoon of apricot preserves in the center of the batter. Place another 2 tablespoons of batter on top.
Place muffins into the oven and bake for 20-25 minutes, until toothpick inserted comes out clean (not in the middle where the jam is :).) Cool on baking rack for 5 minutes and then remove muffins onto baking rack to cool completely.
mise en place:

dry ingredients with almonds and apricots:

add liquid ingredients:

stir to combine:
adding apricot preserve filling:


ready to go into the oven:

out of the oven:
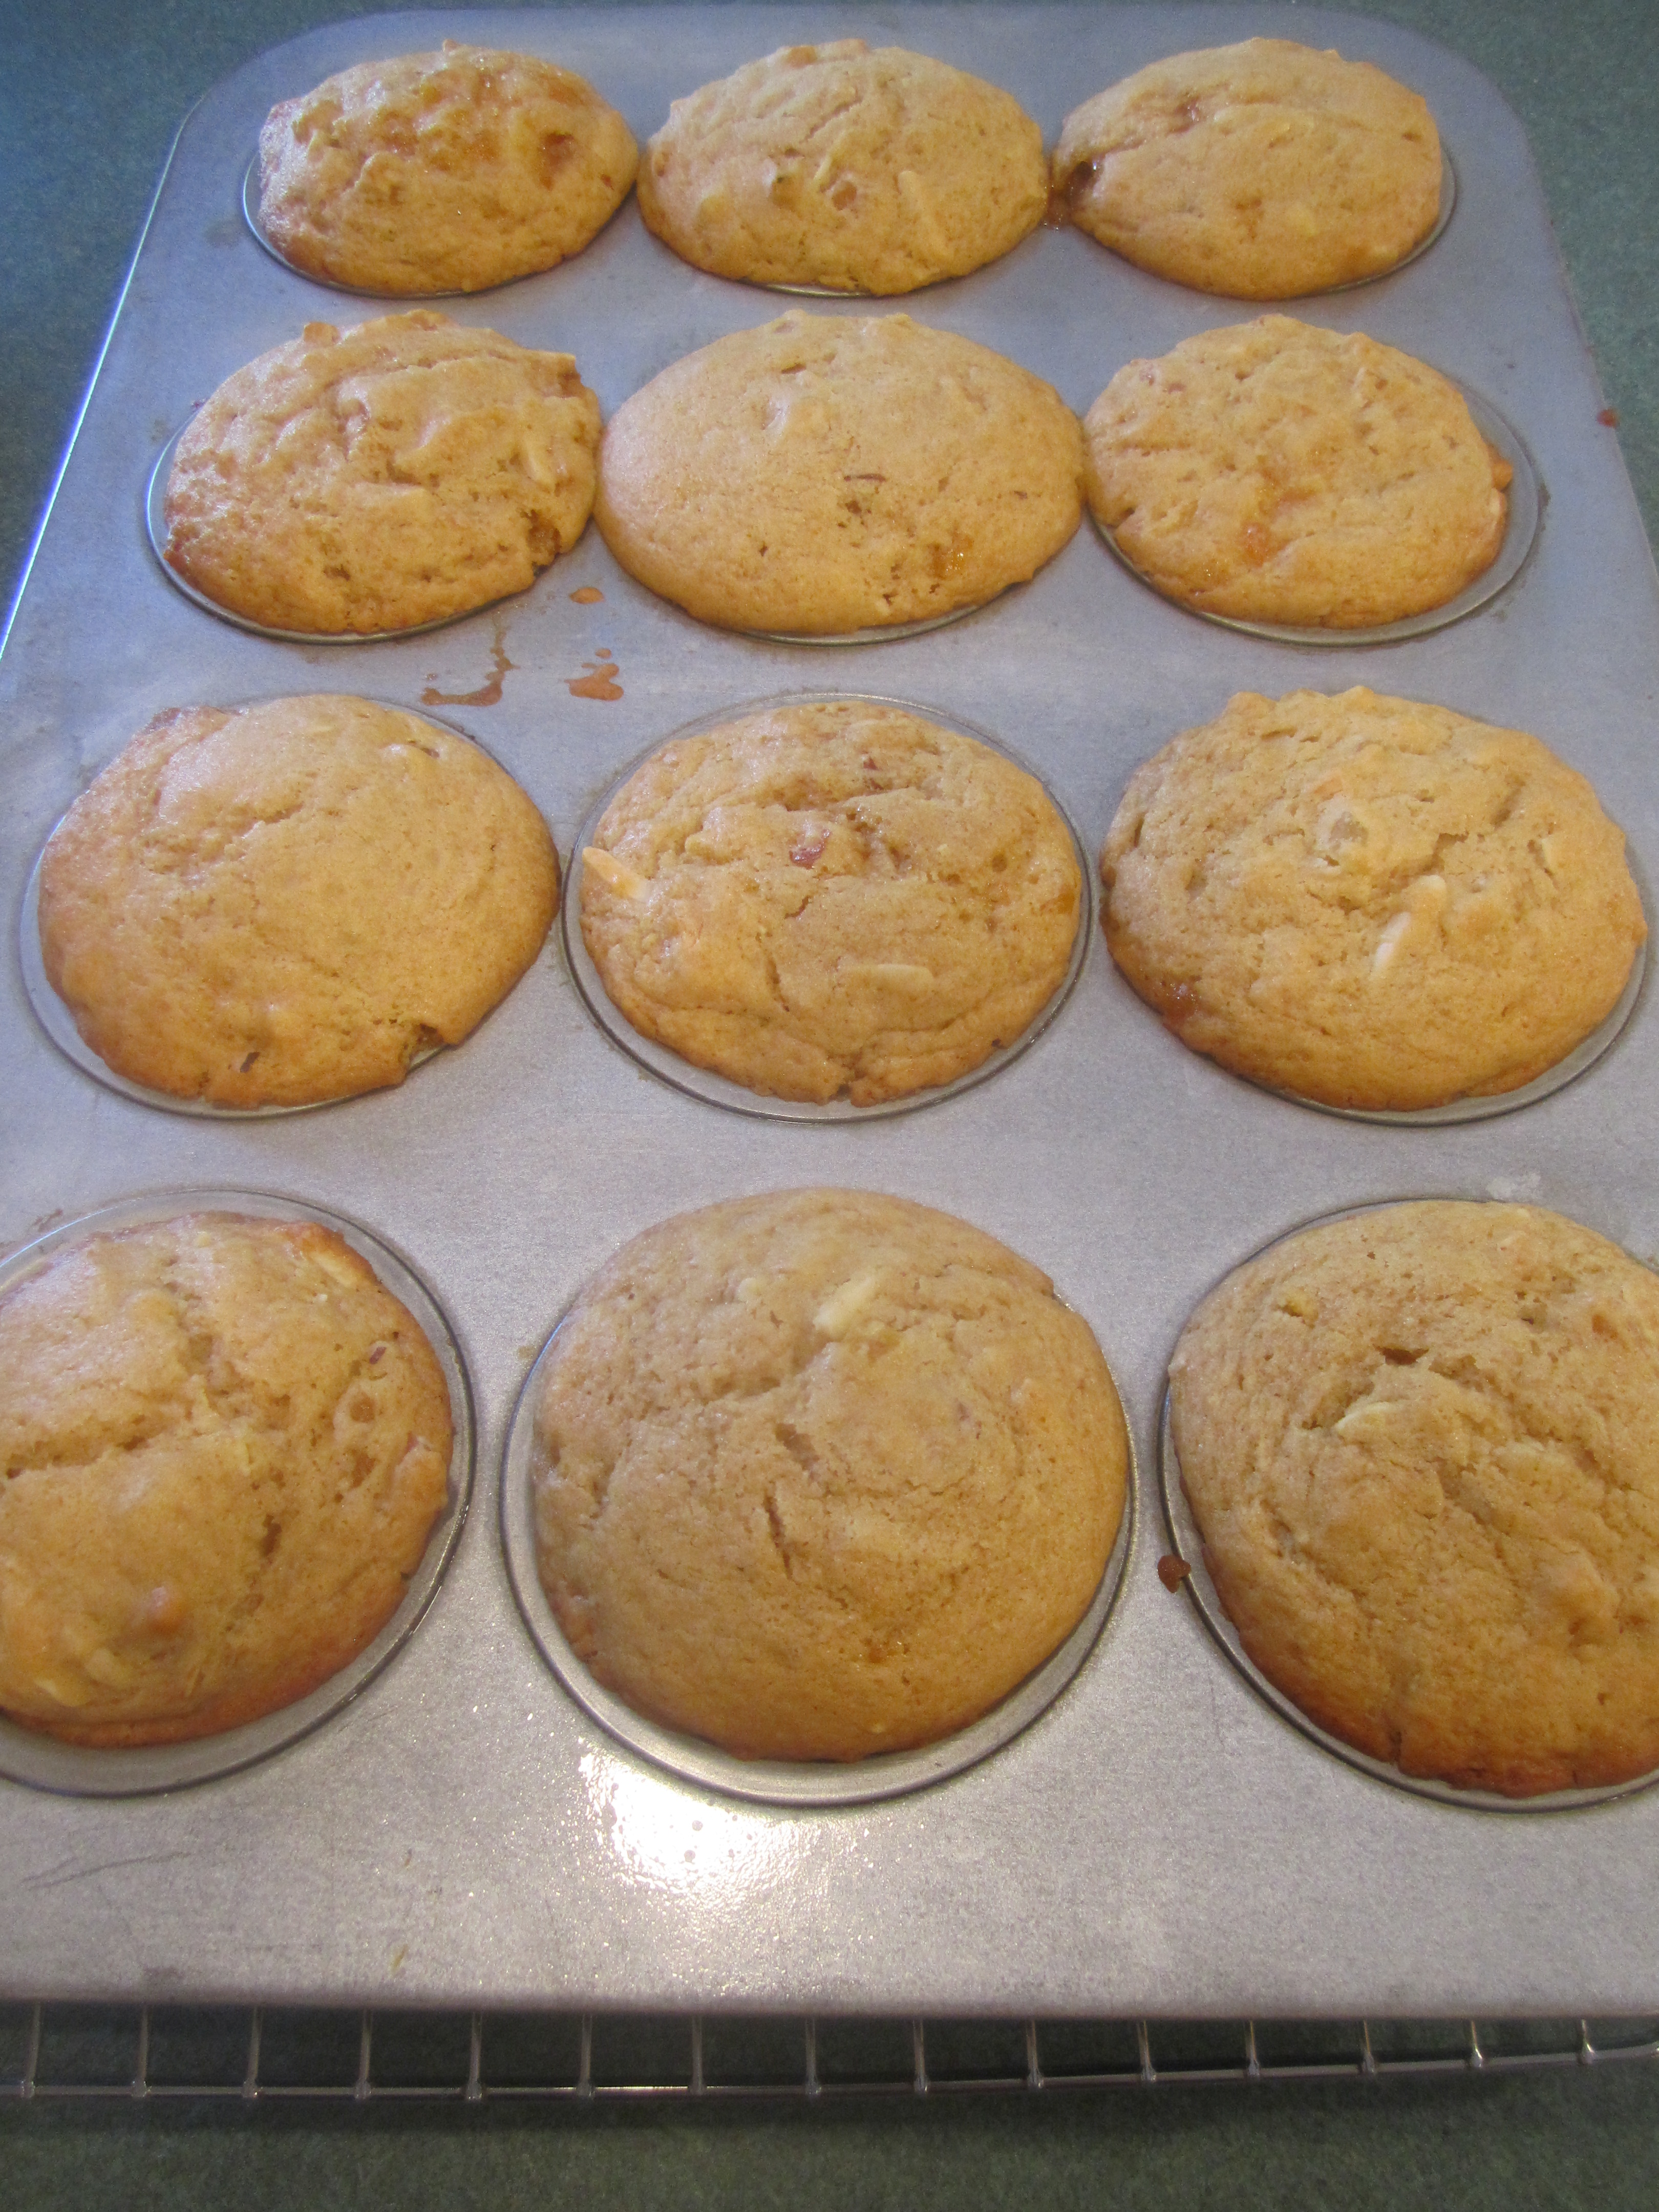
cooling:

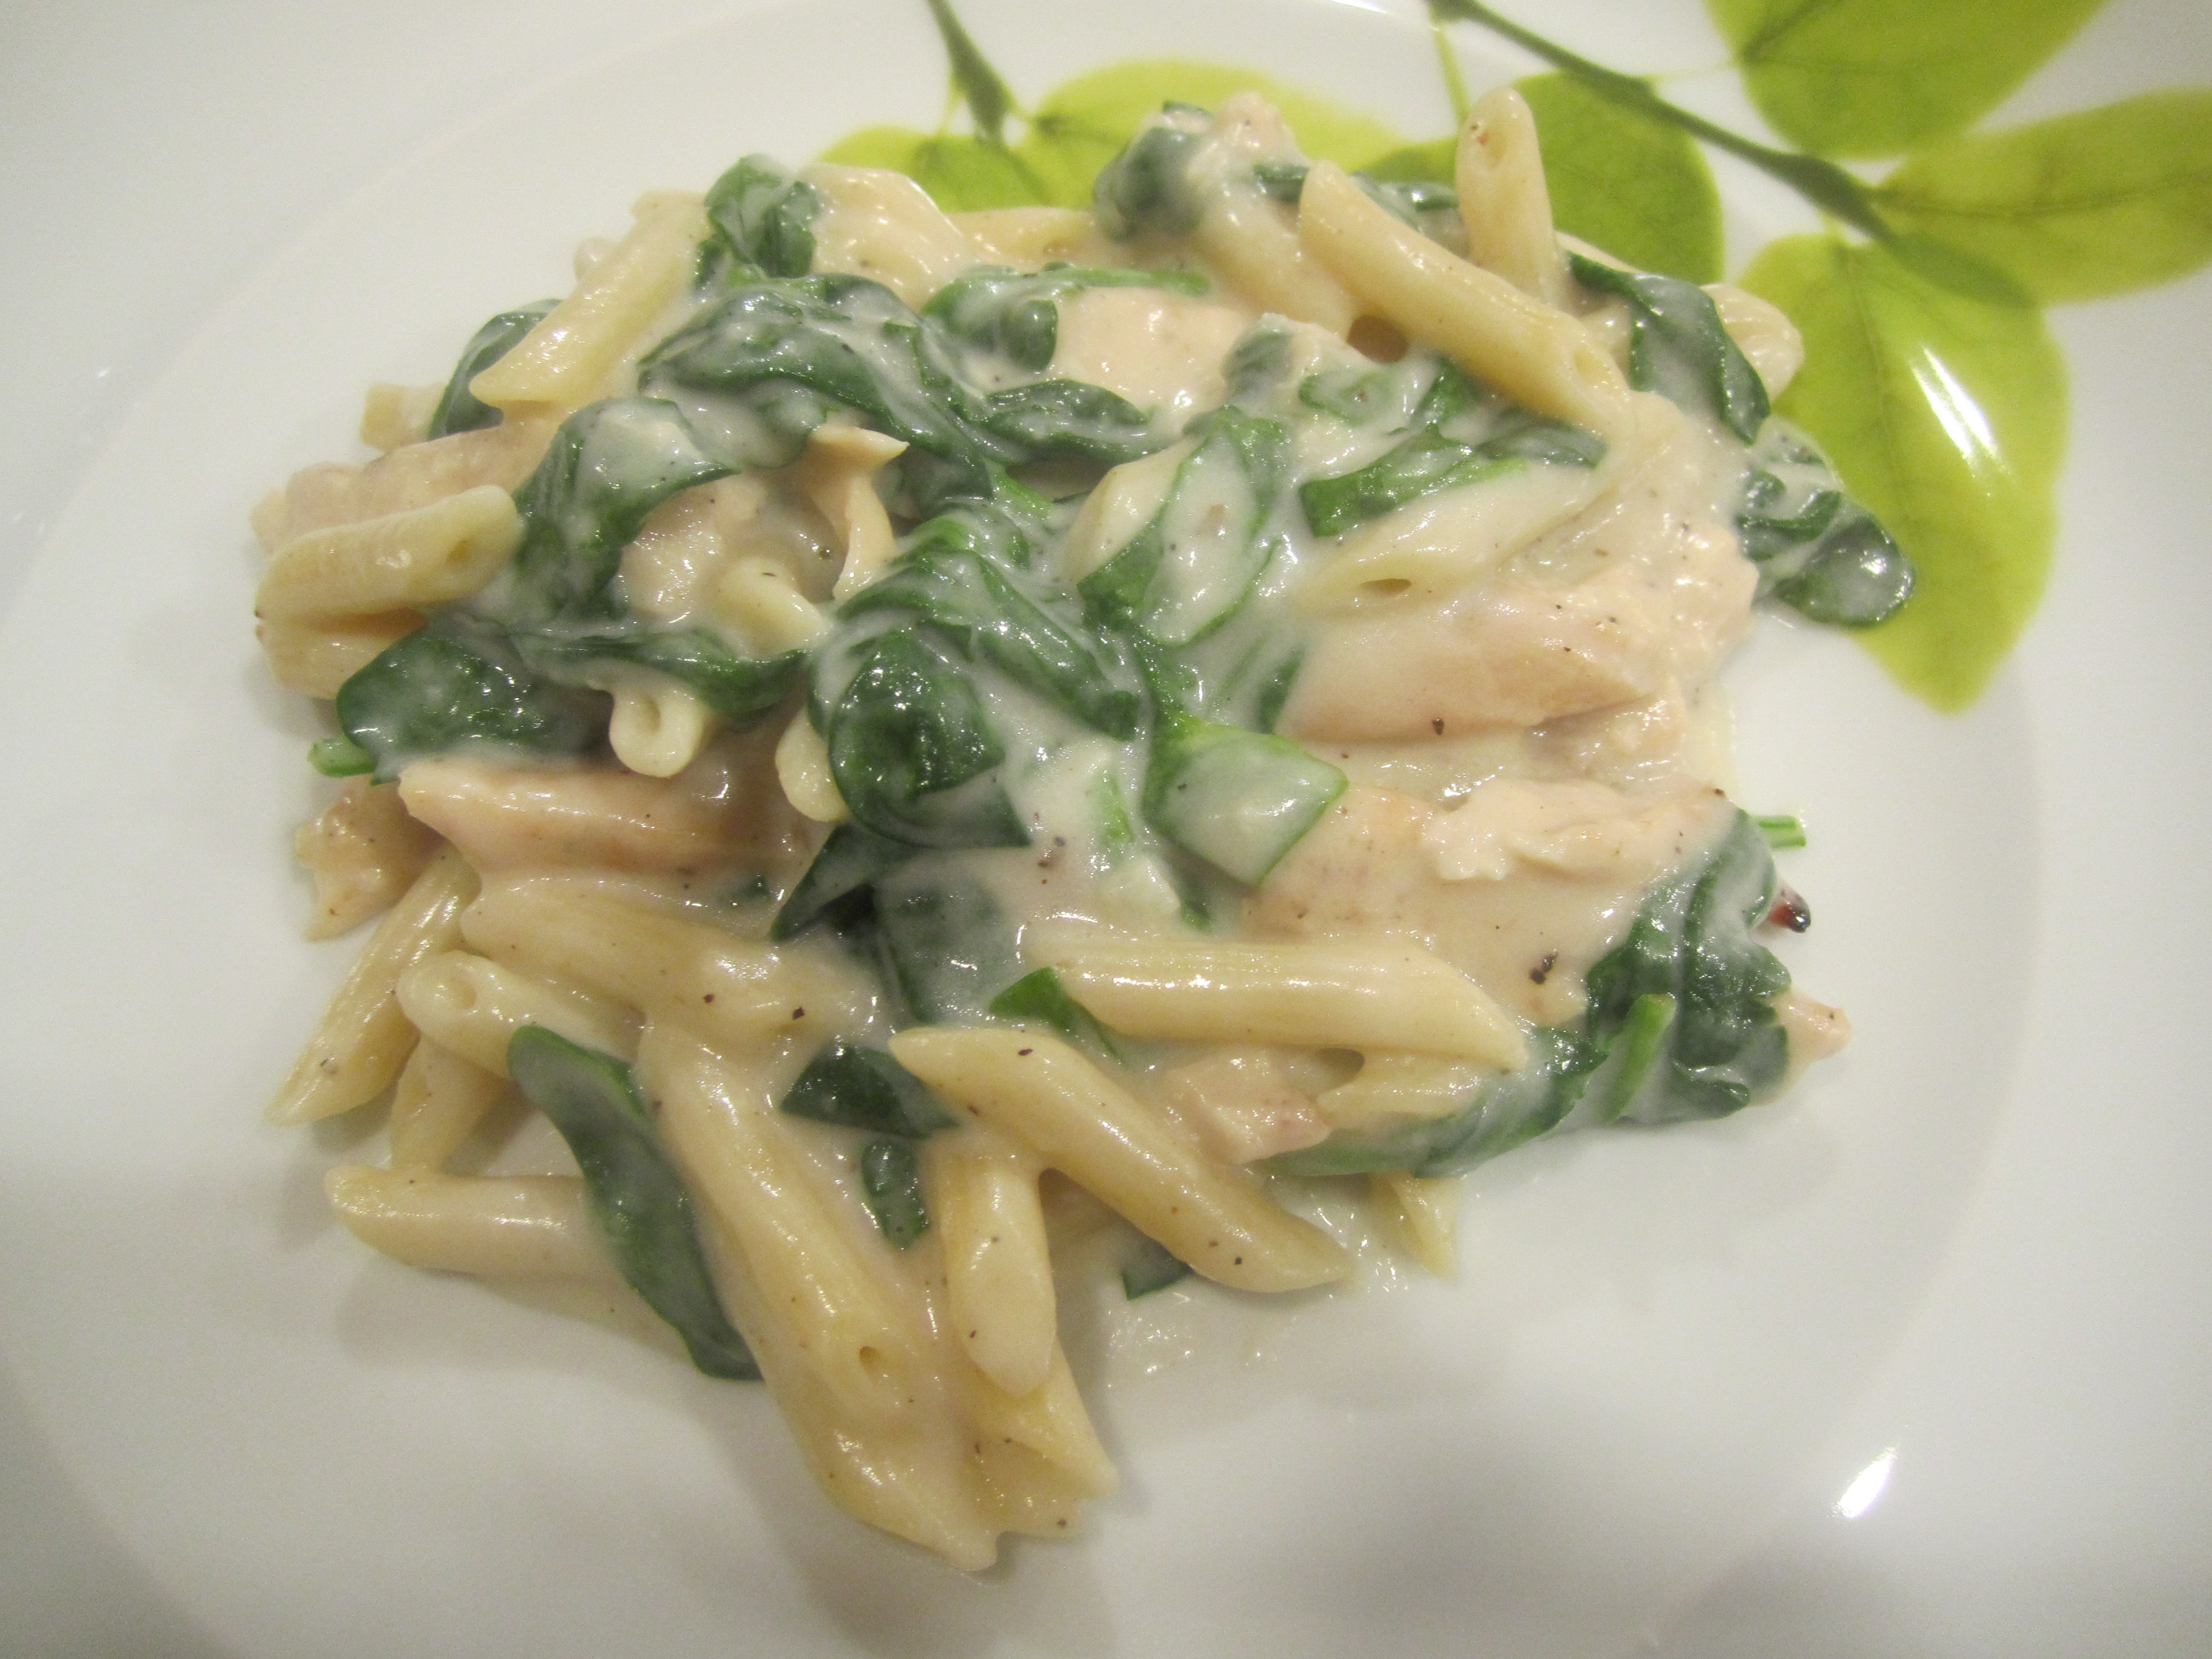
Grilled Chicken Florentine Pasta
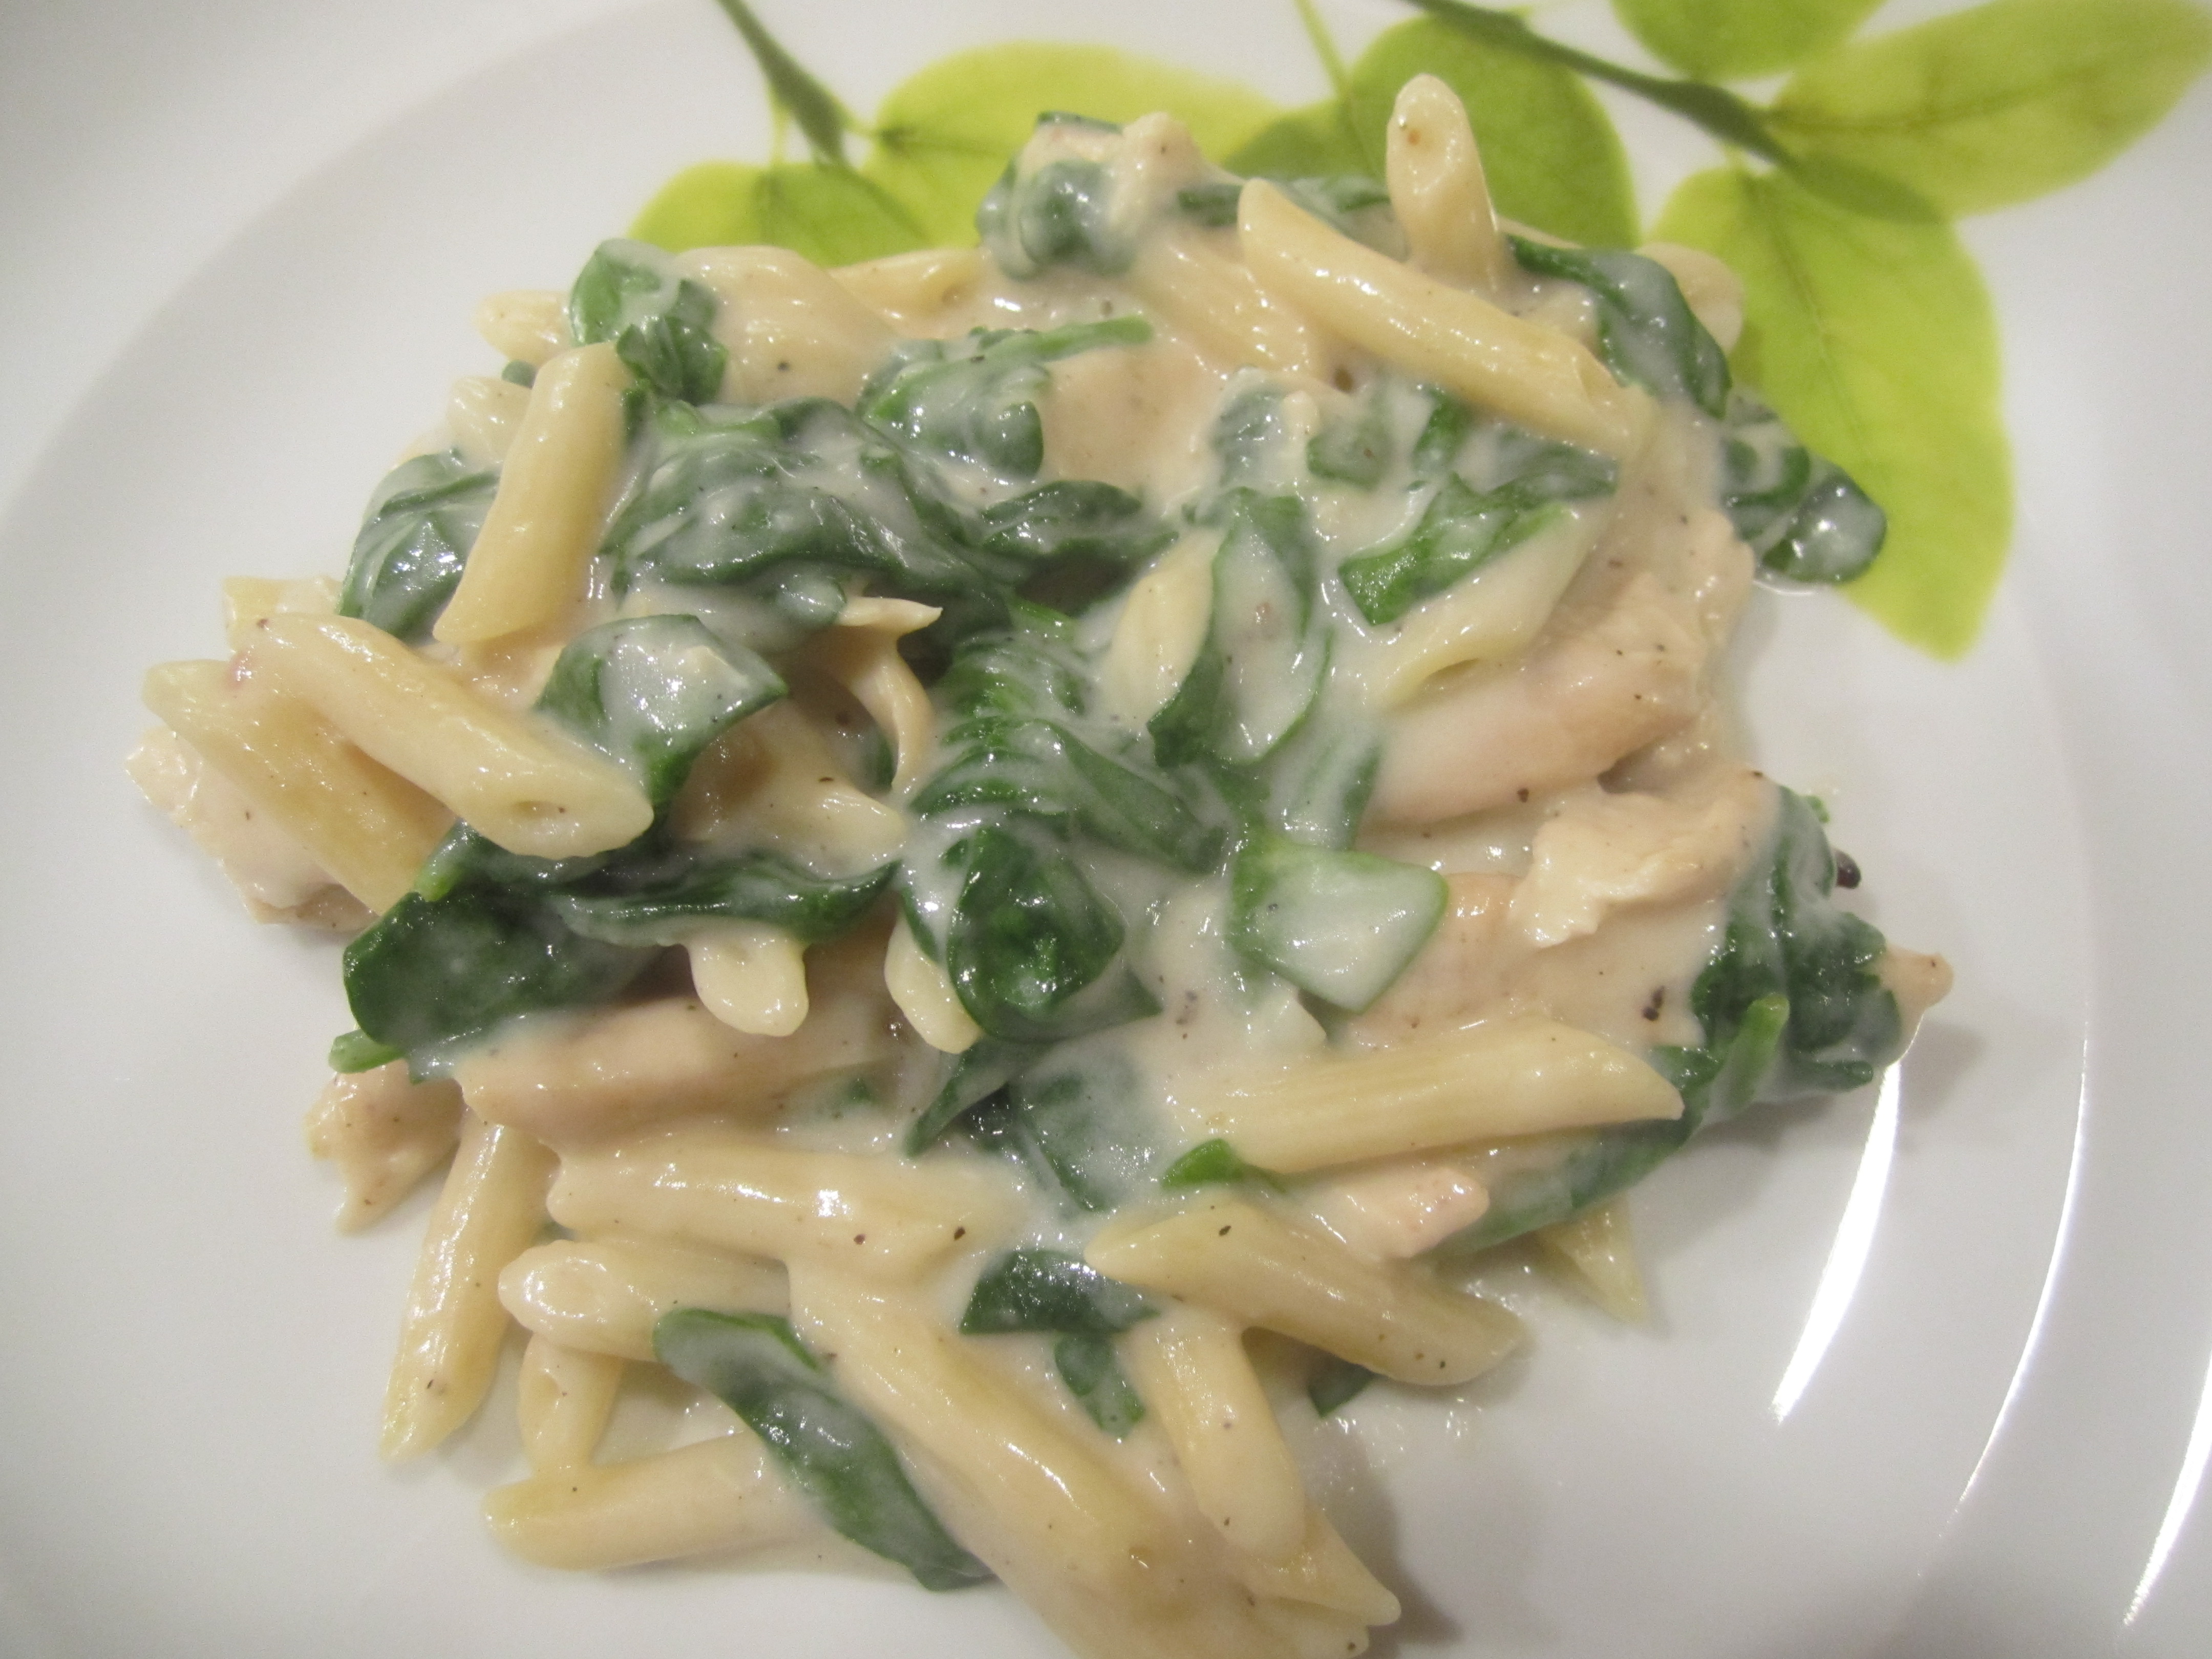
My friend Carl sent me this recipe and it’s really delicious. Comforting and creamy yet reasonable in the calories department, with lots of spinach (my favorite).
I used chicken tenders instead of the chicken breasts. For some reason, bone-in chicken breasts, are scarce at my local Shoprite. Either they are humongous or really close to the expiration date, neither acceptable to me.
And in most recipes that contain pasta, I halved the amount. I also chose to use Penne instead of the linguine, but either or any pasta would work great in this recipe.
Grilled Chicken Florentine Pasta (Cooking Light September 2012)
l pound (approximately) Chicken Tenders
3/4 teaspoon salt, divided
3/4 teaspoon black pepper, divided
olive oil
4 ounces of Penne or linguine or pasta of your choice
2 tablespoons canola oil
3 tablespoons all-purpose flour
1 teaspoon finely chopped fresh garlic
1 cup whole milk
1 cup chicken broth, preferably Swanson
3 ounces Parmesan cheese, grated (preferably Stella or your favorite)
4 cups fresh spinach leaves (up to 5 ounces)
Prepare grill to medium high heat.
Brush chicken breasts with olive oil on both sides and then sprinkle with 1/4 teaspoon salt and 1/4 teaspoon pepper. Grill chicken, 3 minutes on each side or until done. Remove from grill and let stand for 10 minutes. Cut chicken tender lengthwise to get 3 strips and then cut again crosswise, to get 6 small pieces.
Cook the pasta according to the package direction. Drain well and keep warm.
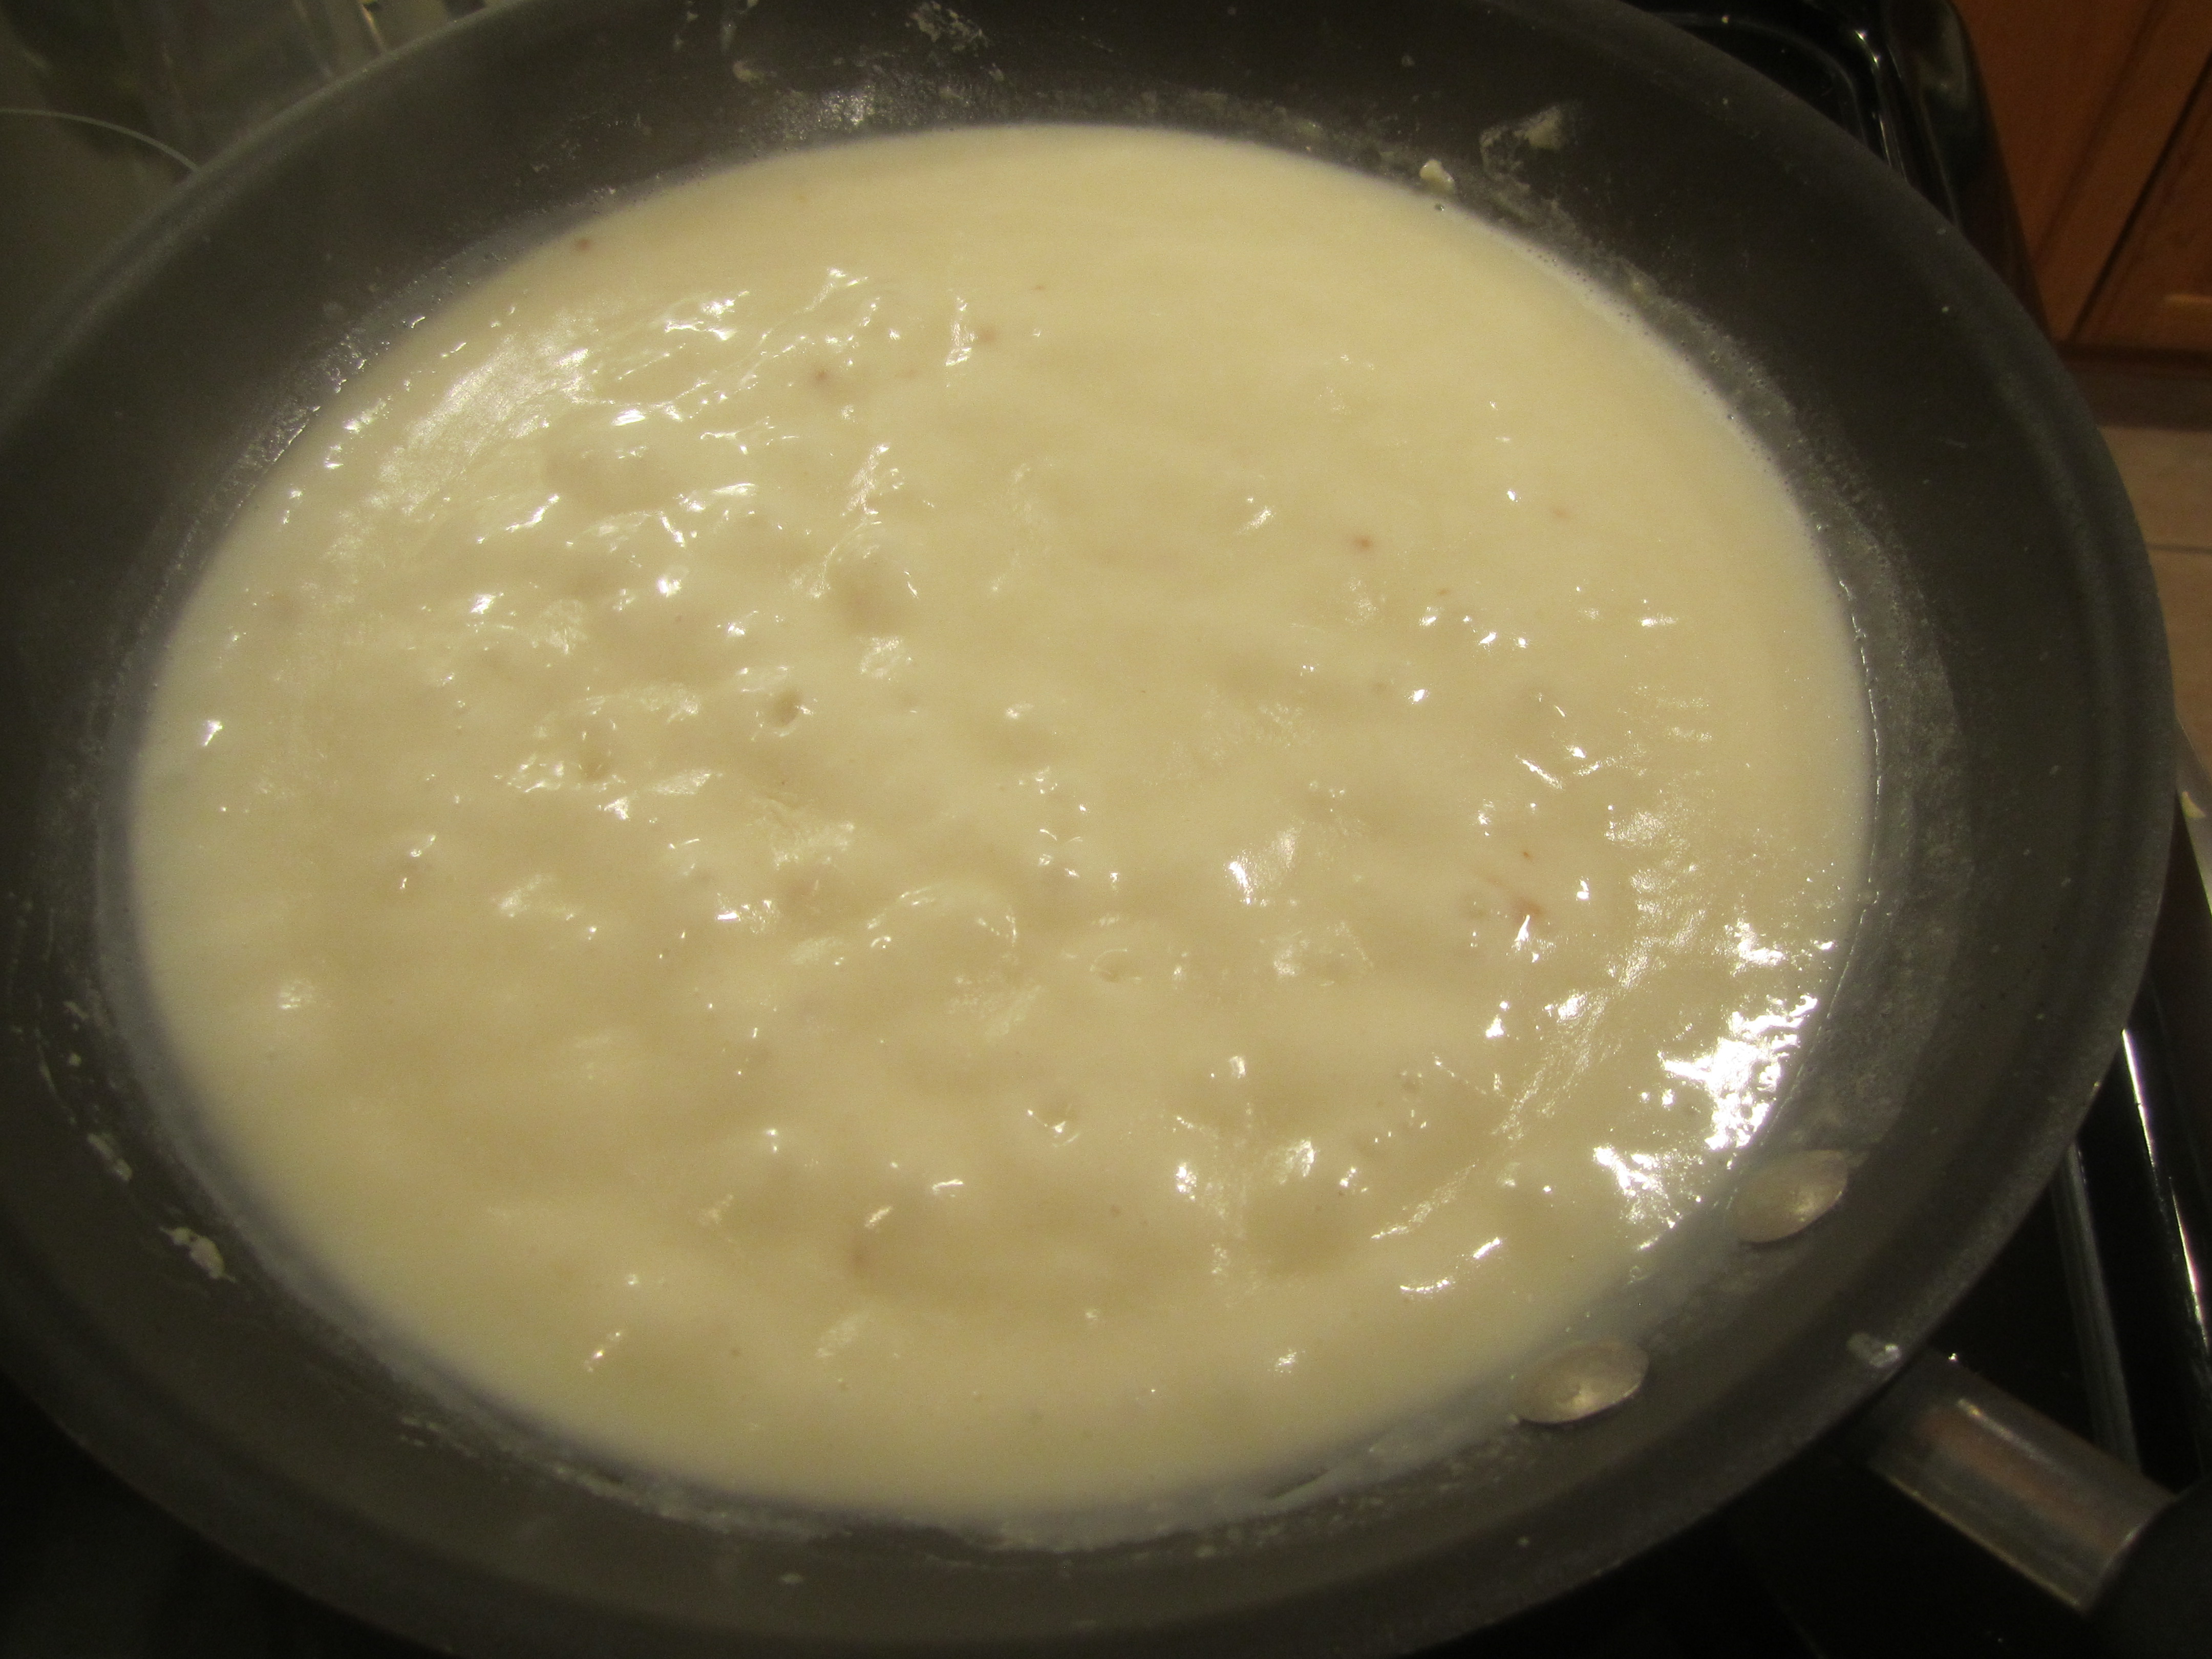
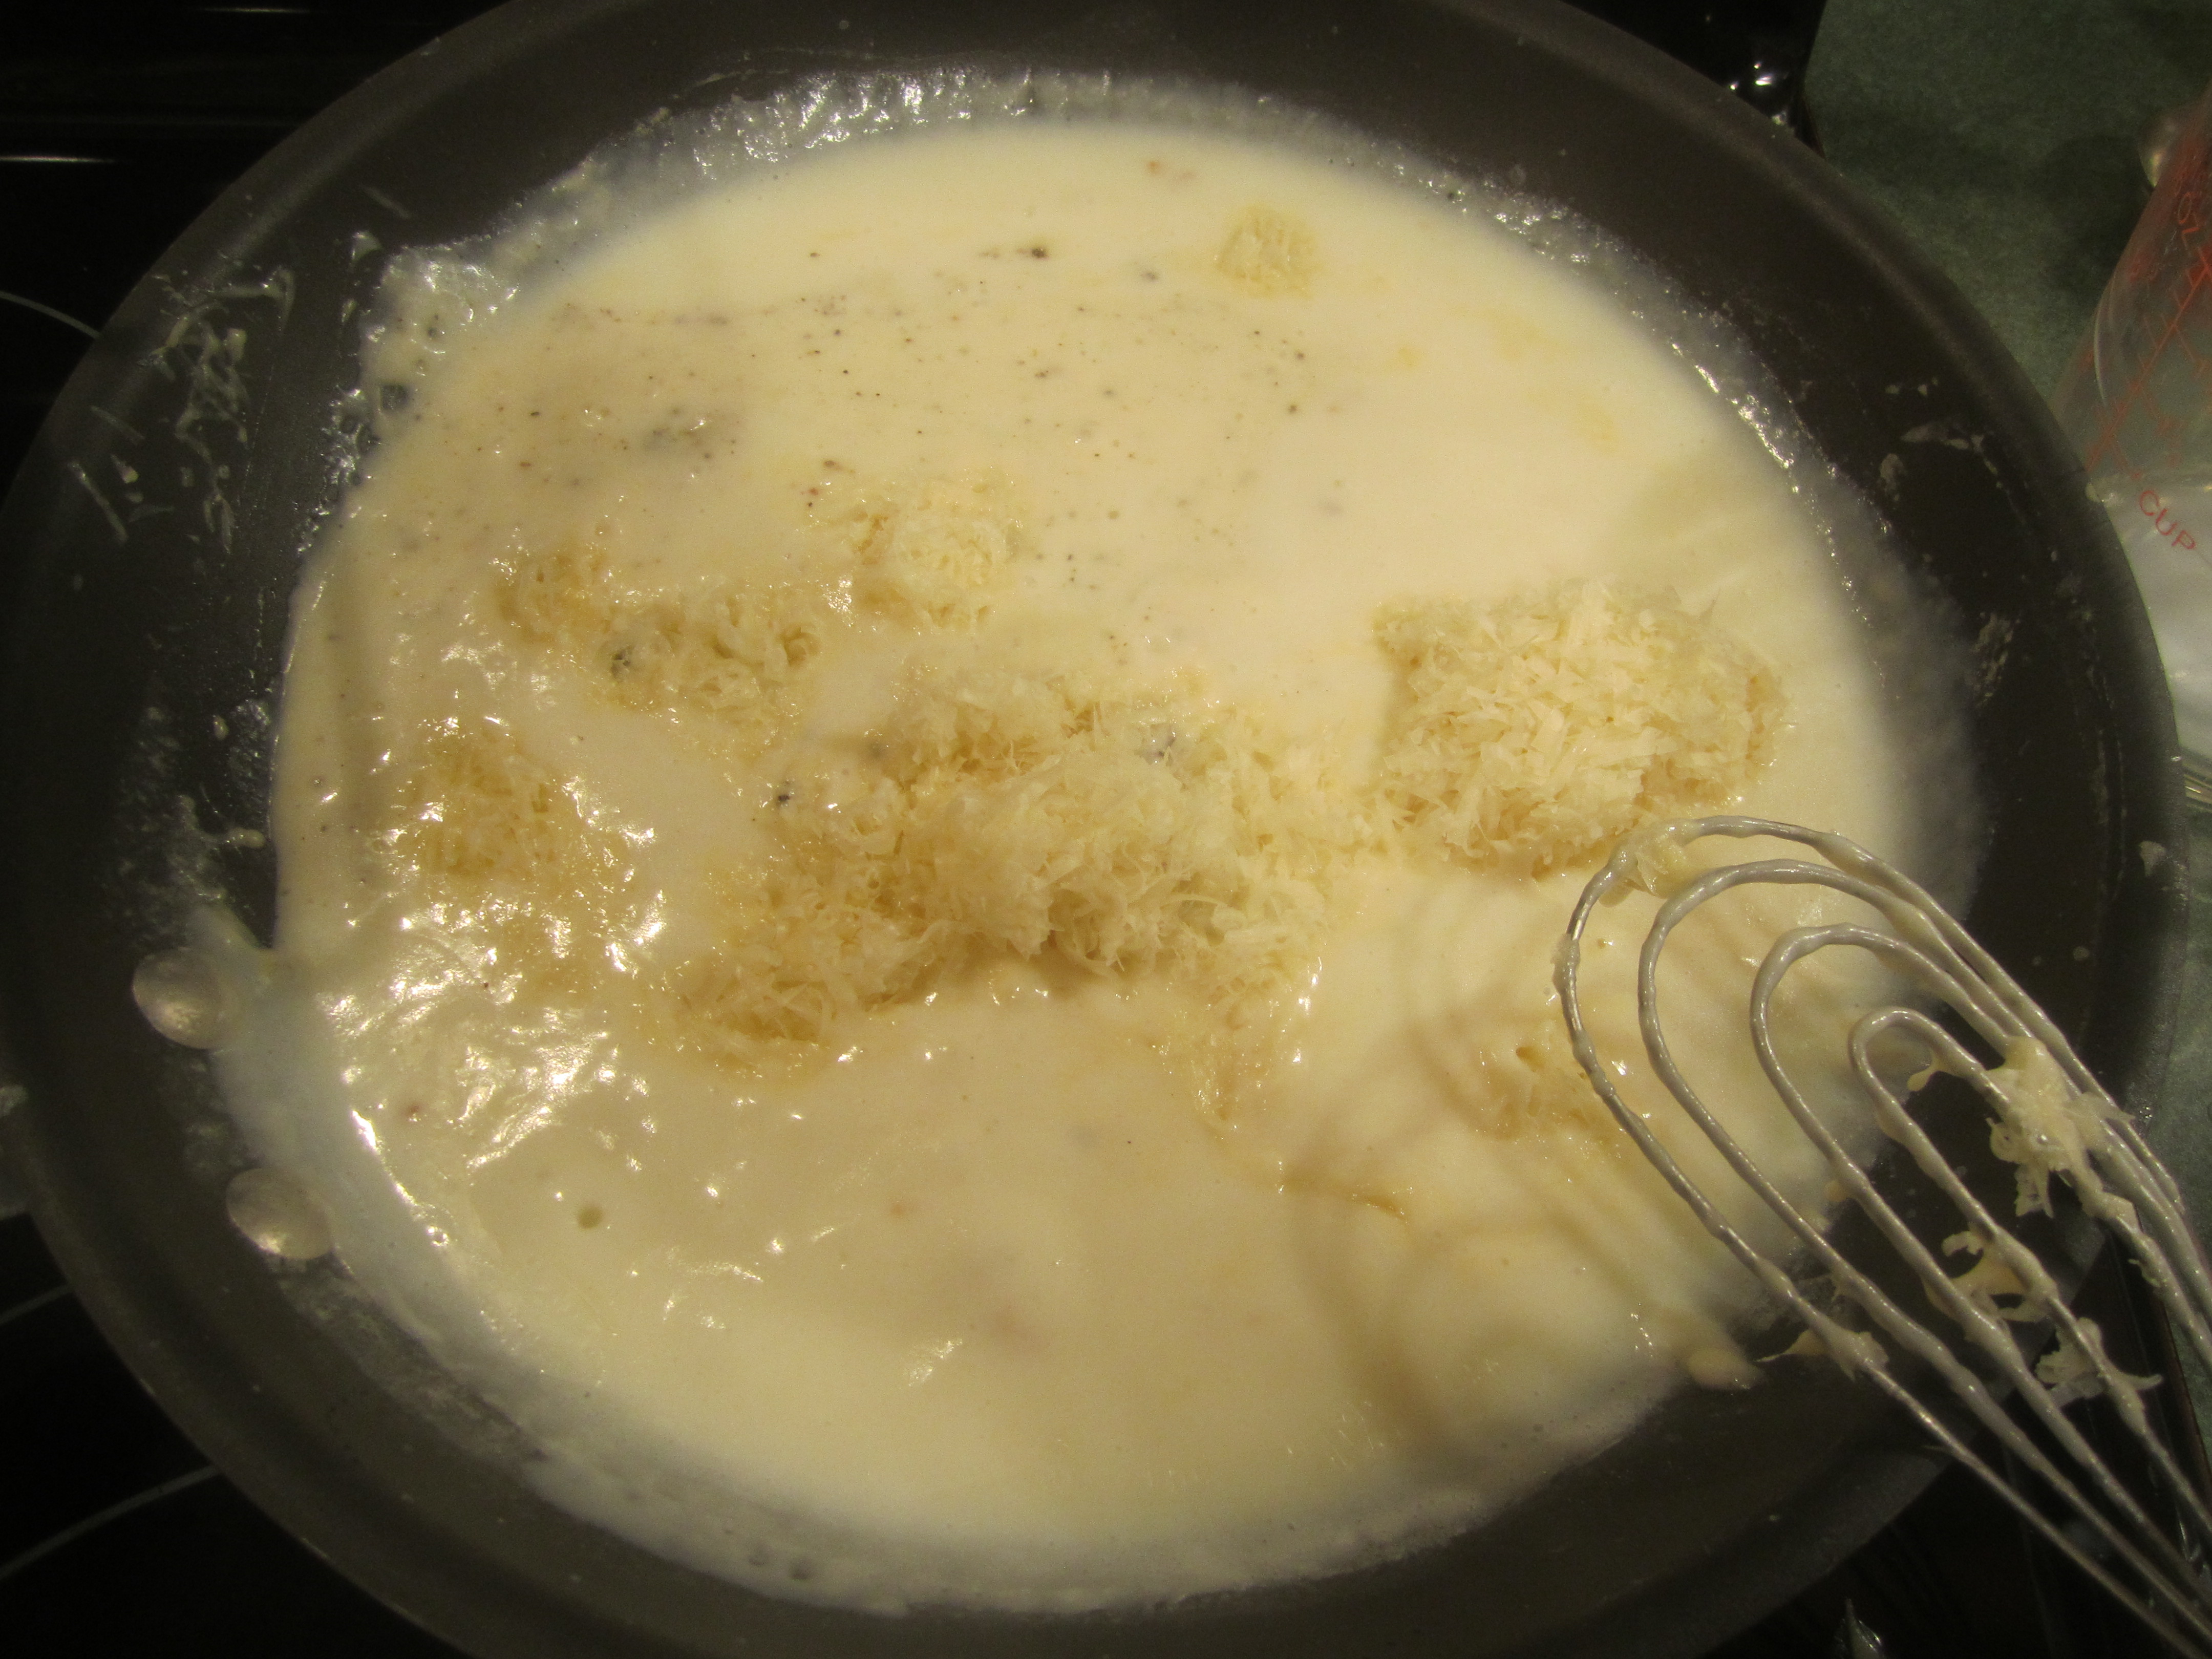
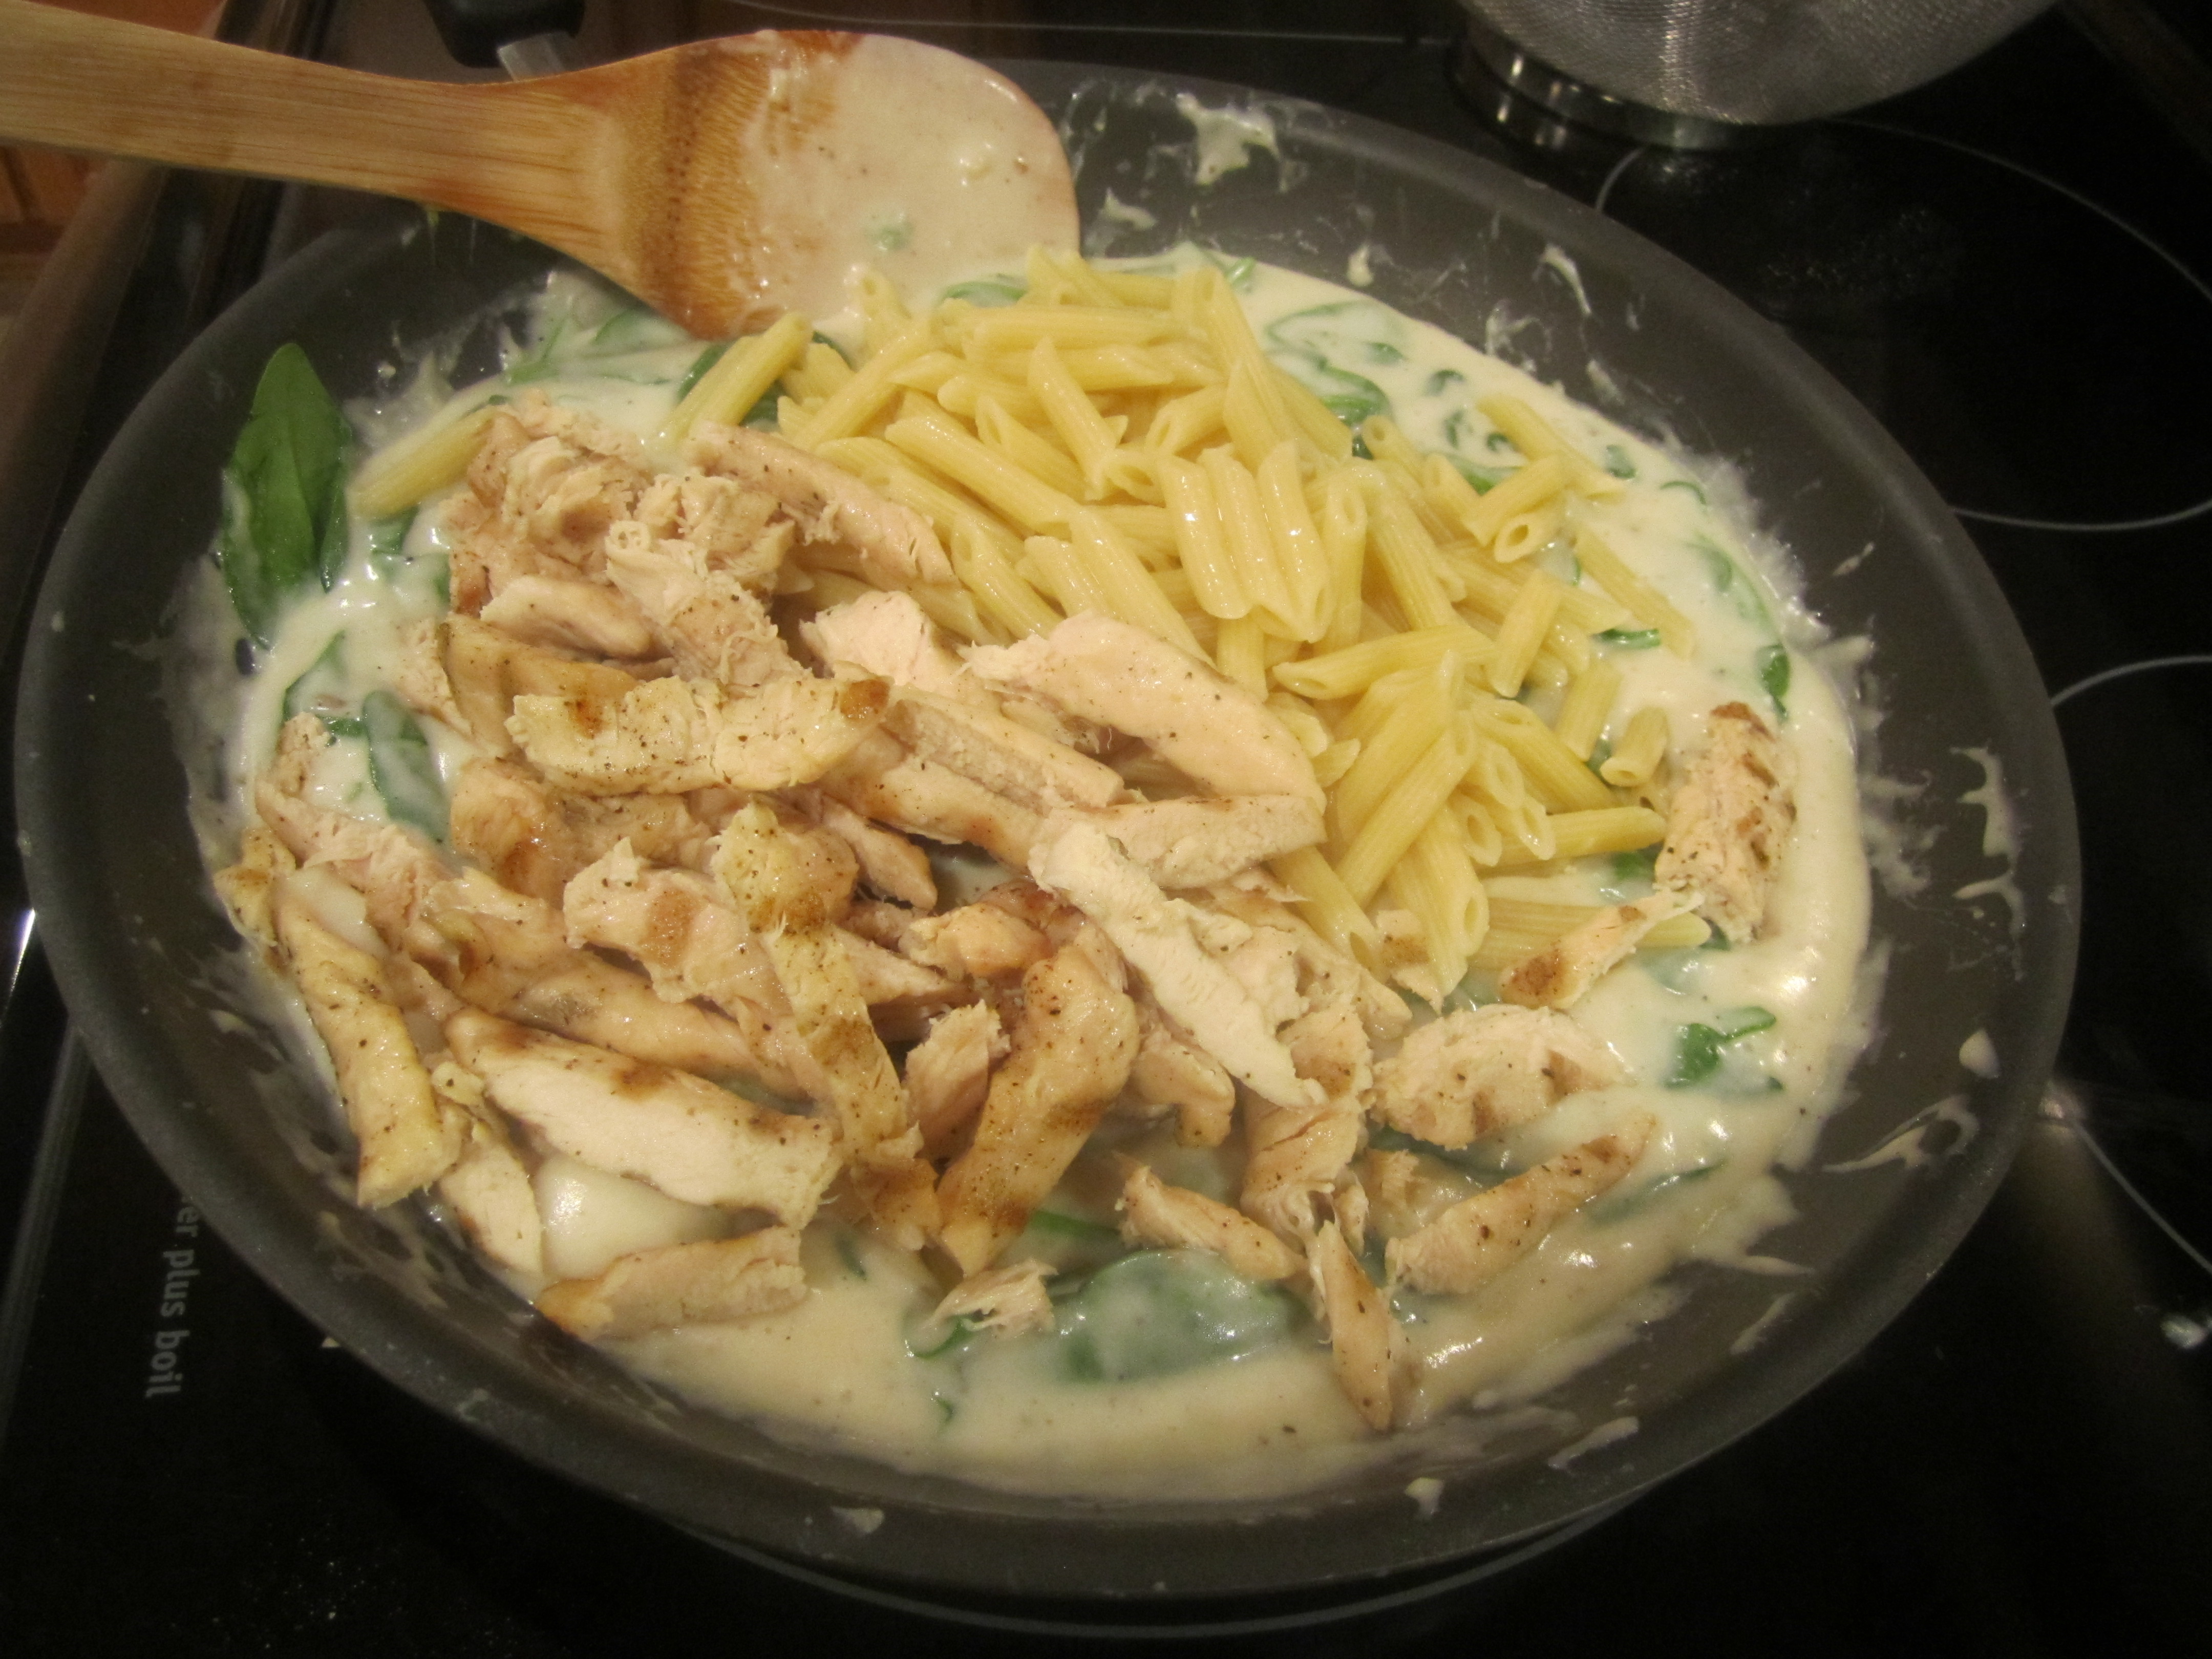
Heat a large nonstick skillet over medium heat. Add oil to pan. Add flour and garlic and cook until garlic is browned, about 2 minutes, stirring constantly. Add milk and chicken broth and stir with a whisk. Bring to a simmer and cook for 2 minutes or until thickened. Add cheese, stirring until cheese melts. Add remaining 1/2 teaspoon salt and 1/2 teaspoon pepper. Add spinach stirring constantly until spinach wilts. Add pasta and chicken and stir until combined and warmed through. Serve immediately.
prepping chicken for the grill:
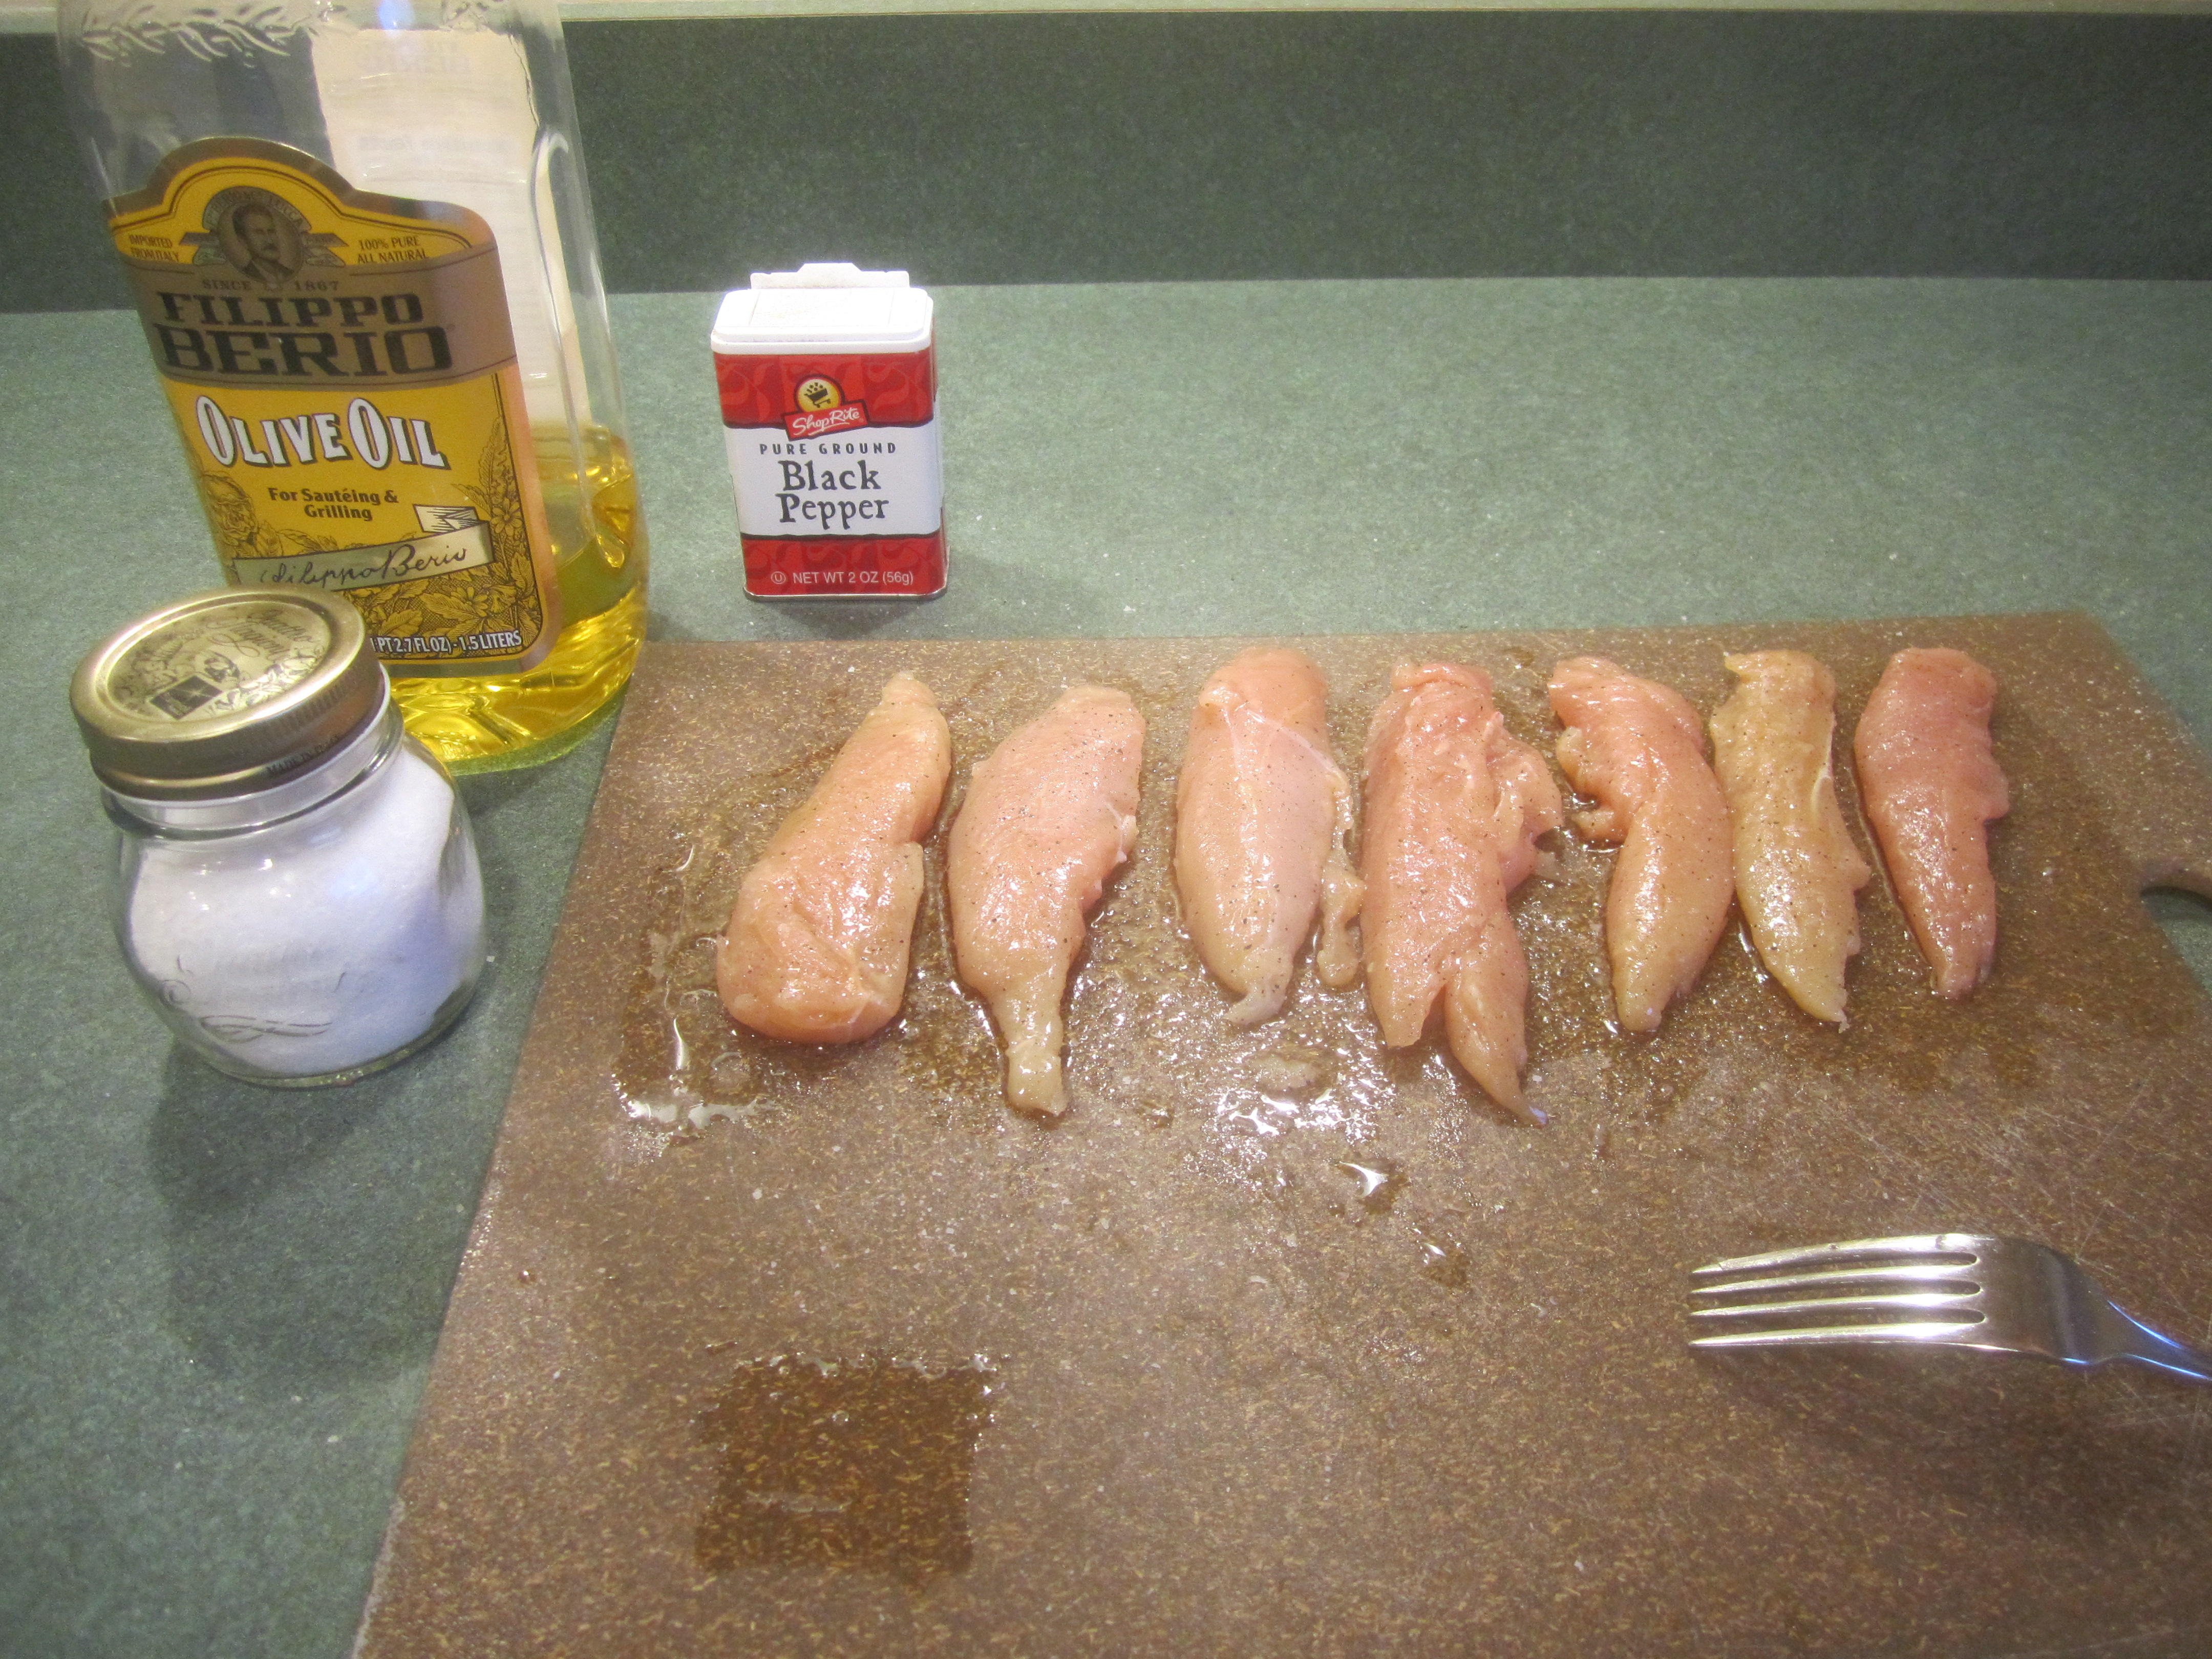
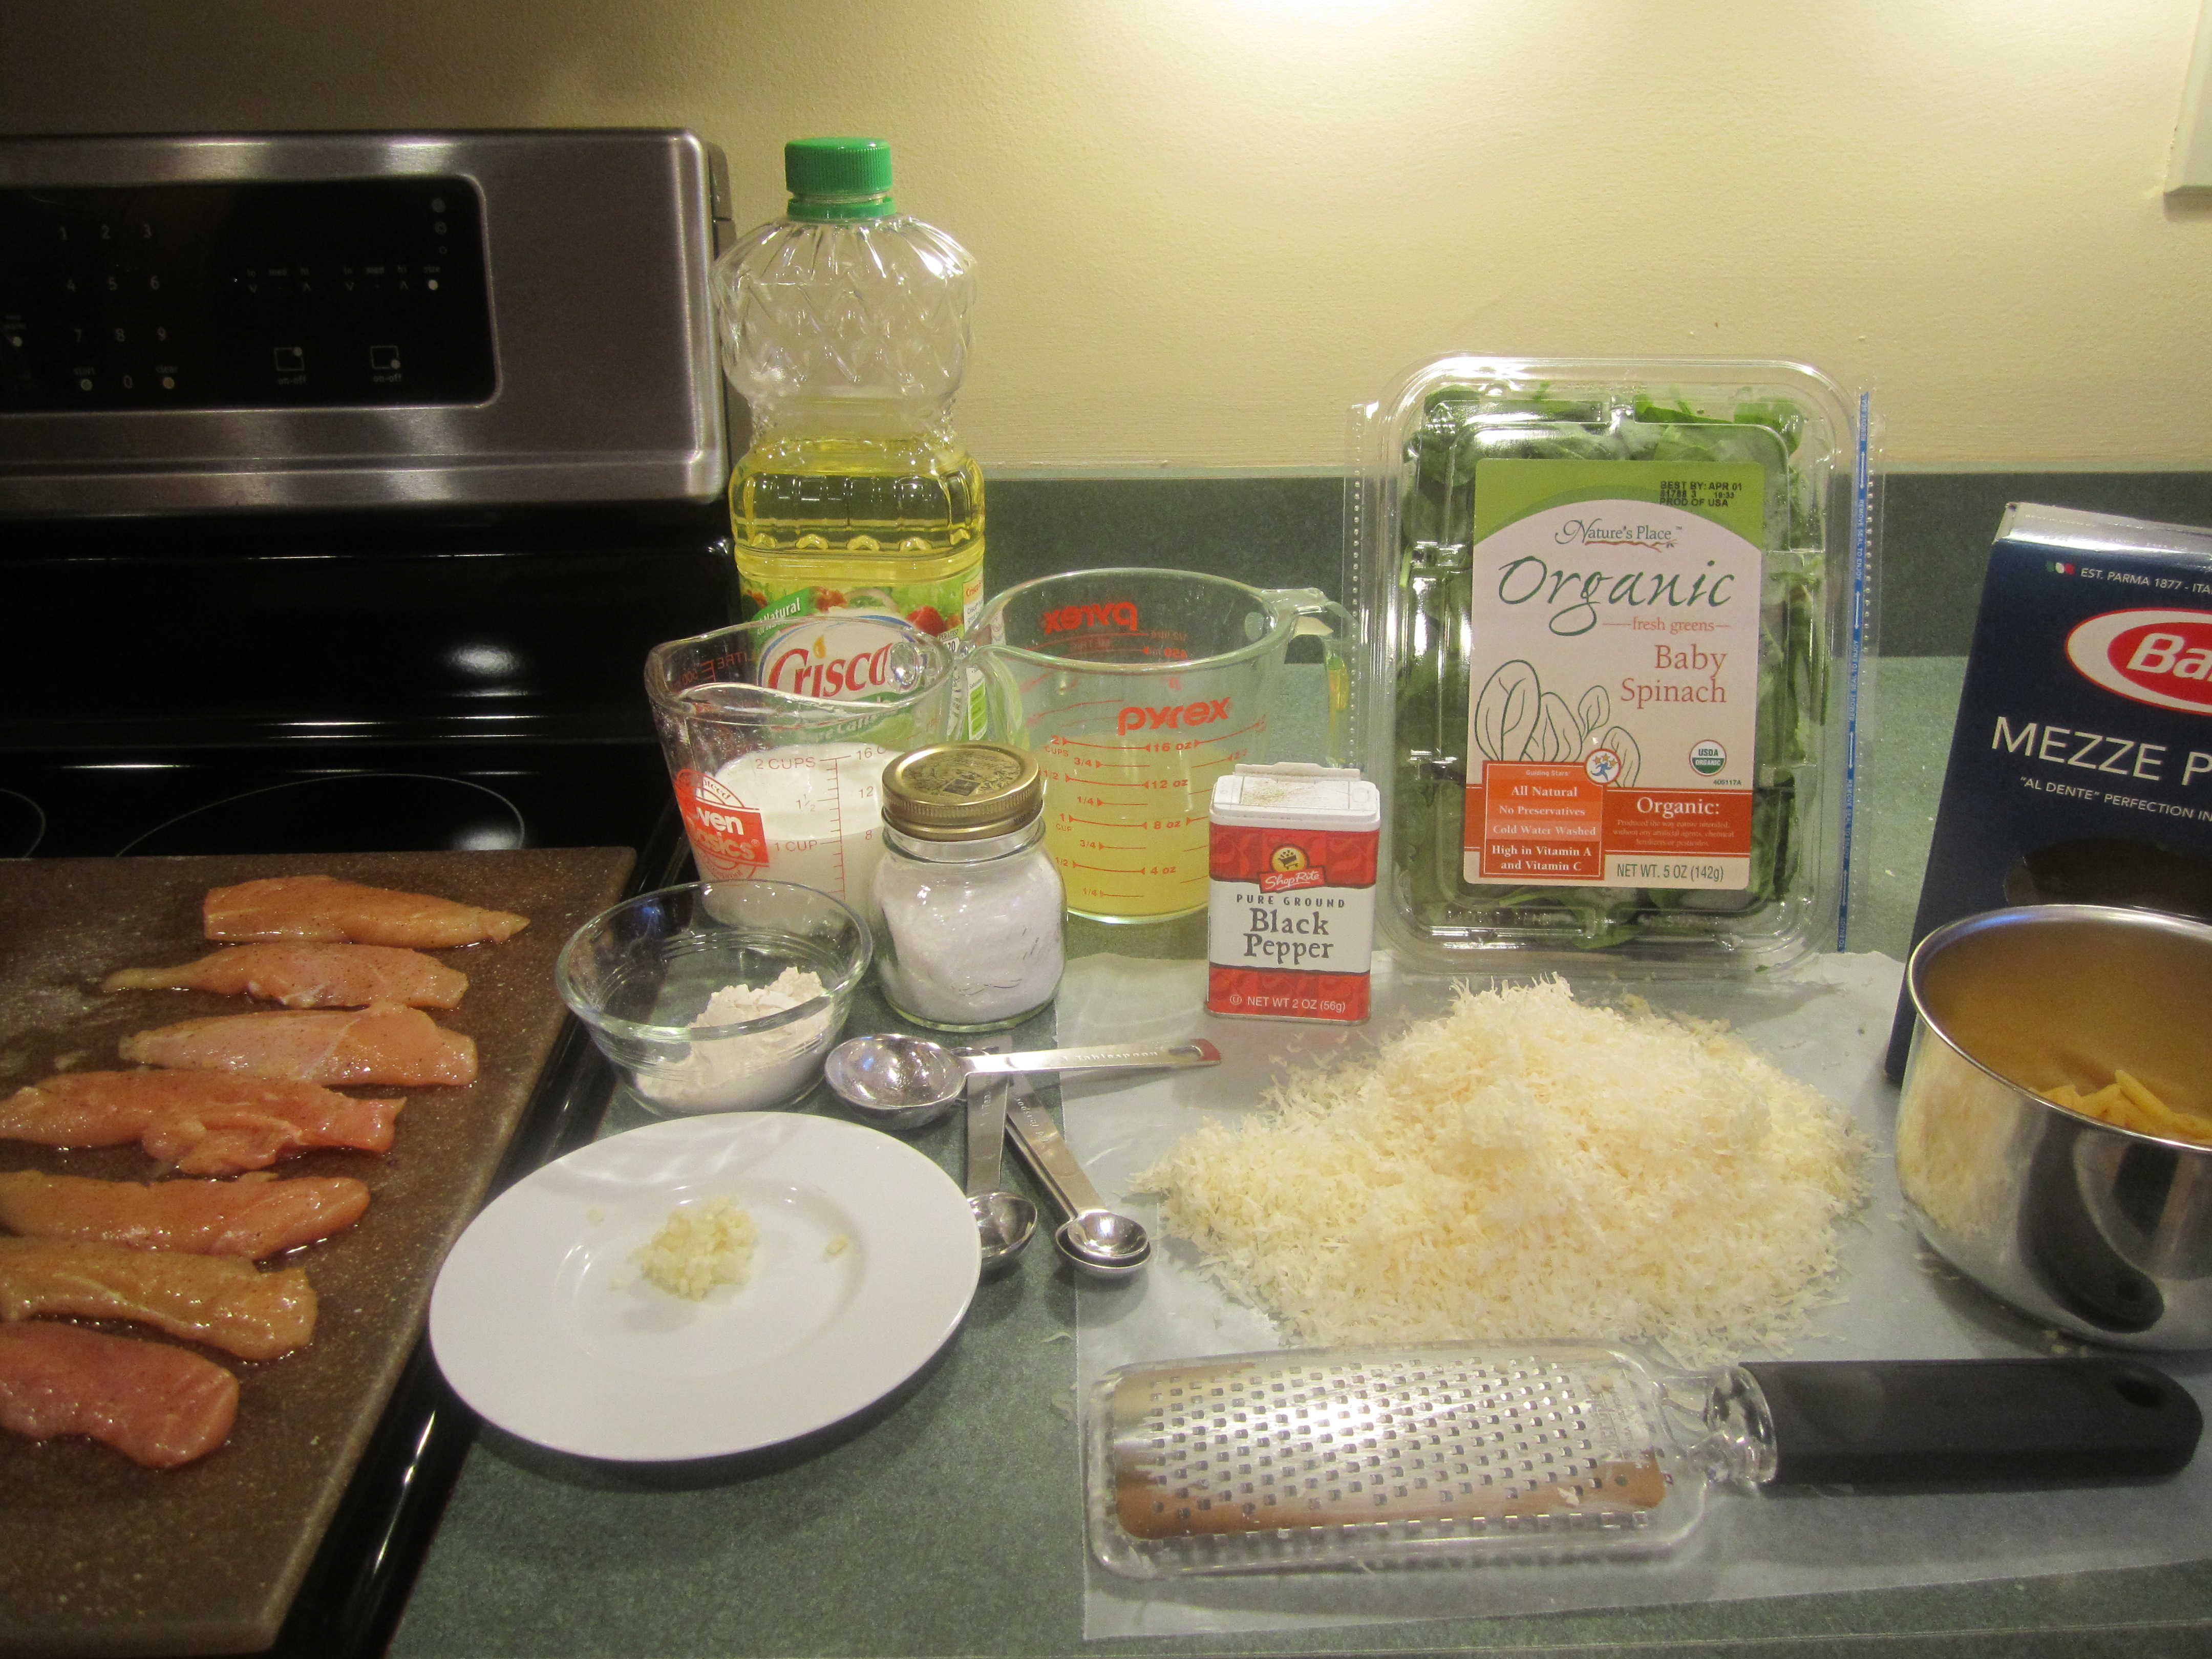
mise en place:
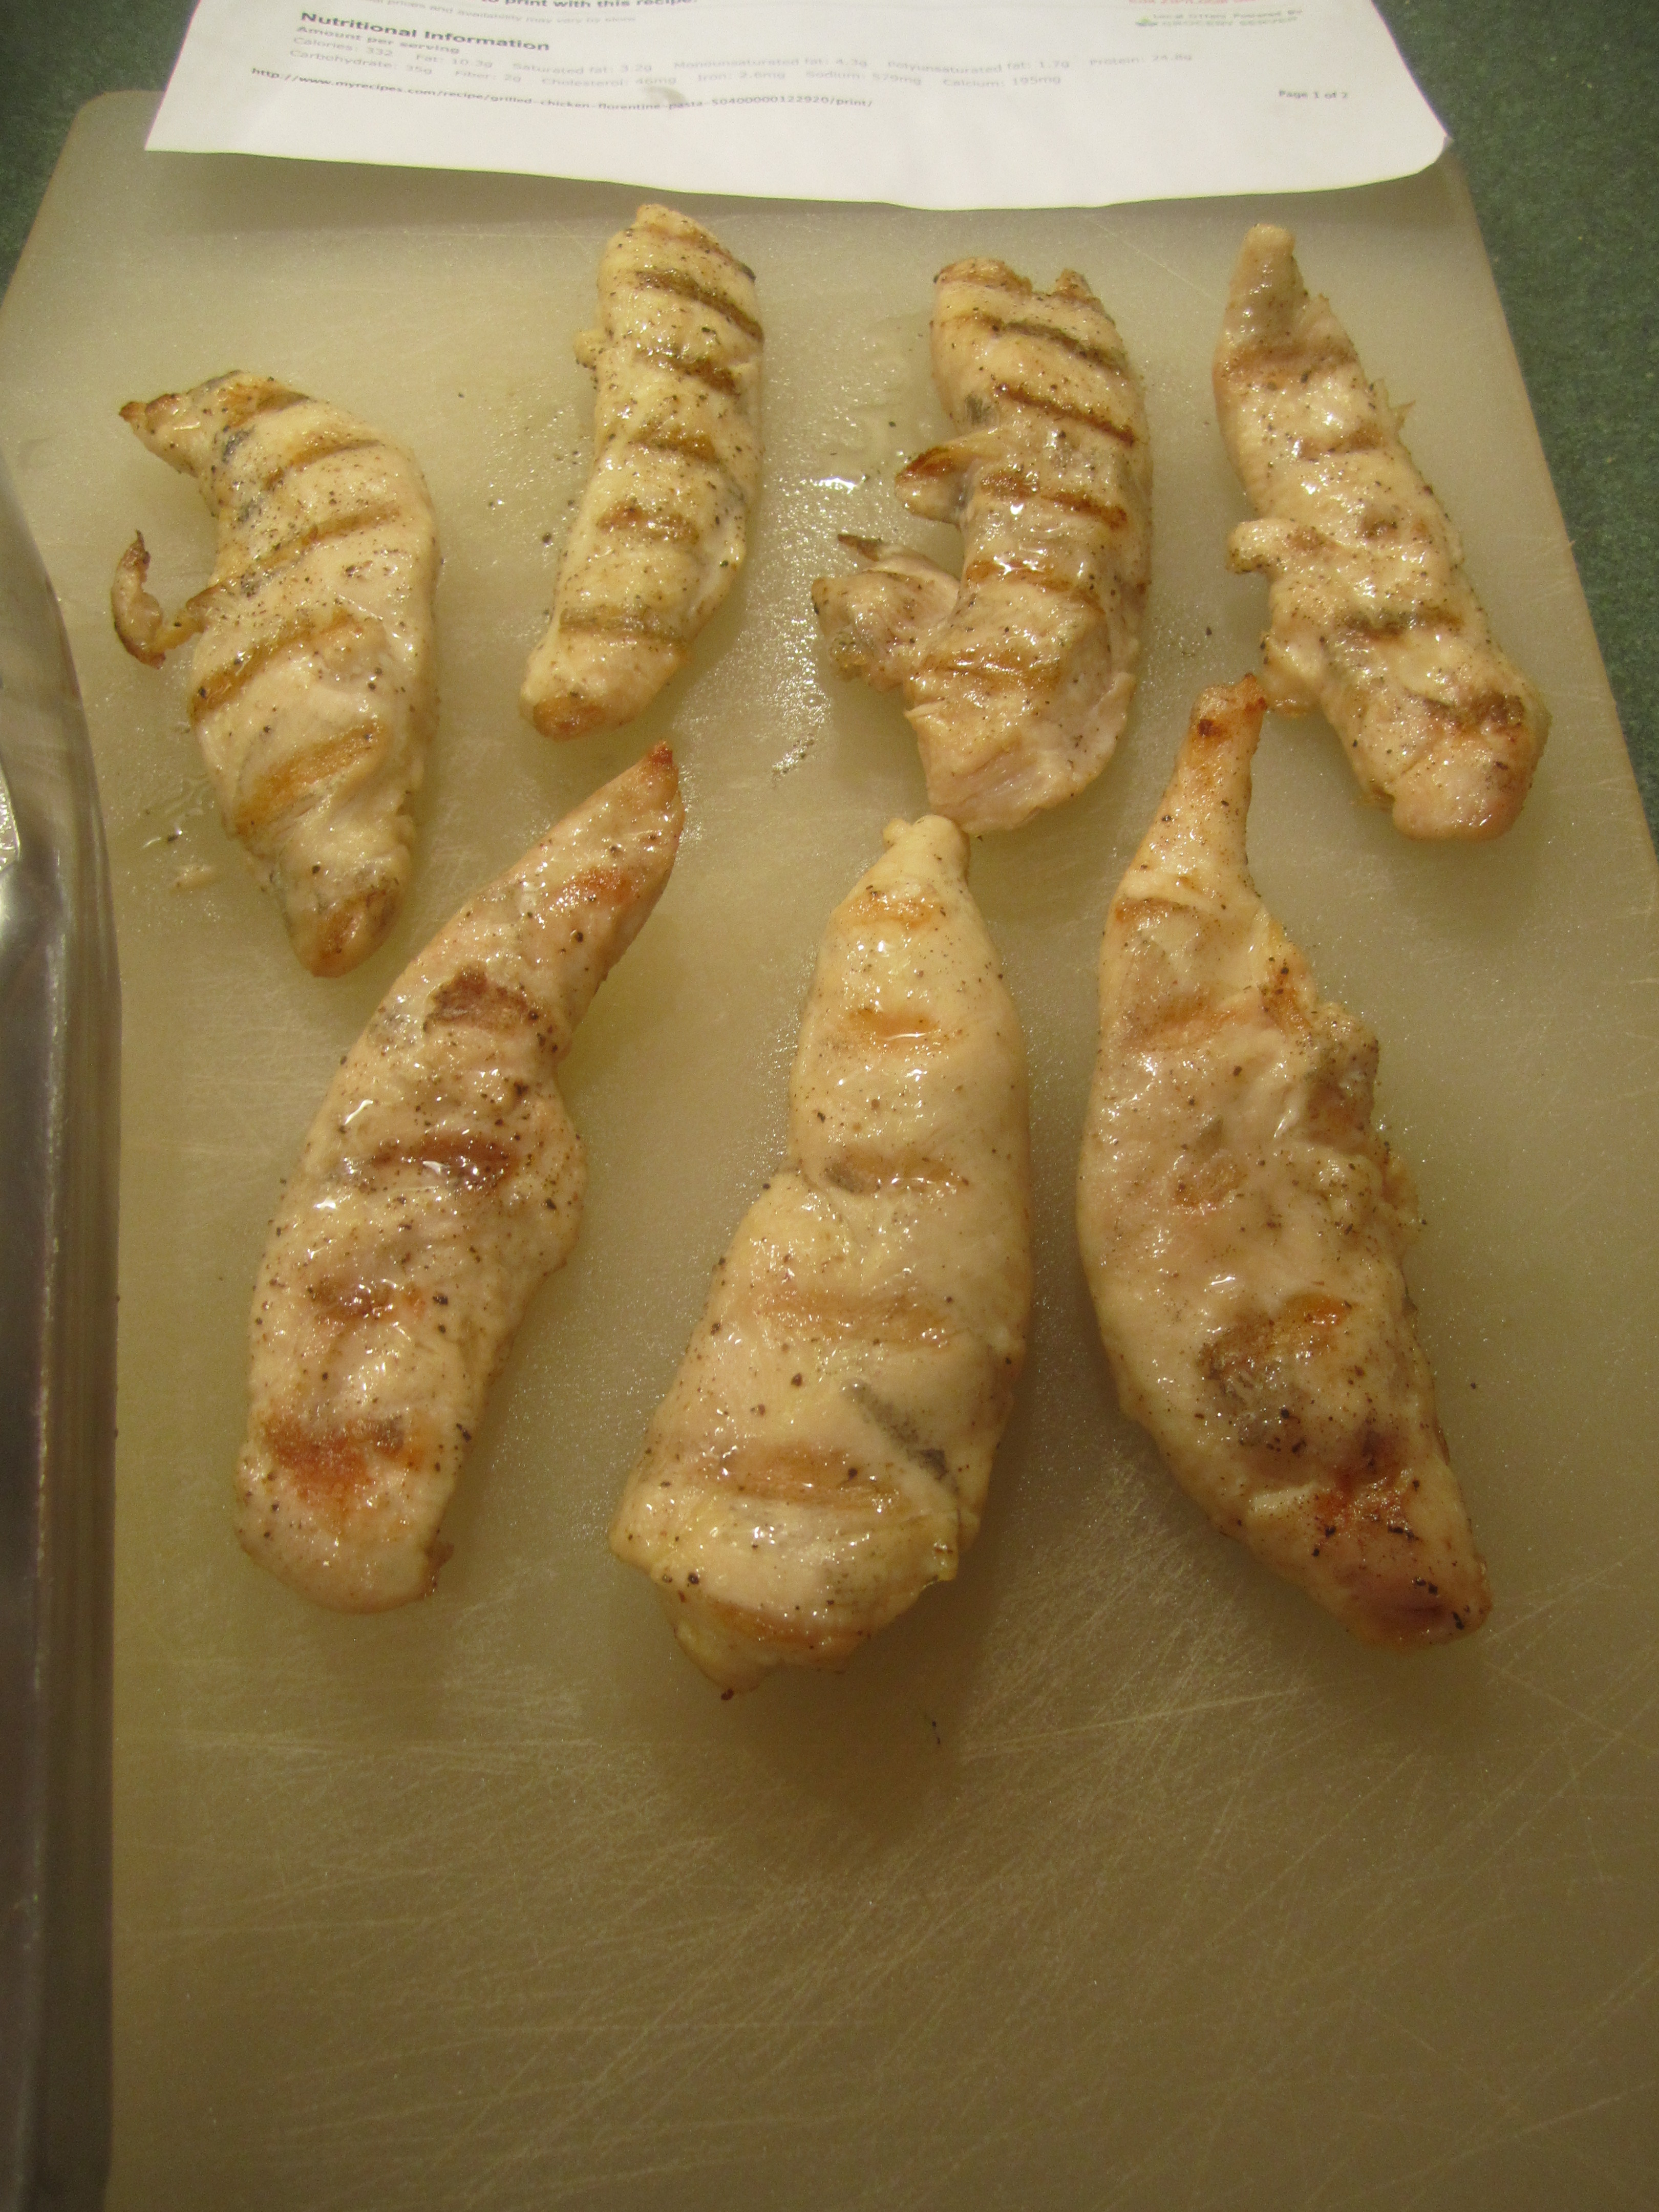
grilled chicken:
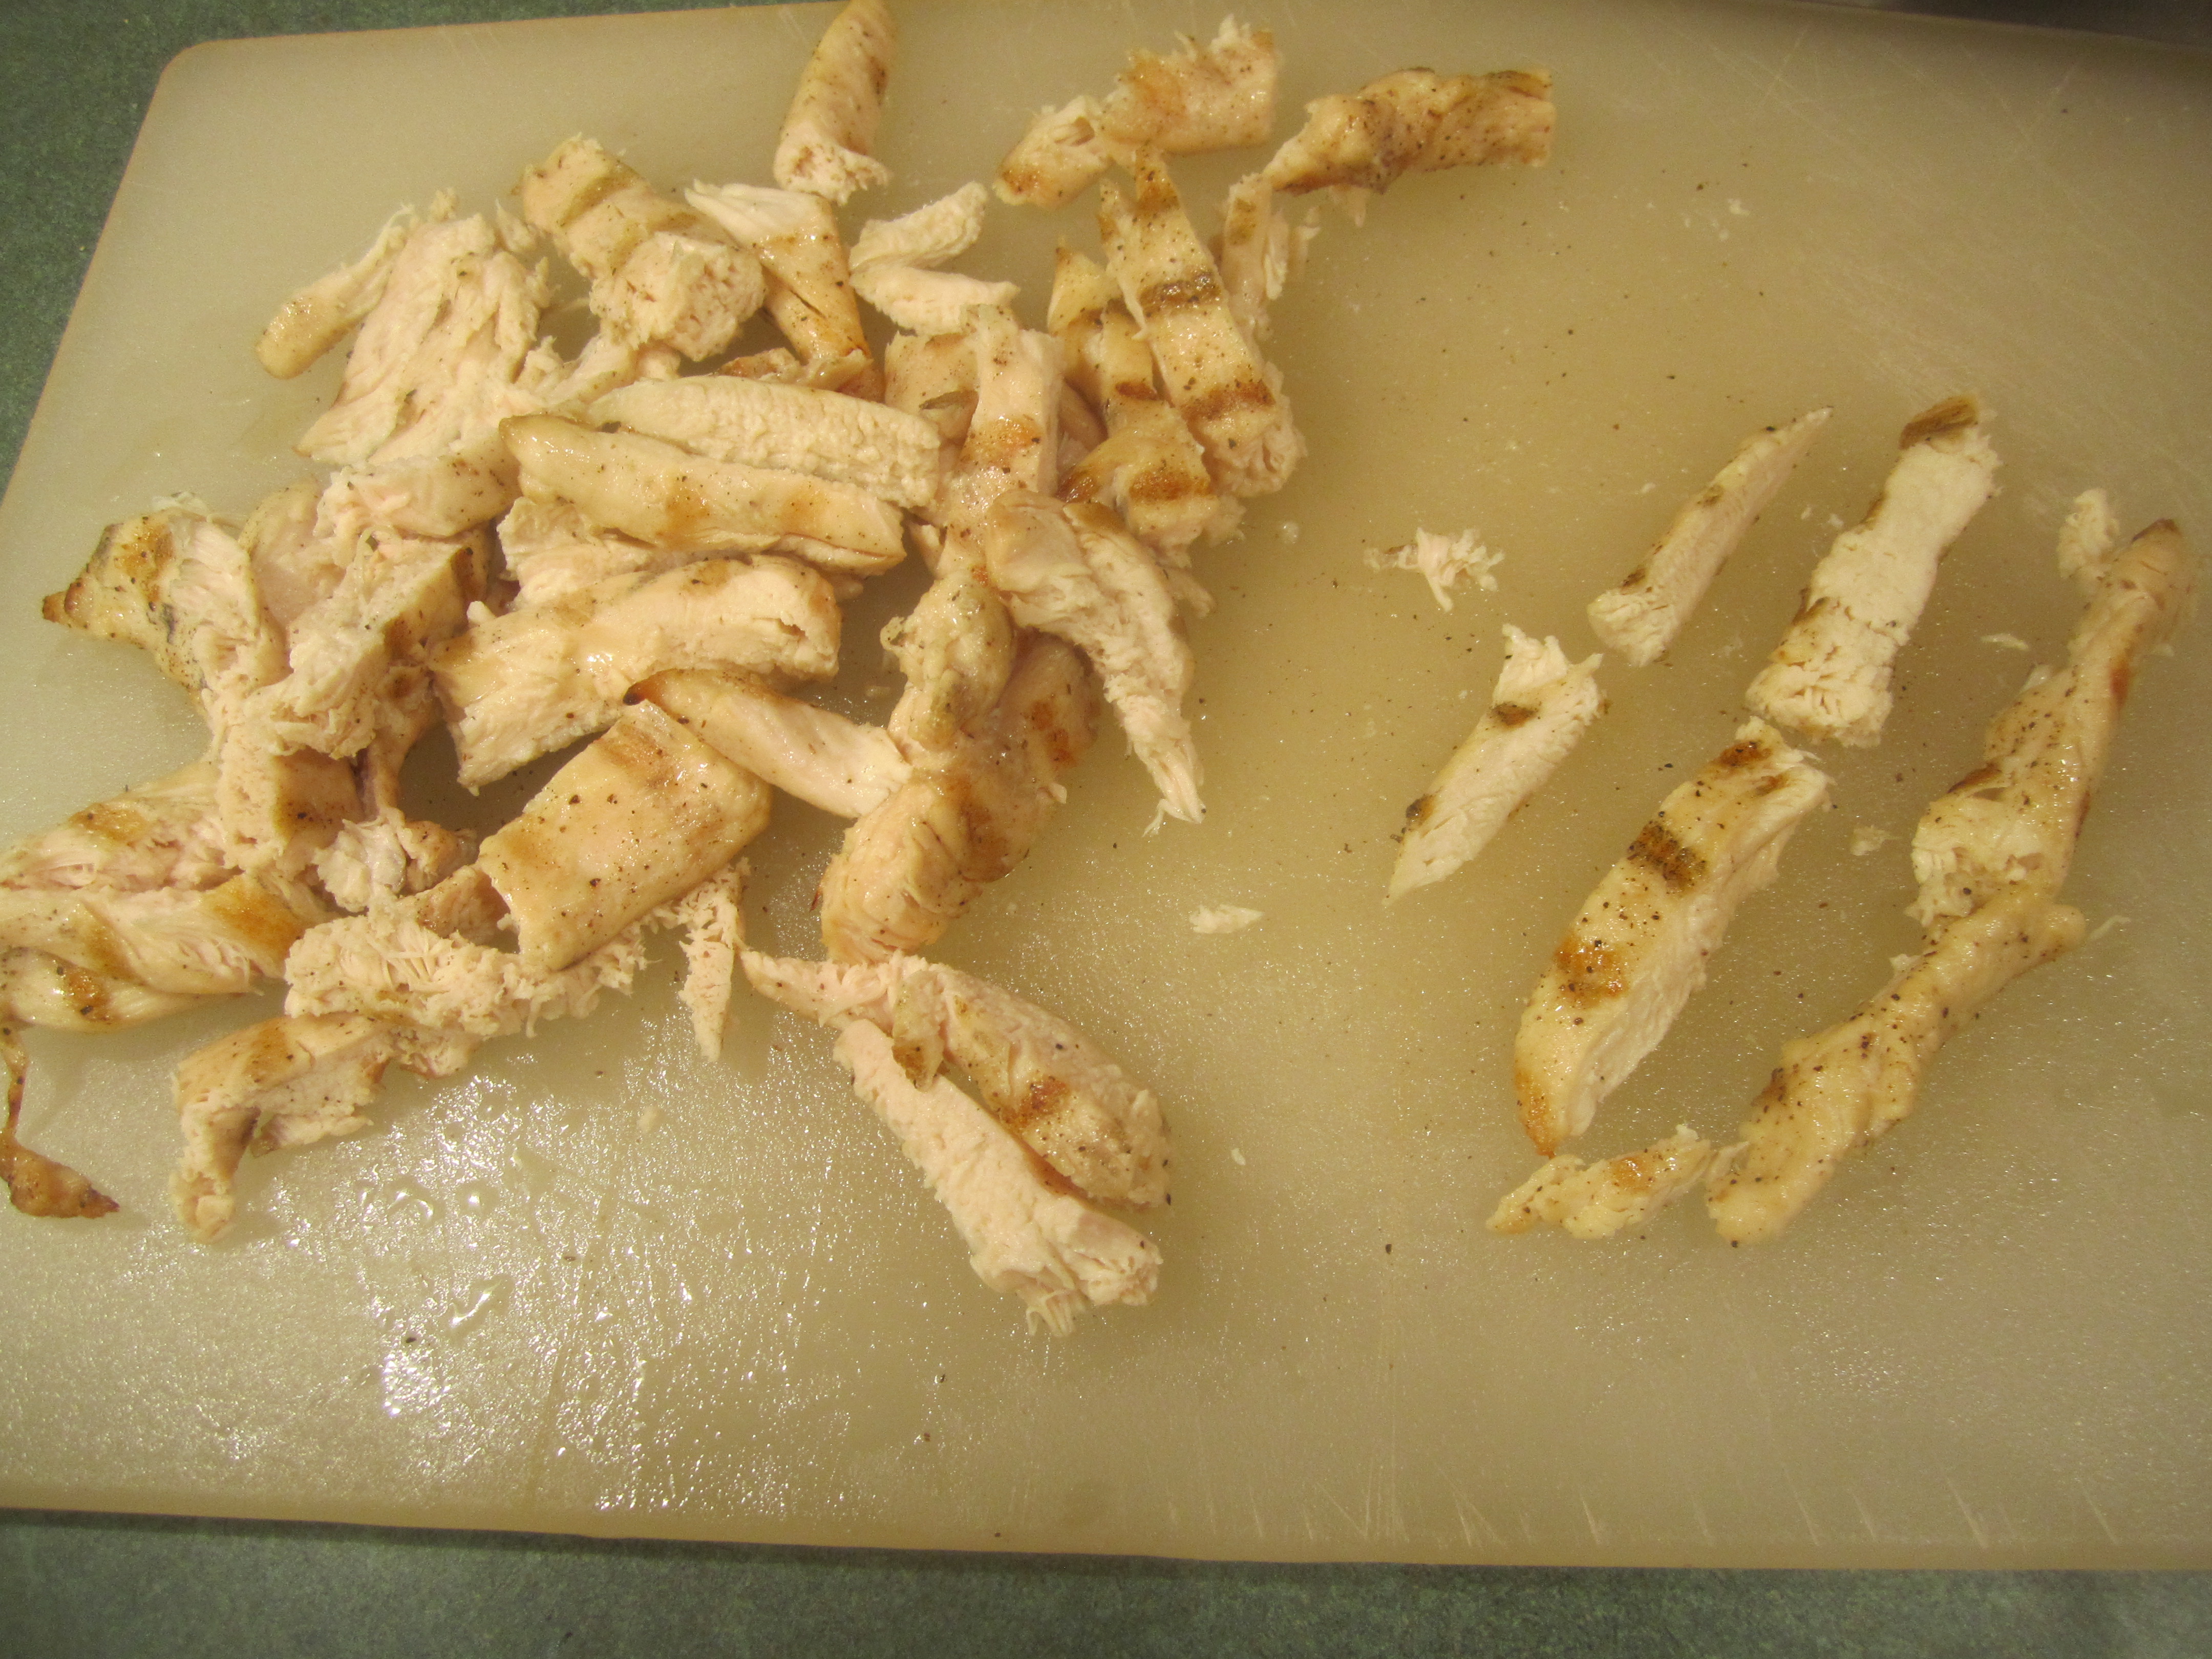
chicken cut up:
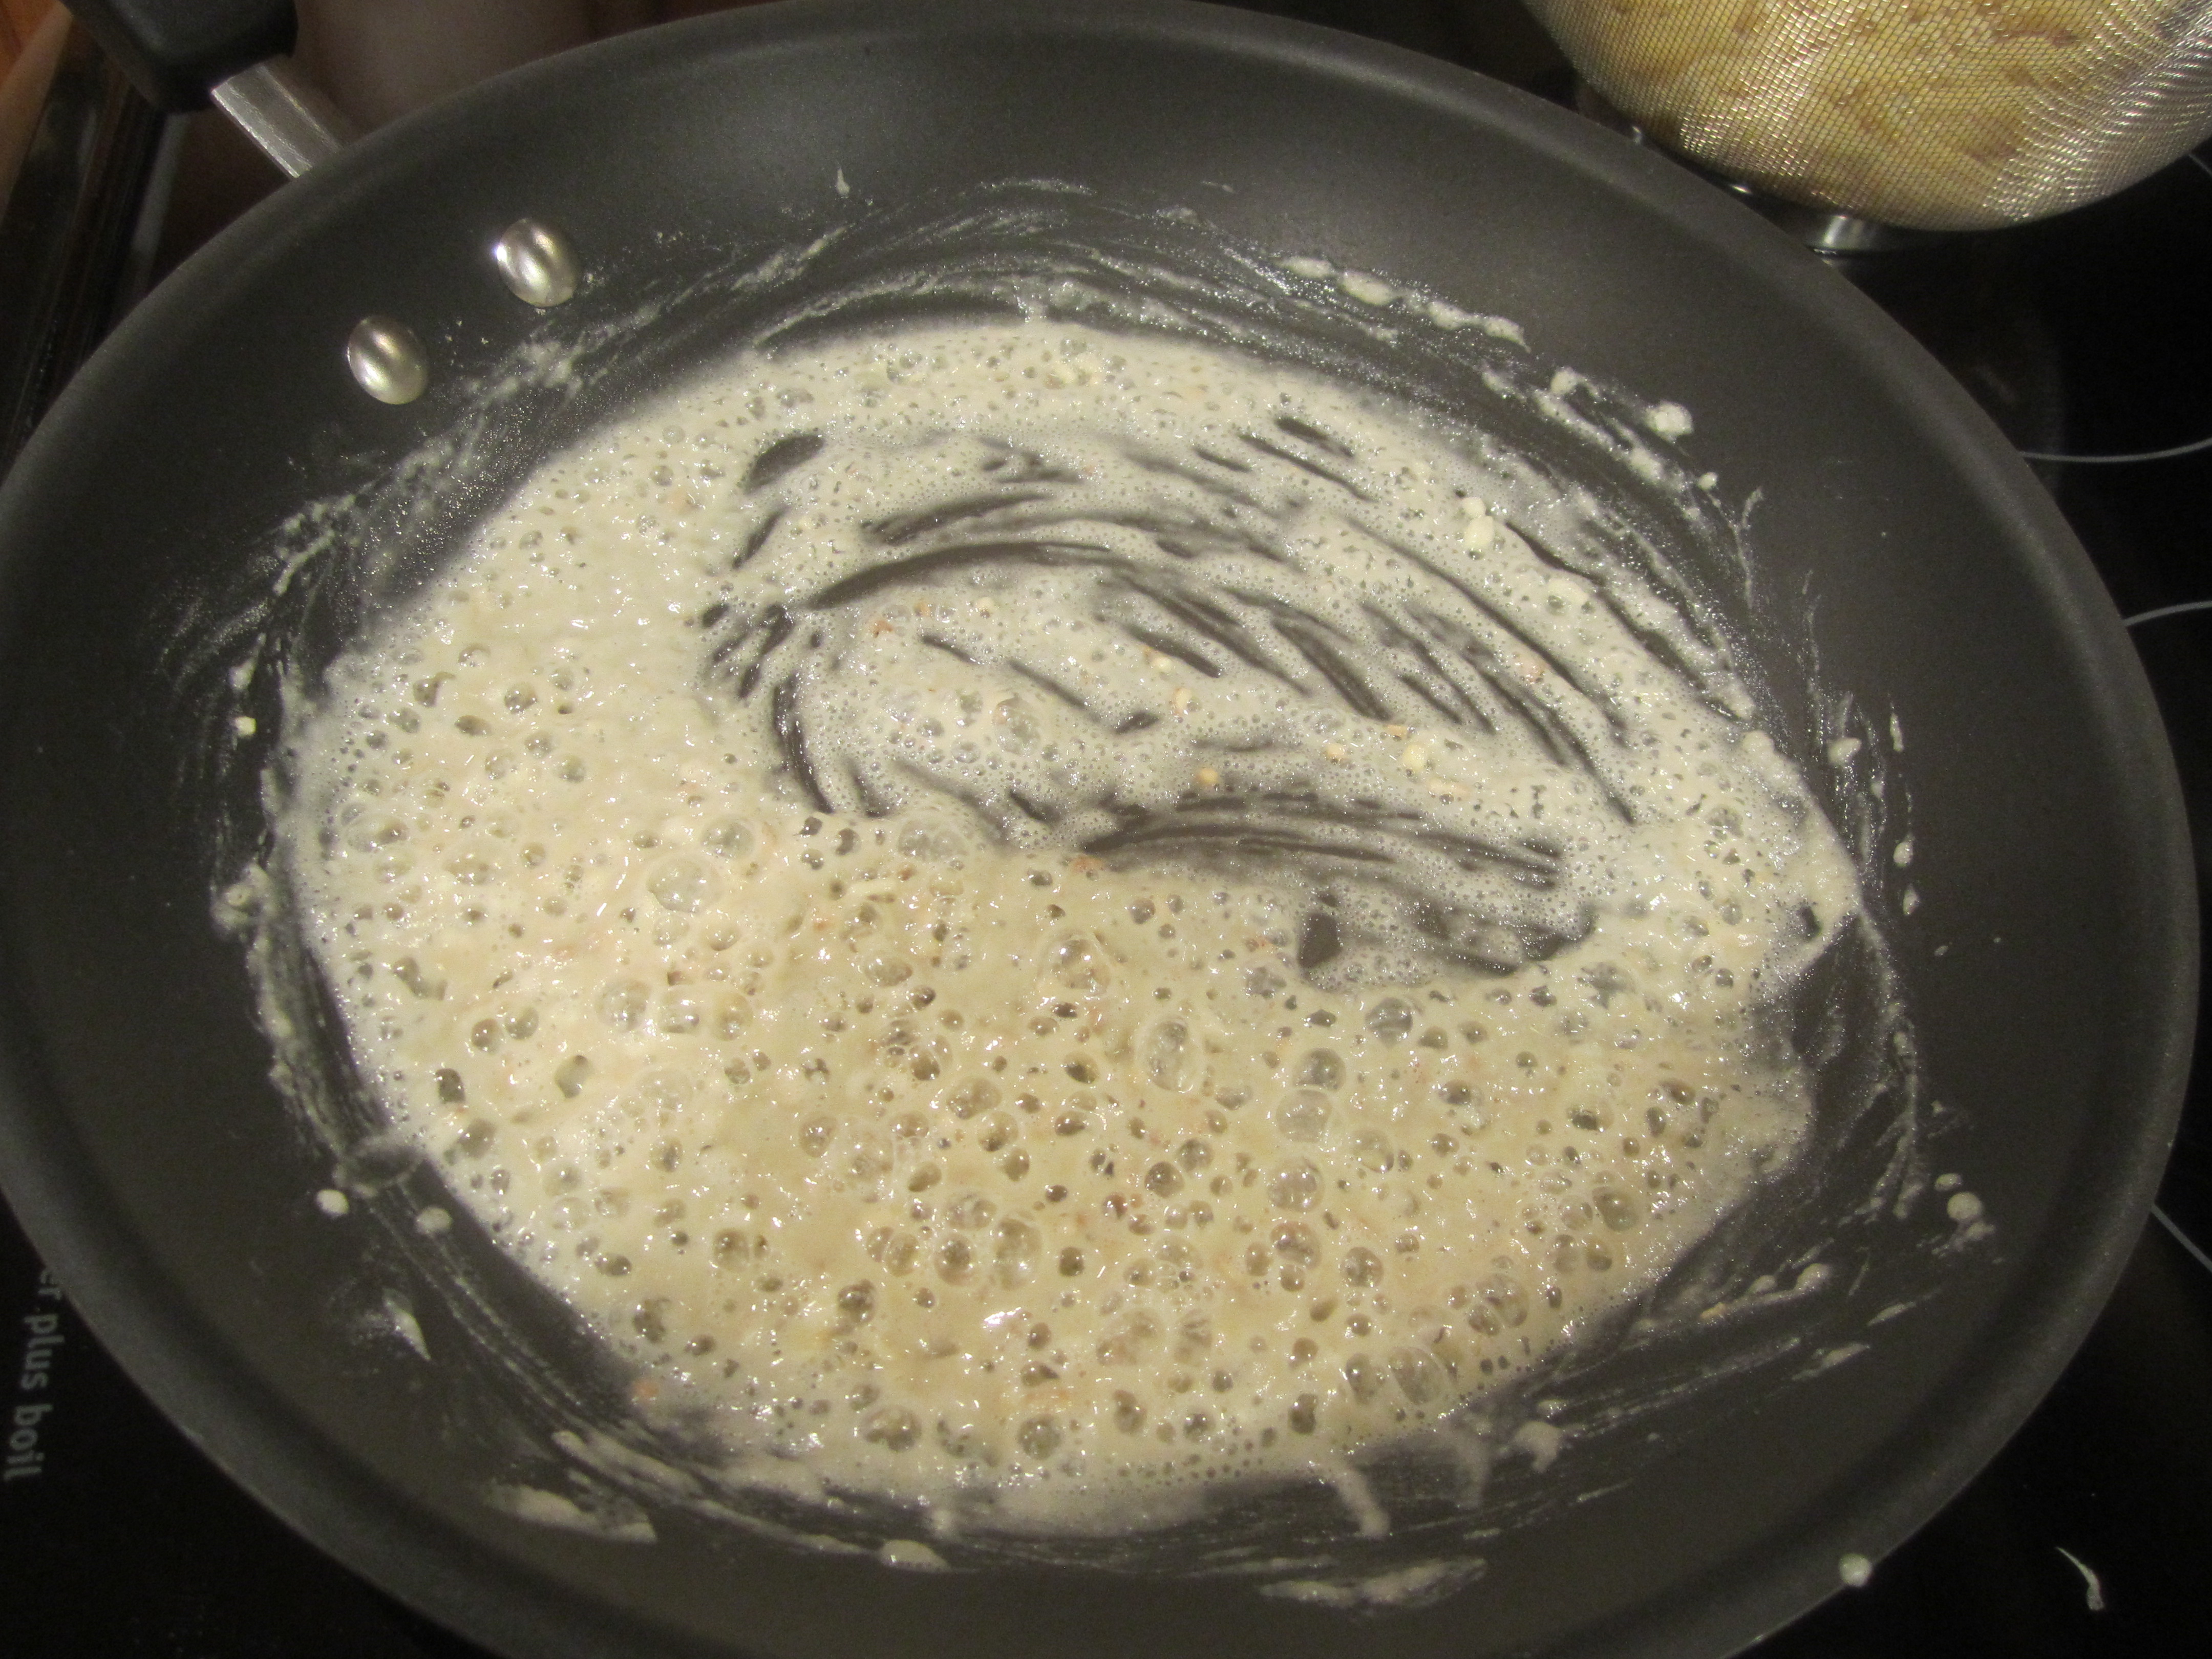
sauteing oil, flour and garlic:
adding milk and broth:
add the cheese:
add salt, pepper, spinach:


pasta and chicken:
and serve, thanks Carl!
Green Beans with Tomatoes

I saw this recipe on the show Extra Virgin with Gariele Corcos and Debi Mazar on the Cooking Channel (check them out, they make great food and they are fun to watch. Debi, is an acclaimed actress). It looked fabulous and I immediately thought of my husband who is not a big fan of plain green beans. Tomatoes with the beans would be just the right combo for him.
When I first made it, it was a bit too soupy but I knew it had potential. This time around, it was spot on.
The original recipe calls for cherry tomatoes but I think the beans were better with the grape. I believe the soupiness that I experienced the first time was from the extra juicy cherries.
I halved all the ingredients for the 2 of us and it was perfect. Below is the full recipe.
Green Beans with Tomatoes (adapted from the recipe of Gariele Corcos and Debi Mazar)
2 tablespoons olive oil
3 cloves garlic, finely chopped
1 pint of grape tomatoes, sliced in half
1 pound of haricot vert beans or small thin green beans , ends trimmed
Kosher salt and freshly ground black pepper
Heat 2 tablespoon olive oil over medium/medium high heat in a very large skillet. Add the garlic and saute until golden (this does not take very long, so watch. You don’t want burnt garlic ![]() )
)
Add the tomato halves and reduce heat to medium-low, stir well, and cover with a lid. Cook for 5 minutes, until the tomatoes have melted into the oil.
Add the beans and season with salt and pepper. Stir well, lower the heat to low and cover. Stir occasionally. The beans should be tender but still a bit crisp in 10-12 minutes. I added a tablespoon of water almost at the end, to continue the cooking without burning the beans.
mise en place:

garlic golden:
tomatoes added:

then green beans and kosher salt and pepper:

all done:

and delicious:

Tilapia Piccata

Tilapia is a great fish to cook with. It’s inexpensive and readily accessible and there are no tiny fish bones to worry about. It’s a mild tasting fish but that can be a good thing. It lends itself to a myriad of different flavors.
This recipe is one example of the versatility of Tiliapia. Pan frying is a great option because of the fish’s firm texture, it will not tear up too easily in the pan.
Tilapia Piccata ( Cooking Light March 2007)
8 ounces uncooked orzo (1-1/2 cups) (I only used 1 cup for the two of us, leaving me with plenty of leftovers)
3/4 to 1 cup grape tomatoes, halved
1/2 teaspoon salt, divided
3 tablespoon chopped fresh parsley (flat or curly)
1/4 teaspoon black pepper, divided
3 tablespoons flour
4 (6 ounce) tilapia fillets ( I used a little less that 3/4 of a pound (12 ounces) for the two of us, and it was just right)
3 tablespoons butter, divided
1/4 cup dry white wine, not sweet
3 tablespoons fresh lemon juice, from 1 large lemon
1 tablespoon drained capers (I did not add but I probably will the next time, it was still yummy without them)
*Mise en place all your ingredients:
Put a large pot of water onto boil. Place parsley in mini bowl. Put 1/4 teaspoon salt and 1/8 teaspoon pepper in another mini bowl. Cut tomatoes and put them in a small bowl.
Combine remaining 1/4 teaspoon salt, remaining 1/8 teaspoon and flour in a large shallow dish, like a glass pie plate. Dredge fish in flour mixture. Set aside the butter, wine, lemon juice and capers (if using).
*Because of this step, I was able to cook the fish and the side dish of sautéed spinach in 11 minutes, the time it took to cook the orzo. I think this was one of the quickest and most delicious dinners I have made.
When the water comes to a boil, add your orzo, omitting salt and fat, cooking for 11 minutes, or whatever the directions on the box says.
While the orzo cooks, melt 1 tablespoon of butter in a large nonstick fry pan over medium/medium high heat. Add fish and cook 2 minutes on each side, until golden brown on both sides and tender. A serving fork or very sharp paring knife should be able to go into the thickest part of the fish, with ease. Remove fish onto a plate and cover with aluminum foil to keep warm.
Add wine, lemon juice and capers, if using, to pan and cook for 30 seconds. Remove from heat and add the 2 tablespoons of butter, stirring until butter melts.
(At this point I sautéed my spinach, and it was done just when the orzo was done.)
When orzo is done, drain. Add tomatoes, parsley, salt and pepper and stir together. Serve immediately with the fish and sauce.
mise en place orzo:

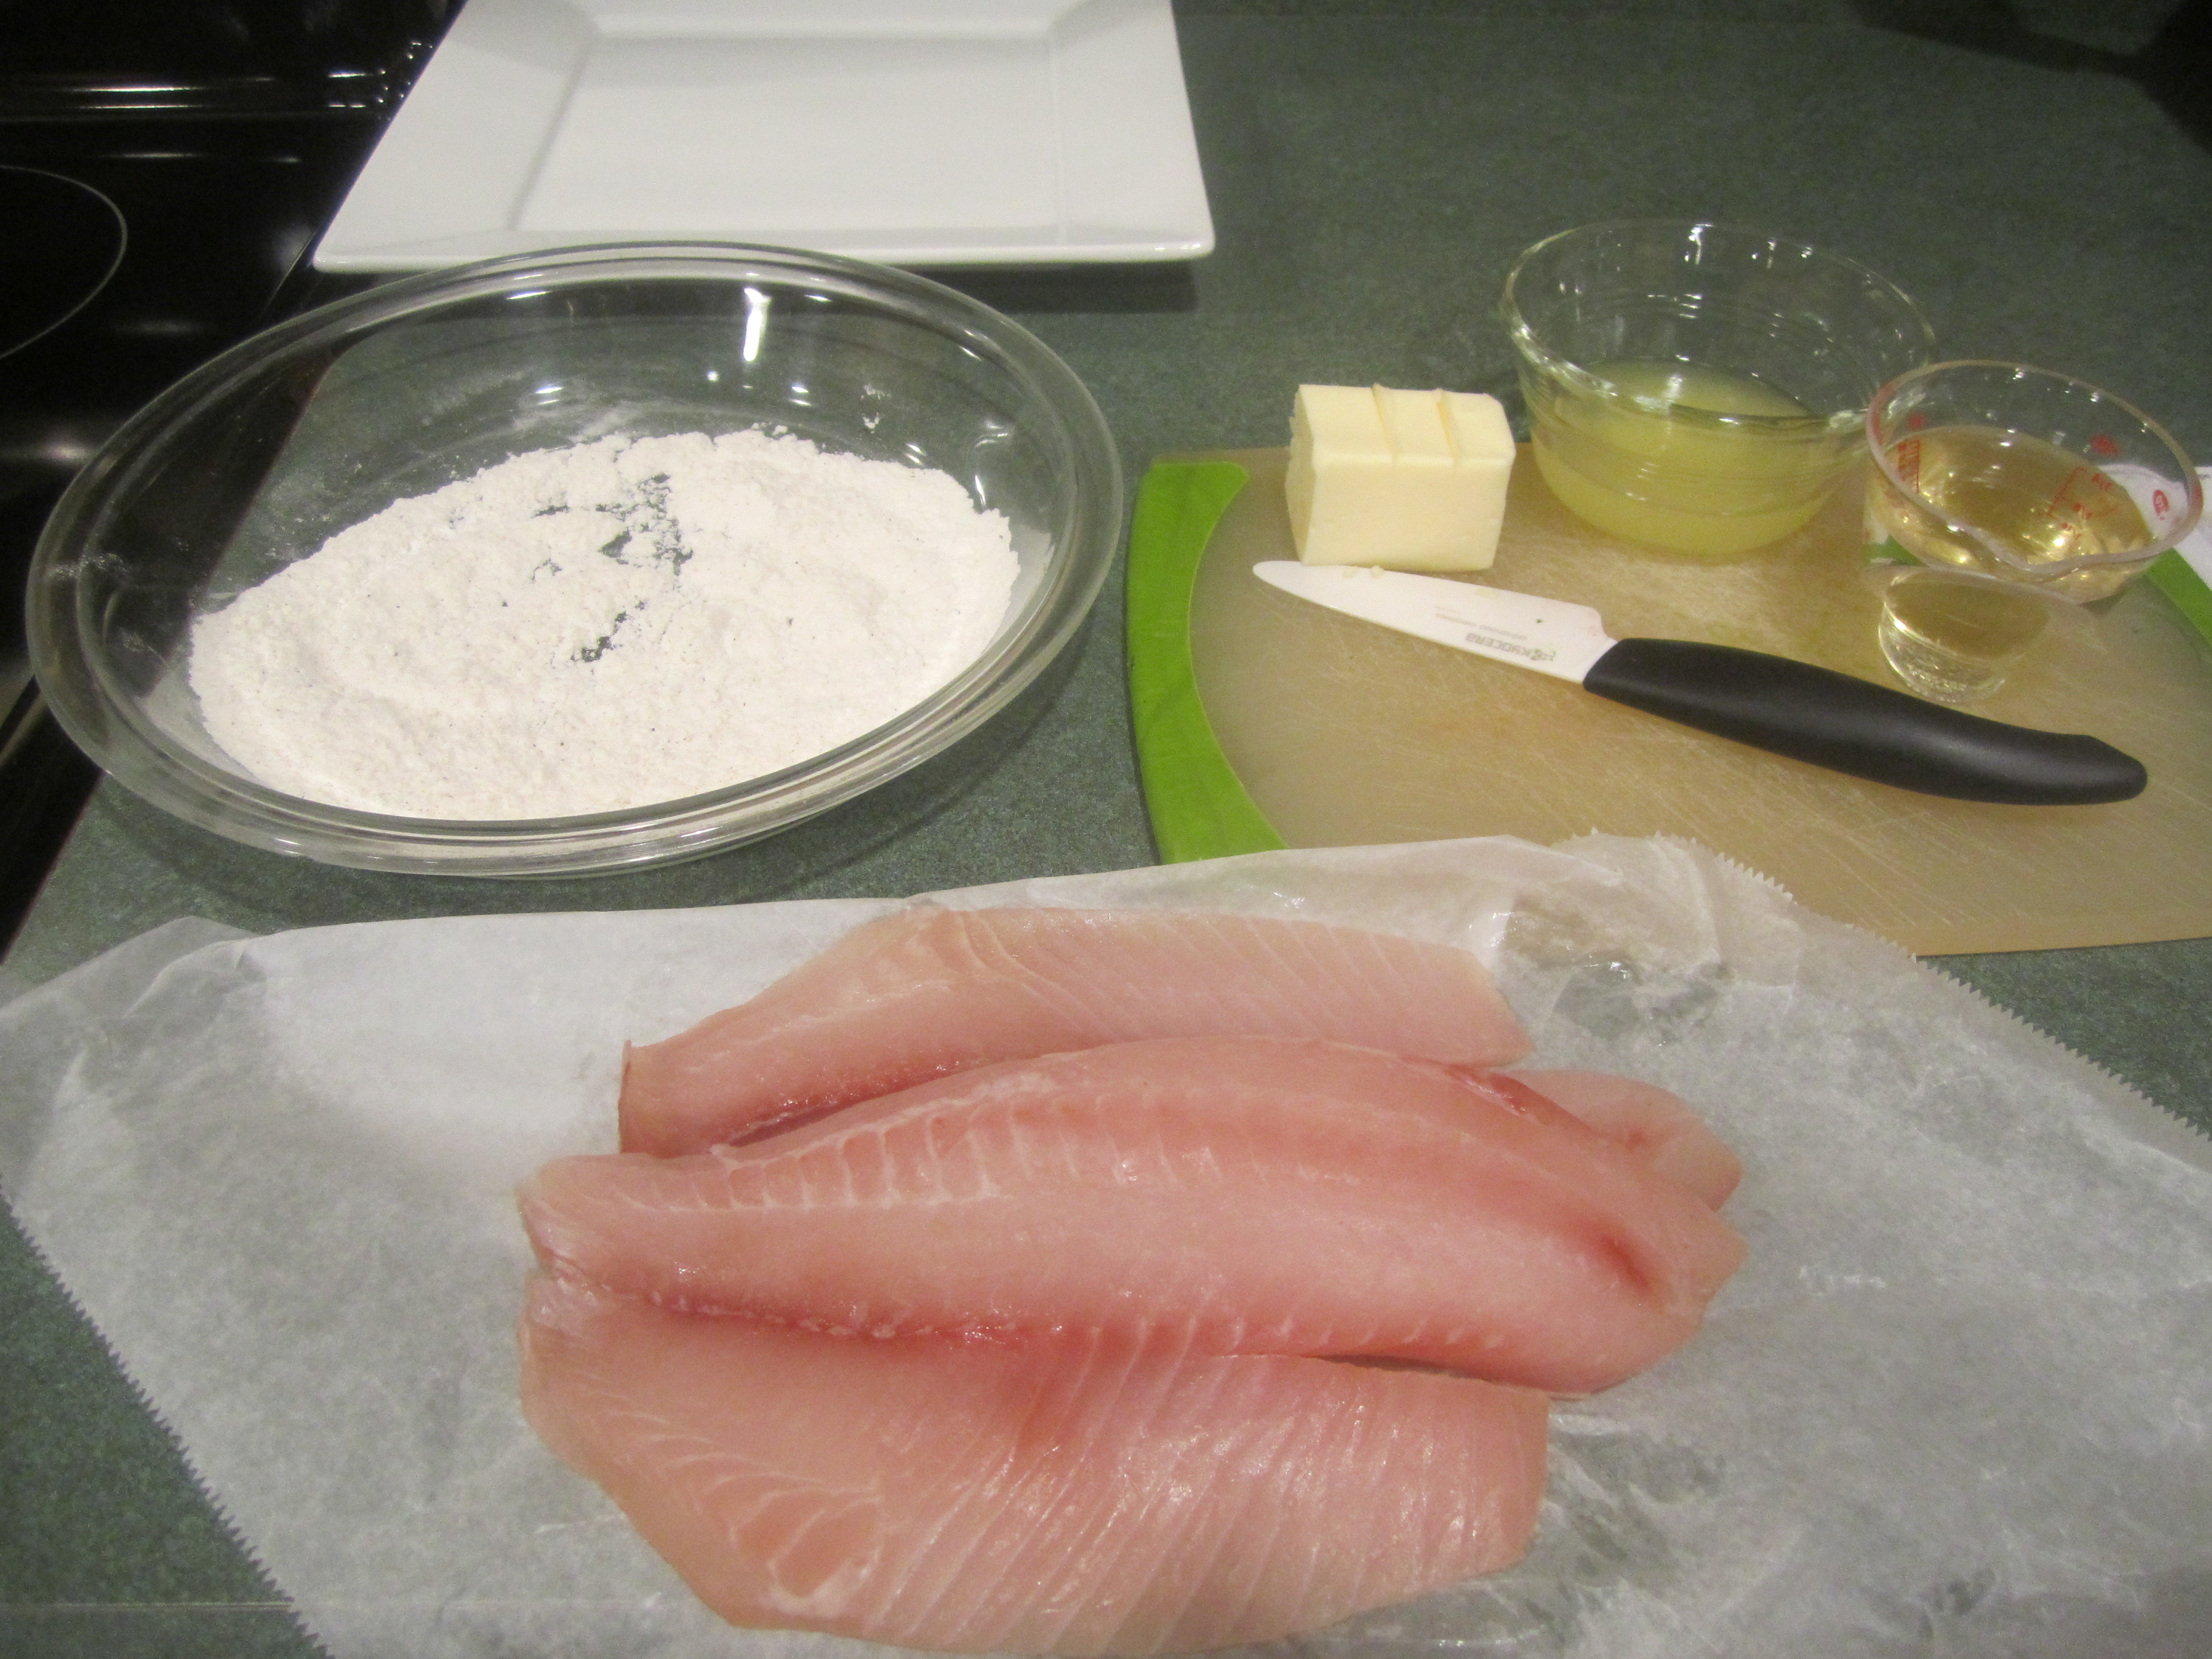
mise en place fish:
cooking fish:


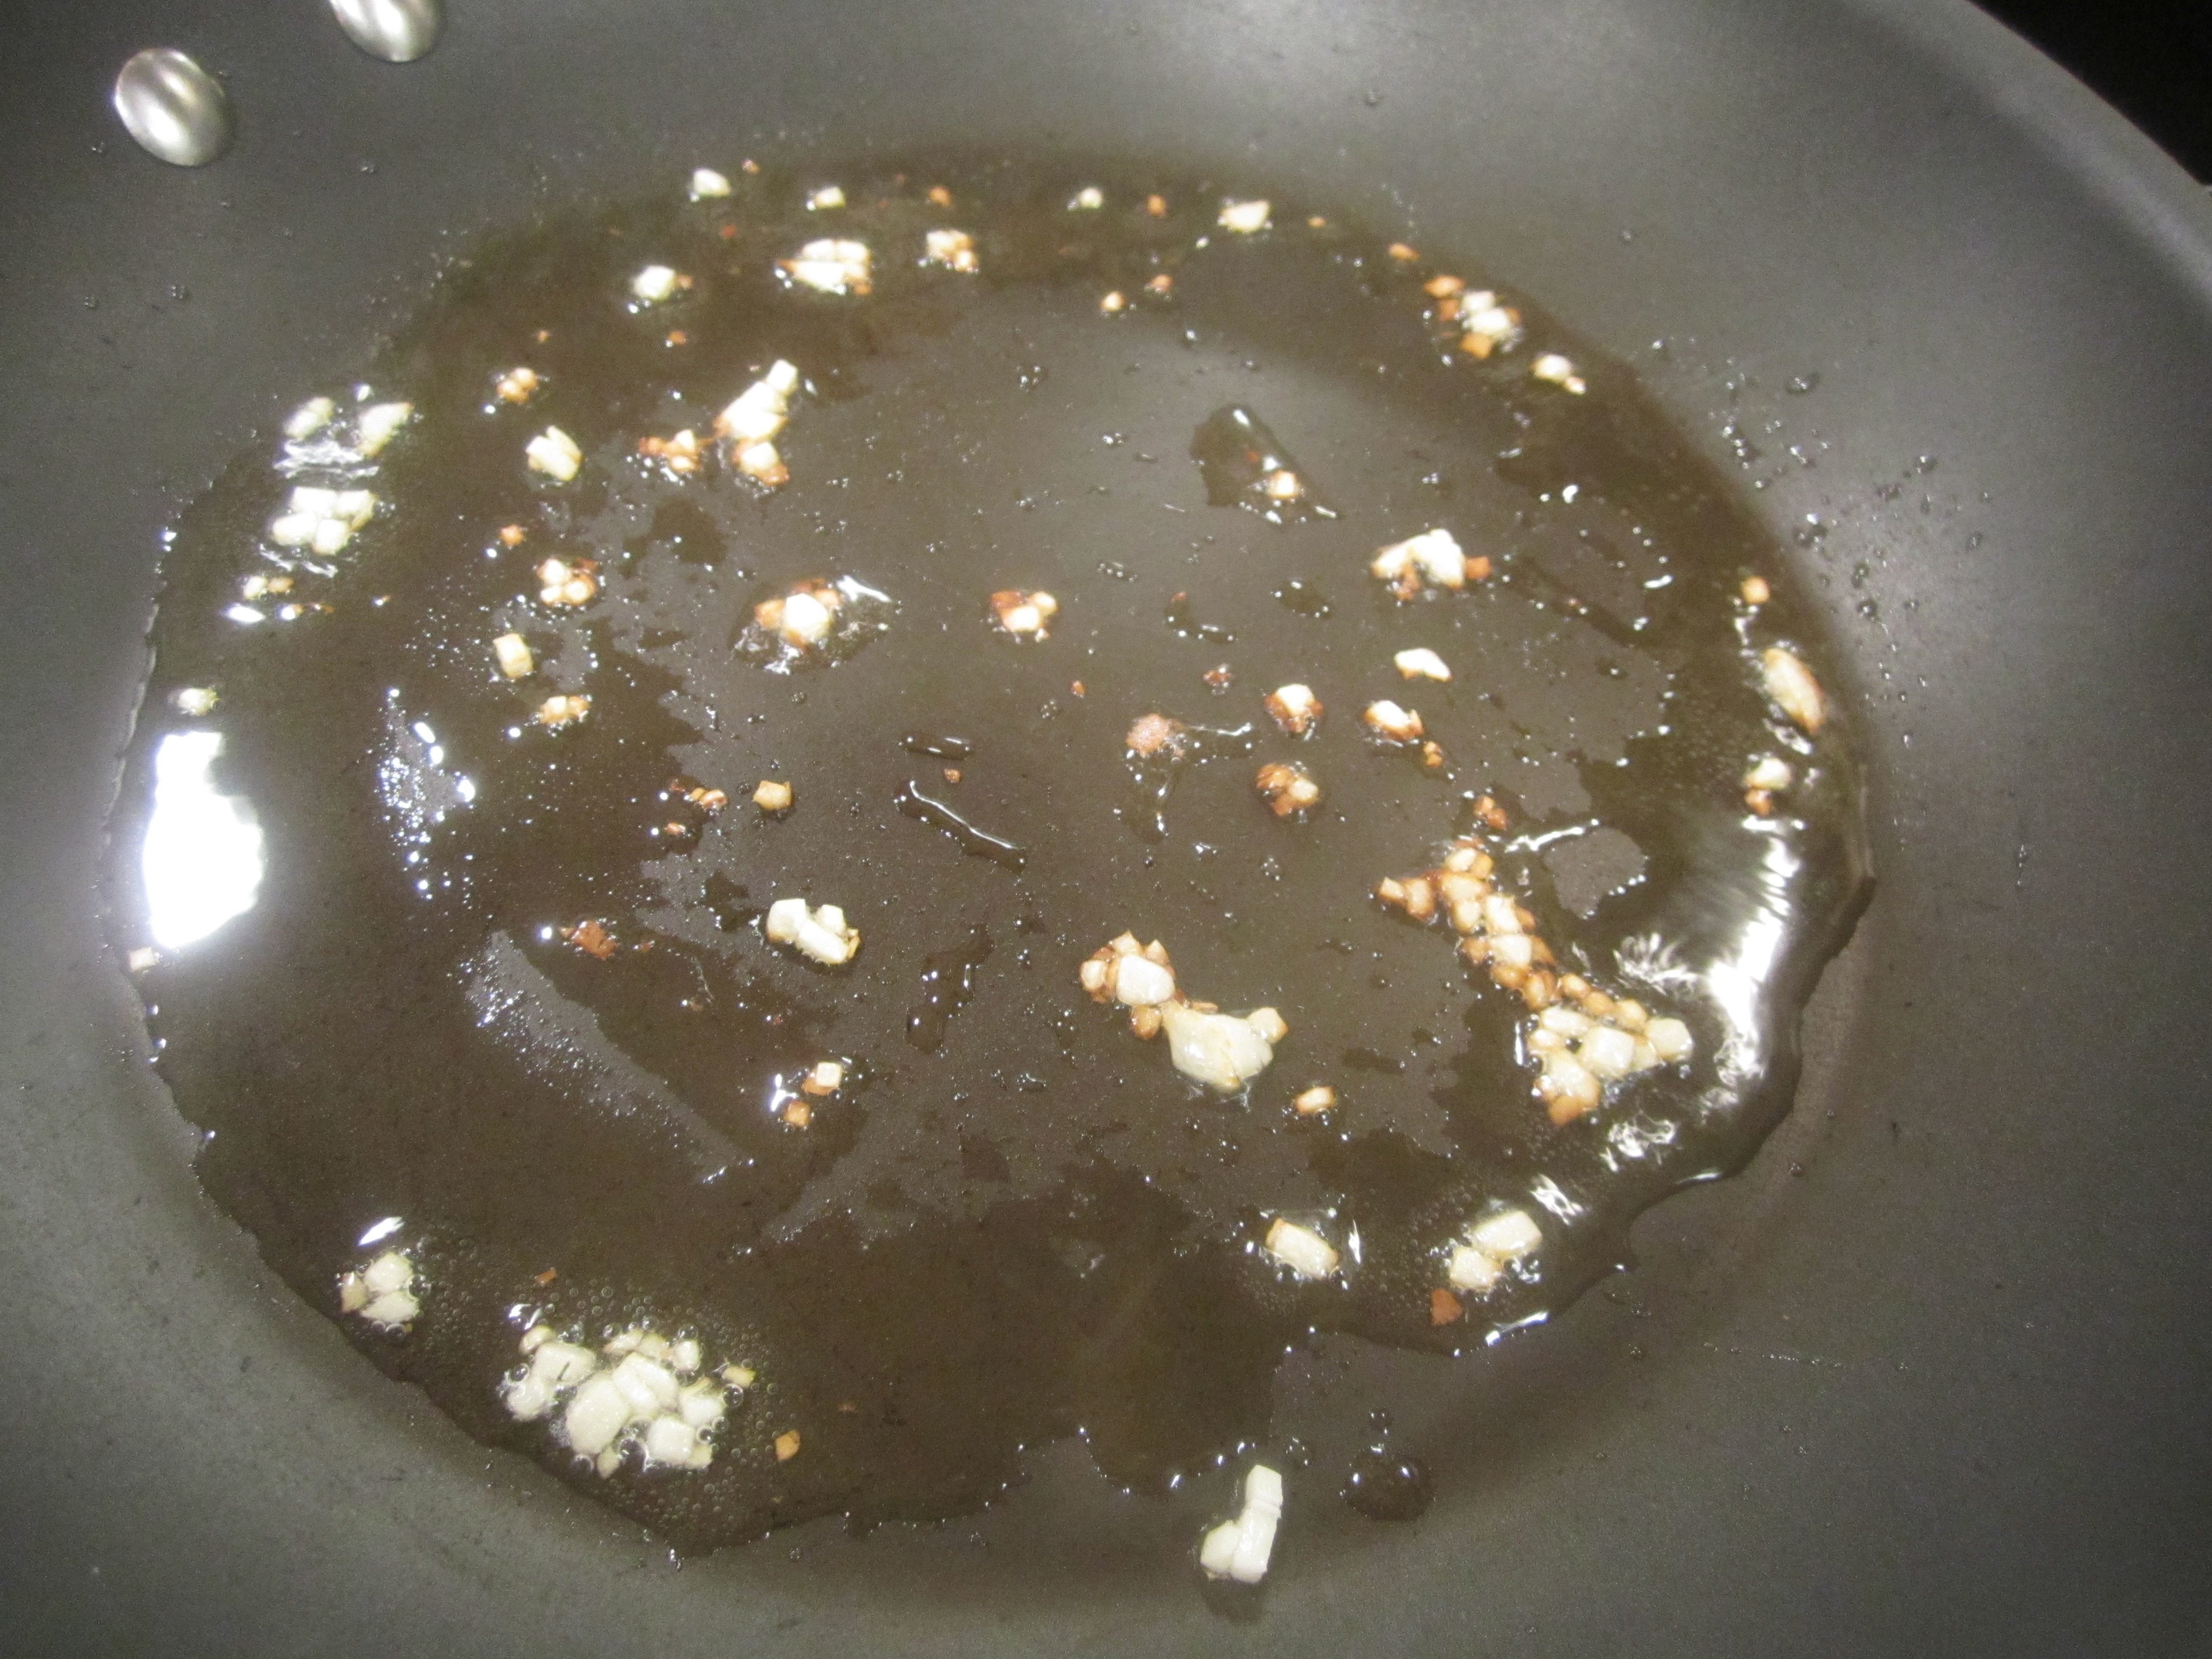
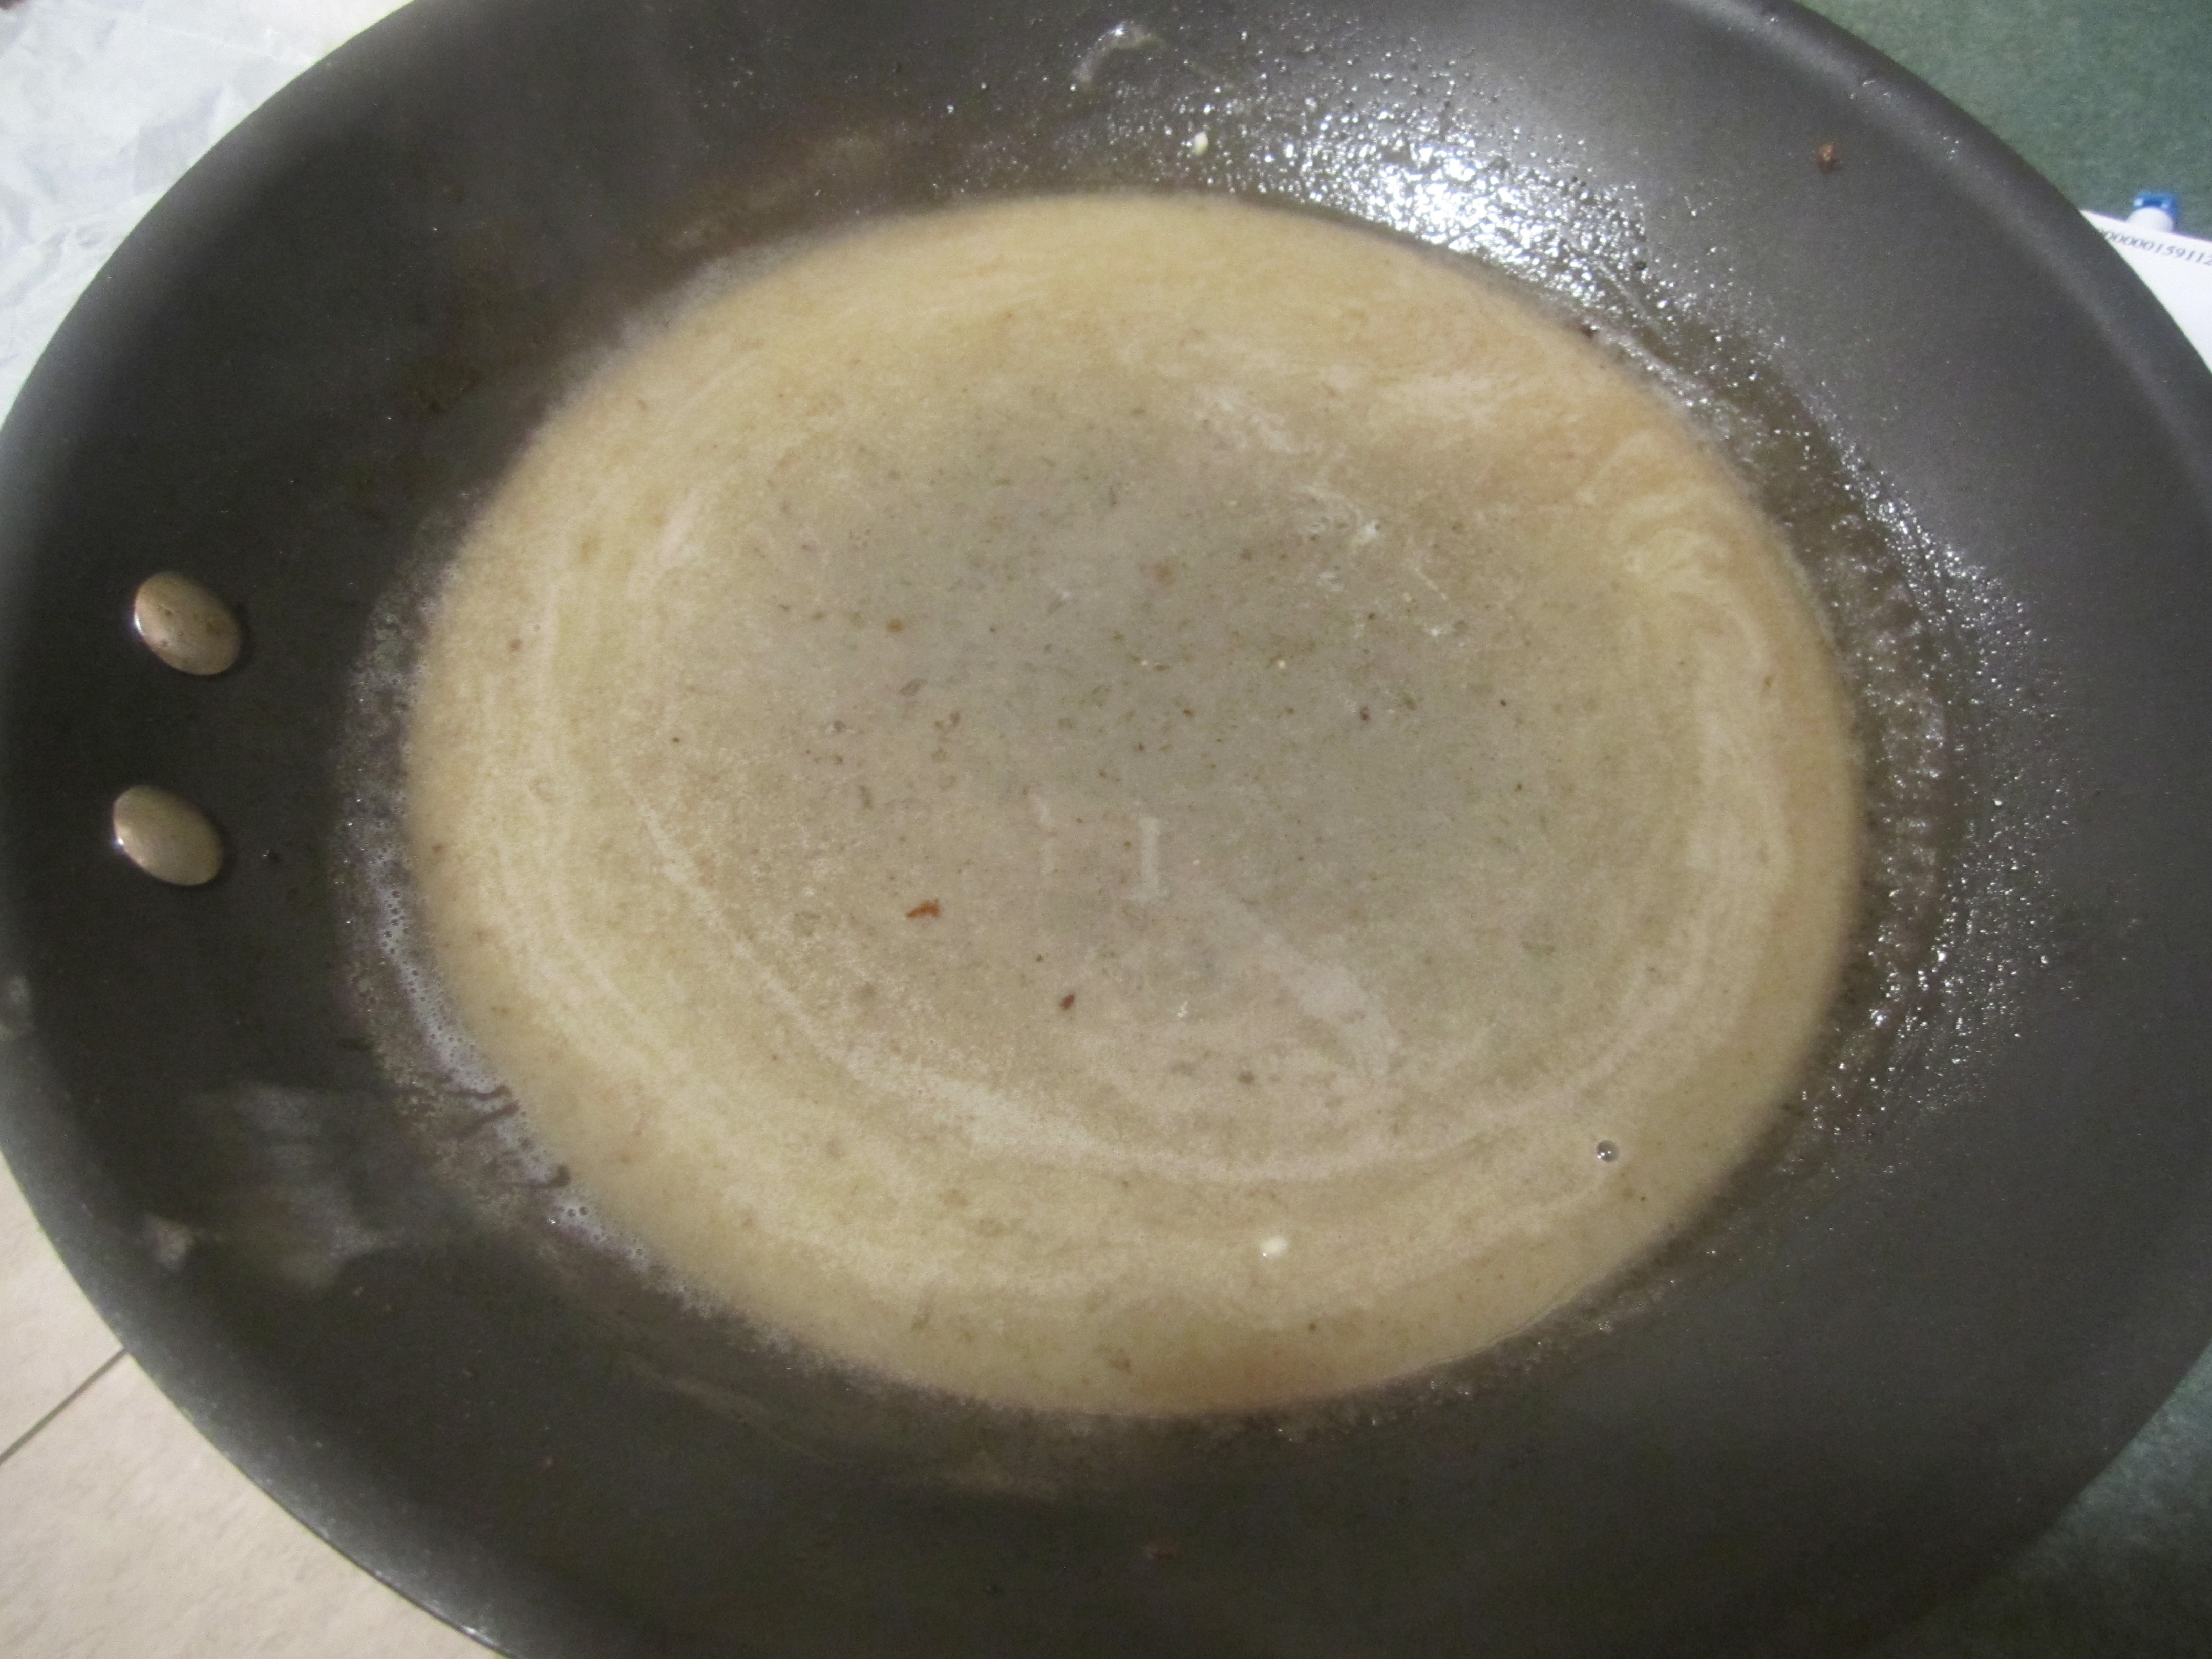
sauce:
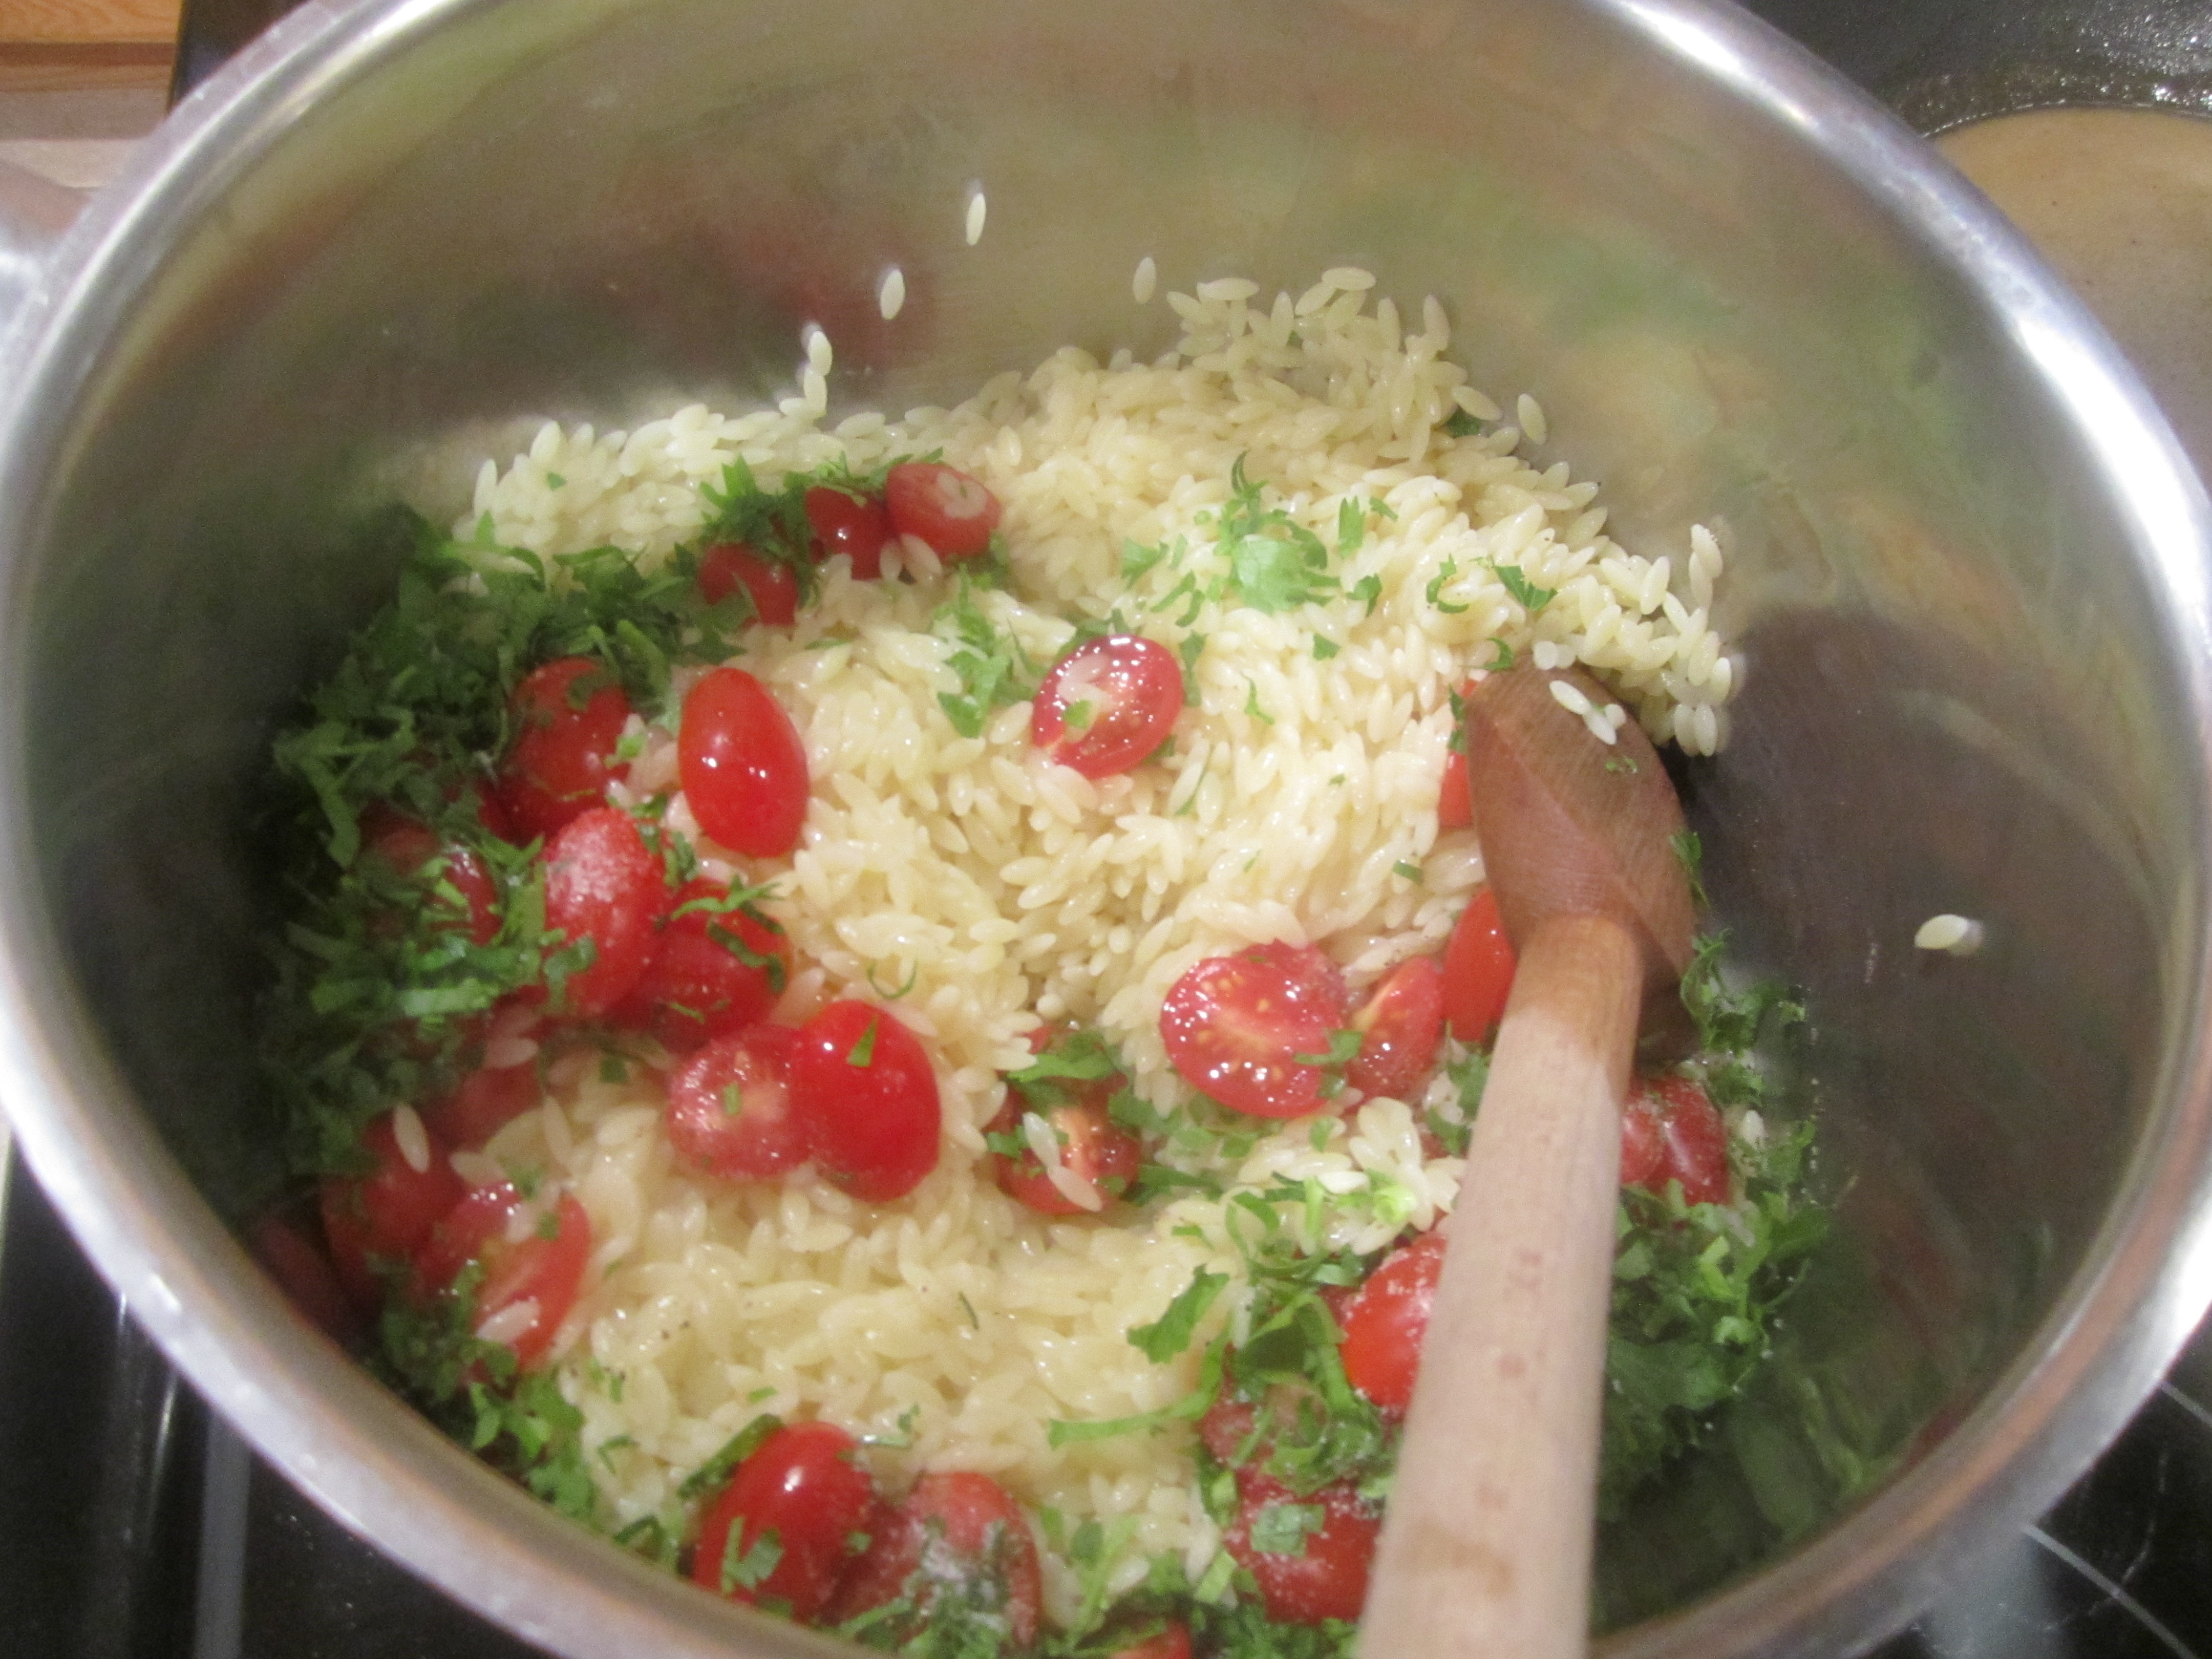
orzo:
yum!

Maple Glazed Salmon

This is a very simple recipe for cooking salmon. Especially useful if you are somewhat timid about cooking fish in general because this recipe is virtually fool-proof. I like to serve it with rice and sautéed spinach.
The original recipe is pepper crusted but I am not a fan of this technique. If this is something you really enjoy, follow the link to the original recipe. If pepper crust is the way you are going then you will have to have the skin removed.
Make sure it’s pure maple syrup you are using and not the pancake stuff that is really just flavored sugar.
Maple Glazed Salmon (adapted from Food Network)
3/4 cup maple syrup
1/4 cup soy sauce
4 (6 ounce) salmon fillets, skin removed OR up to 1-1/2 lb. of salmon, skin on and cut into portions
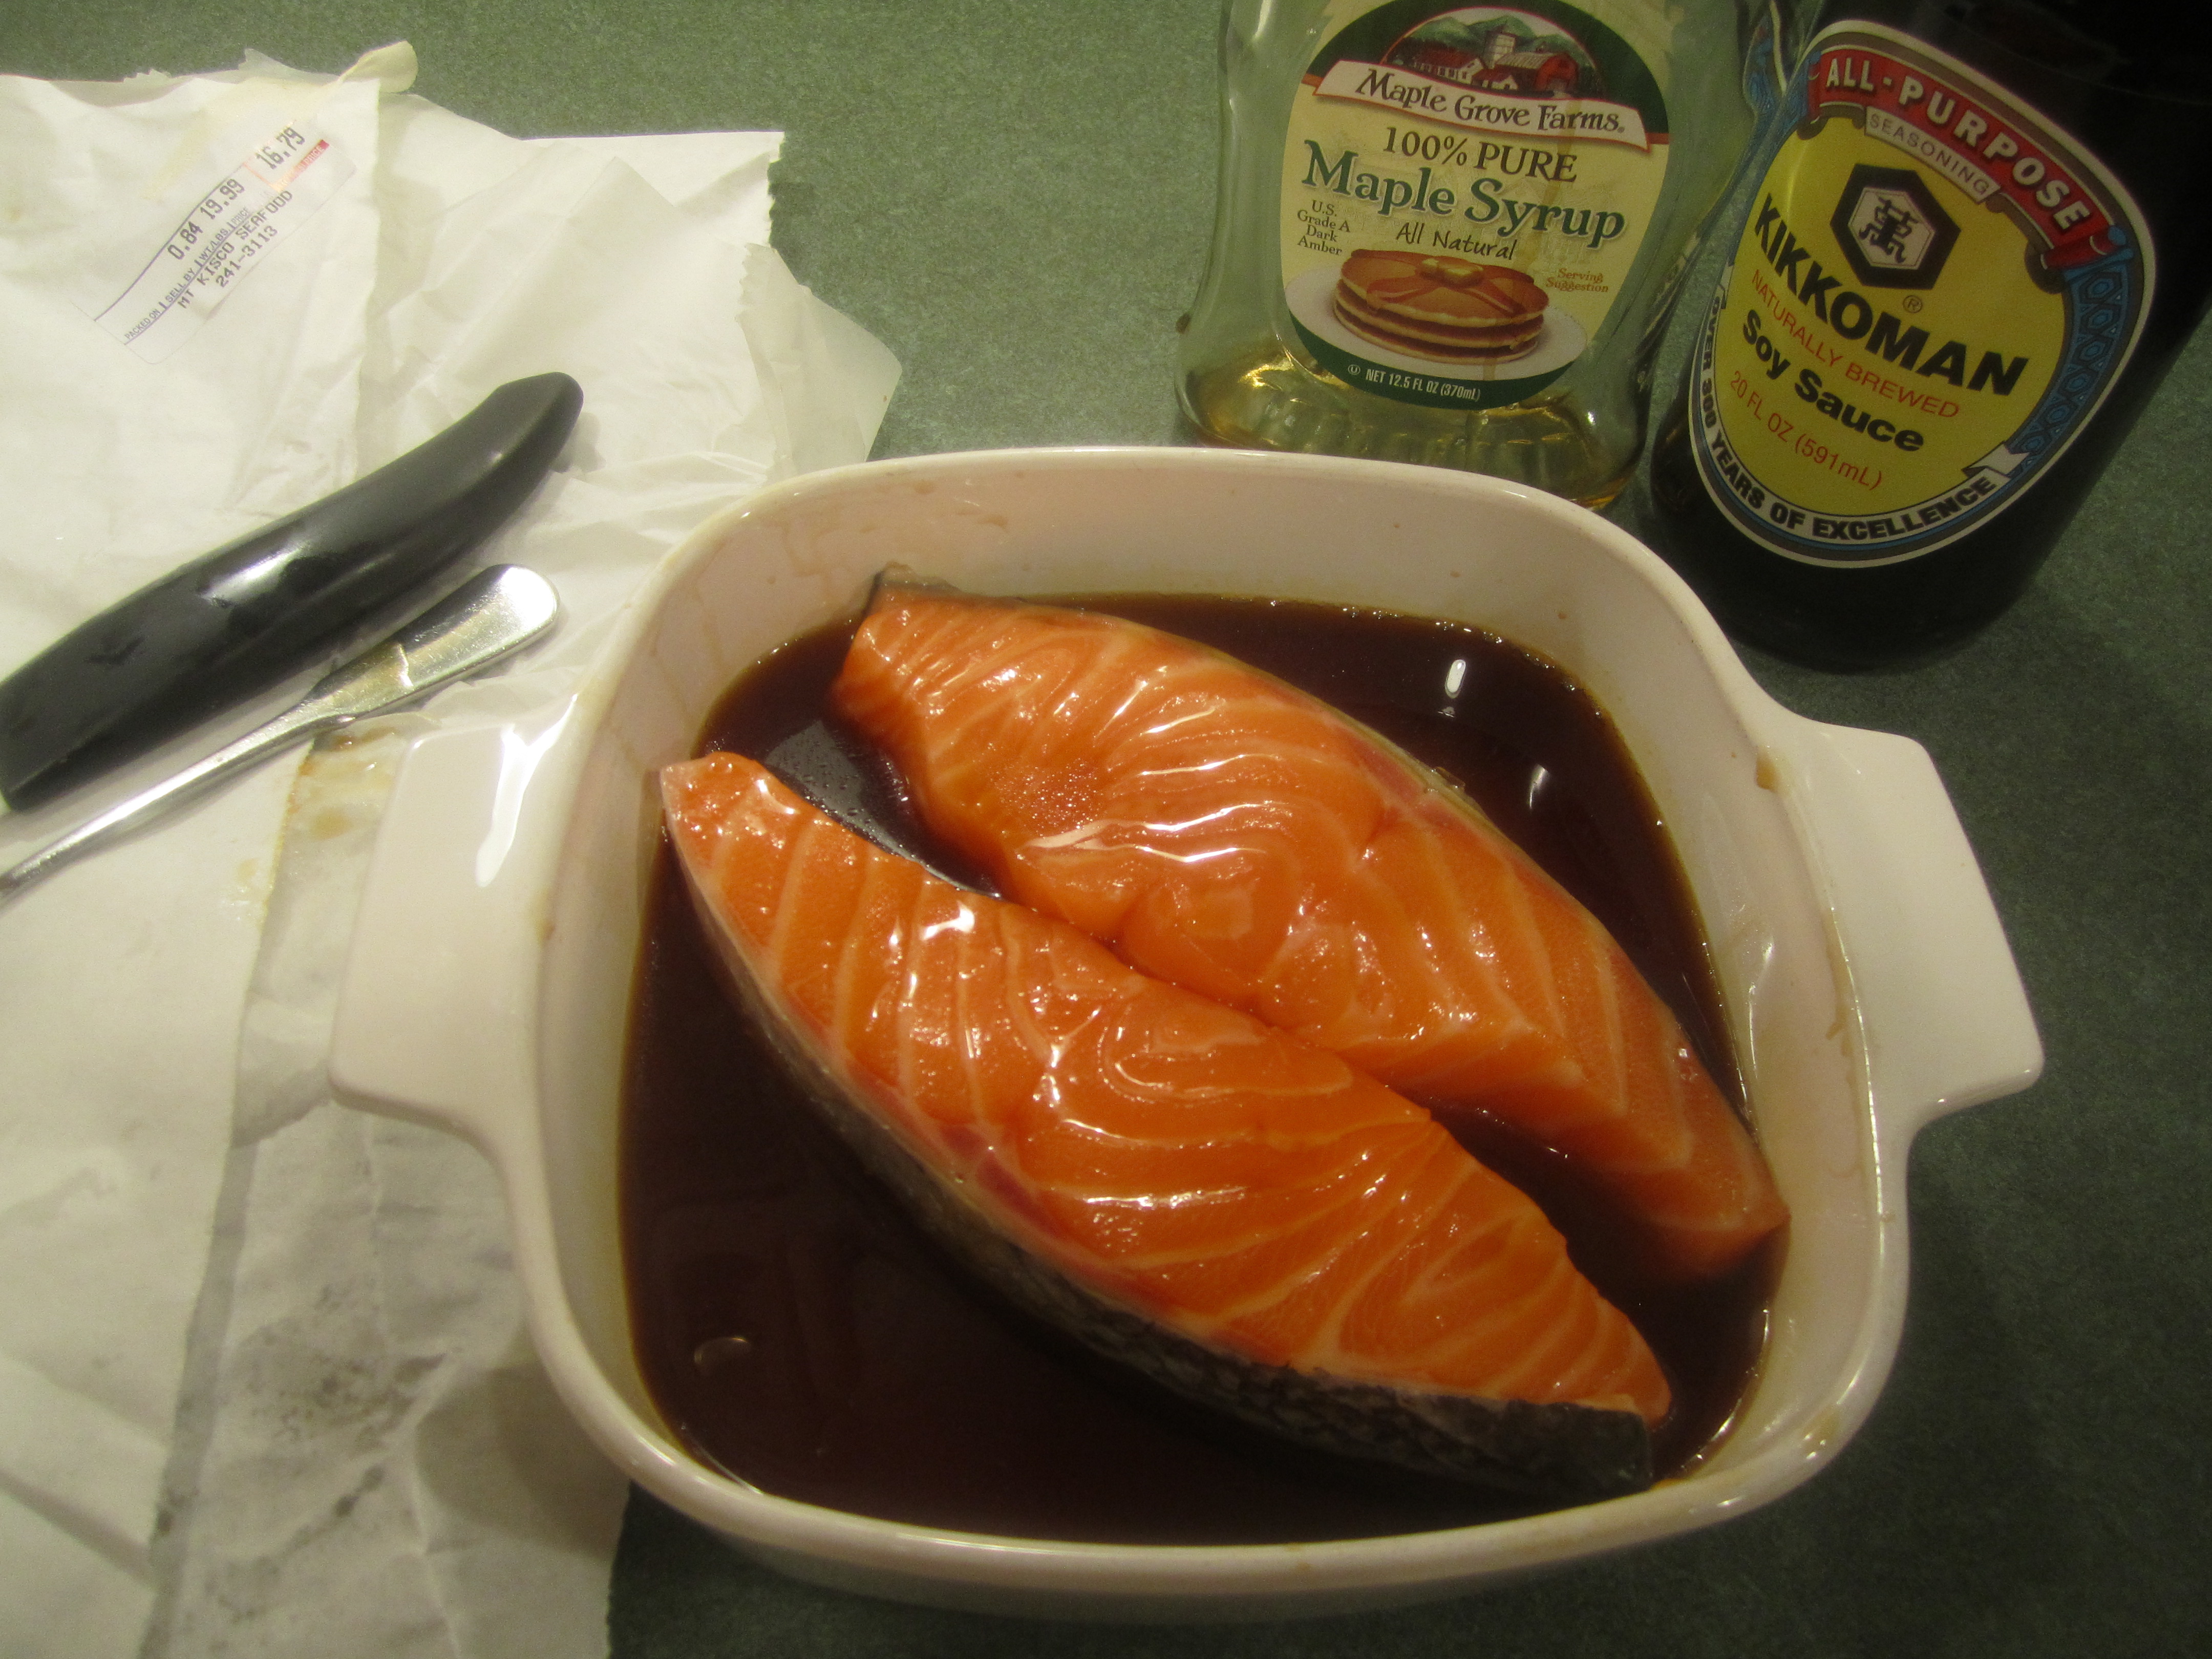
In a glass container with lid, mix maple syrup and soy sauce. Arrange salmon so that marinade completely covers or almost completely covers the fish. Cover with lid. Marinate in the refrigerator for minimum of one hour or up to 24 hours. (I never think that far ahead to marinate it for 24 hours but it’s very delicious for just 1 hour.)
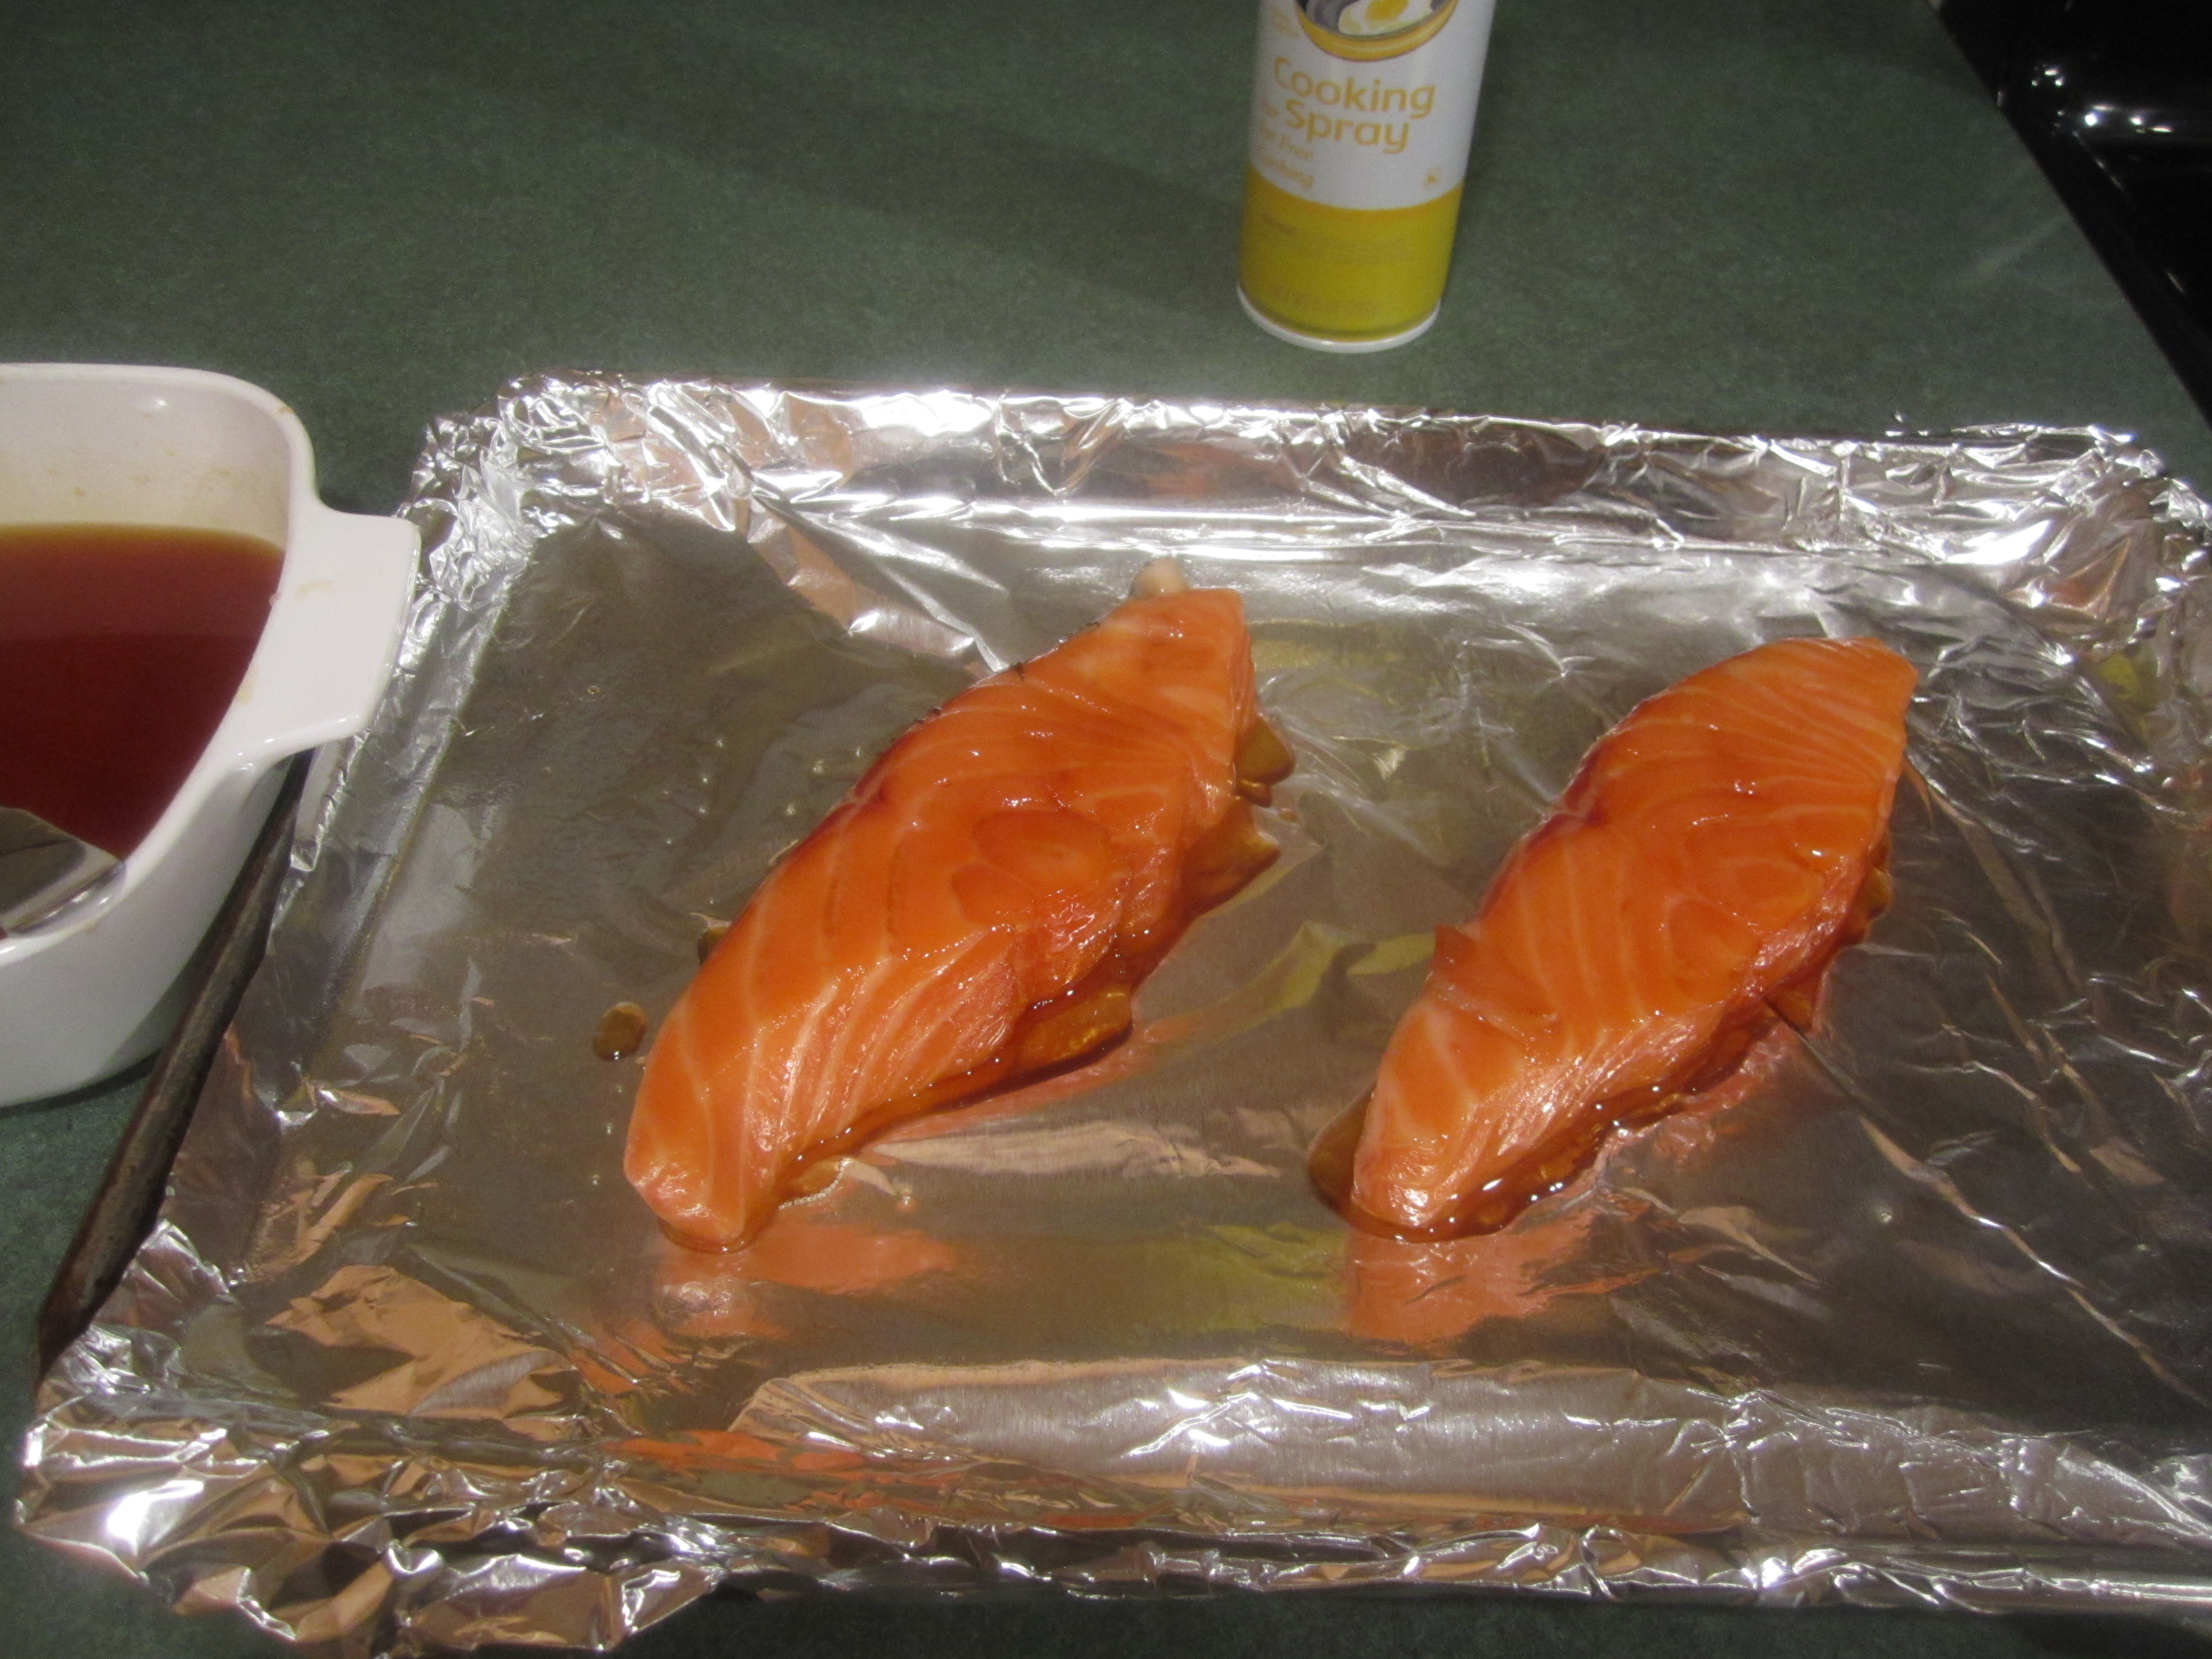
Put rack of oven at the top position. Cover cookie sheet with aluminum foil and spray lightly with canola oil spray.
Heat oven to 500 degrees and put the fan on. Syrup might cause the fish to smoke so be prepared.
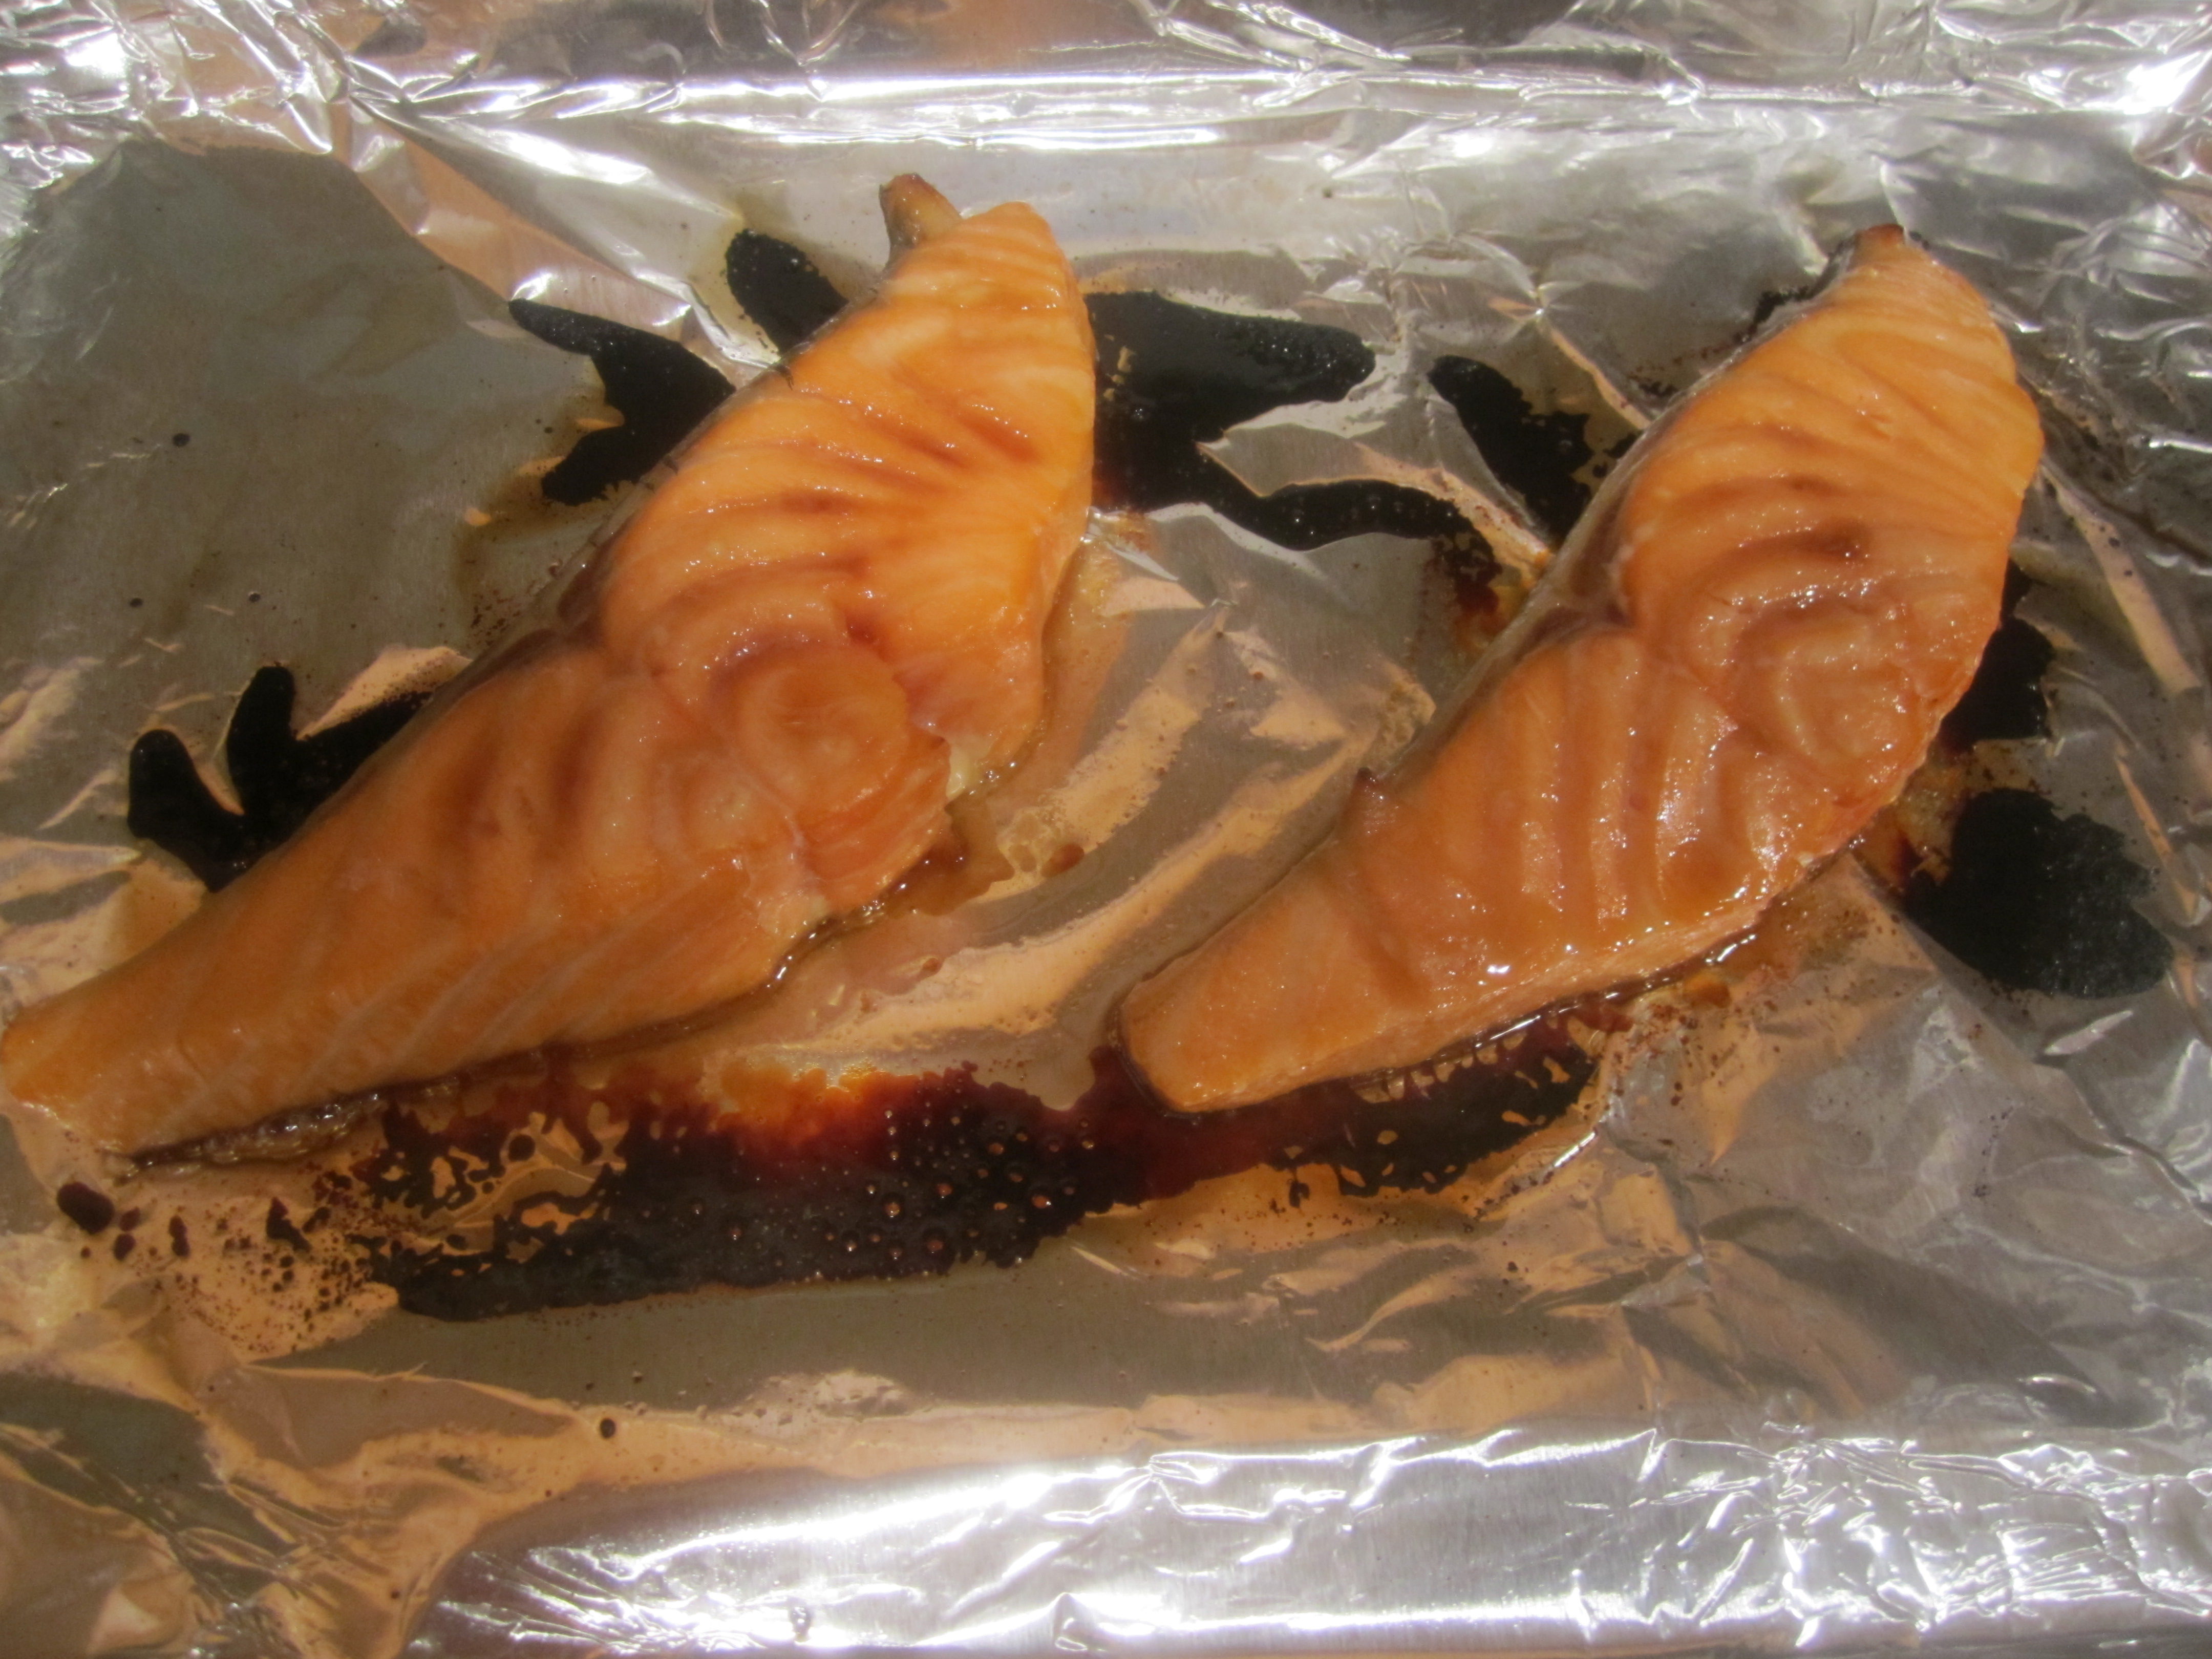
Place fish on prepared pan, skin side down if applicable, and bake for 7 minutes or until a sharp paring knife can be inserted into the fish with no resistance. I have made this many, many times and the 7 minutes is spot on, even though I test it anyway.
Serve immediately and enjoy all those healthy Omega 3’s!
marinating:
ready to go in the oven:
after 7 minutes:
served with rice and sautéed spinach, yum!

Fudgy Toffee Brownies
I made these for my Stitch ‘n Bitch group, I needed something quick but different to make. Everyone seemed to like them , some even asked if they were candy!
I liked them too but didn’t think they were blog worthy. A few days later, my husband tried one and said they were really good. Hmmm, this is a man who really does not like chocolate and these were very chocolatey. I tried one again and started to rethink that these were really good. Sitting in the refrigerator for a few days improved the flavor.
So I made them a second time and added a bit of salt. Now I really like them.
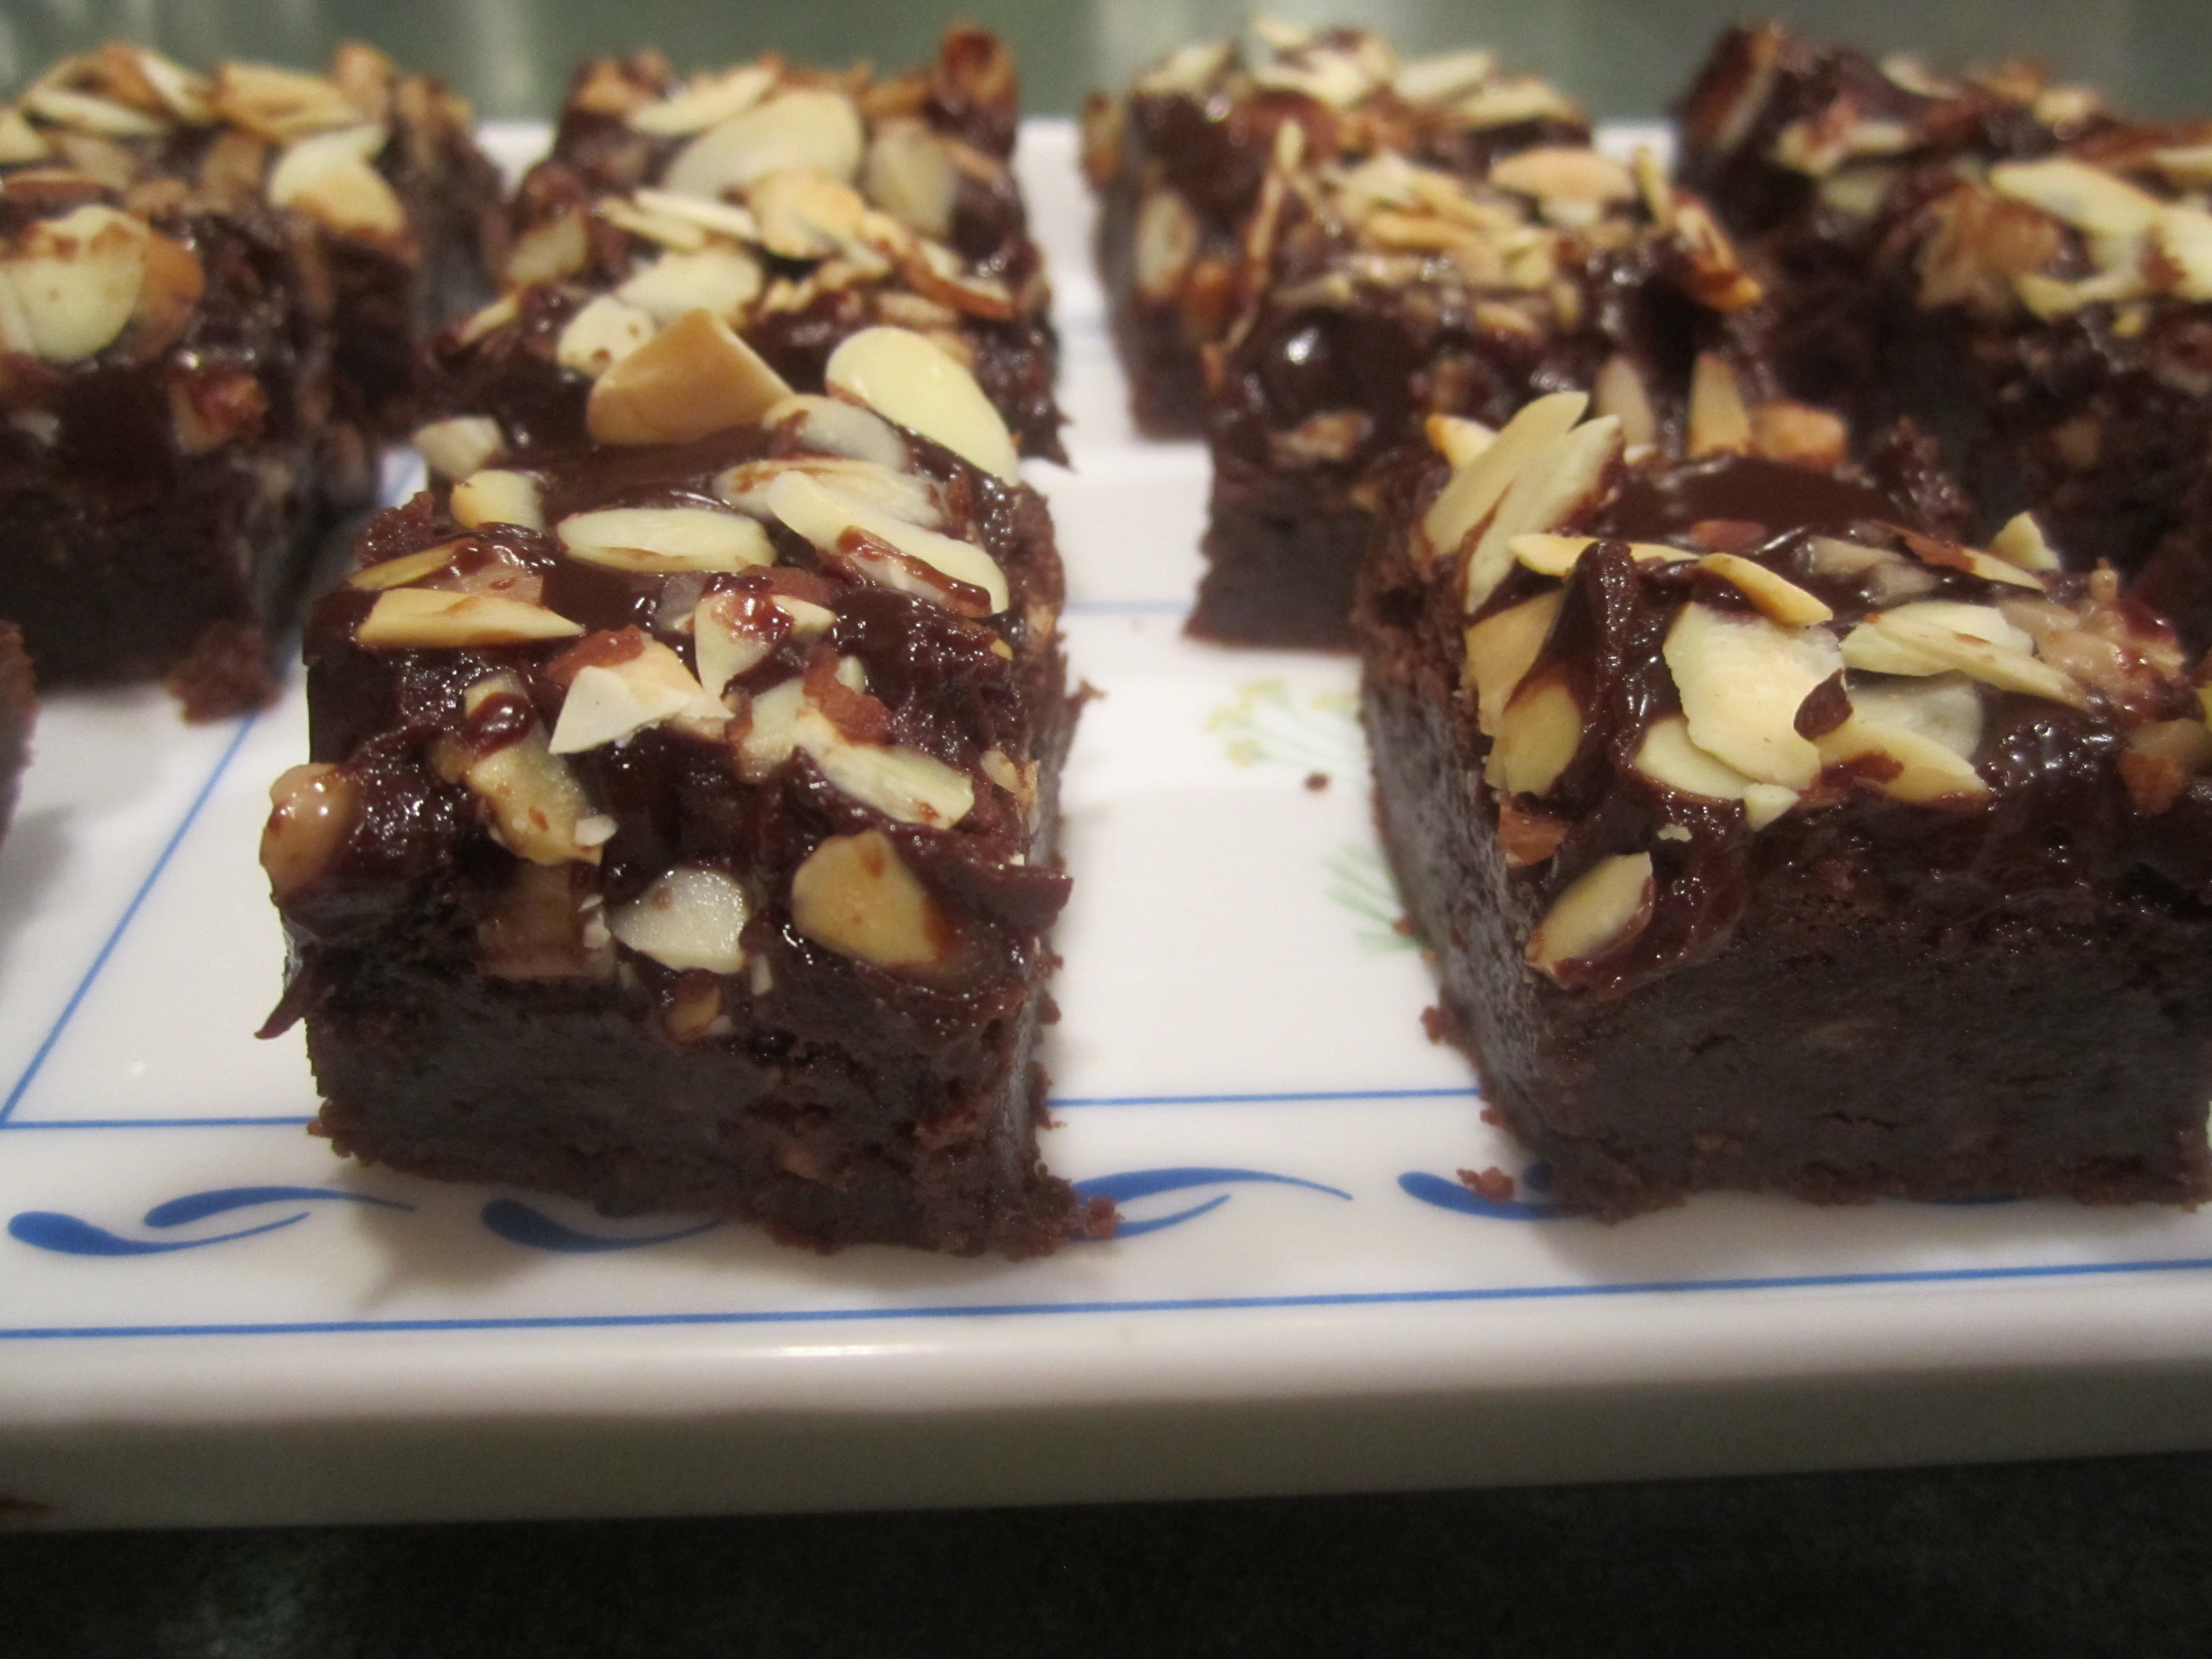
They need to be cut very small and I really think it adds to the presentation. Little bites of chocolatey goodness!
Fudgy Toffee Brownies (adapted from Bon Appetit, June 2001)
12 ounces semisweet chocolate chips, divided (preferably Ghirardeli or other good quality chocolate)
3/4 cup (1-1/2 sticks) butter, cut into 1 inch pieces
5 ounces unsweetened chocolate, chopped, divided (Ghirardeli)
1-3/4 cups sugar
4 large eggs
3/4 cup all-purpose flour
3/4 teaspoon salt
1-1/4 cup English Toffee Bits, divided
2/3 cup heavy cream
3-1/2 ounces sliced almonds
Preheat oven to 350 degrees. Line a 9 x 13 x 2 inch metal pan with foil, leaving overhang. Butter foil.
Combine 6 ounces of semisweet chocolate chips, butter, and 4 ounces of unsweetened chocolate in a medium glass bowl and microwave on high for 1 minute. Stir for 1 minute. If not completely melted, return to microwave for 15 seconds and stir again.
Put chocolate mixture in a large mixing bowl. Add sugar, whisk. Add eggs and flour and whisk. Stir in 1 cup of toffee bits until combined. Pour into prepared pan.
Bake brownies for 30-35 minutes or until tester inserted into center comes out with moist crumbs attached. Cool for 15 minutes. Using a metal spatula, press down brownie edges to level top.
While brownies are baking, place almonds in large non stick fry pan over medium high heat. Stir frequently for 5 minutes or until almonds just start to color. Remove from heat and set aside.
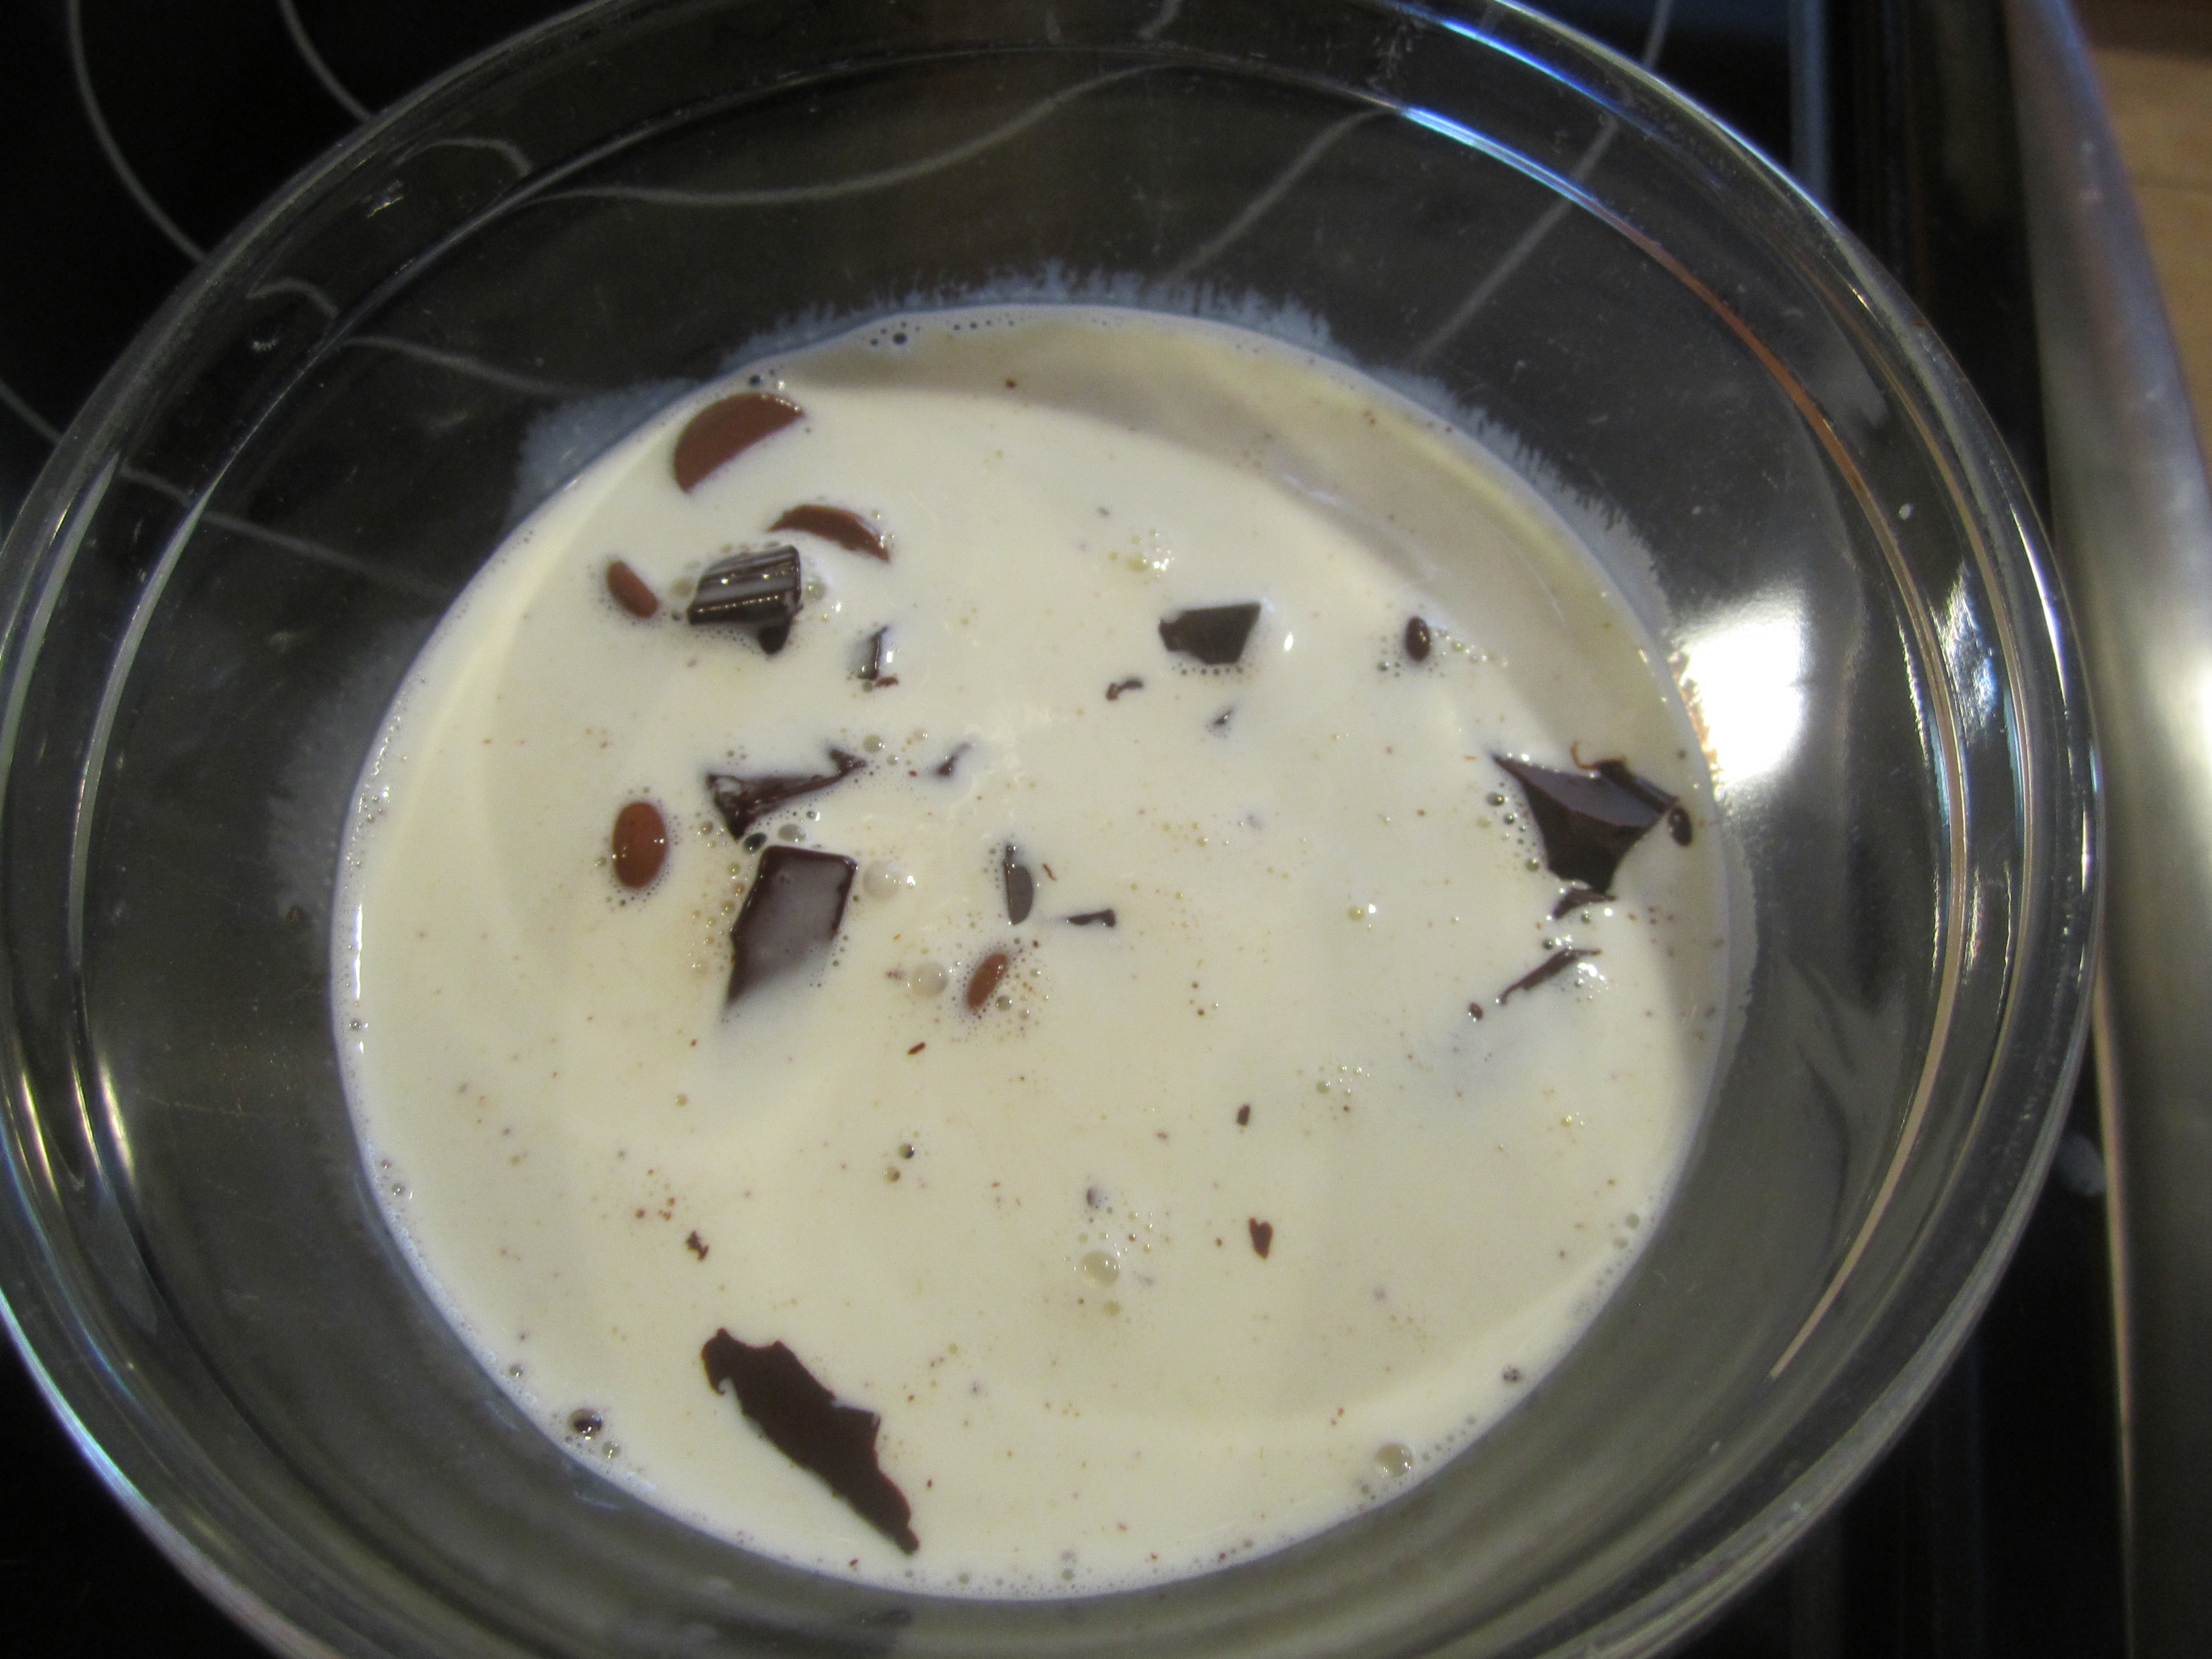
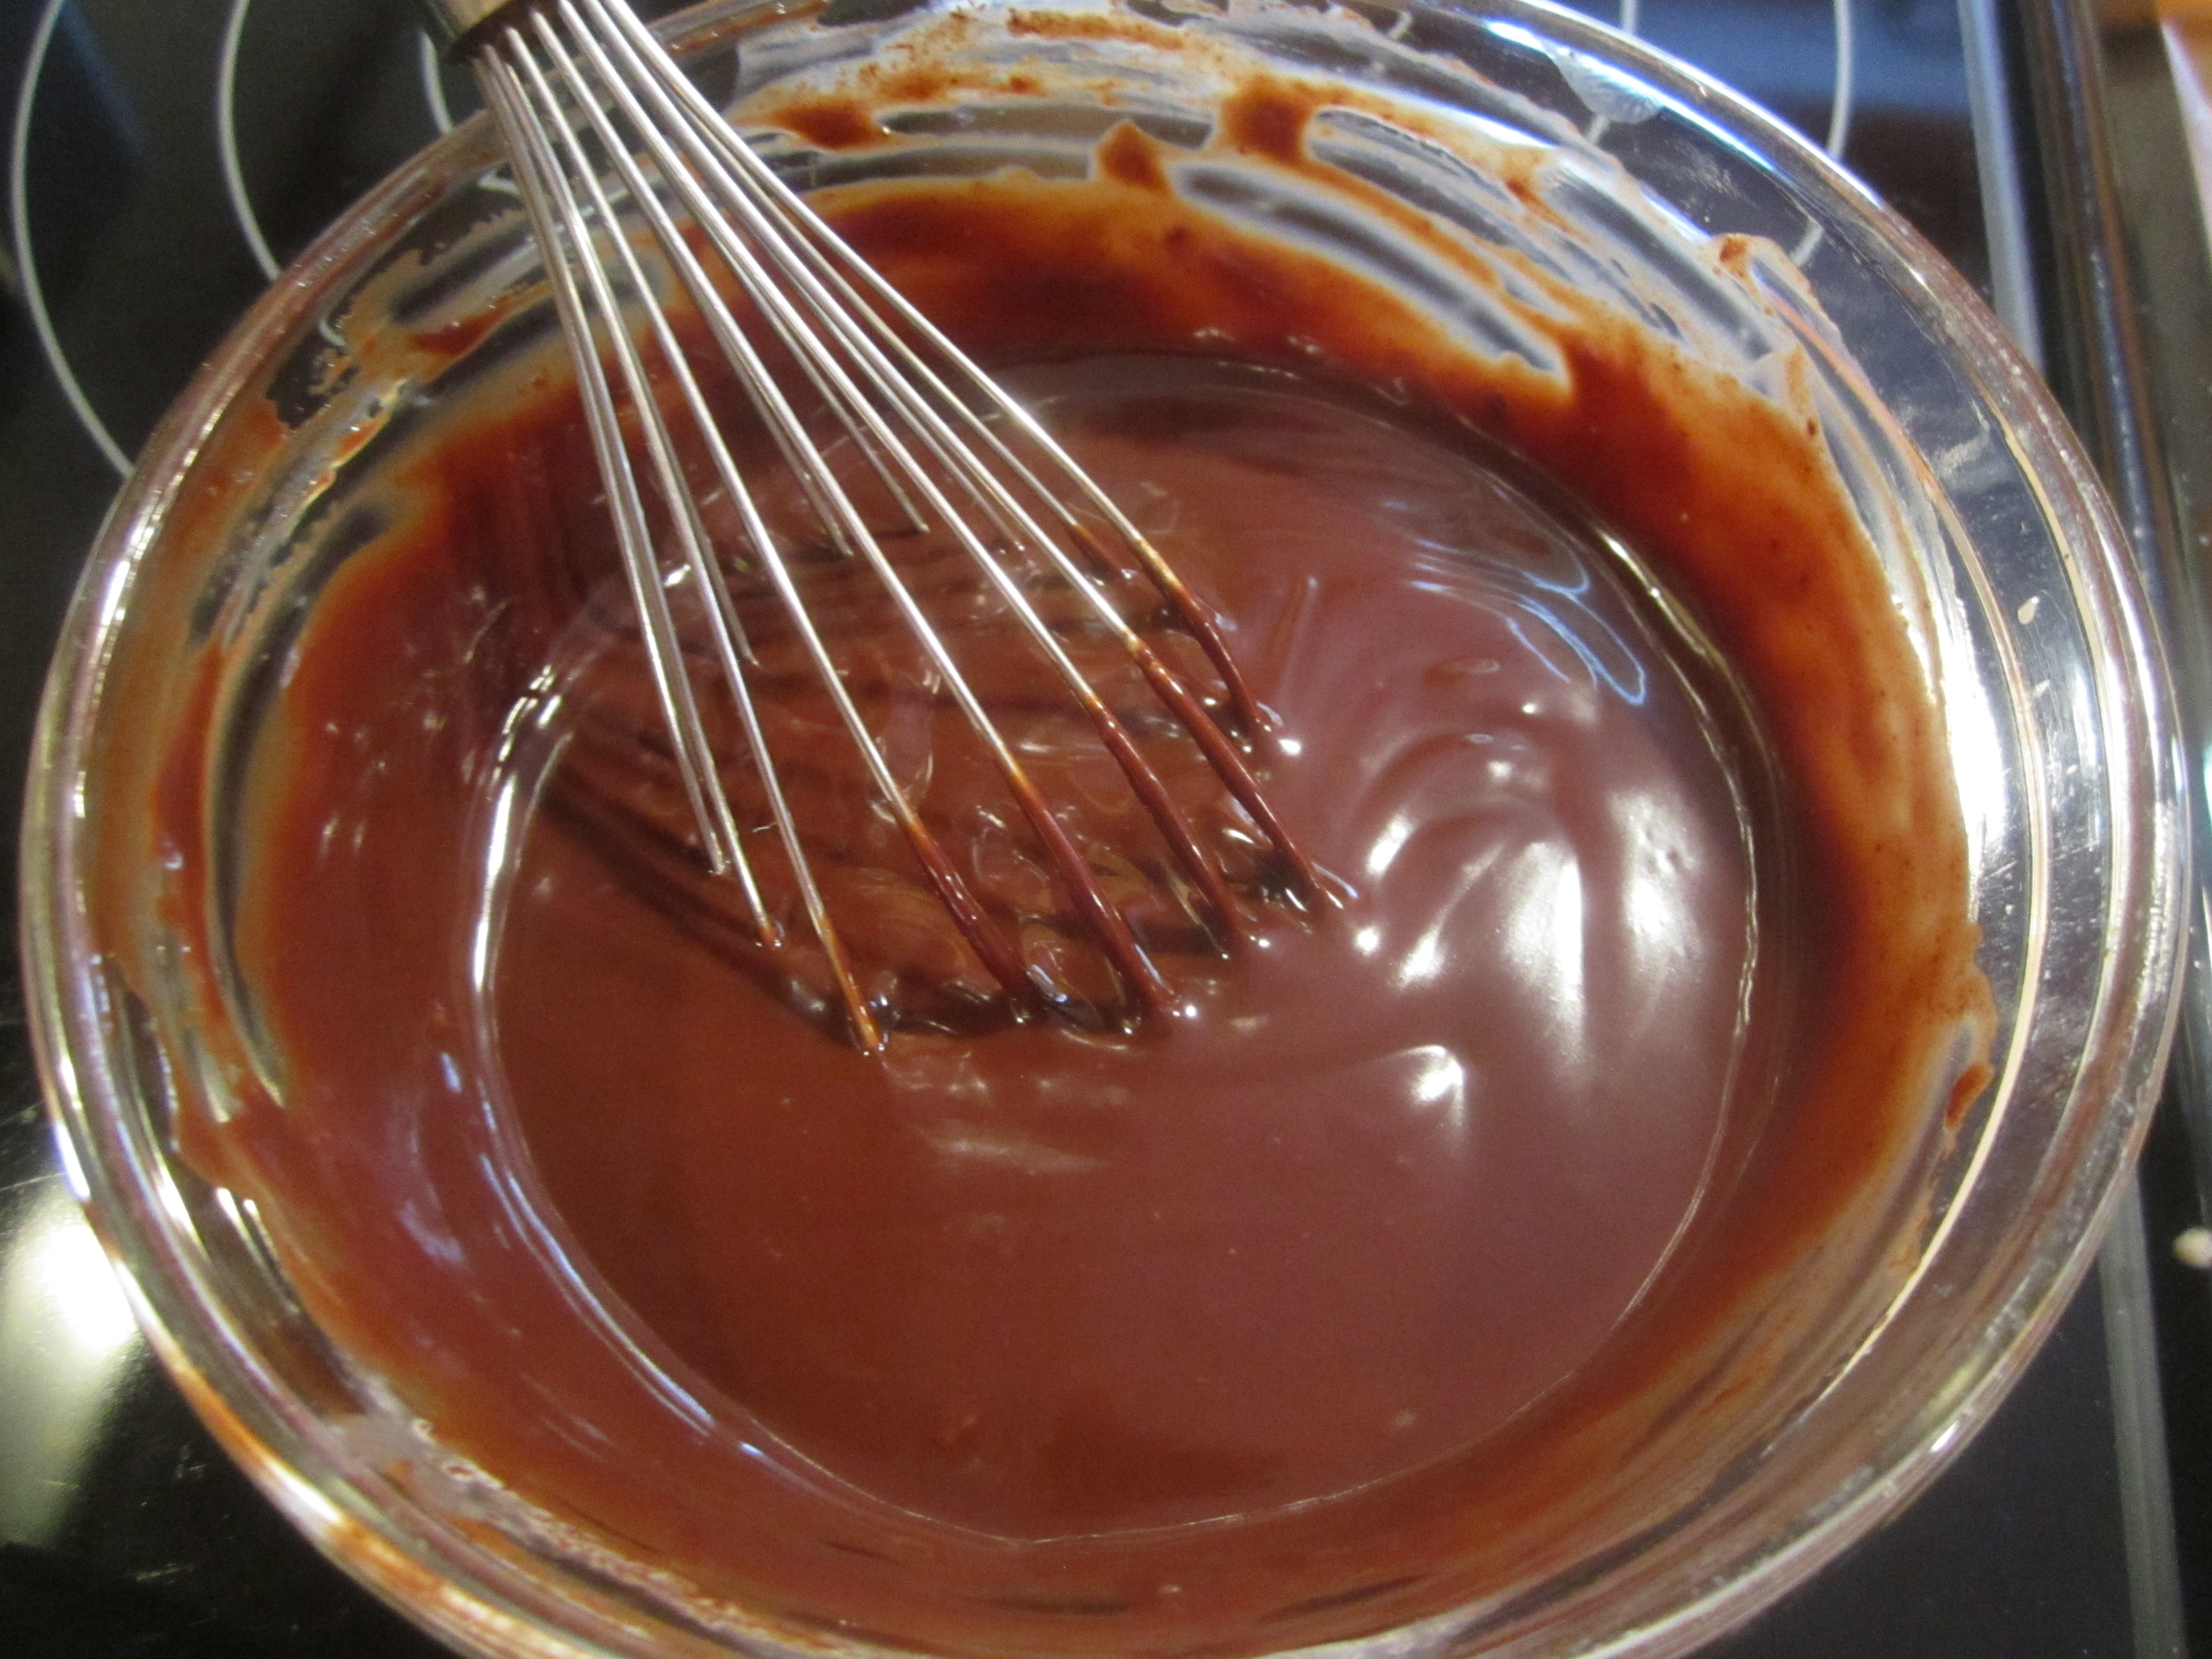
In a medium bowl, place 6 ounces of chocolate chips and 1 ounce of unsweetened chocolate. Put heavy cream in glass 2 cup measure and microwave on high for 45 seconds. Pour over chocolate and let sit for 1 minute. Stir until smooth.
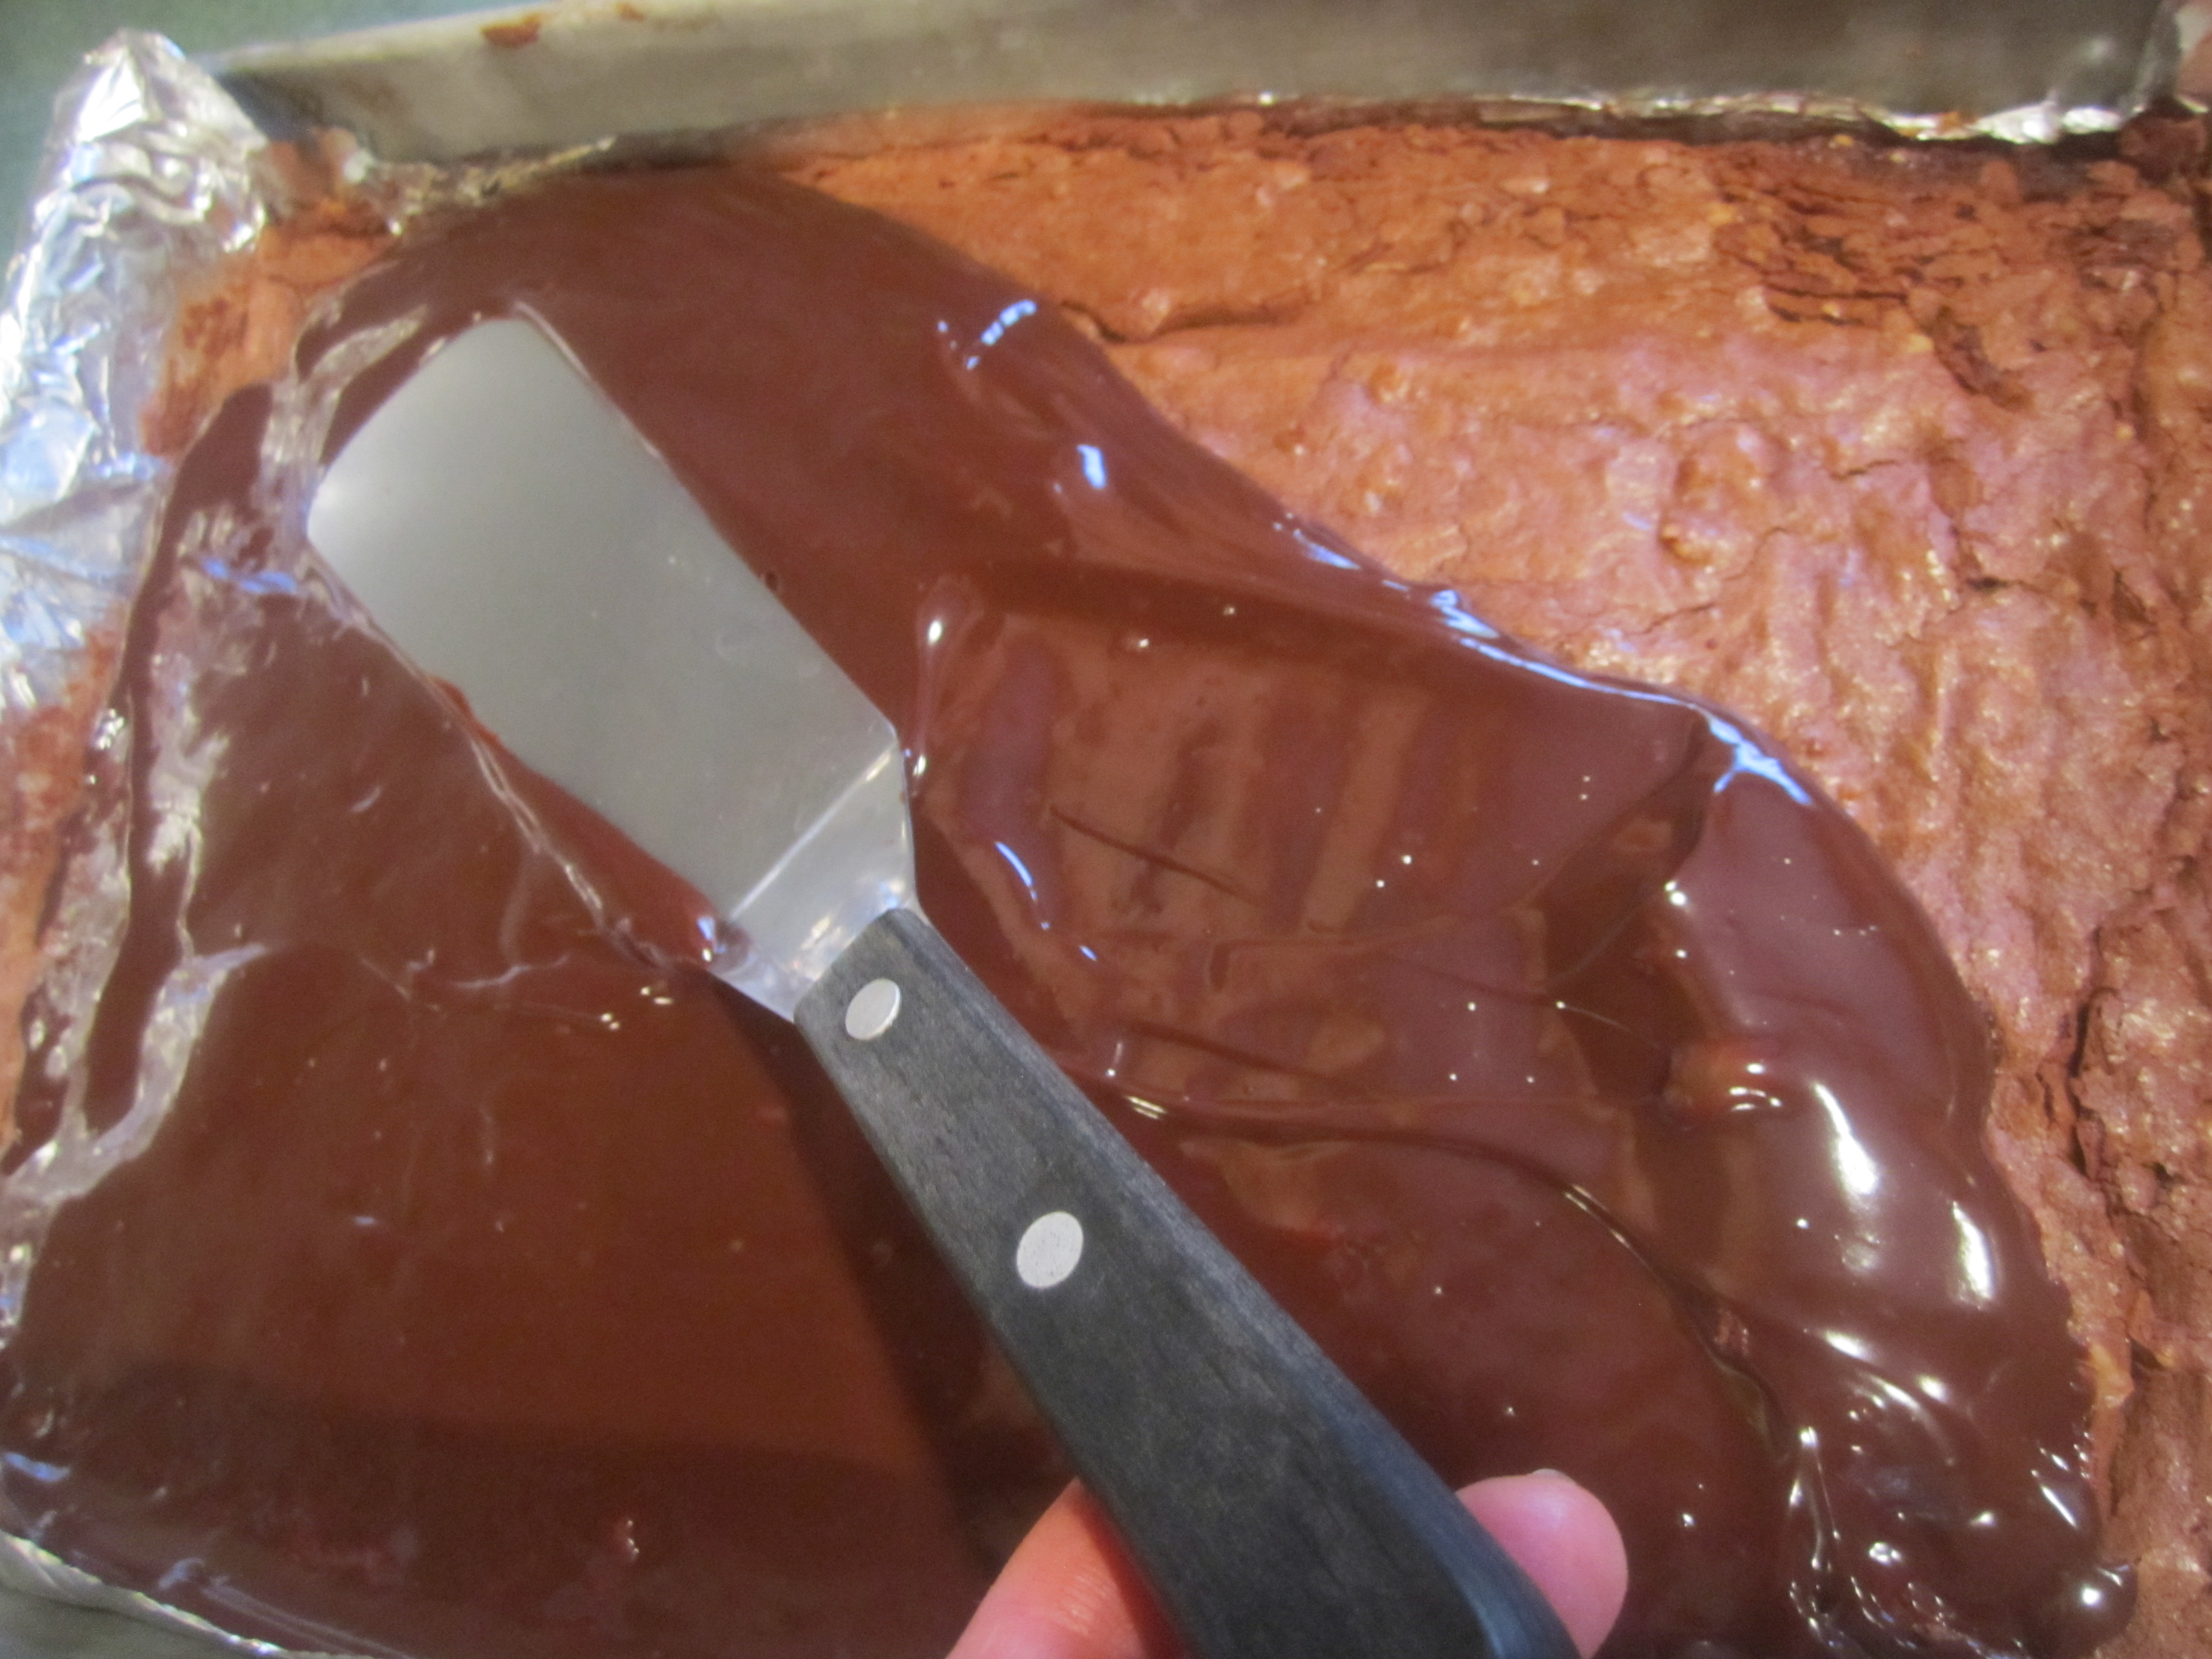
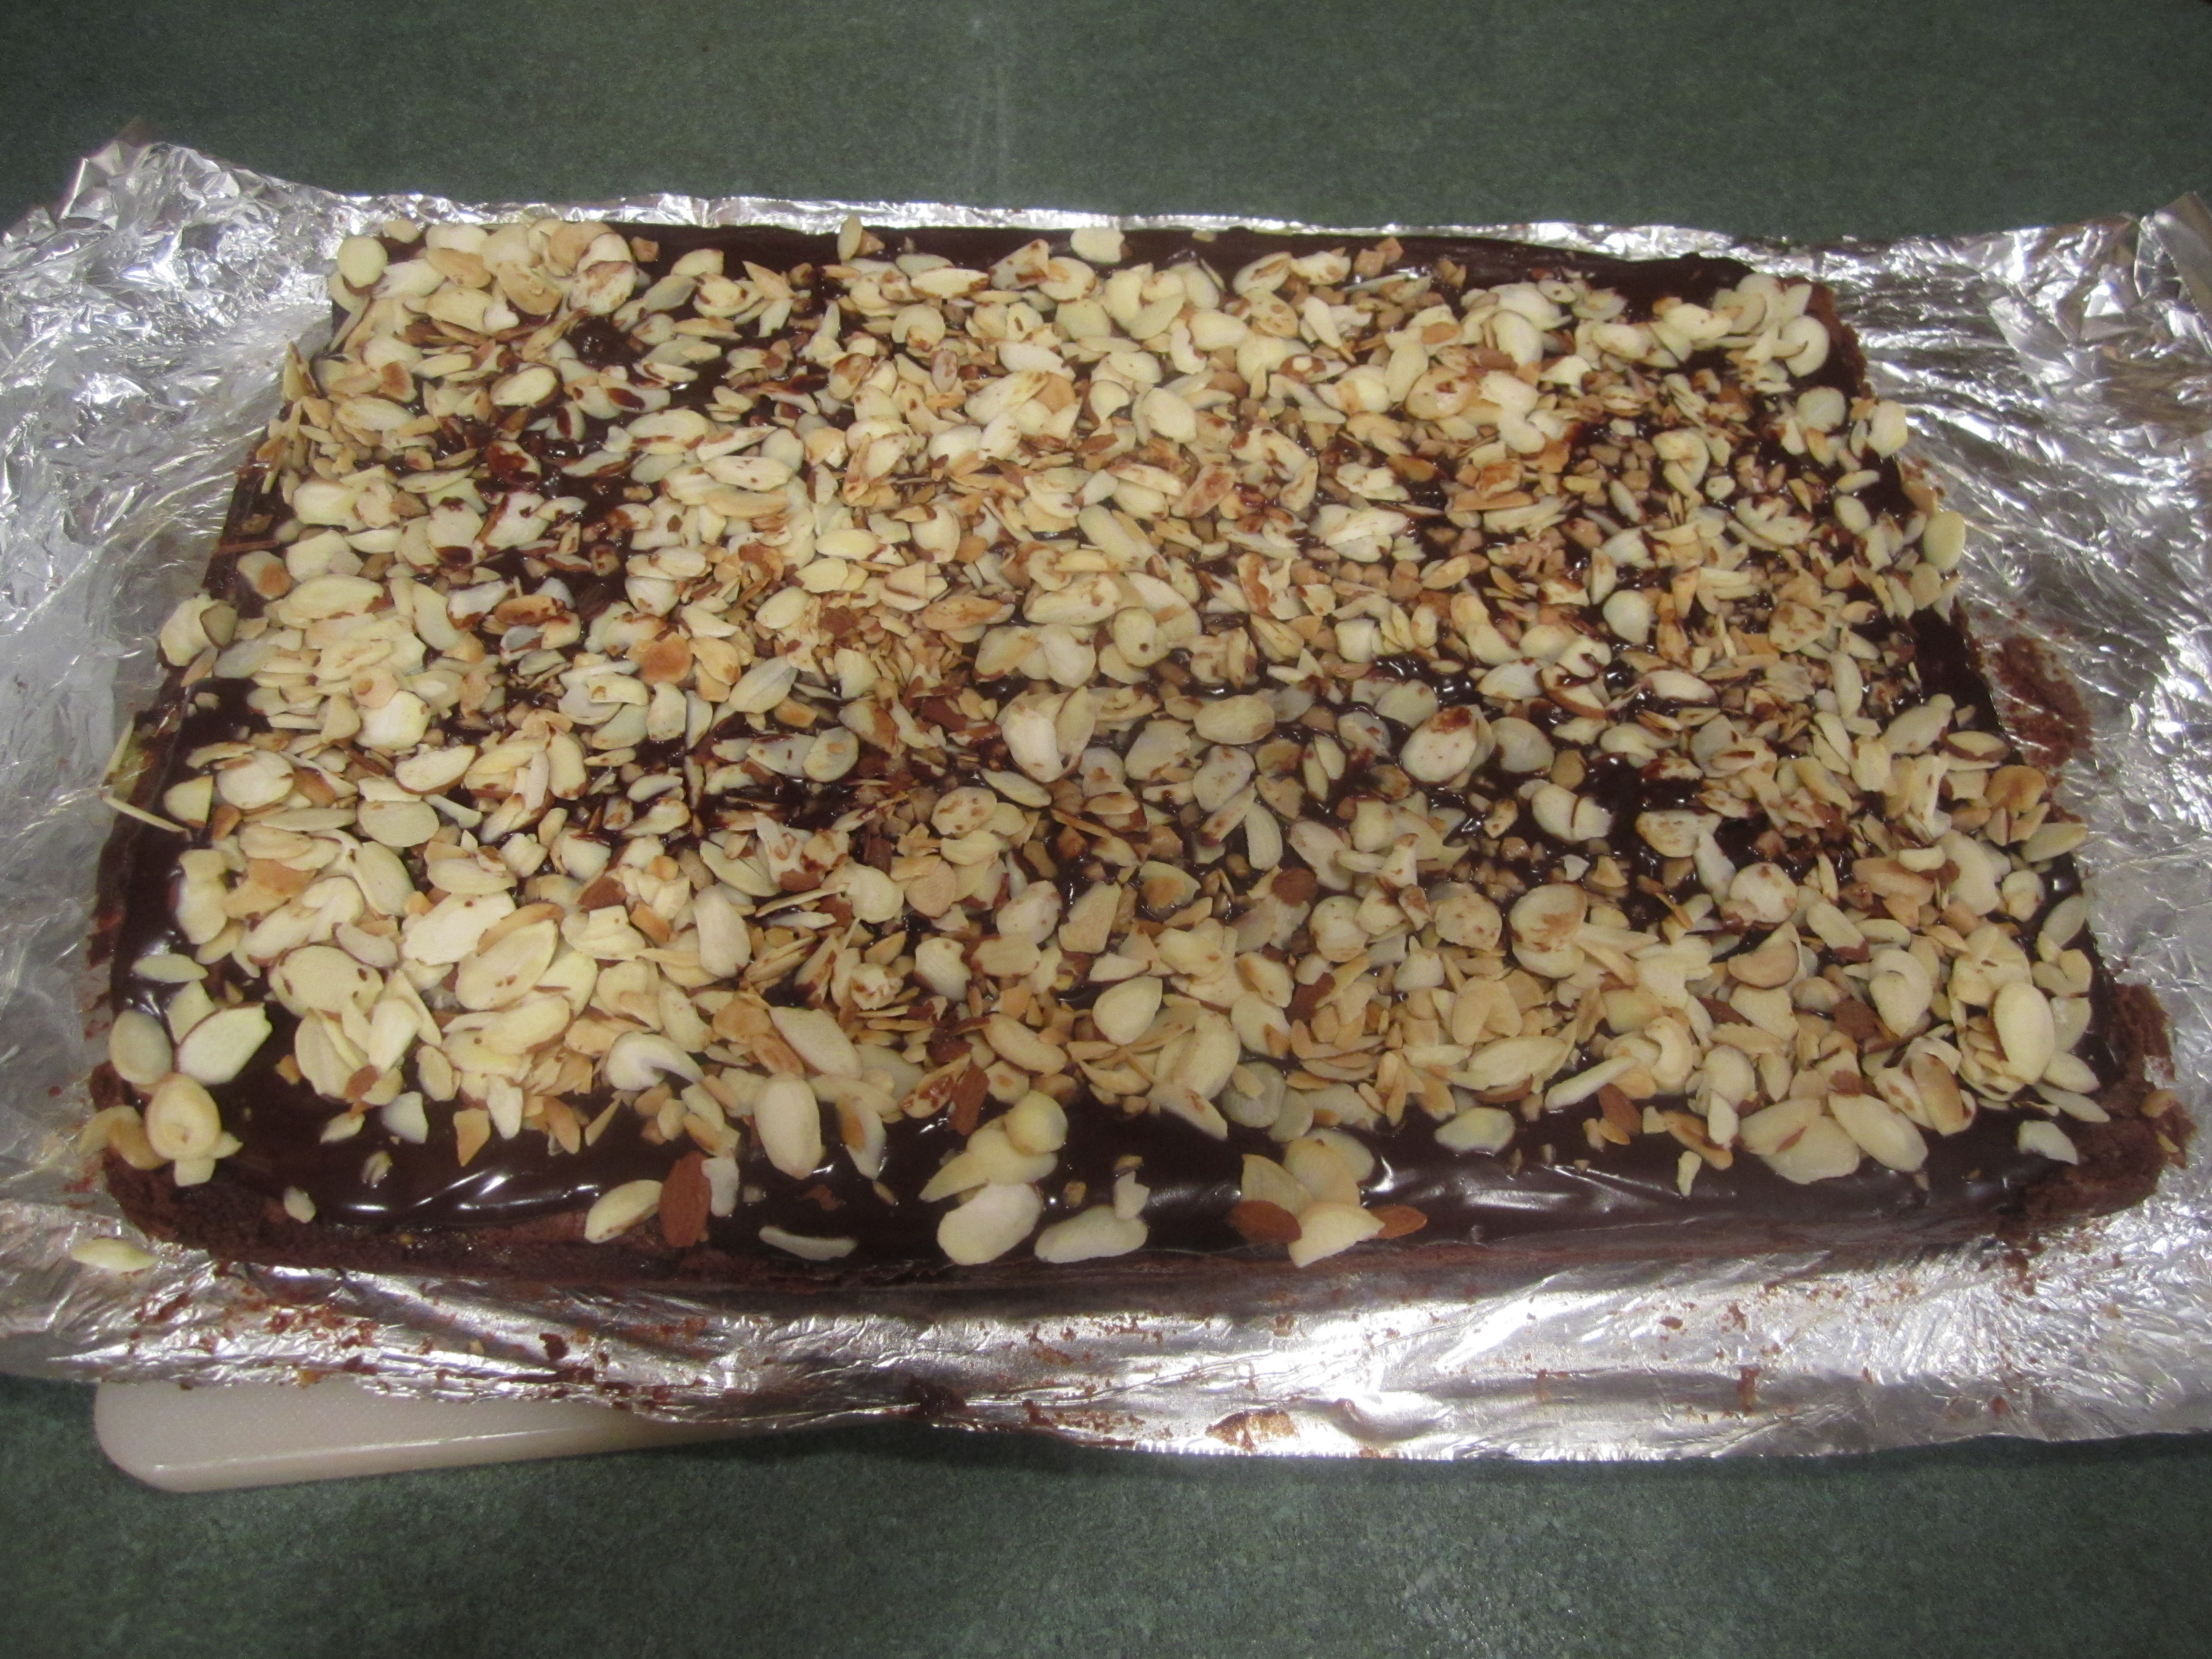
Pour topping over brownies in pan. Sprinkle with almonds and 1/4 cup toffee bits. Chill brownies until cold, at least 2 hours and up to one day.
Using the foil overhang, lift brownies from pan. Fold down foil sides and cut into 1-1/2 inch squares. Serve cold, storing any leftovers in the refrigerator.
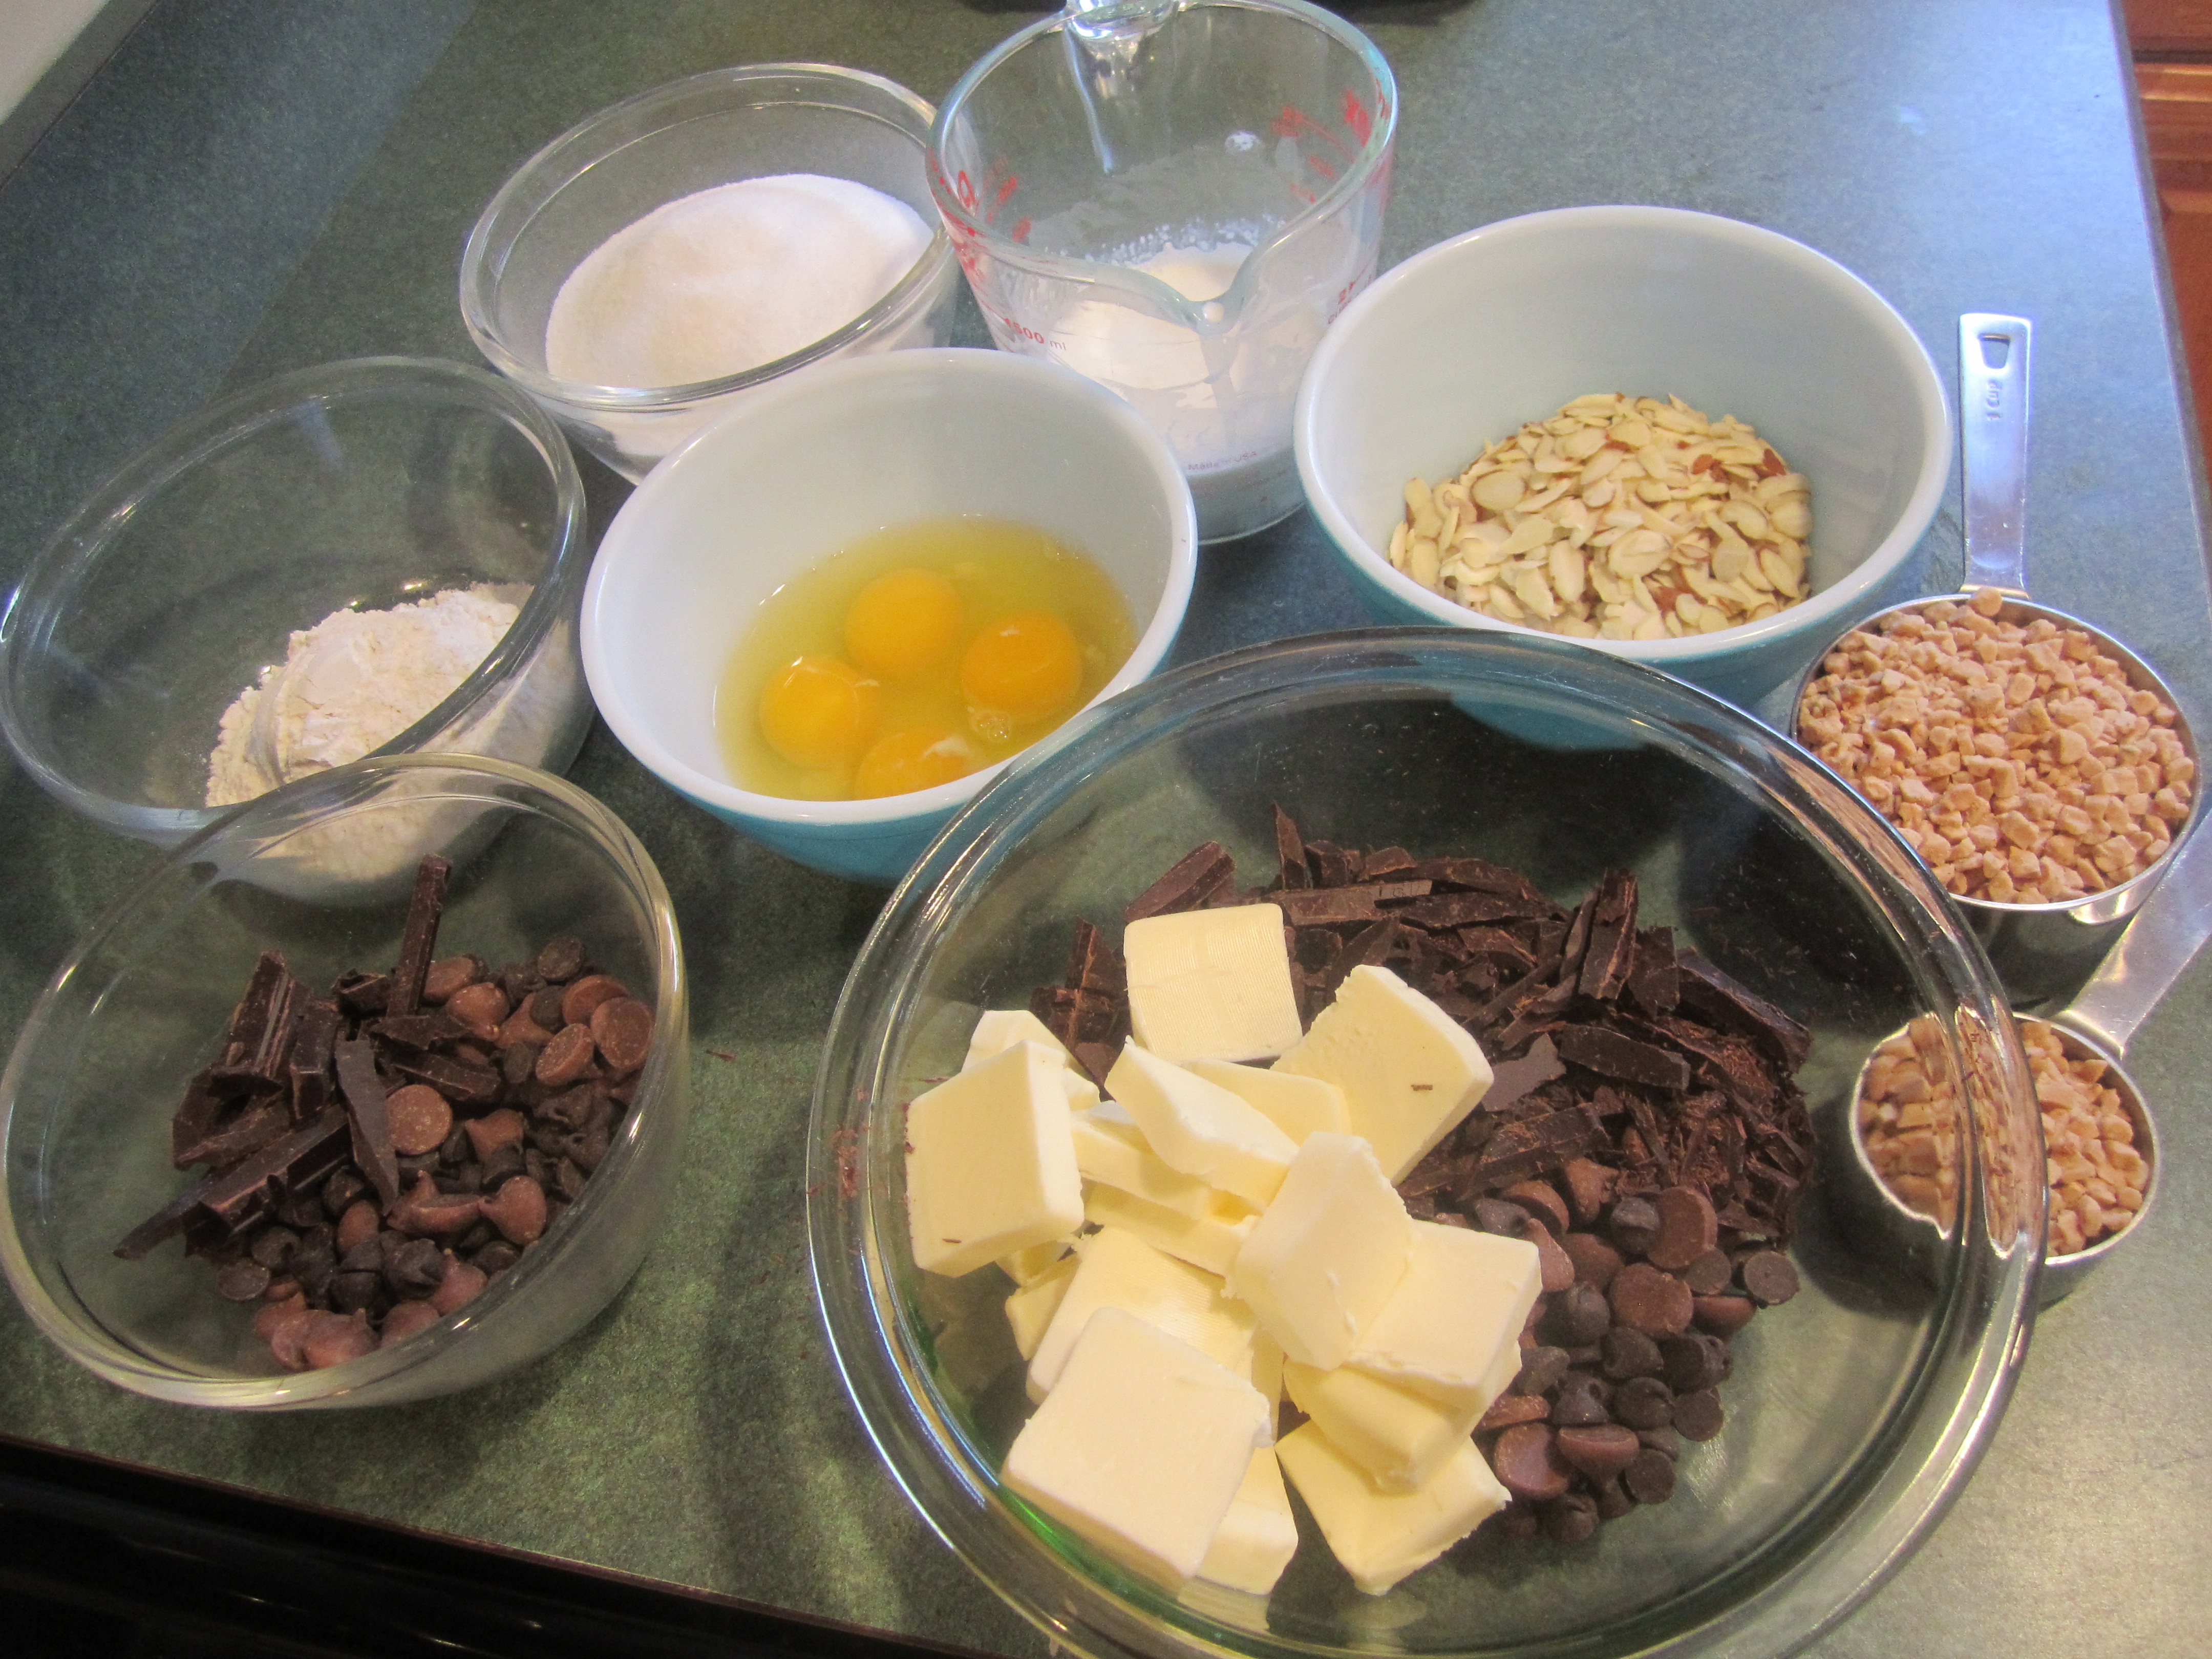
mise en place:
add sugar to chocolate/butter mixture:

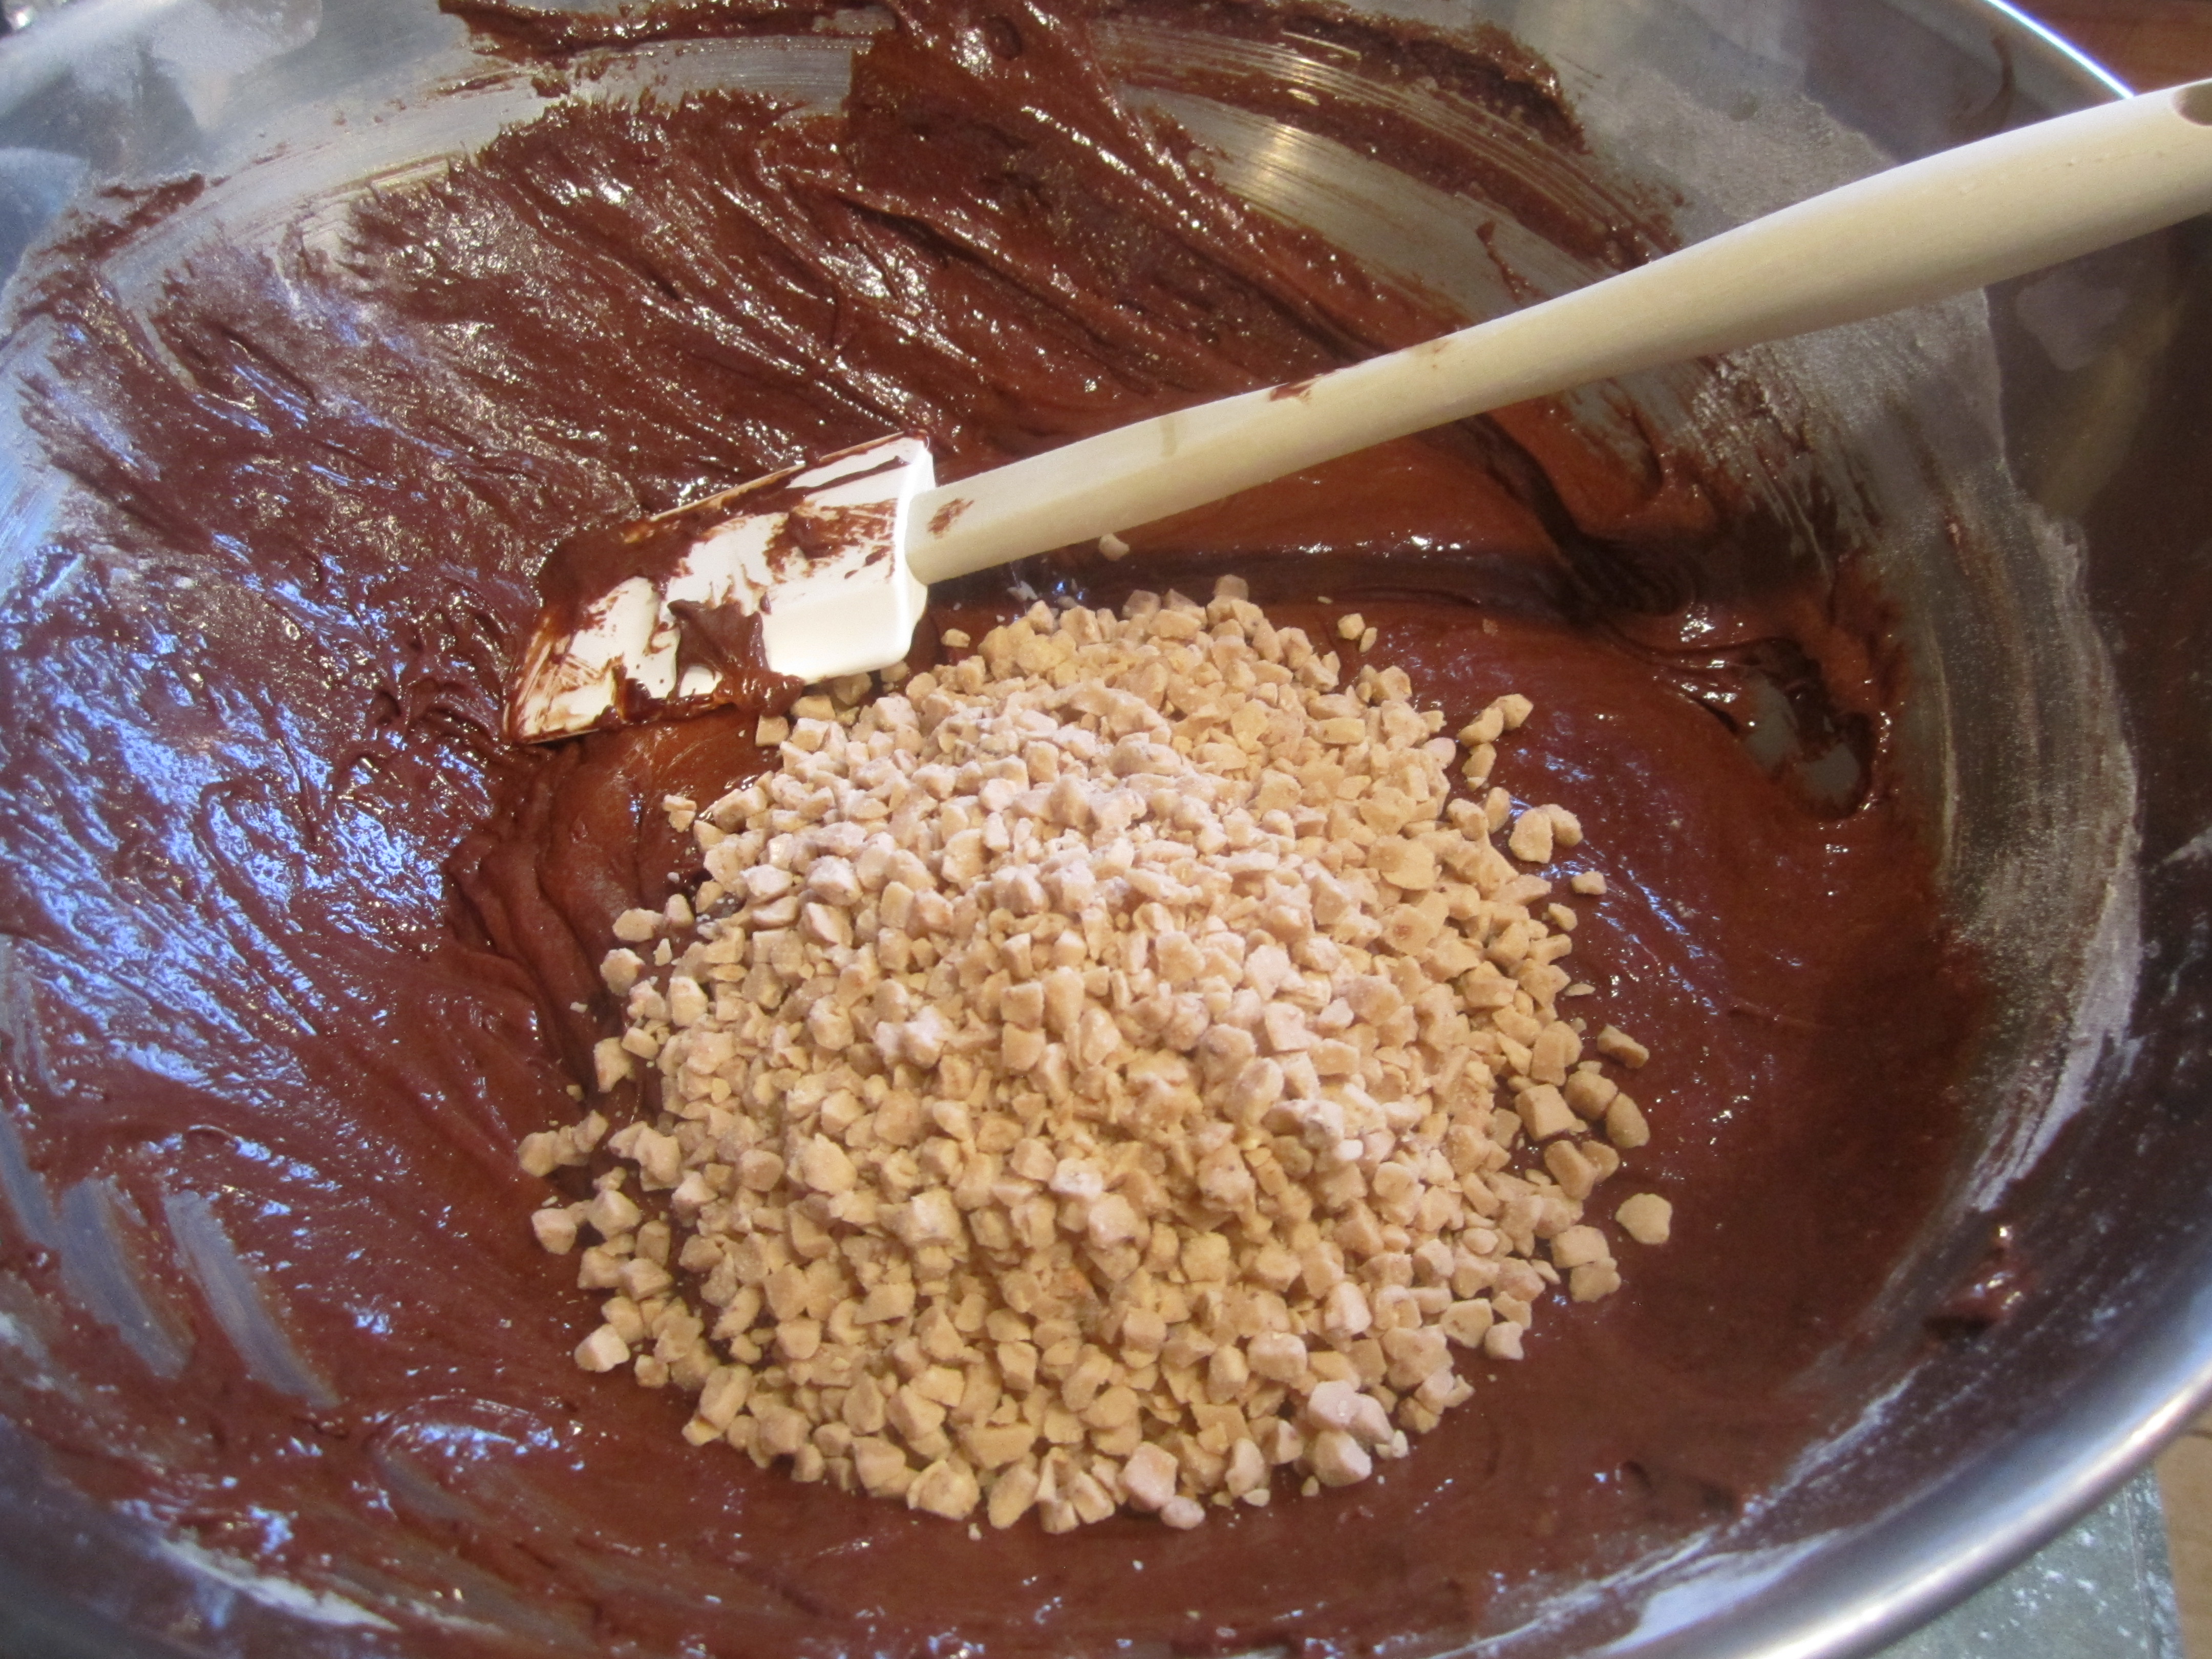
add eggs, flour, salt and toffee bits:


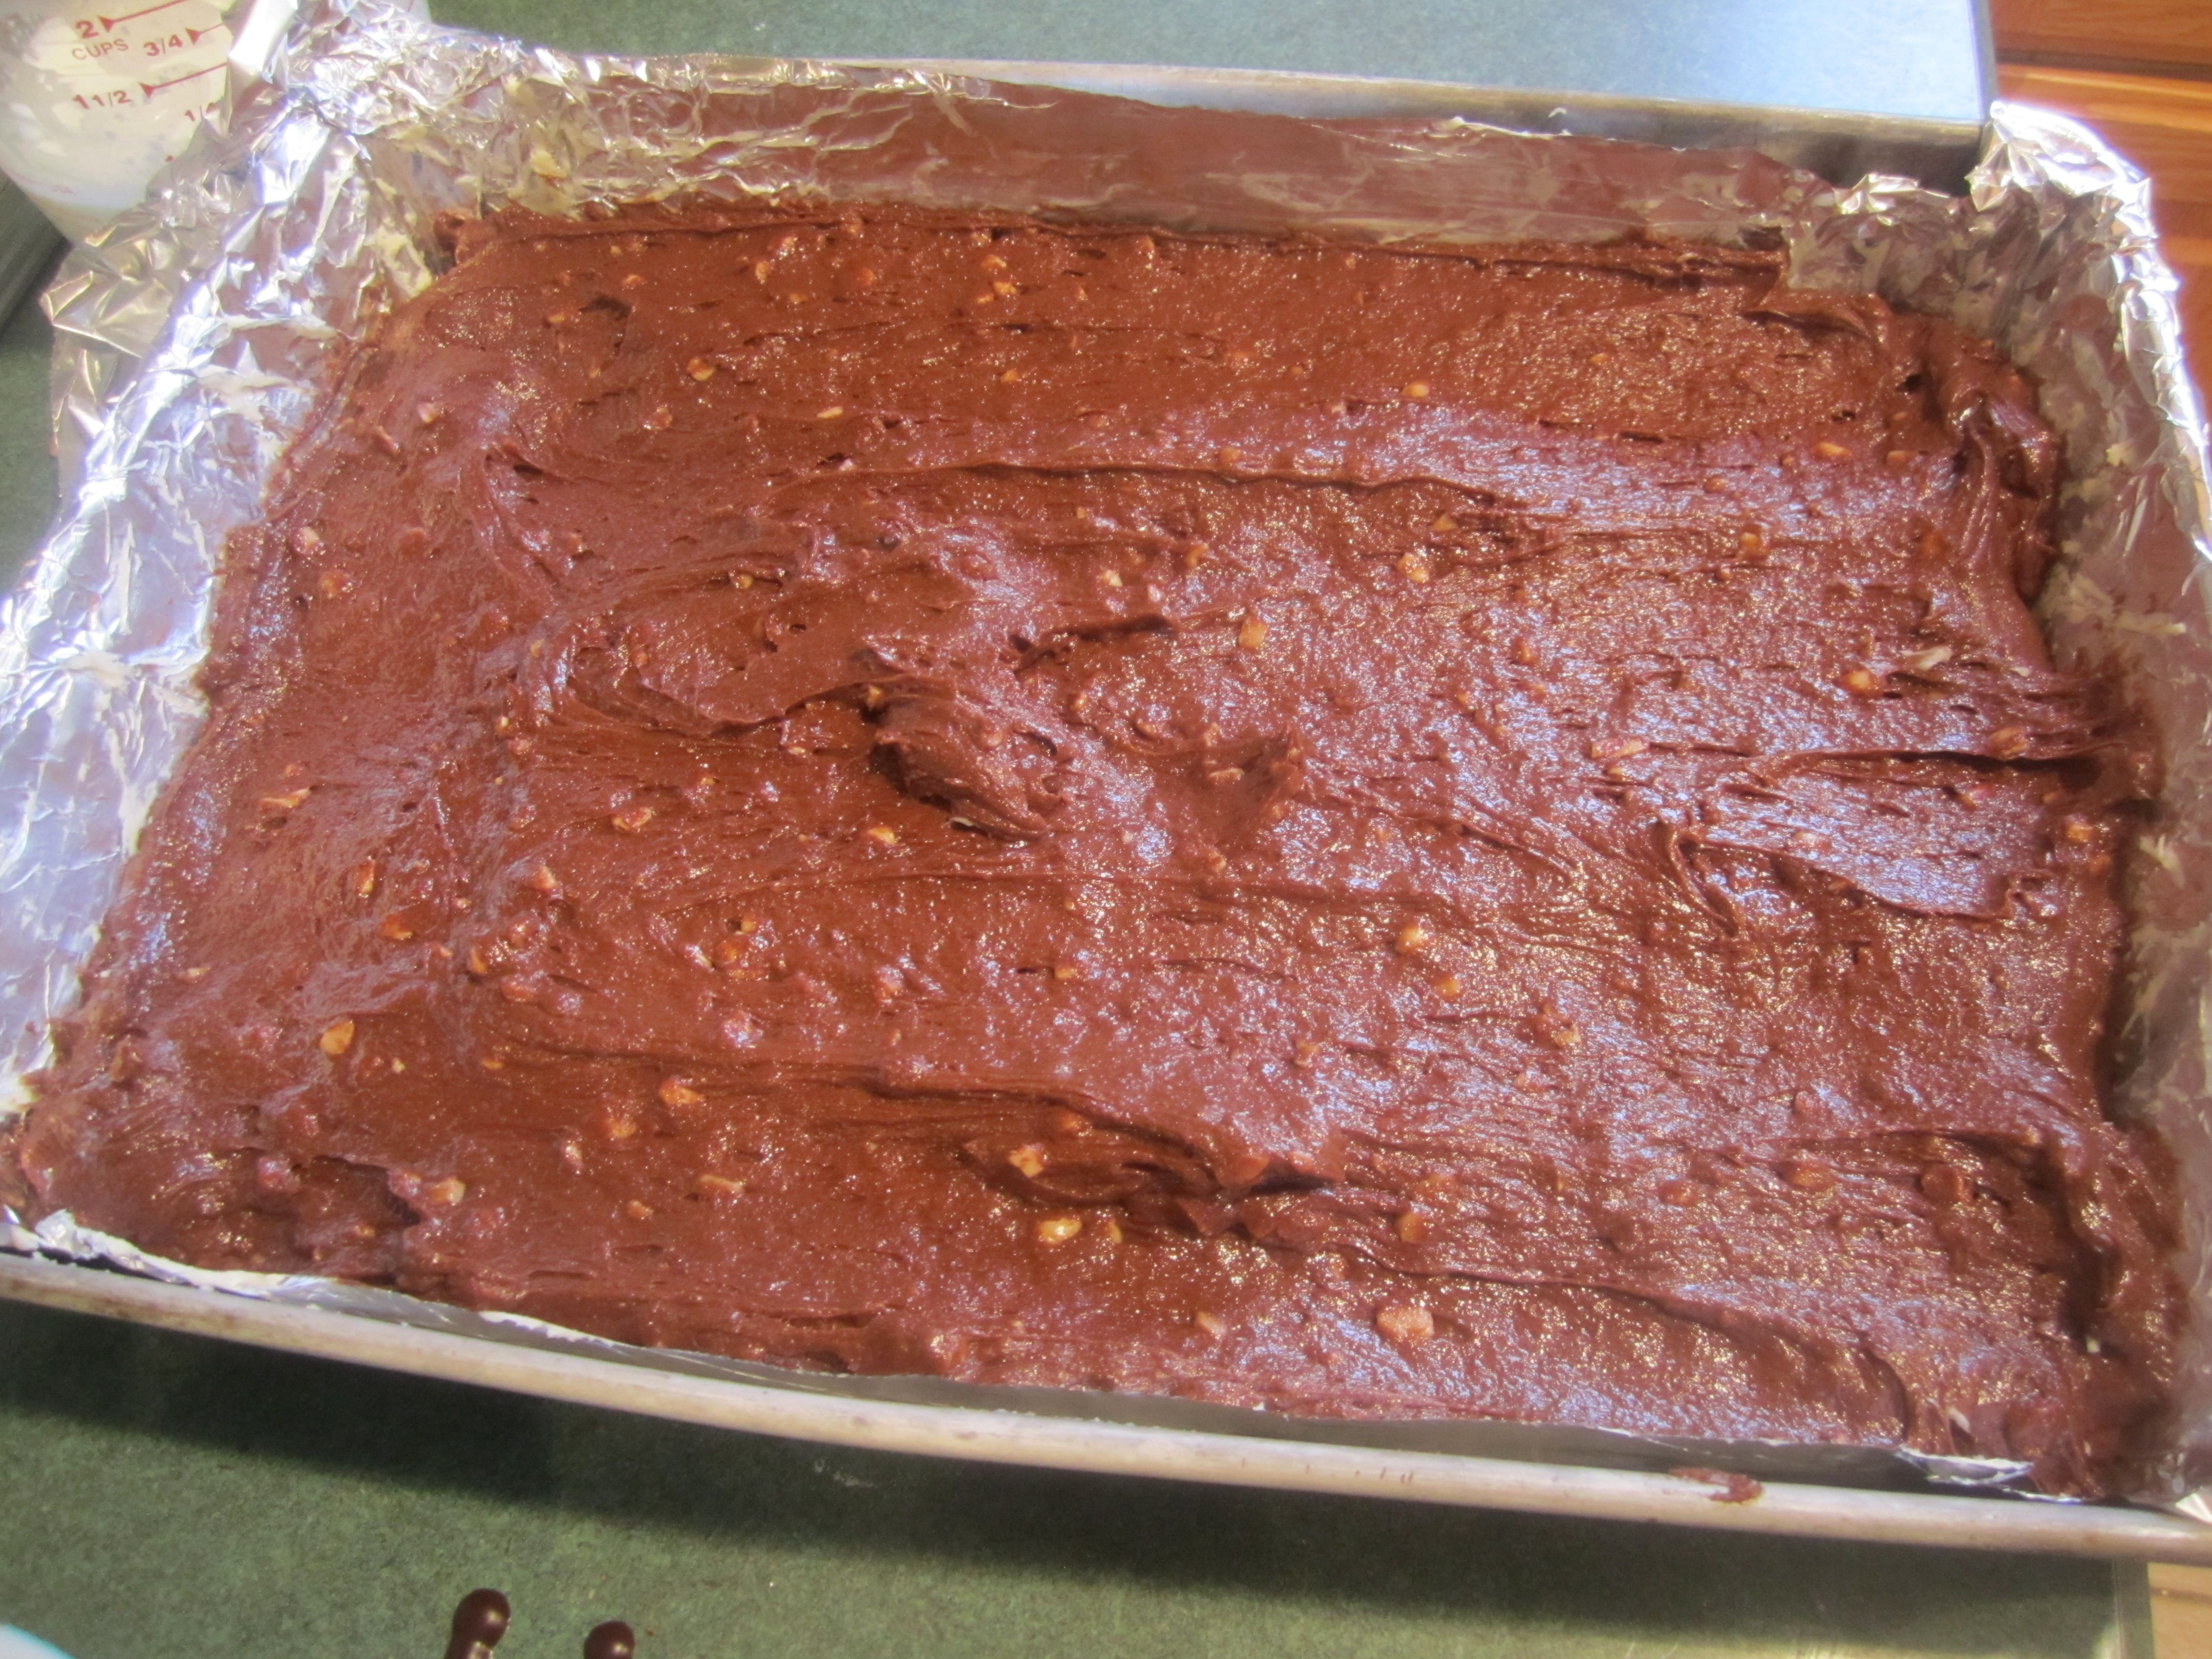
into the prepared pan:
after 30-35 minutes:

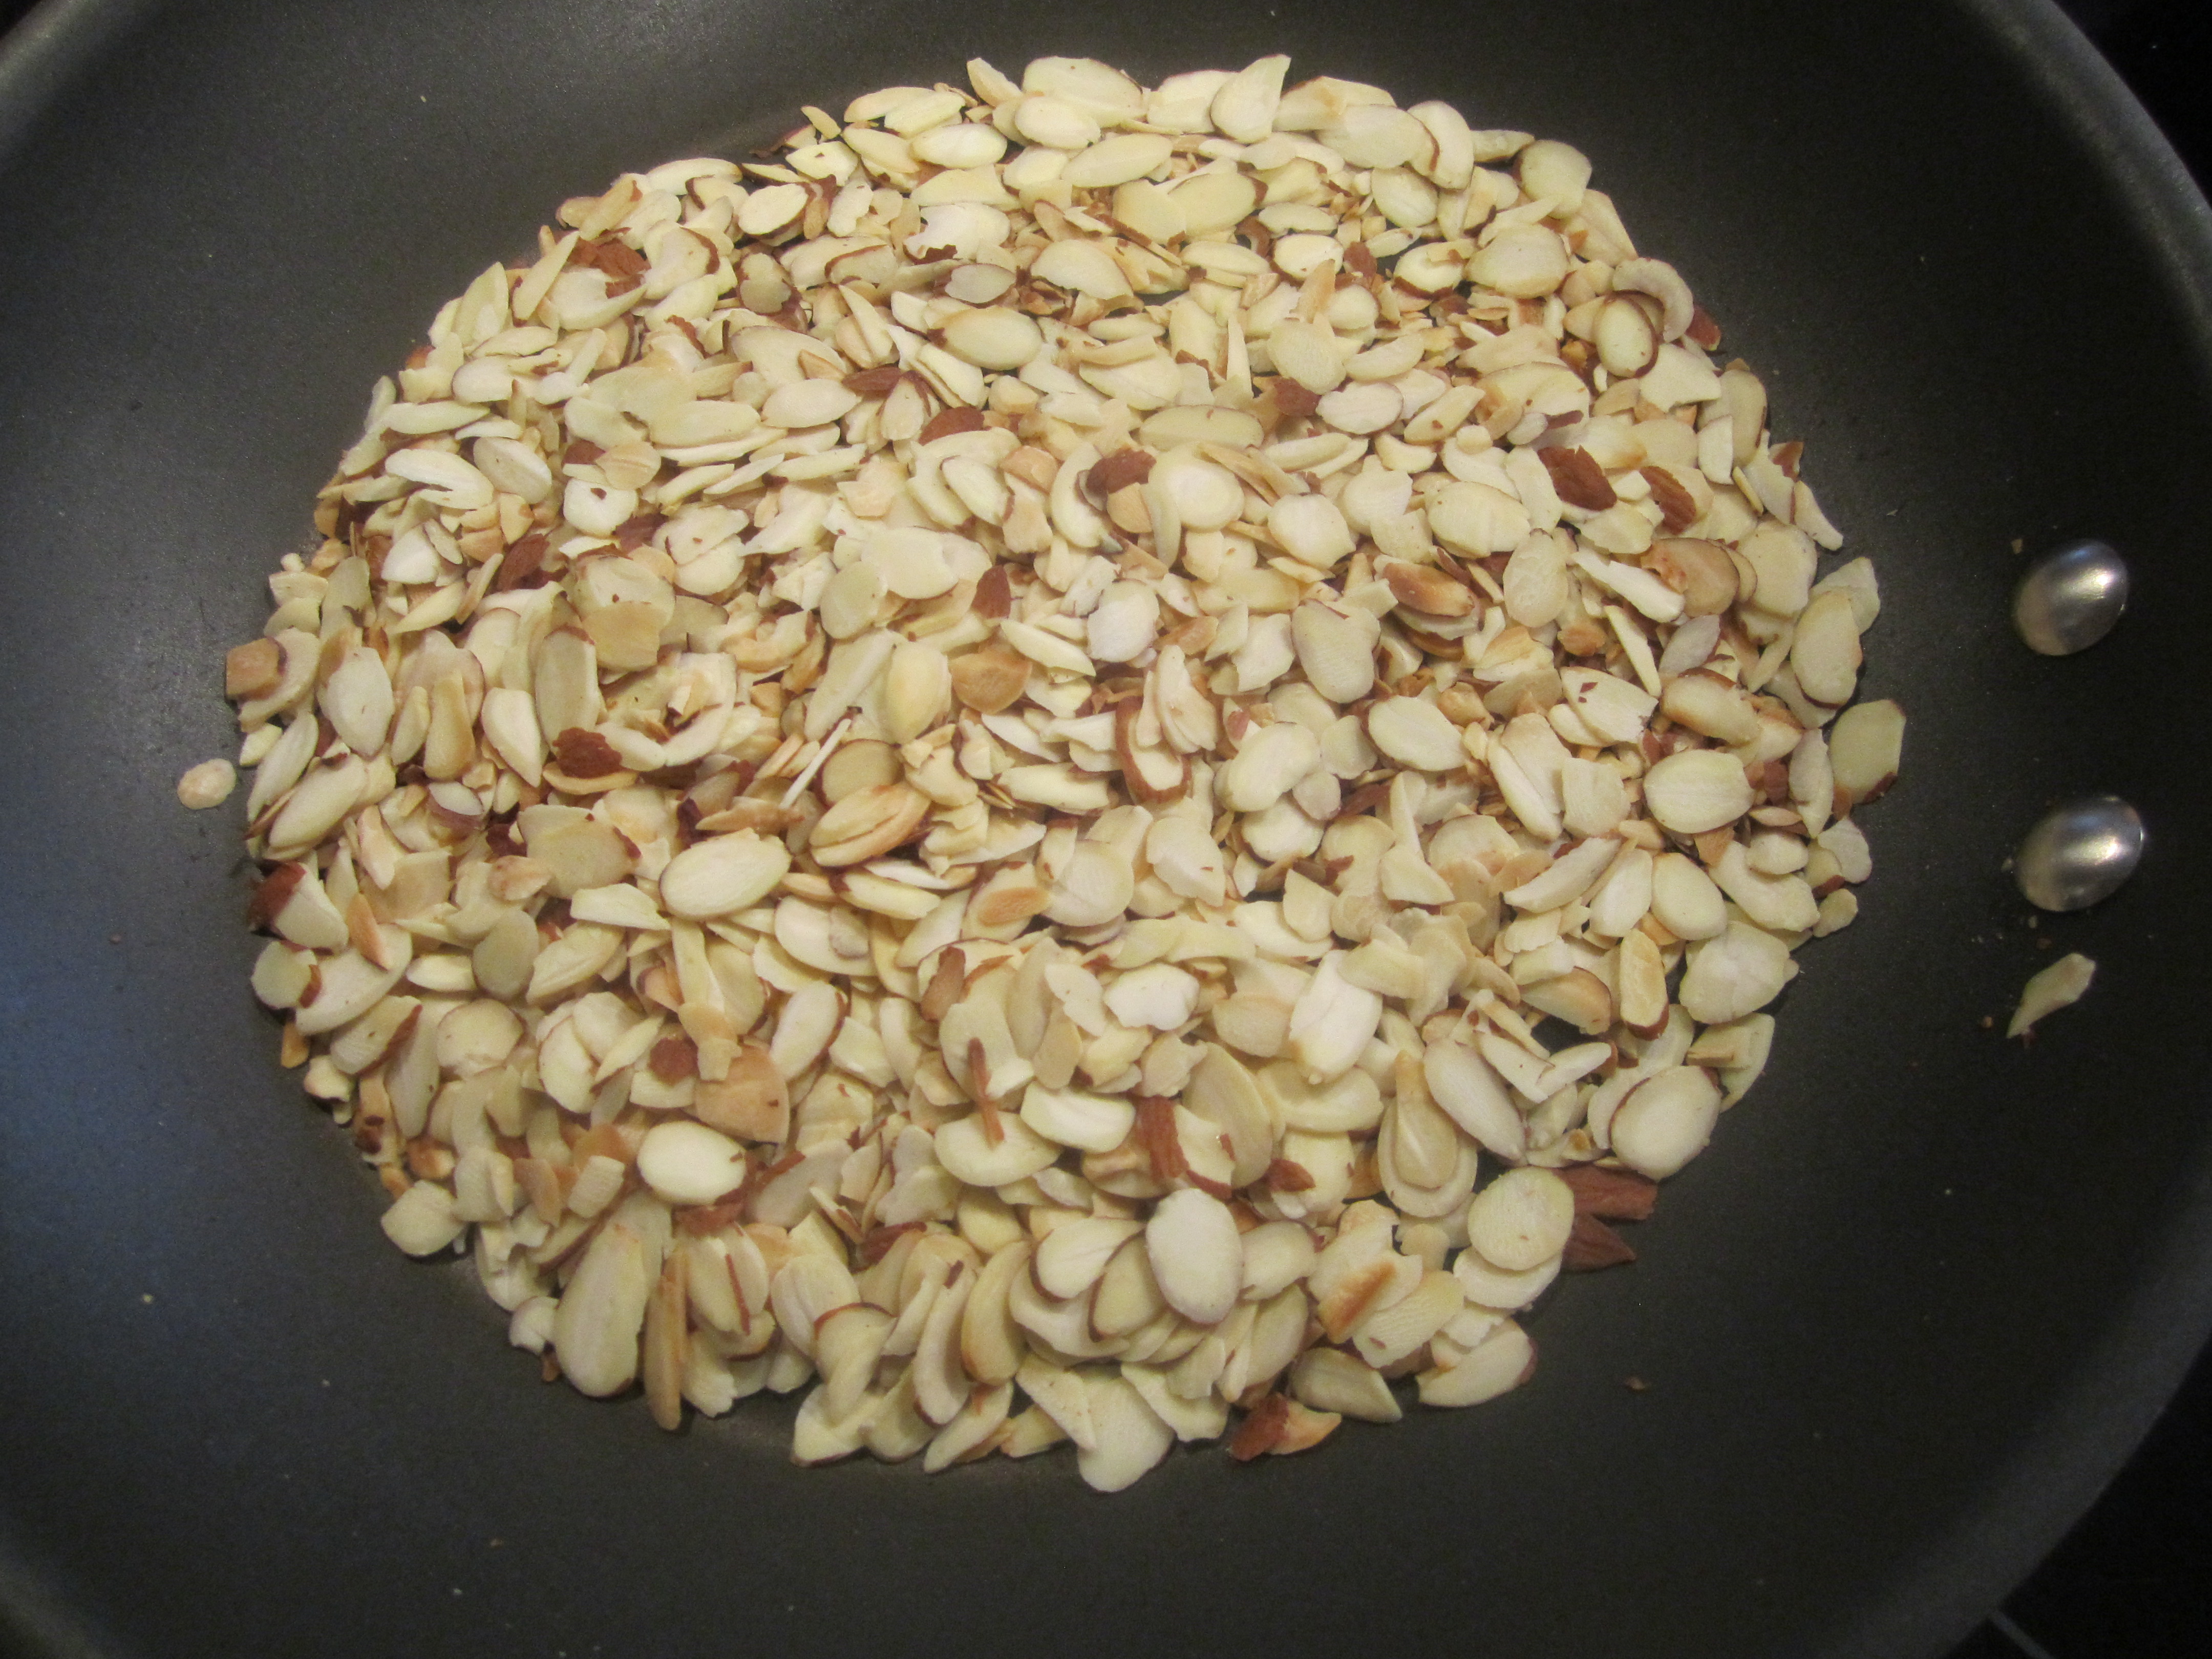
toasted almonds:
making topping:
pressing down on brownie edges:

add topping, toffee bits and then toasted almonds:

brownies cold and peeling away aluminum foil:
cut into small squares:

Apricot Glazed Pork Medallions
Easy, simple and flavorful, a perfect dish for a week night dinner. Delicious served with couscous or rice. Add a veggie and you have a complete meal!
Apricot Glazed Pork Medallions (adapted from Food Network, Robin Miller)
1 pound pork tenderloin
salt and black pepper
2-4 teaspoons sesame oil
1-1/4 cups apricot preserves
1/4 cup tamari soy sauce
1 tablespoon bottled minced ginger
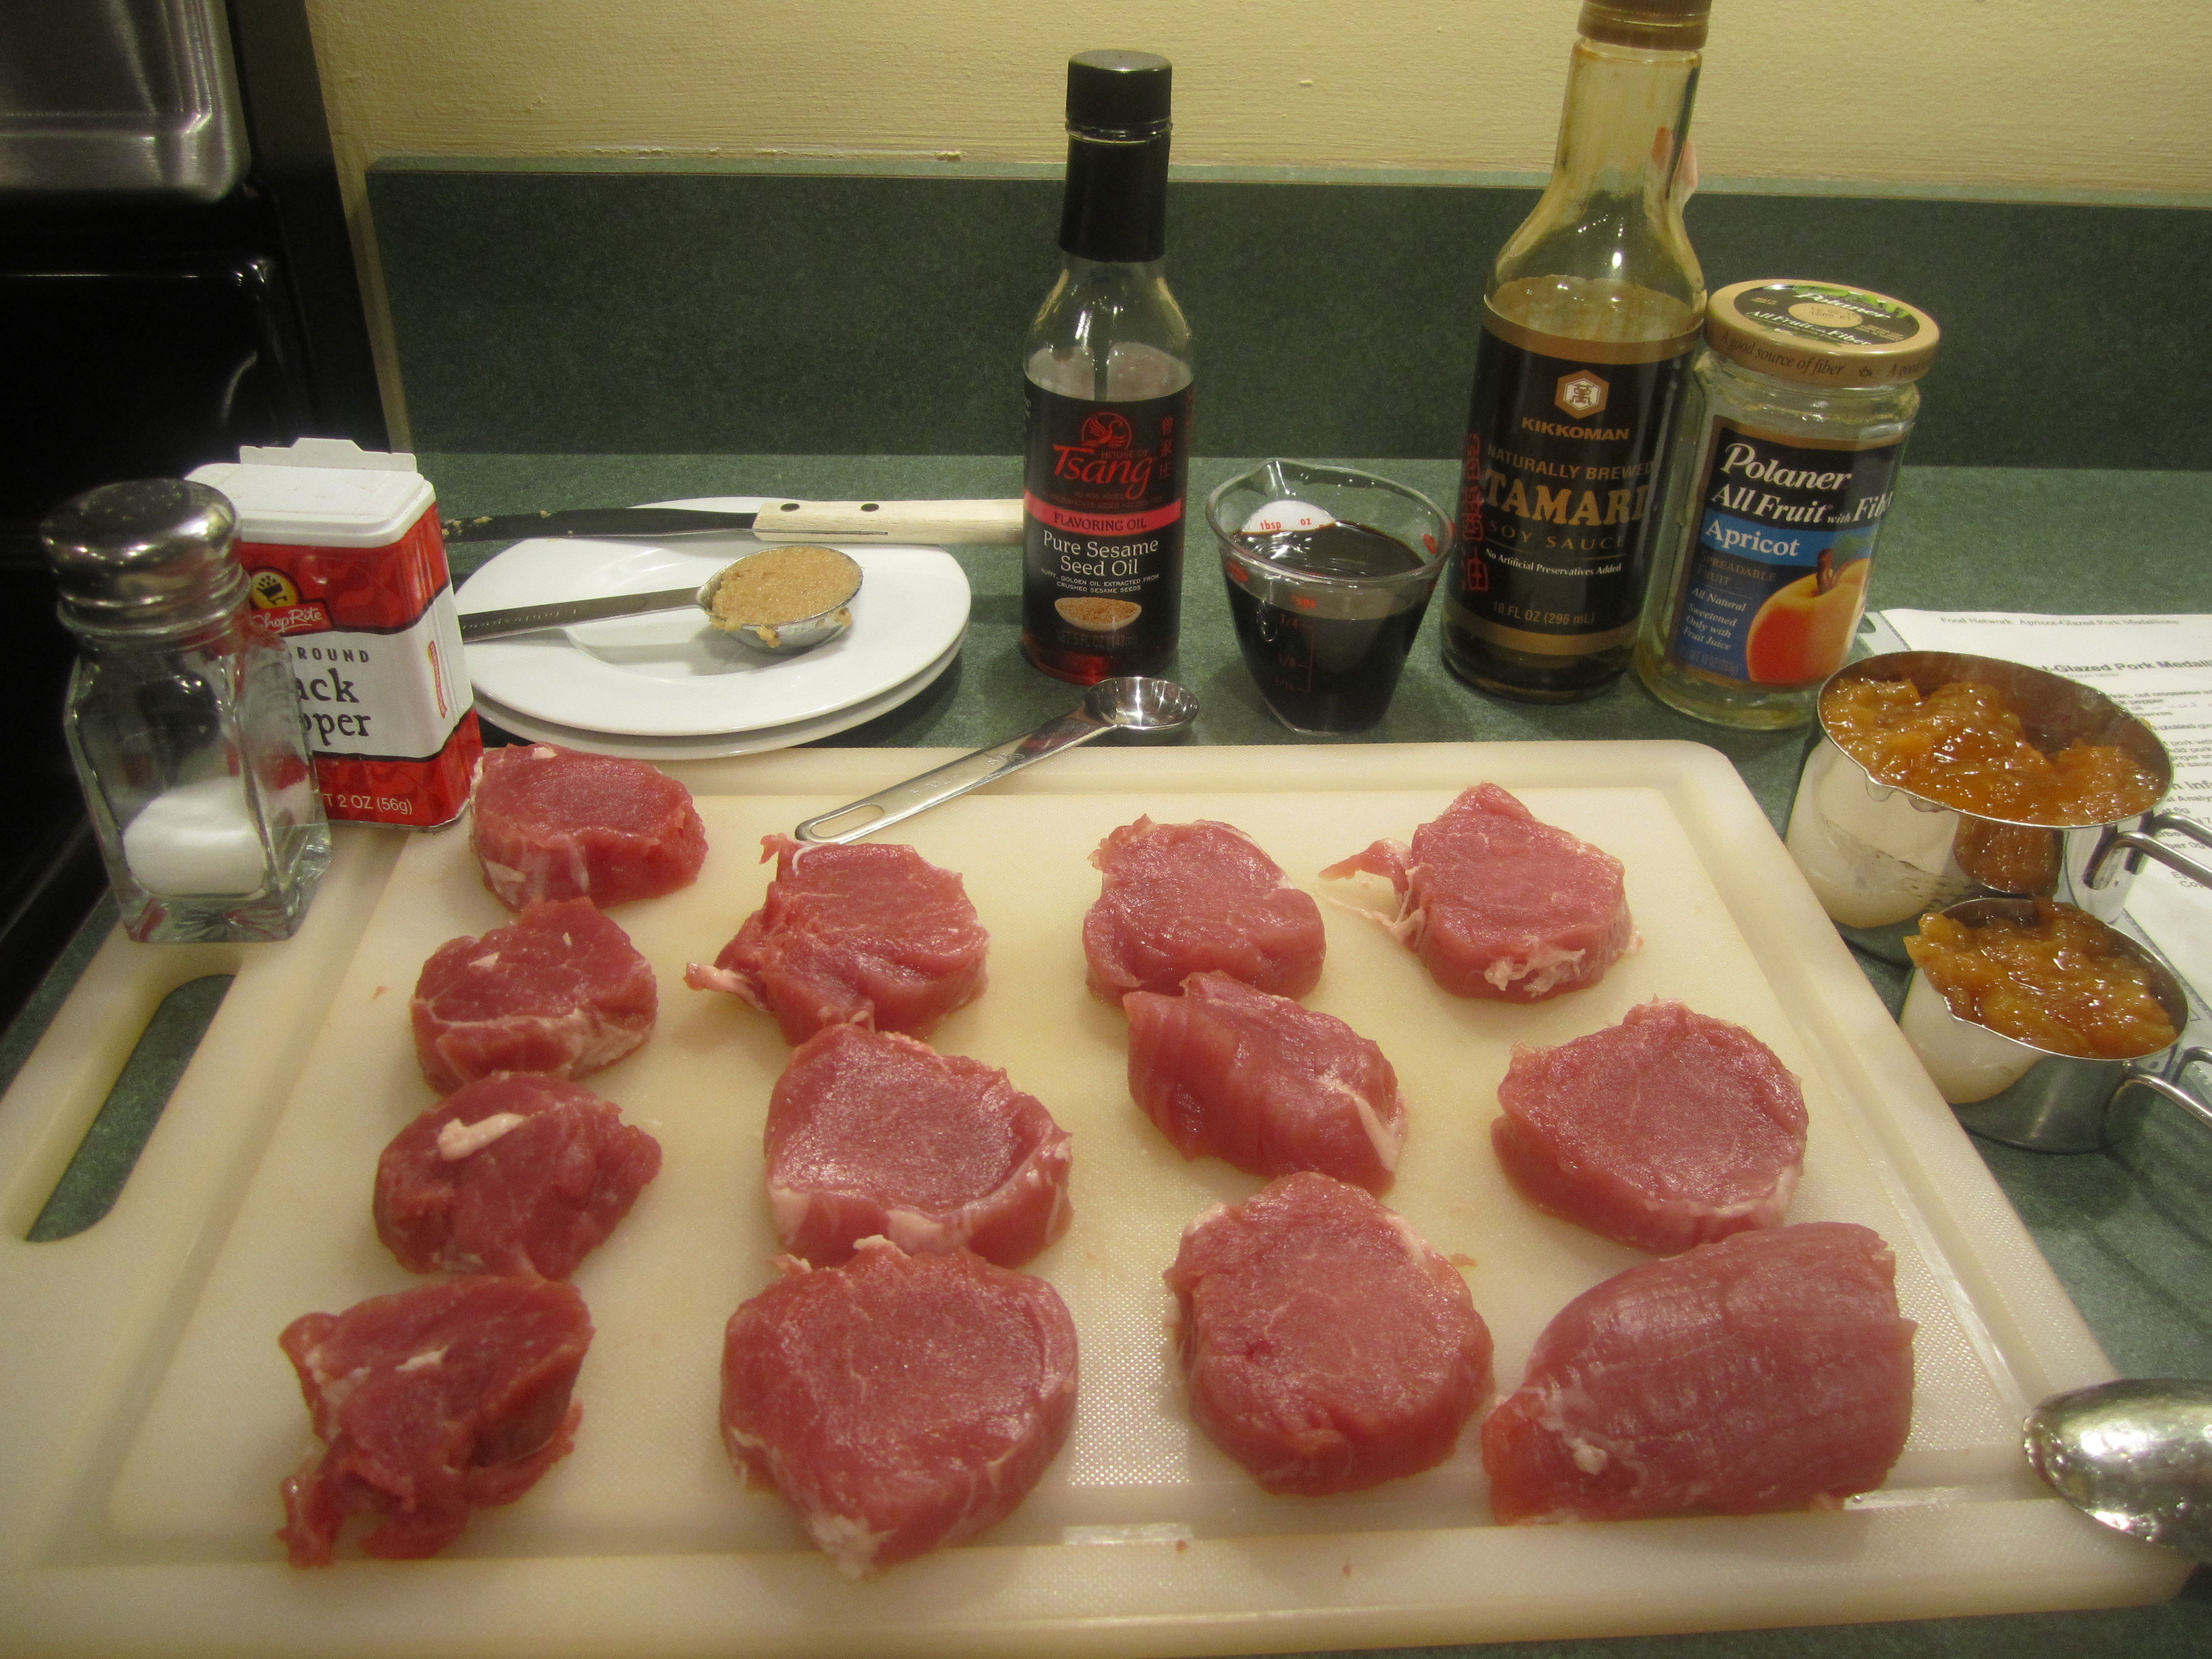
Remove fat and silverskin from pork tenderloin. Cut pork into 1/2 inch thick rounds. Sprinkle both sides of medallions, lightly, with salt and pepper.
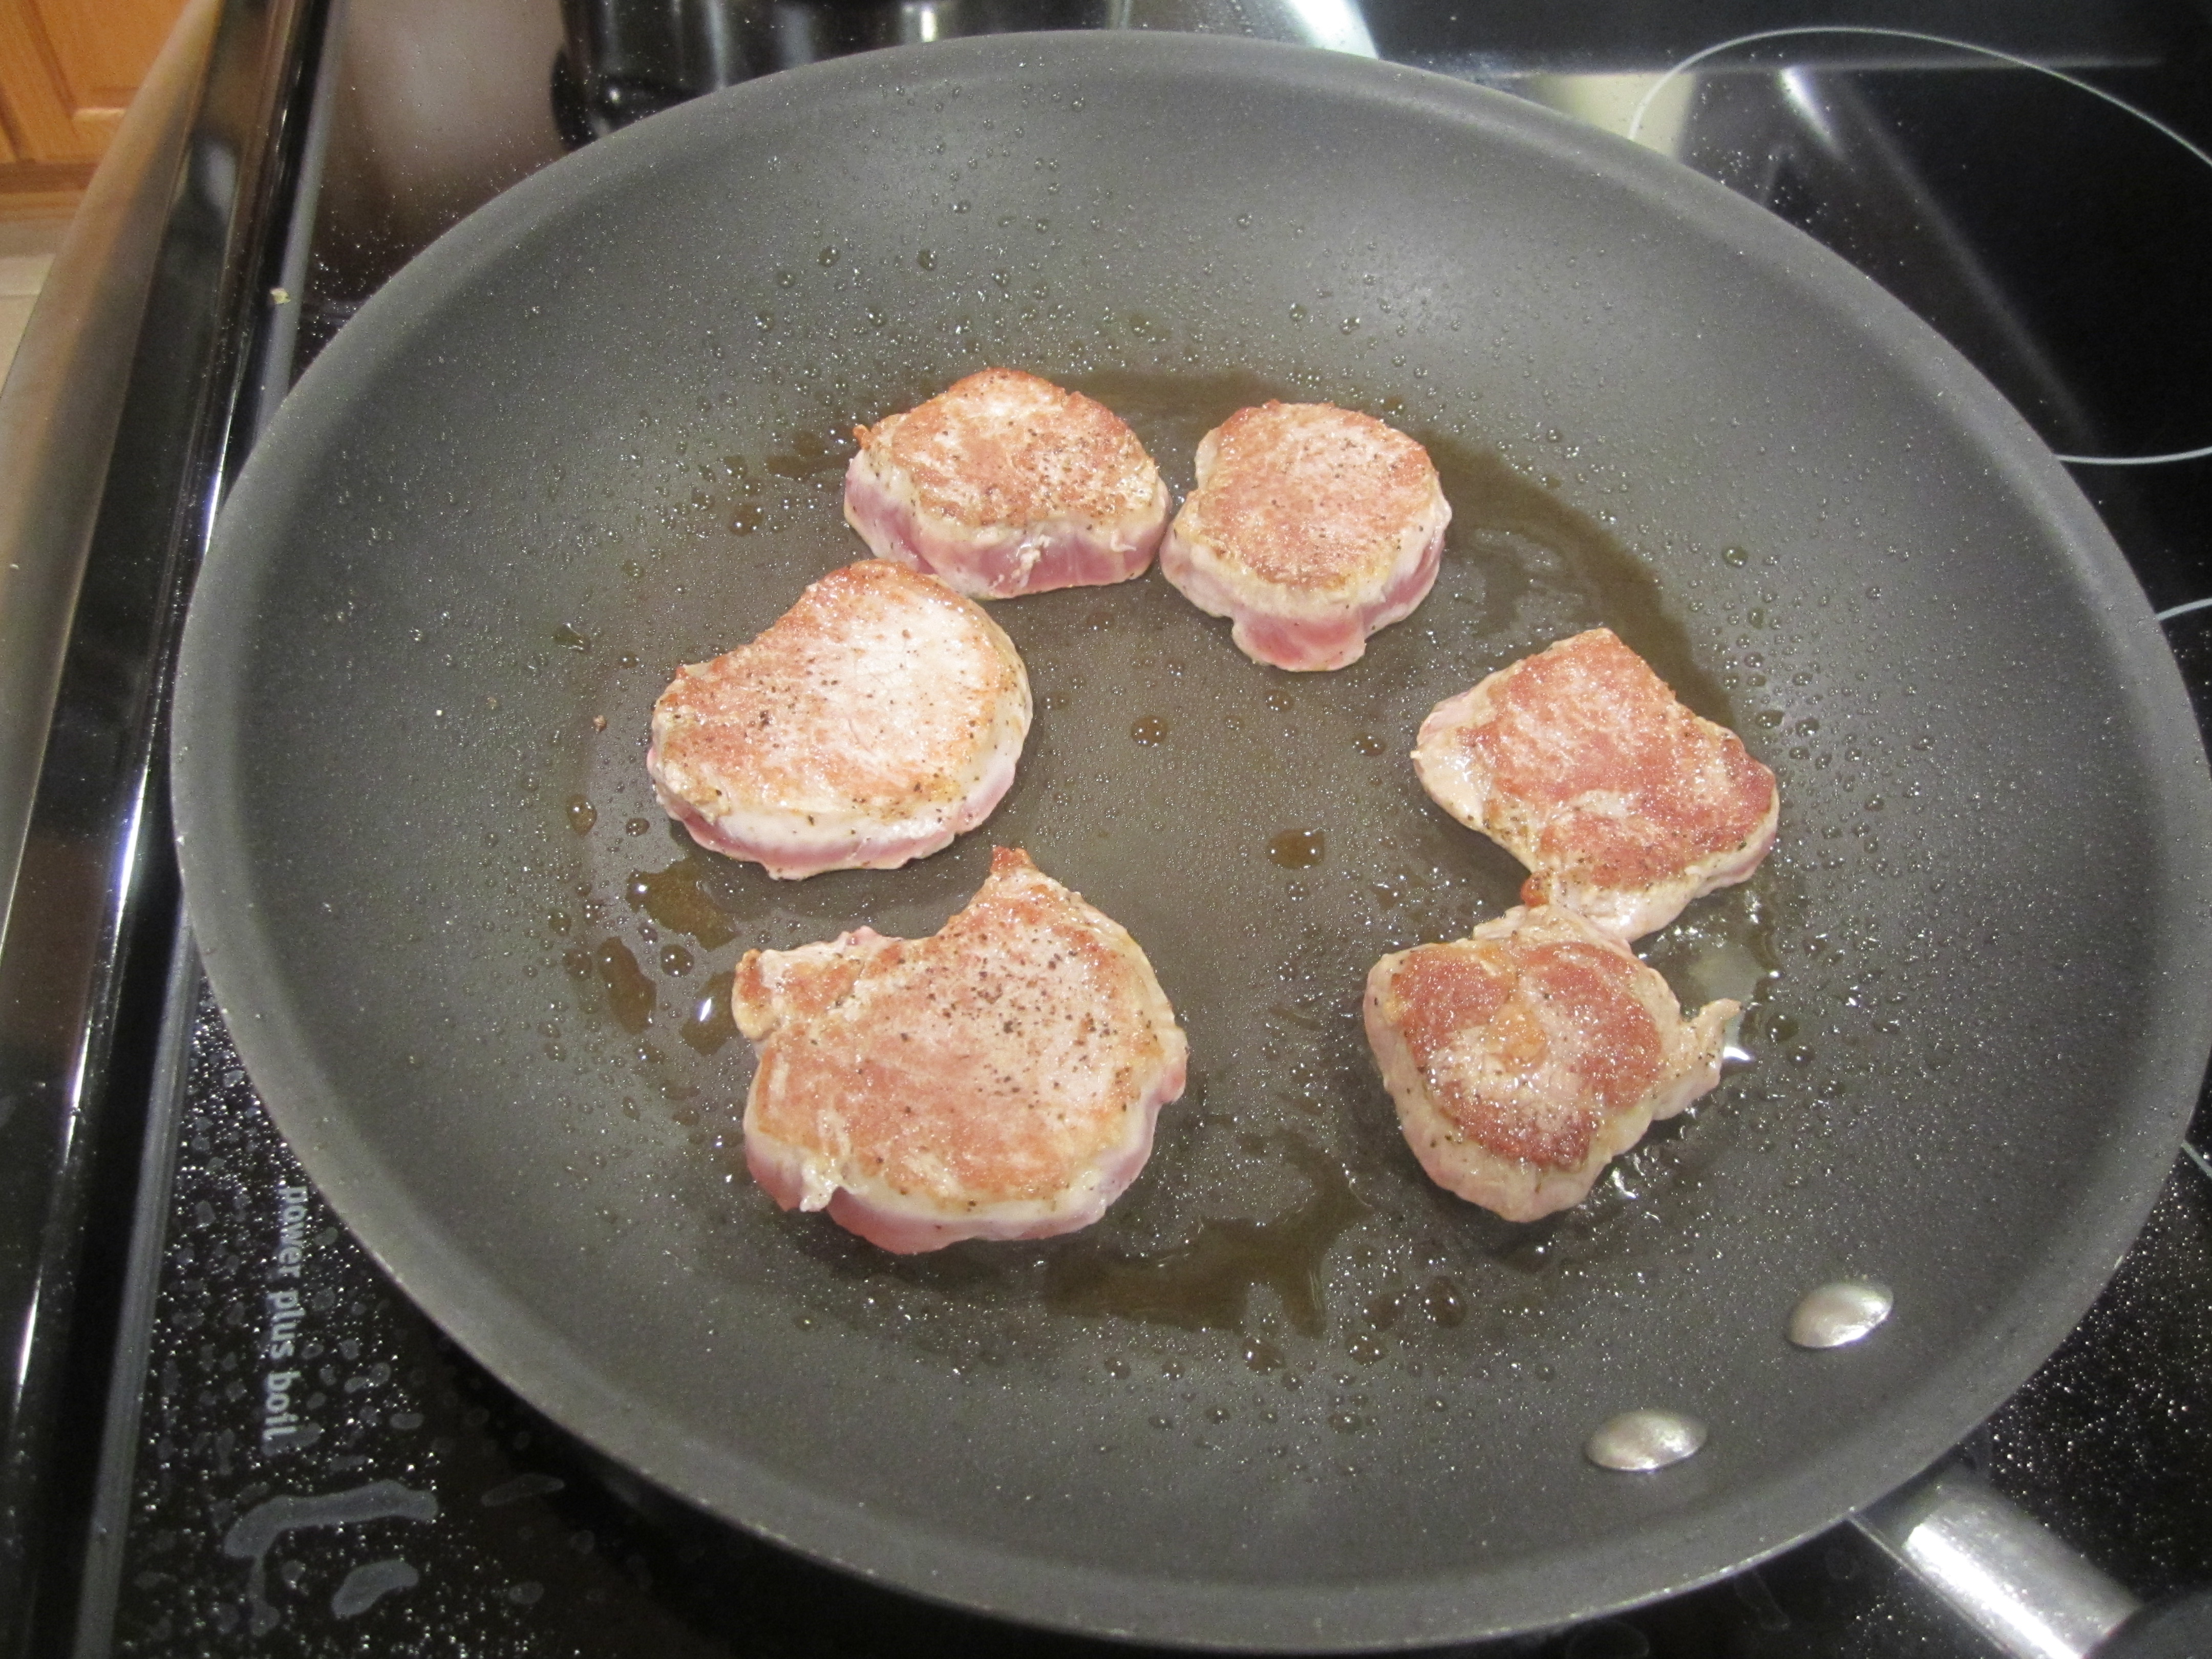
Heat 2 teaspoons of sesame oil in a large skillet over medium to medium high heat. Add half of pork and sear 2 minutes on each side. Remove pork to dish and repeat with the other half, using 2 more teaspoons of sesame oil.
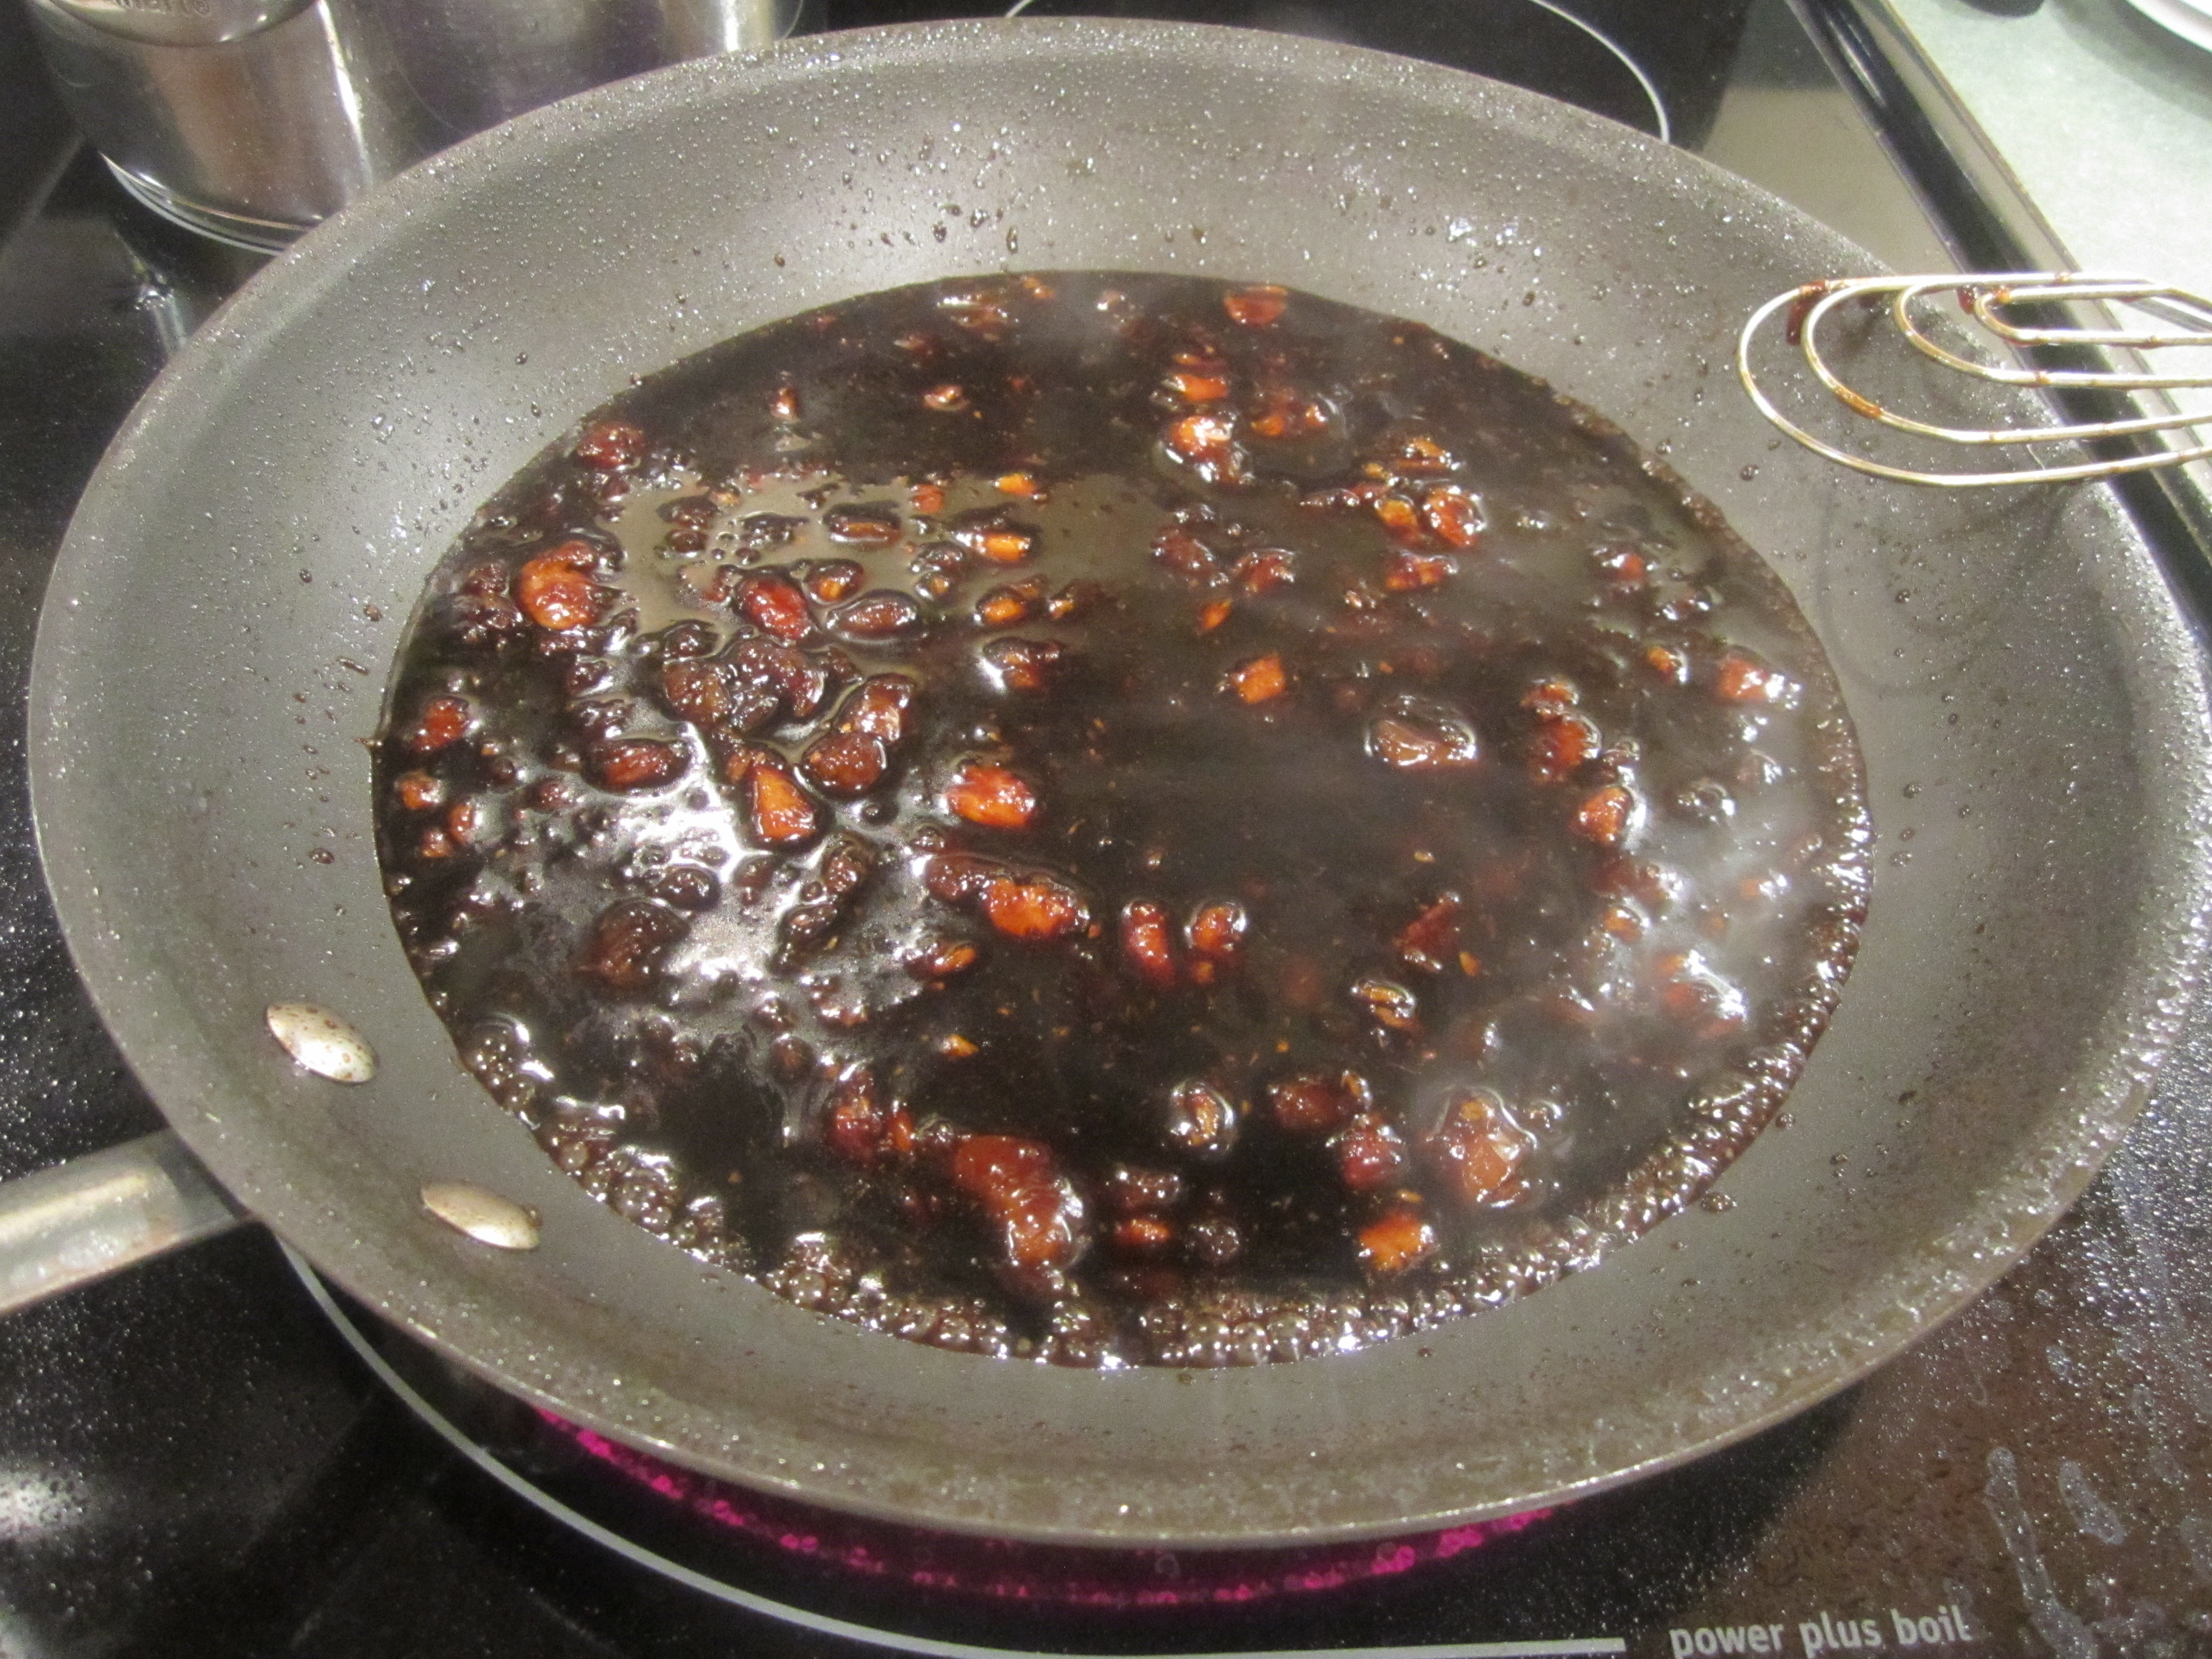
With pork set aside, add apricot preserves, tamari soy sauce and minced ginger to skillet. Bring to a simmer and simmer for 2 minutes. Add pork medallions, turning to coat pork and simmer for 3 minutes. Do not overcook pork.
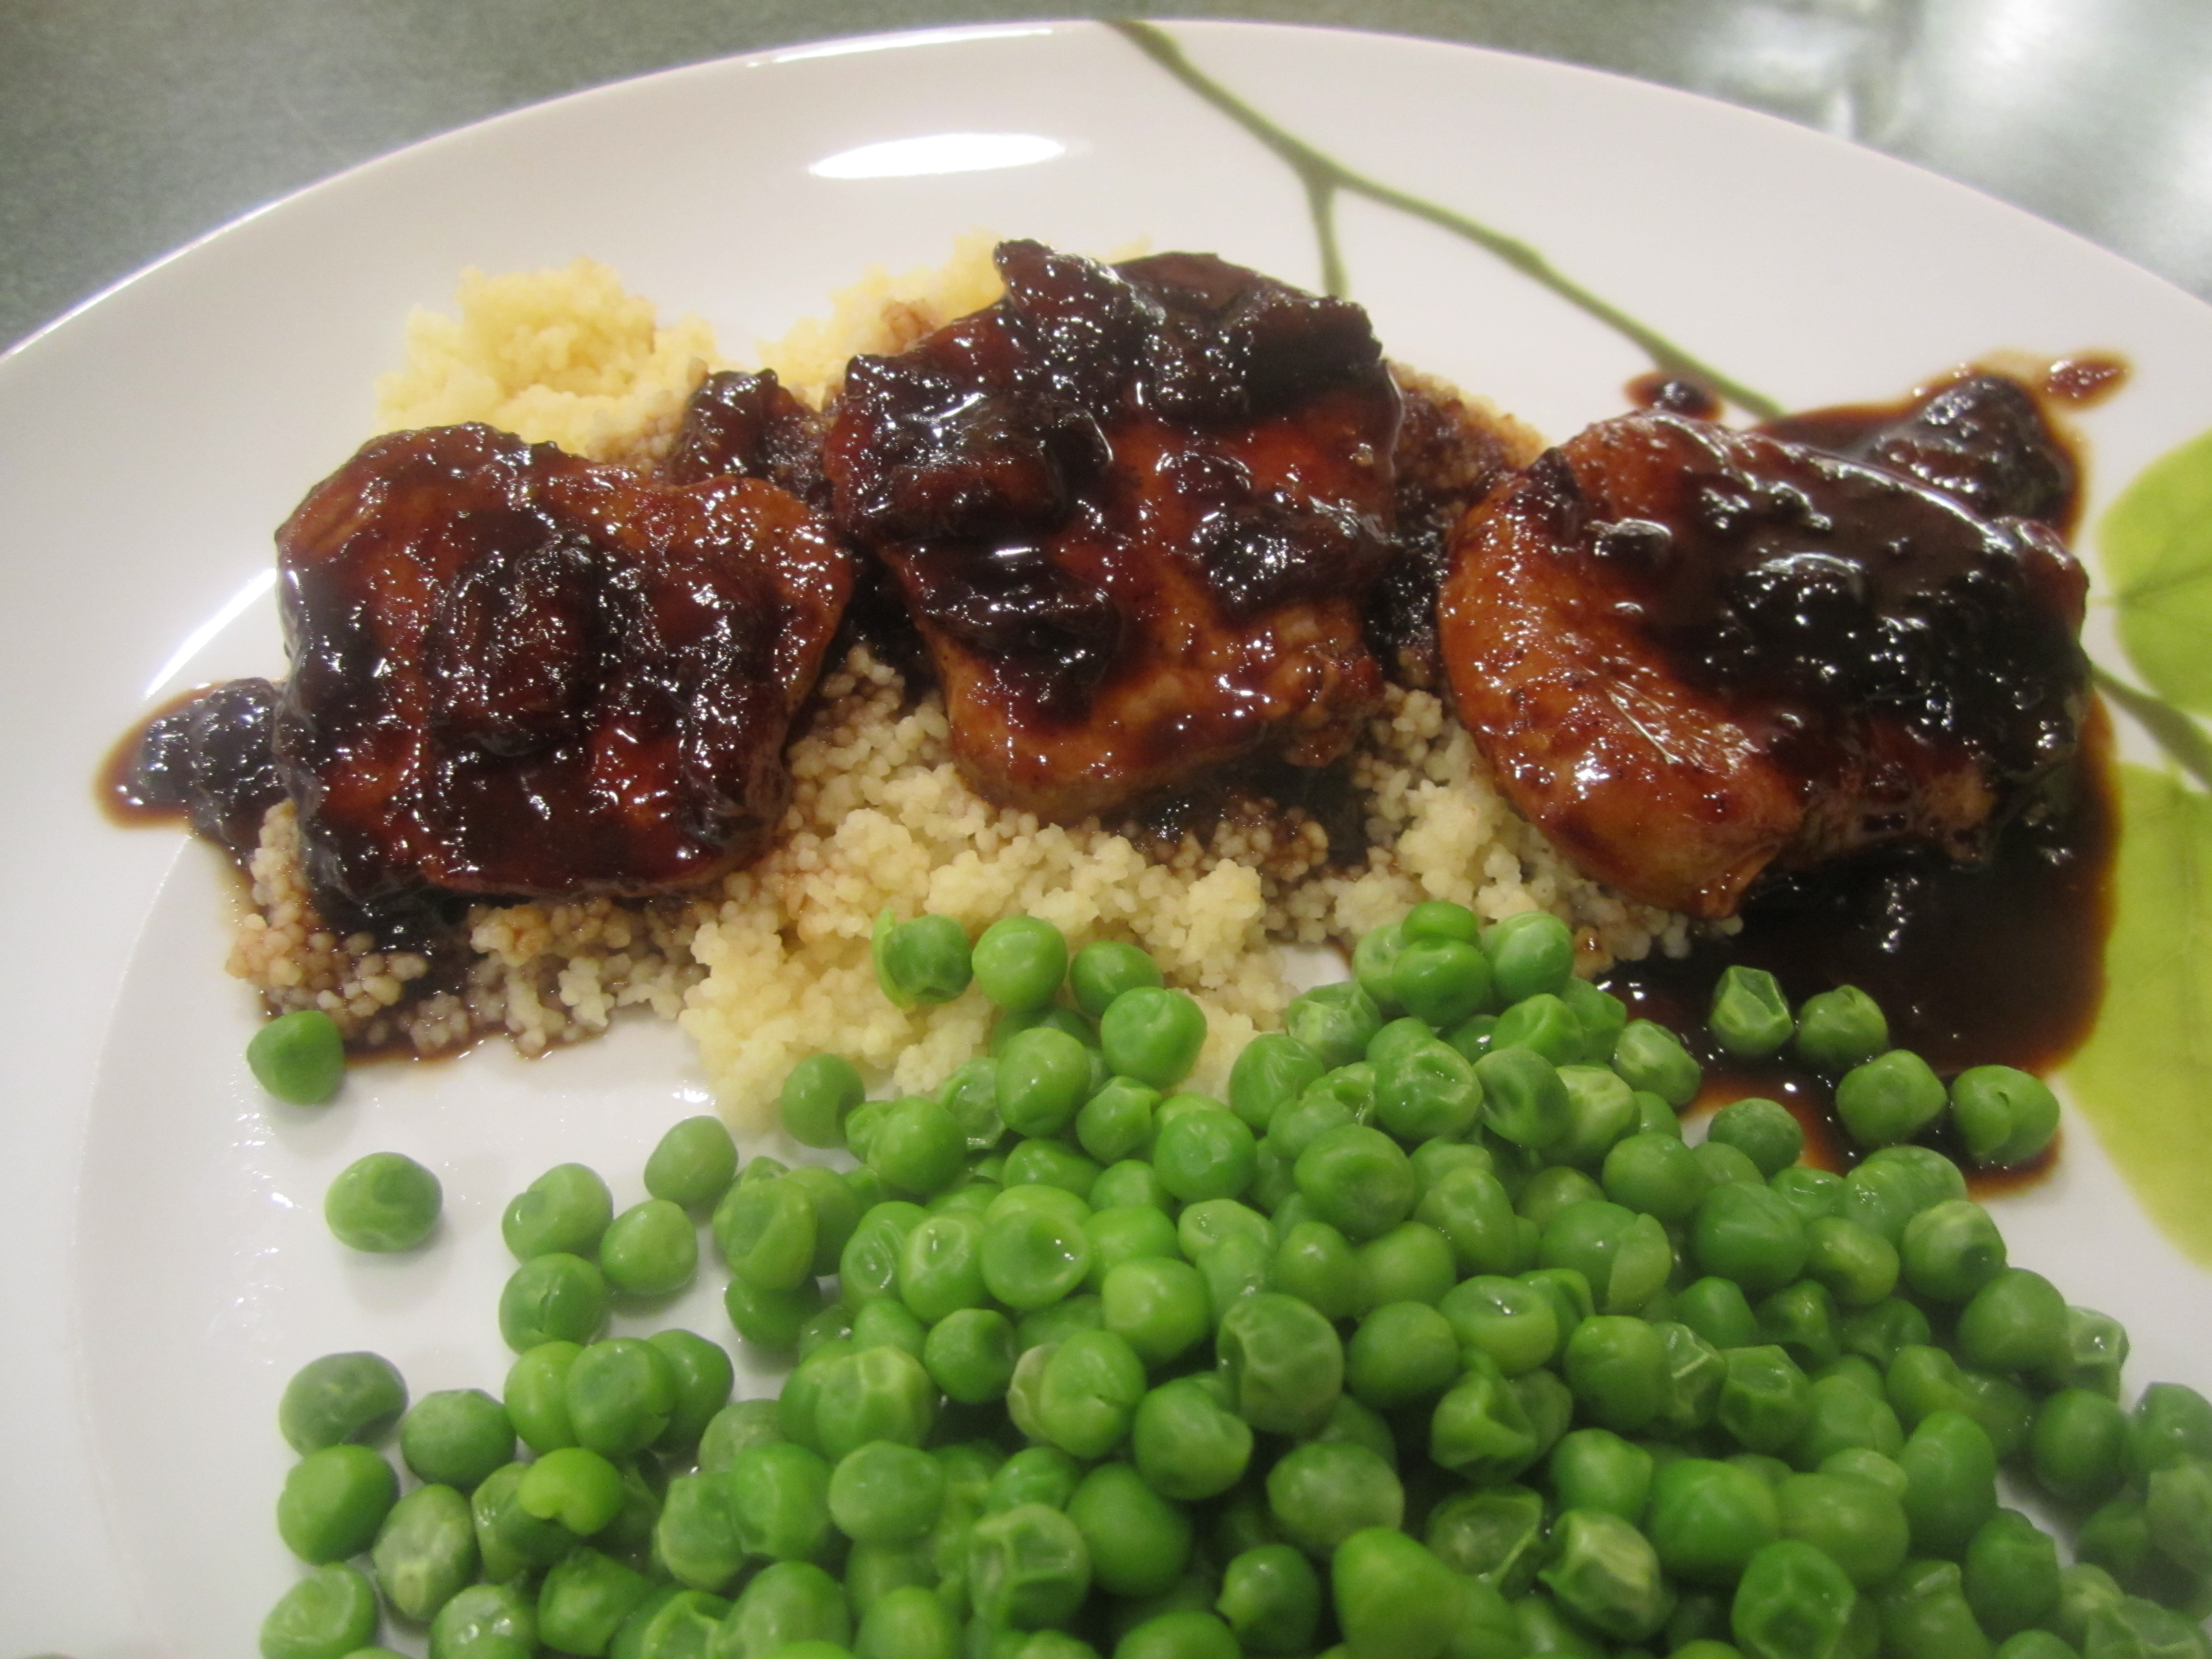
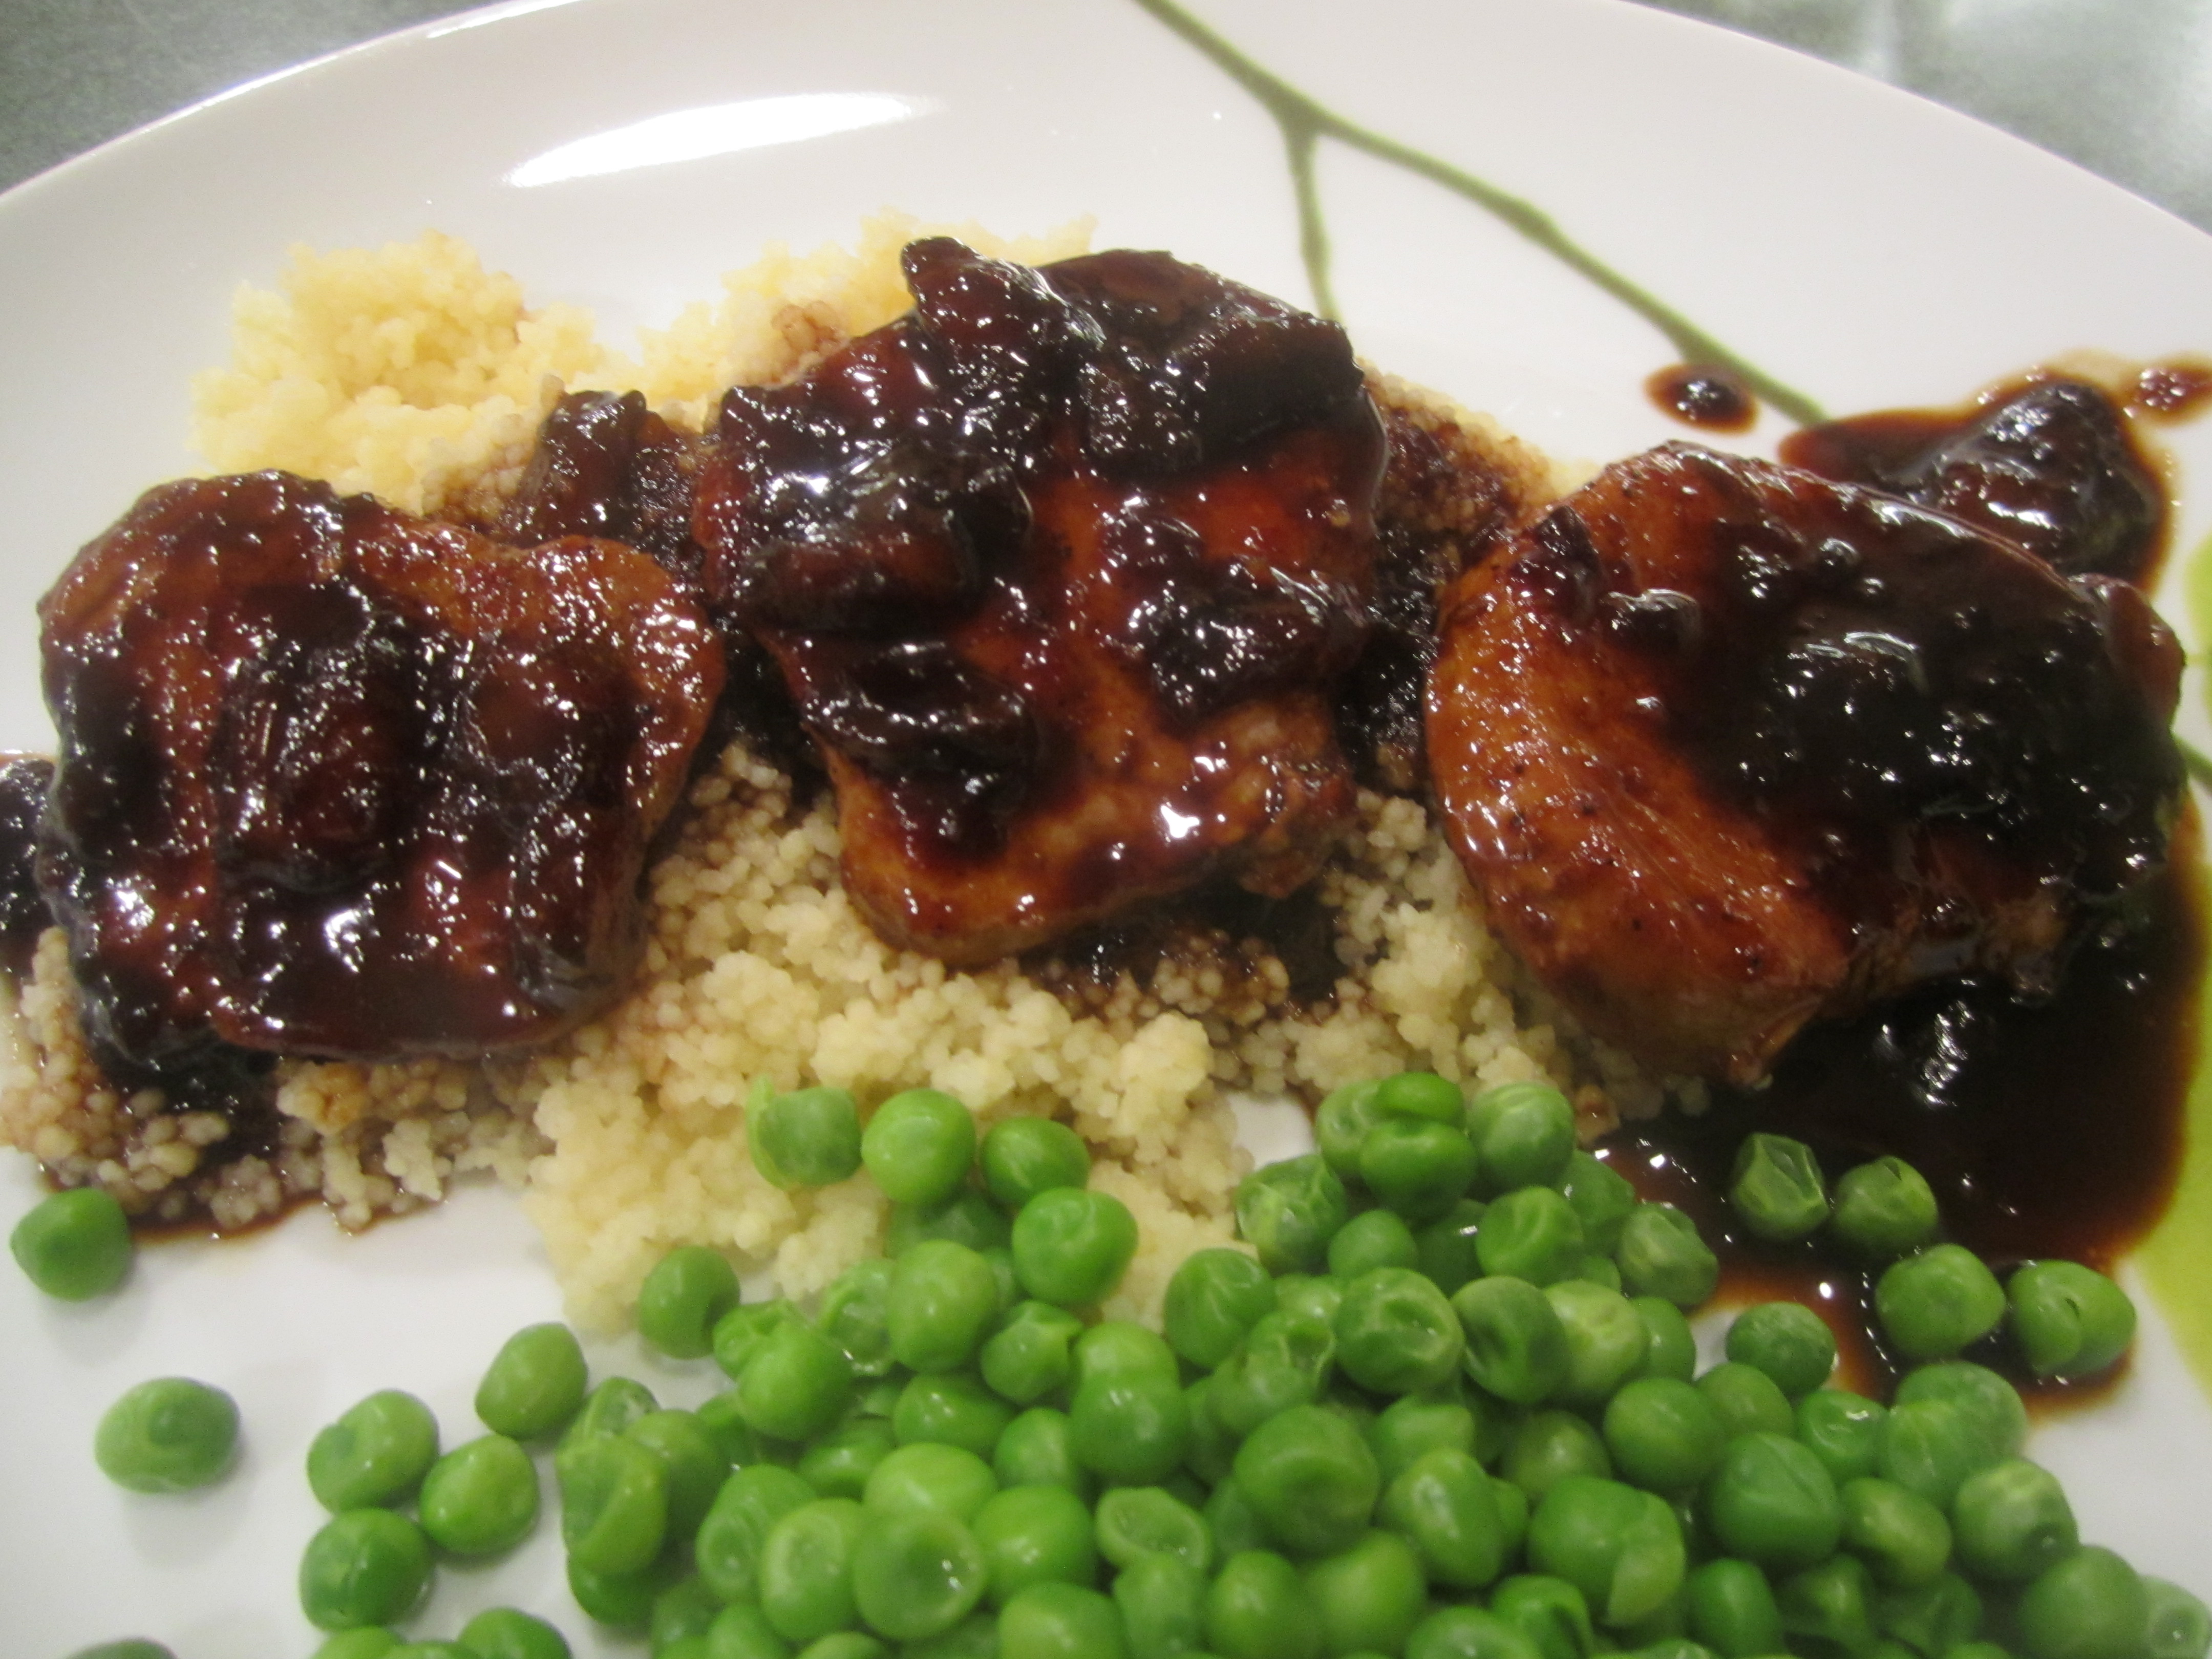
Serve pork with sauce over rice or couscous.
cut fat and silverskin off:

mise en place:
searing pork medallions:
pork set aside:

sauce simmering:
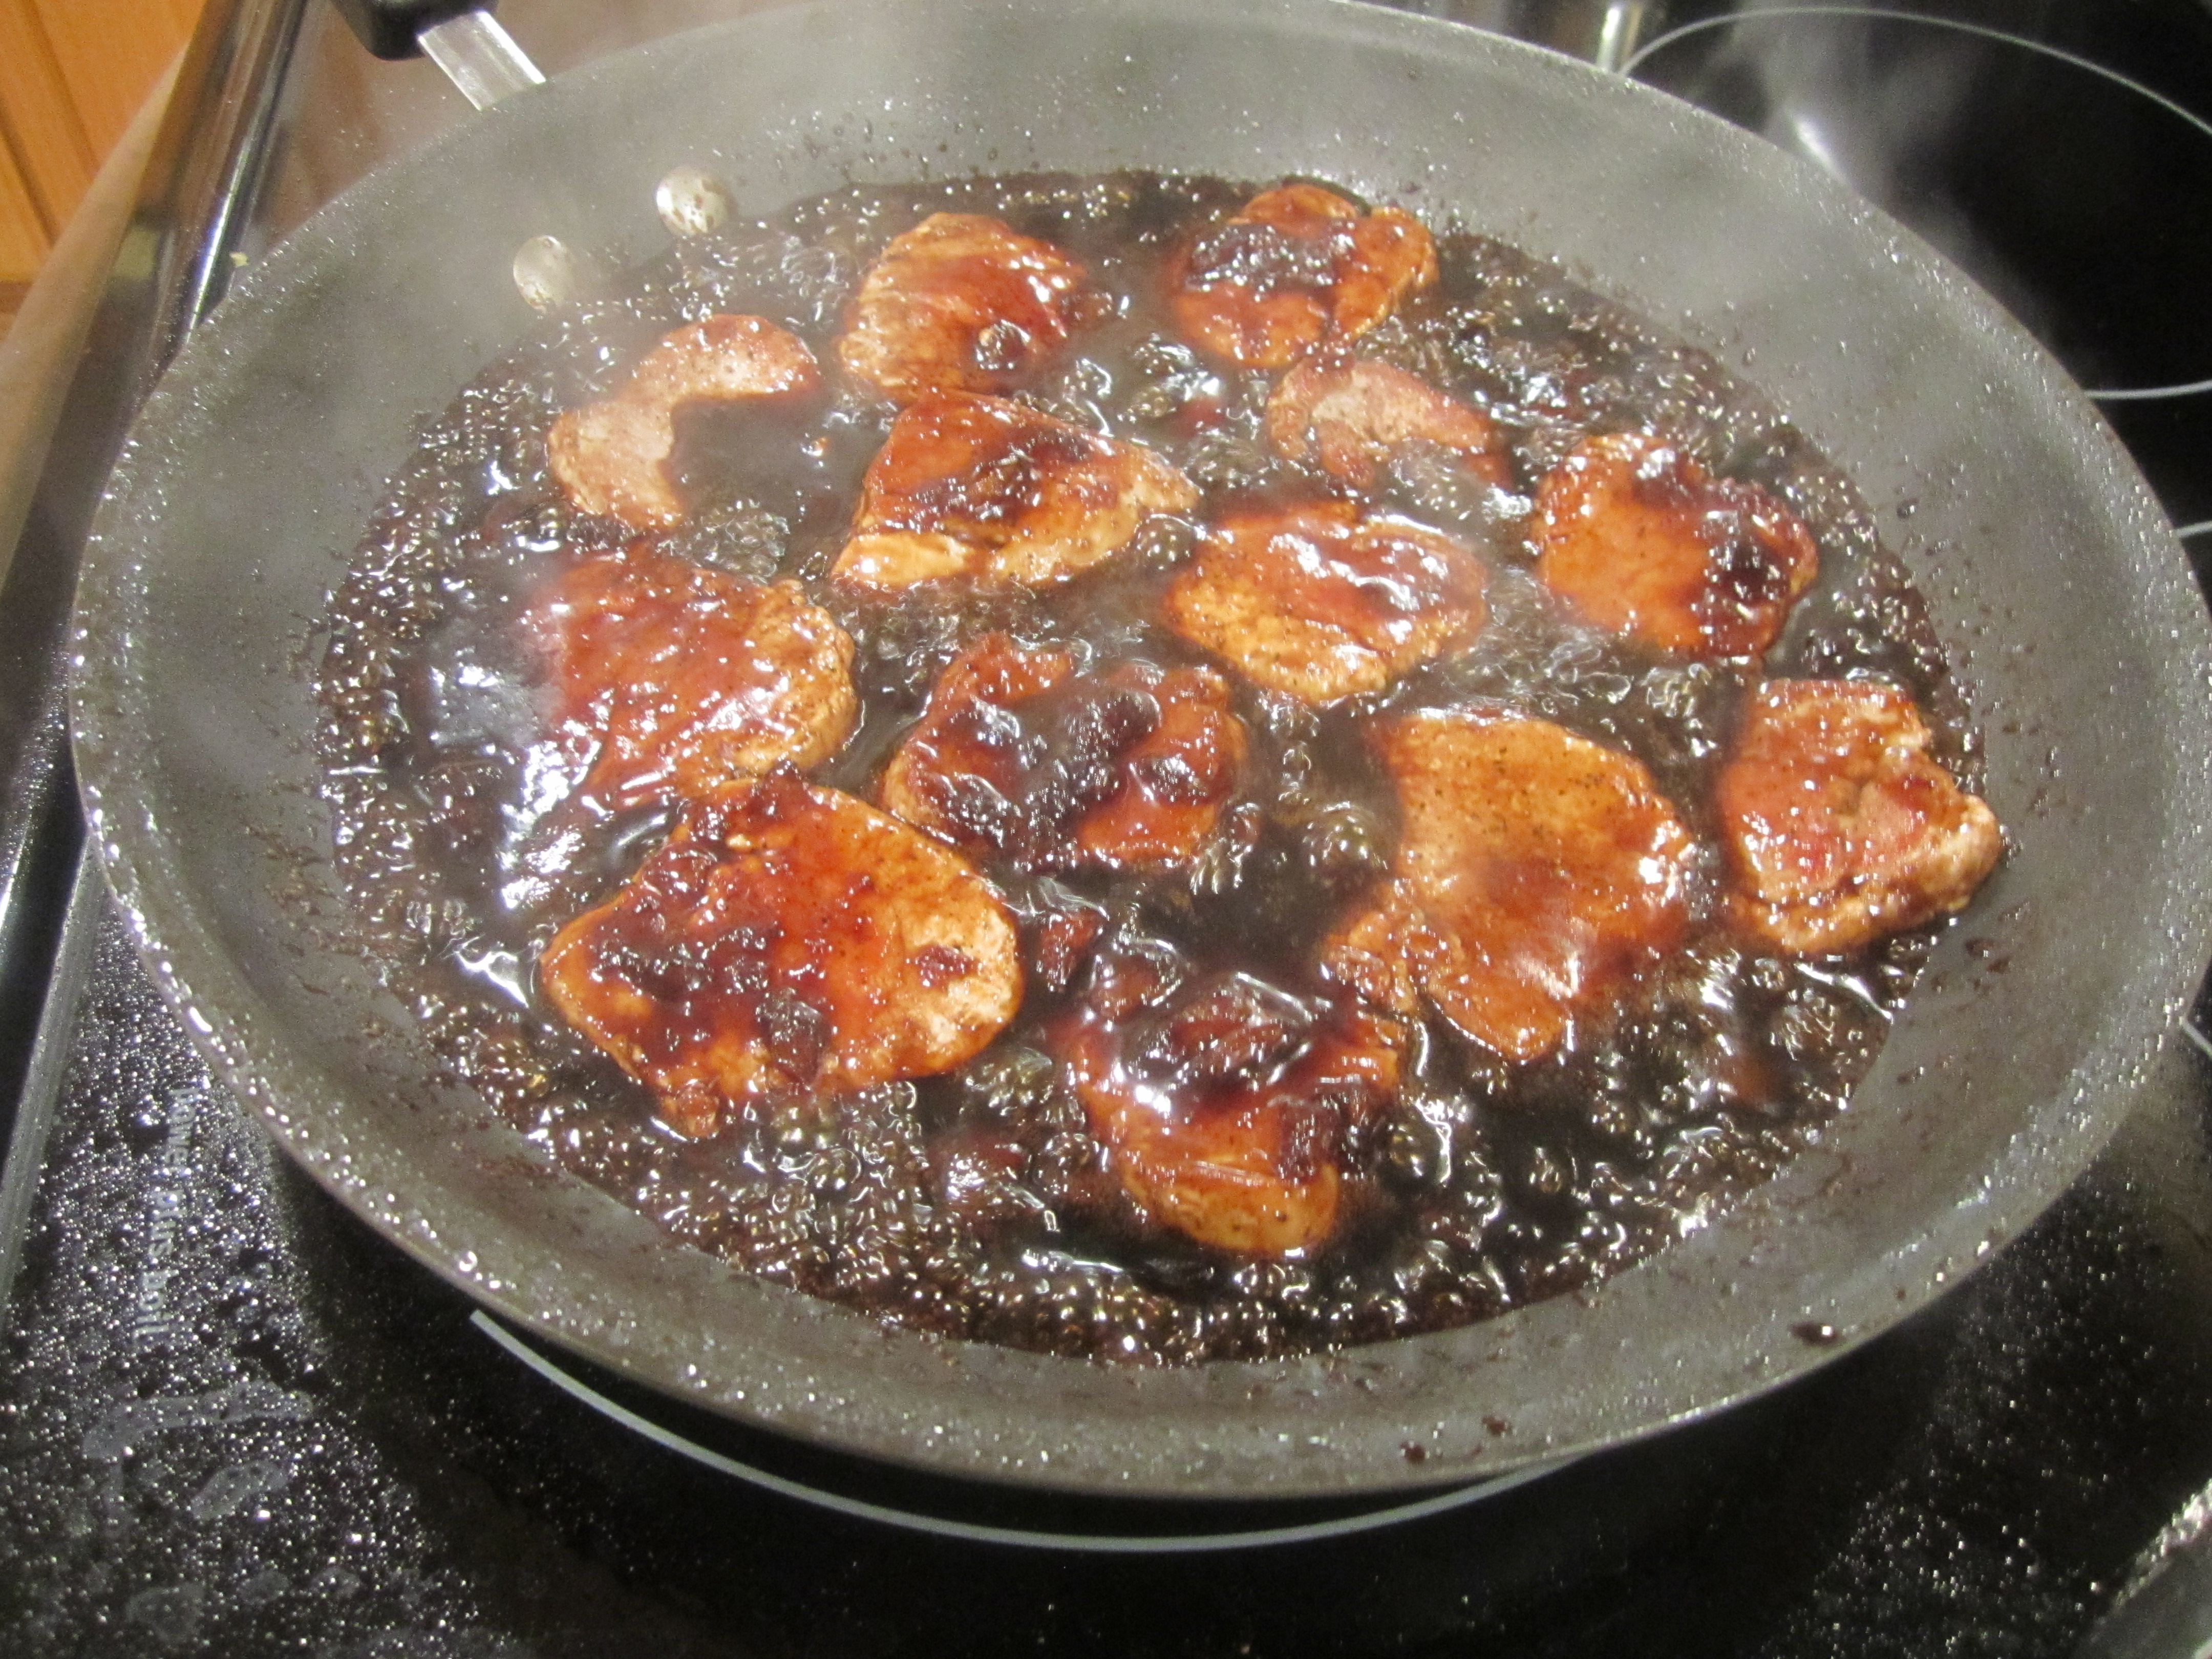
adding pork back in, coating with sauce and simmering:
served with couscous and peas: