Oatmeal Raisinets Cookies

On my journey to find the best oatmeal raisin cookies, I stumbled upon this delicious take on the original by Nestle. It has just a hint of chocolate which does not overwhelm the basic deliciousness of oats and raisins.
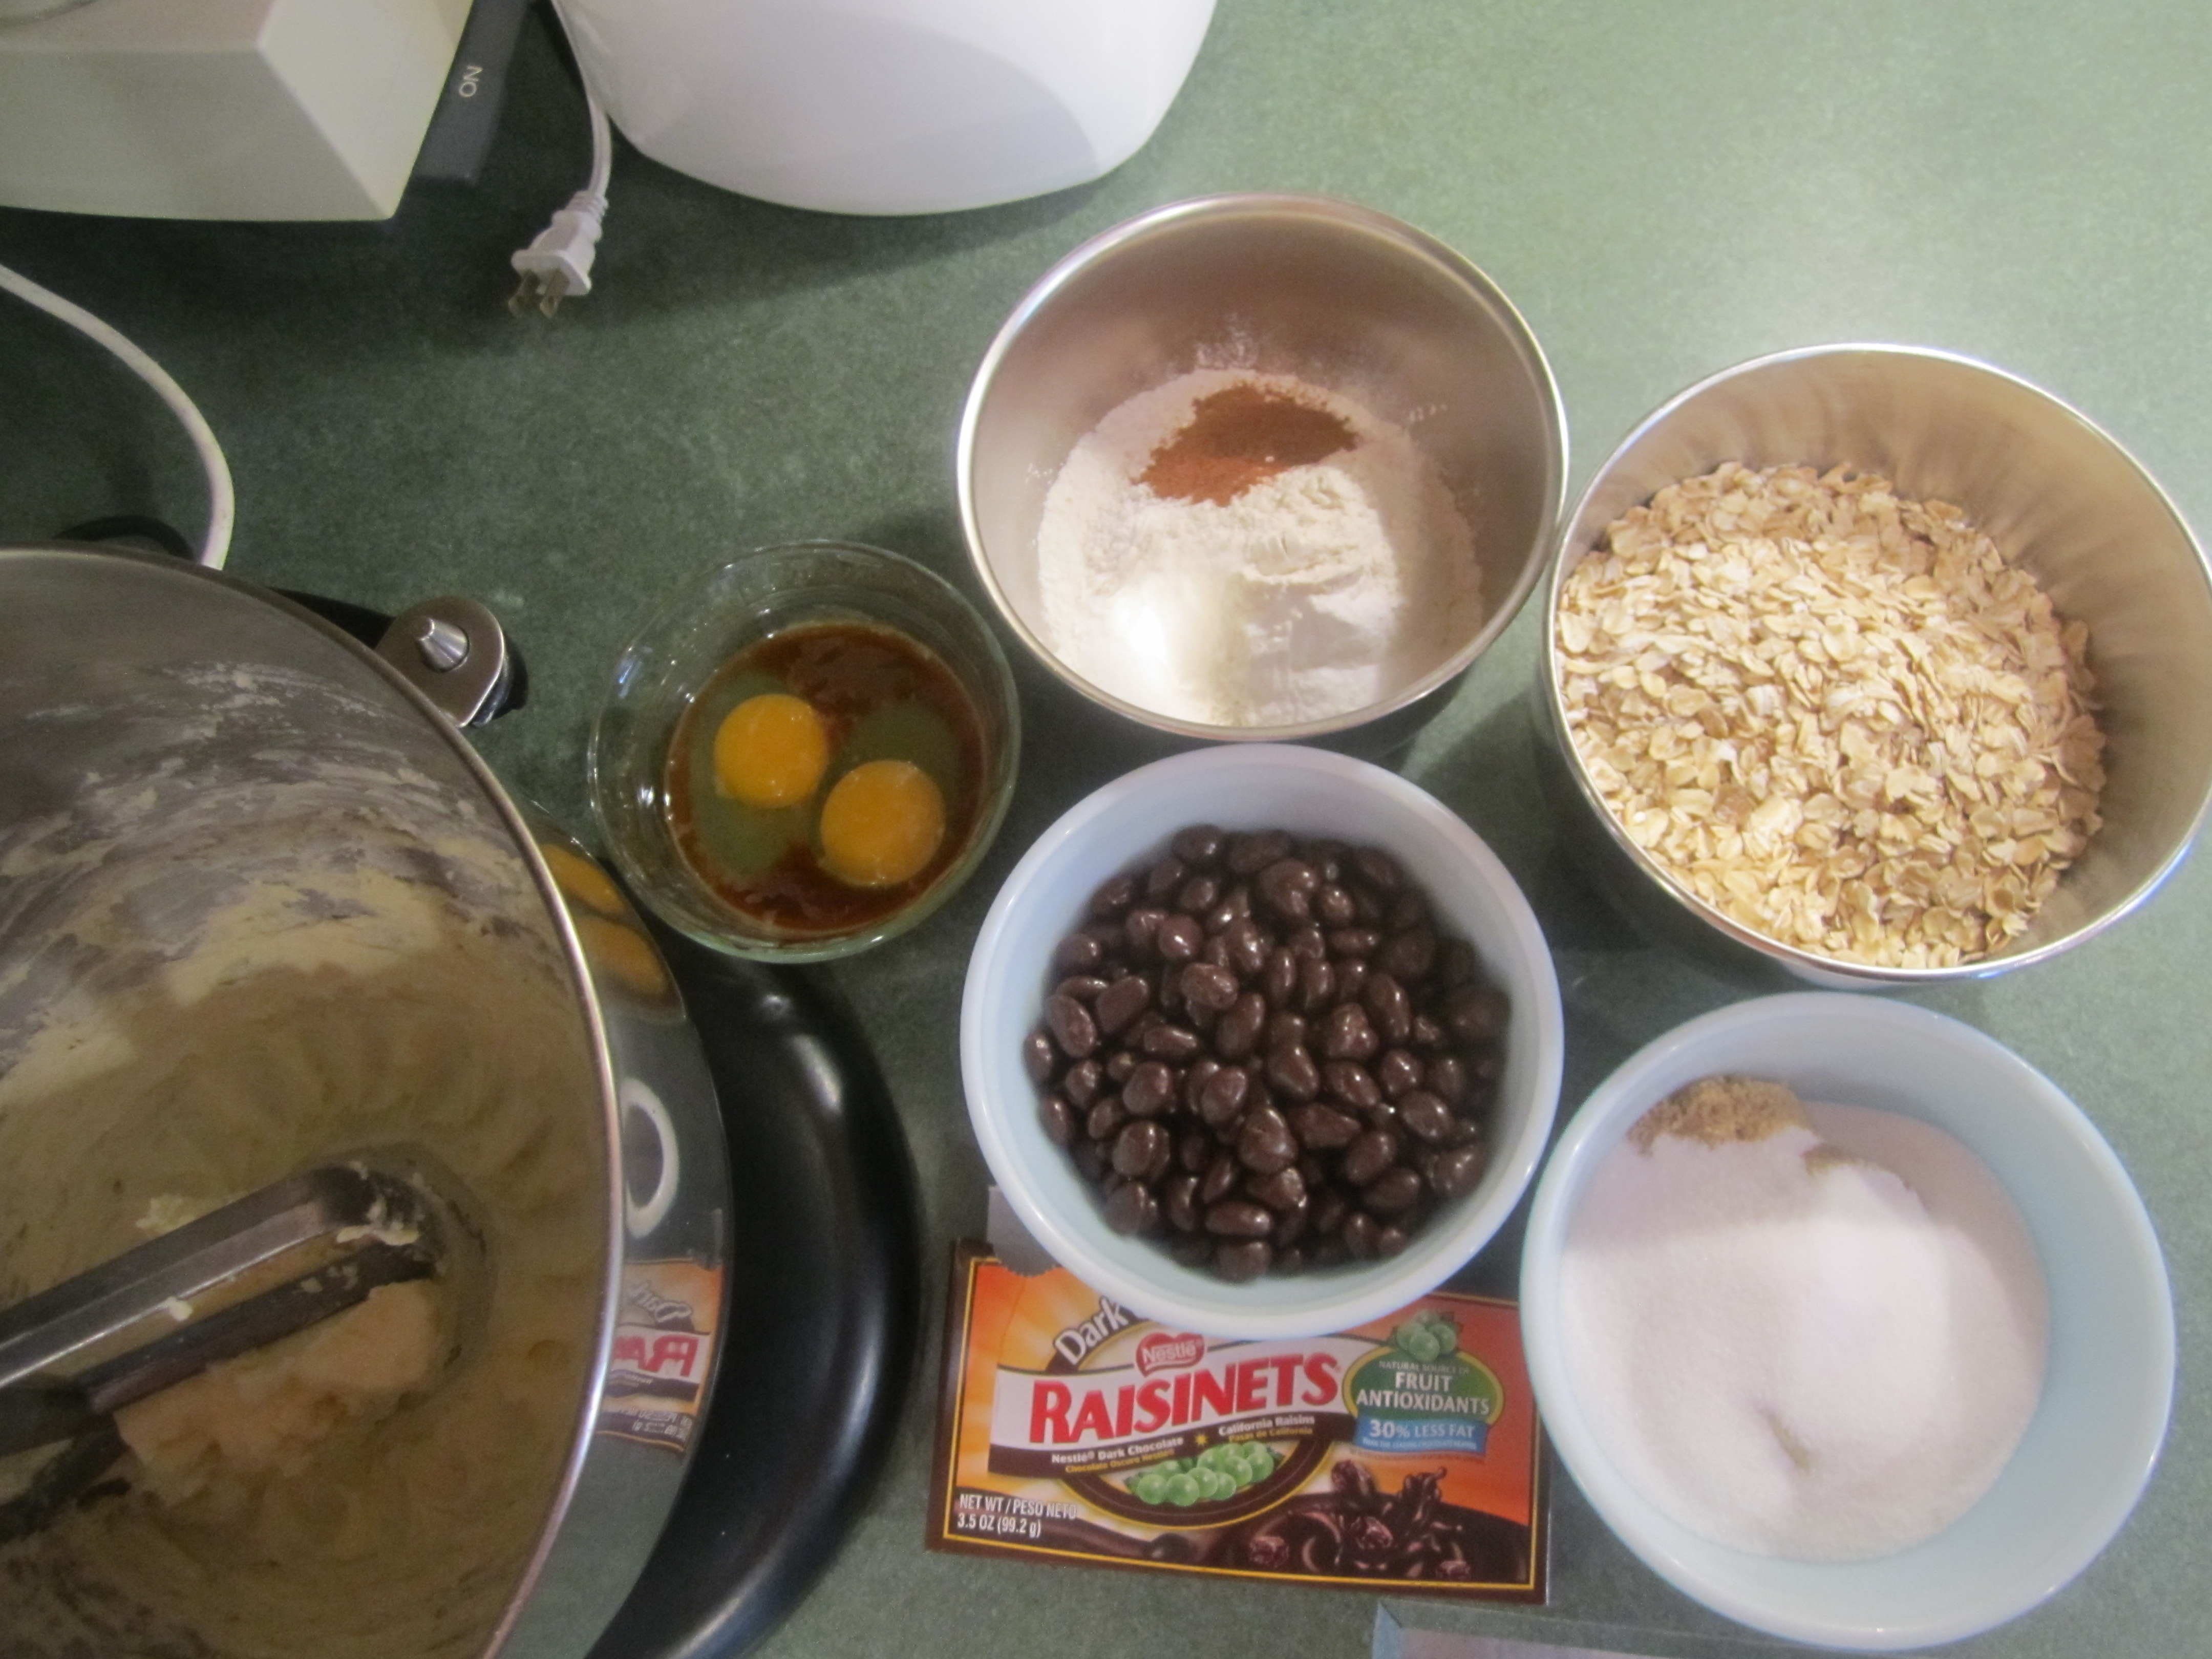
I used the dark chocolate version of Raisinets but the milk chocolate would be yummy as well. And if you can find them, Cranberry Raisinets would be amazing!
Oatmeal Raisinets Cookies (from Nestle)
1 teaspoon baking soda
3/4 teaspoon ground cinnamon
1/2 teaspoon salt
3/4 cup packed brown sugar
1 teaspoon pure vanilla extract
2 large eggs
2 1/4 cups (14 ounces) NESTLÉ RAISINETS Milk or Dark Chocolate-Covered Raisins (I used 4 boxes of 3.5 oz.)
1 cup chopped nuts (optional: I did not use)
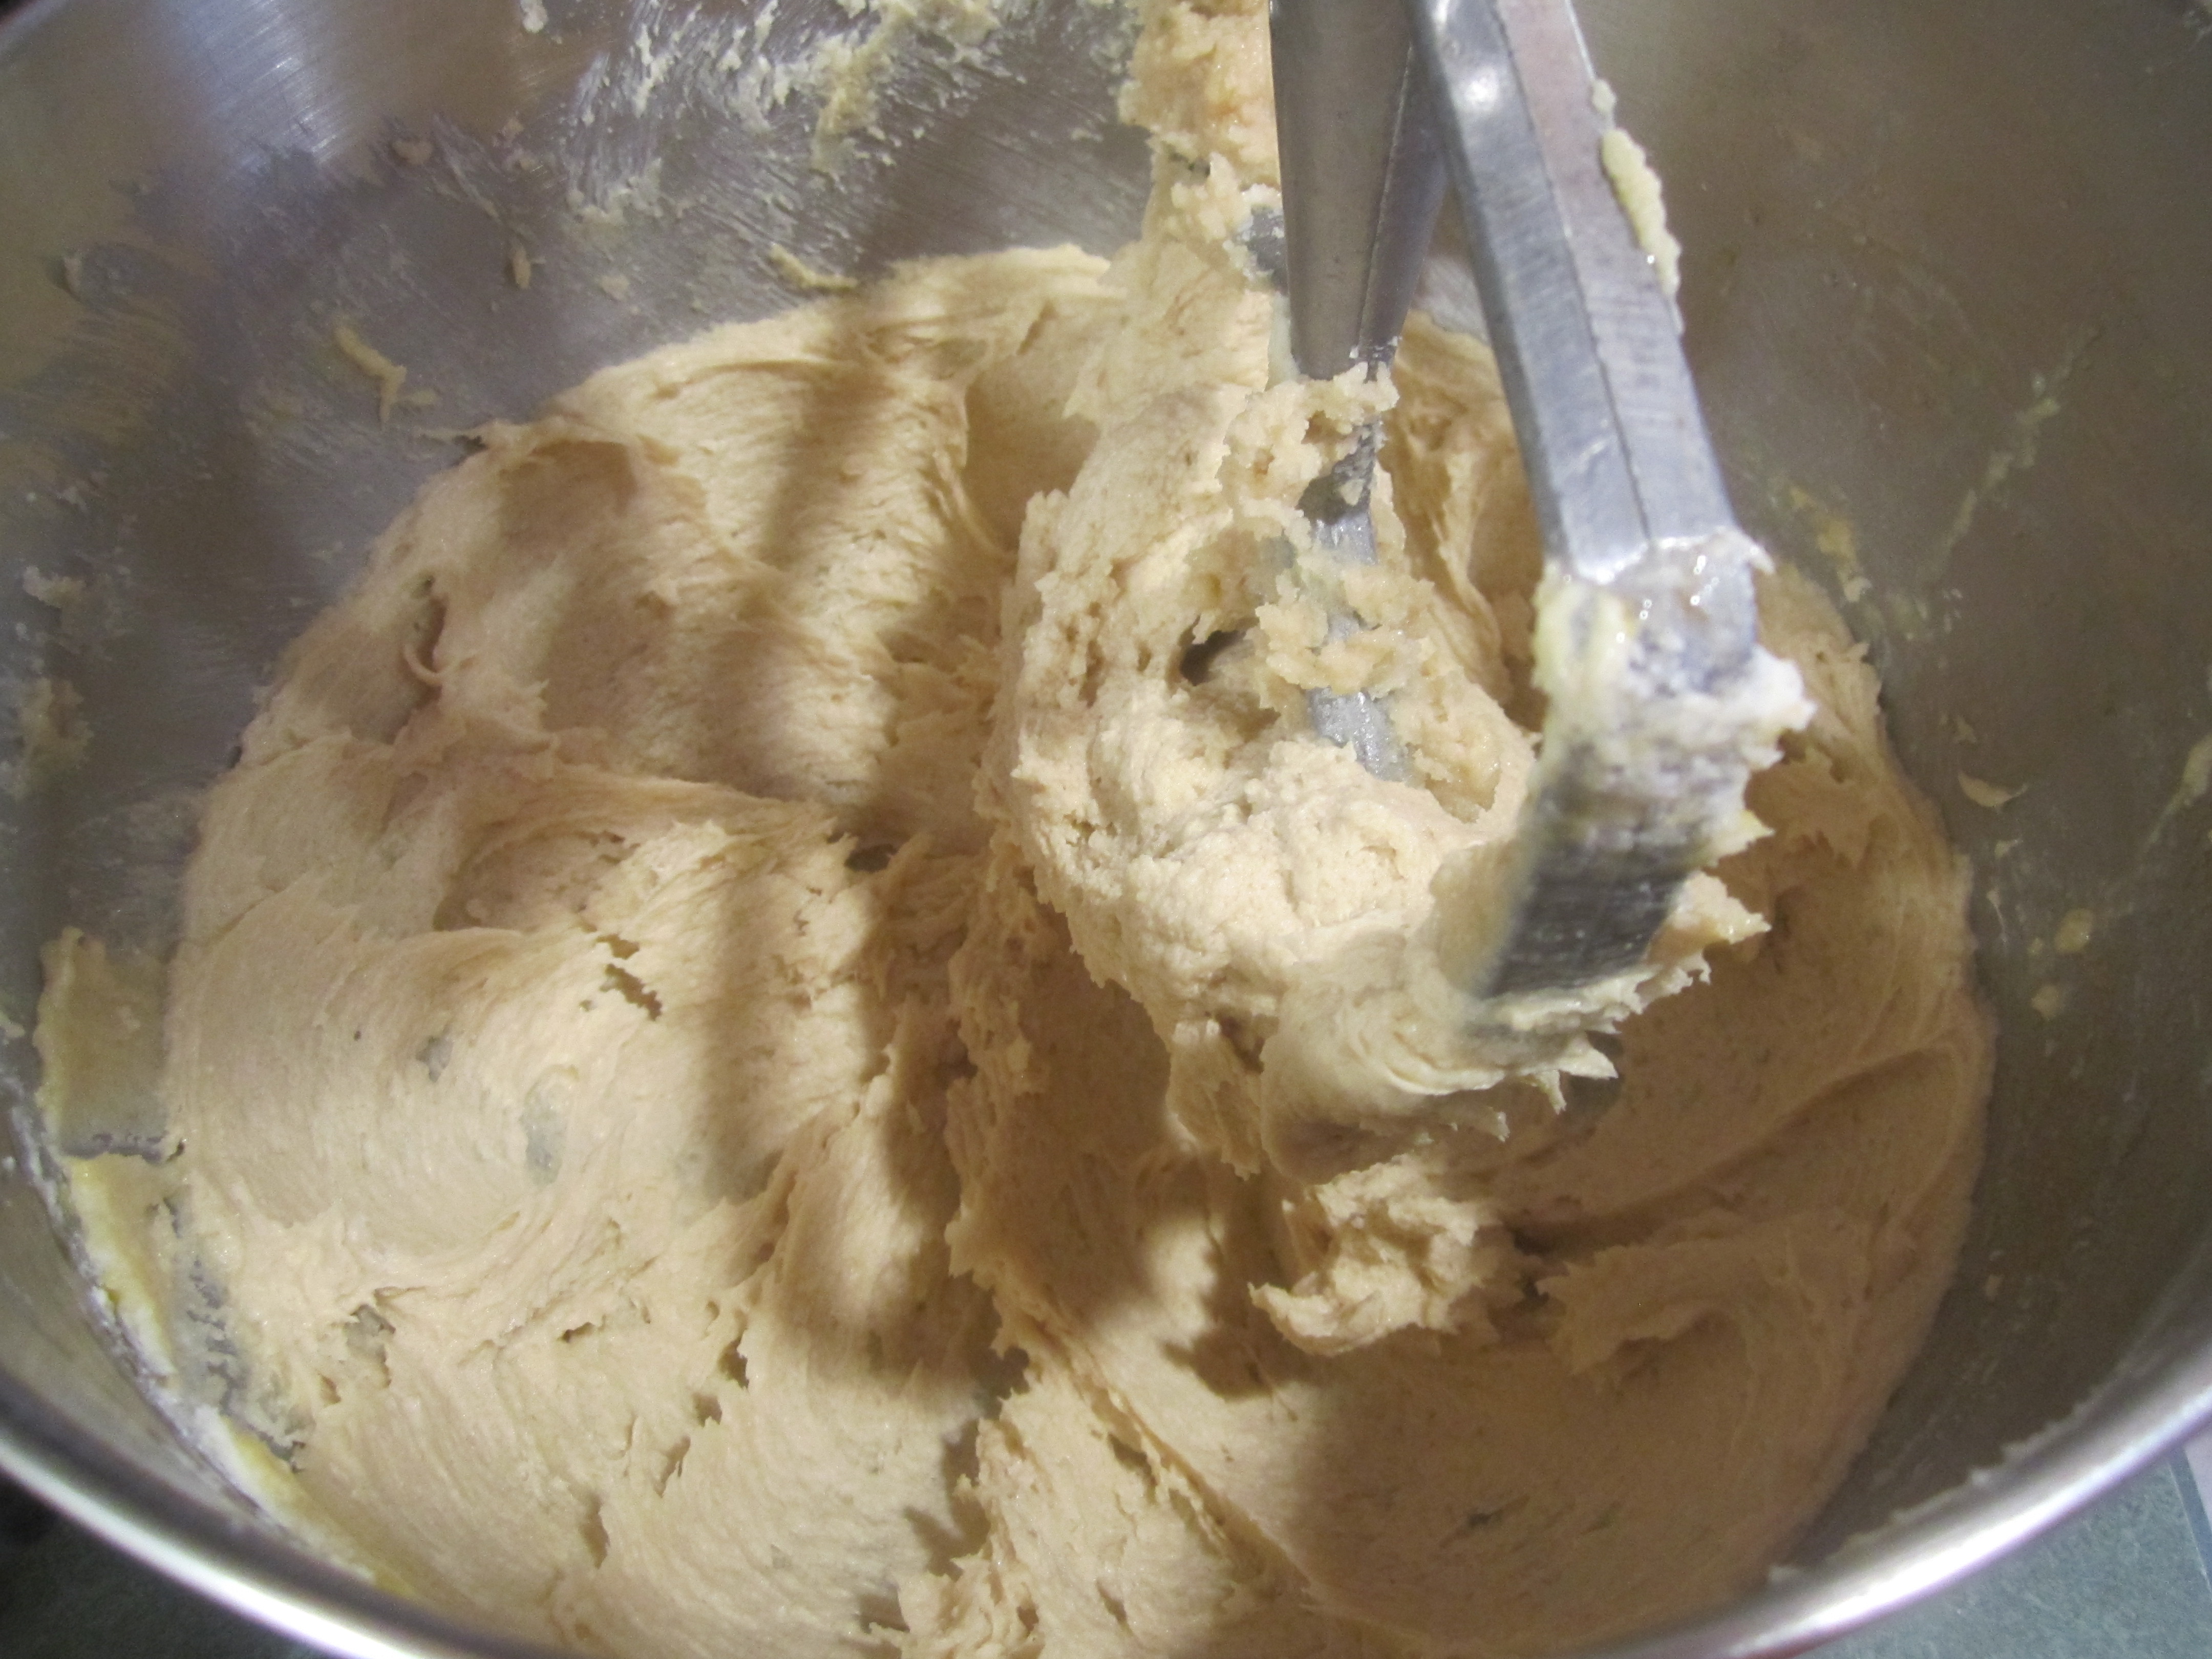
Put butter in bowl of mixer and start beating to soften, while you measure out the other ingredients.


Chicken with Cranberry Barbecue Sauce
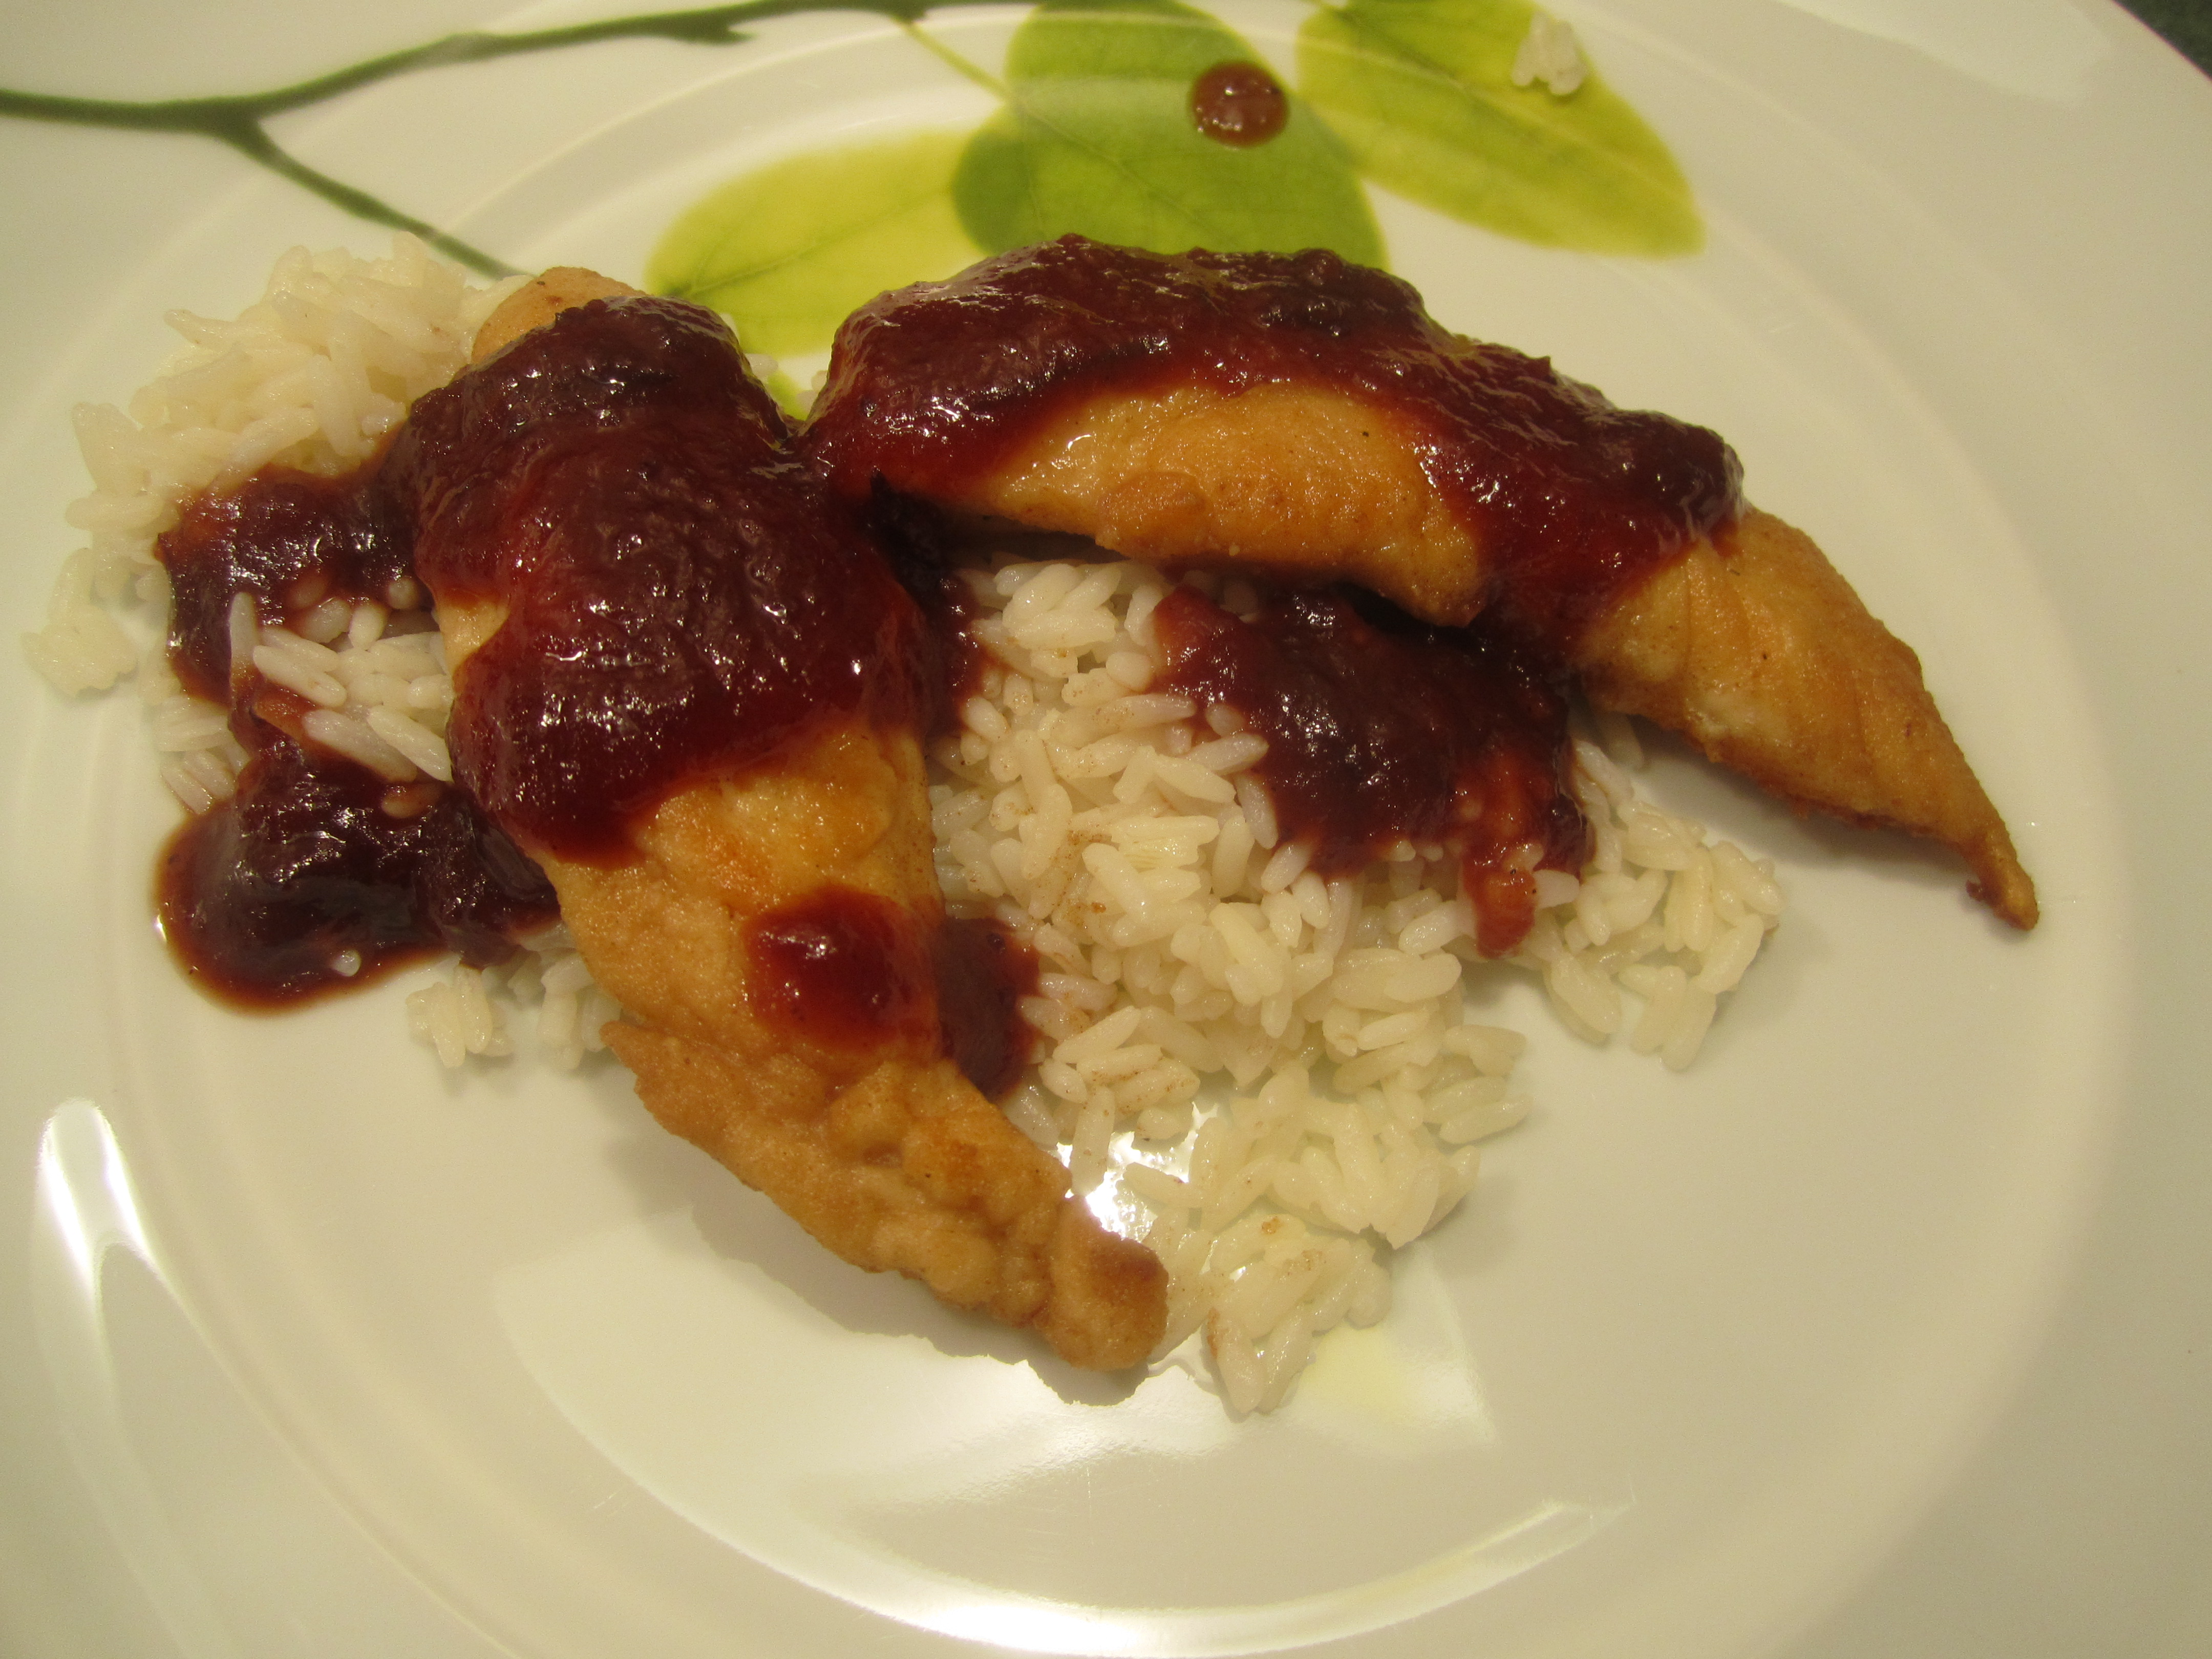
This is a yummy barbecue sauce served over simply cooked chicken. An easy mid-week meal with rice and sautéed spinach or dress it up a bit for dinner guests with Rice Pilaf and Carrots and Brussels Sprouts.
When I first made this, it reminded my husband of the dinner we used to order at Manayunk Brewery when our daughter went to college in Philadelphia: grilled salmon served with a bing cherry glaze (and mashed potatoes!). I tried this sauce with salmon and it was a winner! Another variation for this easy barbecue sauce.
Chicken with Cranberry Barbecue Sauce (adapted from Cooking Light)
1 cup whole berry cranberry sauce
1/3 cup apricot preserves
2 tablespoons tomato paste
2 tablespoons balsamic vinegar
2 teaspoons Grey Poupon Dijon mustard
1 teaspoon chili powder
1 pound of chicken tenders, white ligament removed ( see post on Chicken Tenders to see how to do this)
1/2 teaspoon salt
1/4 teaspoon black pepper
1/4 cup flour
1 tablespoon olive oil
1 tablespoon butter
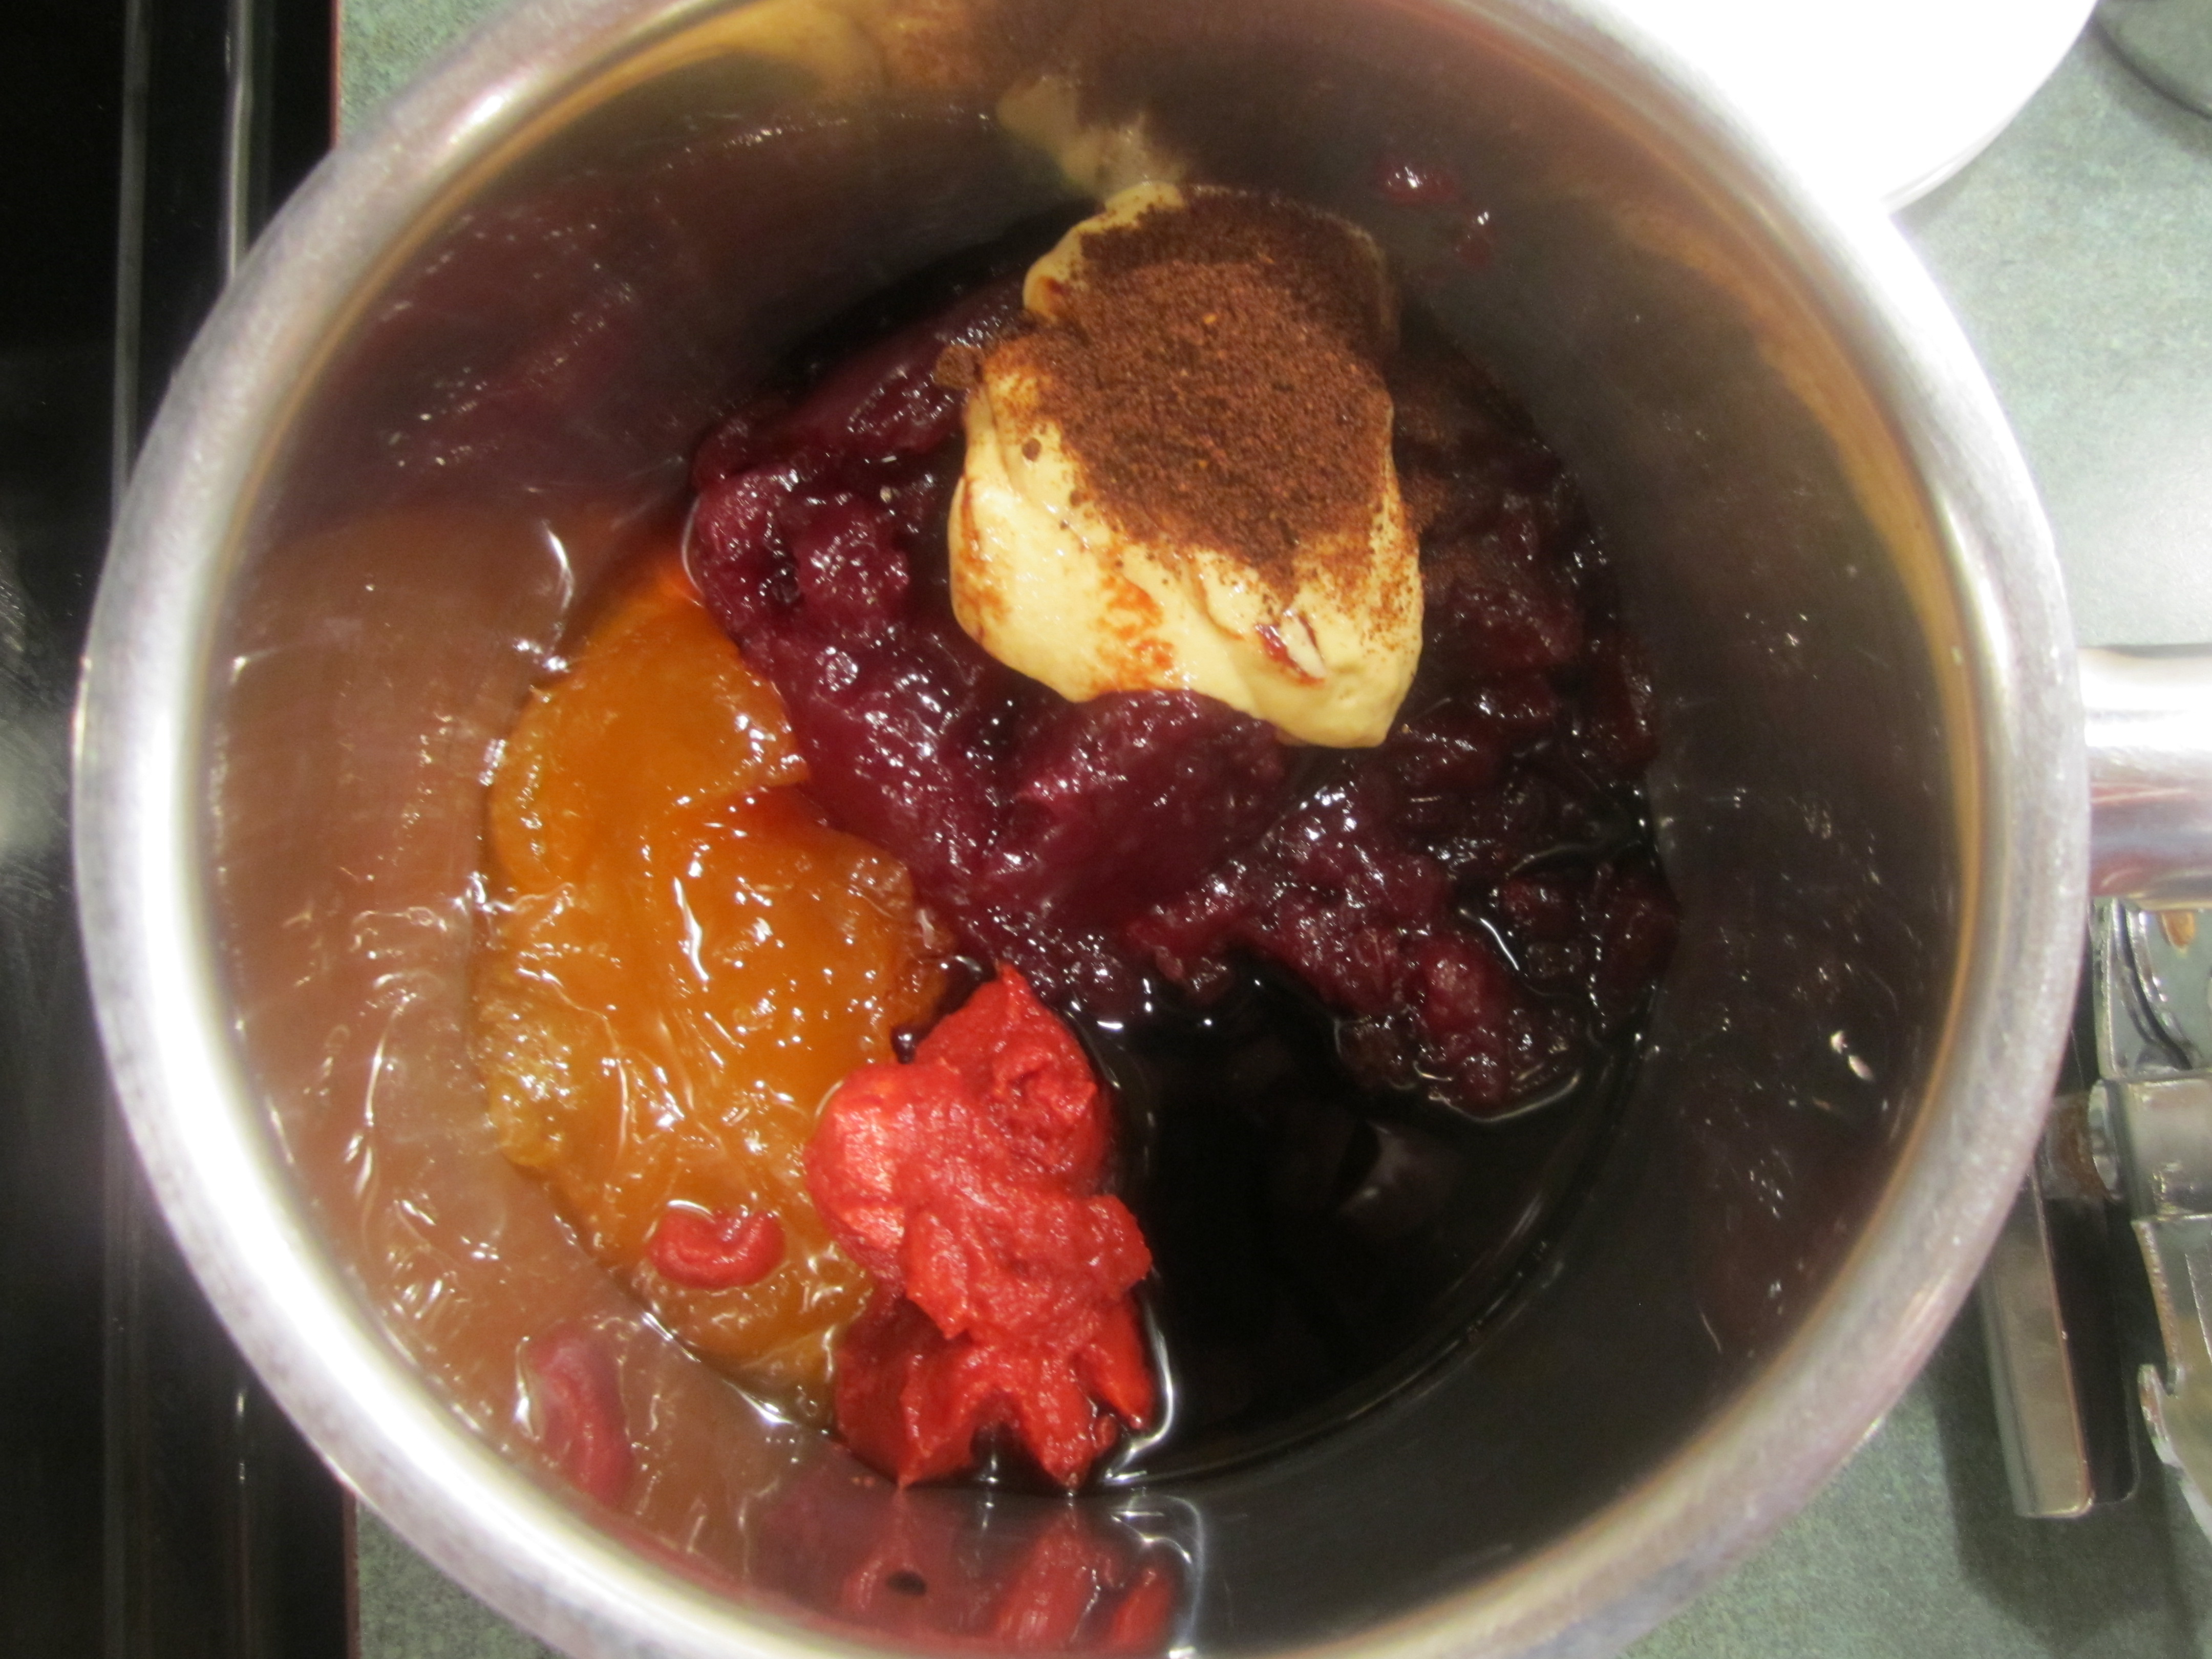
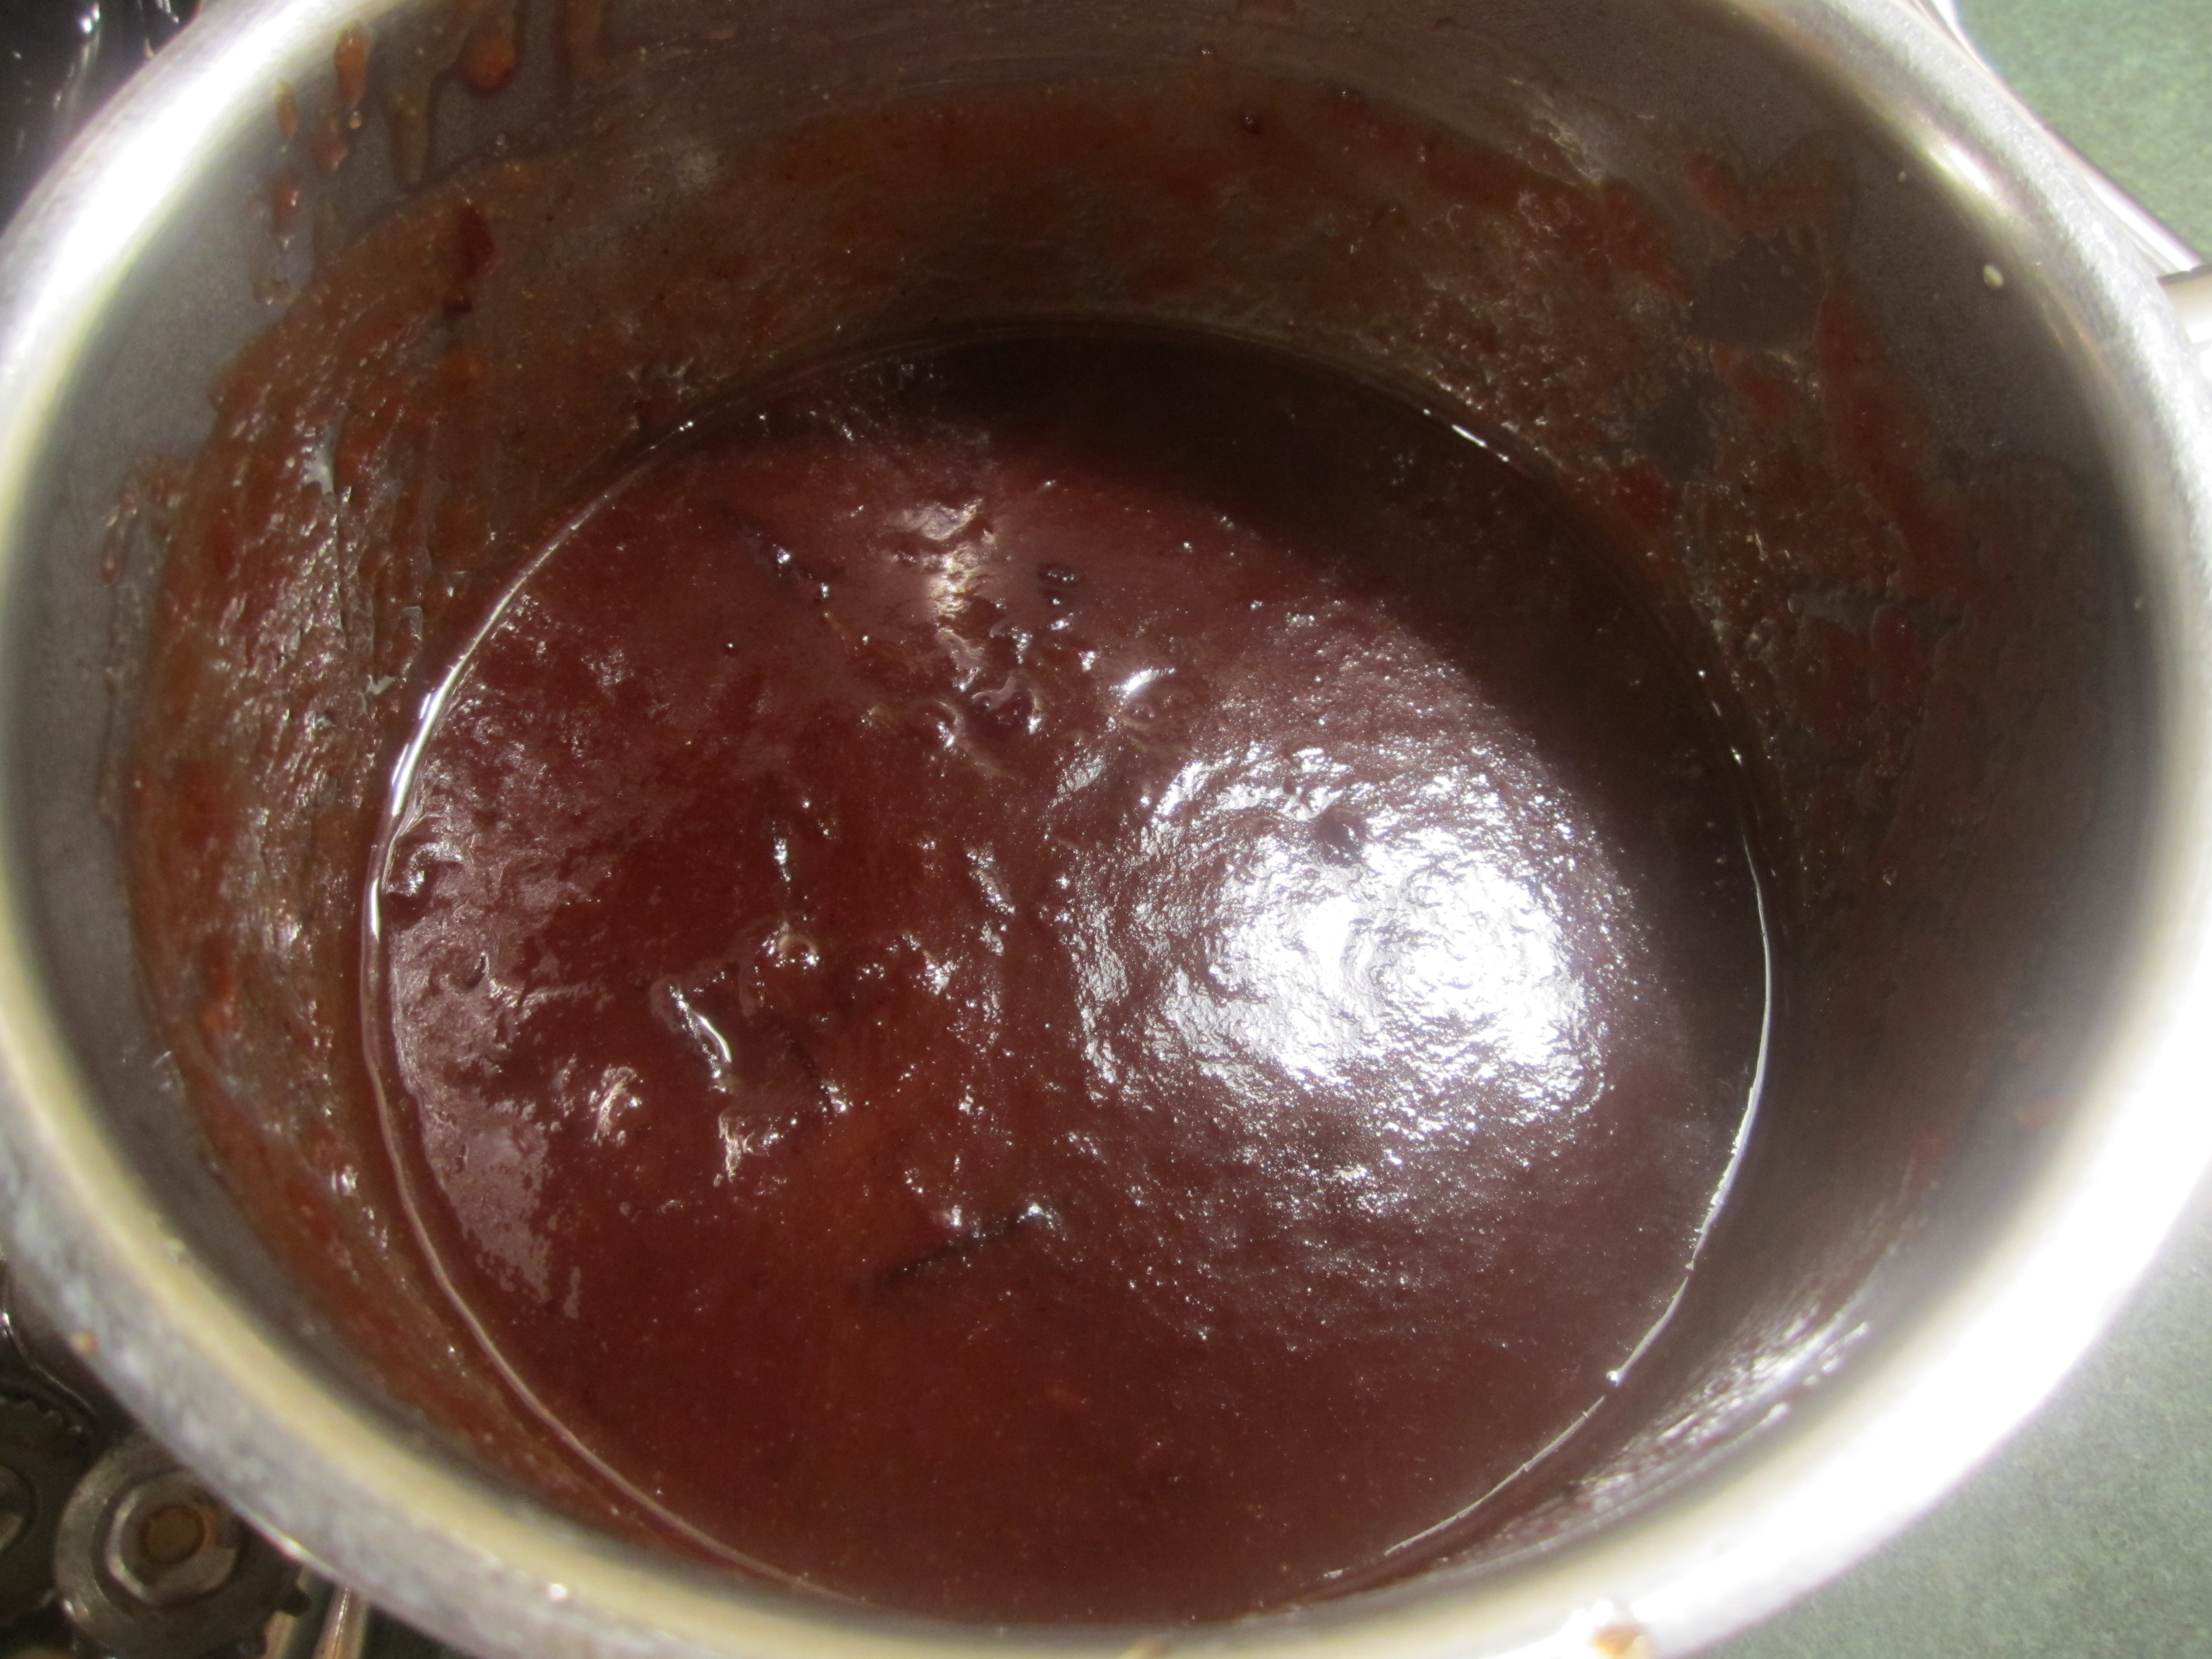
Combine first 6 ingredients, from cranberry sauce to chili powder, in a small saucepan. Bring to a boil. Reduce heat to low and simmer for 10 minutes. Be careful: the sauce is very thick and when it boils it spits out hot sauce. Keep stirring with a whisk until it’s at a very low simmer.
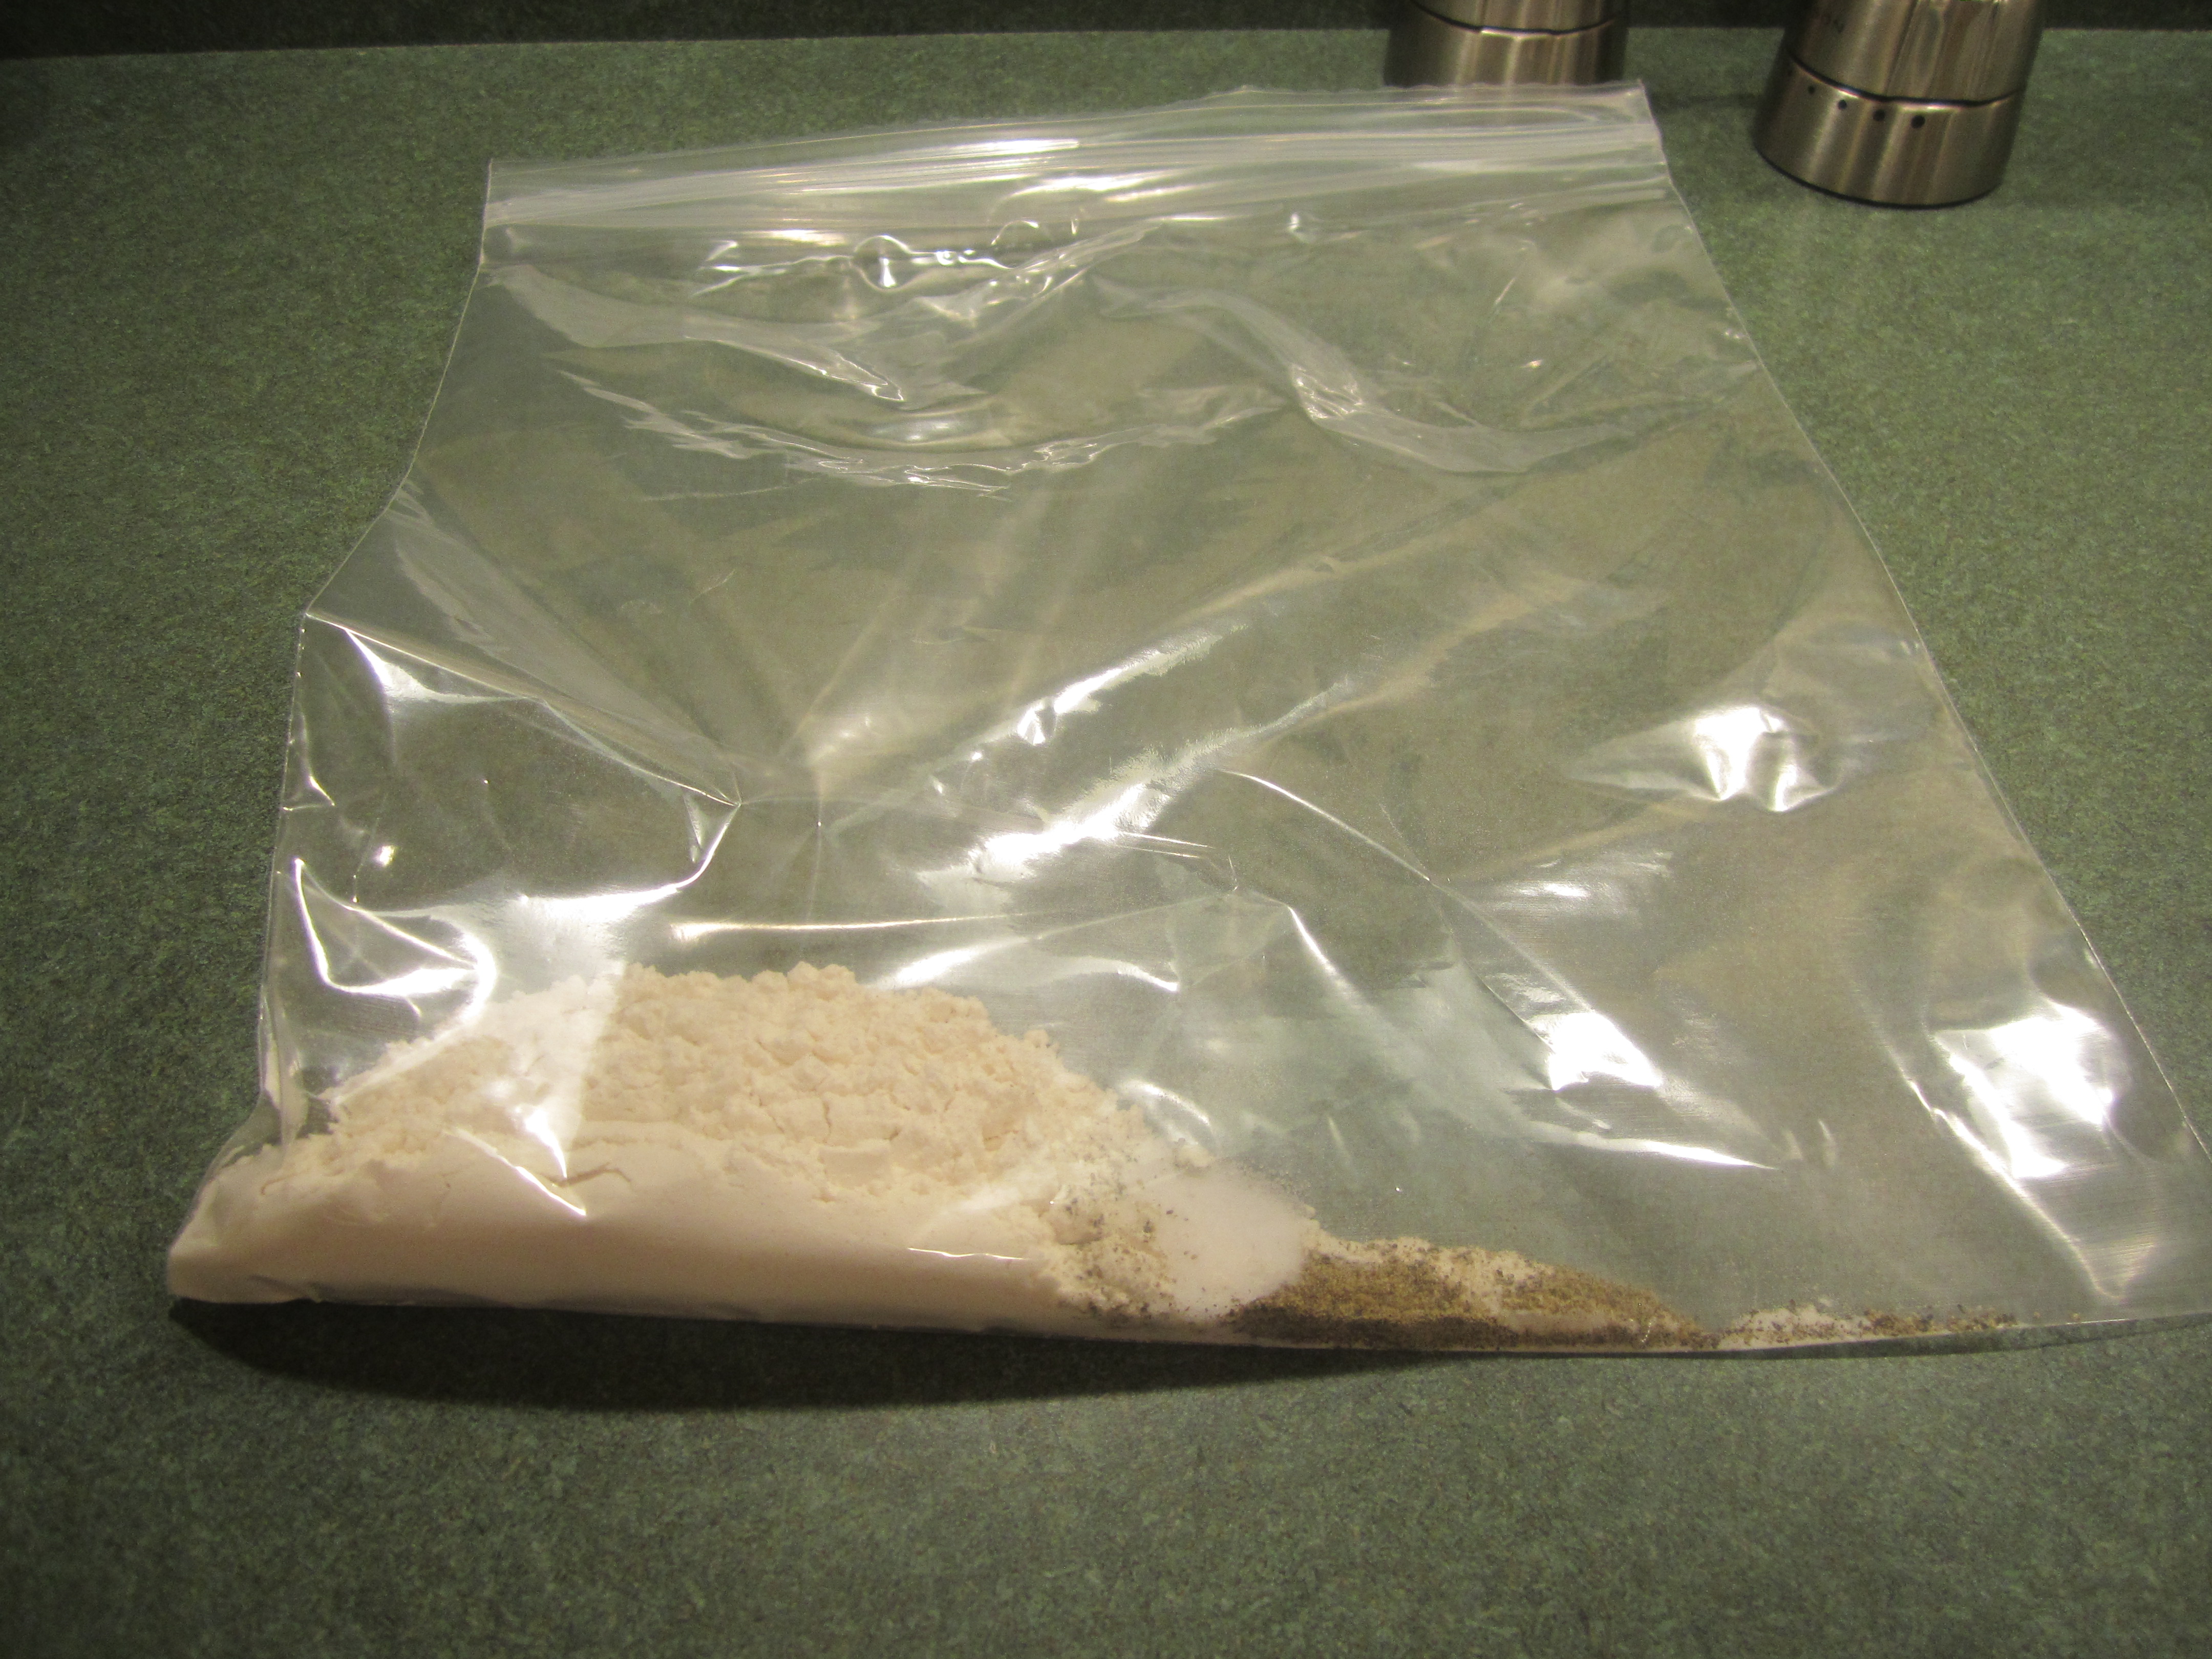
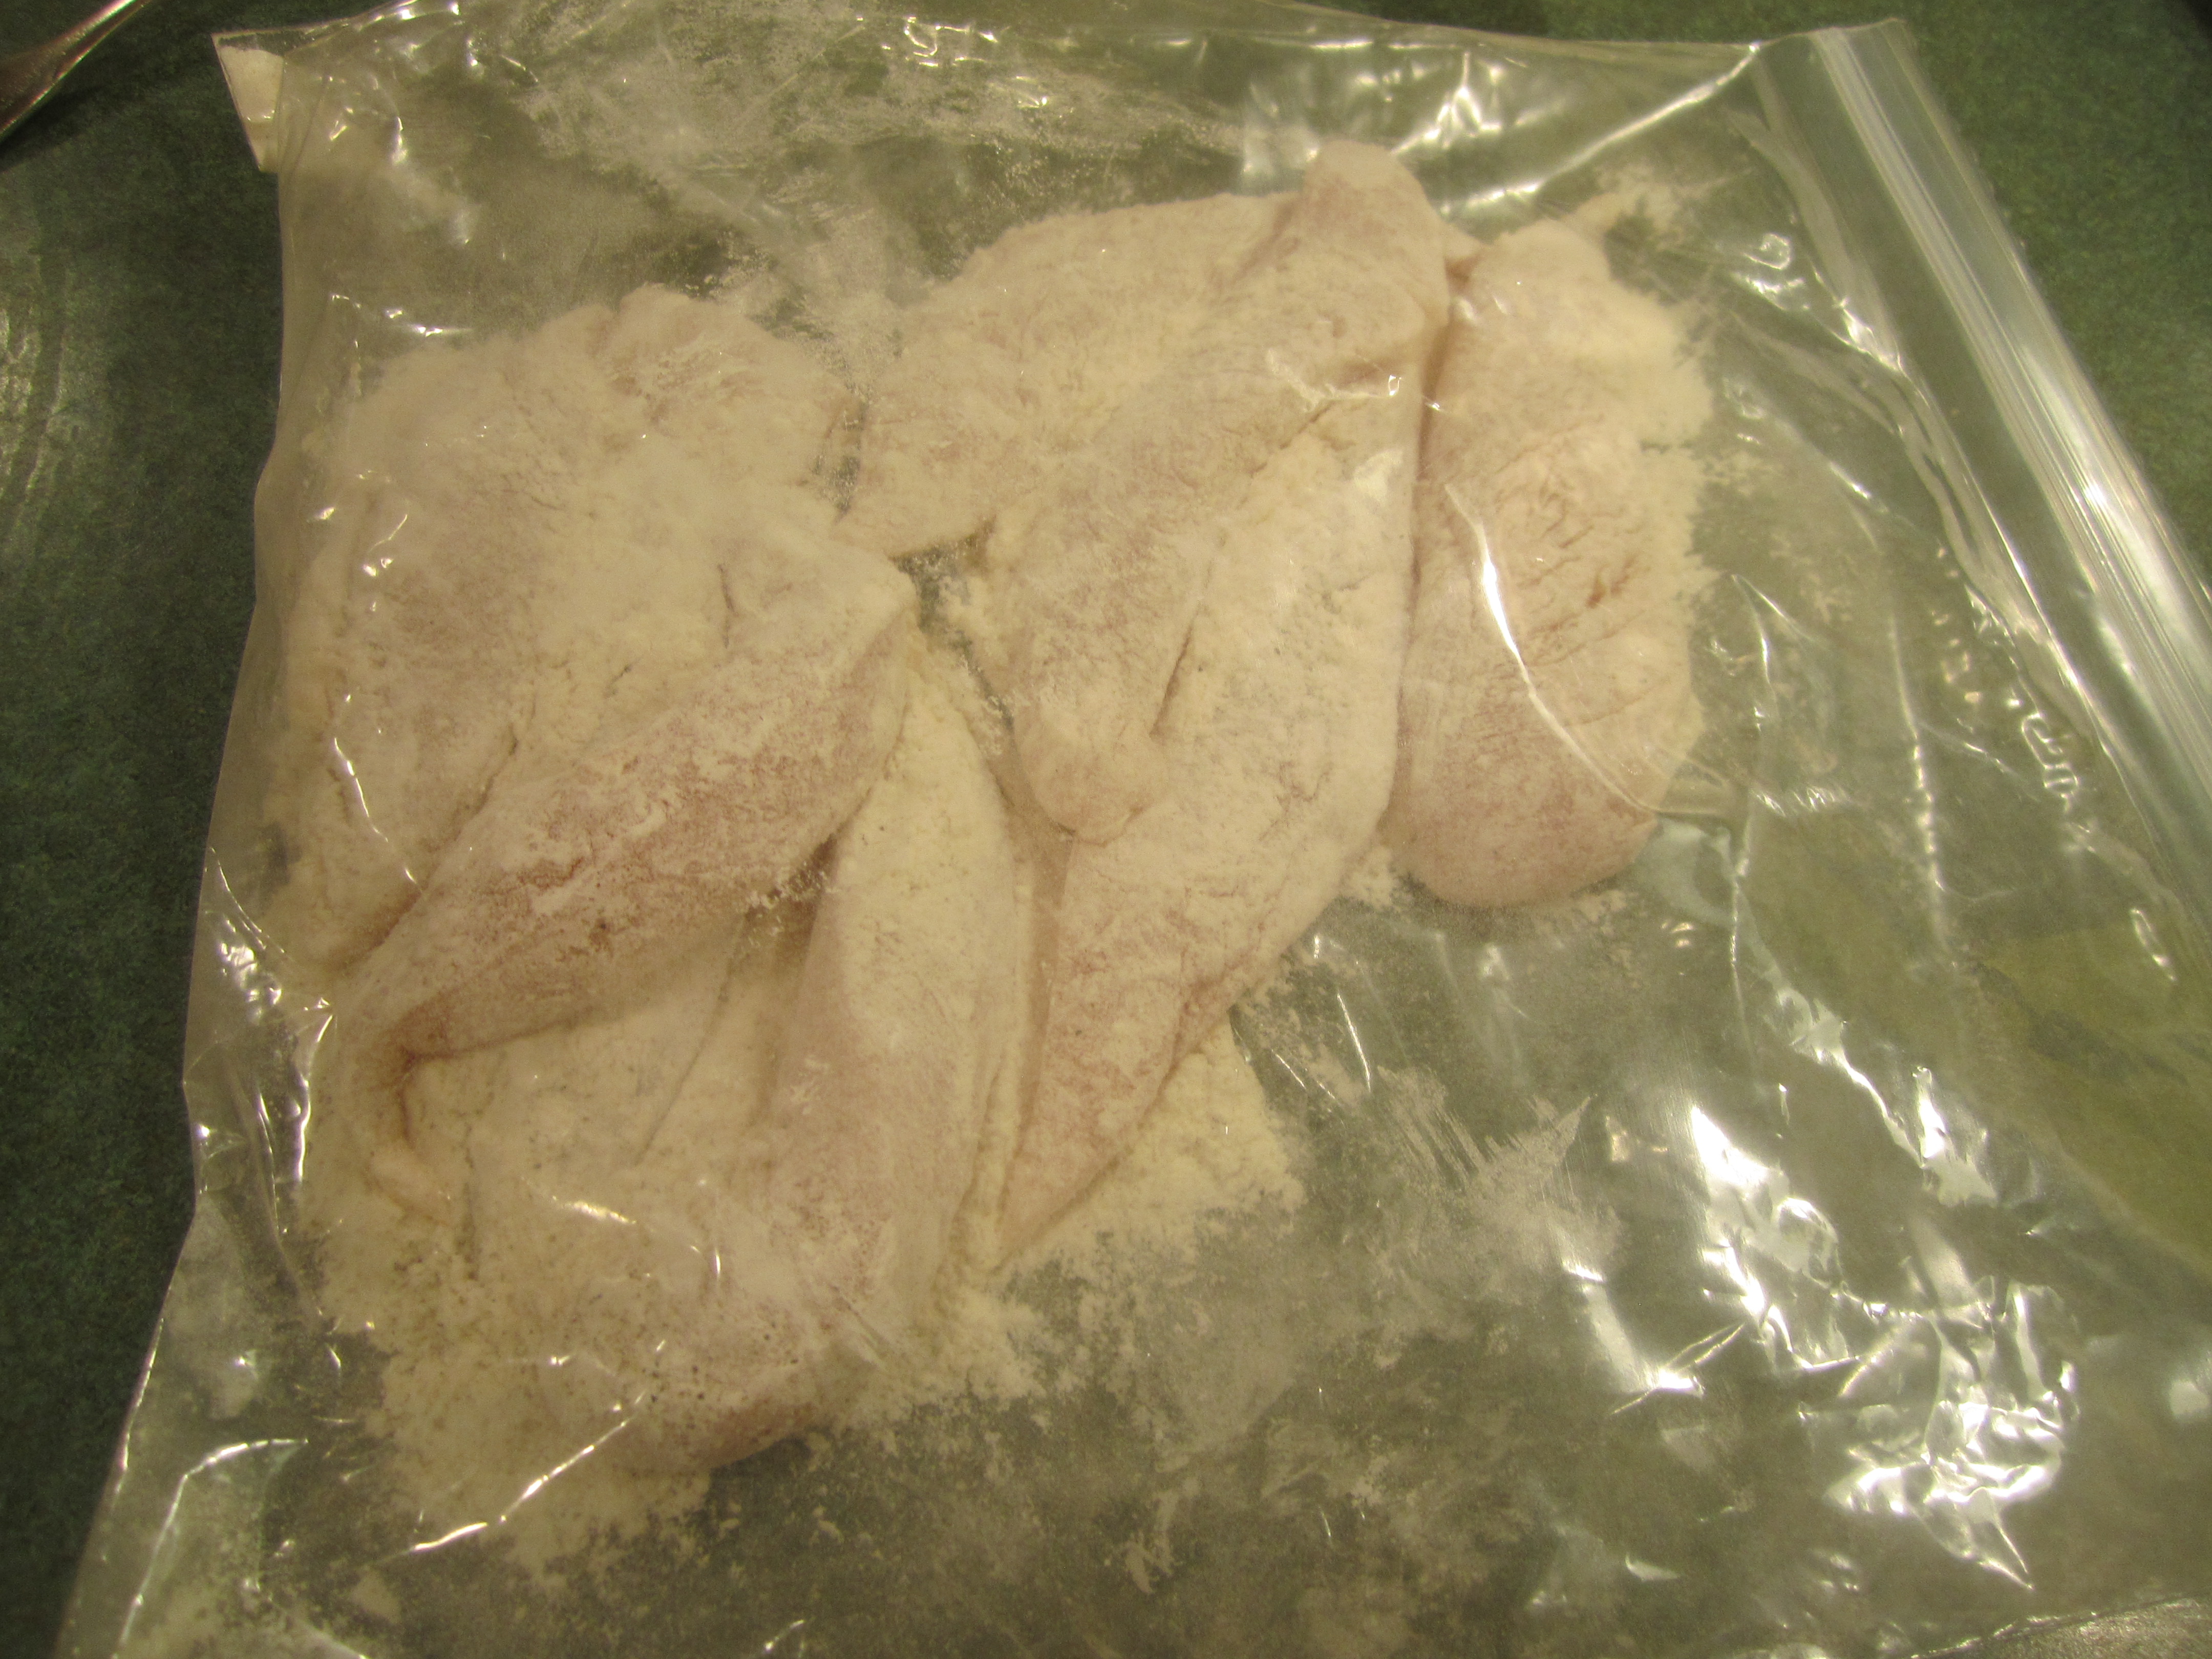
Remove ligament from chicken. Combine salt, pepper and flour in a 1 gallon zip lock plastic bag. Place chicken into bag and toss around until chicken is coated with flour mixture.
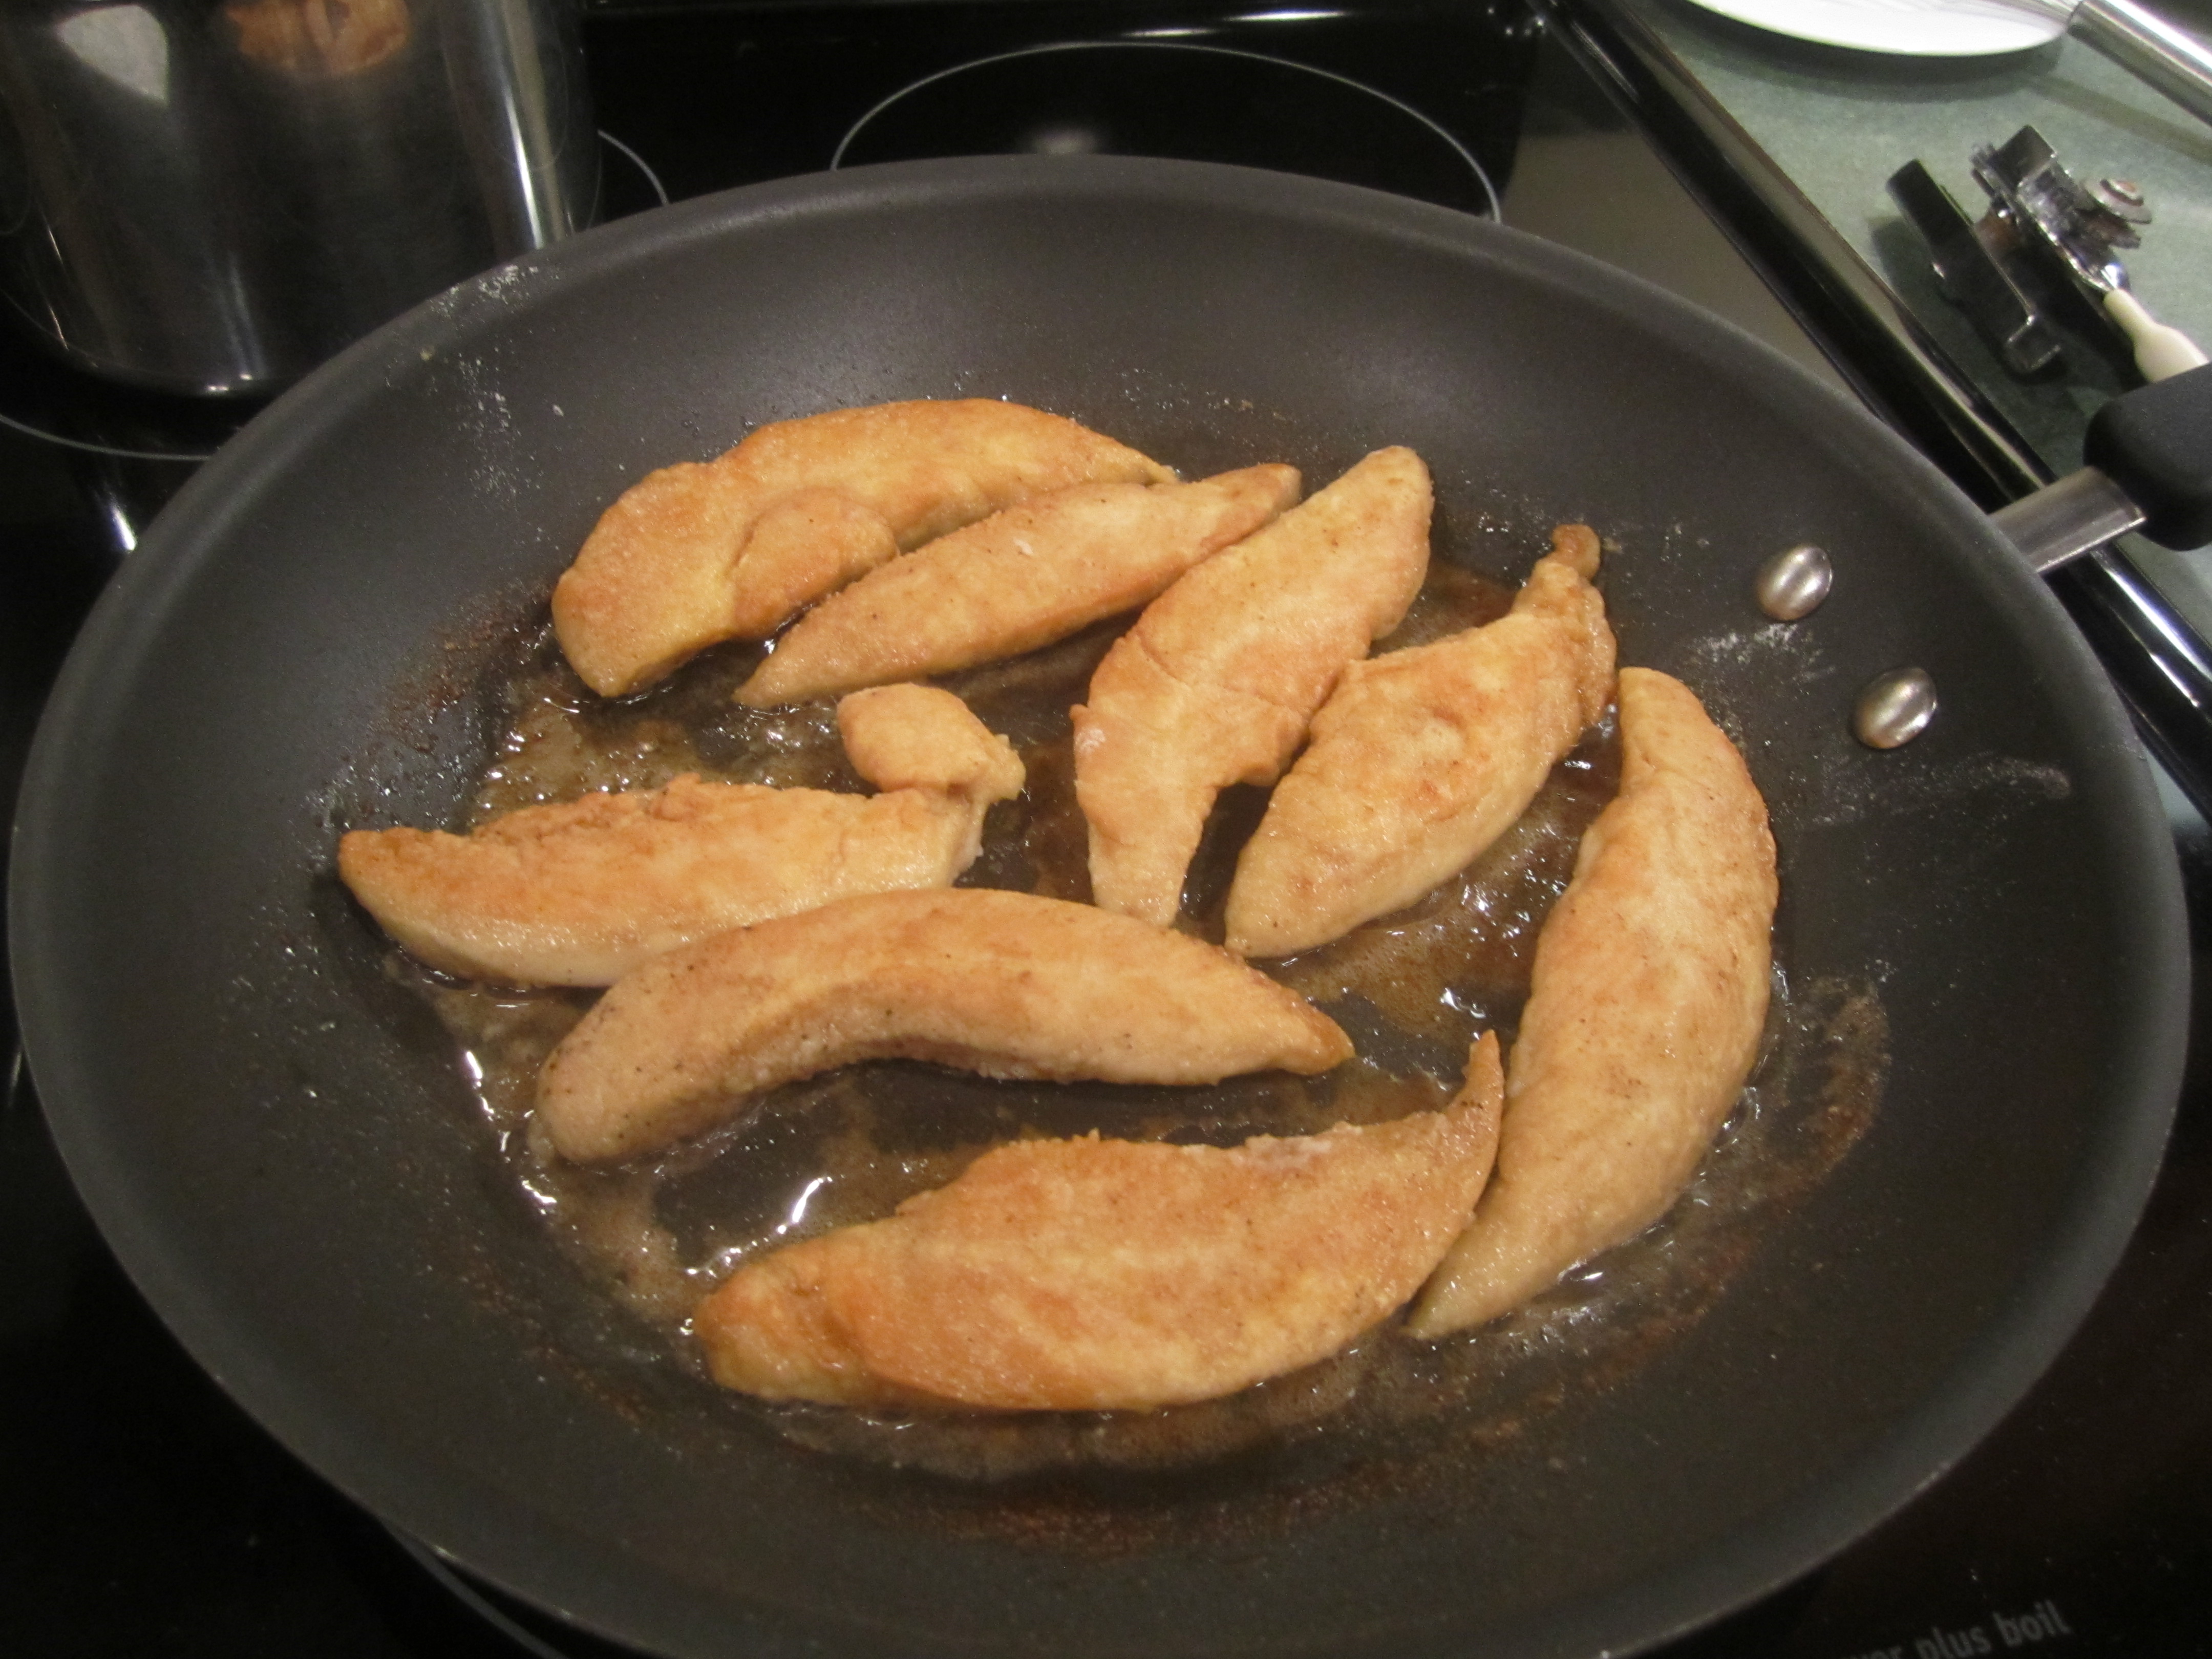
In a large non stick skillet, on medium heat, add butter and oil and heat. Remove chicken from plastic bag, shaking off any excess flour mixture, and add to pan. Cook for 3-4 minutes on each side or until done and golden brown.
Serve with barbecue sauce.
first 6 ingredients in small sauce pan:
this is great to have around, for small amounts:

finished sauce:
chicken with flour mixture:

sauteing chicken:

enjoy!

Yorkshire Pudding
When we were growing up, Yorkshire Pudding was always served with Roast Beef and gravy. A real treat.
My father’s parents were originally from England, so my Mom learned to make it. It’s similar to popovers but because it’s cooked in the beef fat it has a much richer flavor. My mom always made it in a rectangular glass baking dish so the texture in the middle was a little soft but the edges were crisp.
New Year’s Day I made a Standing Rib Roast with Yorkshire Pudding. Instead of gravy, I made my Mushroom Shallot Sauce. It was delicious.
In order to get the rich flavor from the beef fat, roasting a Standing Rib Roast or Boneless Rolled Rib Roast (what my Mom used to make), is essential. You can substitute a couple of tablespoons of melted butter, maybe for your first time making it. But if at all possible, try to make a roast beef. You won’t be disappointed.
Yorkshire Pudding
3 large eggs
1 cup all purpose flour
1 cup whole milk
1/2 teaspoon salt
While the Beef Roast is cooking, place eggs, milk and salt in large bowl. Whisk together until thoroughly combined. Set aside the 1 cup of flour.
After removing the Beef Roast from the oven, increase oven temperature to 400 degrees.
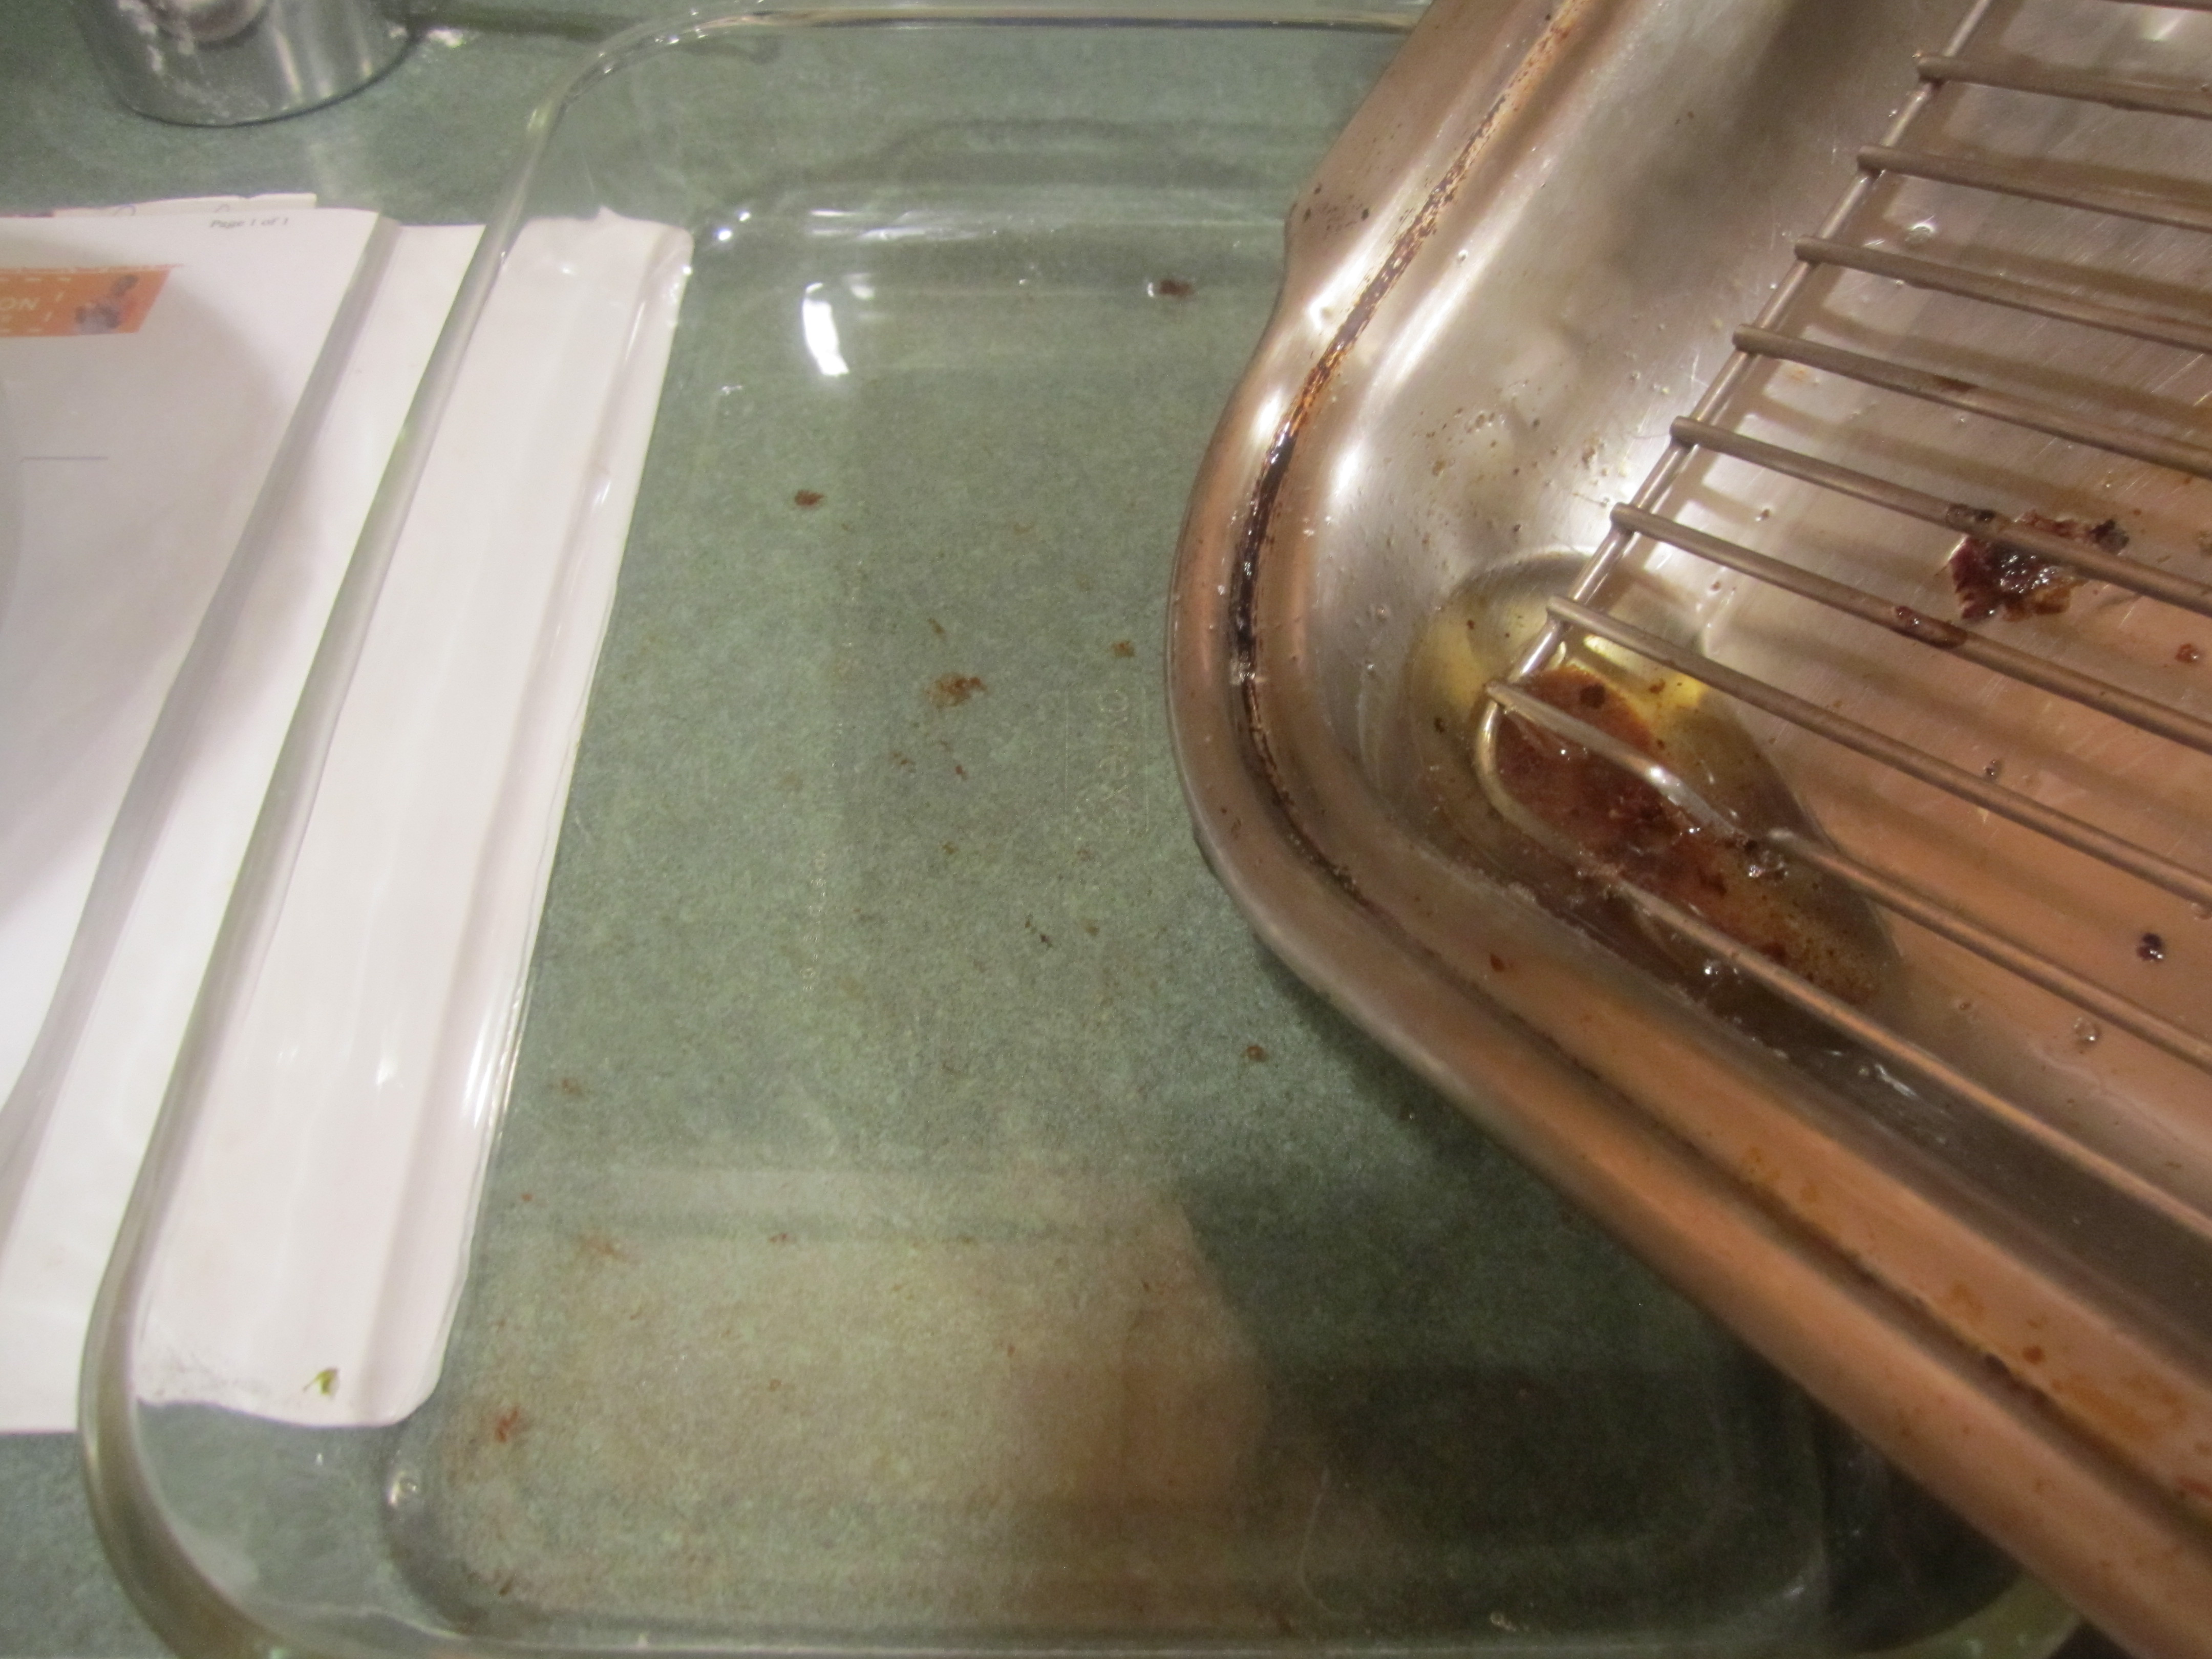
Remove Beef Roast from roasting pan and set aside to rest. Carefully pour the fat from the pan into a 9 x 13 inch glass baking dish, so that it just covers the bottom of the dish. You won’t use all the fat, you just want a nice layer on the bottom of the dish.
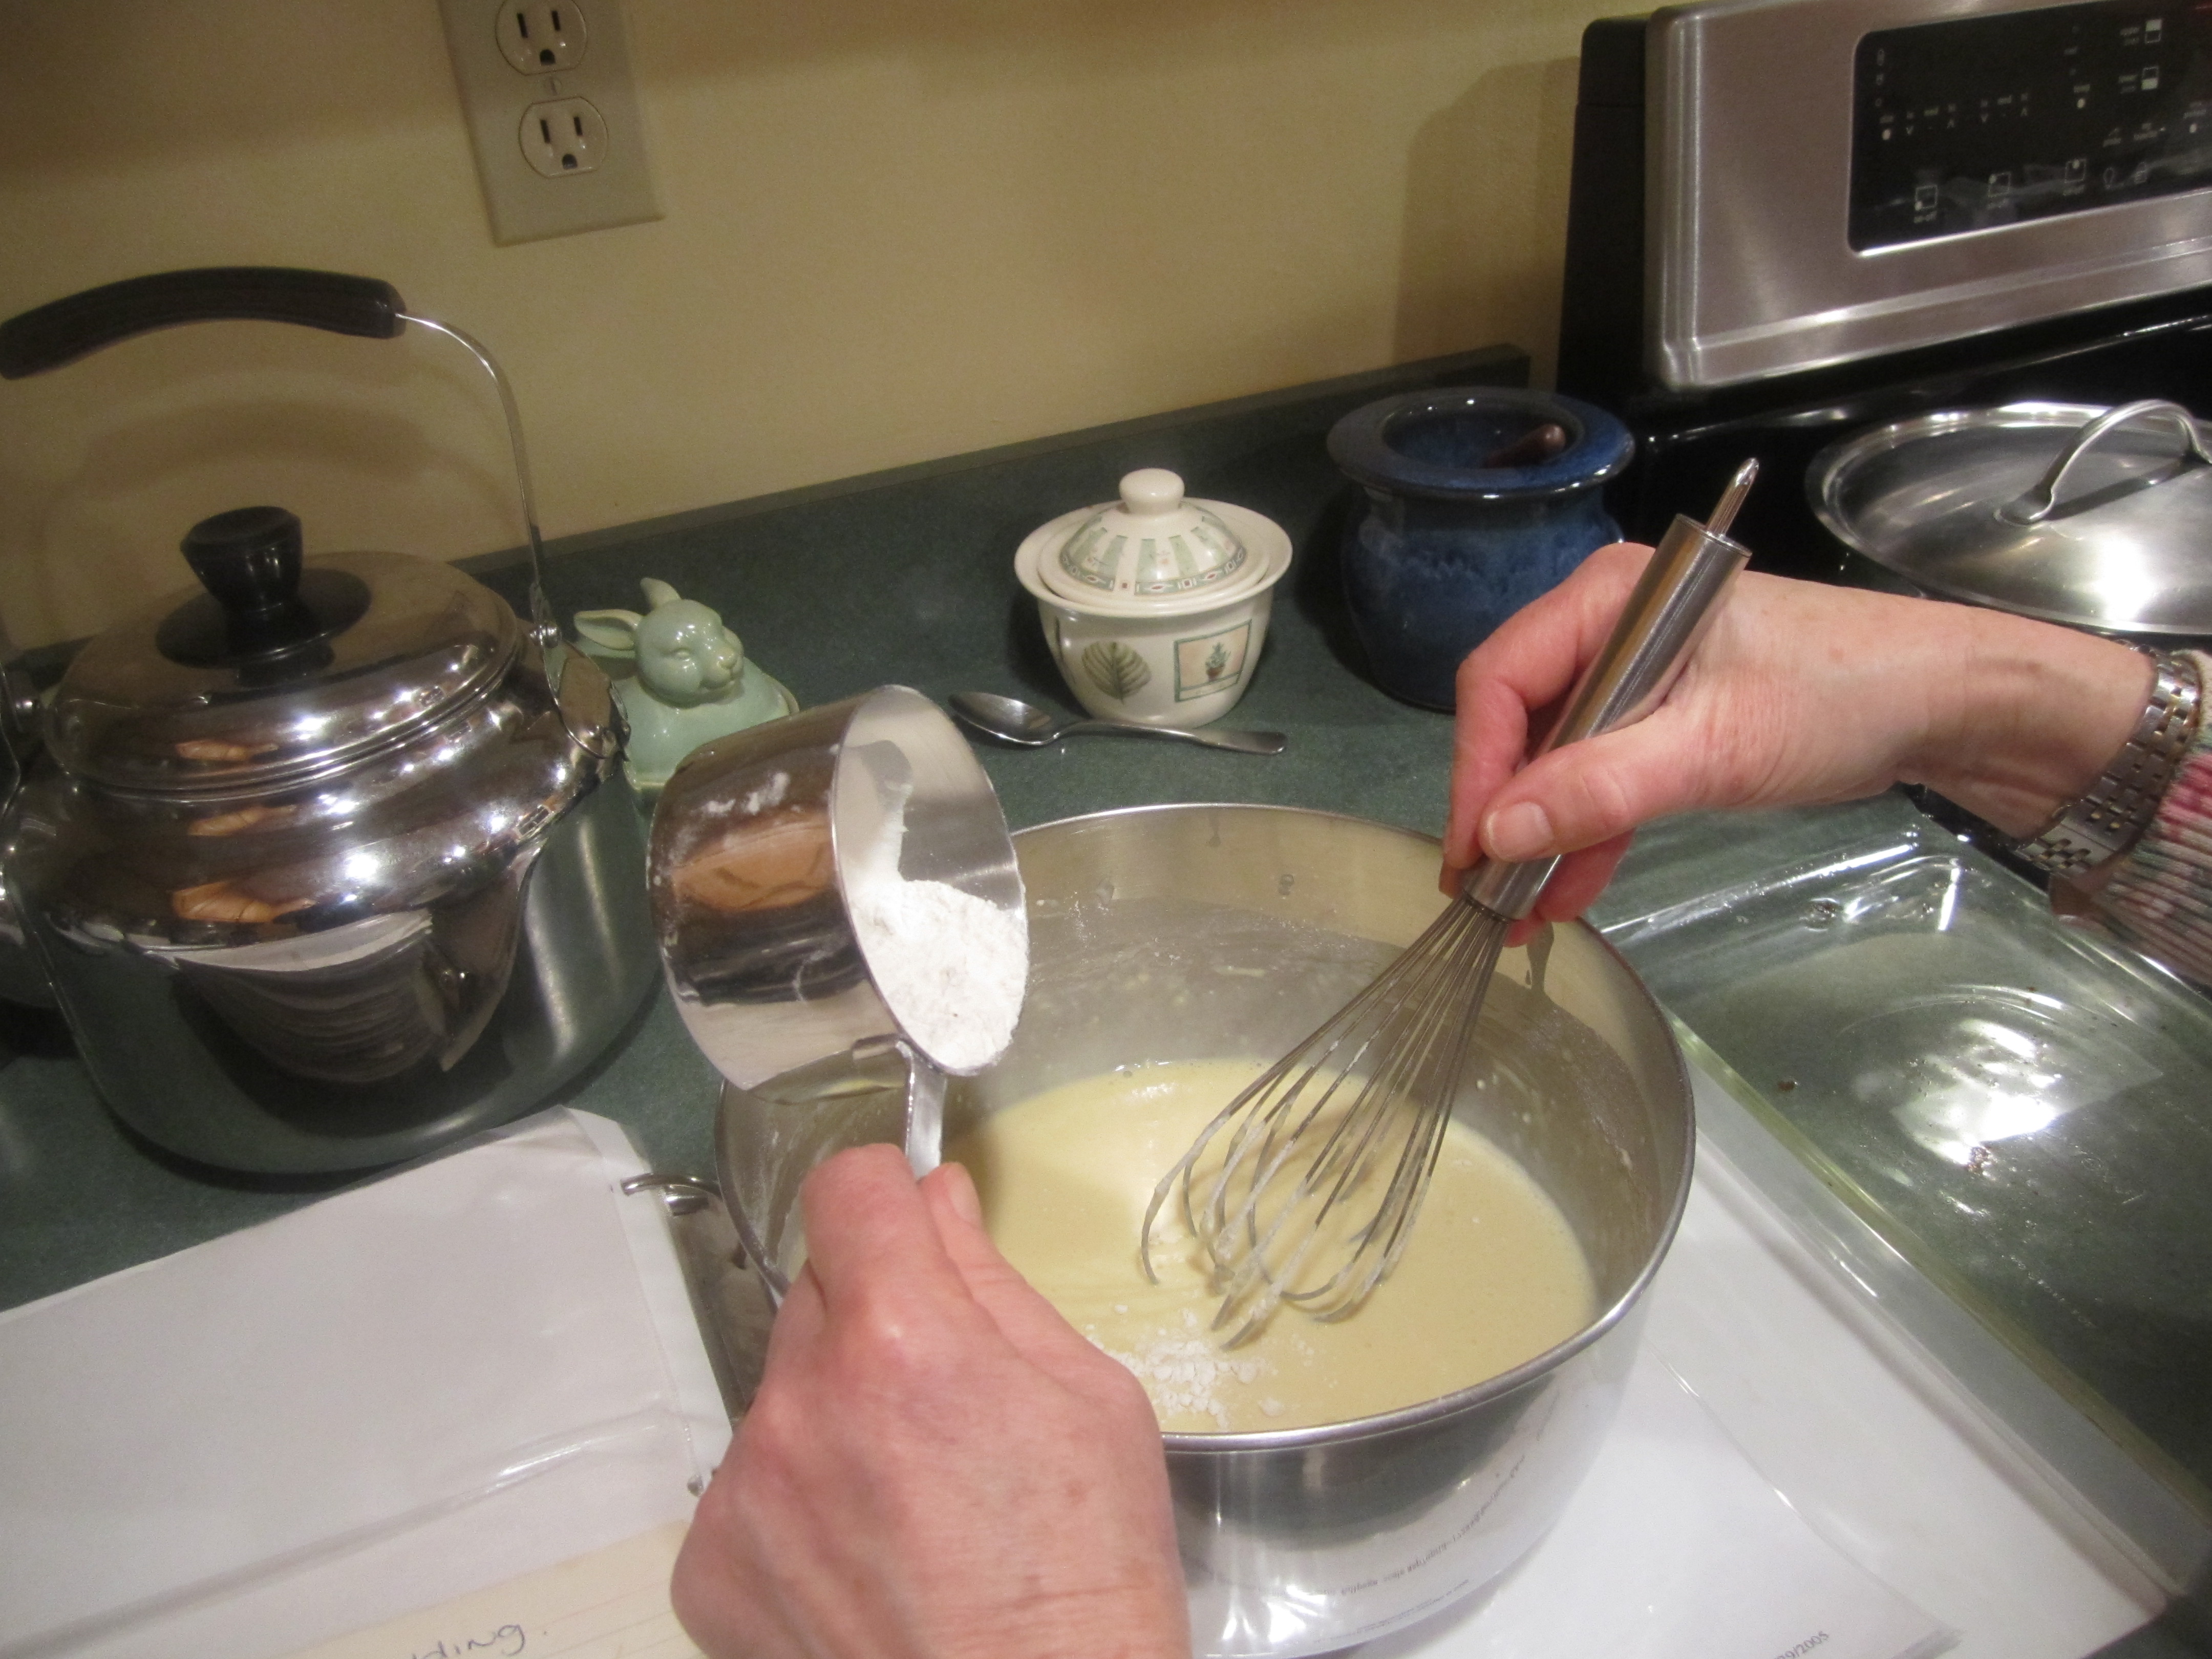
Carefully sprinkle the flour, a little bit at a time, into the egg mixture while whisking constantly or almost constantly. This assures that you will not have any lumps in the batter. My mom used Wondra Flour when she made it. But if you are careful about adding the flour, you will be fine with just the regular stuff.
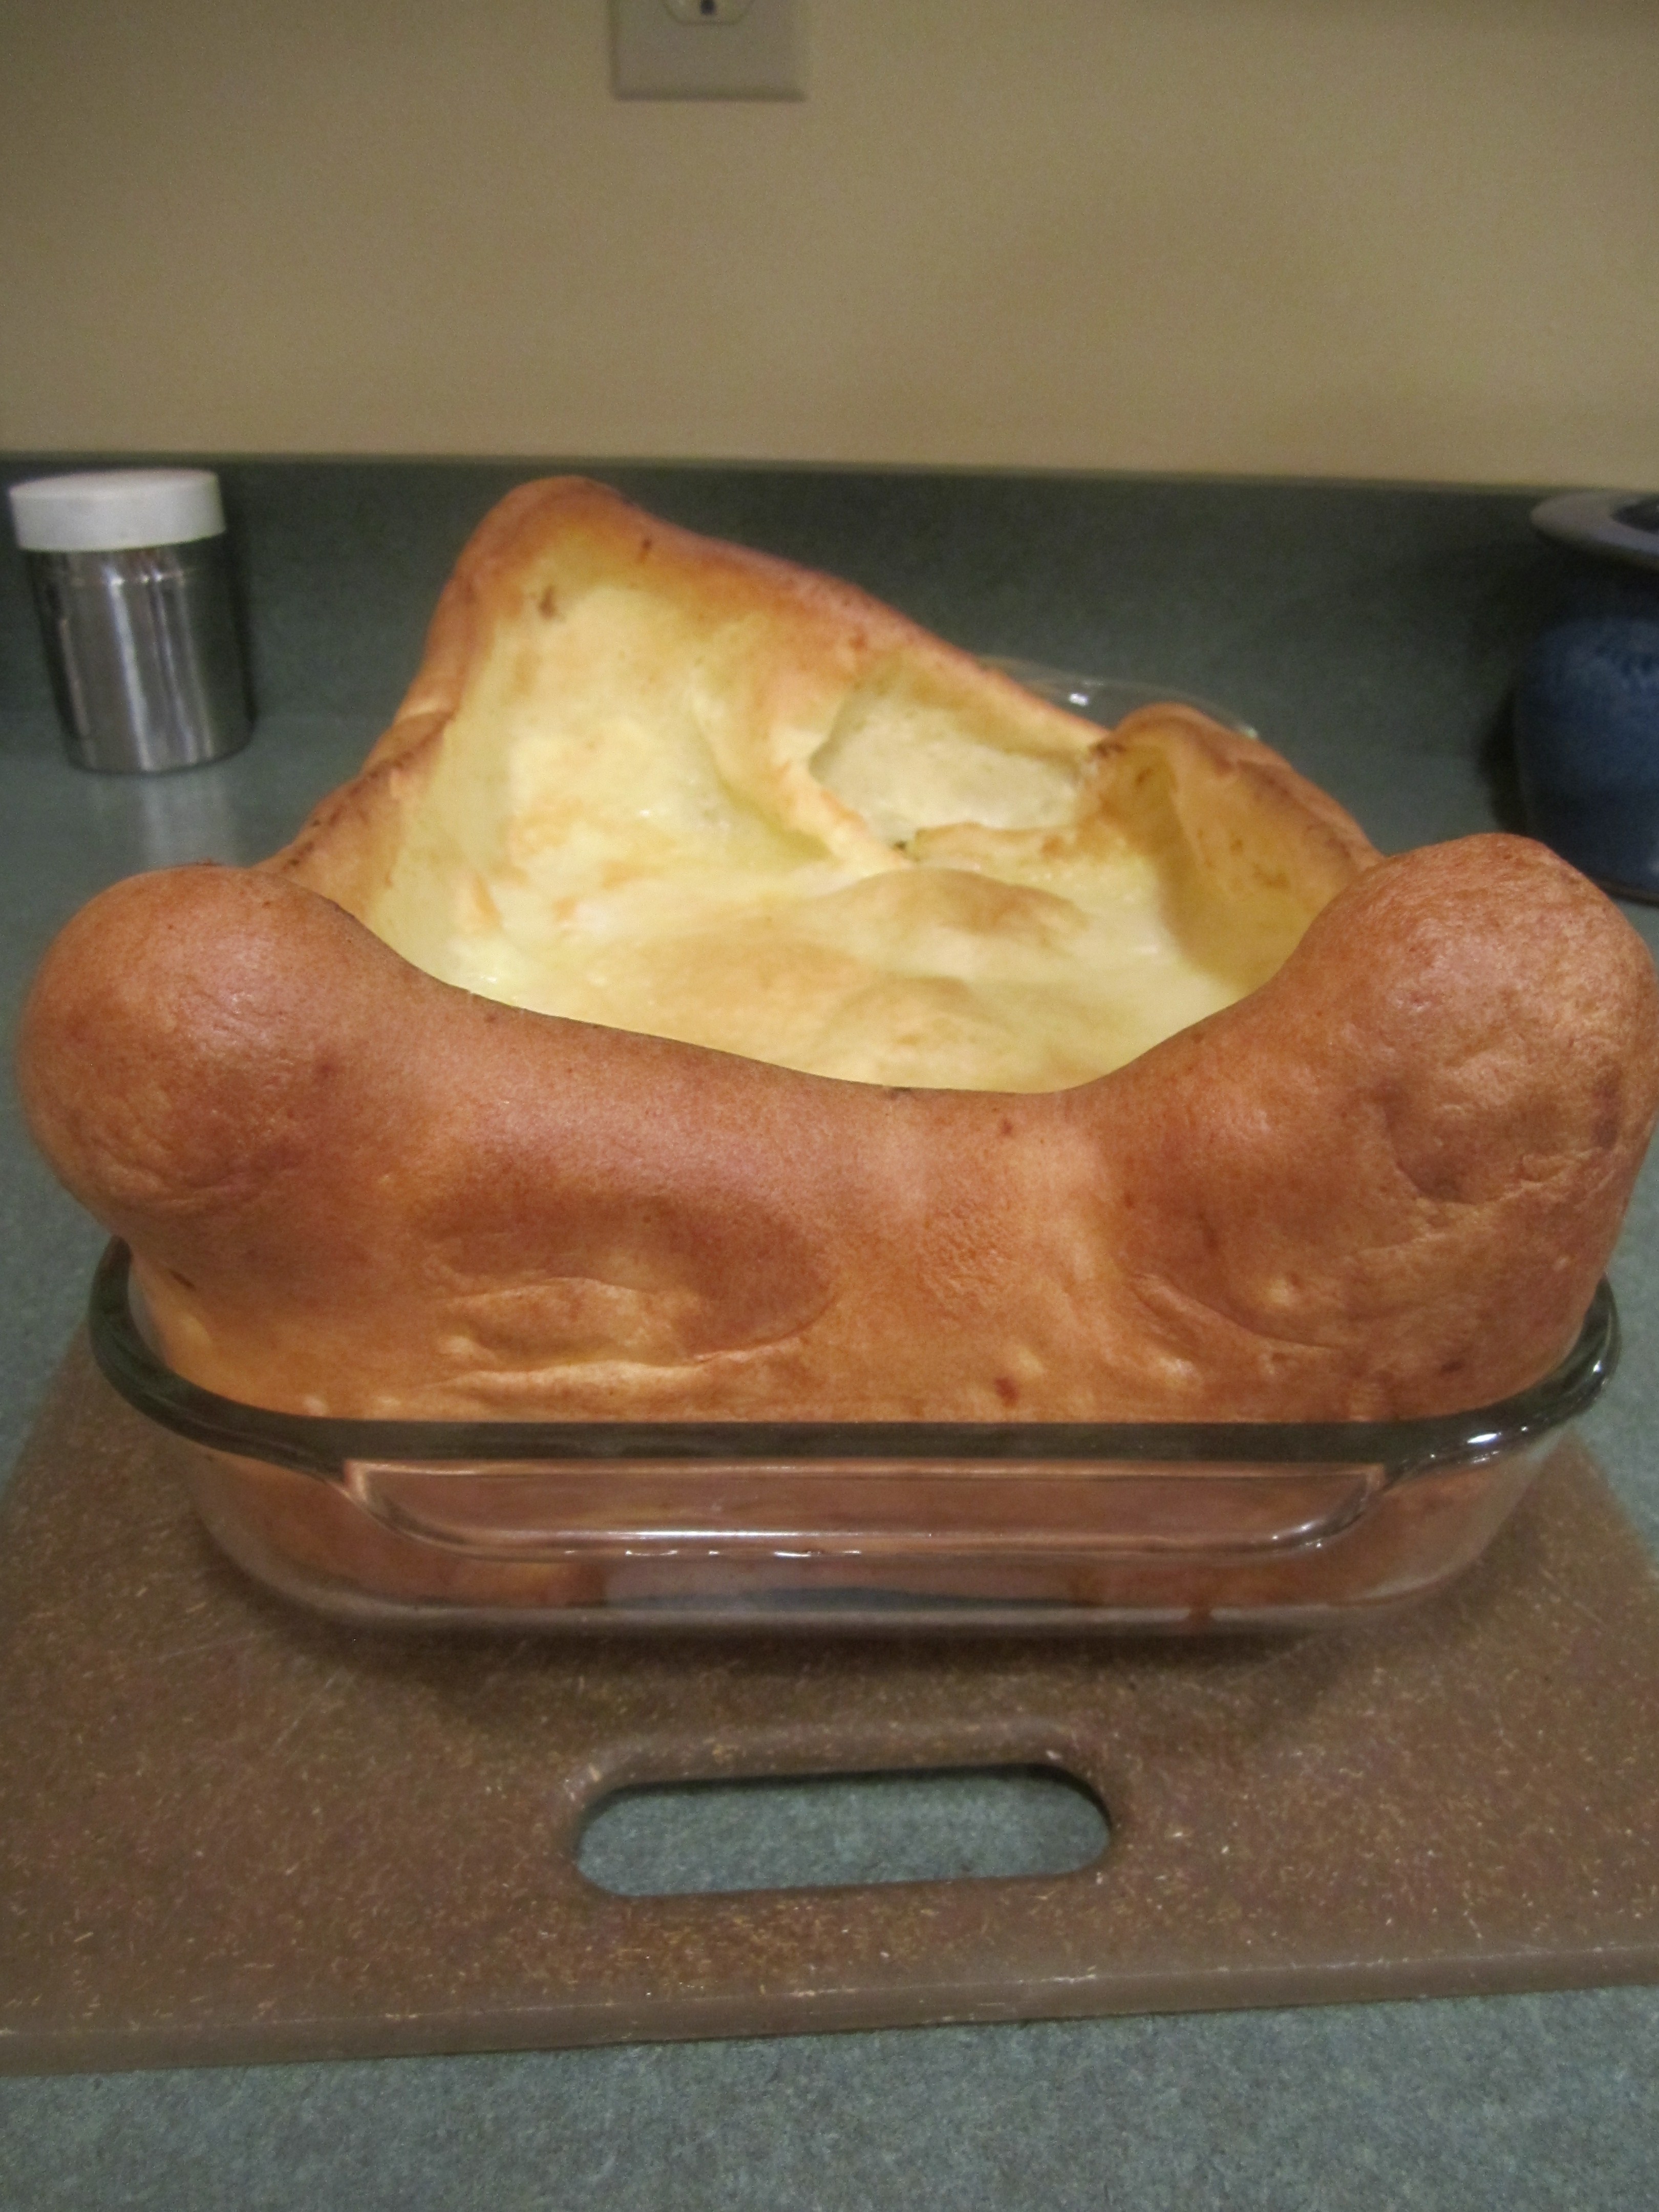
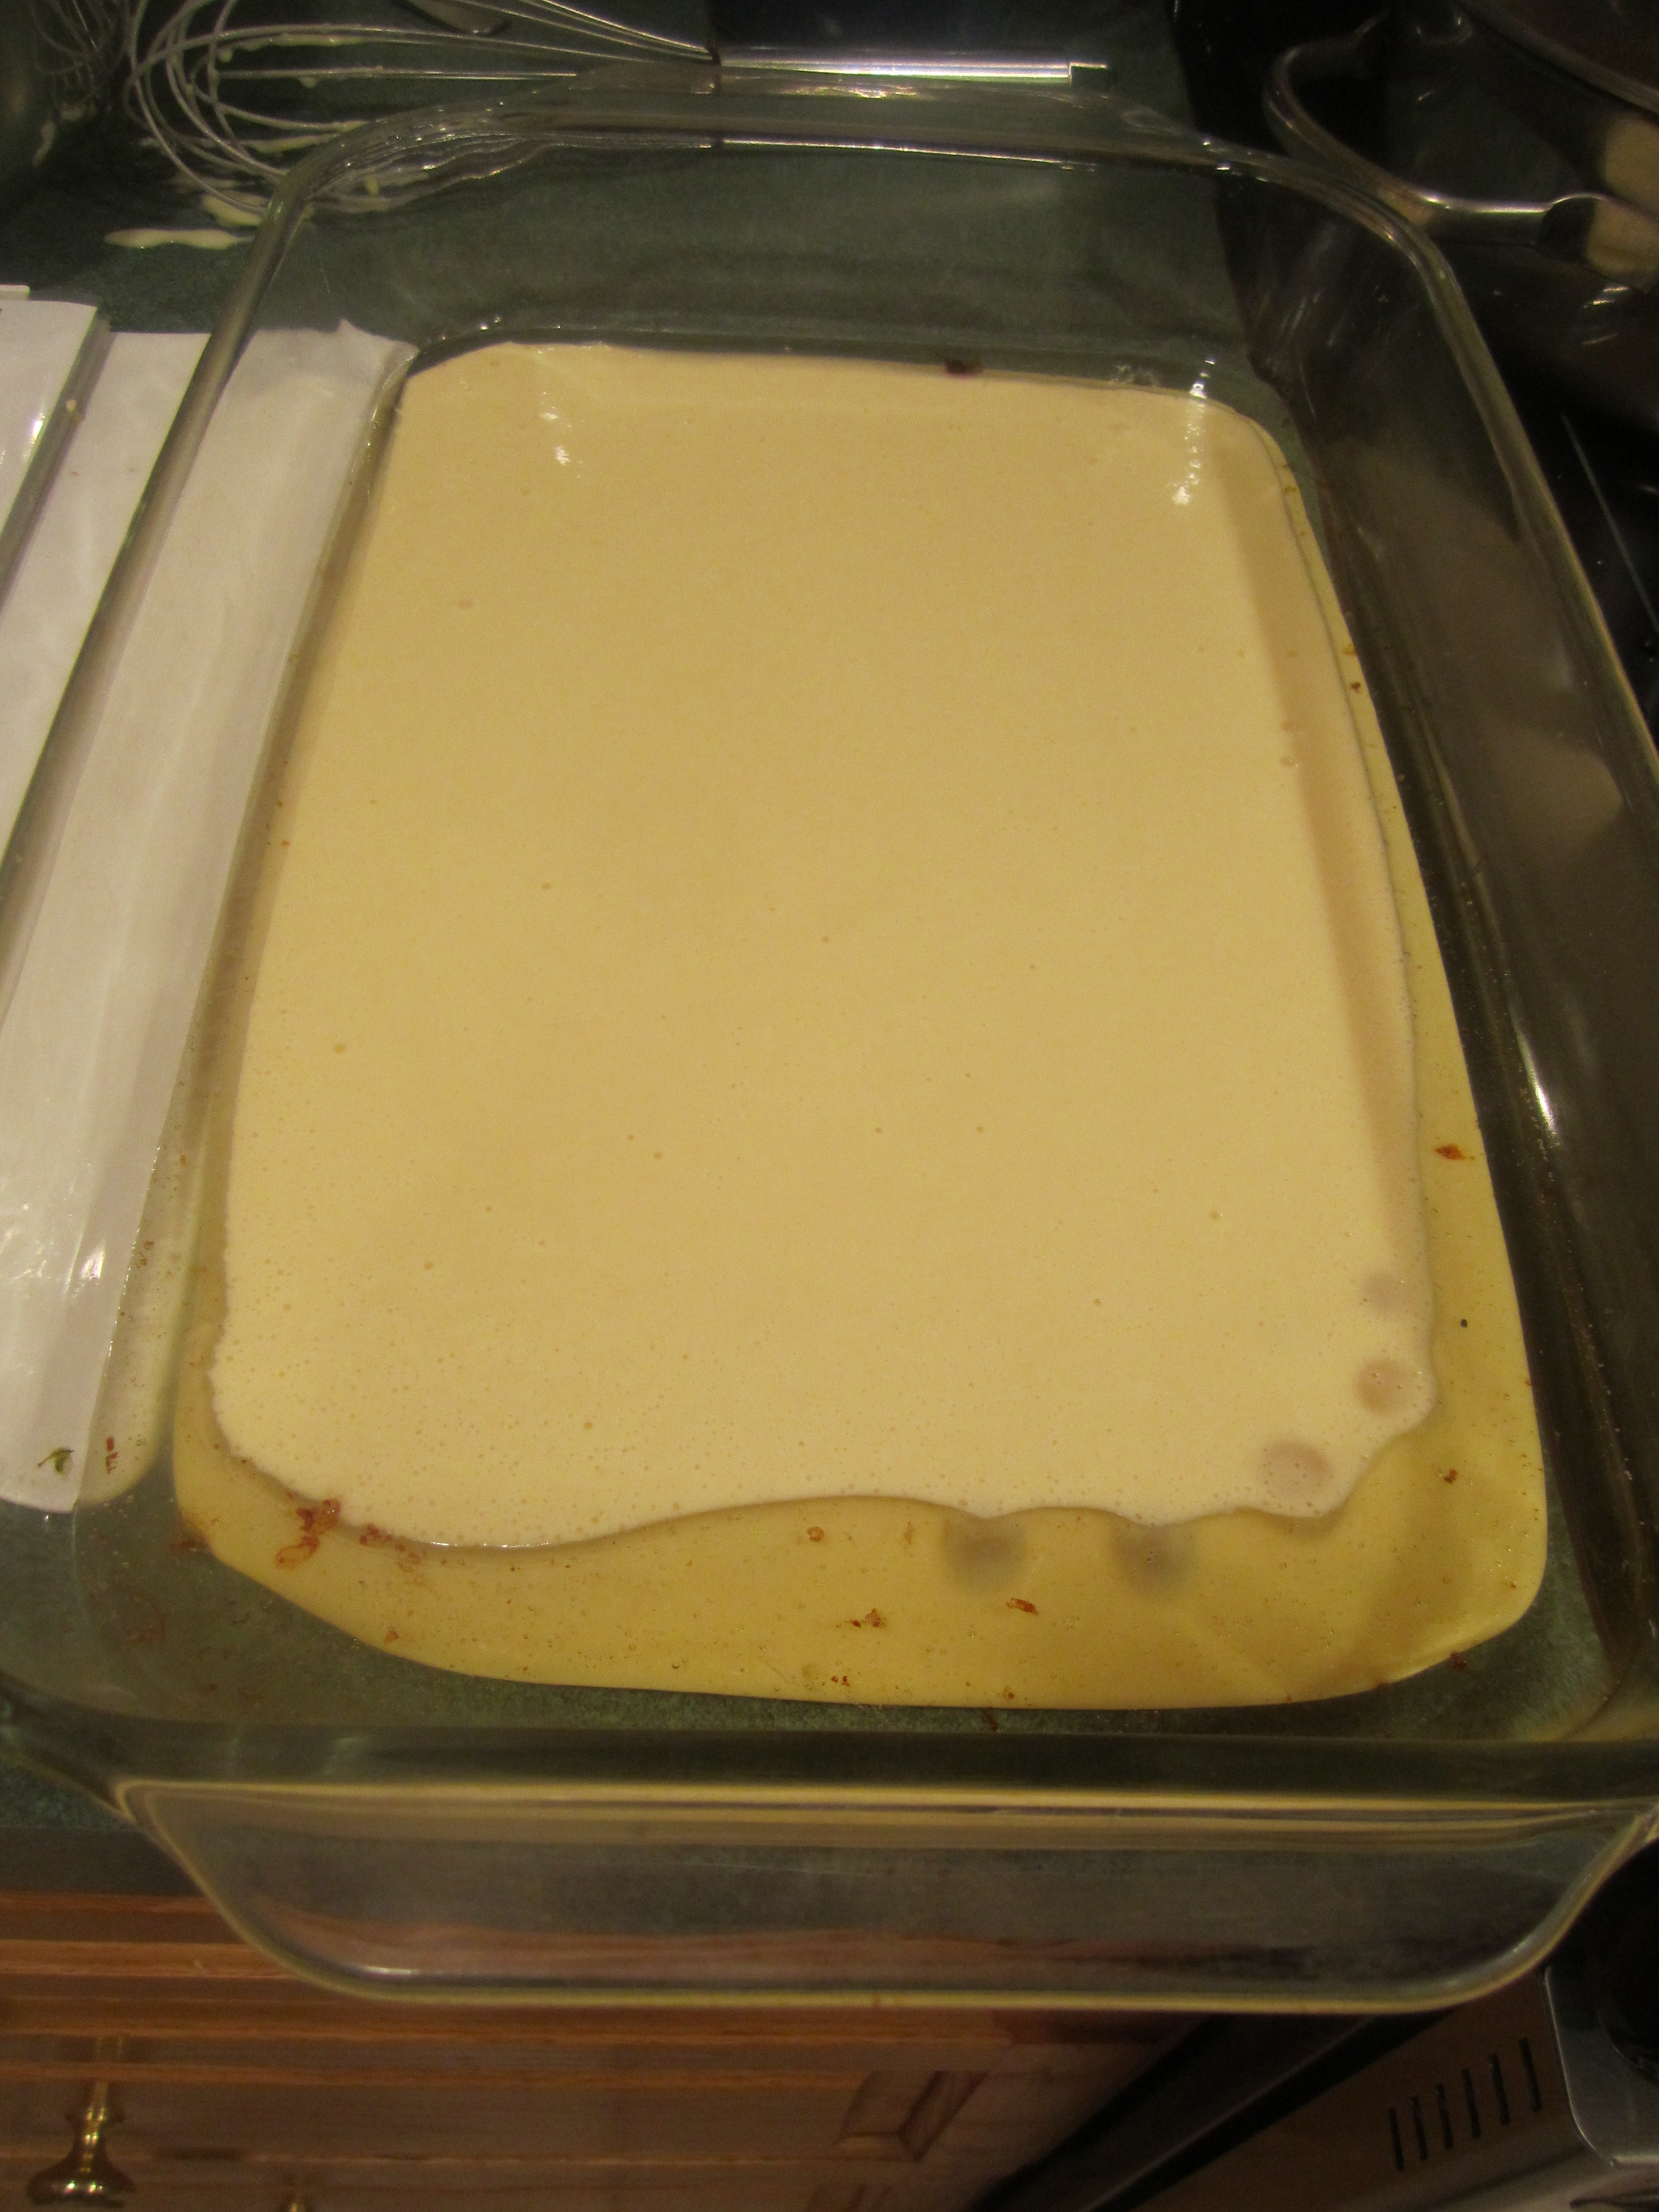
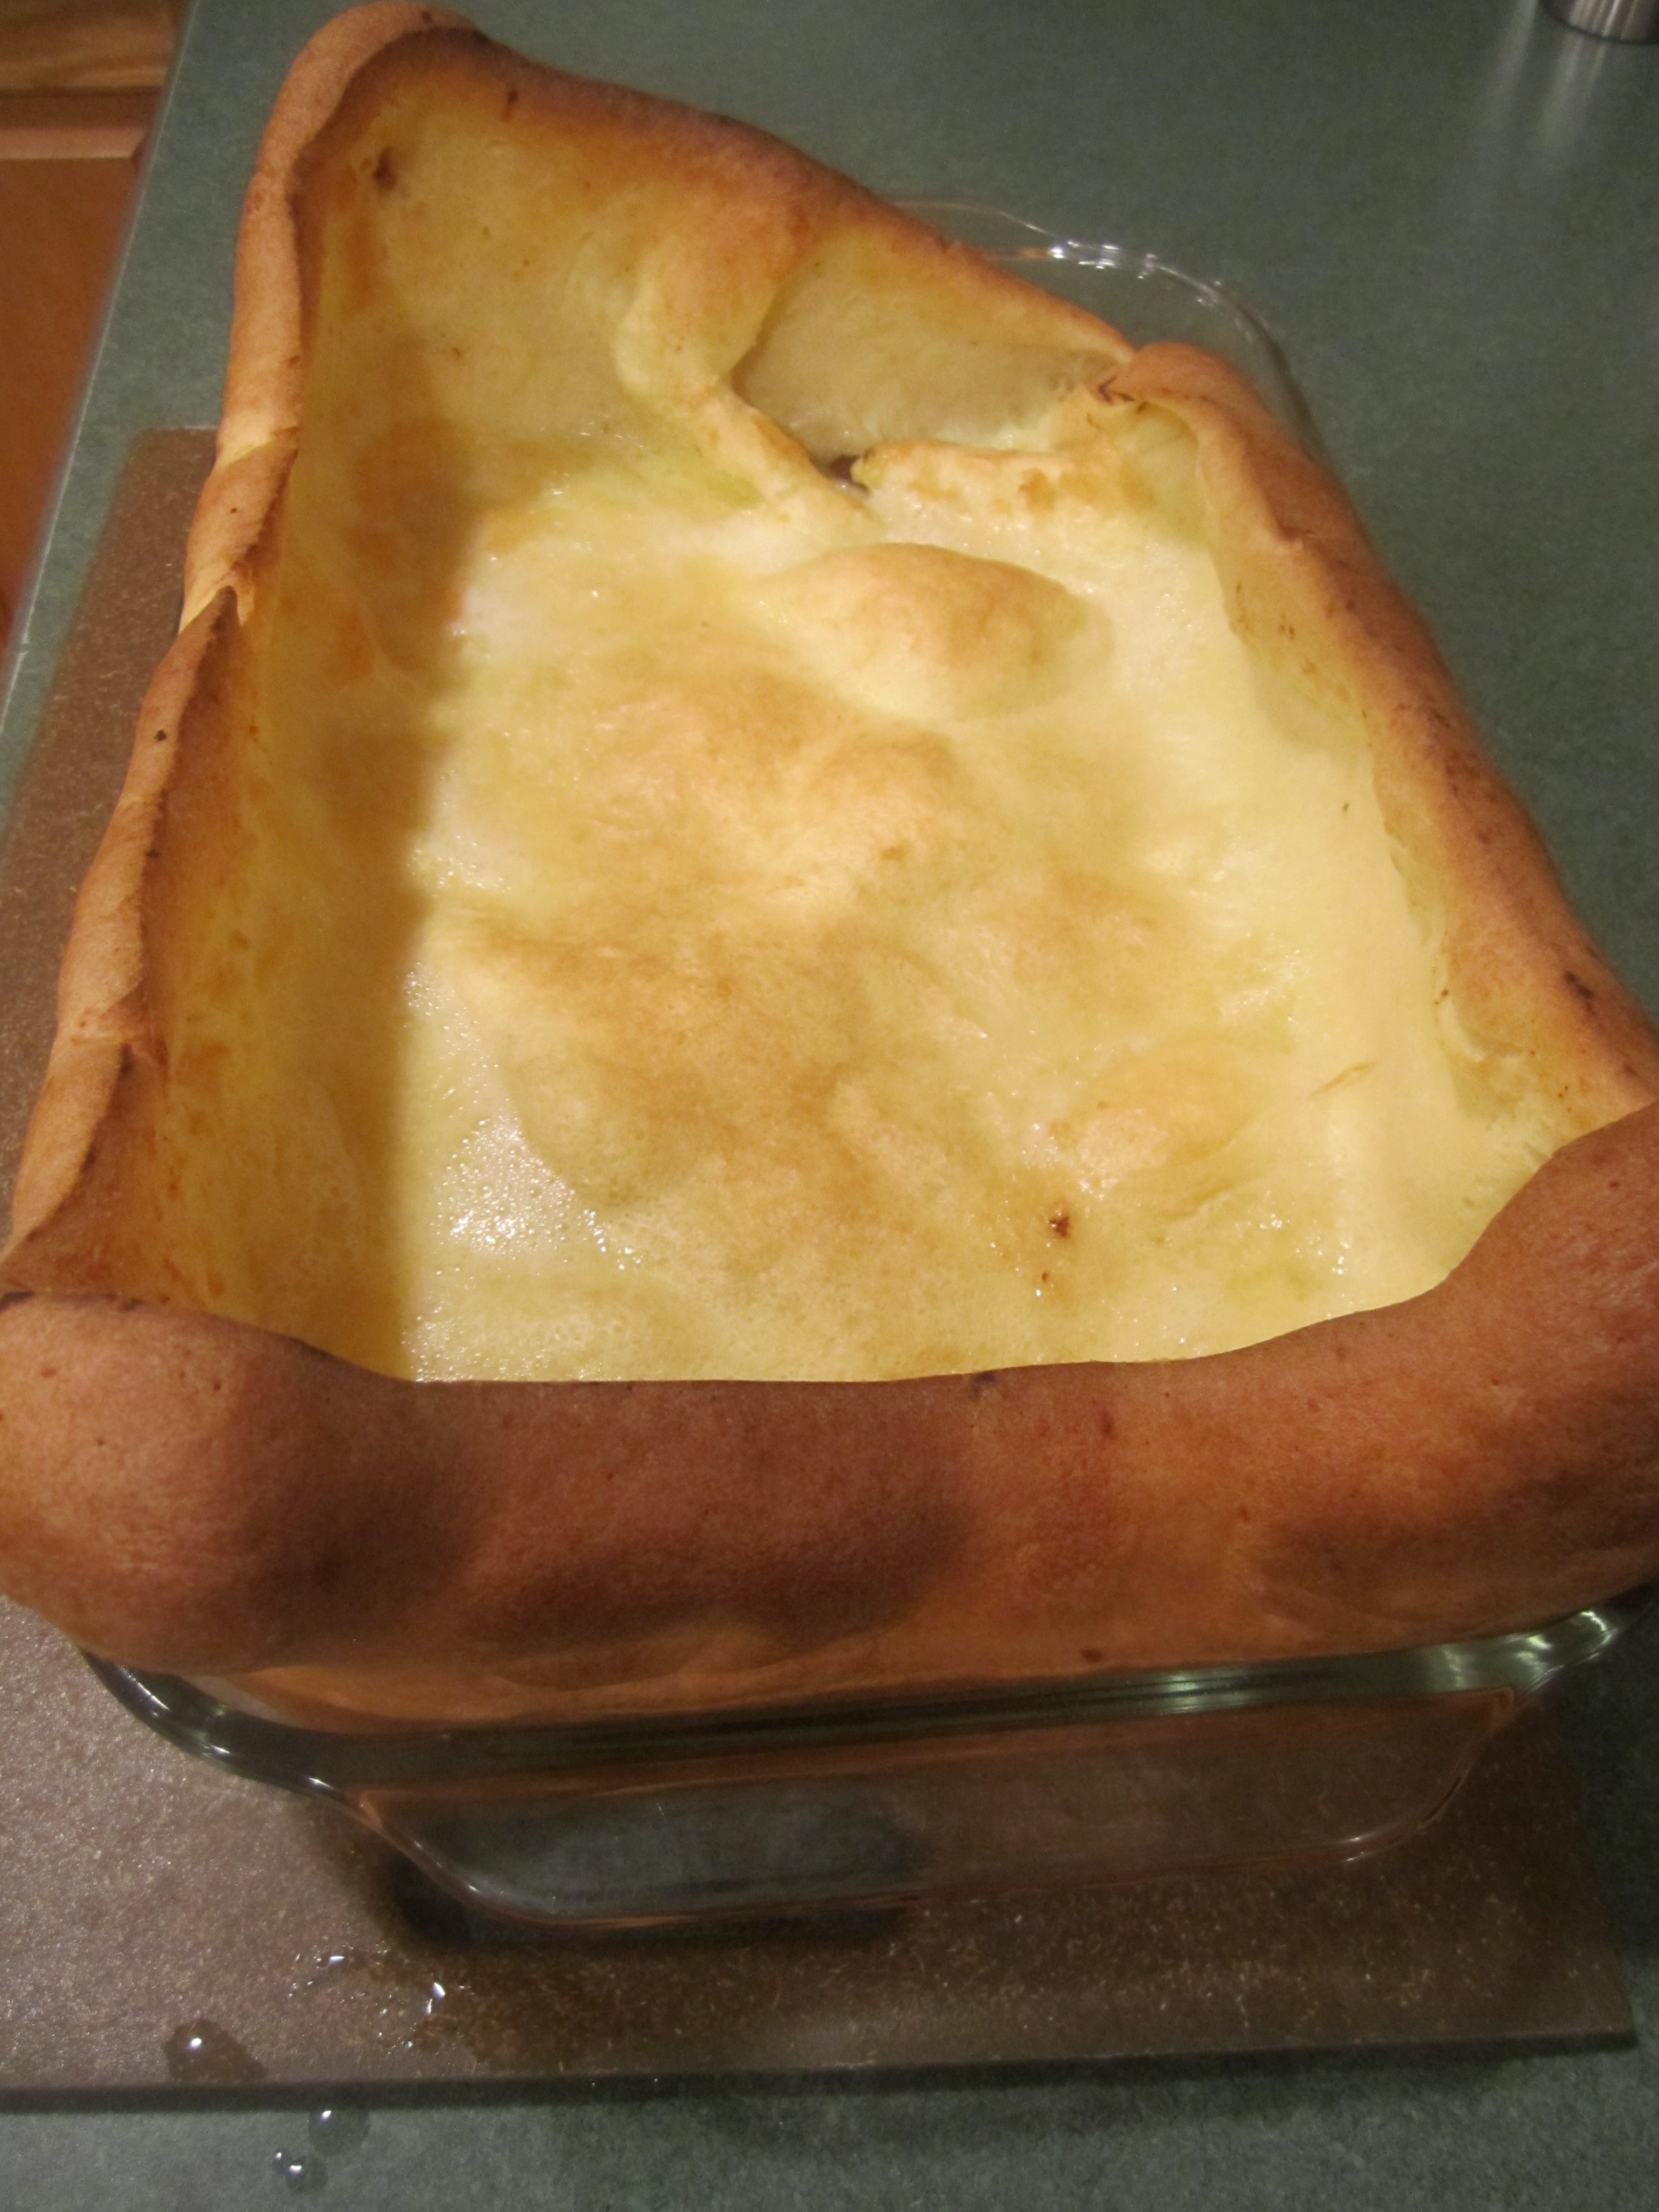
When the batter is completely mixed, pour into the prepared baking dish and bake for 30 minutes.
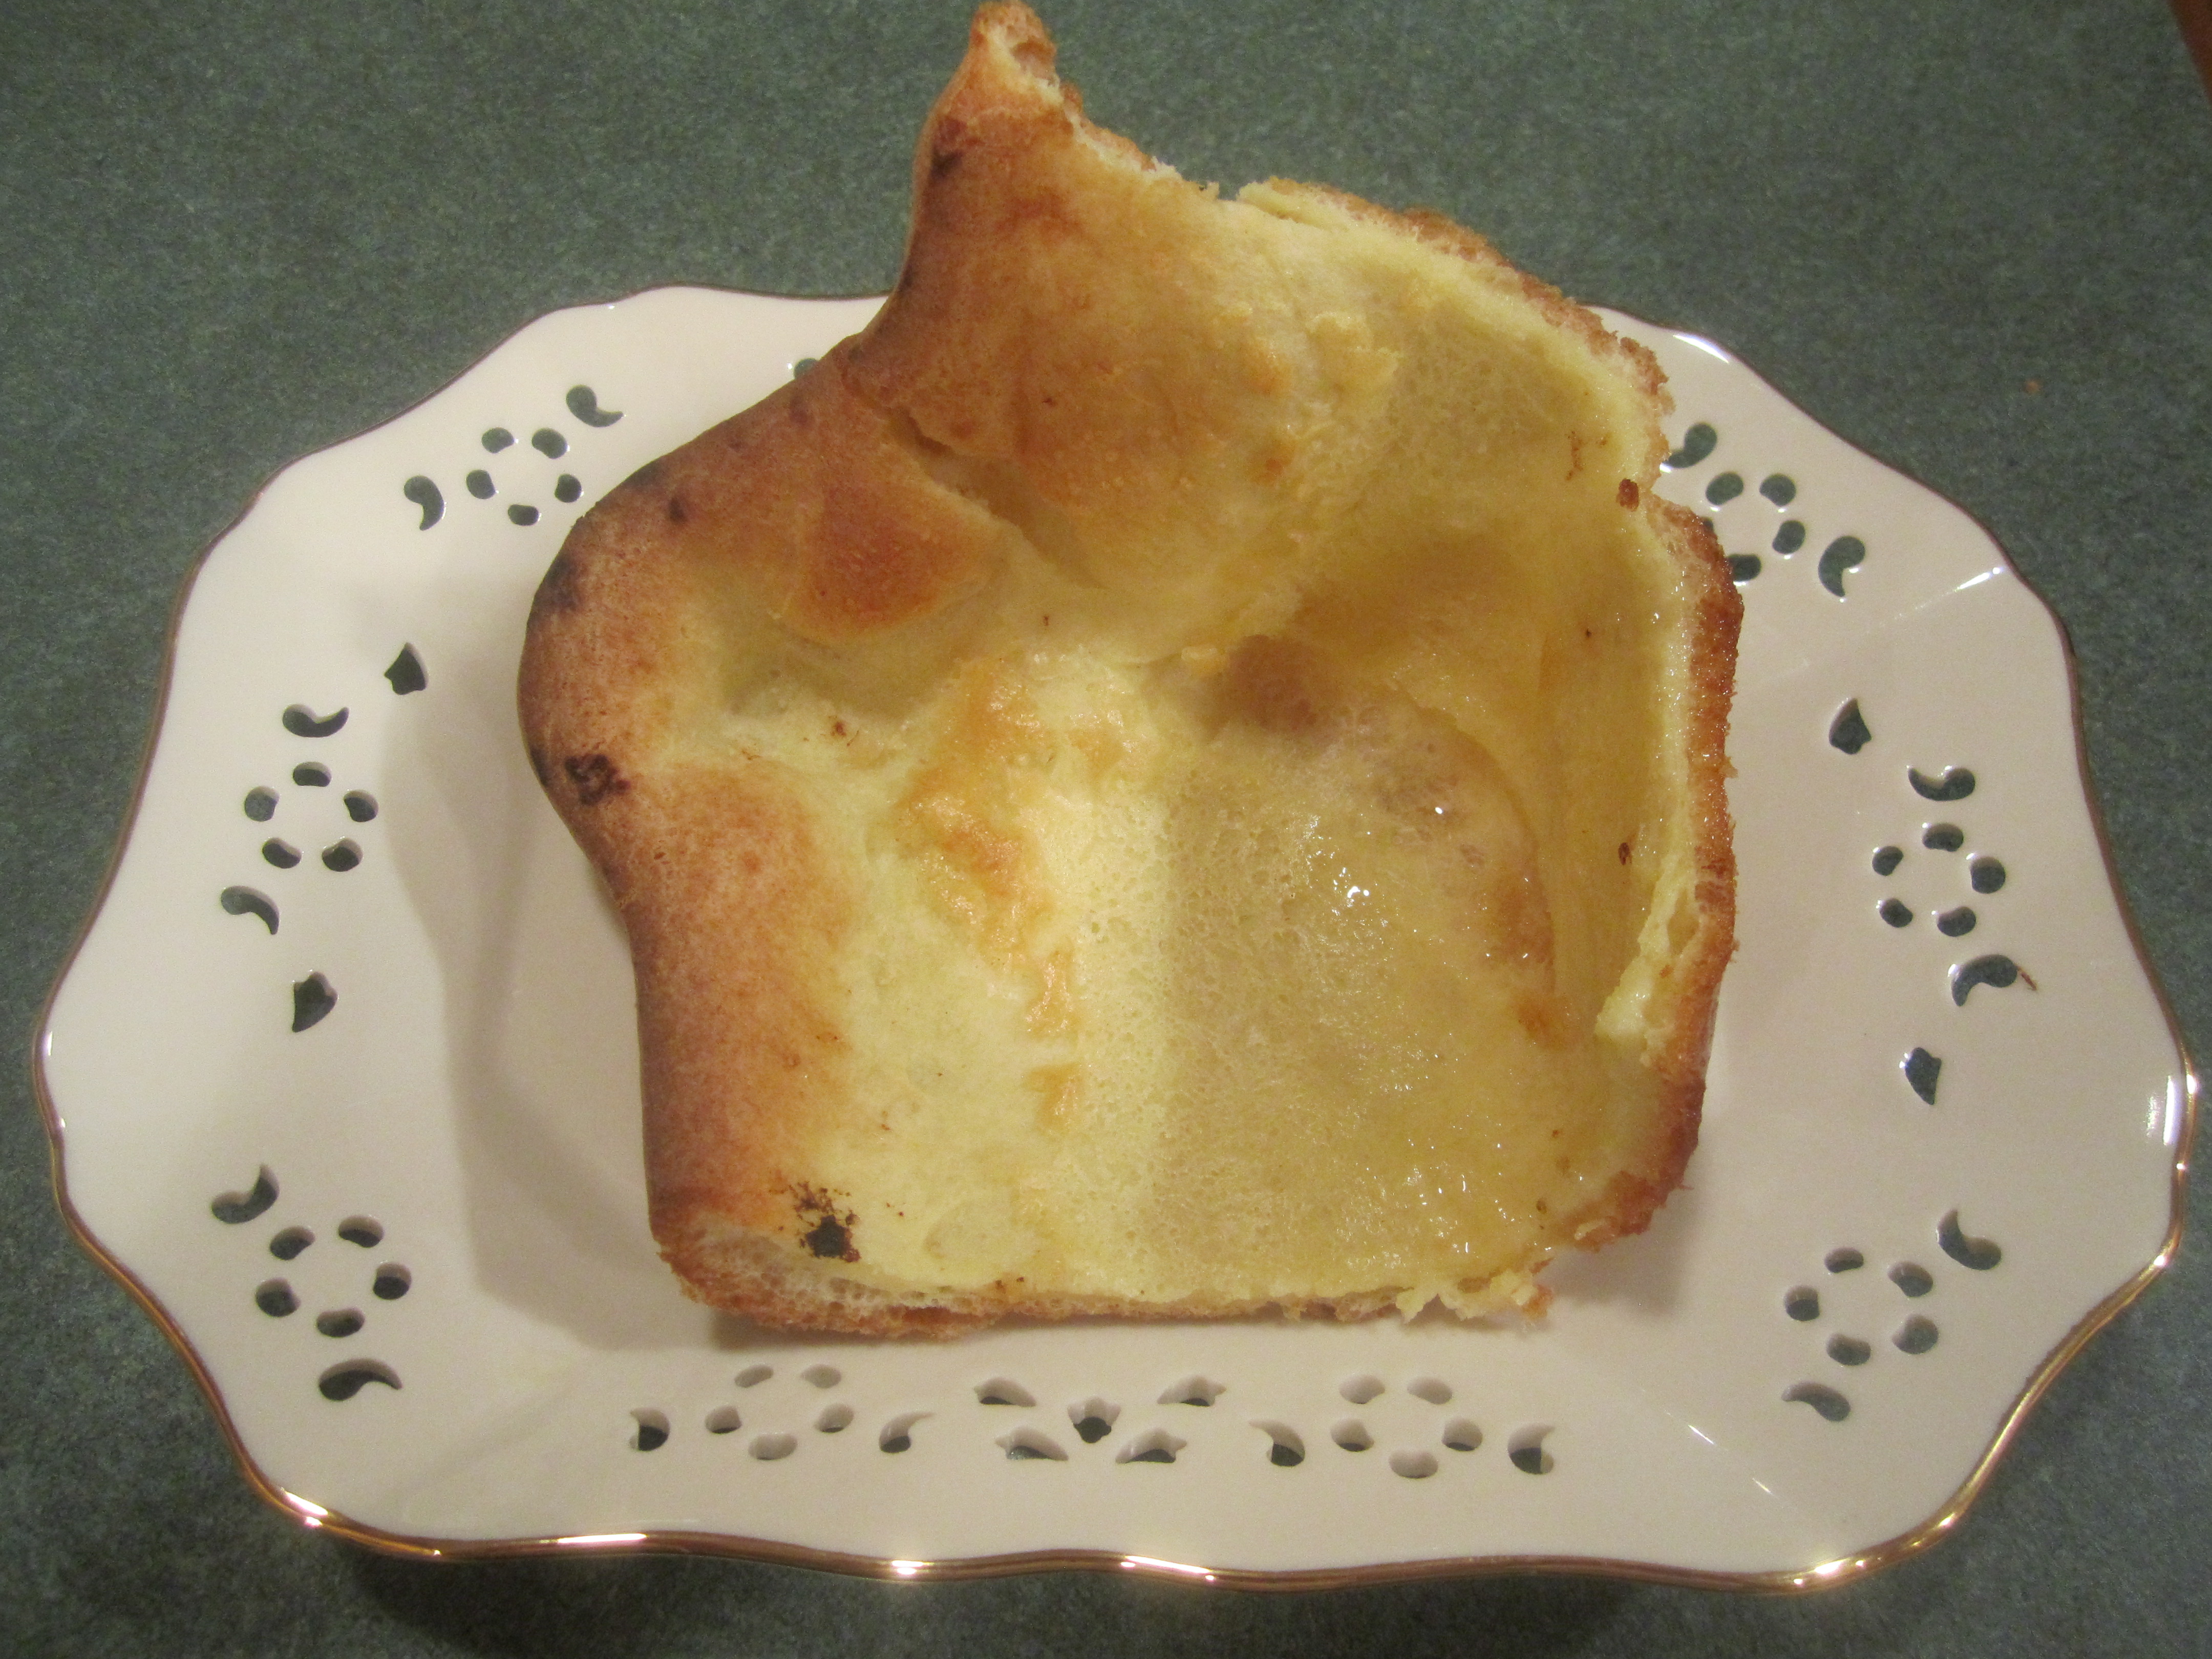
Remove from the oven, cut into squares and serve immediately with the Roast Beef.
eggs, milk and salt mixed in bowl, flour set aside:

pouring beef fat into glass baking dish:
gradually whisking flour into egg mixture:
batter into prepared pan:
done, after 30 minutes:
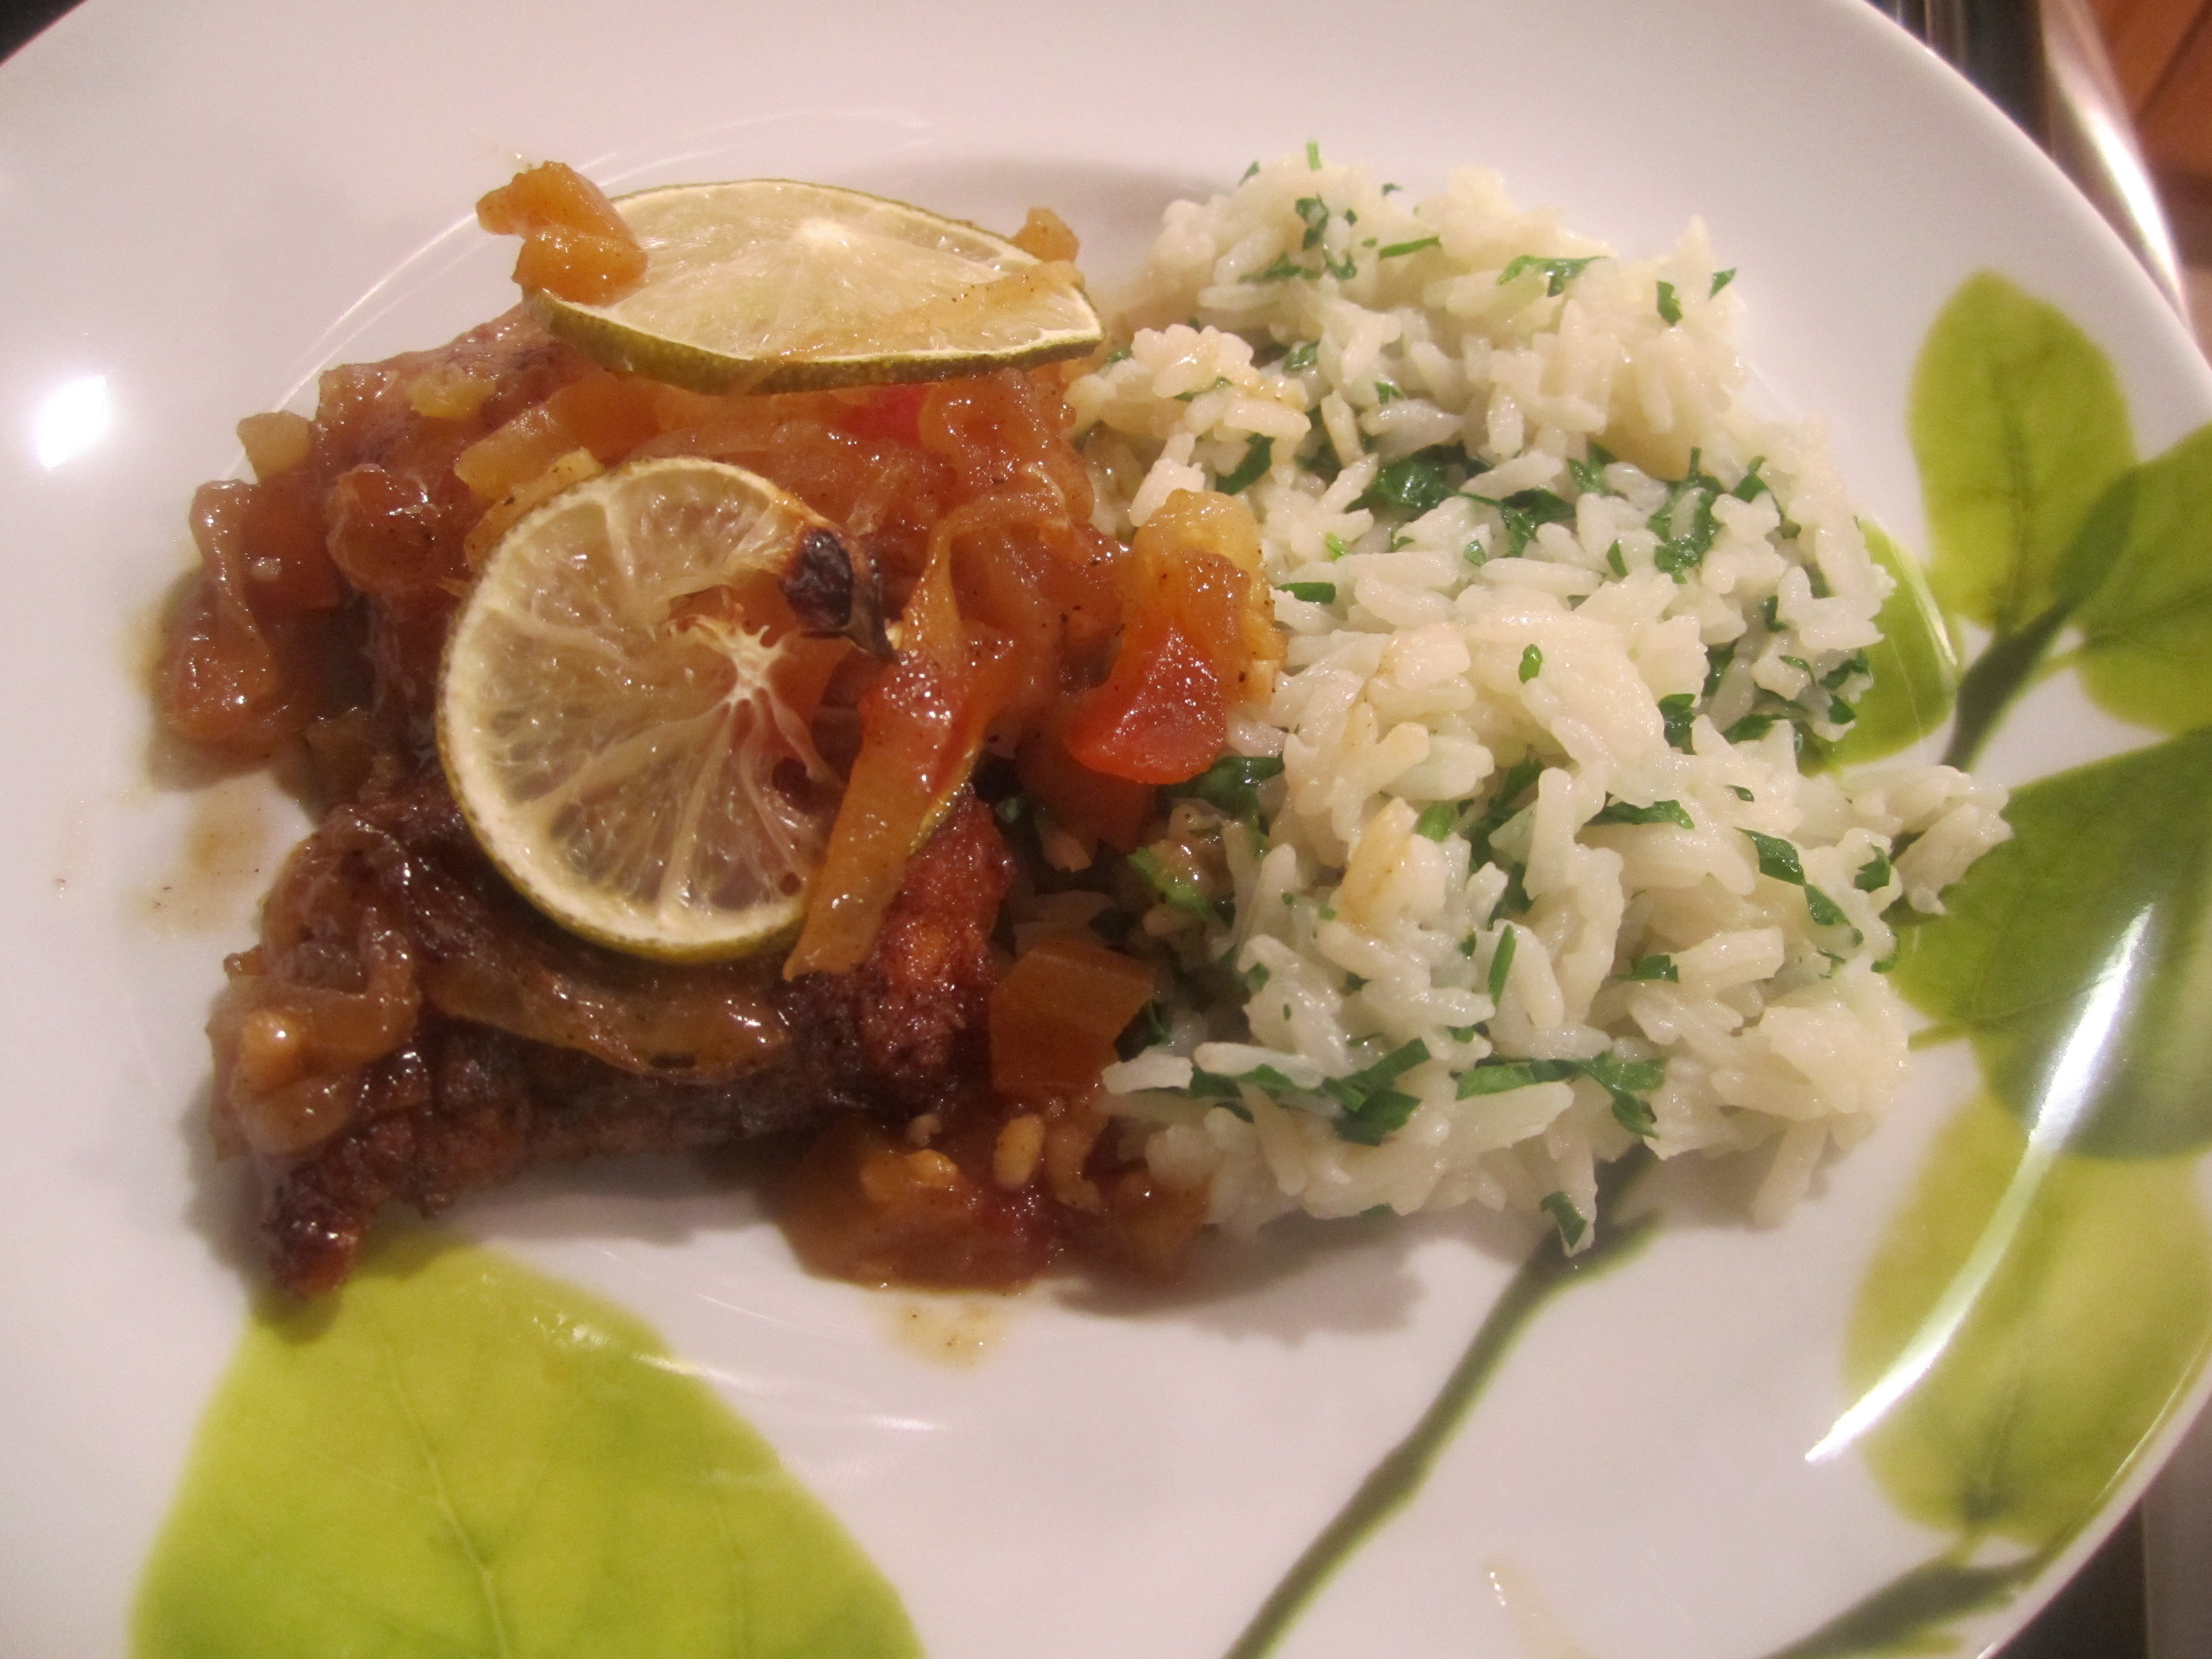
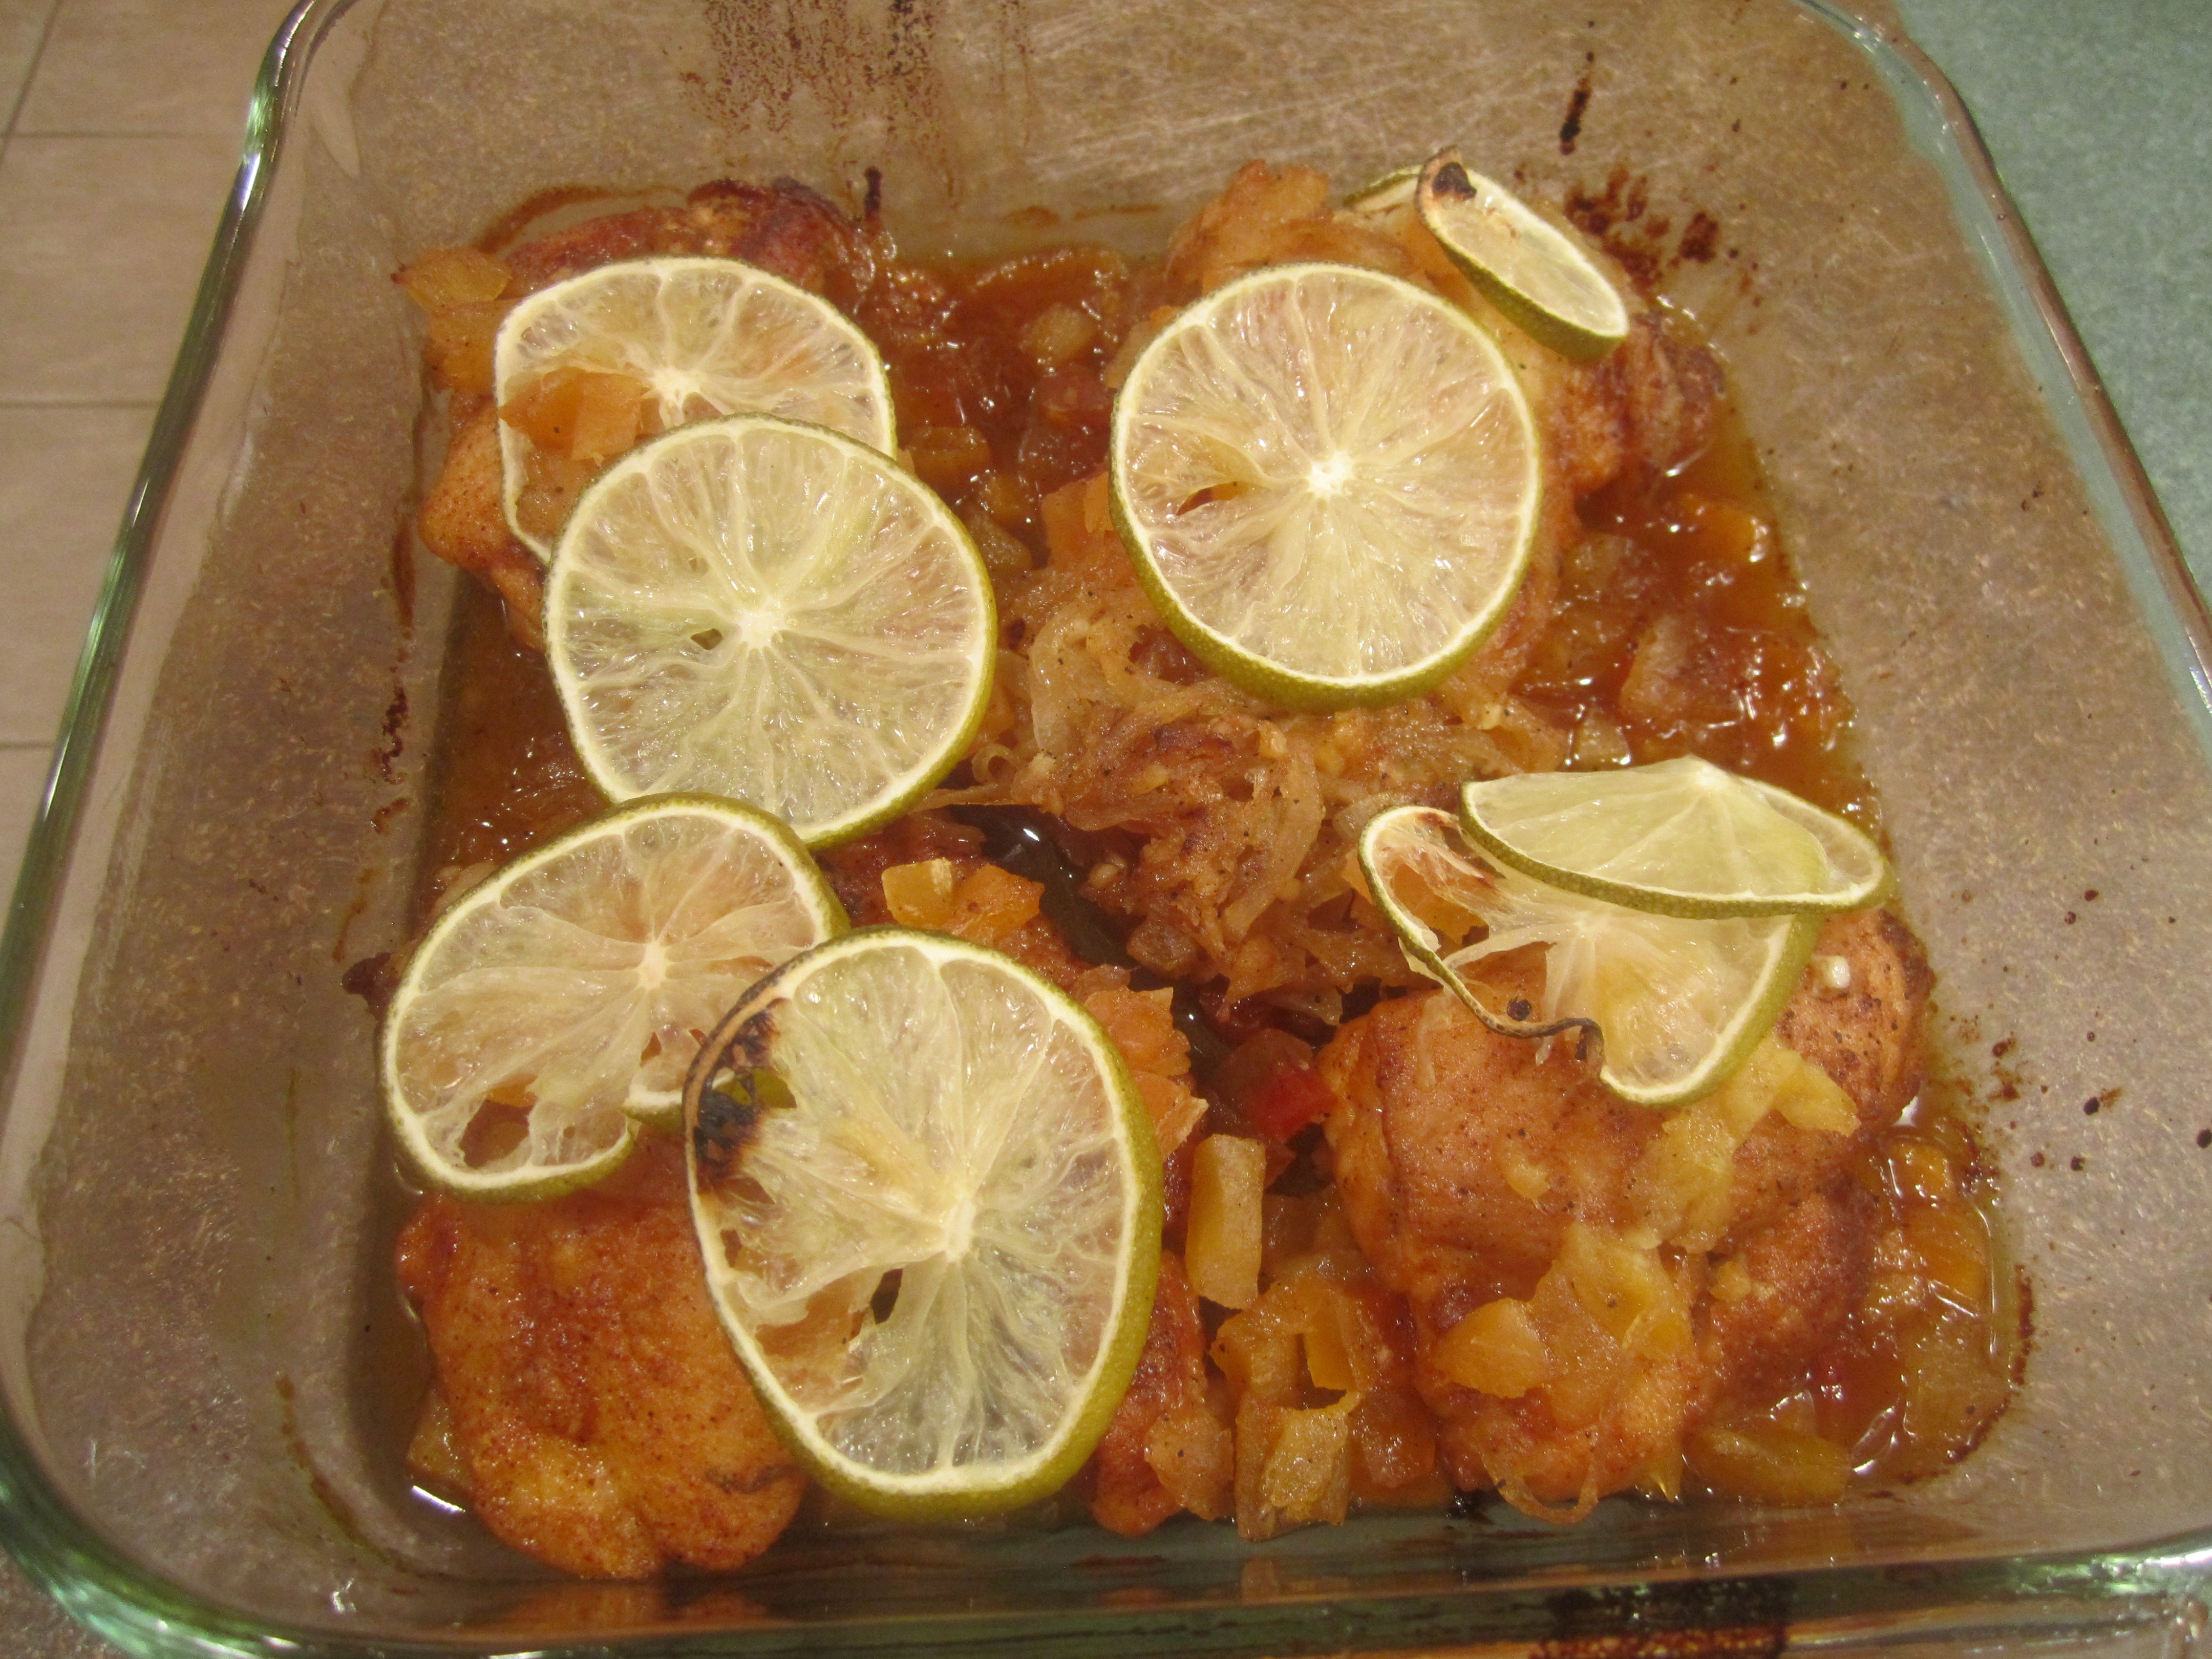
Margarita Braised Chicken Thighs
This is a delicious chicken dish from Cooking Light that I made for the first and only time in 2005. This is one reason why I am so happy to have this blog: it encourages me to go through my cookbooks and revisit recipes I have made before. So far in the past two weeks I have thrown out about 5 recipes that I had made once and now no longer feel are ‘Blog Worthy’ (this is the terminology my husband and I use when critiquing recipes: haha!). But this one was ‘very tasty’, so enjoy!
The original recipe calls for 8 chicken thighs. Since it’s only my husband and me, I only used 4 and it worked out great. And there was no need to reduce the other ingredients, either.
Margarita Braised Chicken Thighs (Cooking Light October 2005)
1/2 cups flour
1 tablespoon paprika
2 teaspoons garlic powder
4 to 8 skinless, boneless chicken thighs (depending on how many people you are serving: 4 for 2 people, 8 for 4 people)
salt
1 tablespoon olive oil
1 cup thinly sliced onion (about 1 medium/large)
5 garlic cloves, minced
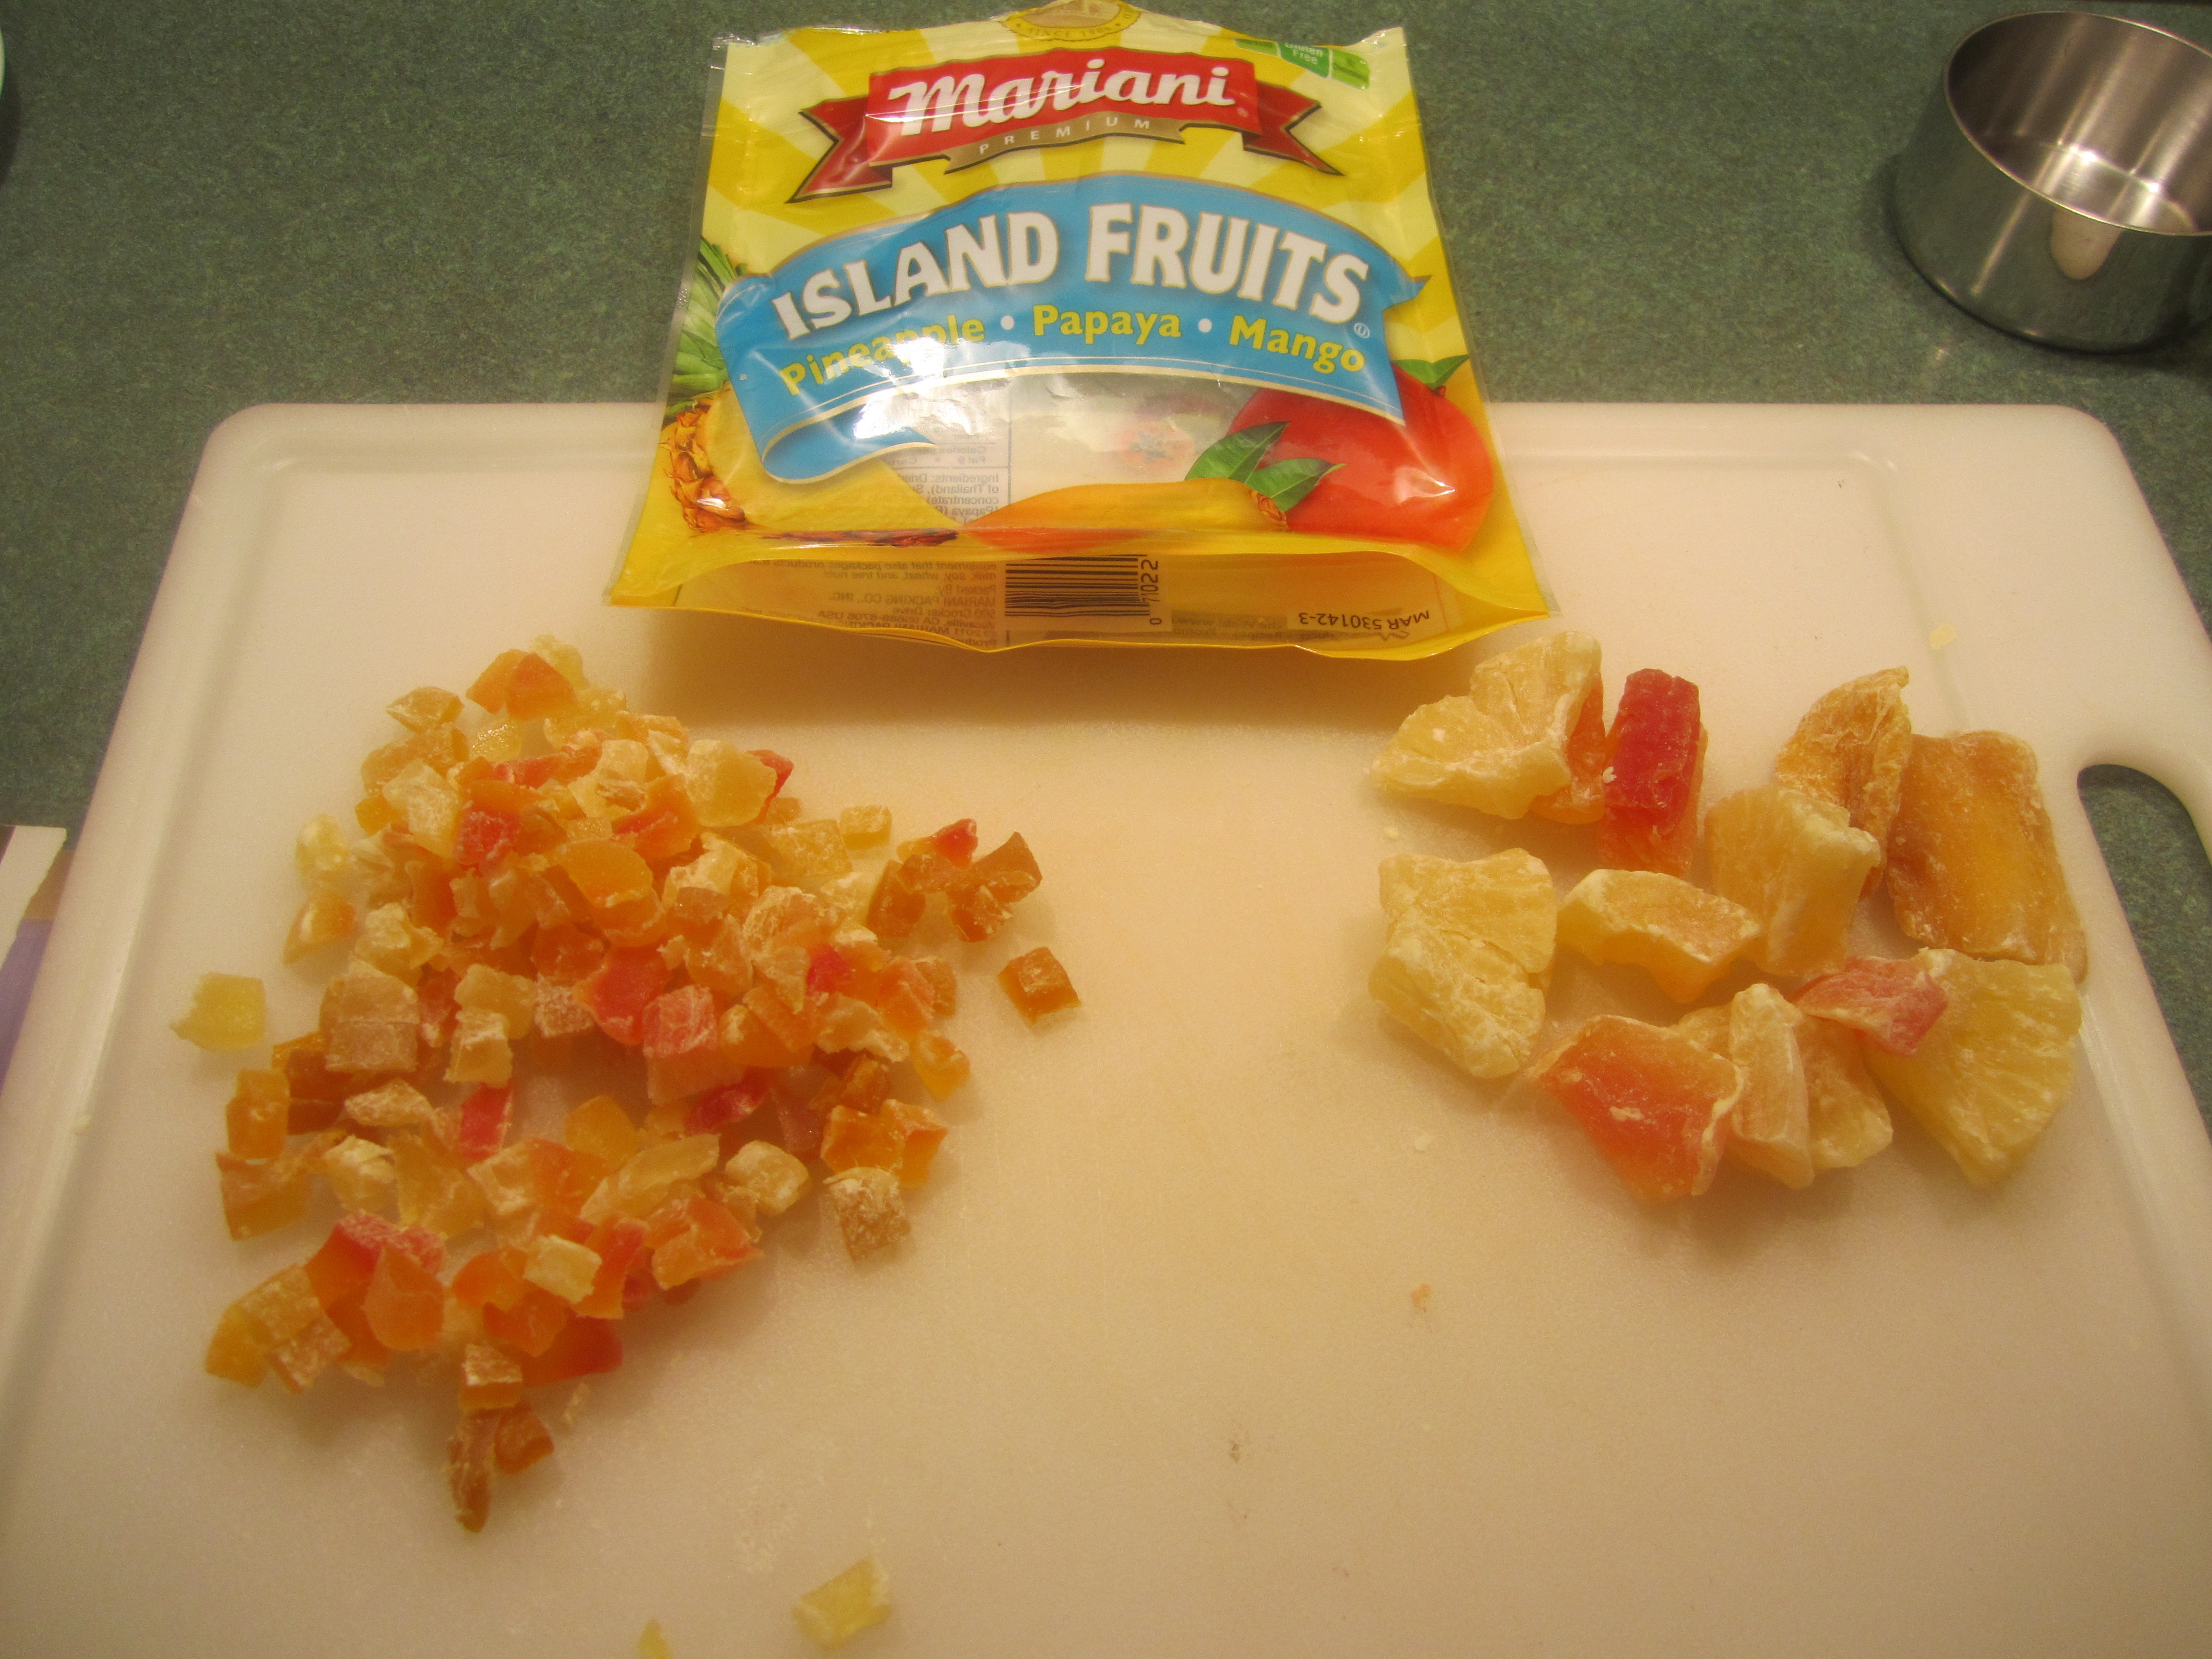
1/2 cup diced dried tropical fruit
1/2 cup fresh orange juice, from one juice orange
1/4 cup tequila
1 lime, thinly sliced
Preheat oven to 400 degrees. Canola oil spray a 9 x 9 inch glass baking dish (for 4 thighs) or an 11 x 17 inch glass baking dish (for 8 thighs).
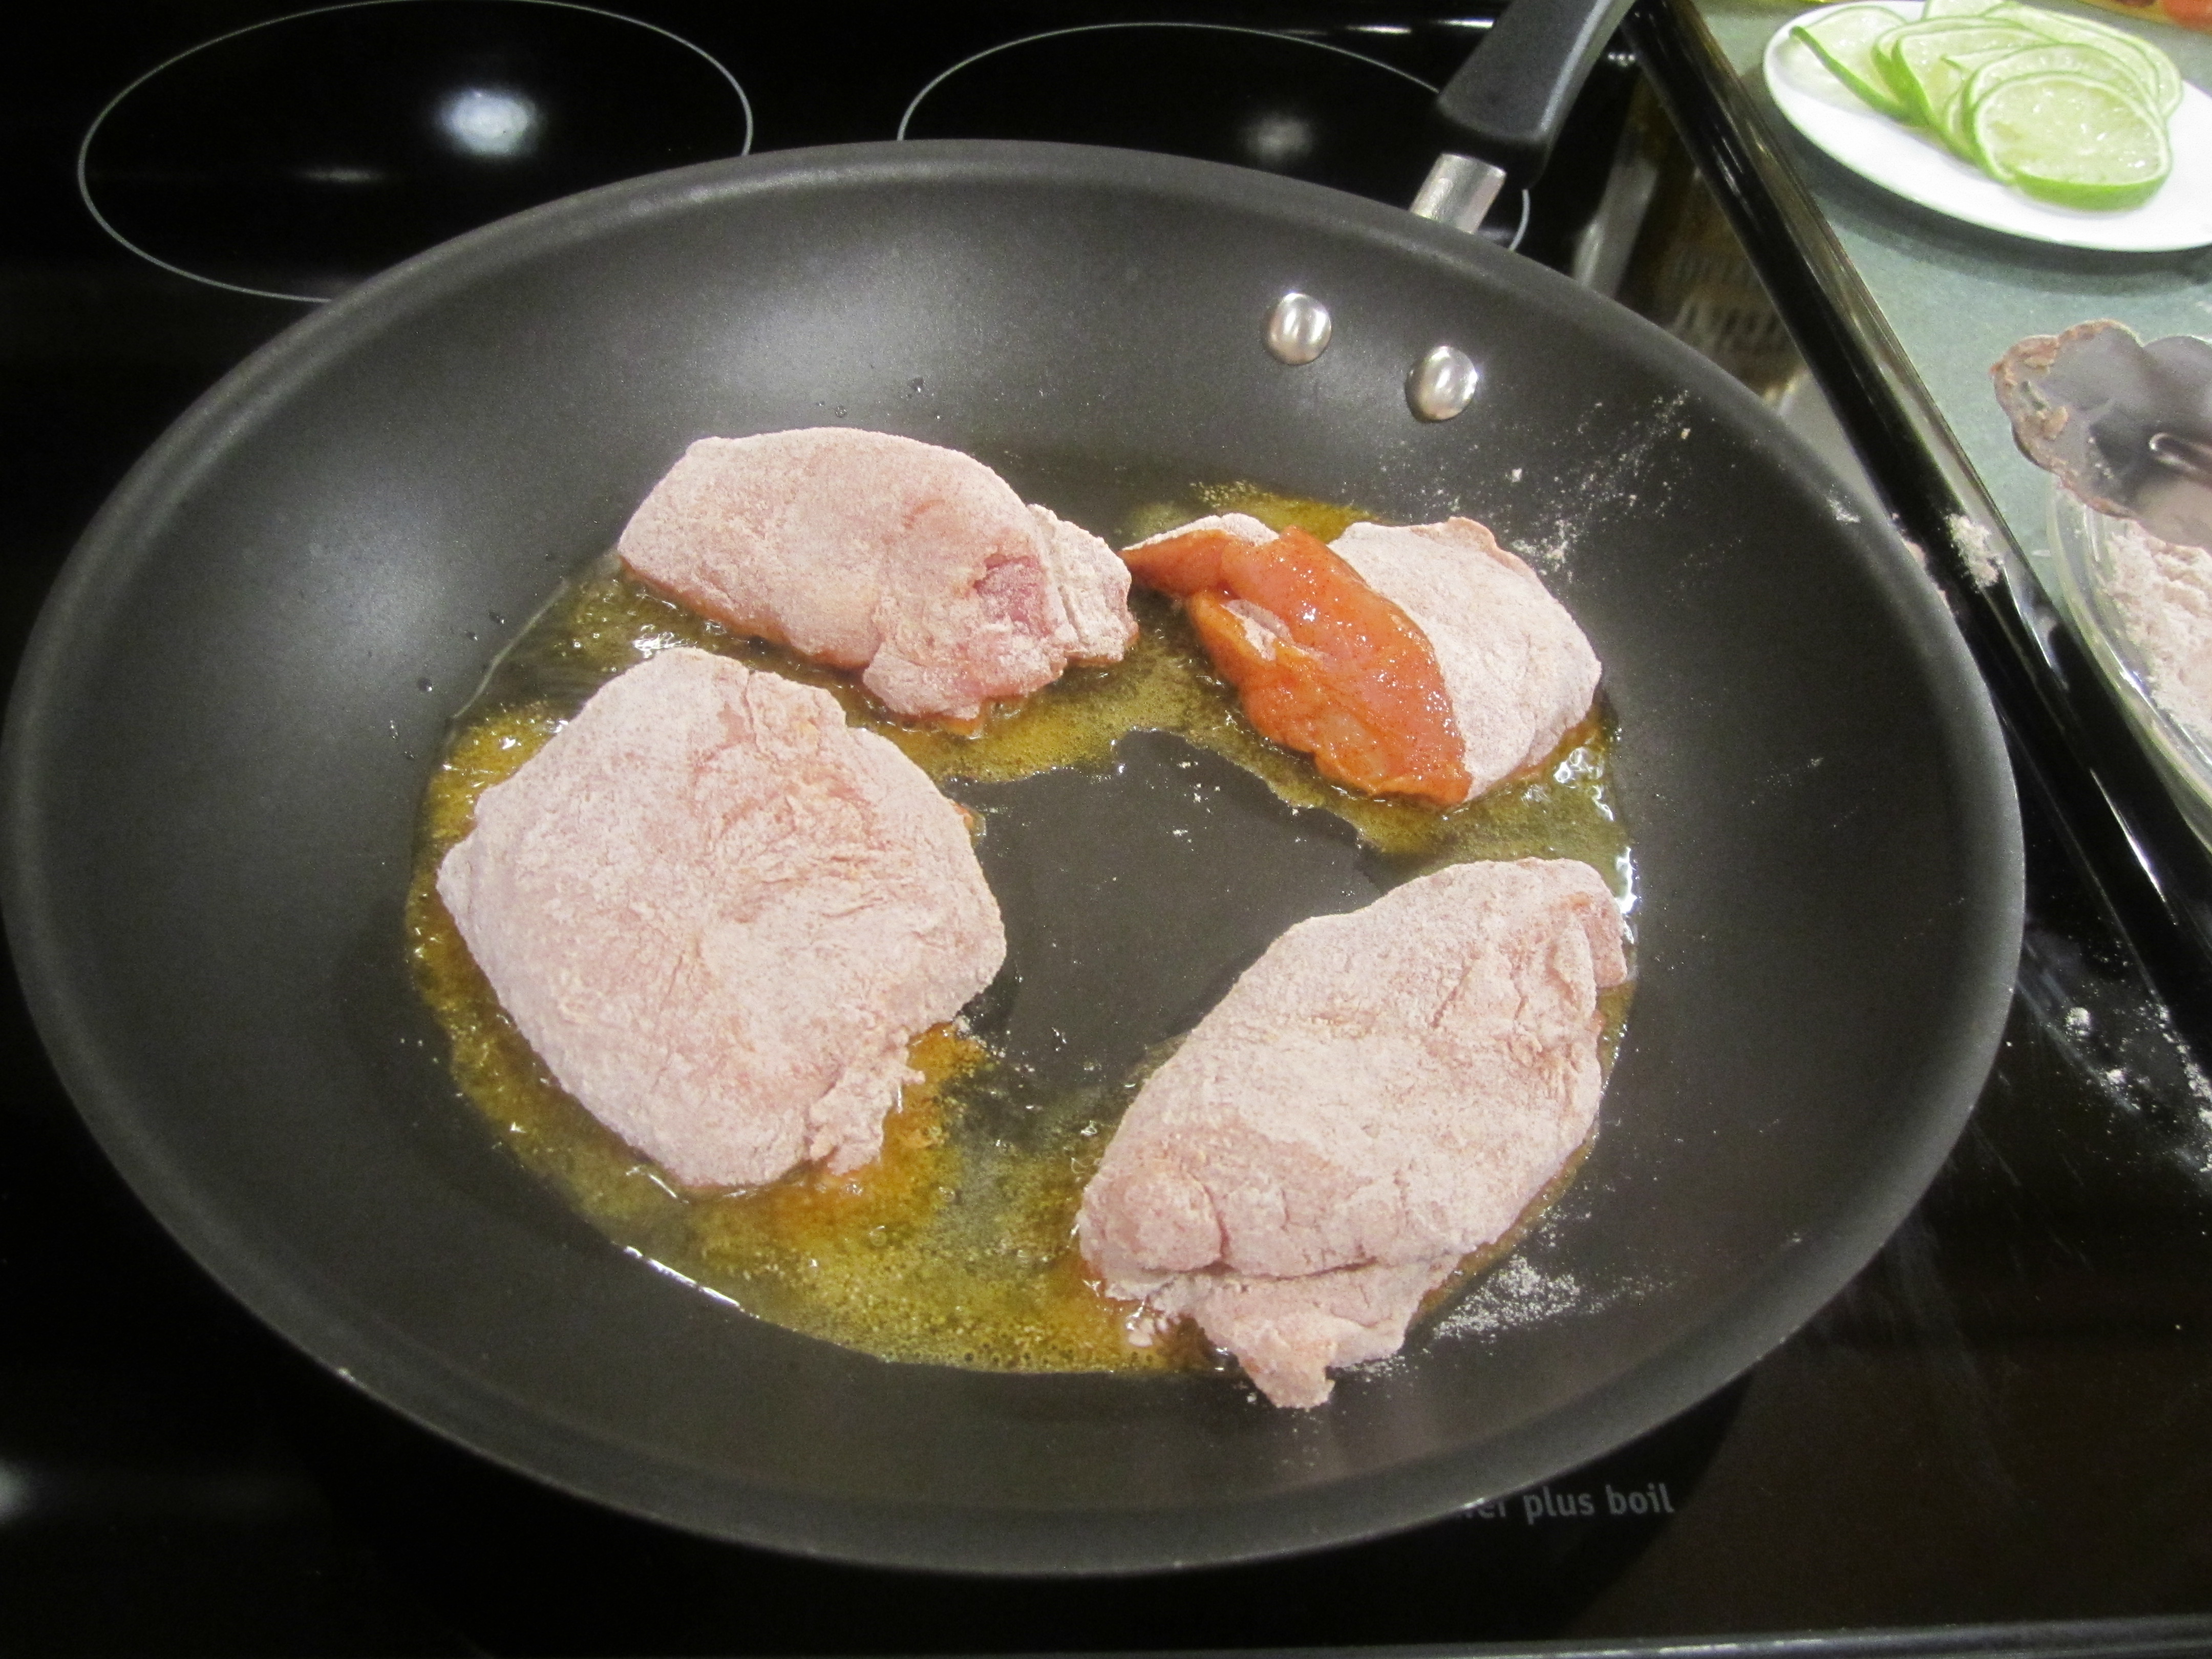
Combine first 3 ingredients in a glass pie dish. Sprinkle chicken with salt and dredge chicken in flour mixture.
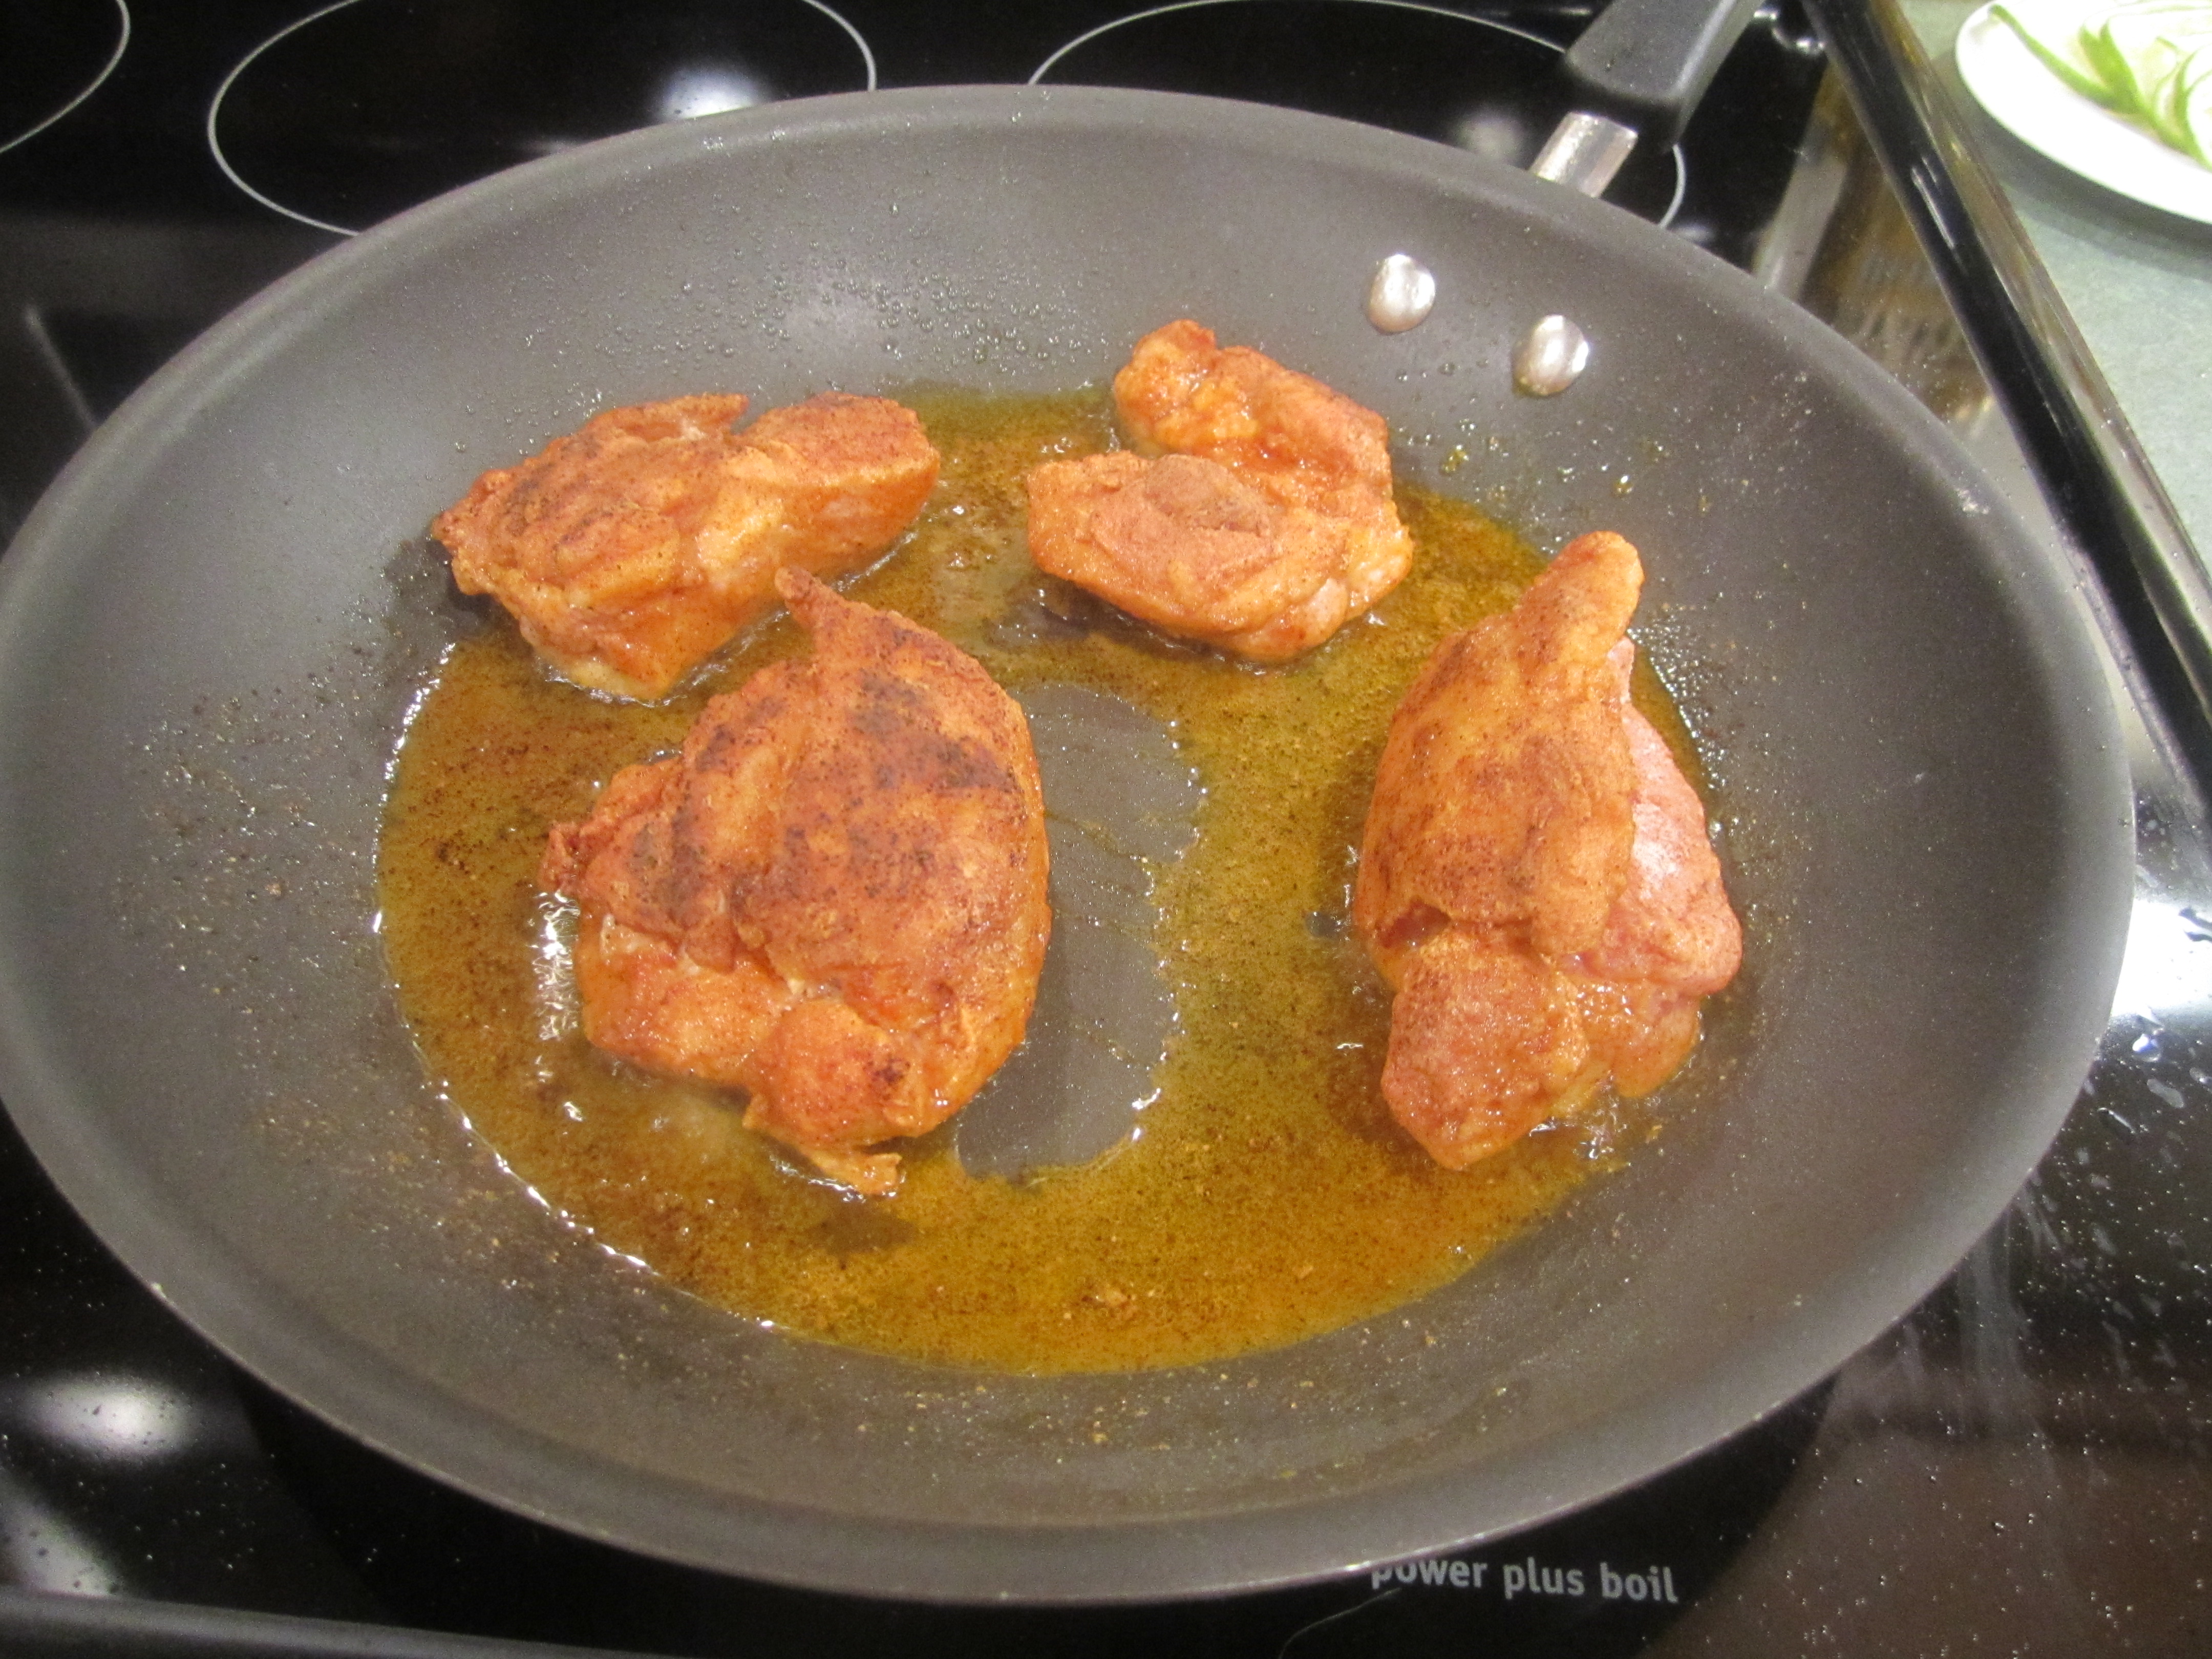
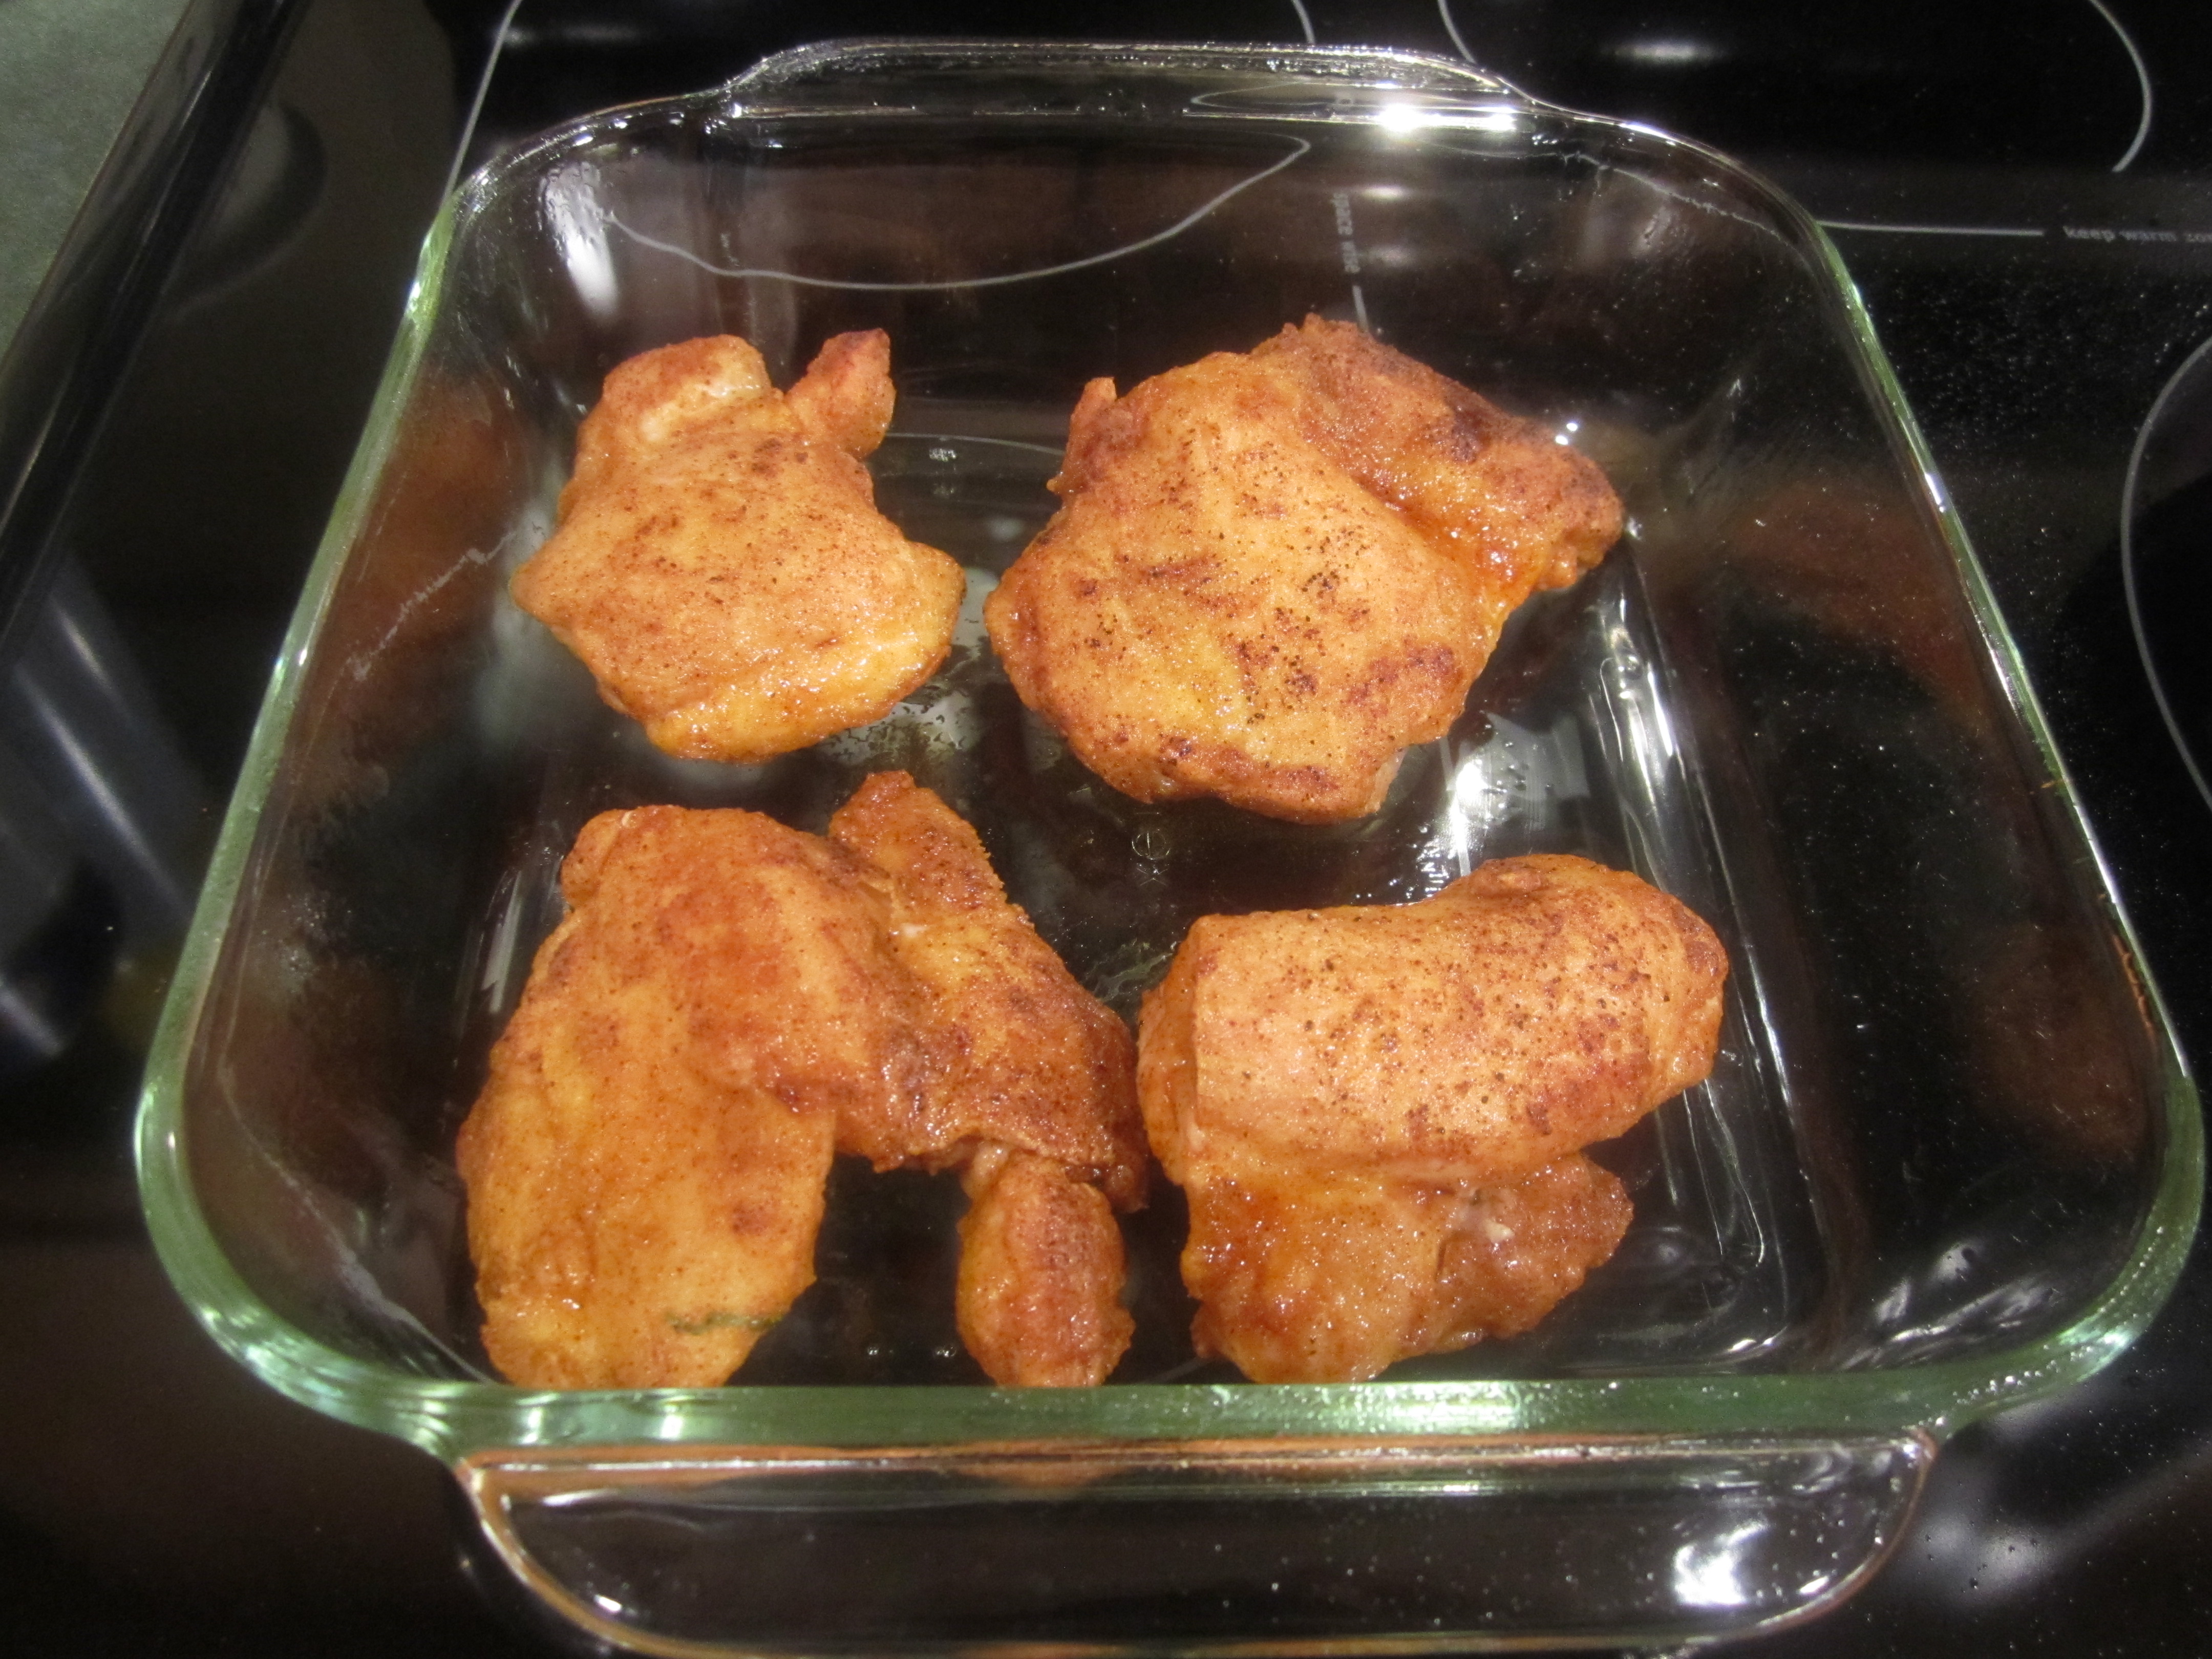
Heat oil in a large non stick skillet over medium heat and add chicken. Cook for 3-4 minutes on each side or until lightly browned. Transfer chicken to glass baking dish.
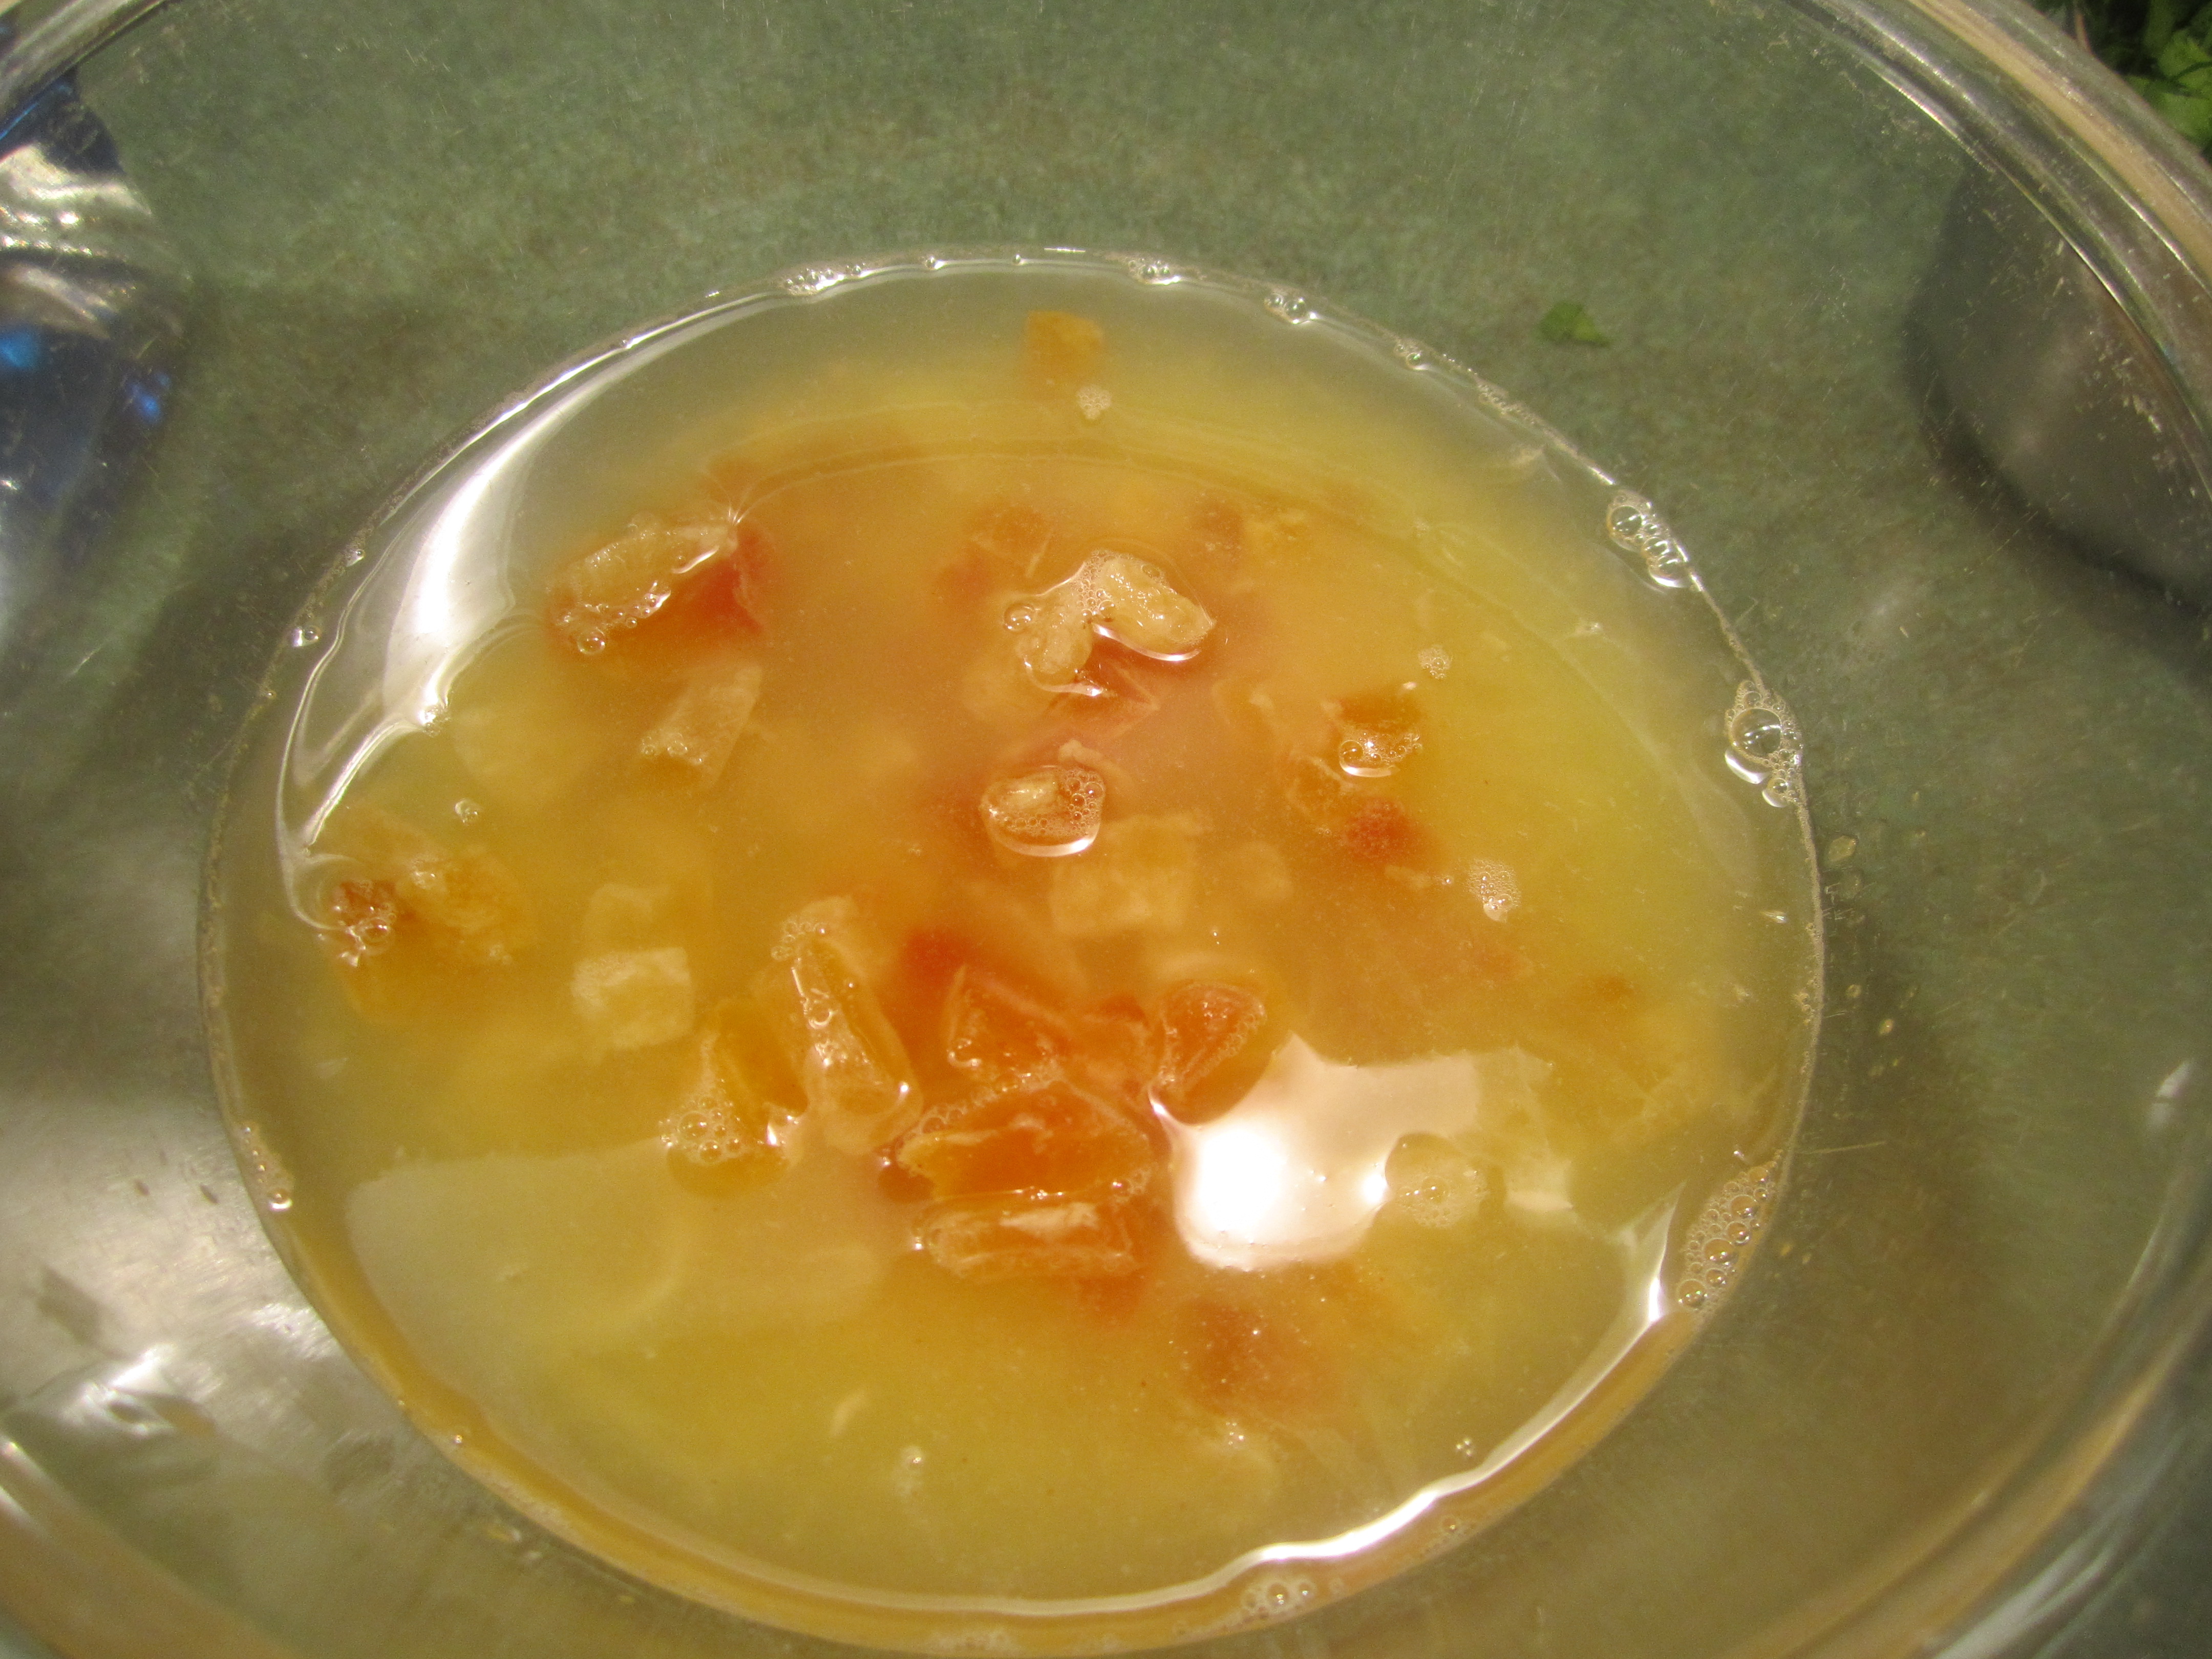
Combine dried fruit, juice and tequila in a medium glass bowl and microwave on high for 2 minutes.
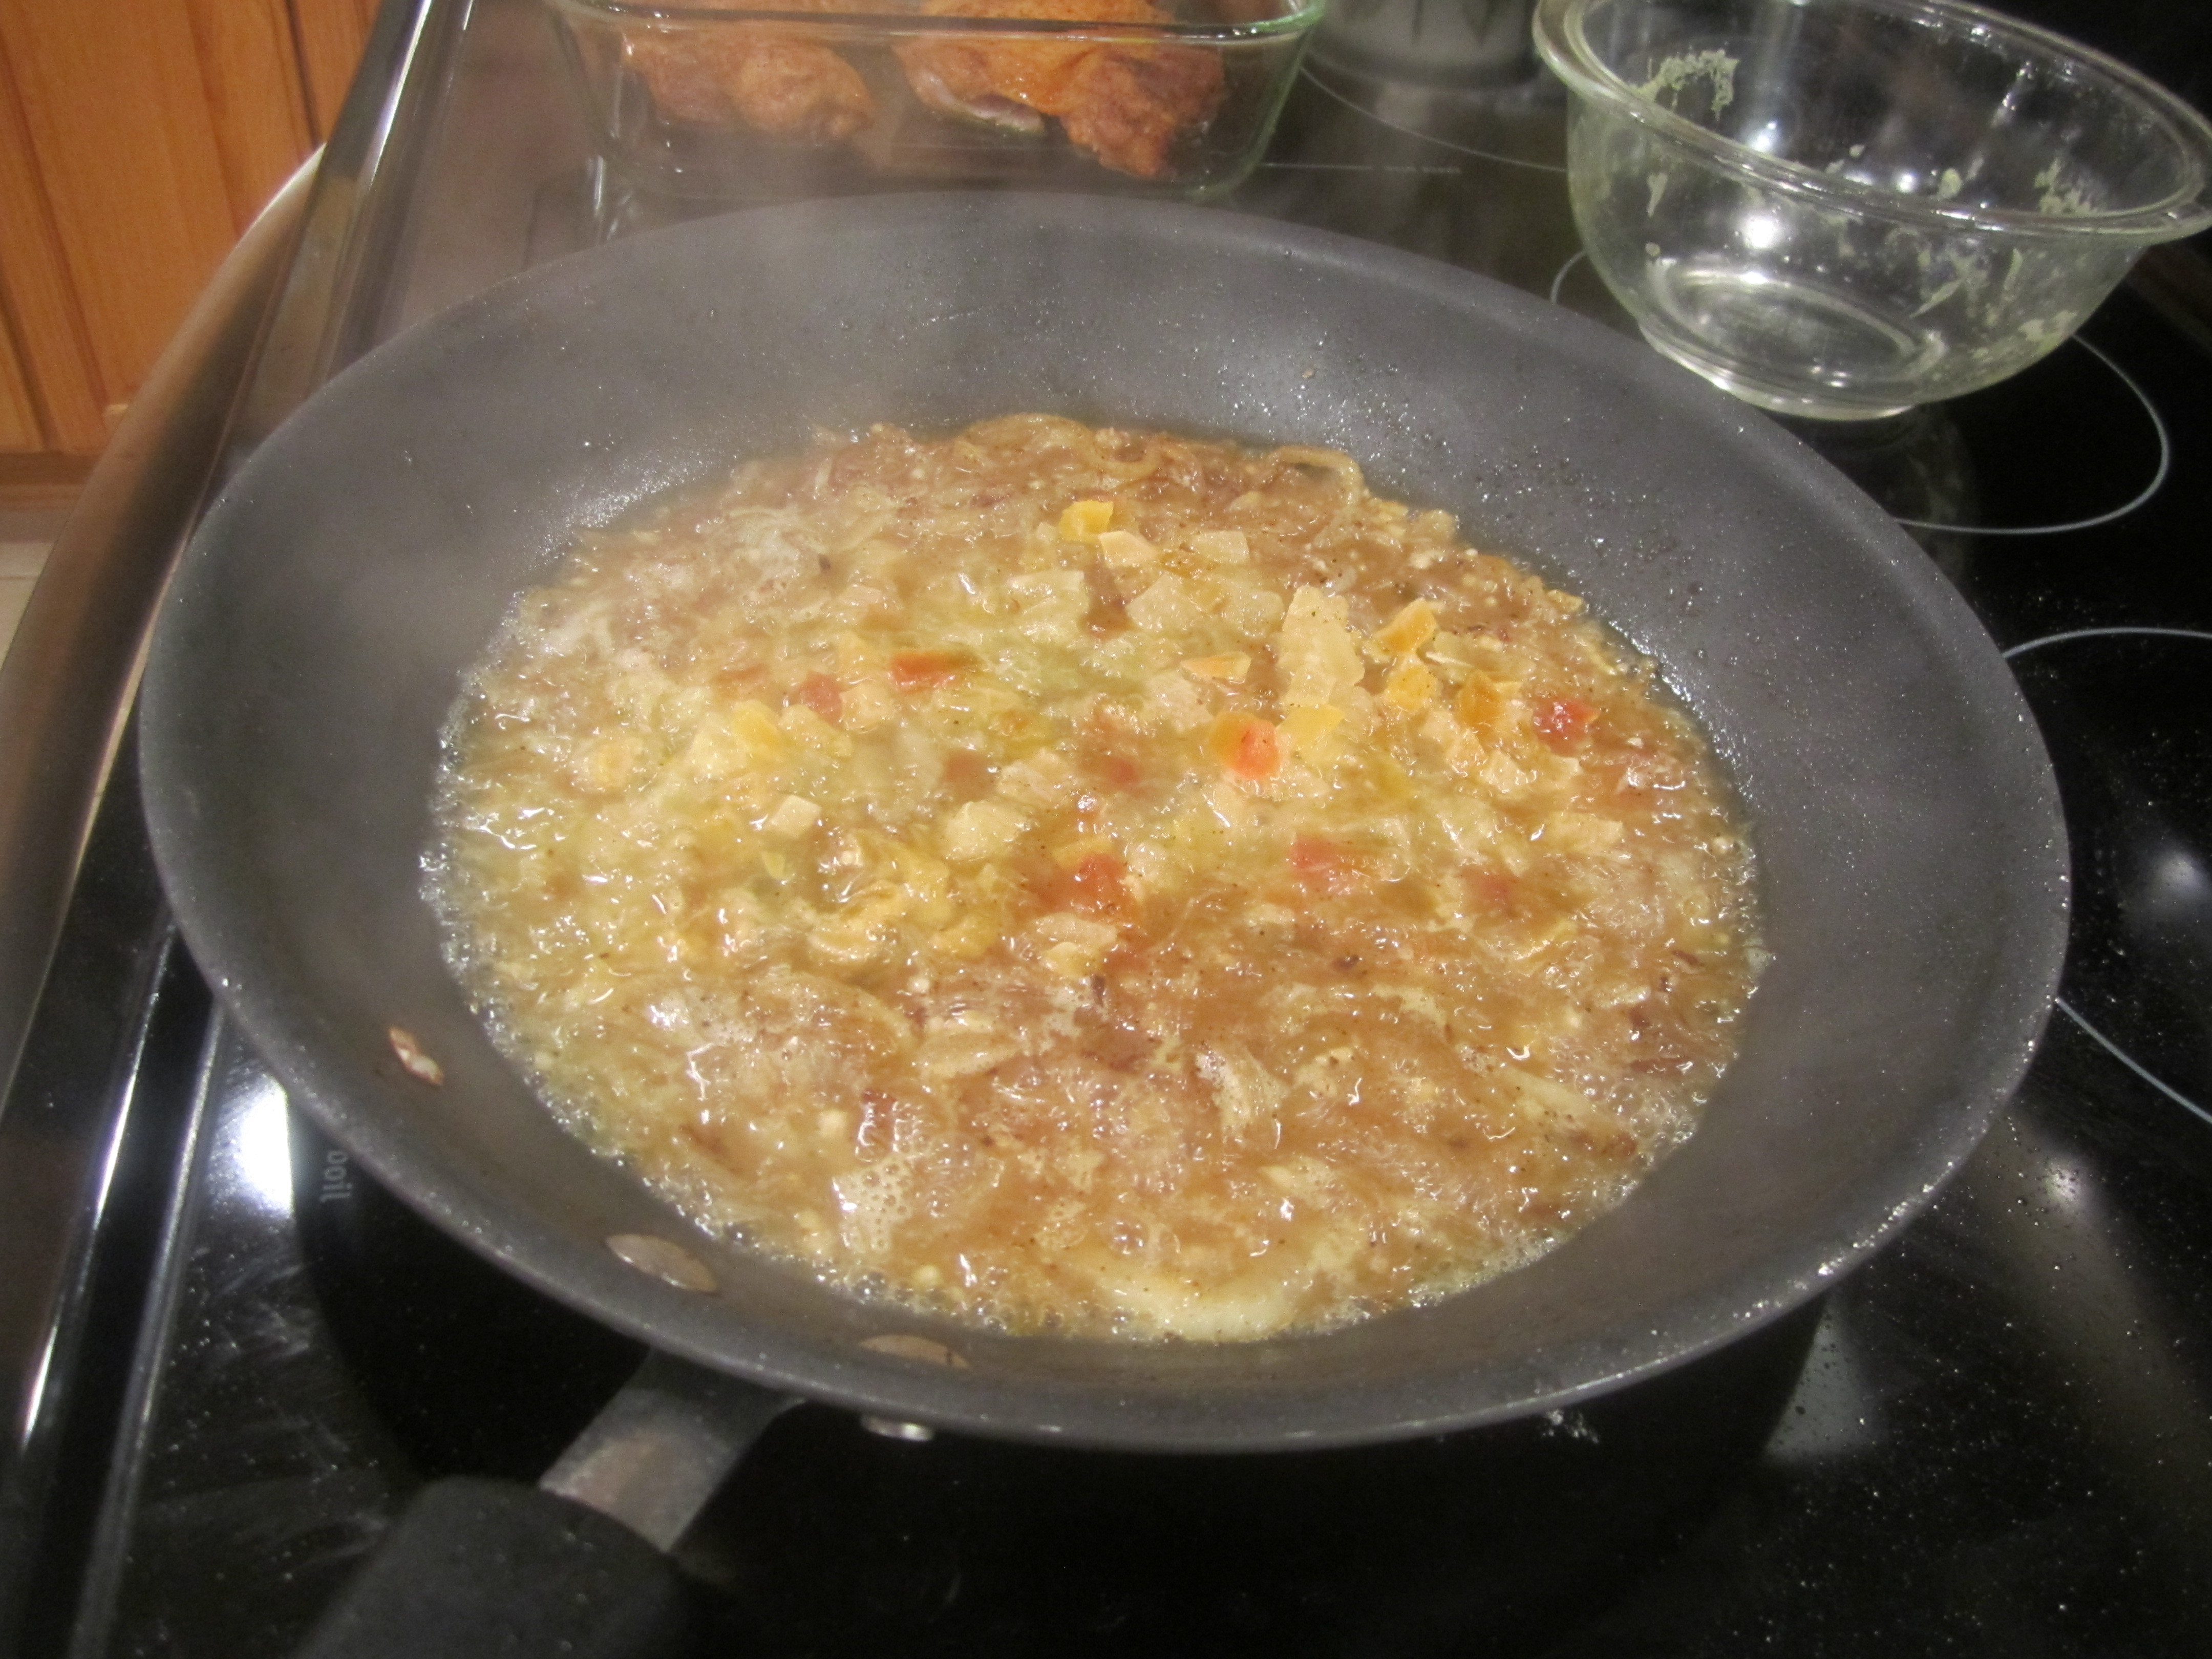
Add onion to skillet and cook for 3 minutes. Add garlic to pan and cook for 1 minute. Pour fruit mixture into pan, bring to a boil and cook for one minute.
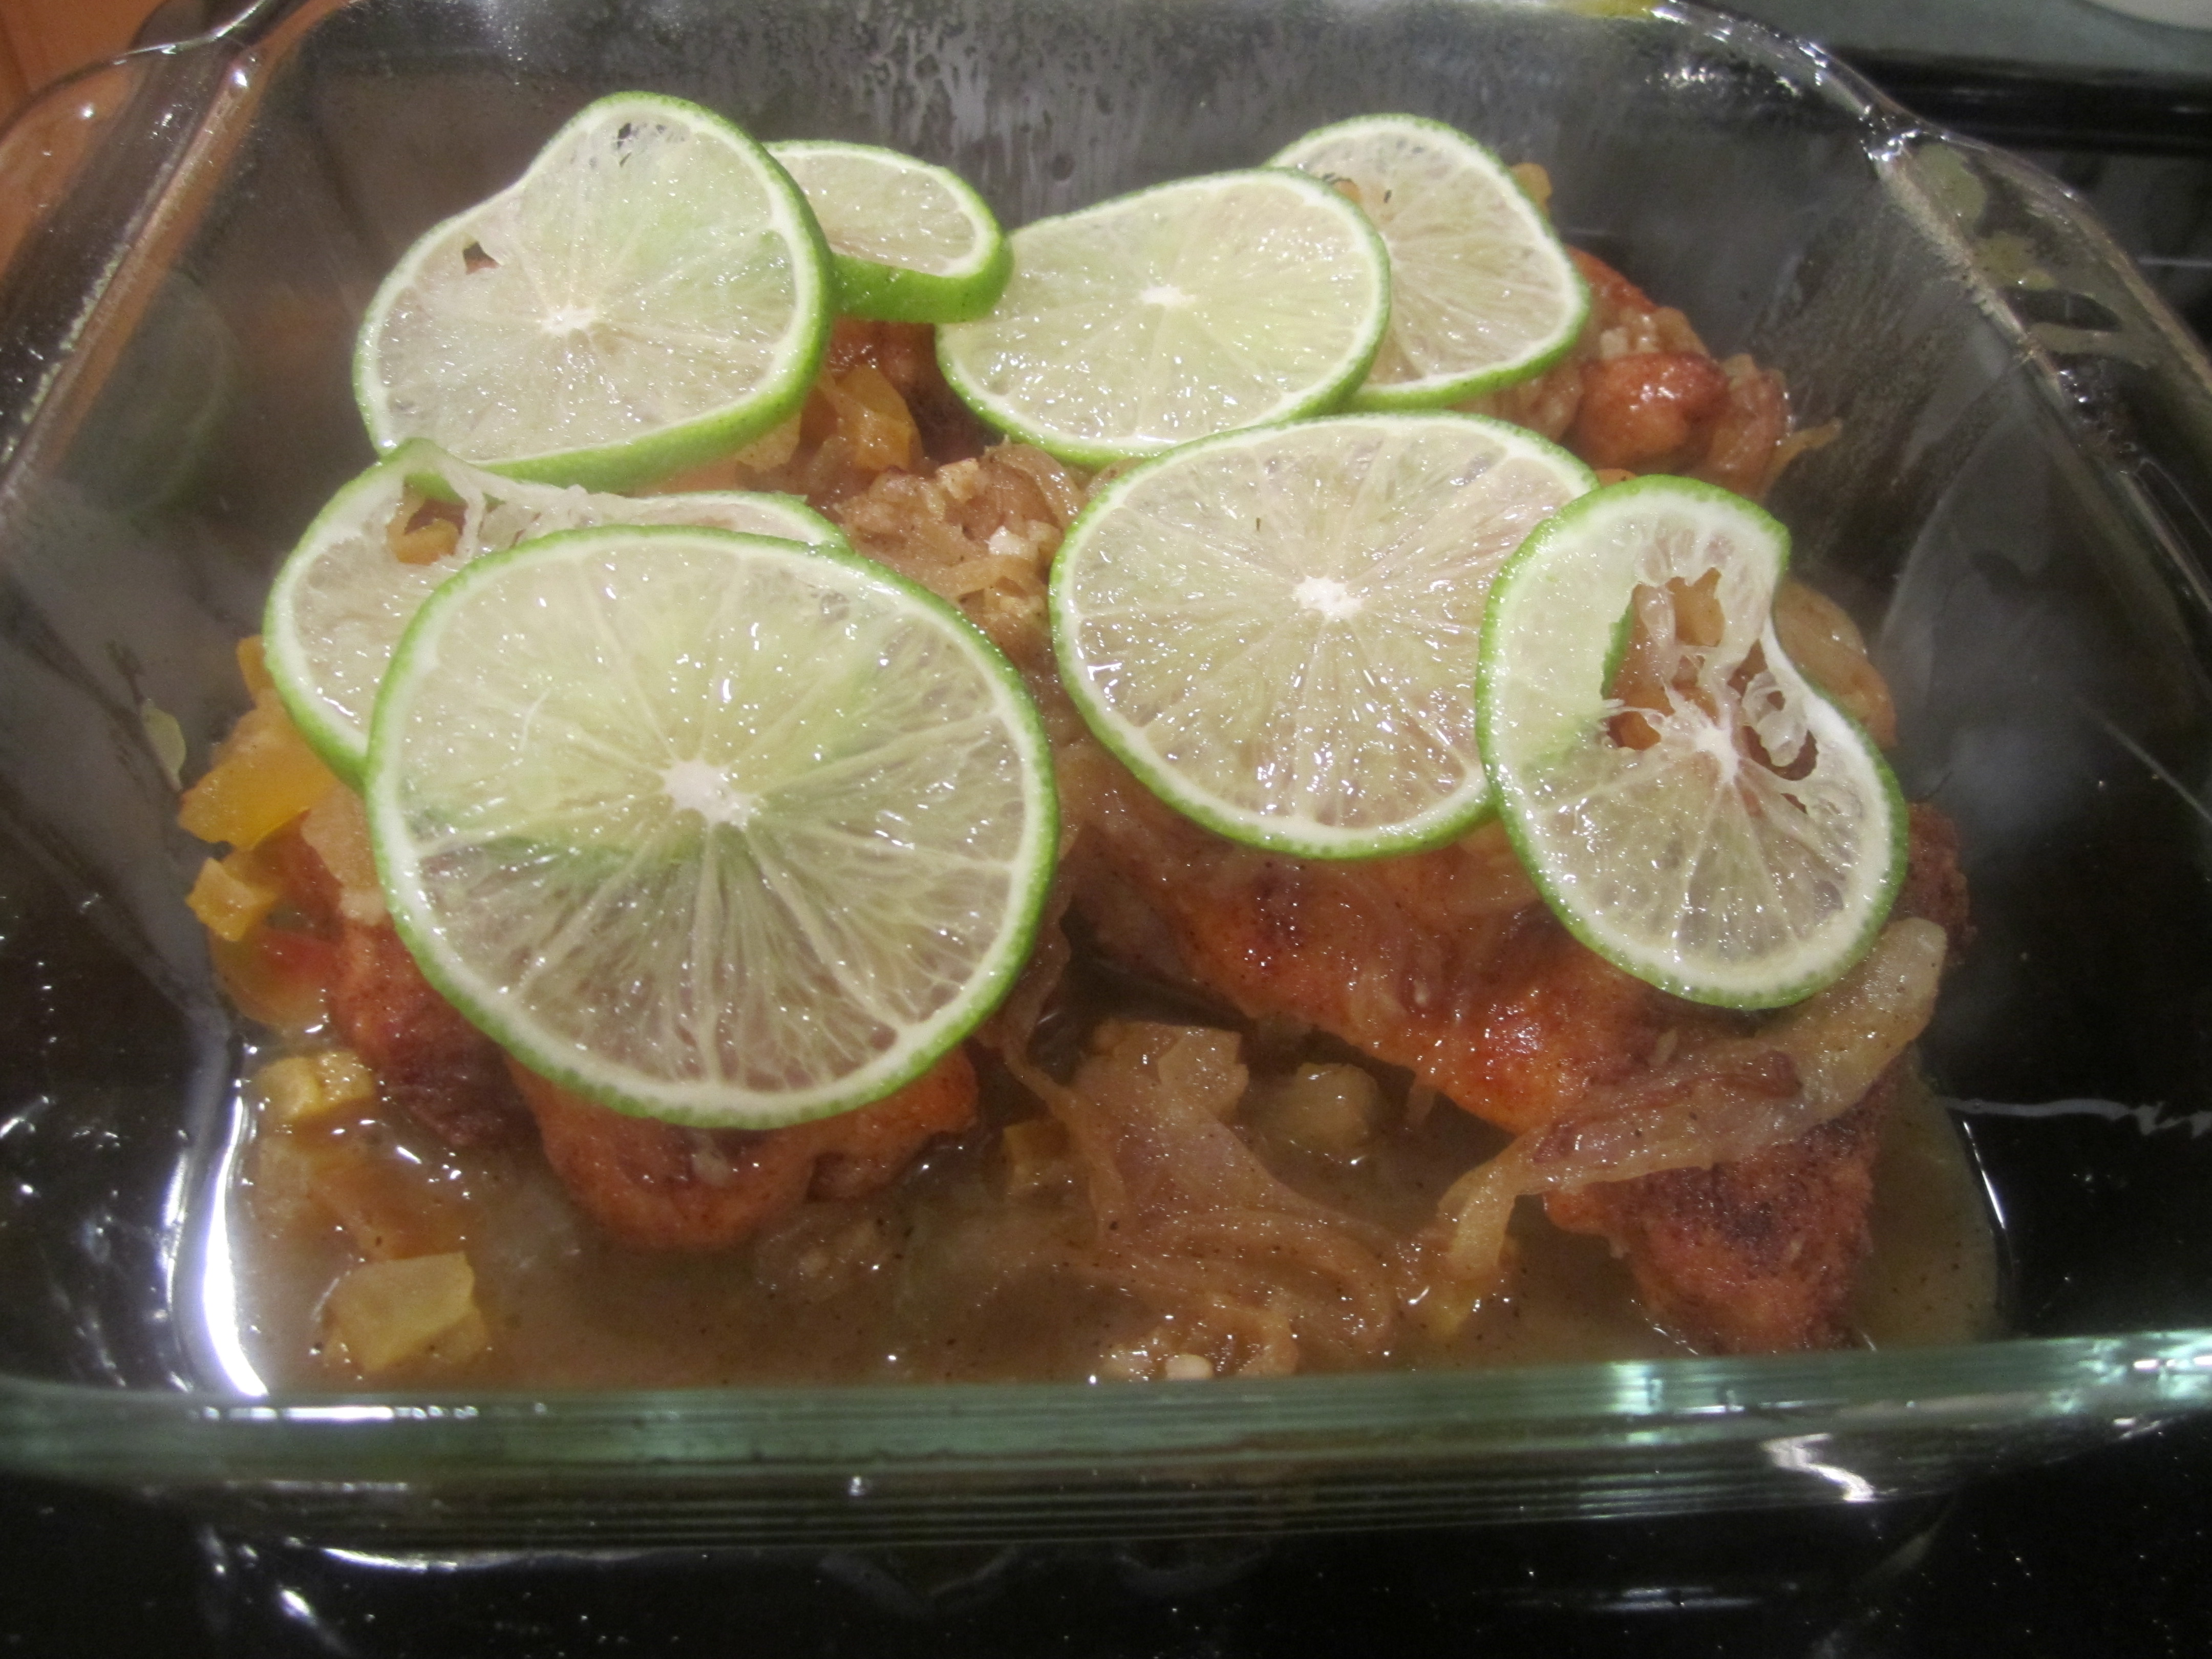
Pour onion/fruit mixture over chicken. Arrange lime slices on top. Bake for 20 minutes or until chicken is done. Serve with Green Rice.
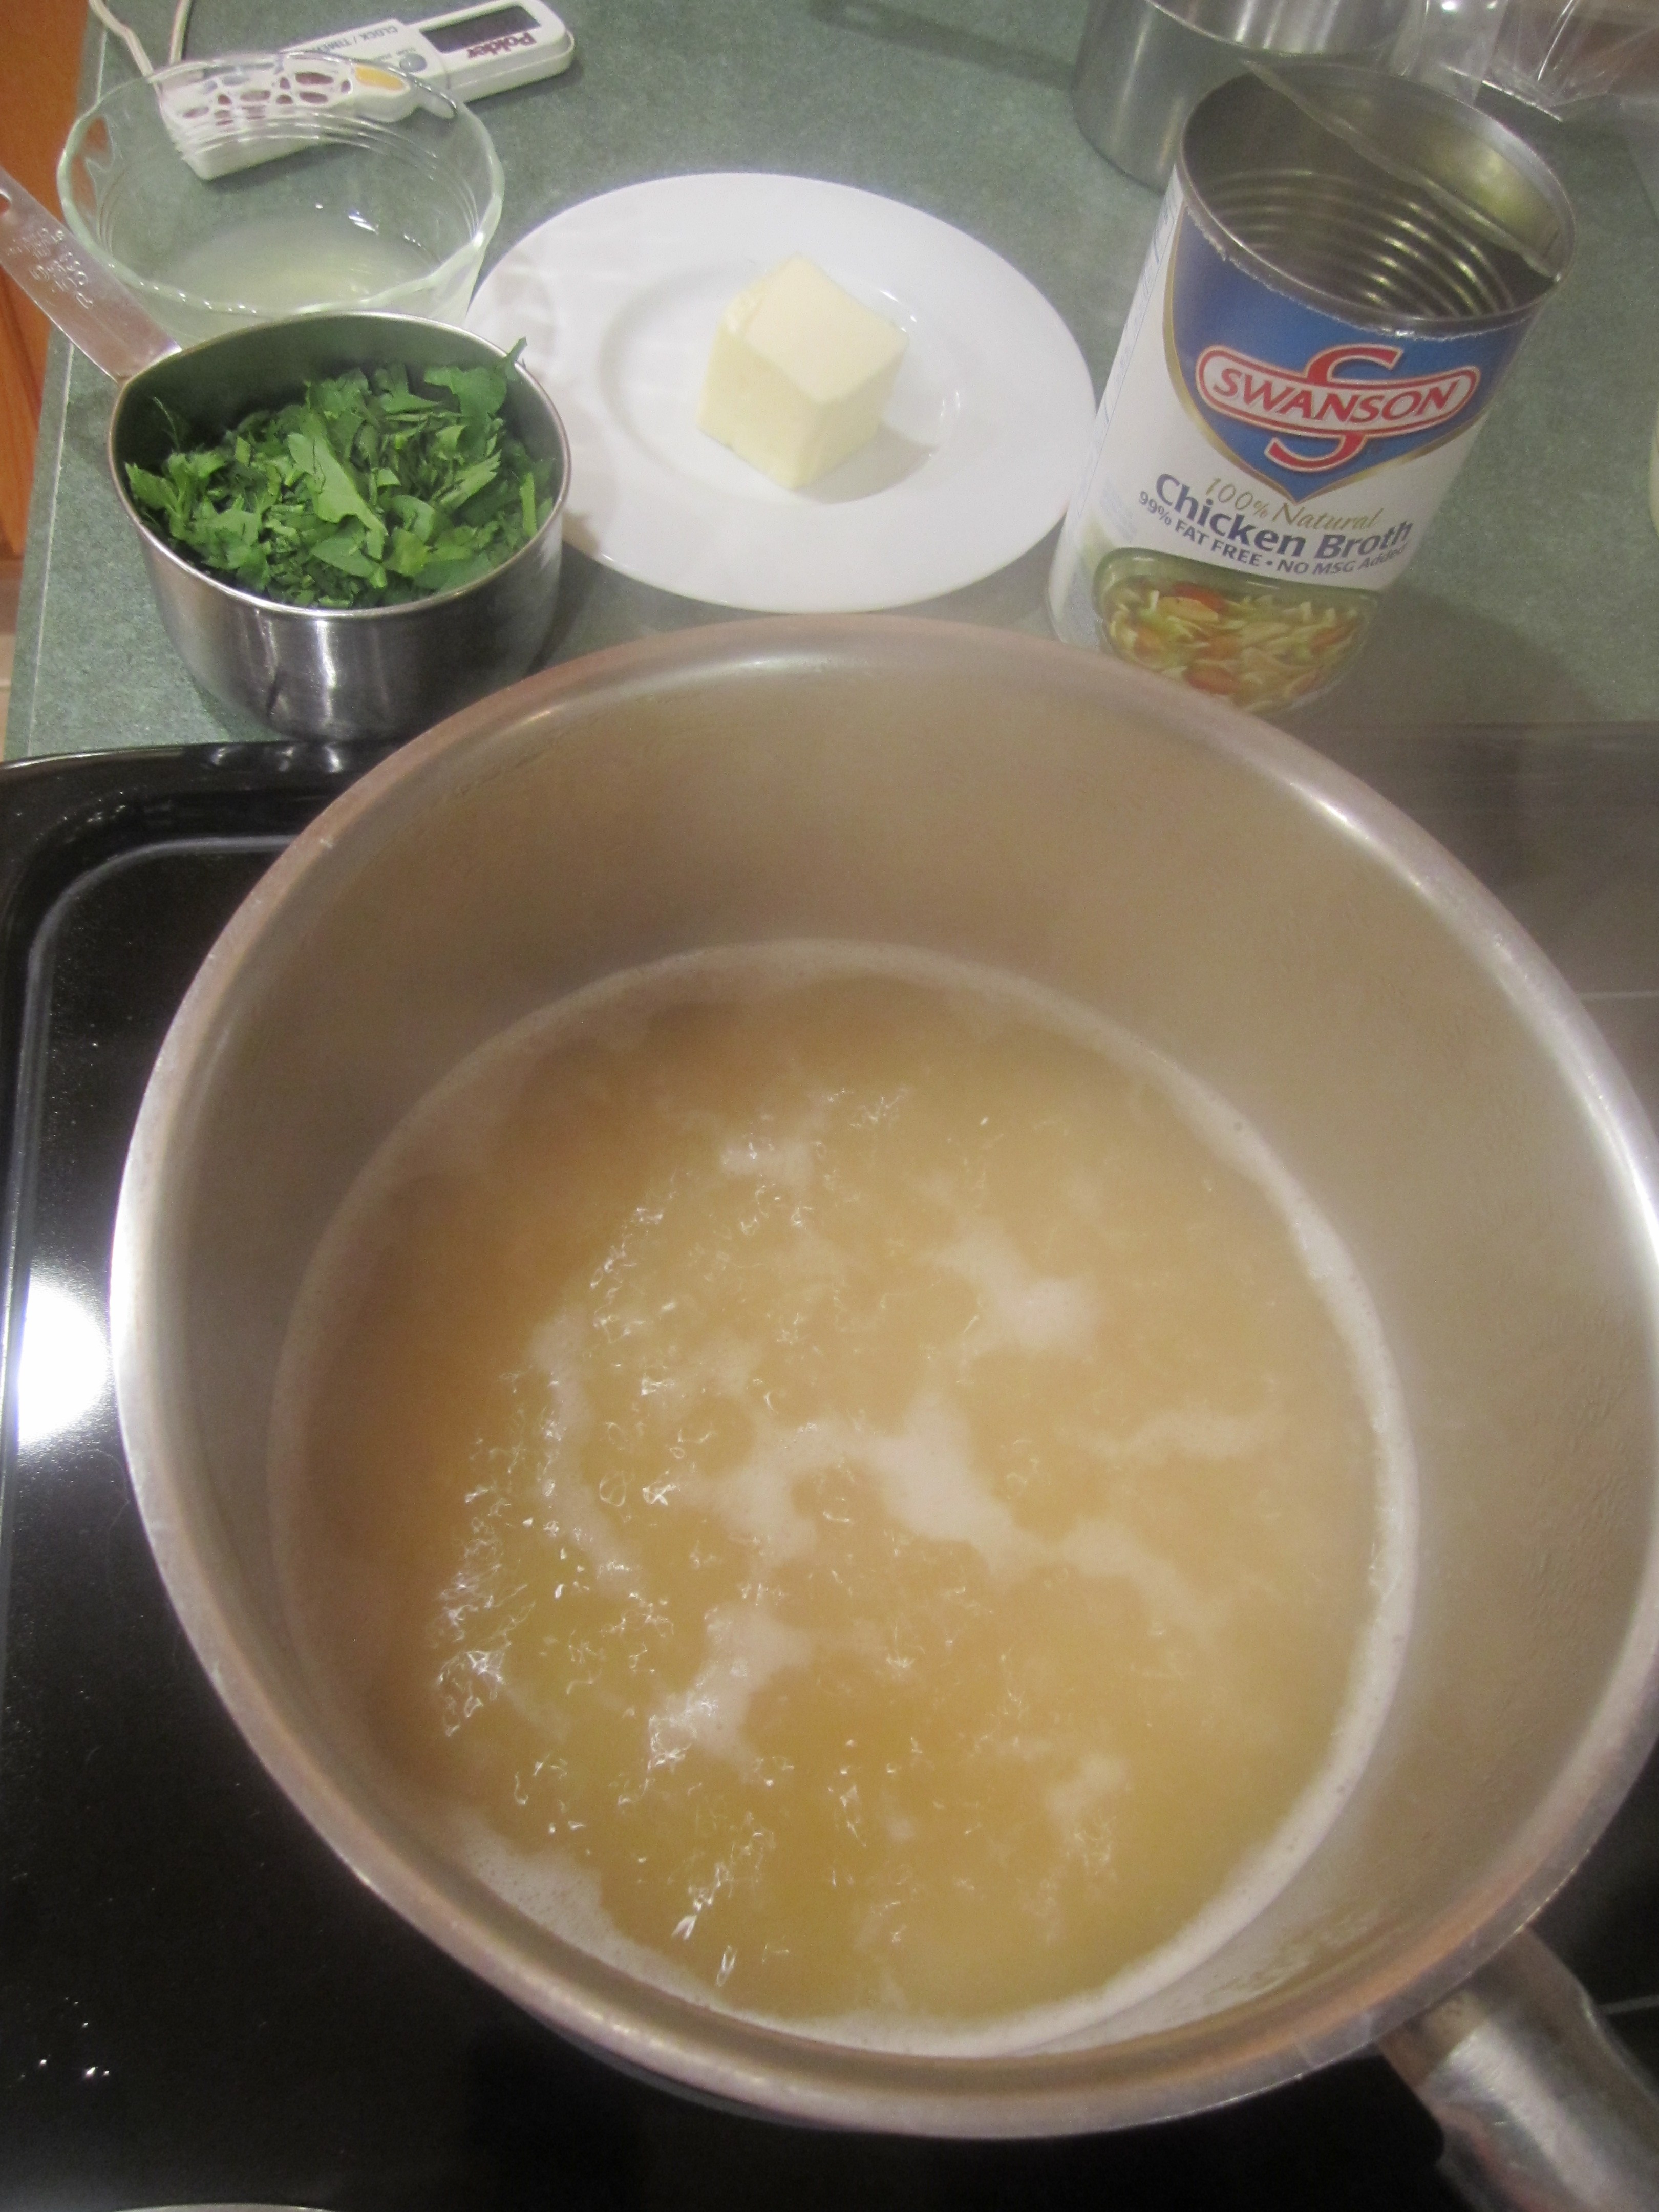
Green Rice (from Cooking Light)
2 cups chicken broth
1 cup of rice (I use Basmati Rice)
2 tablespoons butter
3/4 cup finely chopped flat parsley (the recipe calls for cilantro but I don’t like it’s flavor. Use what you like)
3/4 cup sliced green onions (optional: I did not use, it’s up to you)
2 tablespoons fresh lime juice (from about 1 lime)
You can make the rice while the chicken is cooking in the oven.
Bring chicken broth to a boil in a medium sauce pan. Add rice, cover and simmer on very low for 15 to 20 minutes until water is absorbed and rice is done.
Remove from heat and stir in butter until combined. Add the parsley, green onions if using and lime juice and stir to incorporate. Serve with the chicken thighs.
dicing the dried tropical fruit:
mise en place:

sauteing flour dredged chicken and into the baking dish:
onions and garlic sautéed:

add fruit mixture:
pour over chicken and top with lime slices:
after 20 minutes in oven:
making the Green Rice:
and serve!

Cornflake Chocolate Chip Marshmallow Cookies

My favorite show these days is Unique Sweets on the Cooking Channel. Tons of ideas, lots of ooing and aahing, and utter amazement over the creativity!
The bakery they were focusing on one evening was Momofuku Milk Bar in downtown NYC and the creation of the Crack Pie by Christina Tosi, chef/owner. Perusing the internet in search of the Crack Pie recipe led me to this cookie recipe, also created by Christina Tosi. It really intrigued me: cornflakes in a cookie! Not just cornflakes but a cornflake crunch made separately and then added to the cookie dough! Wow!
Anyway for a year I have been thinking about making these and finally was able to pull all the ingredients together. They are crispy and chewy at the same time. Somewhat fragile, especially around the edges, but oh so delicious!
I’ve made a few cookies with marshmallows in them and they were ok. The marshmallows in this recipe with the copious amounts of butter, meld into the cookie giving it that chewy texture and caramel taste. Delicious!
The cornflake crunch does not taste like cornflakes either but becomes this buttery toasty thing that is incredibly yummy! Leftovers, which there will be, can be sprinkled over vanilla ice cream and drizzled with chocolate sauce or added to your yogurt to give it a bit of crunch!
Do as Christina says in the recipe and form the dough into balls before refrigerating. I did not do this. The dough gets extremely hard making it very difficult to make dough balls out of it.
My first batch, I made them exactly as the recipe stated. But I was not happy: the ball size (2 ounces or 1/3 cup) was too large and the oven temperature too high. I felt putting the cookies on parchment paper, encouraged them to spread even more. So with the rest of the dough, I did half the ball size, reduced the temperature to 350 degrees (this also reduced the baking time) and put the cookies on a plain cookie sheet, no parchment and no spraying with canola oil spray or butter. I was very pleased with the results. And they looked exactly like the ones she baked with Martha Stewart on this video! (I love the way Martha is really into the dough! )
Cornflake Chocolate Chip Marshmallow Cookies (by Christina Tosi, Chef/Owner of Momofuku Milk Bar)
2 sticks or 16 tablespoon of butter
1-1/4 cups sugar
2/3 cup light brown sugar
1 egg
1/2 teaspoon pure vanilla extract
1-1/2 cups flour
1/2 teaspoon baking powder
1/2 teaspoon baking soda
1-1/2 teaspoon kosher salt
3 cups Cornflake Crunch (see recipe below)
2/3 cup mini chocolate chips (I like Ghirardelli)
1-1/4 cups mini marshmallows
Cornflake Crunch
5 cups cornflakes
1/2 cup milk powder or non-fat dry milk
3 tablespoons sugar
1 teaspoon kosher salt
9 tablespoons of butter, melted (about one minute on high in microwave)
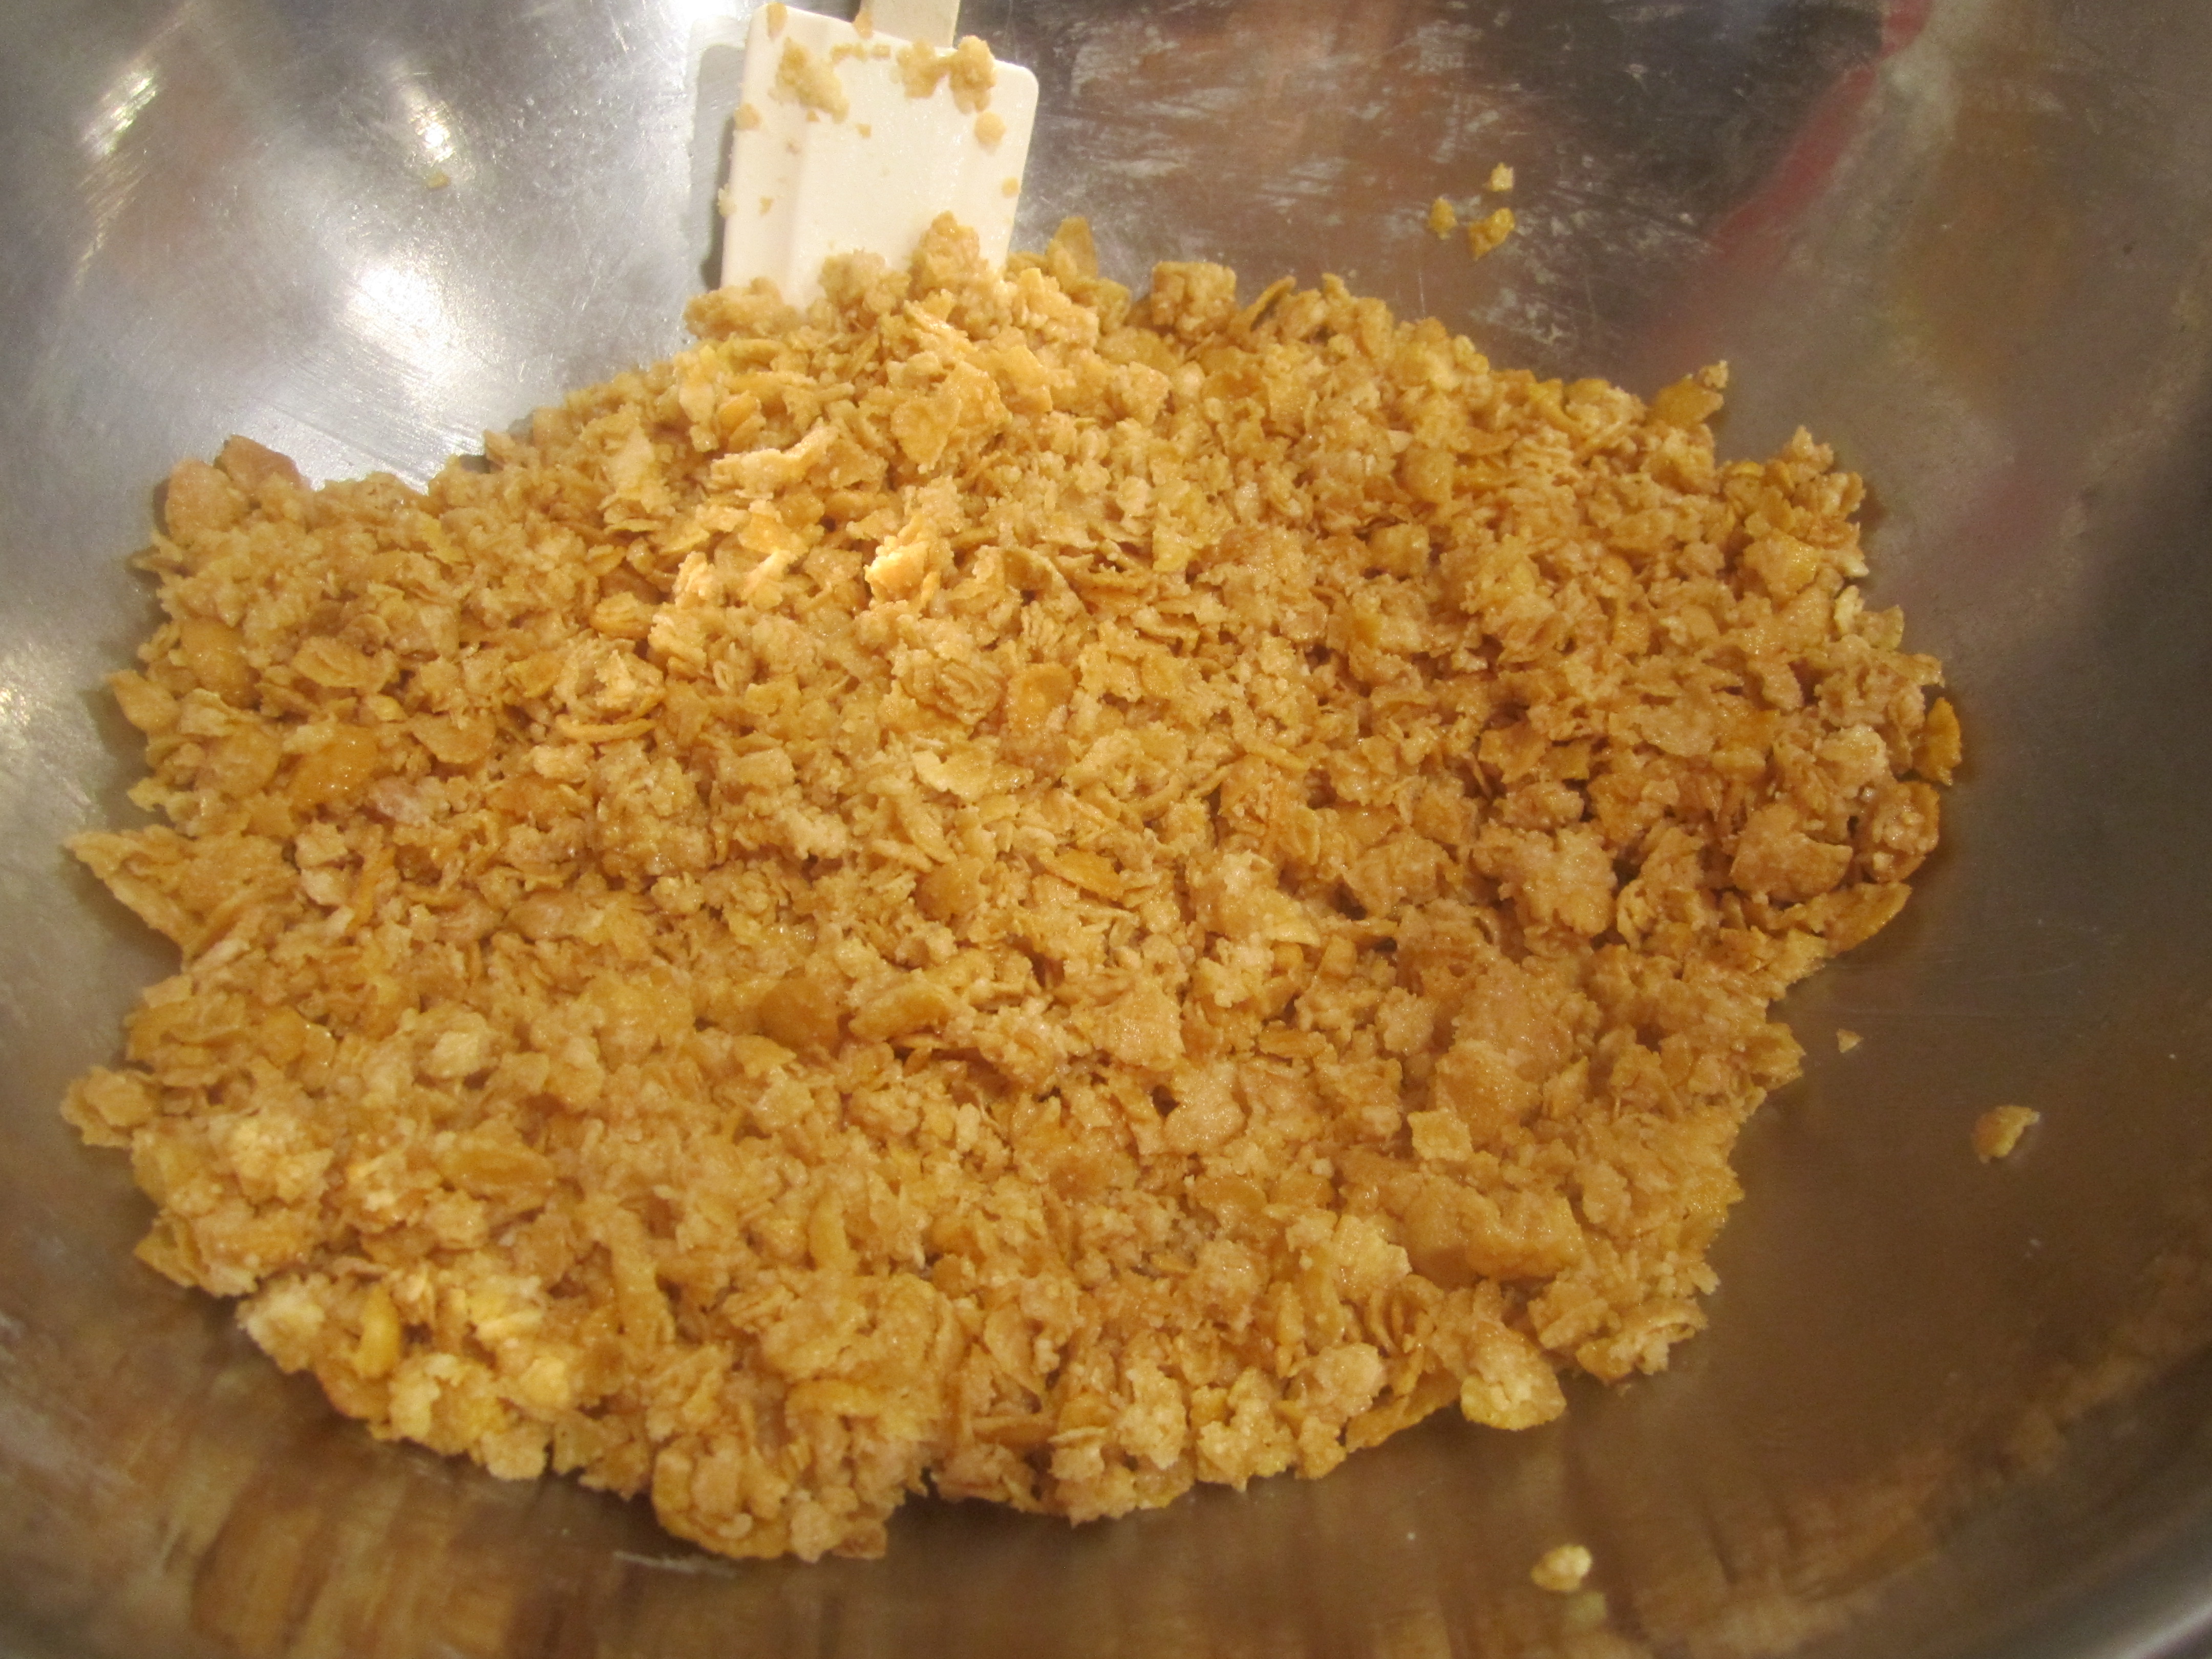
Make the Cornflake Crunch:
Heat oven to 275 degrees. Line a cookie sheet with parchment paper.
In a large bowl, crush the cornflakes with your hands until they are 1/4 of their original size. There will be a few stragglers that insist on staying their original size but that’s fine. It will turn out great. Add the milk powder, sugar and salt and mix together. Pour on the melted butter and sir together with a rubber spatula.
Spread mixture onto the parchment lined cookie sheet and bake for 20 minutes. With all that butter it is going to smell delicious!
Let cool completely, approximately one hour, before using in the rest of the recipe. You will not need all of the crunch for the recipe. So store the rest in the refrigerator or freezer for later munching. It is very addicting, so watch out!
Now you are ready to make the cookies.
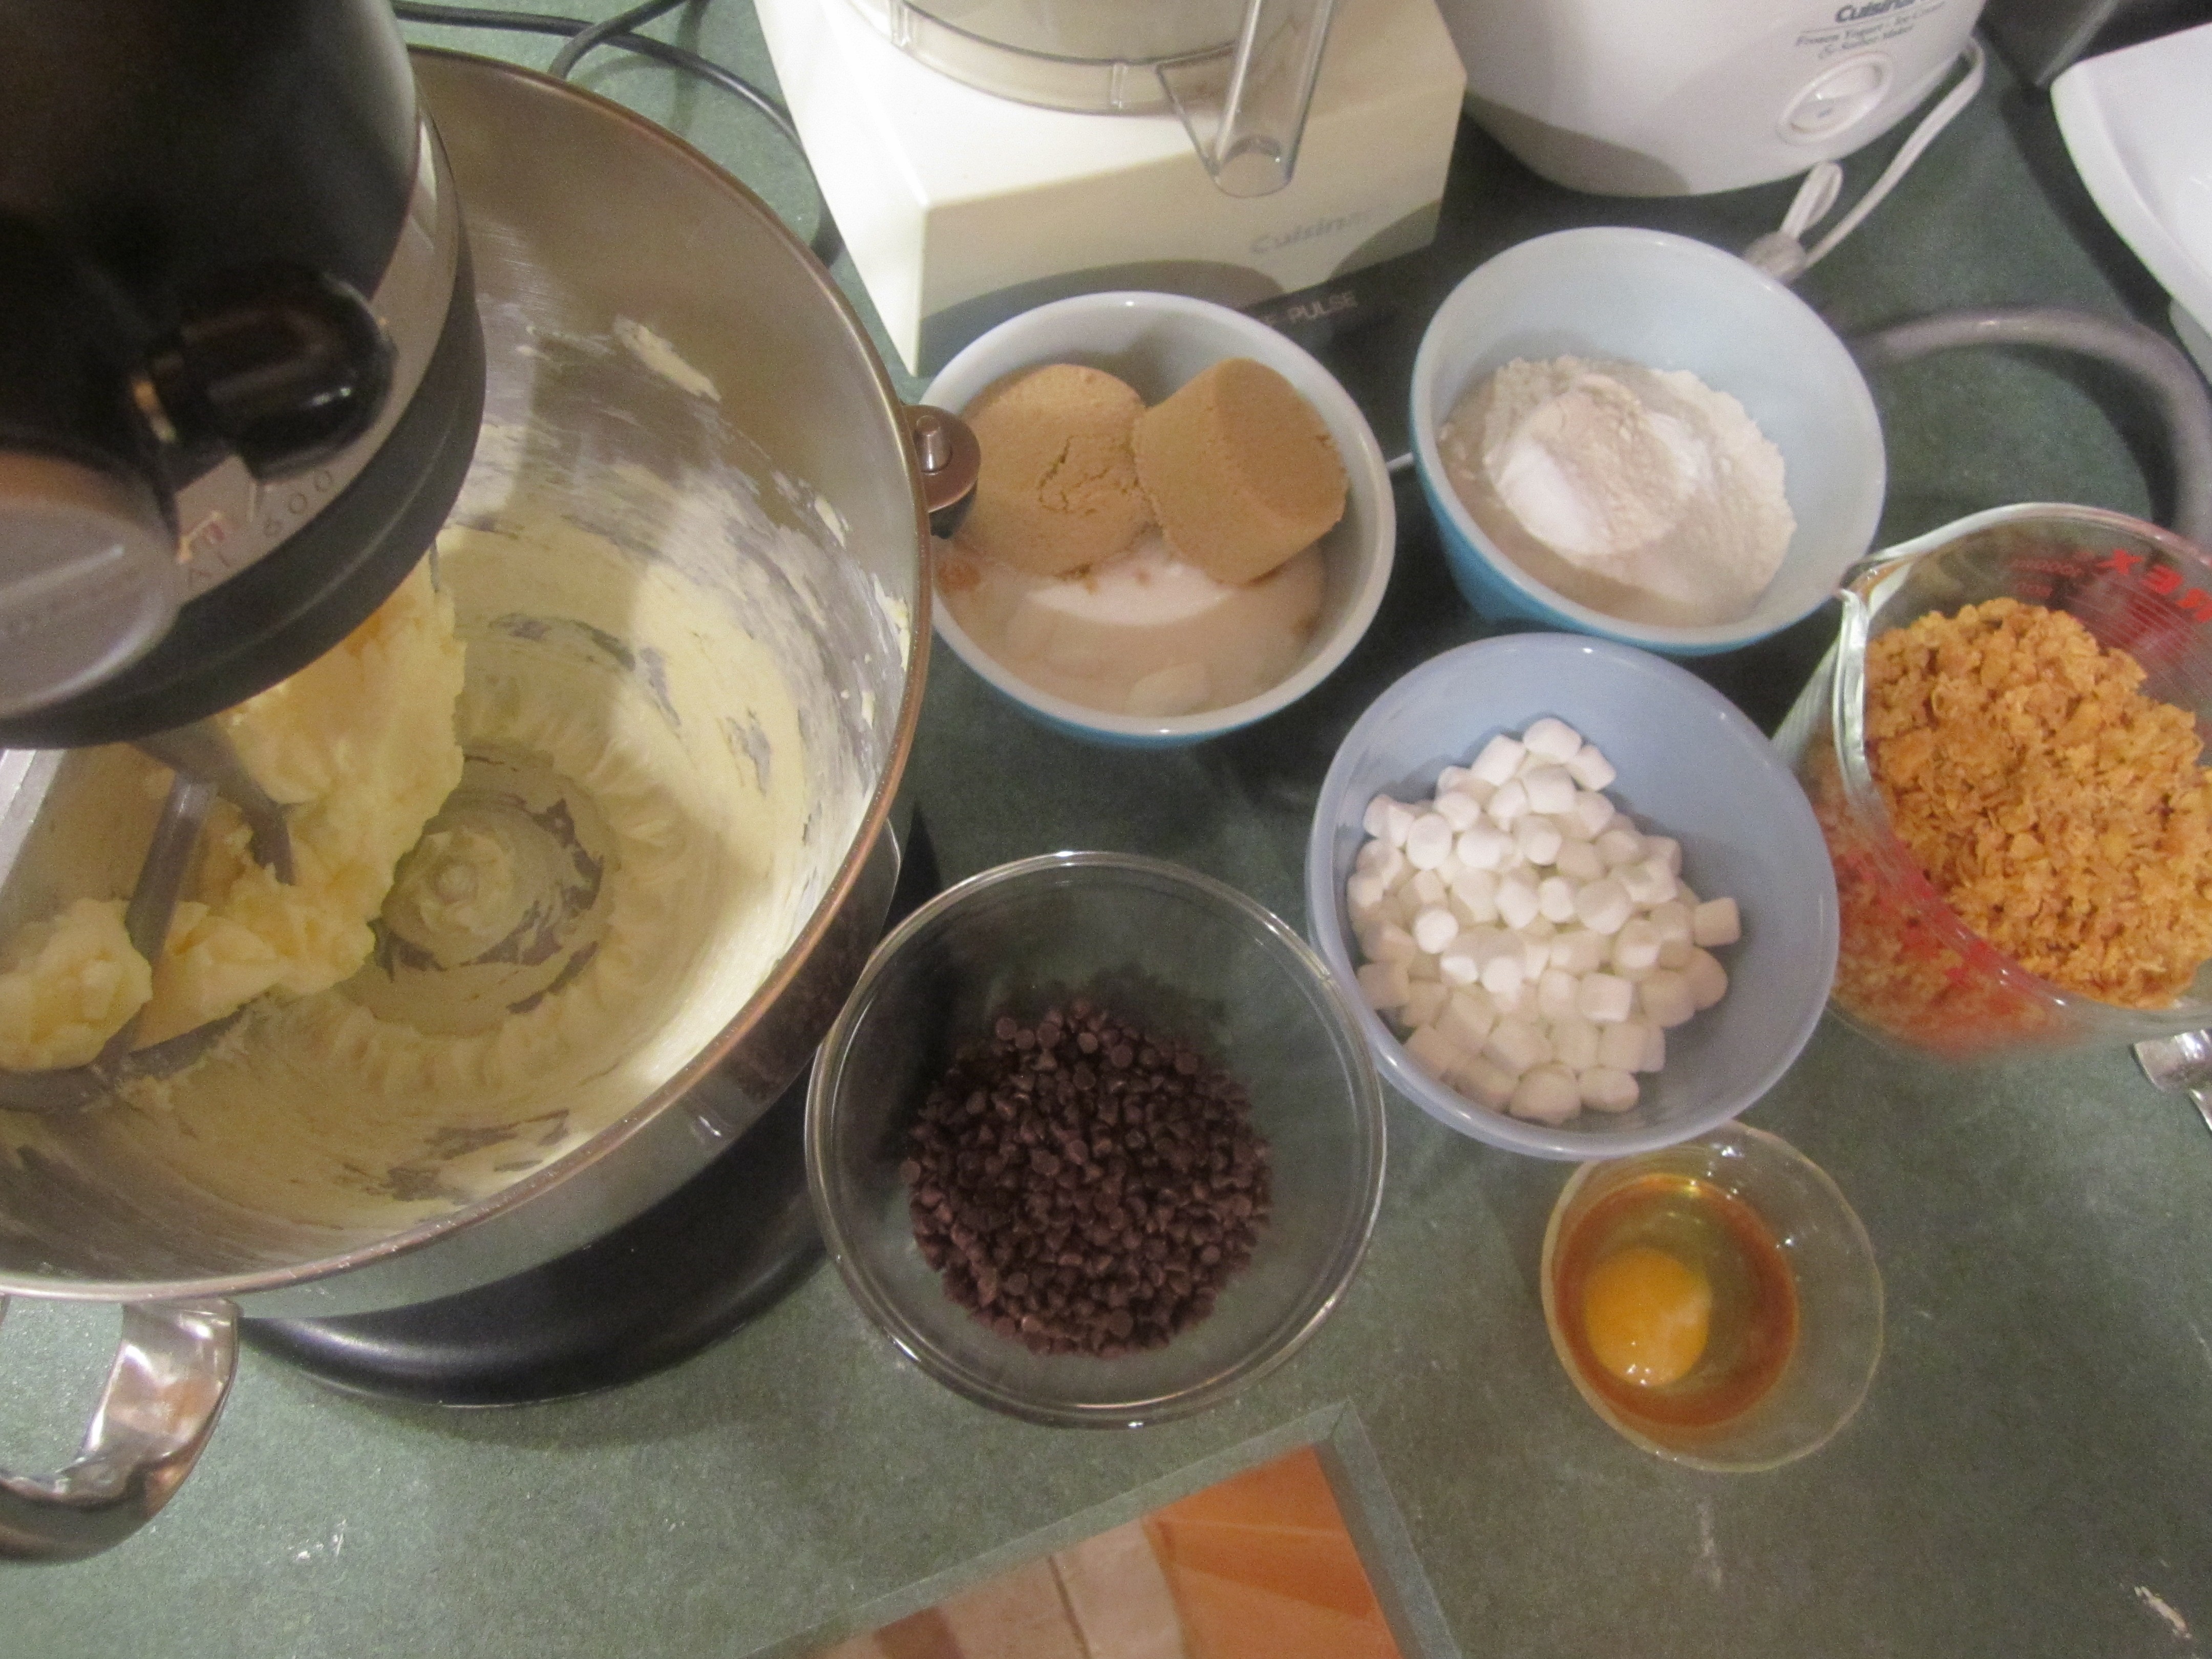
Place butter in the bowl of your mixer and start beating.
Place flour, baking powder, baking soda, and kosher salt in a medium bowl and whisk together. Set aside. Measure out all the rest of your ingredients and set aside. By this time the butter should be fairly soft. Add the sugars and beat together for 2 minutes on medium high. Scrape down sides and add the egg and vanilla. Beat for 5-6 minutes until fluffy and very light yellow in color. Scape down sides of bowl.
Reduce speed to low, add flour mixture and beat until almost combined, about one minute. Add cornflake crunch, chips and marshmallows and beat until just combined, about one minute.
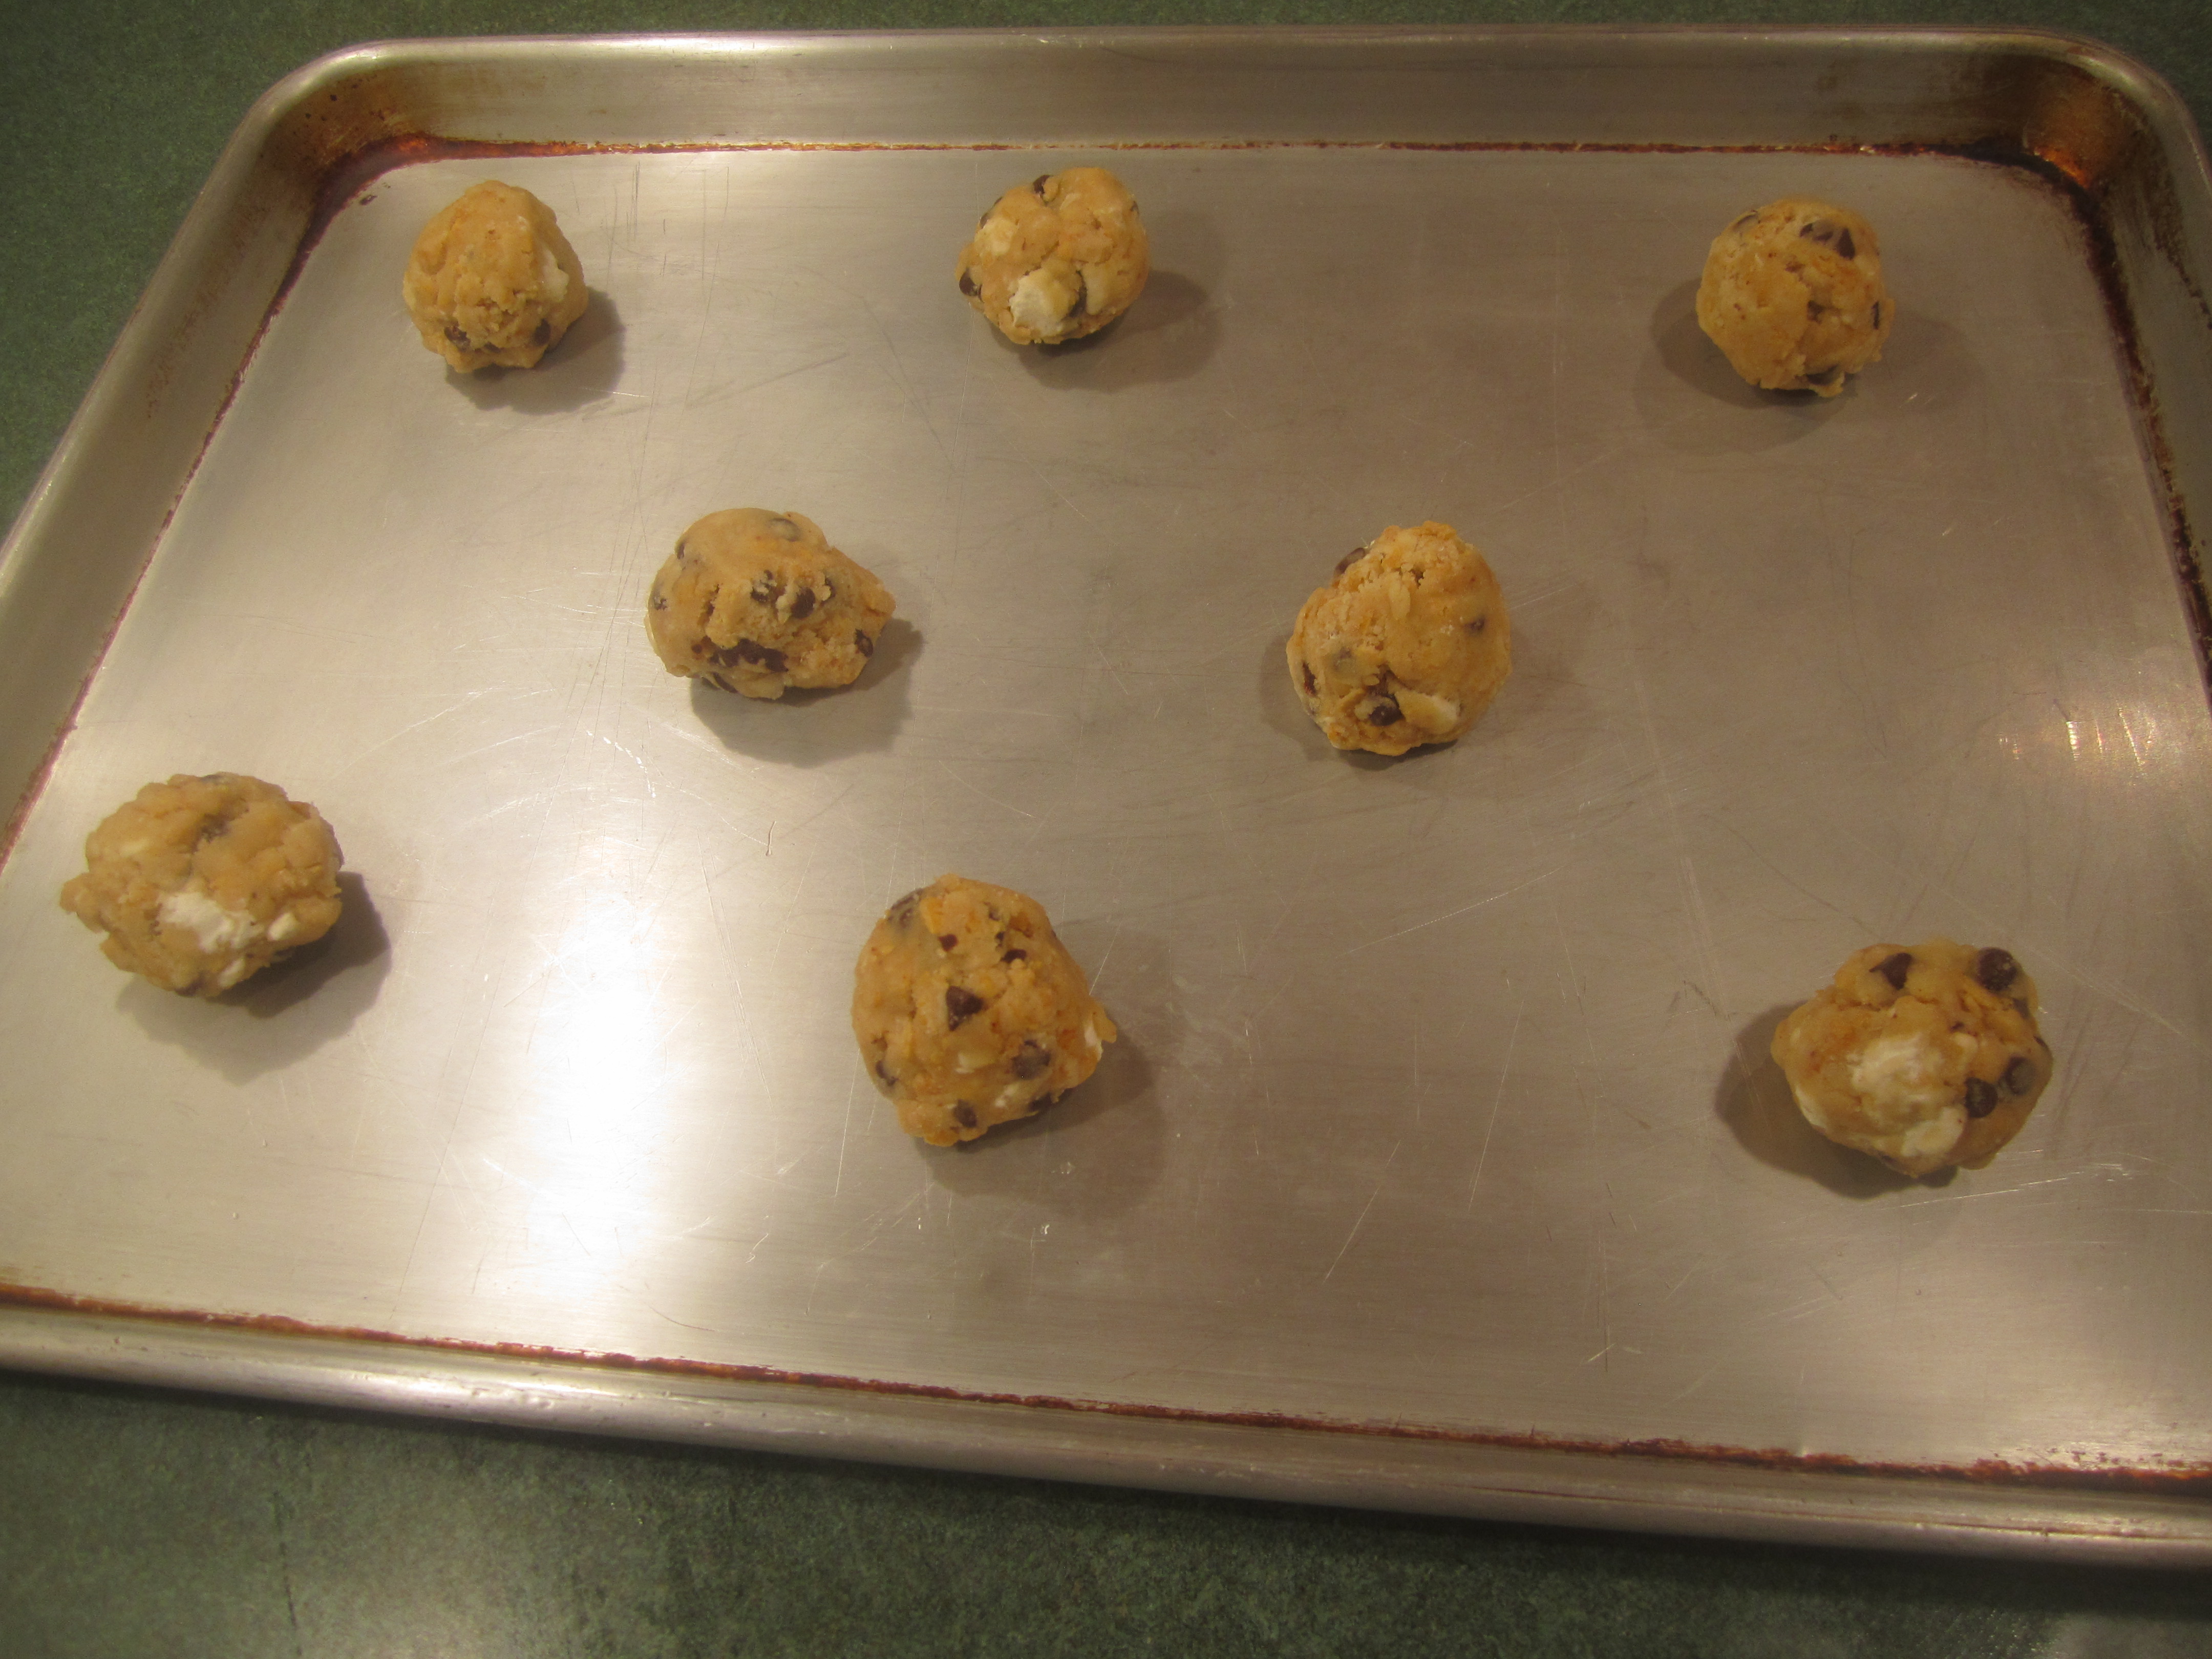
Measure out dough onto a cookie sheet: about 1 heaping tablespoon or about 1 ounce of dough per ball. You do not have to space, they can sit side by side. Wrap pan in plastic wrap and place in the refrigerator for at least one hour.
Heat oven to 350 degrees.
Place 6 balls onto an ungreased cookie sheet and bake for 12-13 minutes, turning cooking sheet around half way through the cooking time. Let cookies cool completely on the cookie sheet and very carefully remove onto a cooling rack.
cornflake crunch dry ingredients:

add butter and spread on cookie sheet and bake:

mise en place cookie dough:
dough complete:

cookie dough balls on cookie sheet (take the middle row out, so you only have 6 on the cookie sheet:
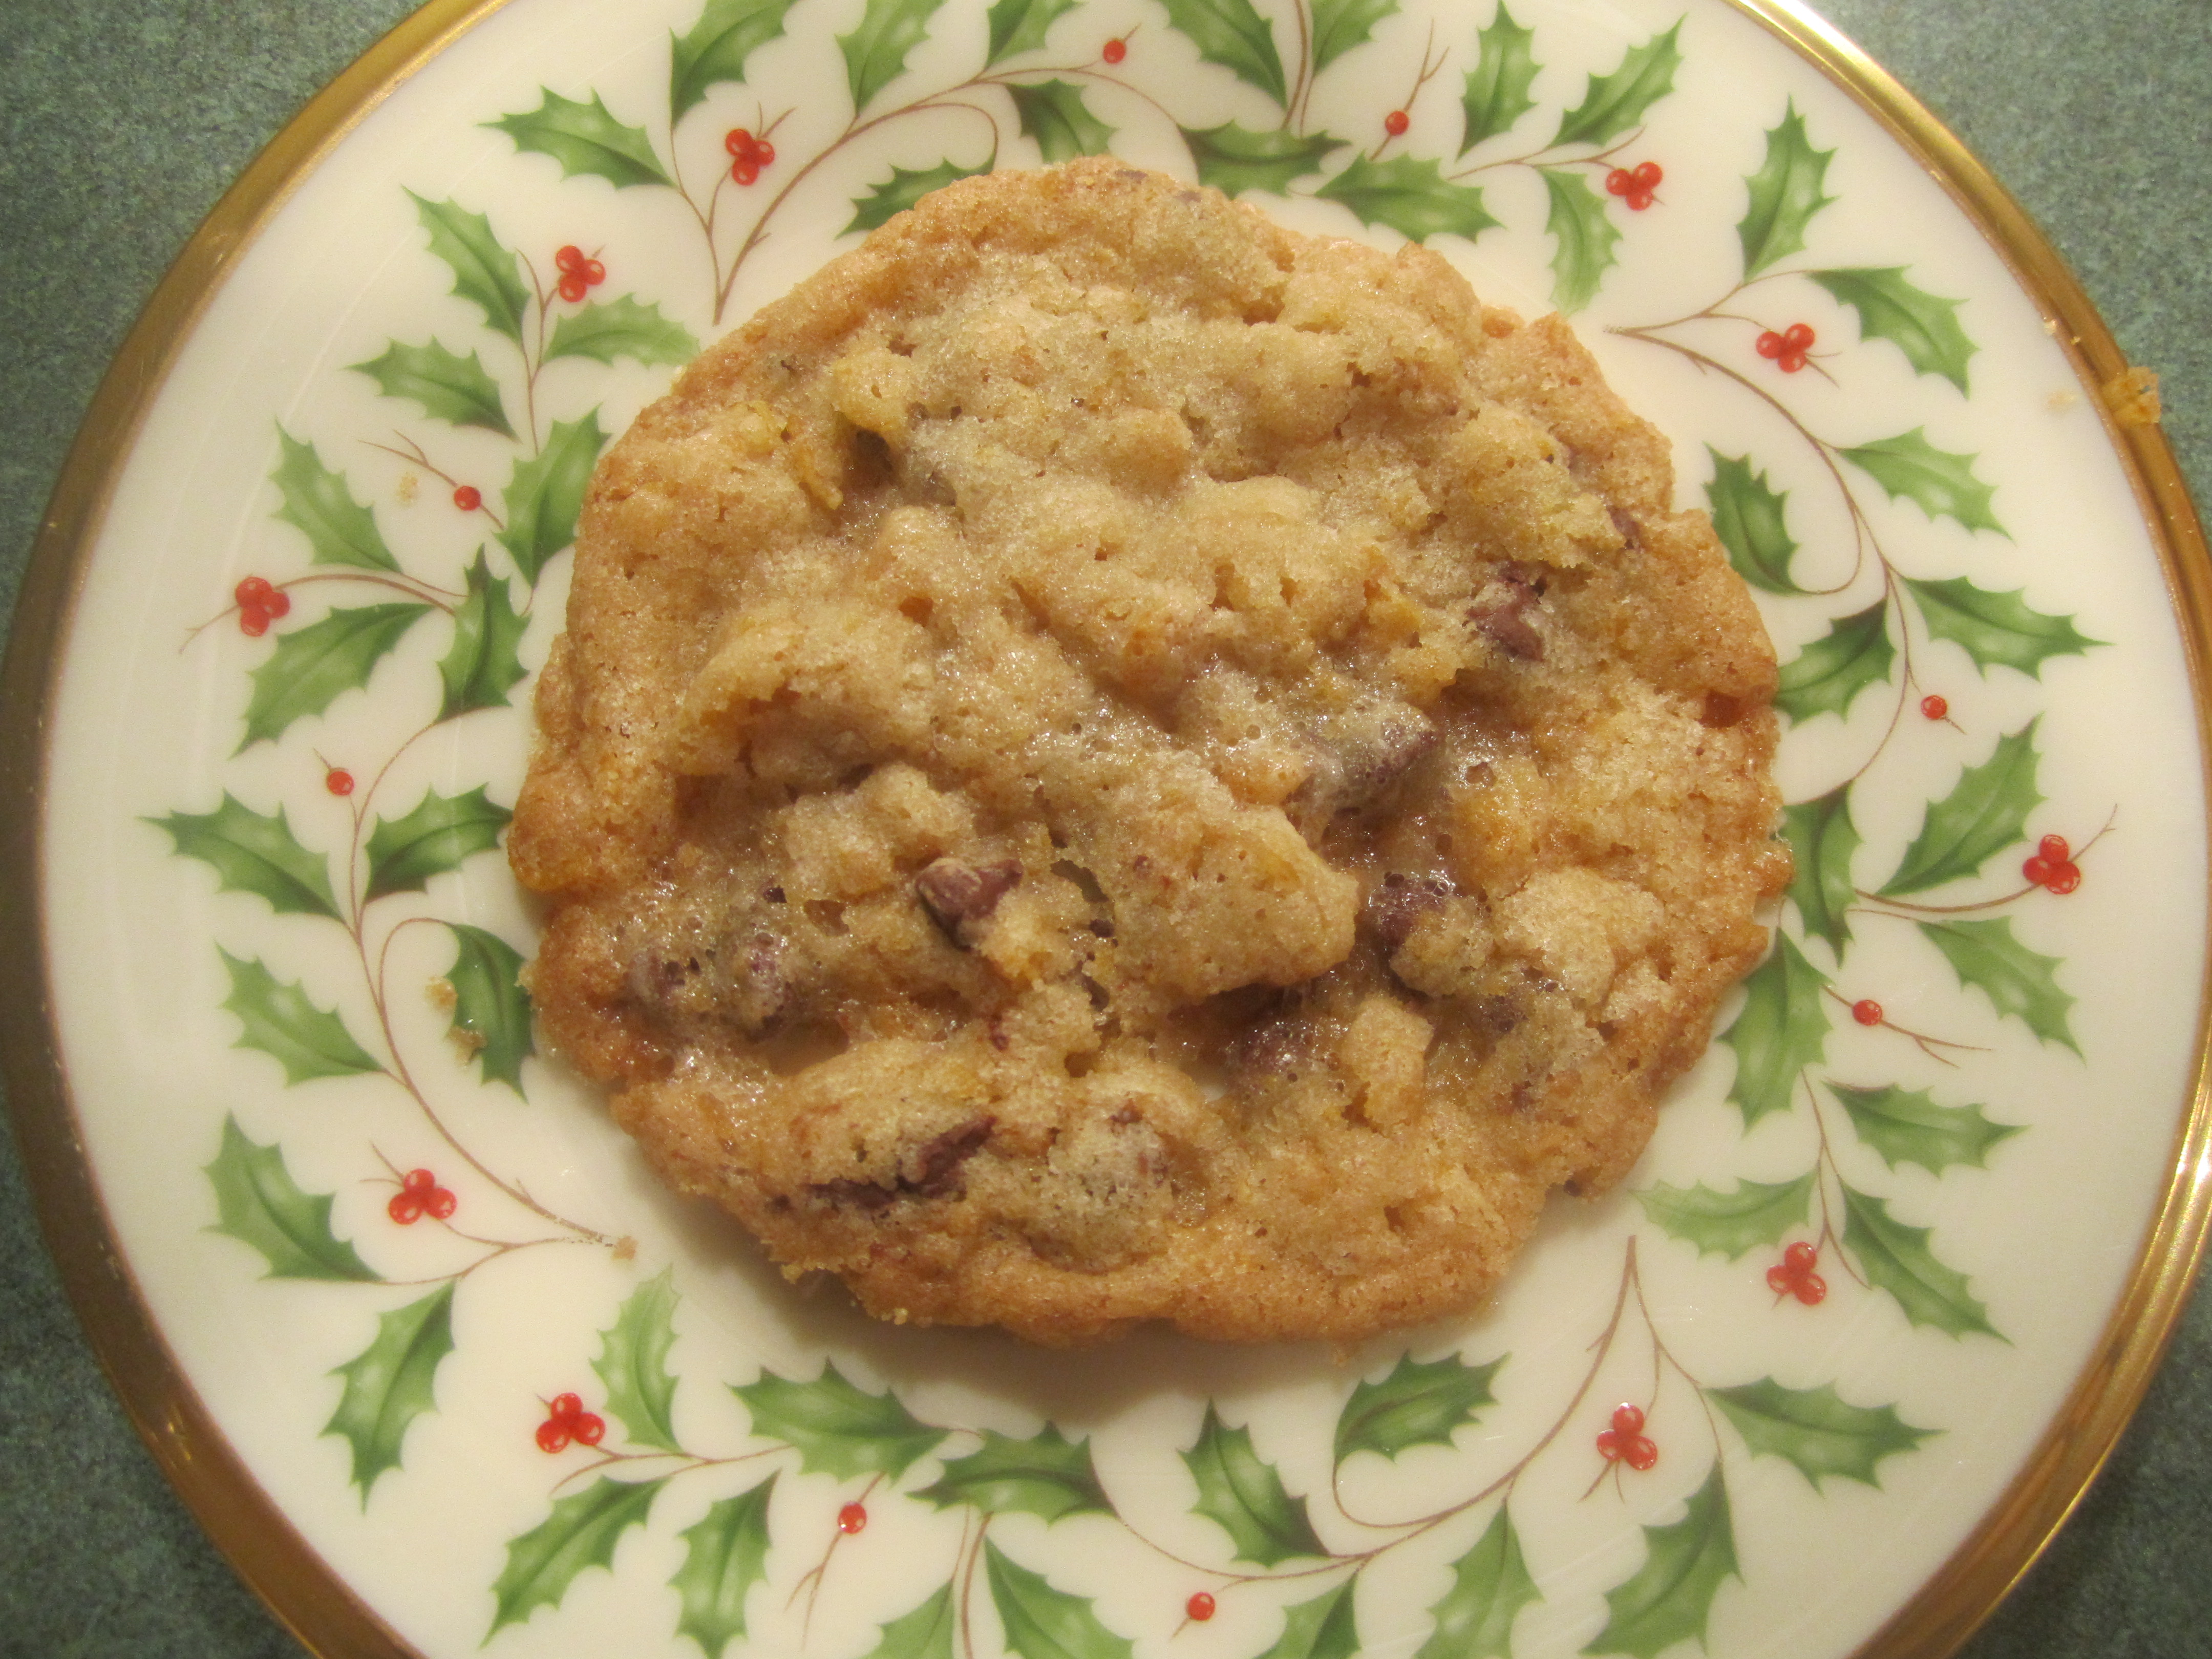
out of the oven and cooling (this is why there should only be 6 on a cookie sheet):

yum! (my husband, the hand model 🙂

Pasta with Mushroom Sauce

This is a great recipe from Cooking Light highlighting a delicious blend of mushrooms!
I originally had another mushroom/pasta recipe from my Cookbooks and was looking up to see how it was rated. I found this one instead and I am so glad I did.
Just a note about the salt in this recipe. The first time I made it, which was exactly as the recipe is written from Cooking Light, both my husband and I loved it but thought it was way too salty. You may not feel the same way. In the original recipe, 1 teaspoon of salt is added to the pan with the mushrooms, etc. I deleted this and just added a 1/2 teaspoon of salt at the end. You may need to add the full quantity of salt from the original recipe. This is something you will have to decide for yourself.
The second time I made this I was not able to get the exotic mushroom blend. I opted out of just cremini mushrooms (like it is suggested by Cooking Light) and instead bought each variety of mushrooms separately. It worked out very well with just a few cremini mushrooms left over. I think the blend of mushrooms gives the sauce more flavor.
I only use half the specified amount of pasta. As I have mentioned before, I do this frequently with recipes. More sauce, is my motto!
This is a great vegetarian meal, served with steamed broccoli or sautéed spinach.
Pasta with Mushroom Sauce (adapted from Cooking Light December 2006)
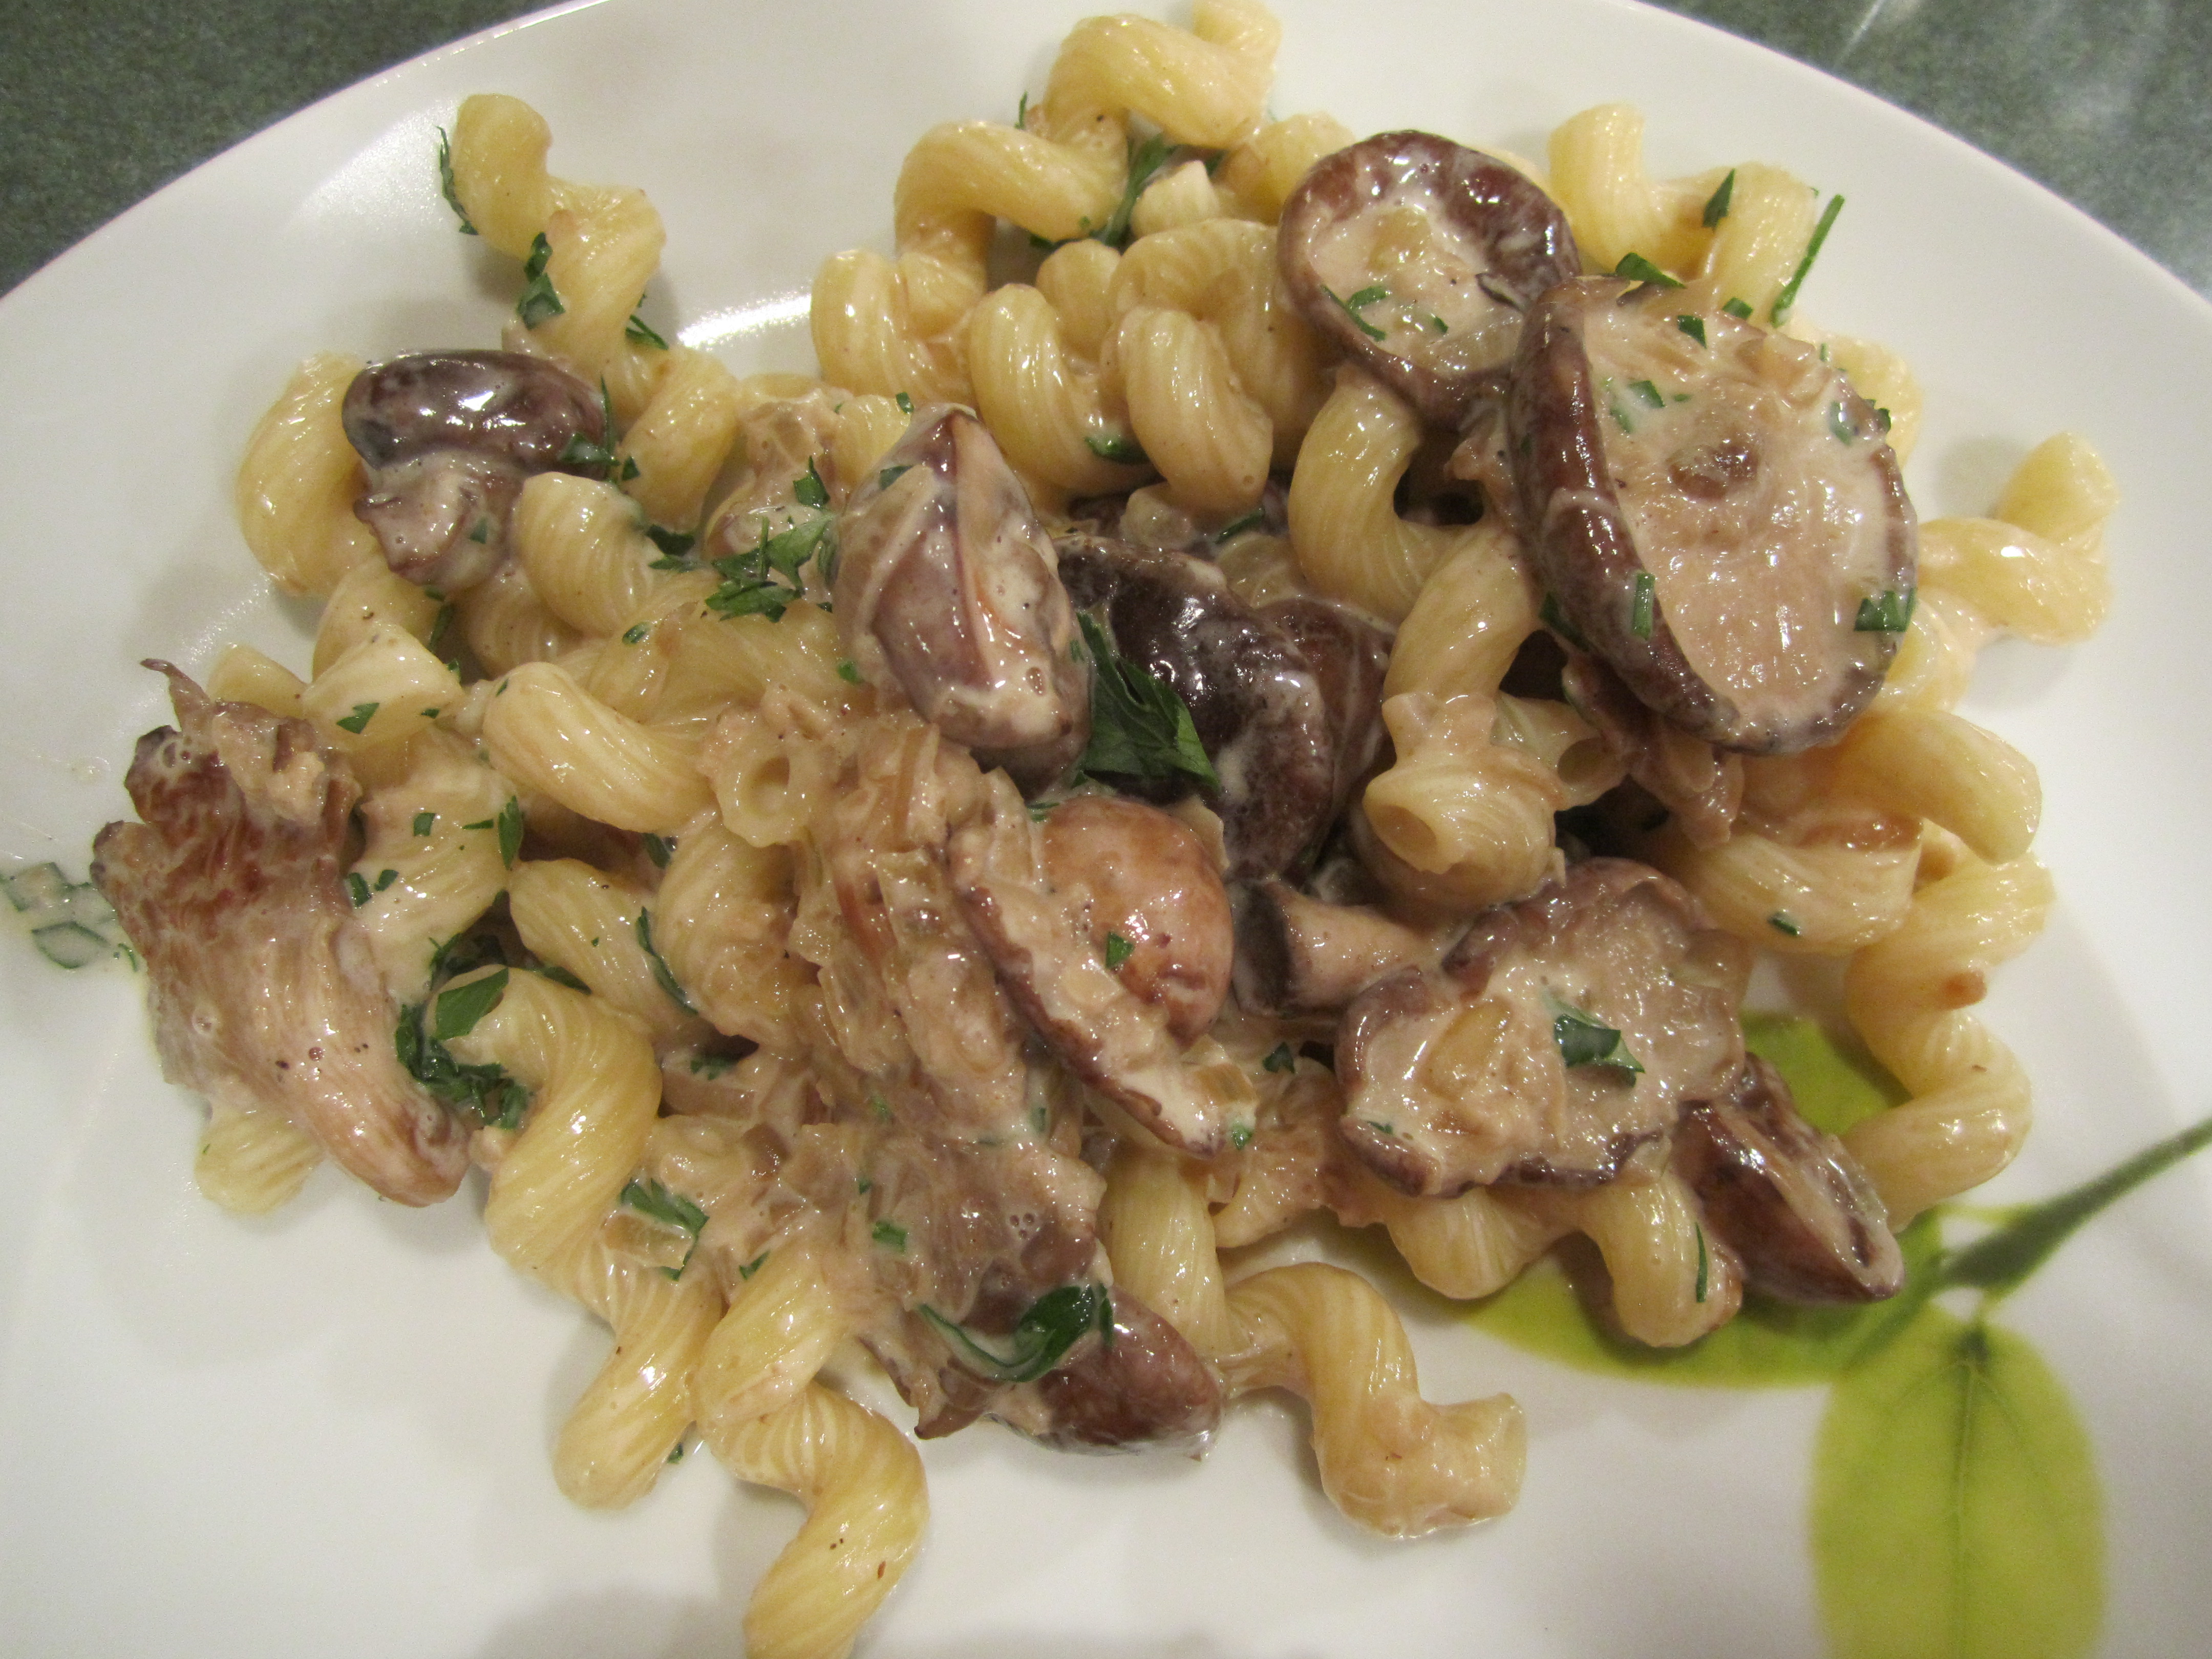
8 ounces uncooked pasta (I used Cavatappi: I love the way the mushroom sauce wraps around this pasta. The choice is yours though, of course)
1 tablespoon butter
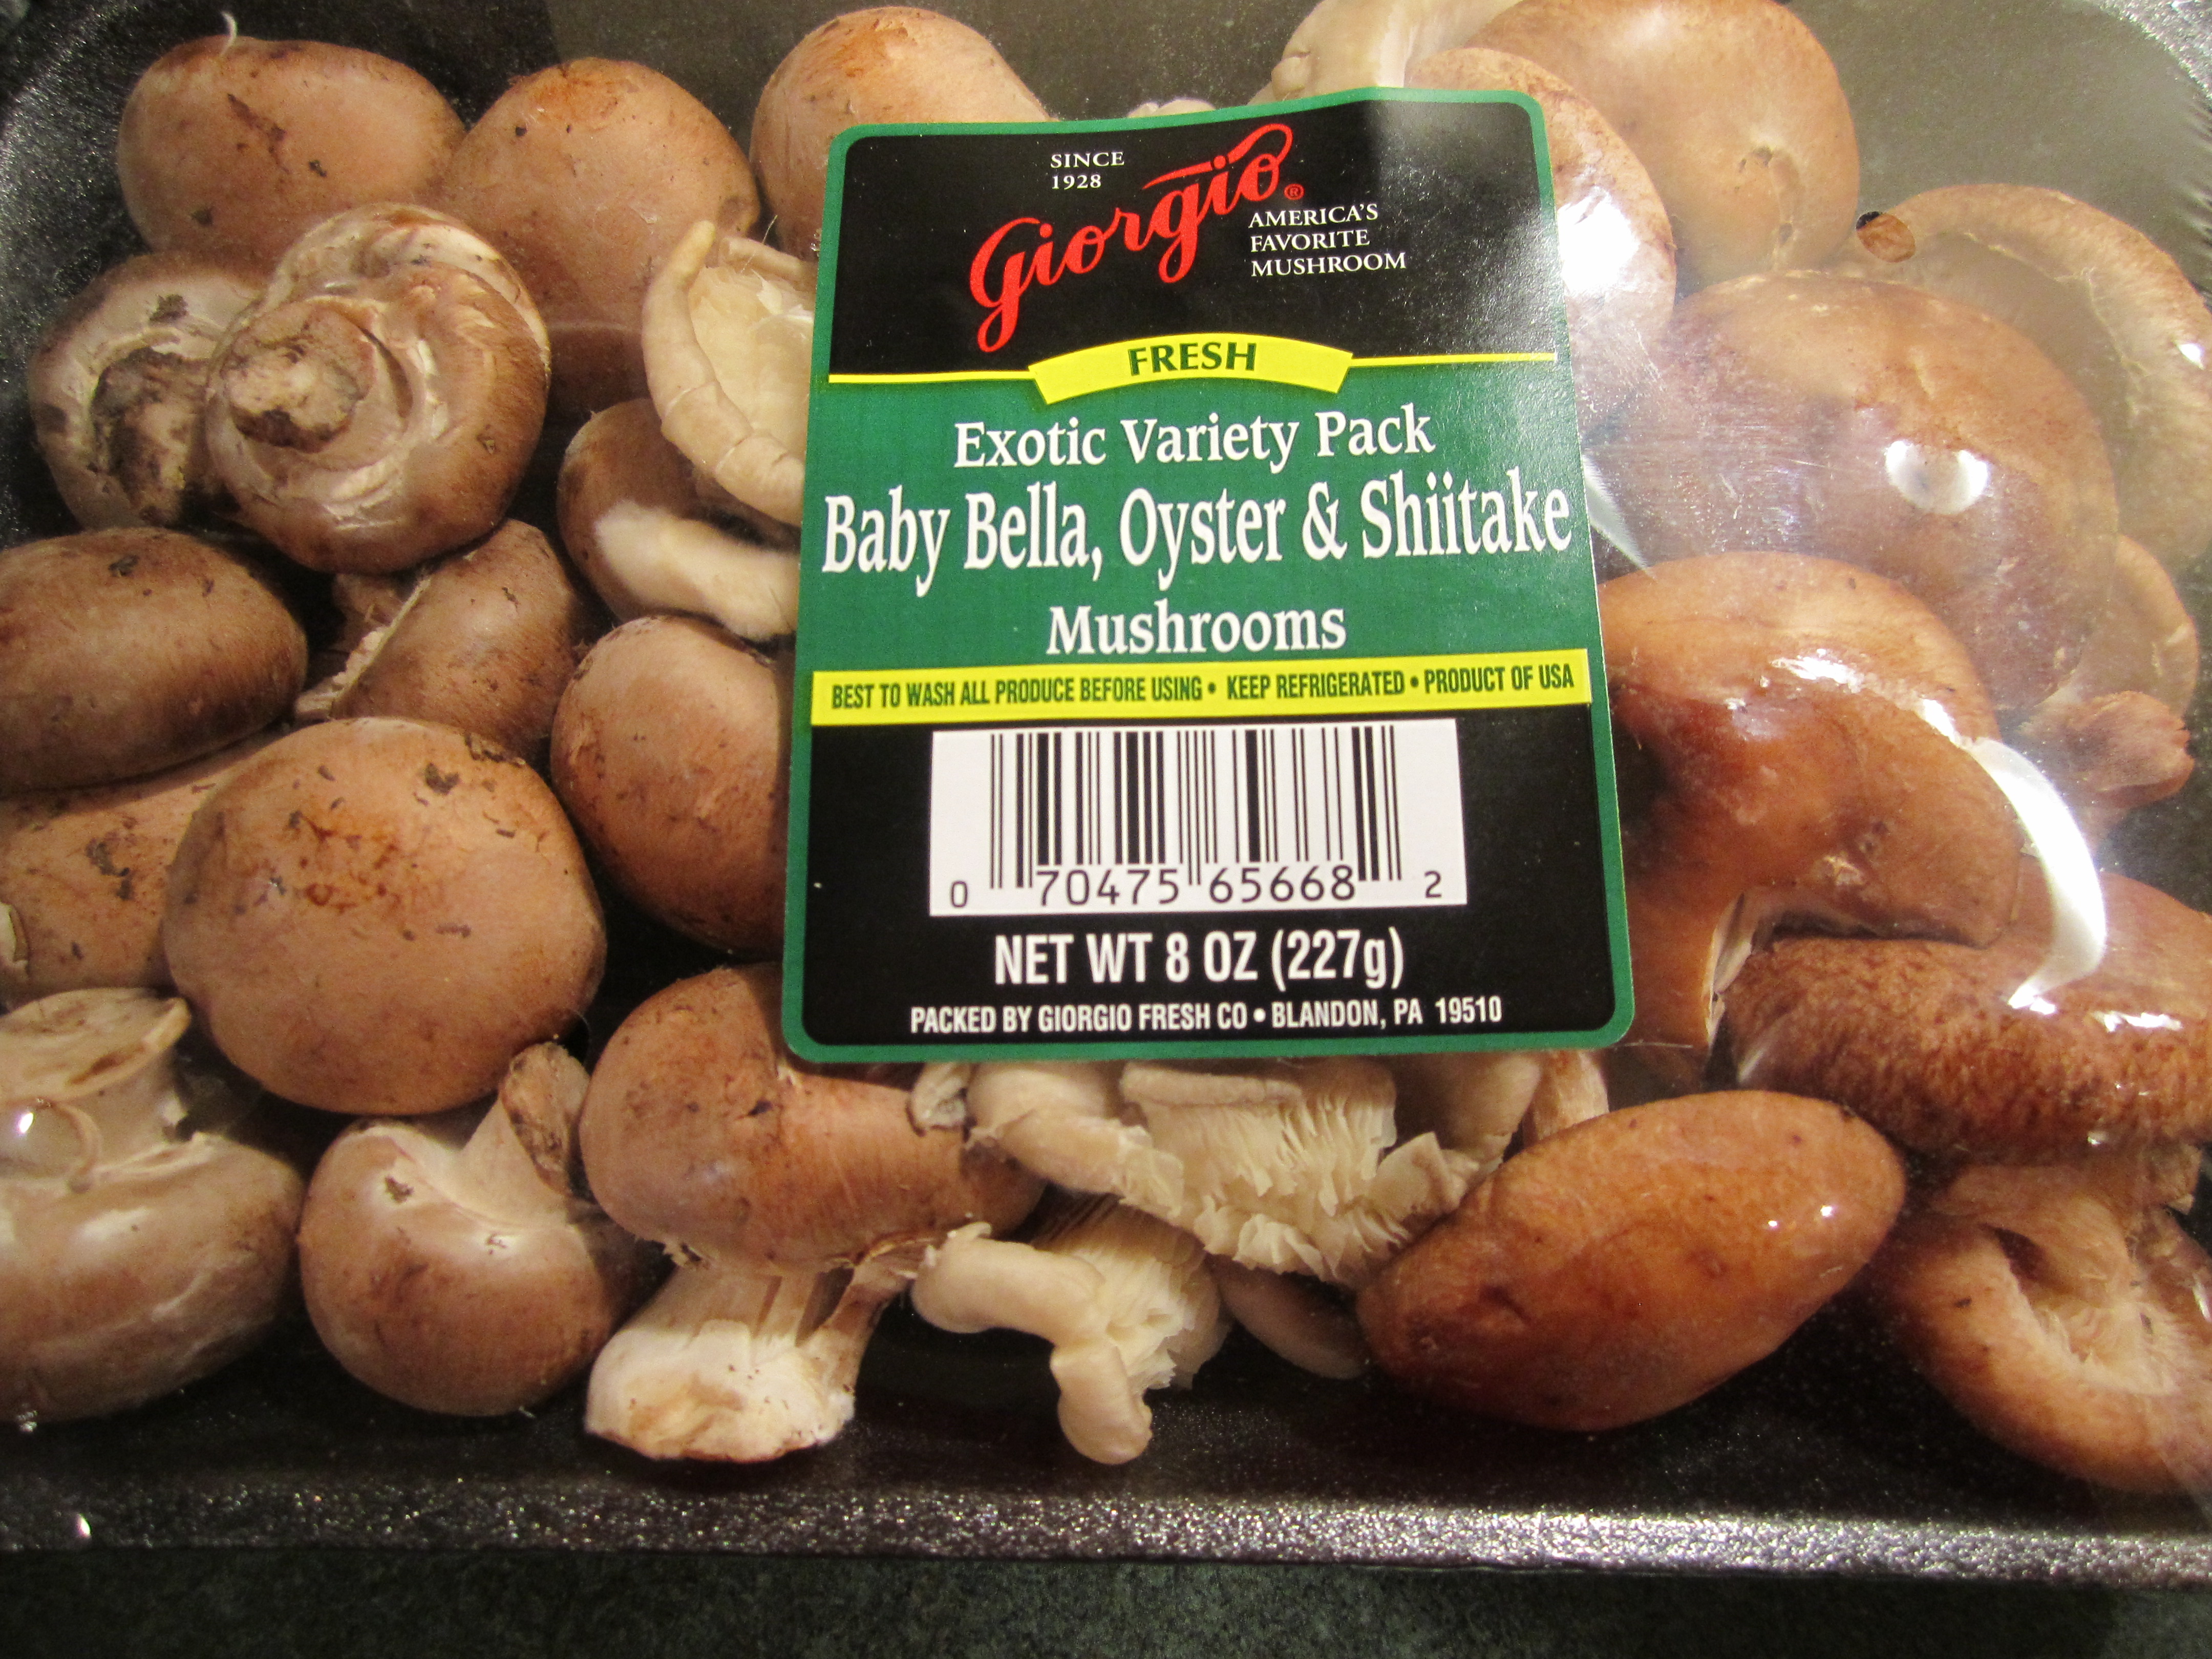
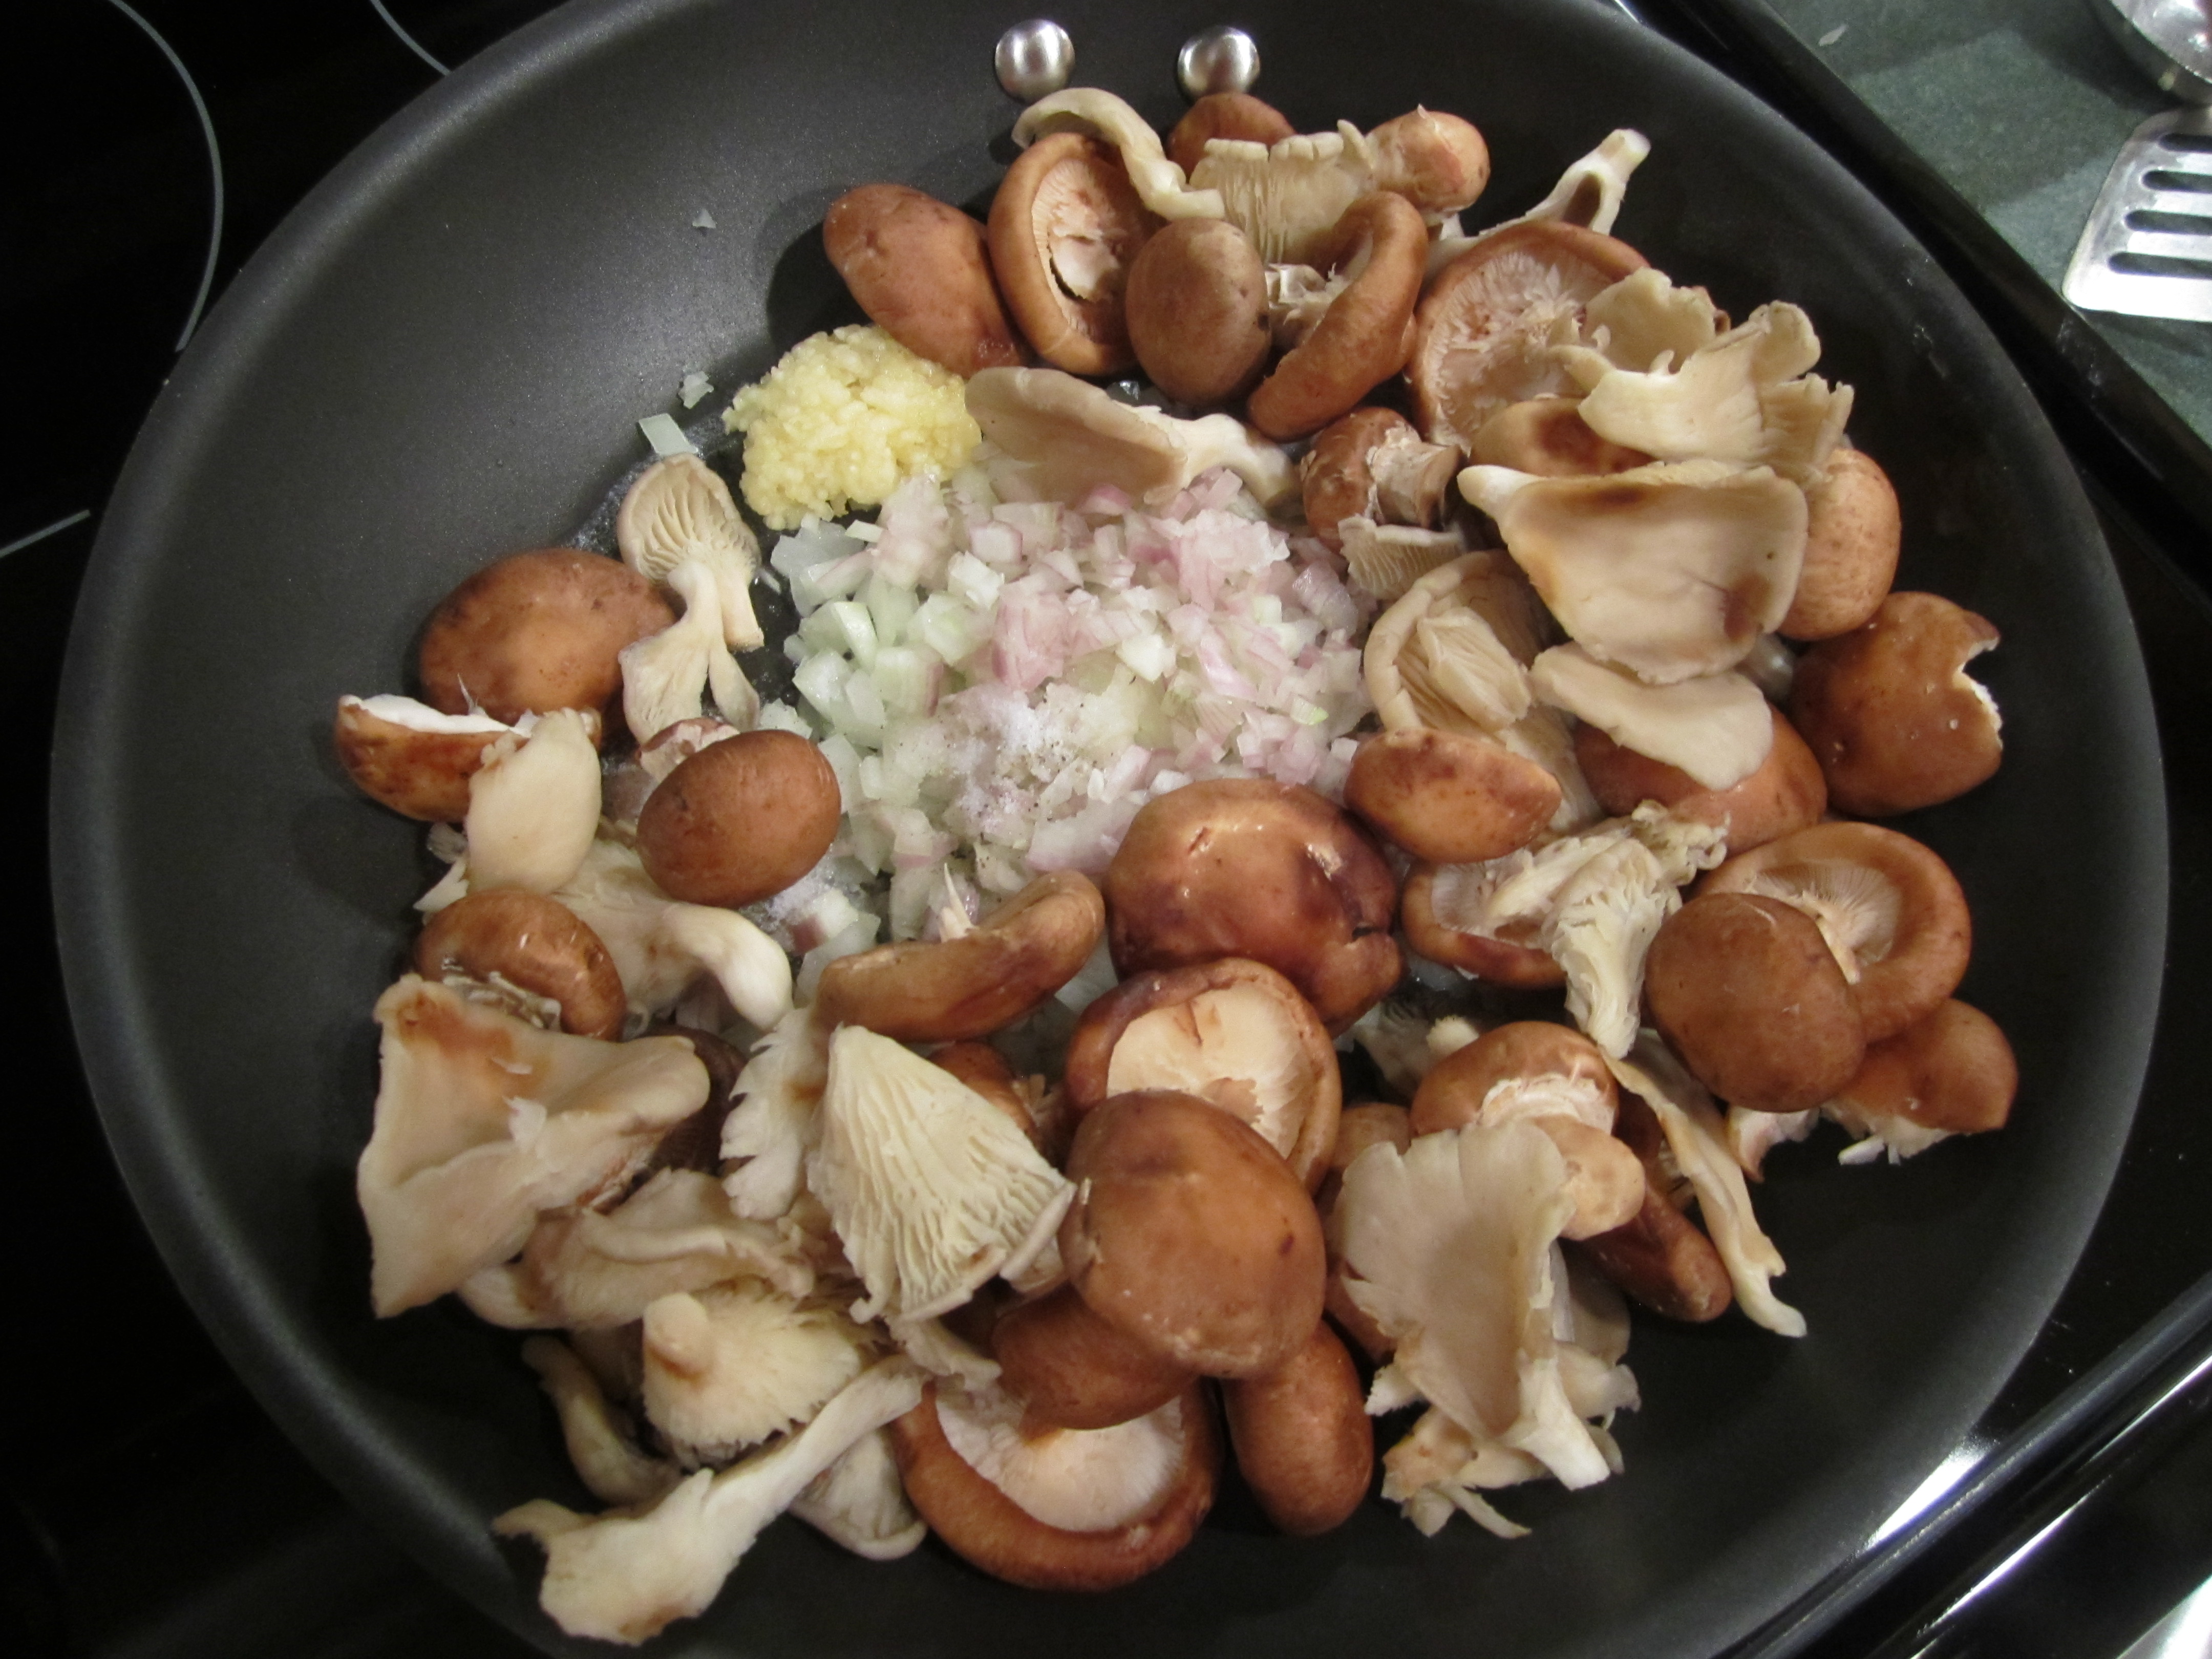
12 ounces presliced exotic mushroom blend (combination of shiitake, cremini (baby bella) and oyster mushrooms)
1/2 cup finely diced onion (from one medium)
1/3 cup finely diced shallots (from 1-1/2 very large shallots)
1 tablespoon minced garlic (4 large cloves)
1/4 teaspoon black pepper
1/4 cup dry white wine
2/3 cup heavy cream
2 ounces parmesan cheese, grated (I love Stella)
2 tablespoons finely chopped fresh parsley (I like the flat parsley, 2/3 ounce package will yield enough for this plus extra for garnish)
1/2 teaspoon salt
Minced fresh parsley
Cook pasta according to package directions, omitting salt and fat. Drain and set aside.
Melt the butter in a large nonstick skillet over medium heat. Add the mushrooms, onions, shallots, garlic and pepper. Cook for 12 minutes or until the liquid has evaporated and the mushrooms are tender, stirring occasionally. Add the wine and cook for 2 minutes until the liquid has evaporated, stirring occasionally. Remove from heat.
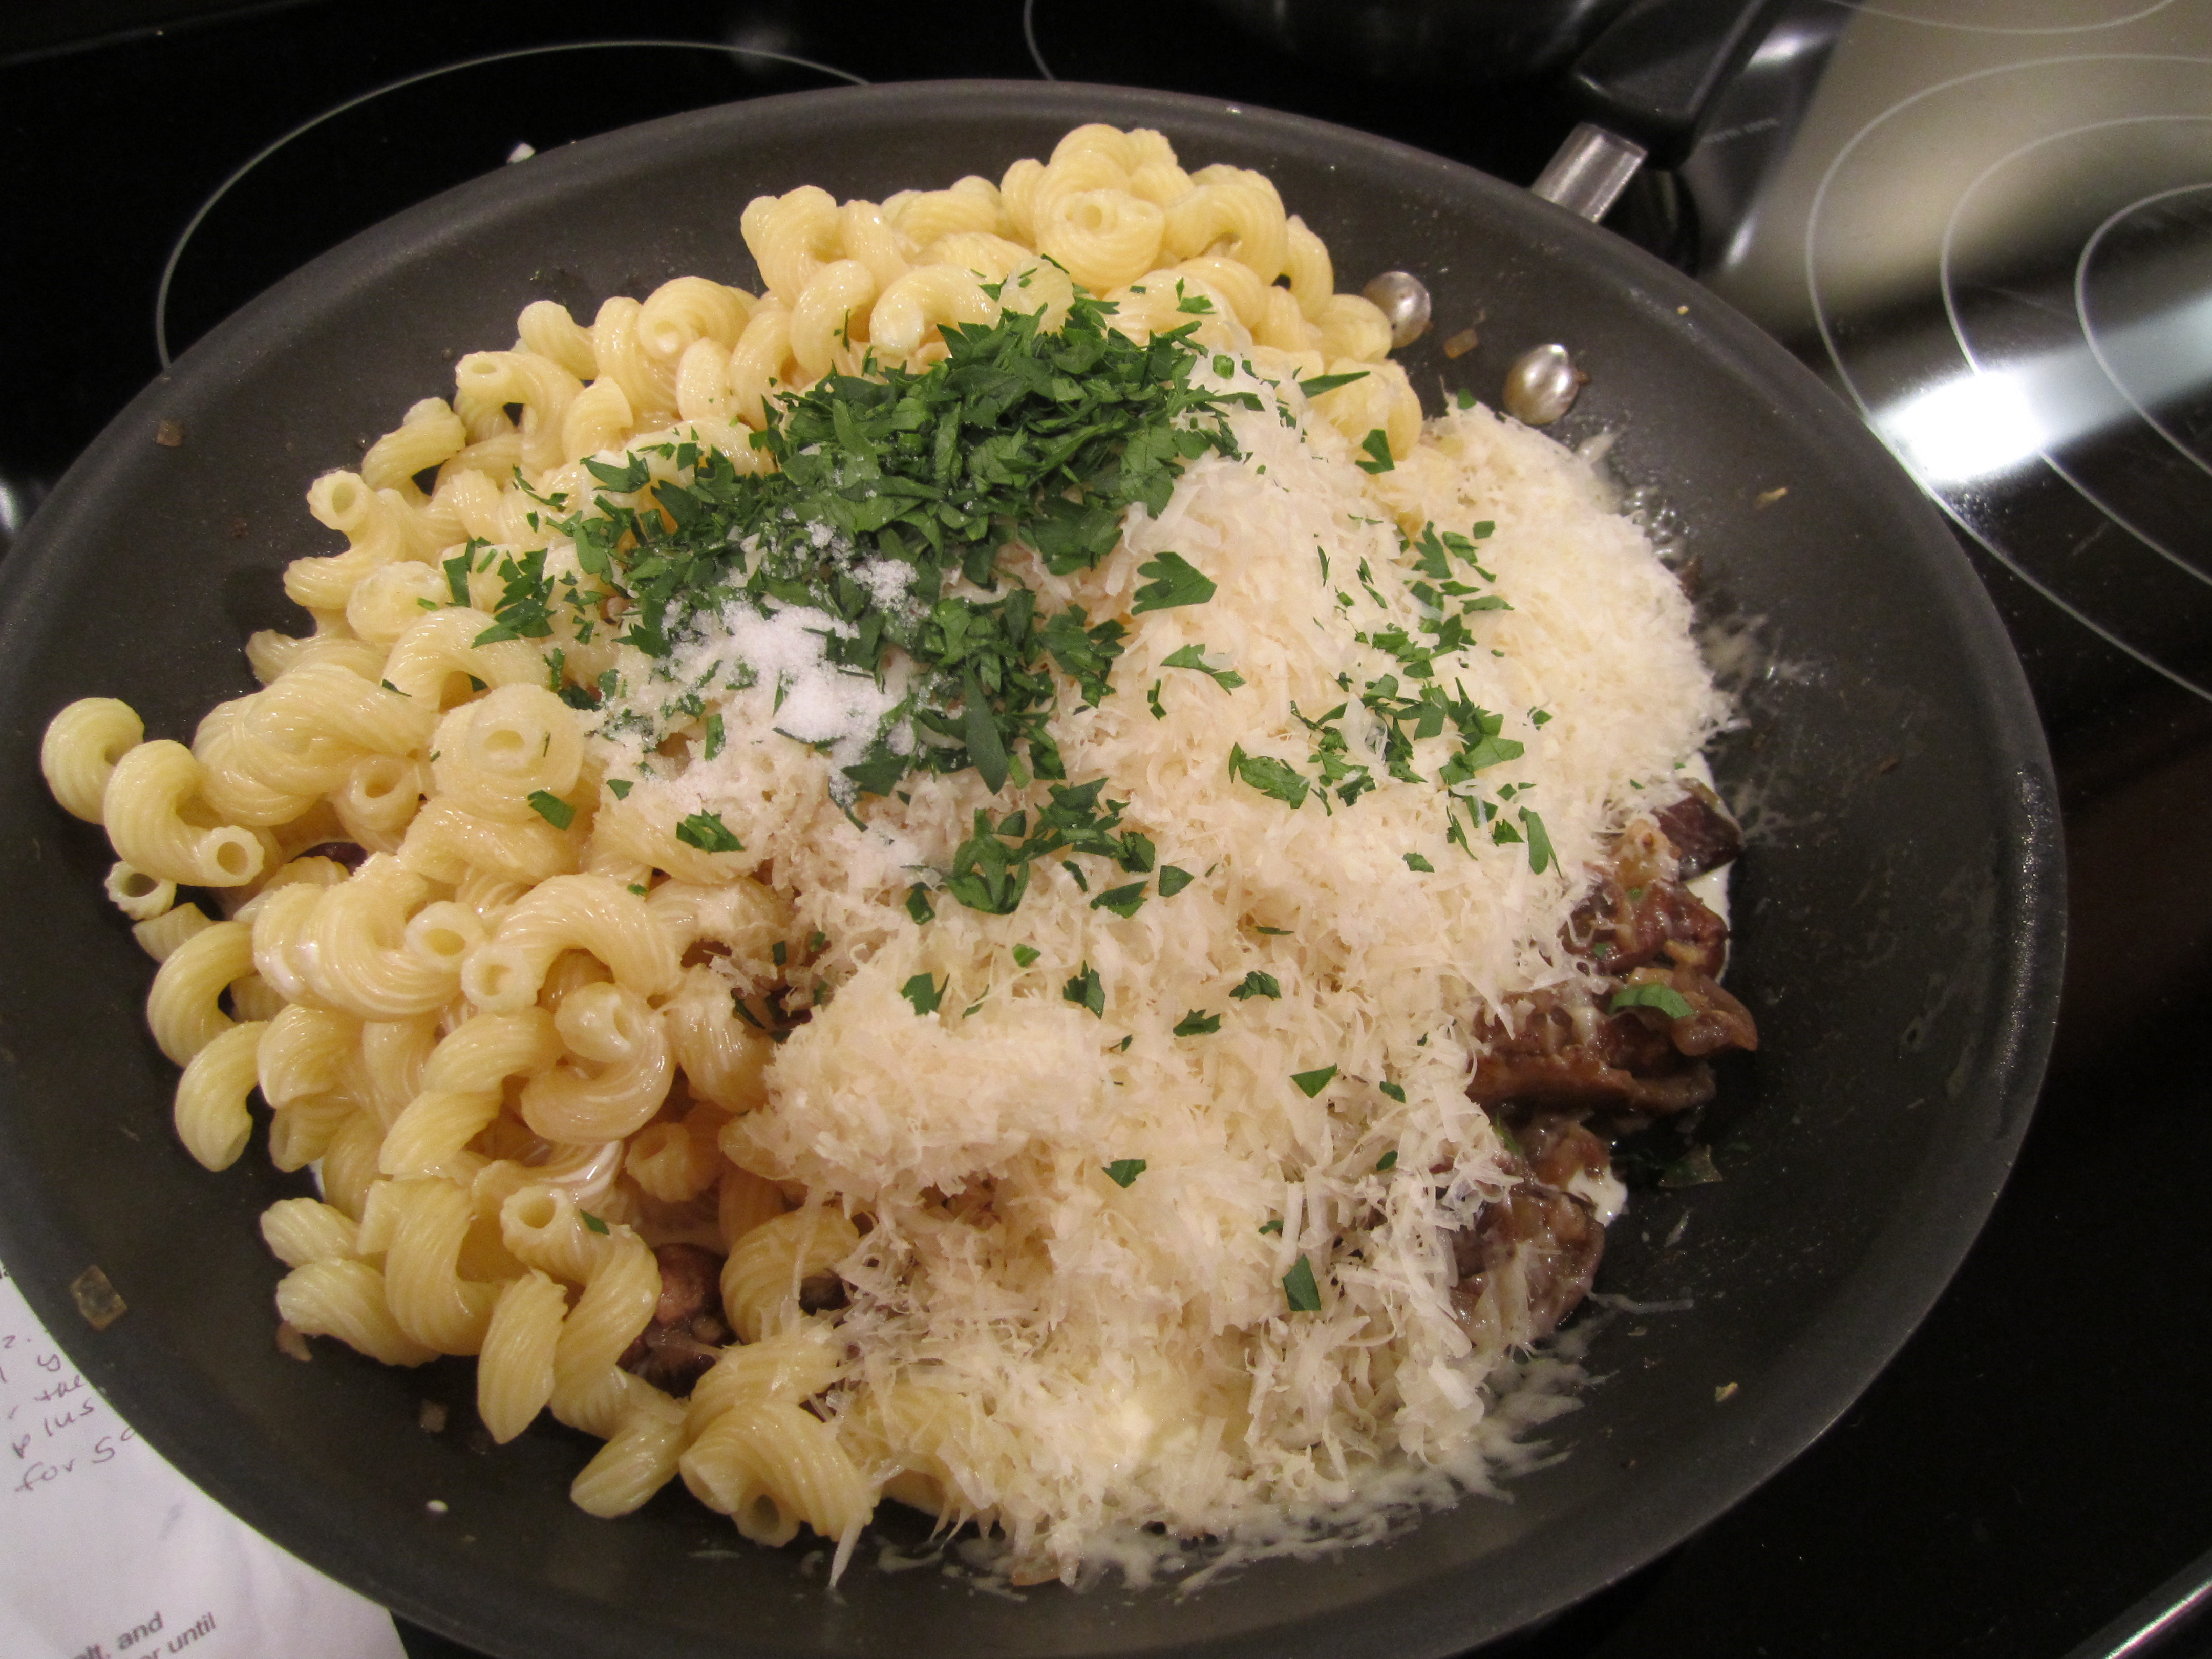
Add the pasta, heavy cream, parmesan cheese, 2 tablespoon of parsley and 1/2 teaspoon of salt. Toss together until the pasta is coated. Sprinkle with additional parsley and serve immediately.
the mushroom blend: you need two packages of these to get the 12 ounces:
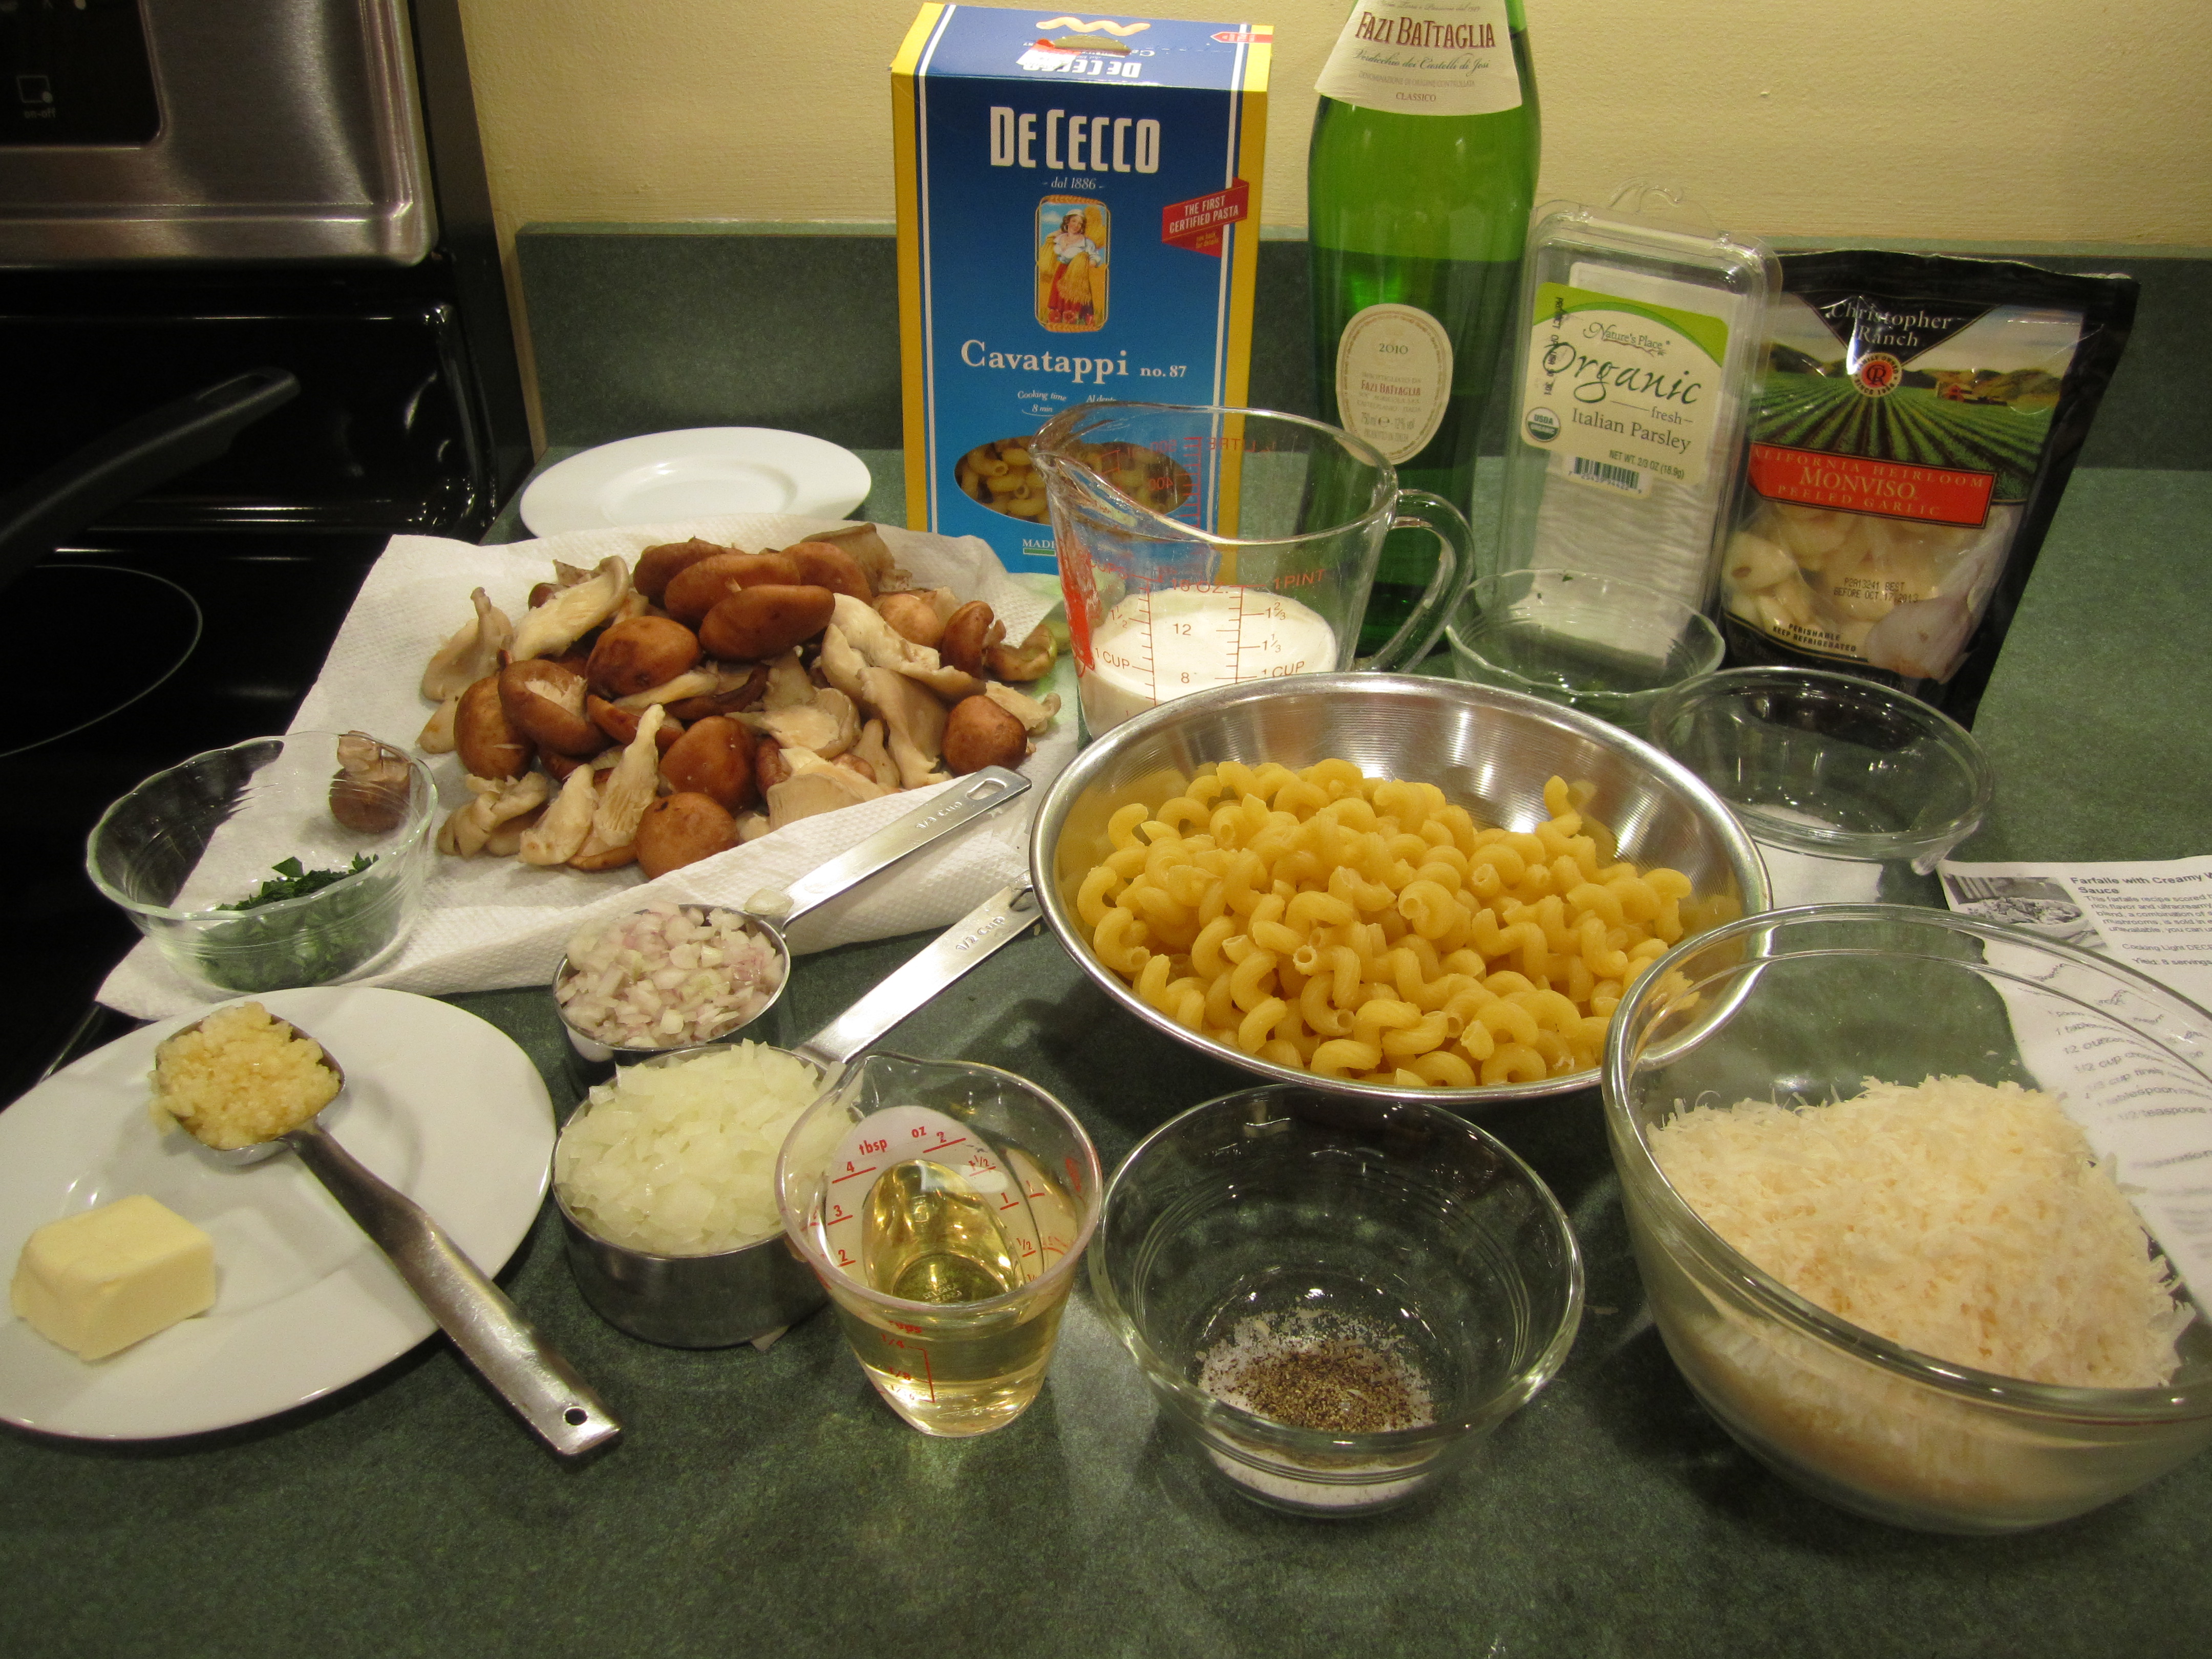
mise en place:
sauteing mushrooms, onions, shallots, garlic, pepper:

add wine:

add pasta, heavy cream, cheese, parsley:
toss:

and serve!
Boston Cream Pie (Cake)
From the website of Whats Cooking in America:
“Cooks in New England and Pennsylvania Dutch regions were known for their cakes and pies and the dividing line between them was very thin. This cake was probably called a pie because in the mid-nineteenth century, pie tins were more common than cake pans. The first versions might have been baked in pie tins. Boston Cream Pie is a remake of the early American”Pudding-cake pie.”
1856 – The Parker House Hotel (now the Omni Parker House Hotel), claims to have served Boston cream pies since their opening in 1856. French chef Sanzian, who was hired for the opening of the hotel, is credited with creating Boston cream pie. This cake was originally served at the hotel with the names Chocolate Cream Pie or Parker House Chocolate Cream Pie. This was the first hotel in Boston to have hot-and-cold running water, and the first to have an elevator.
1879 – In the cookbook, Housekeeping in Old Virginia by Marion Cabell Tyree” …..published the first recipe for Boston Cream Cakes.
“1996 – The Boston Cream Pie was proclaimed the official Massachusetts State Dessert on December 12, 1996. “
When I was very young, my Mom was renowned for her Boston Cream Pies. She brought them to Church functions, to my father’s customers and made them for us at home.
I made one this past year, for the first time, using a yellow cake recipe. It was very good but not quite like my Mom’s.
Finally I realized my Mom had made a sponge cake and I was ready to try this dessert again.
The sponge cake is my Mom’s recipe. I believe she used this particular recipe for one of the layers of the Wedding Cakes that she used to make (amazing in itself). The vanilla pastry cream is from Cuisine at Home magazine, with added whipped cream. Most vanilla pastry cream recipes call for only egg yolks. I liked this recipe not only because it’s delicious but you don’t have to deal with egg whites and what to do with them. And finally the ganache or chocolate glaze is from Martha Stewart Living magazine, proportionality reduced for this particular cake size.
It may seem like an overwhelming recipe but each part is not too difficult to make. To spread the process over 2 days, the cake and vanilla pastry cream can be made the day before serving and the cake the day of. And each part is a recipe in itself to be used for other desserts: plain Sponge Cake served with fresh berries and whipped cream, Vanilla Pastry Cream for Cream Puffs, Chocolate Ganache over ice cream. The list goes on. Remember to have fun and be prepared to wow your family and friends!
Sponge Cake
6 eggs
1-1/2 cups sugar
1-1/3 cups sifted cake flour (sift flour then measure)
1 teaspoon baking powder
1 teaspoon salt
1 teaspoon cream of tartar
1 teaspoon vanilla
1/4 cup water
Preheat oven to 325 degrees.
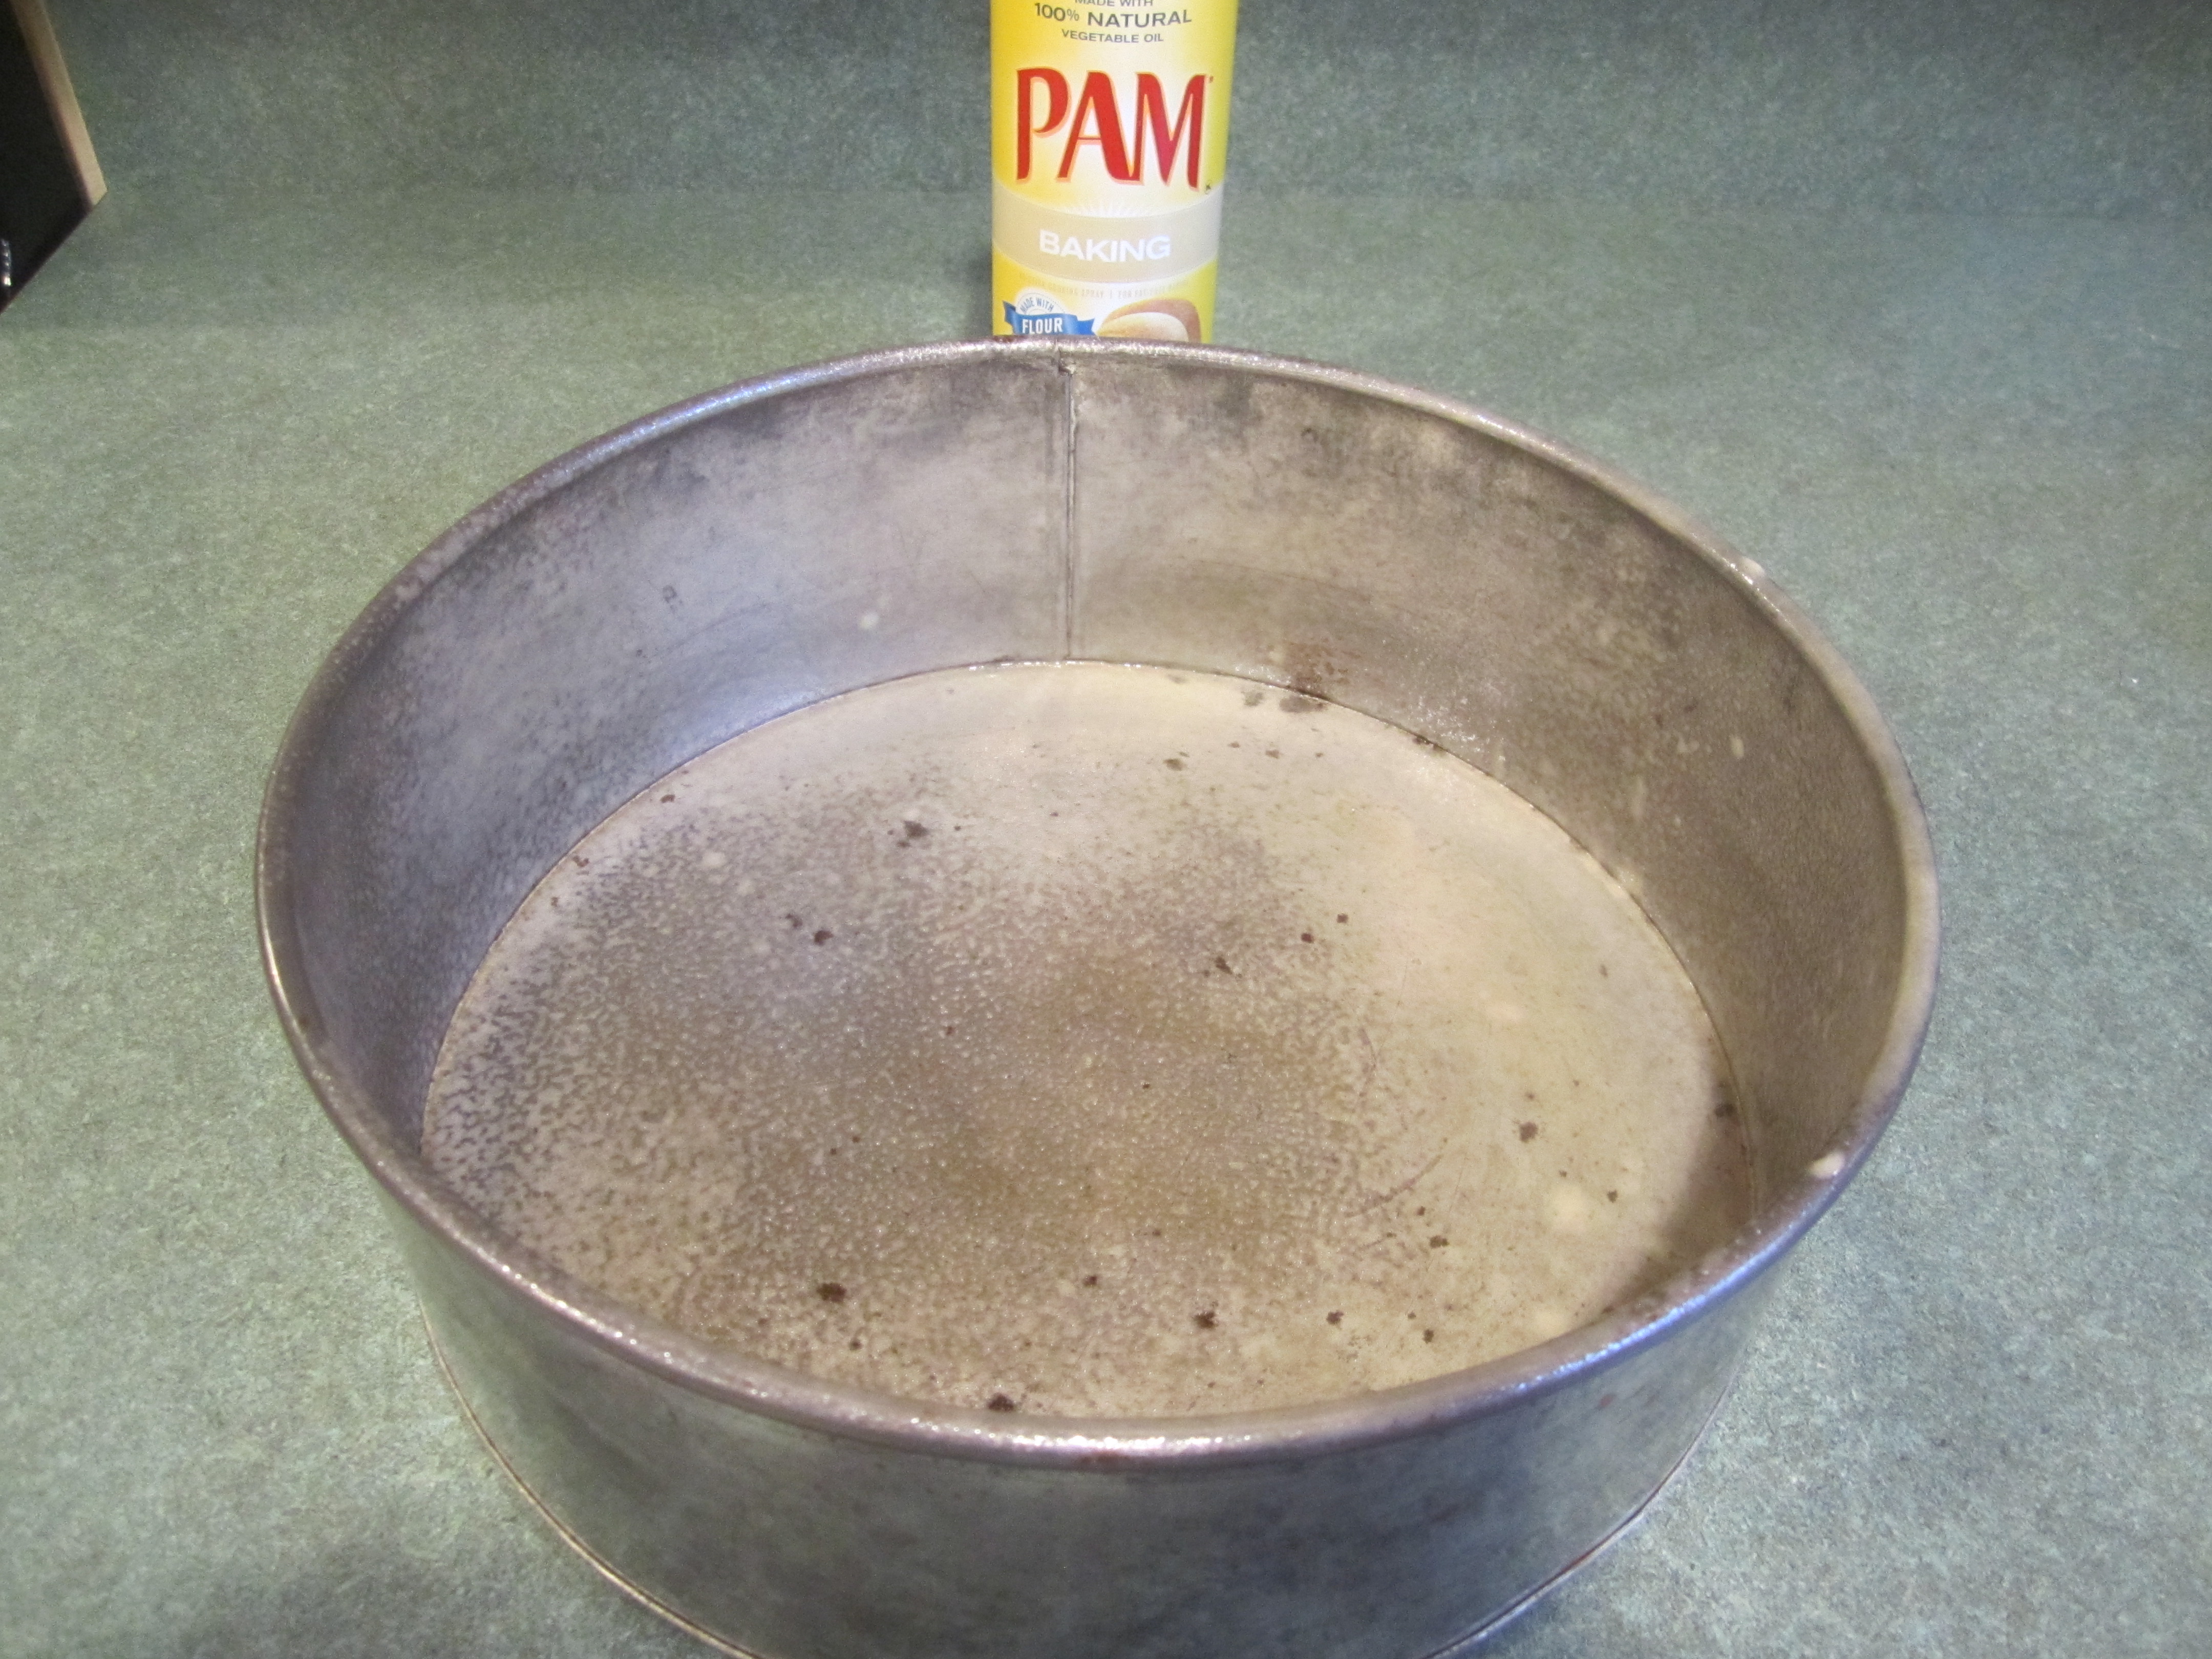
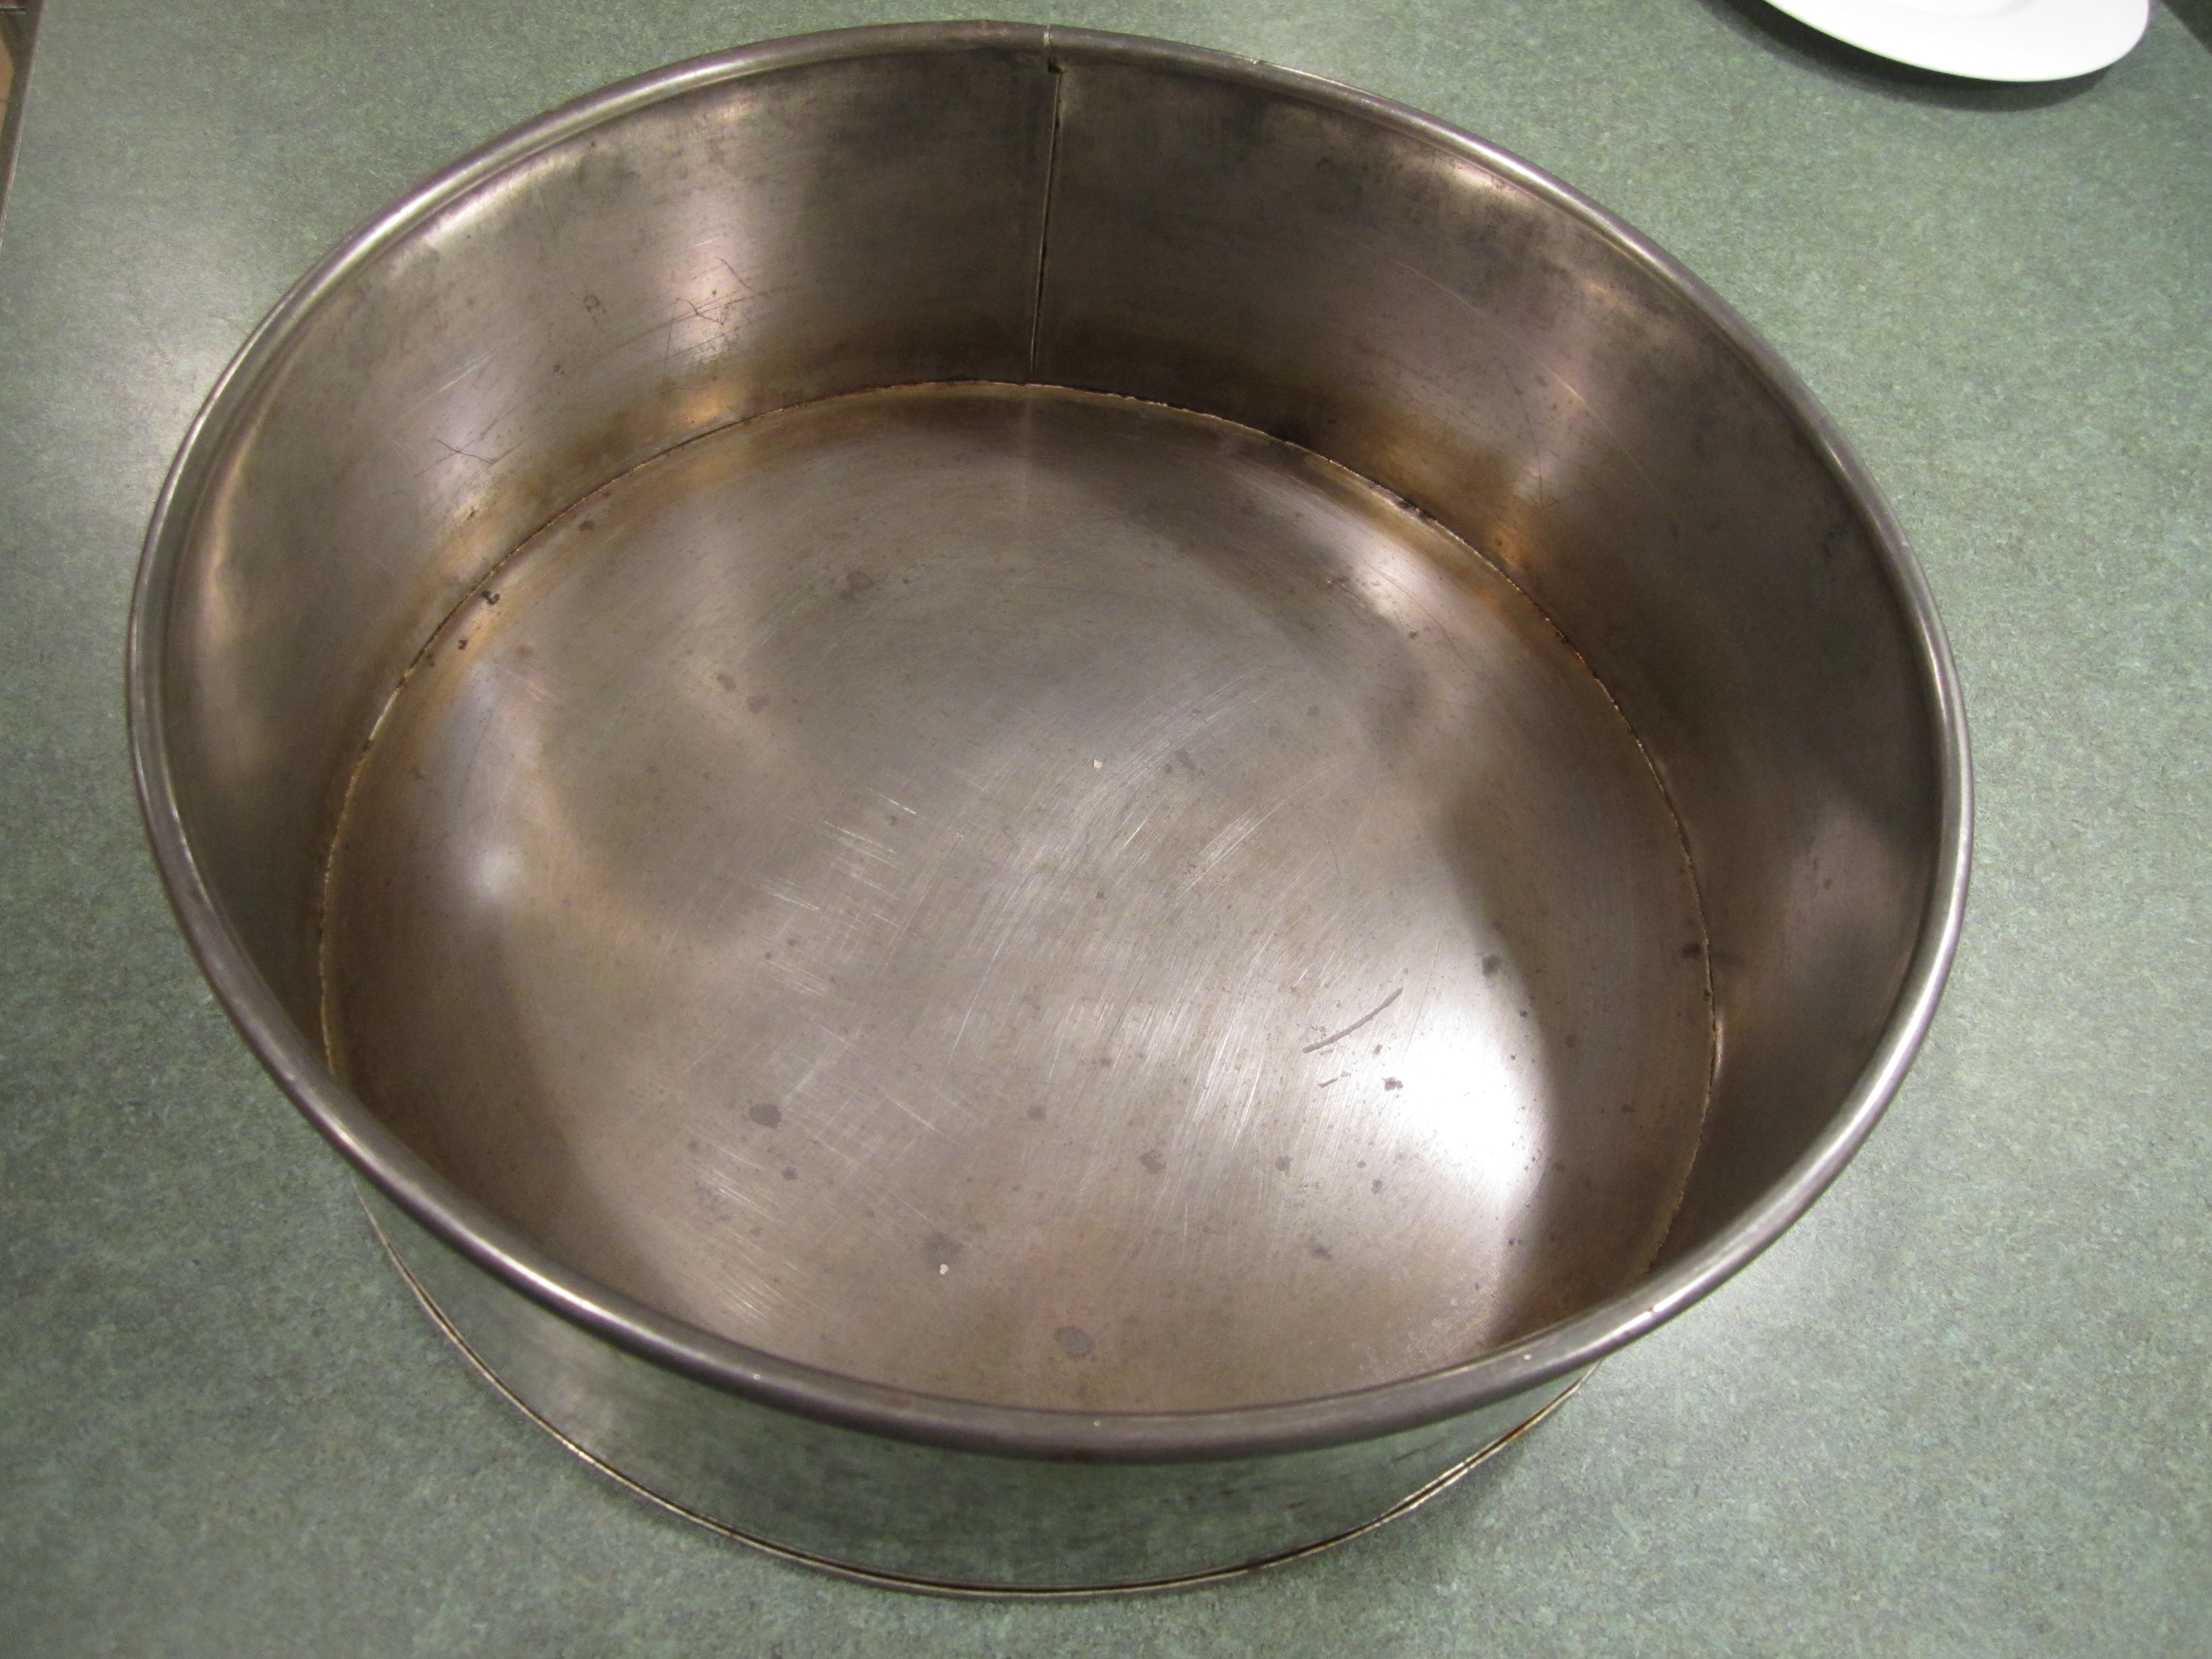
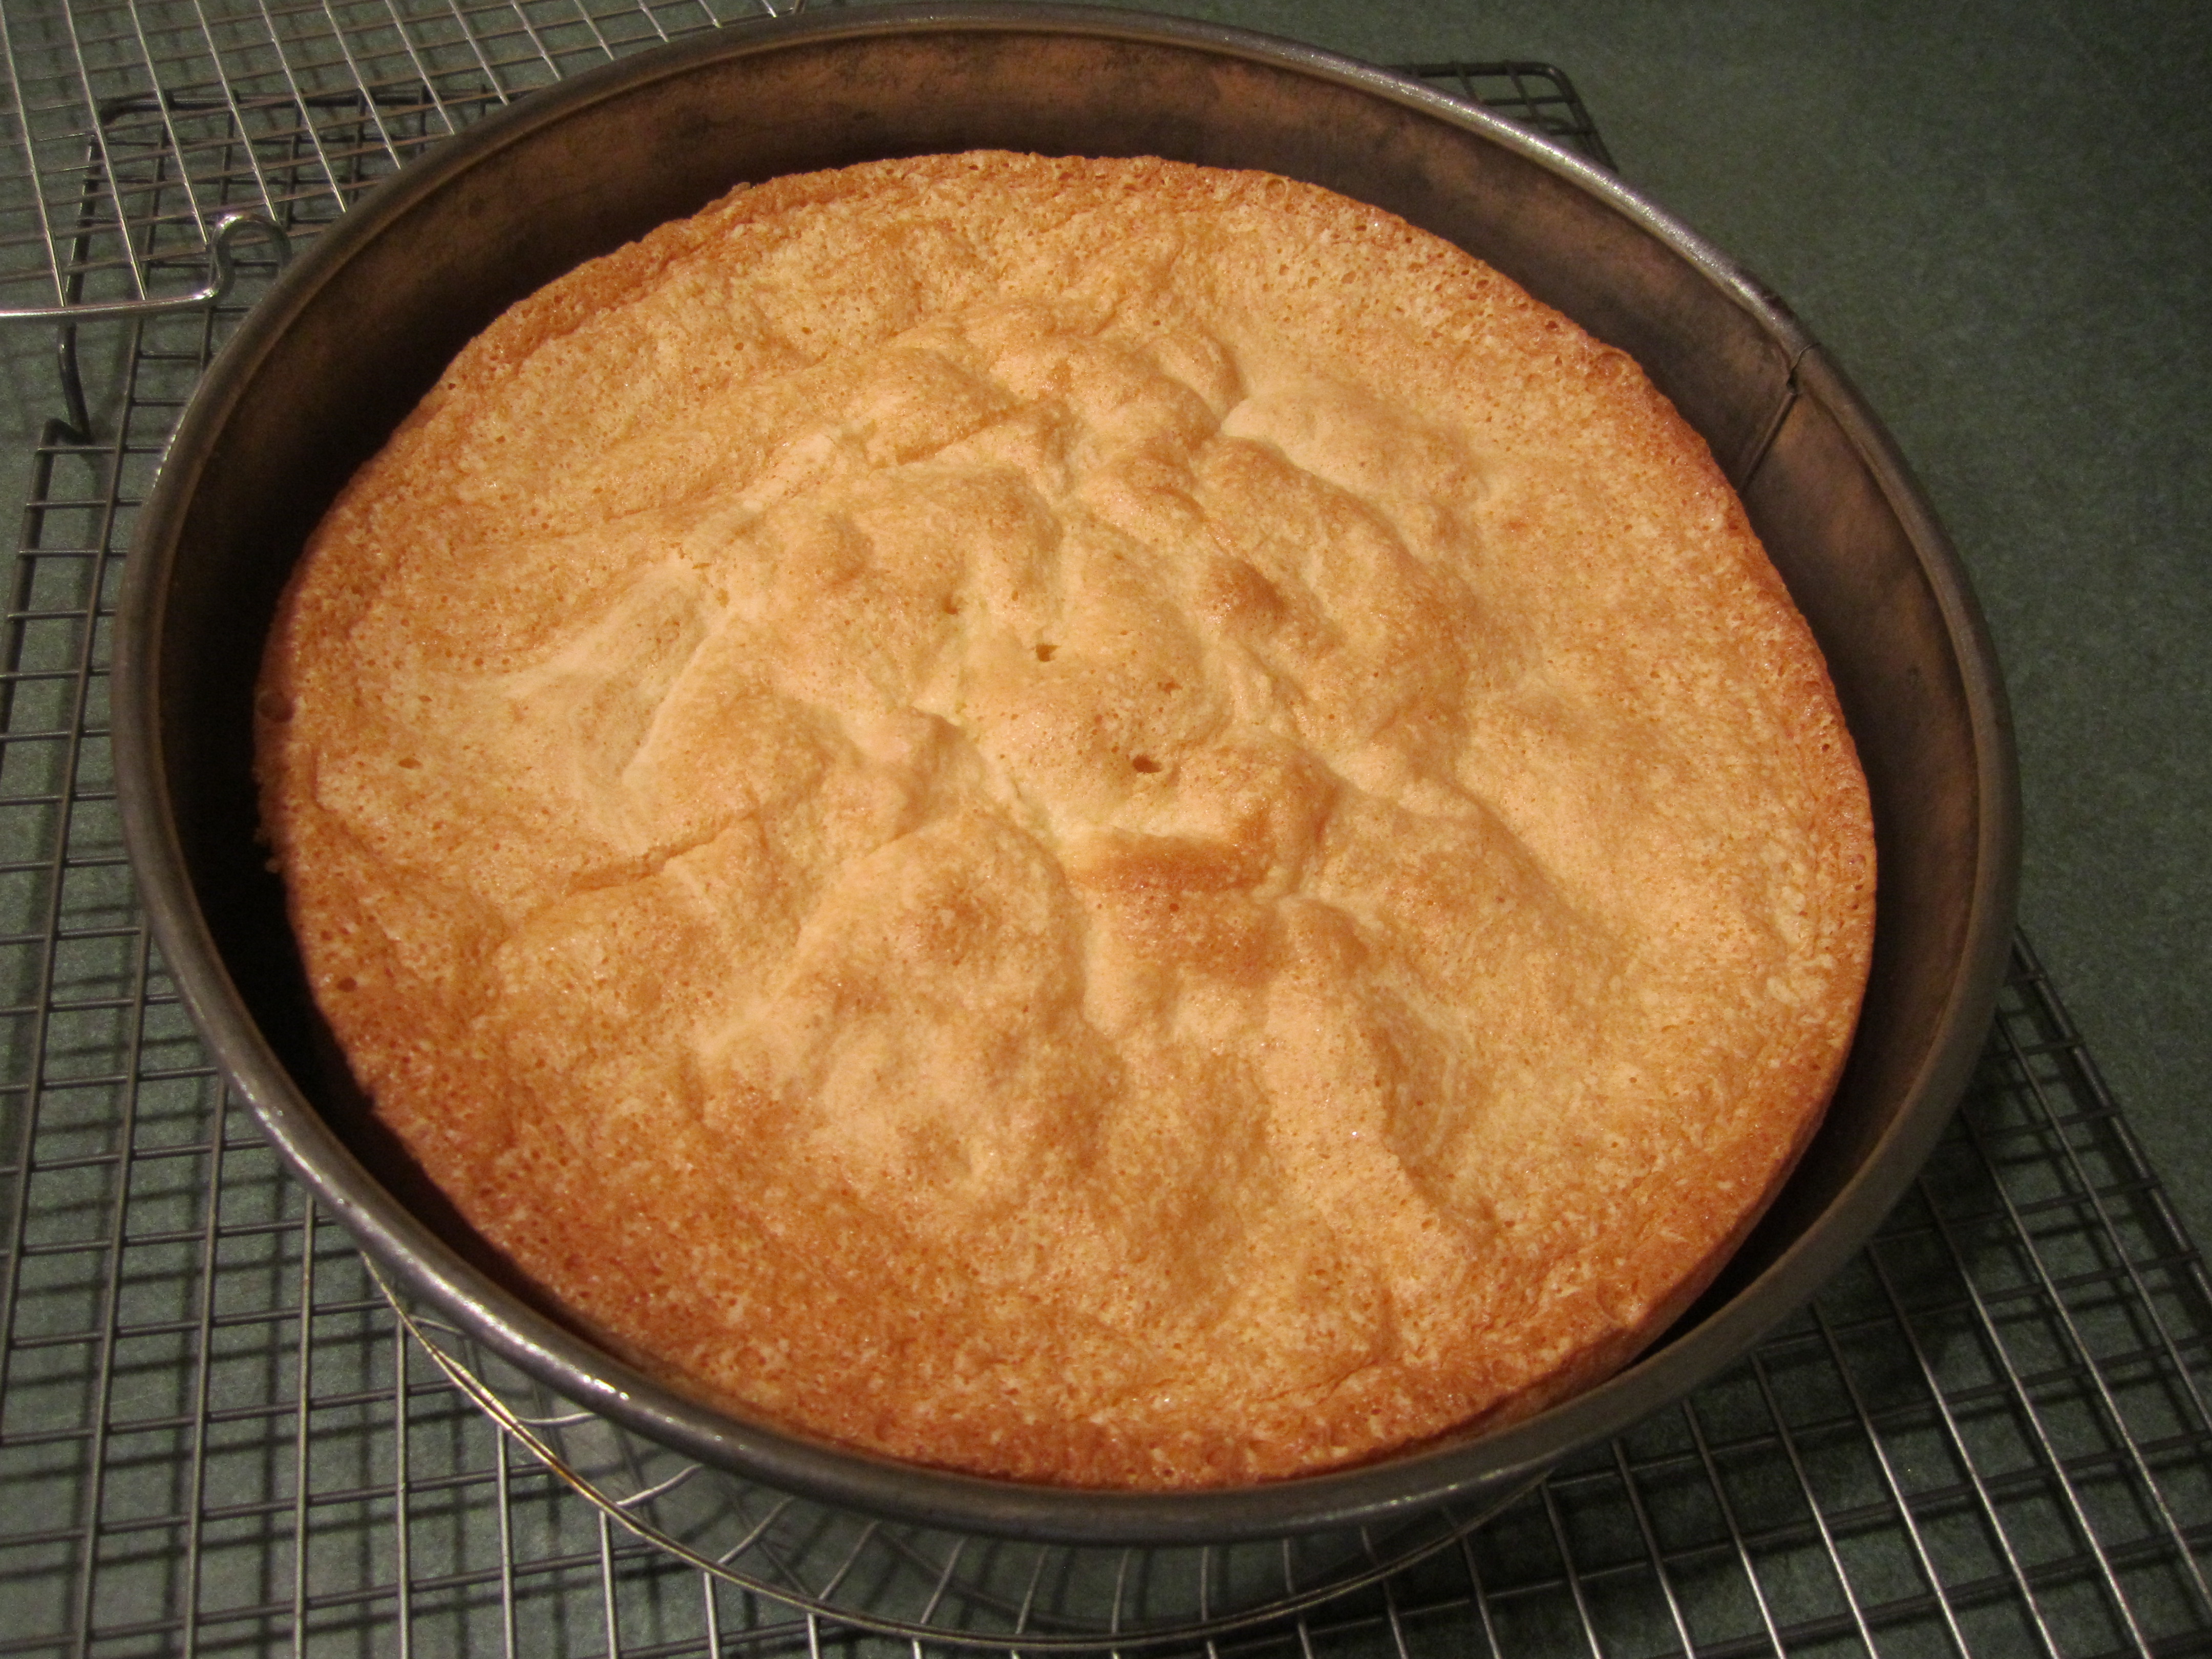
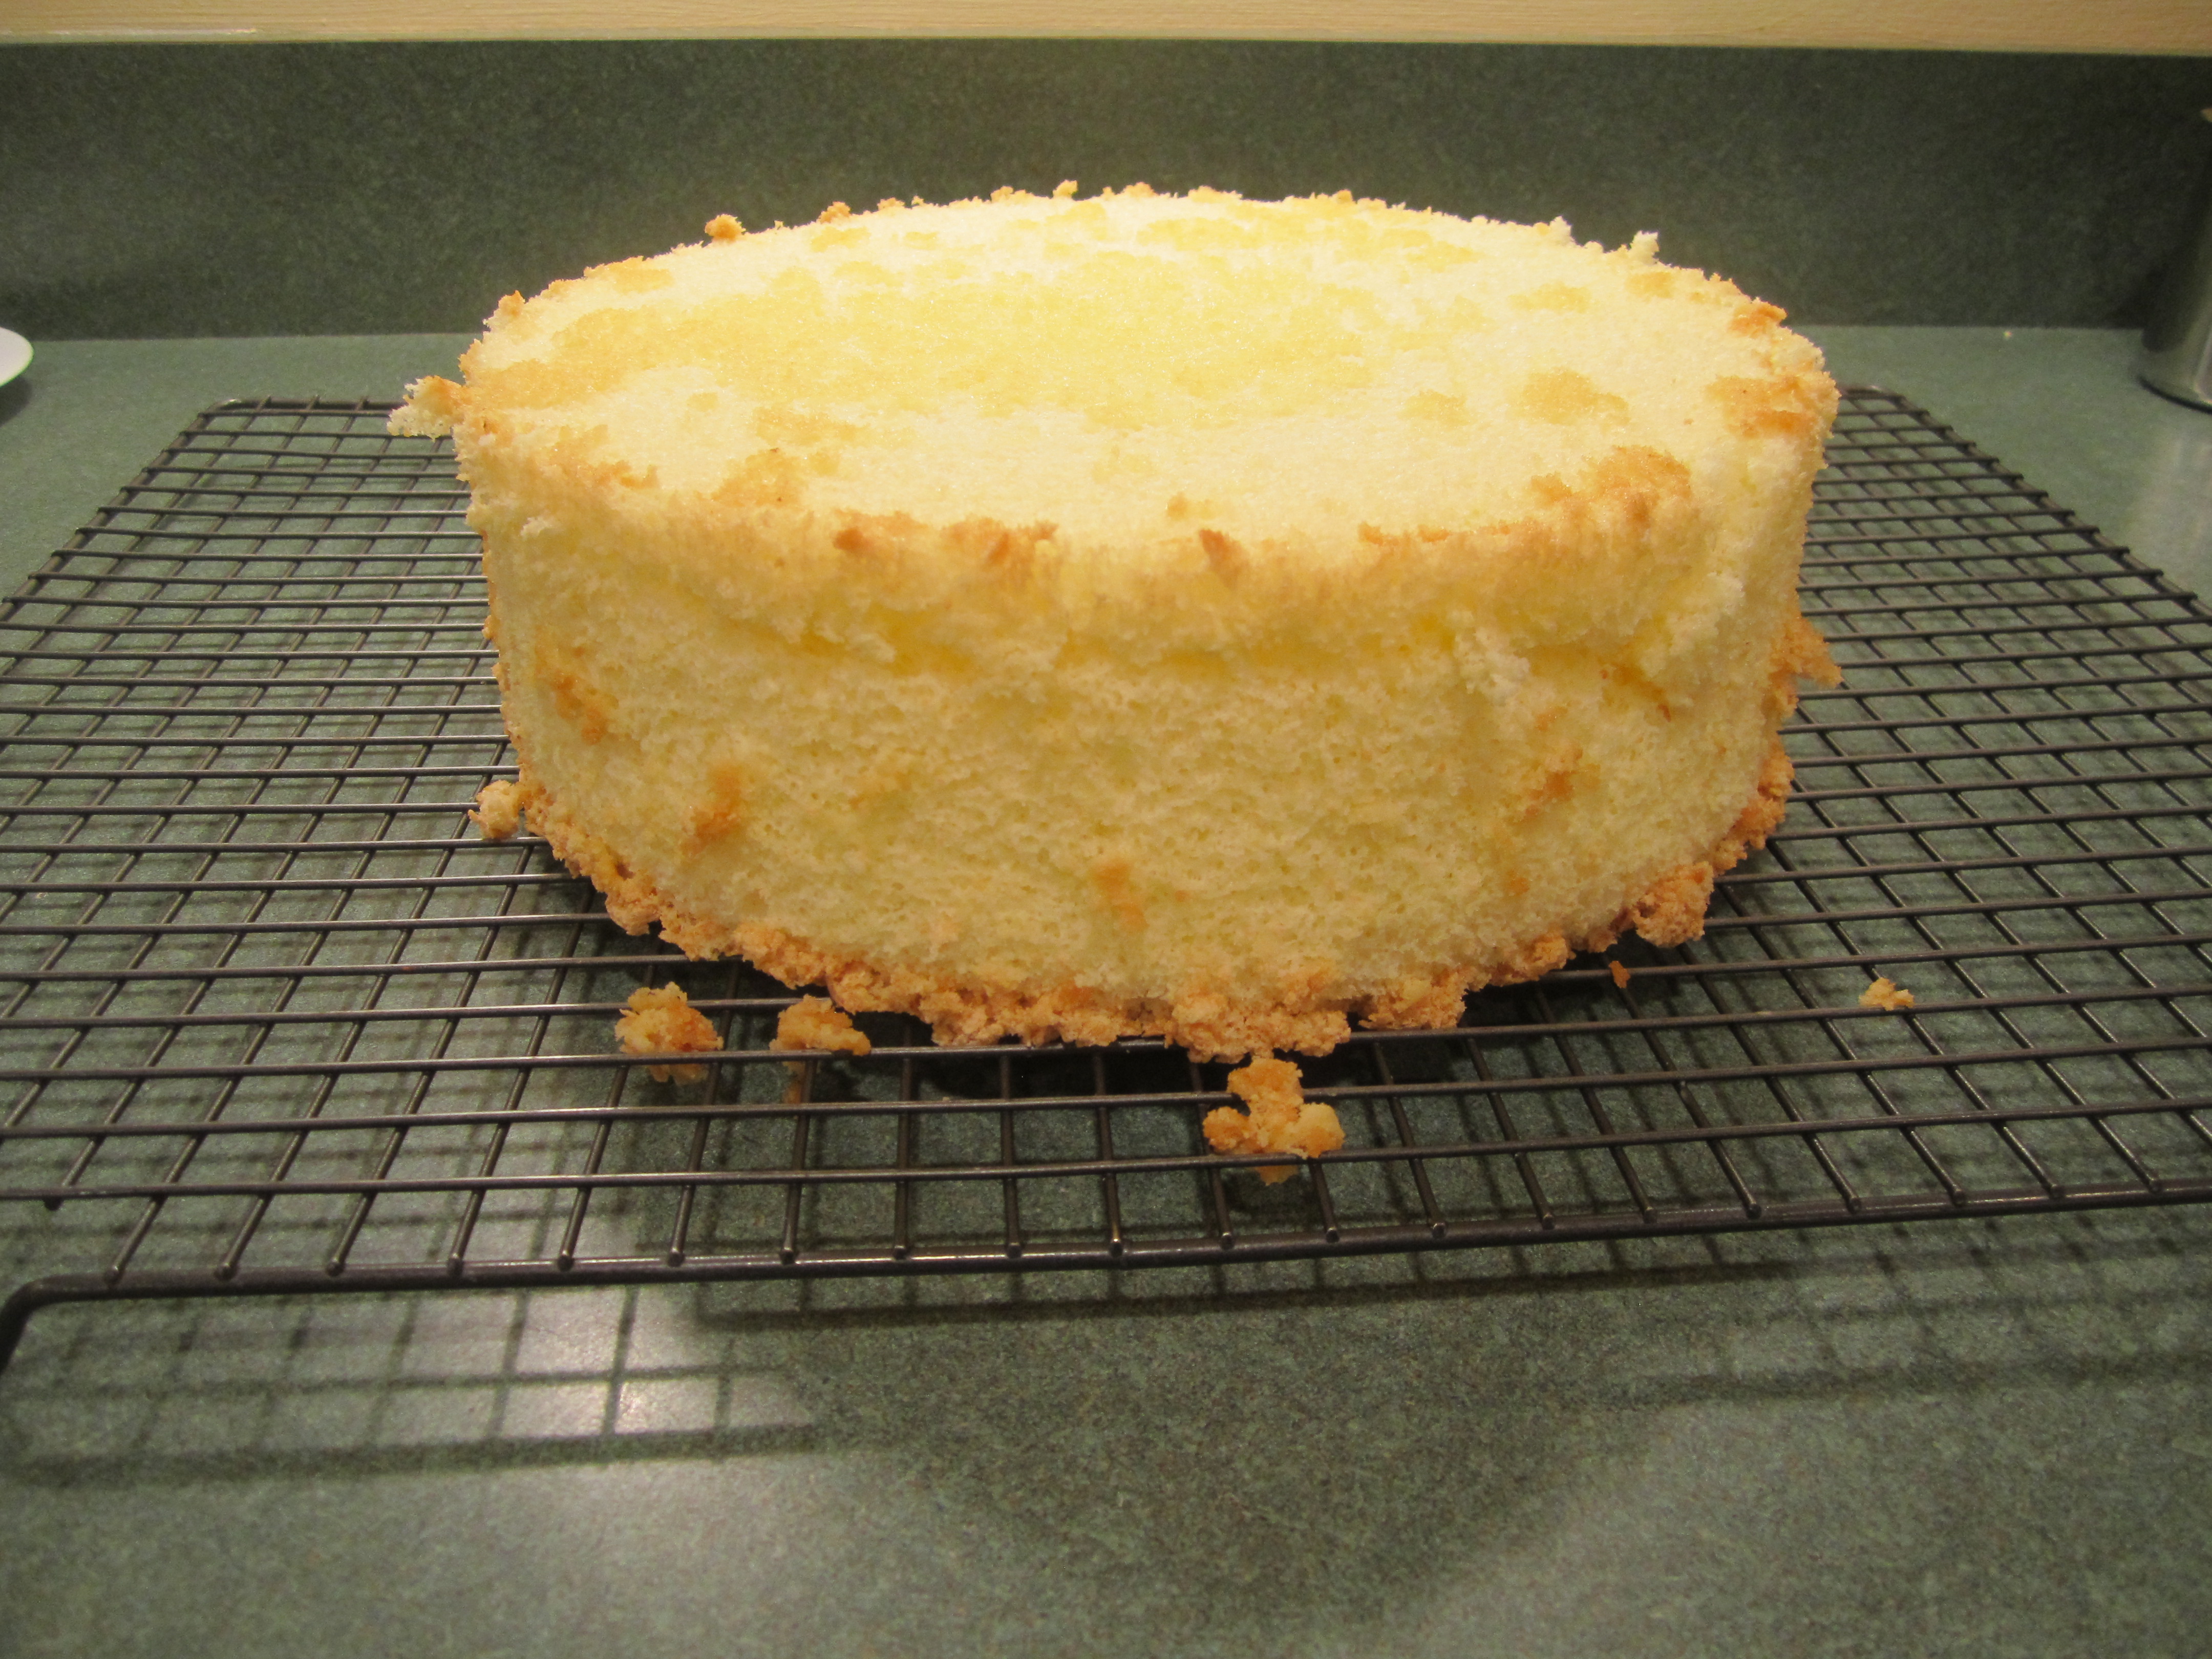
Have a 10 inch by 3 inch deep pan ready and prepare one of two ways: Grease the cake pan with Pam baking spray or leave the pan free of anything. If you grease the pan, the cake will sink a little and it won’t be as tall, though you will be assured it will come out of the pan. If you do nothing to the pan, you will have to cool it by hanging the pan upside down (pictures below to explain) and the cake will be taller. Either way the cake will be delicious.
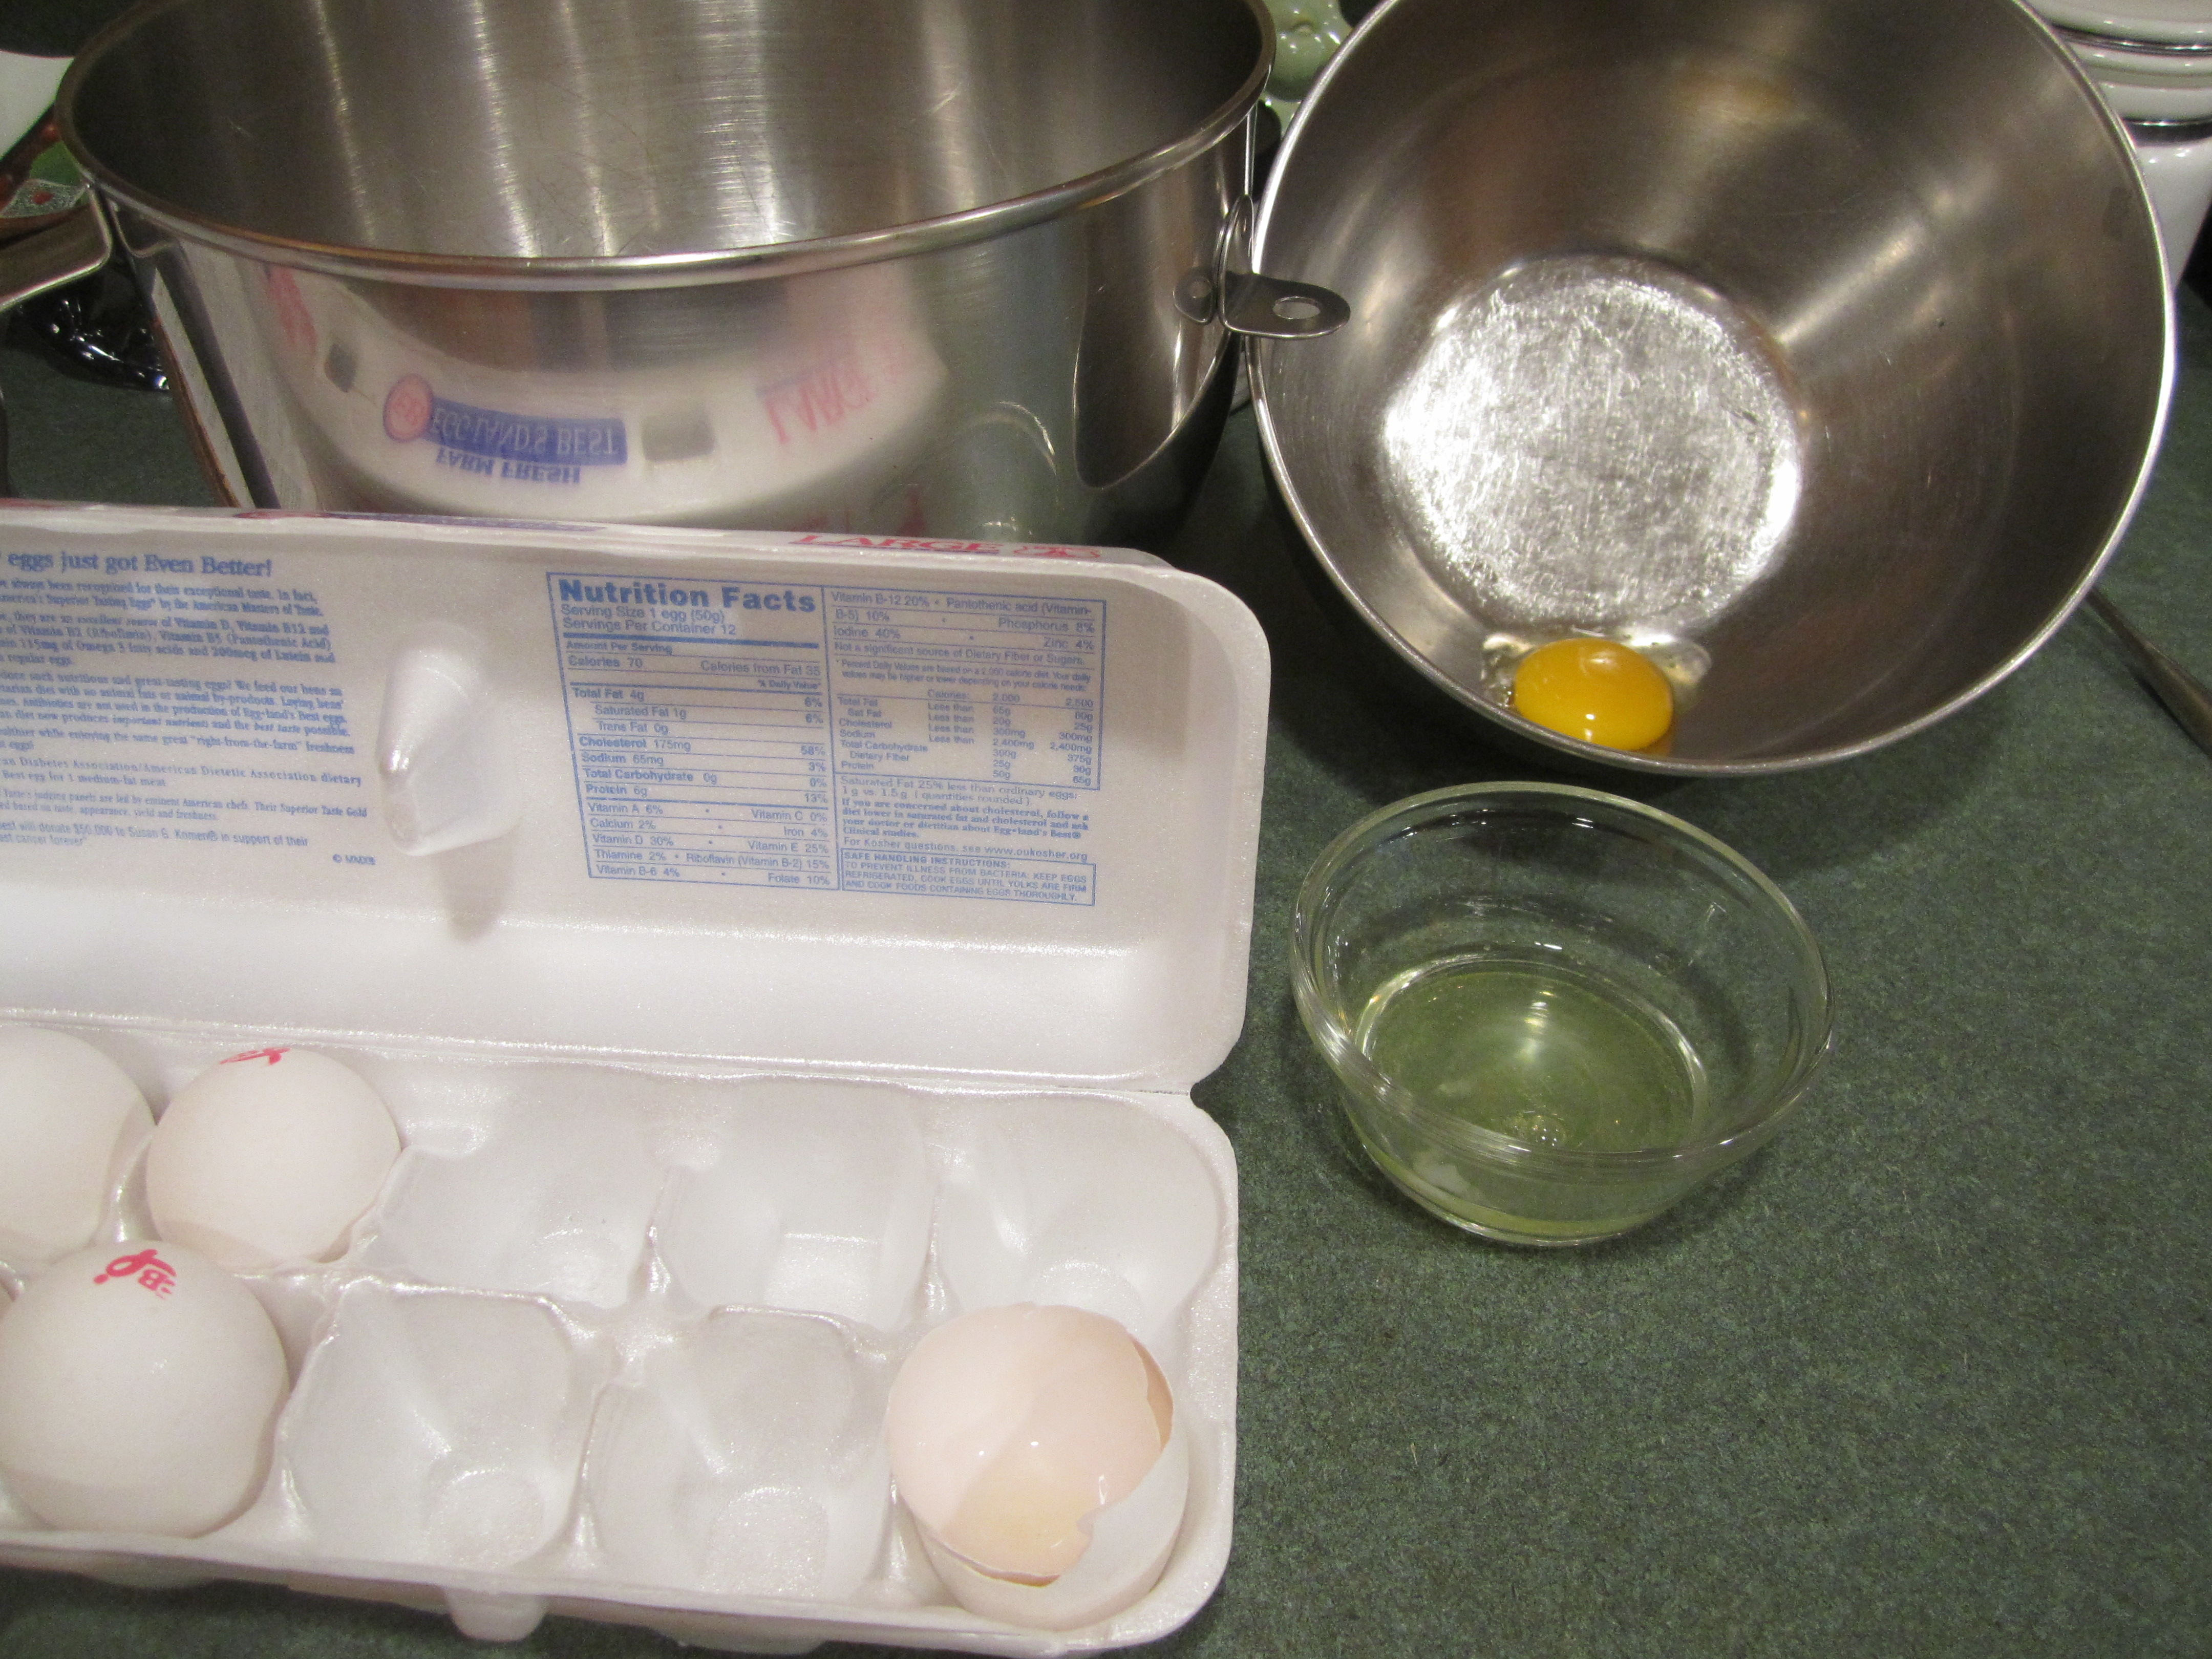
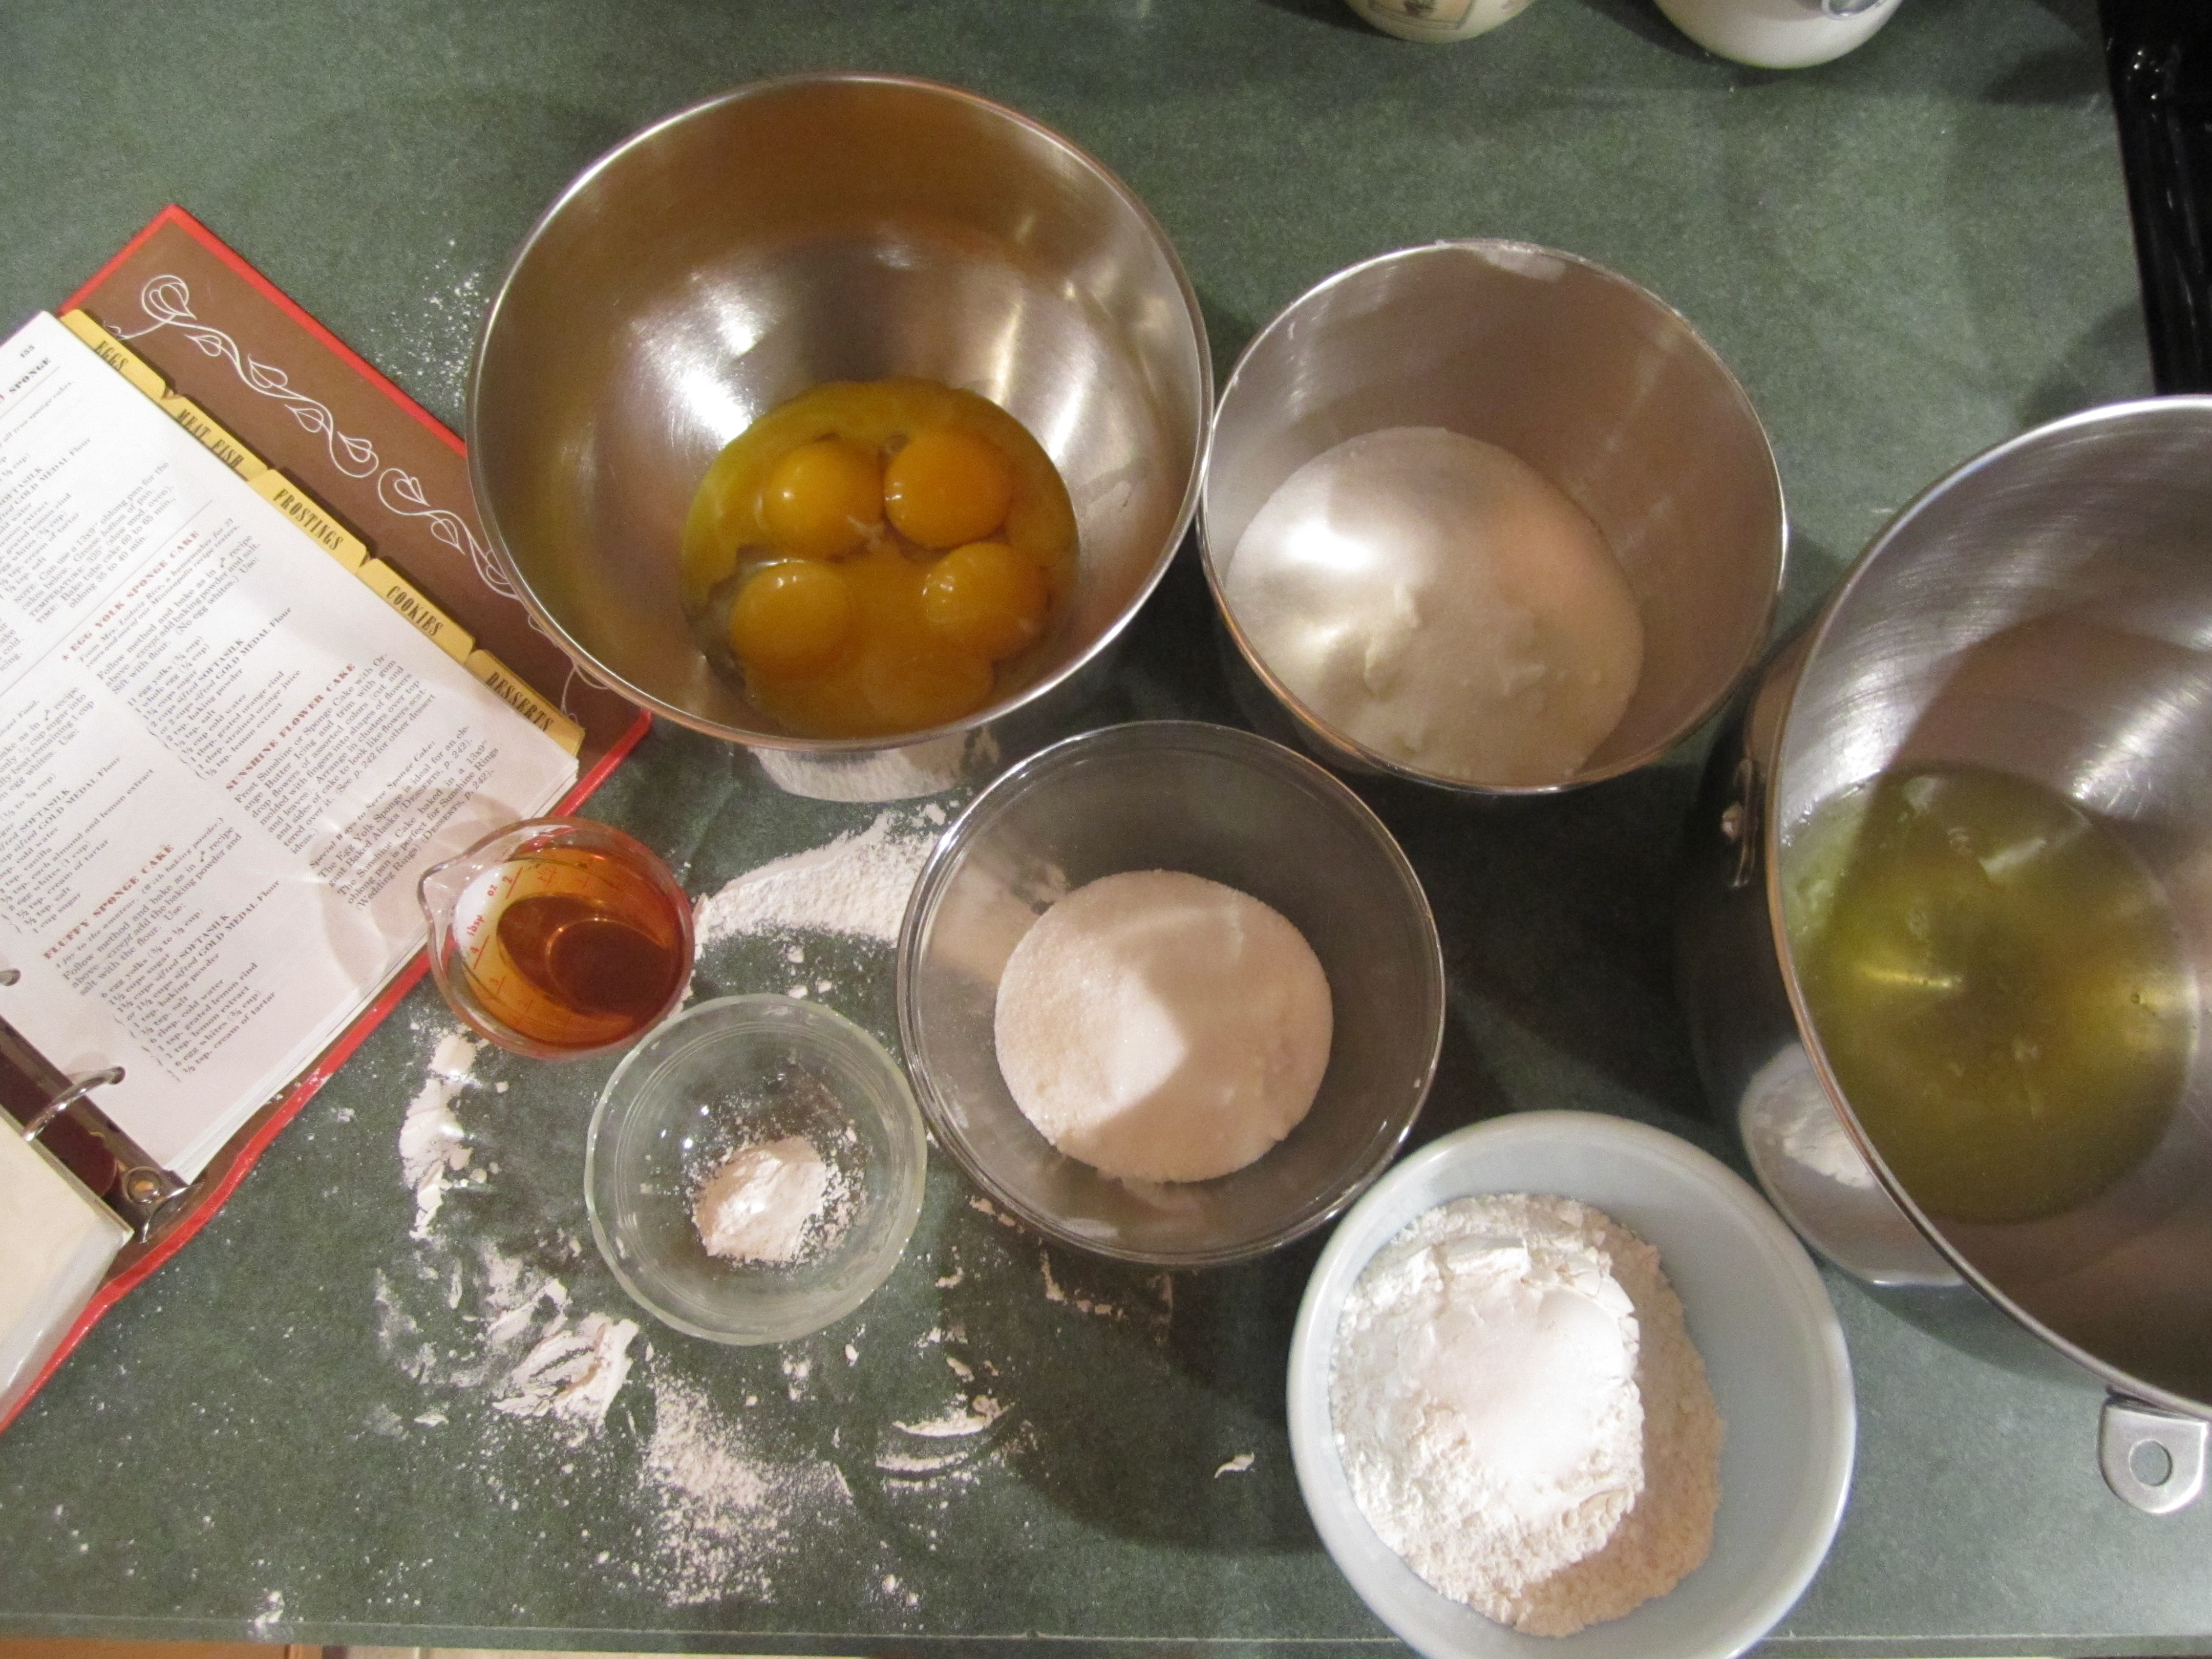
Separate the eggs, putting the egg whites in the bowl of your mixer and the yolks in a medium size bowl. Separate one egg at a time so that you will not get any yolk into the egg whites.
Measure out the sugar and set aside. Sift the cake flour and then measure into a medium bowl. Add baking powder and salt and whisk to combine. Measure out the cream of tartar and set aside. Combine the water and vanilla.
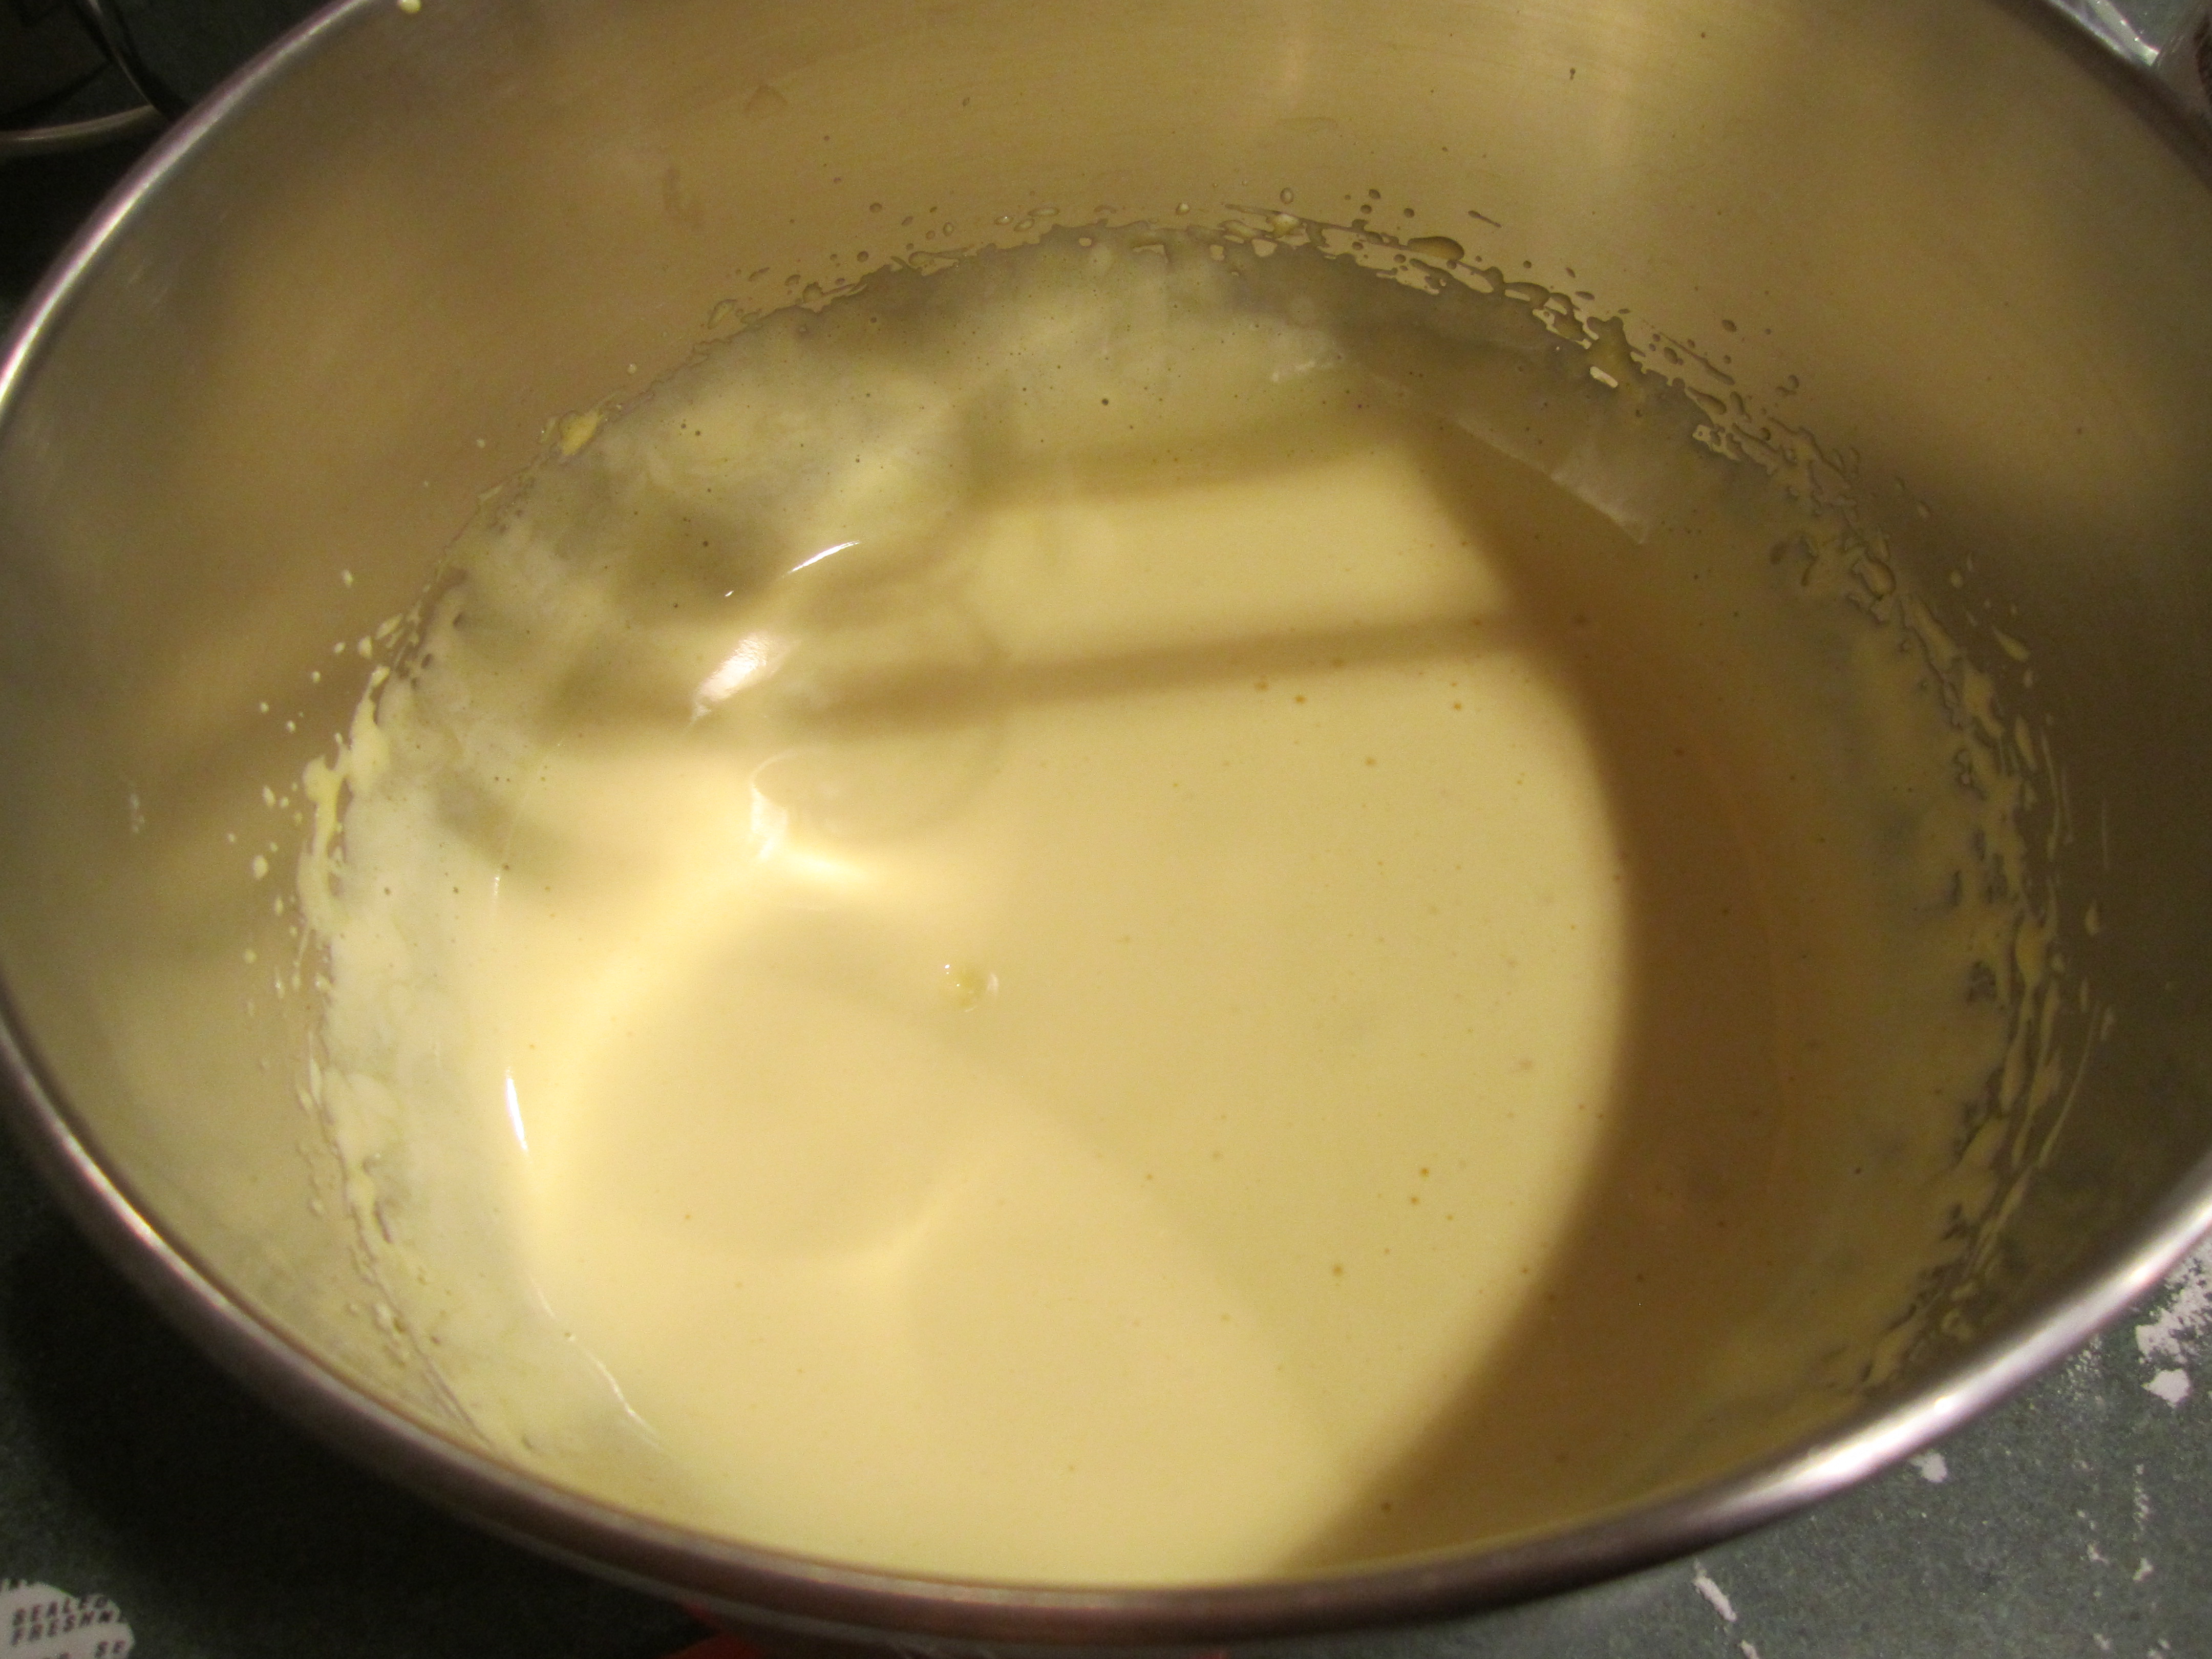
Beat the egg yolks for 5 minutes until very thick. Gradually add the sugar until combined. Add the flour mixture alternately with the water mixture, starting with the flour mixture and ending with the water mixture.
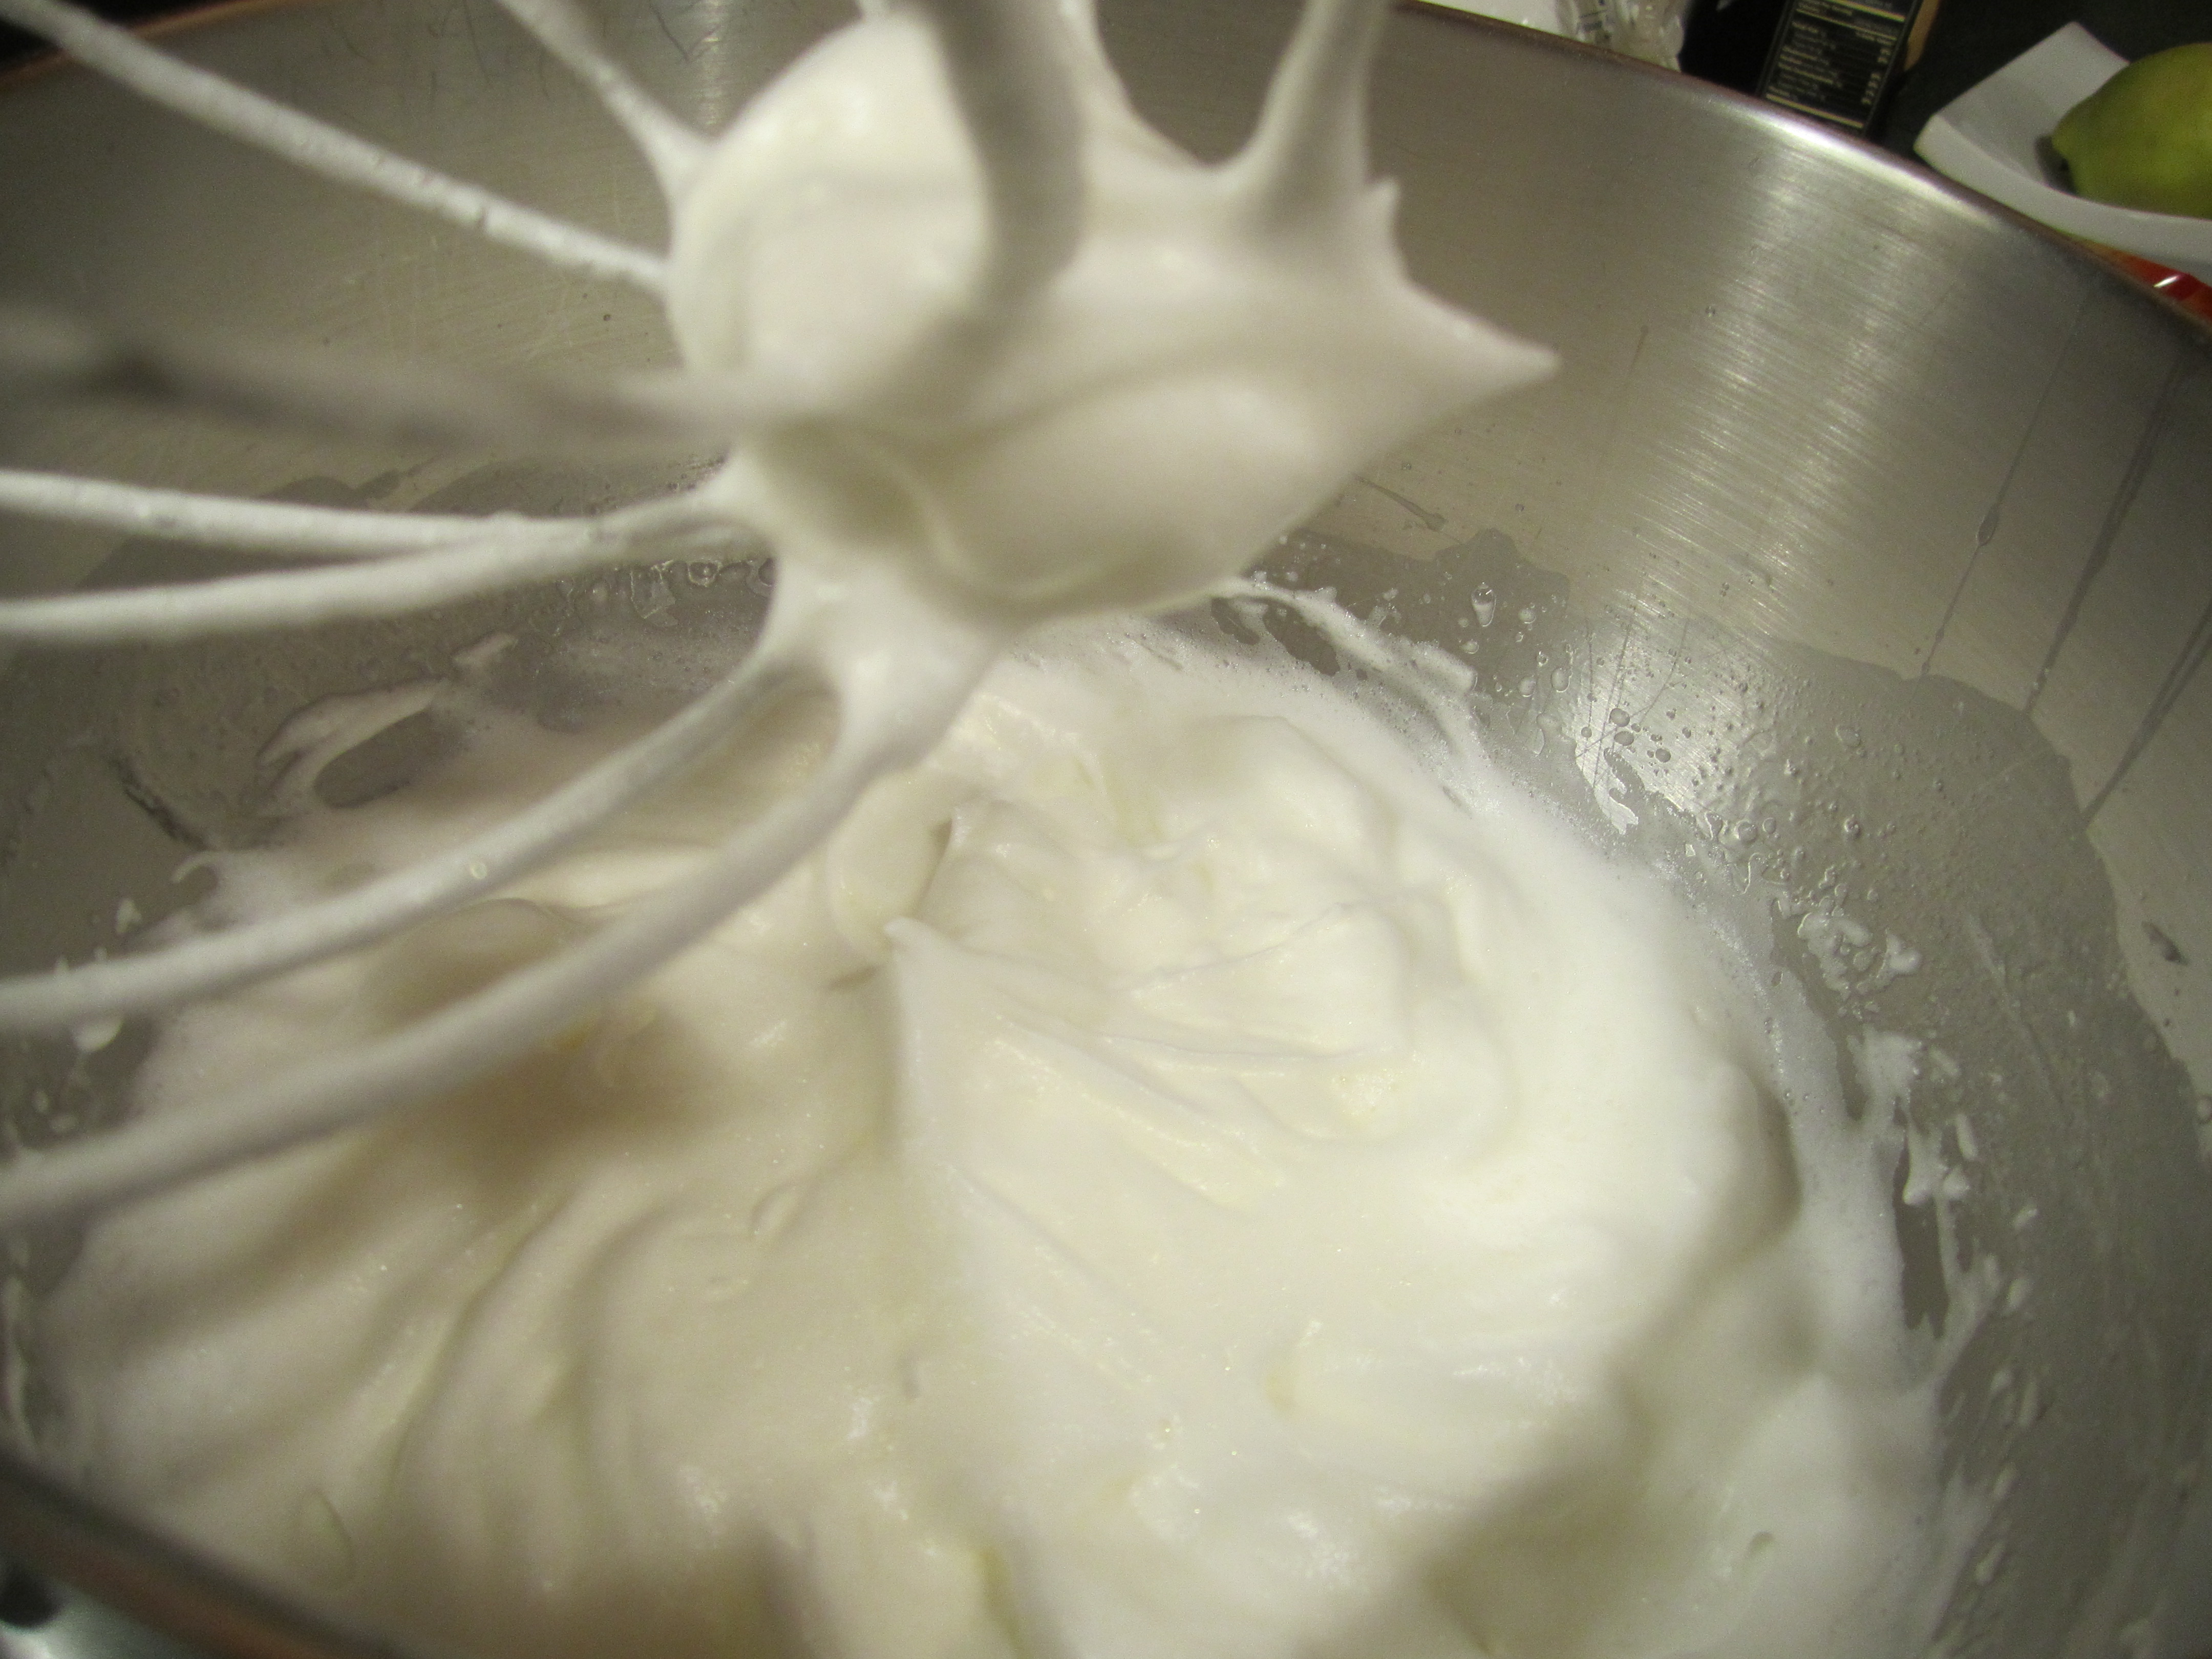
Beat the egg whites with the cream of tartar in bowl of your mixer with the whisk attachment, until stiff.
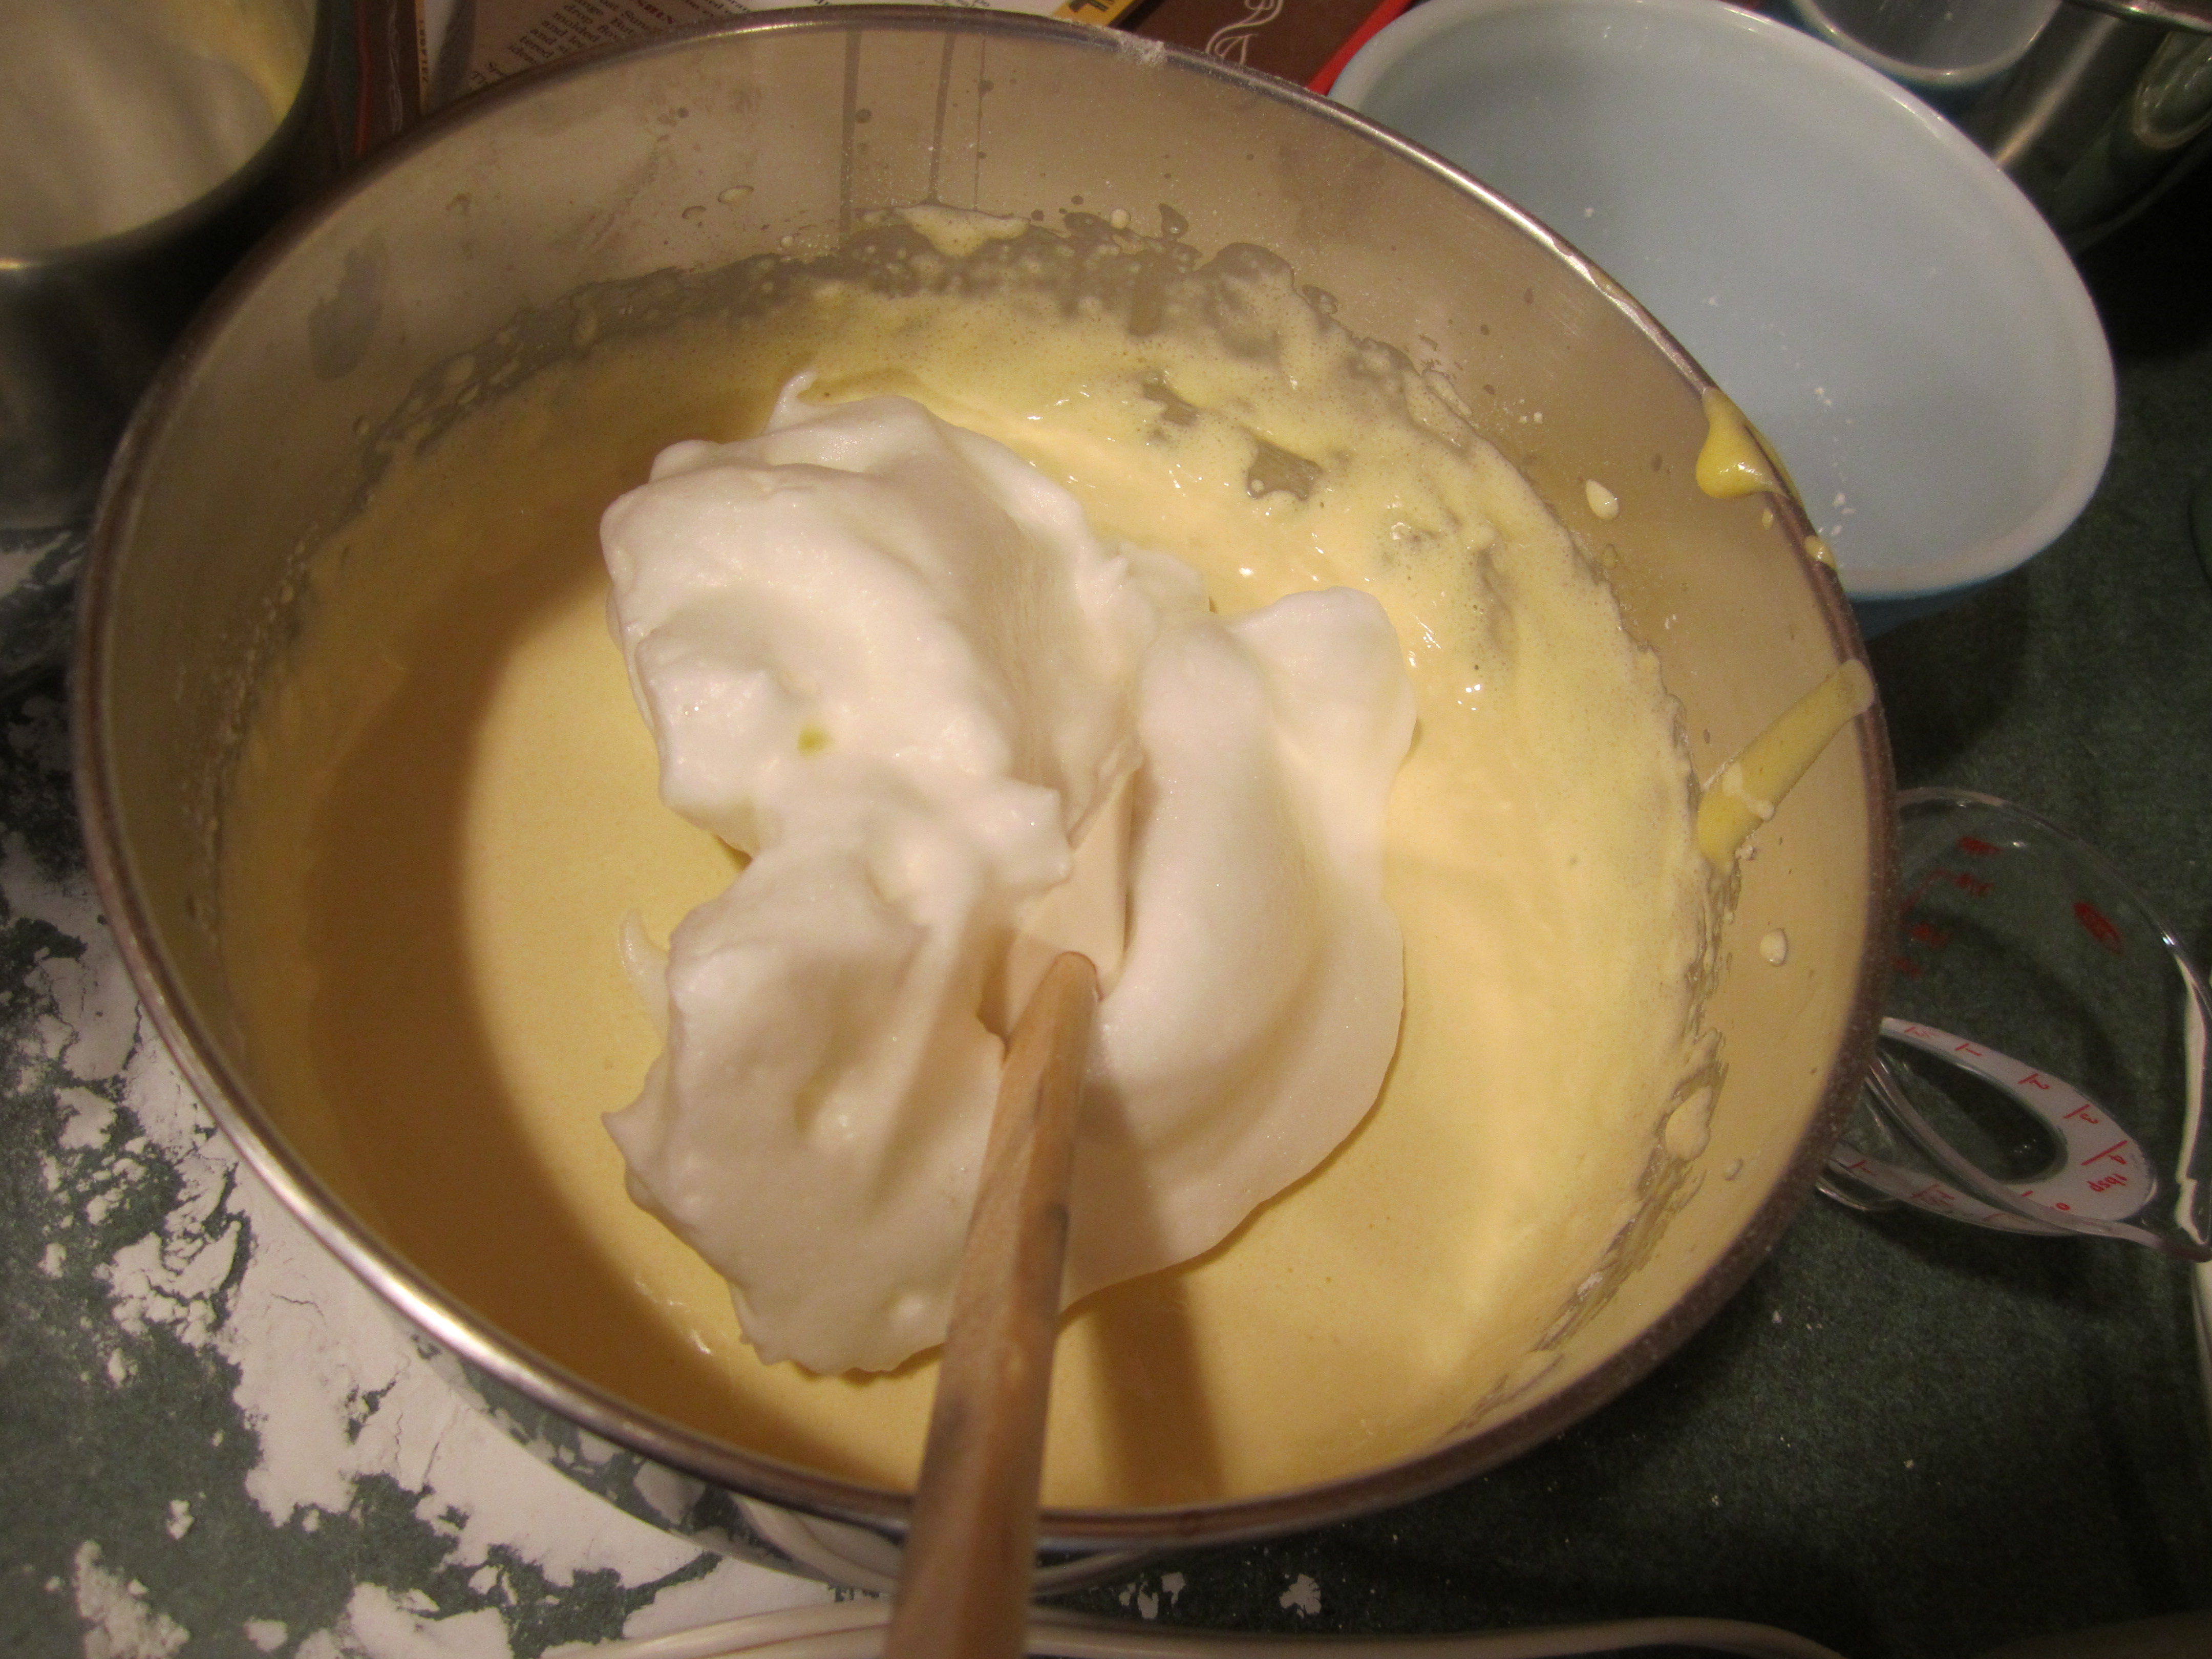
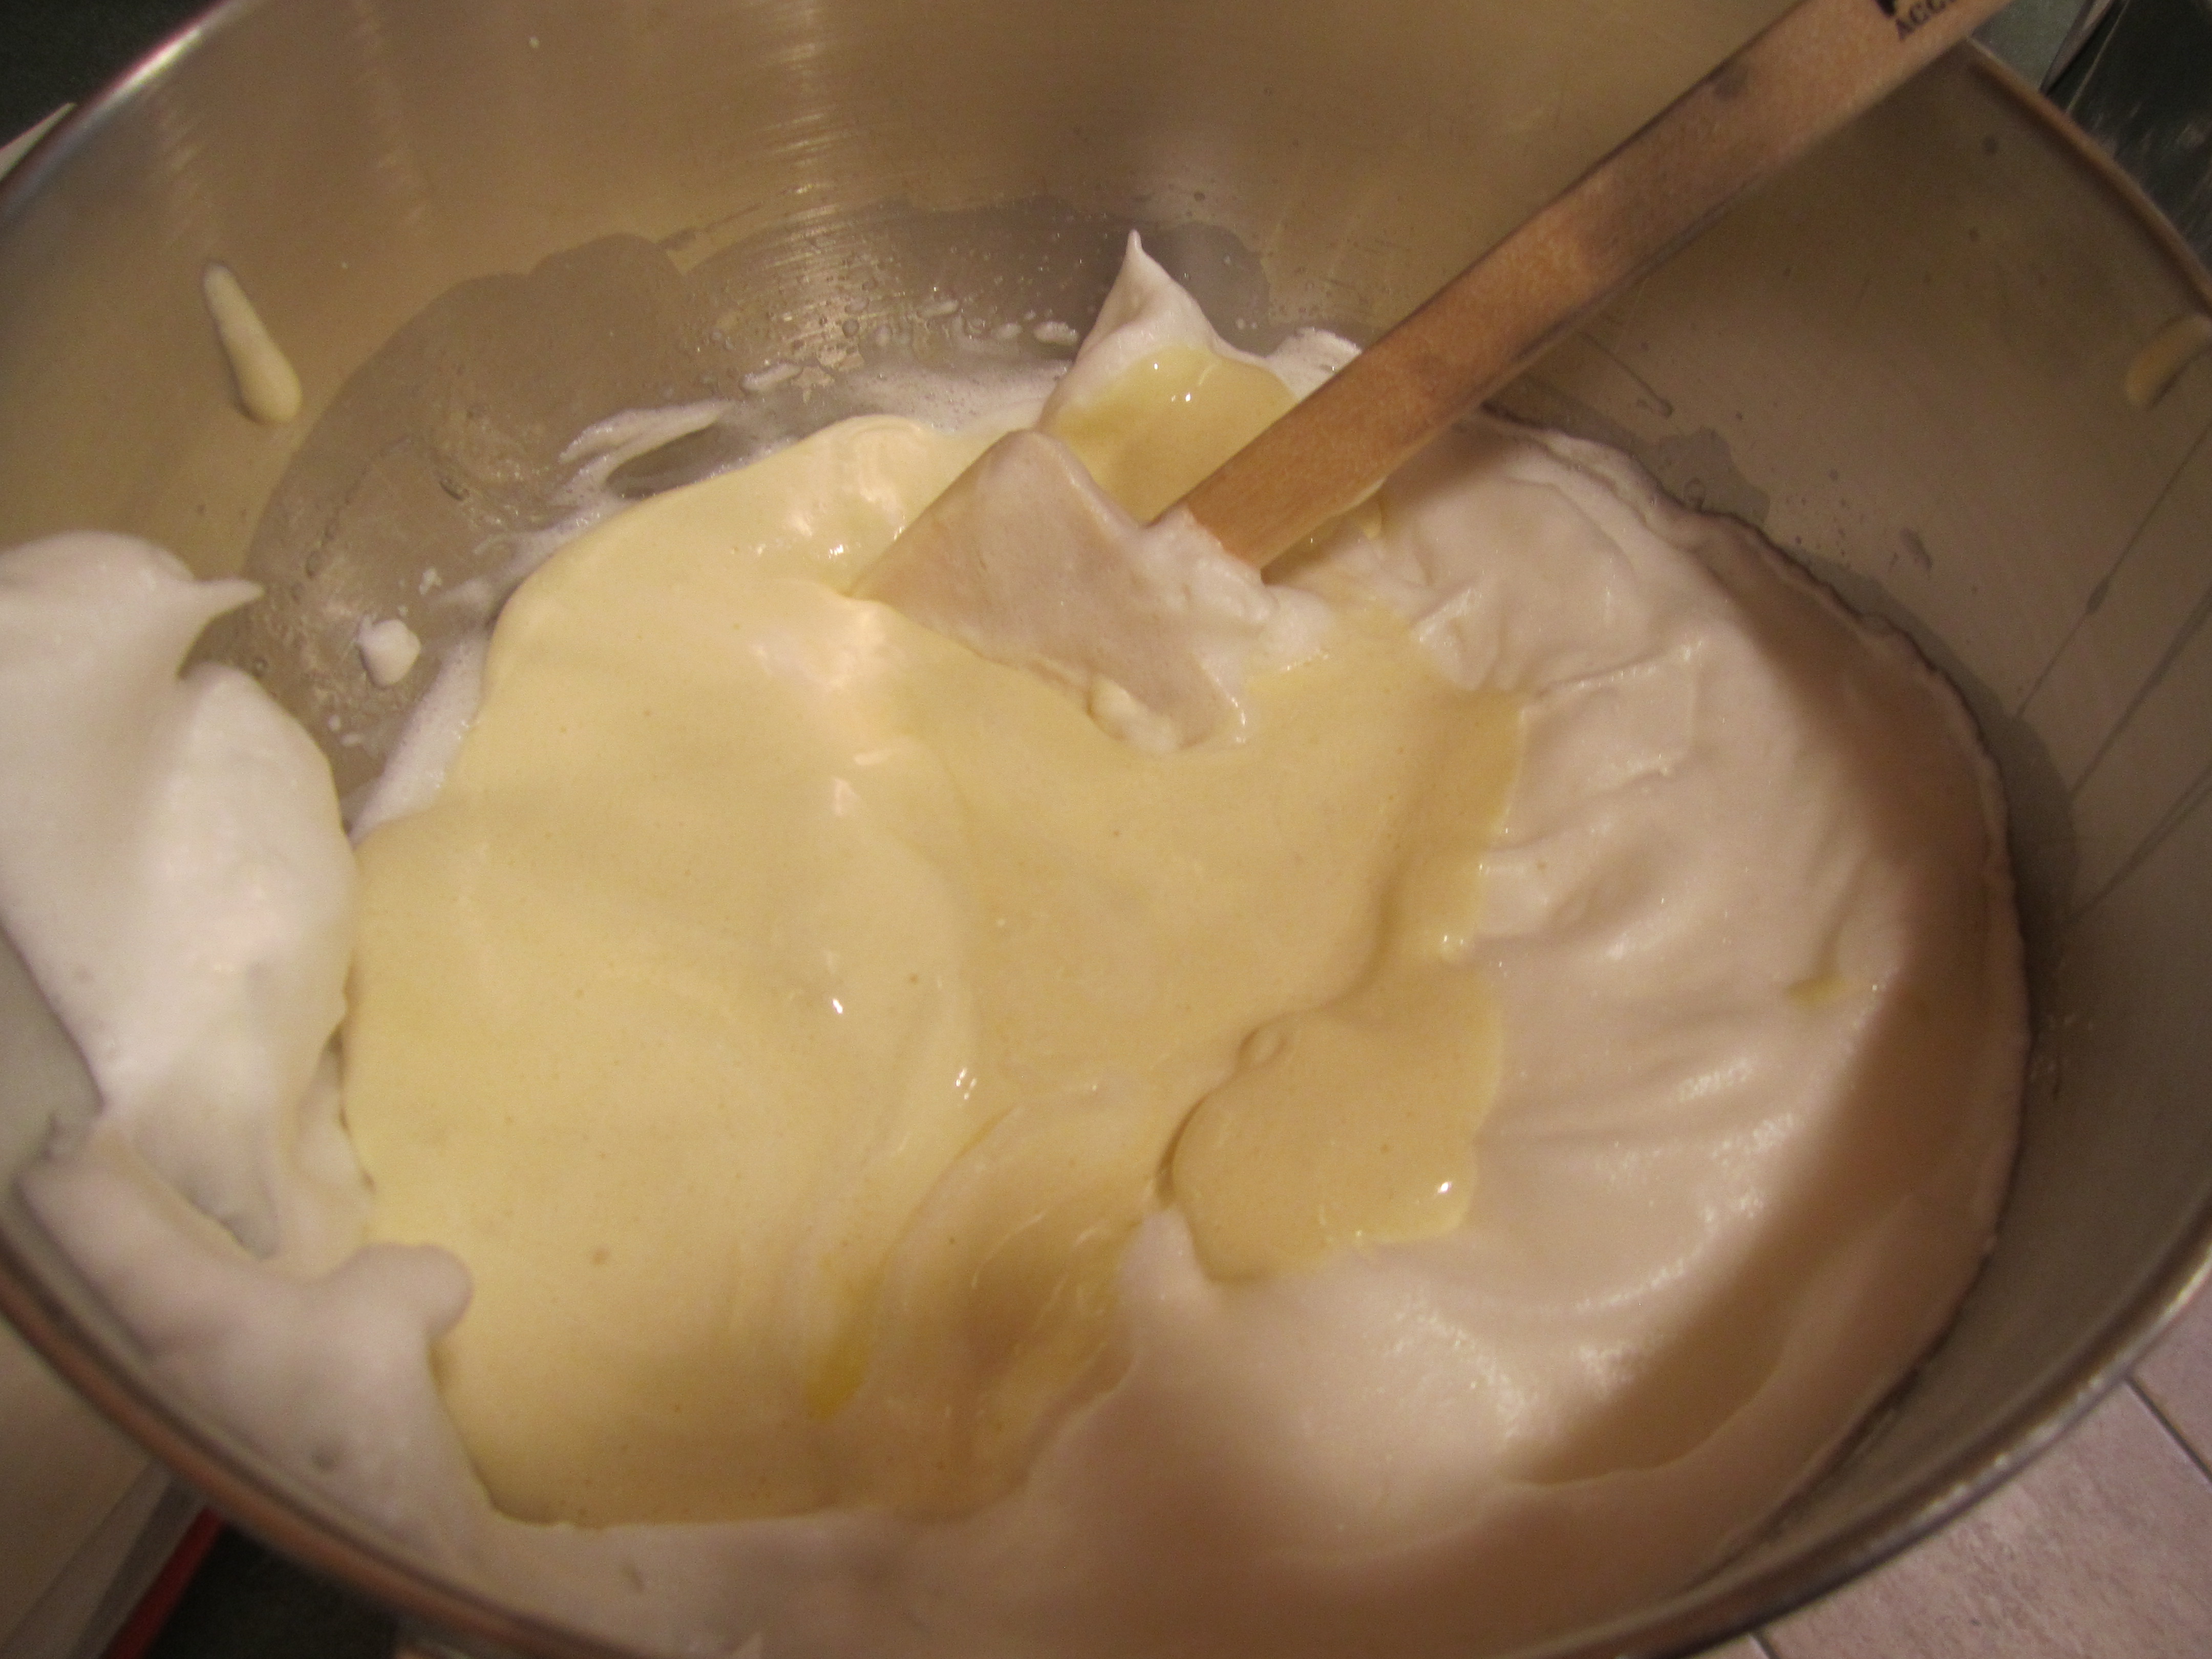
Put 2 spoonfuls of eggs whites into your egg yolk mixture and fold until almost combined. Then add this mixture into your egg whites and fold until combined.
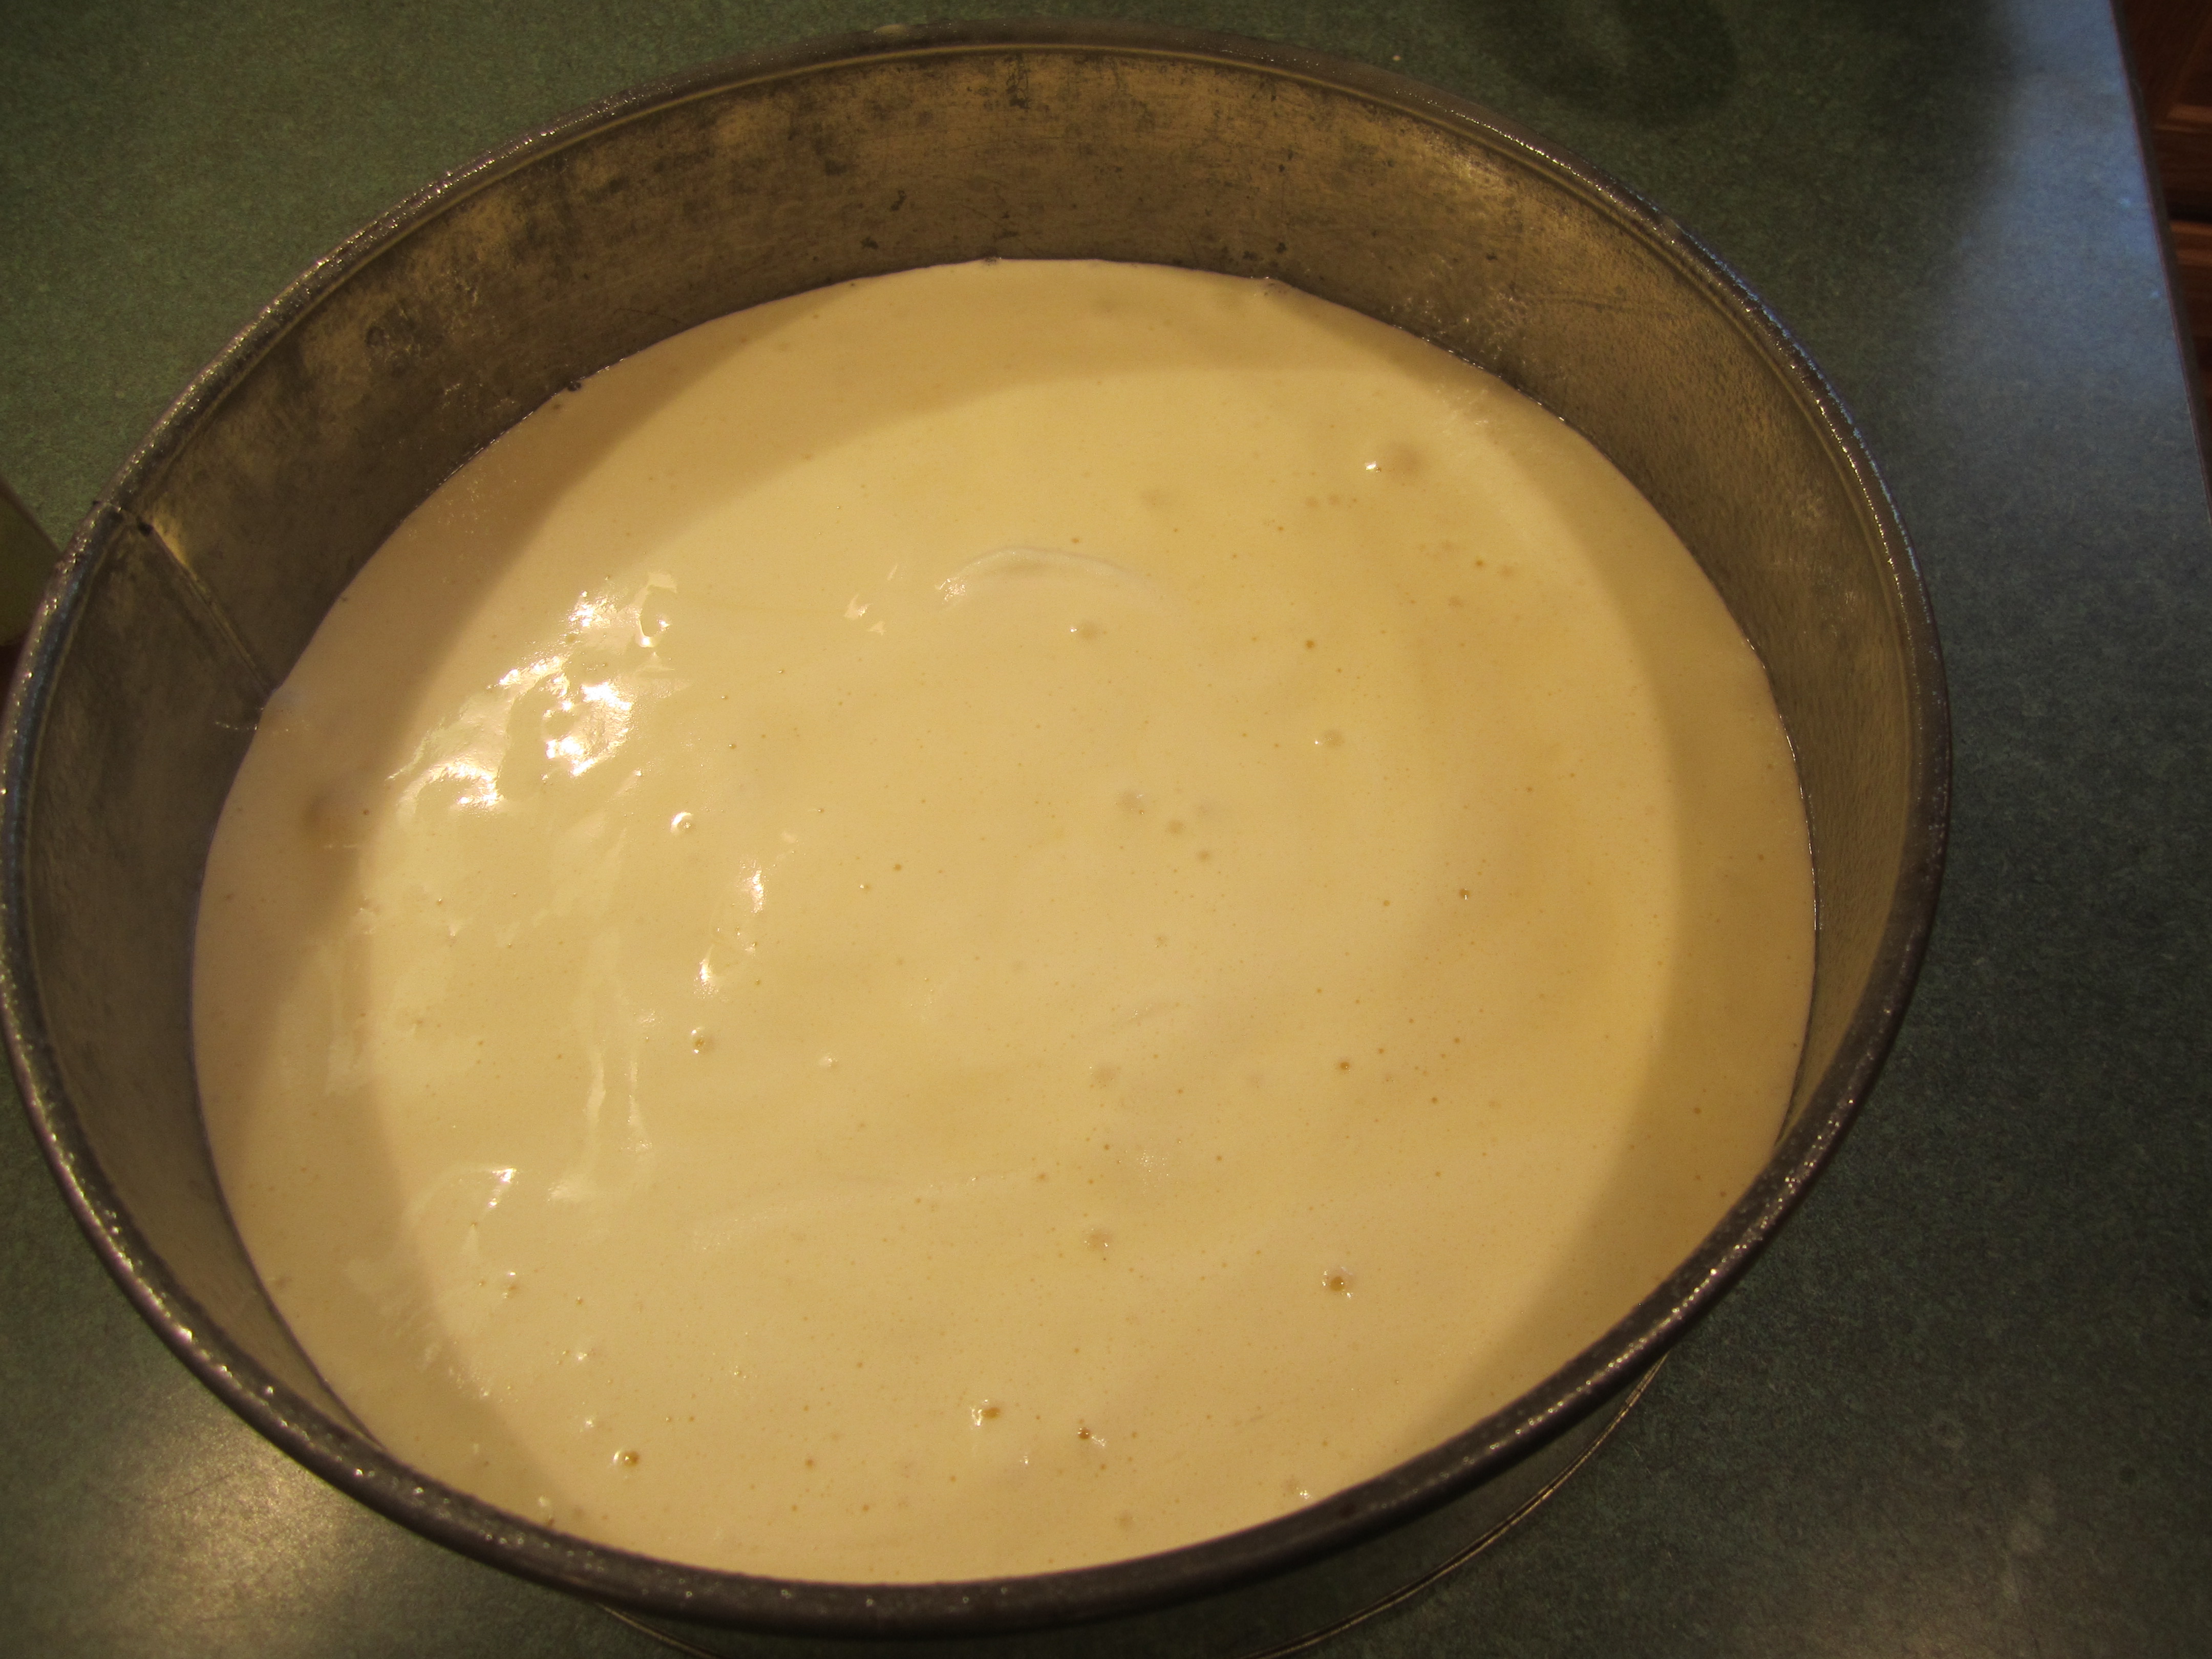
Pour into pan and bake for 40 to 50 minutes.
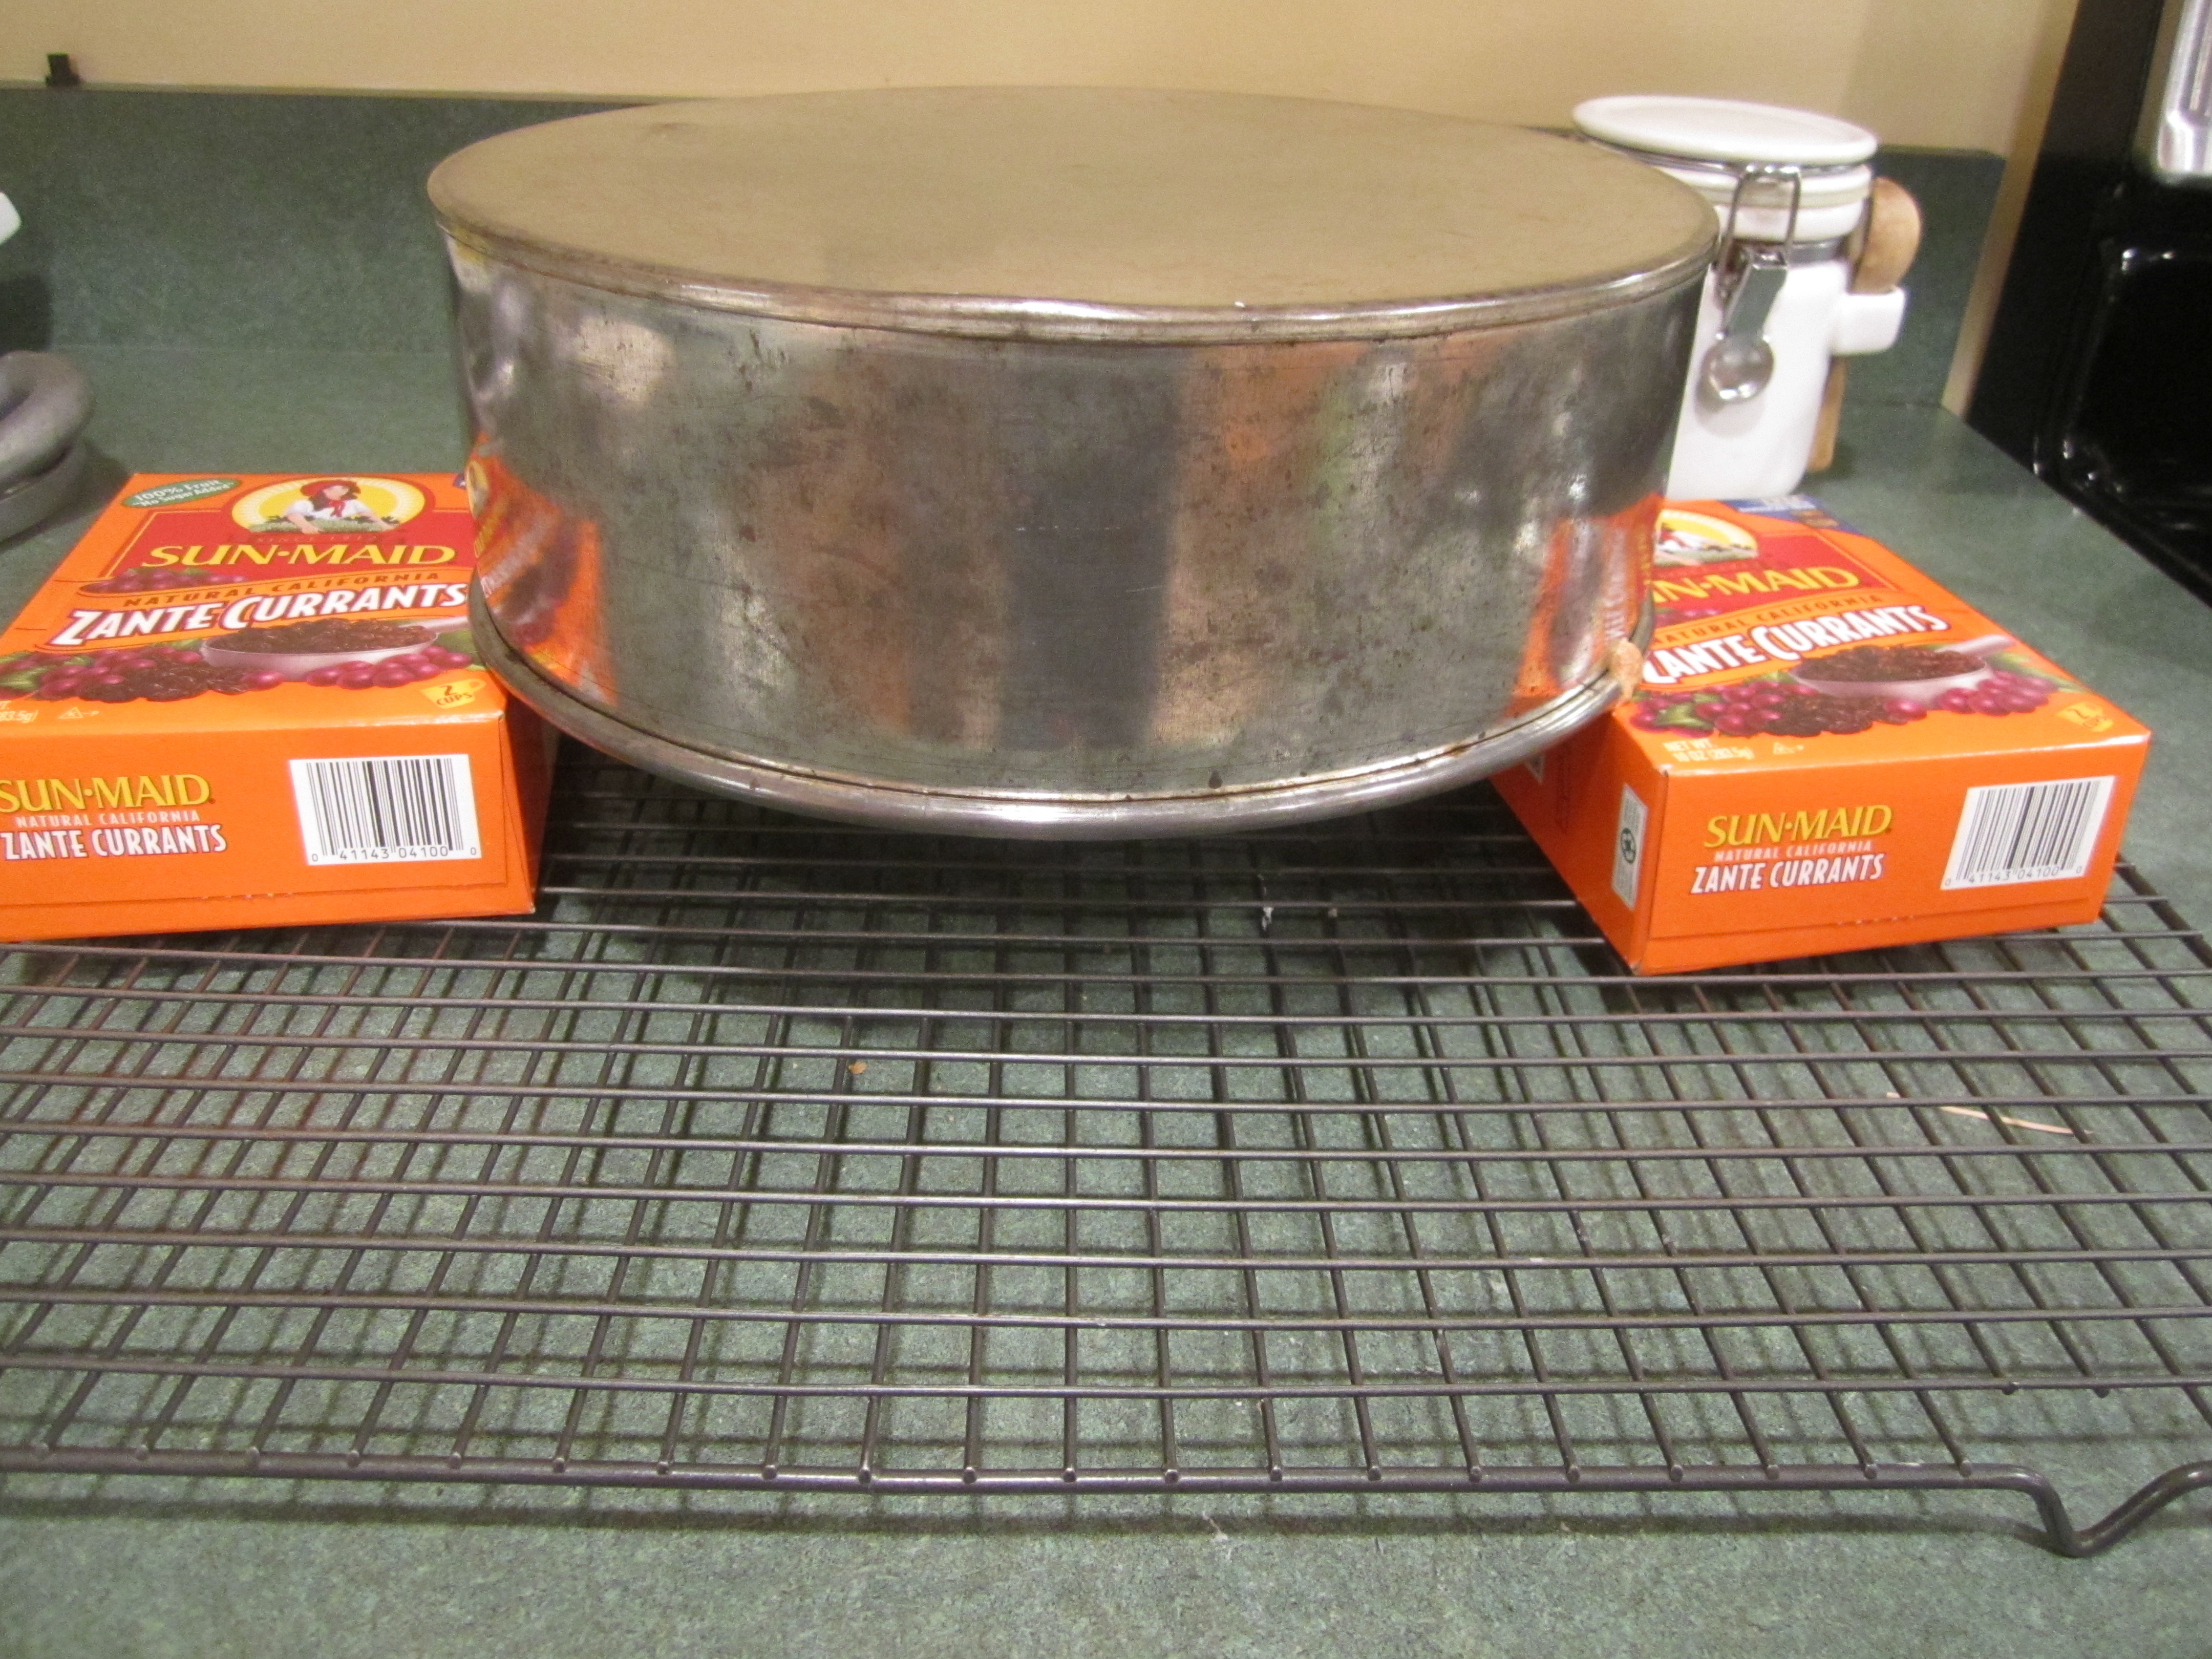
Remove cake from oven. If you have used the Pam Baking spray, let the cake cool for 10 minutes on a cake rack , loosen cake around edges with a sharp knife and turn cake onto cake rack. Let cool completely. If you have done nothing to the pan, turn cake upside down over a cake rack, hanging it from 2 shallow boxes. Cool completely. Turn cake over, loosening around the edge with a sharp knife. Turn the cake over and give it a hard rap onto the cake rack. It should come out. If not, do the procedure again and give it another hard rap onto the cake rack.
Vanilla Pastry Cream
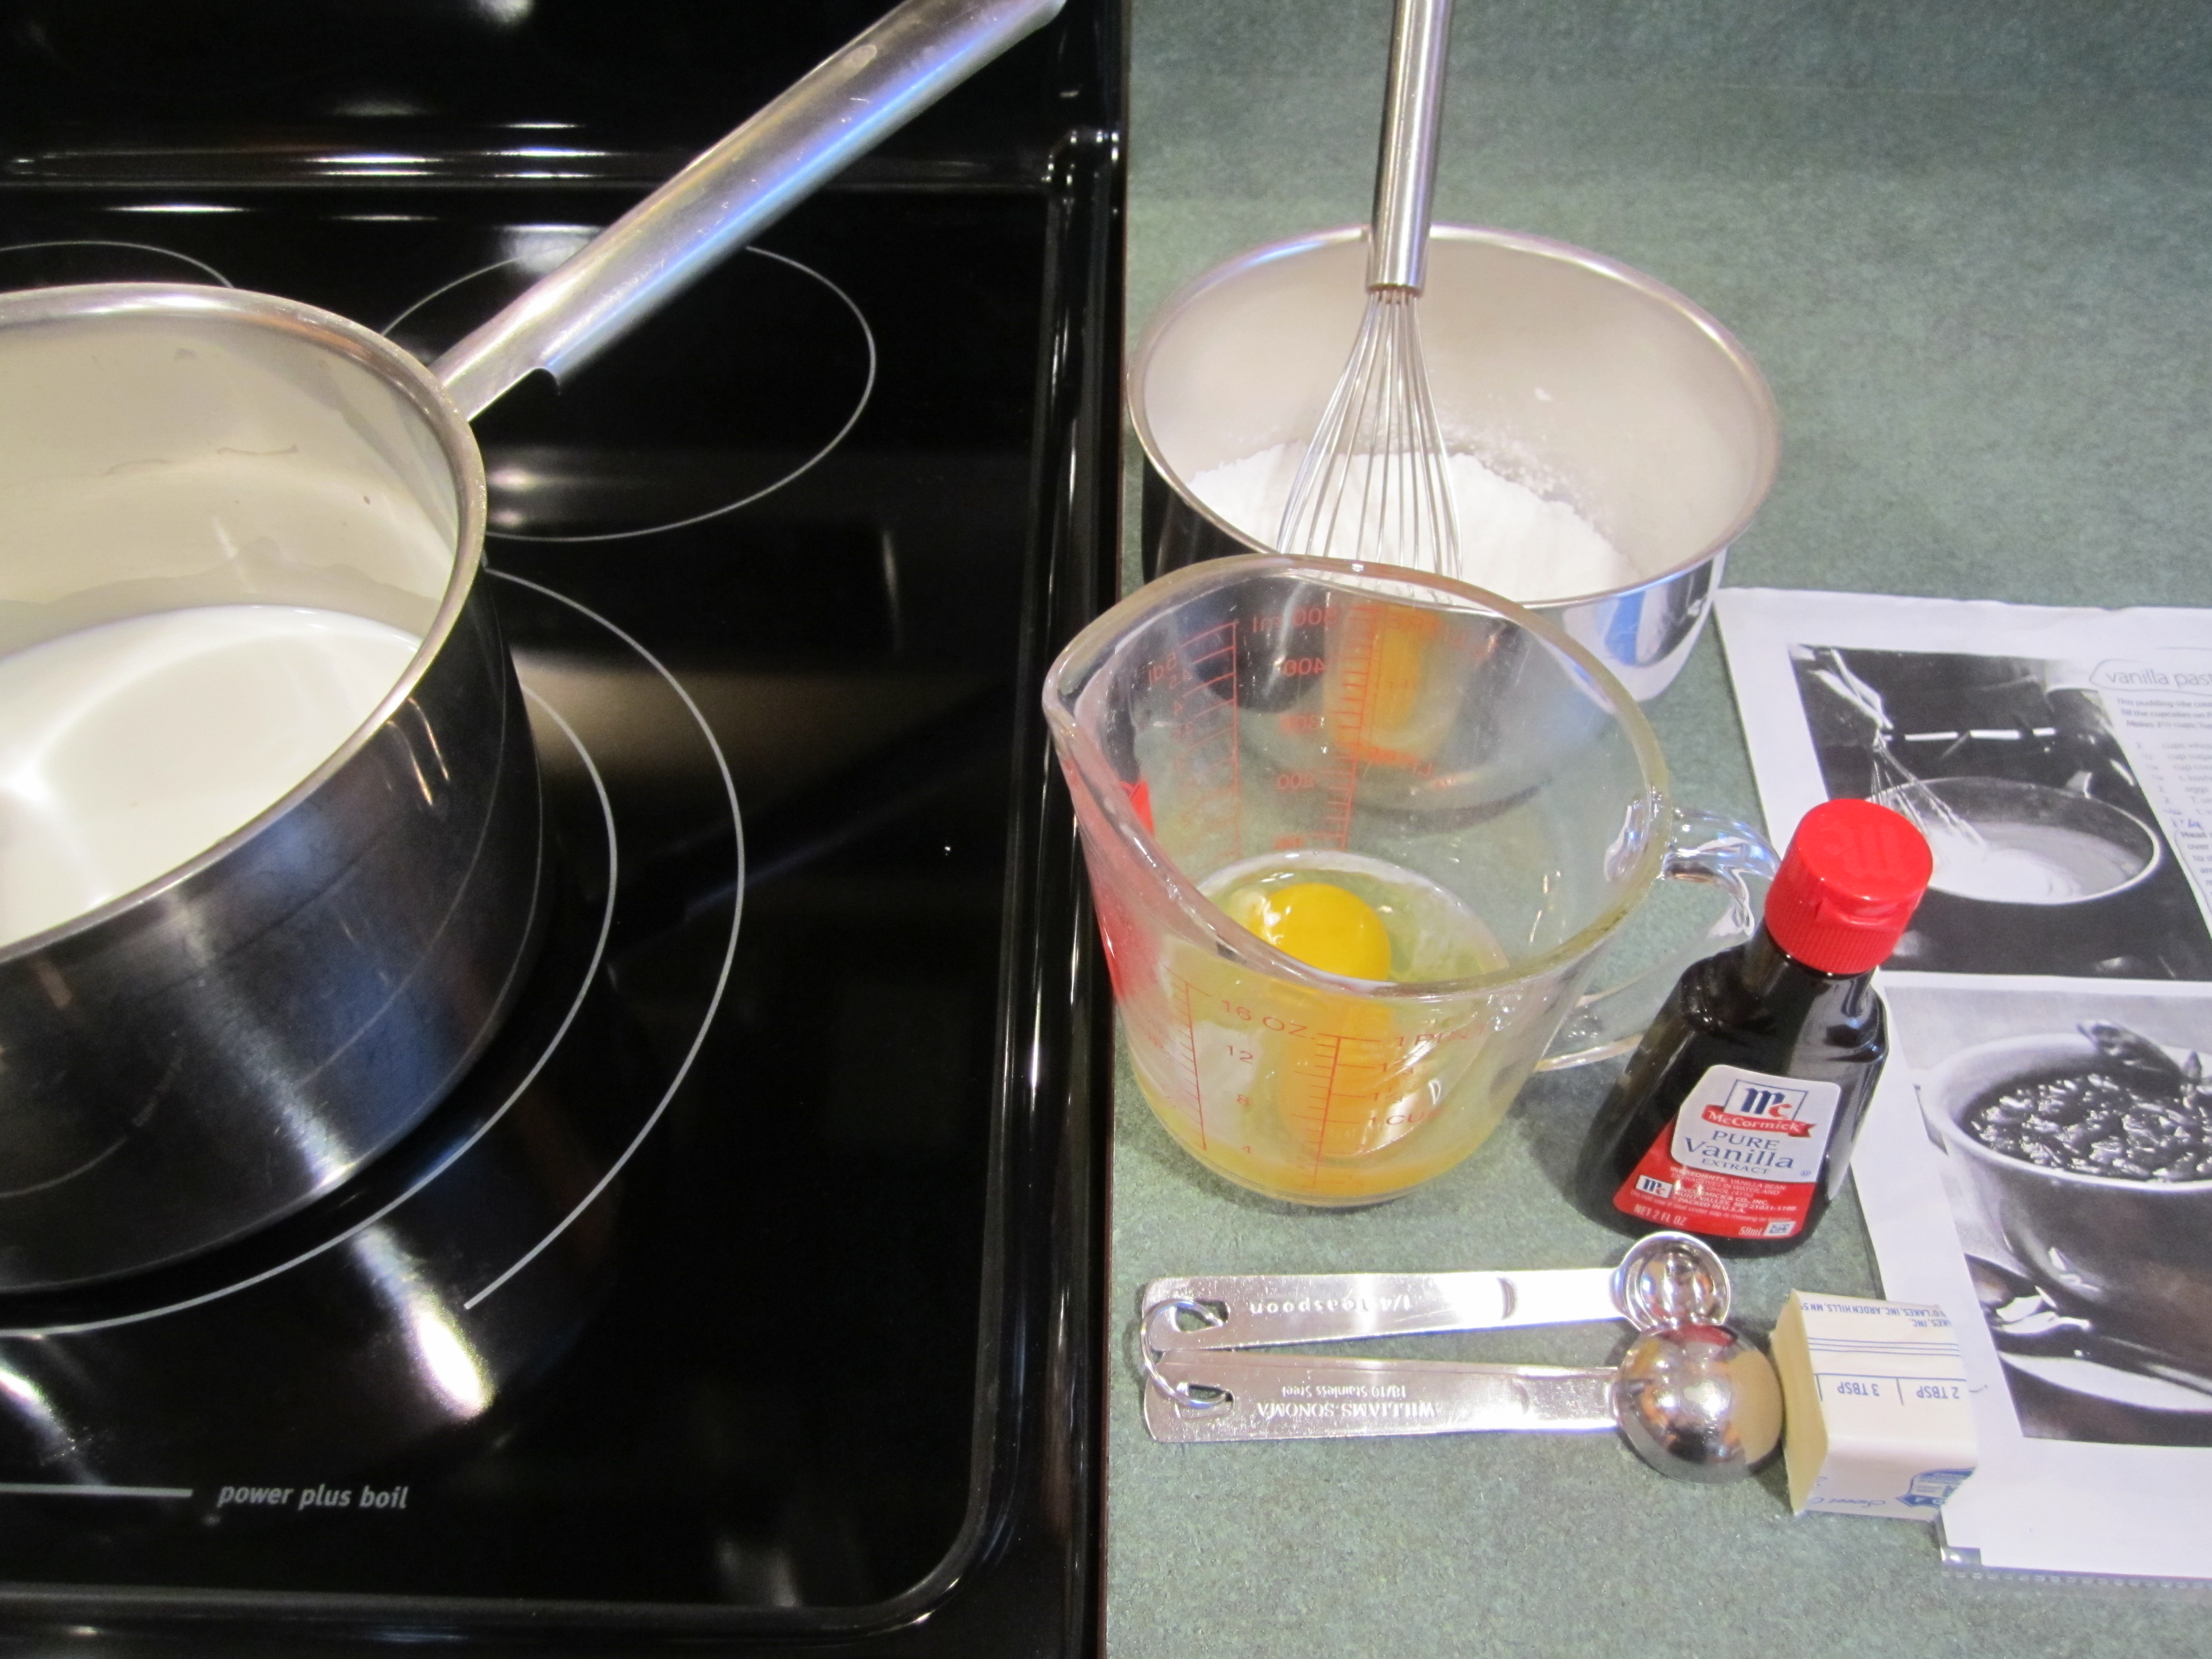
2 cups whole milk
1/2 cup sugar
1/4 cup cornstarch
1/4 teaspoon kosher salt
2 eggs
2 tablespoon butter
1-1/2 teaspoons pure vanilla extract
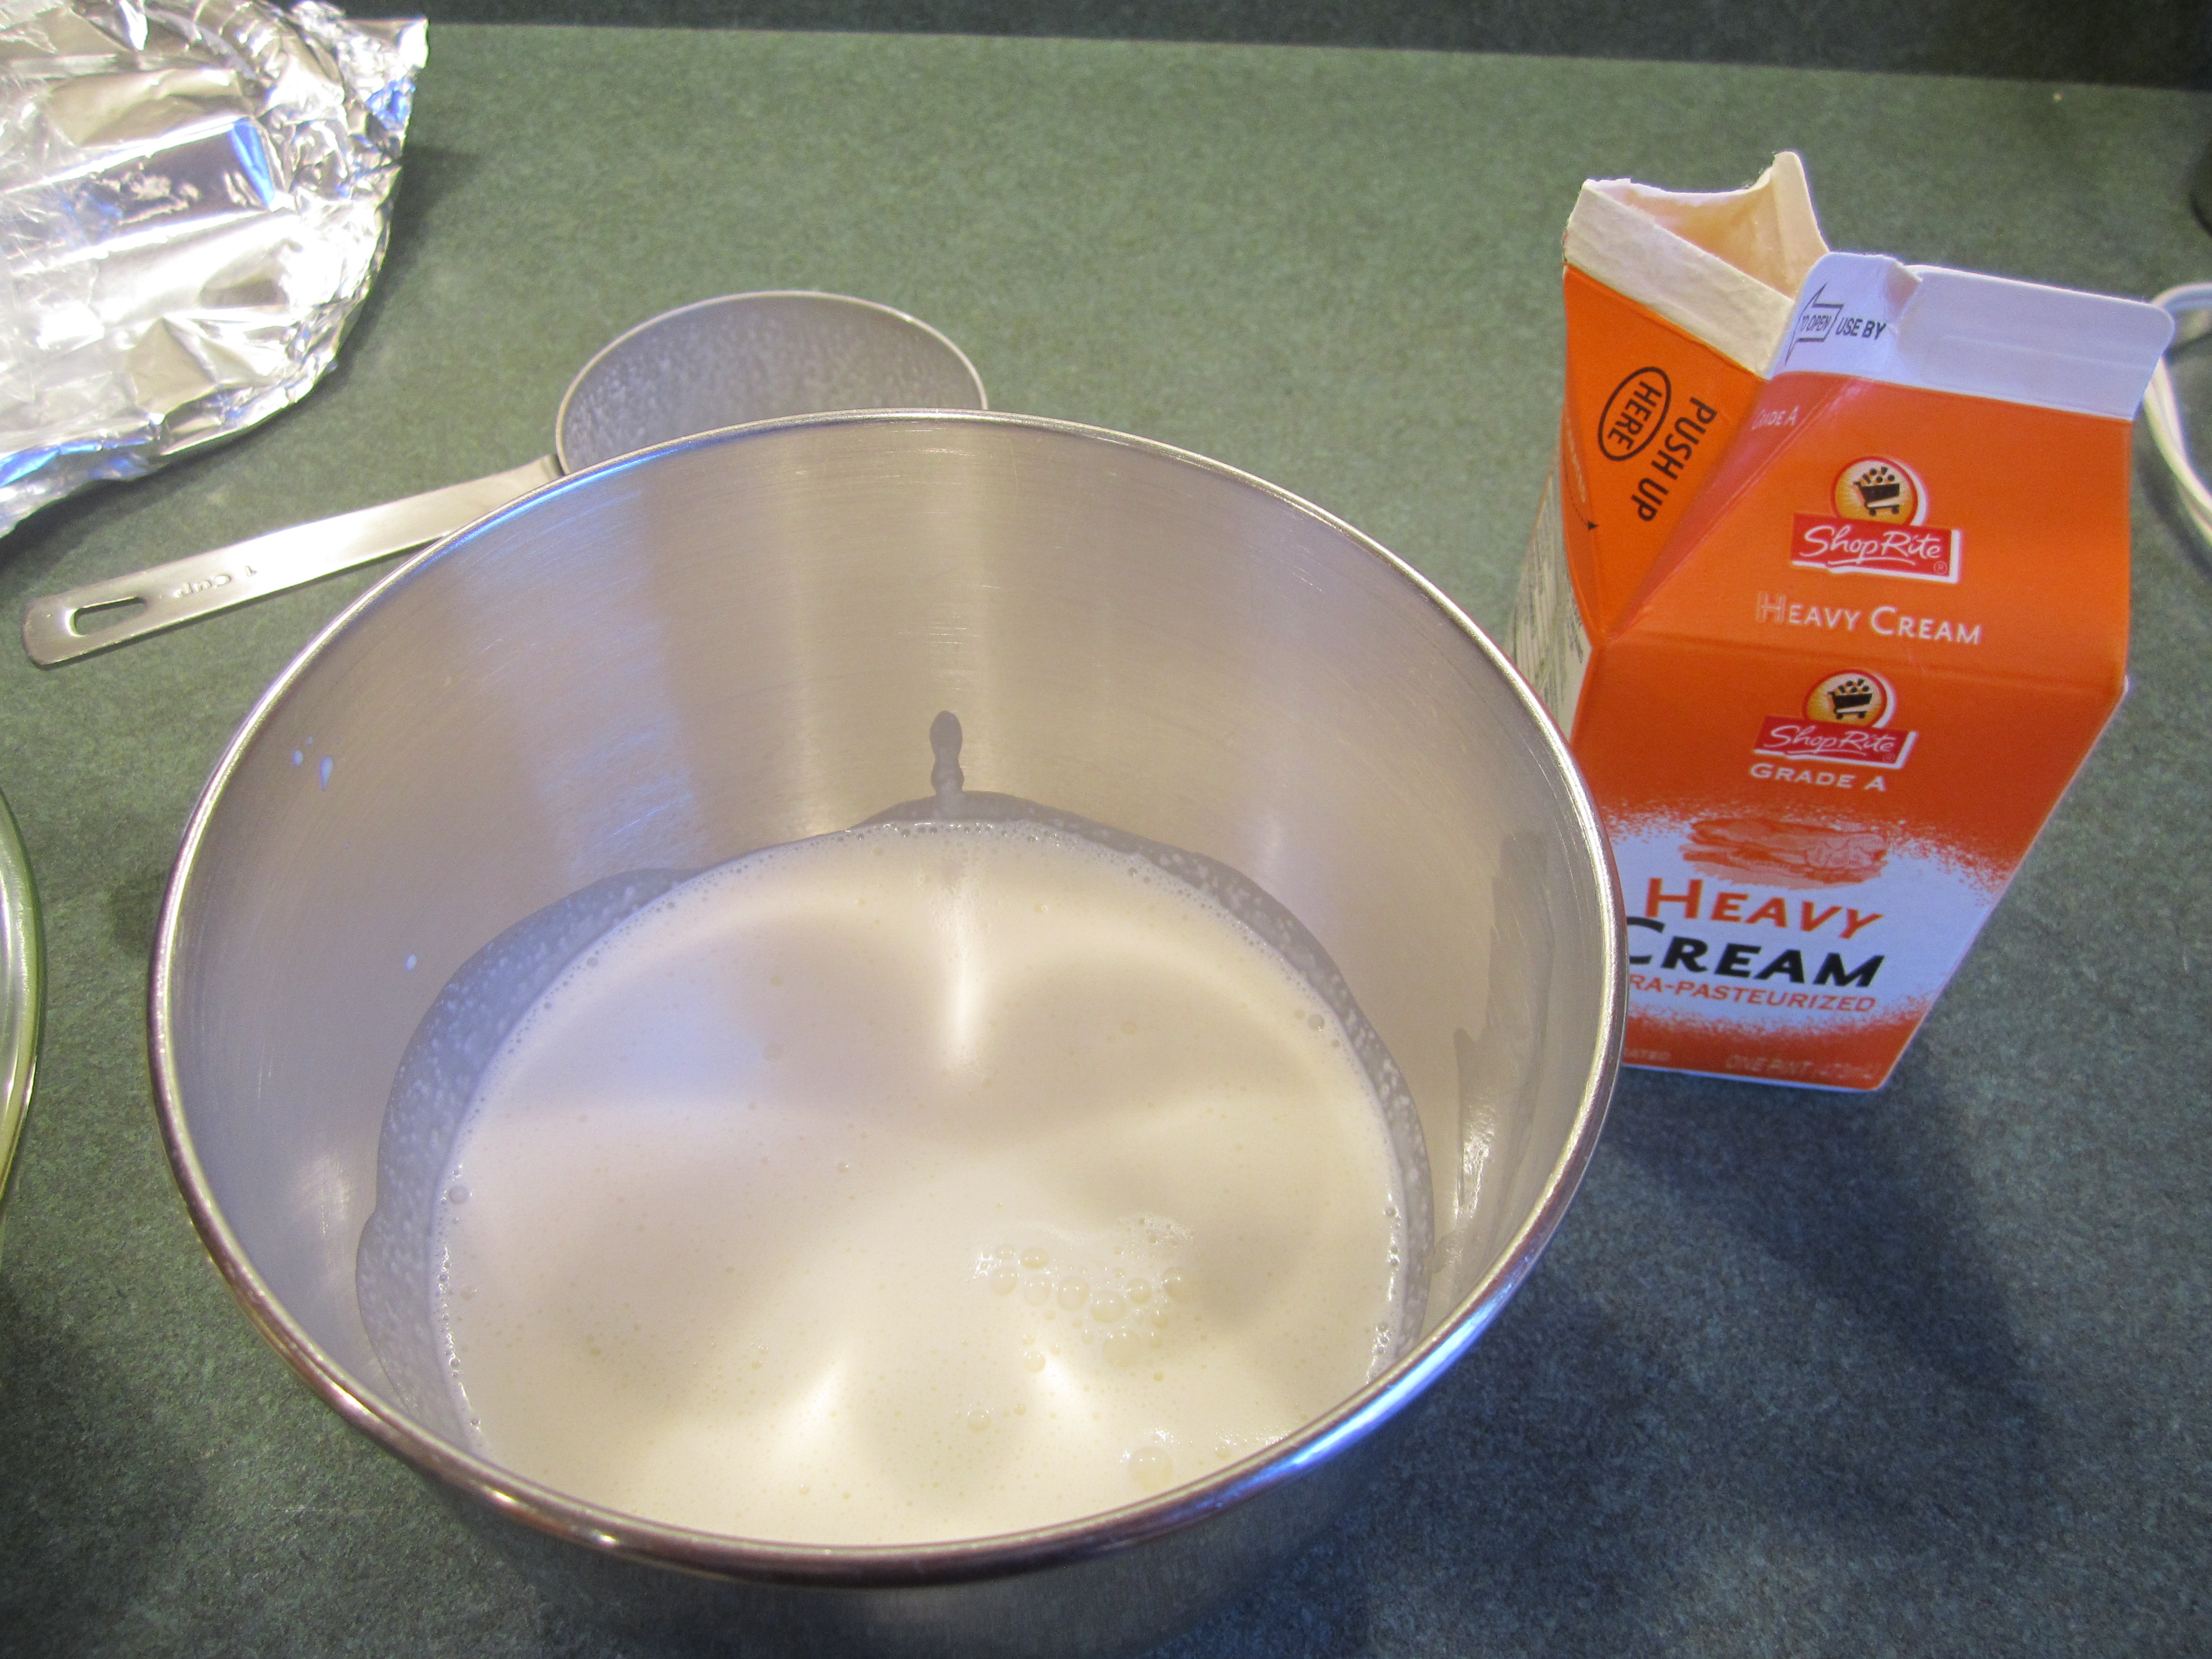
3/4 cup of heavy cream
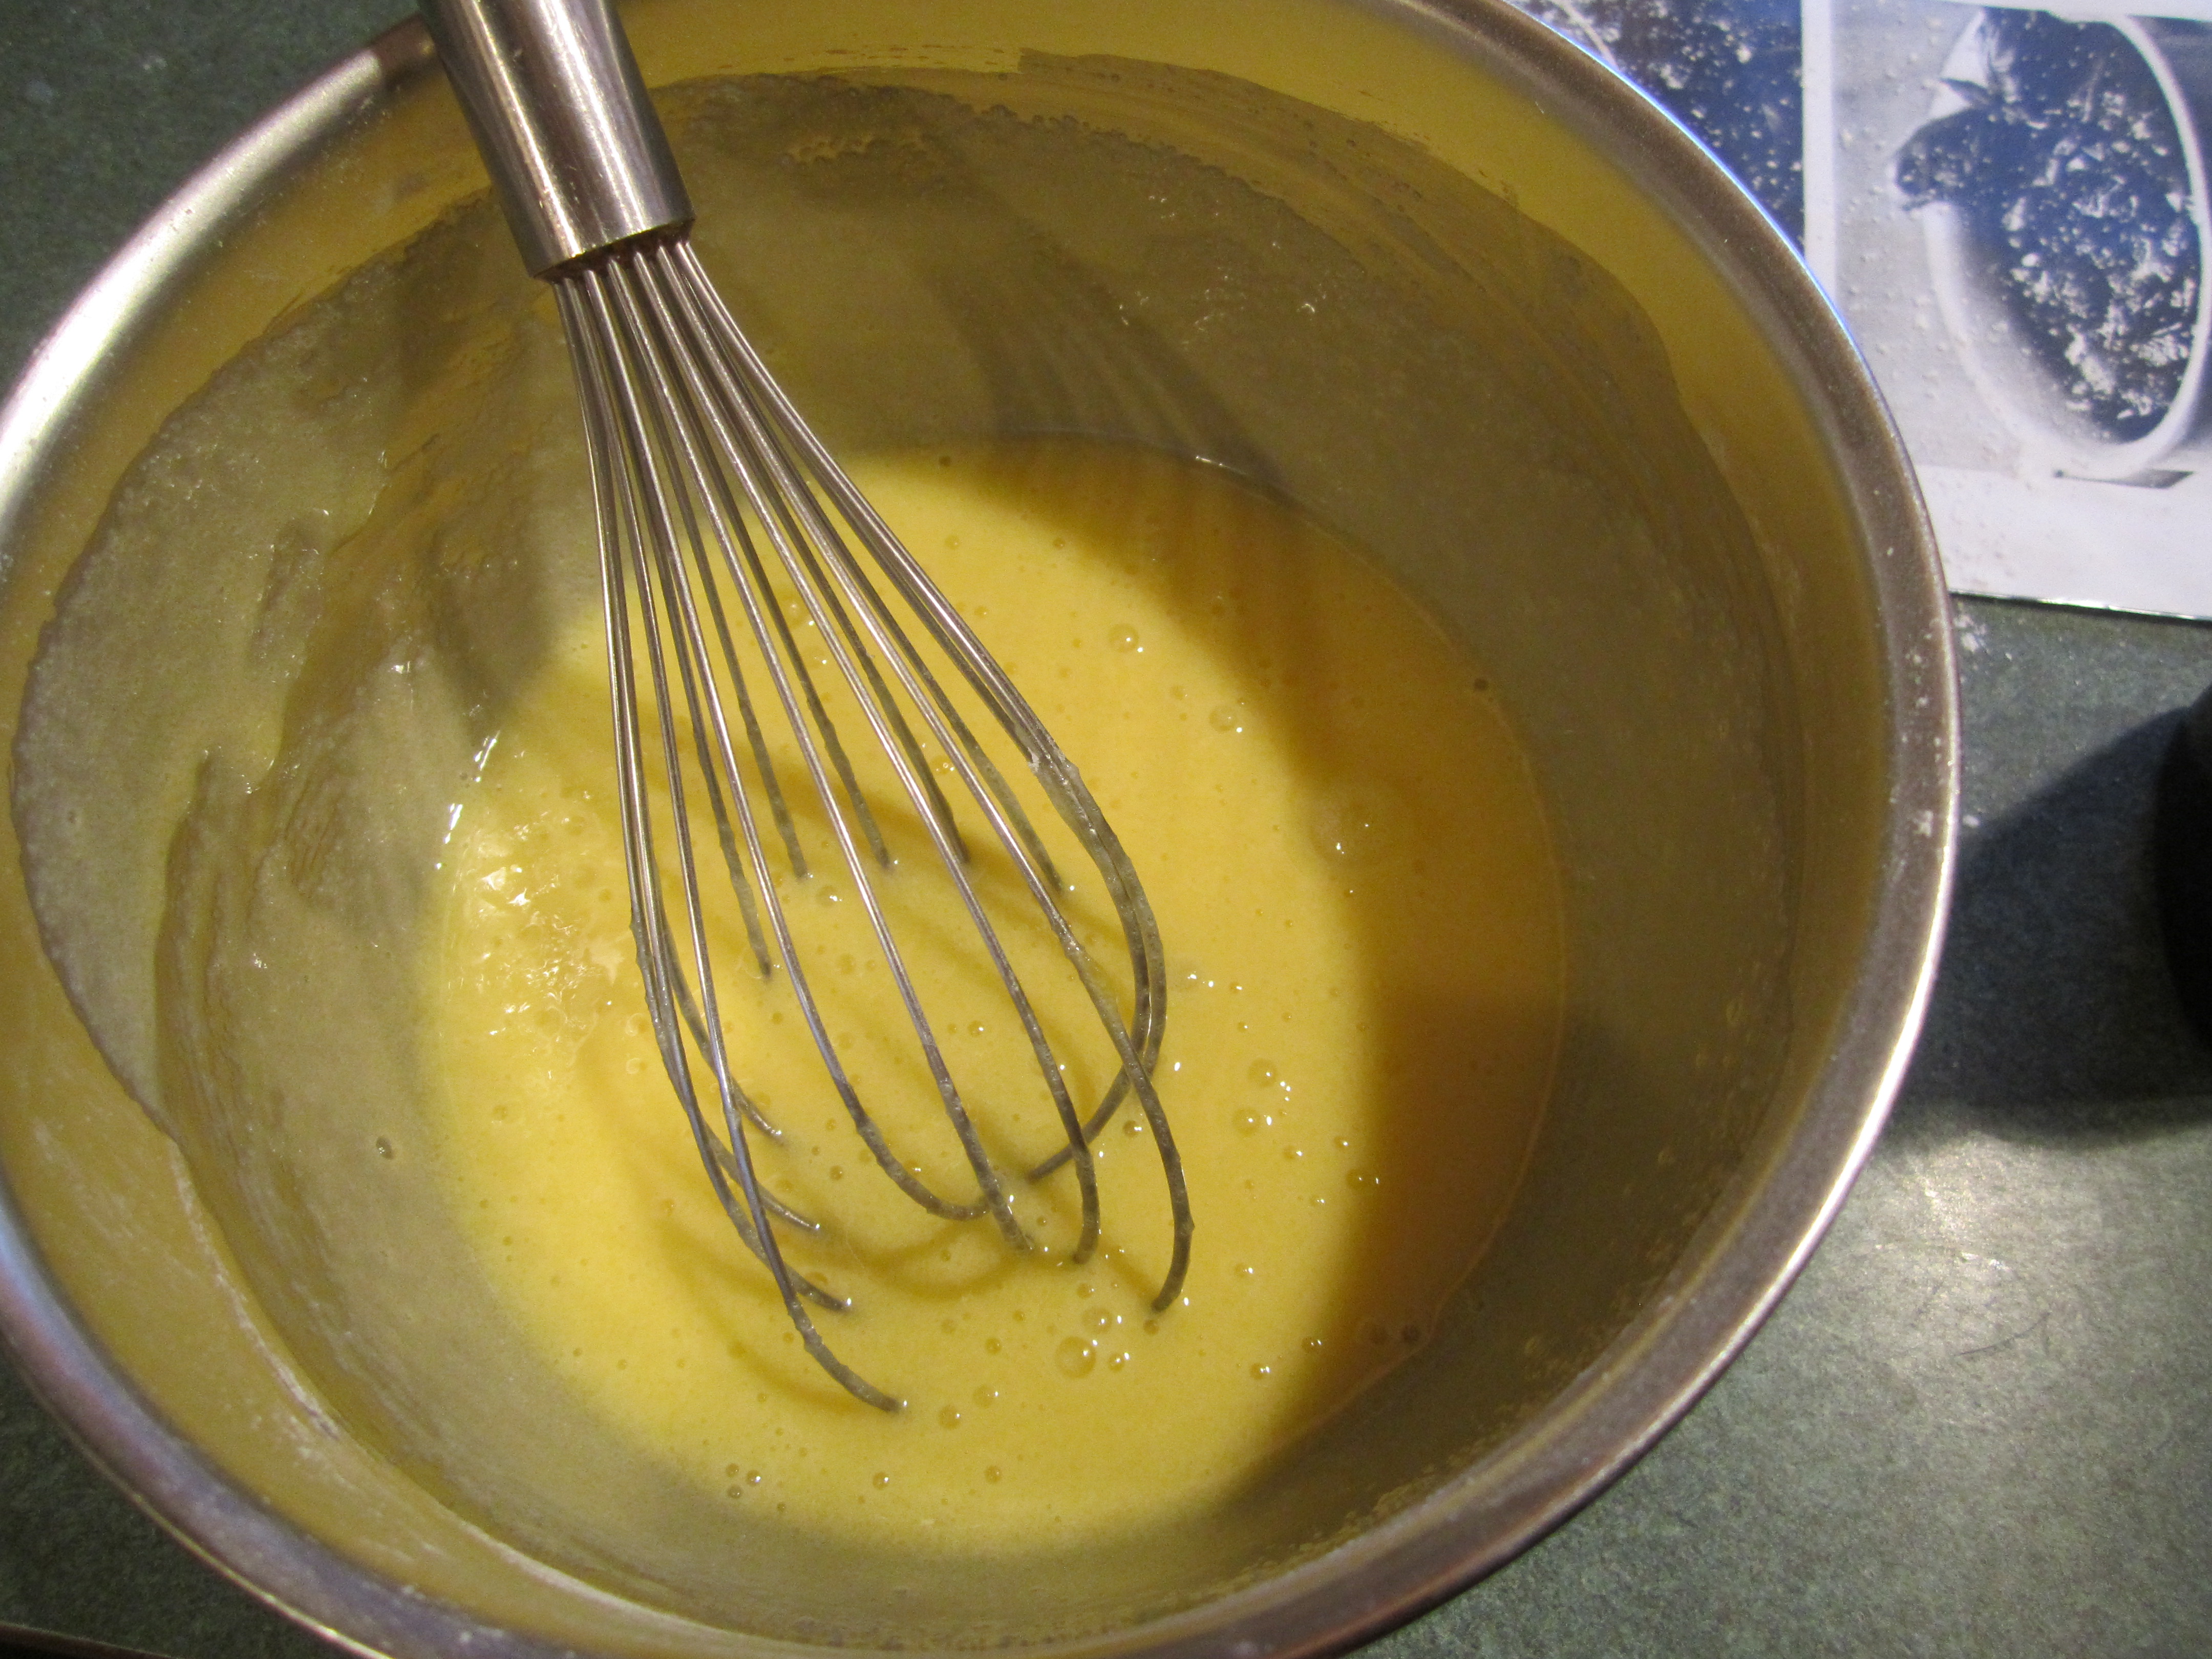
Place sugar, cornstarch and salt in a medium bowl. Whisk together. Add eggs and whisk together until smooth.
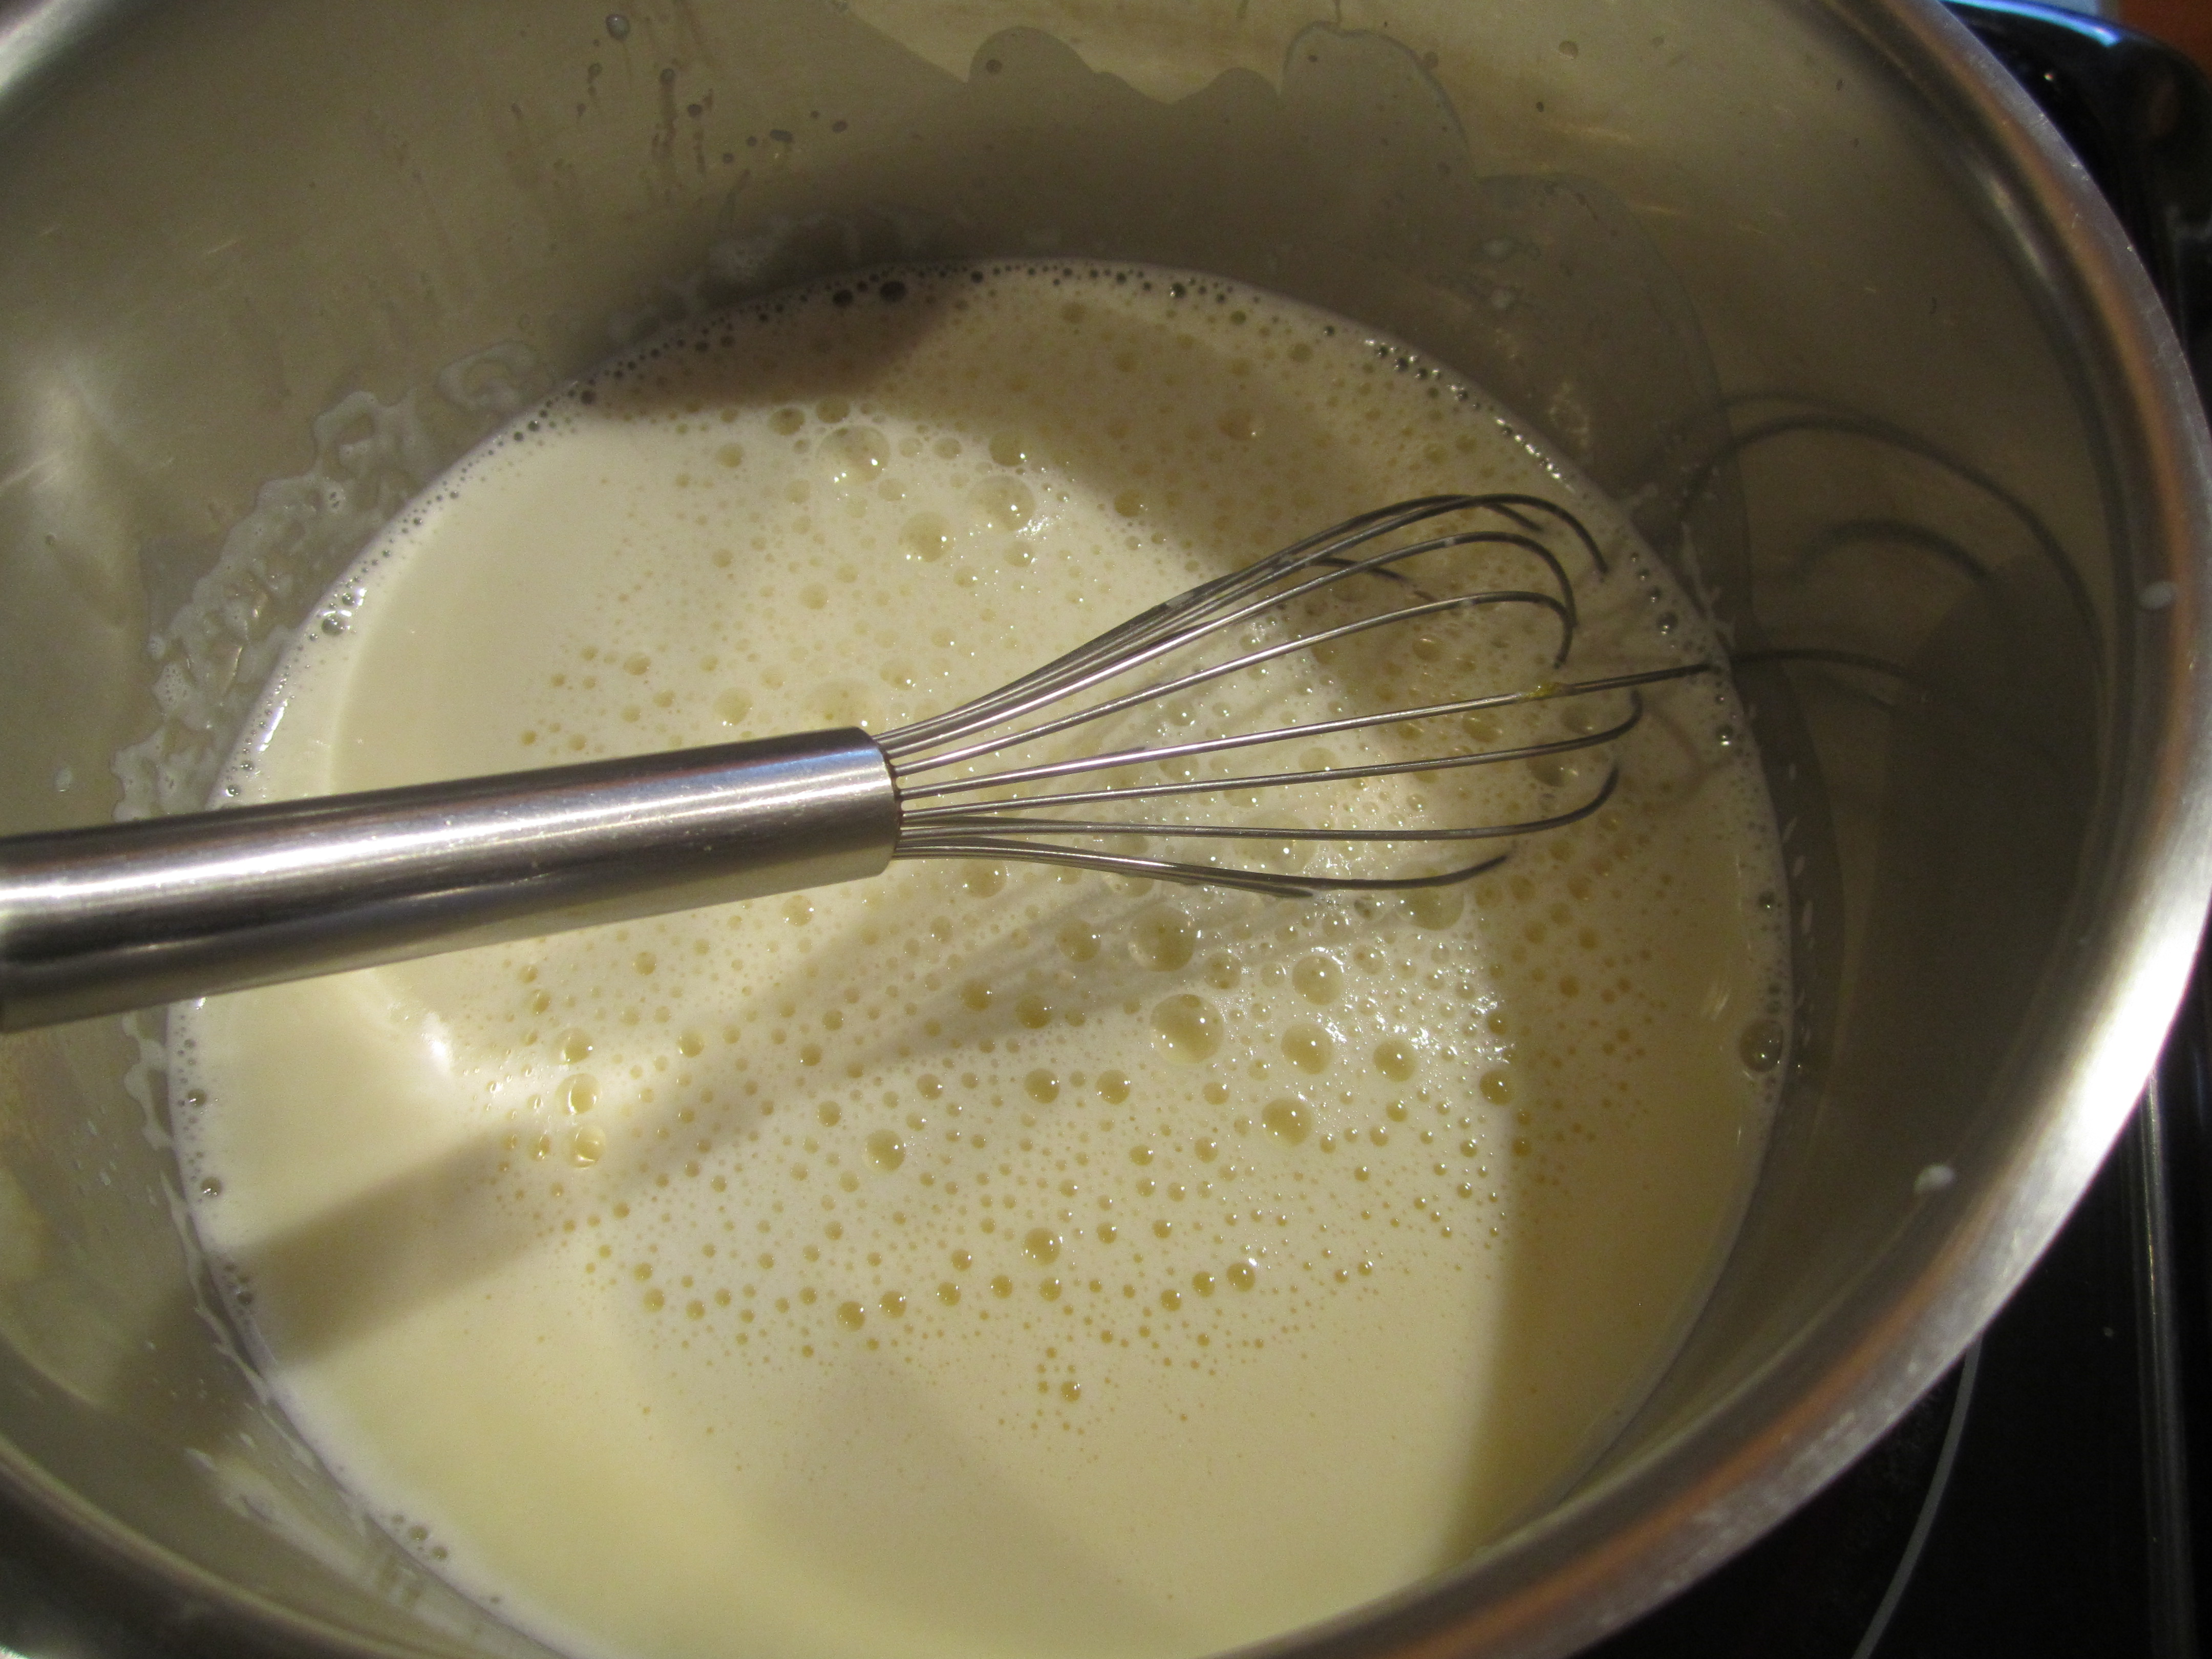
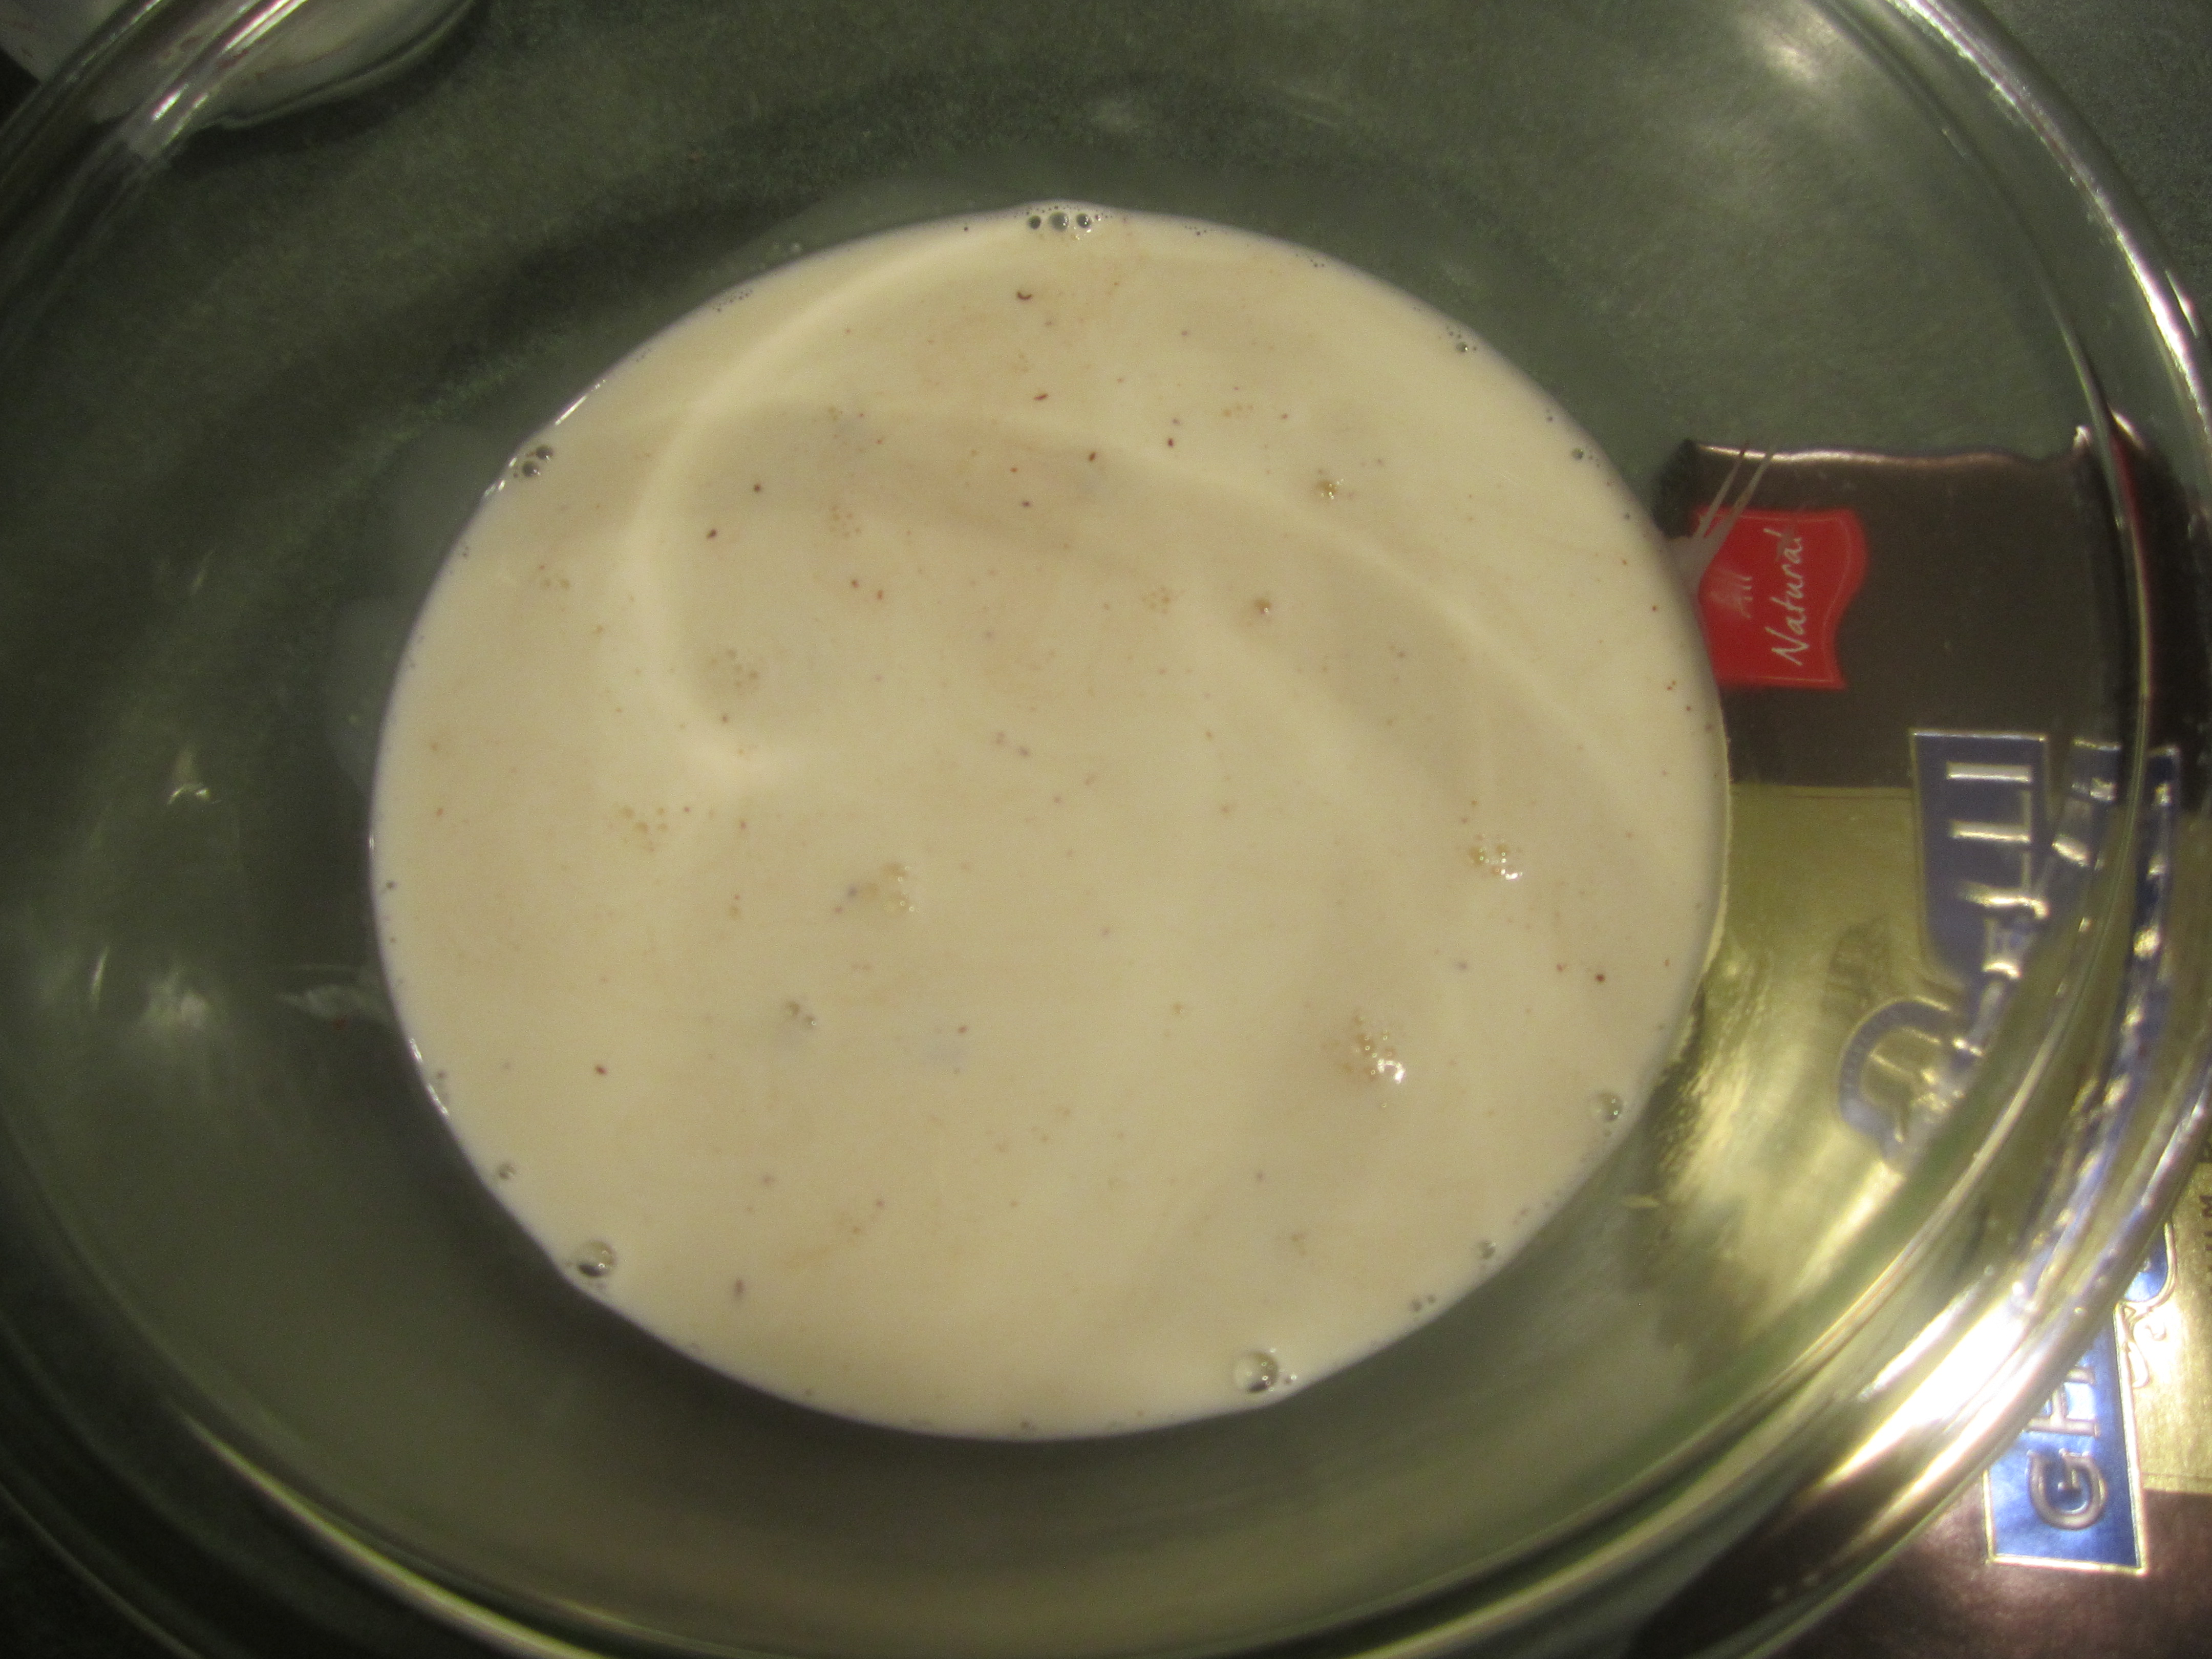
Place milk into a medium saucepan over medium heat and heat until it begins to steam and bubbles form around the edge.
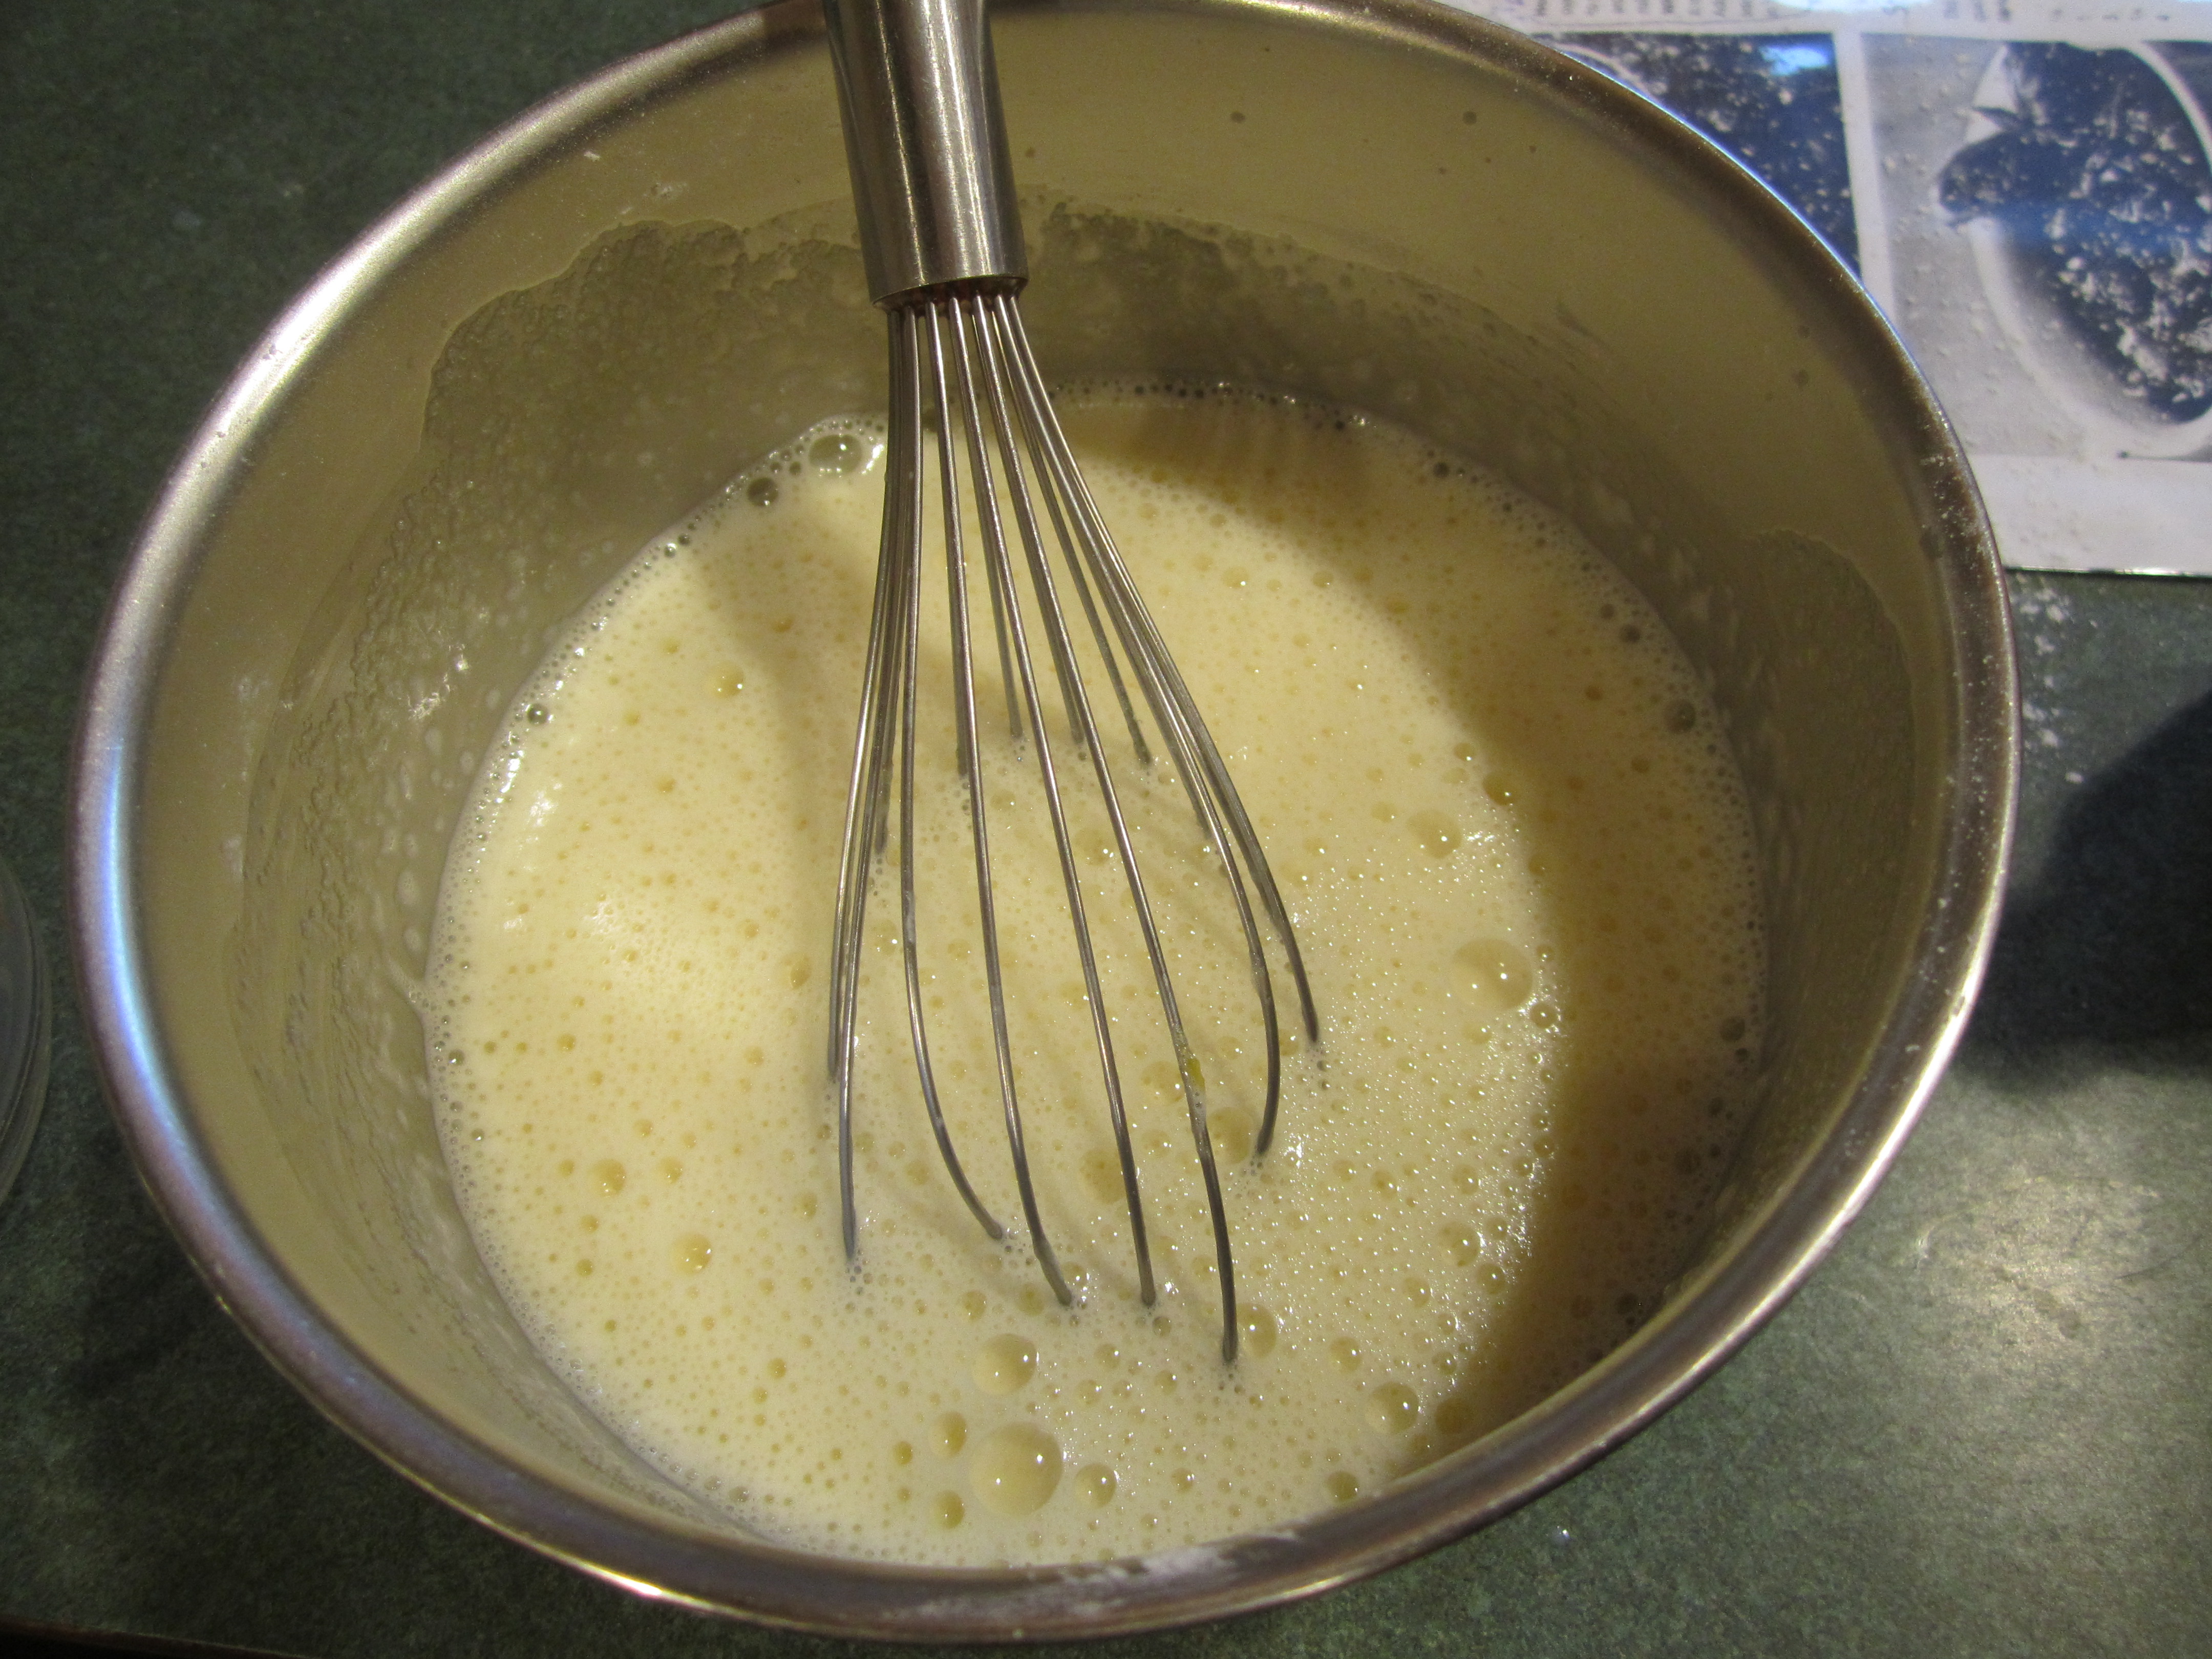
Pour 1/2 the hot milk into the egg mixture and whisk together. Then pour the egg/milk mixture into the remaining milk in the saucepan and return pan to burner.
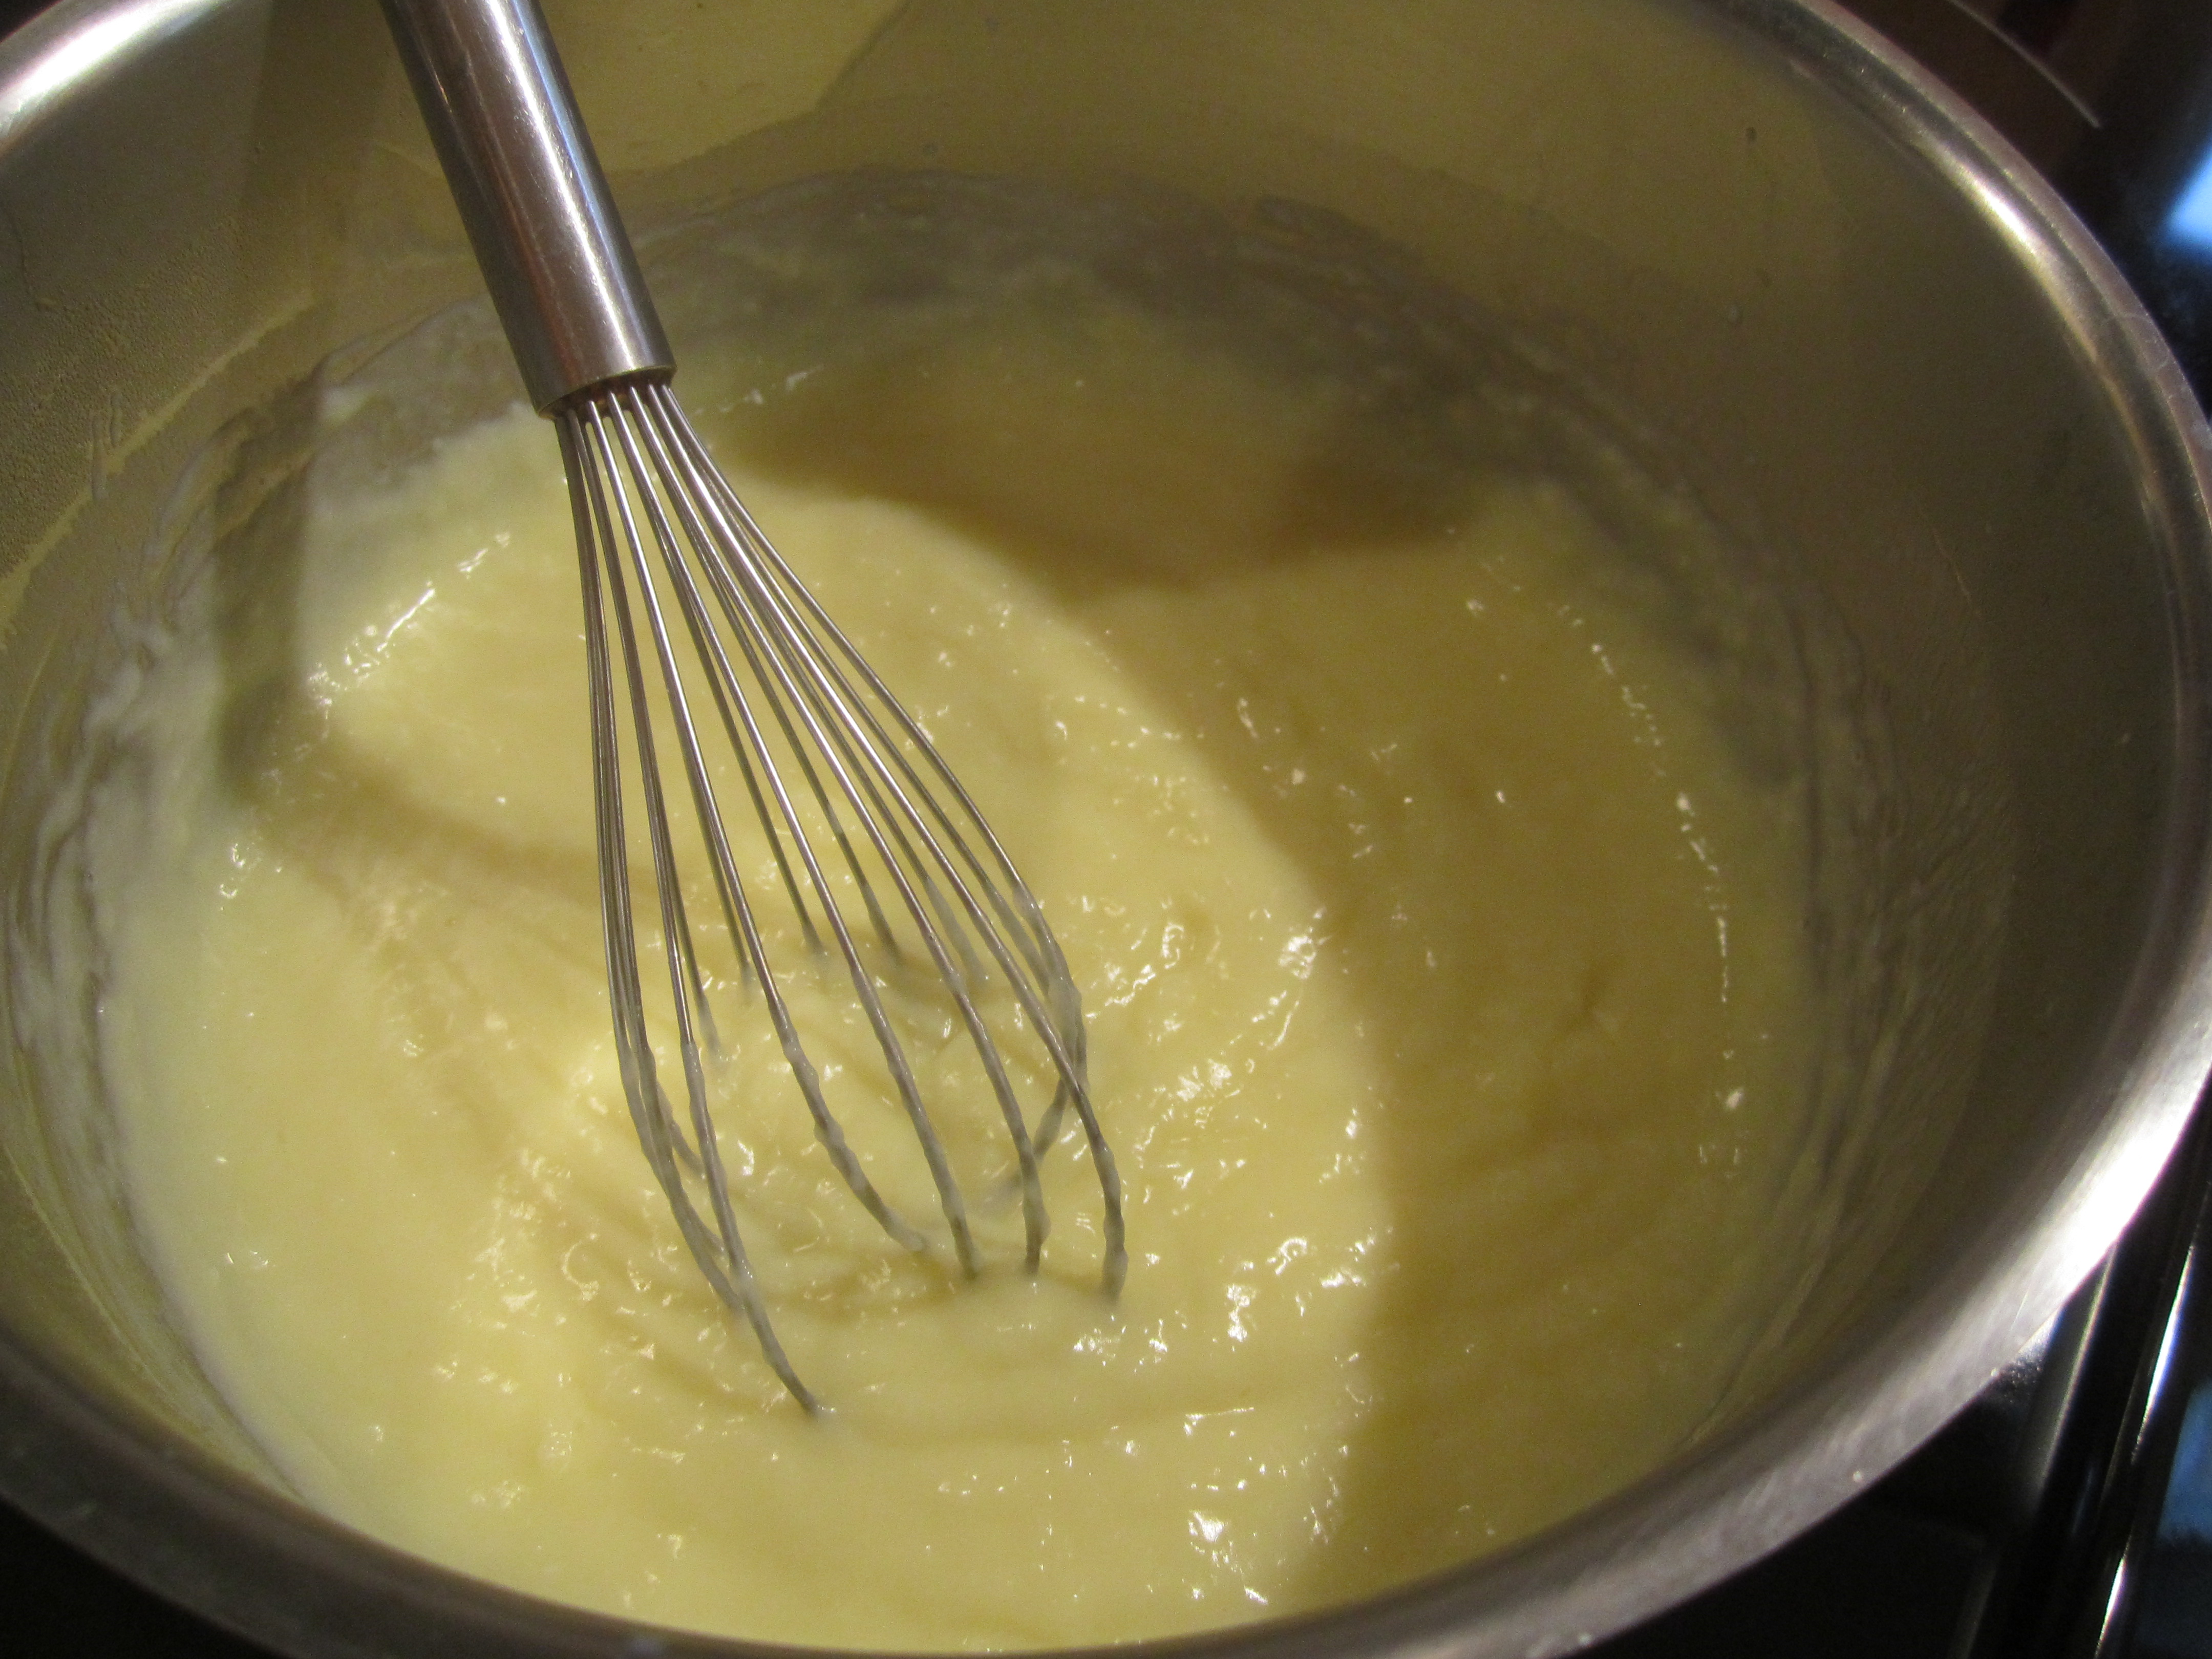
Cook custard over medium or medium/low heat, whisking often, until thick. Boil for 1 minute, whisking constantly. Remove from heat.
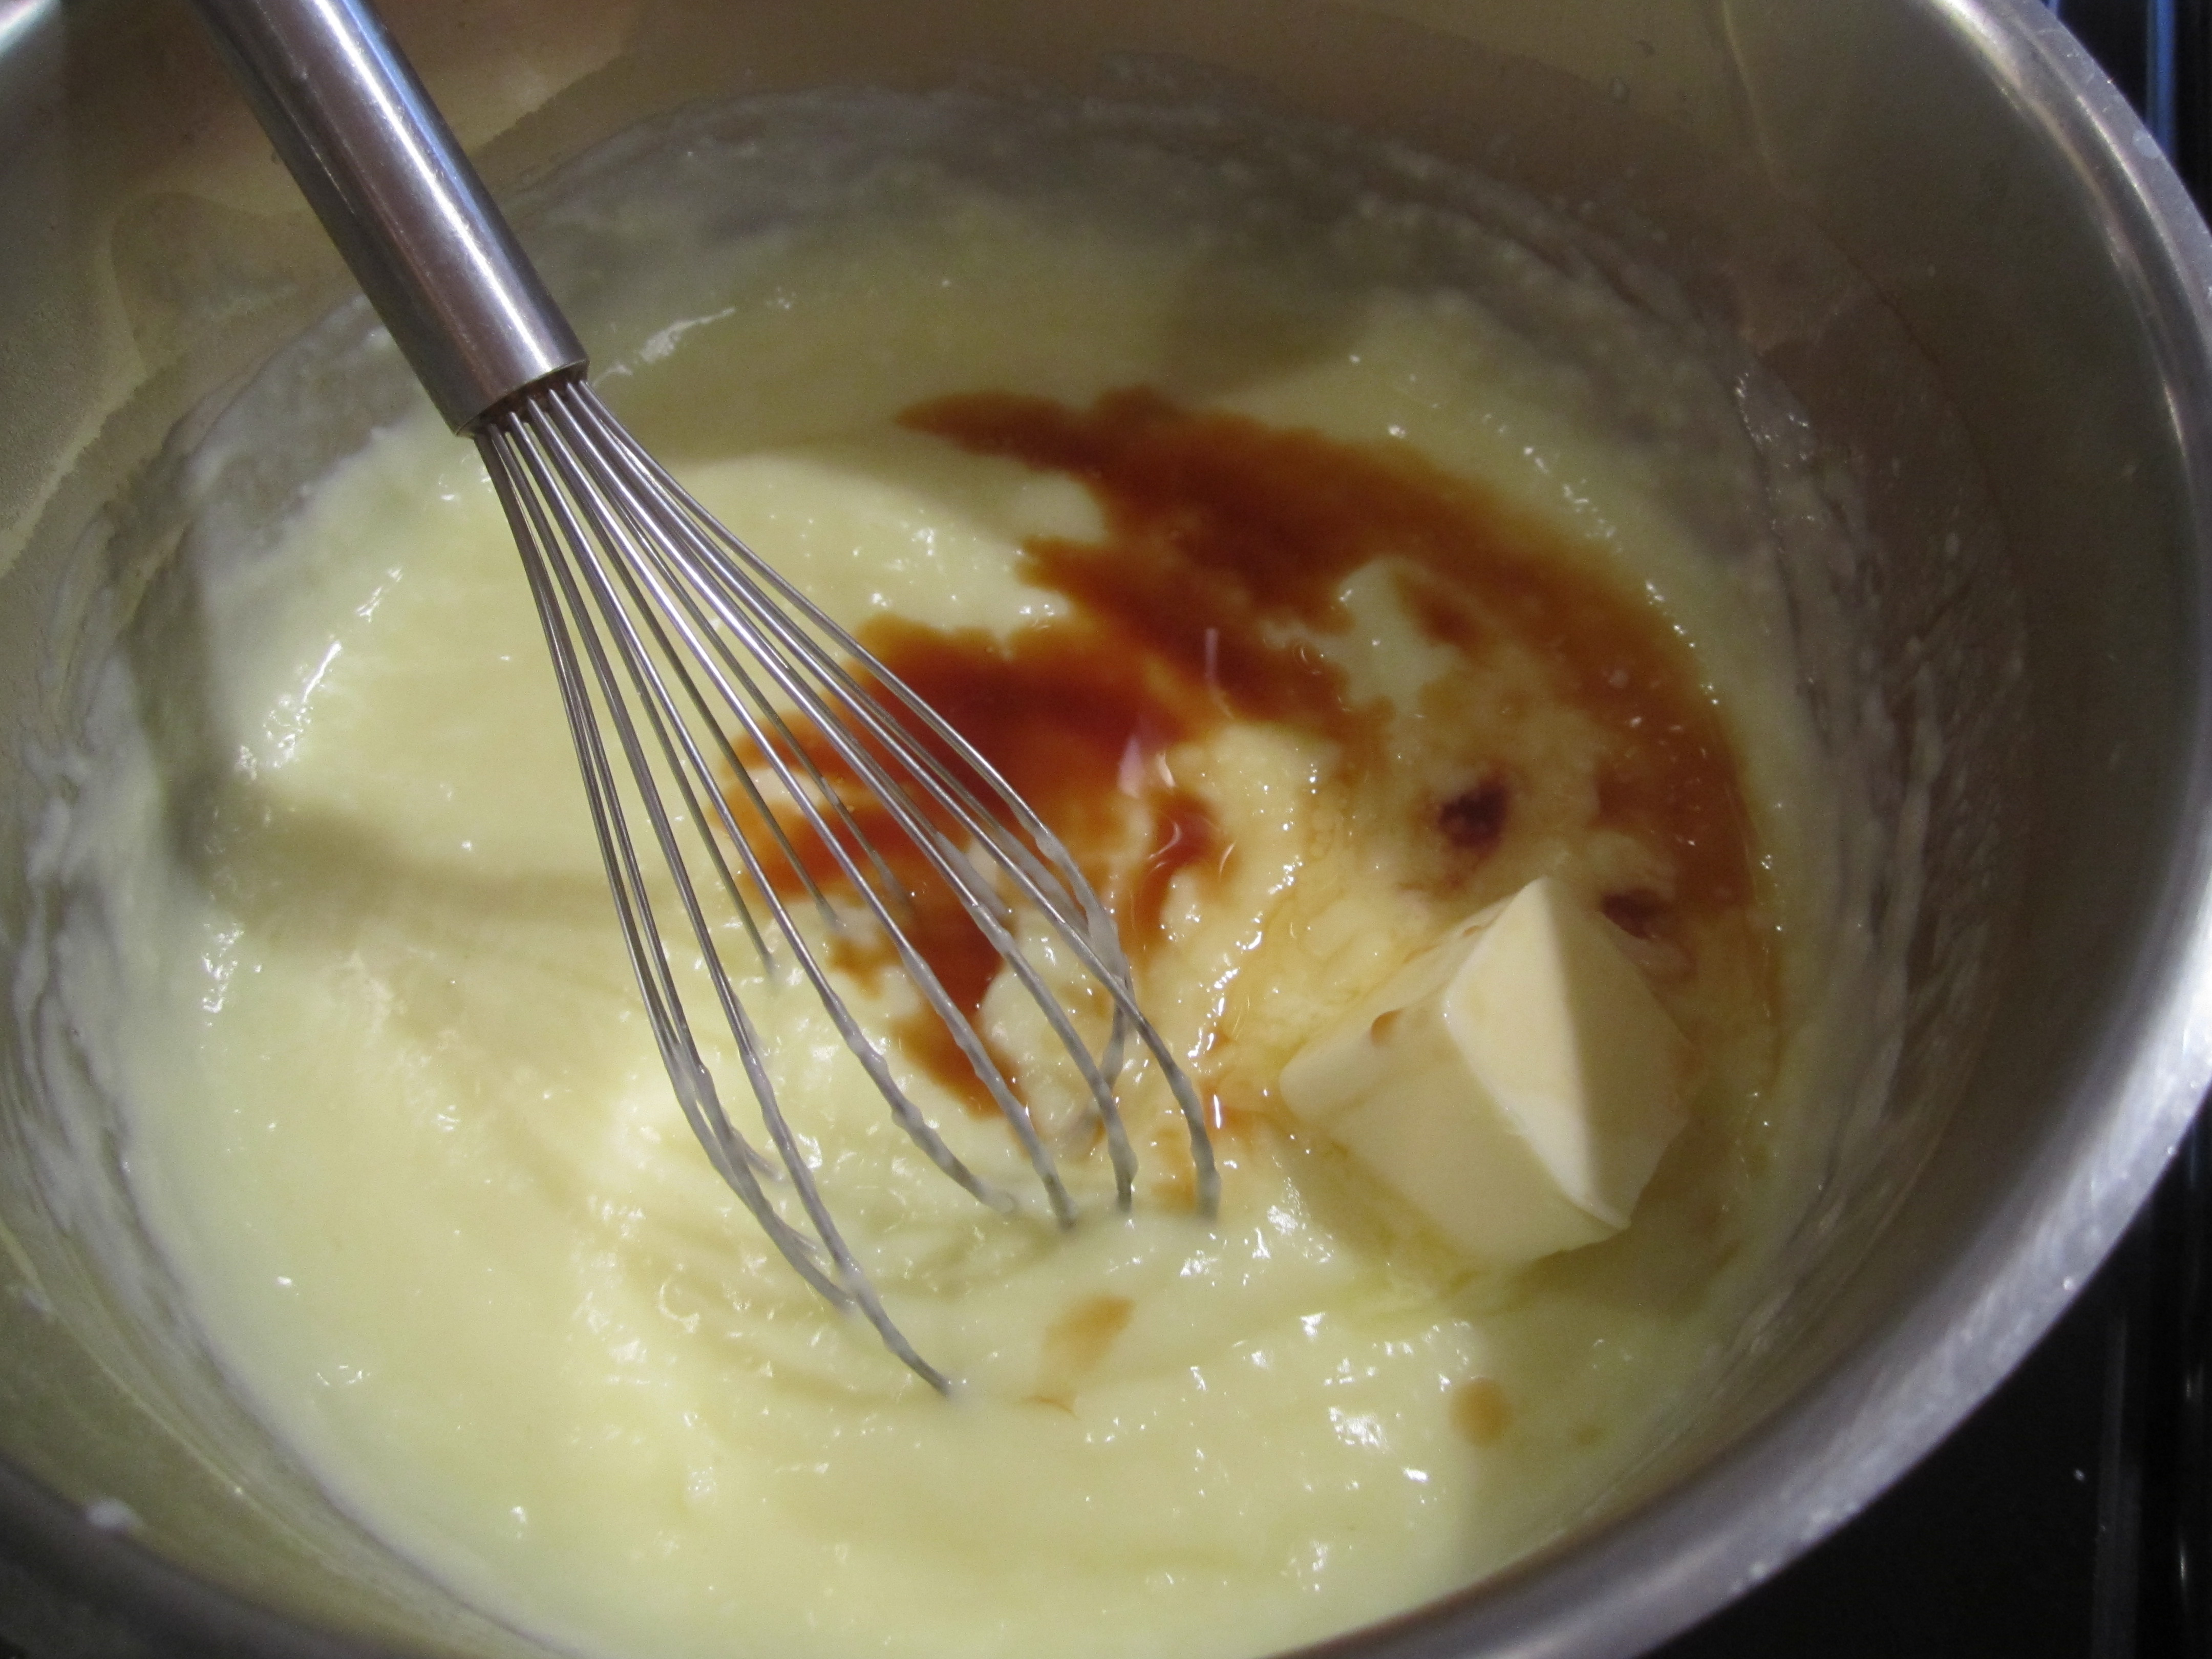
Add butter and vanilla and whisk until thoroughly combine, making sure the butter has melted into the custard.
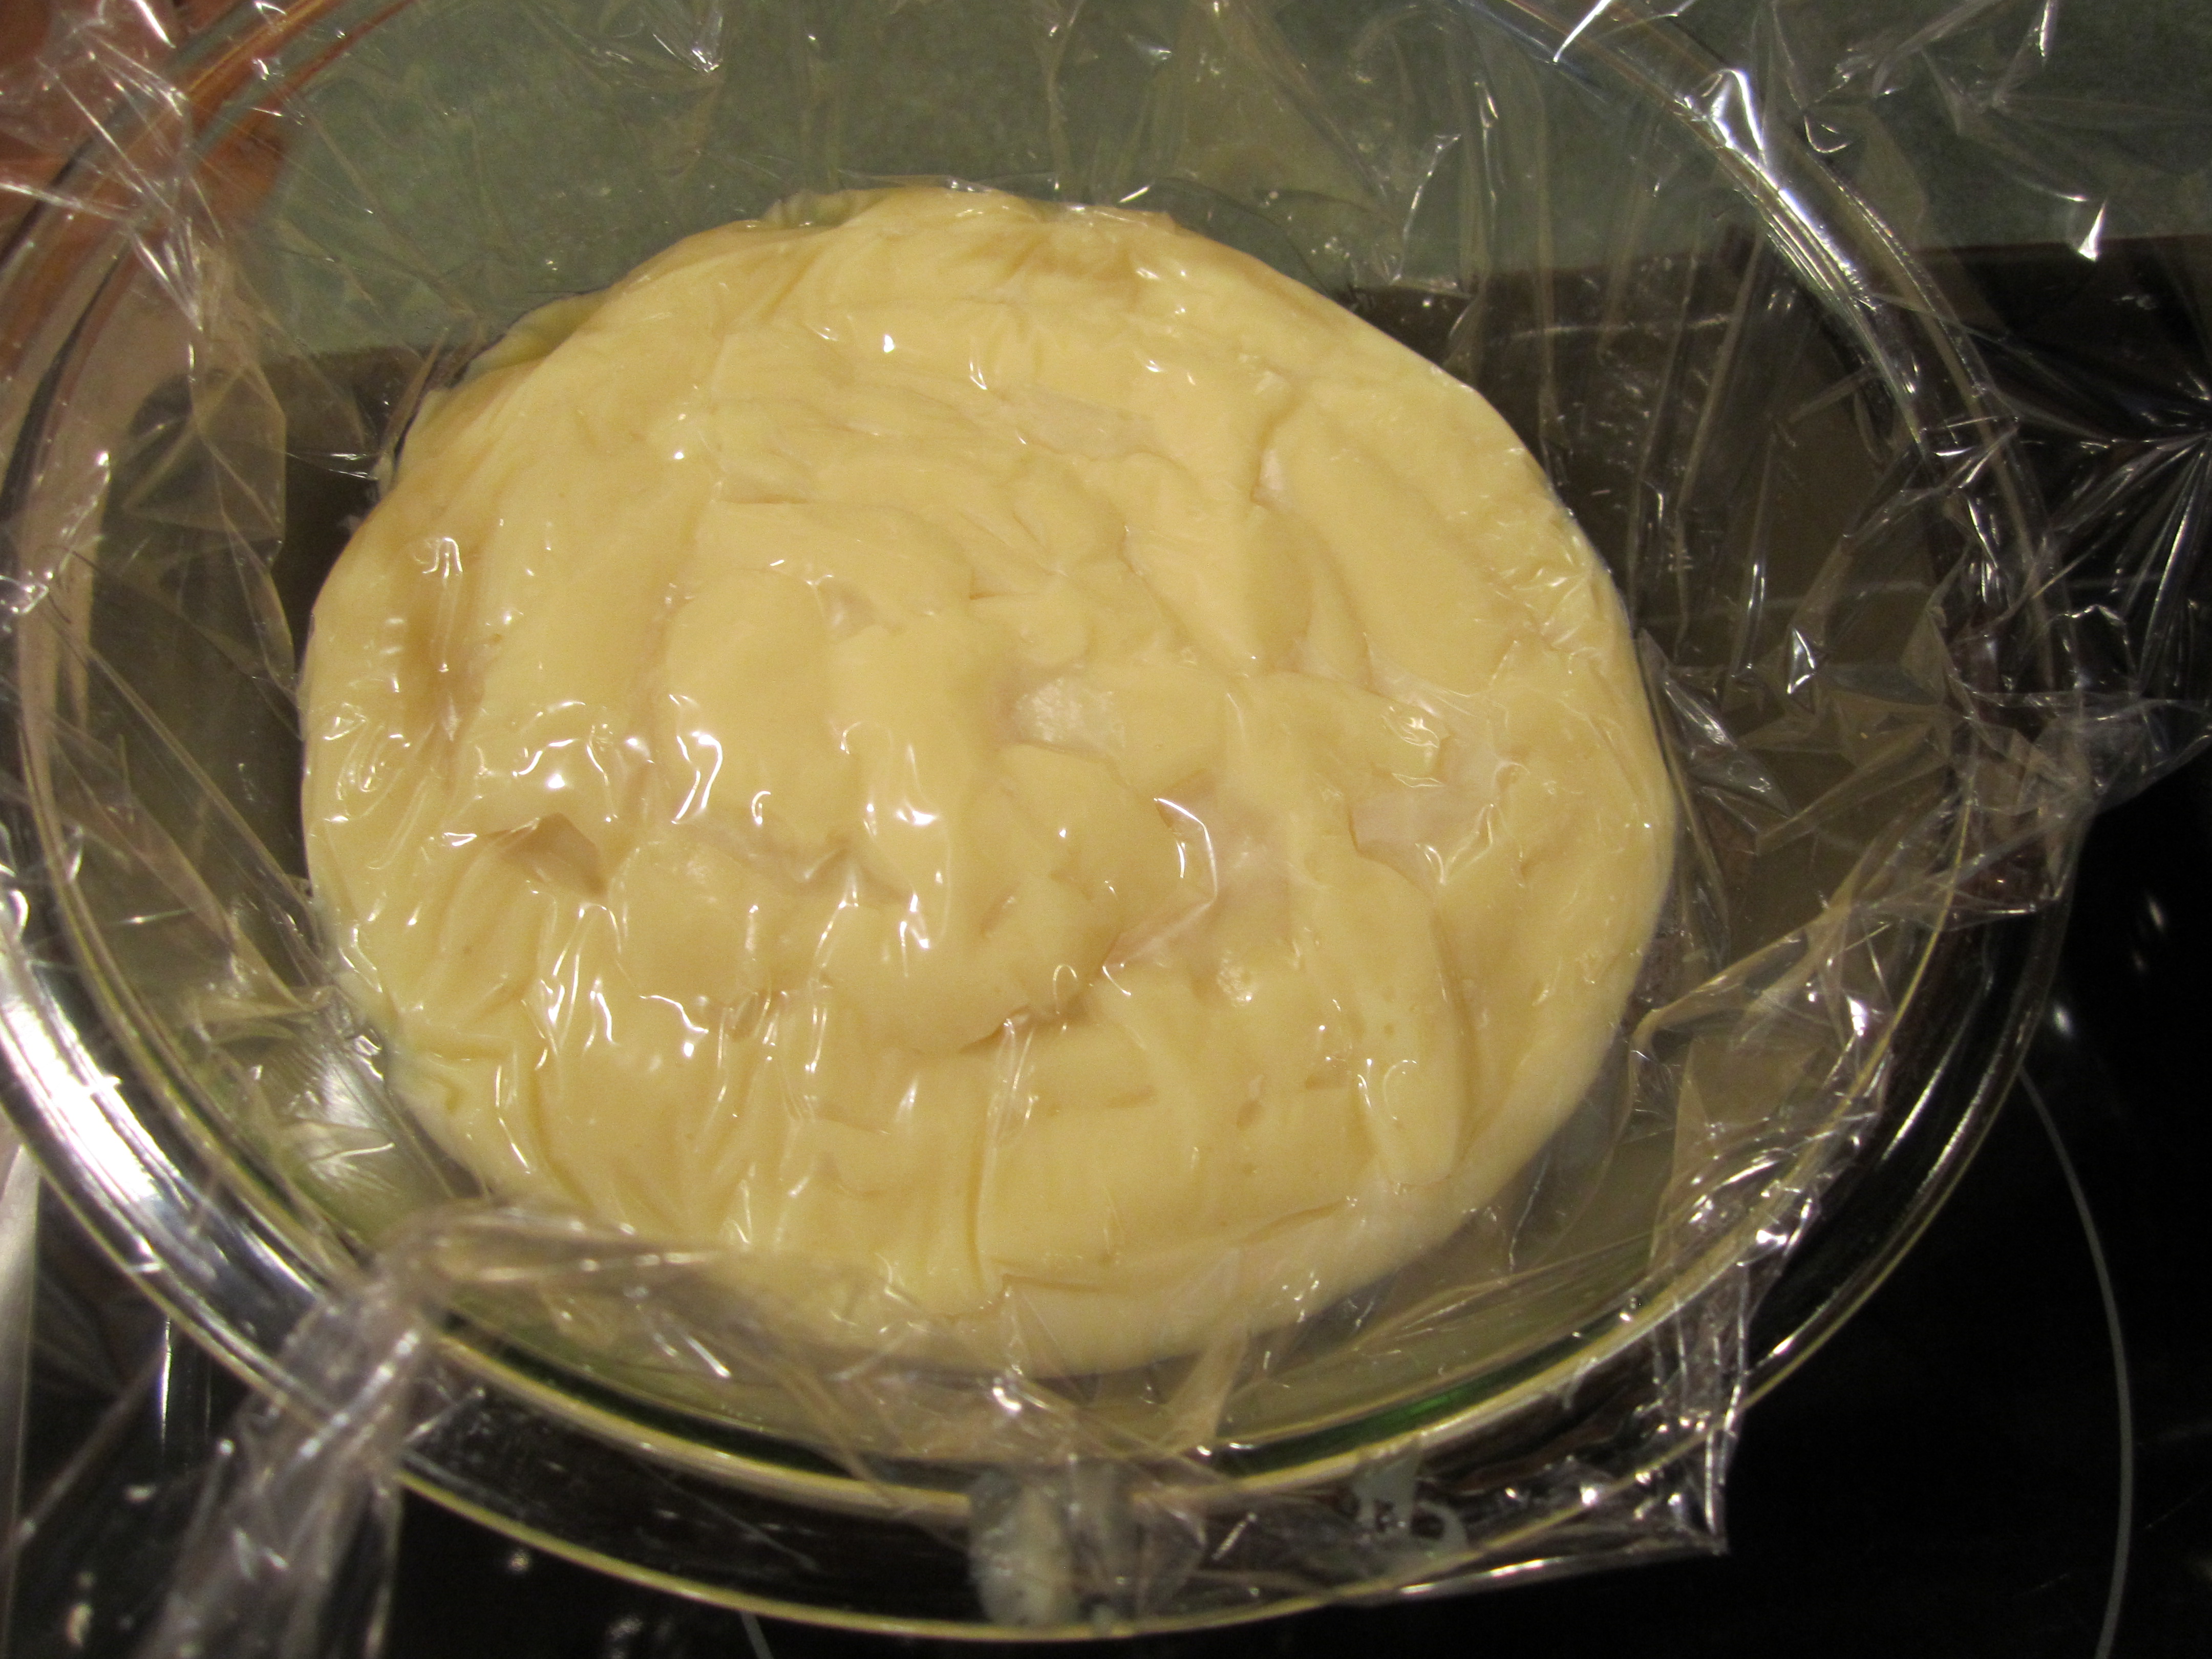
Transfer custard to a medium glass bowl, cover with plastic, pressing it onto the surface of the custard to prevent a skin from forming. Chill.
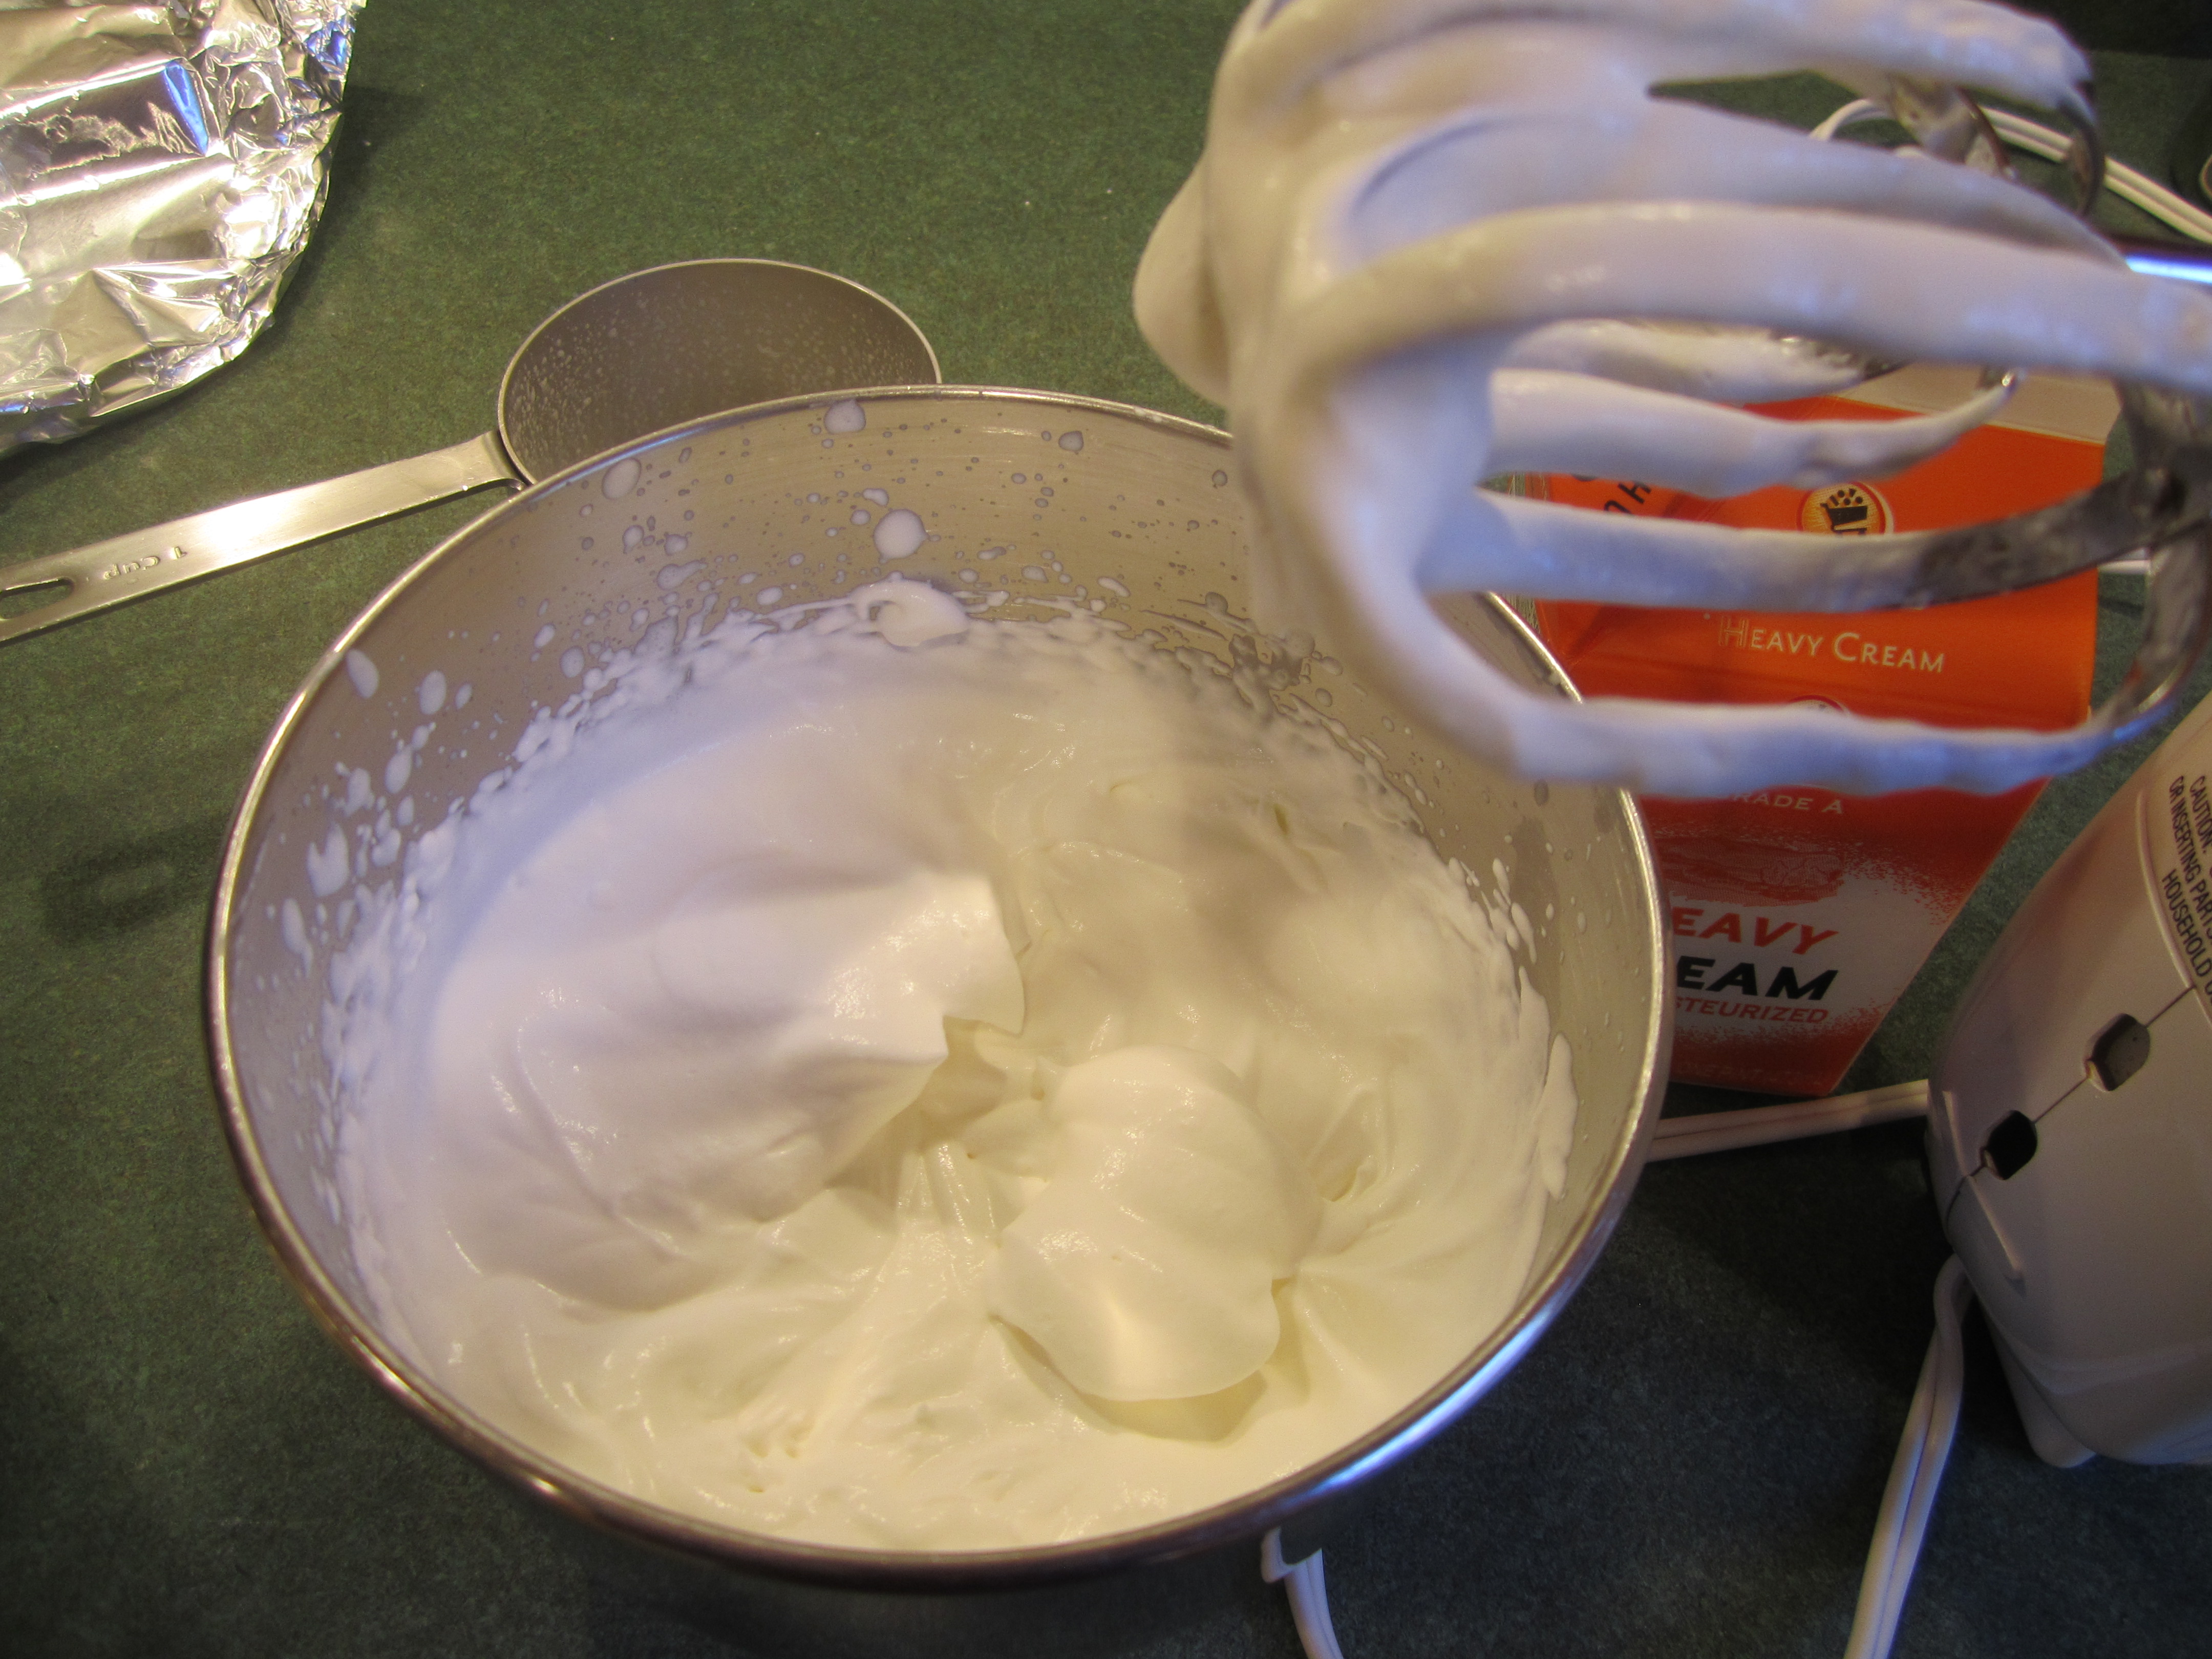
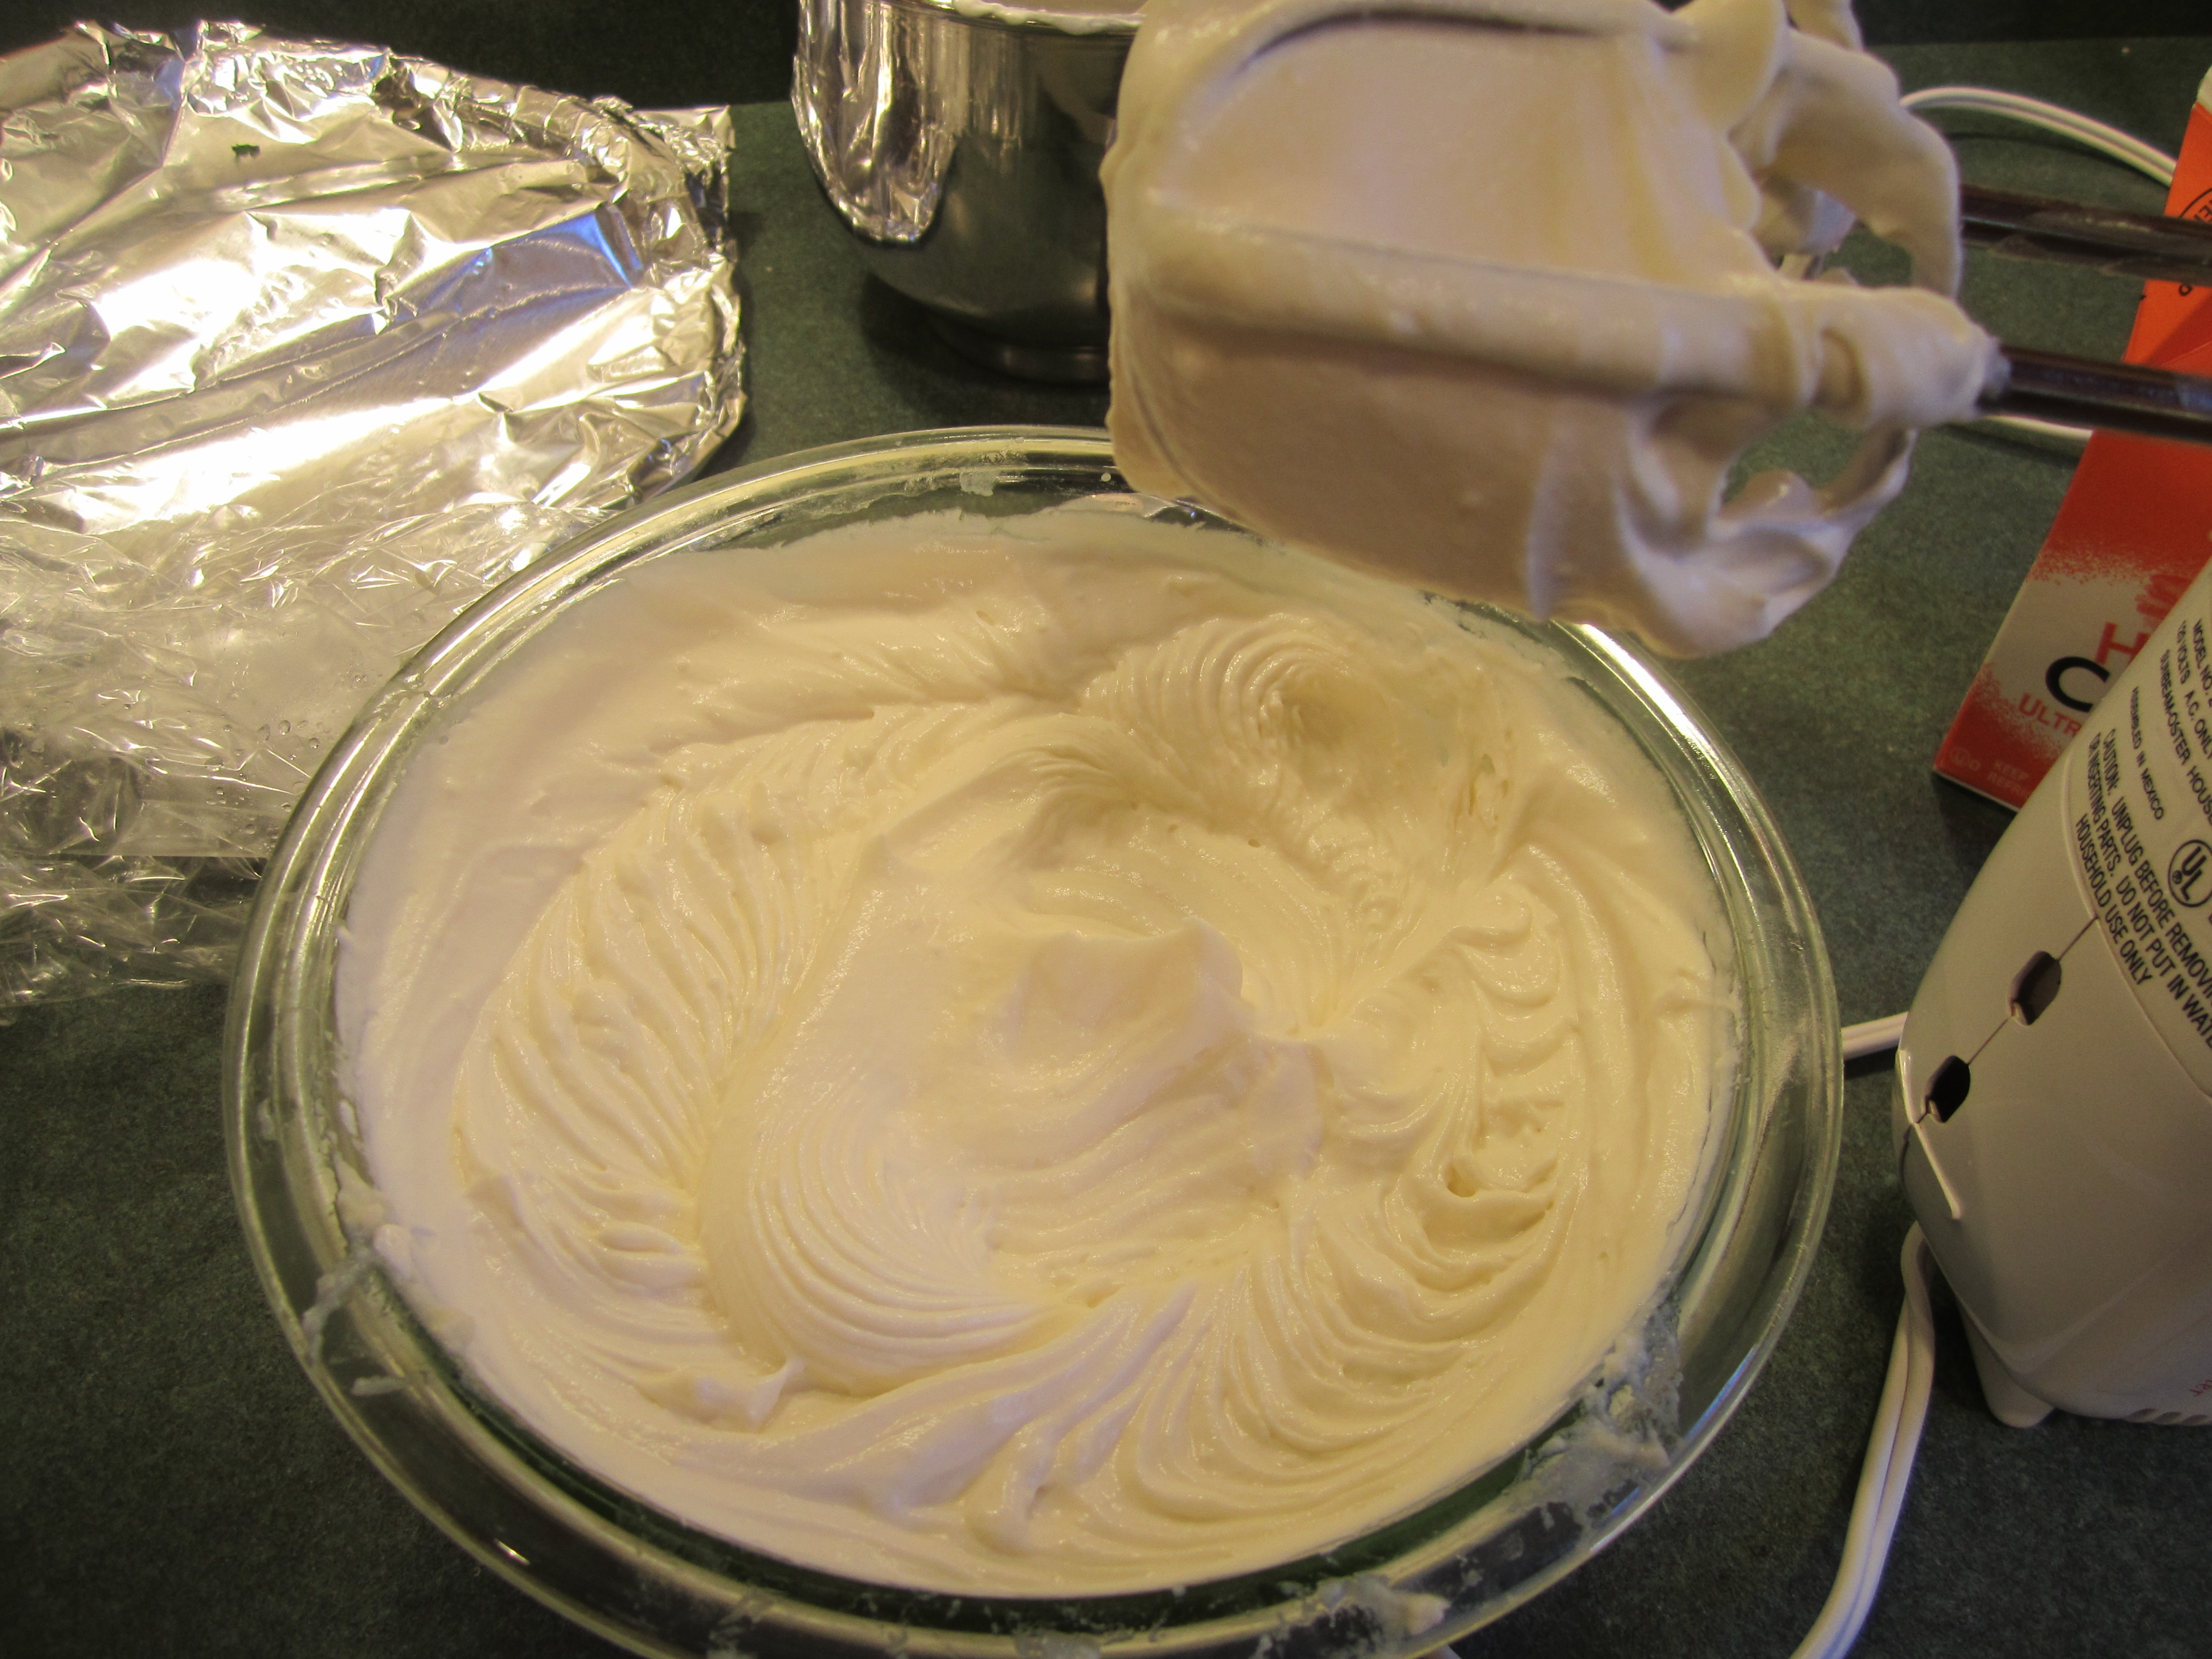
Remove custard from refrigerator. Place heavy cream into a medium bowl, beat with a hand mixer until soft peaks form , add to the vanilla pastry cream and stir together. Take hand mixer and beat together on low until thoroughly combined and smooth.
Ganache (or chocolate glaze)
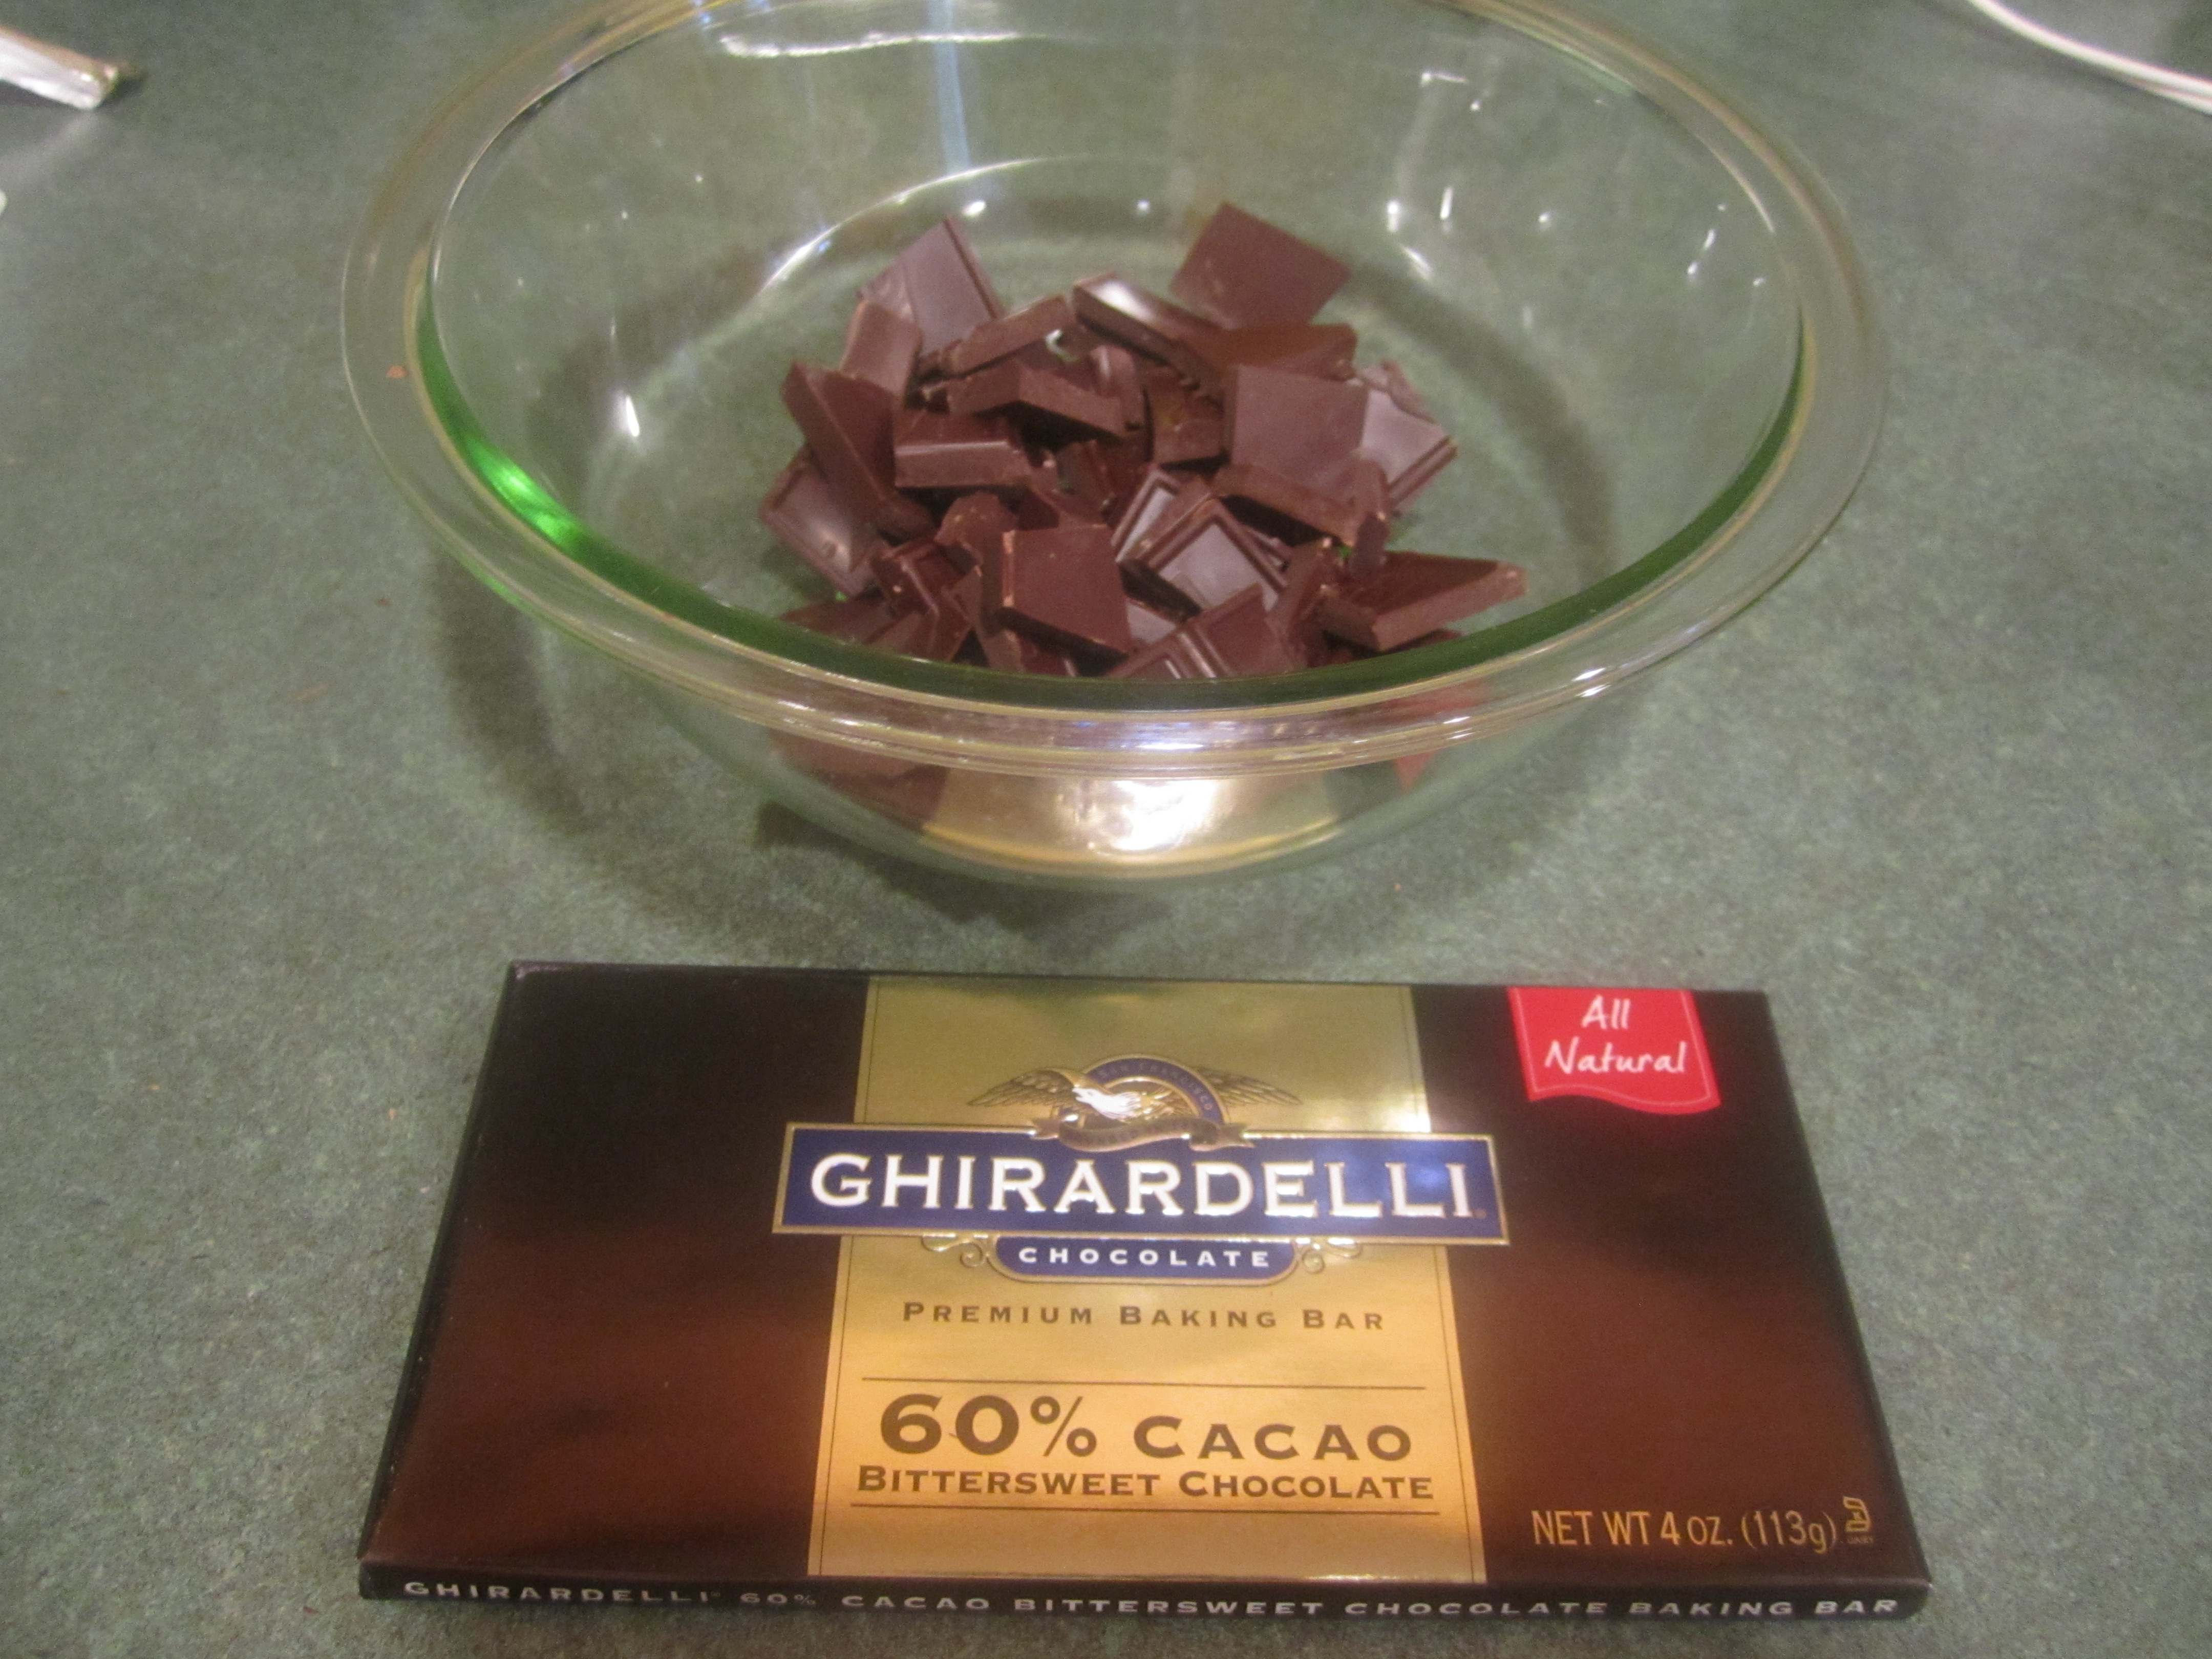
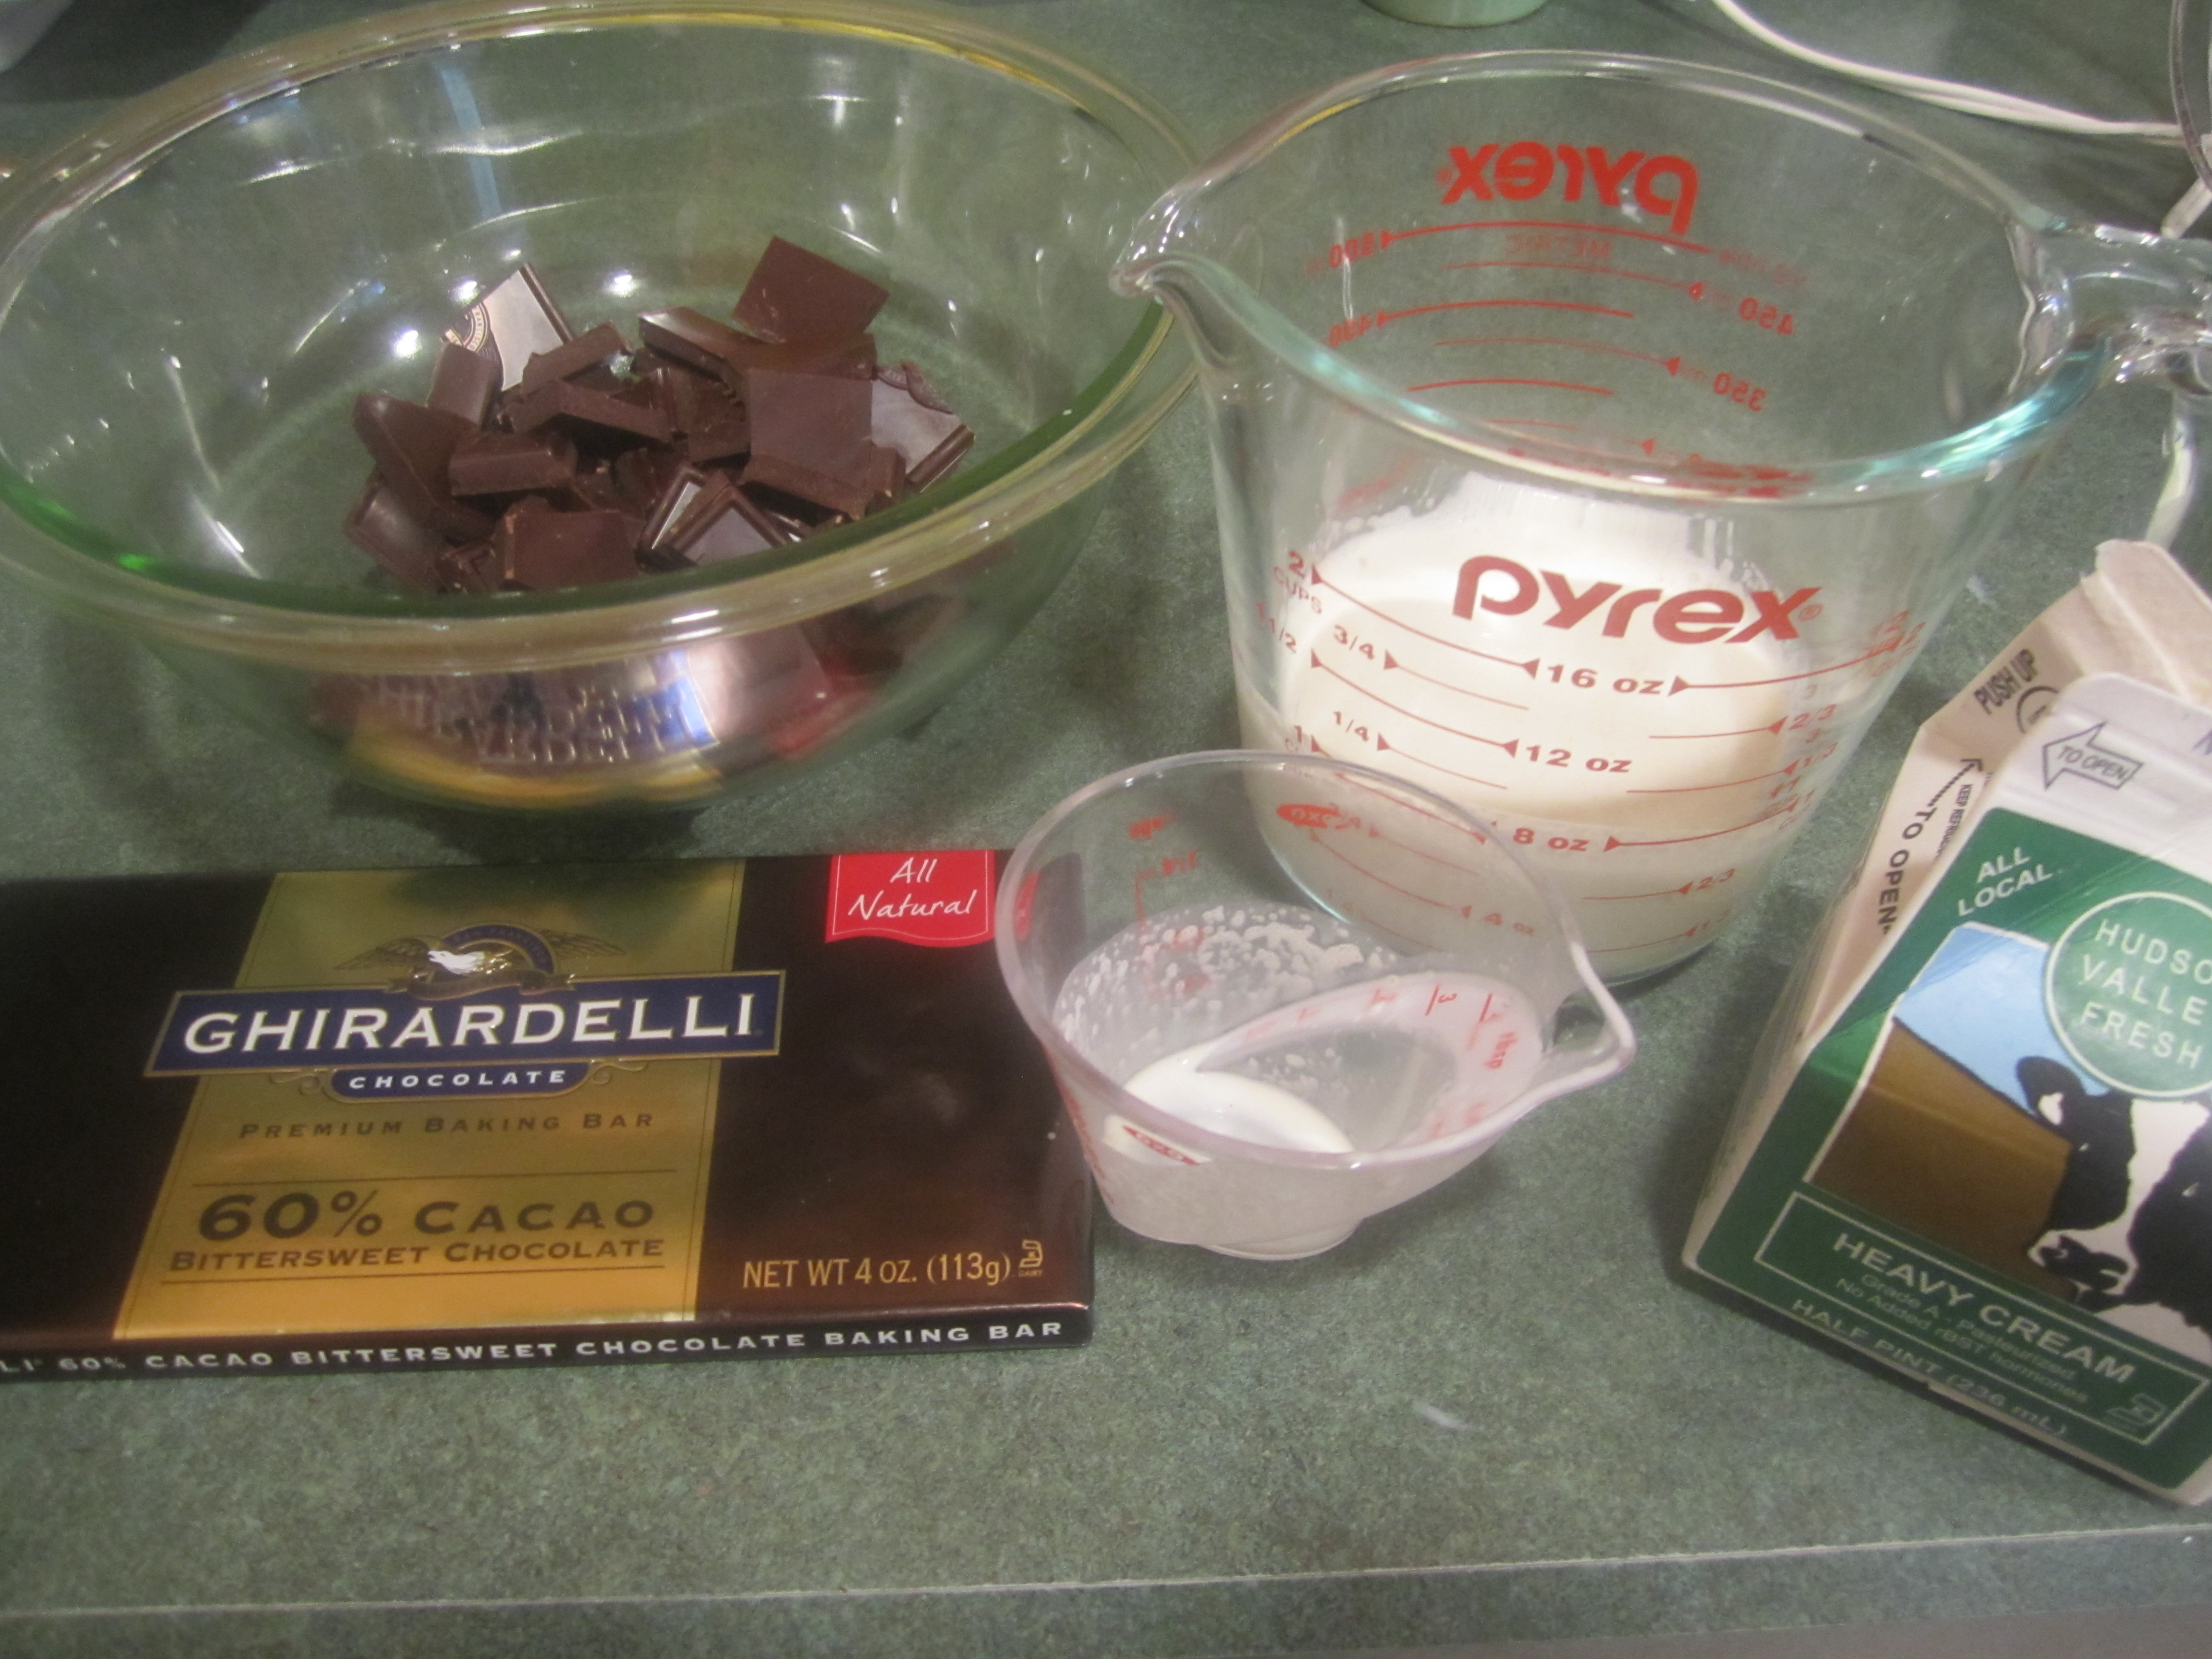
6 ounces of bittersweet or semi-sweet chocolate (Ghirardelli is my favorite. Do not use chips)
1/2 cup plus 1/8 cup of heavy cream
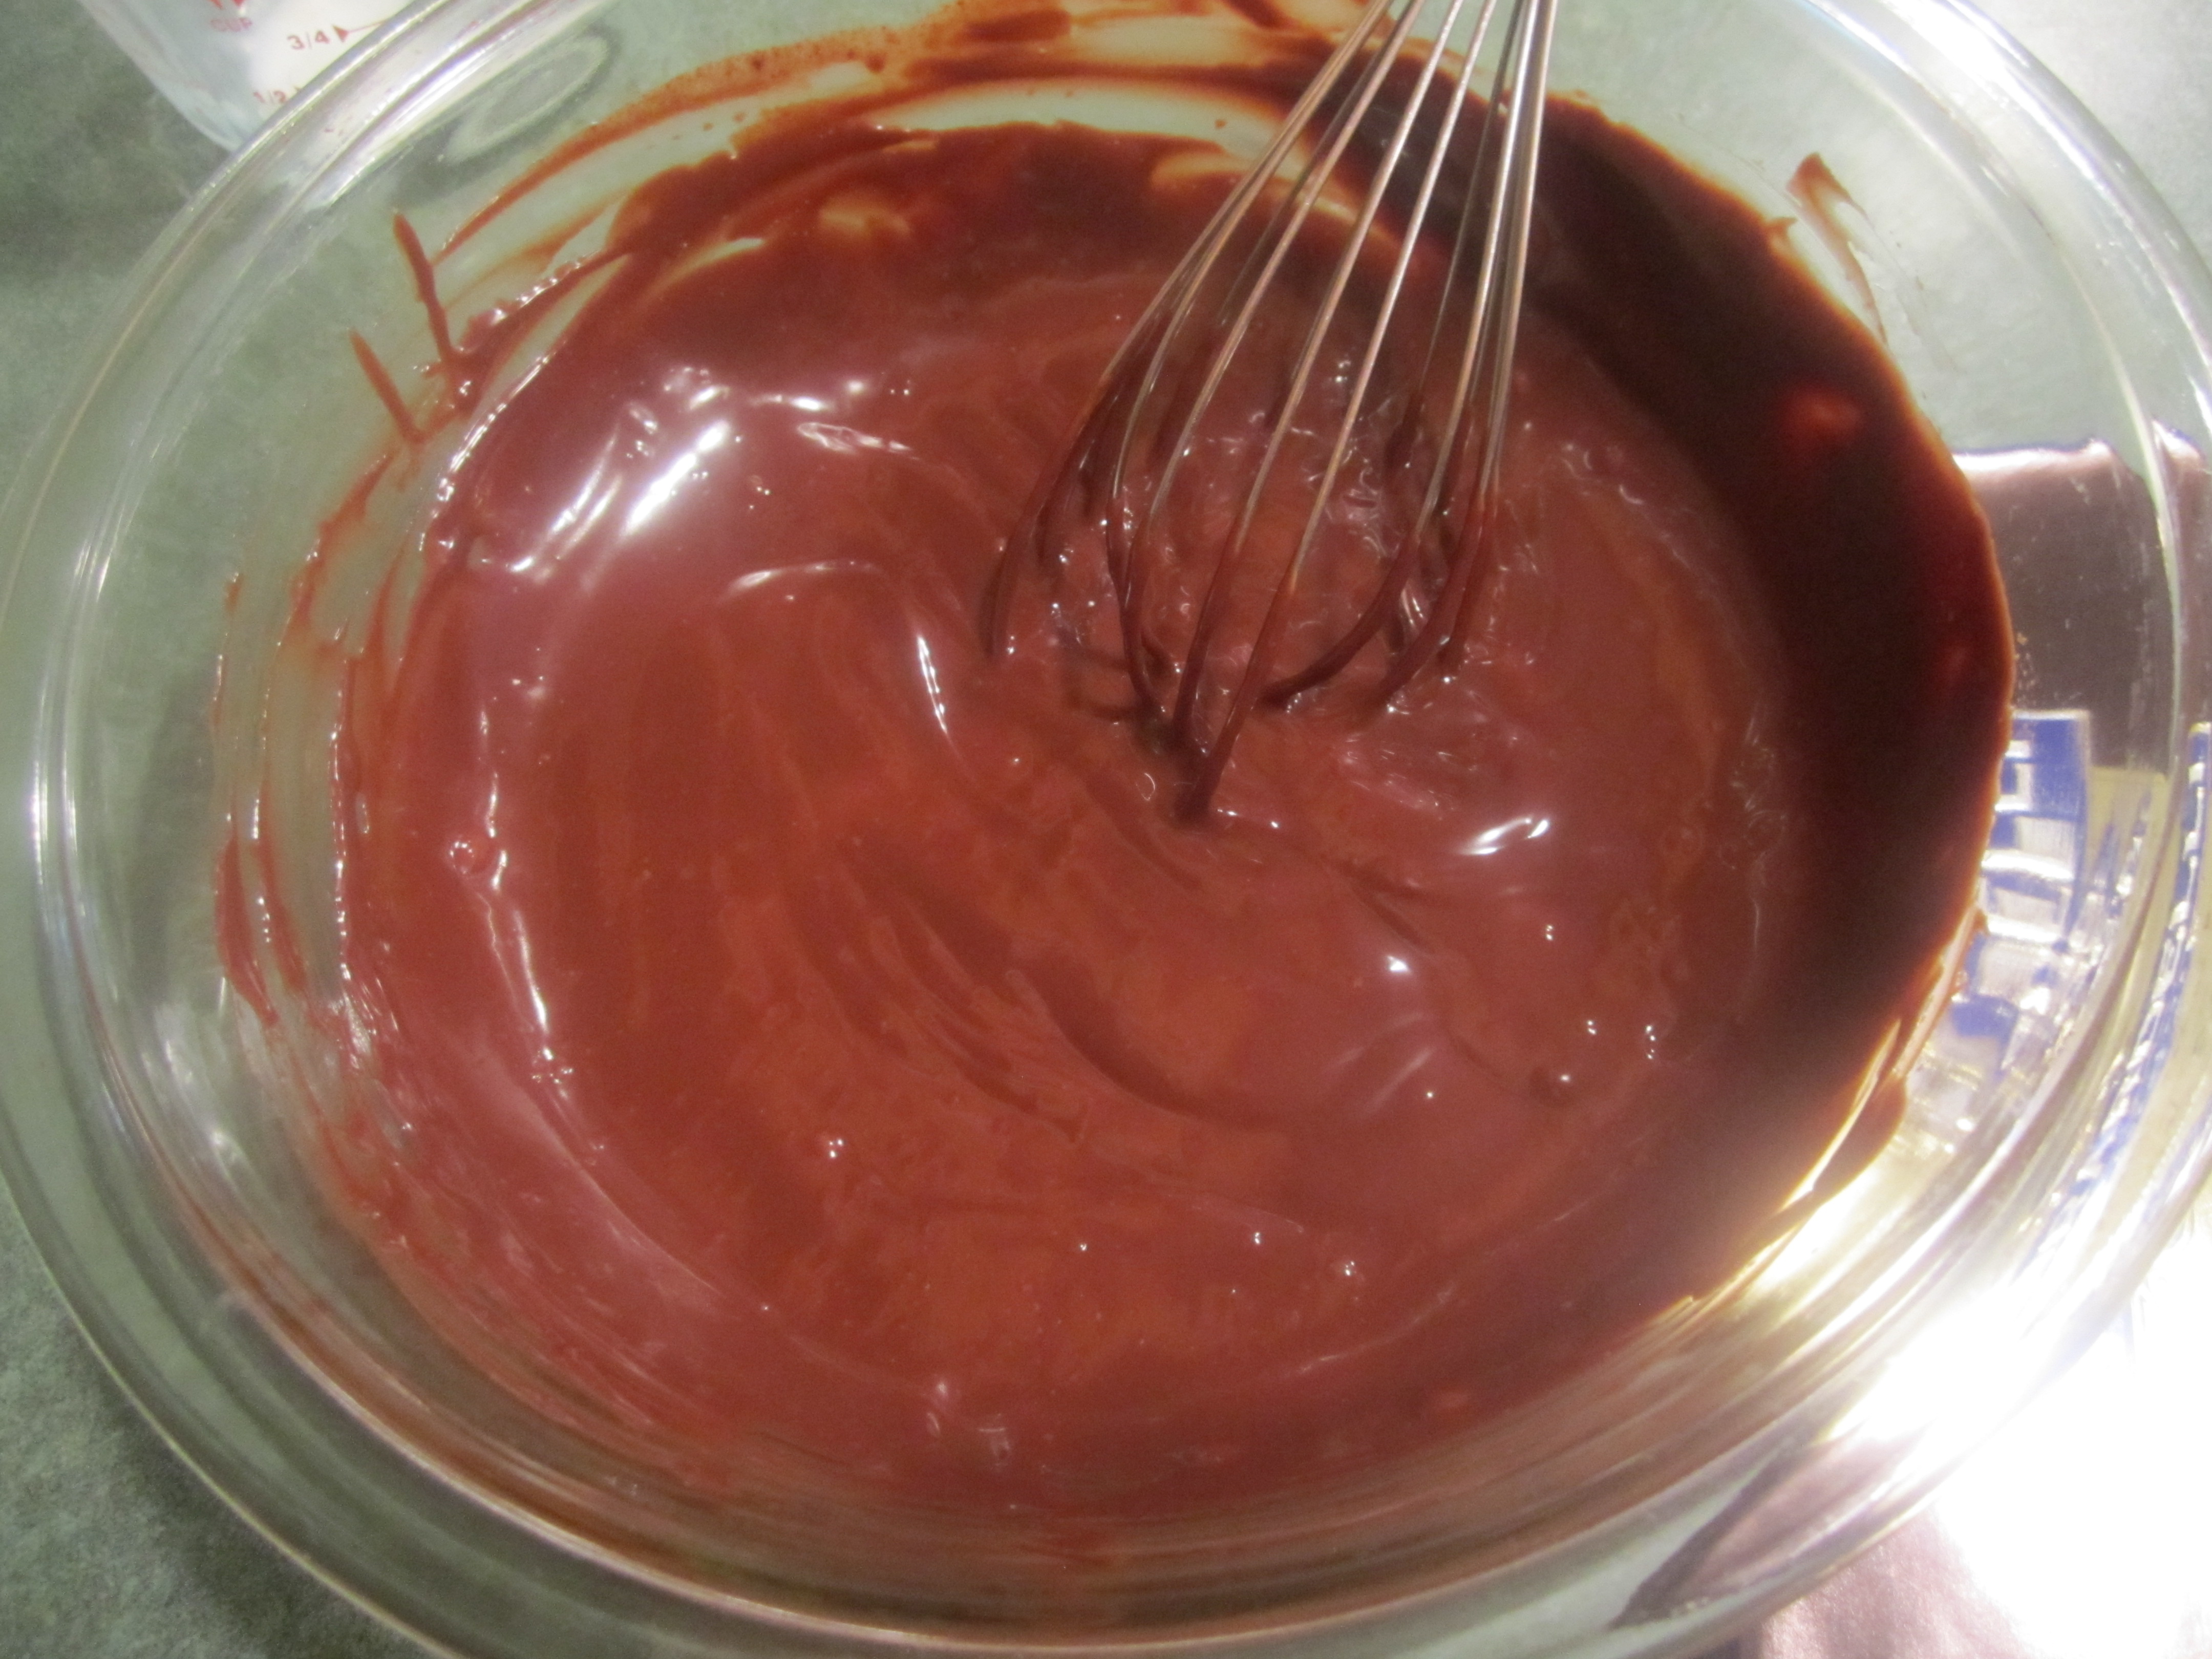
Break up chocolate into small pieces into a medium glass bowl. Heat heavy cream in a glass measuring cup in the microwave on high for 1 minute. Pour heavy cream over chocolate, making sure the chocolate is totally immersed. Let stand undisturbed for 1 minute. Whisk mixture until smooth.
Assembly
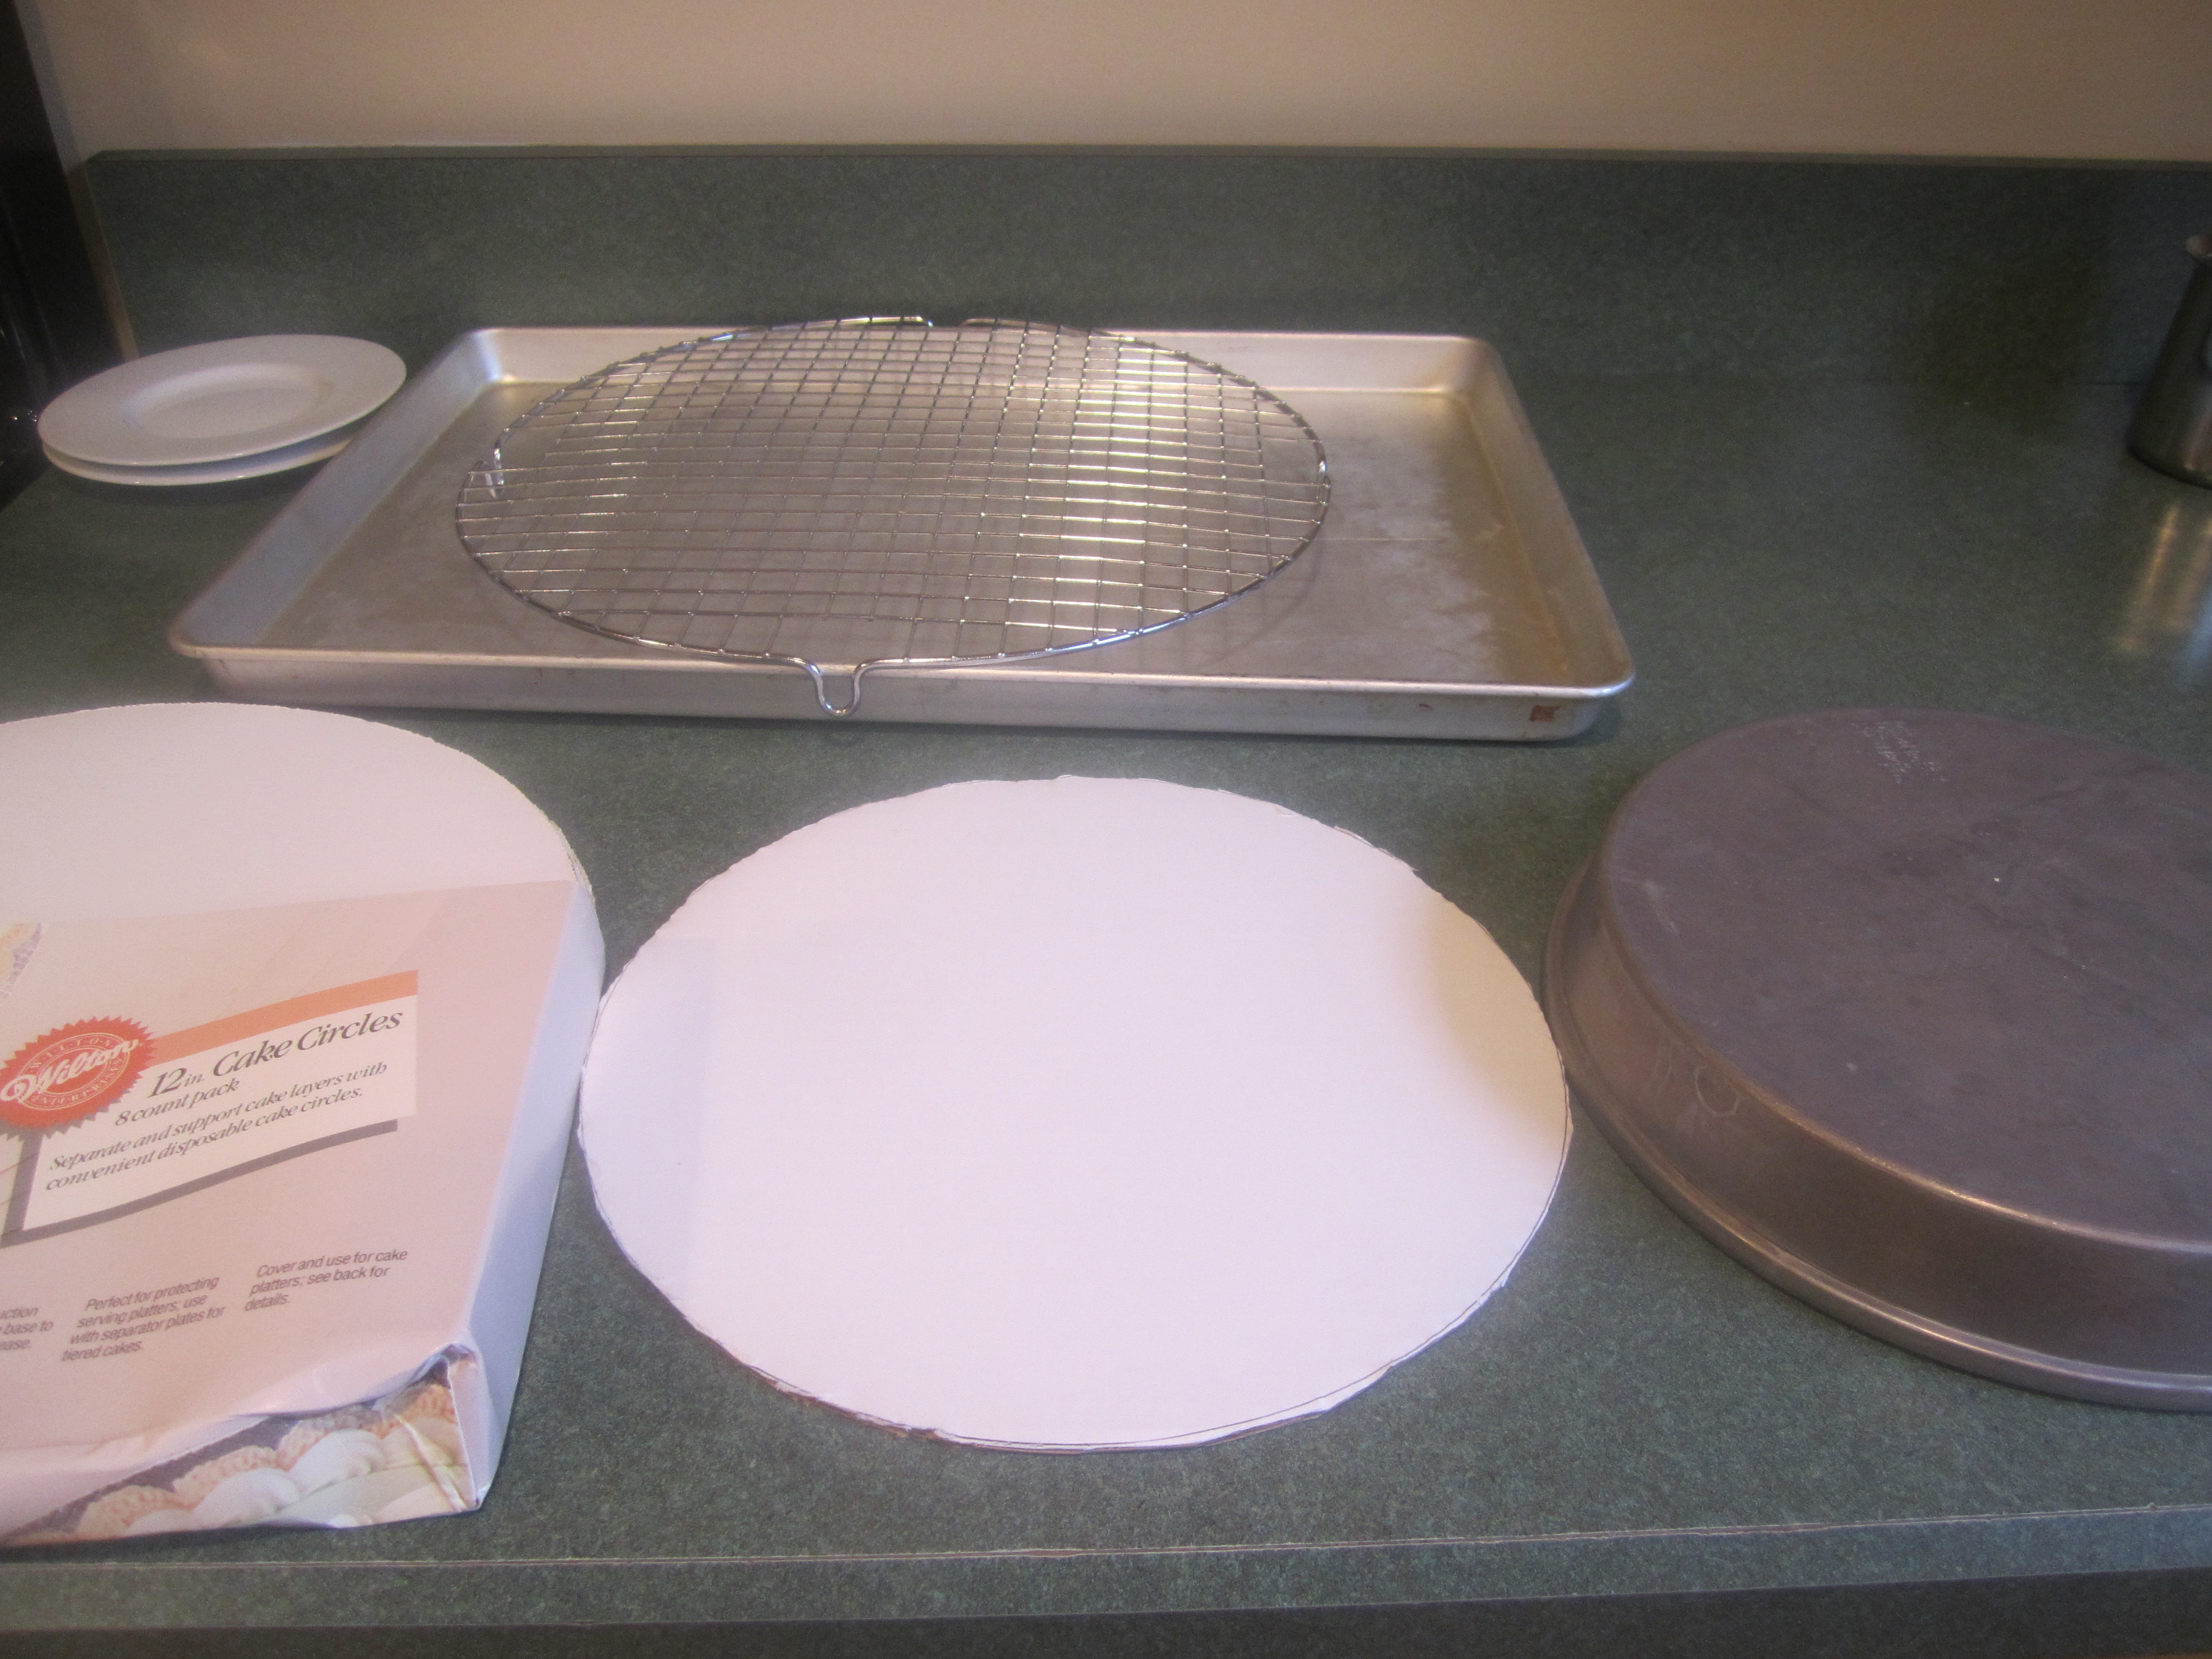
Have ready an 8 inch cardboard circle or 8 inch inverted cake pan.
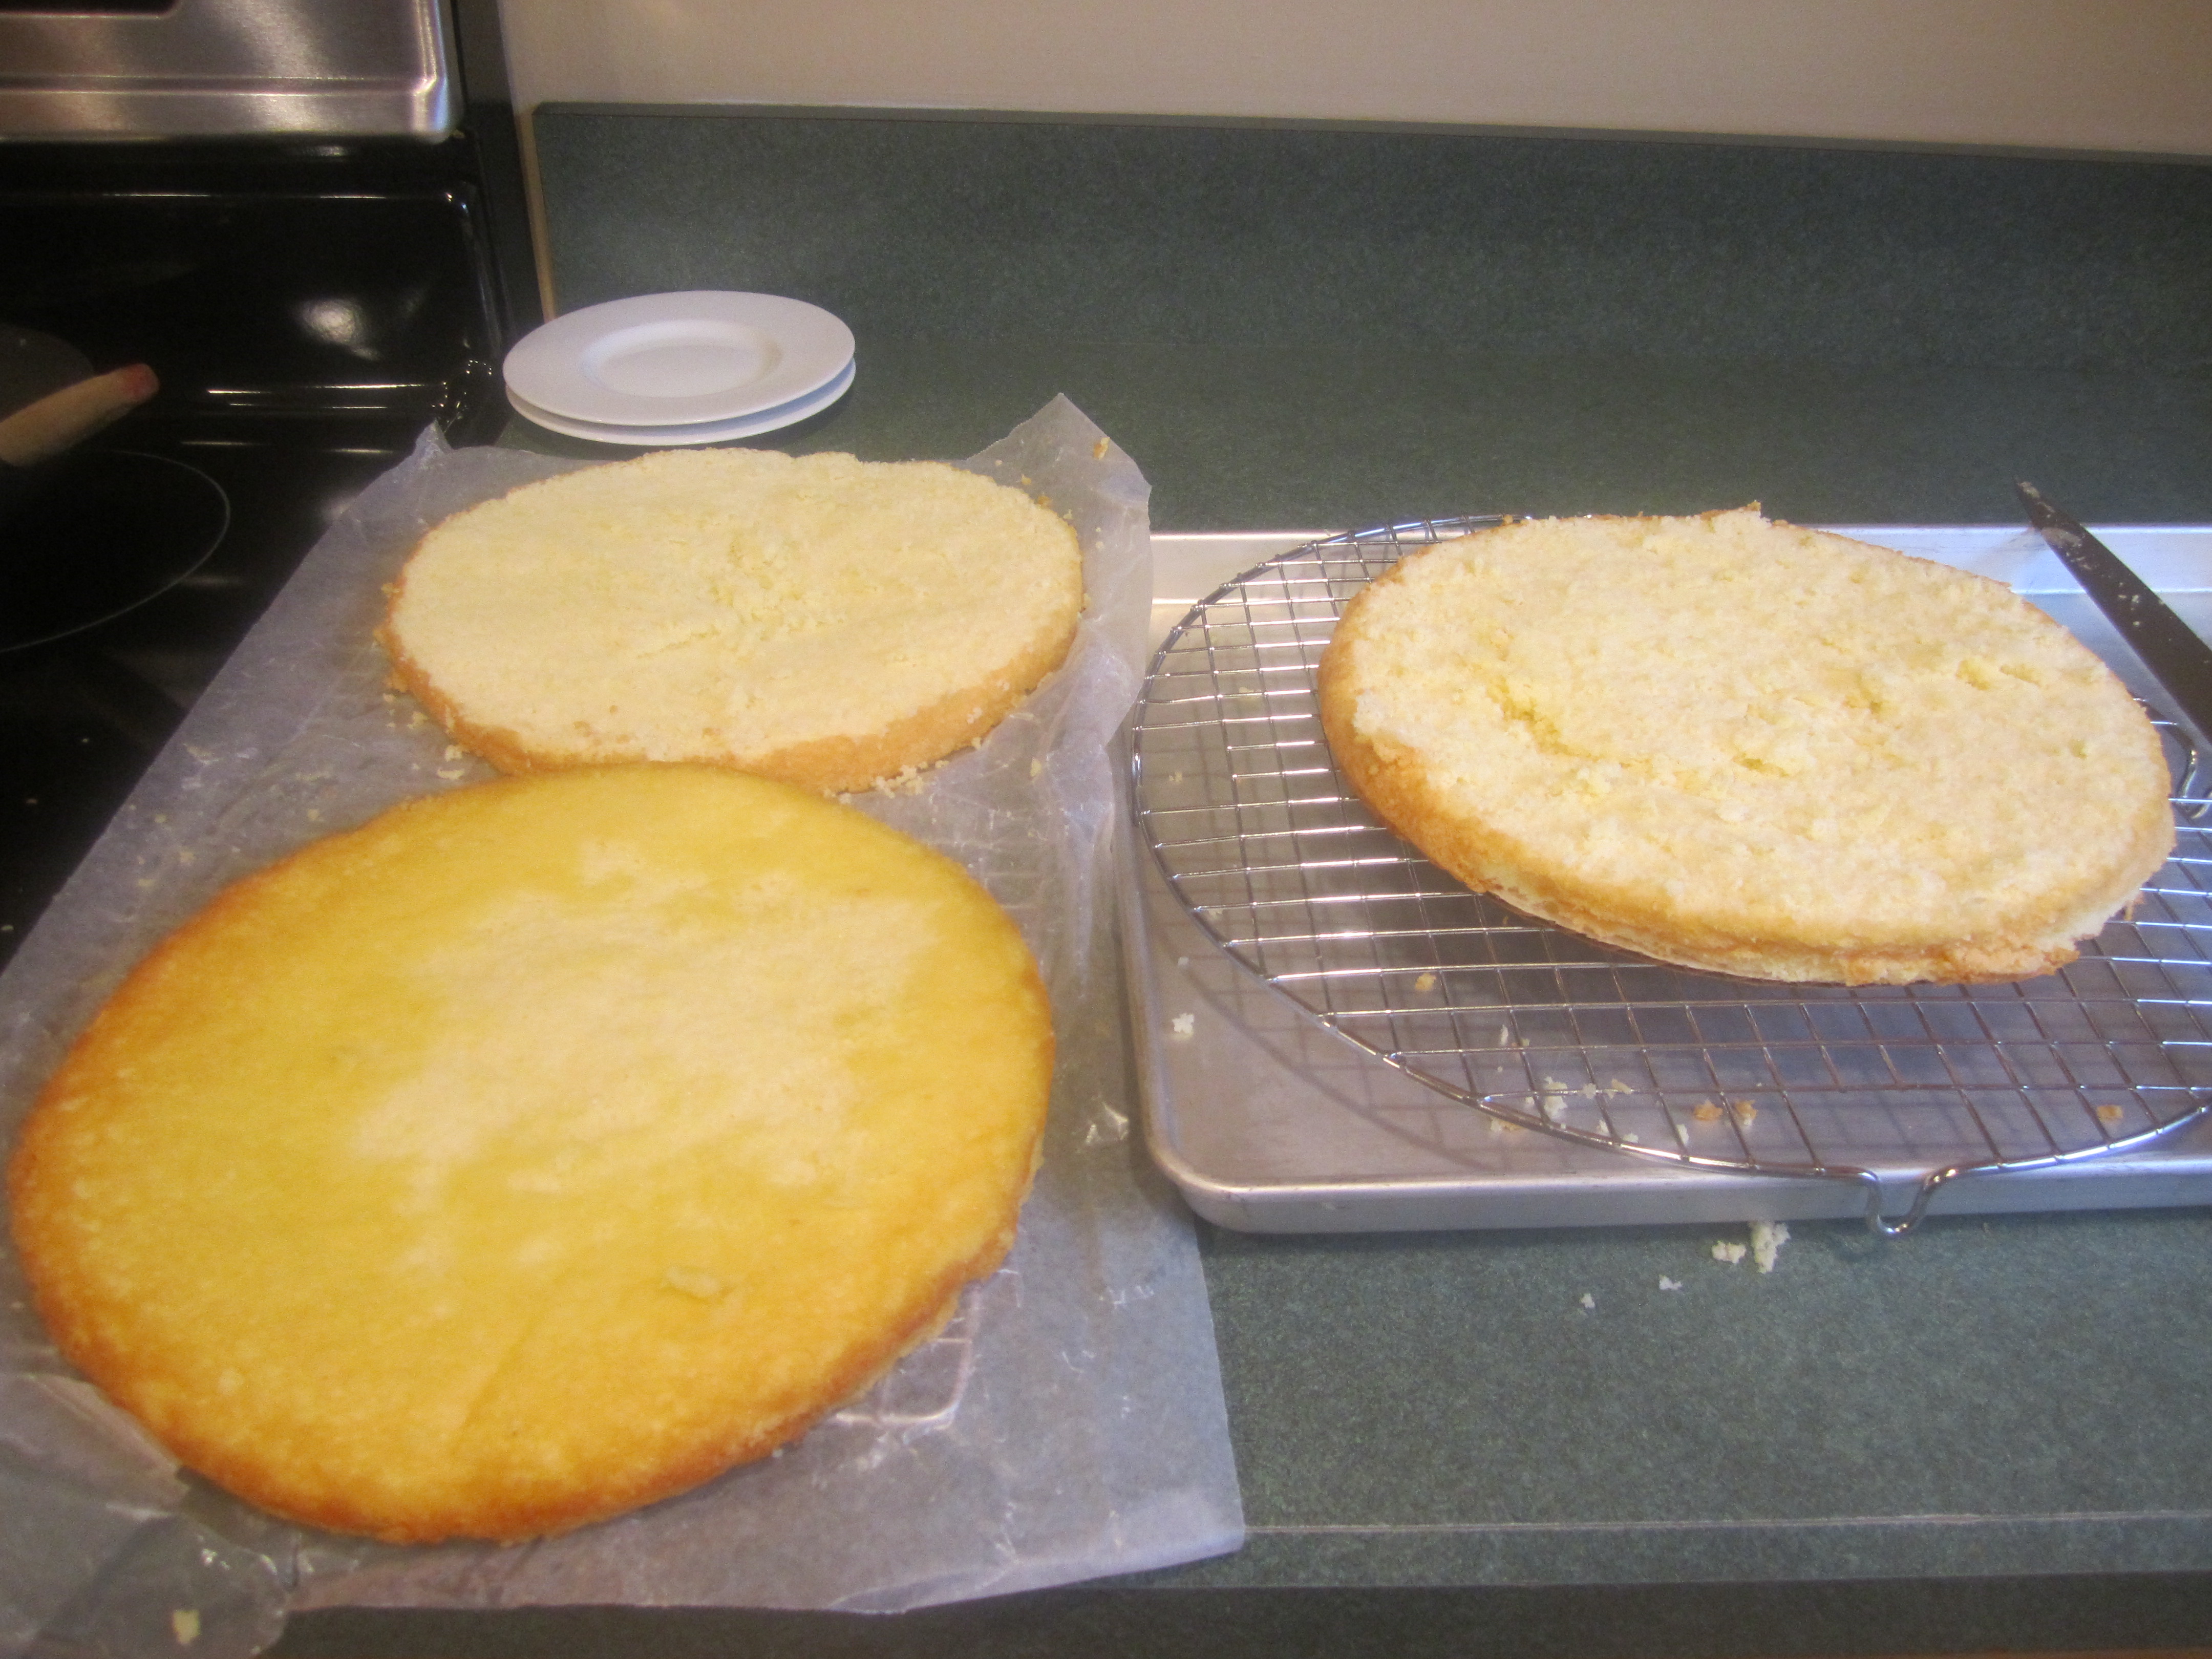
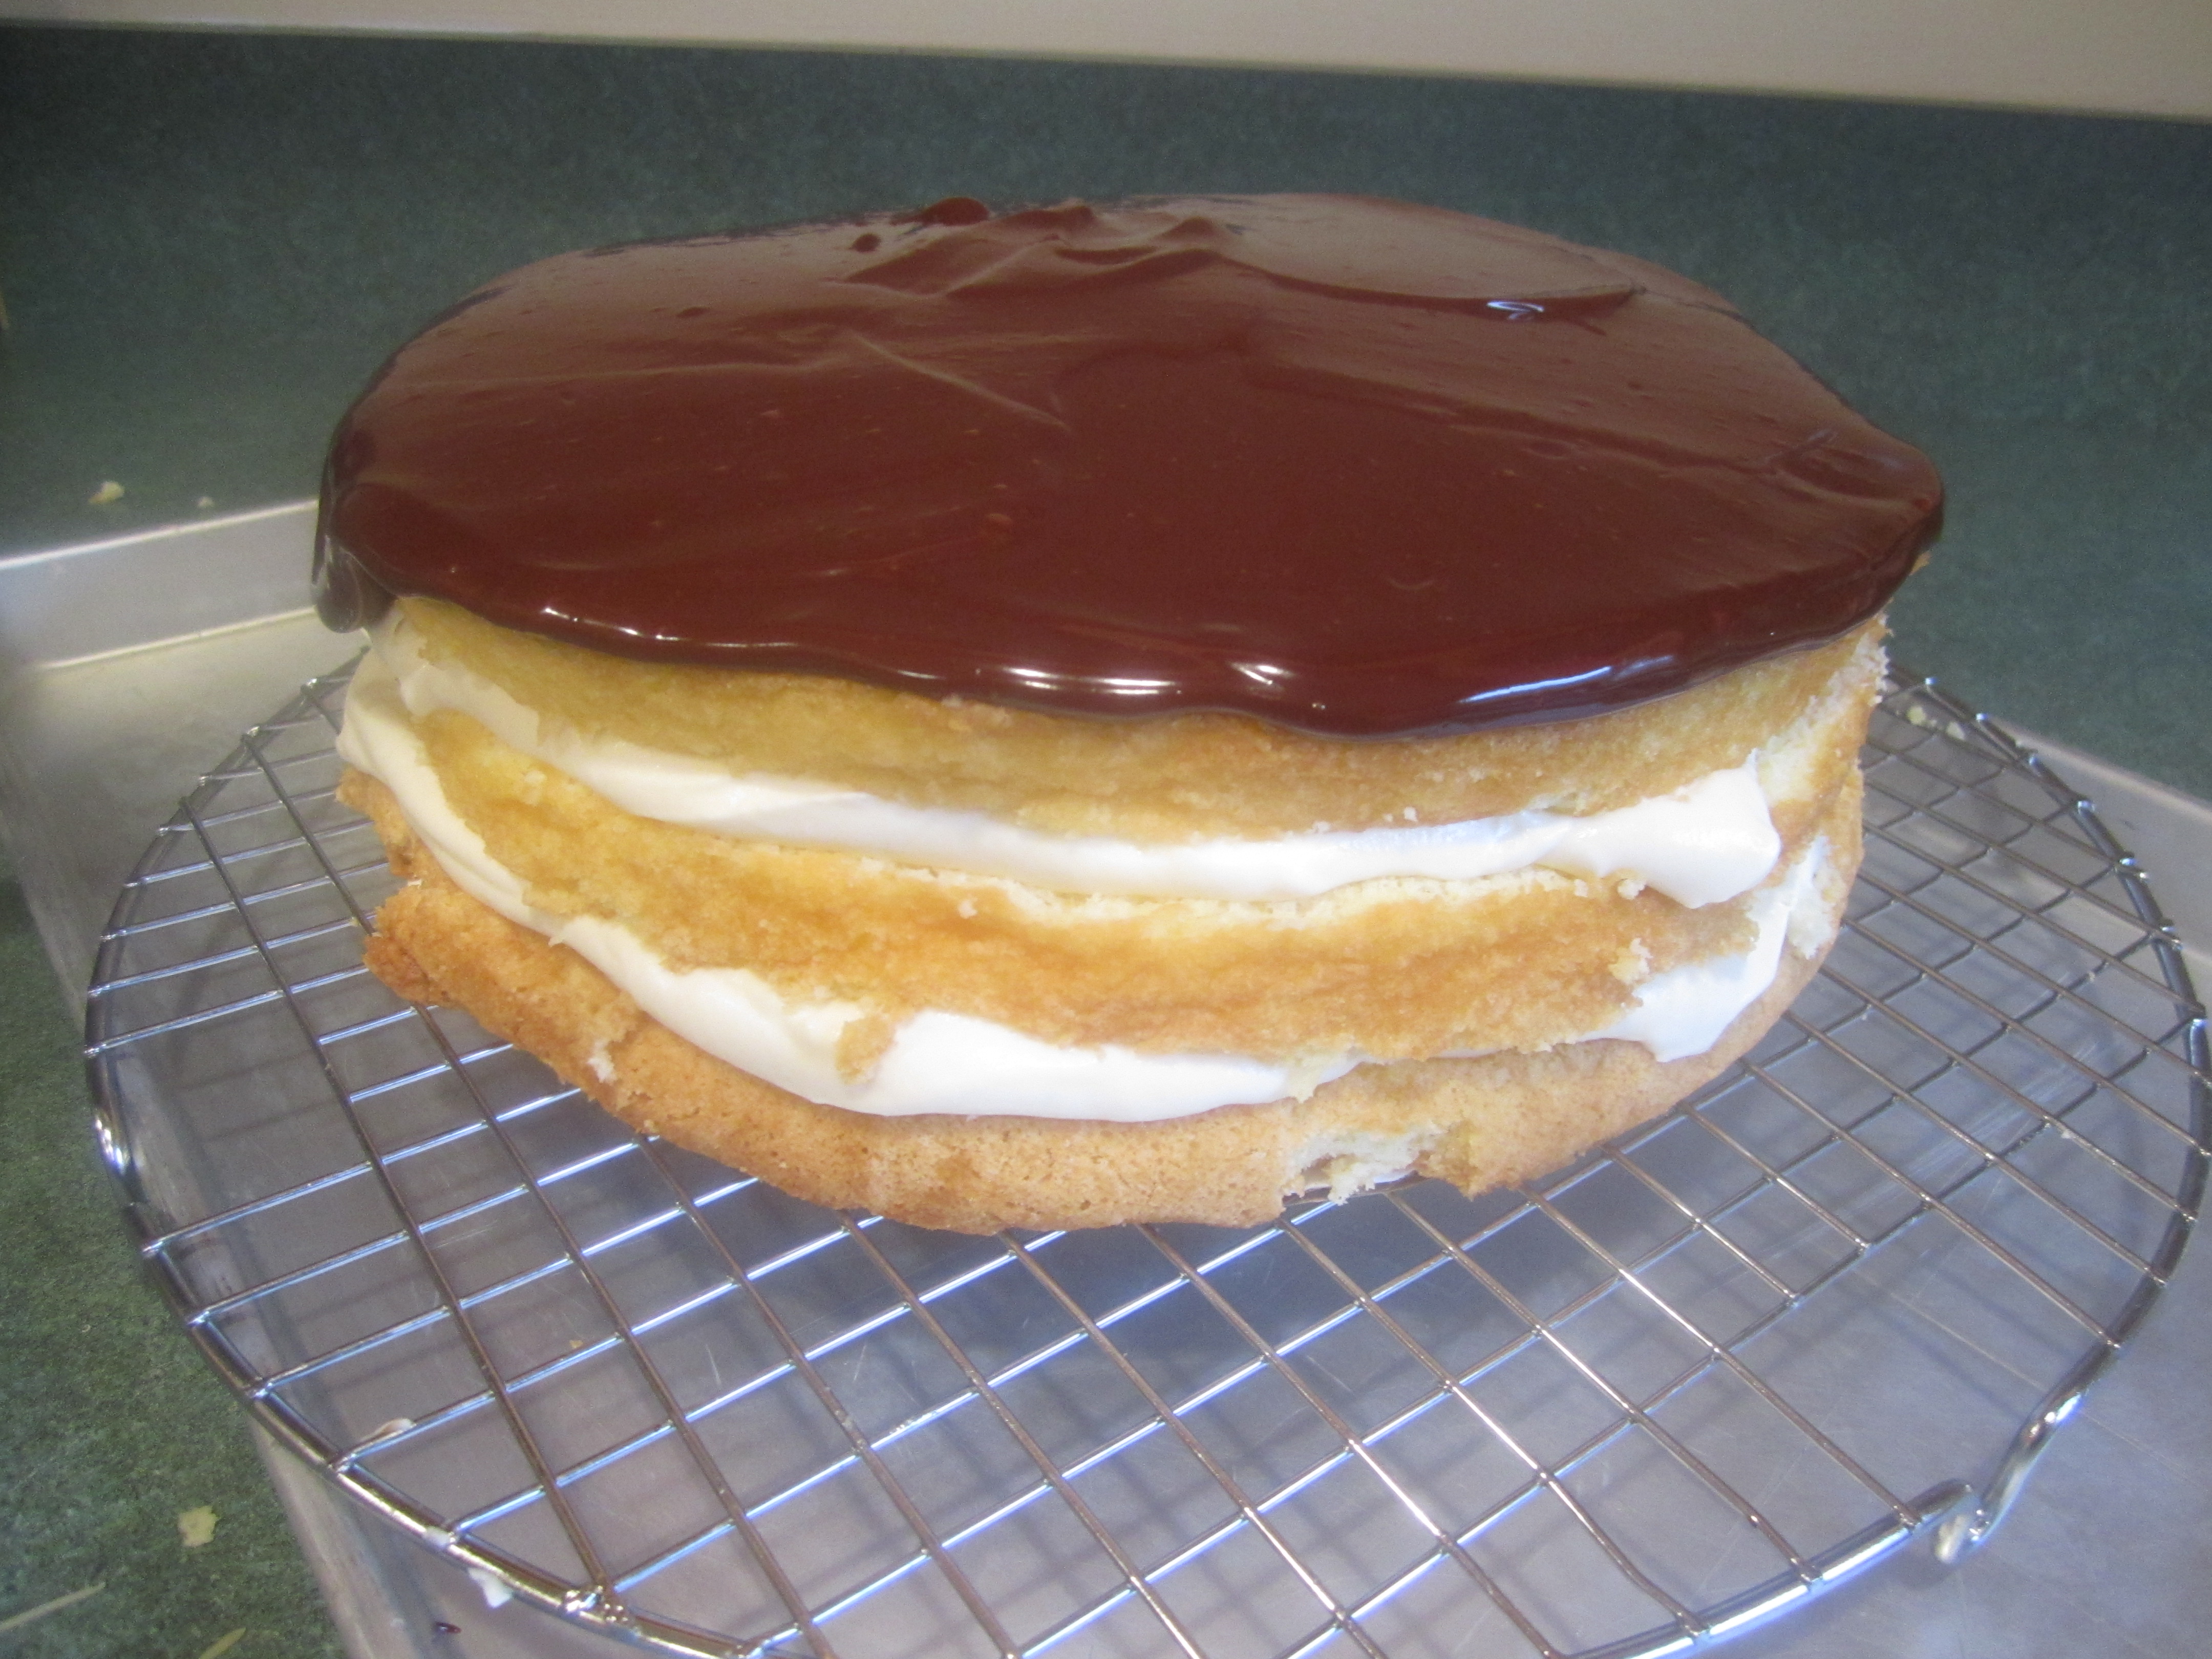
Place cake onto cardboard circle or cake pan, and slice cake horizontally into three layers, placing the 2 top layers onto waxed paper.
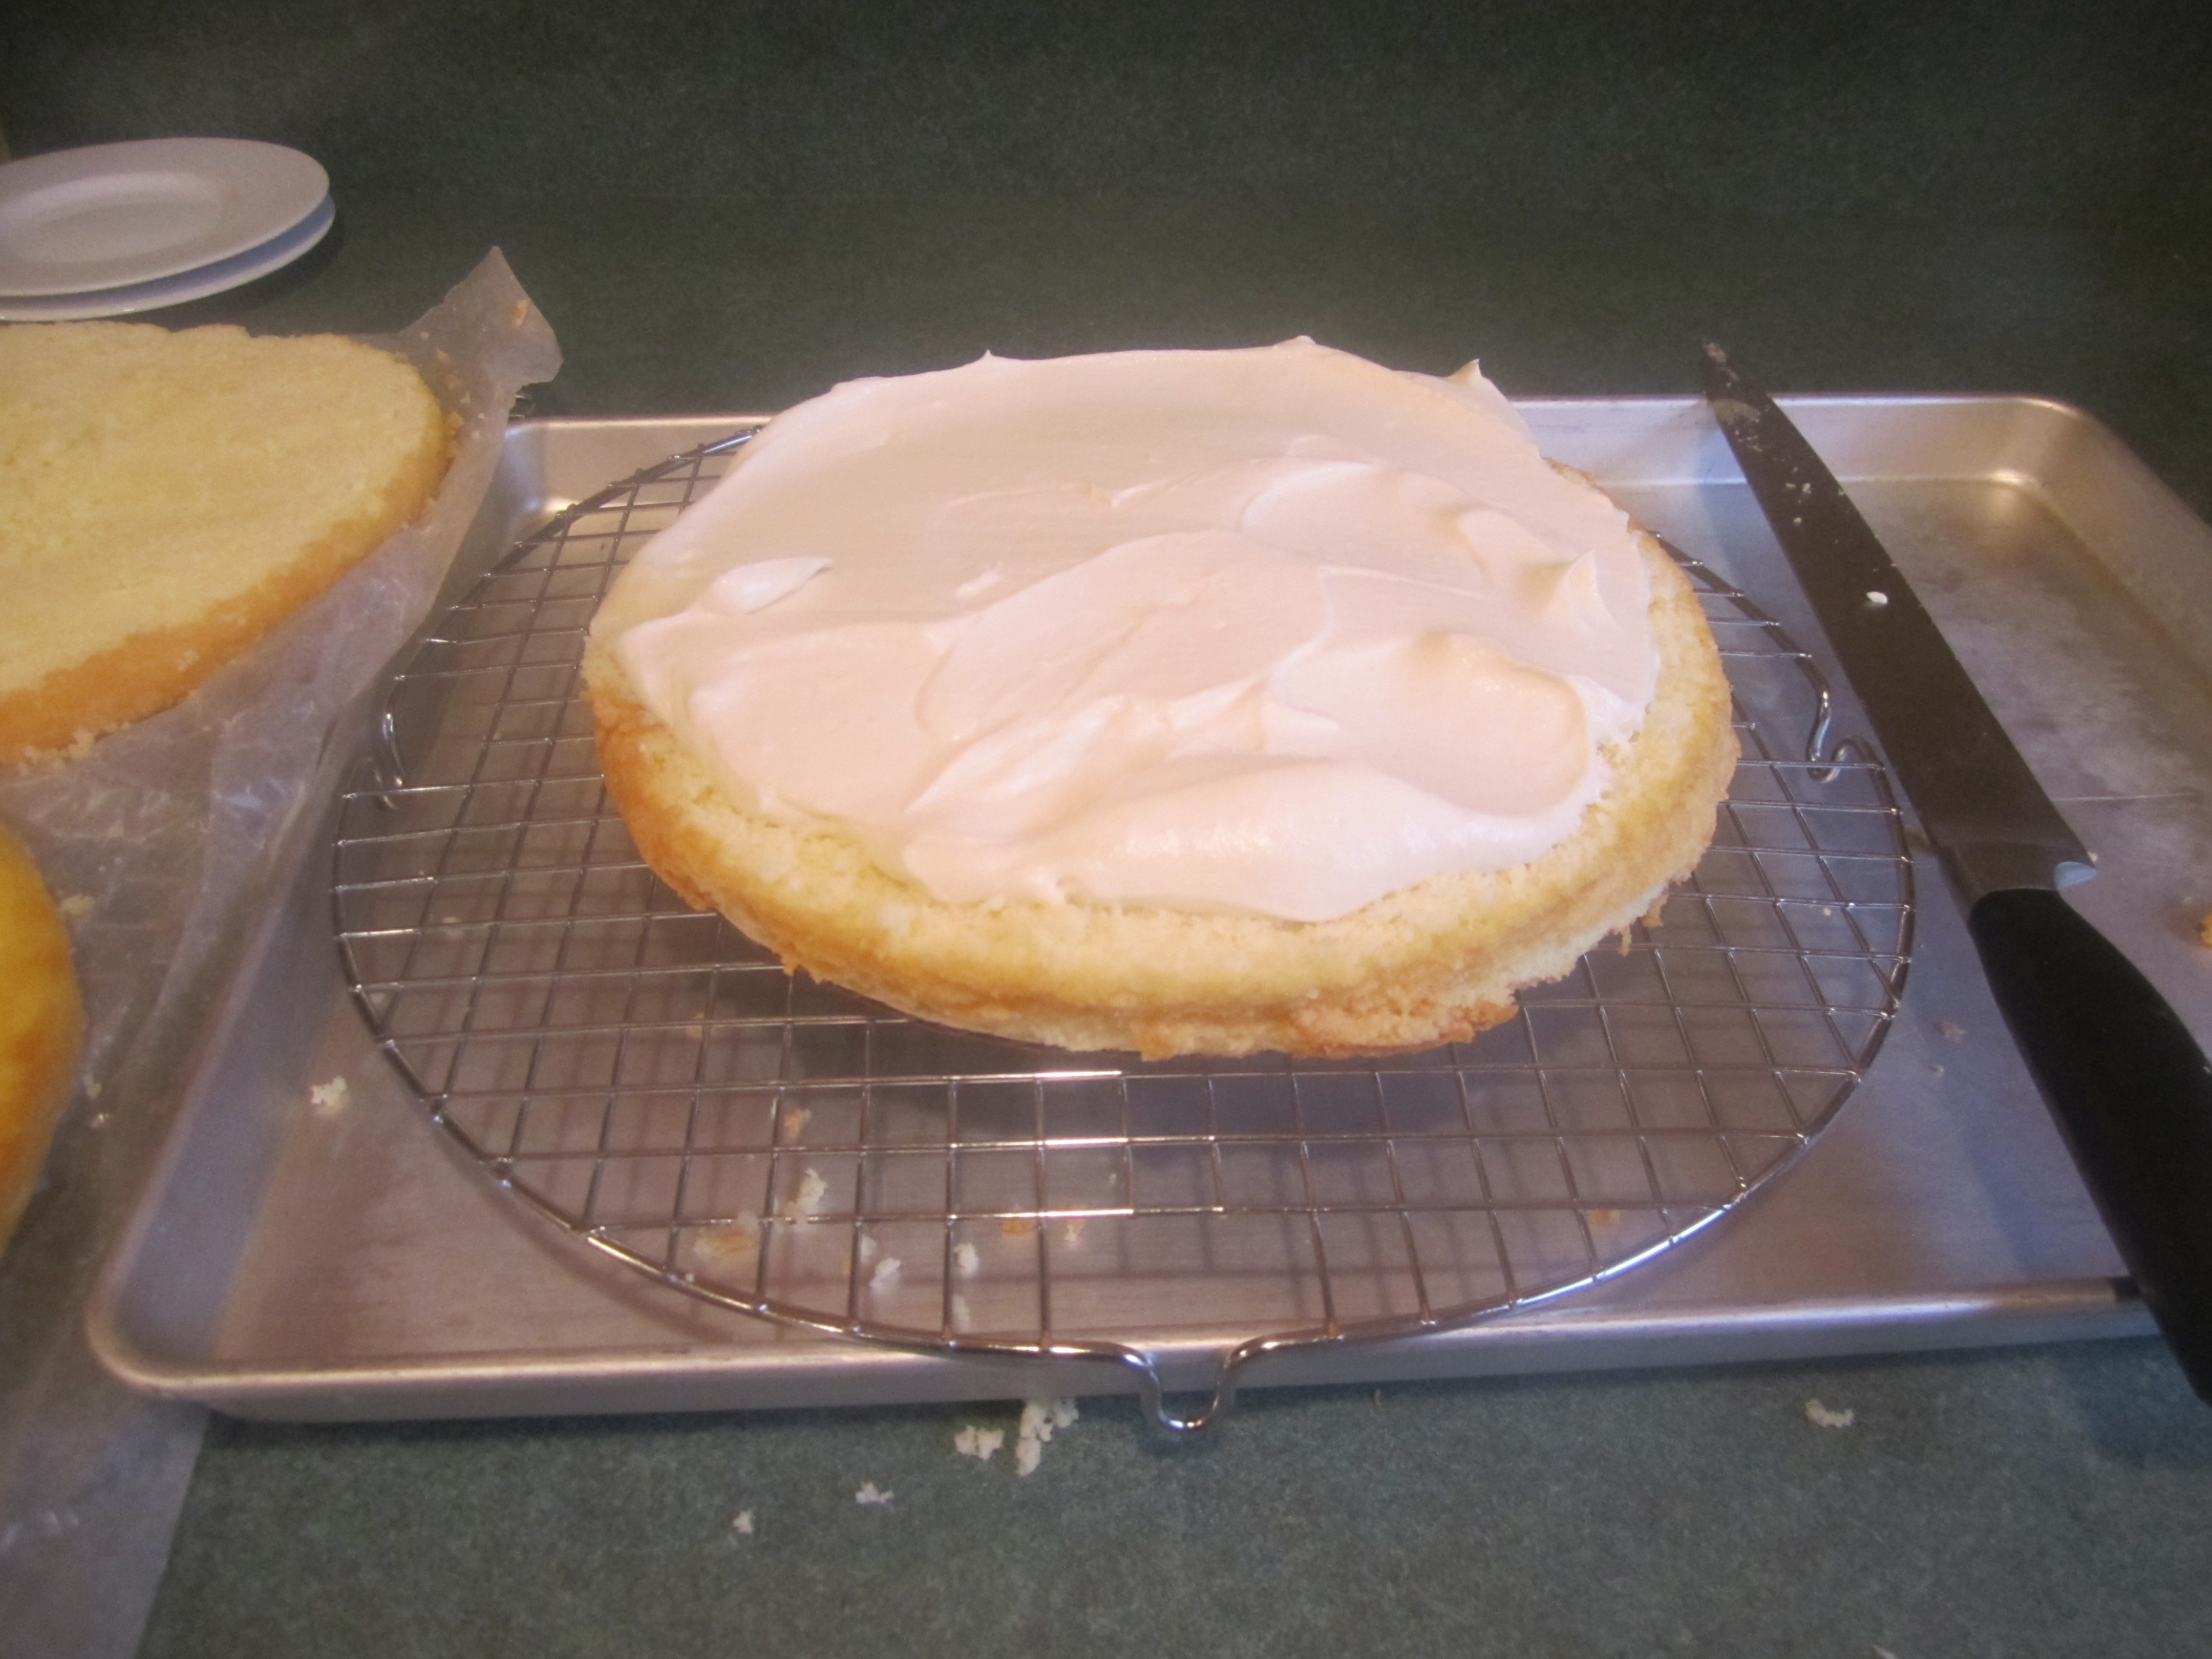
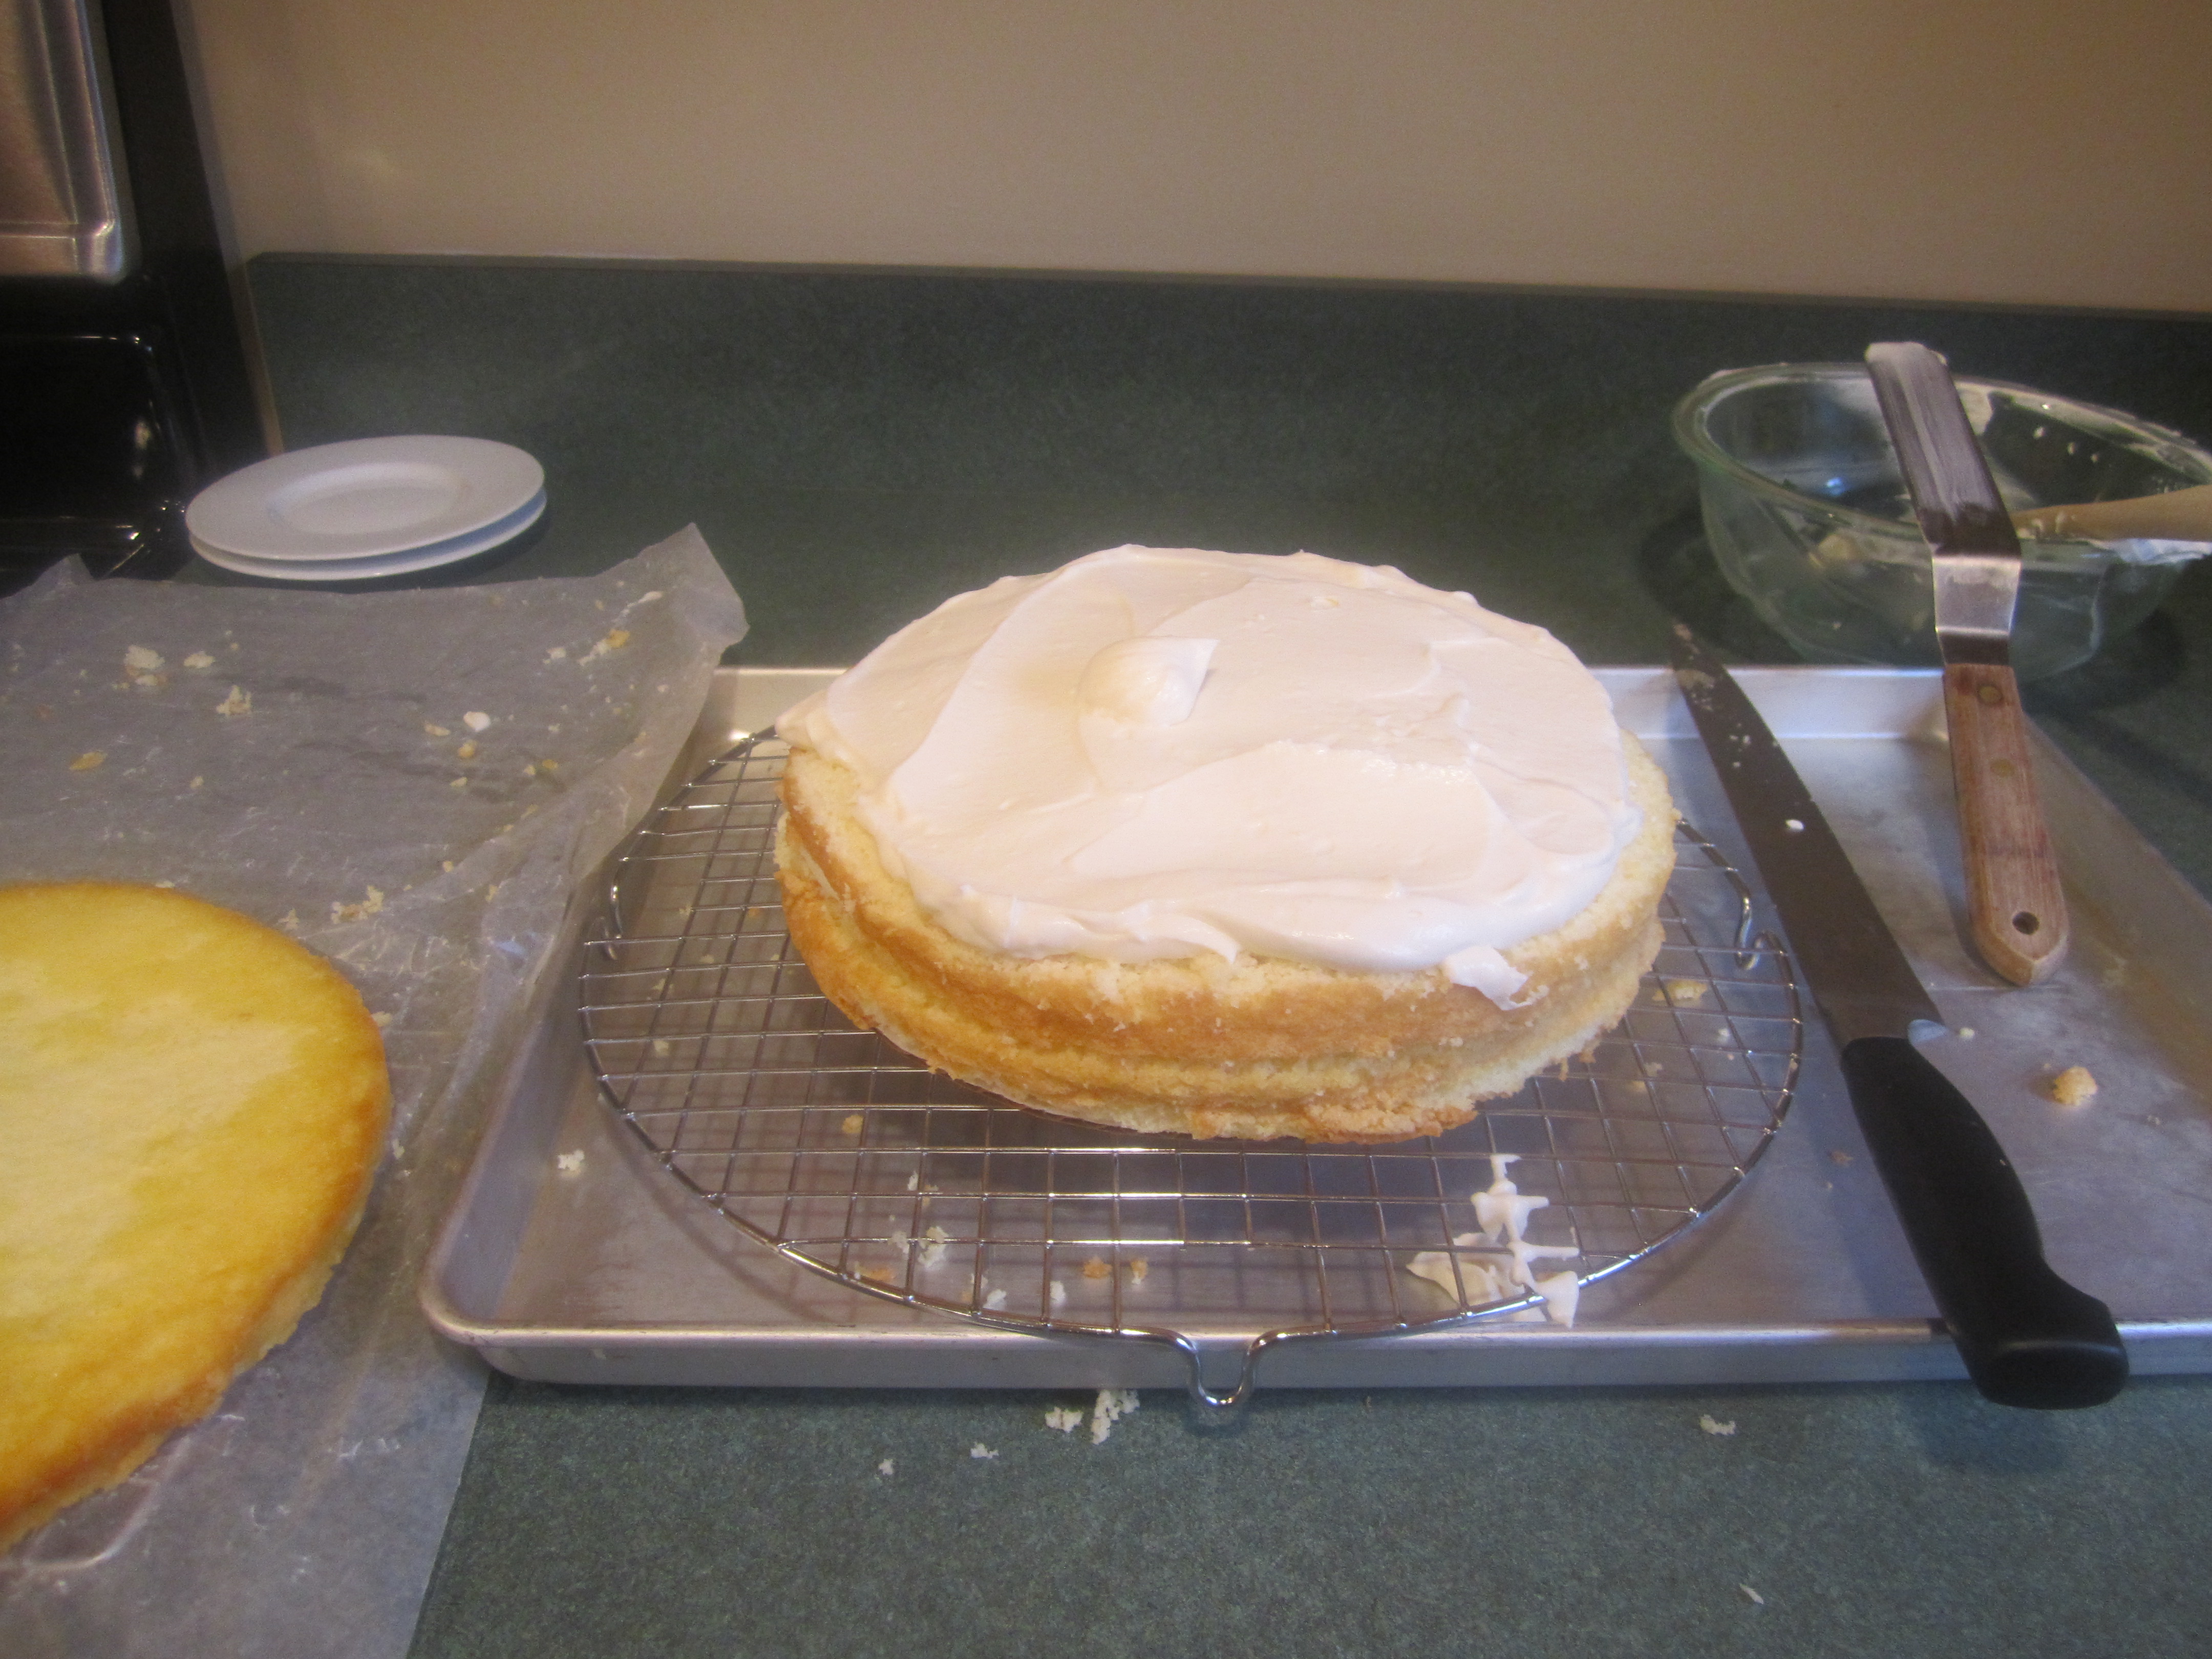
Onto the bottom layer, put 1/2 of the pastry cream and spread almost to the edge.
Place the middle layer on top, and put the other half of the pastry cream and spread almost to the edge.
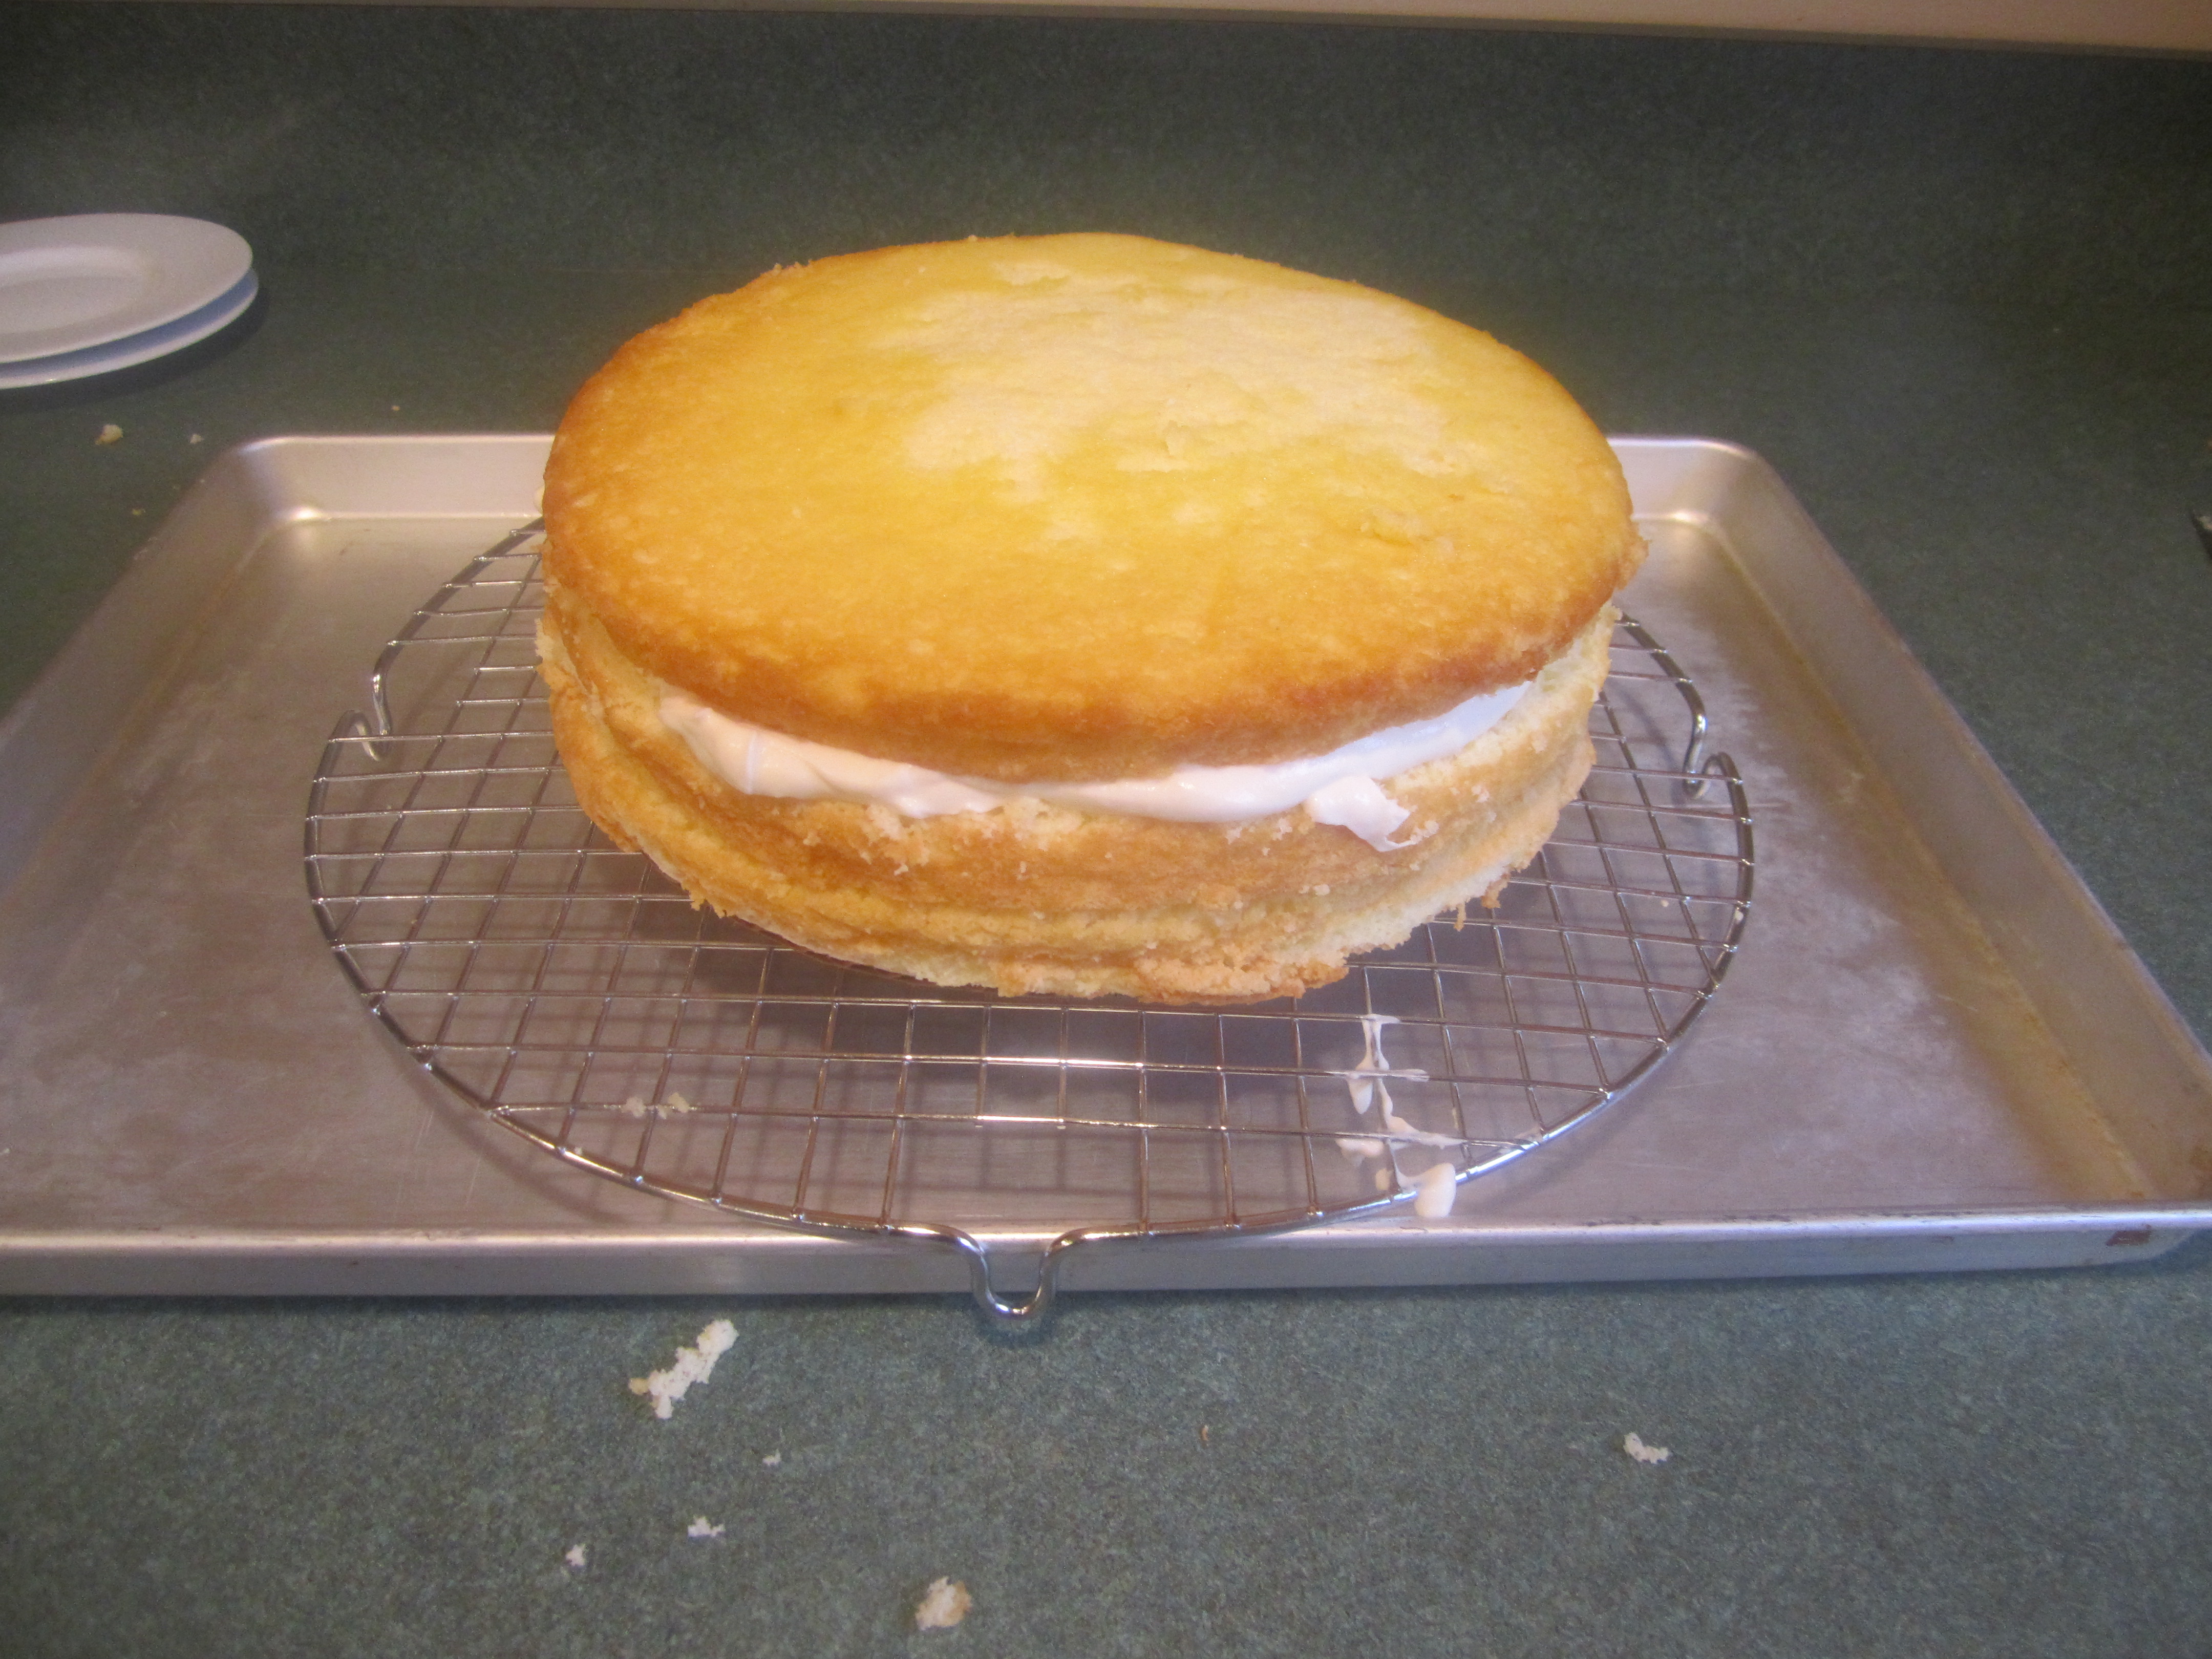
Put the top layer on.
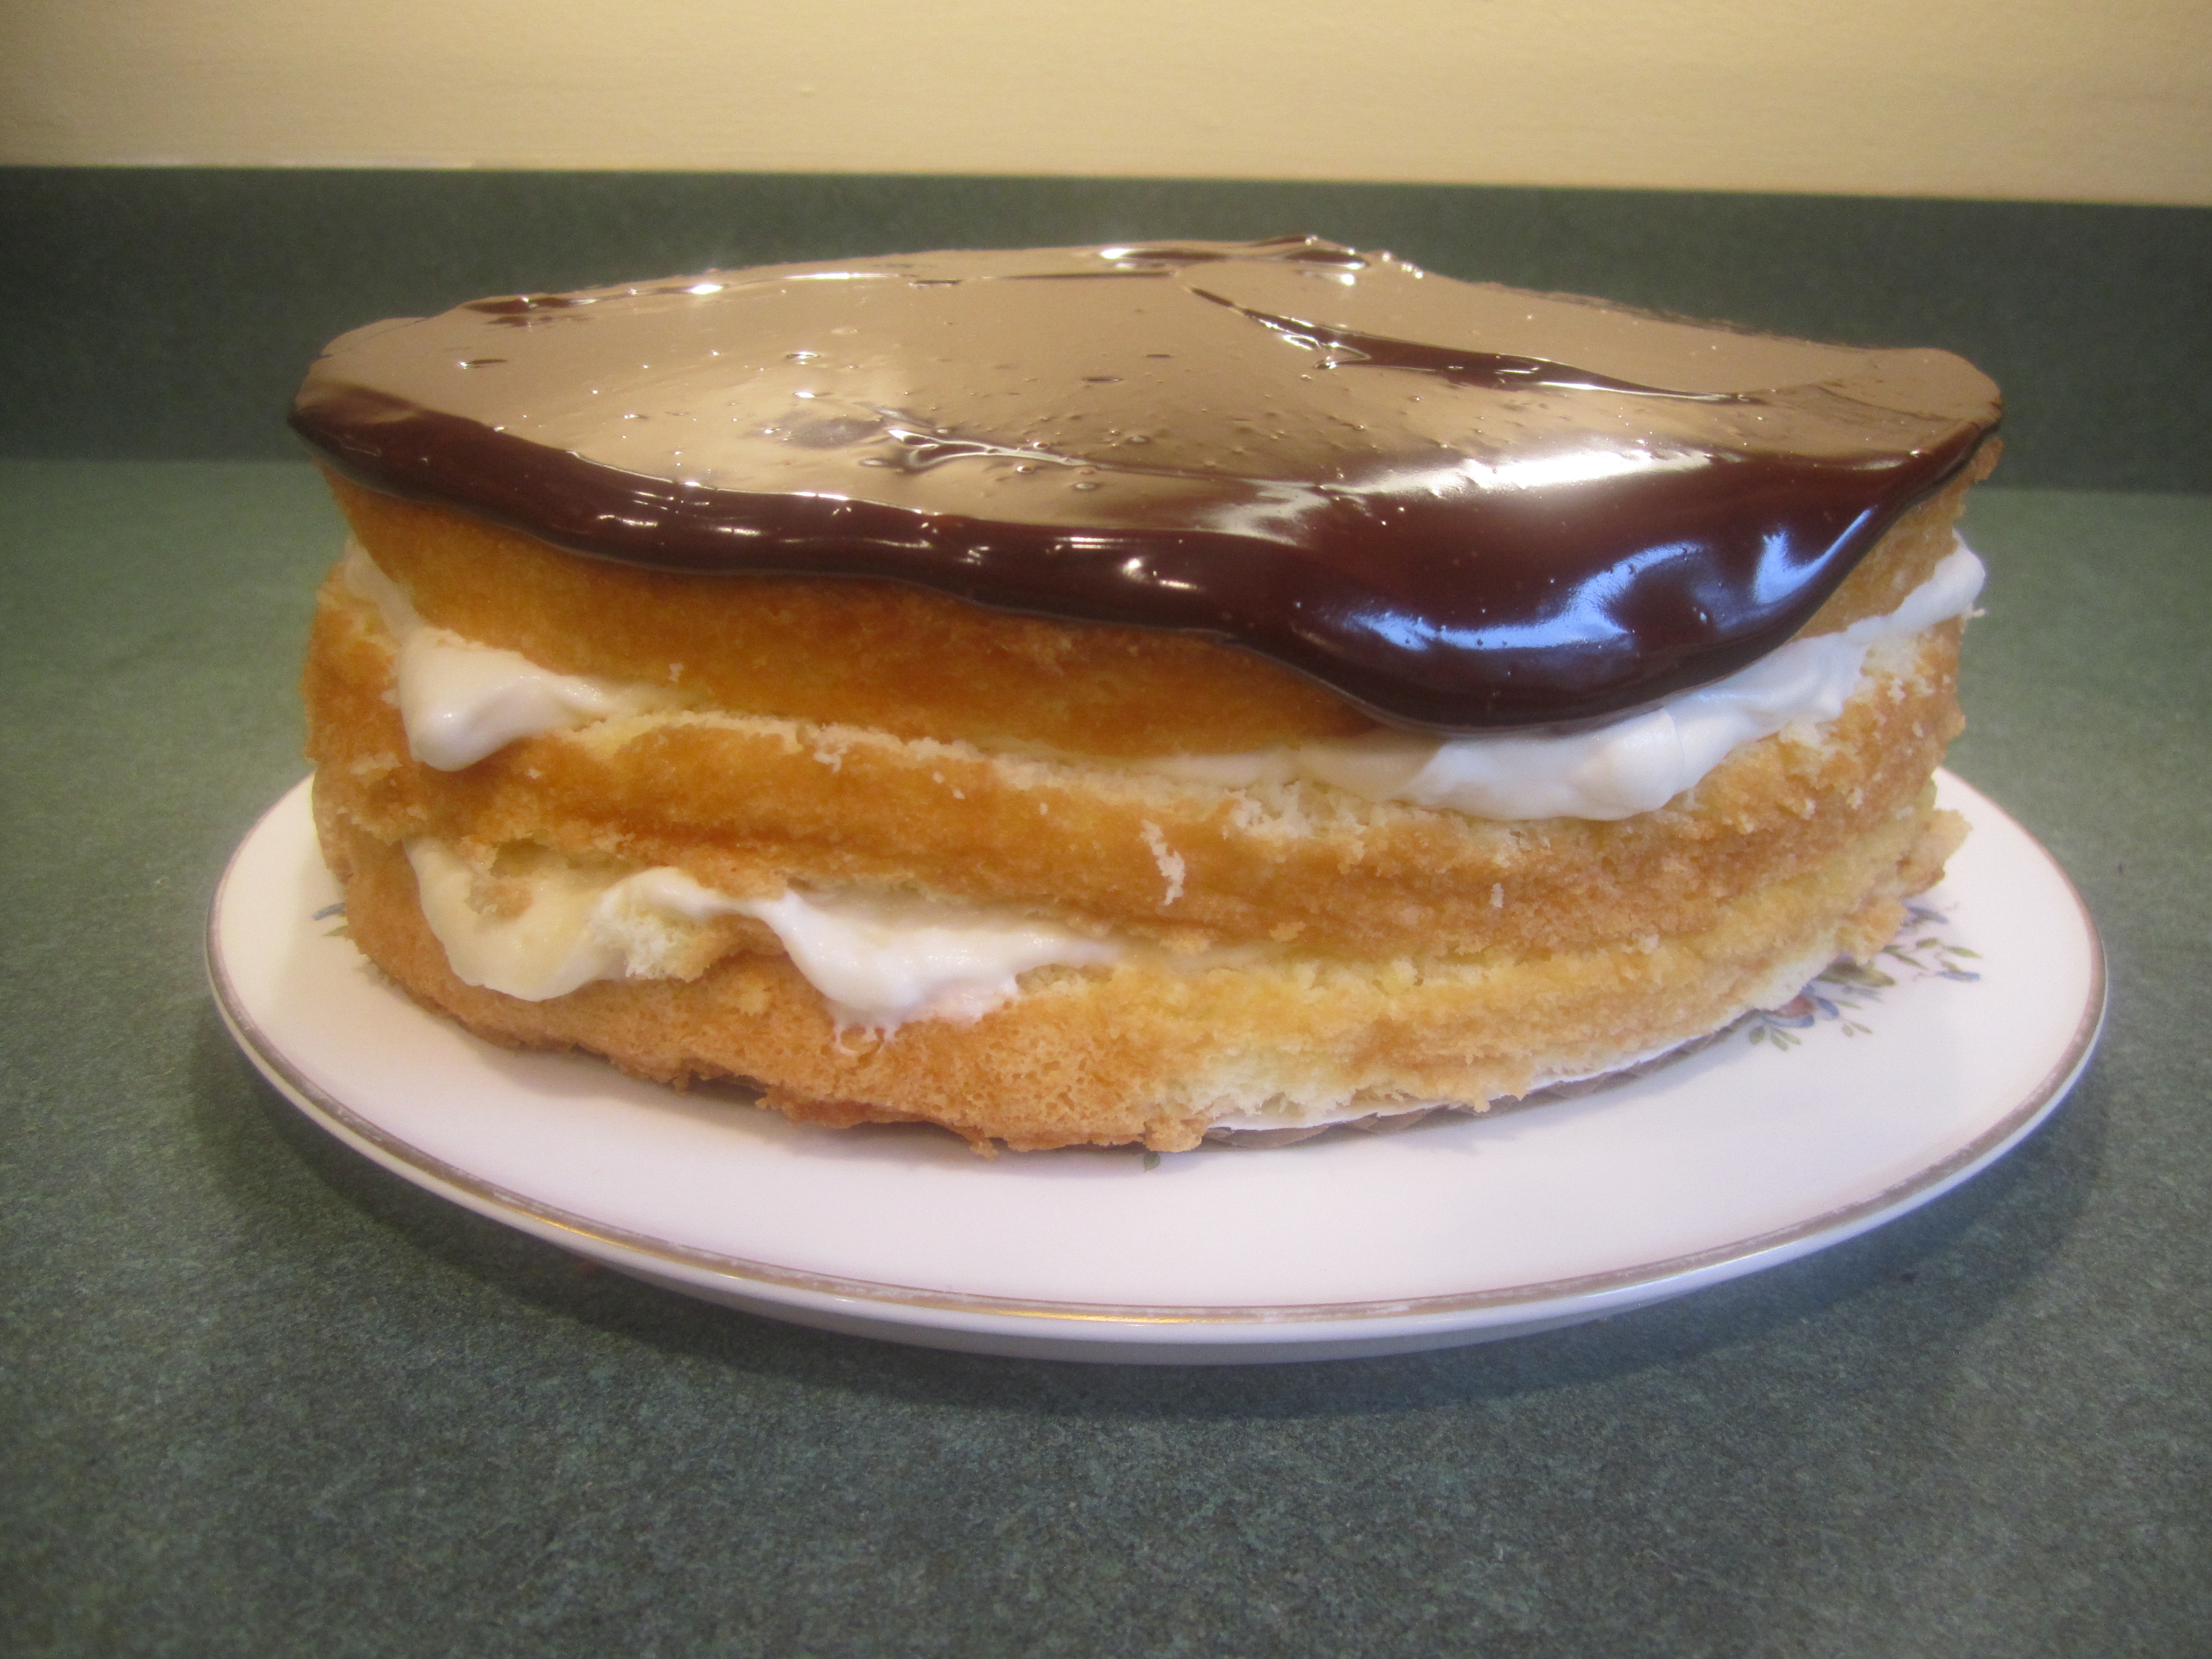
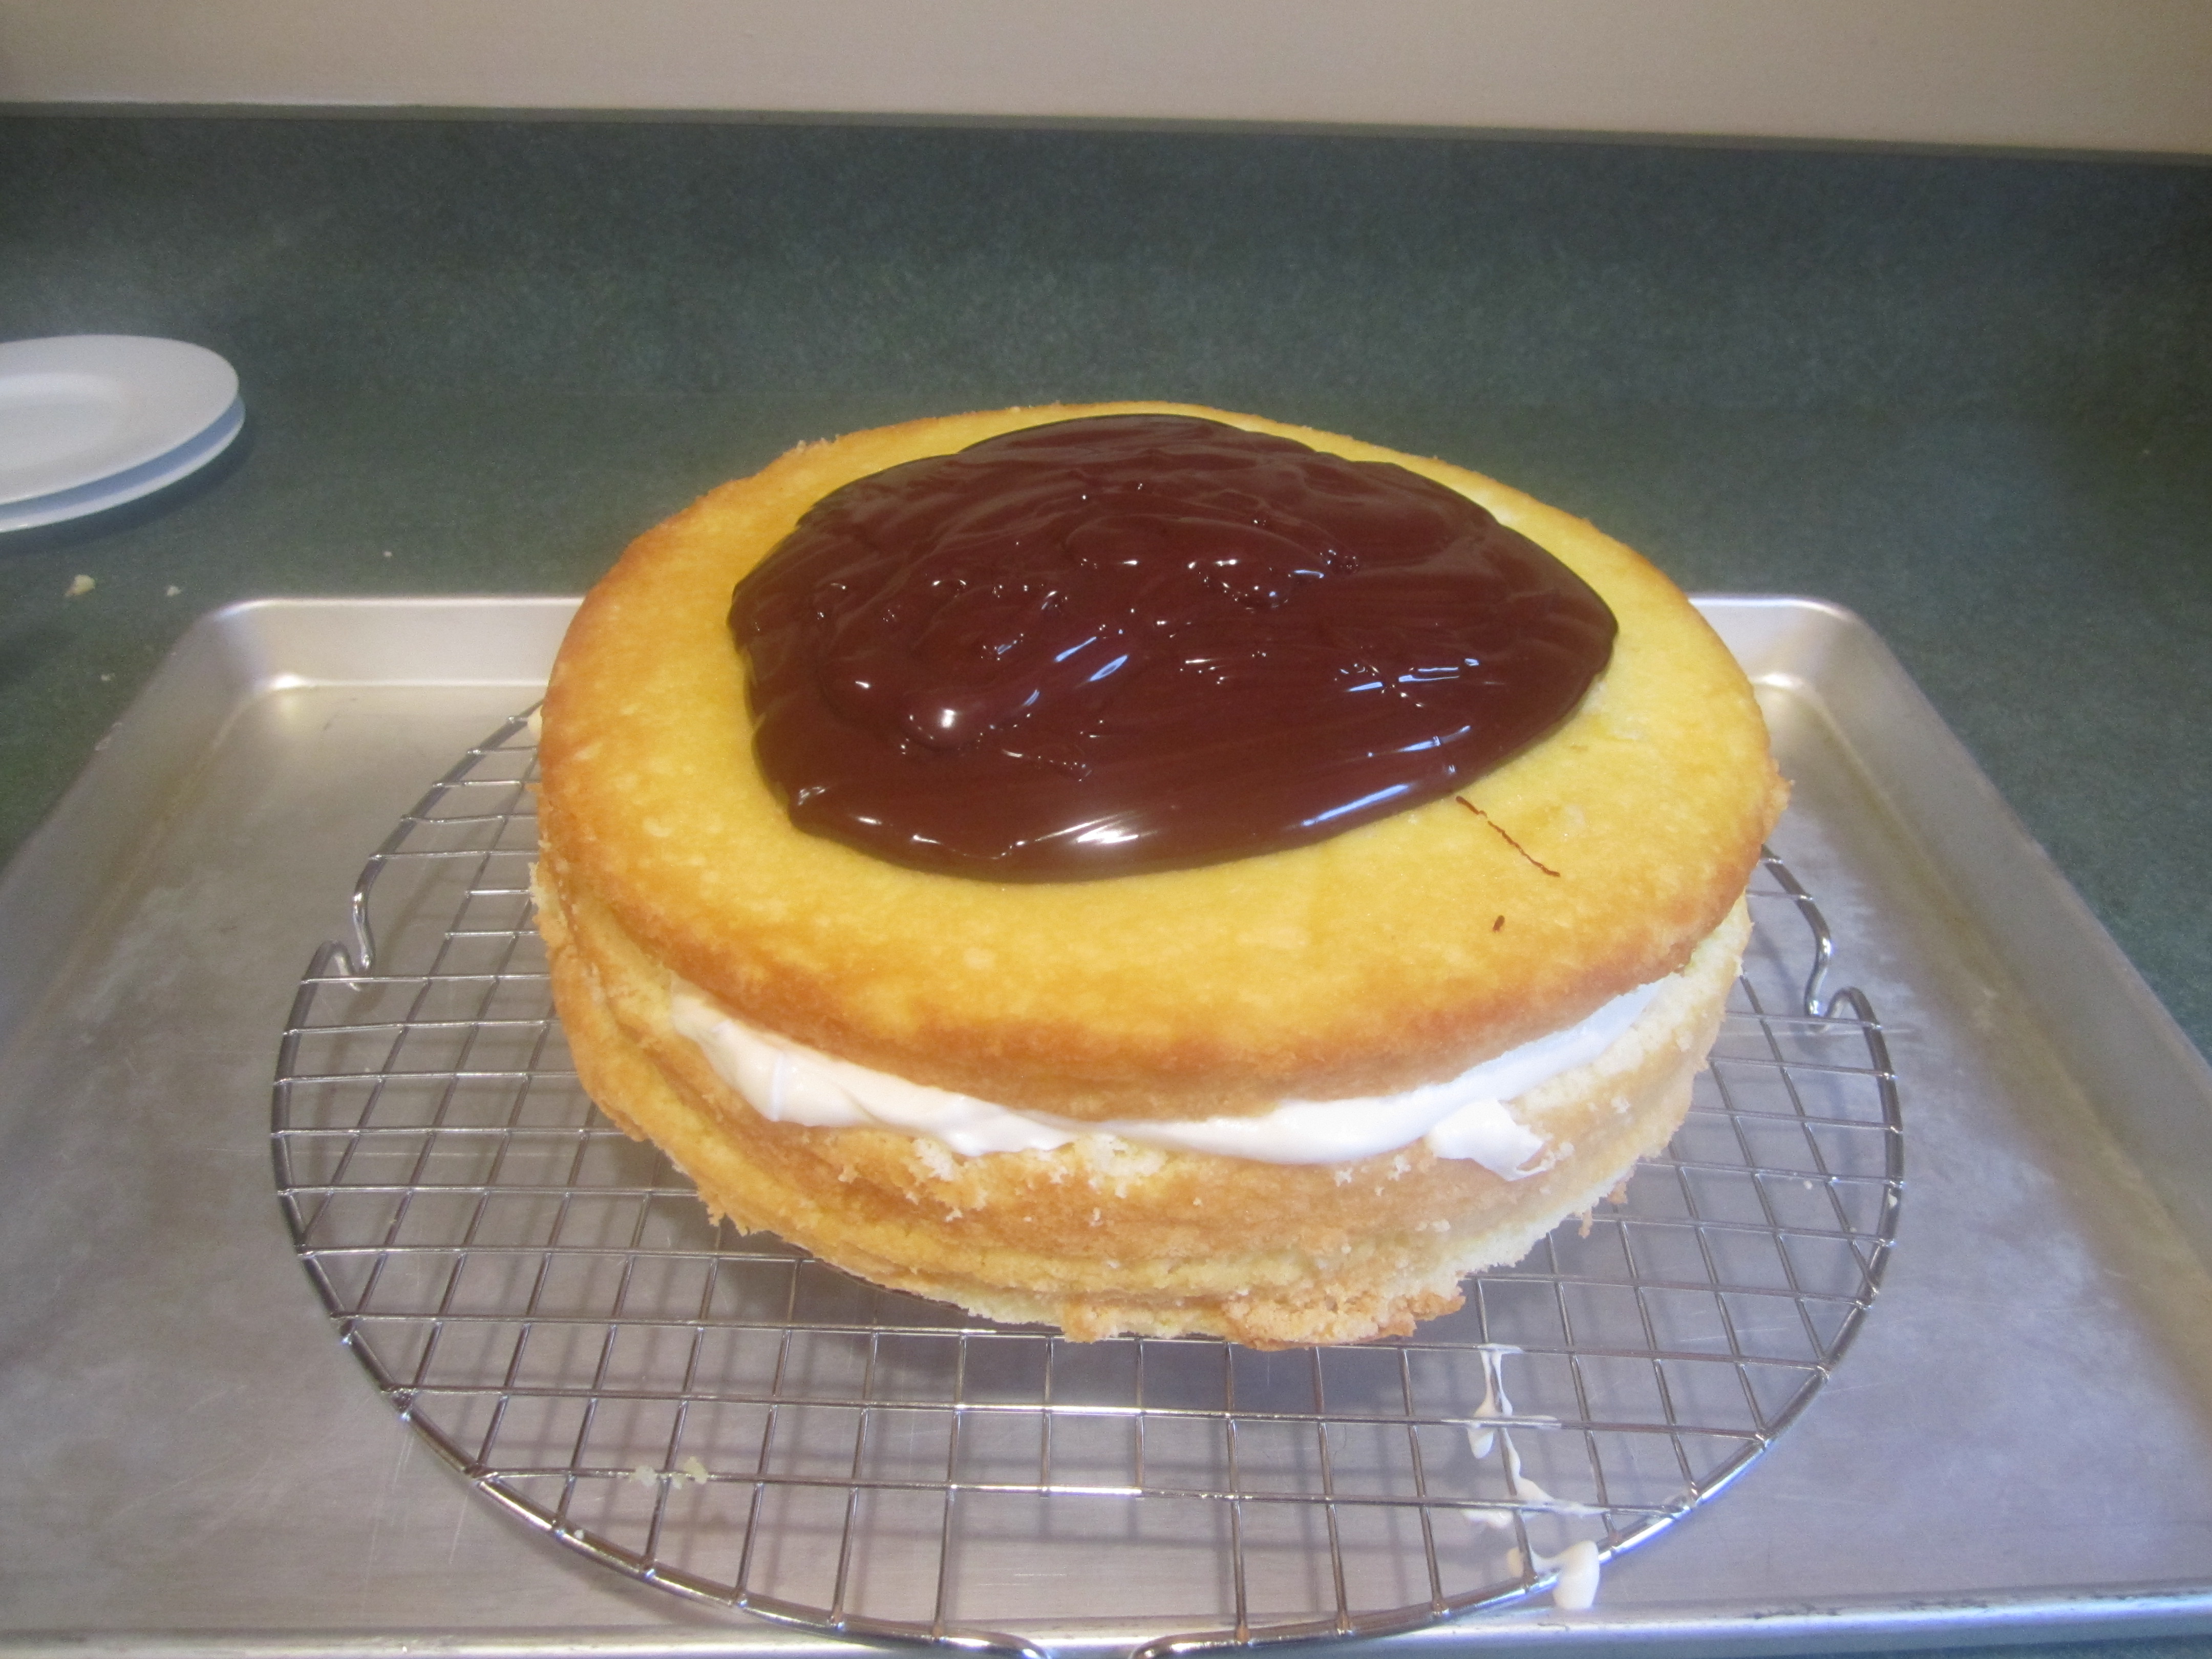
Make the ganache. When complete, carefully pour the ganache onto the middle of the top layer of the cake. Carefully spread the ganache, with a very large cake spatula, until it just starts to drip over the side. Stop. Cover and refrigerate the cake for at least 2 hours to allow the ganache to set on the cake. Let the cake sit out at room temperature for 20 – 30 minutes before serving.
separating the eggs for the cake:
mise en place:
the cake pan with Pam Baking spray:
pan with nothing:
egg yolk mixture:
egg whites:
folding in egg whites into egg yolk mixture:
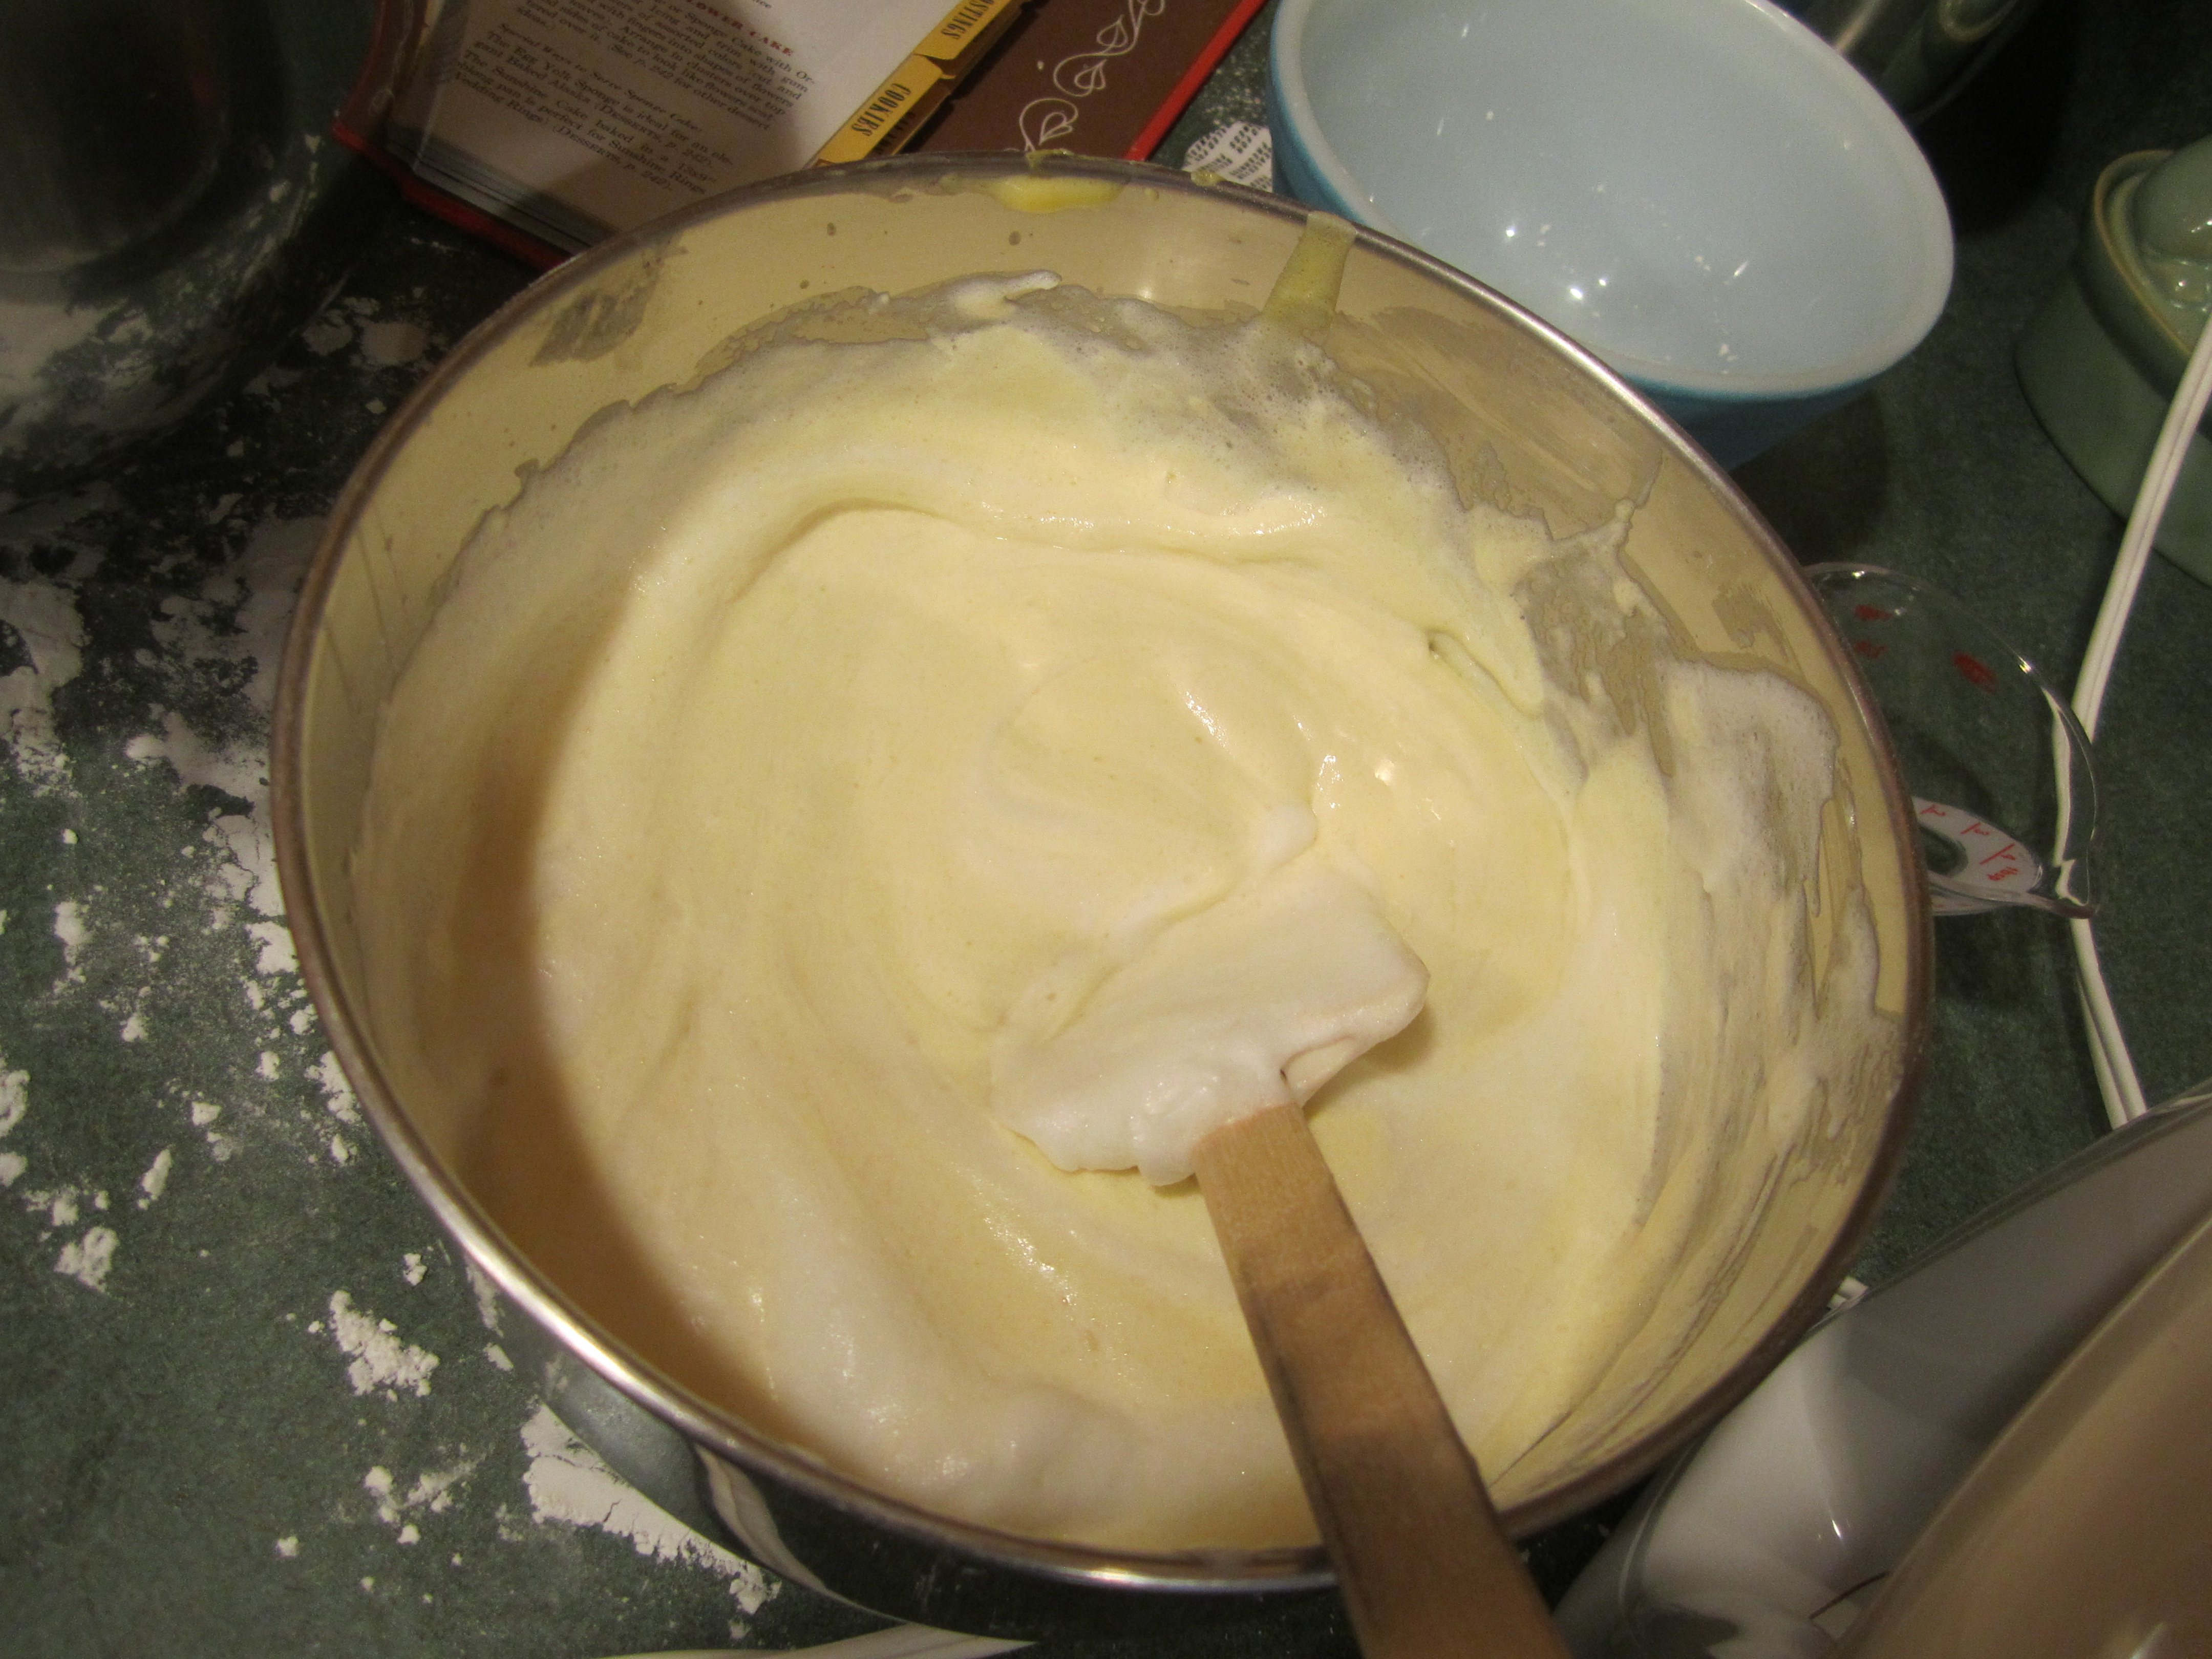
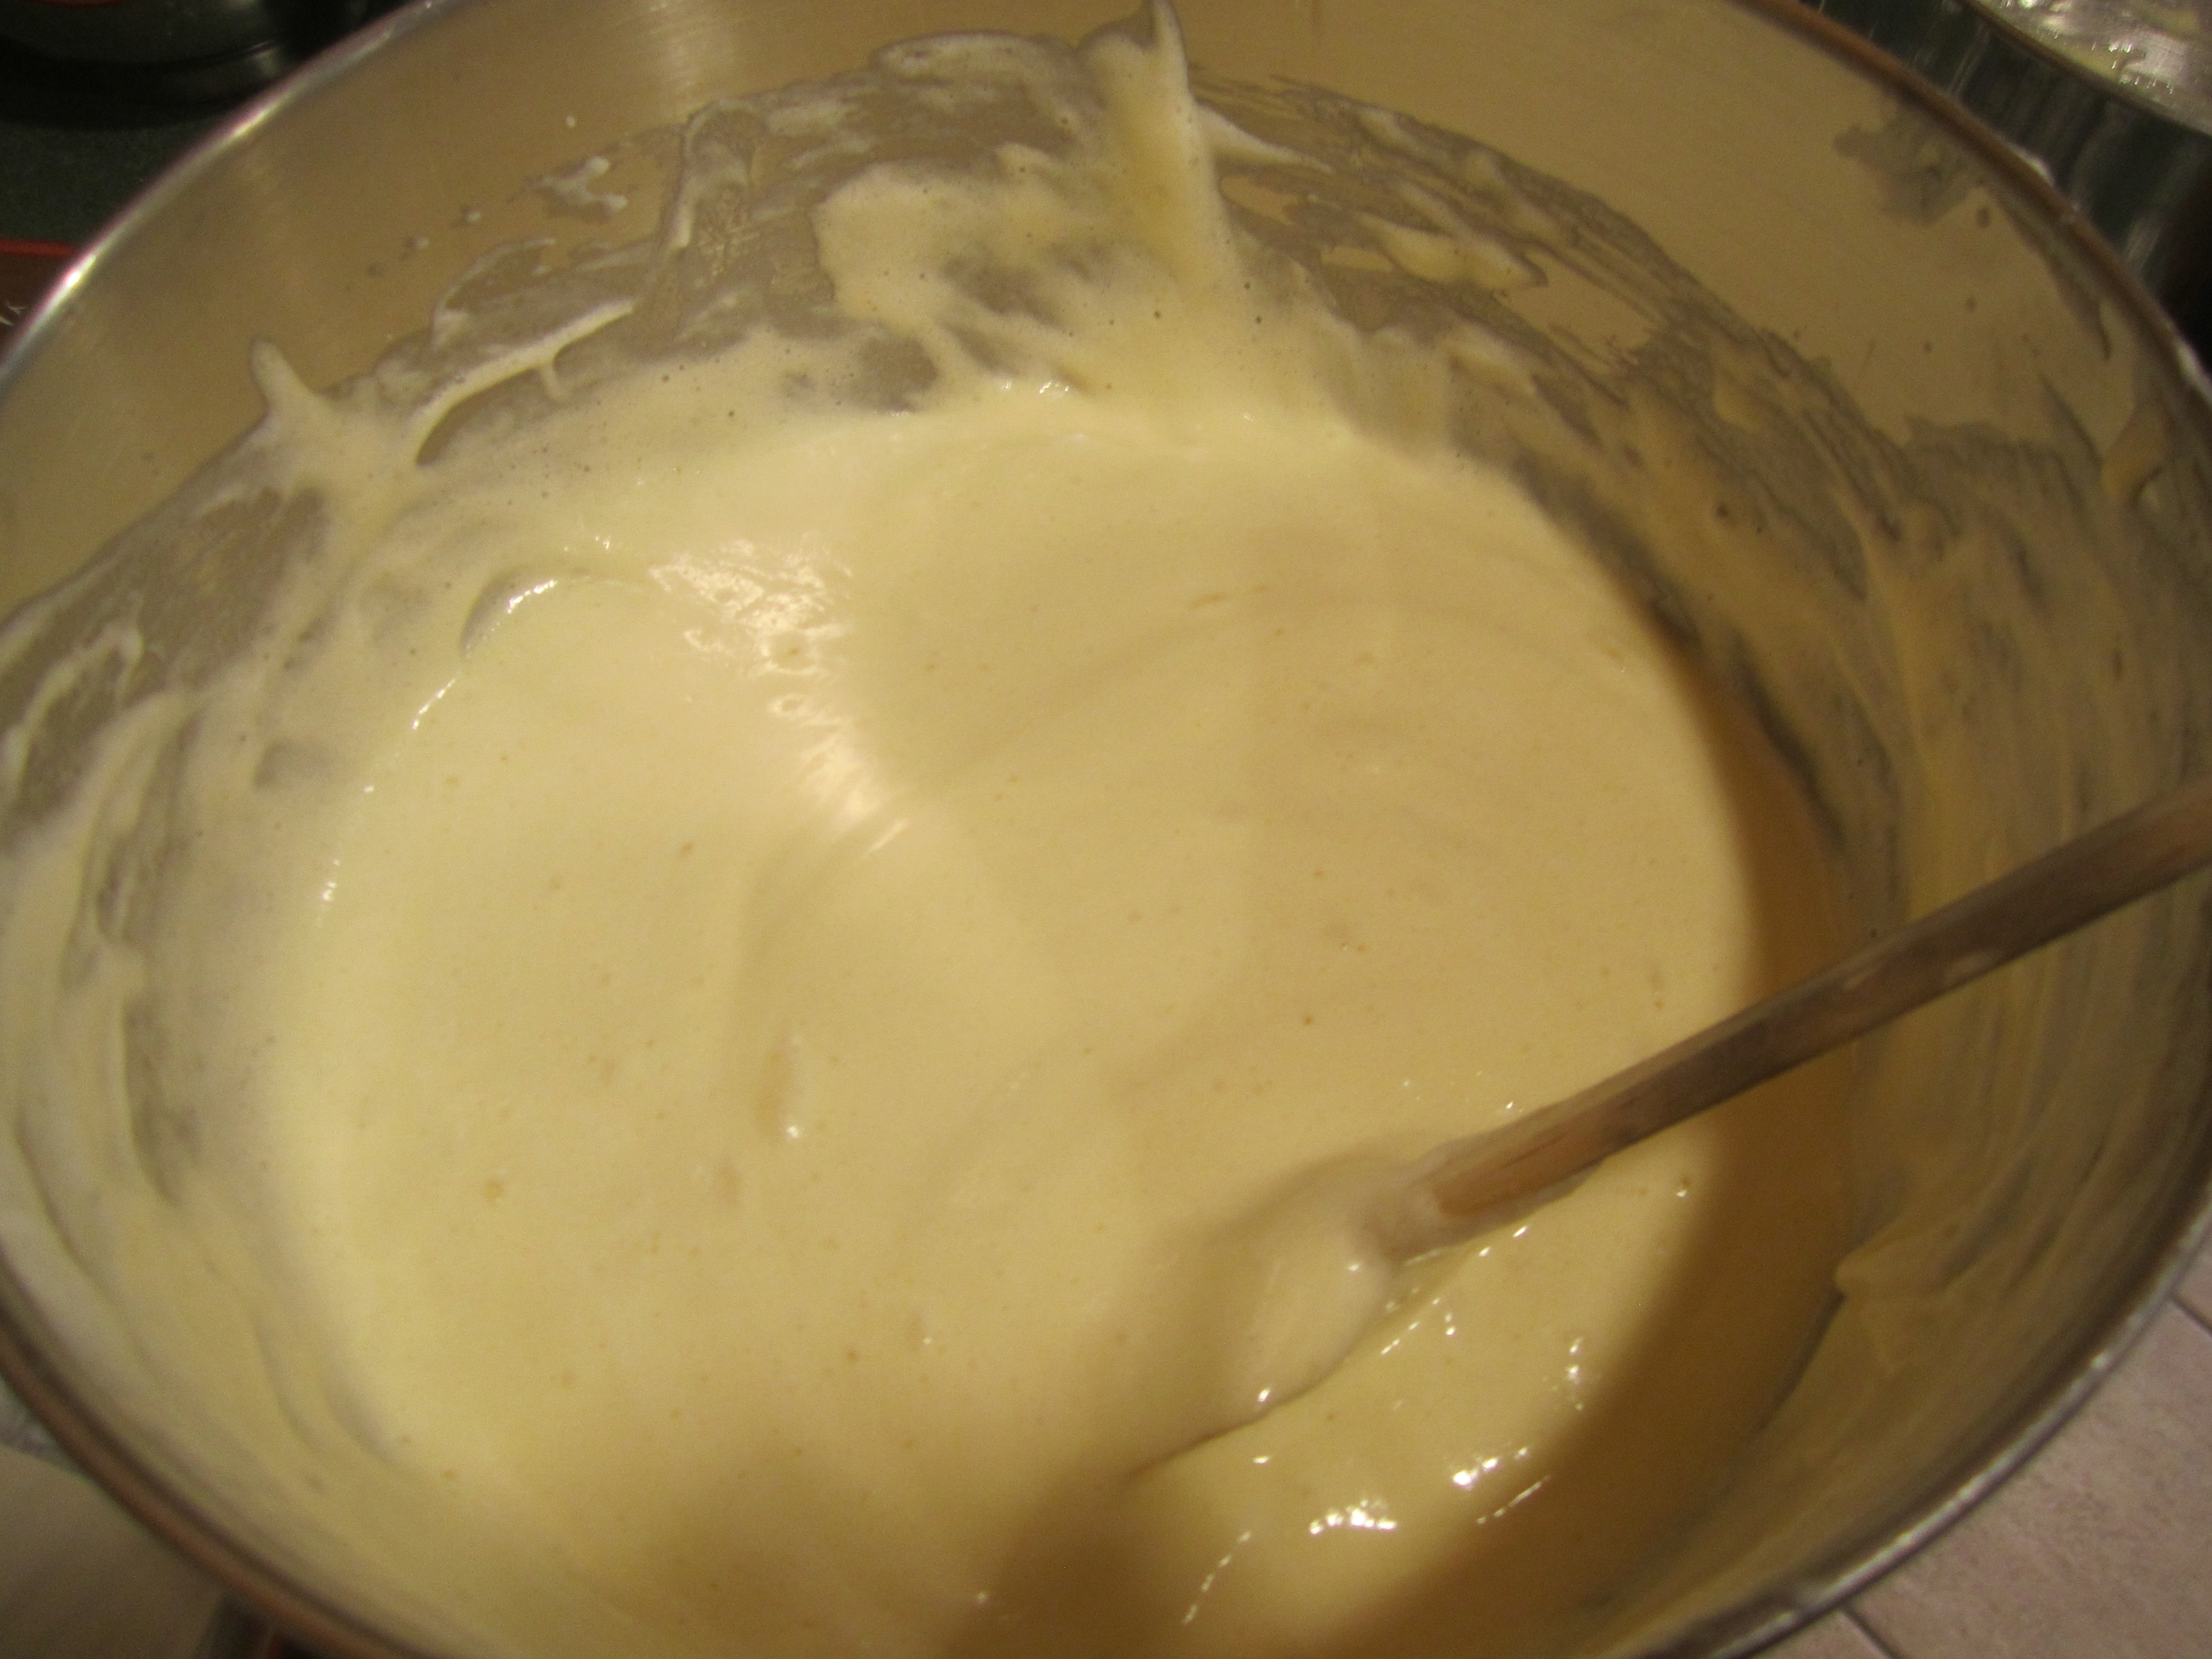
into the cake pan:
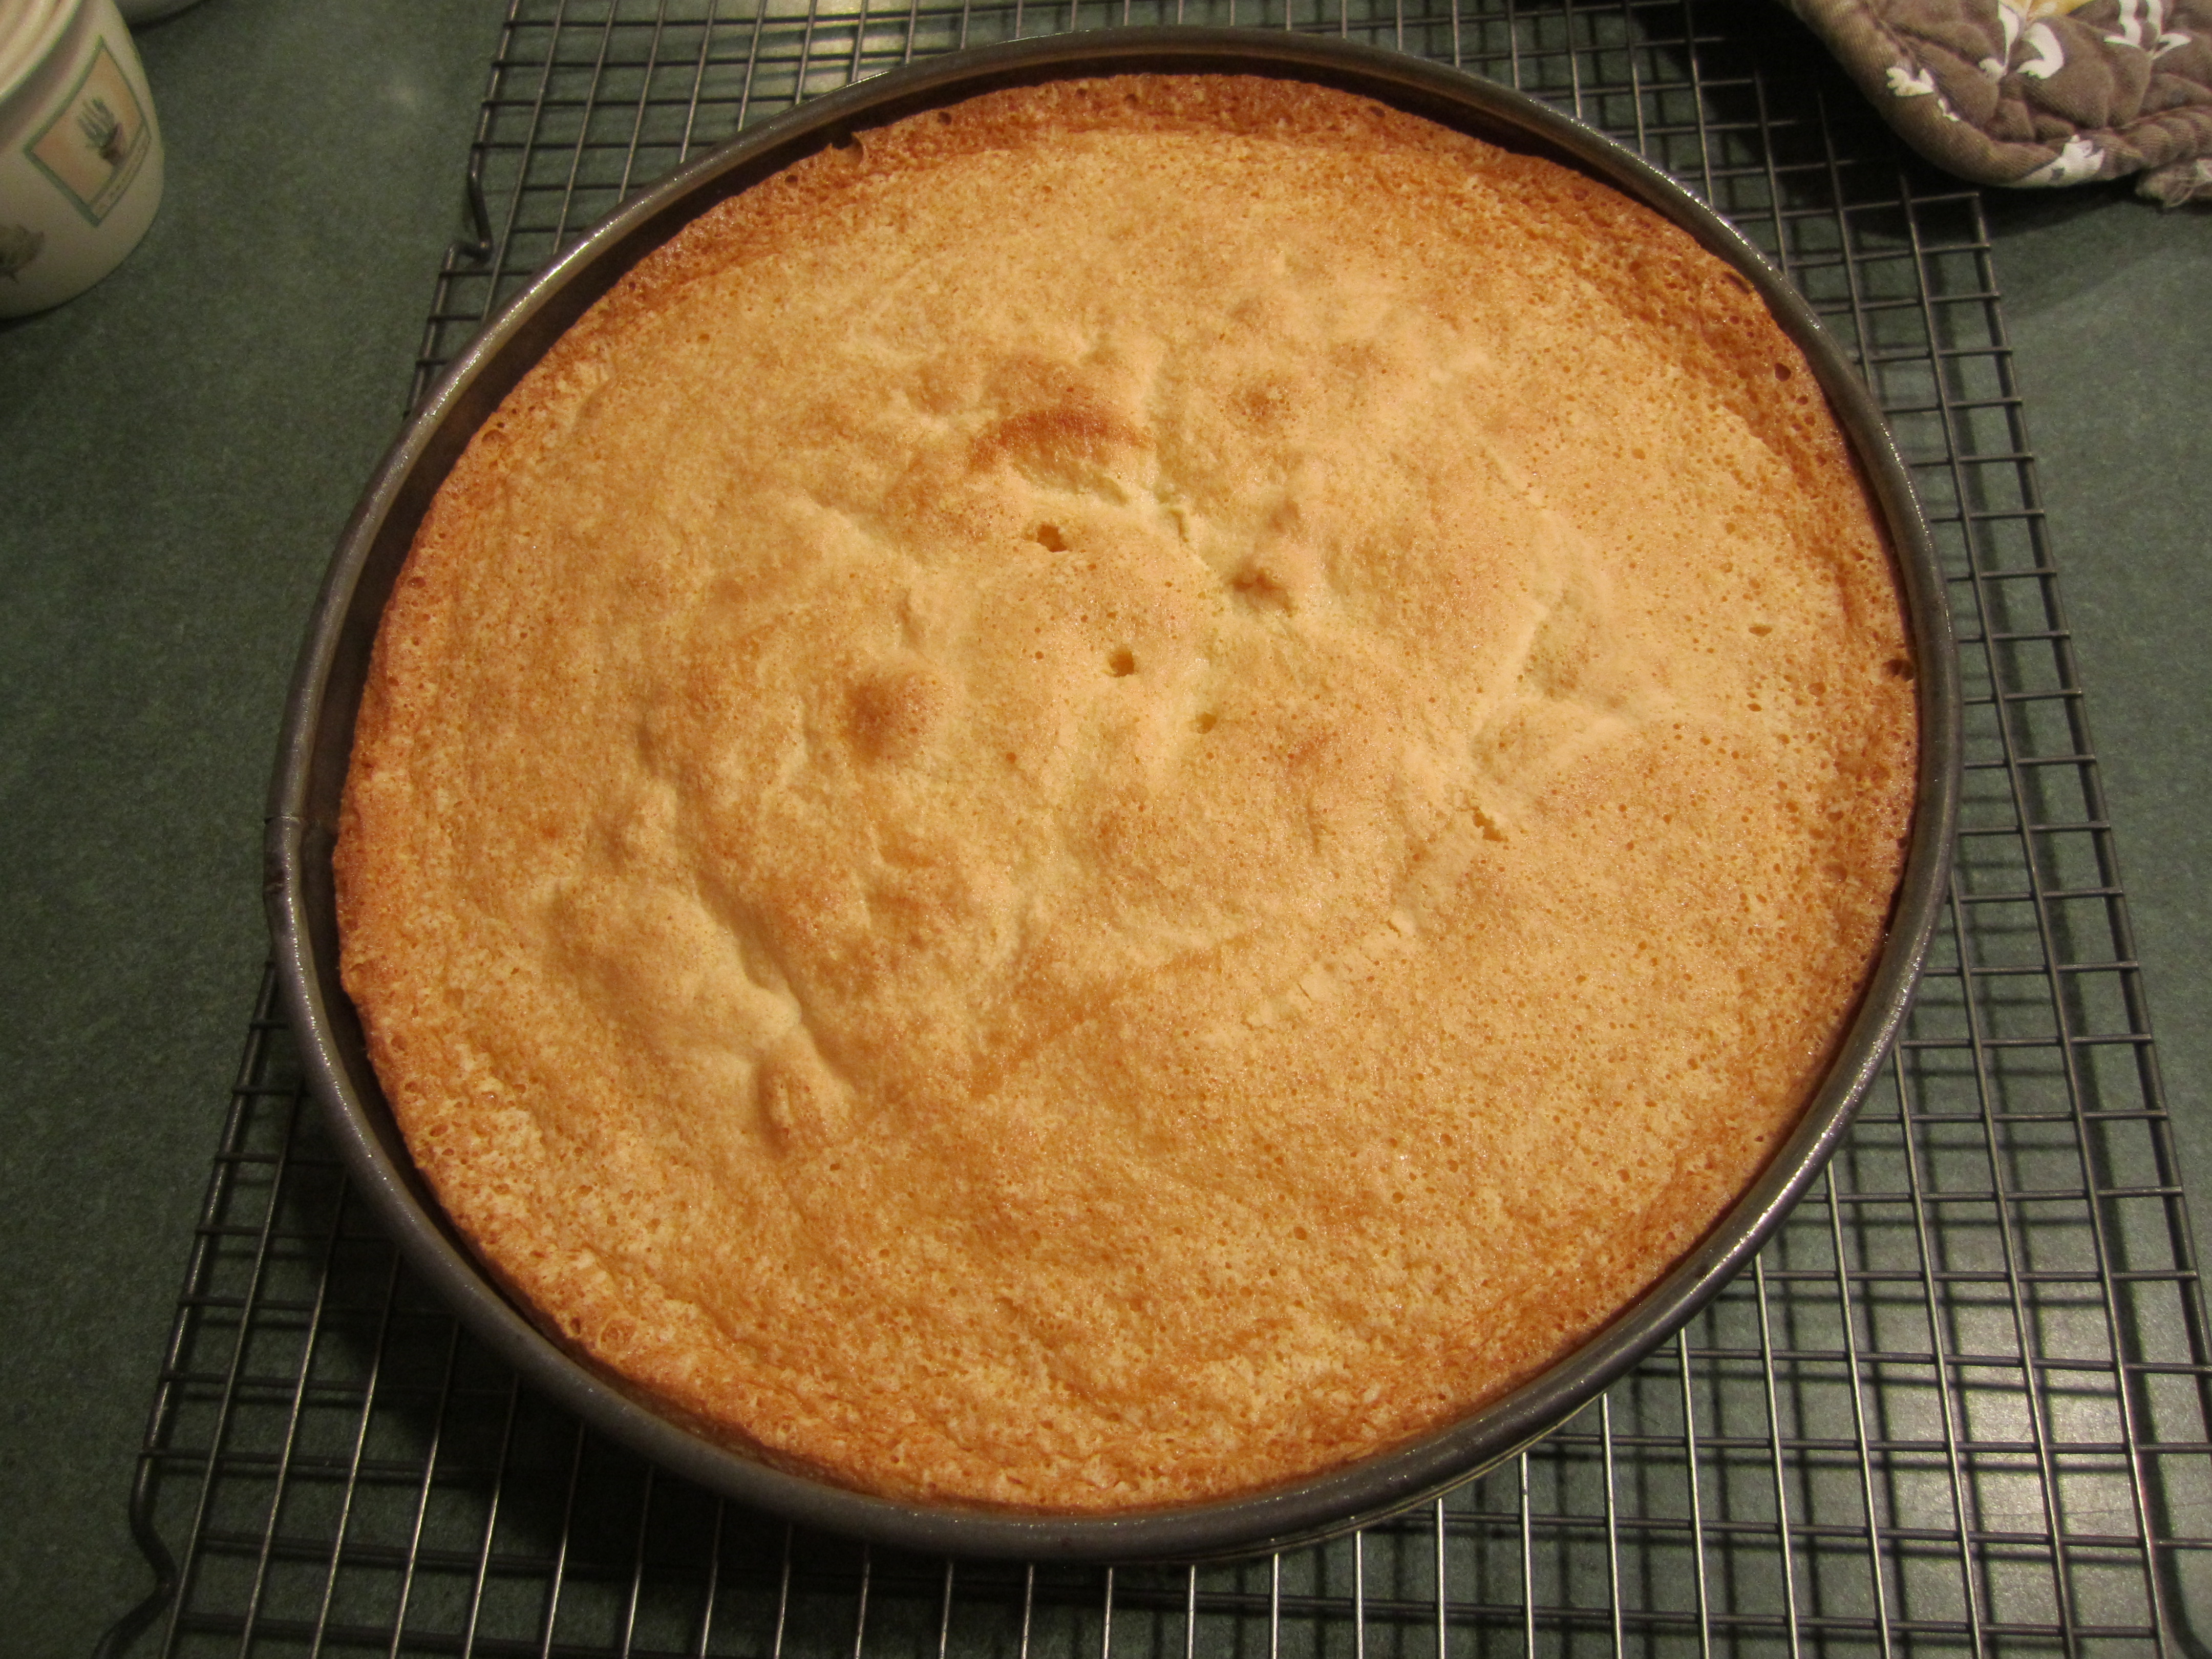
out of the oven:
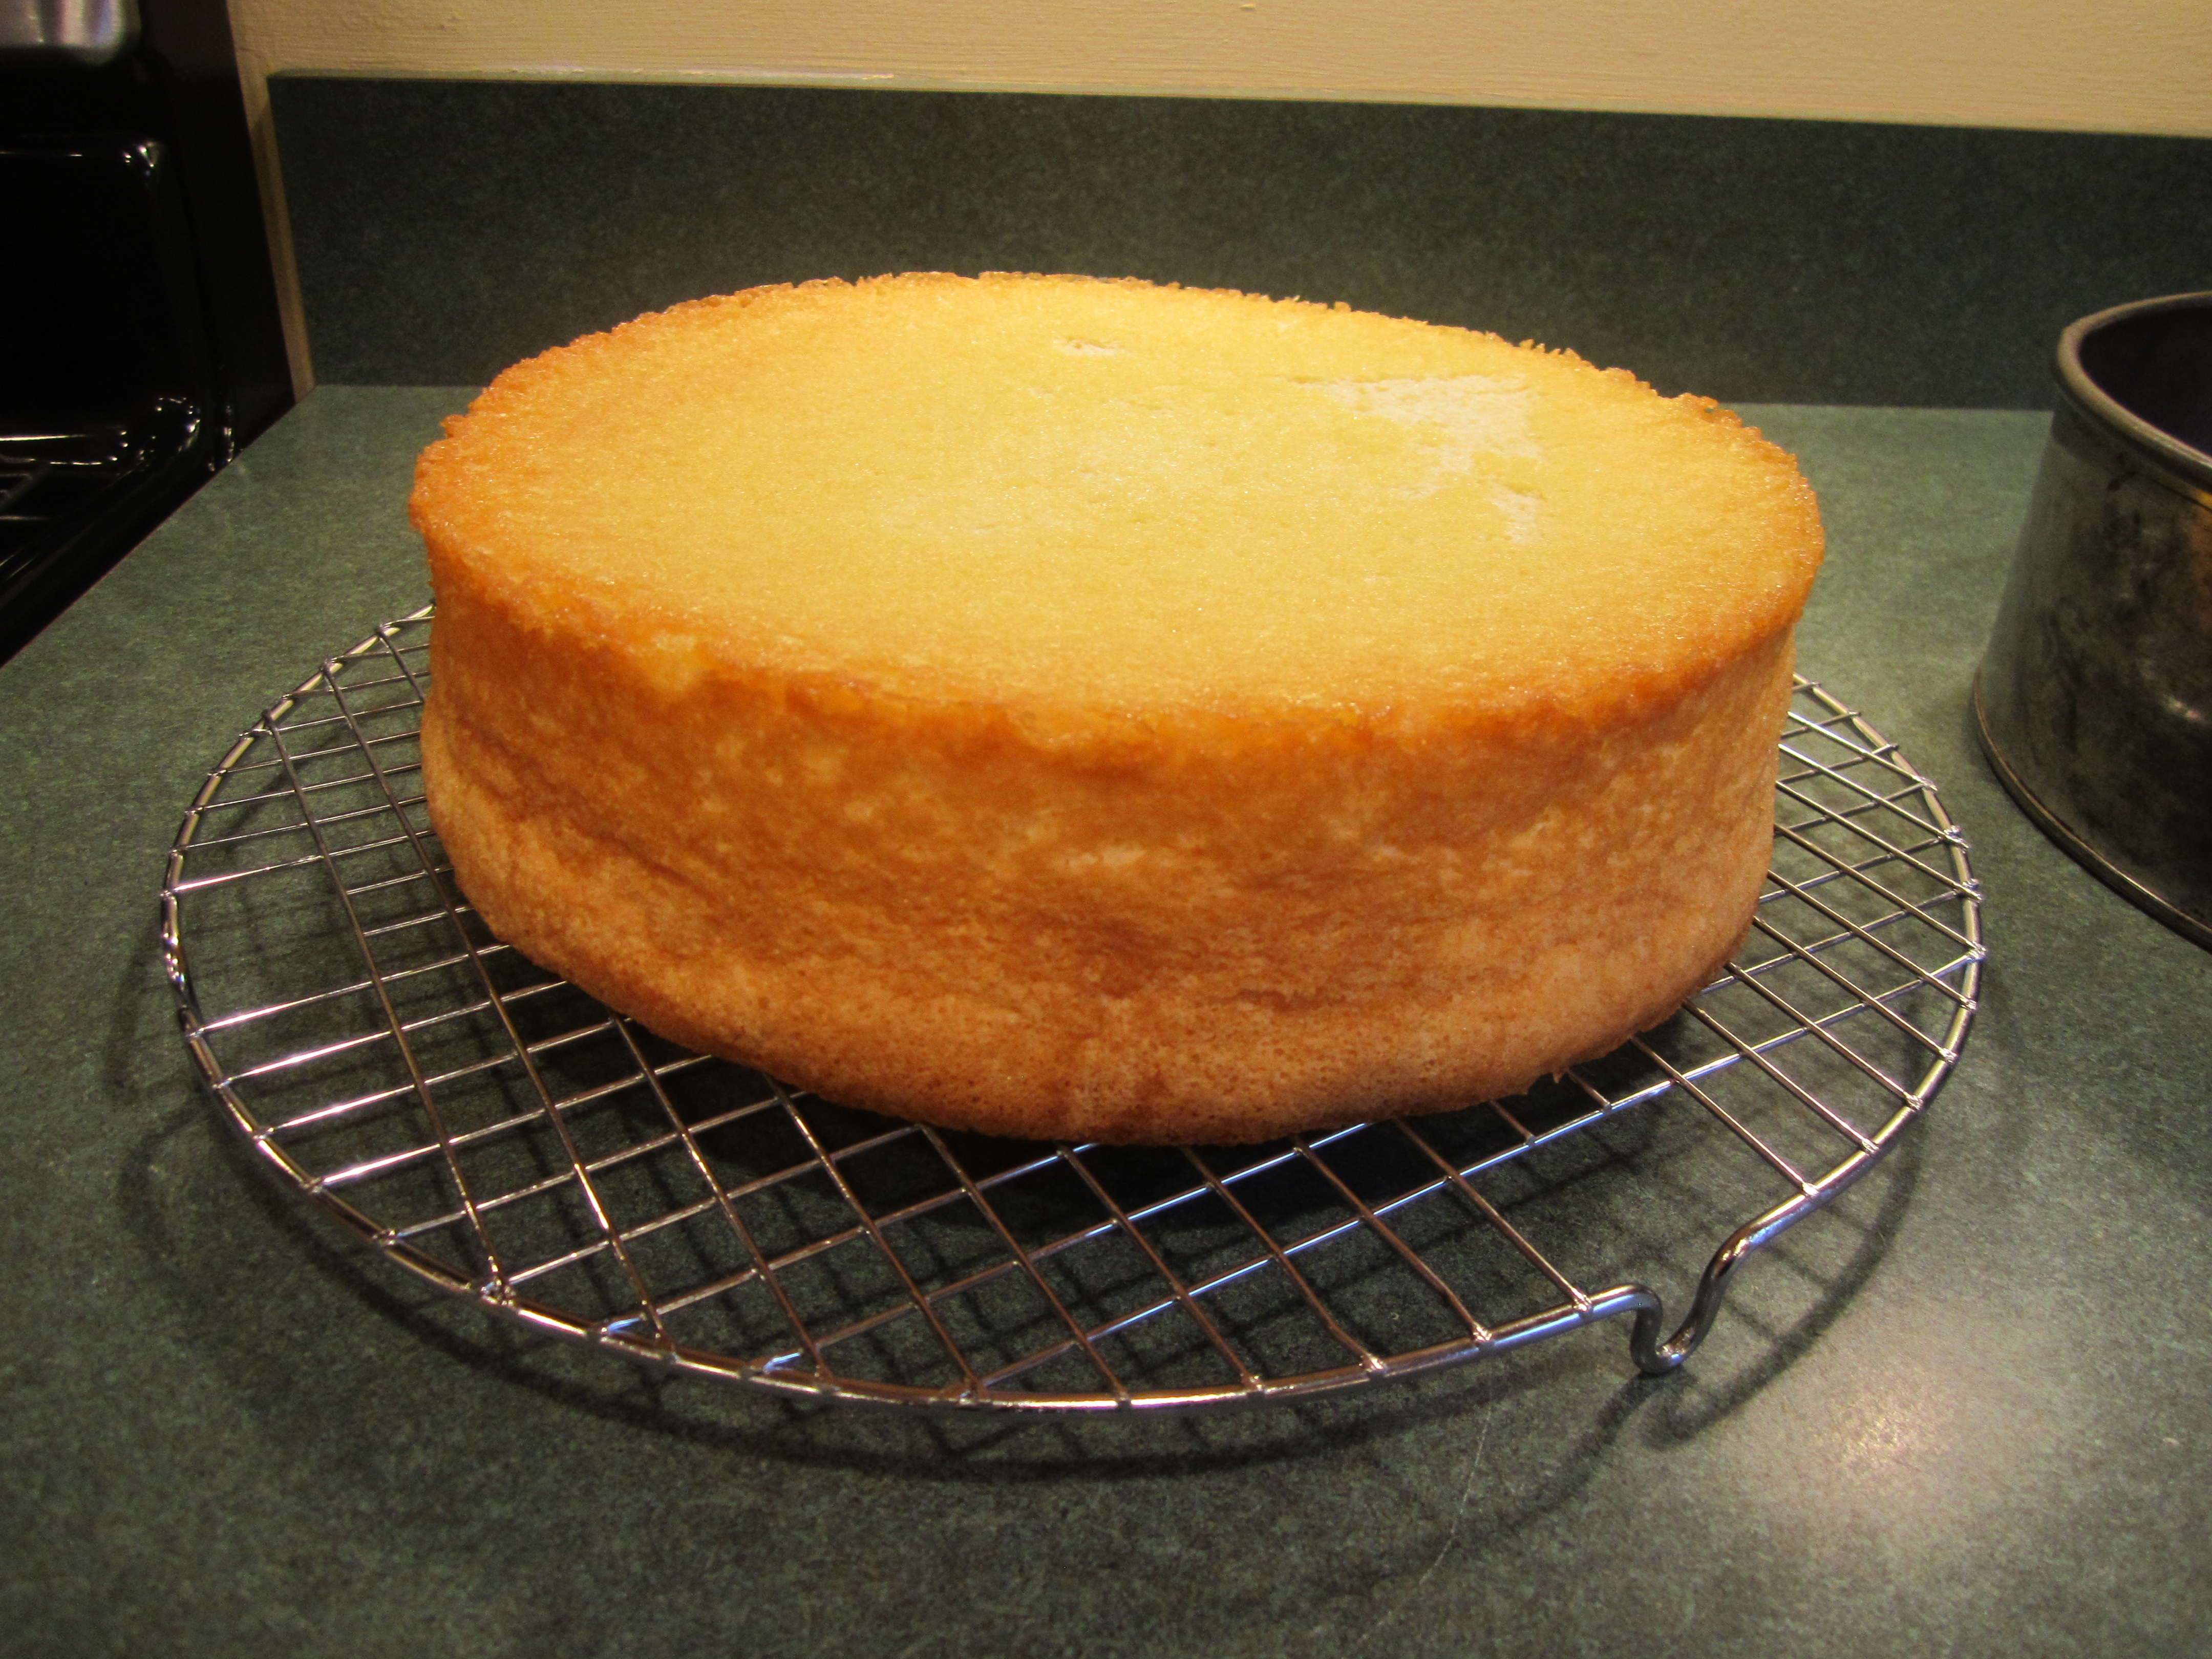
cooled cake with Pam Baking Spray:
cooling cake with no spray:
vanilla pastry cream mise en place:
sugar, cornstarch, salt and eggs:
adding 1/2 of milk:
then into saucepan with rest of heated milk and thickened:
adding butter and vanilla:
into bowl and cover with plastic wrap, chill completely:
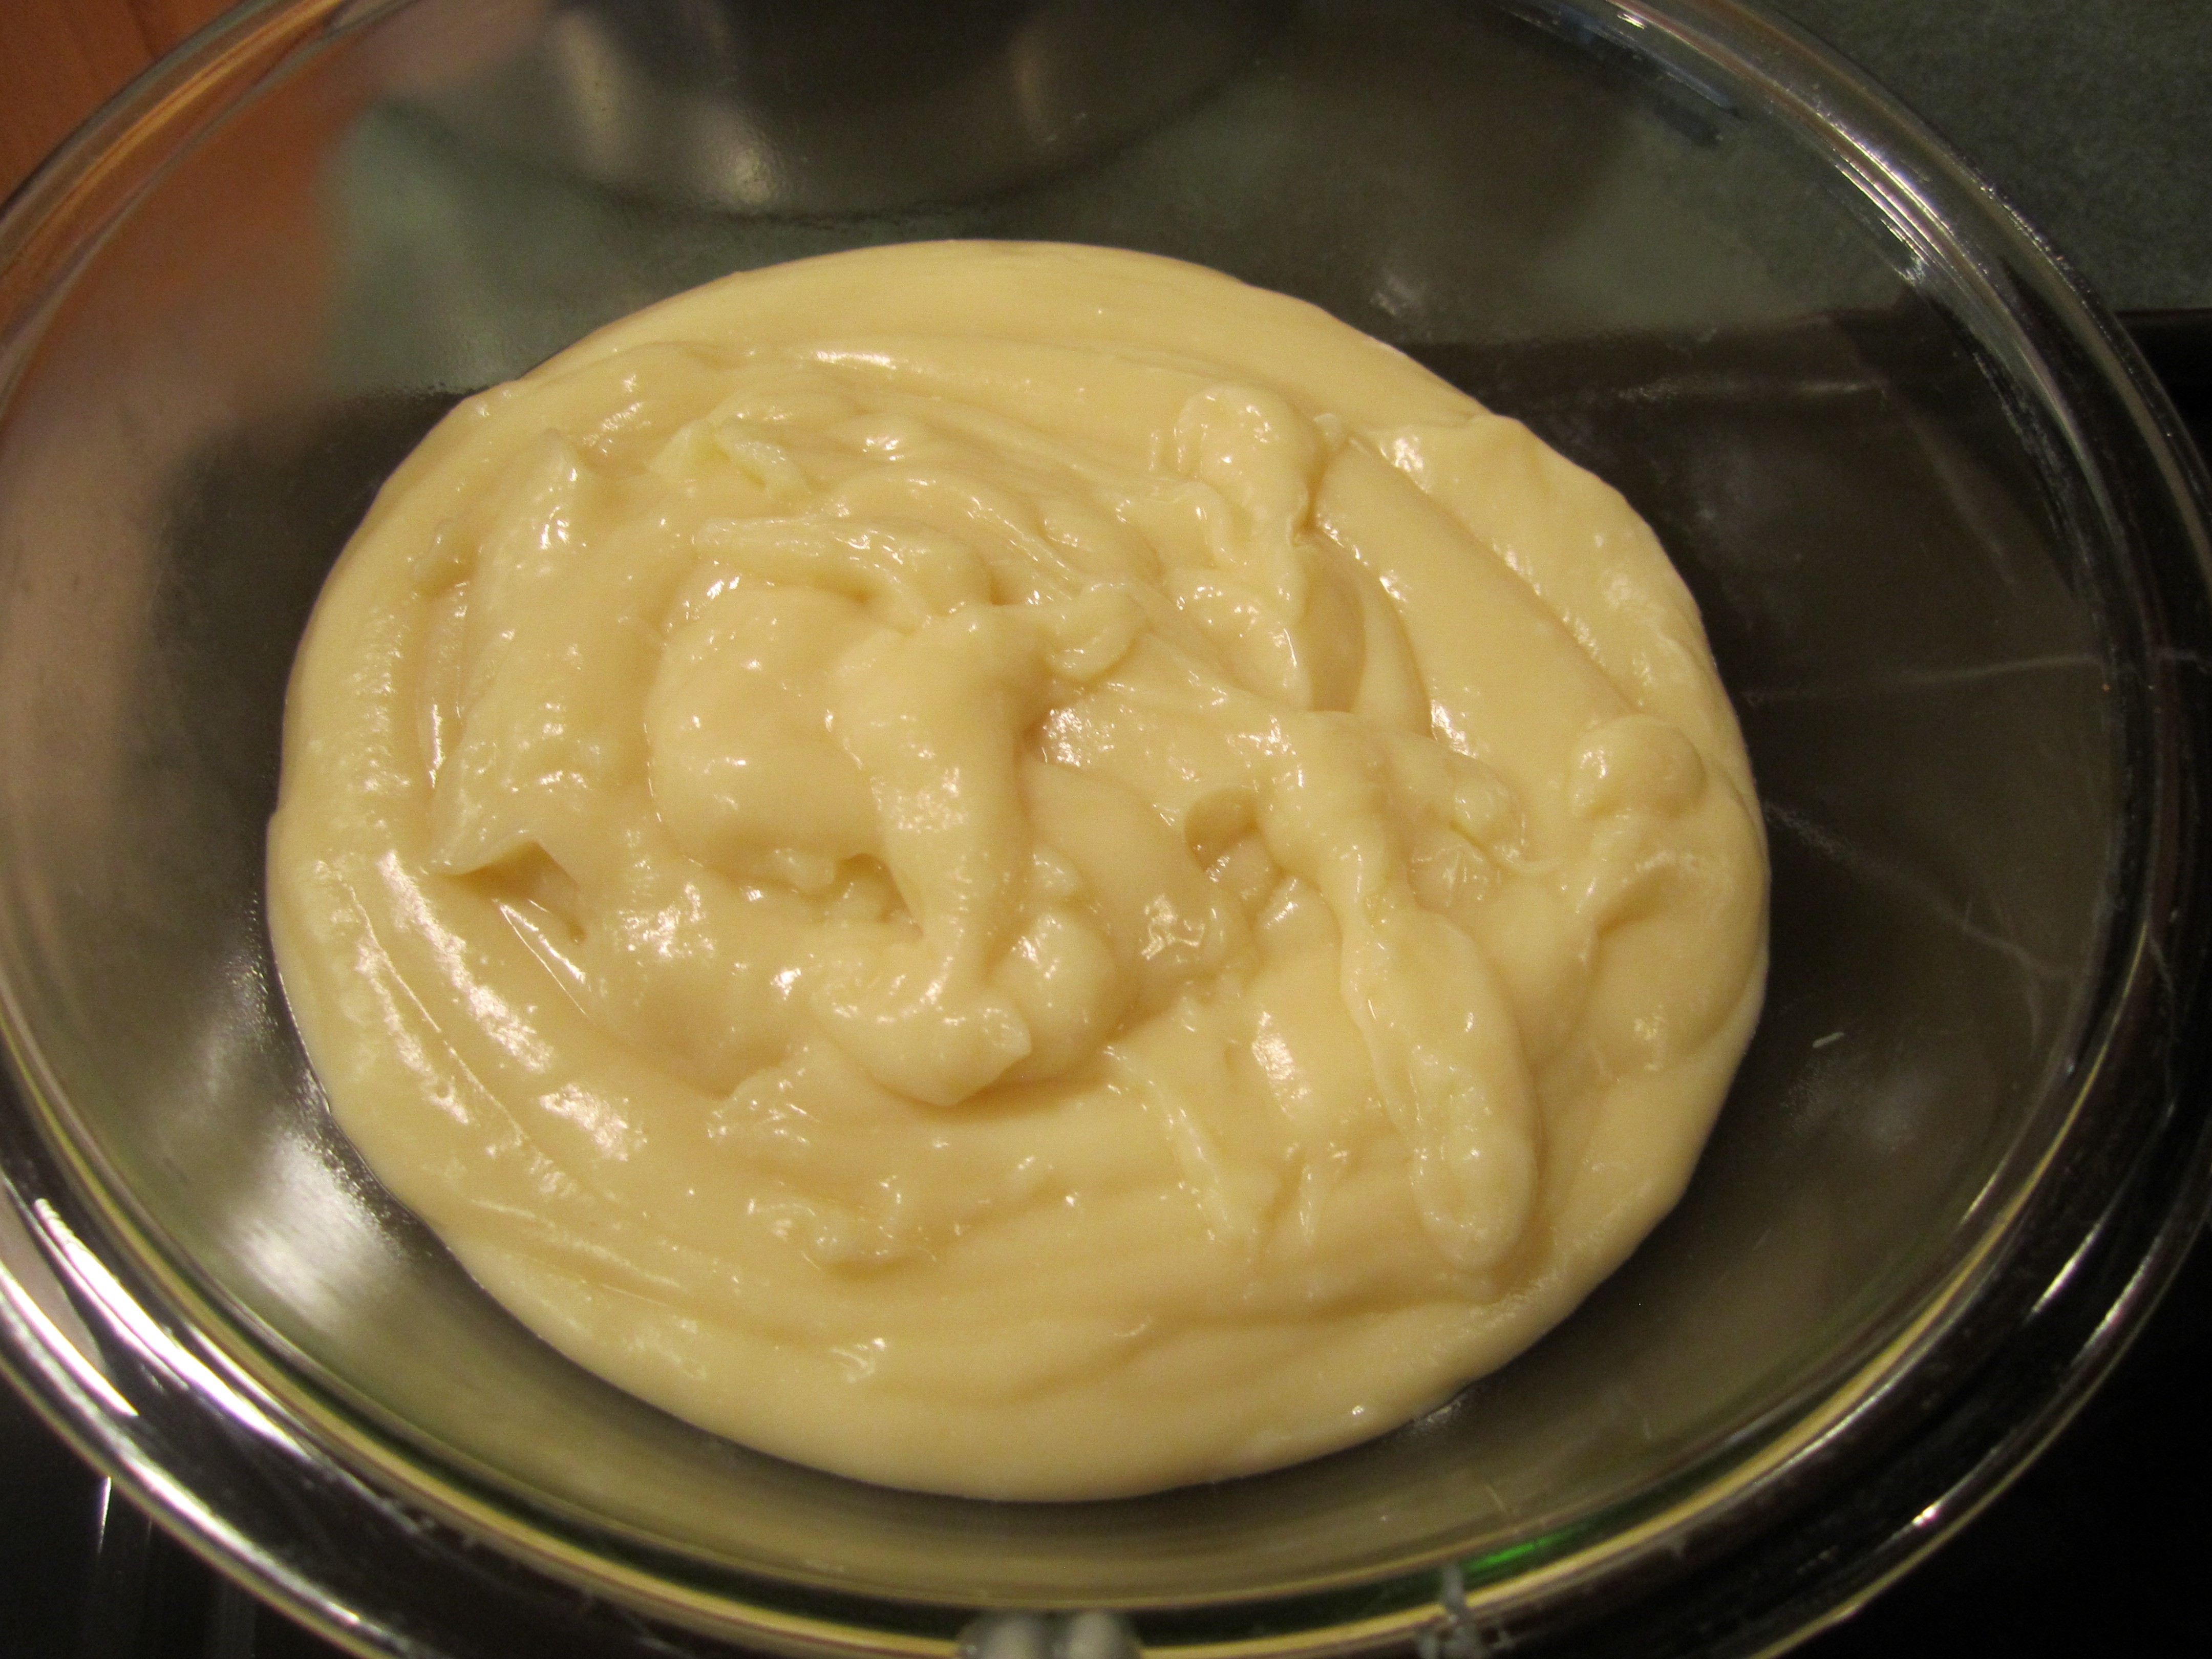
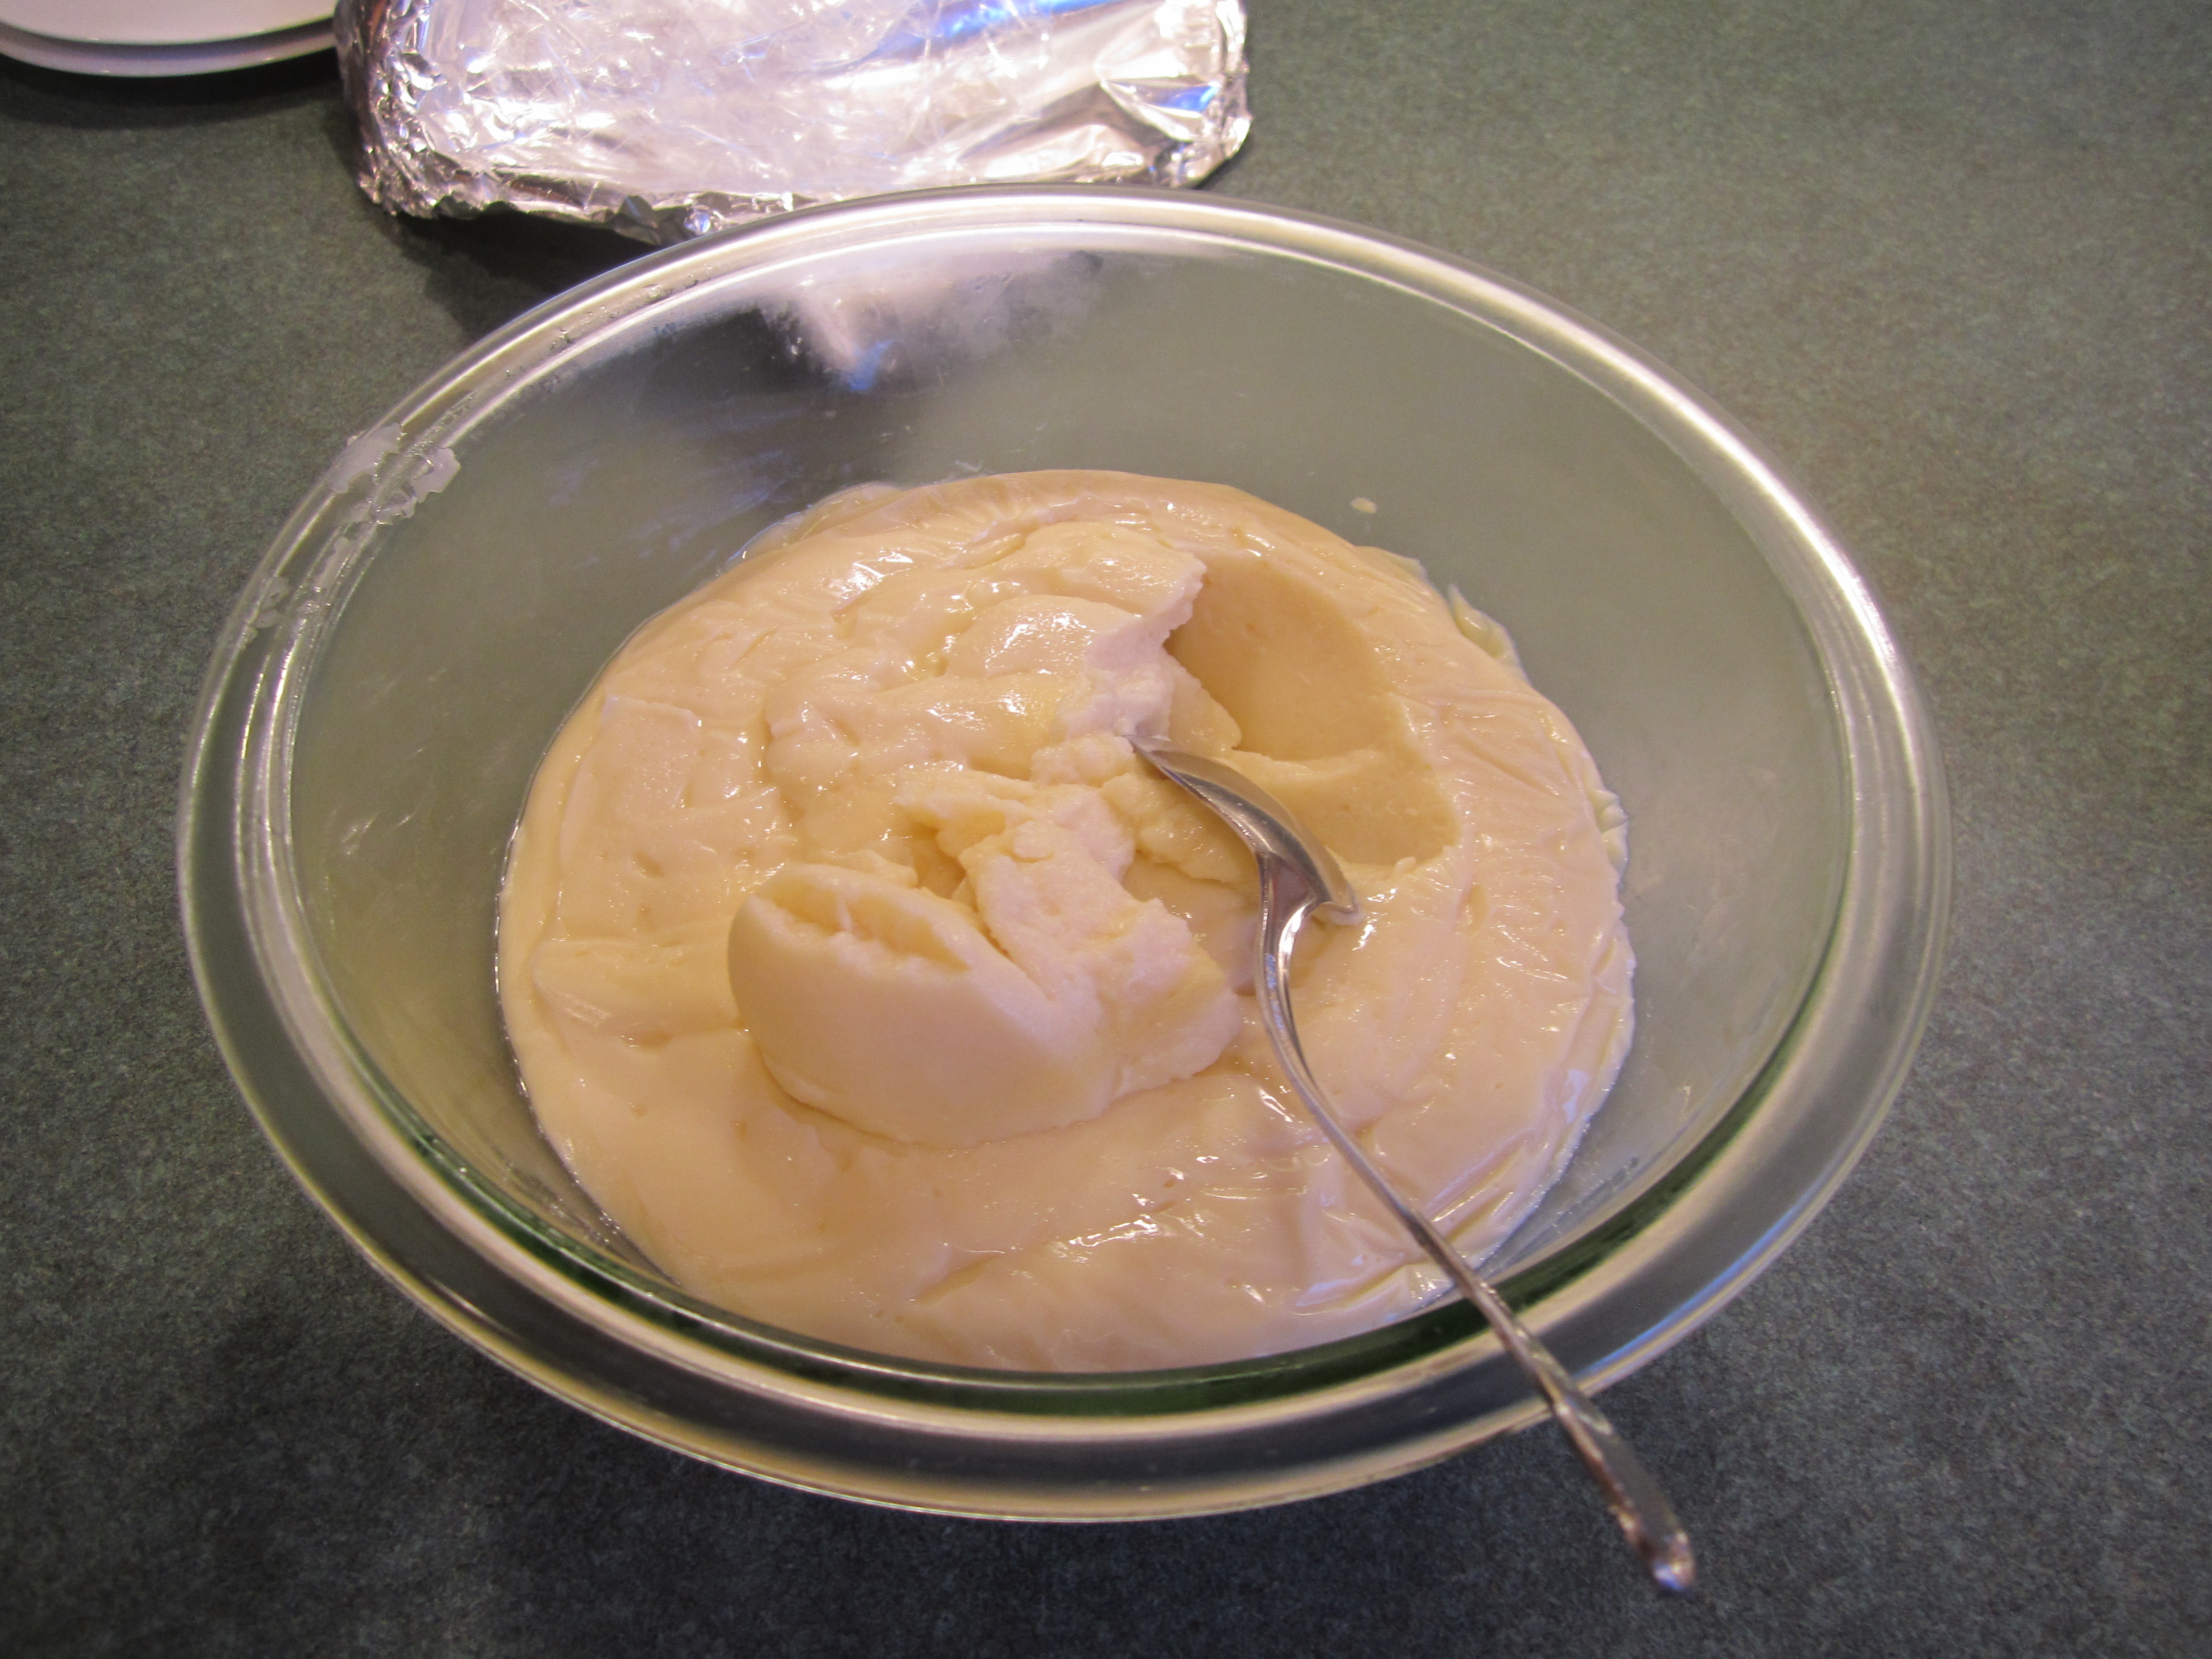
cooled pastry cream:
beating heavy cream:
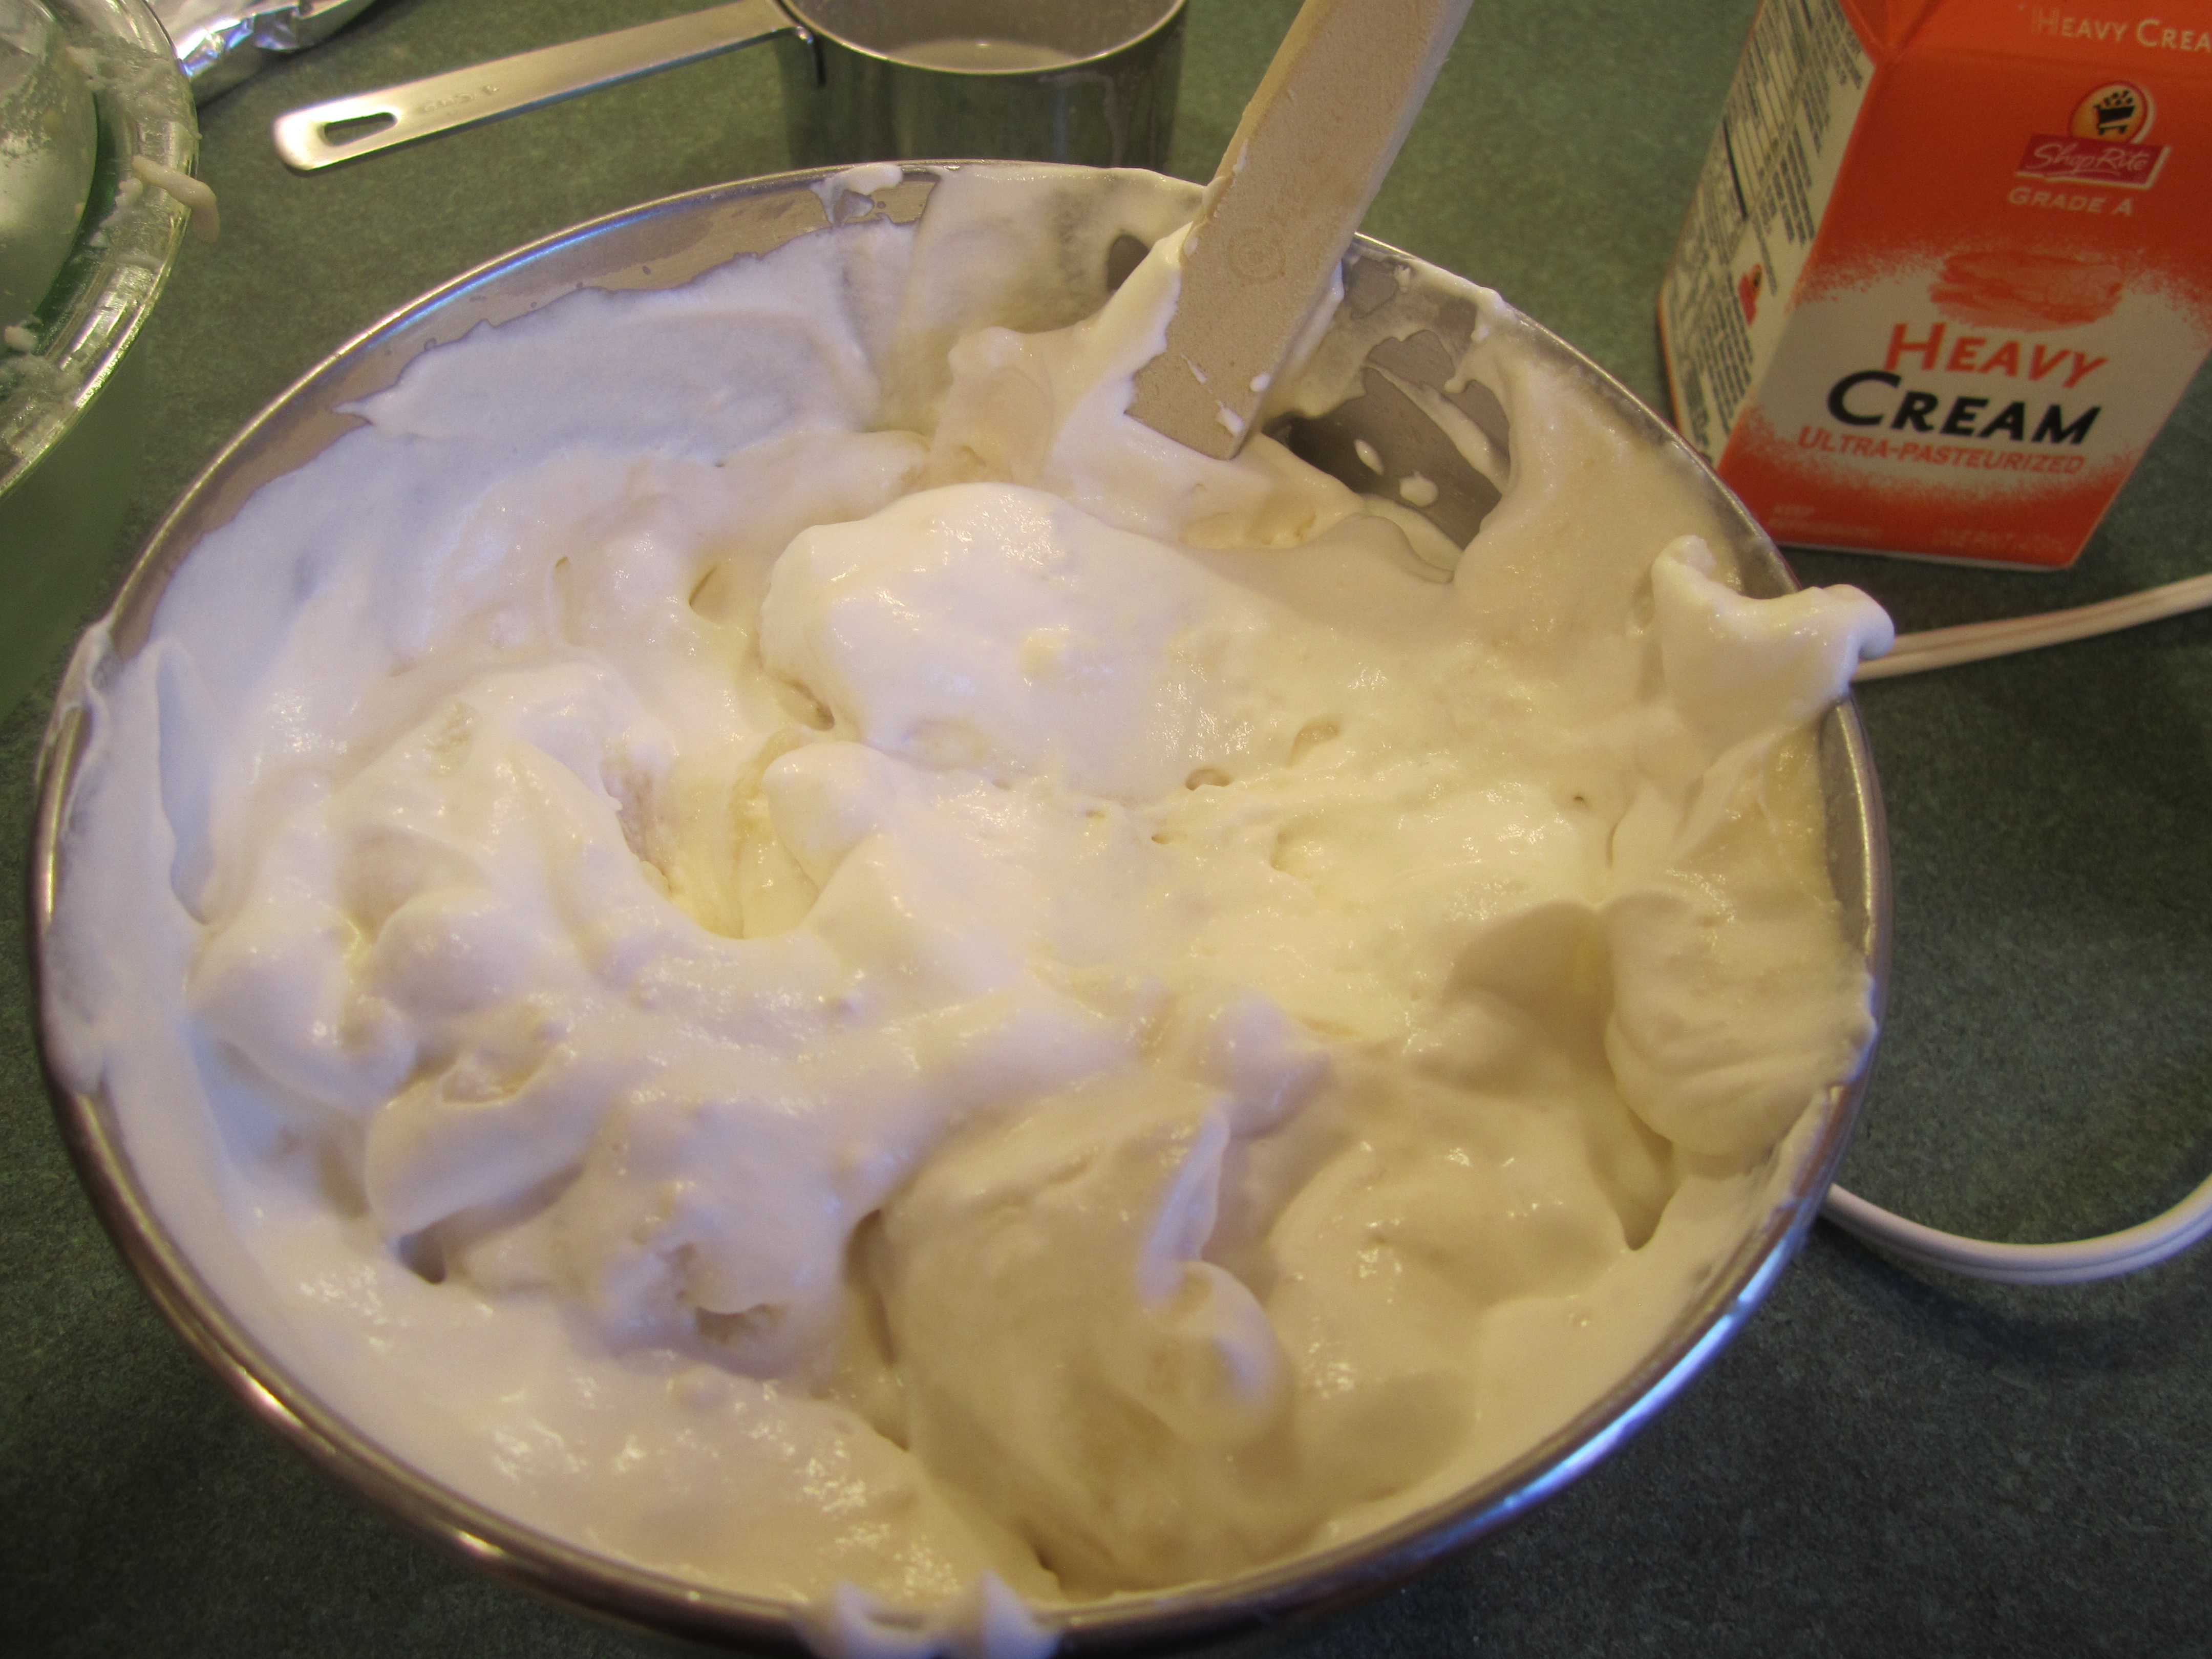
adding whipped cream to vanilla pastry cream:
8 inch cardboard or cake pan (I had to cut my circle down to size):
slicing the cake into 3 layers:
half the vanilla pastry cream:
second layer of cake and the other half of pastry cream:
top layer:
making the ganache:
and onto the cake:

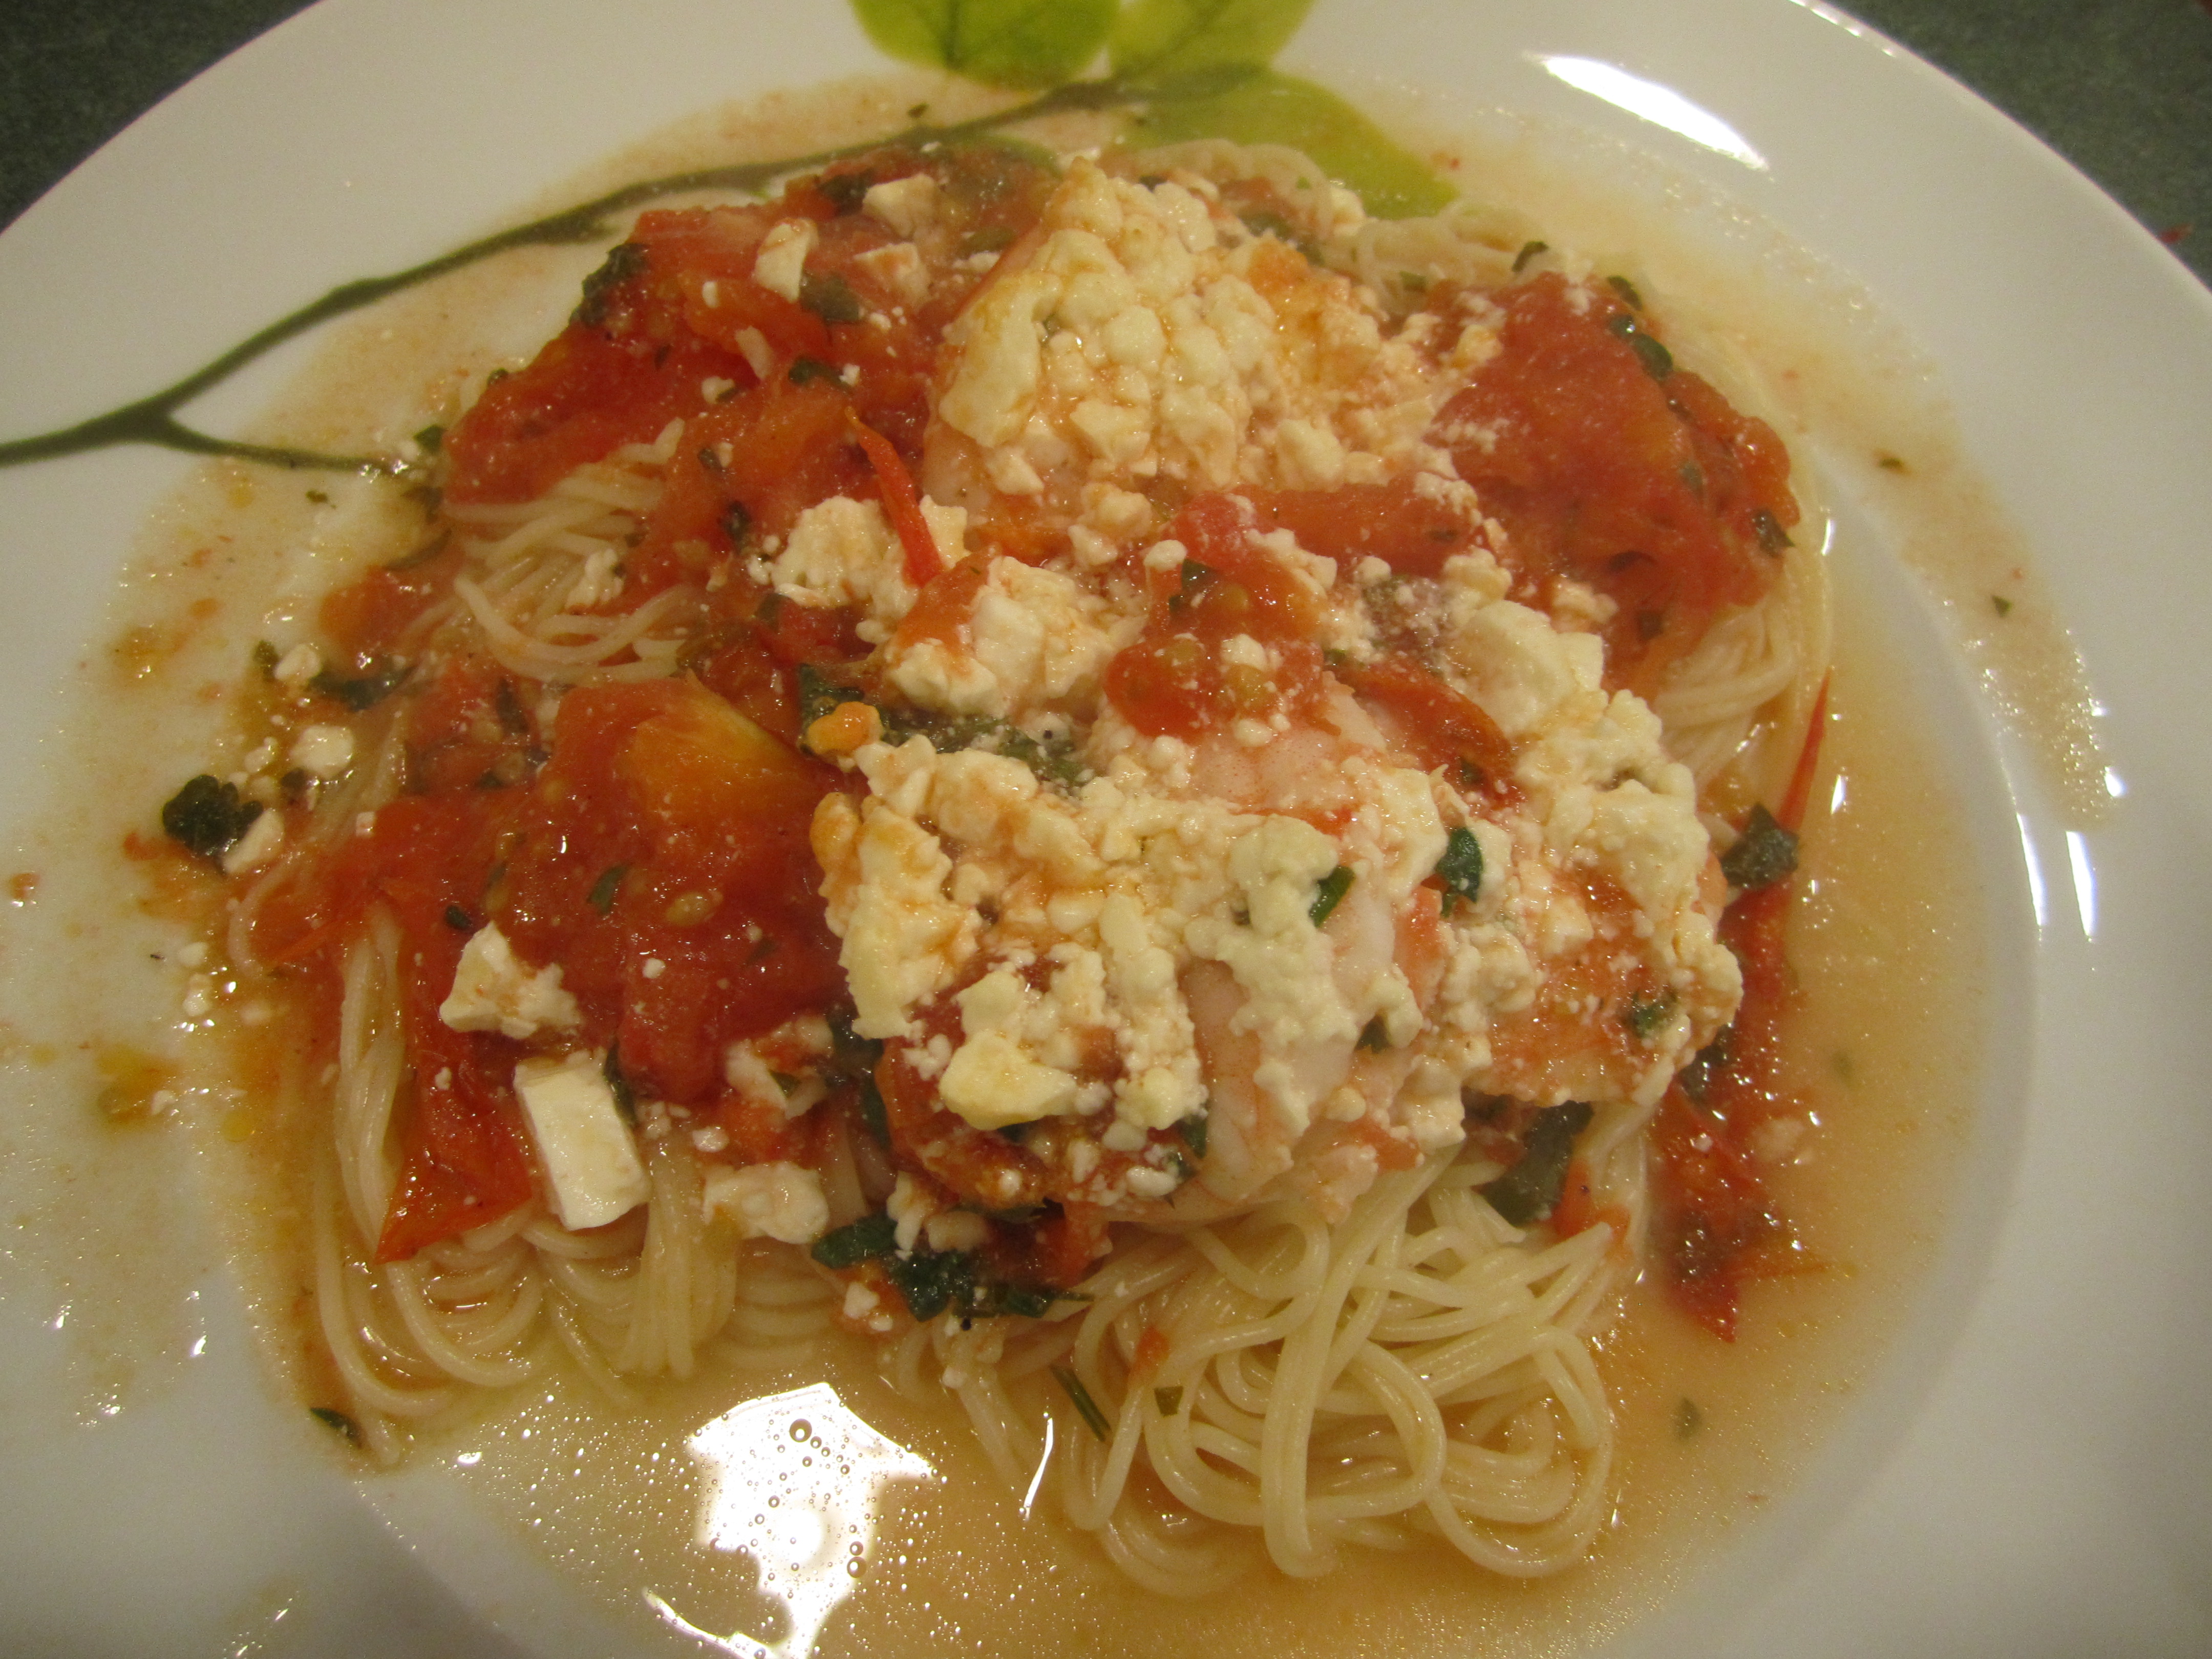
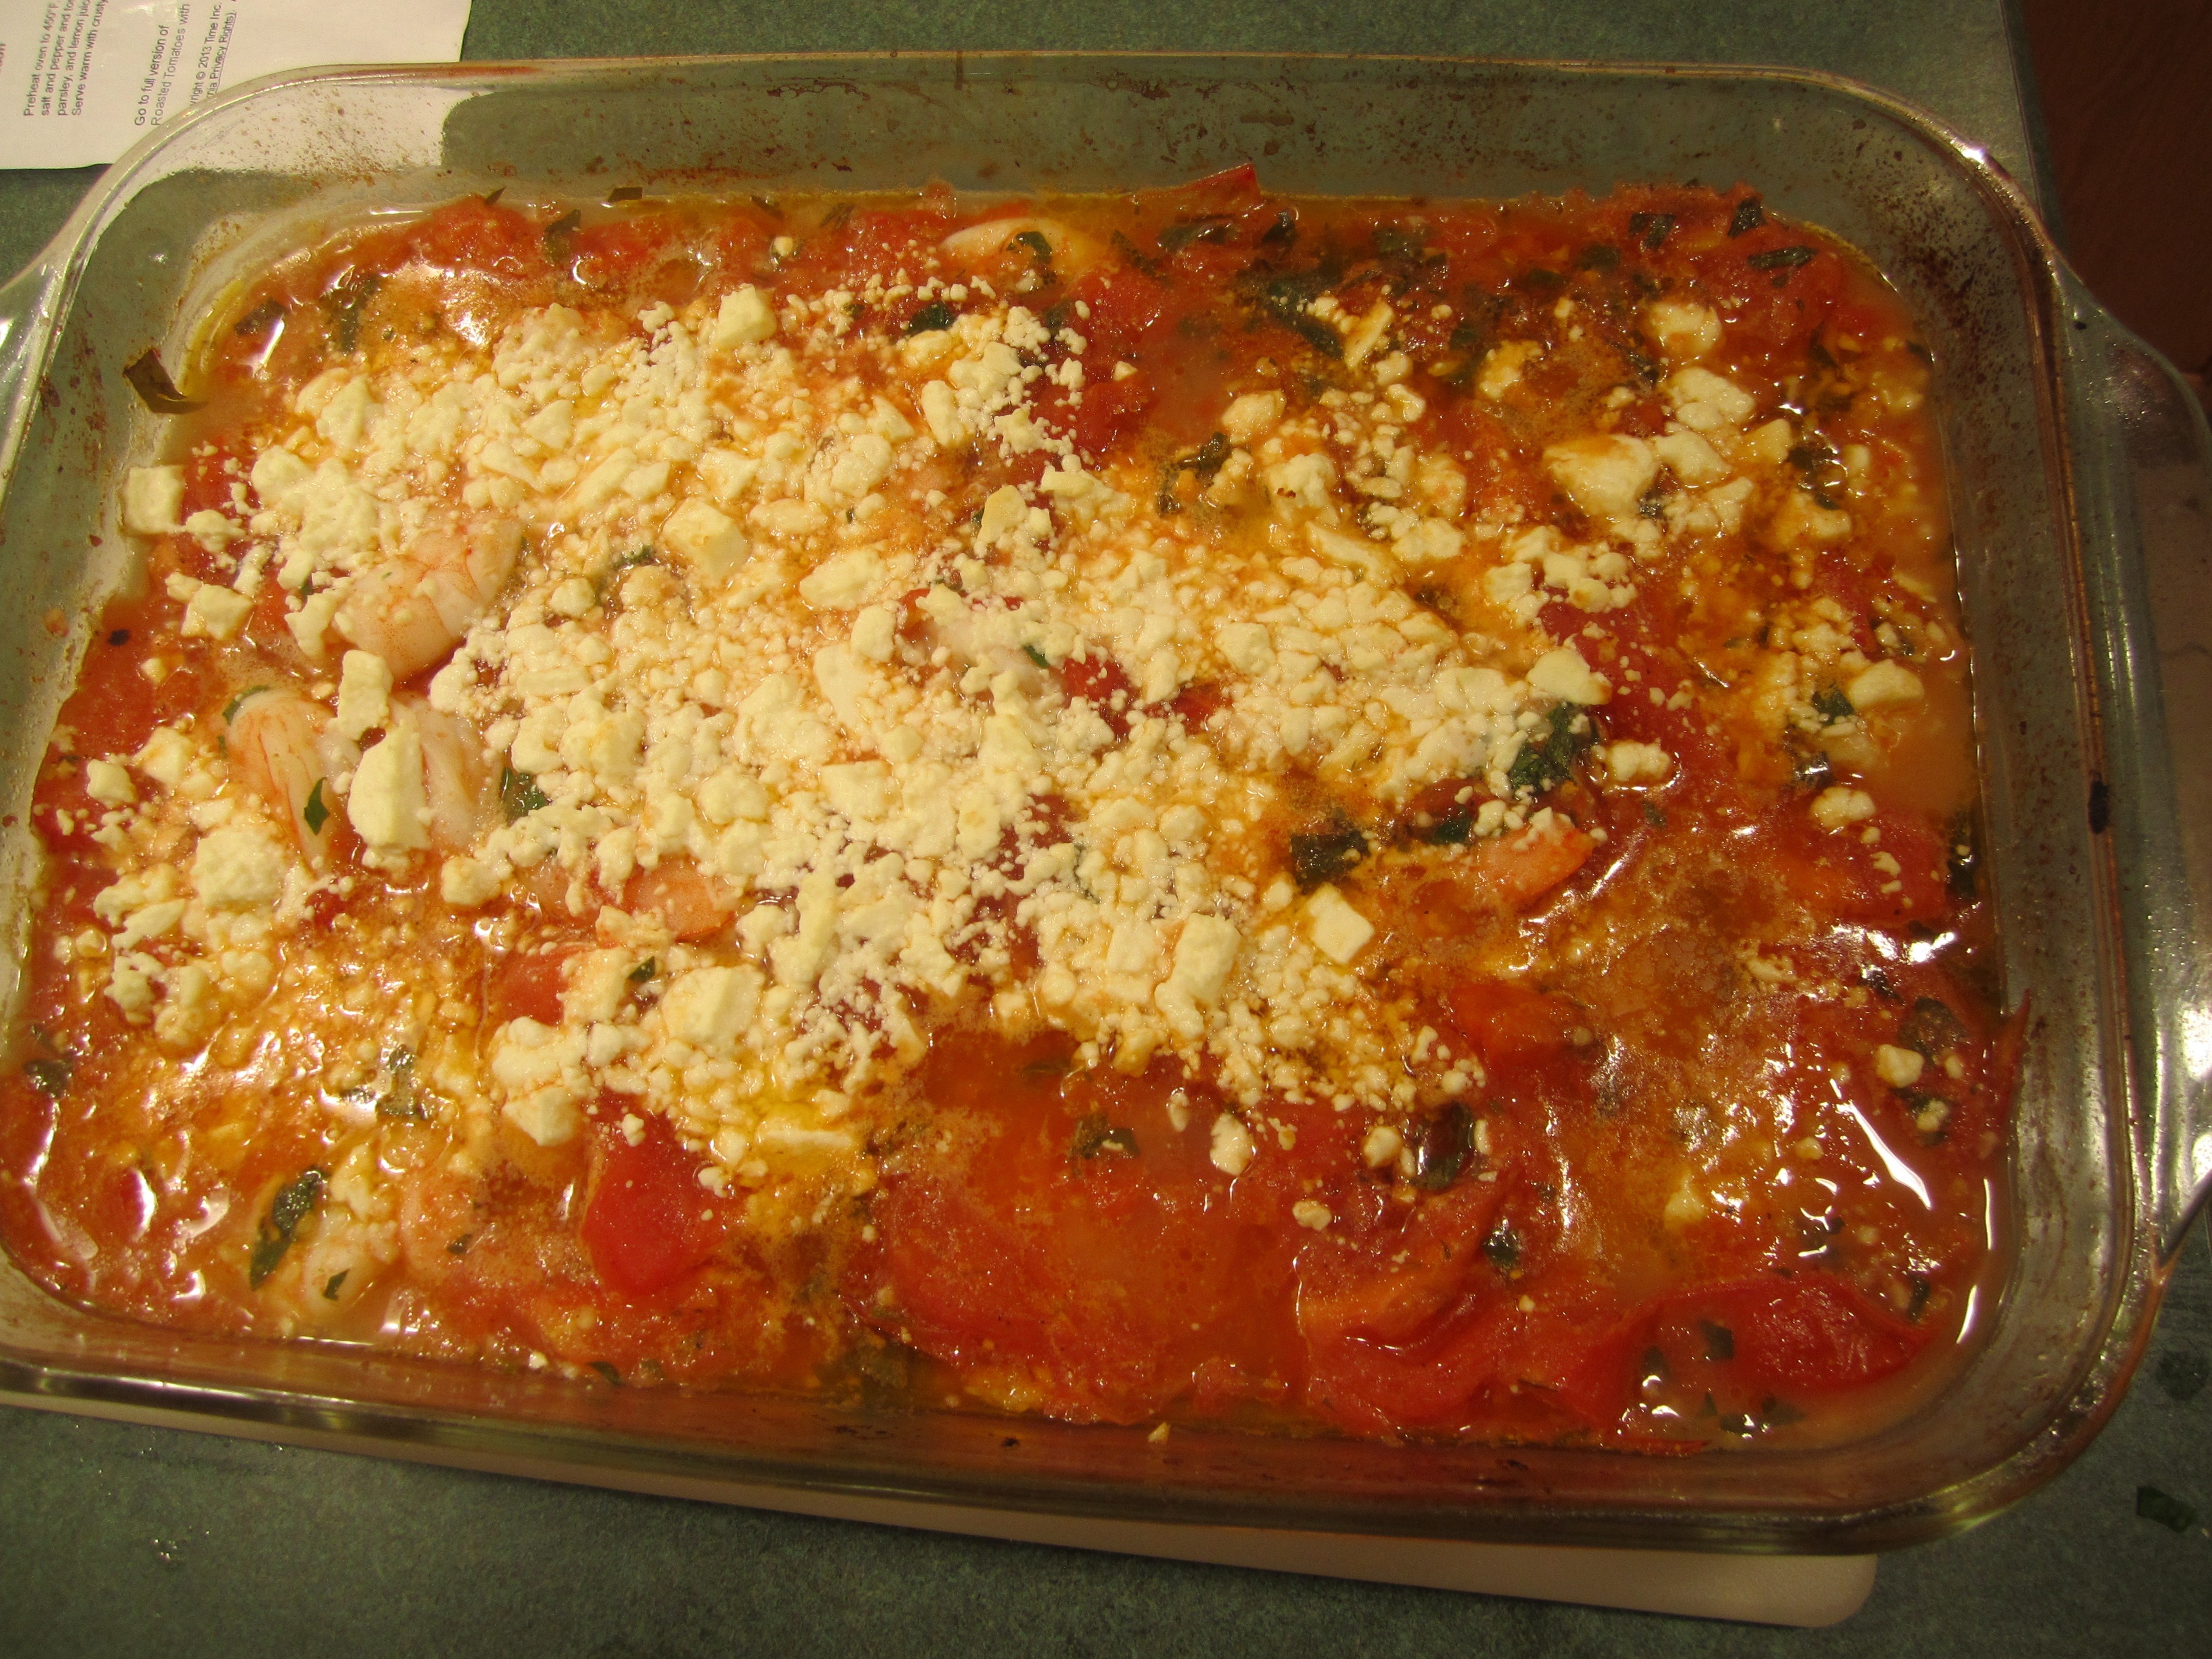
Roasted Tomatoes with Shrimp and Feta
Wednesday night I spent at least an hour or so trying to find a recipe that I could make that would finally turn out good!
I had tried 3 recipes this week and none of them were good enough to make again (well, one was but I need to make it once more with a lot less salt and then we’ll see! ) So when I came upon this one, I was really doubtful with the 5 star rating until I read the reviews ! Simple ingredients equal a stellar dish!
Roasted Tomatoes with Shrimp and Feta ( from Real Simple Magazine)
5 large tomatoes (about 8 ounces each)
3 tablespoons olive oil
2 tablespoons minced garlic (from 8 large cloves)
3/4 teaspoon kosher salt
3/4 teaspoon black pepper
1-1/2 pounds shrimp, peeled and deveined (I used frozen raw shrimp, 16/20 count and defrosted them according to the package directions)
1/2 cup chopped fresh parsley (I used flat leaf parsley from 1 small bunch)
2 tablespoons fresh lemon juice (from 1 large lemon)
1 cup crumbled Feta
Place the rack in your oven in the top position. Preheat oven to 450 degrees.
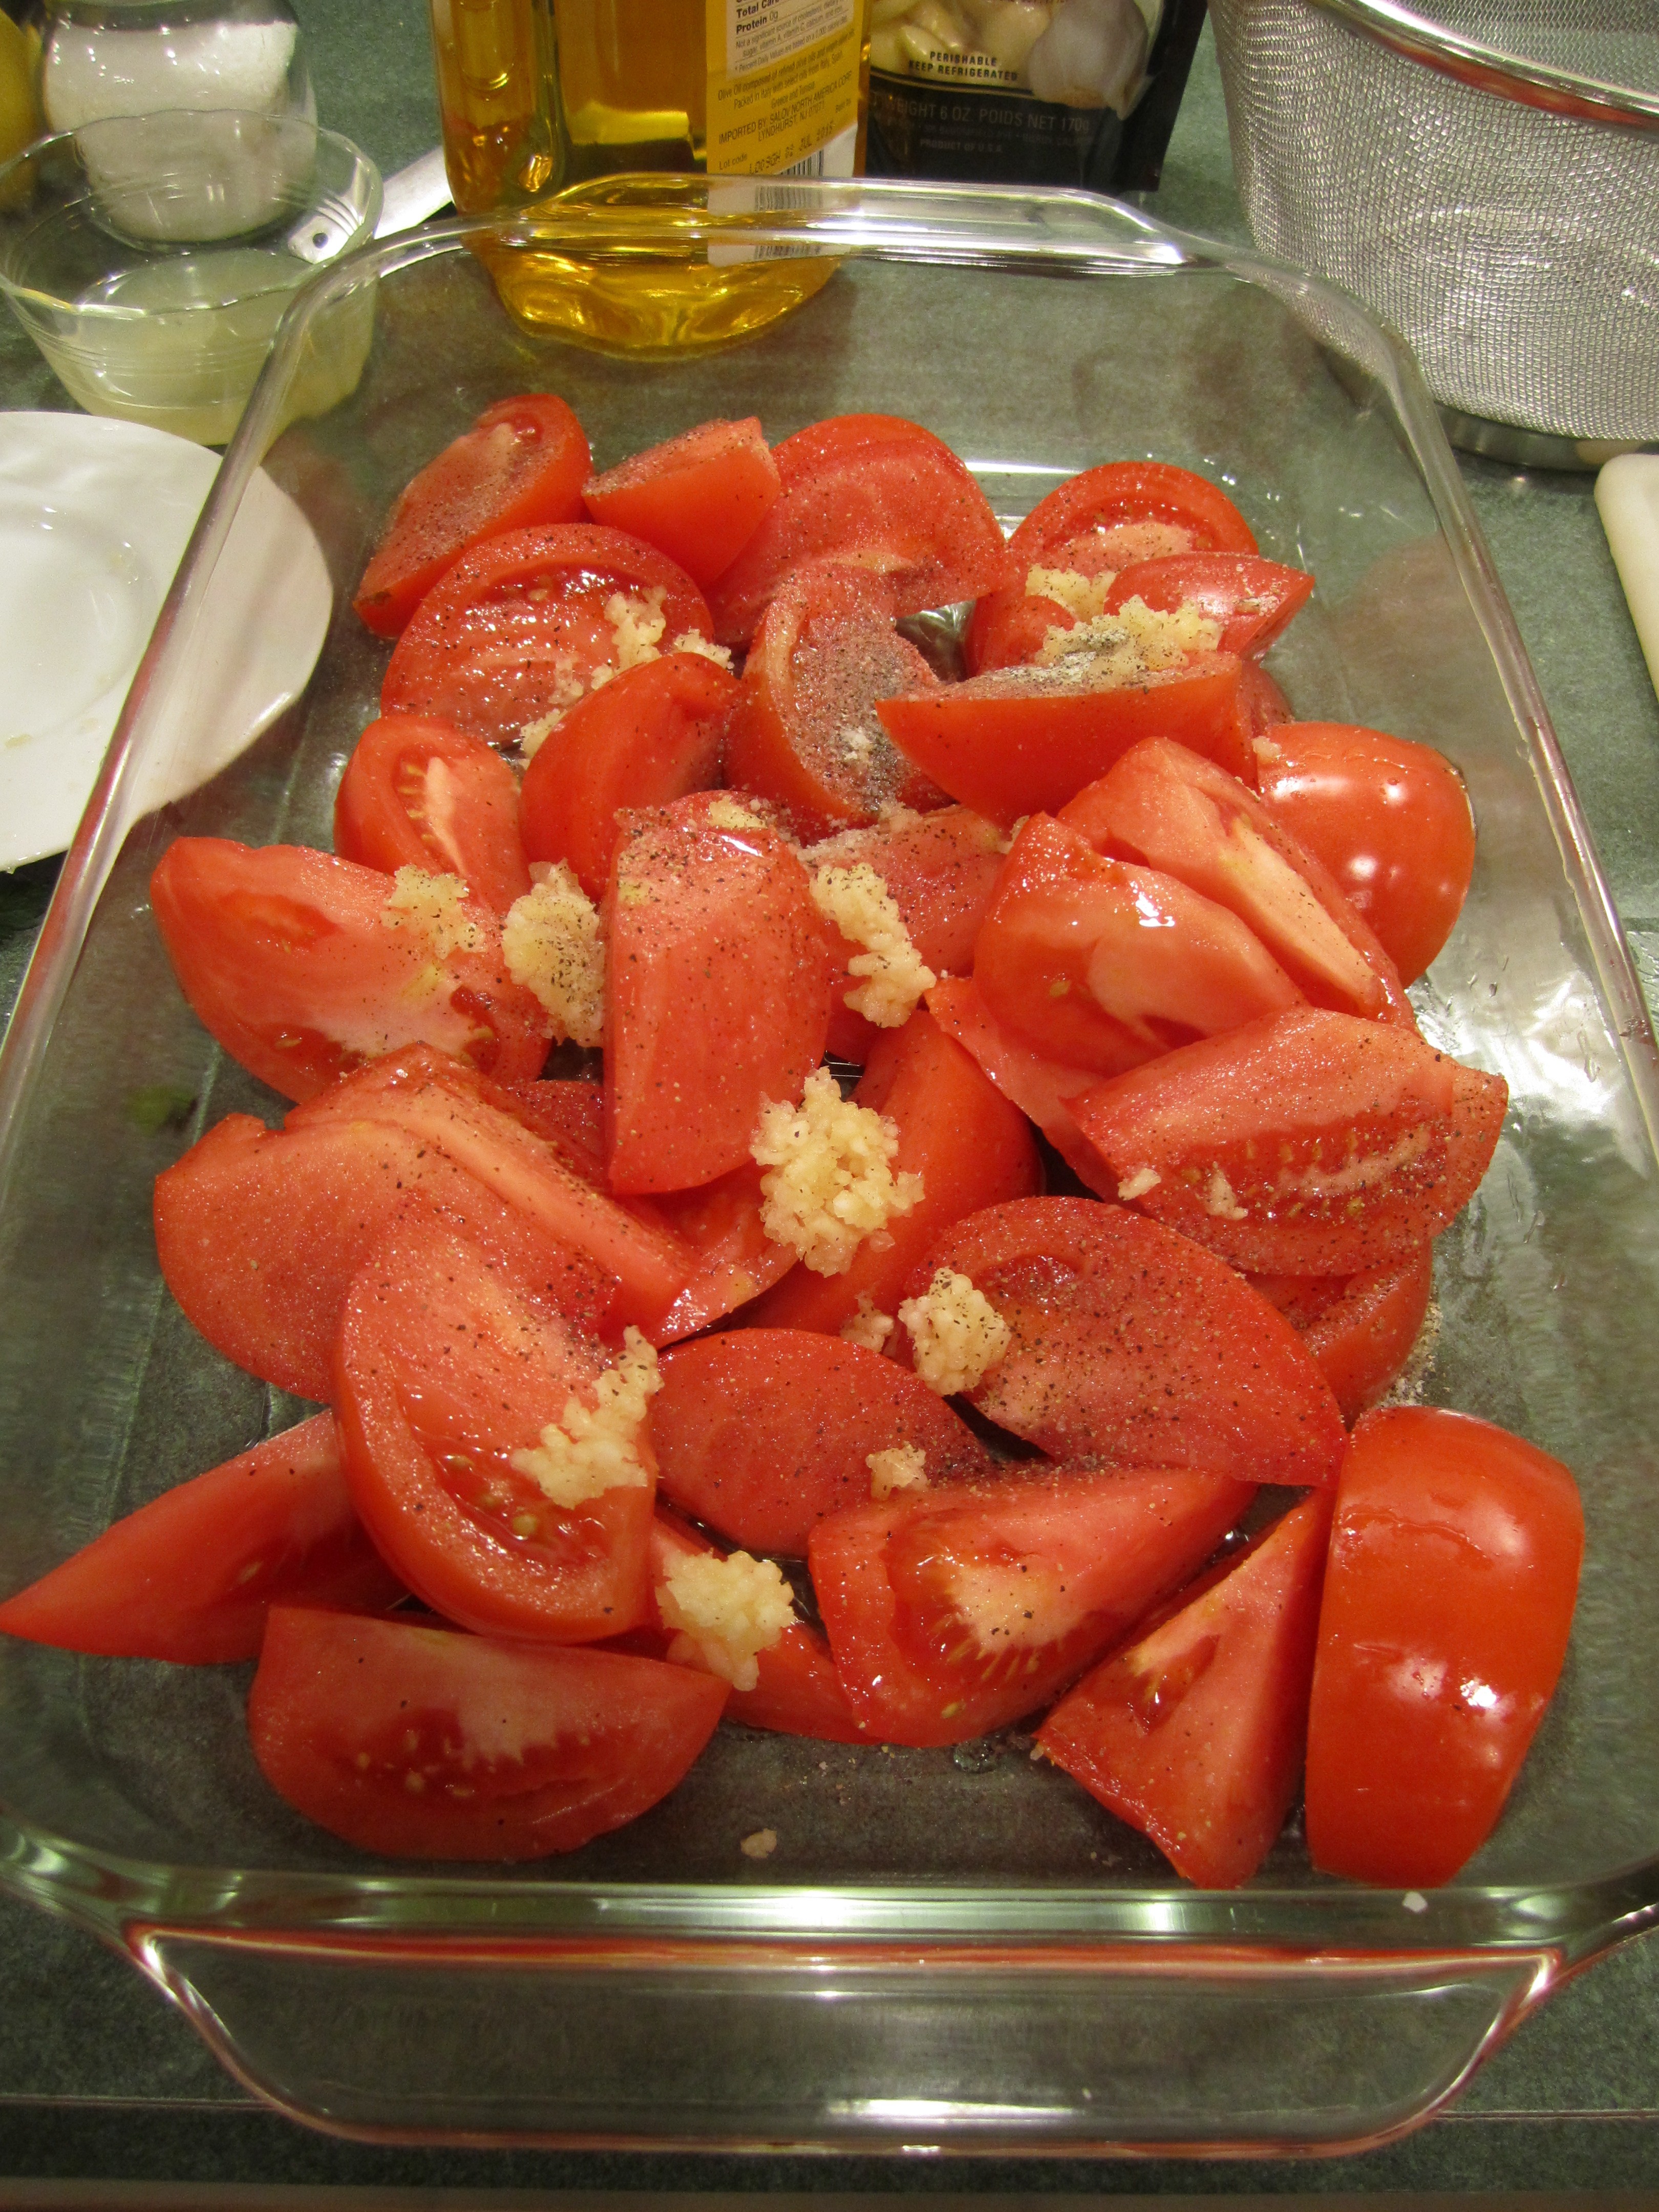
Cut tomatoes into eighths, cutting out stem, and place into a 9 x 13 inch glass baking dish (no need to spray with canola oil).
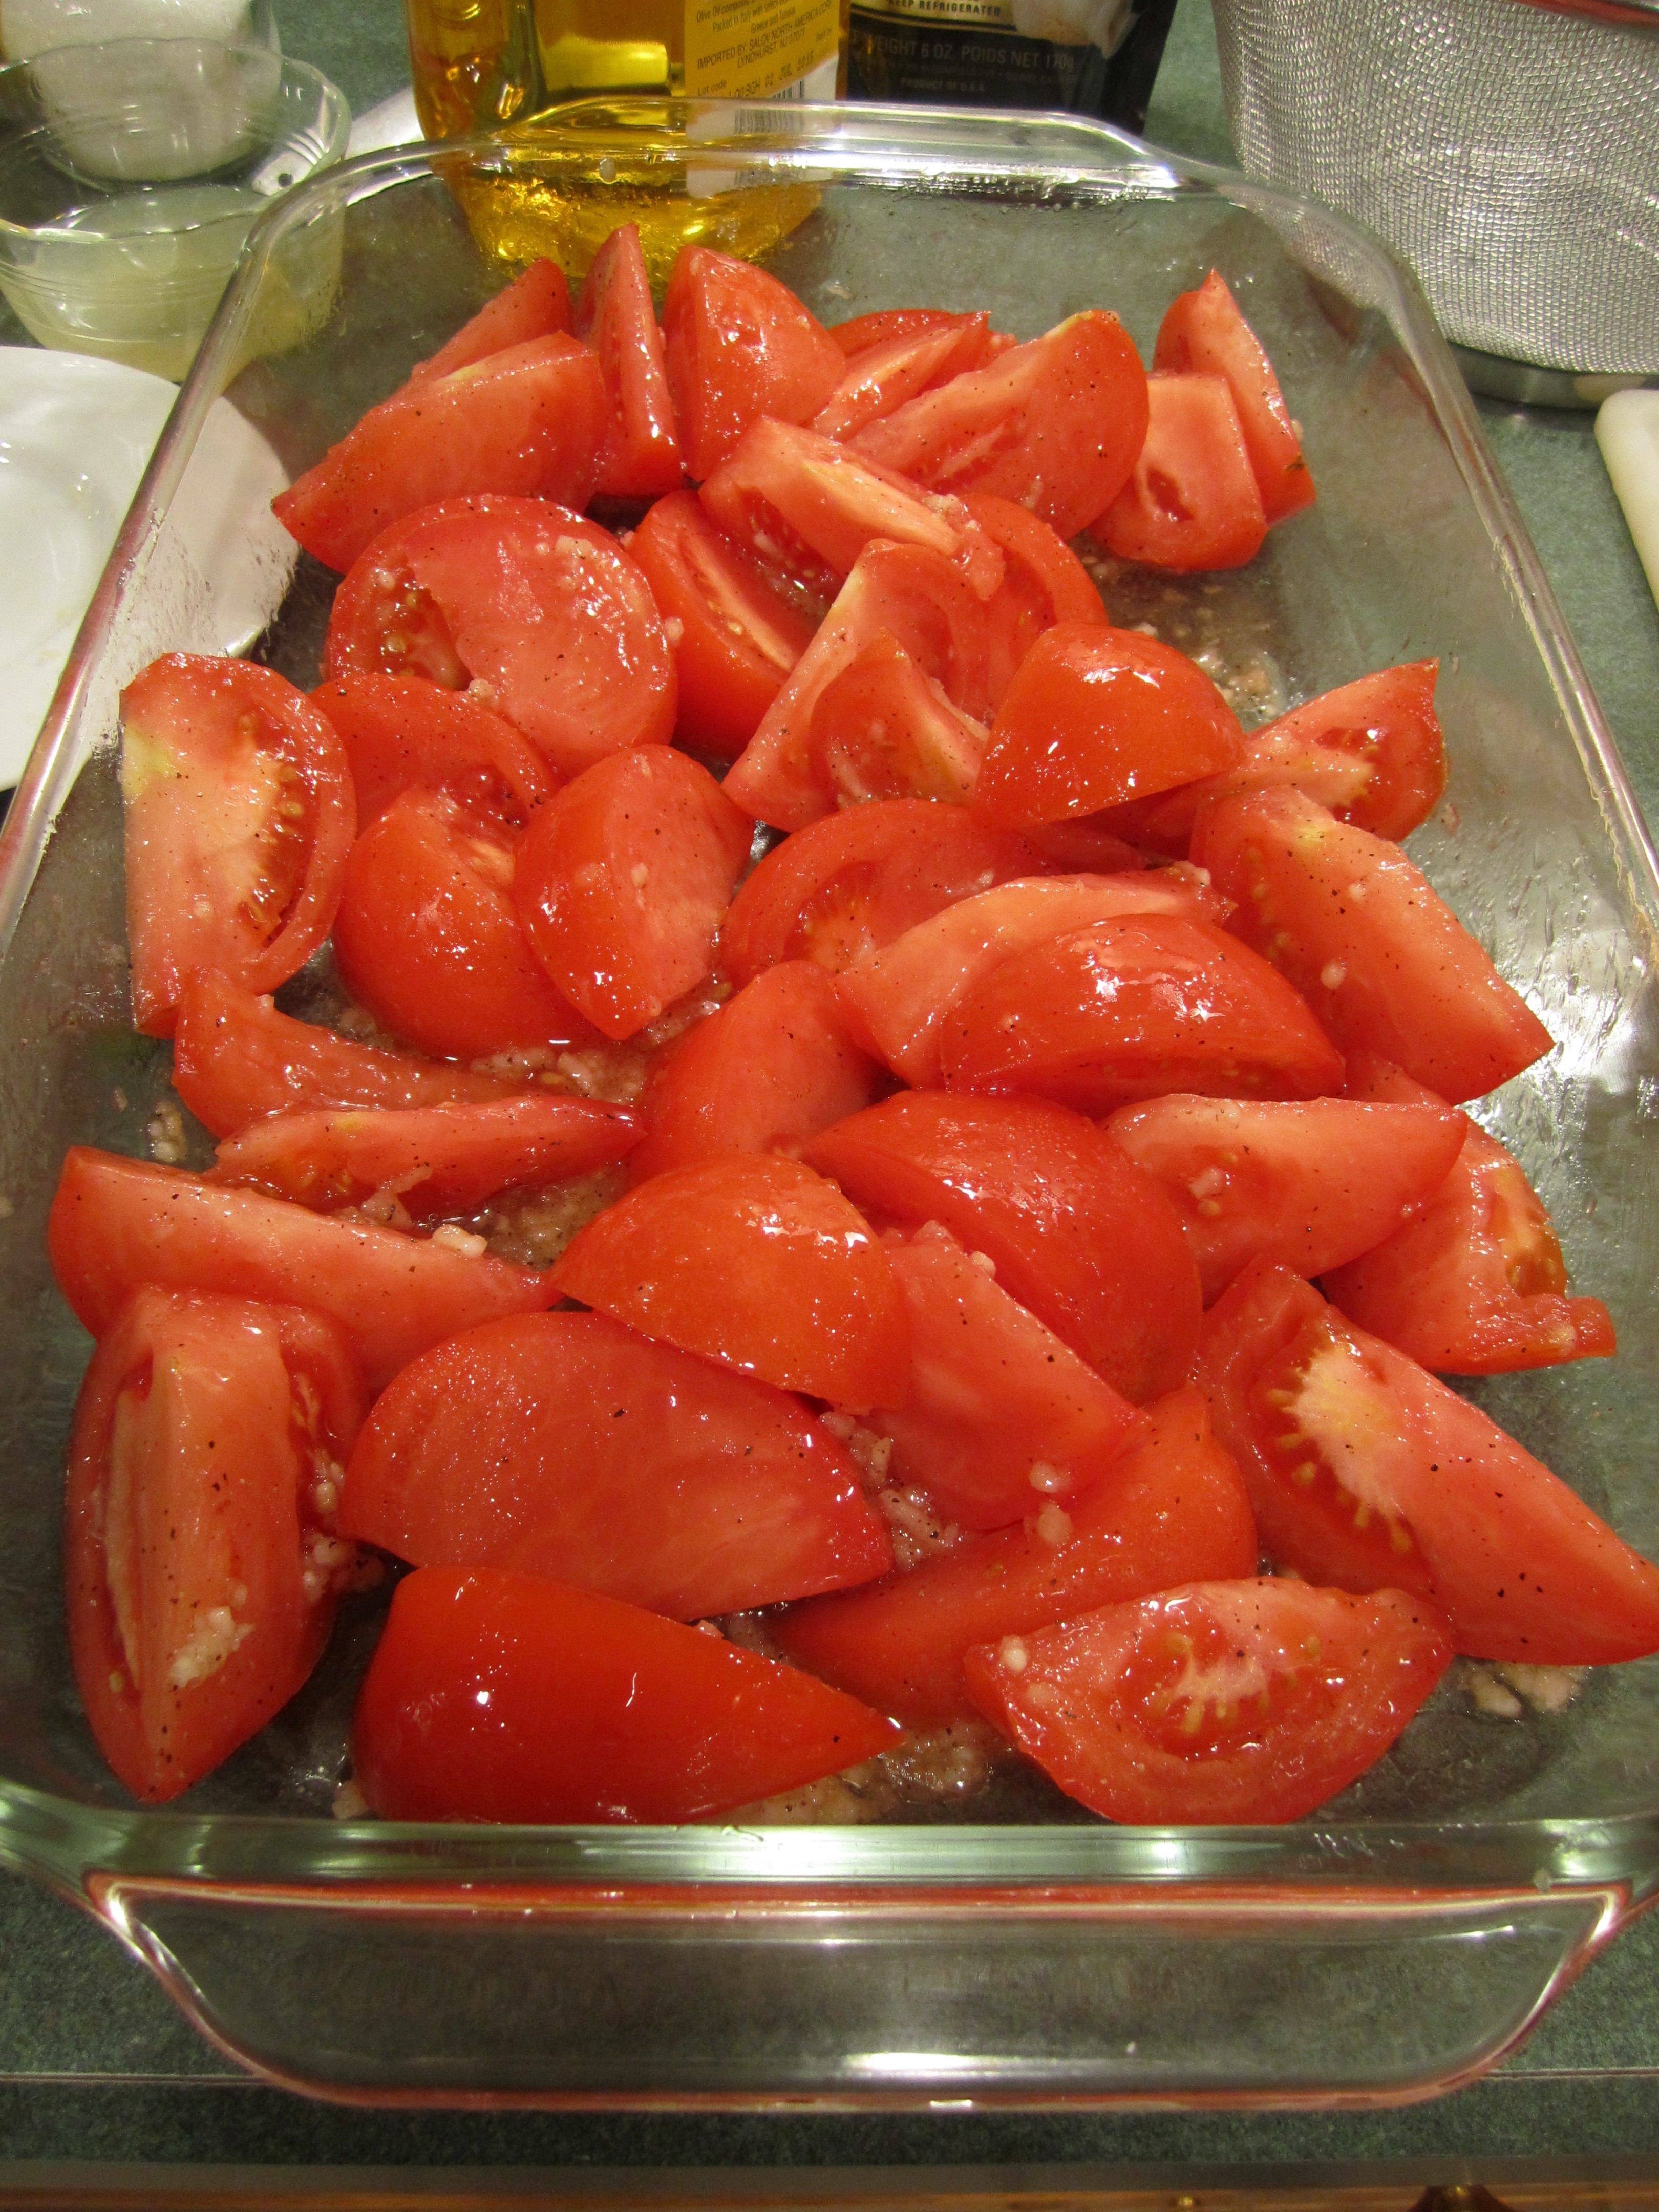
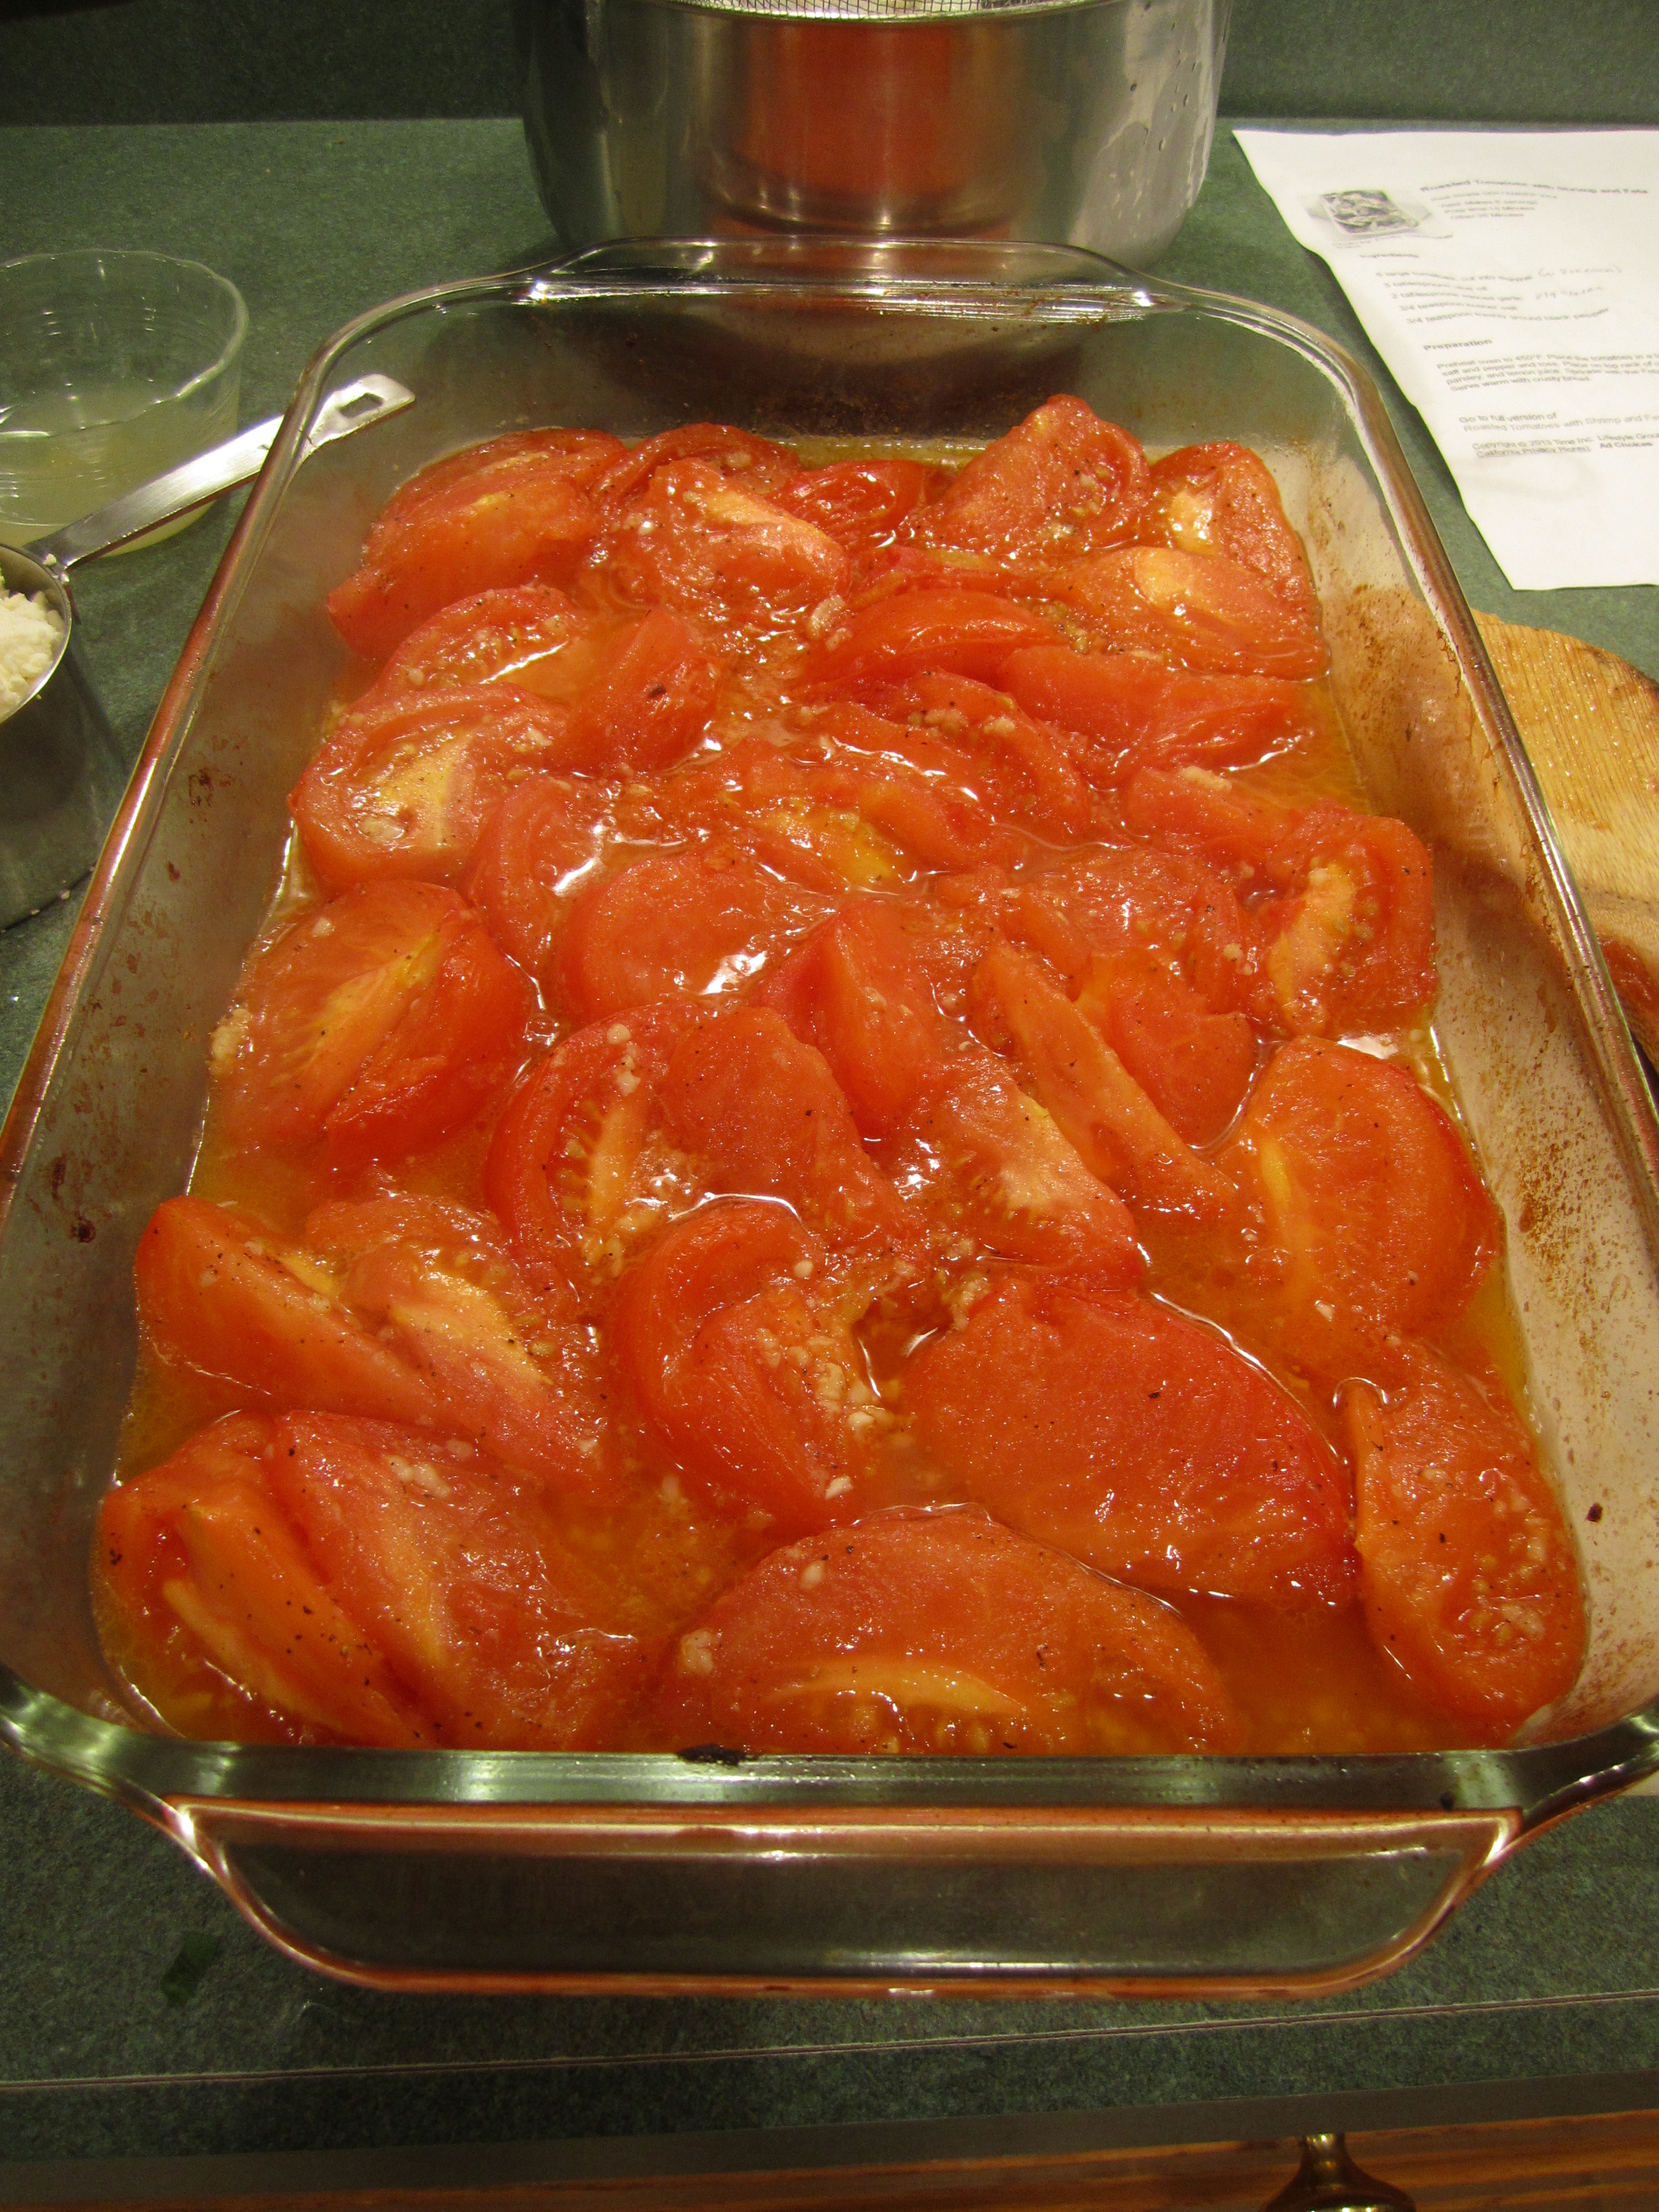
Sprinkle olive oil, garlic, salt and pepper over tomatoes and toss to thoroughly combine. Place in oven and bake for 20 minutes.
Remove baking dish from oven and put in shrimp, parsley and lemon juice. Stir thoroughly to combine. Sprinkle with Feta cheese.
Put back in oven, and bake for another 15 minutes until shrimp are cooked (this was perfect for the size shrimp I had. If your shrimp are smaller, they may need to cook for only 10 minutes).
Serve over capellini pasta or angel hair pasta. Nice crusty bread would be a nice addition. I wish we had that last night, it would have soaked up every last bit of the delicious sauce.
mise en place:

olive oil, garlic, salt and pepper:
after 20 minutes in oven:
shrimp, parsley and lemon:

then feta:

after 15 minutes more in the oven:
over capellini, yum! :

Chocolate Snowflake Cookies

This is a fun cookie for the Holidays coming up.
I ripped this out of a Southern Living Magazine, “Moms and Daughters Bake Cookies” for a cookie swap. What year that was, I have no idea. The picture attached to the article, a mom and daughter filling cookies tins with these cookies, looks like it could be from the late ’80’s. Do people do cookie swaps anymore? Sounds like fun!
I did these cookies in a couple of variations. Of course like the original, rolled in confectioners sugar. But I also rolled them in Sugar in the Raw, like my Sugar Cookies, flattened them a bit and then sprinkled more sugar over the cookie. I liked the crunchy contrast of sugar and soft cookie. I also made them plain, no sugar at all, and when cool, made ice cream sandwich cookies with my Mint Ice Cream. Very yummy. You don’t have to make your own ice cream, any good quality ice cream that you like would be great: vanilla, coffee, mint chocolate chip, chocolate……… 🙂
Before you make these, you must know that the dough needs to be refrigerated for at least 2 hours. The dough is very soft and it needs that refrigerated time to firm up, so that you can roll it in the confectioners sugar. Overnight is also an option. I actually baked mine over a 2 day period and the cookies were just as good as the first day that I made them.
Chocolate Snowflake Cookies (adapted from Southern Living Magazine)
2 cups sugar
4 ounces butter
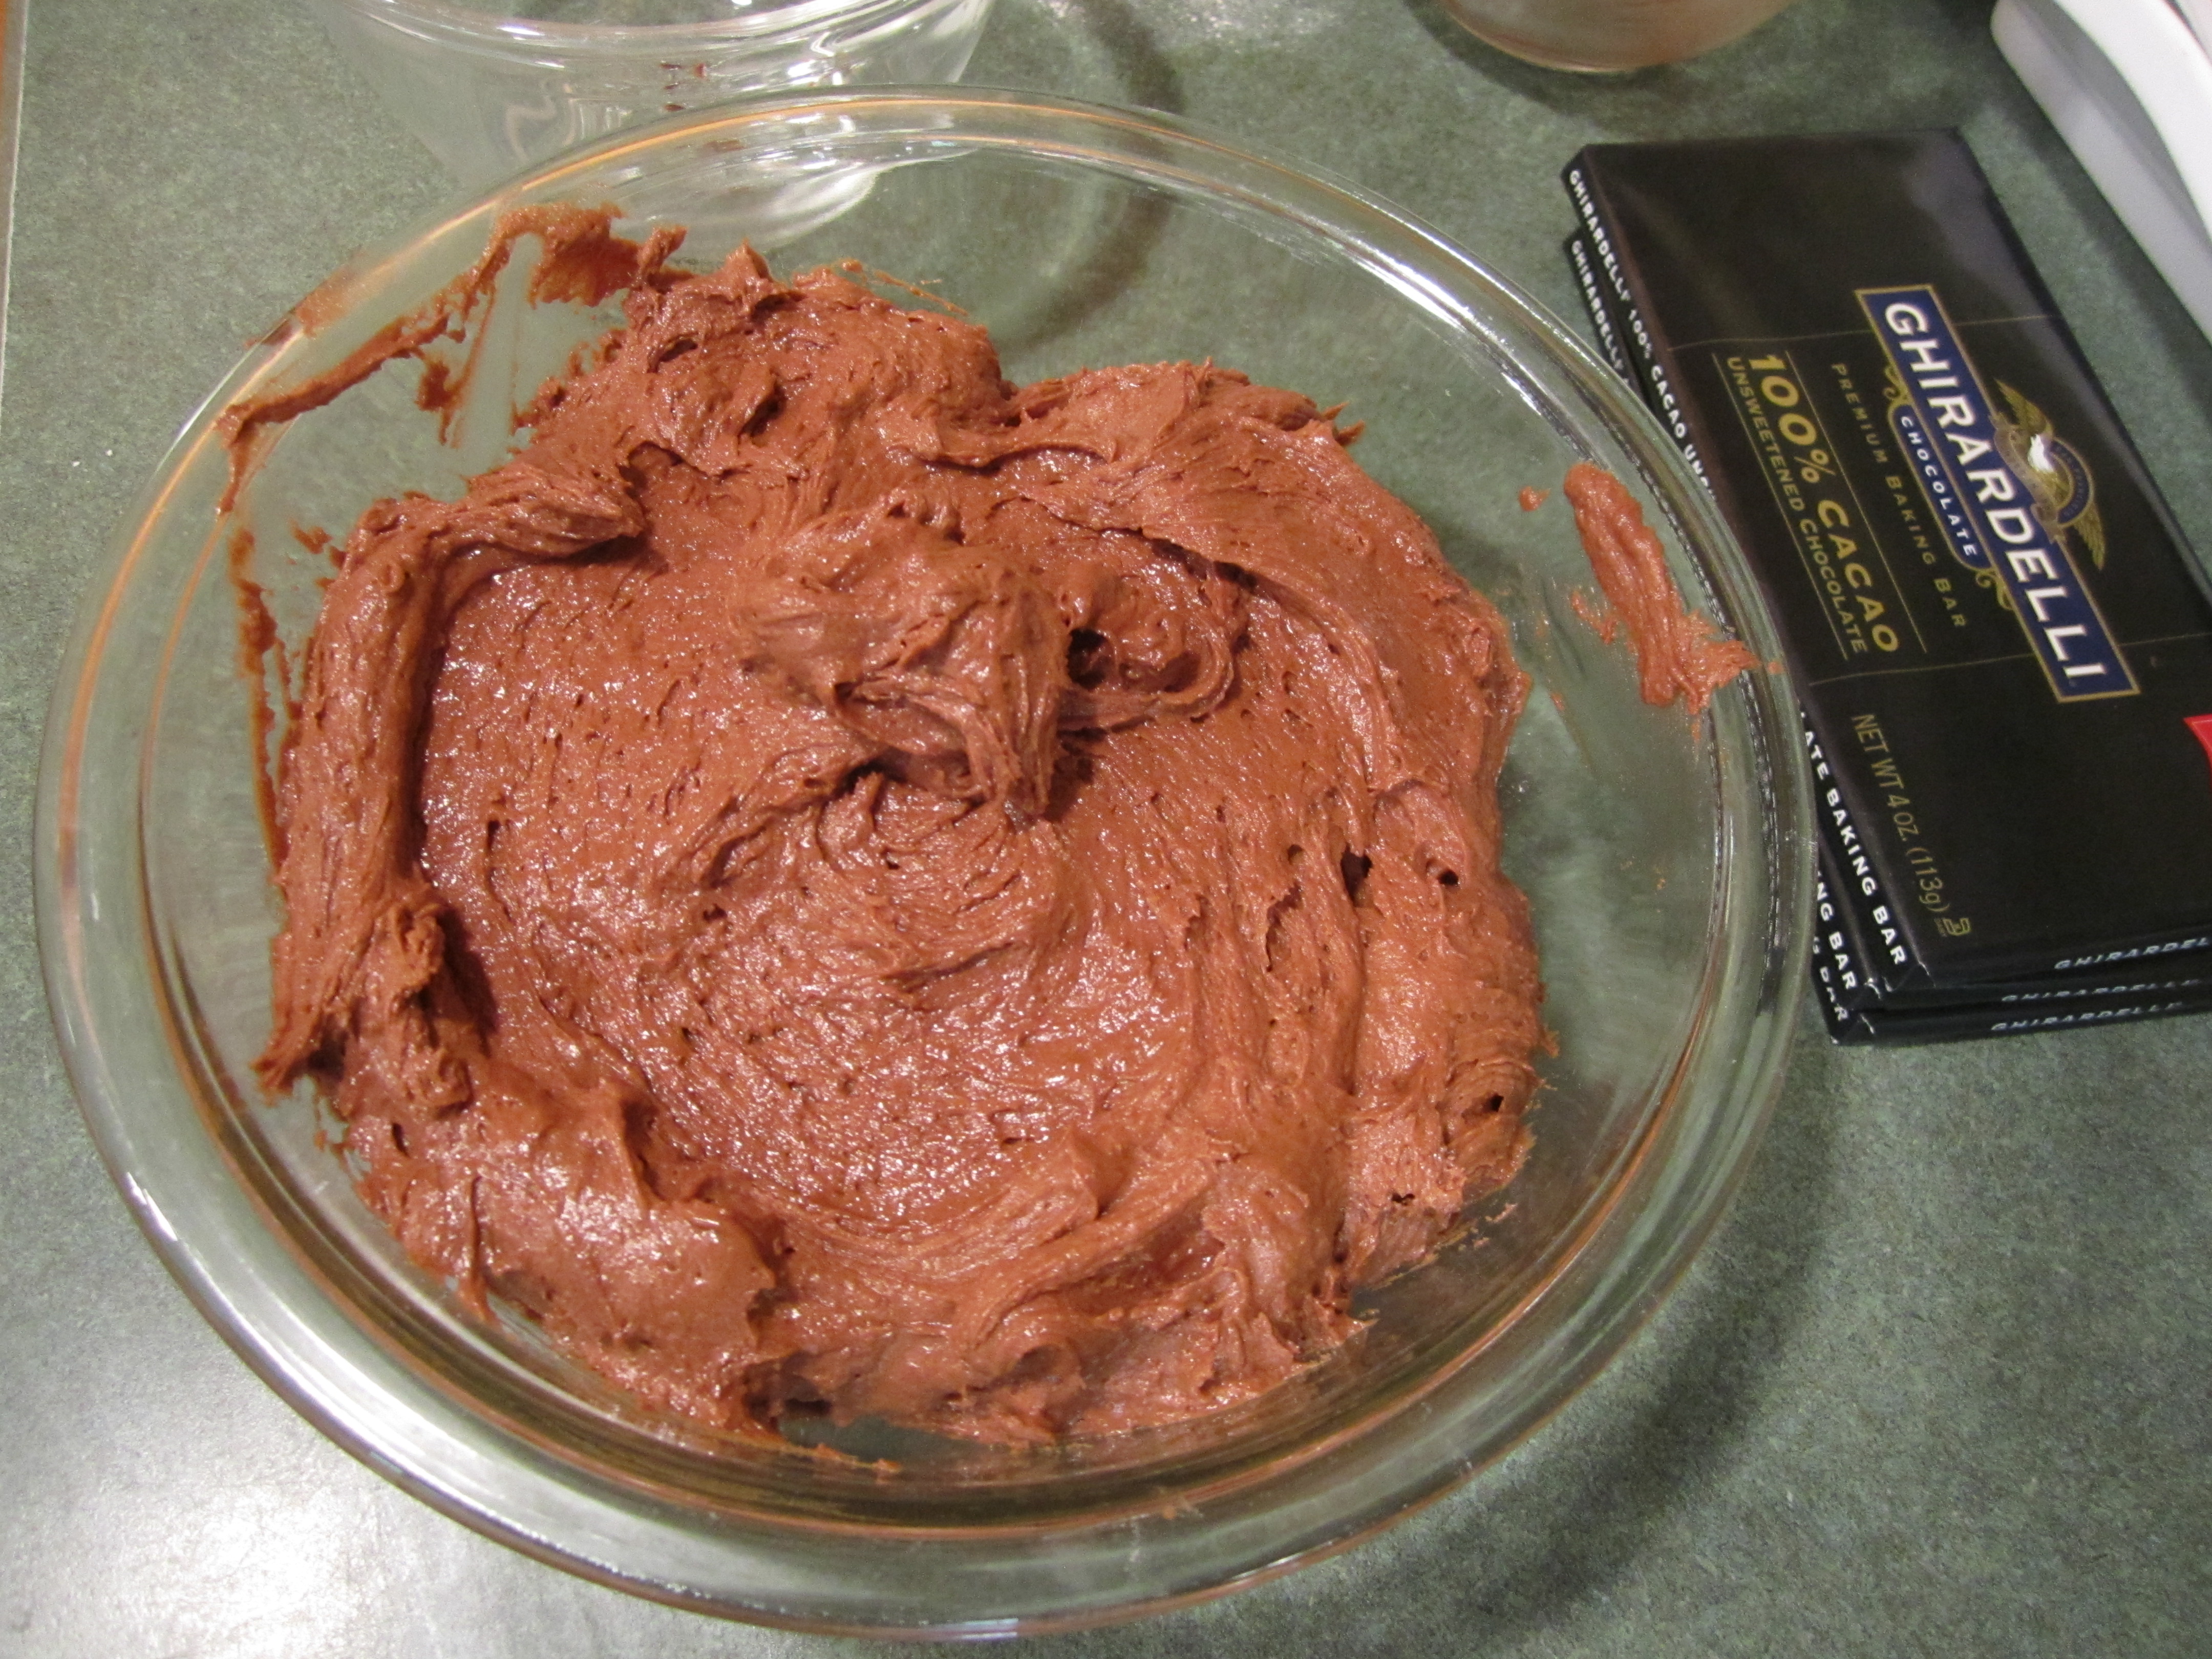
4 ounces unsweetened chocolate (I like Ghirardelli)
4 large eggs
2 teaspoons pure vanilla extract
2 cups flour
2 teaspoons baking powder
1/2 teaspoon salt
3/4 cup sifted confectioner sugar
Combine flour, baking powder and salt in a medium bowl and stir with a whisk until combined. Set aside.
Put butter in a medium glass bowl. Break up chocolate and add to butter. Put bowl in microwave and heat for 1 minutes on high. Remove from microwave and stir, stir, stir until everything is melted and combined. If after stirring ALOT and the chocolate still has not melted, put it back in the microwave for 10 seconds and then stir, stir, stir.
Put sugar, melted butter and chocolate in a large mixing bowl and beat at medium speed with your mixer, for one minute. Add eggs and vanilla and beat for one minute.
Add 1/3 of dry ingredients to chocolate mixture and beat until just combined. Continue this way until all of dry ingredients are added, beating together until just combined after each addition.
You can put this batter into a smaller bowl, so your mixer bowl is not occupied. Or not. Cover bowl and refrigerate for at least 2 hours.
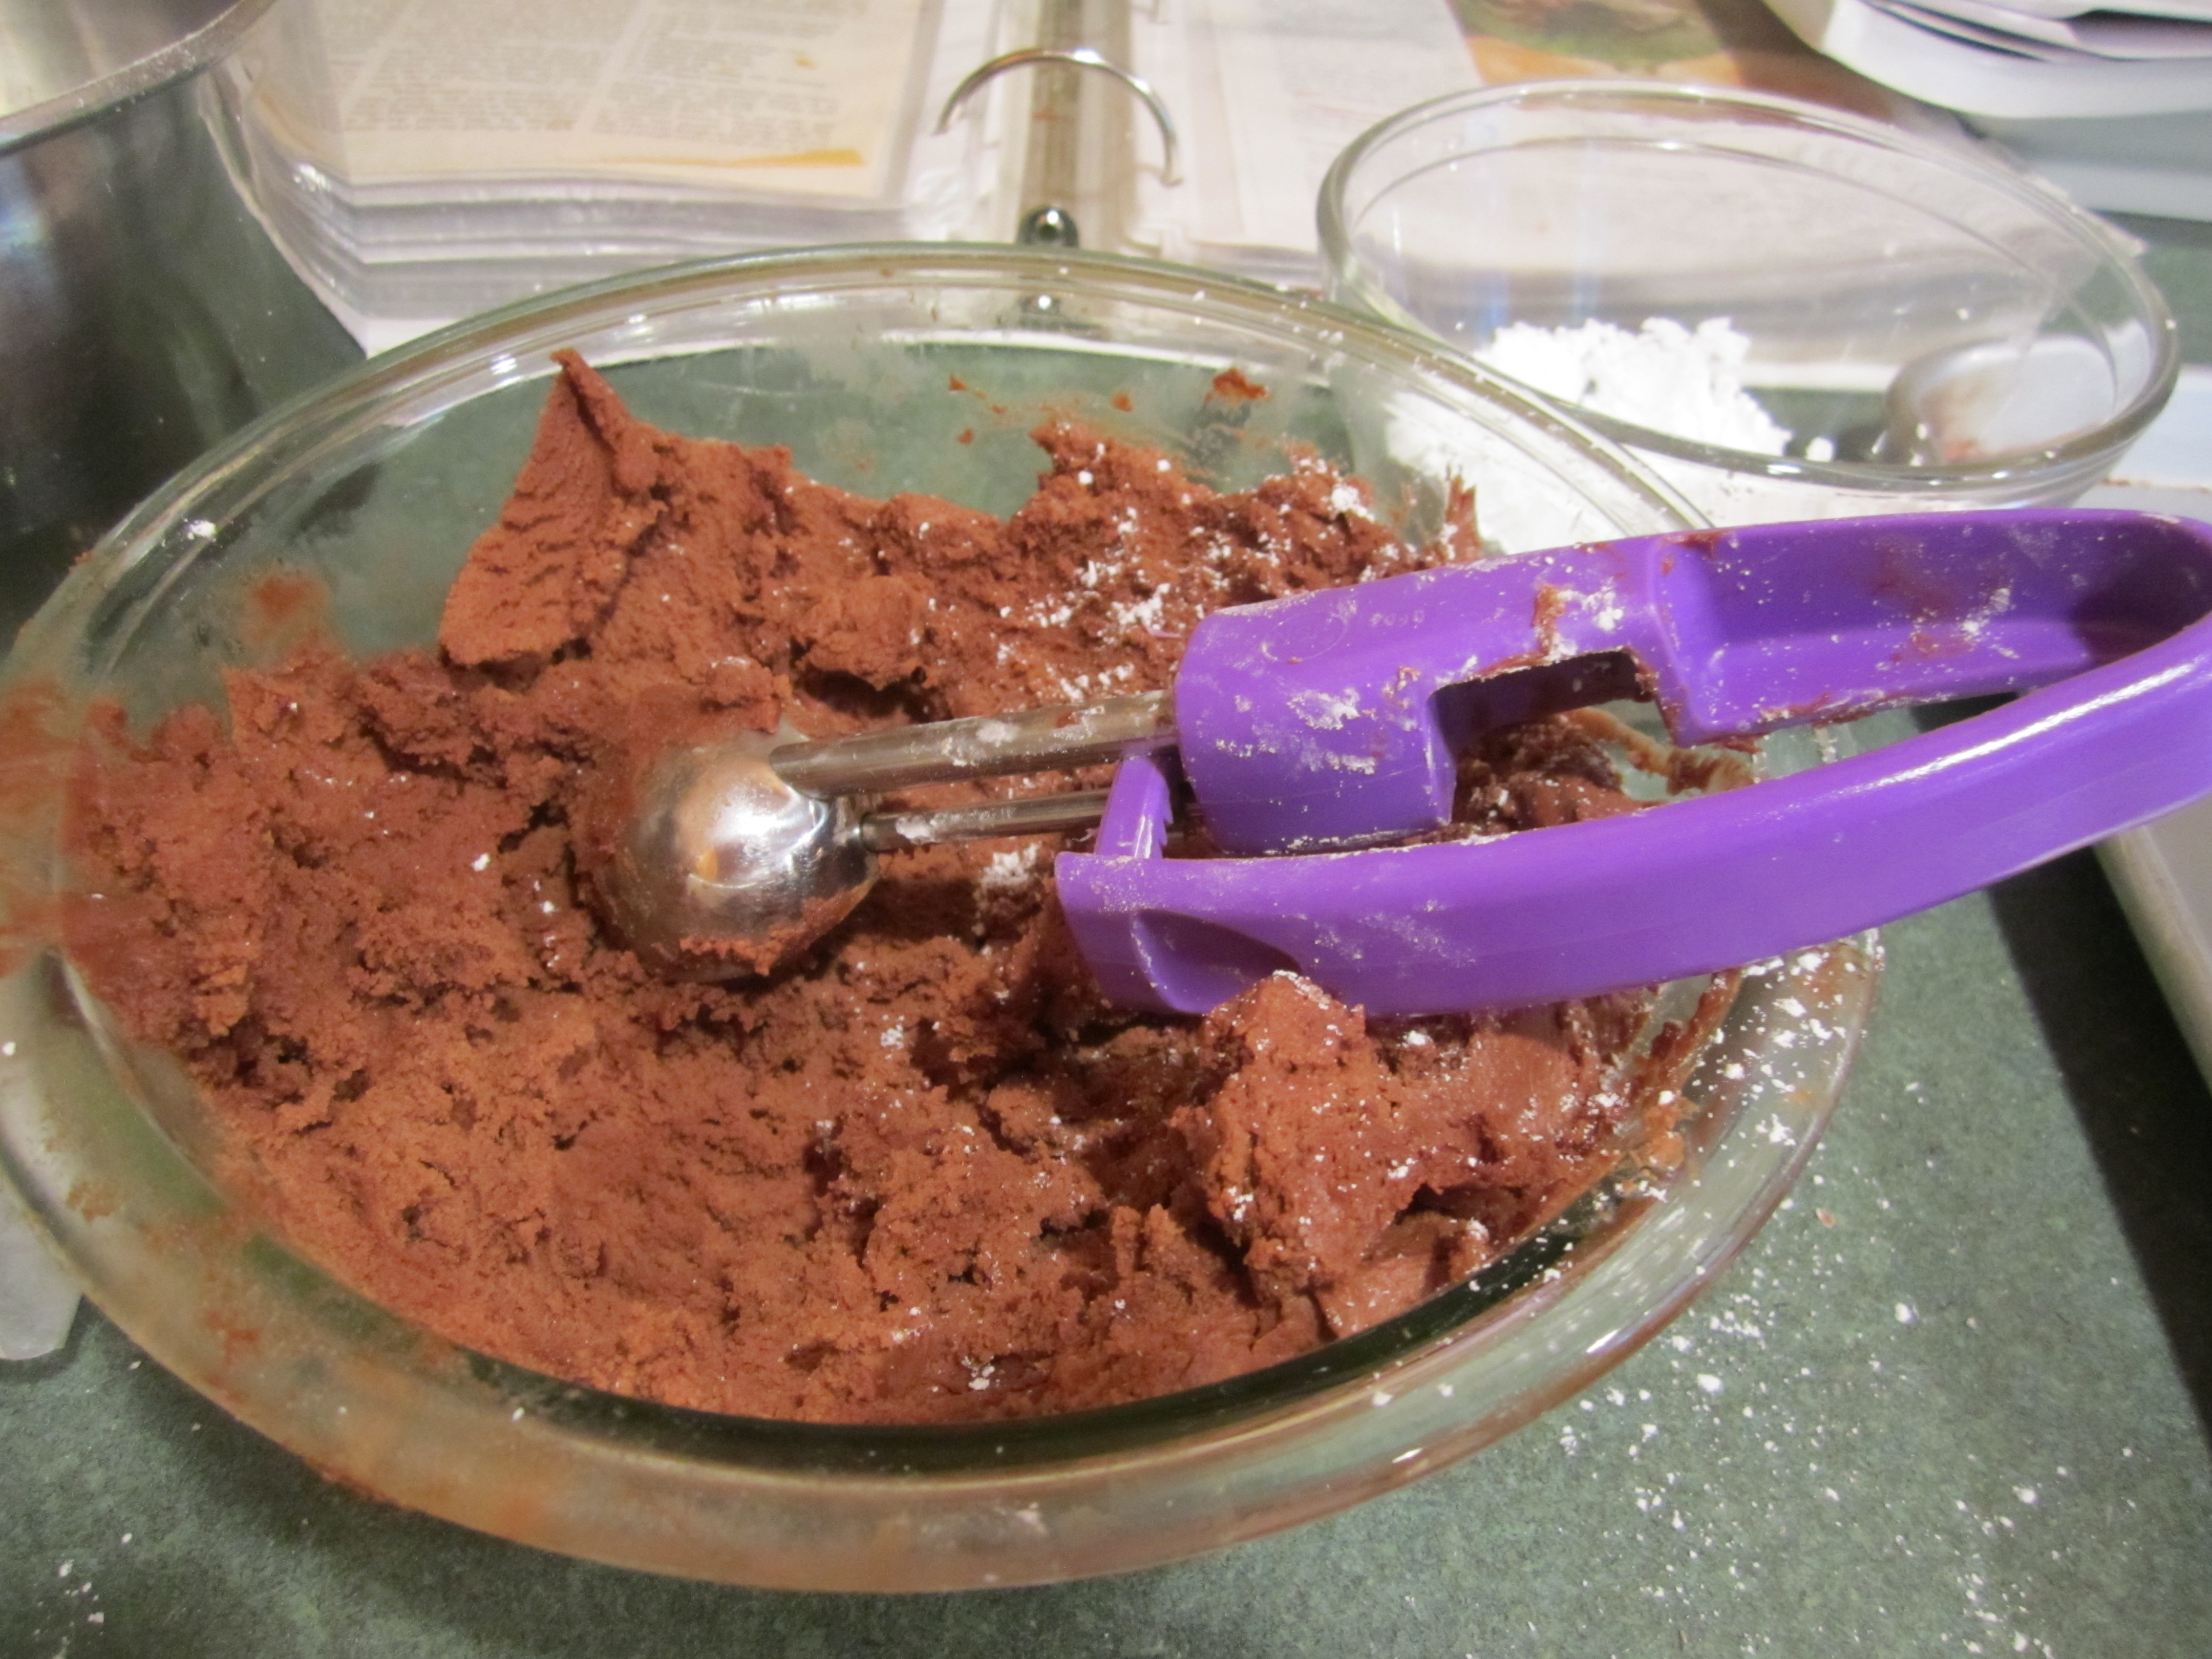
Preheat oven to 350 degrees.
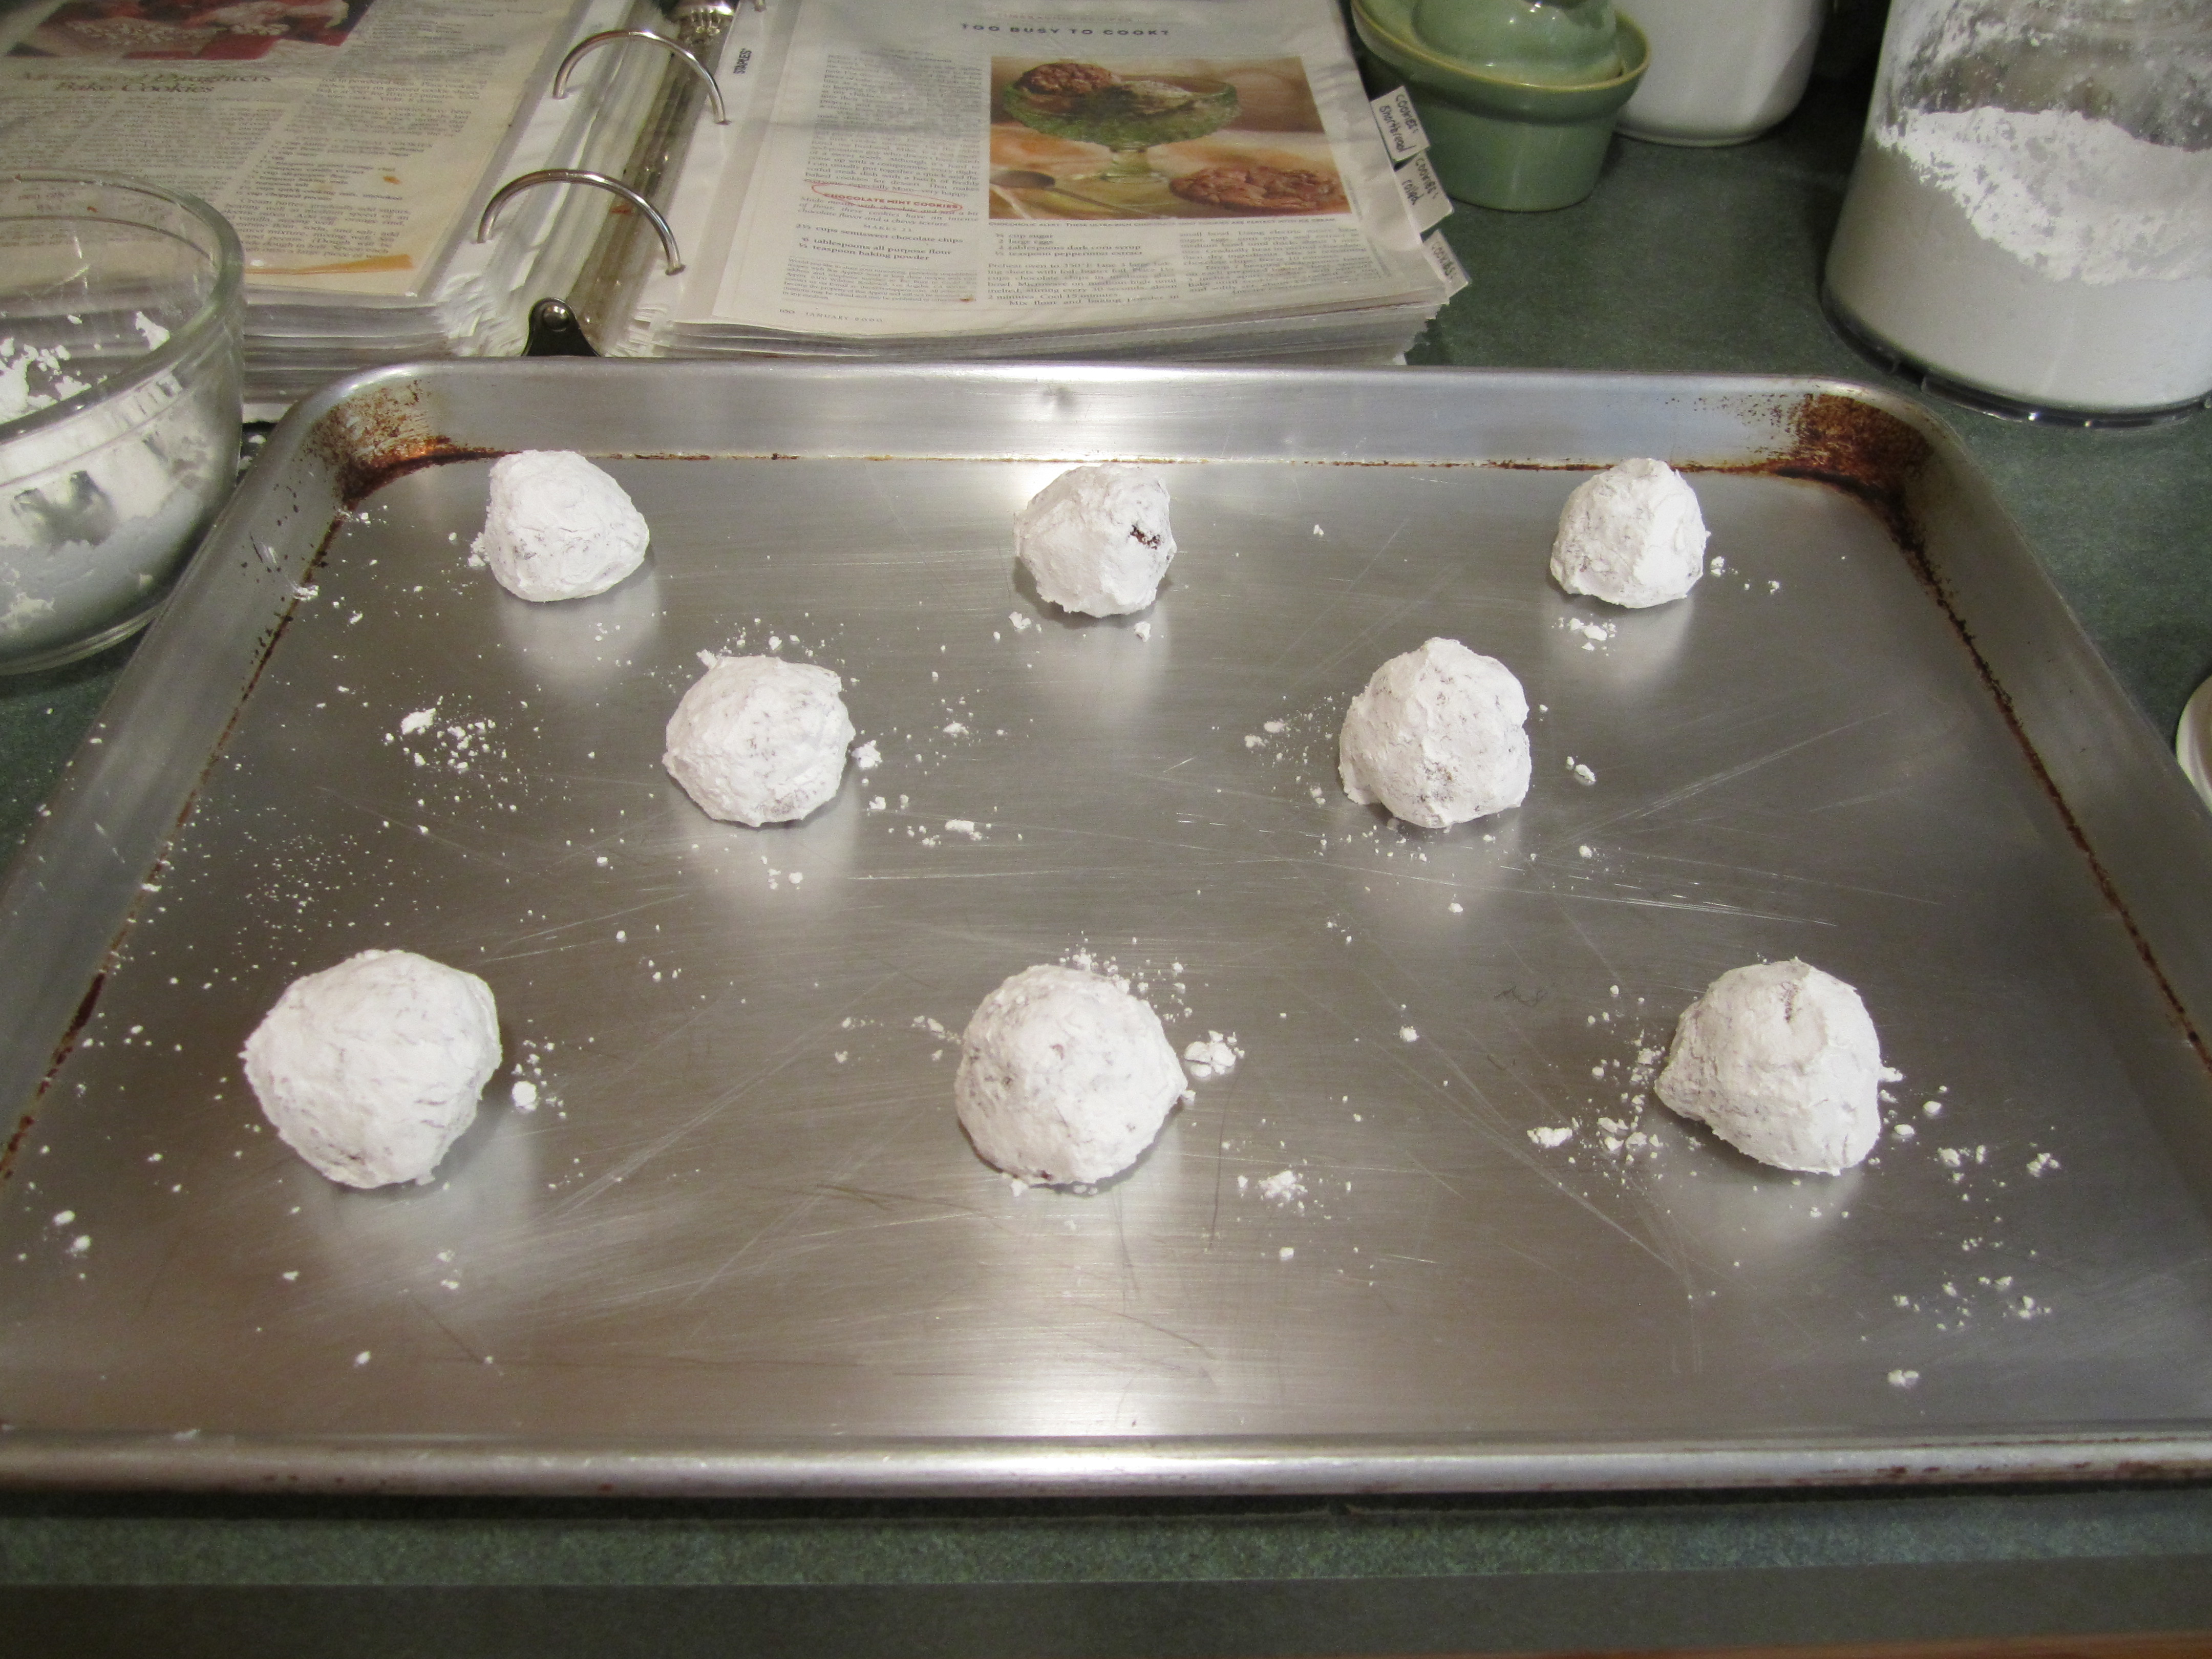
Shape dough into 1 inch balls and roll in confectioner sugar. Place cookies 2 inches apart on cookie sheet. Bake for 12 minutes, turning cookie sheet half way through. Cool on wire racks.
It’s difficult to see with chocolate cookies whether they are done because well, they’re black! The only way to really tell, is to let your first sheet of cookies cool and then try one. You know, all in the name of Science! The Science of cookie making, that is.
mise en place:
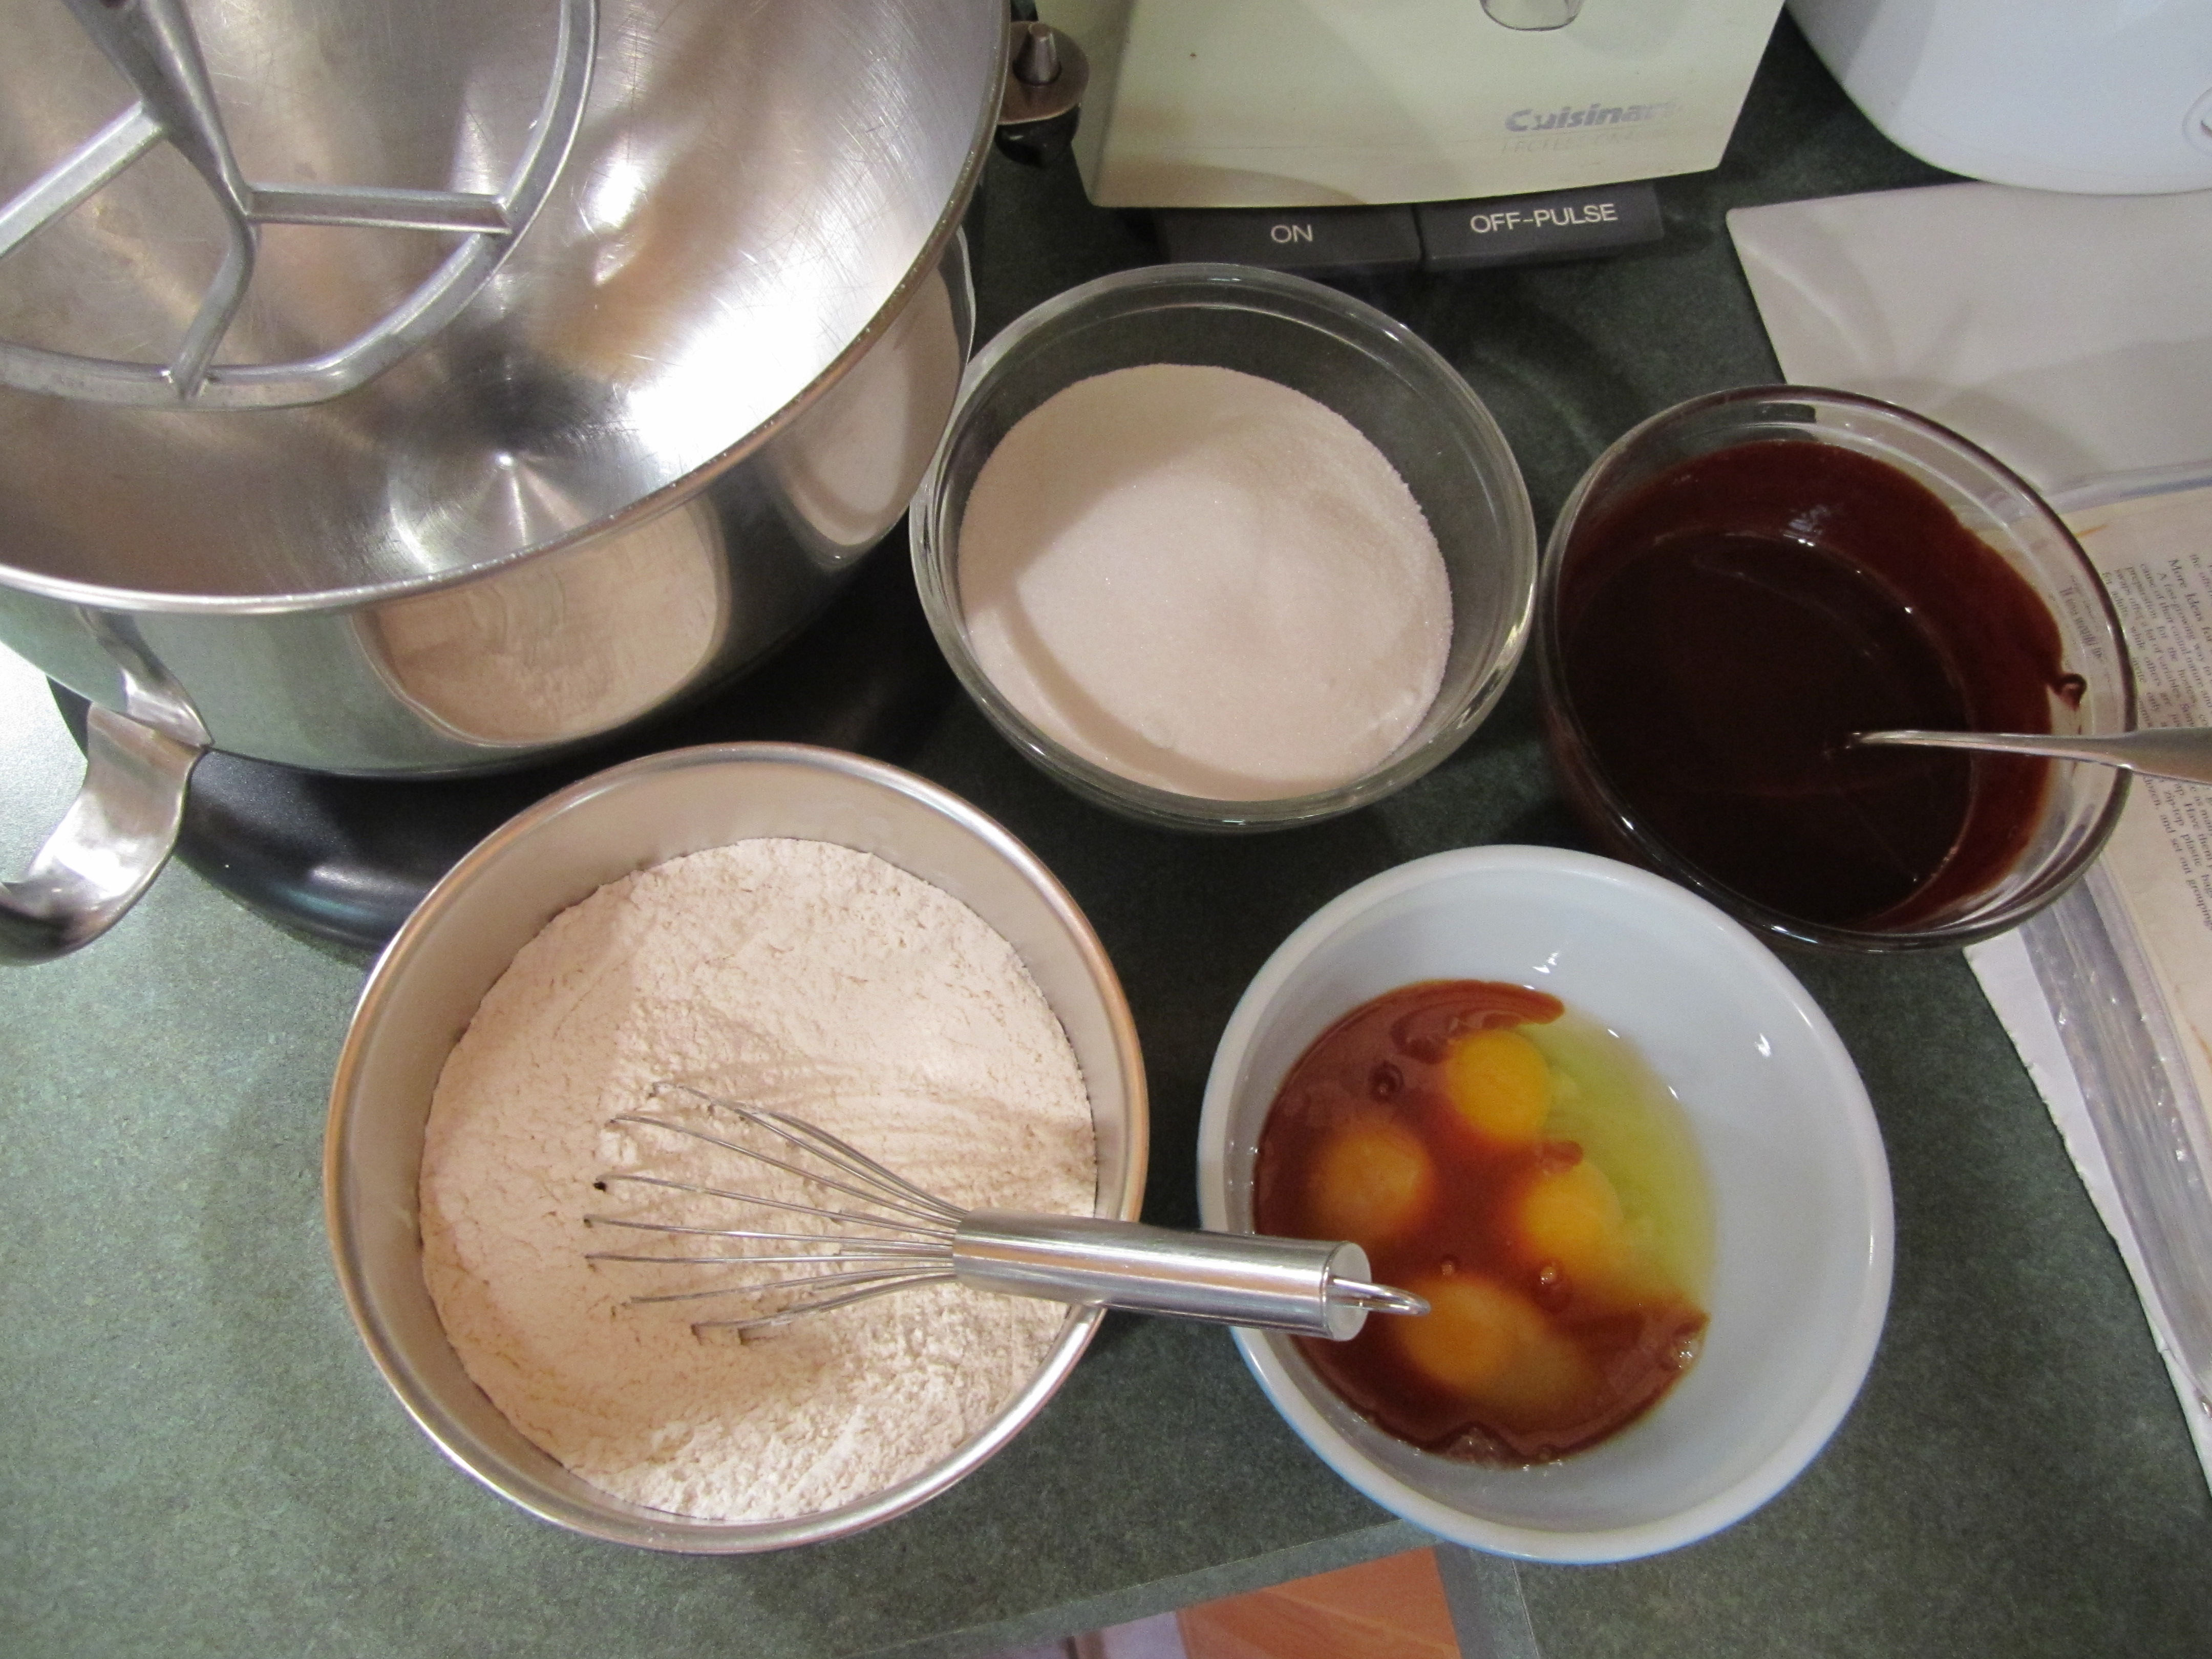
sugar, butter, chocolate:
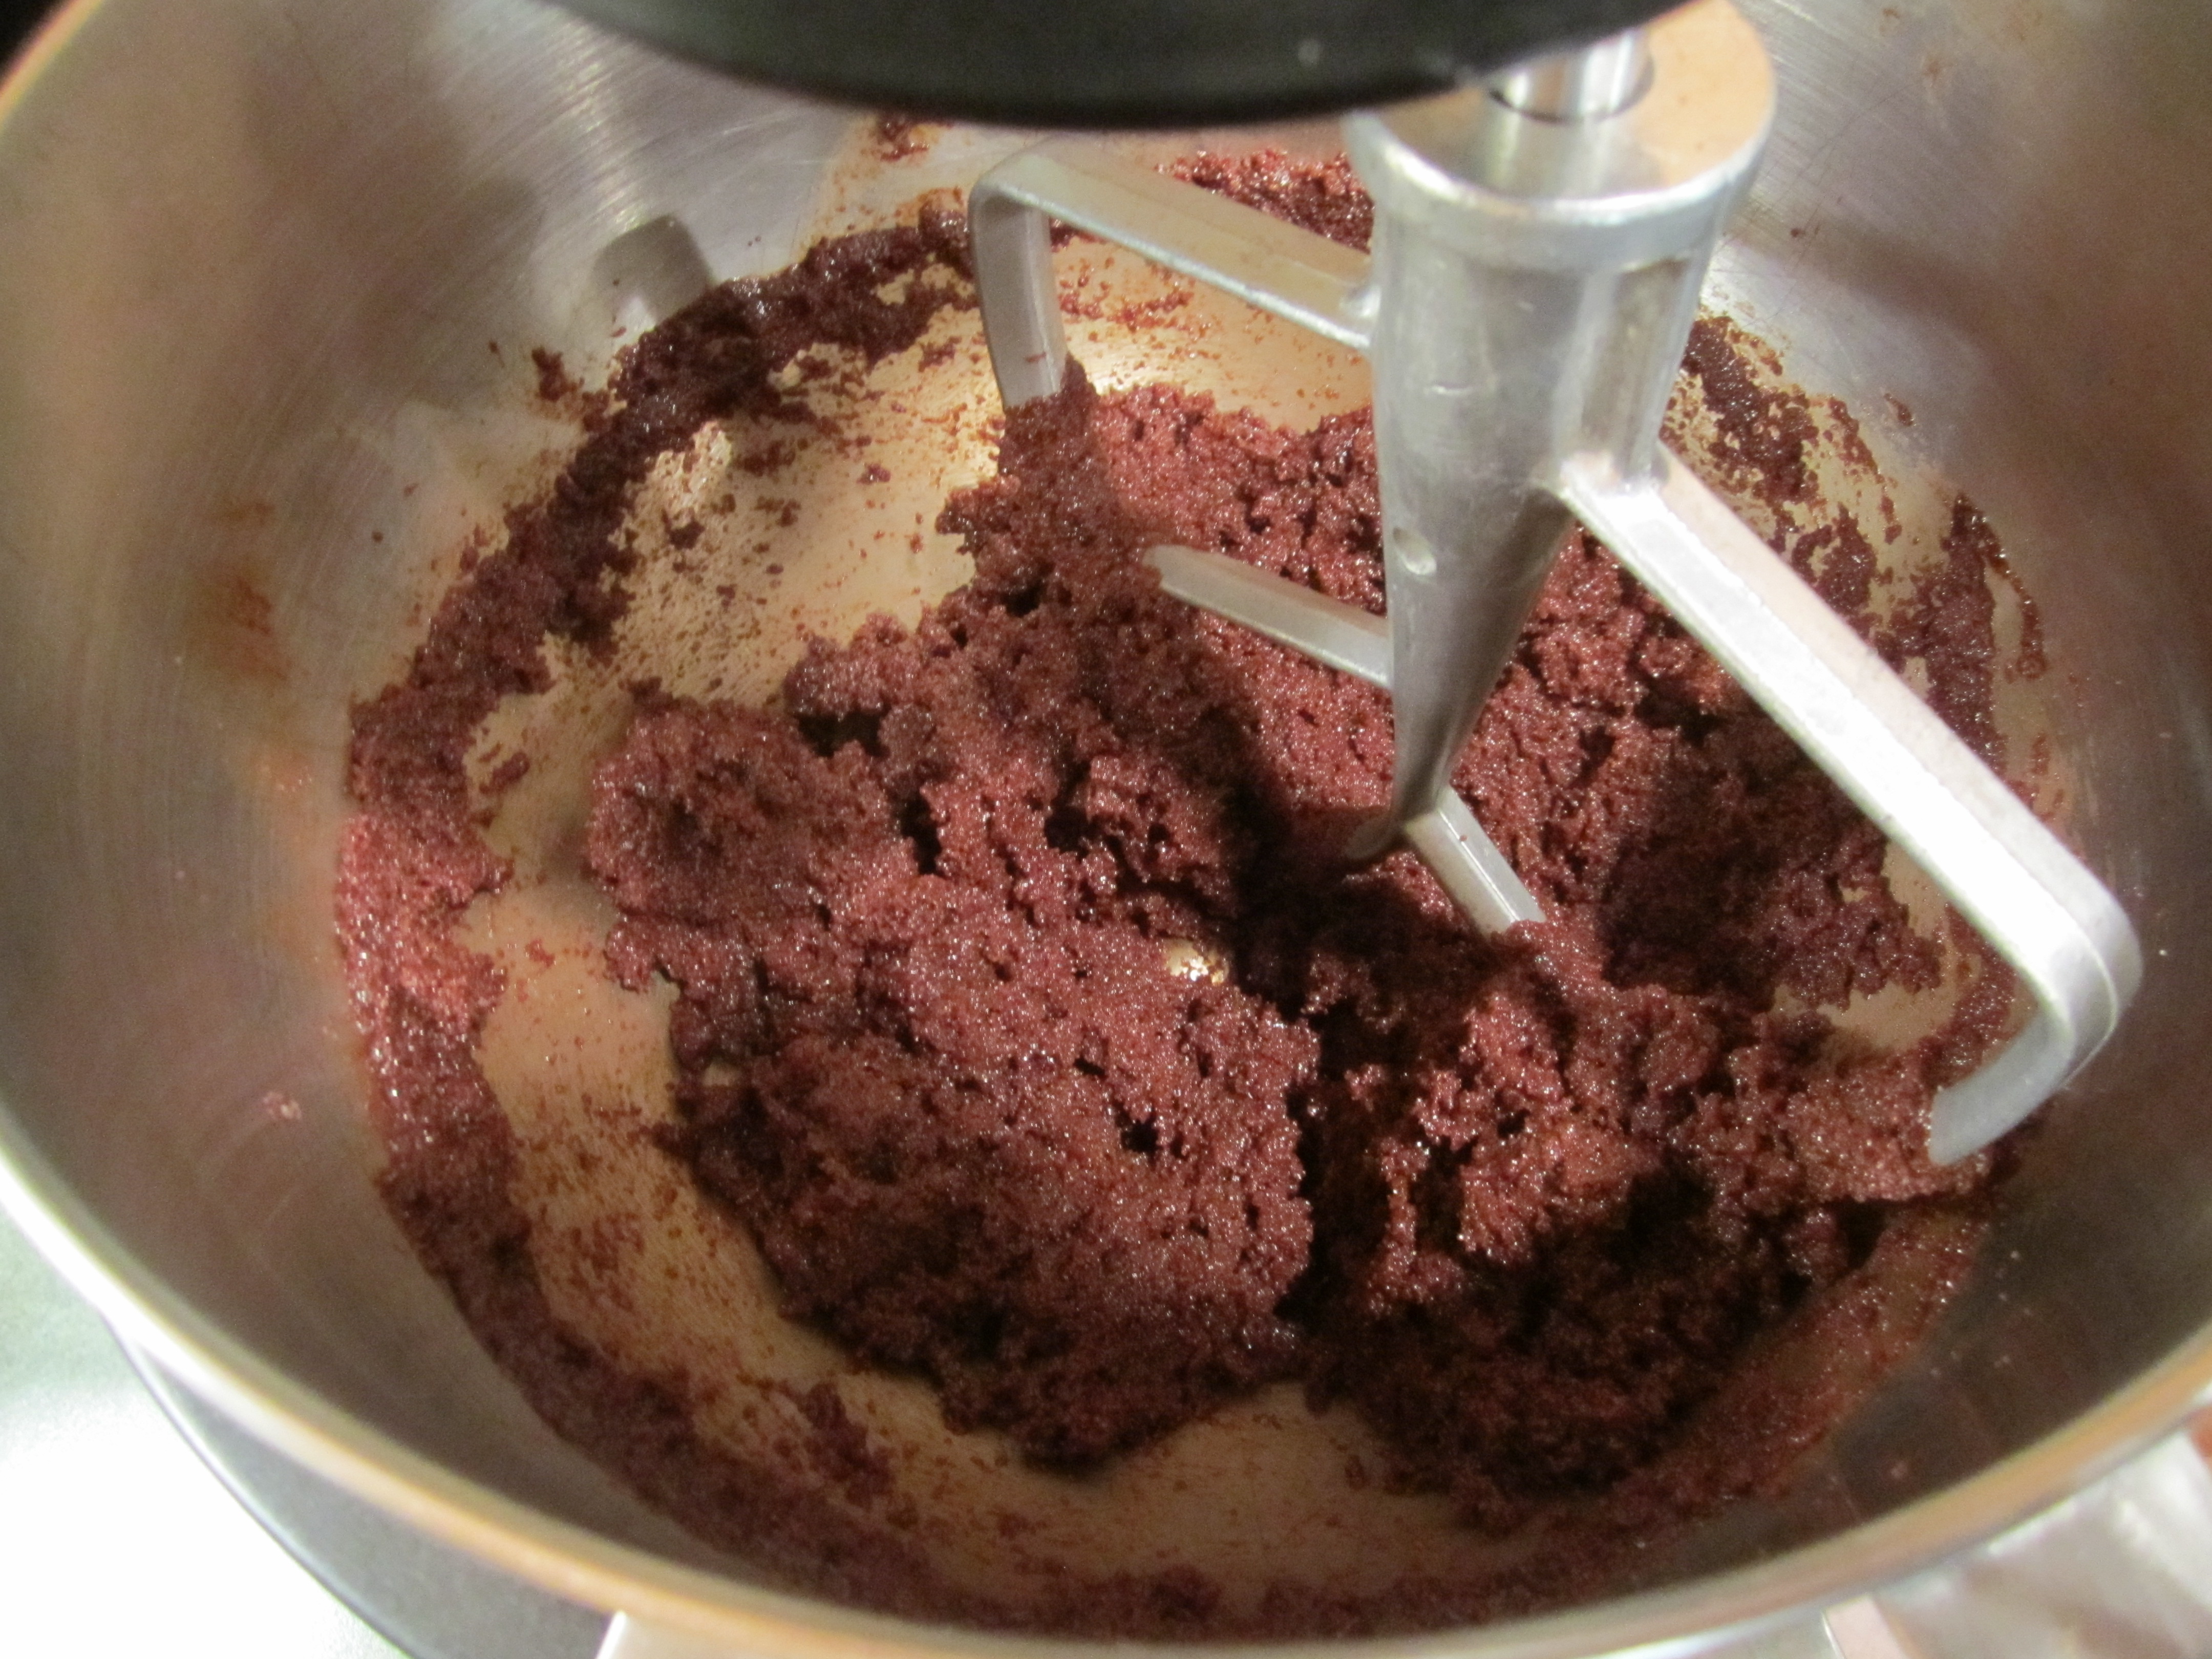
eggs and vanilla added:

flour mixture added:

if you wish, put batter into smaller bowl, cover and refrigerate:
after refrigerating, dough is alot firmer:
roll dough in confectioner sugar:

ready for the oven:
cooling on cookie sheet:

ready to eat! yum:

Pork Tenderloin with Balsamic-Cranberry Sauce

This is a great recipe from Bon Appetit. Not too many ingredients and simple to prepare.
I do not roast the tenderloin like it says in the recipe. I slice the pork into medallions and saute them. If you choose the roasting method, make sure to check out the comments from readers. It may take longer than the recipe states.
Pork Tenderloin with Balsamic-Cranberry Sauce (from Bon Appetit, November 1998)
1 tablespoon butter
1 tablespoon olive oil
1 pound pork tenderloin (this can be a little bit more or less)
1 tablespoon butter
1 tablespoon olive oil
1 cup finely chopped onion
1 tablespoon chopped fresh rosemary
1 cup chicken broth (I use Swanson)
2/3 cup canned whole berry cranberry sauce or jellied cranberry sauce (I prefer the whole berry but either one can be used)
2 tablespoon balsamic vinegar
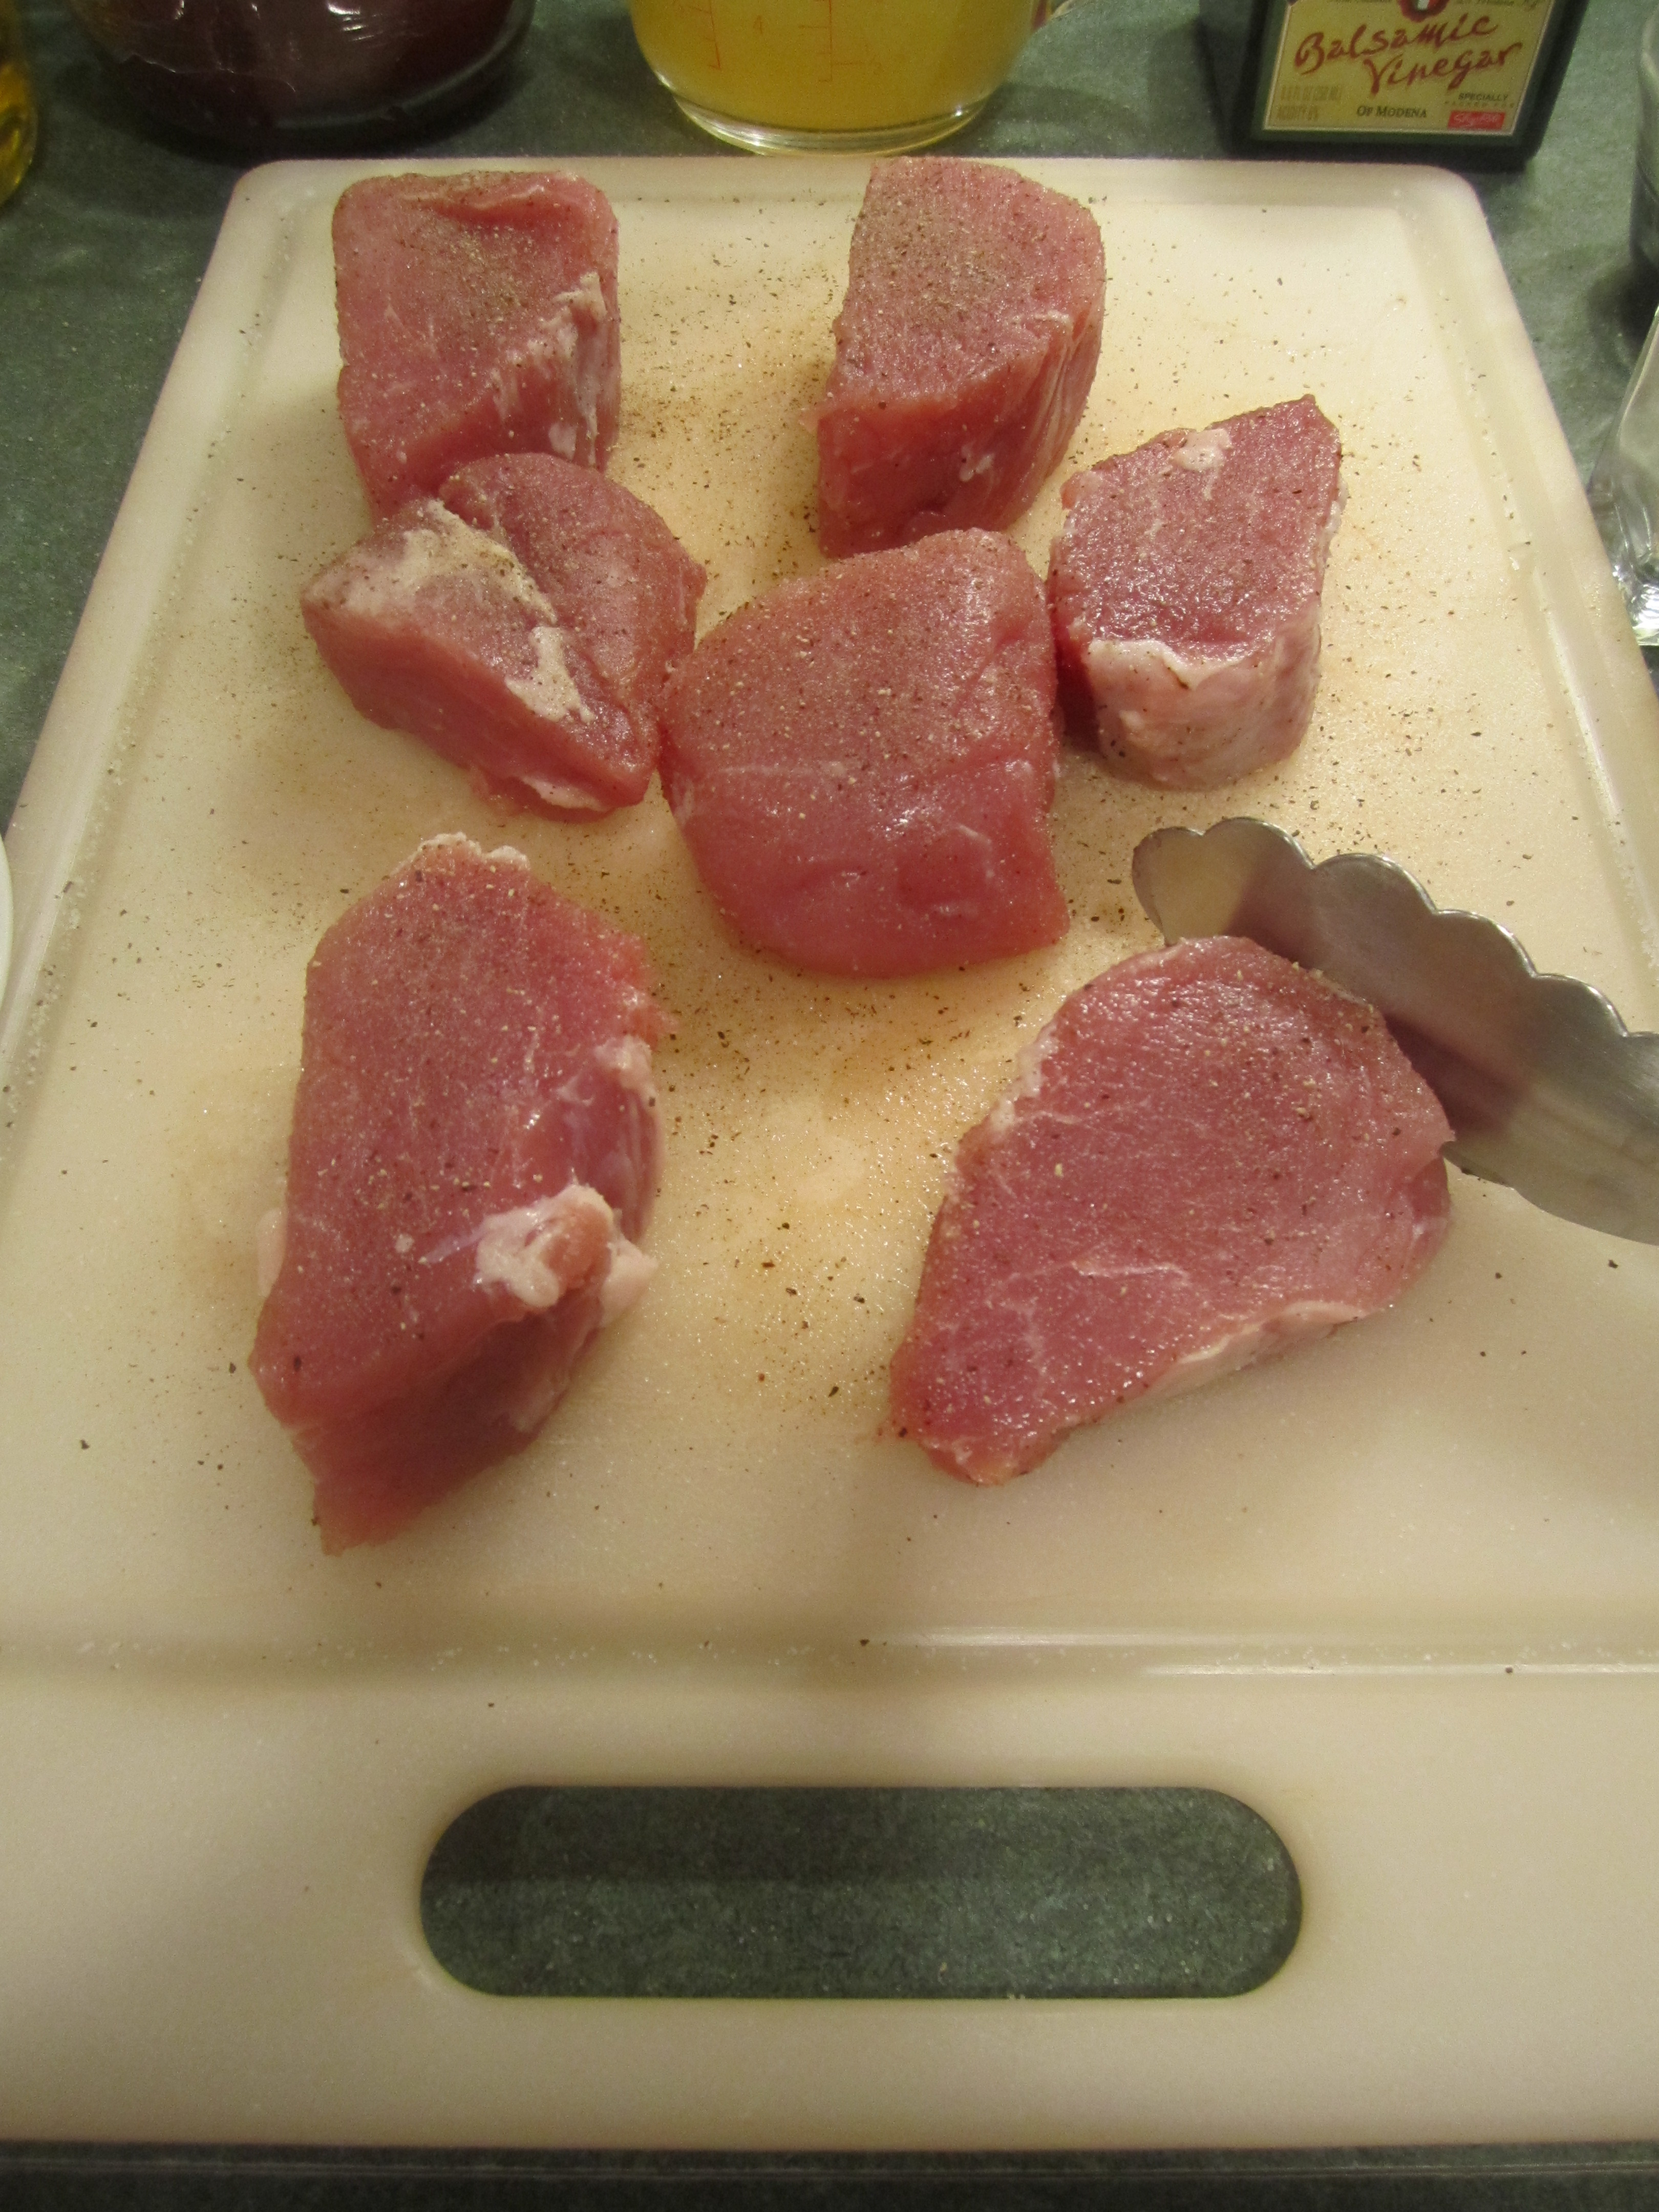
Cut the pork tenderloin into 1-1/2 inch medallions. Salt and pepper both sides.
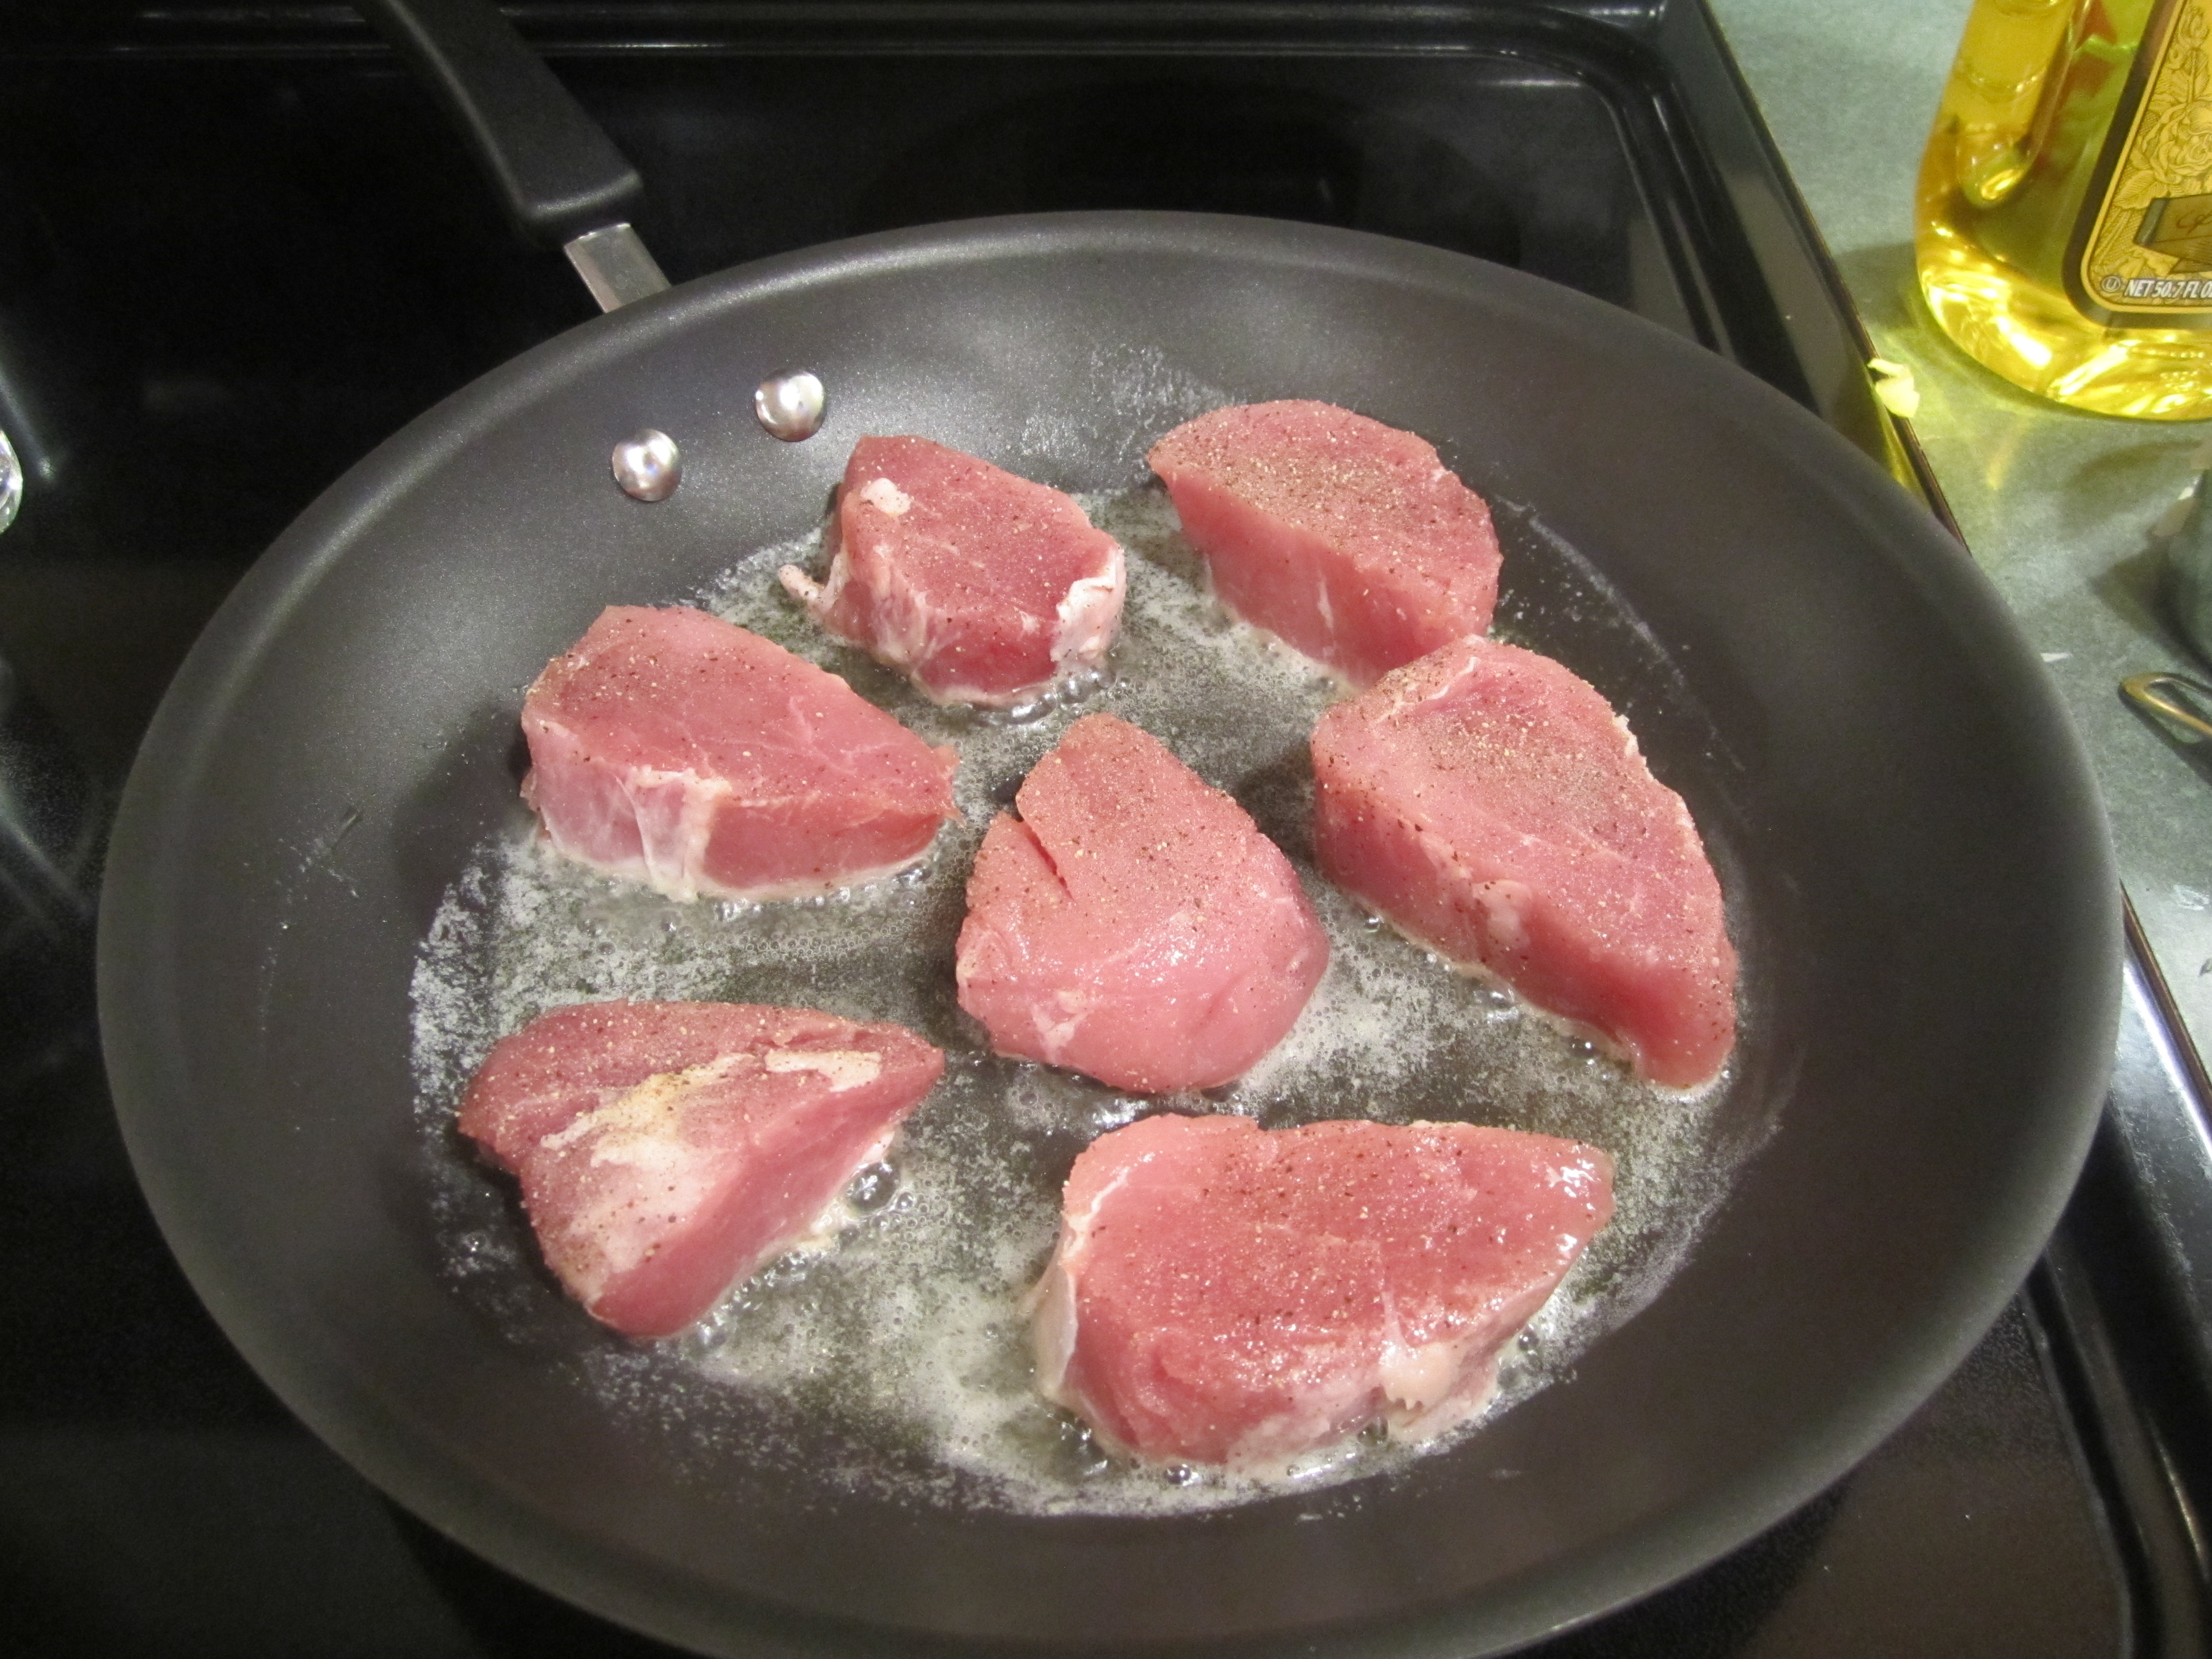
Heat a medium large saucepan on medium heat and add 1 tablespoon of butter and 1 tablespoon of oil. Heat butter and oil until hot. Add pork tenderloin medallions, and saute for about 6 minutes on each side. They should be slightly pink in the middle, until thermometer inserted into center registers 155 degrees. Set aside on a plate. Clean out pan.
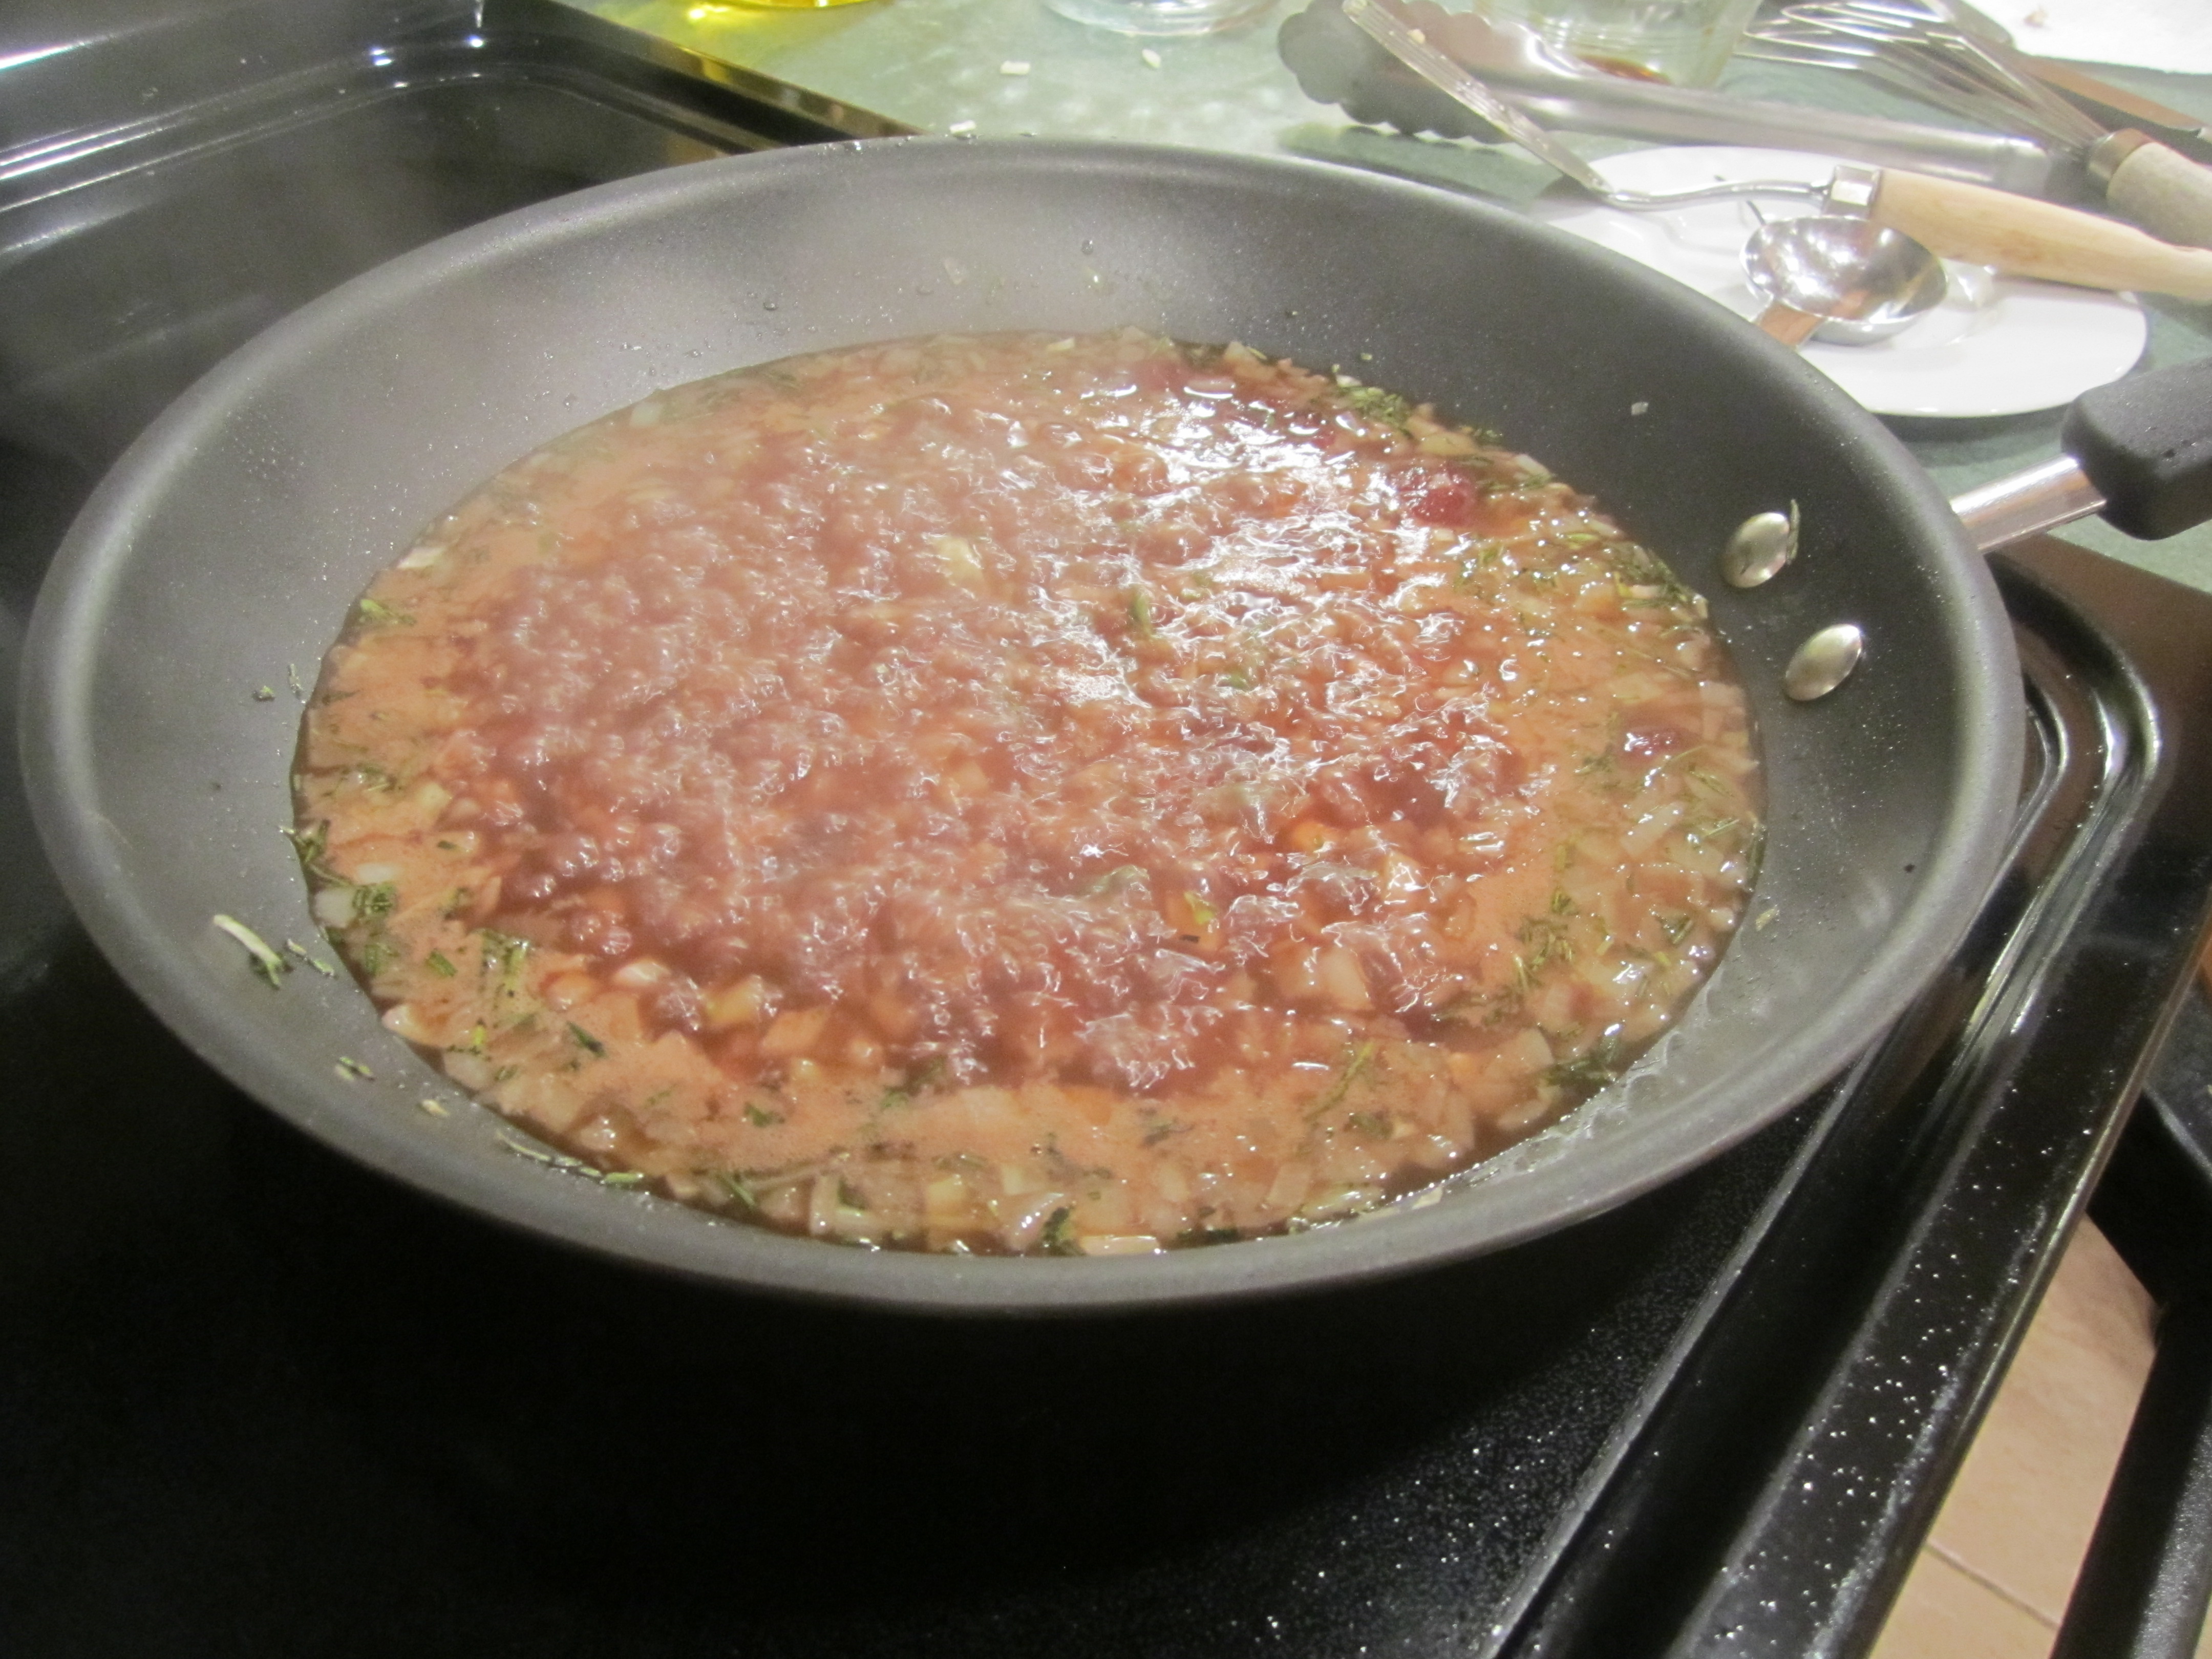
Place cleaned pan back on medium heat and add the other 1 tablespoon of butter and 1 tablespoon of oil. Heat until hot. Add onions and rosemary and saute for 5-6 minutes, until onions are tender and slightly brown. Add broth, cranberry sauce and vinegar and stir together. Increase heat and boil for about 6 minutes, until sauce is thick, stirring occasionally. Return pork to pan, turn off heat (if you have electric, if gas put it on very, very low). Do not remove pan from heat. Coat slices of pork with sauce, warming the pork for about a minute.
Serve immediately, over rice, if desired.
pork medallions, with salt and pepper:
mis en place:

sauteing pork:

onions and rosemary:

broth, cranberry sauce and vinegar:
adding pork back in:

served with rice, yum! :

