
I had never made stuffed cabbage. My mother had made it, my mother-in-law had made it, my sister-in-law makes it. It never dawned on me to ever make it until I read Deb’s post on Italian Stuffed Cabbage and the fact that I had a cabbage in my refrigerator that never made it into My Mom’s Coleslaw. My only trepidation was that my husband had a very clear idea of what stuffed cabbage should taste like. Certainly something you don’t want to fool around with. But I decided to give it a try anyway and I am very glad I did.
Italian Stuffed Cabbage (from Smitten Kitchen)
1 large savoy or regular green cabbage
8 ounce piece of bread from a round Italian loaf
2/3 cup milk
14 ounces of Sweet Italian Sausage (if using sausage links like I did, remove the casings)
1 teaspoon of finely chopped fresh sage (optional) from about 3 leaves
1 teaspoon of finely chopped fresh rosemary (optional) from about a 2 inch piece
2 tablespoon grated parmesan cheese
1, 28 ounce can peeled plum tomatoes (I used Muir Glen)
2 tablespoon olive oil
1 garlic clove, minced
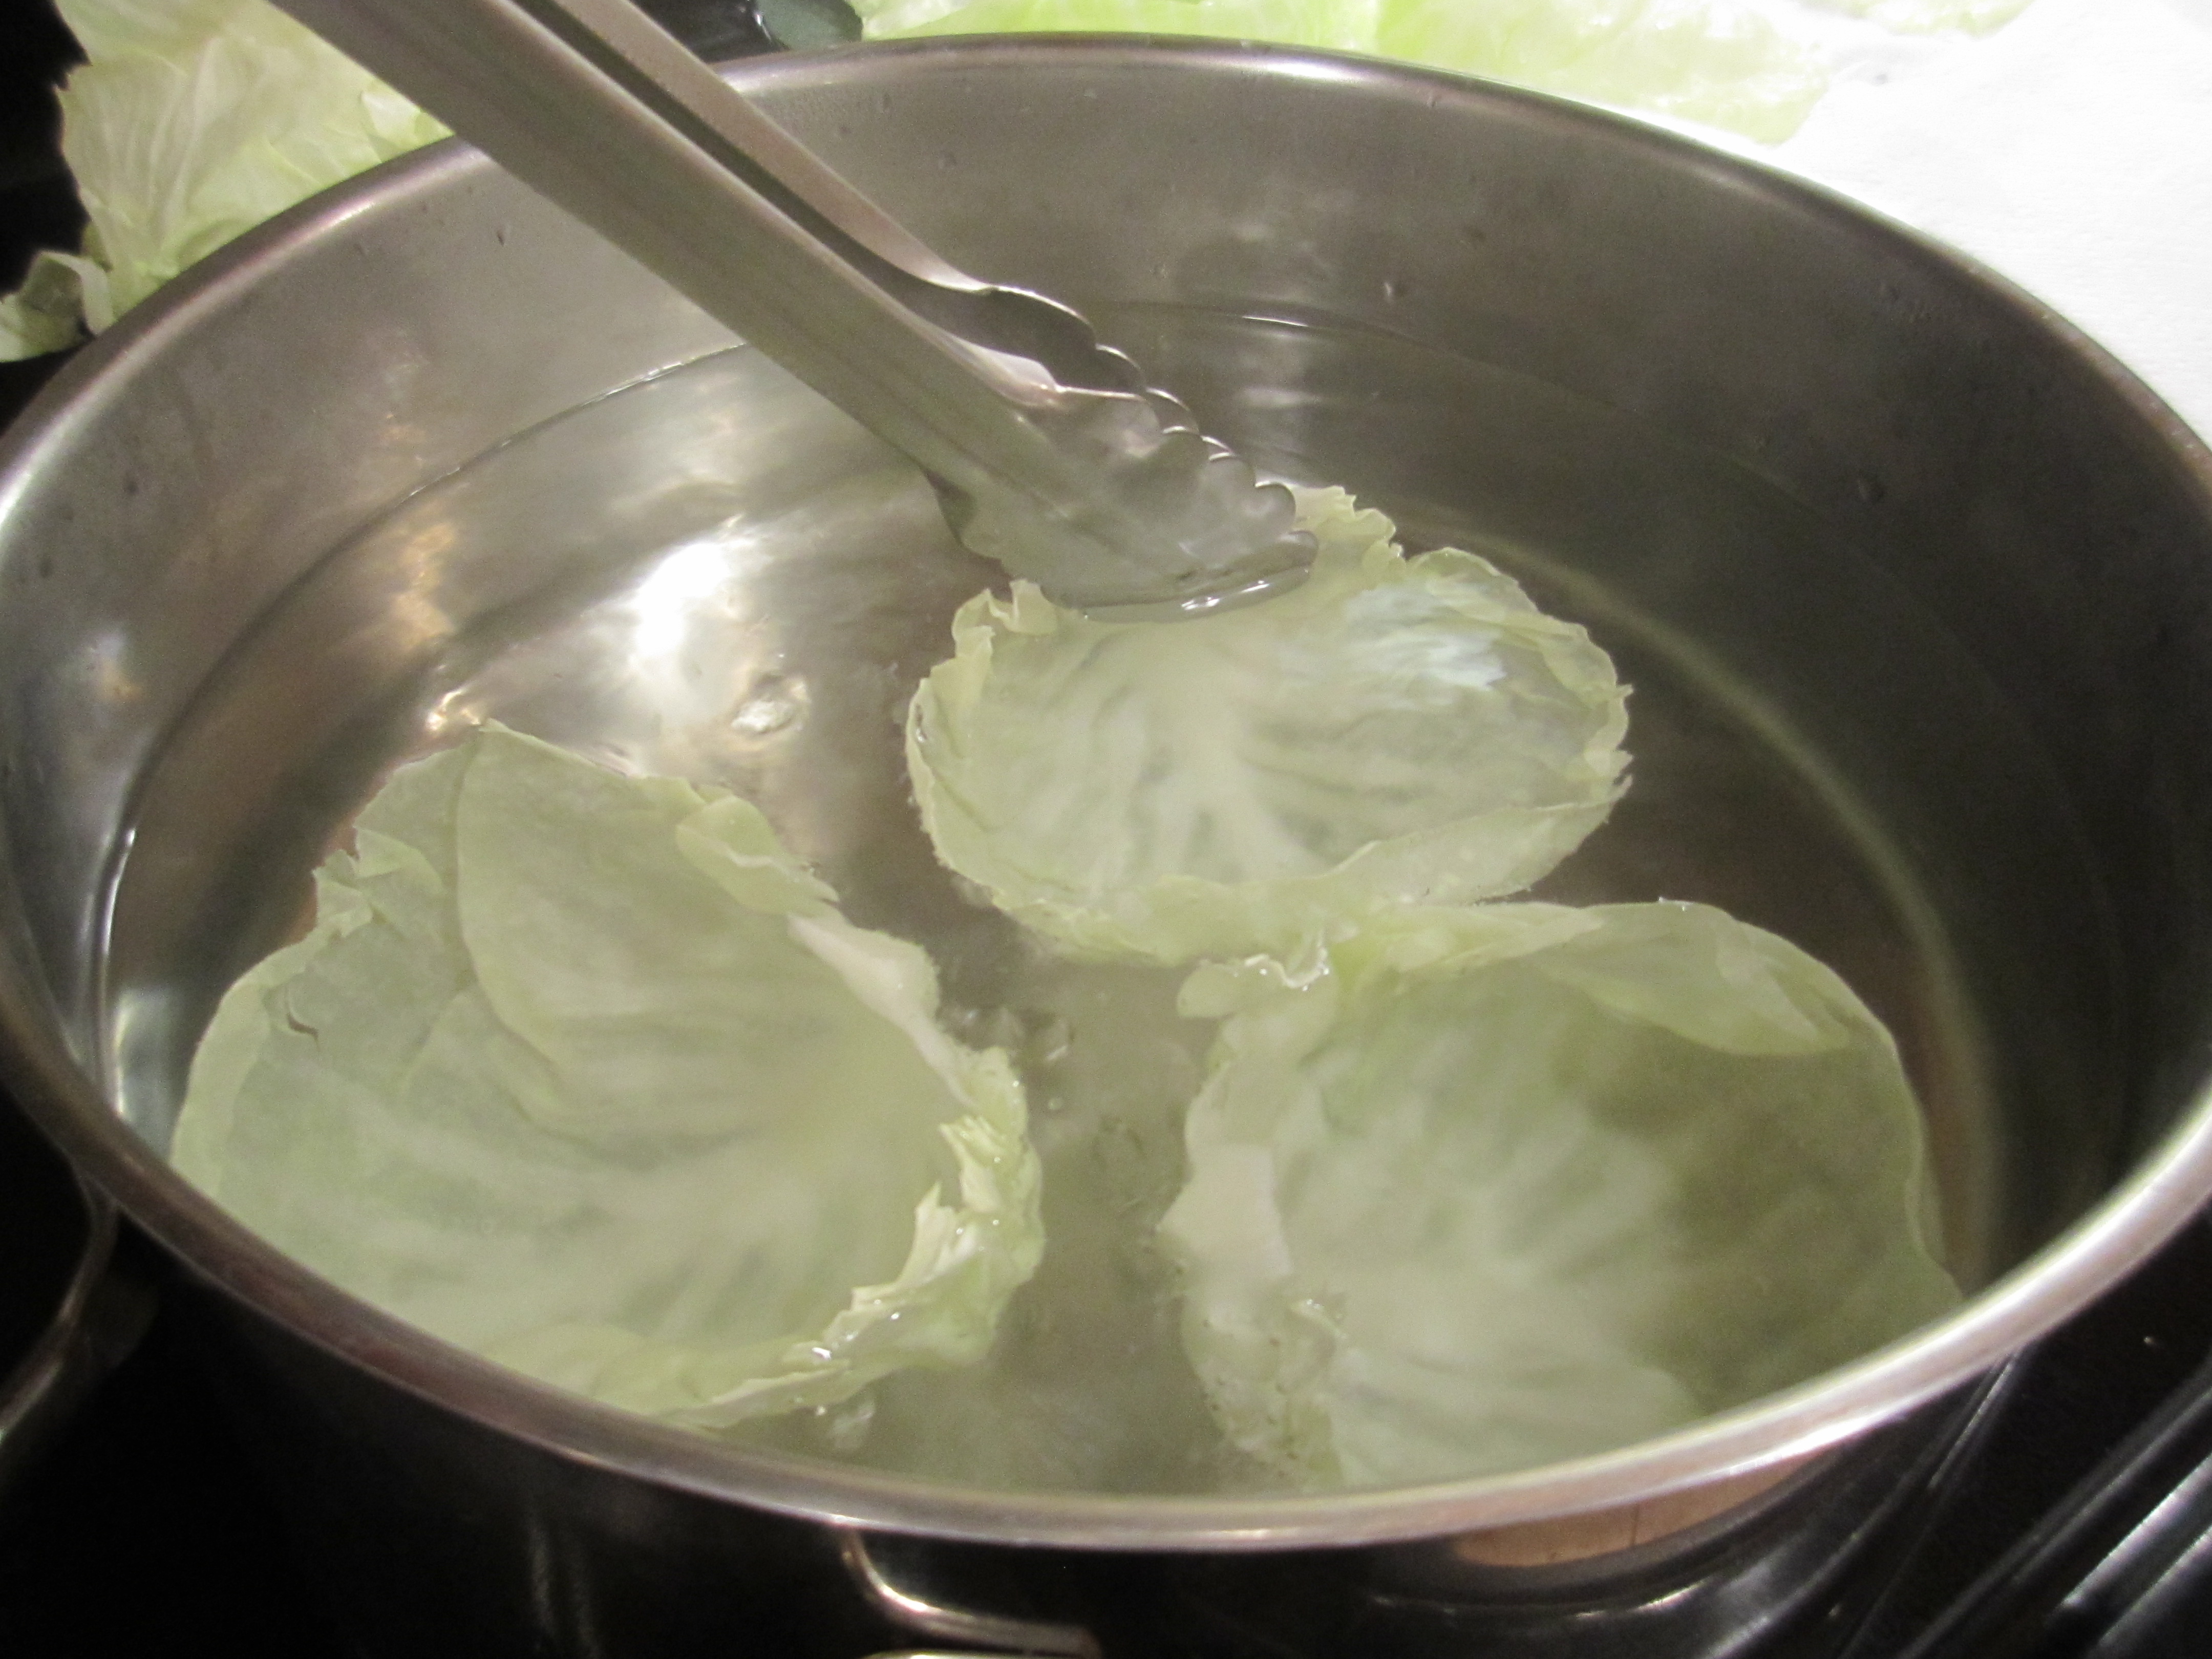
Bring a large (8 quart) saucepan of salted water to a boil. Take off any bad looking cabbage leaves and then carefully peel off 12 cabbage leaves. I had a small cabbage so that’s why I emphasized the size. I had a lot of trouble with this, I think because of the size. Finally, after a bit of trial and error, I took off as much of the stem end as possible and then put the cabbage under very warm running water. I used the water plus some gentle pressure, to take the leaves off. It worked but some of the leaves were very small. I ended up taking some broken blanched leaves and using those to help enclose the filling with the small leaves. But anyway, onward. Blanch the leaves: the savoy per Deb take 30 seconds to 1 minute, the regular green cabbage leaves take 2 minutes, until wilted and remove with tongs onto paper towels.
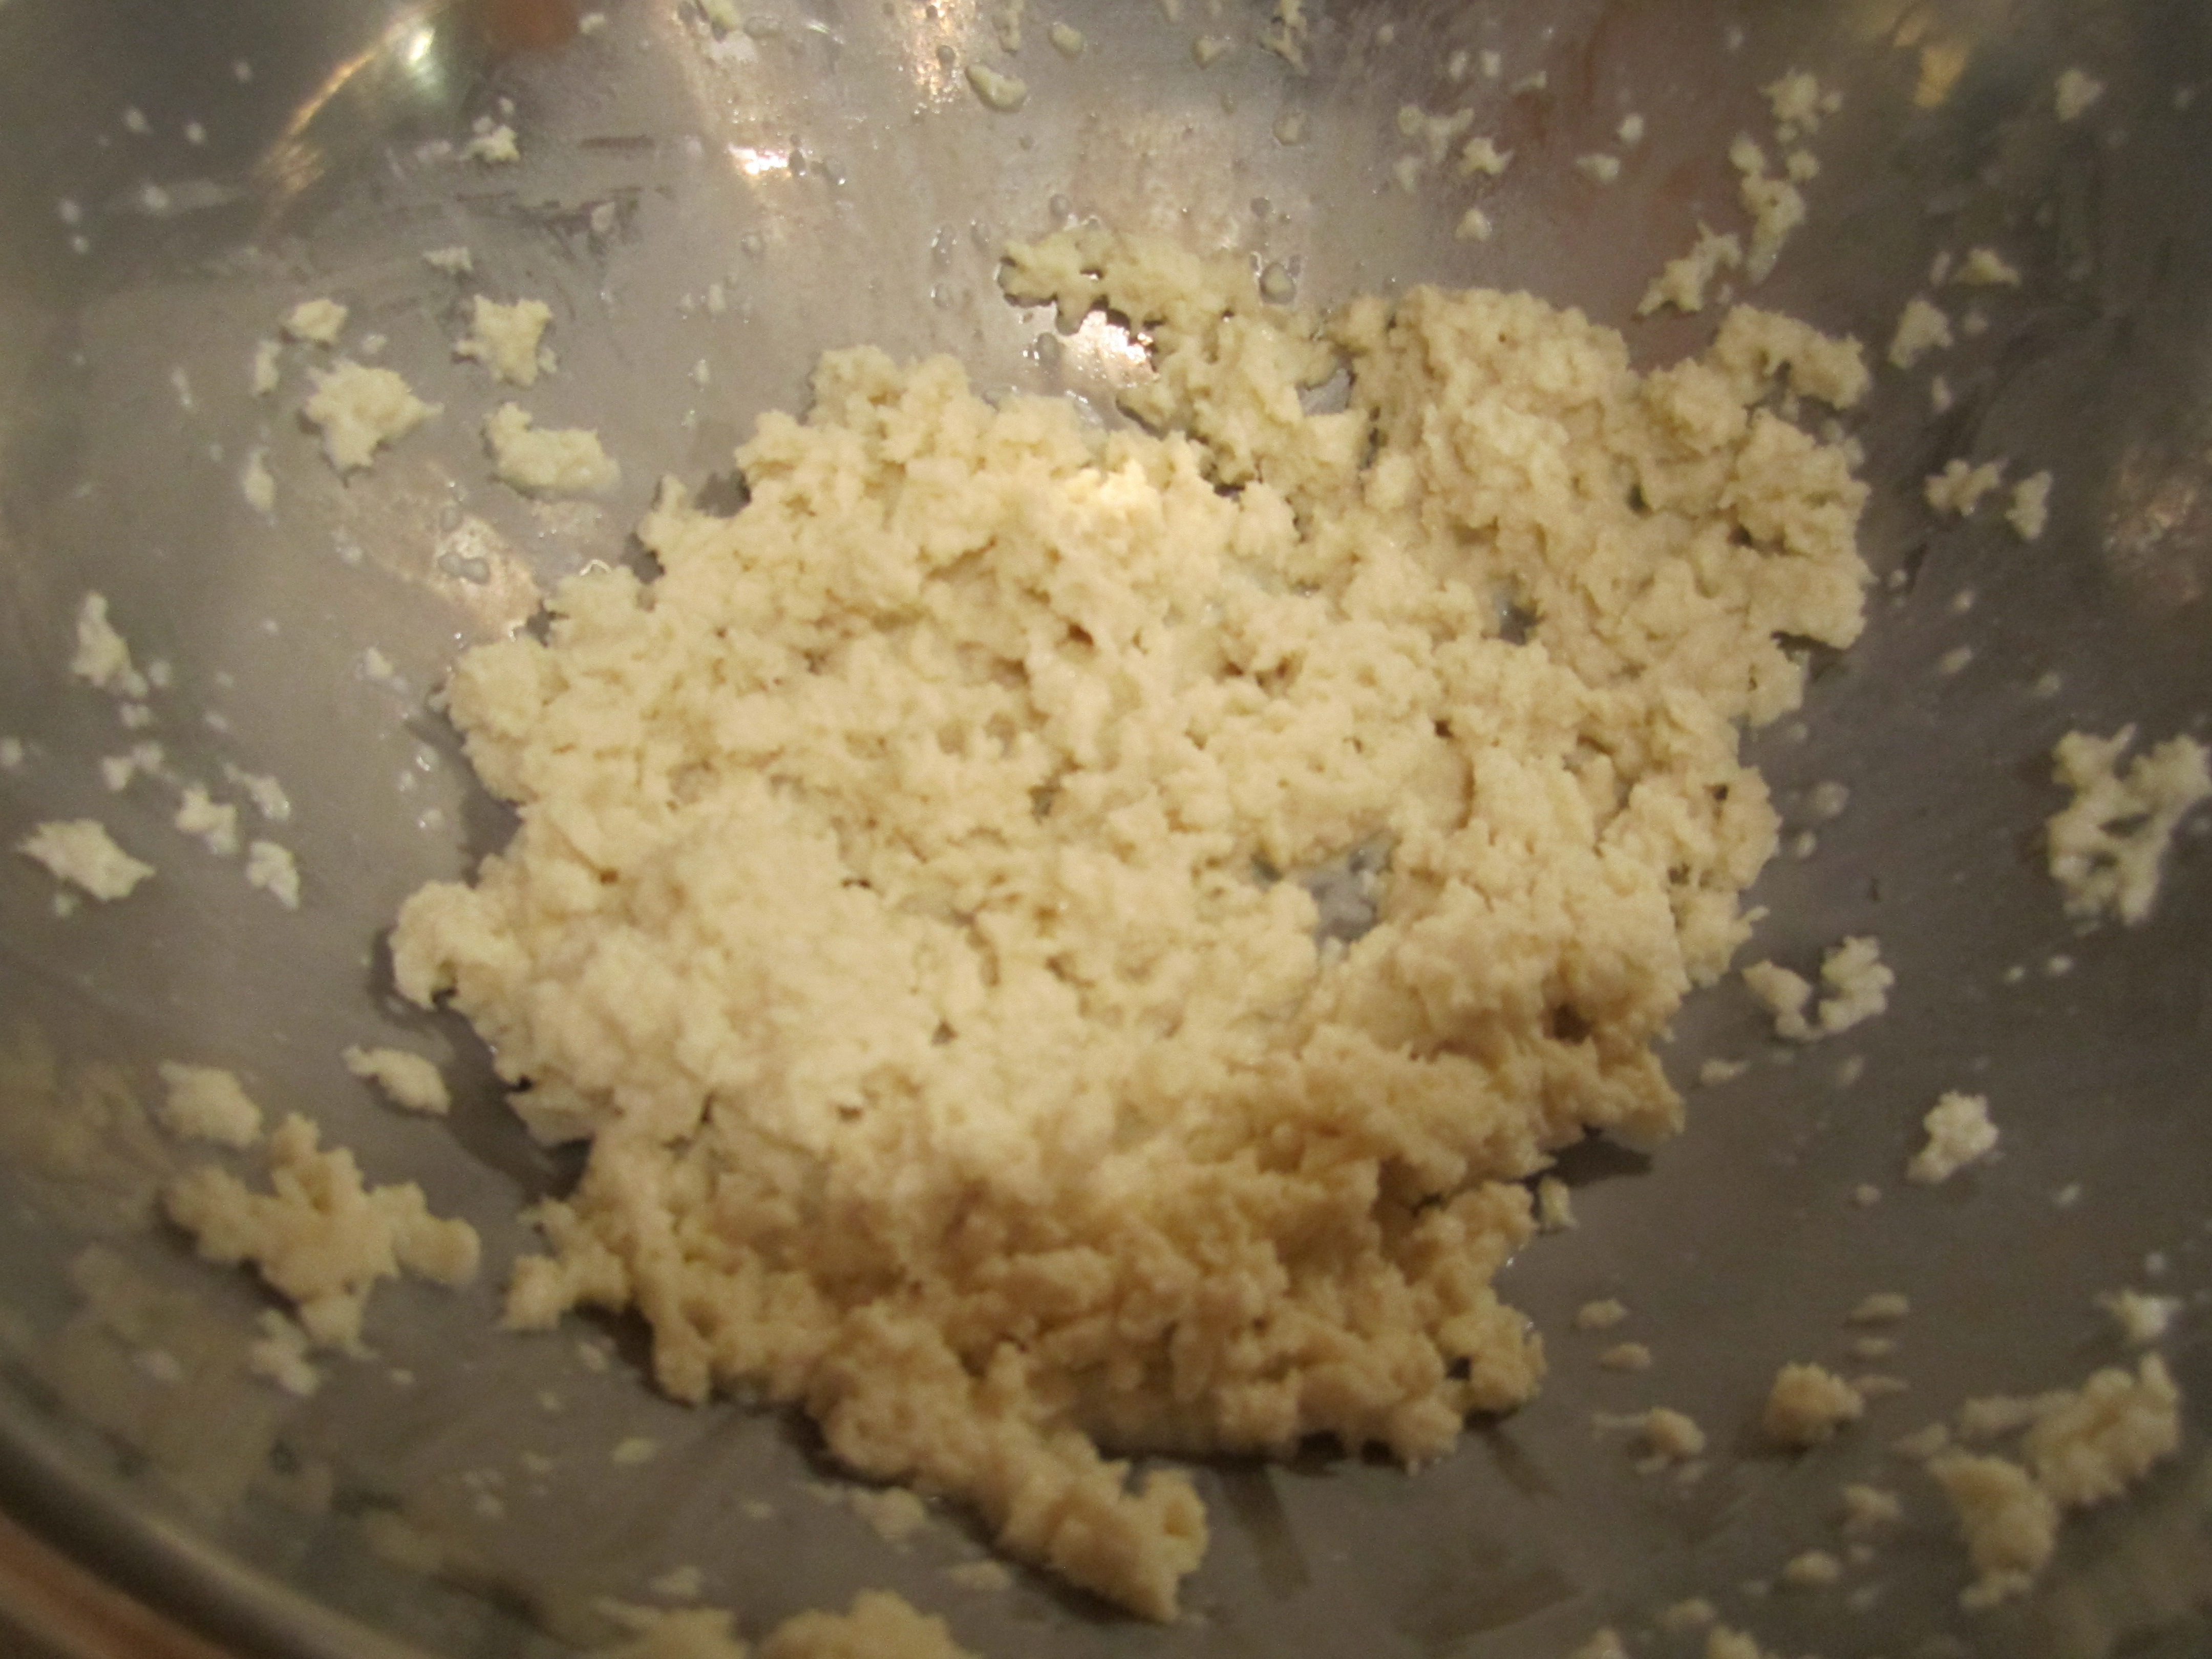
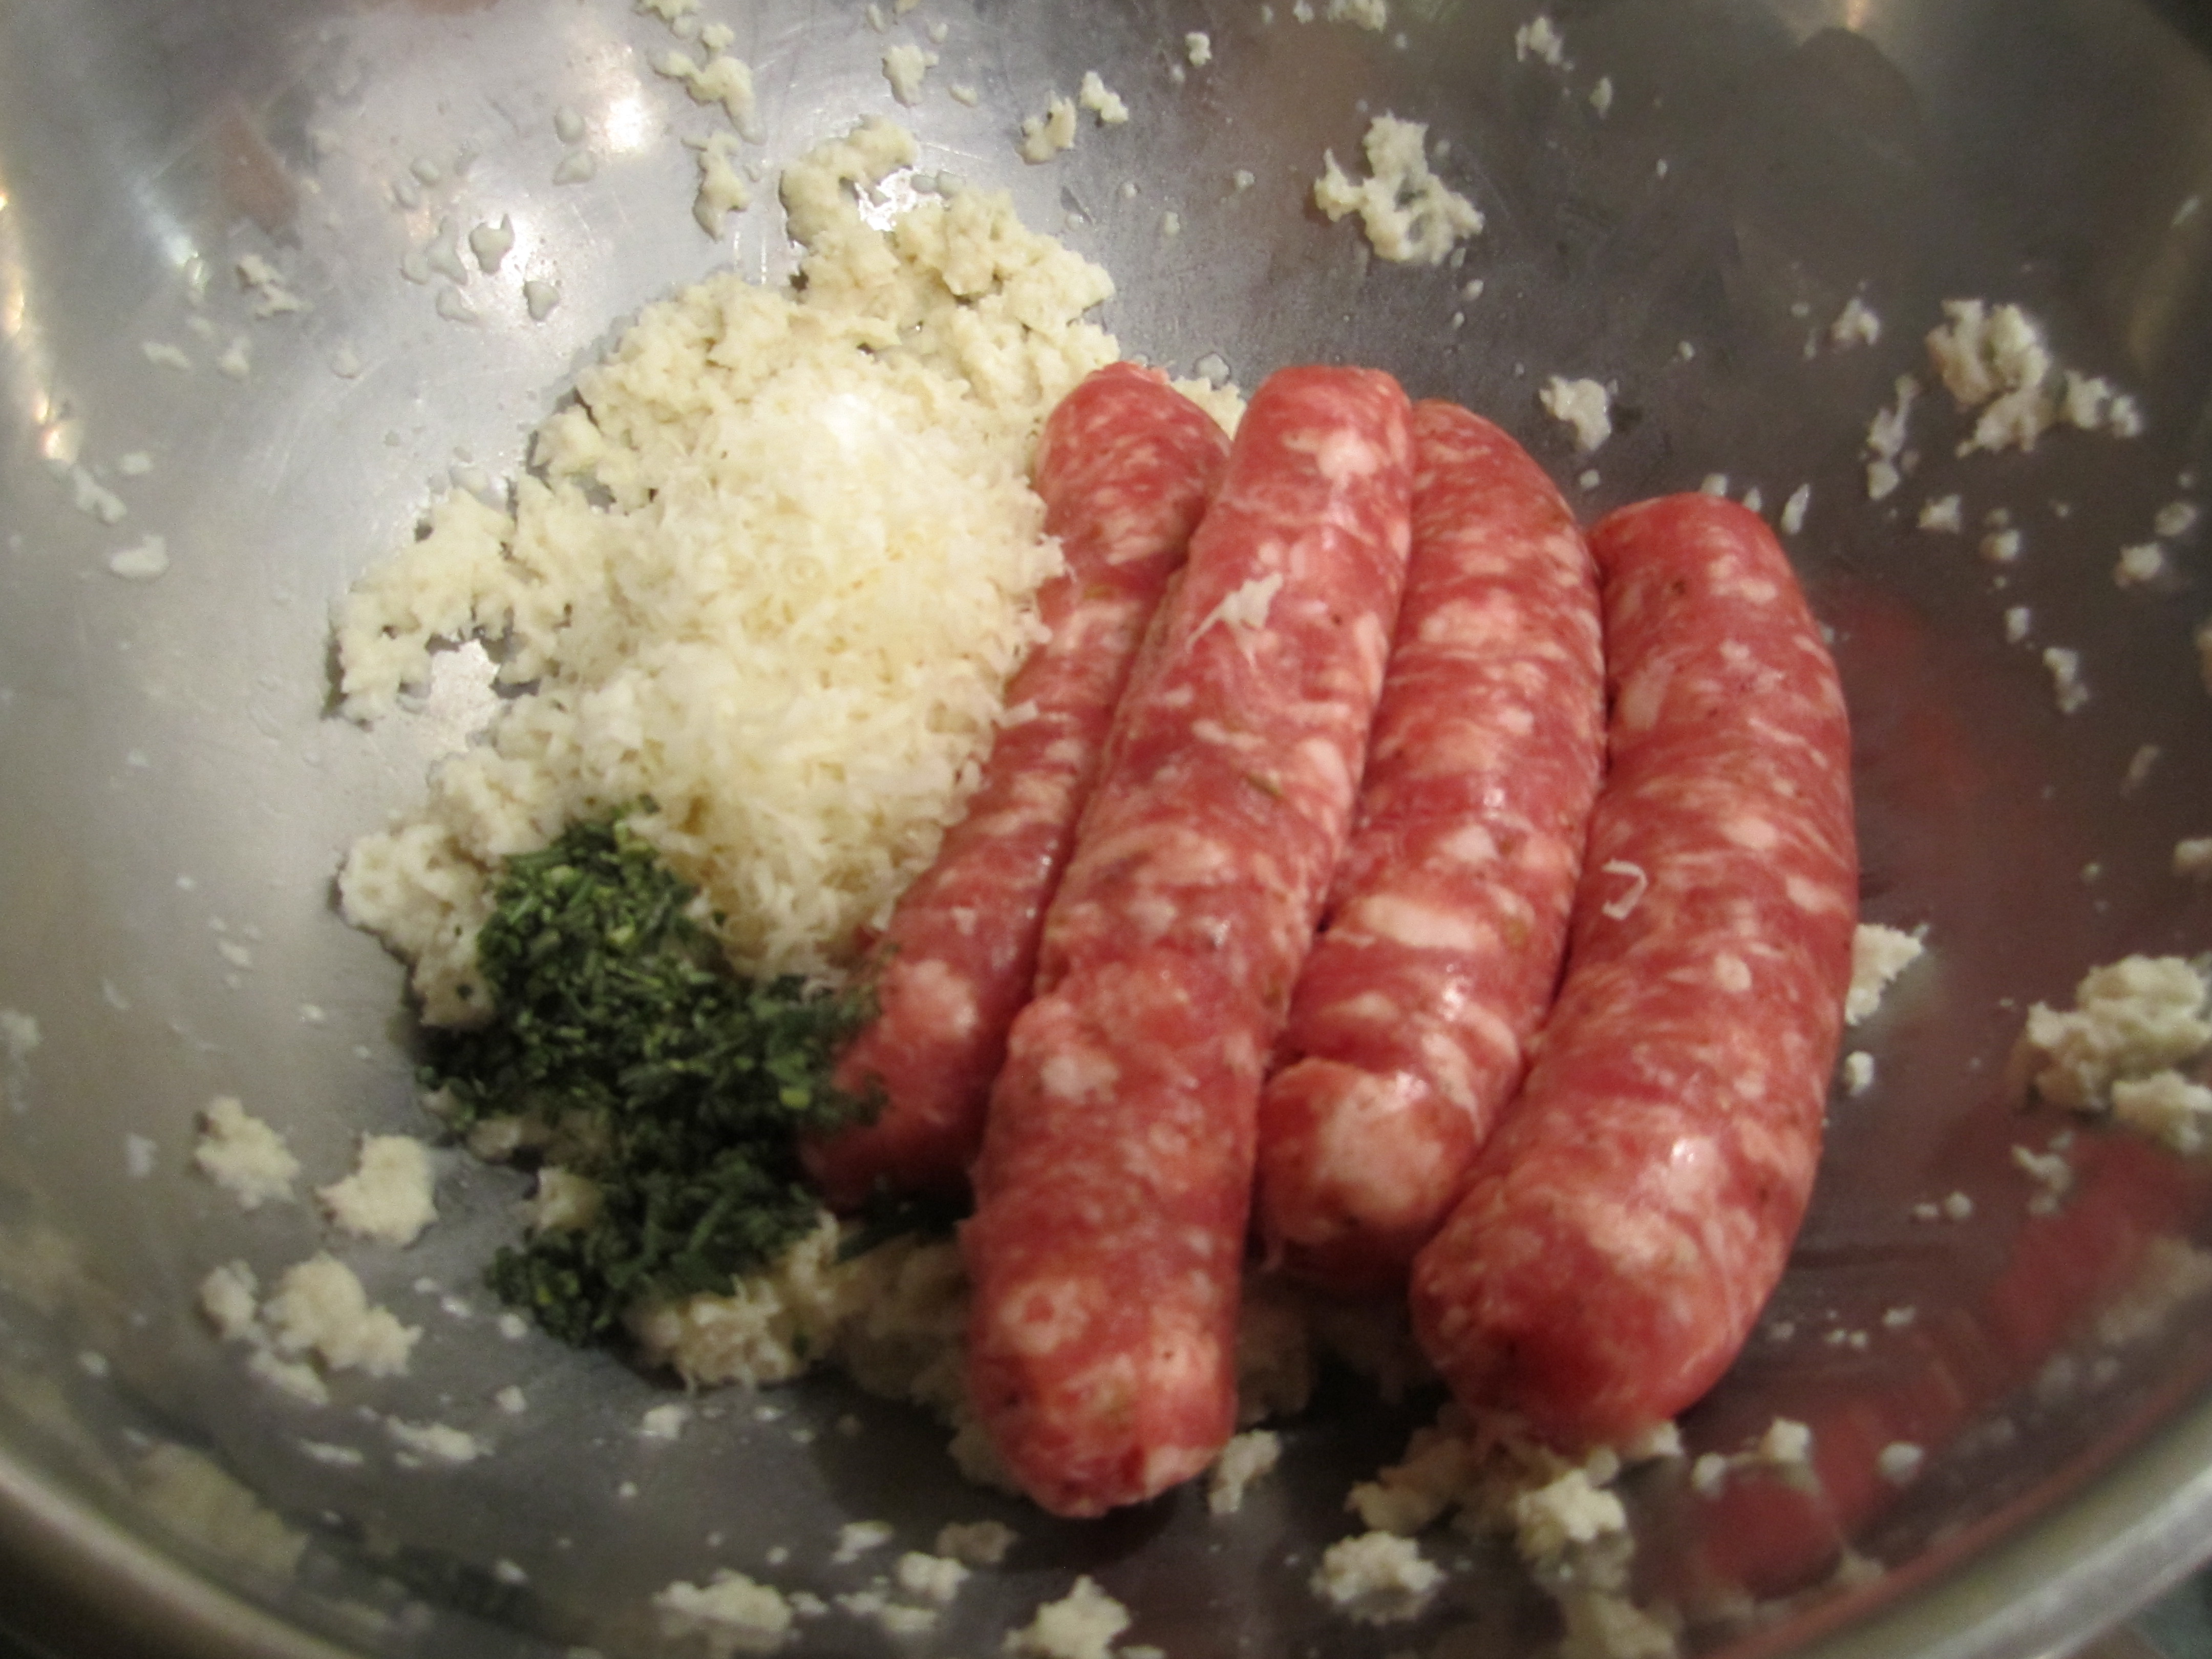
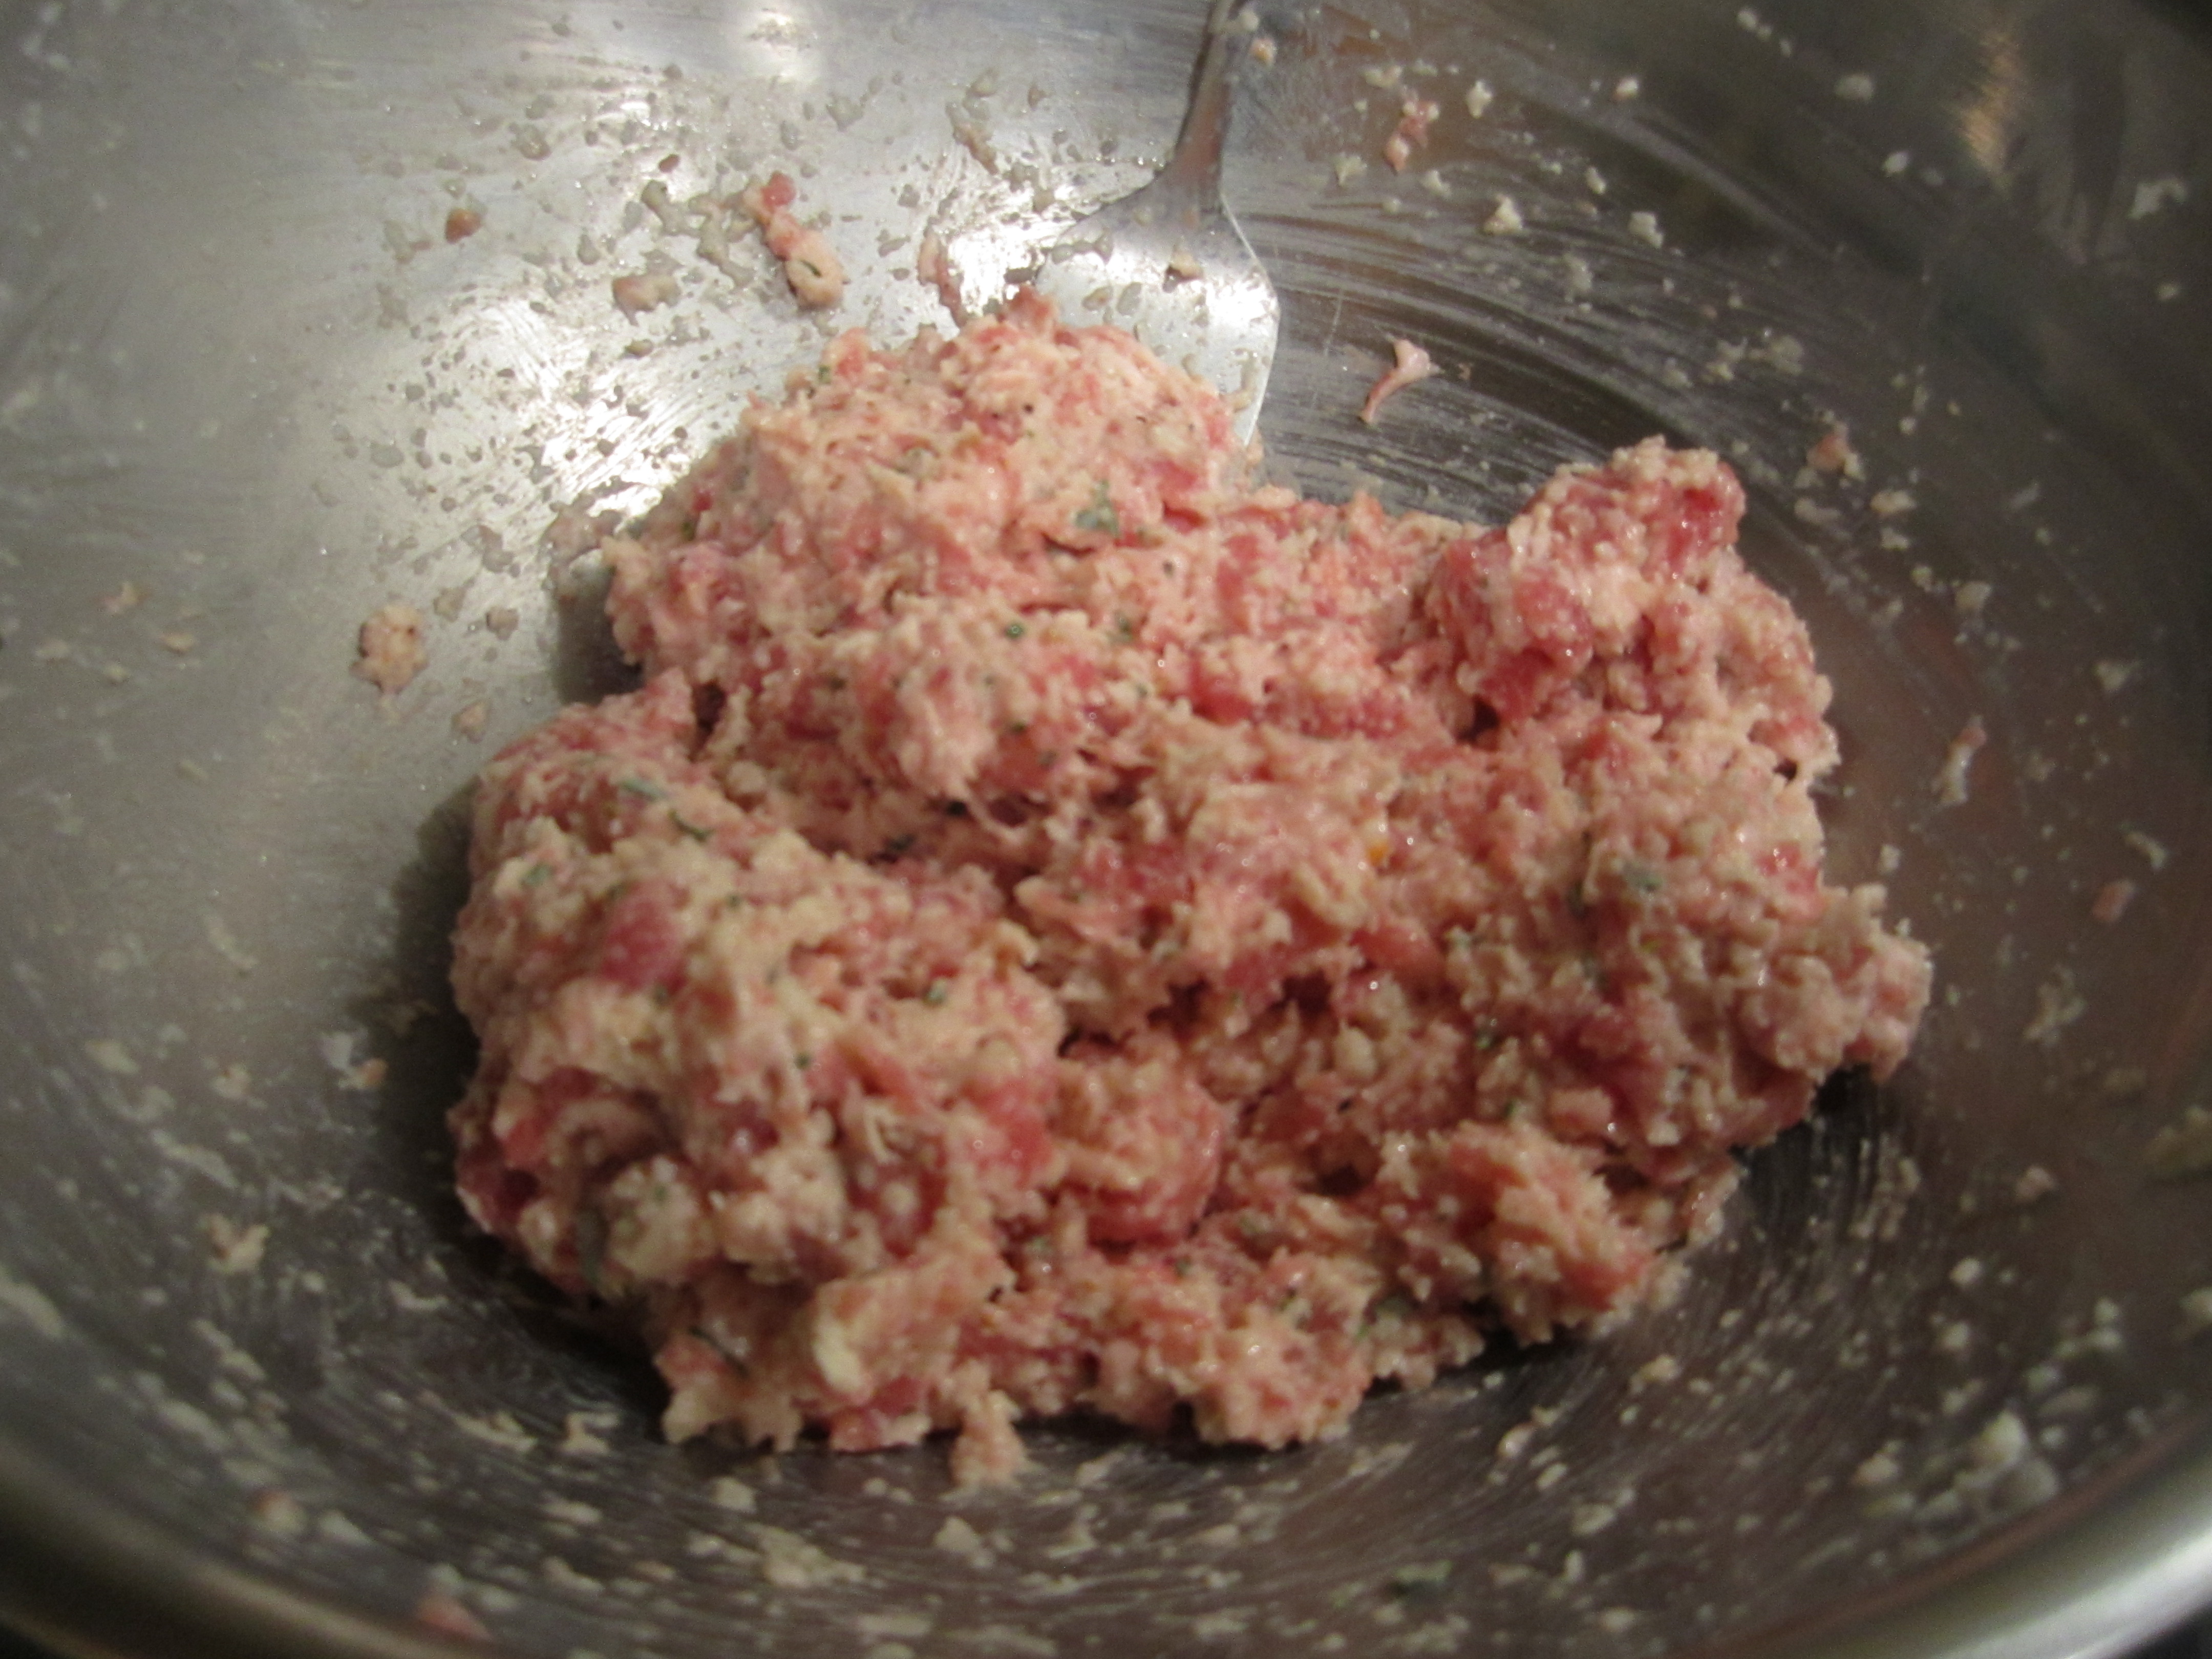
Take the insides out of the chunk of bread, making small bread crumbs. You should have about 3 cups. Place in a large bowl and add the milk. Let it sit while you get the other ingredients together, then mash with a fork until mushy. Add the sausage, very optional sage and rosemary (because of all the herbs in the italian sausage itself, next time I would not put in the extra herbs at all, as per Deb), parmesan cheese and mix with a large fork until combined.
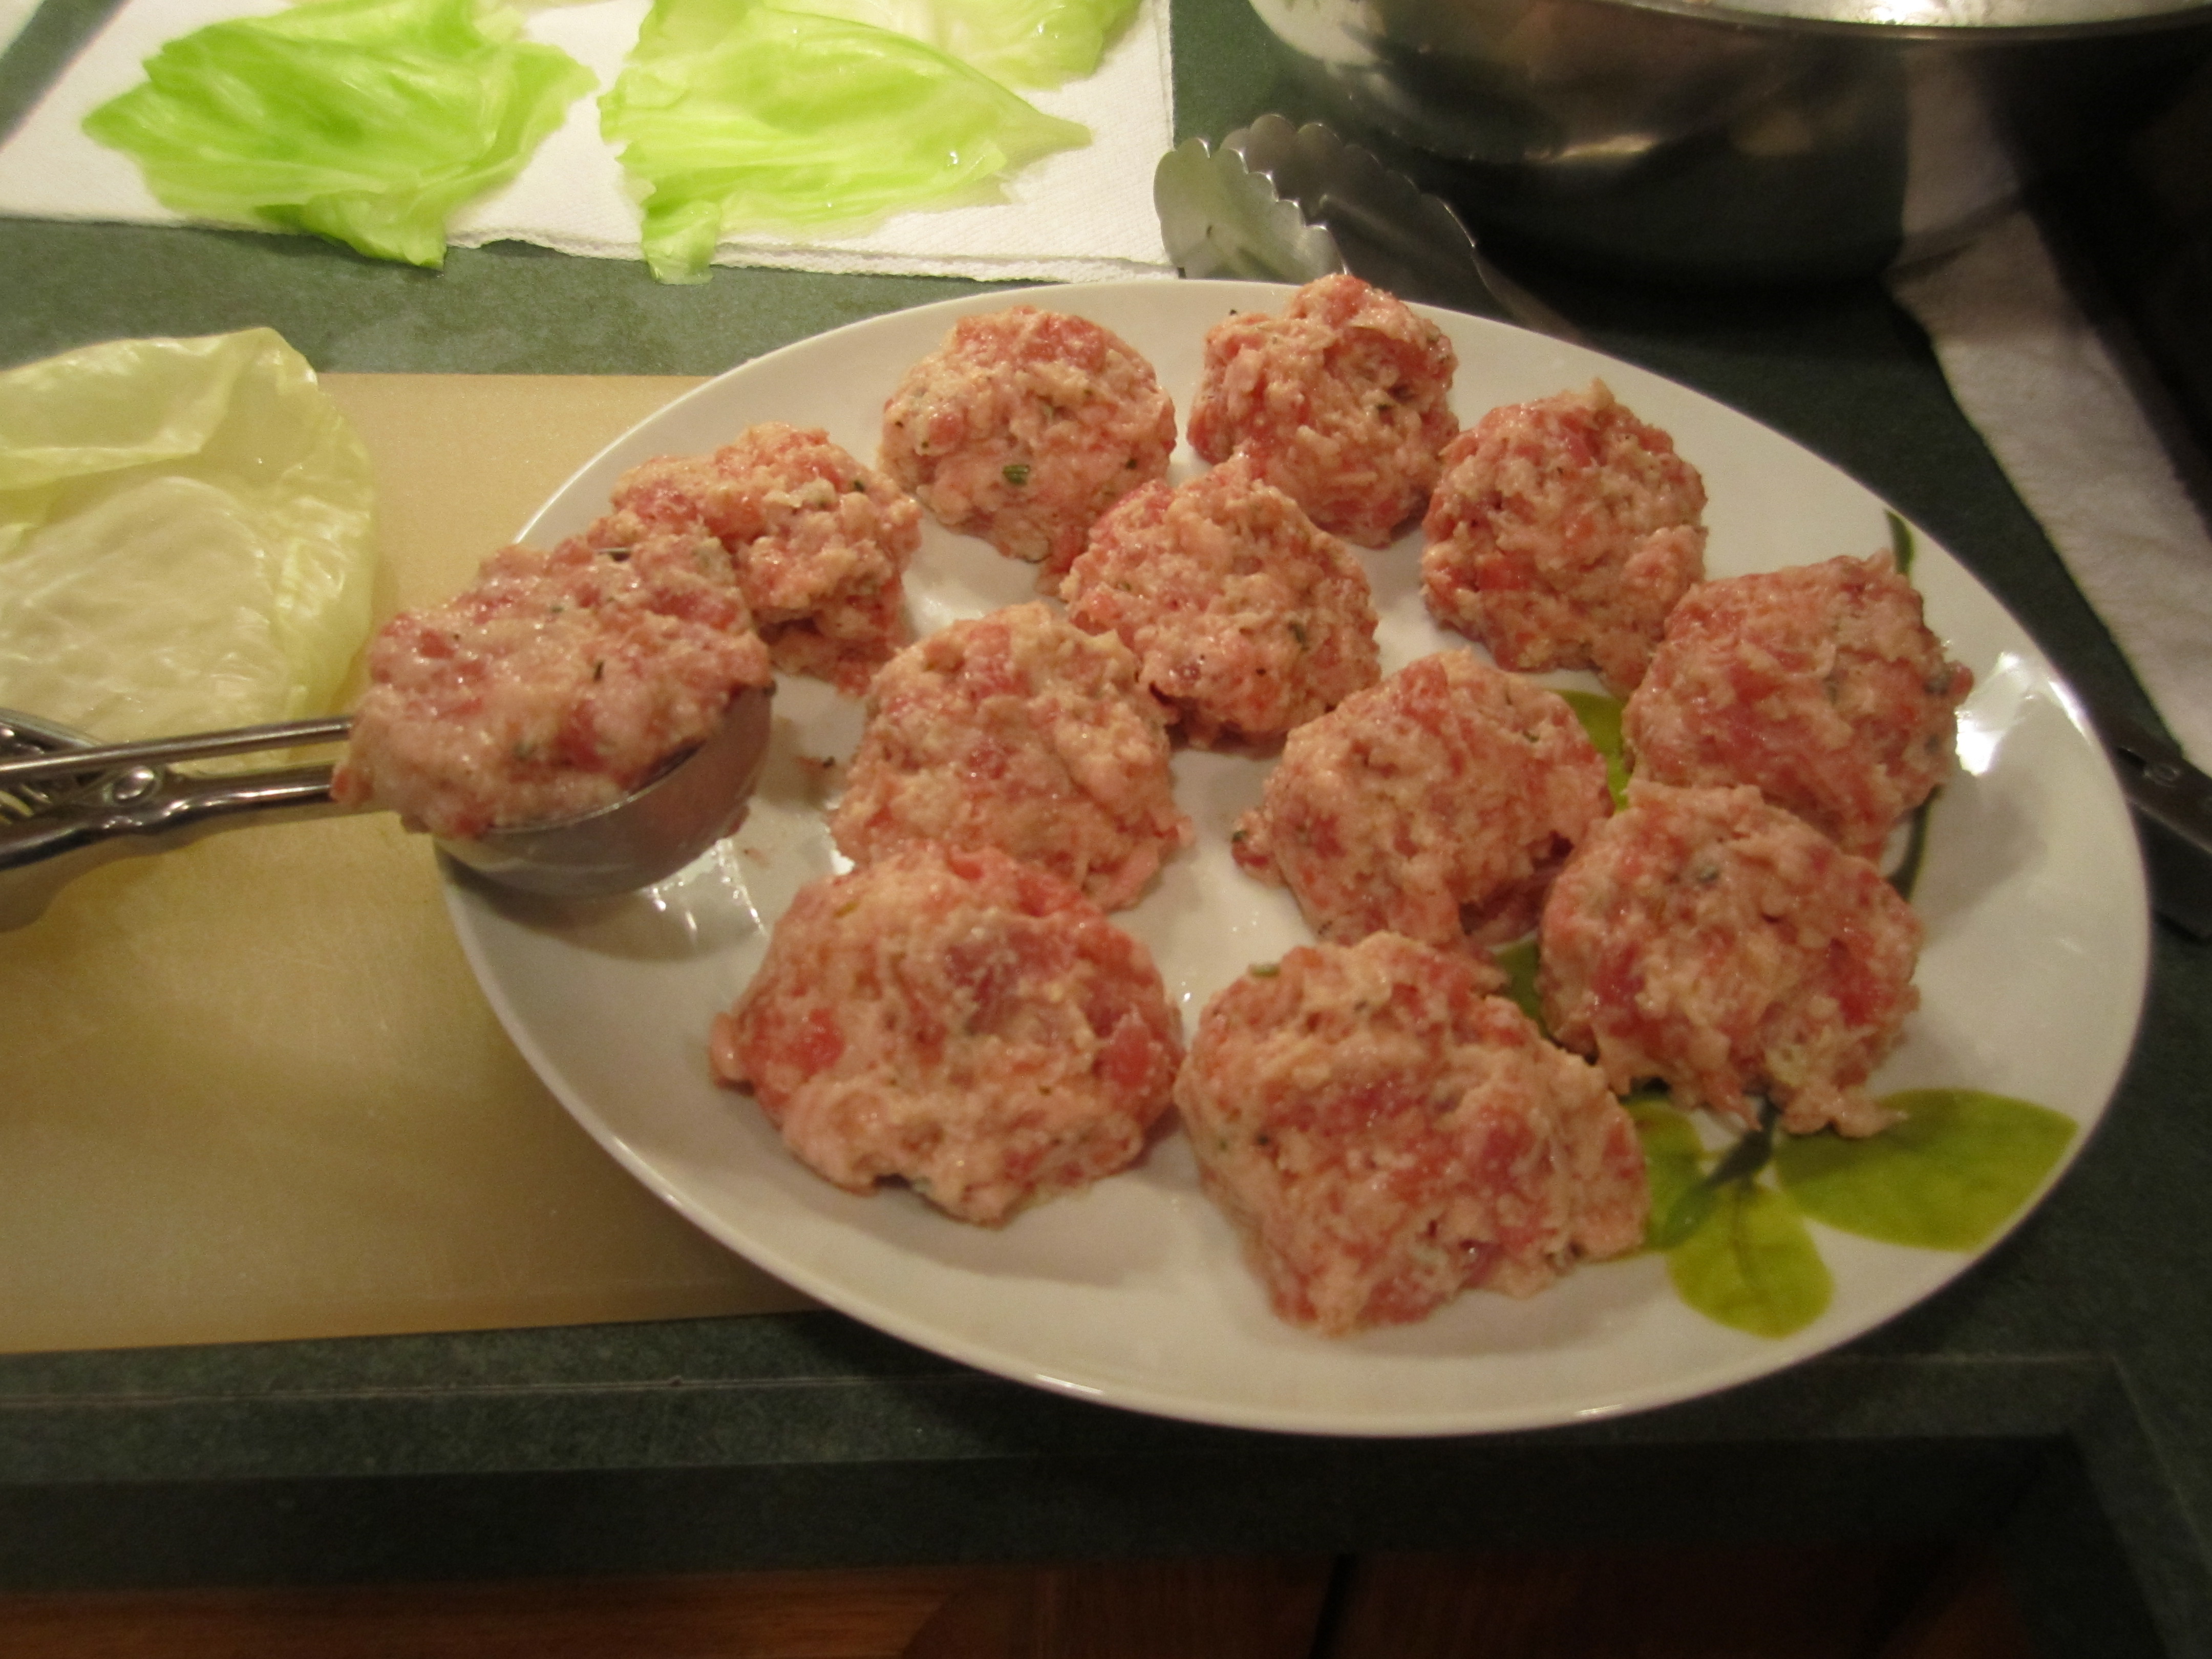
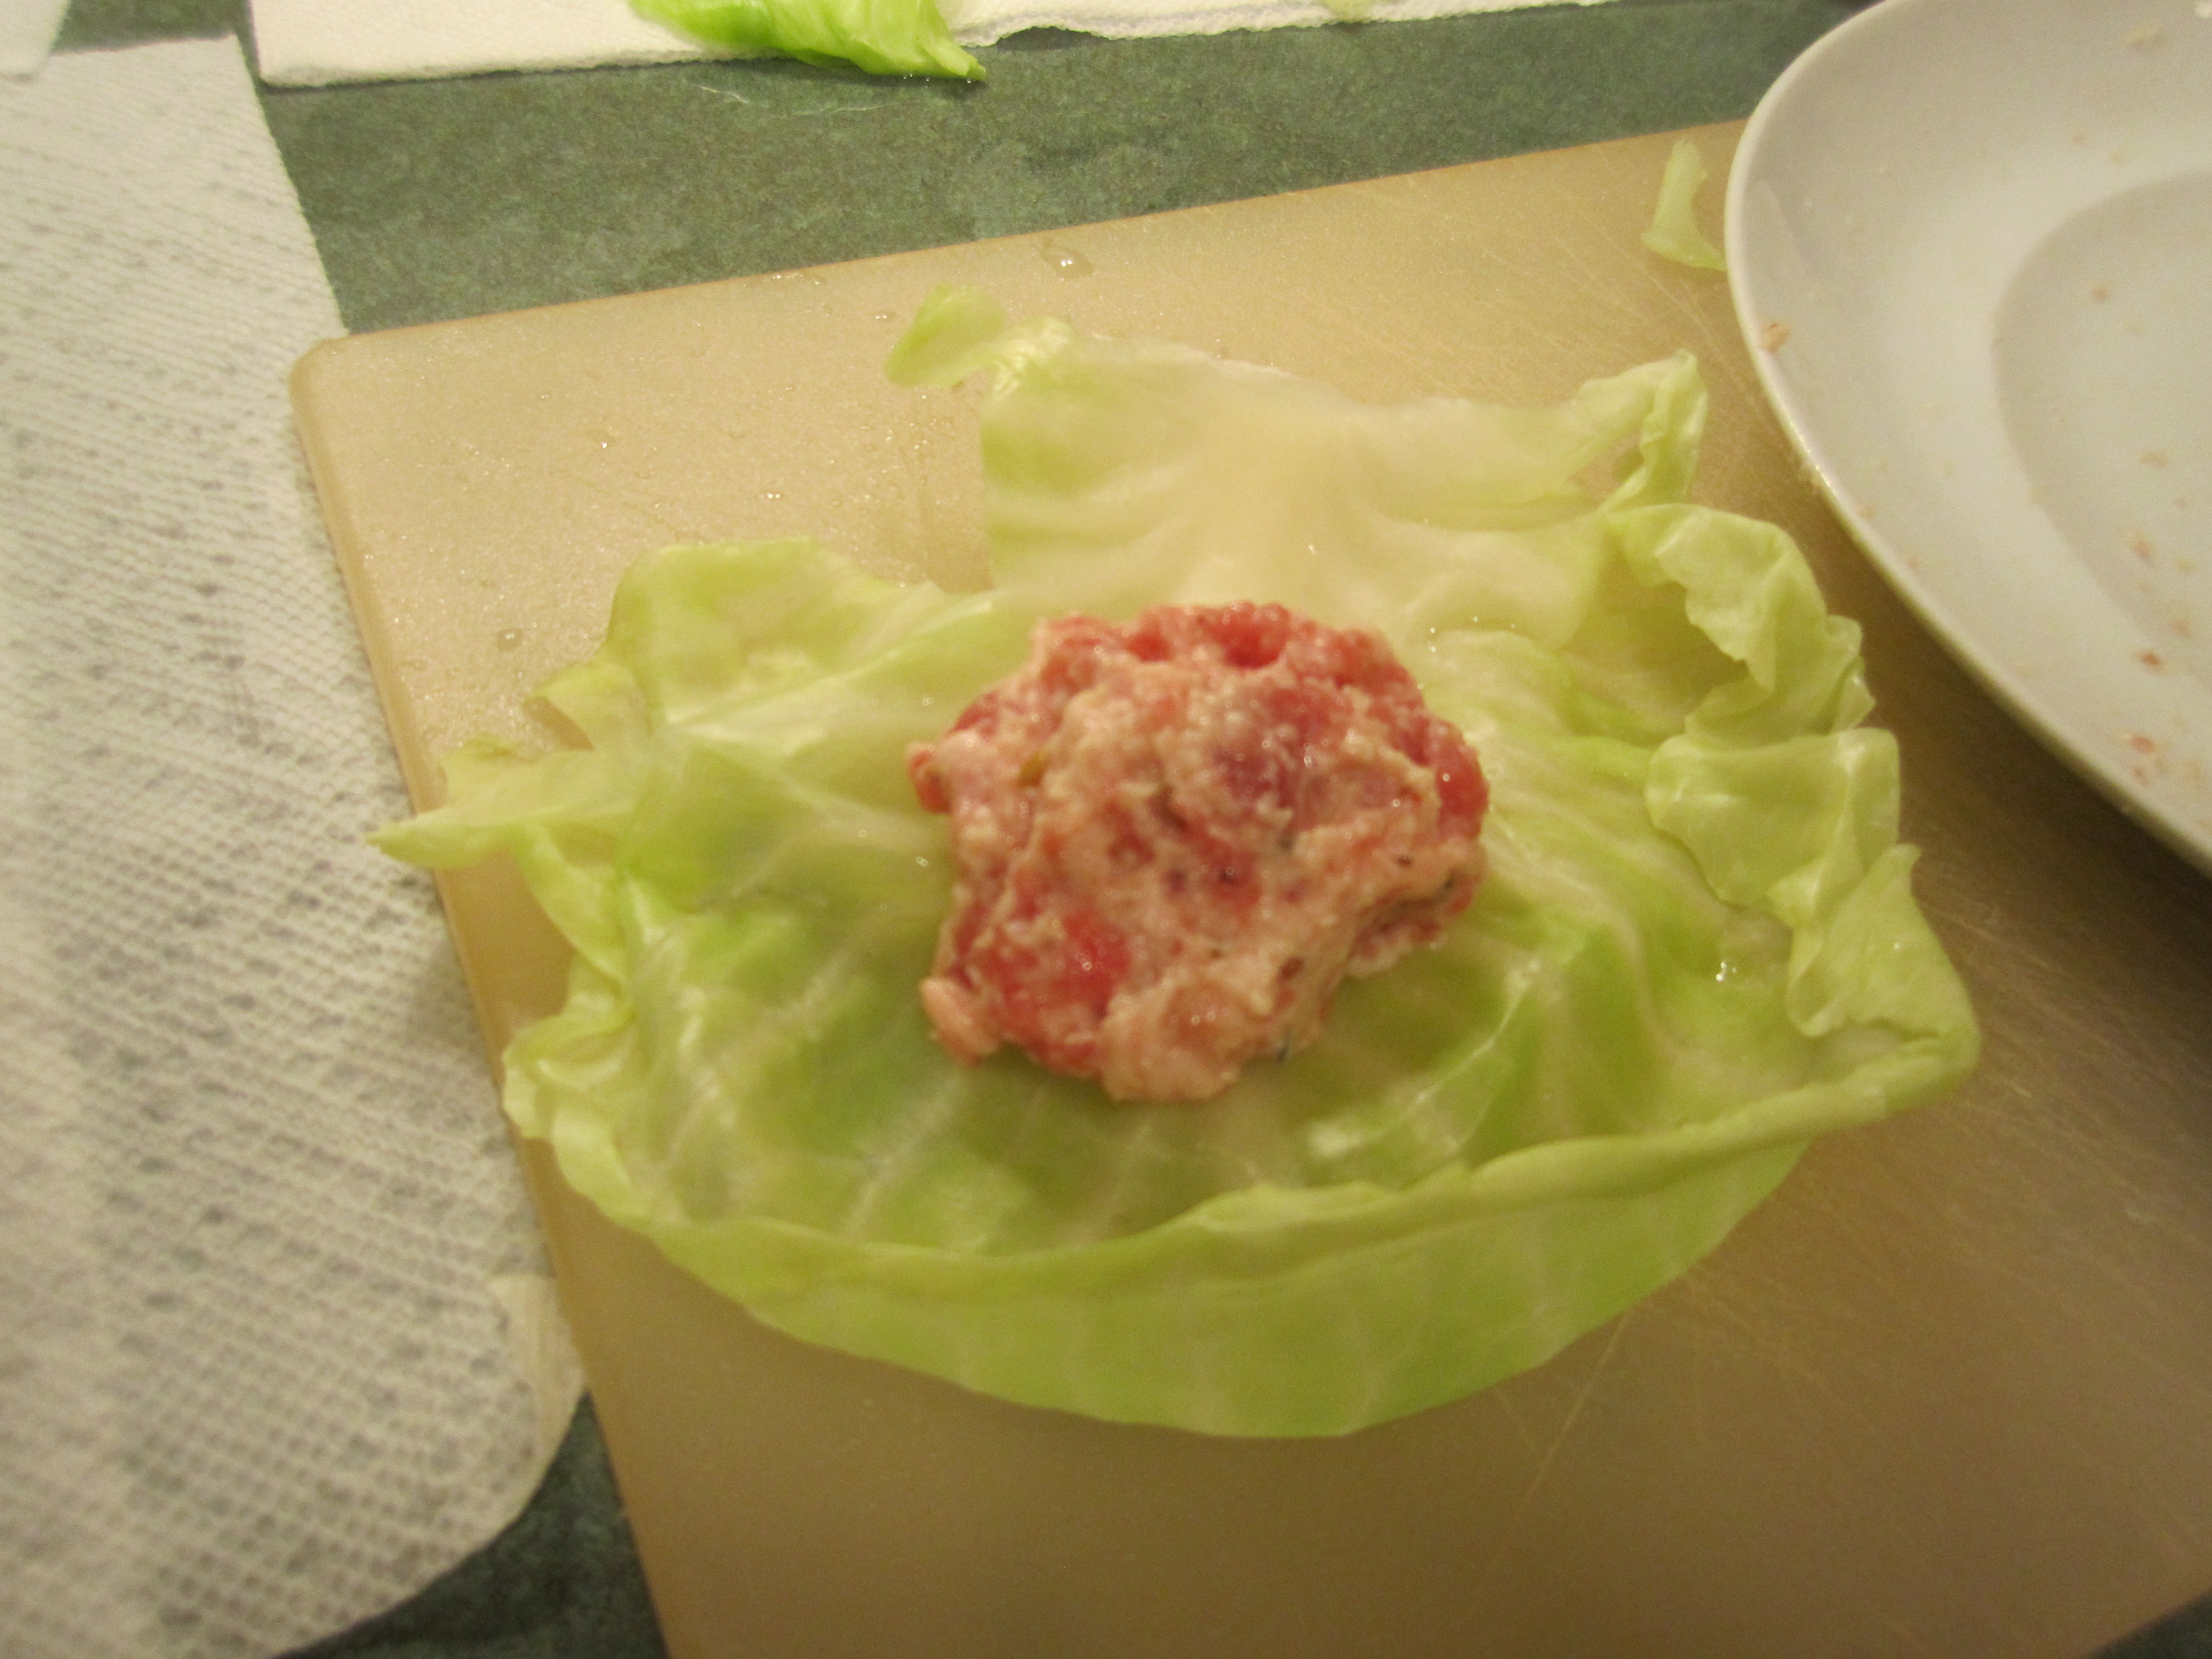
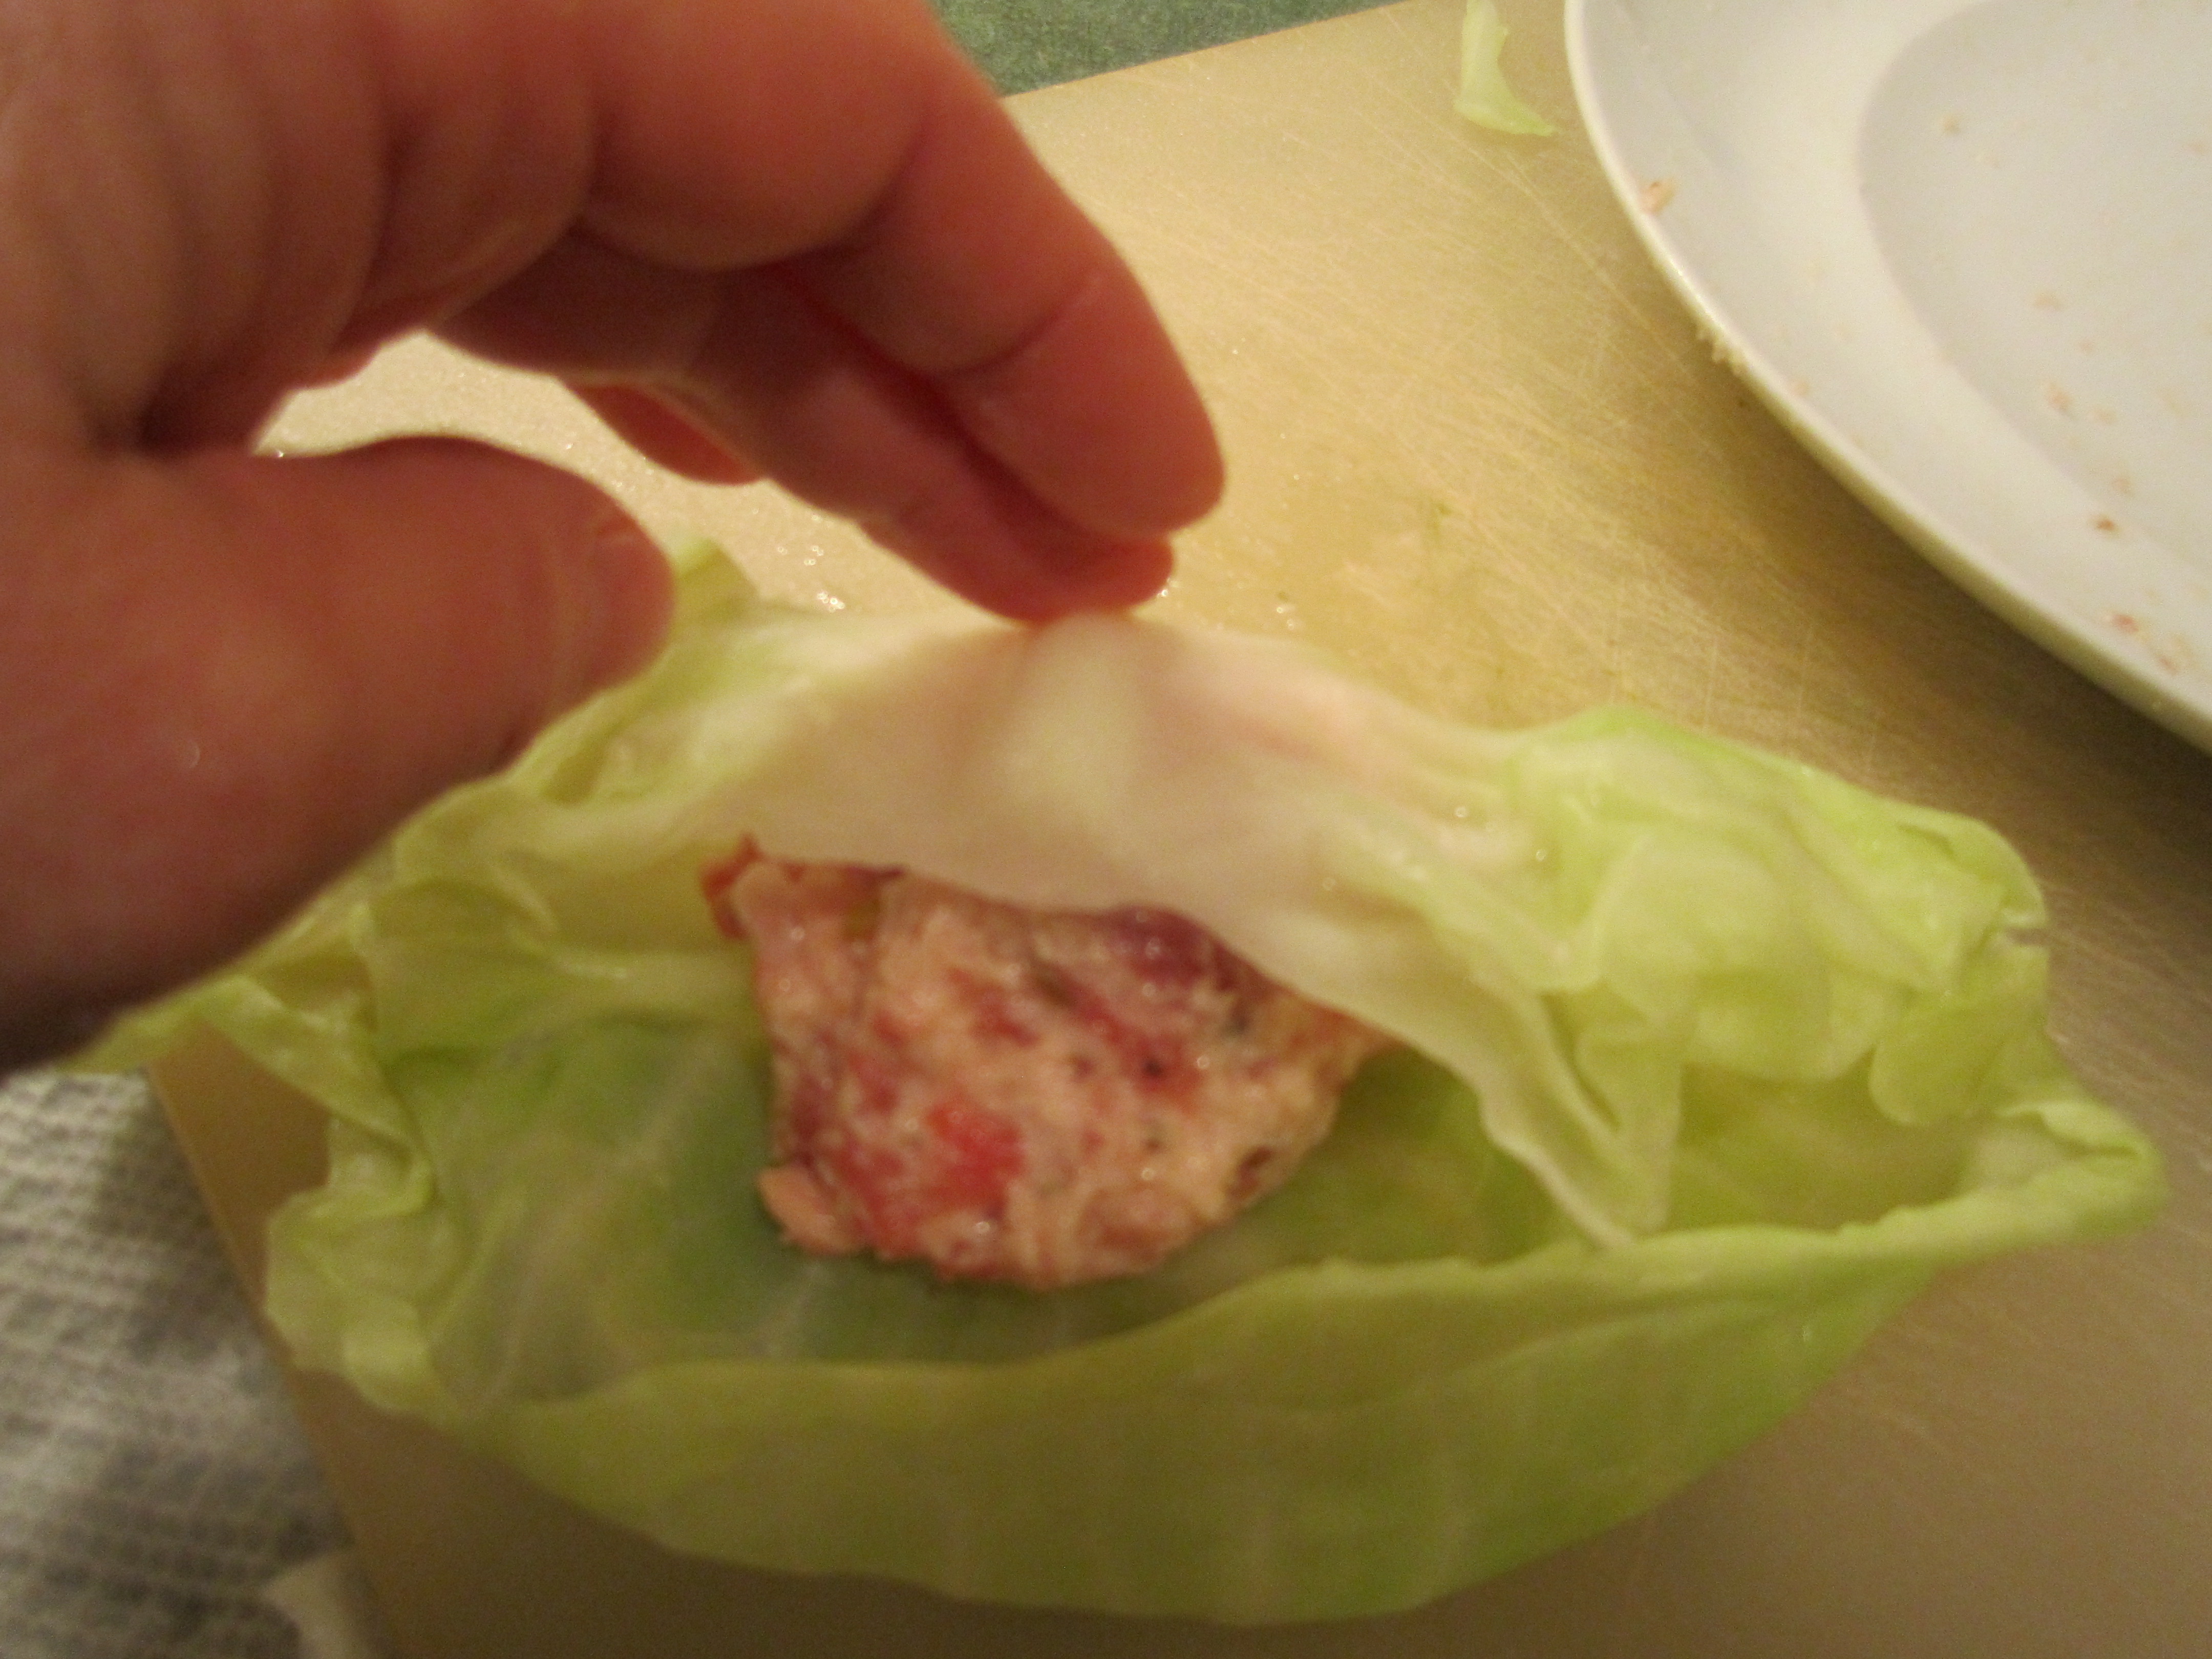
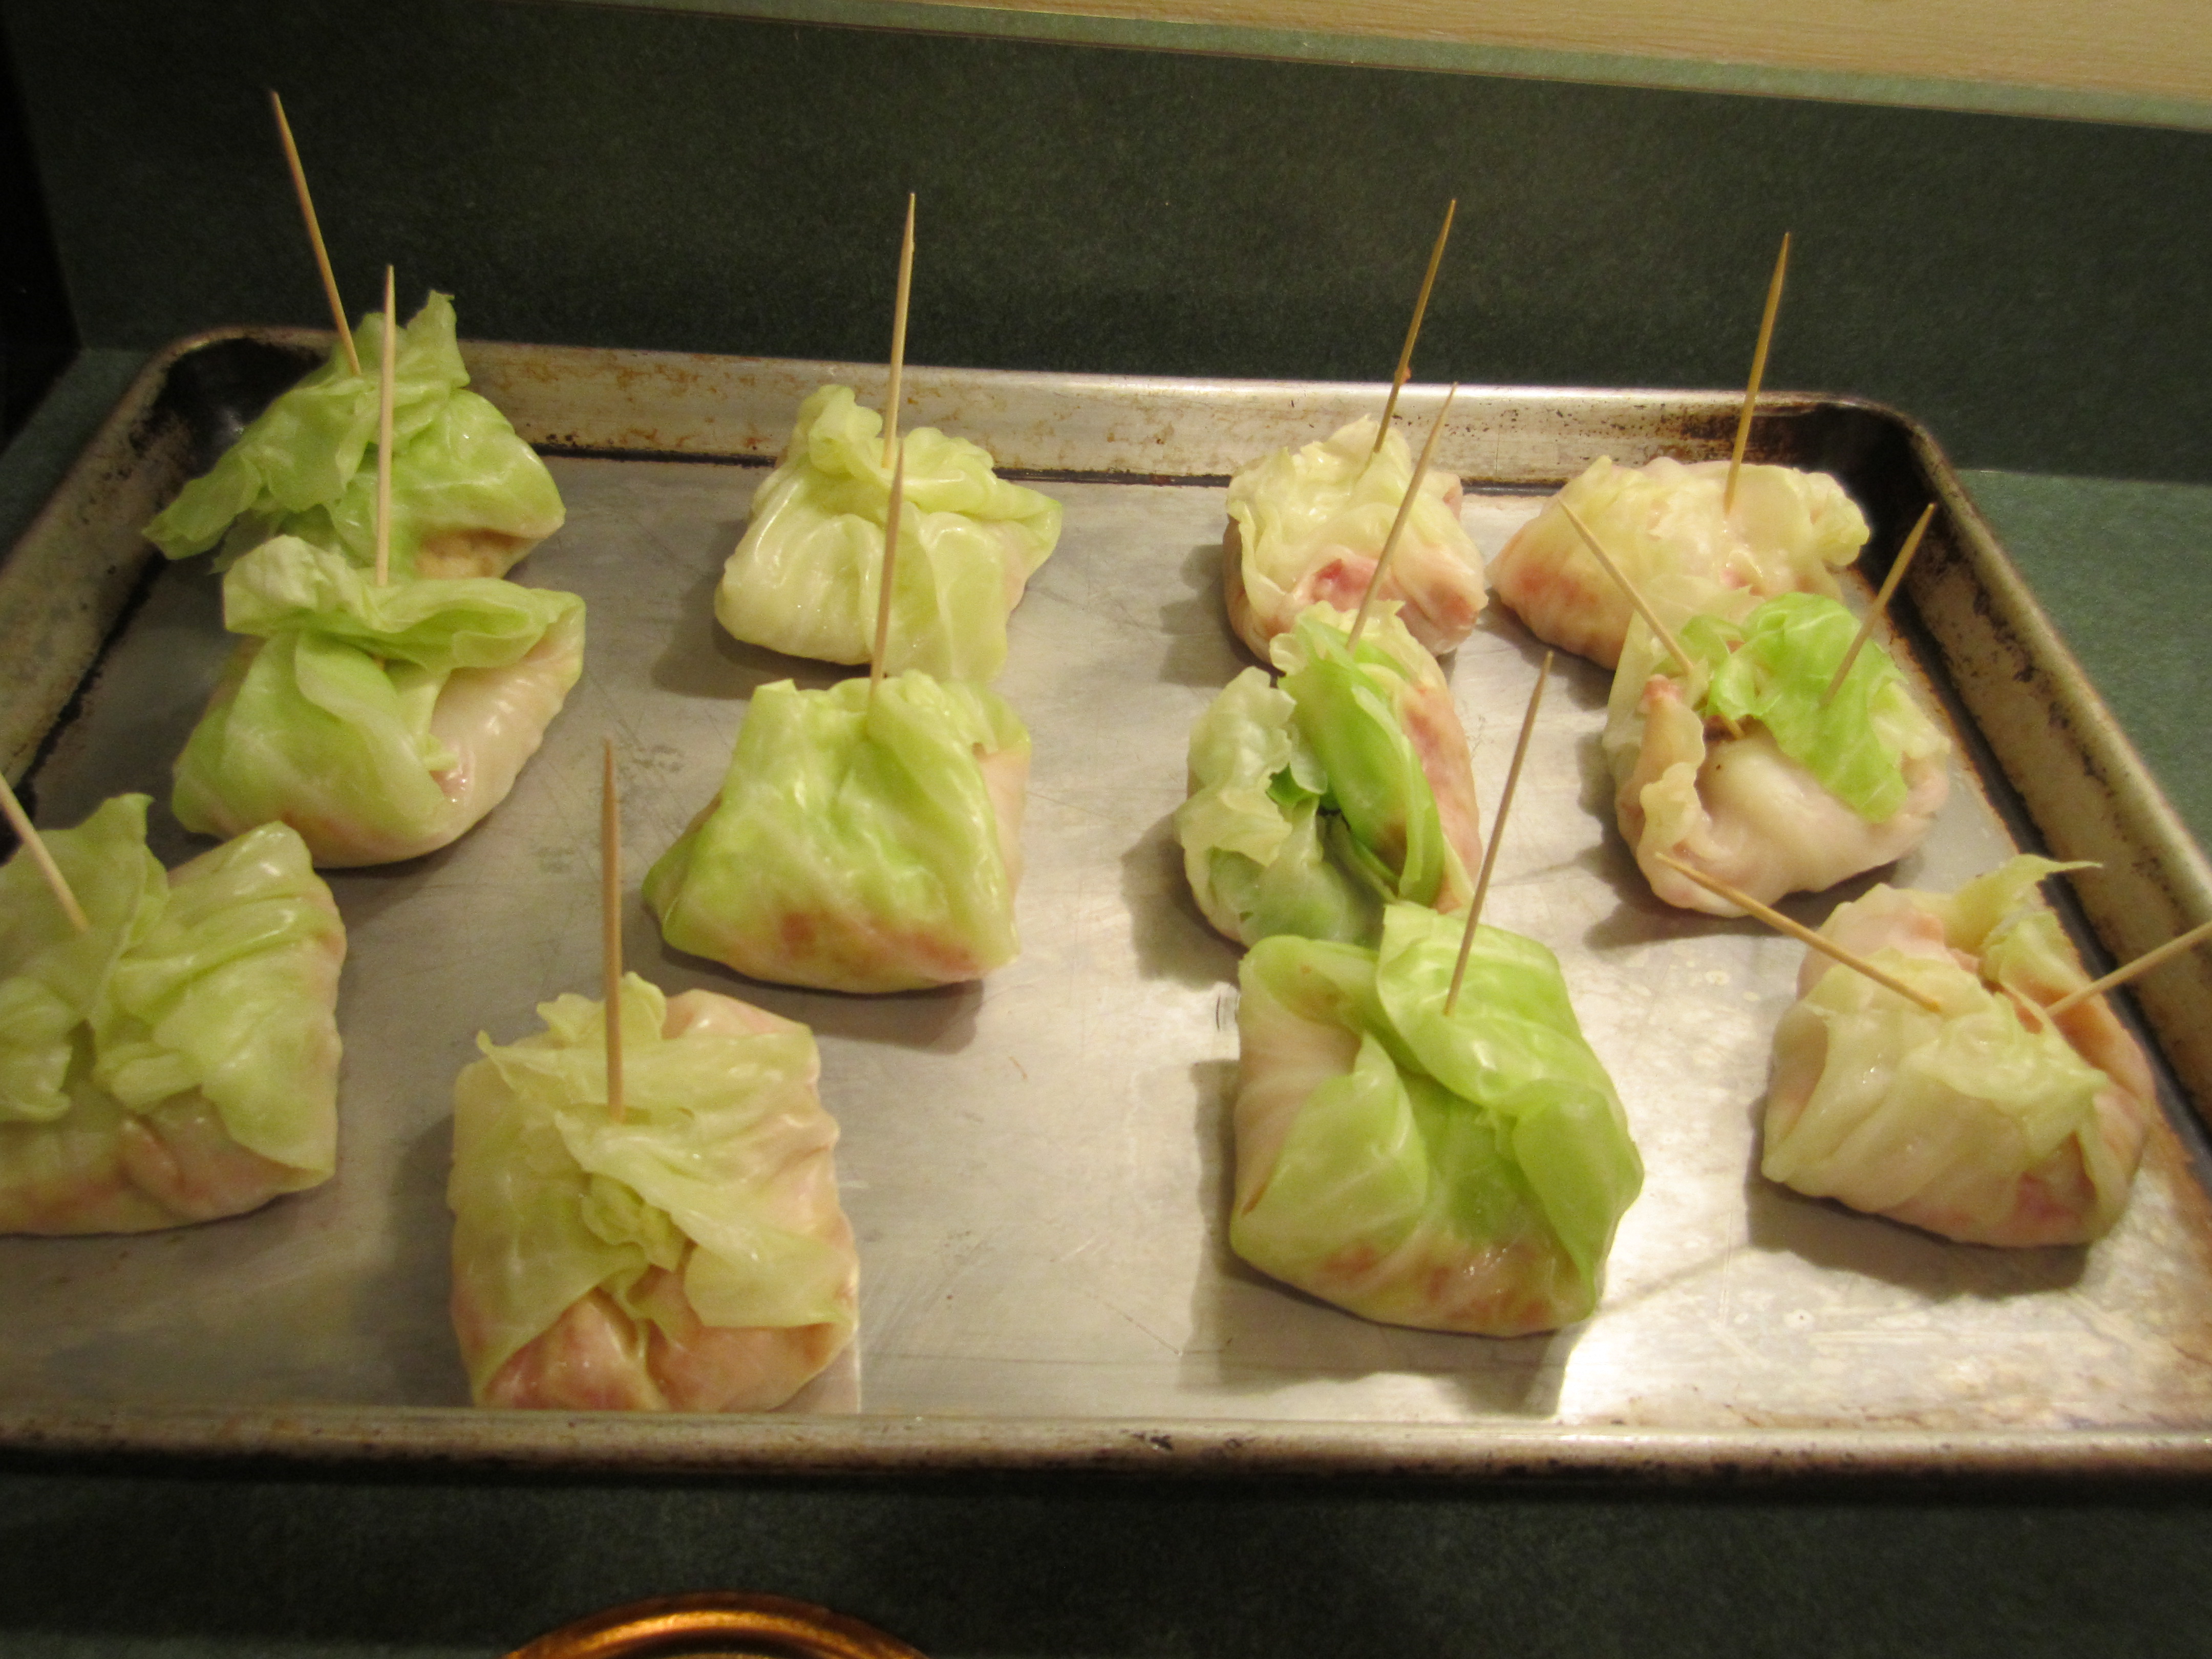
Using a 3 ounce ice cream scoop, make 12 balls of pork sausage mixture and place on a plate. Take one of the cabbage leaves, place on a cutting board, and put one sausage ball in middle. Fold the cabbage leaf around the sausage ball like you are wrapping a package and secure together with a toothpick poked down the middle, hopefully catching all the ends of the cabbage leaf to make a secure package. In a couple of instances I needed 2 toothpicks to make this happen but in the long run it worked. Don’t stress too much. Continue to do this with all the leaves and set aside on a cookie sheet.
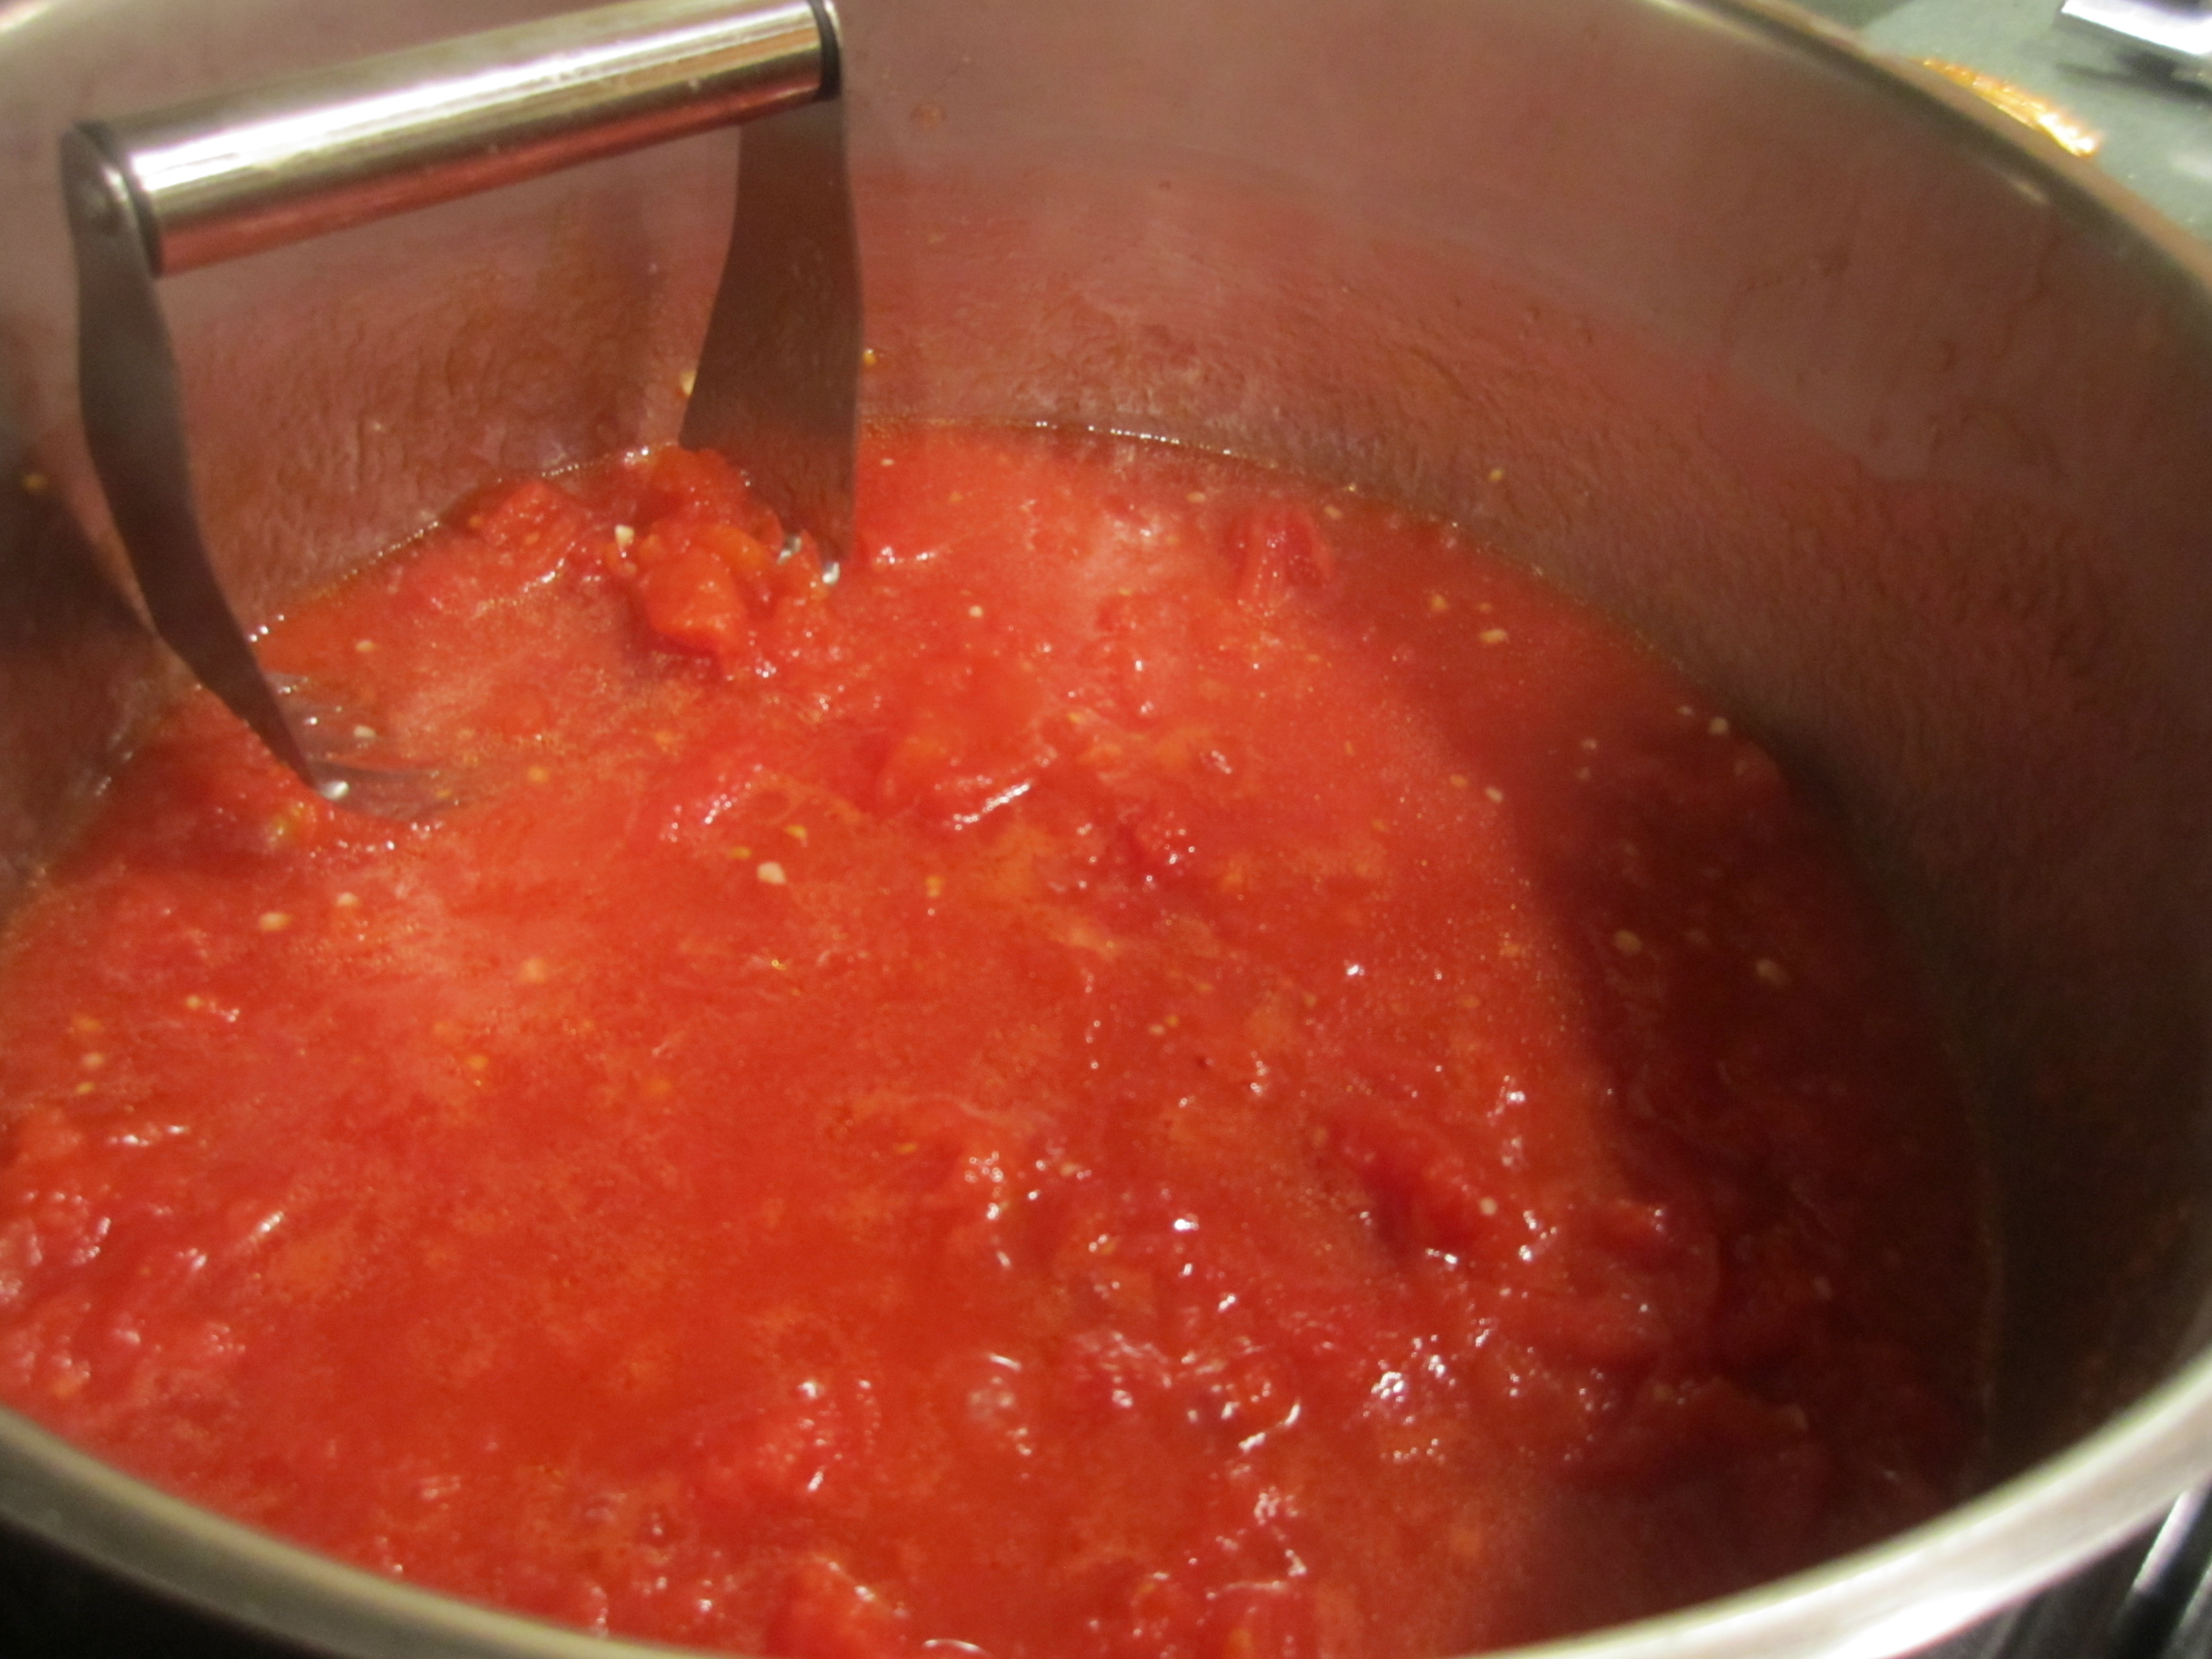
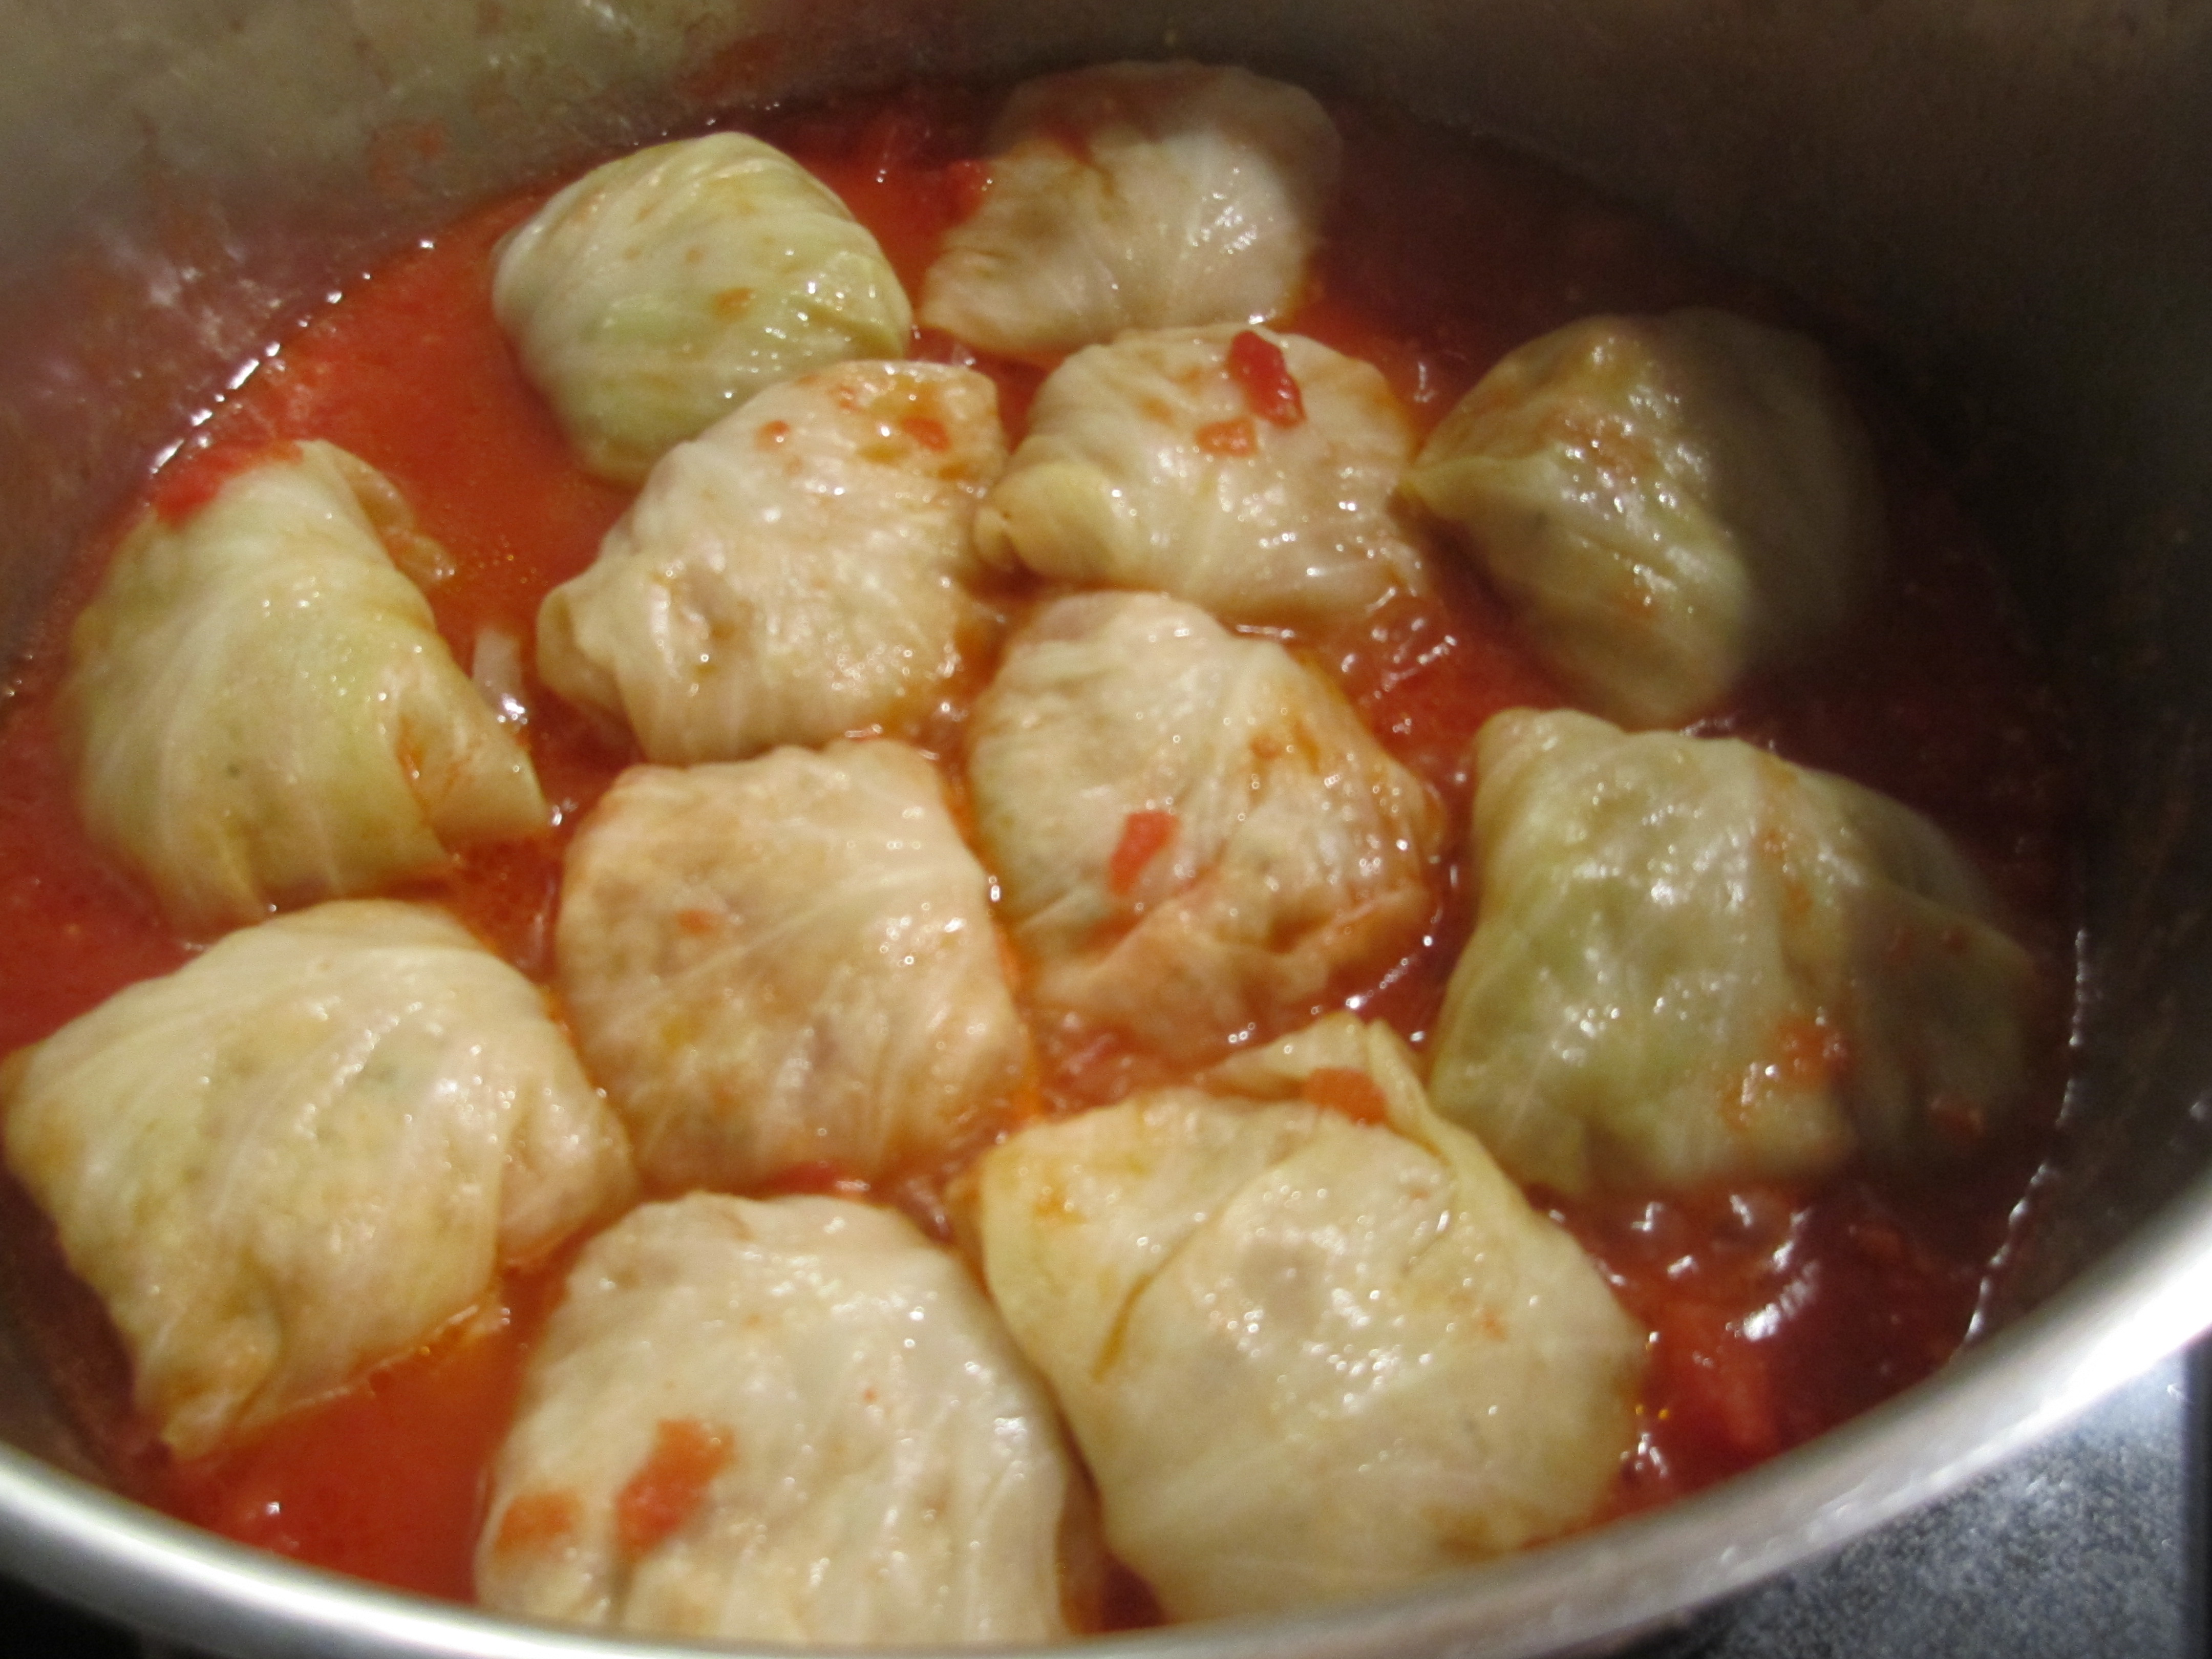
Heat olive oil in the same large, 8 quart saucepan (without the water, of course :)), over medium heat. Add the garlic and cook for about 30 seconds. Add the tomatoes and chop them up using a Pasty Cutter/Blender (hey, another use!) into medium pieces. Bring the tomatoes to a simmer. Add all the cabbage packages to the tomatoes, in one layer, cover pot and simmer for 25 minutes. Remove the toothpicks and turn the cabbage packages over, cover the pot and simmer for another 25 minutes. Remove the lid and simmer for another 10 minutes. Serve the cabbage rolls with the tomato sauce. Yum!
using the water to help separate the cabbage leaves:

cabbage leaves ready to blanch:

blanching the cabbage leaves (nearly dropped my camera in the boiling water trying to take this shot, yikes!):
all done blanching, a few extra pieces on the right, to help with the very small leaves:

3 cups of bread crumbs:

bread and milk mush:
adding sausage, without casings, very optional herbs and parmesan cheese;
sausage mixture complete:
12 sausage balls:
wrapping:
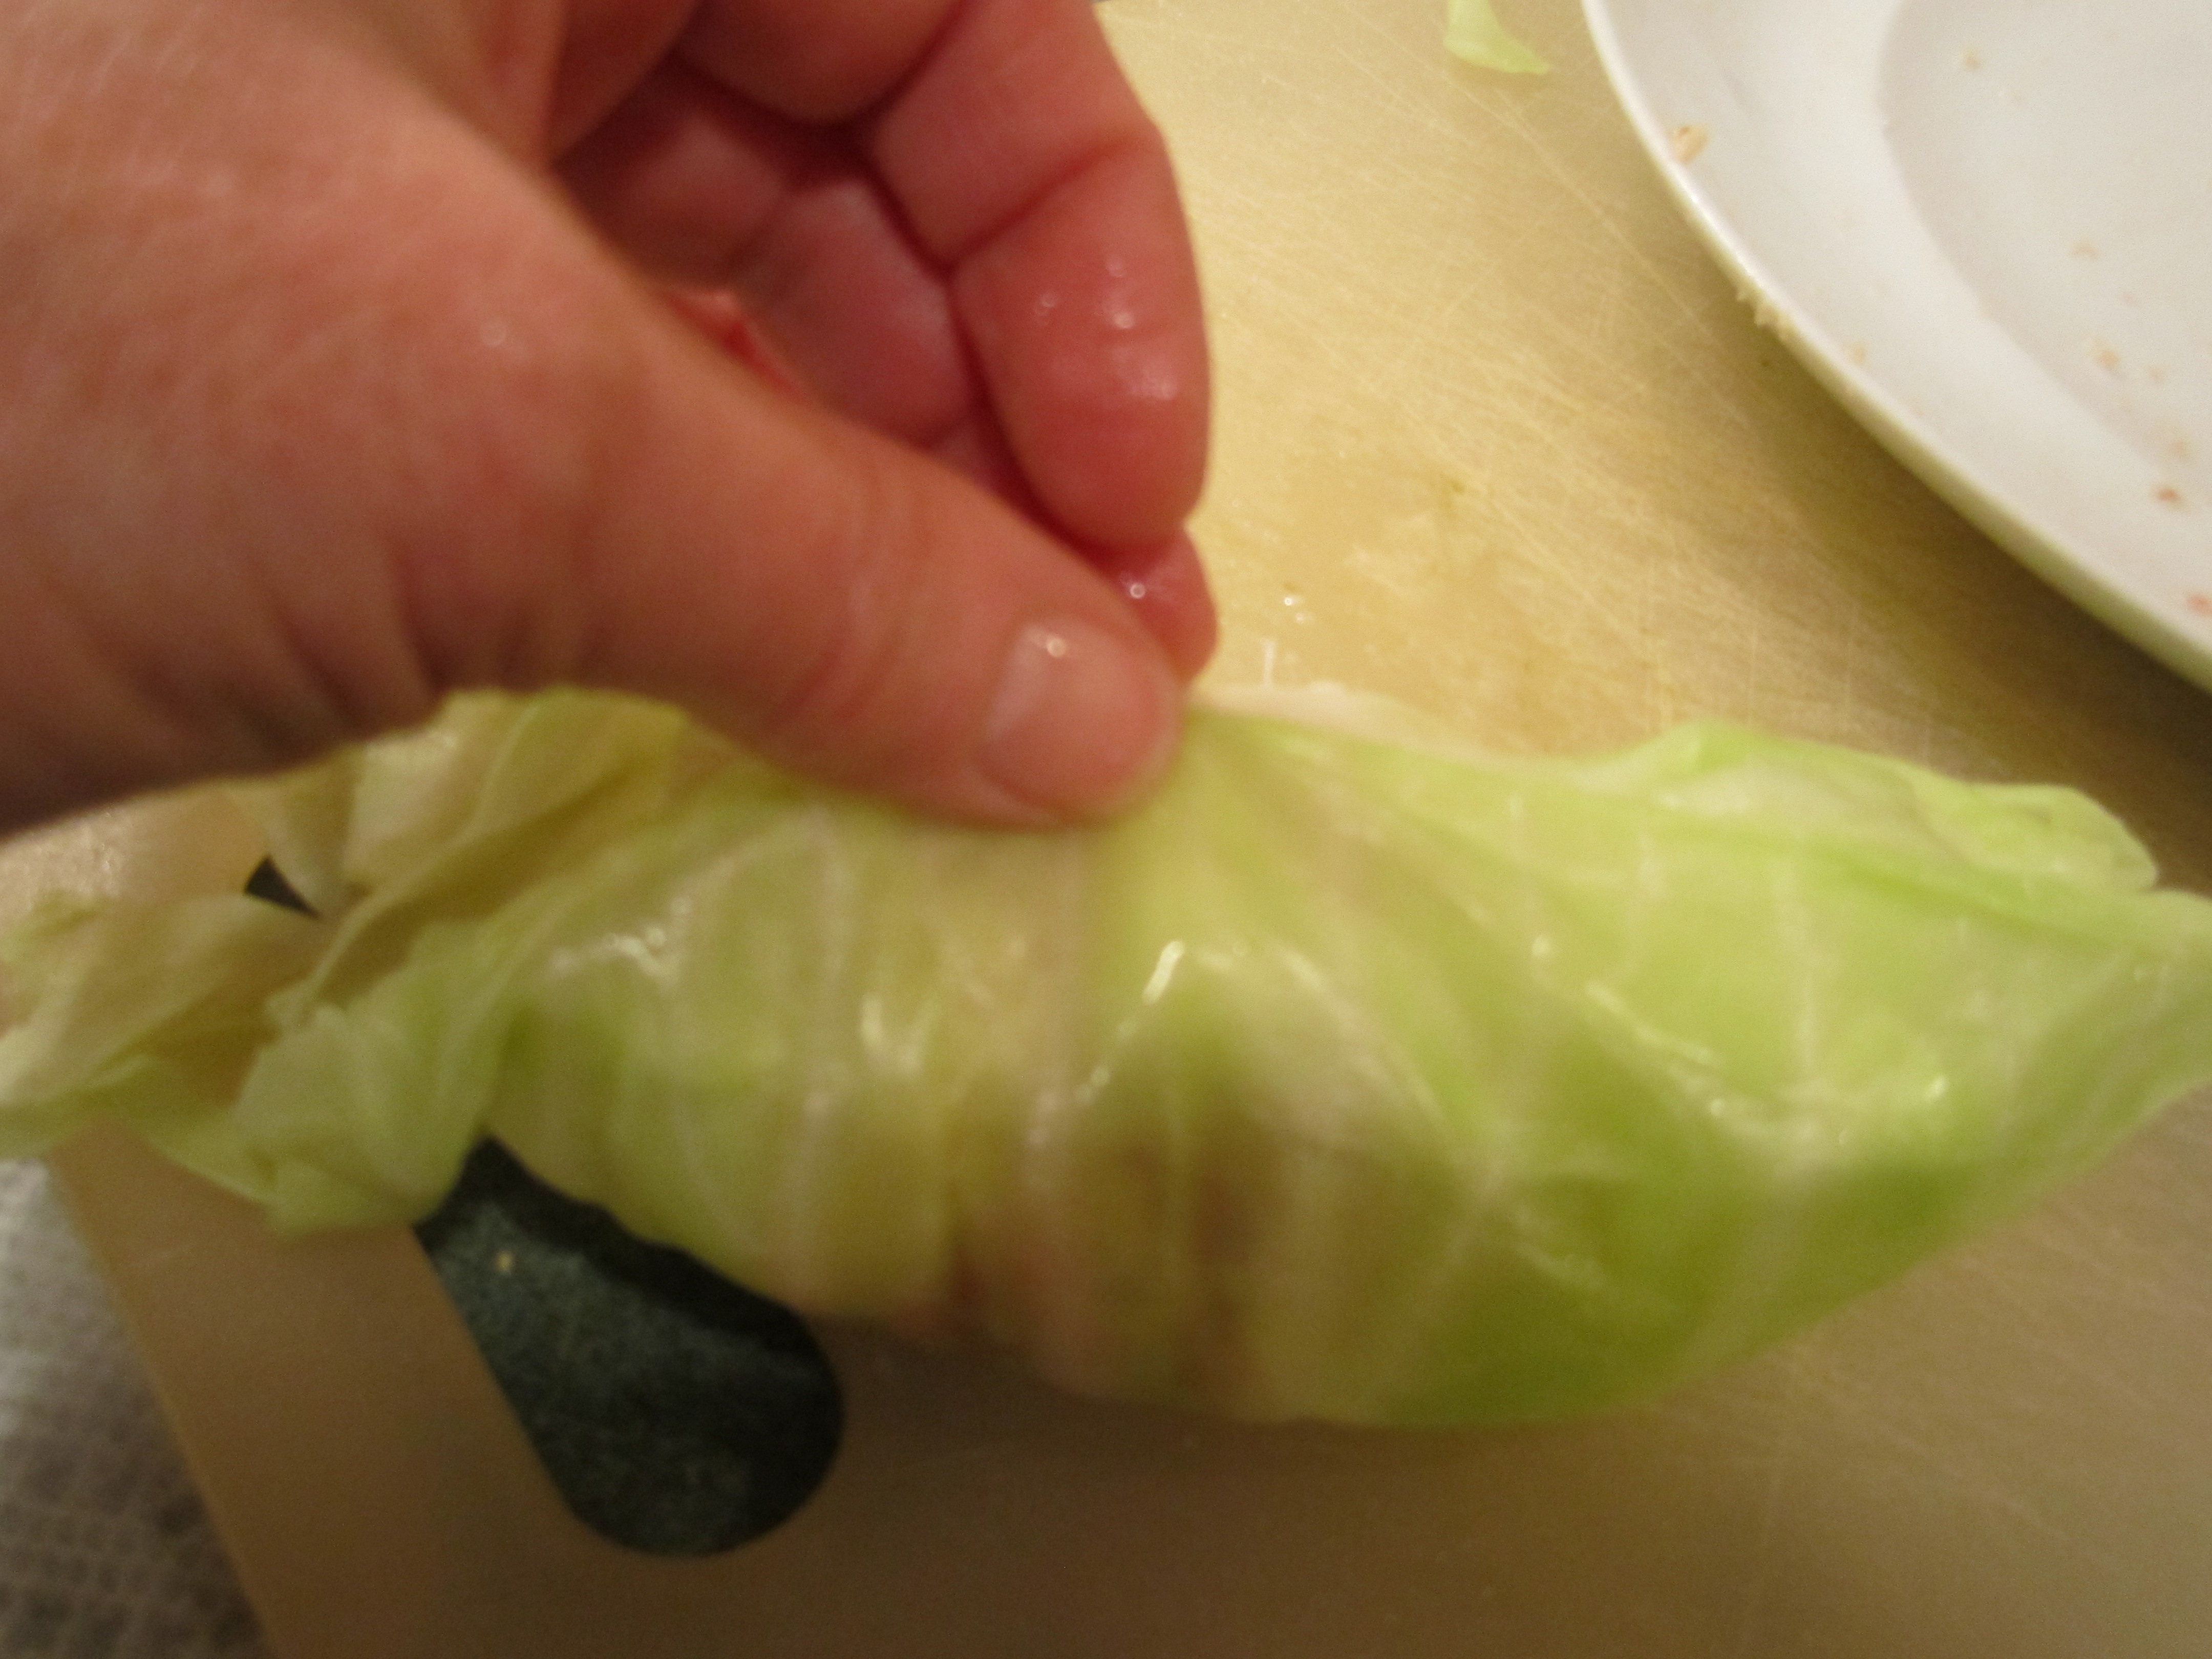


all finished wrapping:
chopping up tomatoes:
cabbage rolls into the sauce:

removing toothpicks and turning cabbage rolls over:
yum!
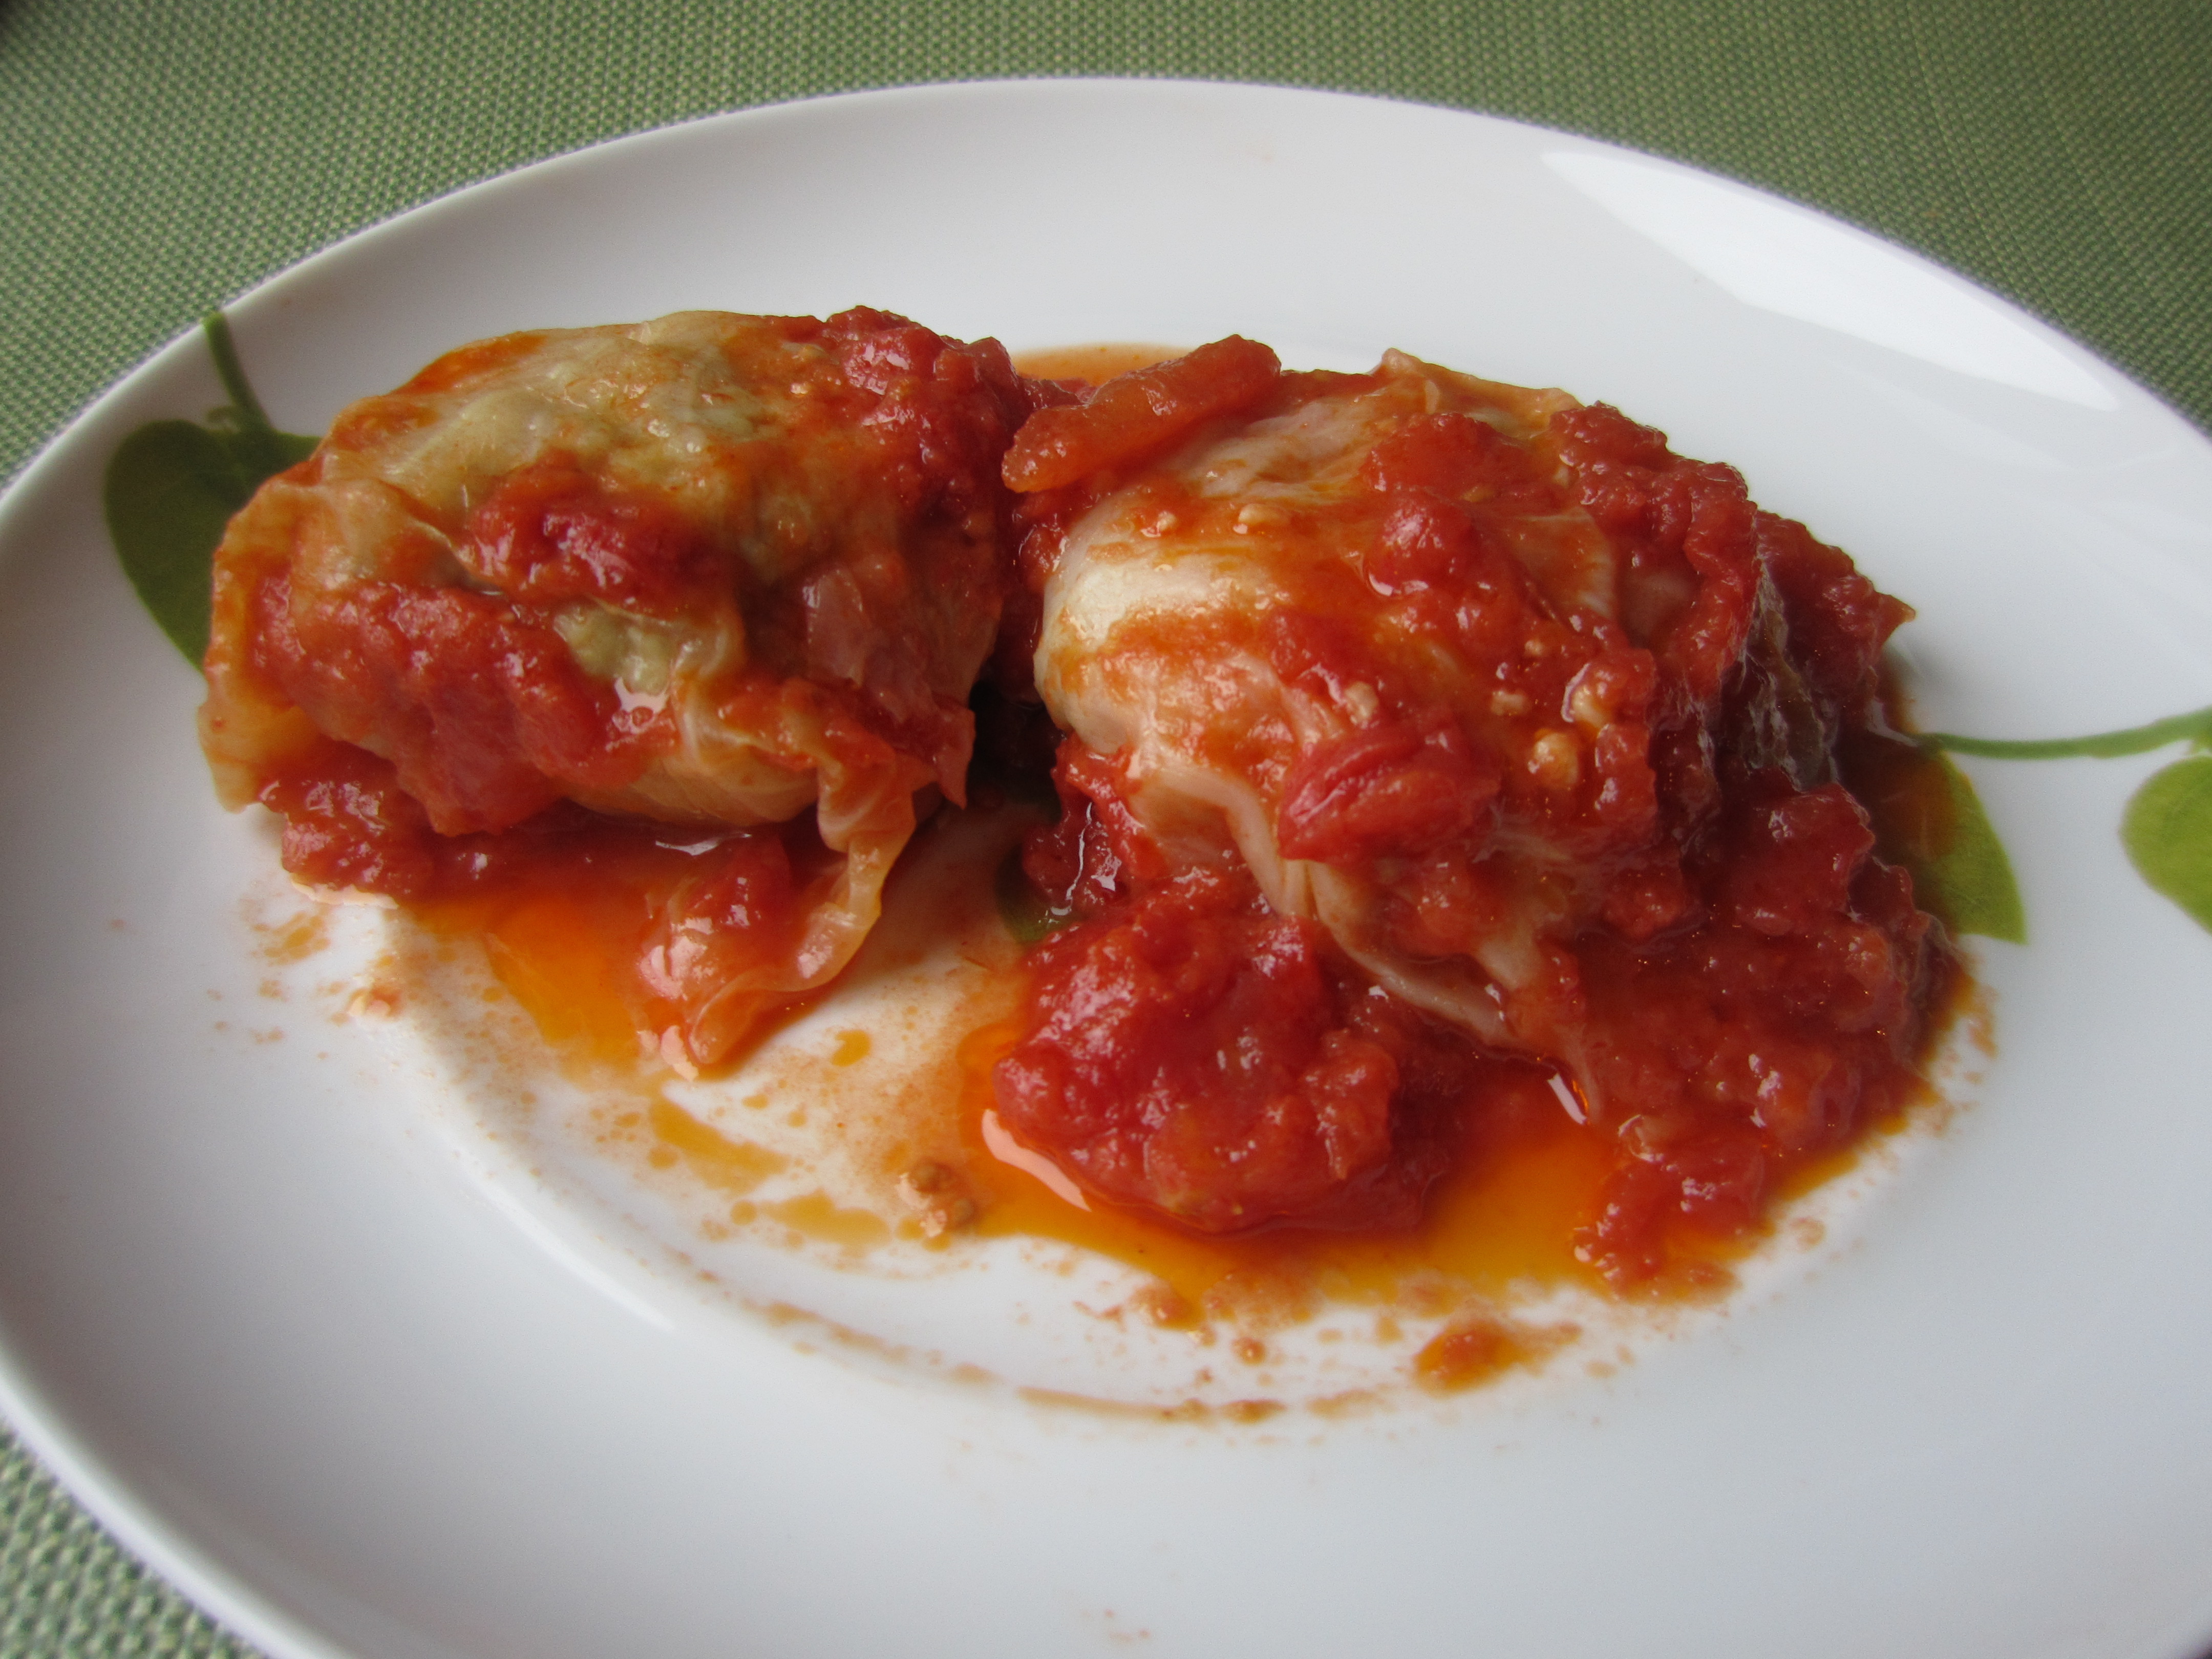
My husband had them for lunch the next day and said they tasted even better! Success!
Shredded Pork Tenderloin with Lime Sauce
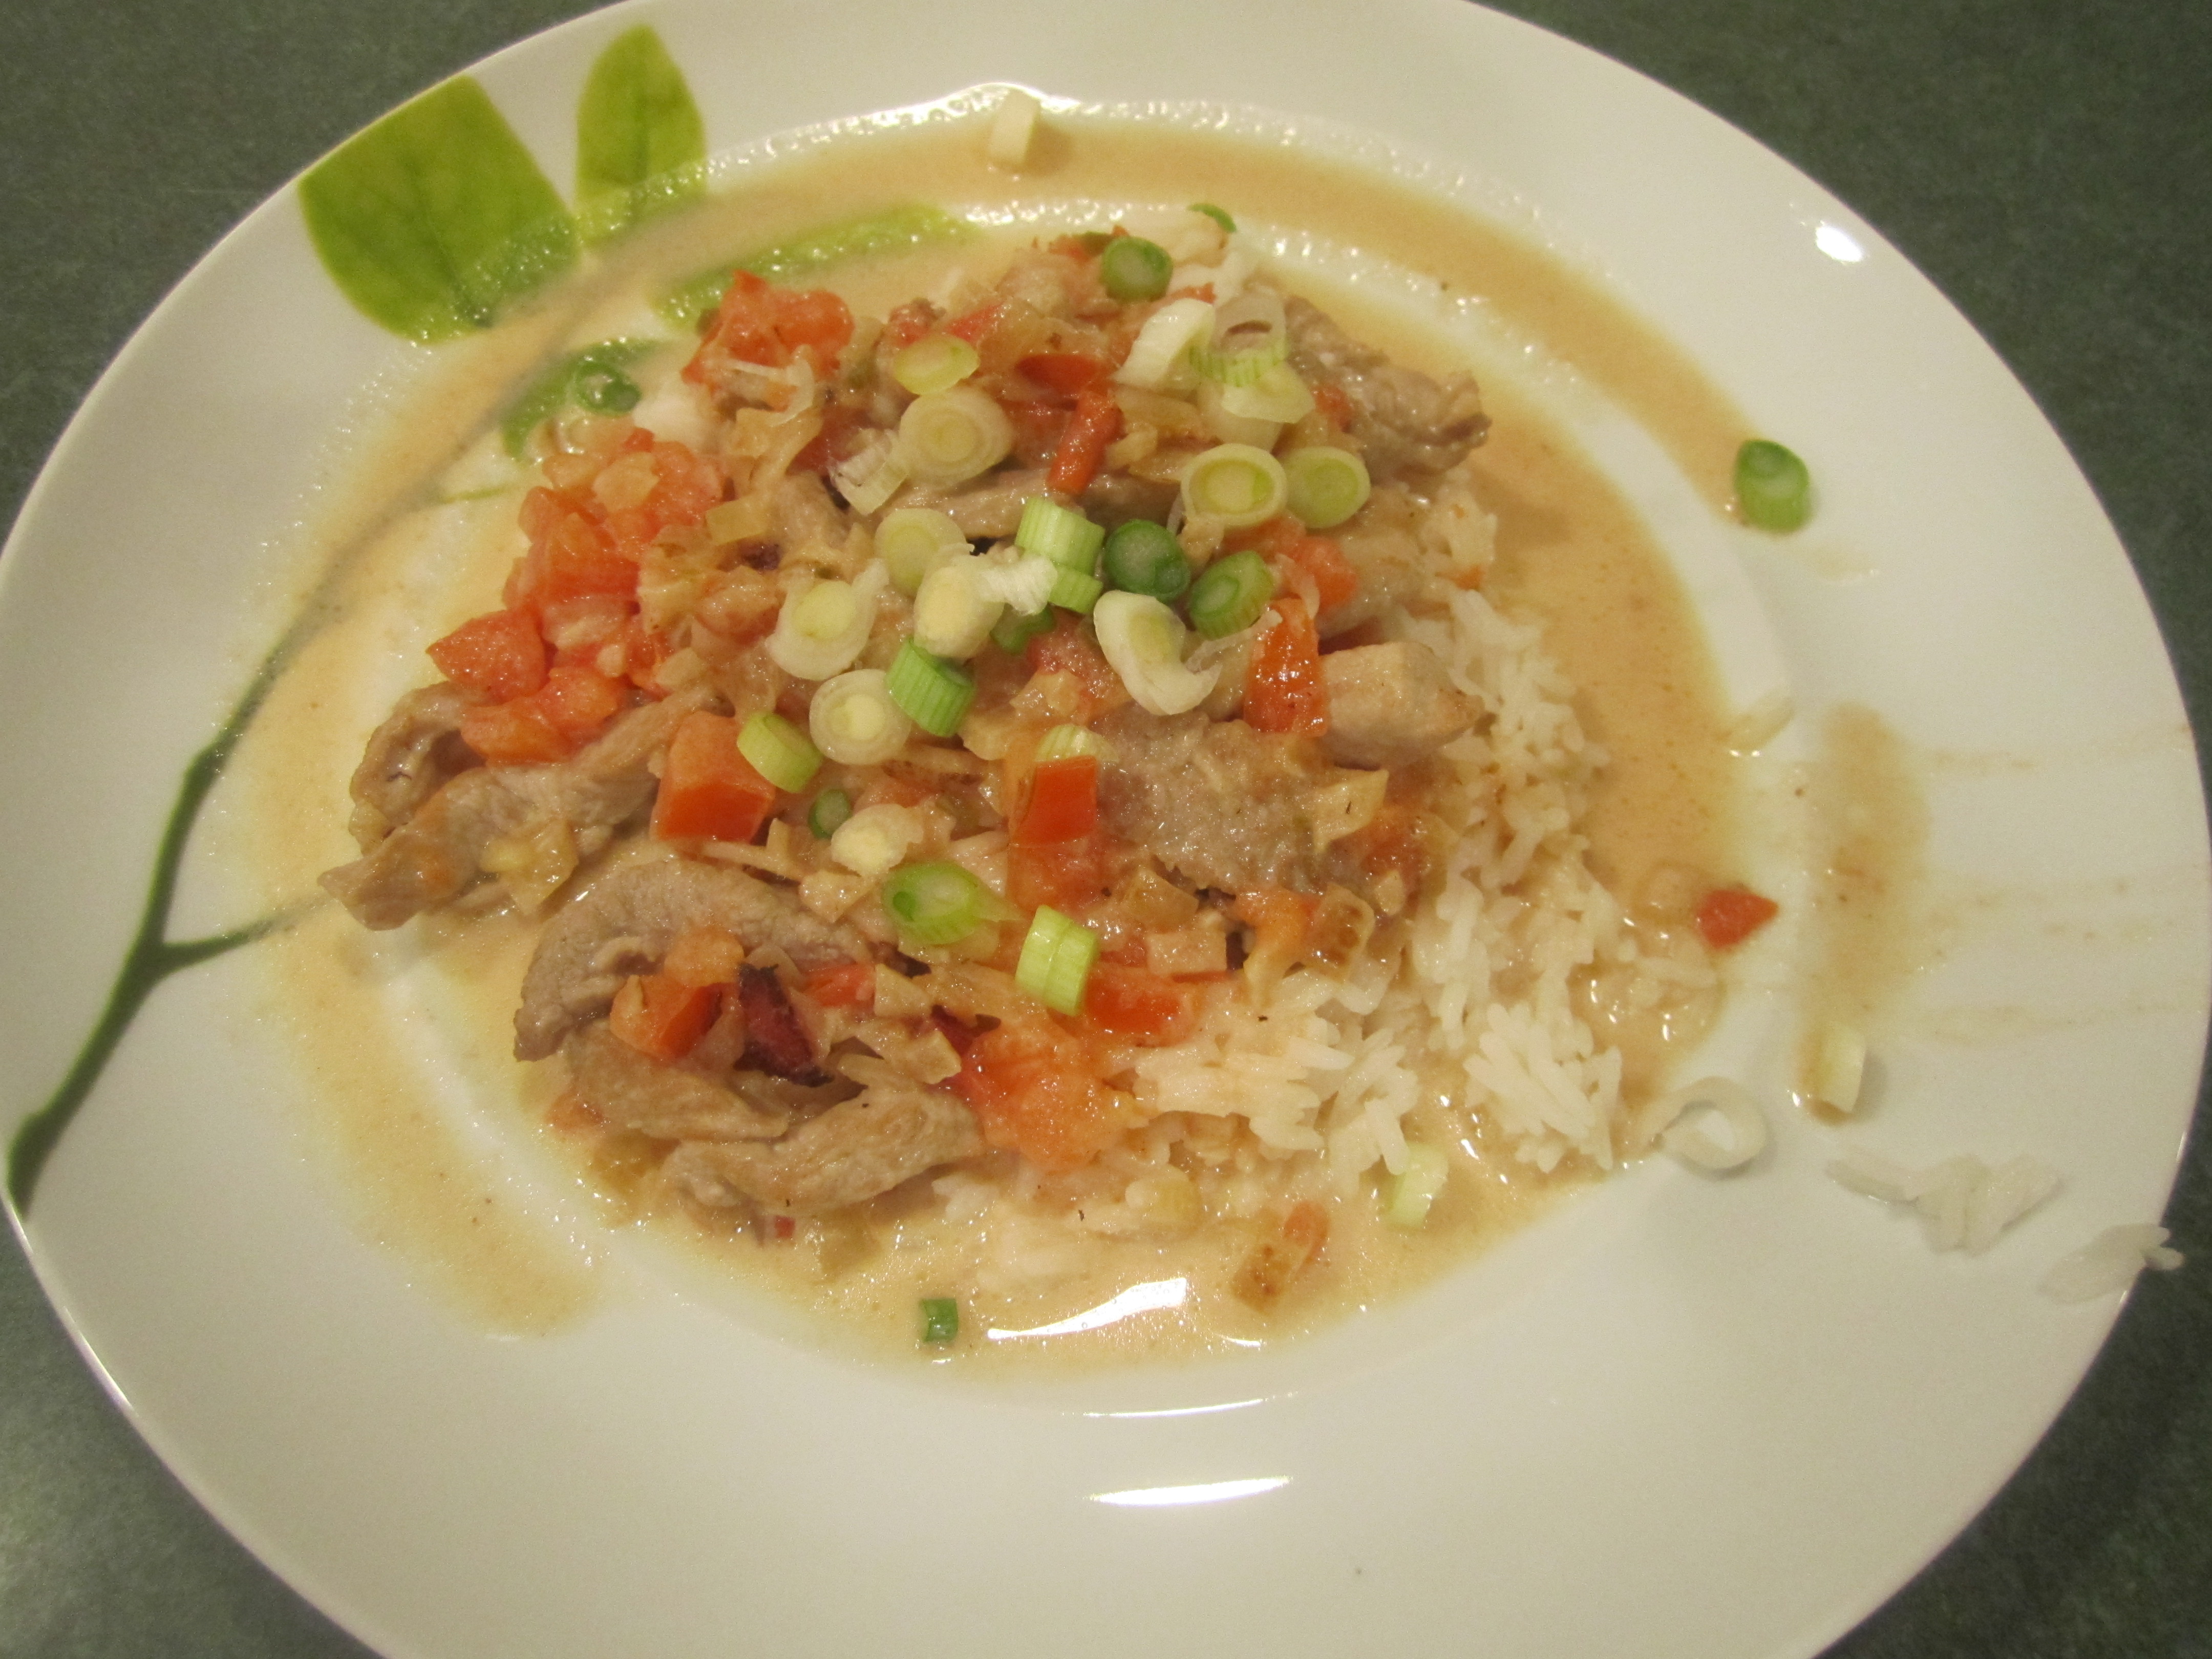
I happened upon this recipe, that I had torn out of a Bon Appetit magazine, while looking up another recipe in my cookbooks. It intrigued me so I went on the Epicurious website, to make sure it was worth a try . It had alot of reviews, all of them very positive. I had most of the ingredients on hand so I took a chance and I’m really glad I did! There are alot of flavors going on but I think they really work well together. Enjoy!
Shredded Pork Tenderloin with Lime Sauce (from the Kata Thani Hotel and Beach Resort in Phuket, Thailand, Bon Appetit June 1998)
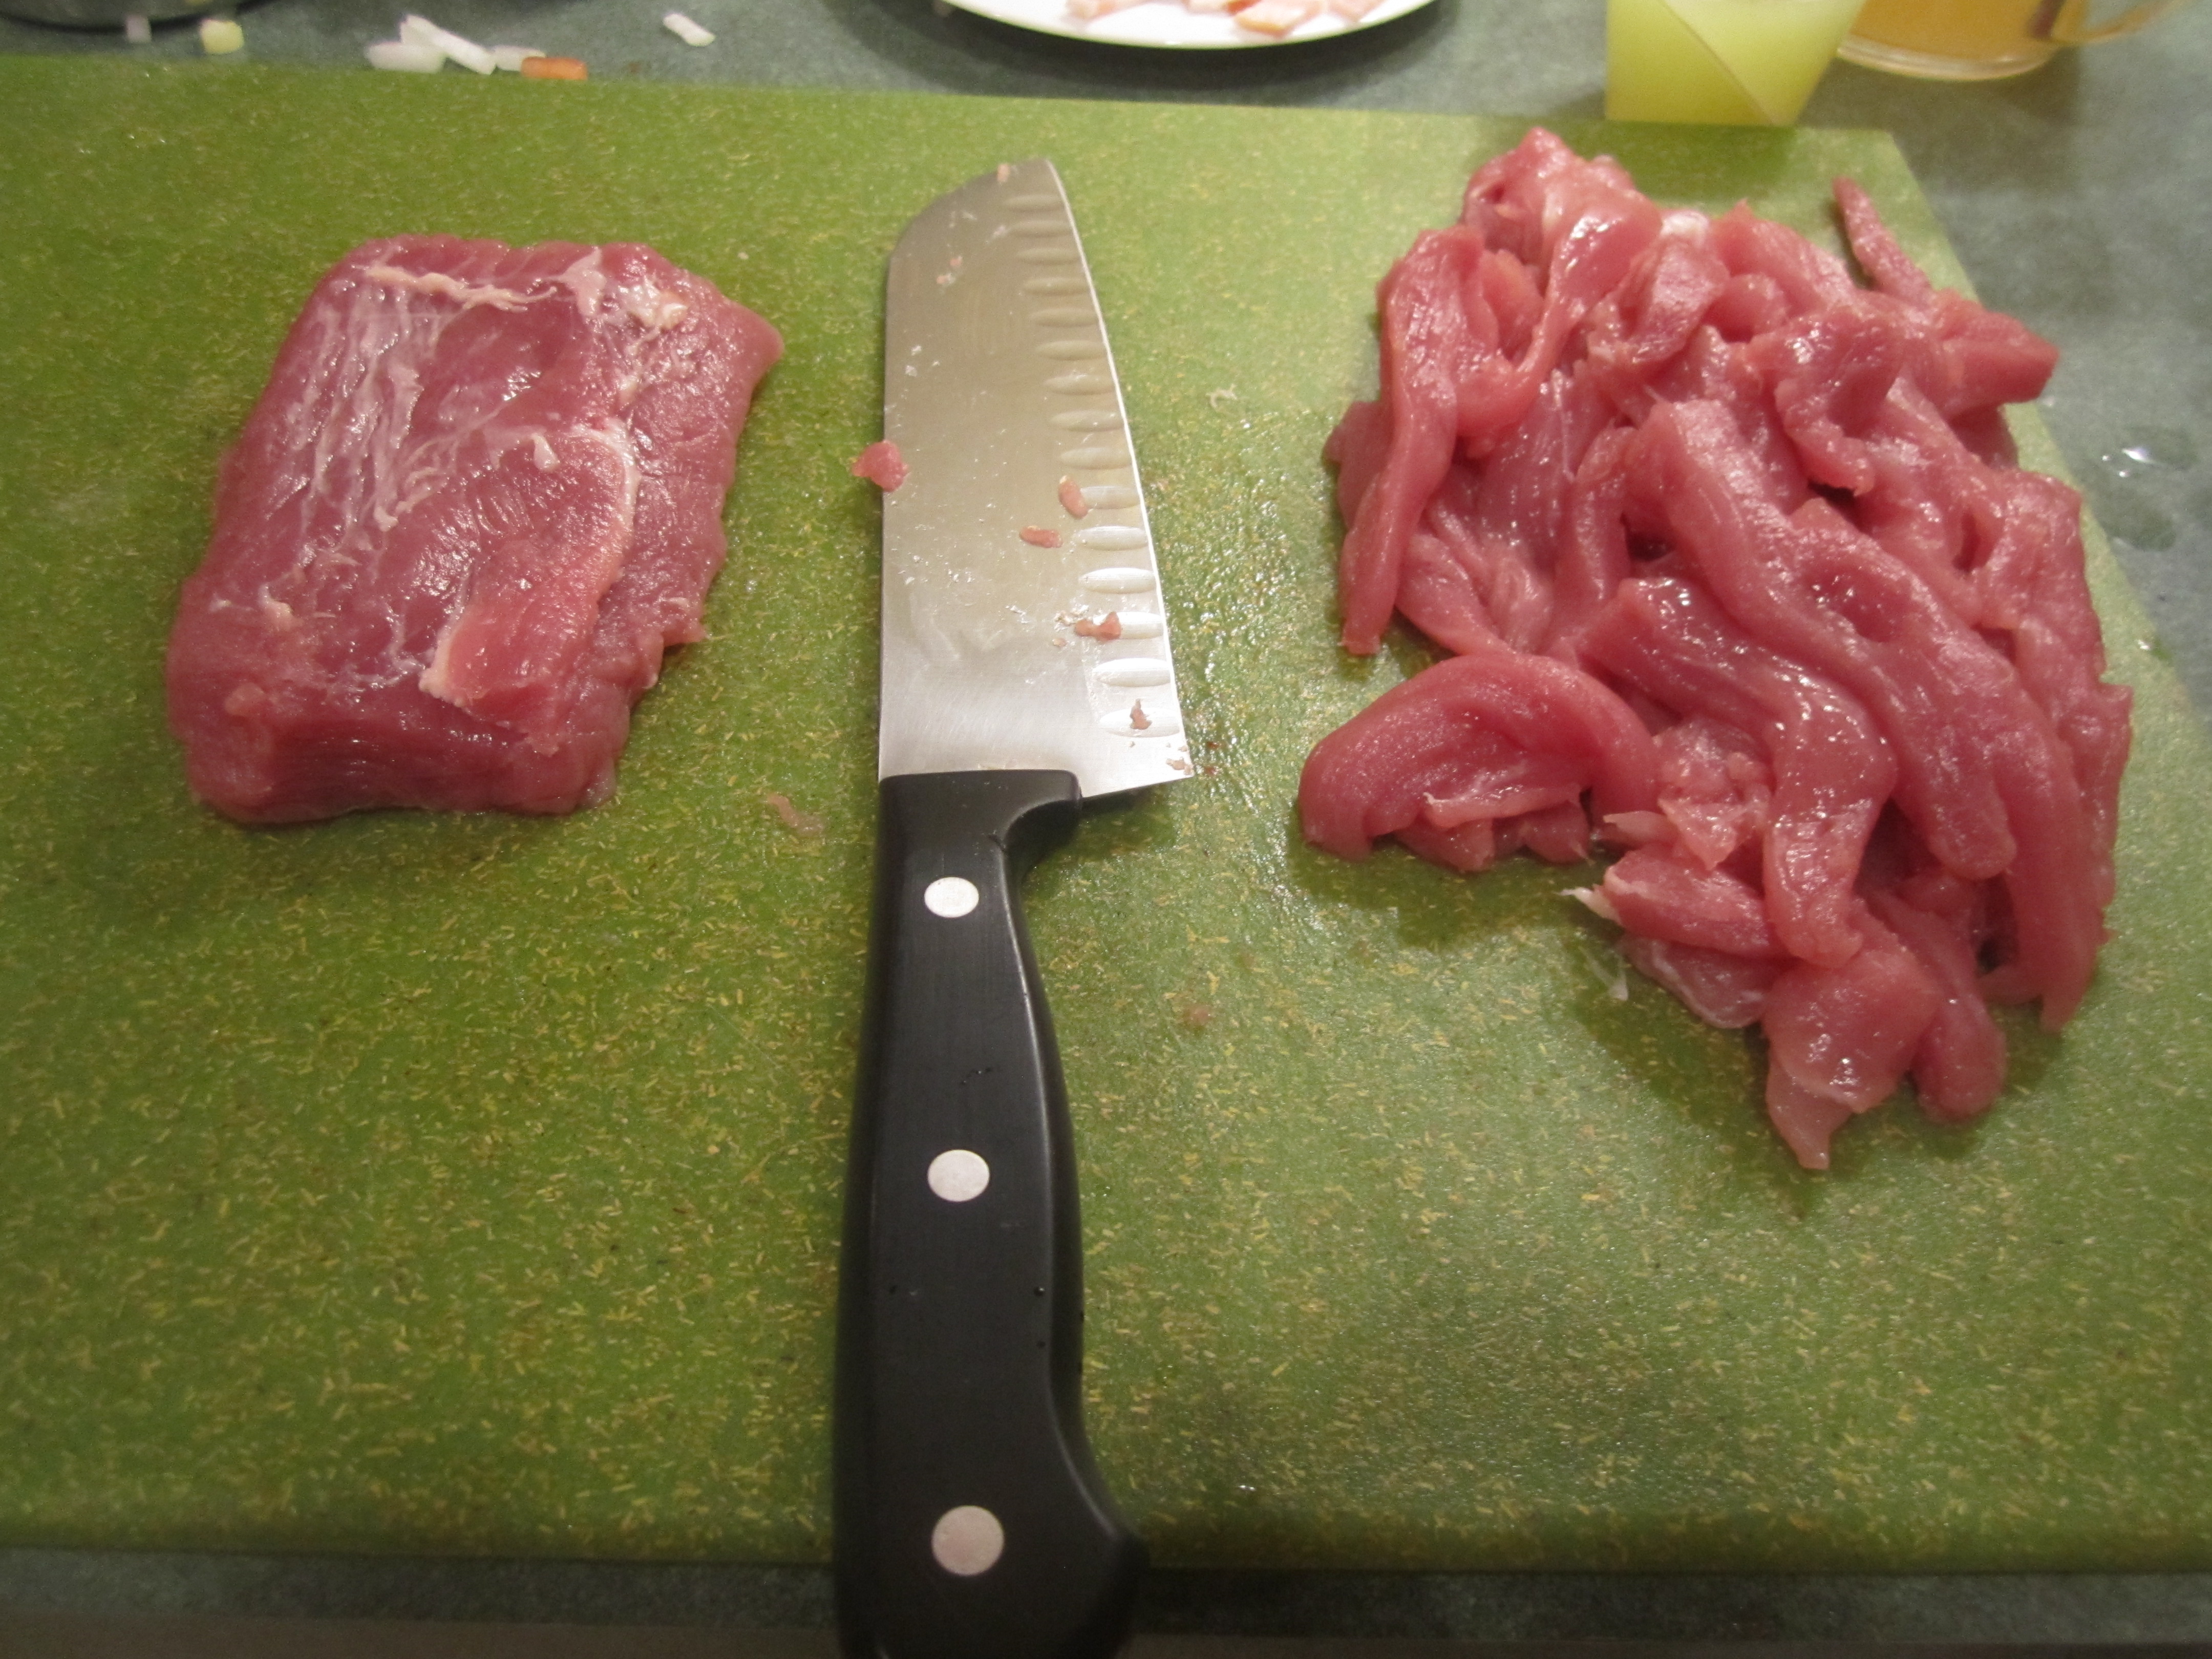
1 to 1-1/4 pounds pork tenderloin, cut into thin strips
1 tablespoon olive oil
1-1/2 cups finely chopped onion, from 2 medium/large onions
2 bacon slices, chopped
1 tablespoon chopped seeded jalapeno chili, from 1/2 large pepper
1/2 cup dry white wine
1 cup chicken broth, Swanson is the best
3/4 cup heavy cream
1/4 cup fresh lime juice, from 2 limes
2 large tomatoes, seeded and diced
1 cup chopped green onions, for garnishing
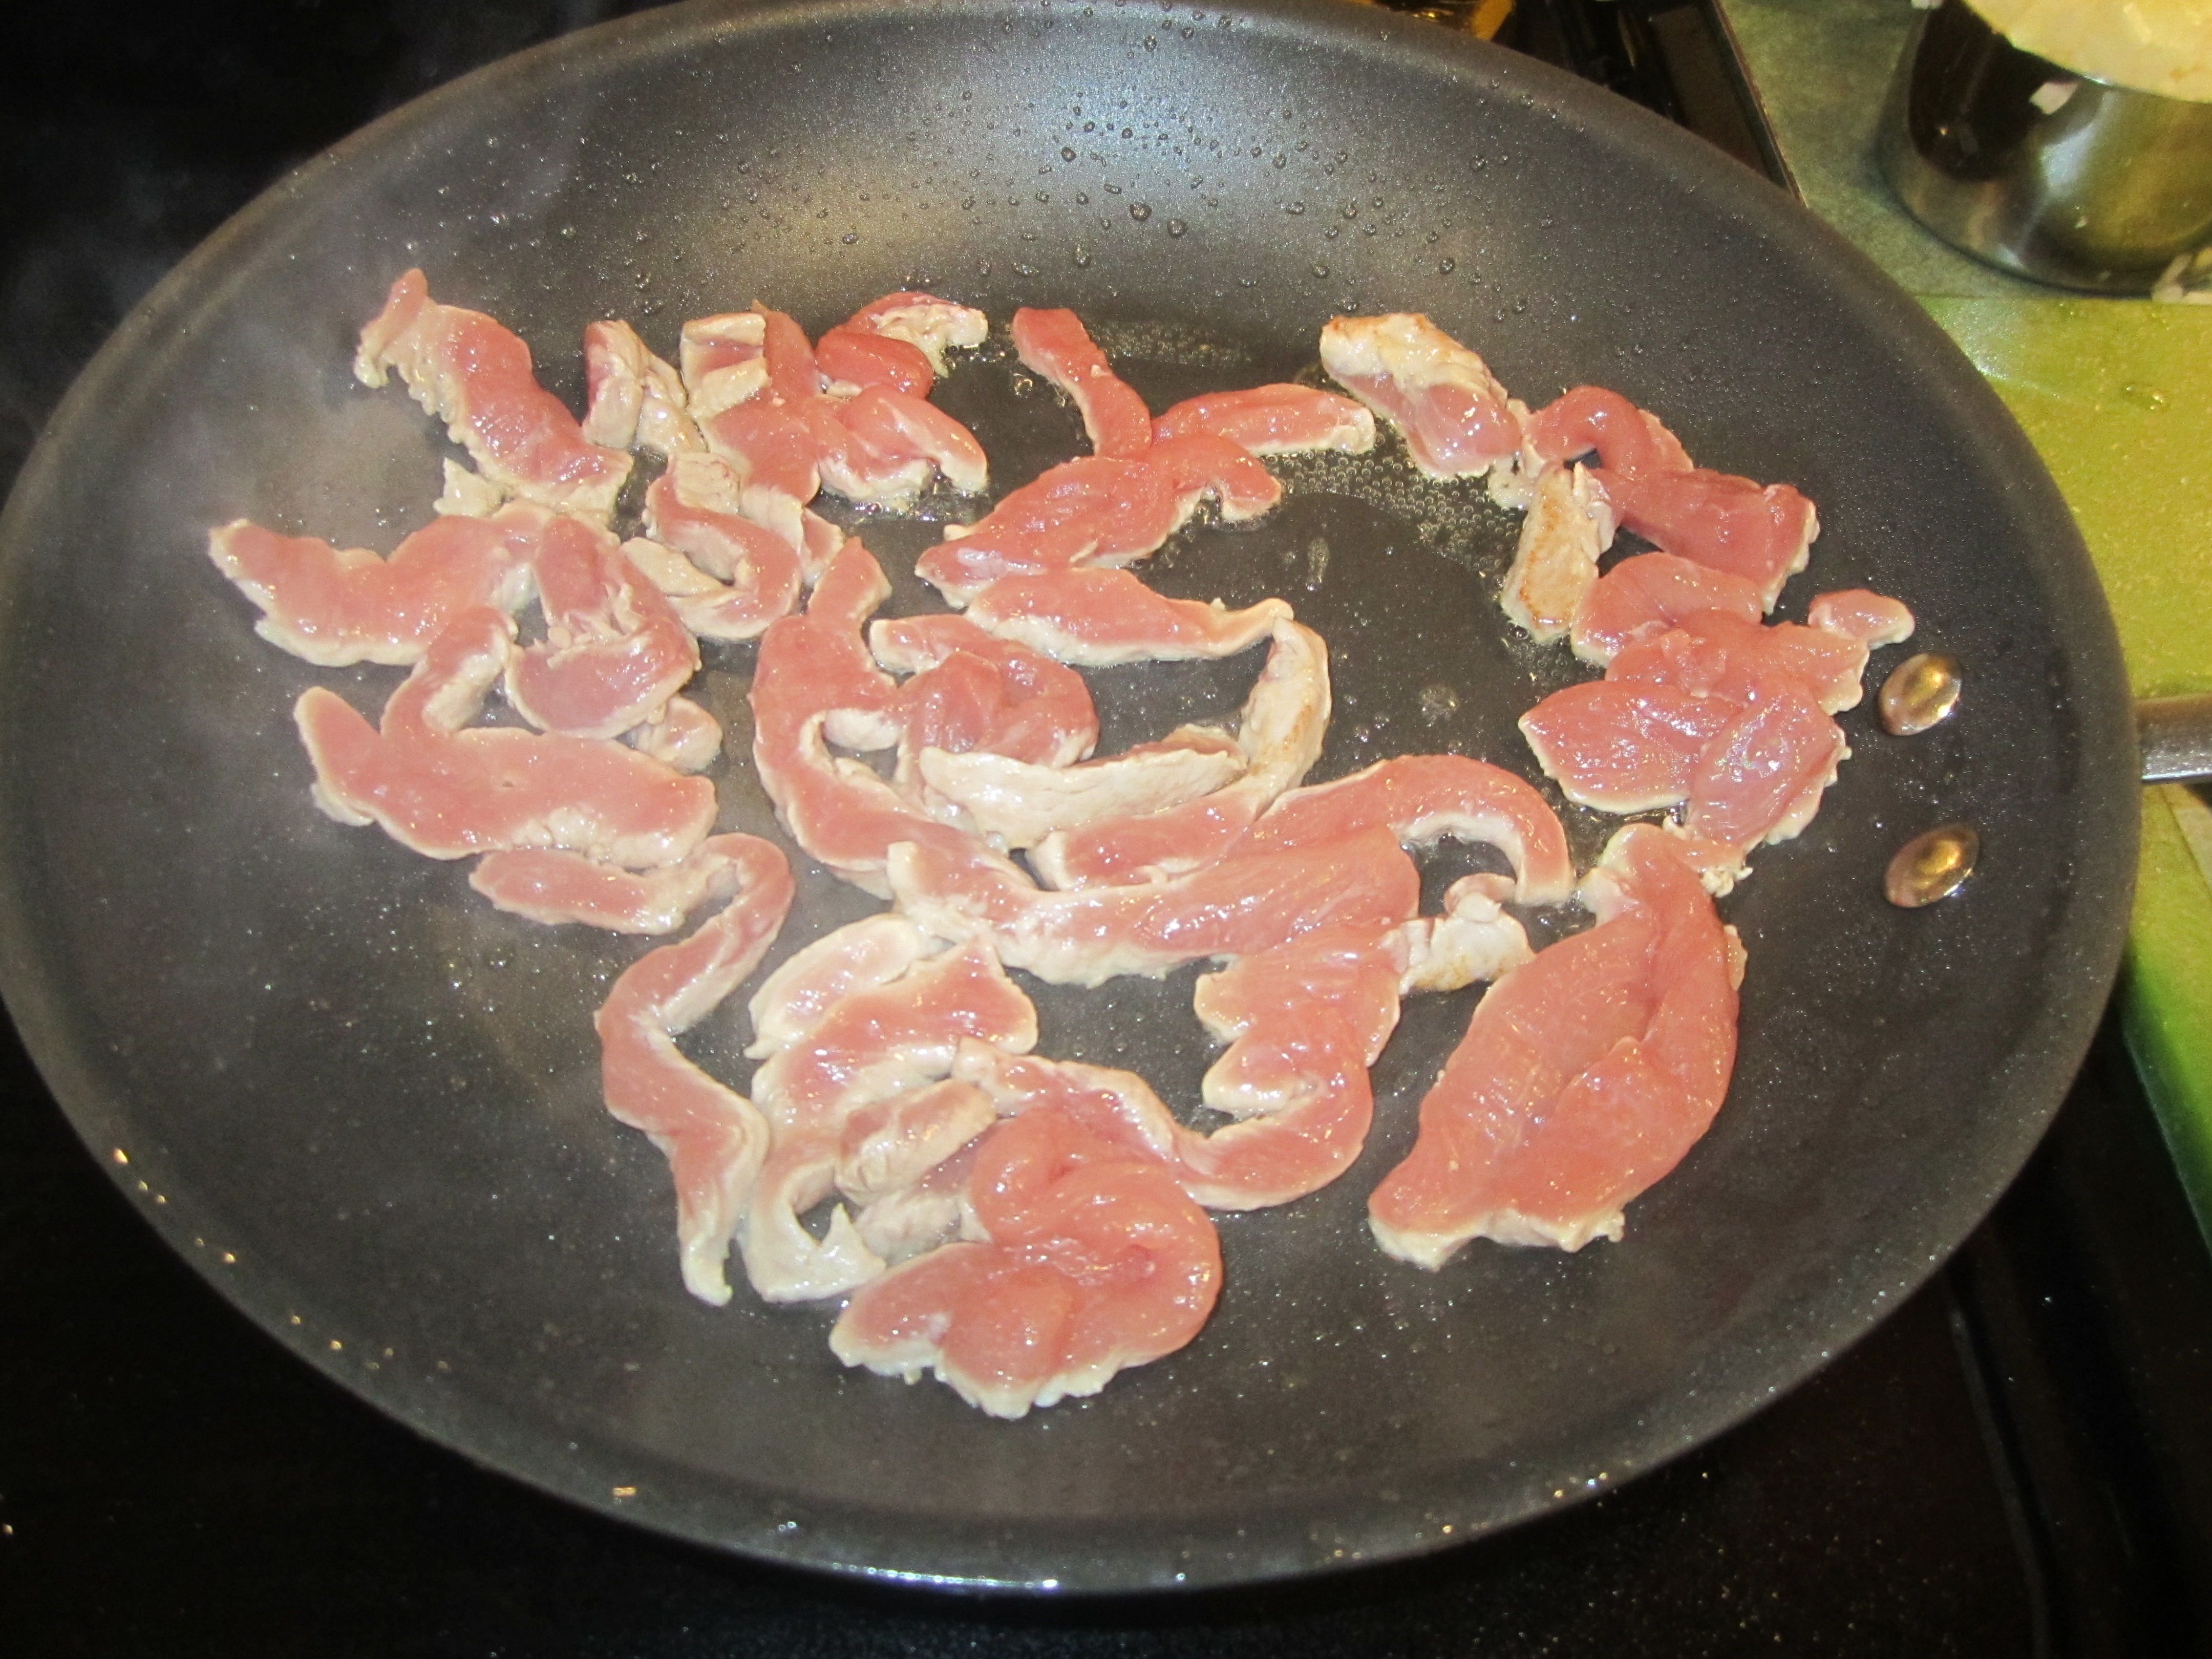
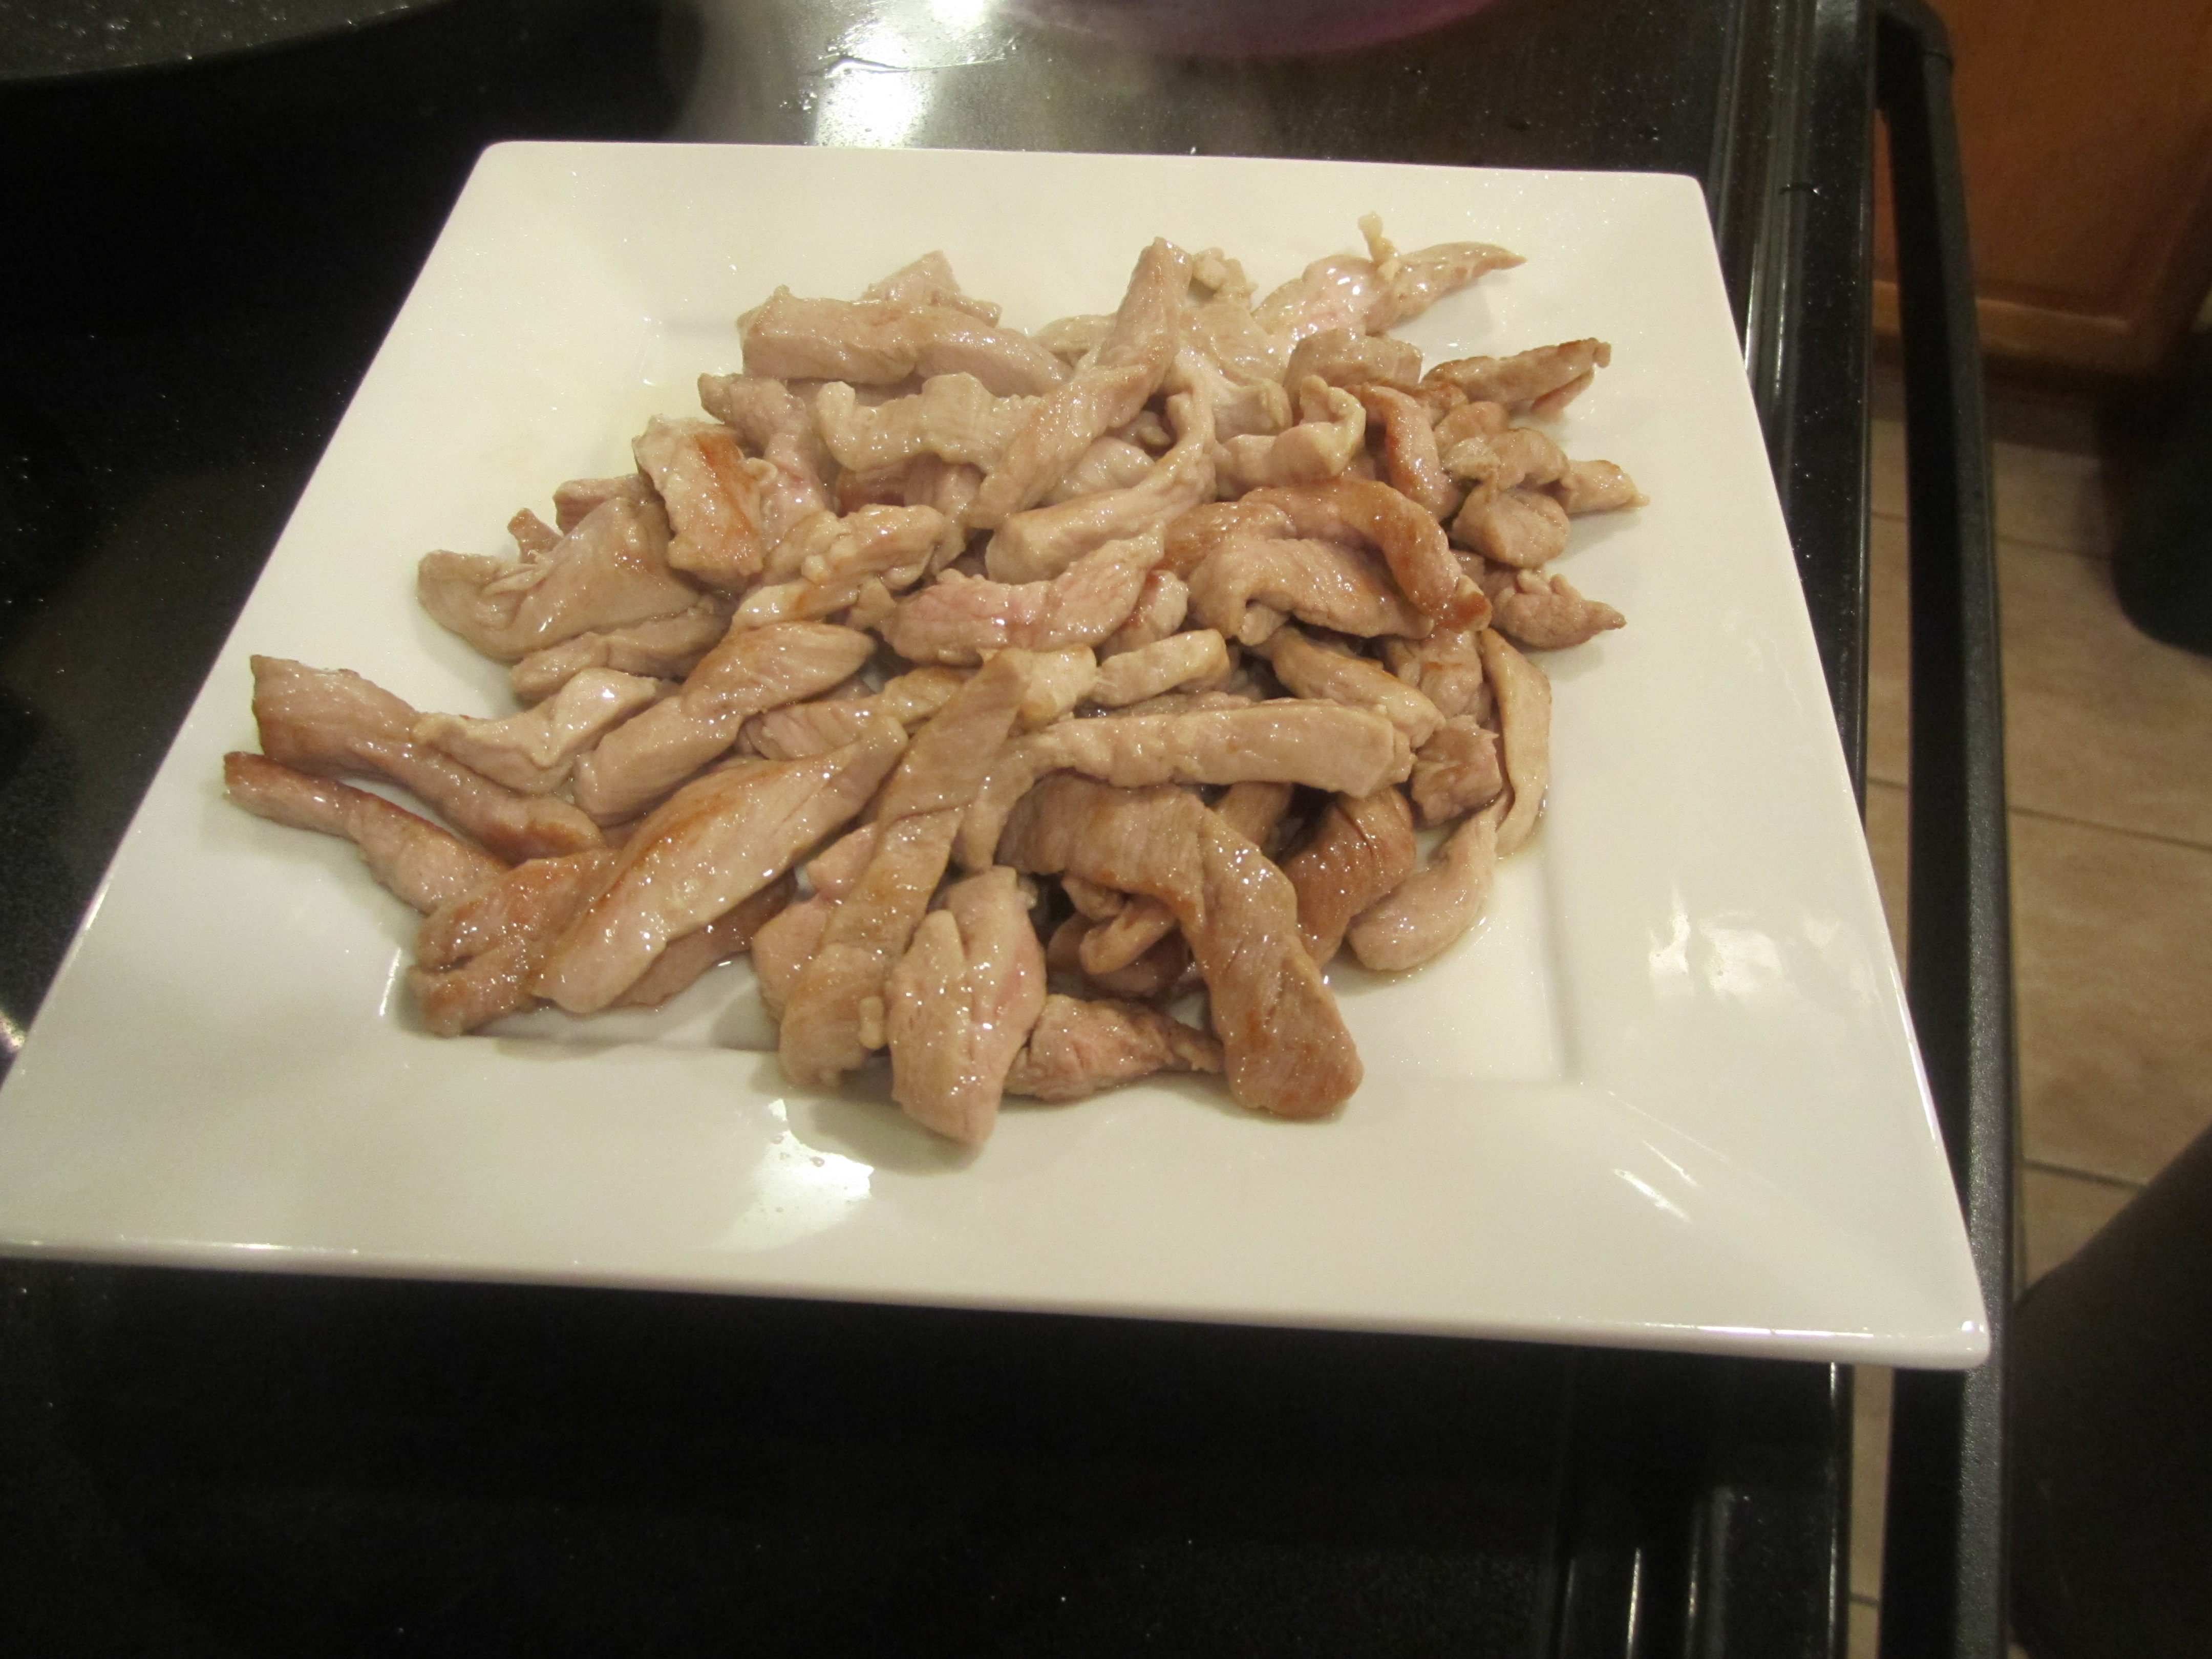
Sprinkle pork strips with salt and pepper and toss with your hands to incorporate. Heat oil in a large nonstick skillet over high heat. Add pork, 1/2 the quantity of strips at a time and saute until almost cooked through, about 1 minute. Do not overcook. Pork tenderloin can get tough if overcooked. Transfer pork to a plate and repeat with the other 1/2 of the strips.
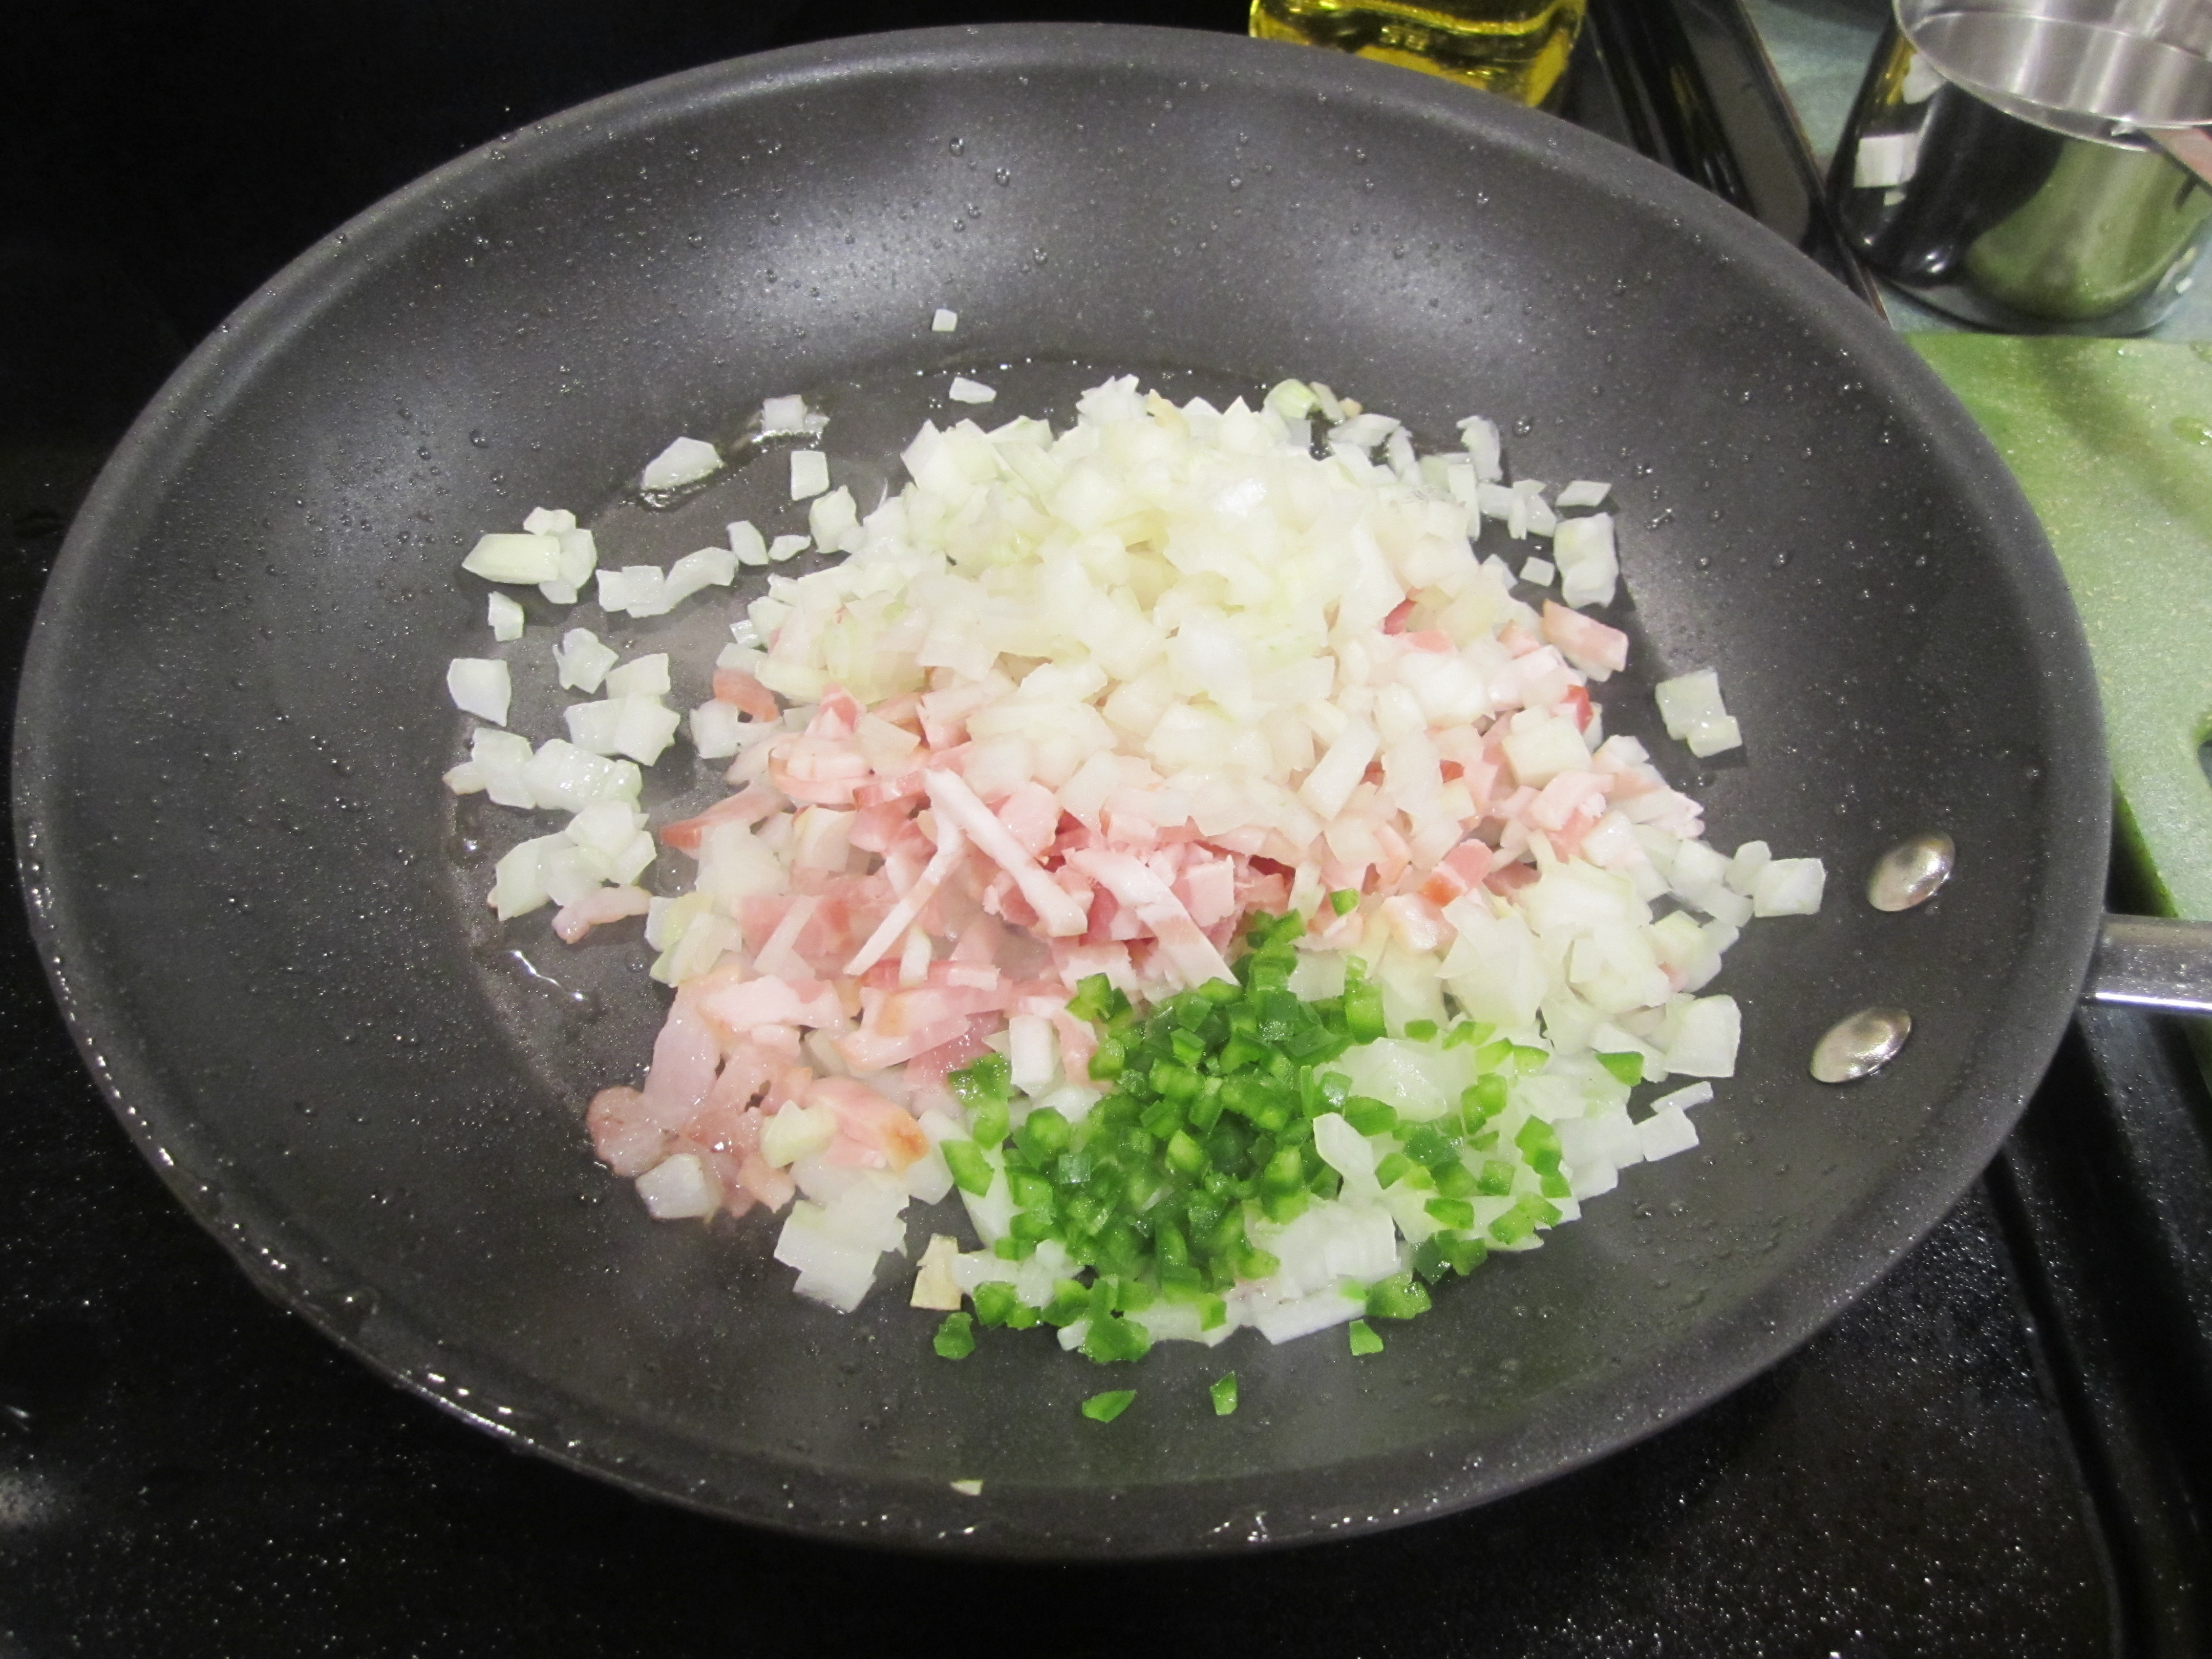
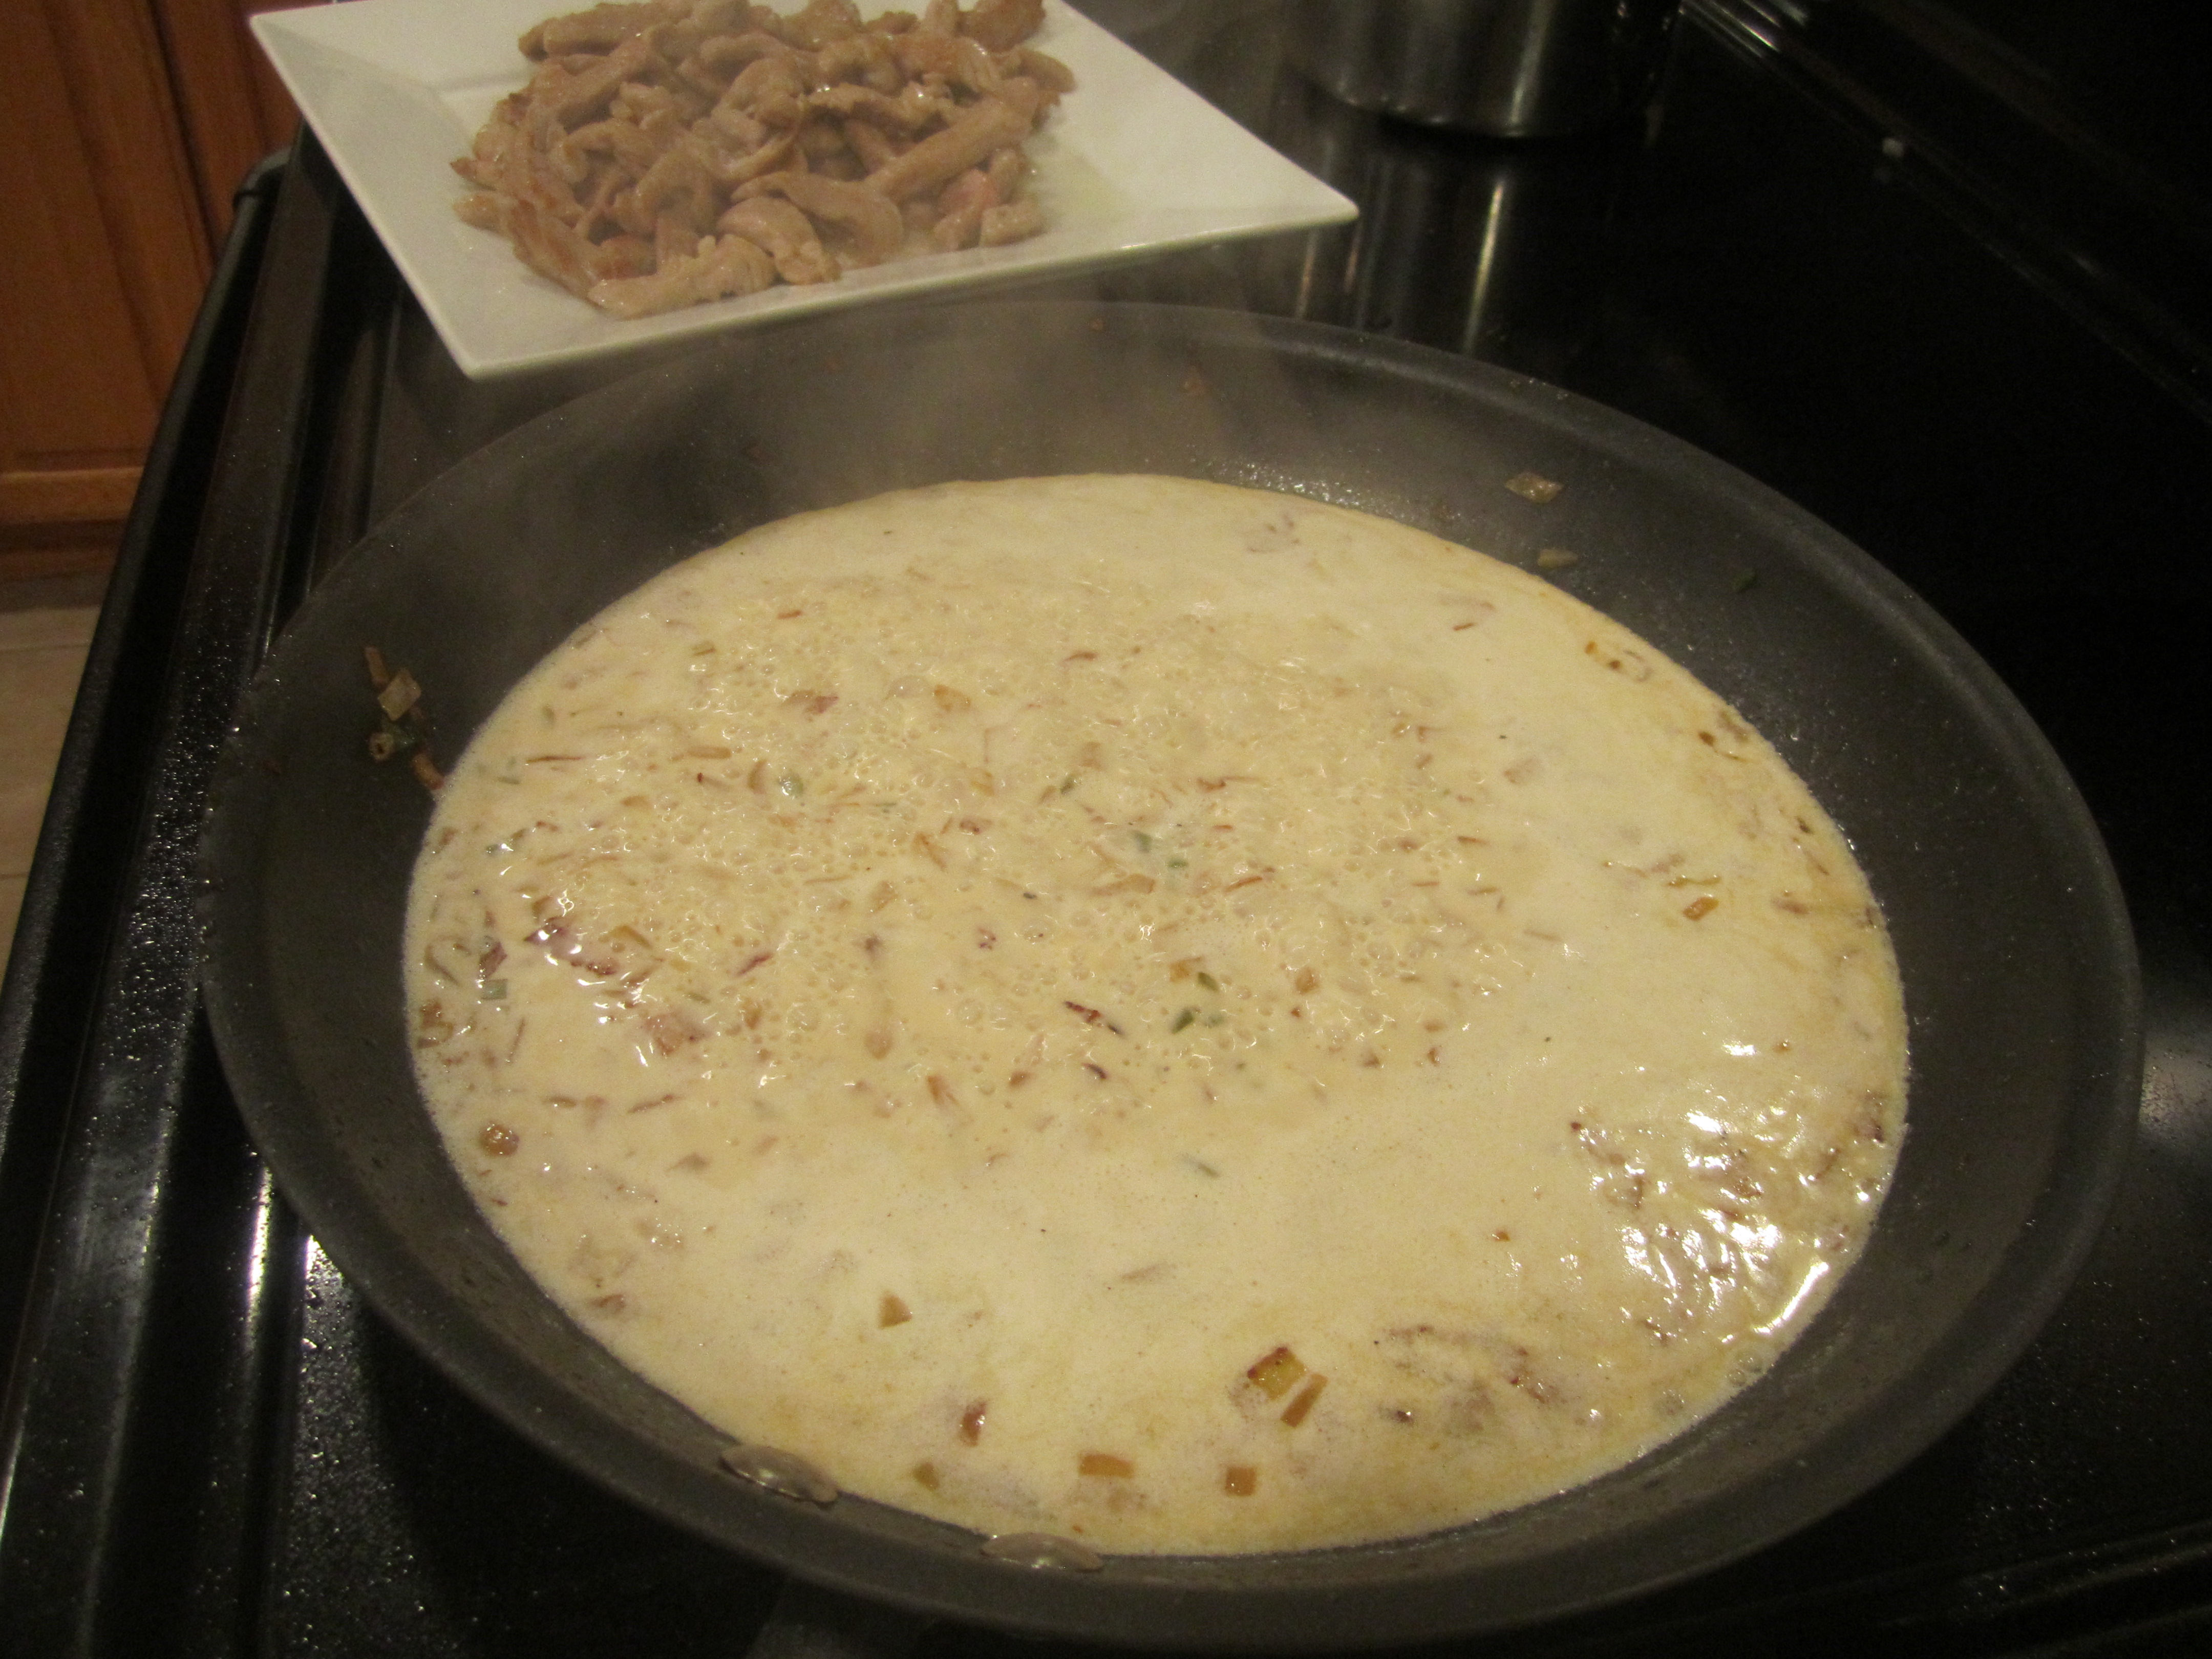
Reduce heat to medium high. Add the onions, bacon and jalapeno to the same skillet and saute for about 5 minutes until onions are tender. Add wine and cook for 1 minute. Add chicken stock and cream and simmer until mixture is reduced to 1 cup, about 7 minutes. Return pork to skillet. Stir in lime juice. Add tomatoes and simmer until pork is cooked through, about 1 minute.
Garnish dish with chopped onions.
cut the tenderloin in half, removing any excess fat and silverskin (on the right is what you are aiming for, thin strips):
cut the half piece of pork into 4 pieces:
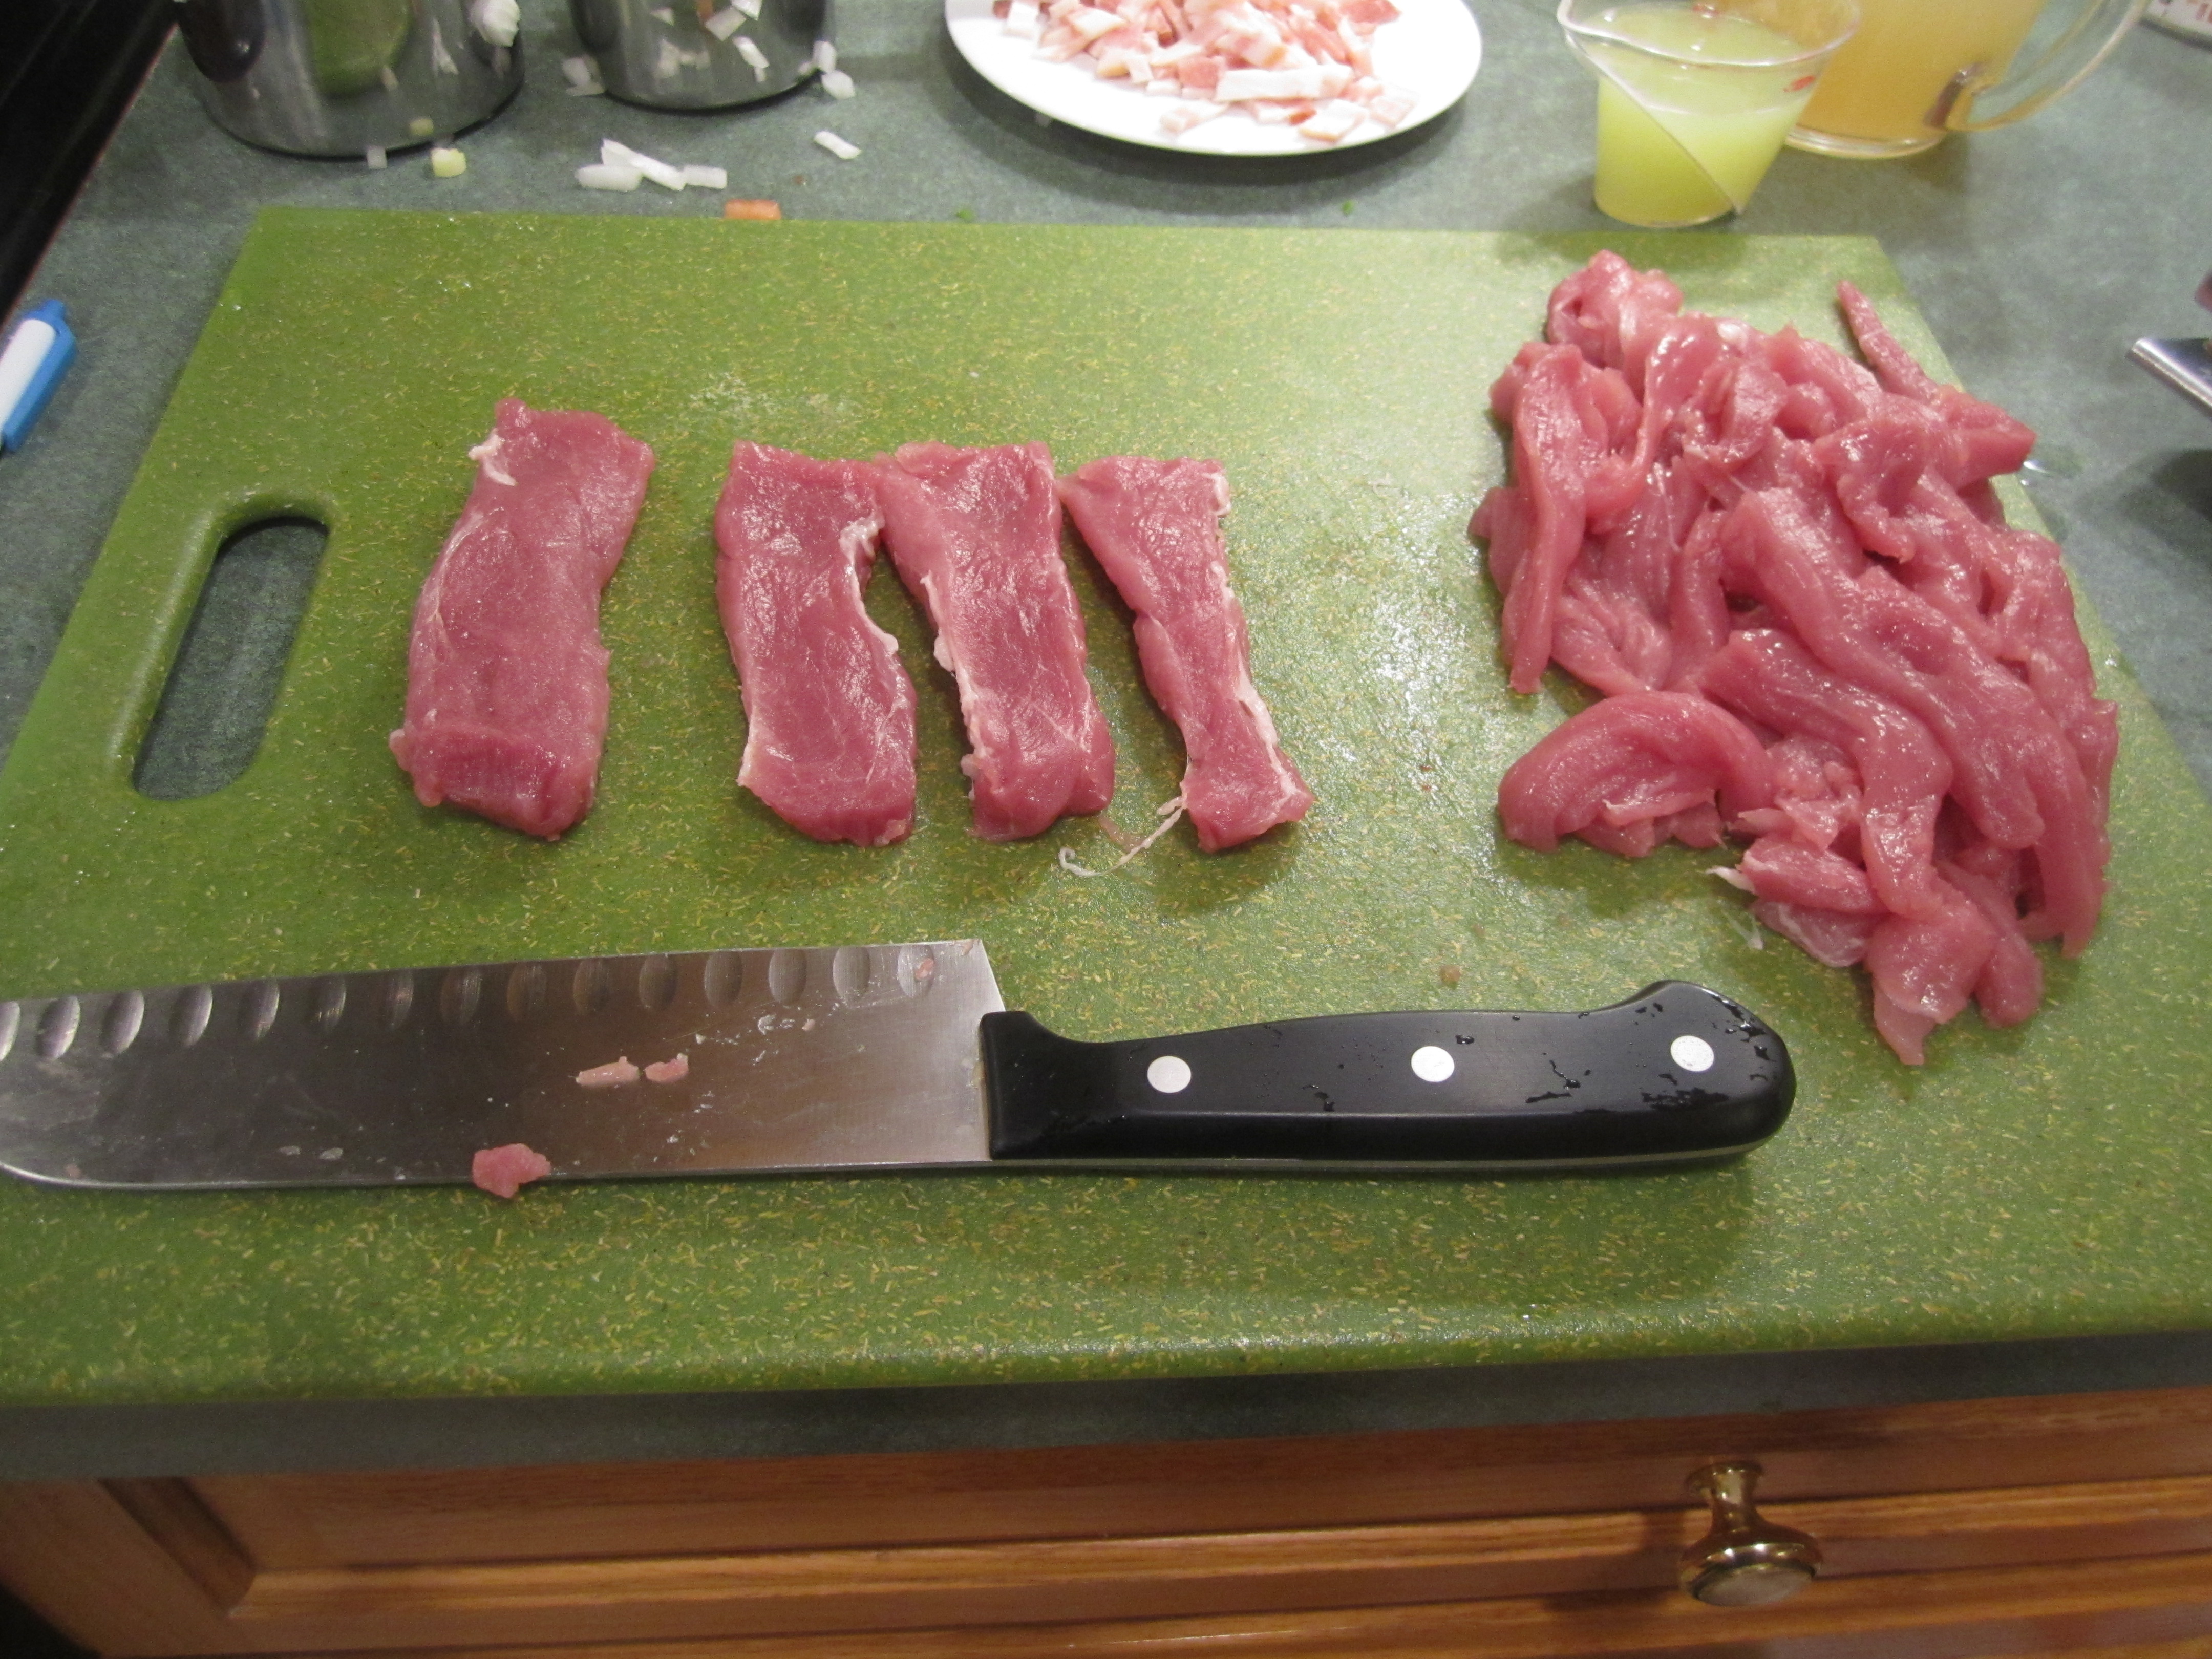
cut each quarter piece into thin strips:

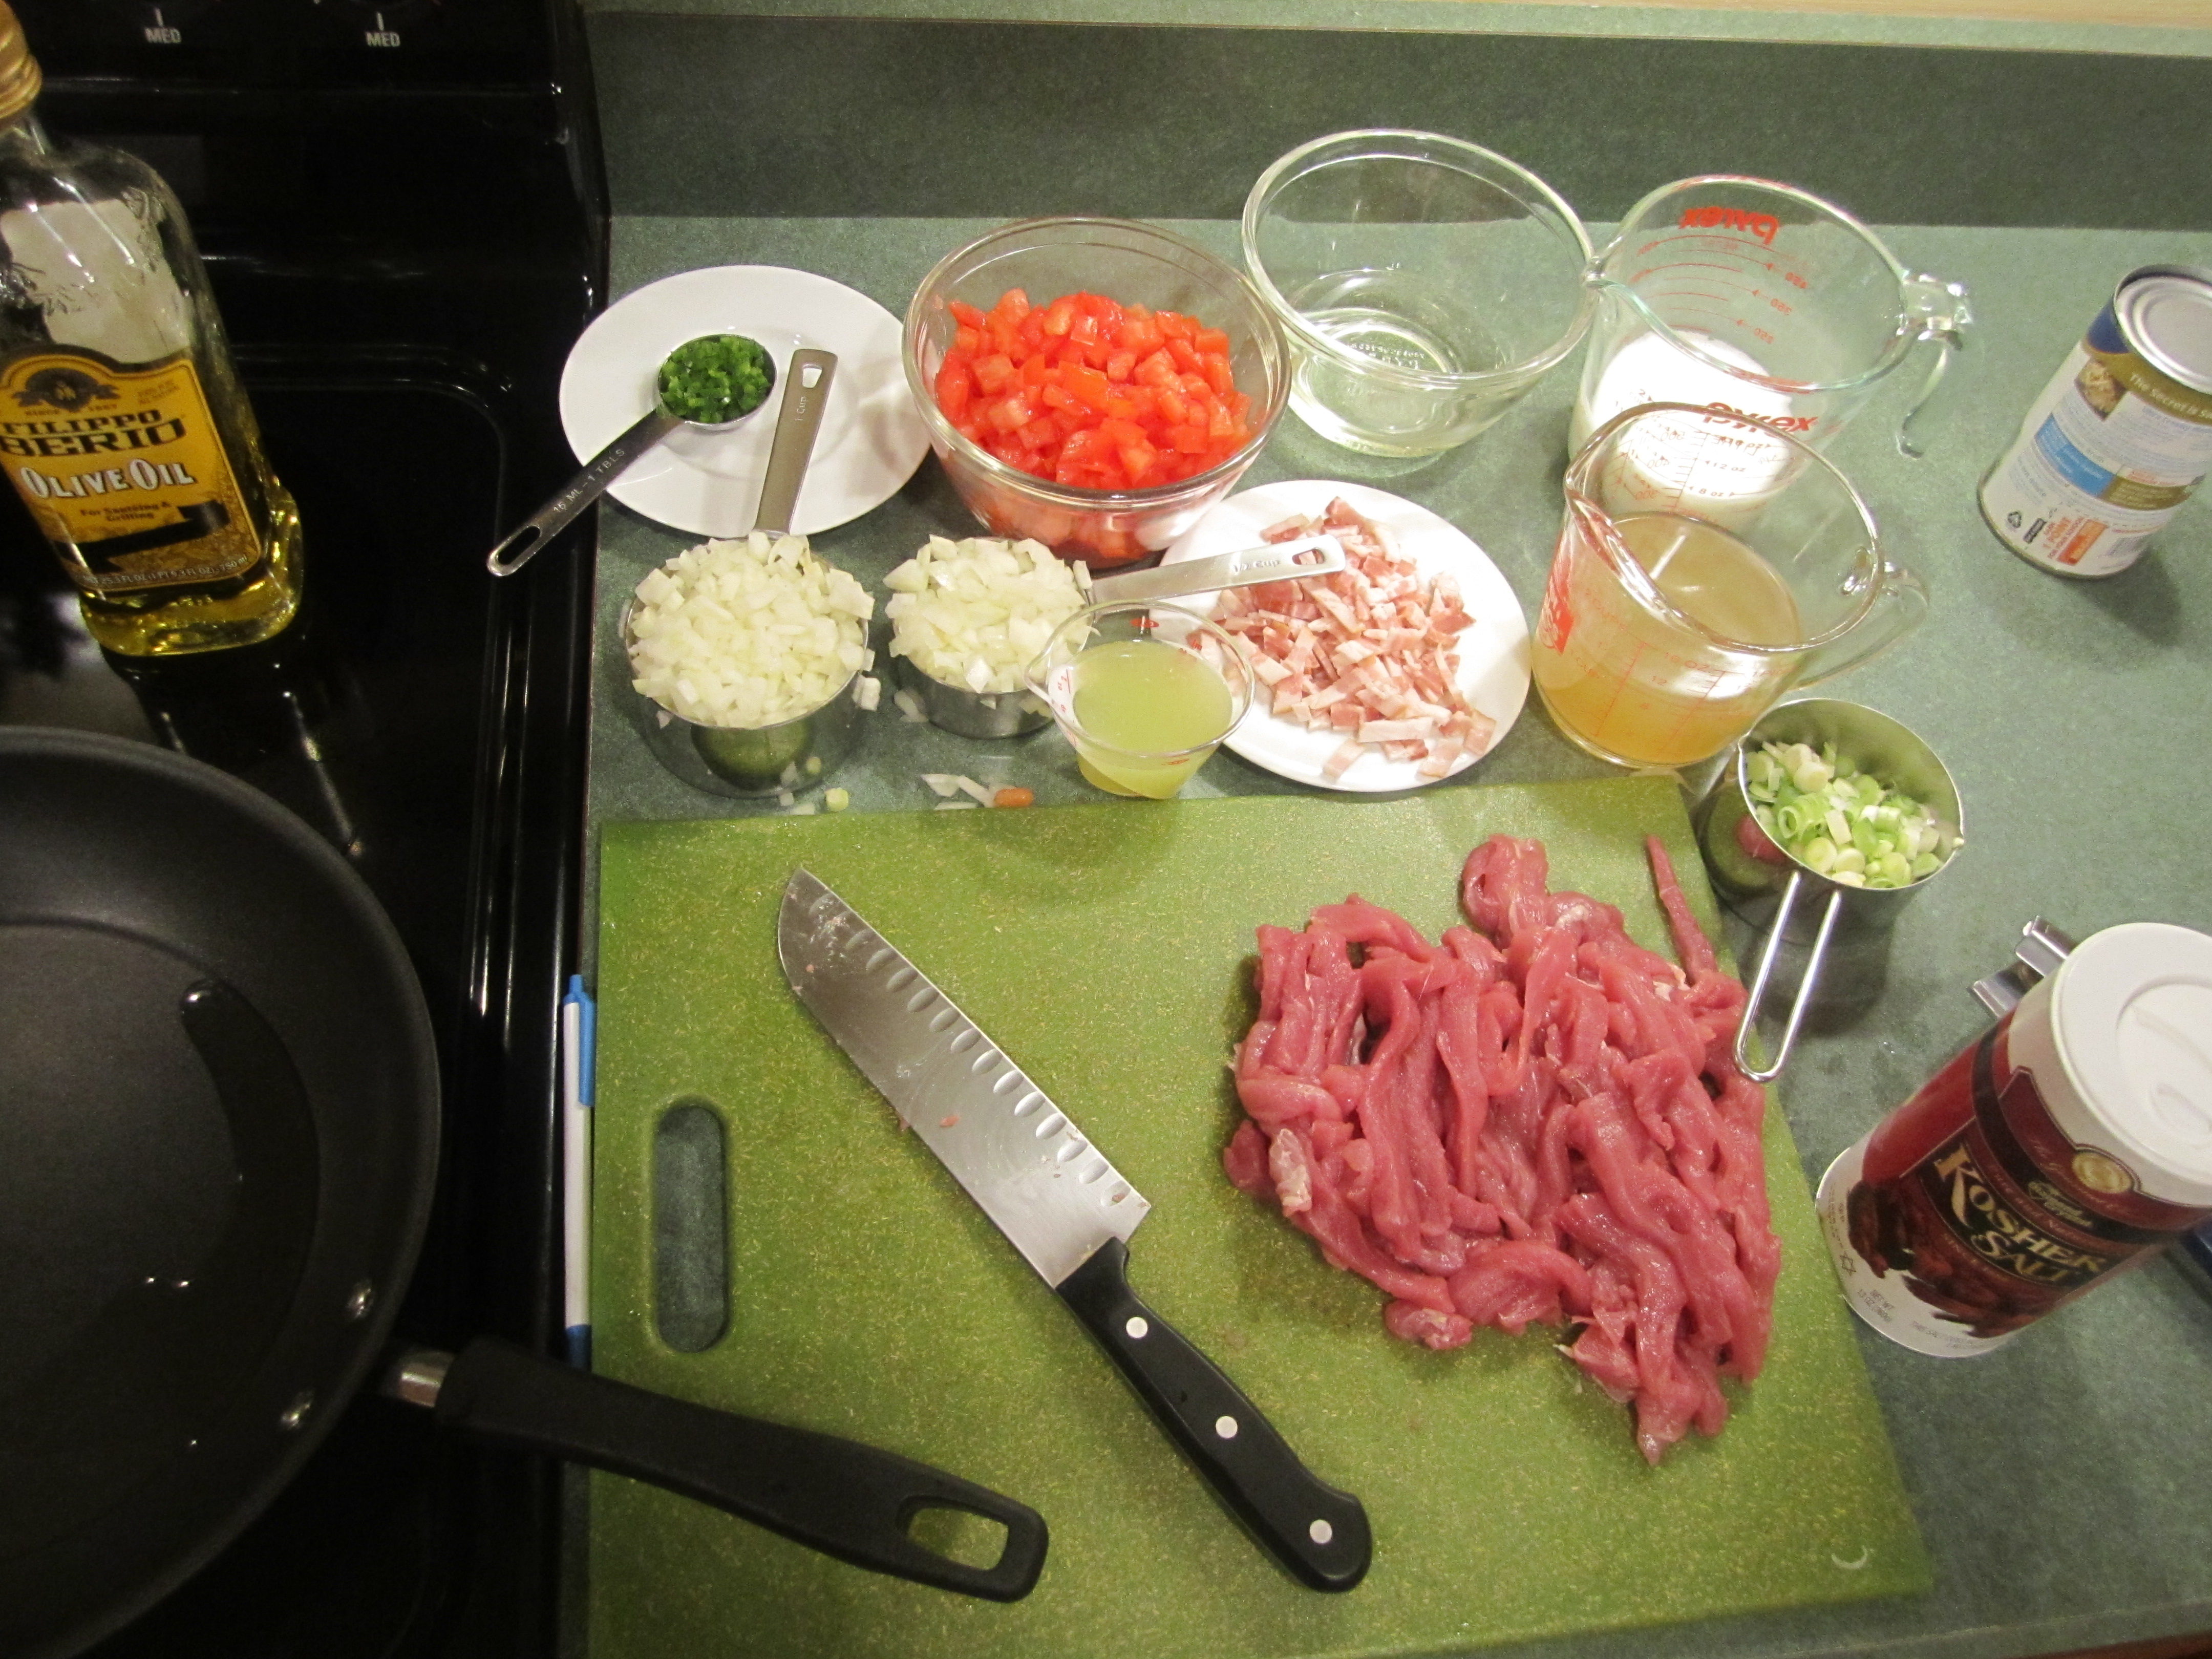
mis en place:
saute 1/2 the pork strips at a time, too many in the pan will not cook properly:
pork set aside:
add onions, bacon and jalapeno:
after 5 minutes of sauteing:

chicken broth and heavy cream added and simmering:
after adding the tomatoes and lime juice and pork:

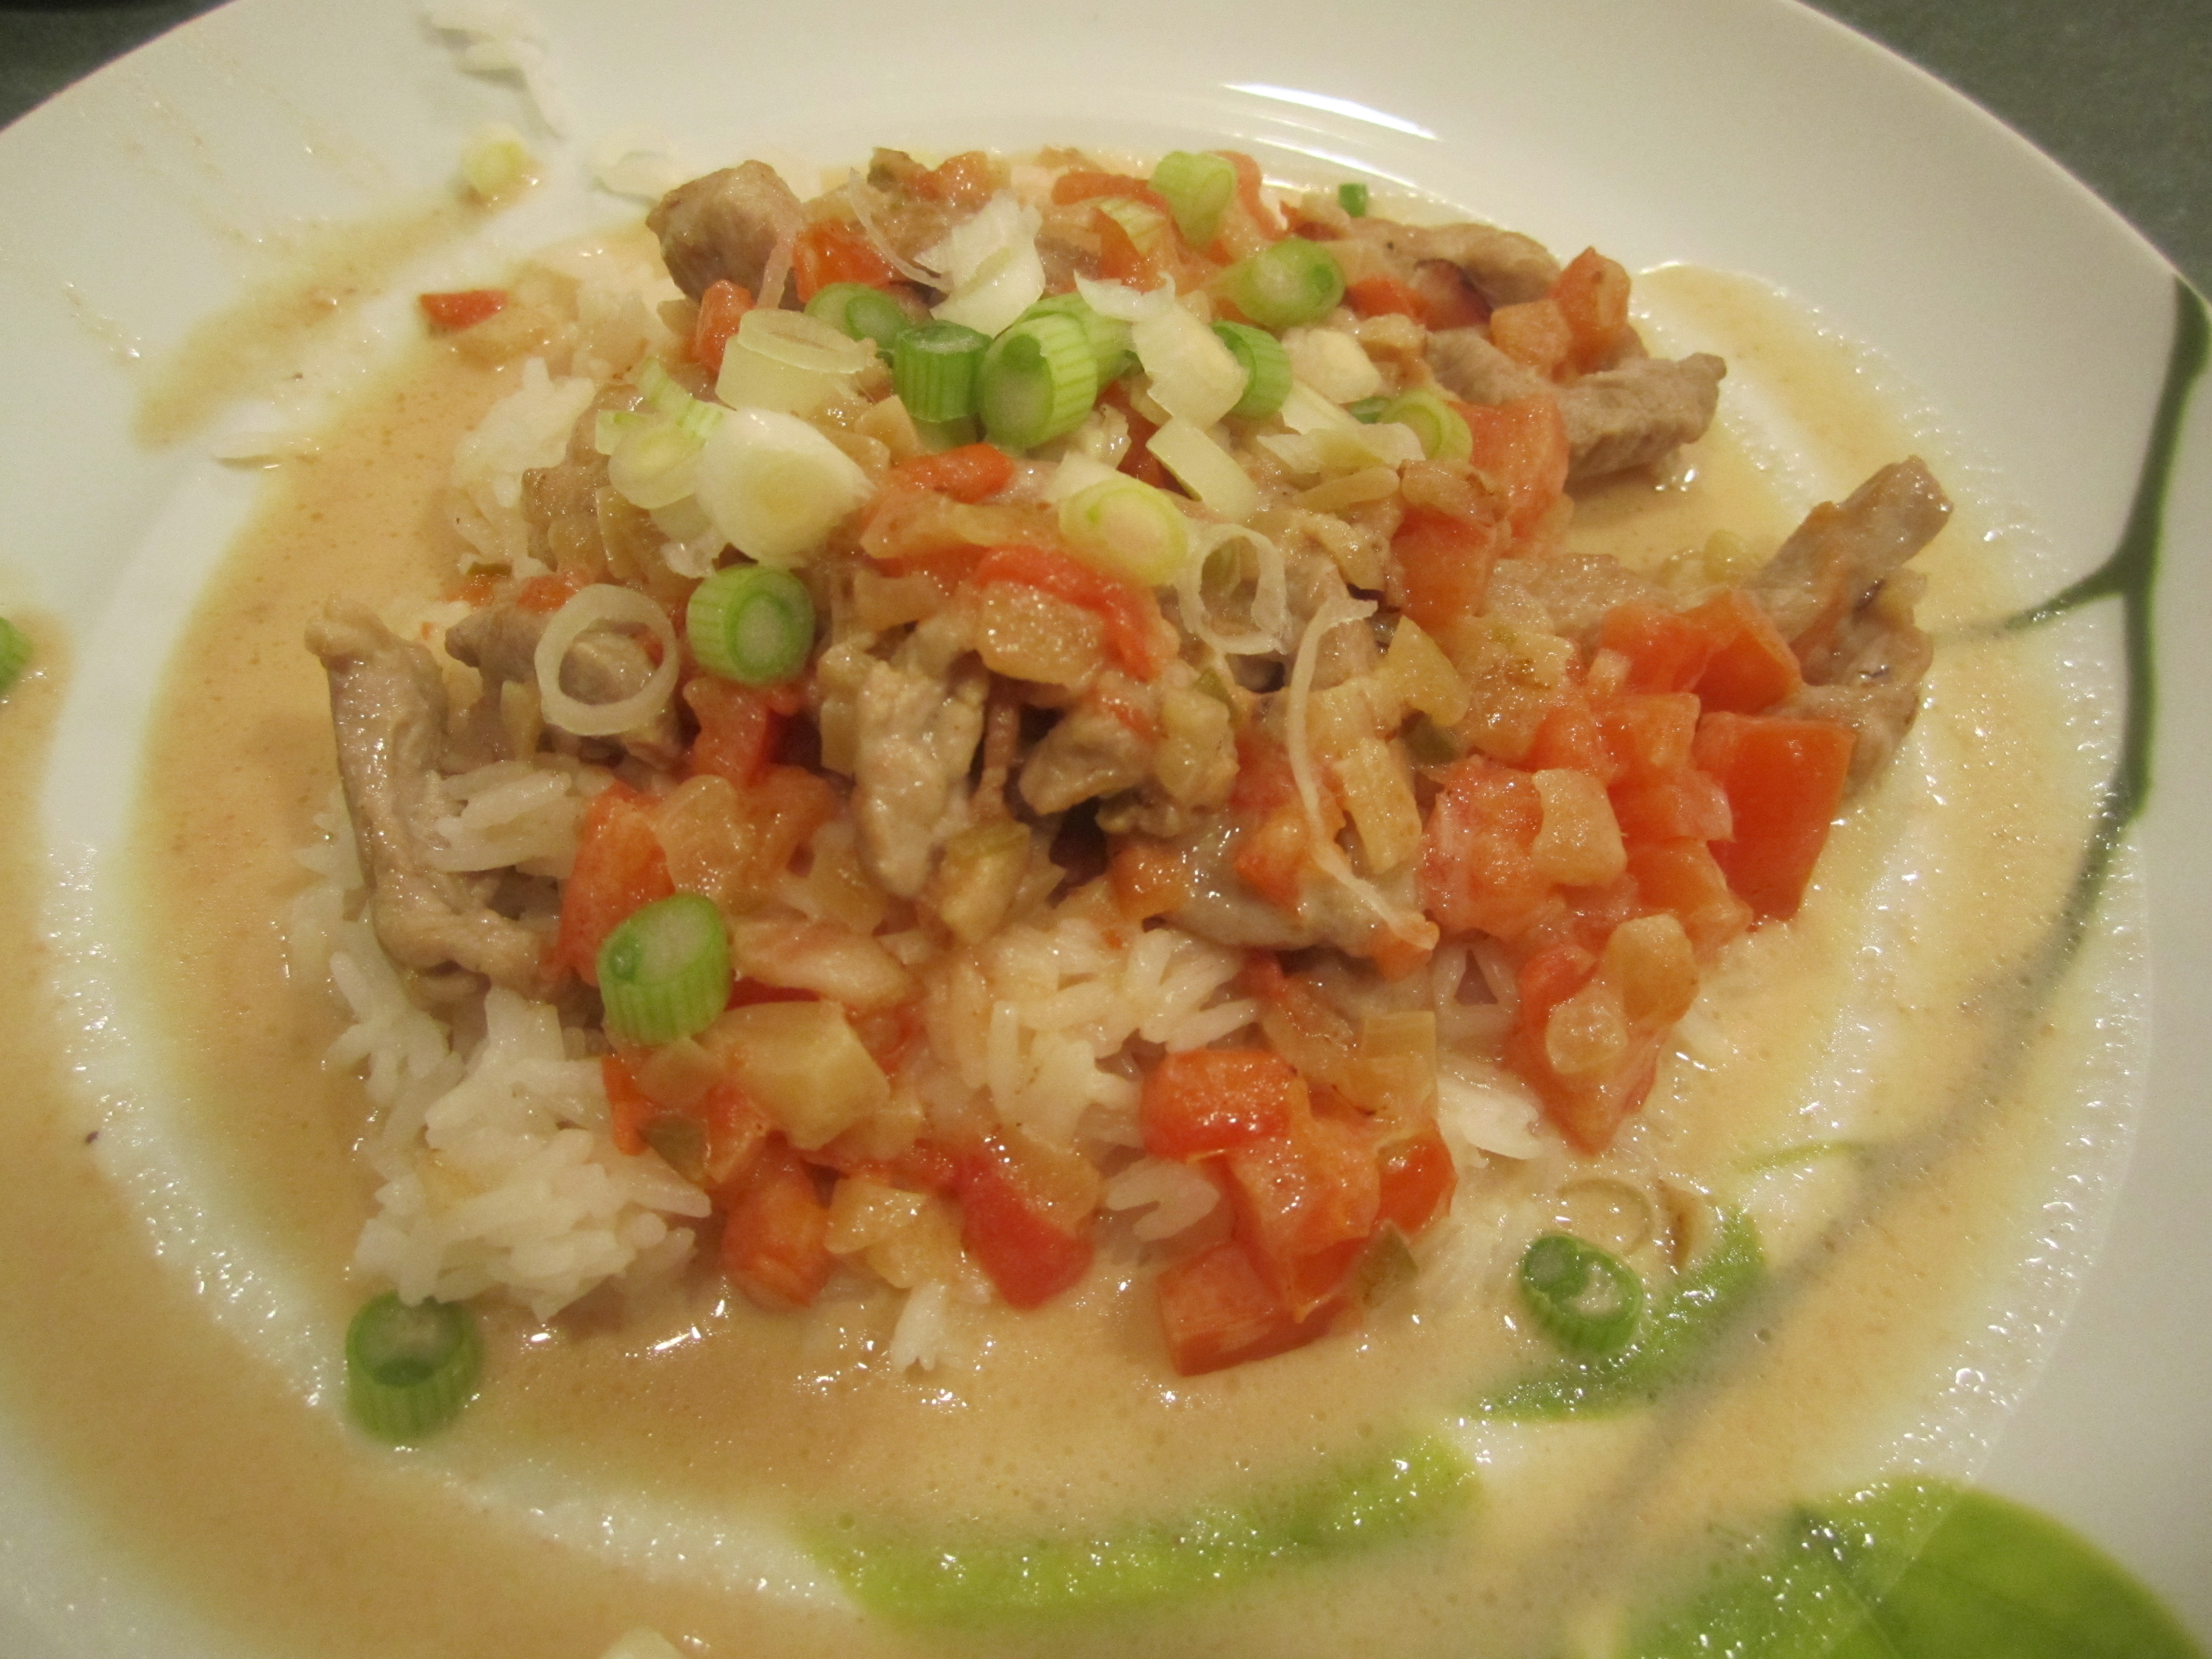
served over rice:
Homemade Suet

chickadee on one of my feeders off the deck after the blizzard

Cardinals waiting their turn at the feeder
When I was in my early teens, my parents became very interested in bird watching, which lead to bird feeding. They set up a feeder and got a Roger Tory Peterson Field Guide on birds and started identifying all that came to feed. I gradually became interested my self (I had always been a nature lover at heart) and started observing the birds, too. Well this never stopped and when my husband and I finally got our own home, we set up a bird feeder as soon as we could.
I now have 4 feeders: 2 hanging tube feeders, 1 tube feeder that is on a pole in the ground near our stream and a miniature barn that my husband built for the ground feeders (this would be doves, blue jays, cardinals). I also feed the birds in the spring and summer (I only keep one feeder up for this) so I can watch the babies. In the early spring, I put up 2 Hummingbird feeders on our deck. By then they are starting to travel back up north to their breeding grounds. By July, the babies are out and about and entertain us for the next month or so, with their acrobatics. A joy to watch.
I usually put up suet cakes as well for the woodpeckers and flickers and decided to try making my own. It has worked out very well and the birds seems to really enjoy it. Below is a recipe for a homemade suet from Martha Sargent. The ingredients are readily available and it’s easy to put together a few cakes. They are meant for the winter only. The lard becomes rancid in hot weather, so by the end of March, early April, no more suet.
Recently, I have become aware that our neighbors’ cats have taken notice of the birds as well and I have caught them stalking. So I looked up stuff on cats and songbirds and found this article: “A new peer-reviewed study published today and authored by scientists from two of the world’s leading science and wildlife organizations – the Smithsonian Conservation Biology Institute and the U.S. Fish and Wildlife Service (FWS) – has found that bird and mammal mortality caused by outdoor cats is much higher than has been widely reported, with annual bird mortality now estimated to be 1.4 to 3.7 billion and mammal mortality likely 6.9 – 20.7 billion individuals.”, American Bird Conservancy. Wow, I never knew how destructive cats could be. I guess it’s something to think about when you let your cat out…….
If you are interested in learning more about how to attract birds to your yard, here is a link National Bird Feeding Society to get you started.
Martha Sargent Super Suet Recipe
1 cup Lard
1 cup Super Chunky Peanut Butter (store brand is just fine for this)
2 cups Quick Cooking Oats
1 cup Regular Flour
2 cups Cornmeal
1/3 cup Sugar
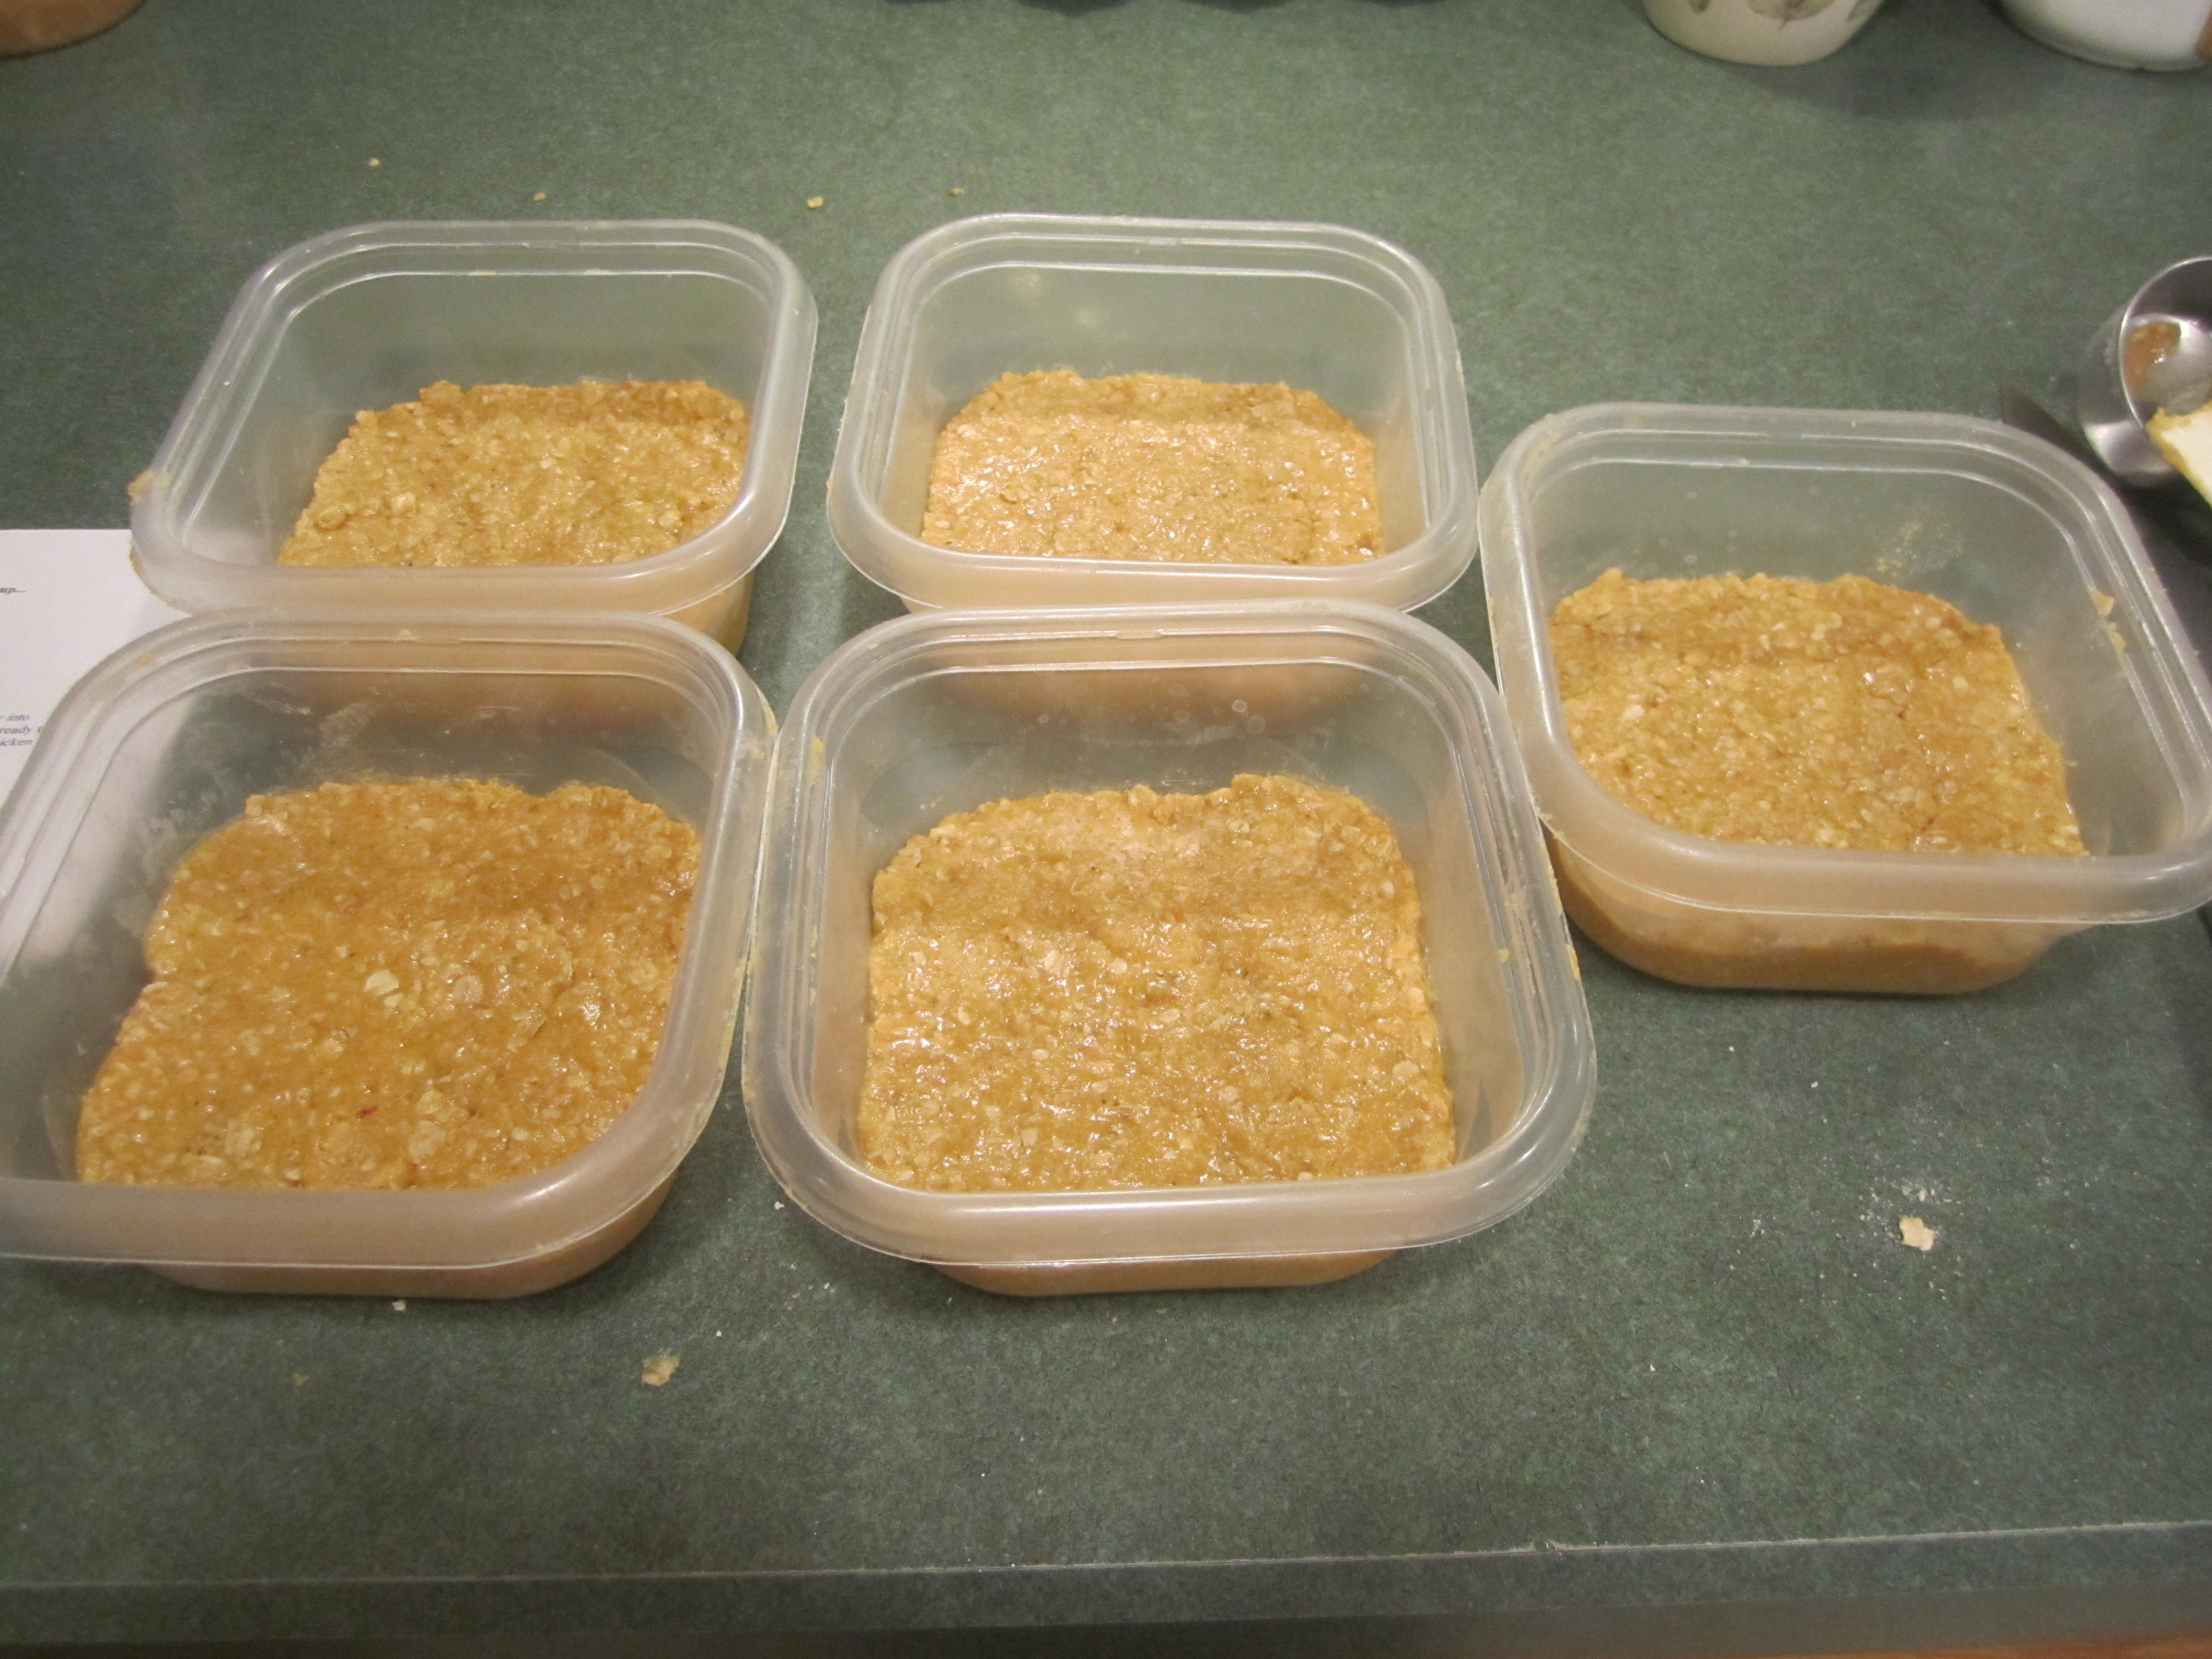
Melt the lard and peanut butter in a large glass bowl in the microwave for 1 minute. Remove and stir. If not completely melted, continue to microwave at 30 second intervals. Pour lard/peanut butter mixture into remaining ingredients and stir to combine. Put mixture into square plastic containers about 1/2 inch think to fit your suet basket. Store in freezer or refrigerator until ready to use. This made 5 cakes for me.
peanut butter and lard:

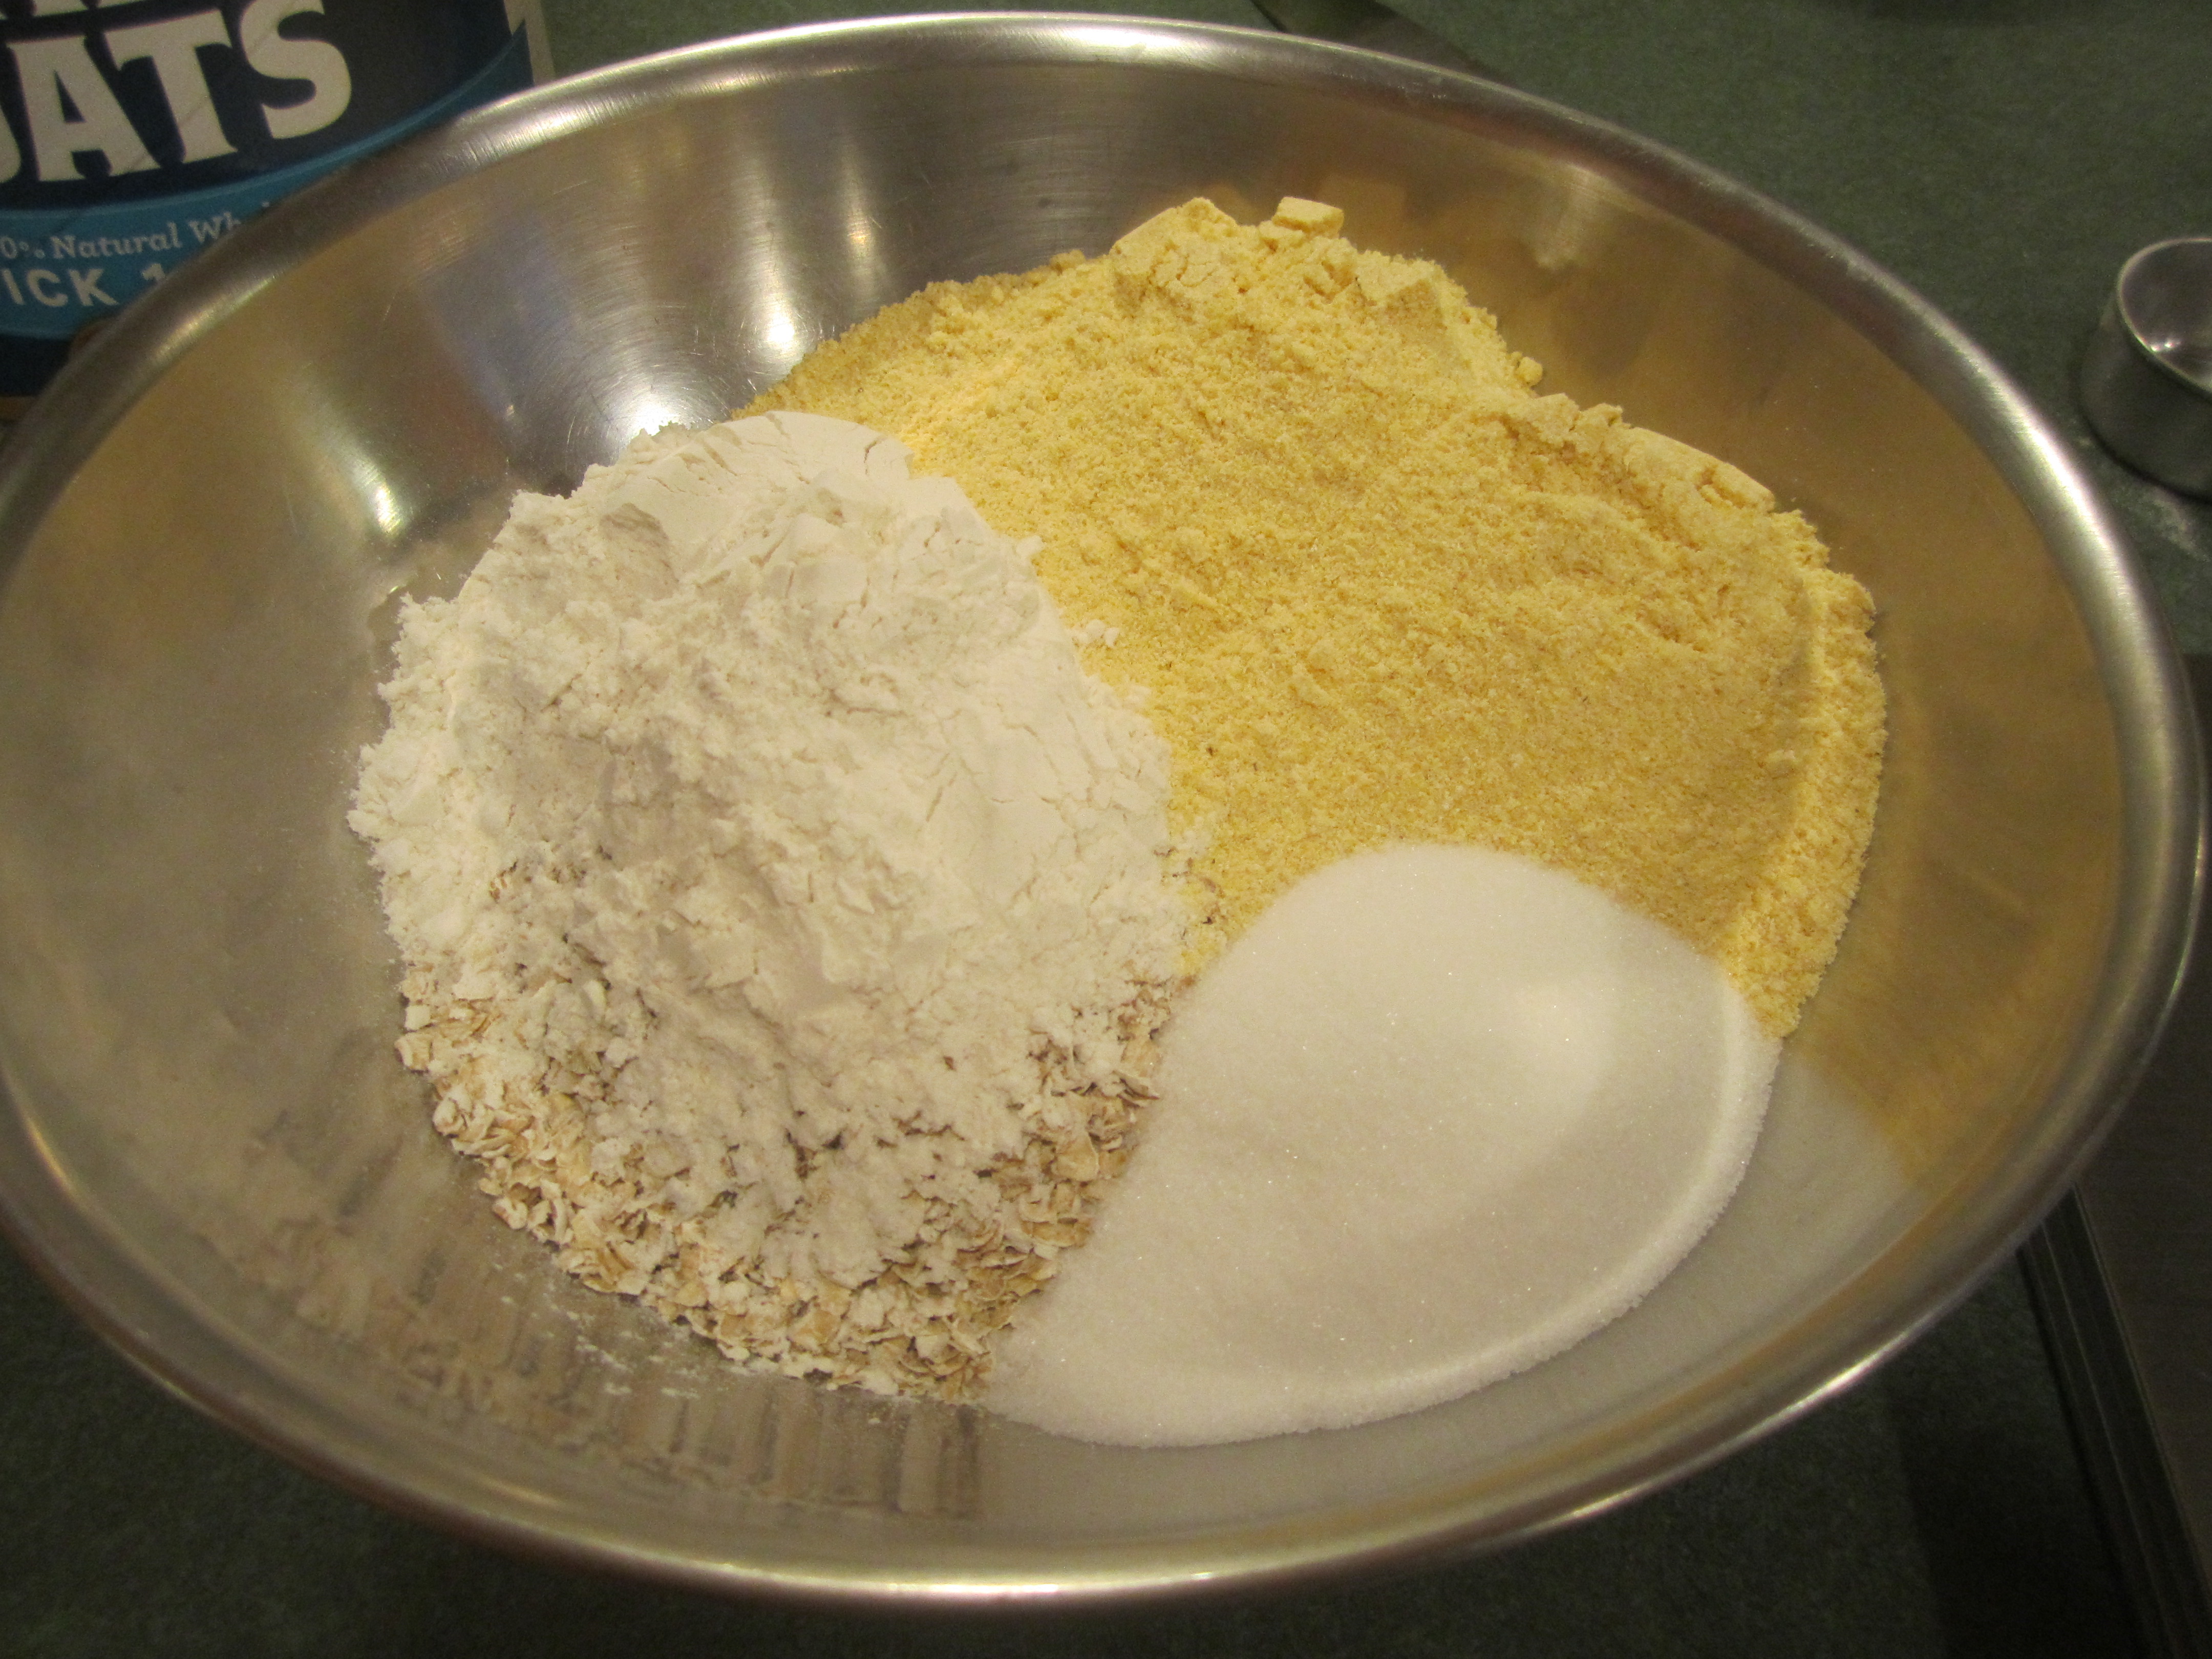
rest of ingredients:
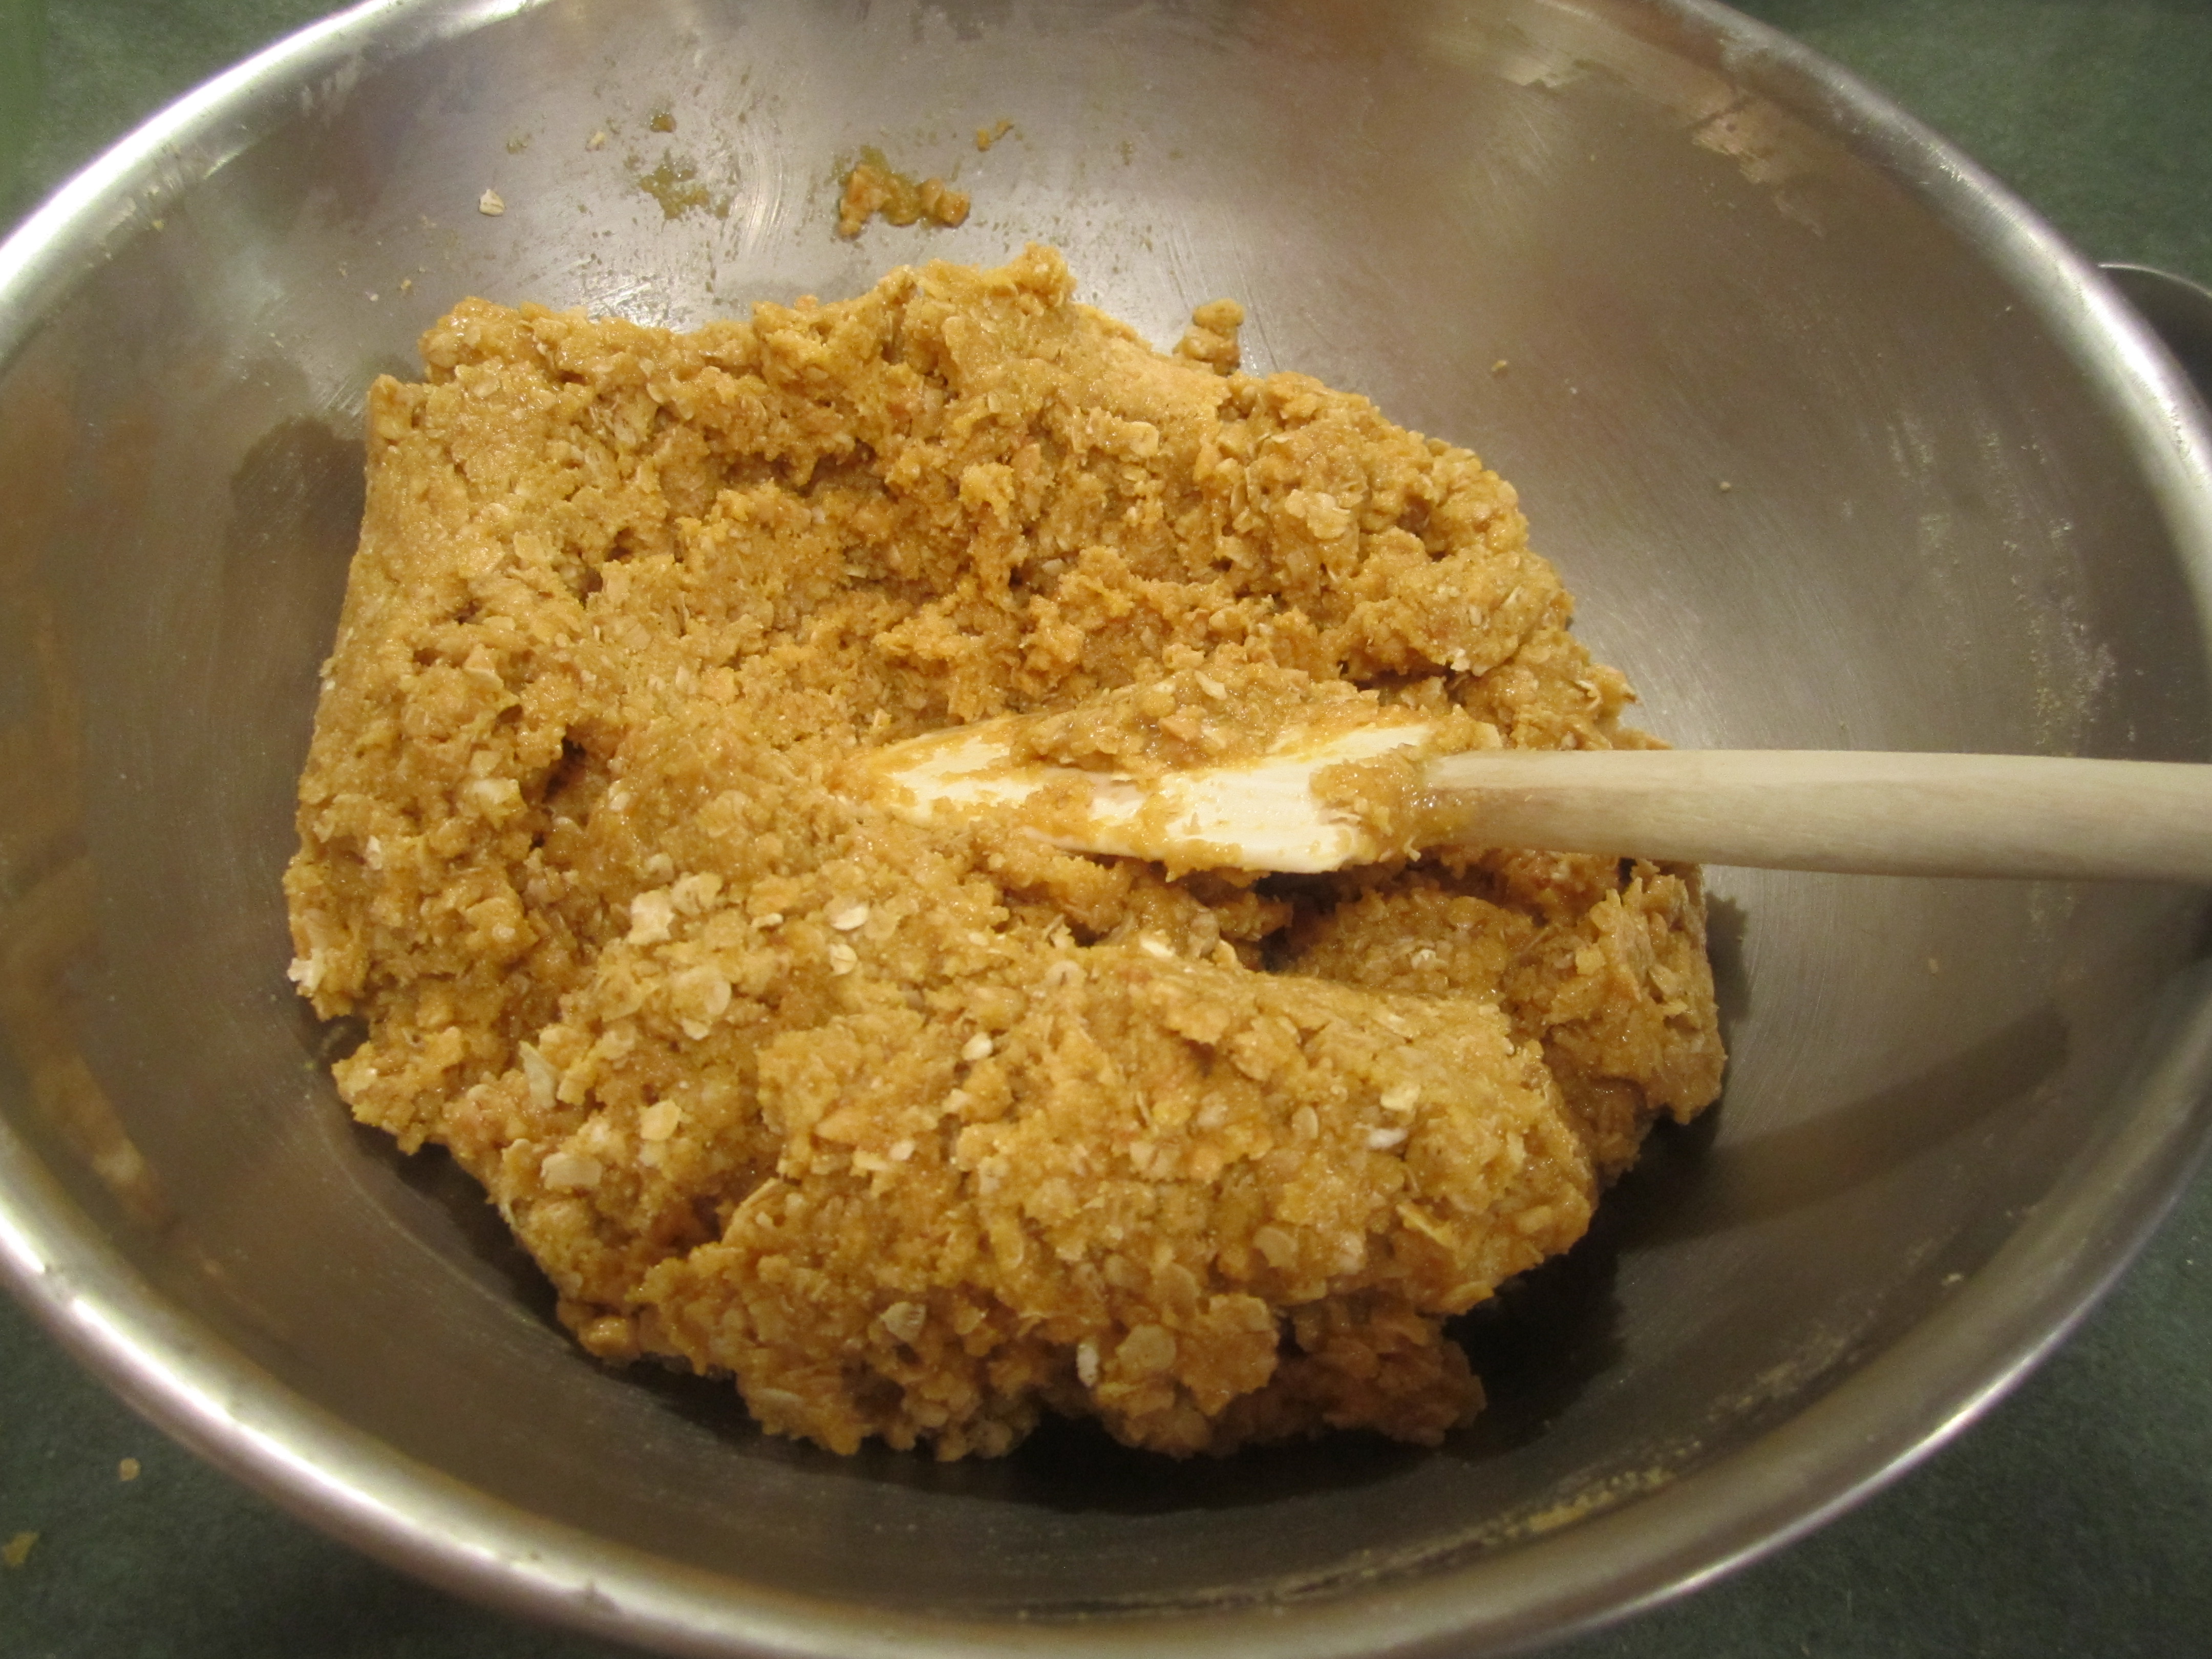
all mixed up:
into the containers:
a Hairy Woodpecker enjoying my homemade suet:

Lunch at the CIA in Hyde Park, NY

The Culinary Institute of America is a beautiful campus situated on the Hudson River. It was formerly St. Andrew-on-Hudson, a Jesuit Seminary, transformed in 1970 to accommodate the increasing number of students.
My husband and I have dined at the Institute several times and have really enjoyed each experience. The food and service at each restaurant is made and run by the students, as part of their curriculum.
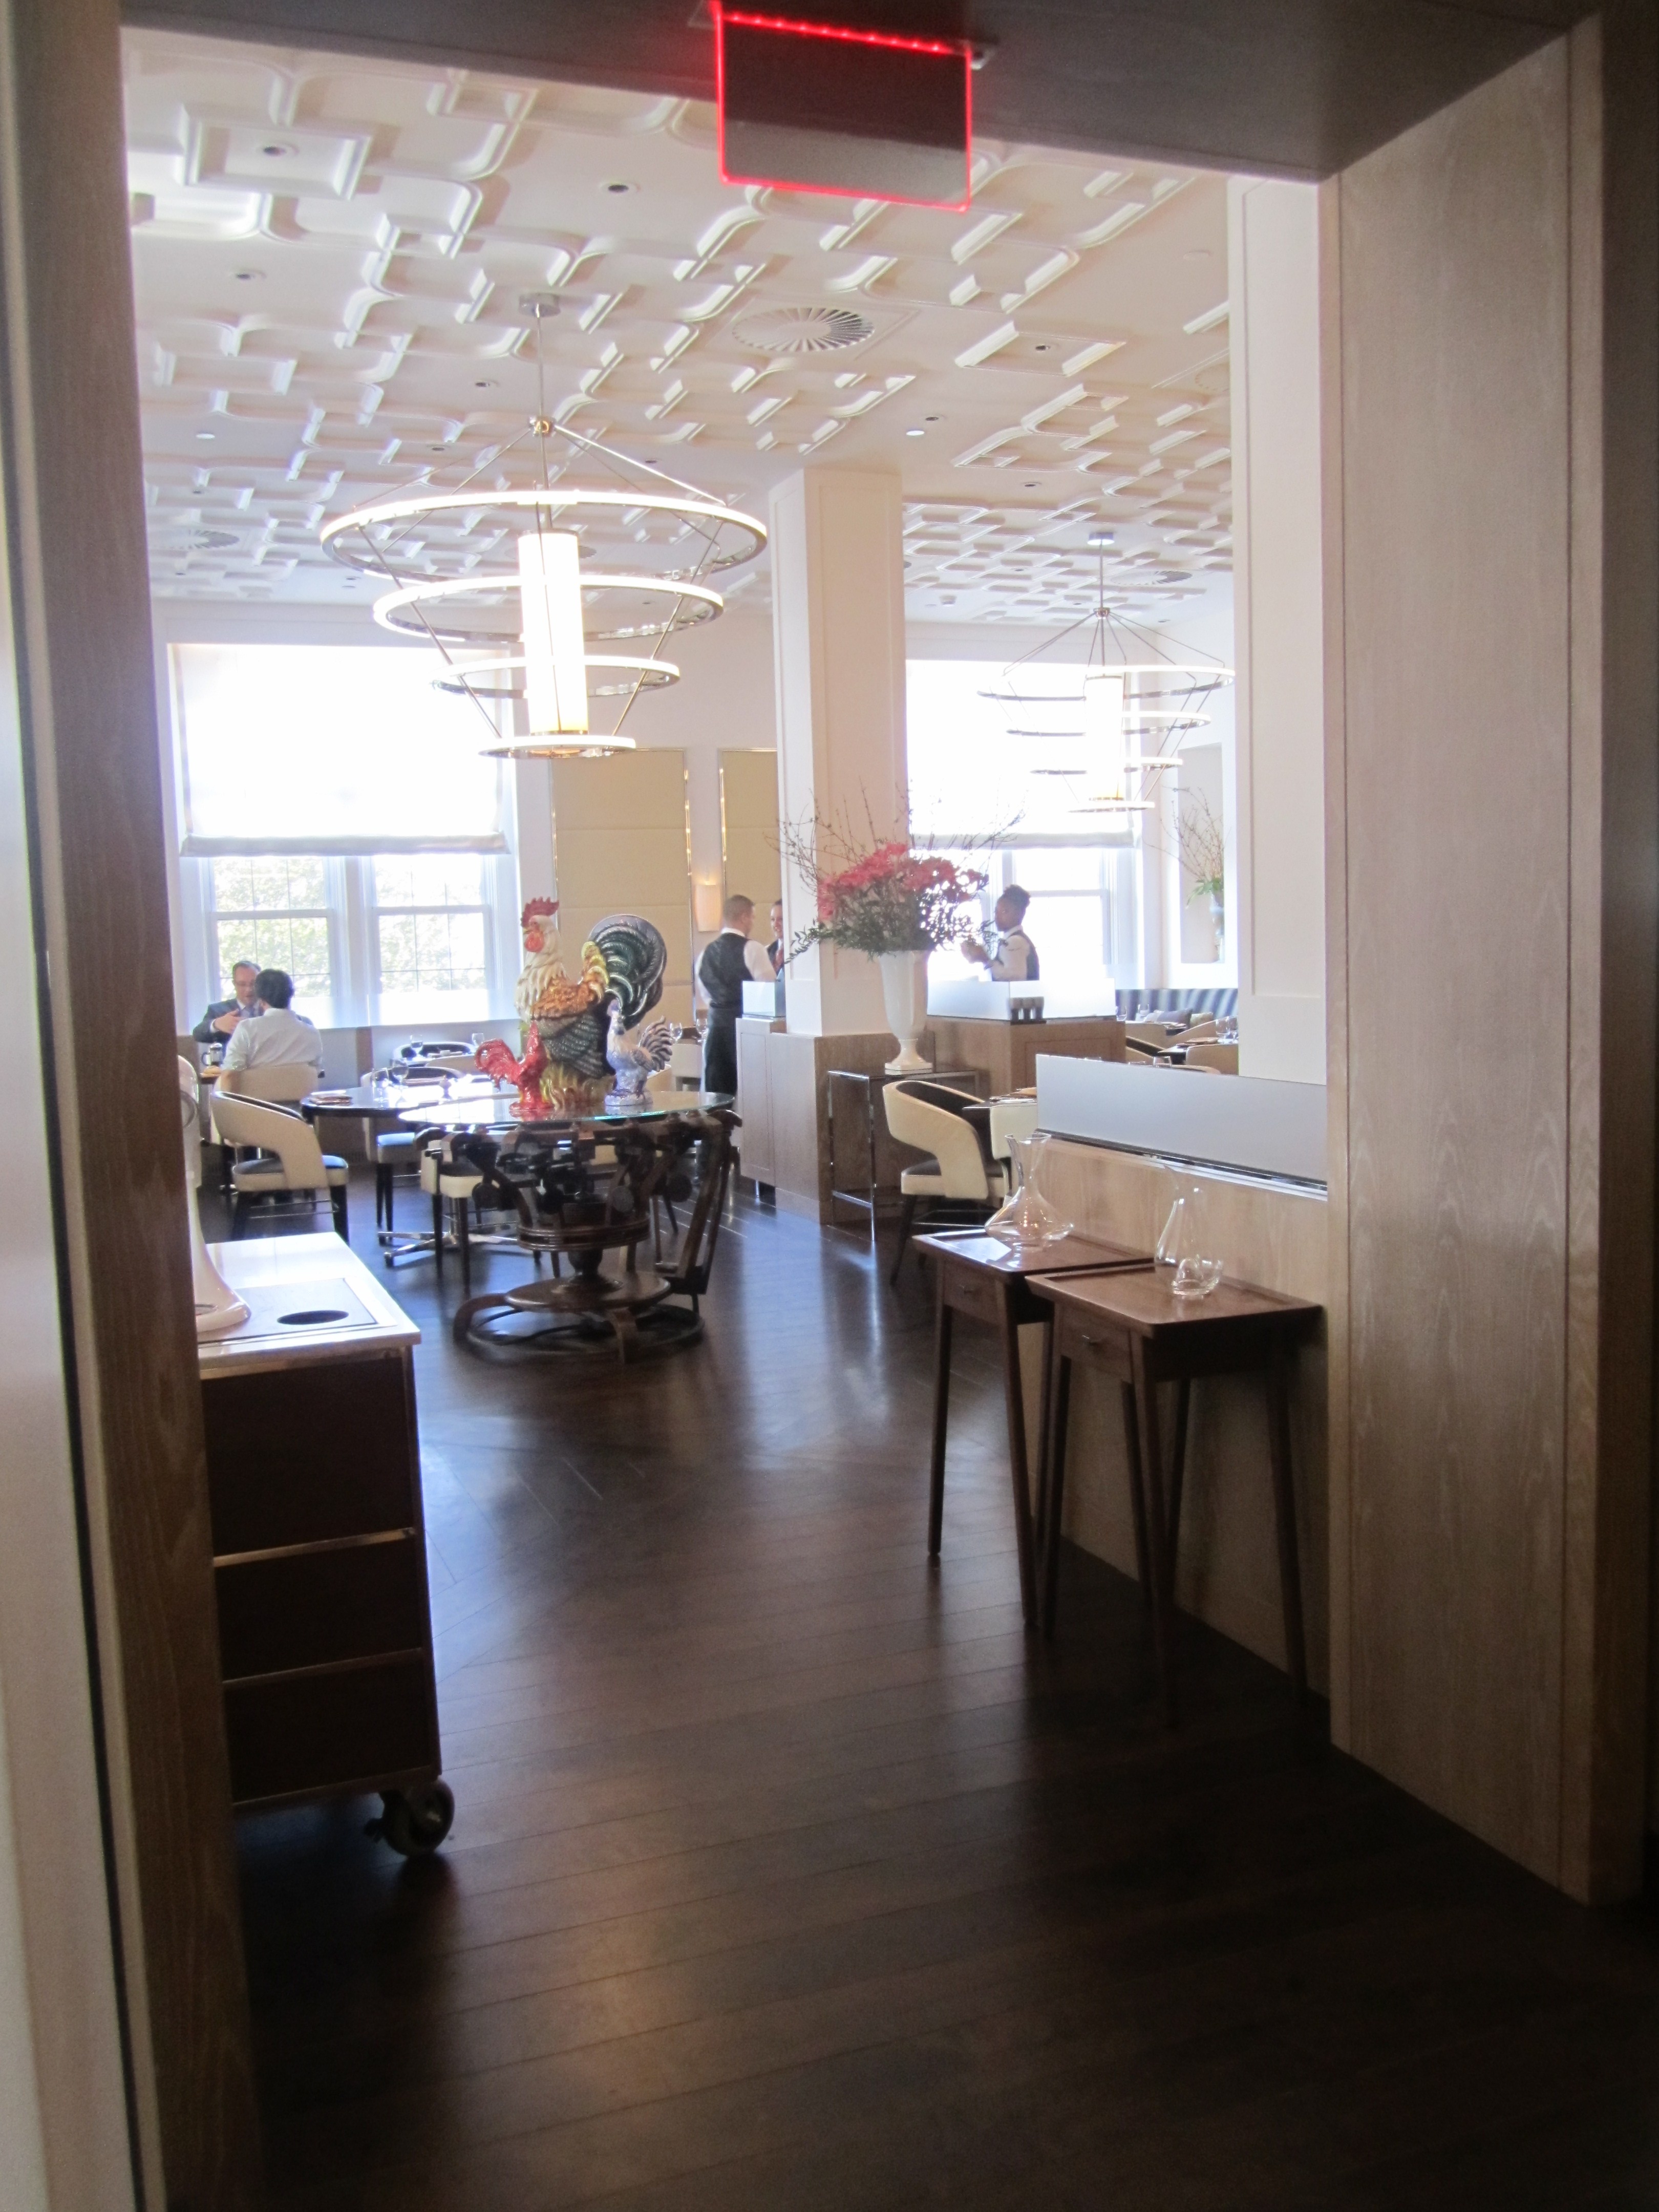
The school has 5 restaurants: American Bounty, Apple Pie Bakery Cafe, Ristorante Caterina de’ Medici, The Bocuse and St. Andrew’s Cafe. Reservations can be made and menu’s checked out on-line, following the link above. We have dined at the Italian twice and the French restaurant once. They have since renovated The Bocuse, so we will be going there again. We were able to sneak a peek at the new renovations and it is modern and elegant.
Today we went to the Ristorante Caterina de’ Medici for lunch: a beautiful day to accompany a beautiful lunch.
They have a wonderful promotion, which we took full advantage of: Monday–Thursday from January–March 2013, fixed-price, three-course lunch for $21.95. I usually don’t eat that much food but I just had to. I had the rest of the day to digest which is exactly what I am doing: no dinner for this girl!
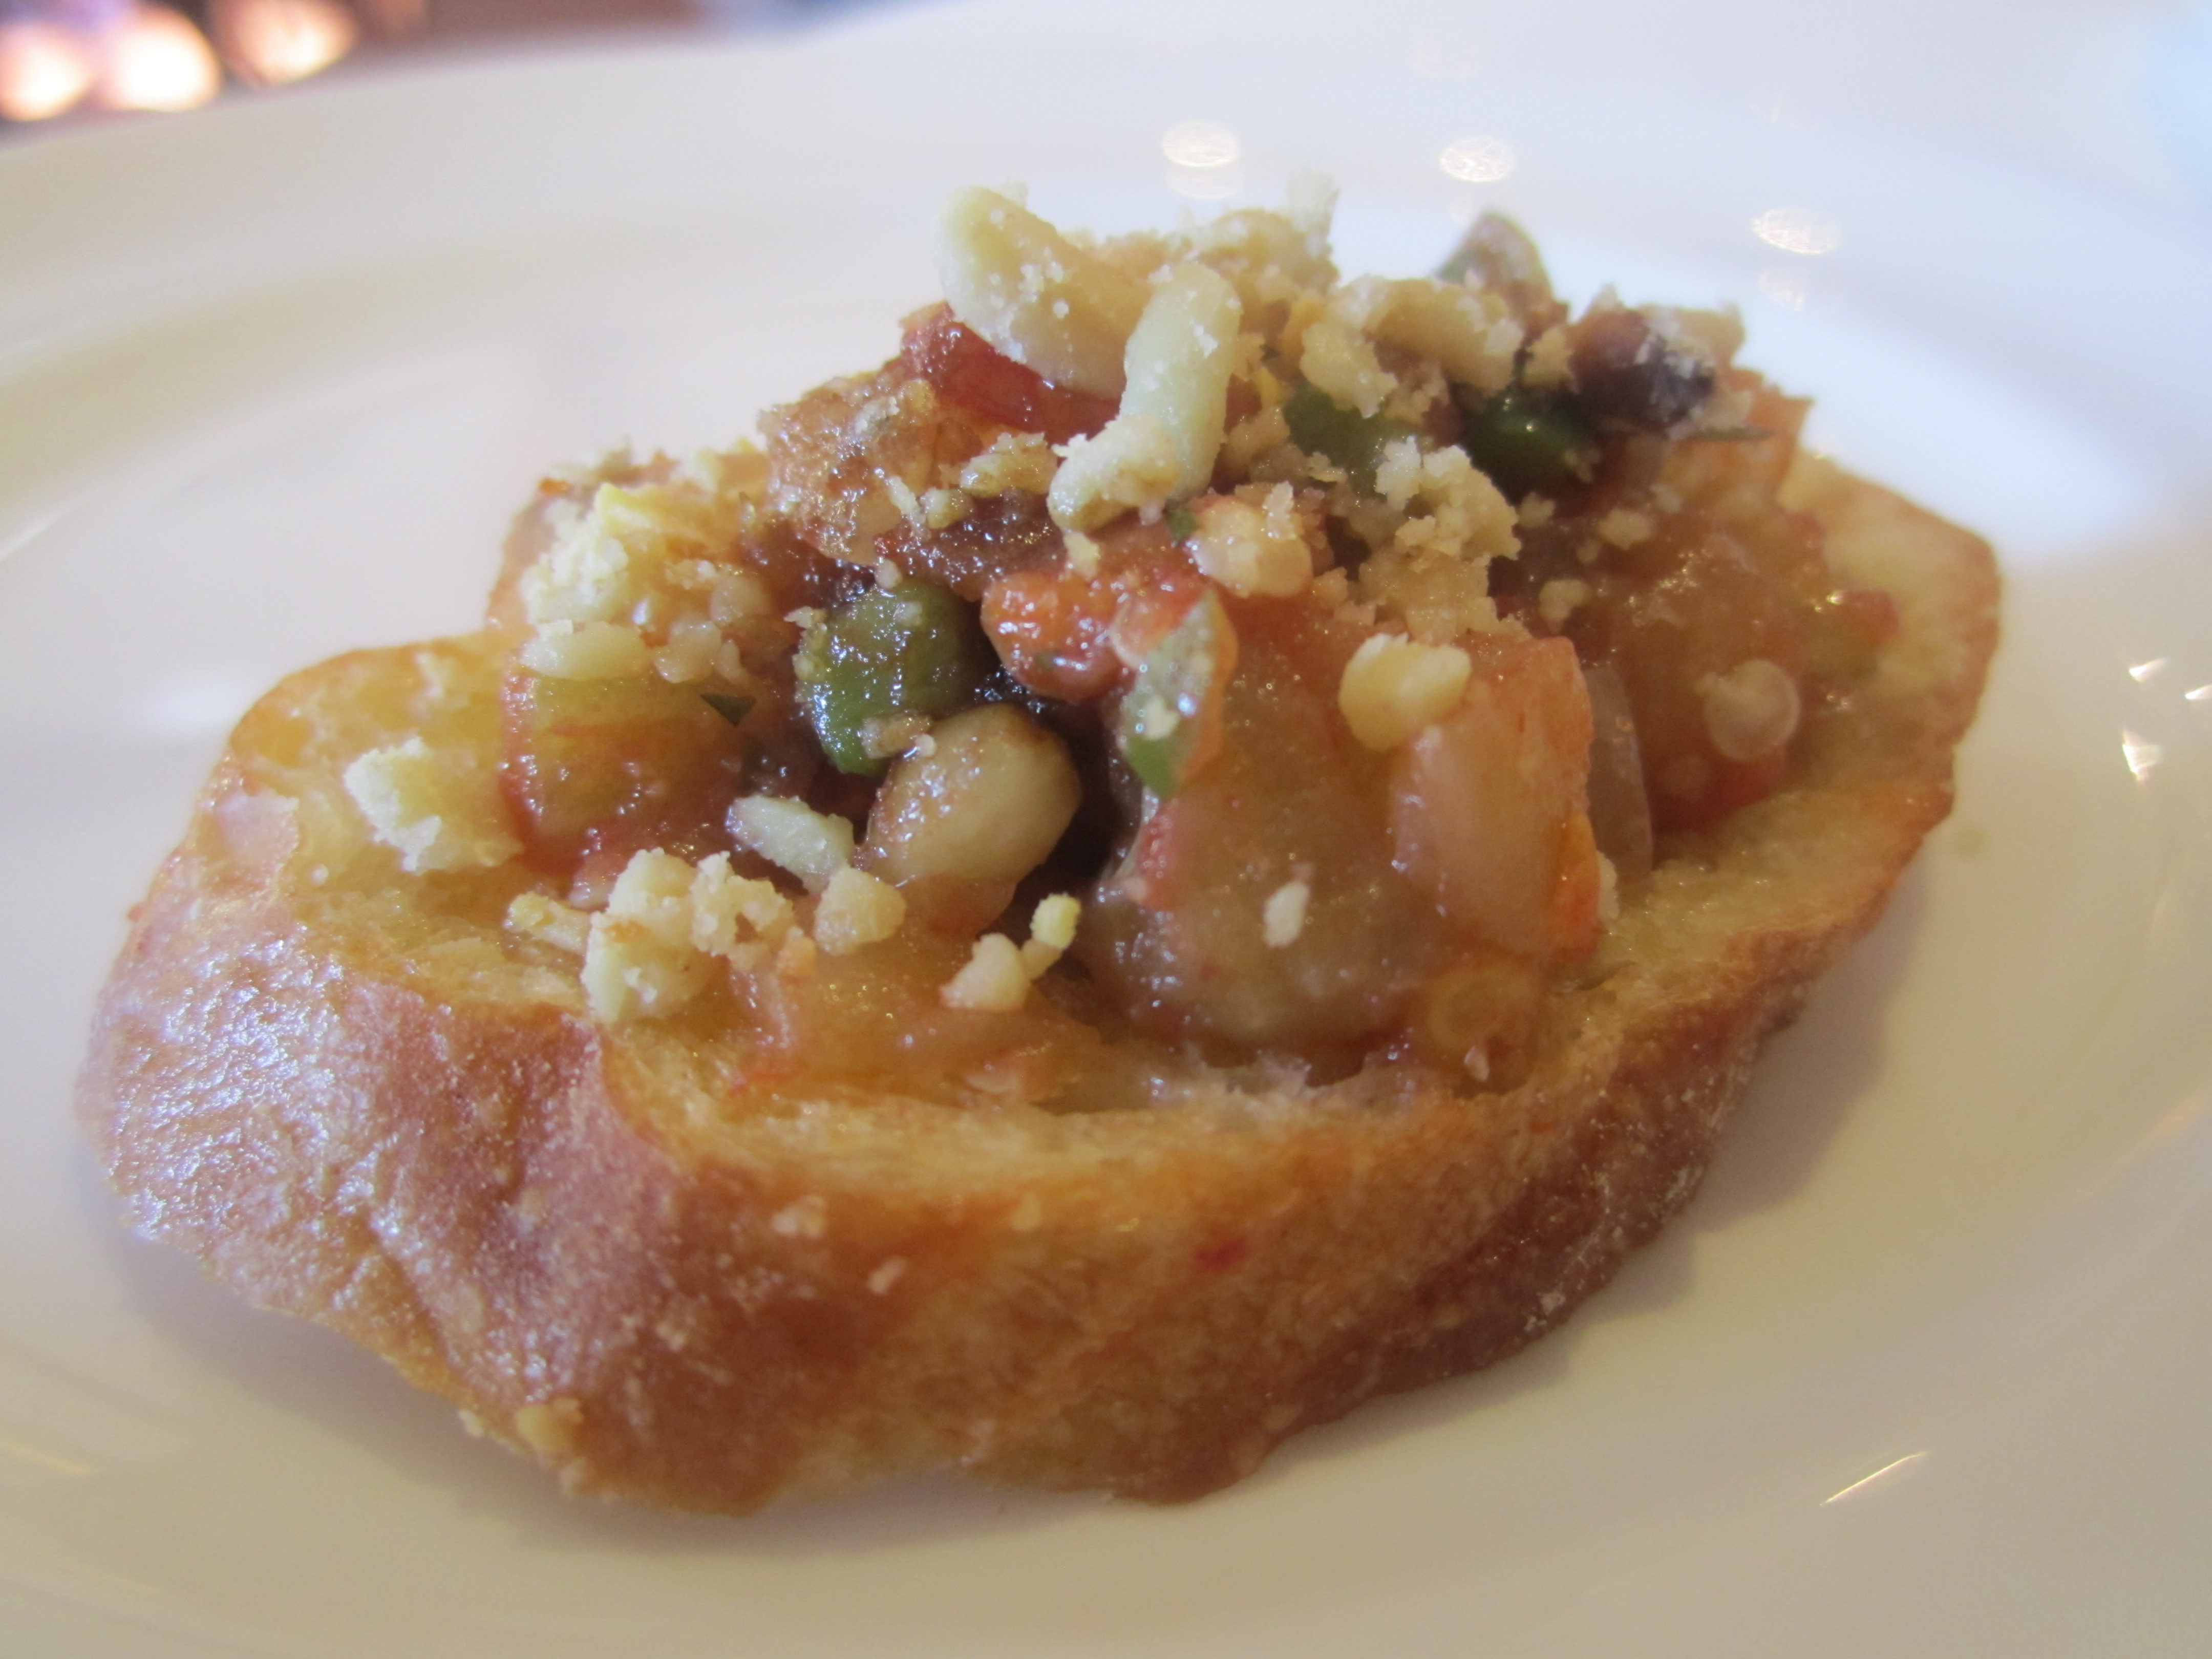
we started with an Eggplant Caponata, which consisted of crostini (little toasts) topped with eggplant, green olive, capers, red pepper, basil and imported Italian Balsamic:
my husband ordered a tossed salad (not included in the special), which we shared, with focaccia and extra virgin olive oil:

my husbands first course, Bucatini all Amatriciana. Bucatini (a fat hollow spaghetti) with guaciale ( unsmoked Italian bacon prepared with pig’s jowl or cheeks), onions and spicy tomato:

Thin Focaccia with Escarole, Ricotta, Pine Nuts & Raisins, for me:

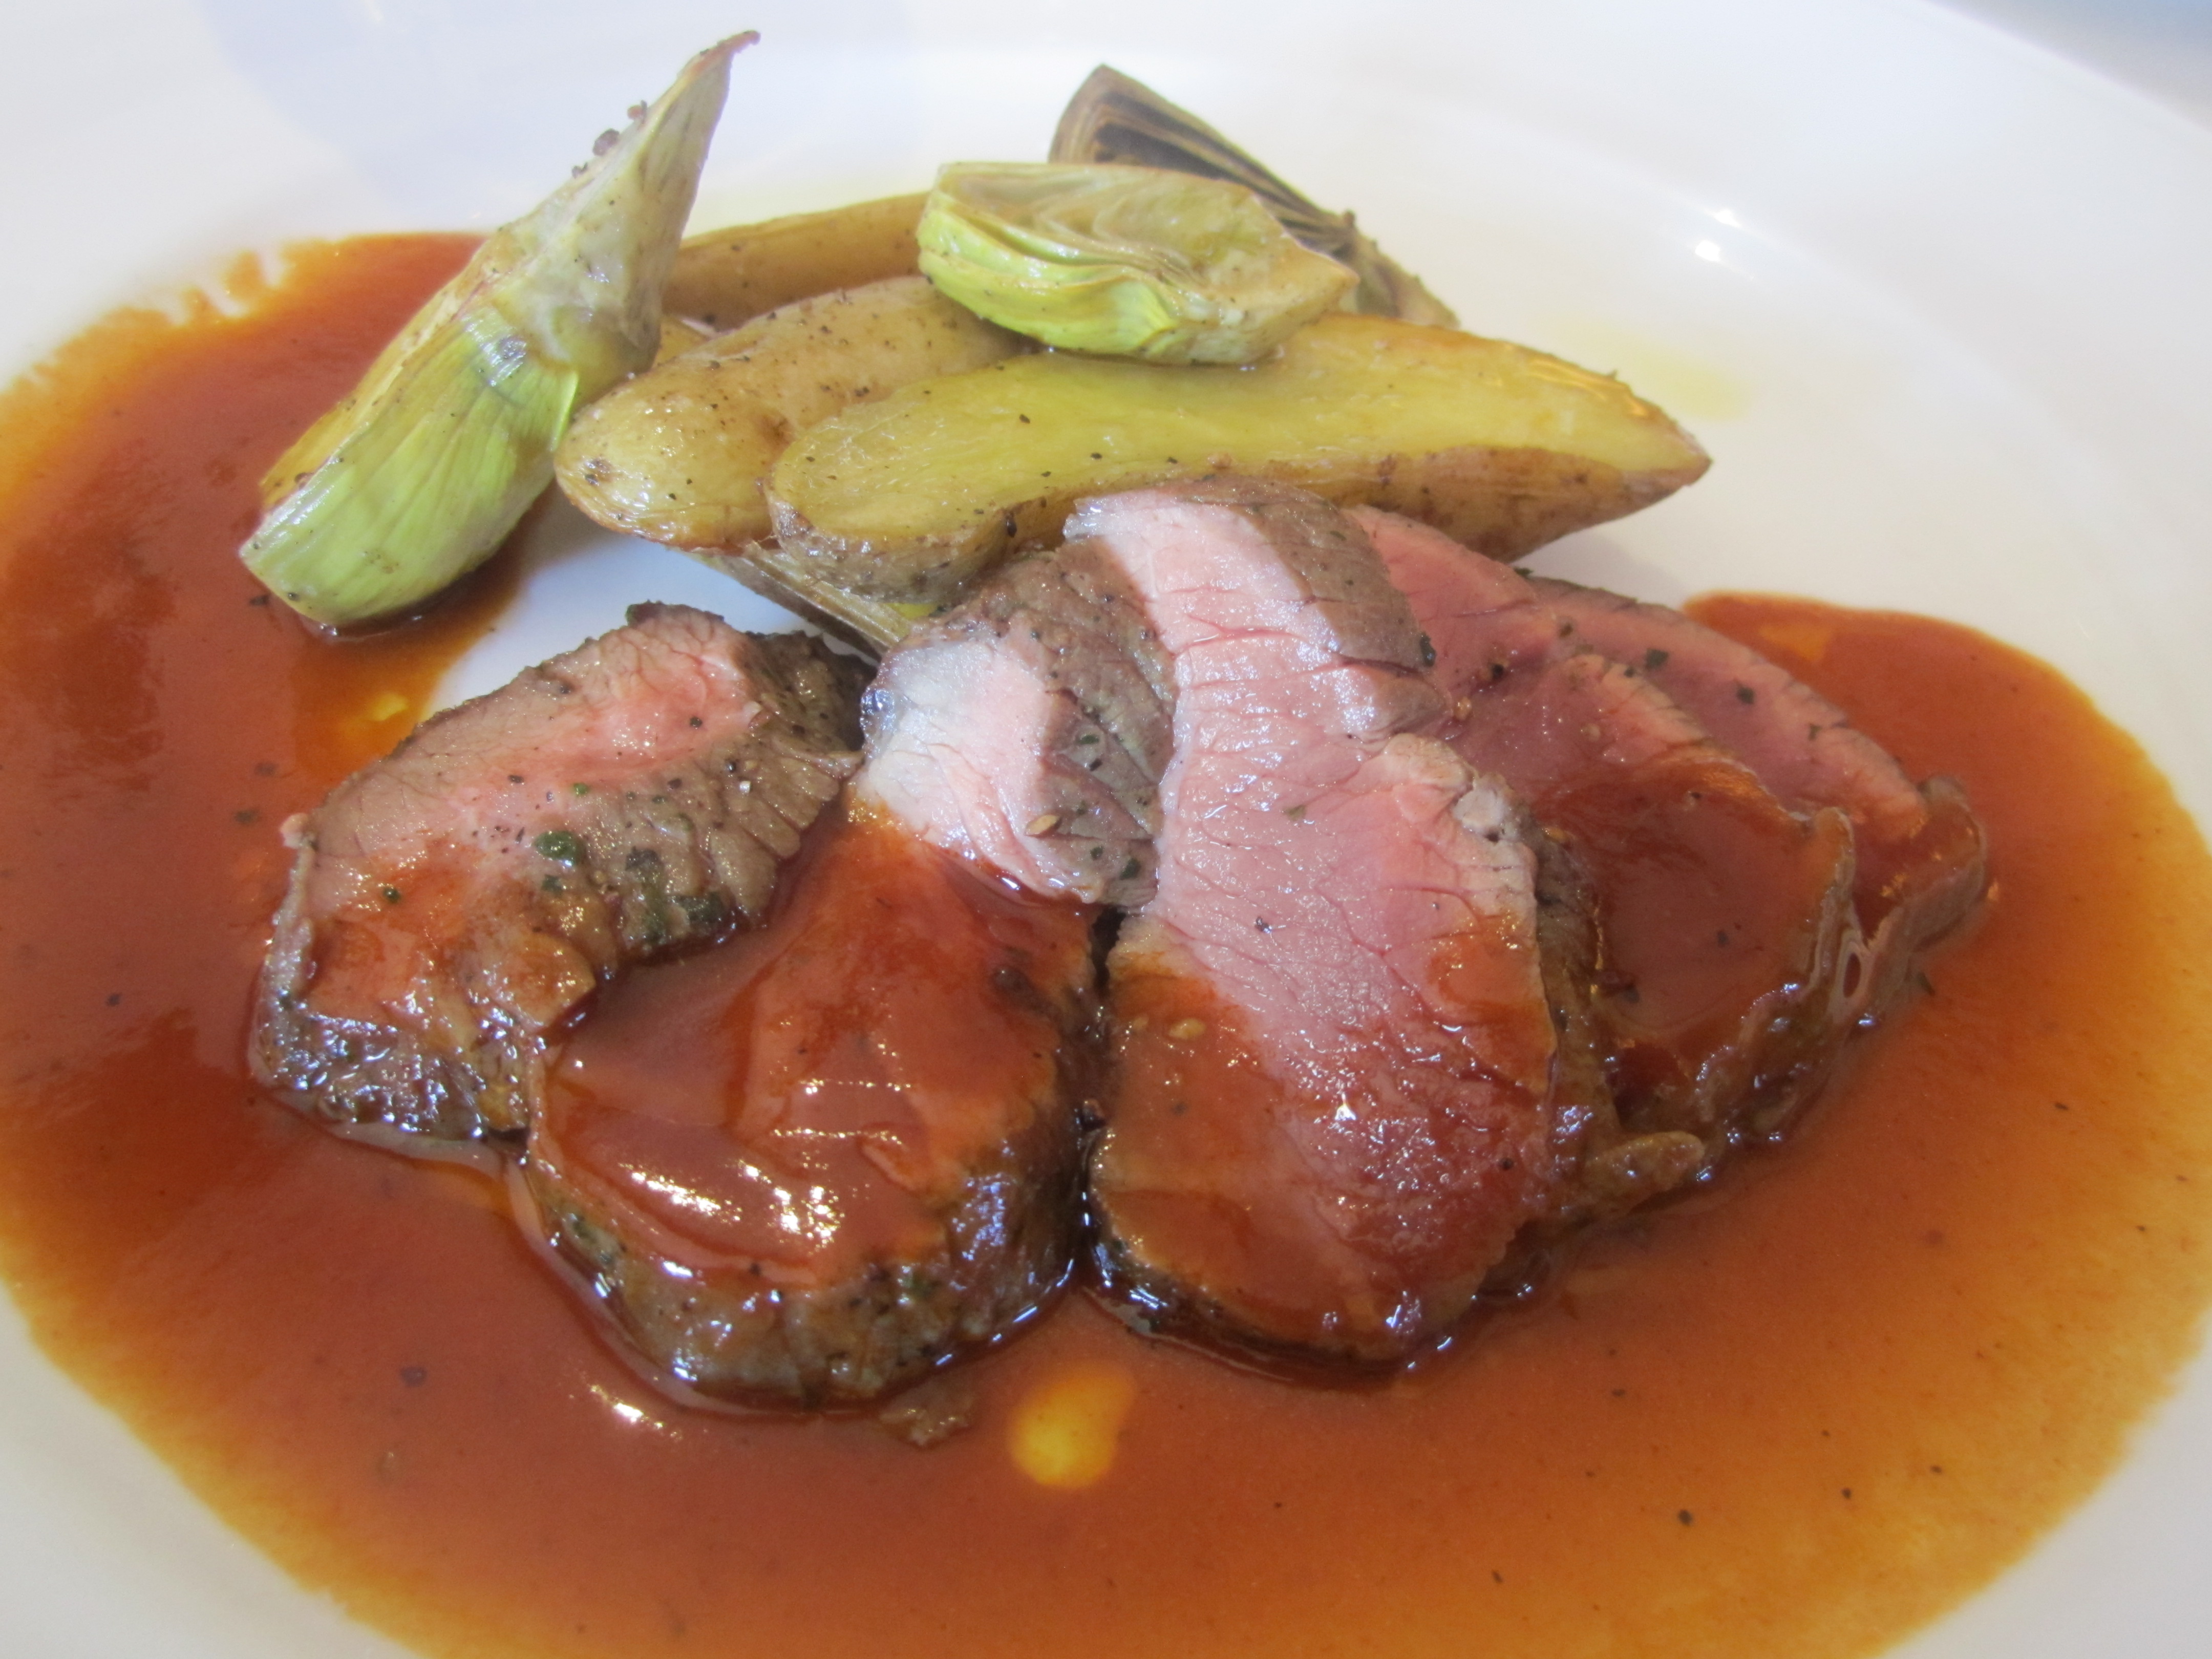
we both dined on the Roasted Lamb with Artichokes and Fingerling Potatoes for our main course:
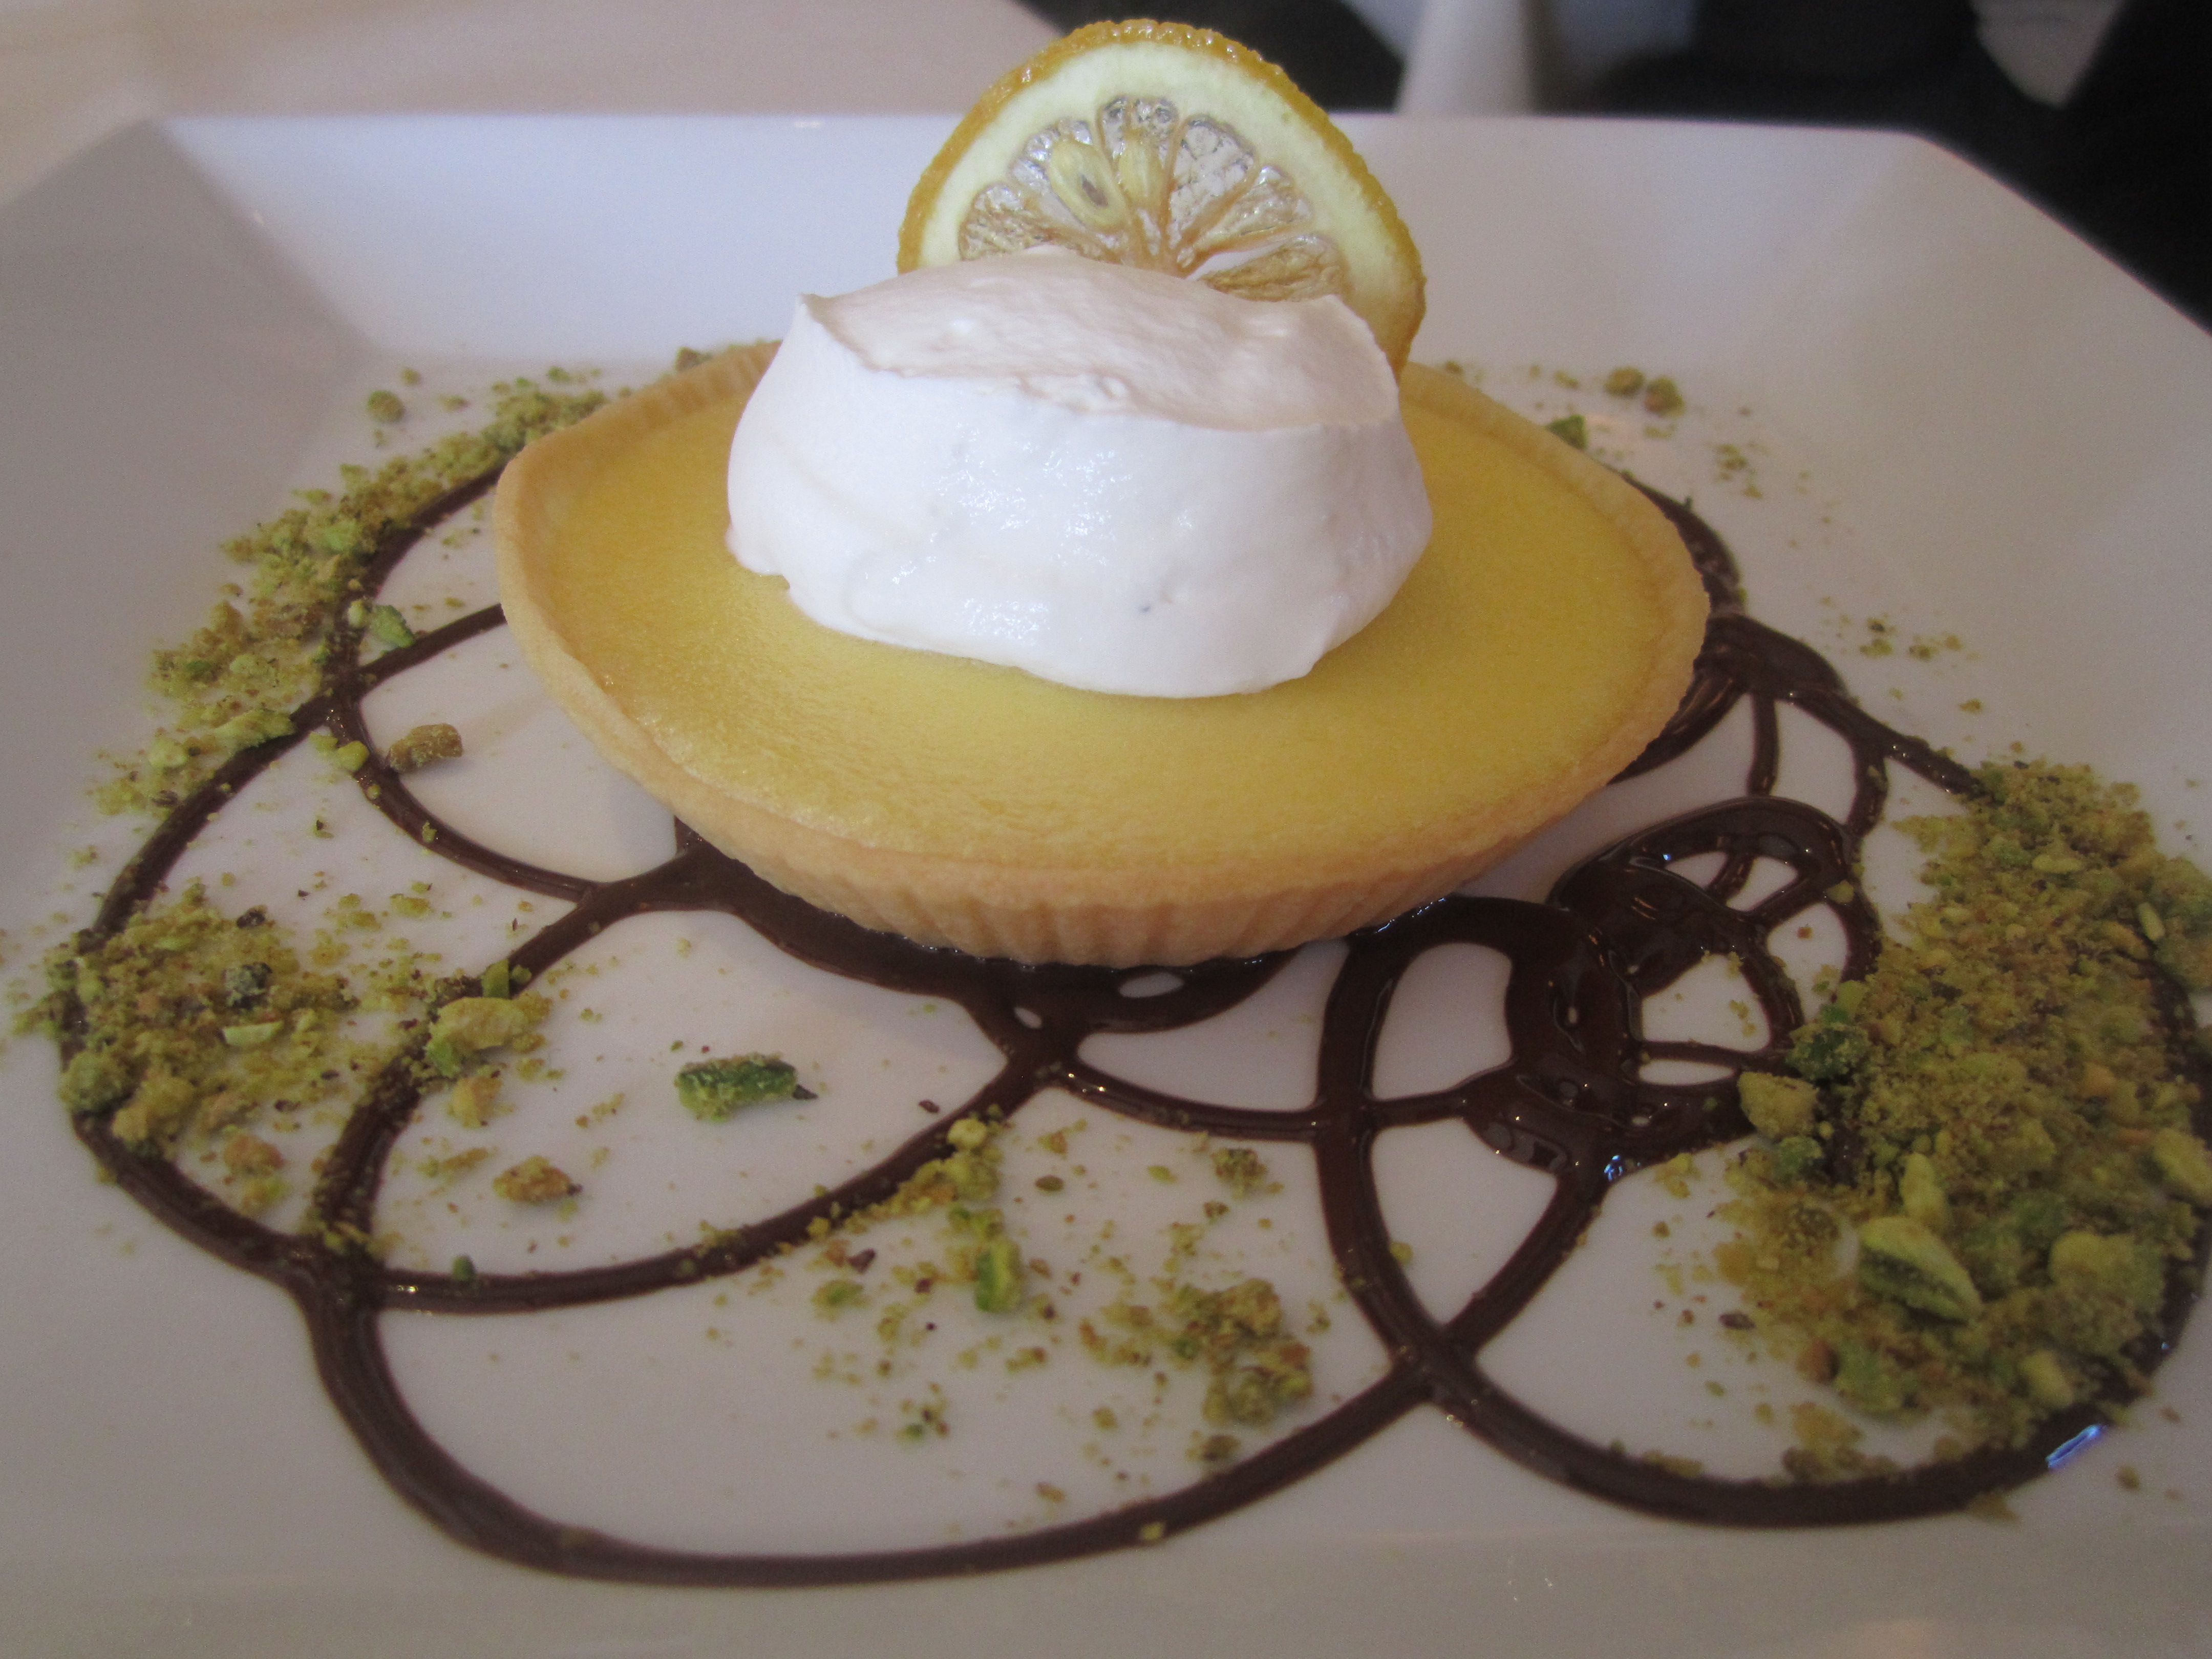
for dessert, my husband got the Lemon Tart with Pistachios and Whipped Cream (they drizzled a little chocolate on the bottom of the plate as well:
my choice was the Zabaione (Italian custard) Cream Puff with Gianduya (hazelnut & chocolate) Sauce:

We followed this with cappuccino…..delicious!
Our waitress was a young woman from Kansas. This was her second semester of her second year, graduating in May with an Associates. She was going back home to do a mission trip to Panama and then another externship, to get more hands on restaurant experience. In September she was returning to start her Bachelor’s. The school encourages interaction with the students so she was very accommodating in explaining the details of our lunch and her schooling. The service was impeccable, so you felt well taken care of .
the entrance to Ristorante Caterina de’ Medici:

Apple Pie Bakery Cafe, we went inside and looked around. Very lovely and they had foodstuff you could buy and take out, as well as eat at the cafe. I bought local dark amber Maple Syrup:

students in the classroom:


The Bocuse restaurant renovated:
and their wine, oh my!
The CIA also offers tours: “The general public can schedule tours Monday–Friday (when classes are in session) at 4 p.m. and an additional time of Mondays at 10 a.m. Tours are $6 per person. Reservations are required. For more information, or to schedule a tour, call 845-451-1588, Monday–Friday from 9 a.m. to 5 p.m.”
I have not done this yet but I think combining a tour with a lovely lunch would be yum!
If you live in the area or are visiting, consider exploring the CIA!

Chunky Lola Cookies by The Salted Cookie
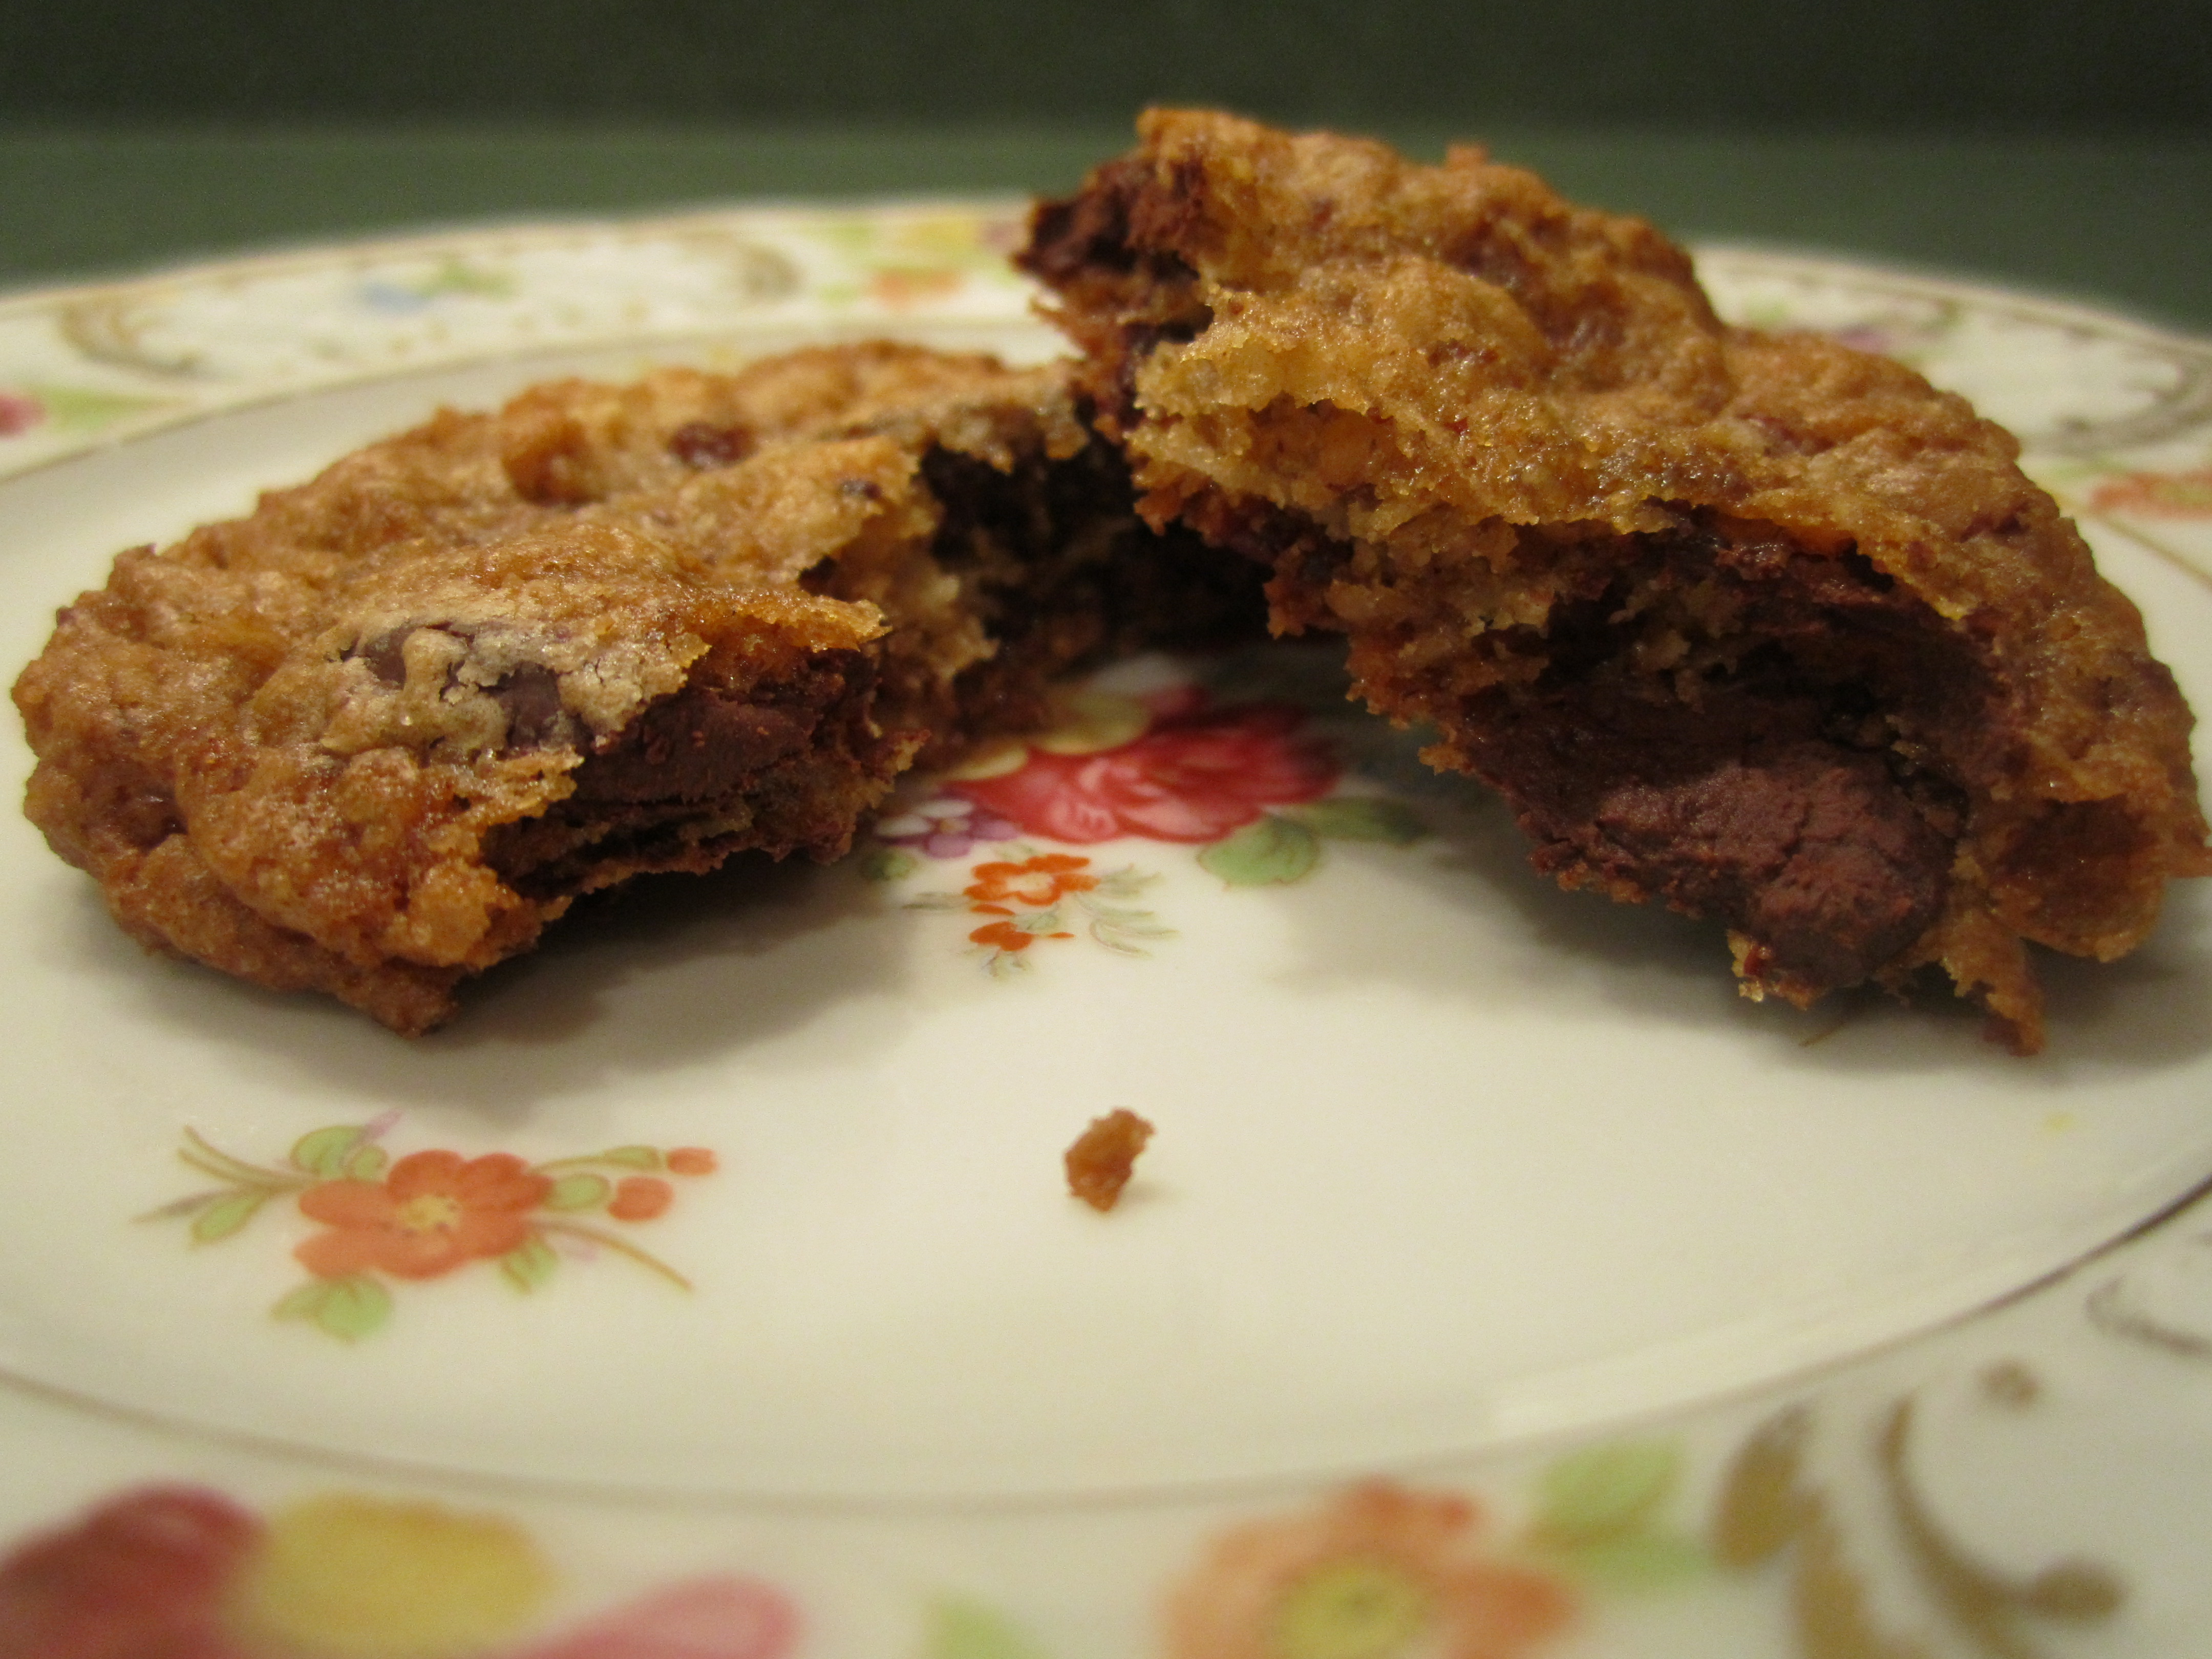
This is one of my favorite blogs: thesaltedcookie! It’s usually a Sunday post because whatever cookie Becca is making, they are brought to work the next day. She takes you on a cookie adventure with her writing, letting you get a glimpse of her wonderful family and personal experiences.
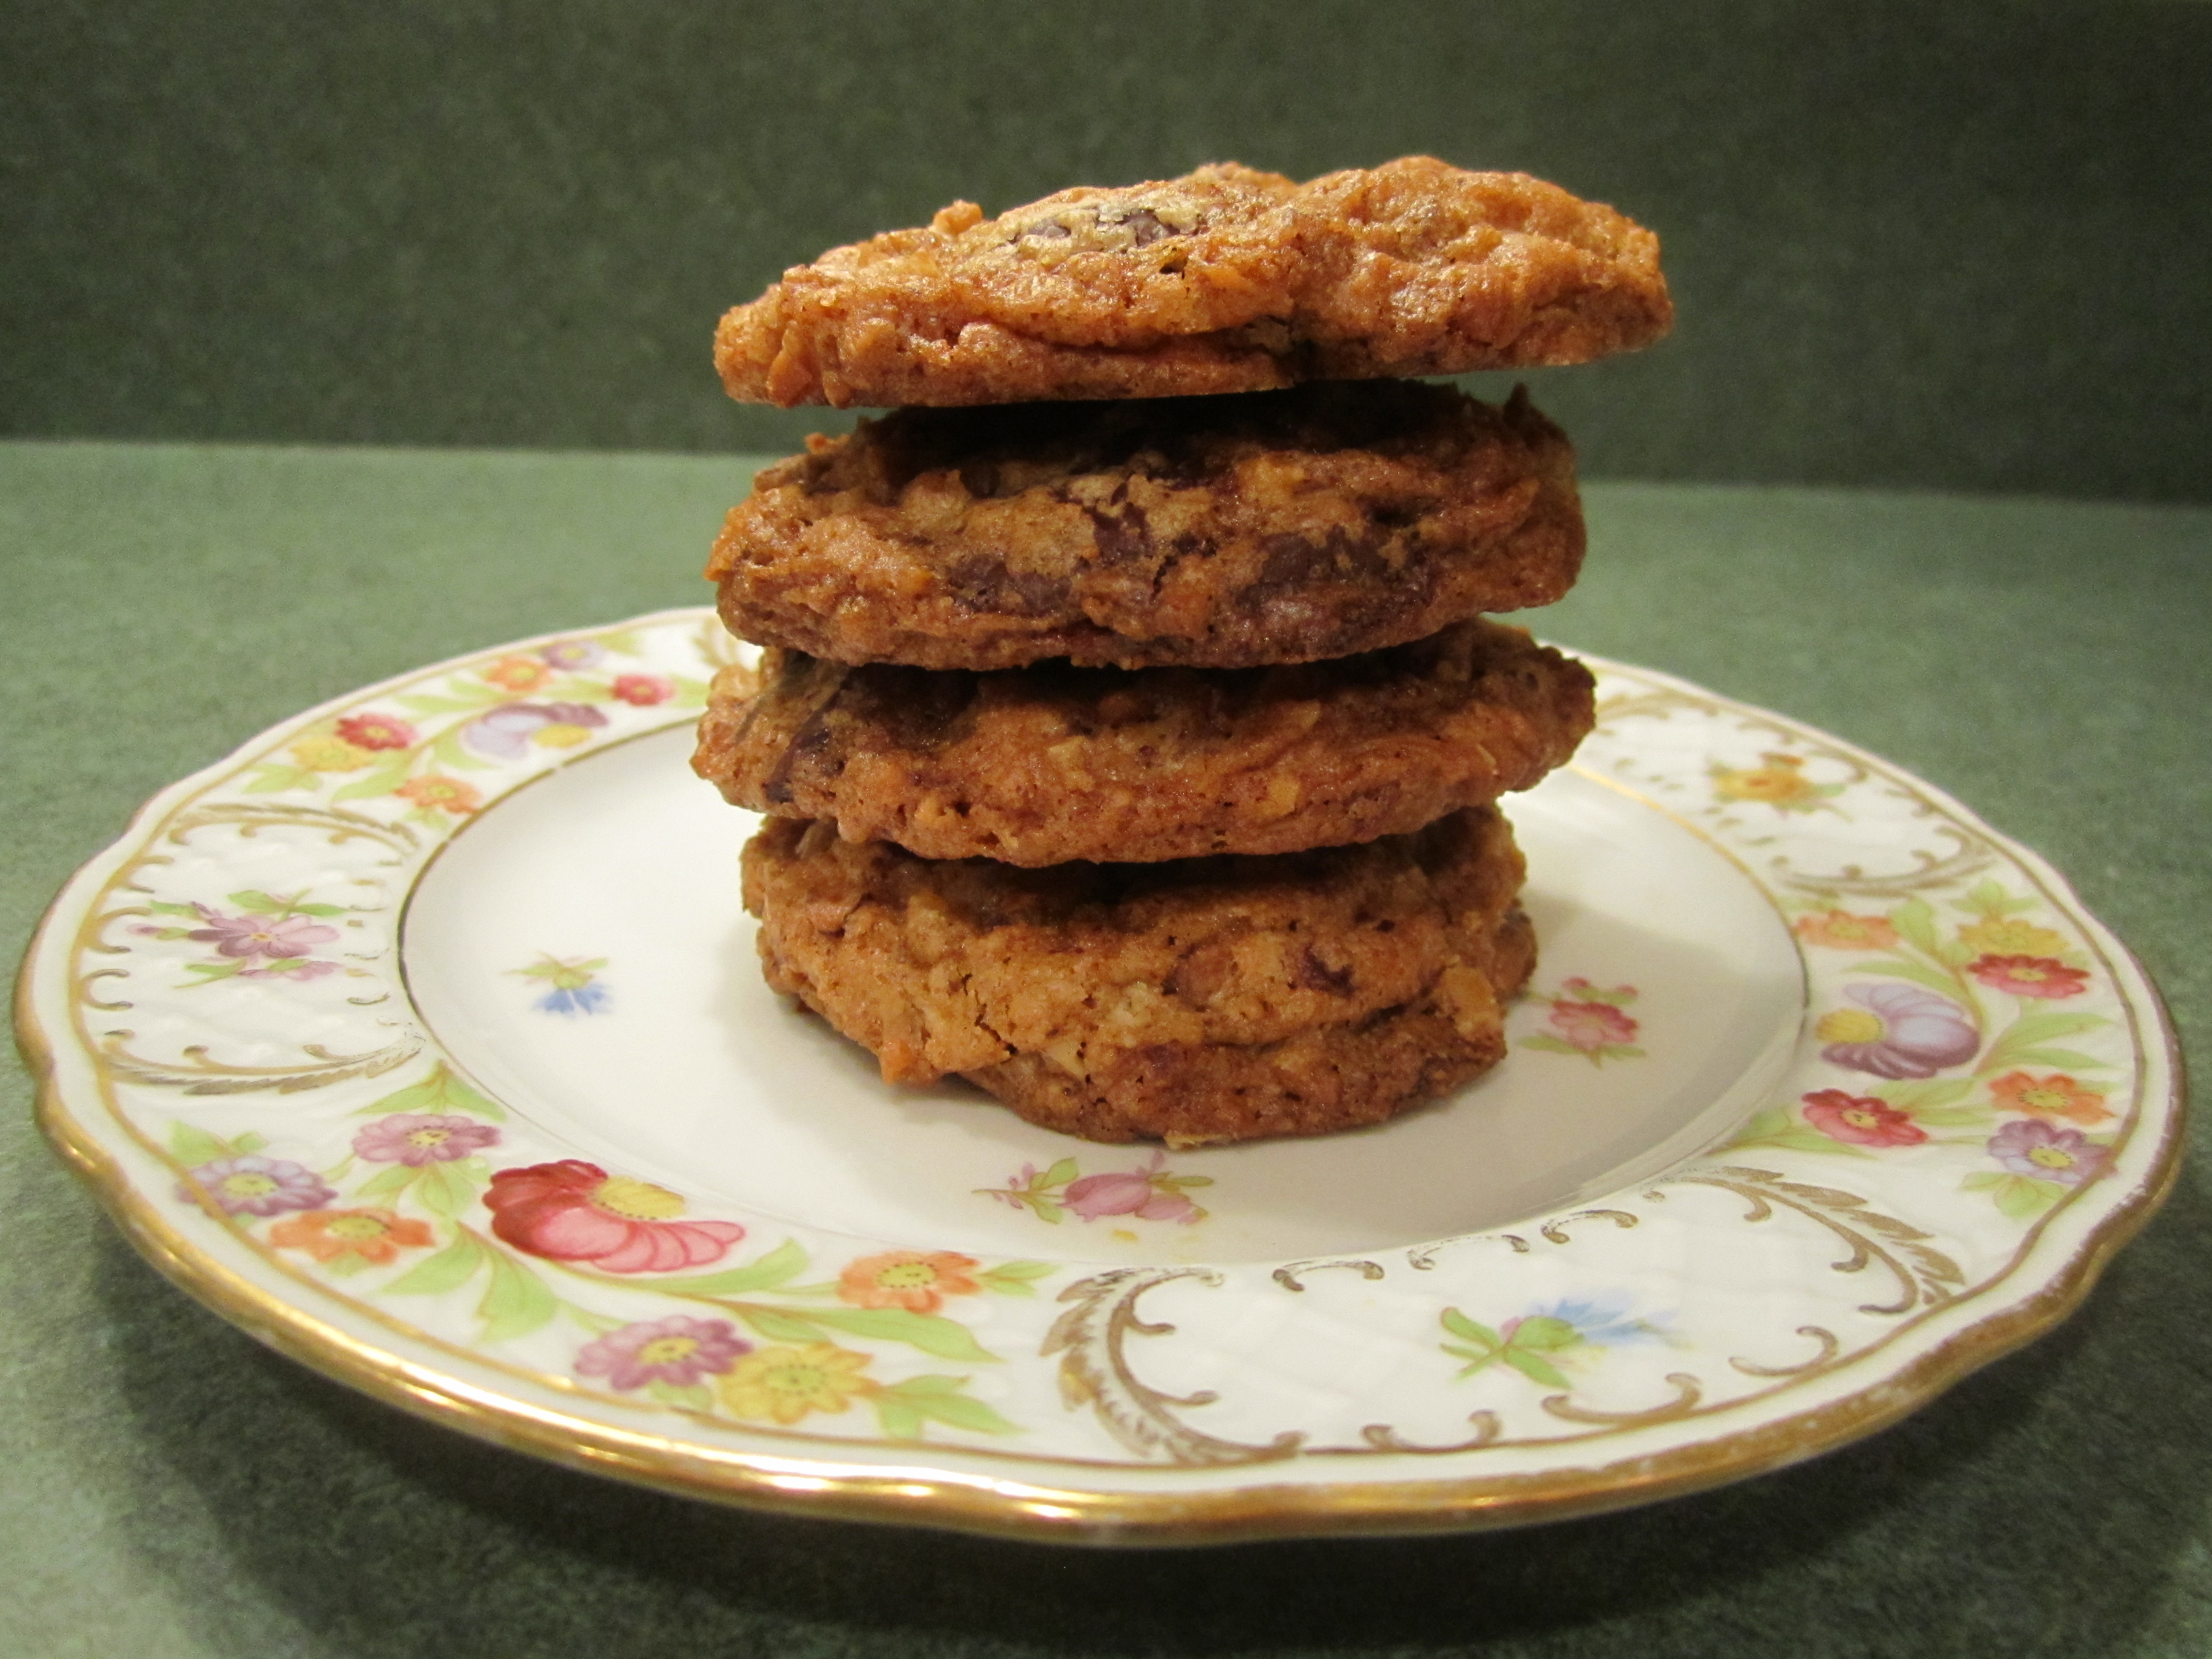
These cookies are really, really good. I am usually not a big fan of nuts in cookies but they really work in this cookie. The nuts are toasted and I think toasting brings out the nuts maximum flavor and makes them more crunchy: something to think about when I avoid nuts in baked goods recipes in the future.
Looking forward to the cookie cookbook that she should definitely be writing!!
This is the link to the recipe: Chunky Lola Cookies. I have rewritten it here, with teeny, tiny tweaks and added pictures of my progress:
11 tablespoons butter
2/3 cup sugar
2/3 cup packed light brown sugar
2 eggs
1 teaspoon Pure Vanilla Extract
1-1/4 cups flour
1 teaspoon baking soda
1/2 teaspoon salt
2/3 cup old-fashioned rolled oats
10 ounce bag of Ghirardelli 60 % cacao bittersweet chocolate chips
6 ounce bag pecan halves
3-1/2 ounces sweetened shredded coconut
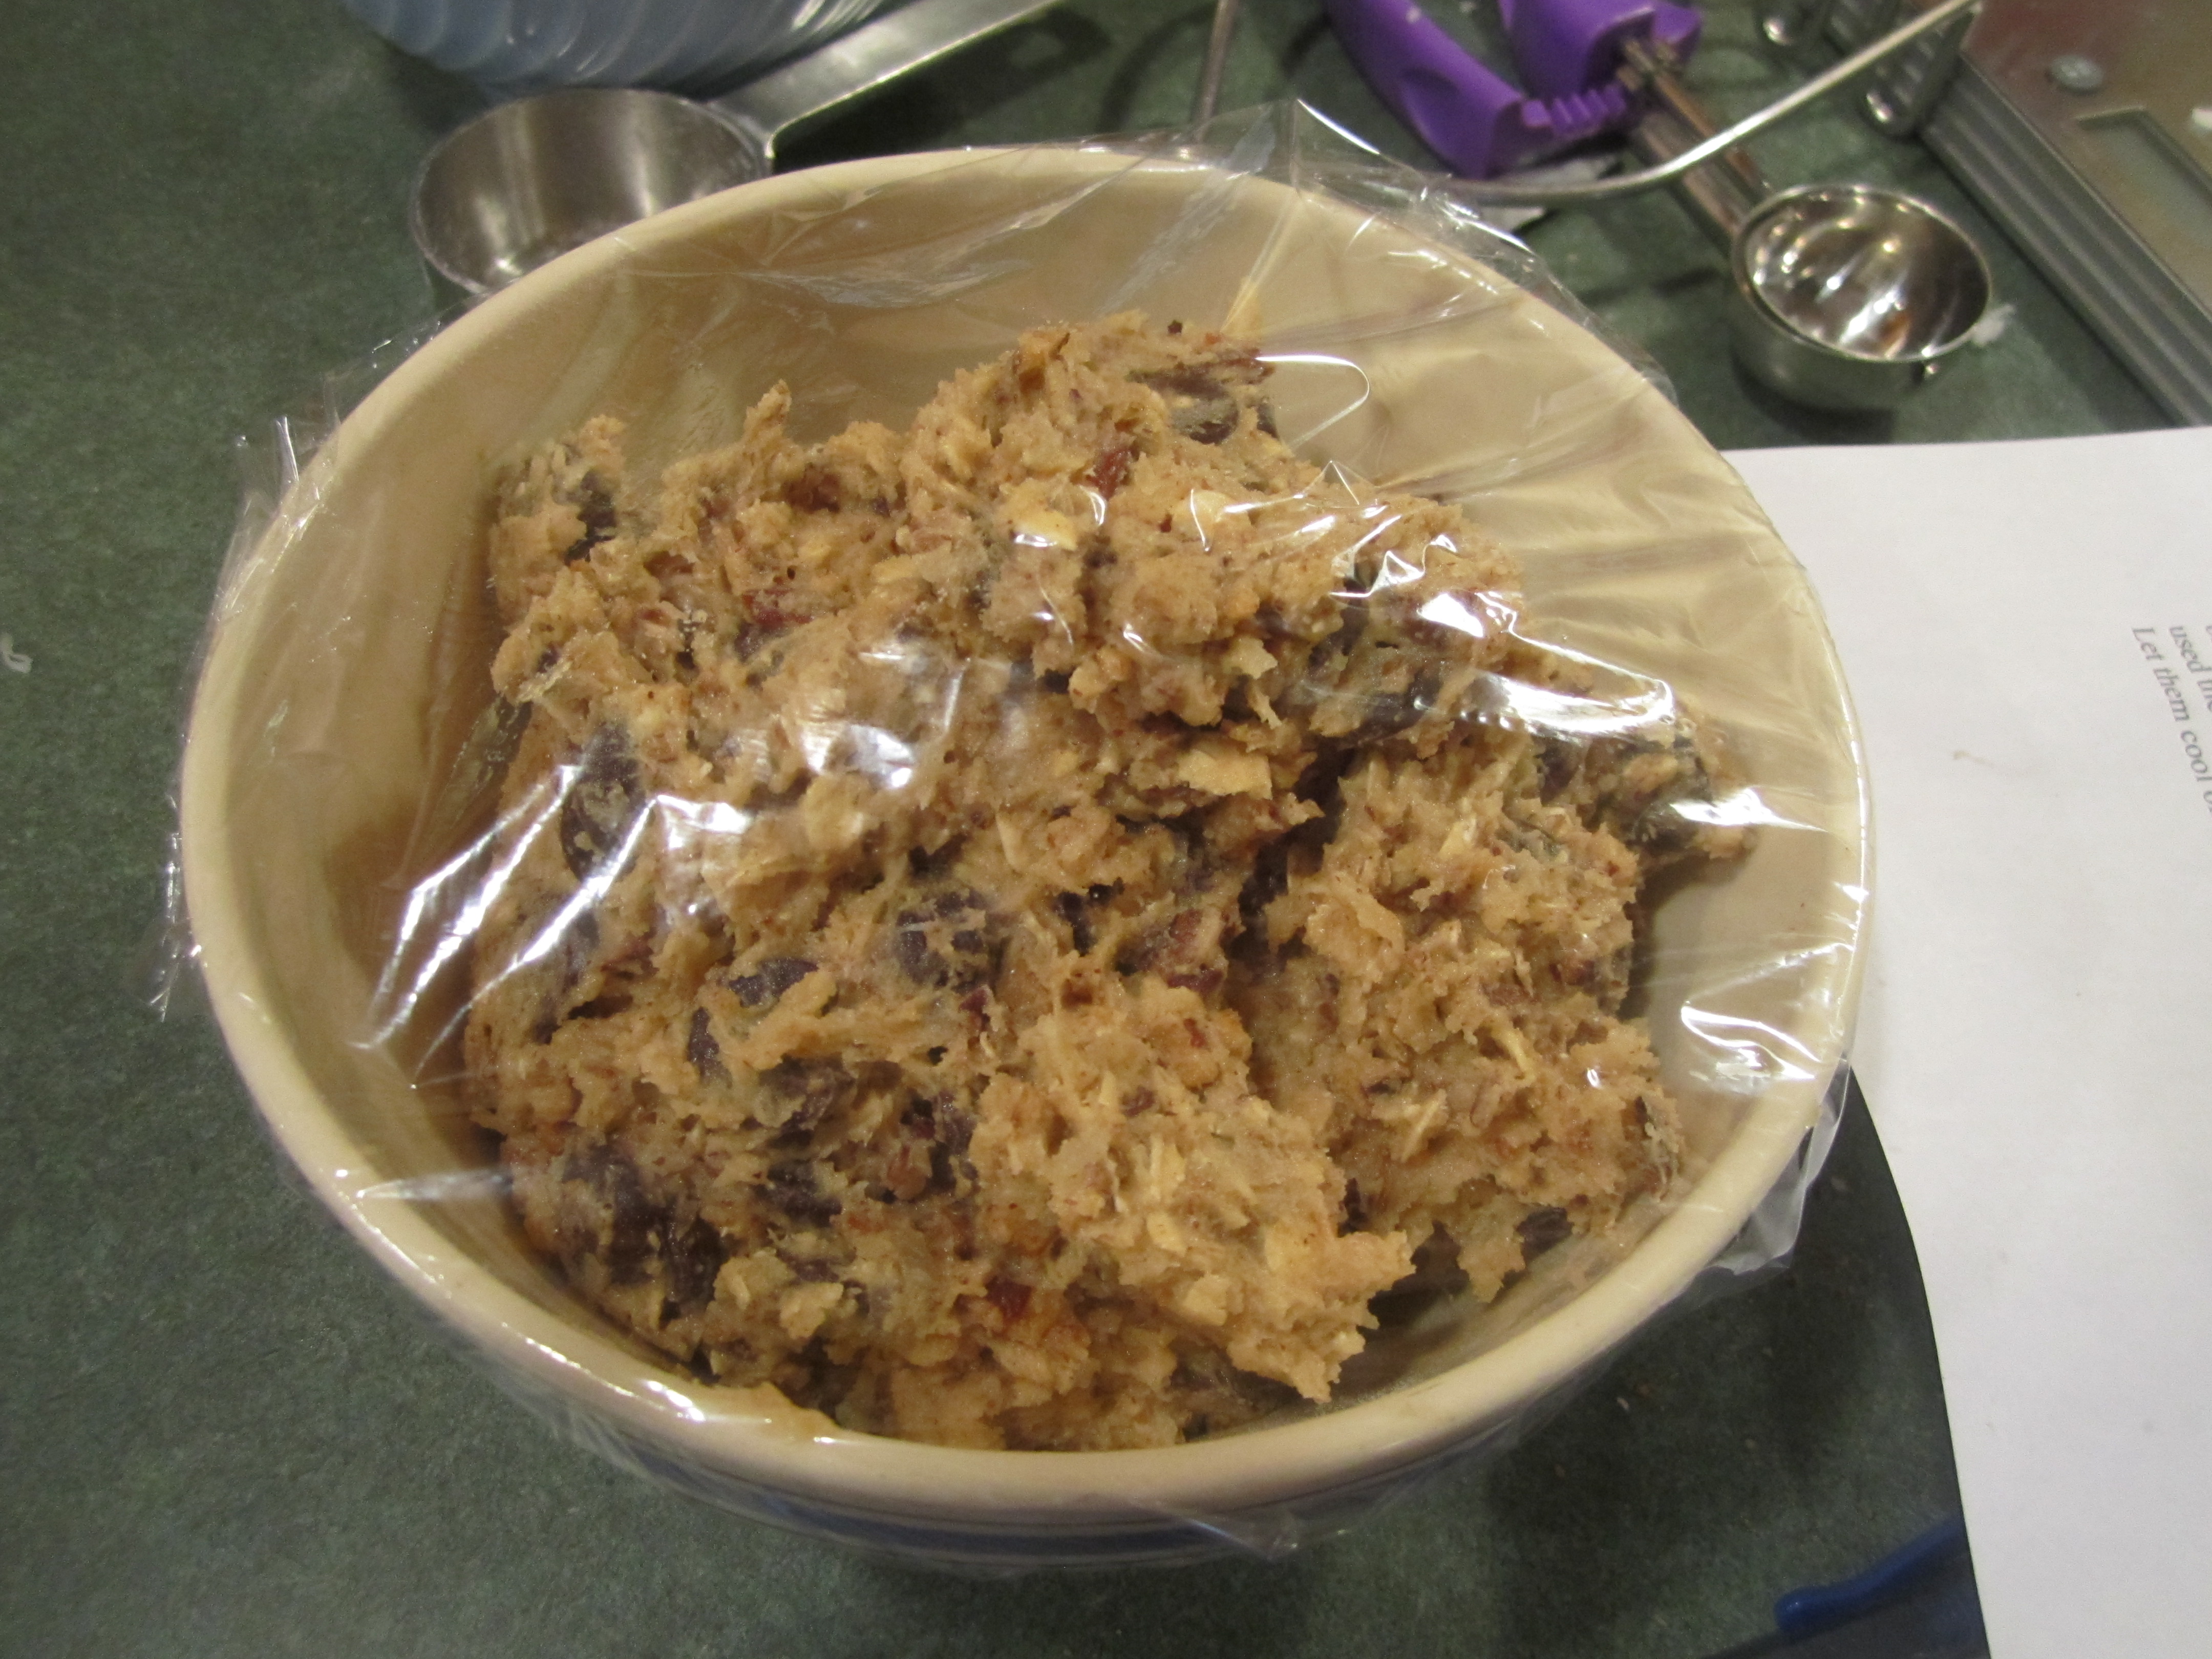
Note: this batter needs to be refrigerated before baking. thesaltedcookie recommends this in her directions and believe me, it makes a difference in the integrity of the cookie. I decided to test whether this was really needed (ahem….) and it is. So be prepared to make the batter and wait before you can bake them off.
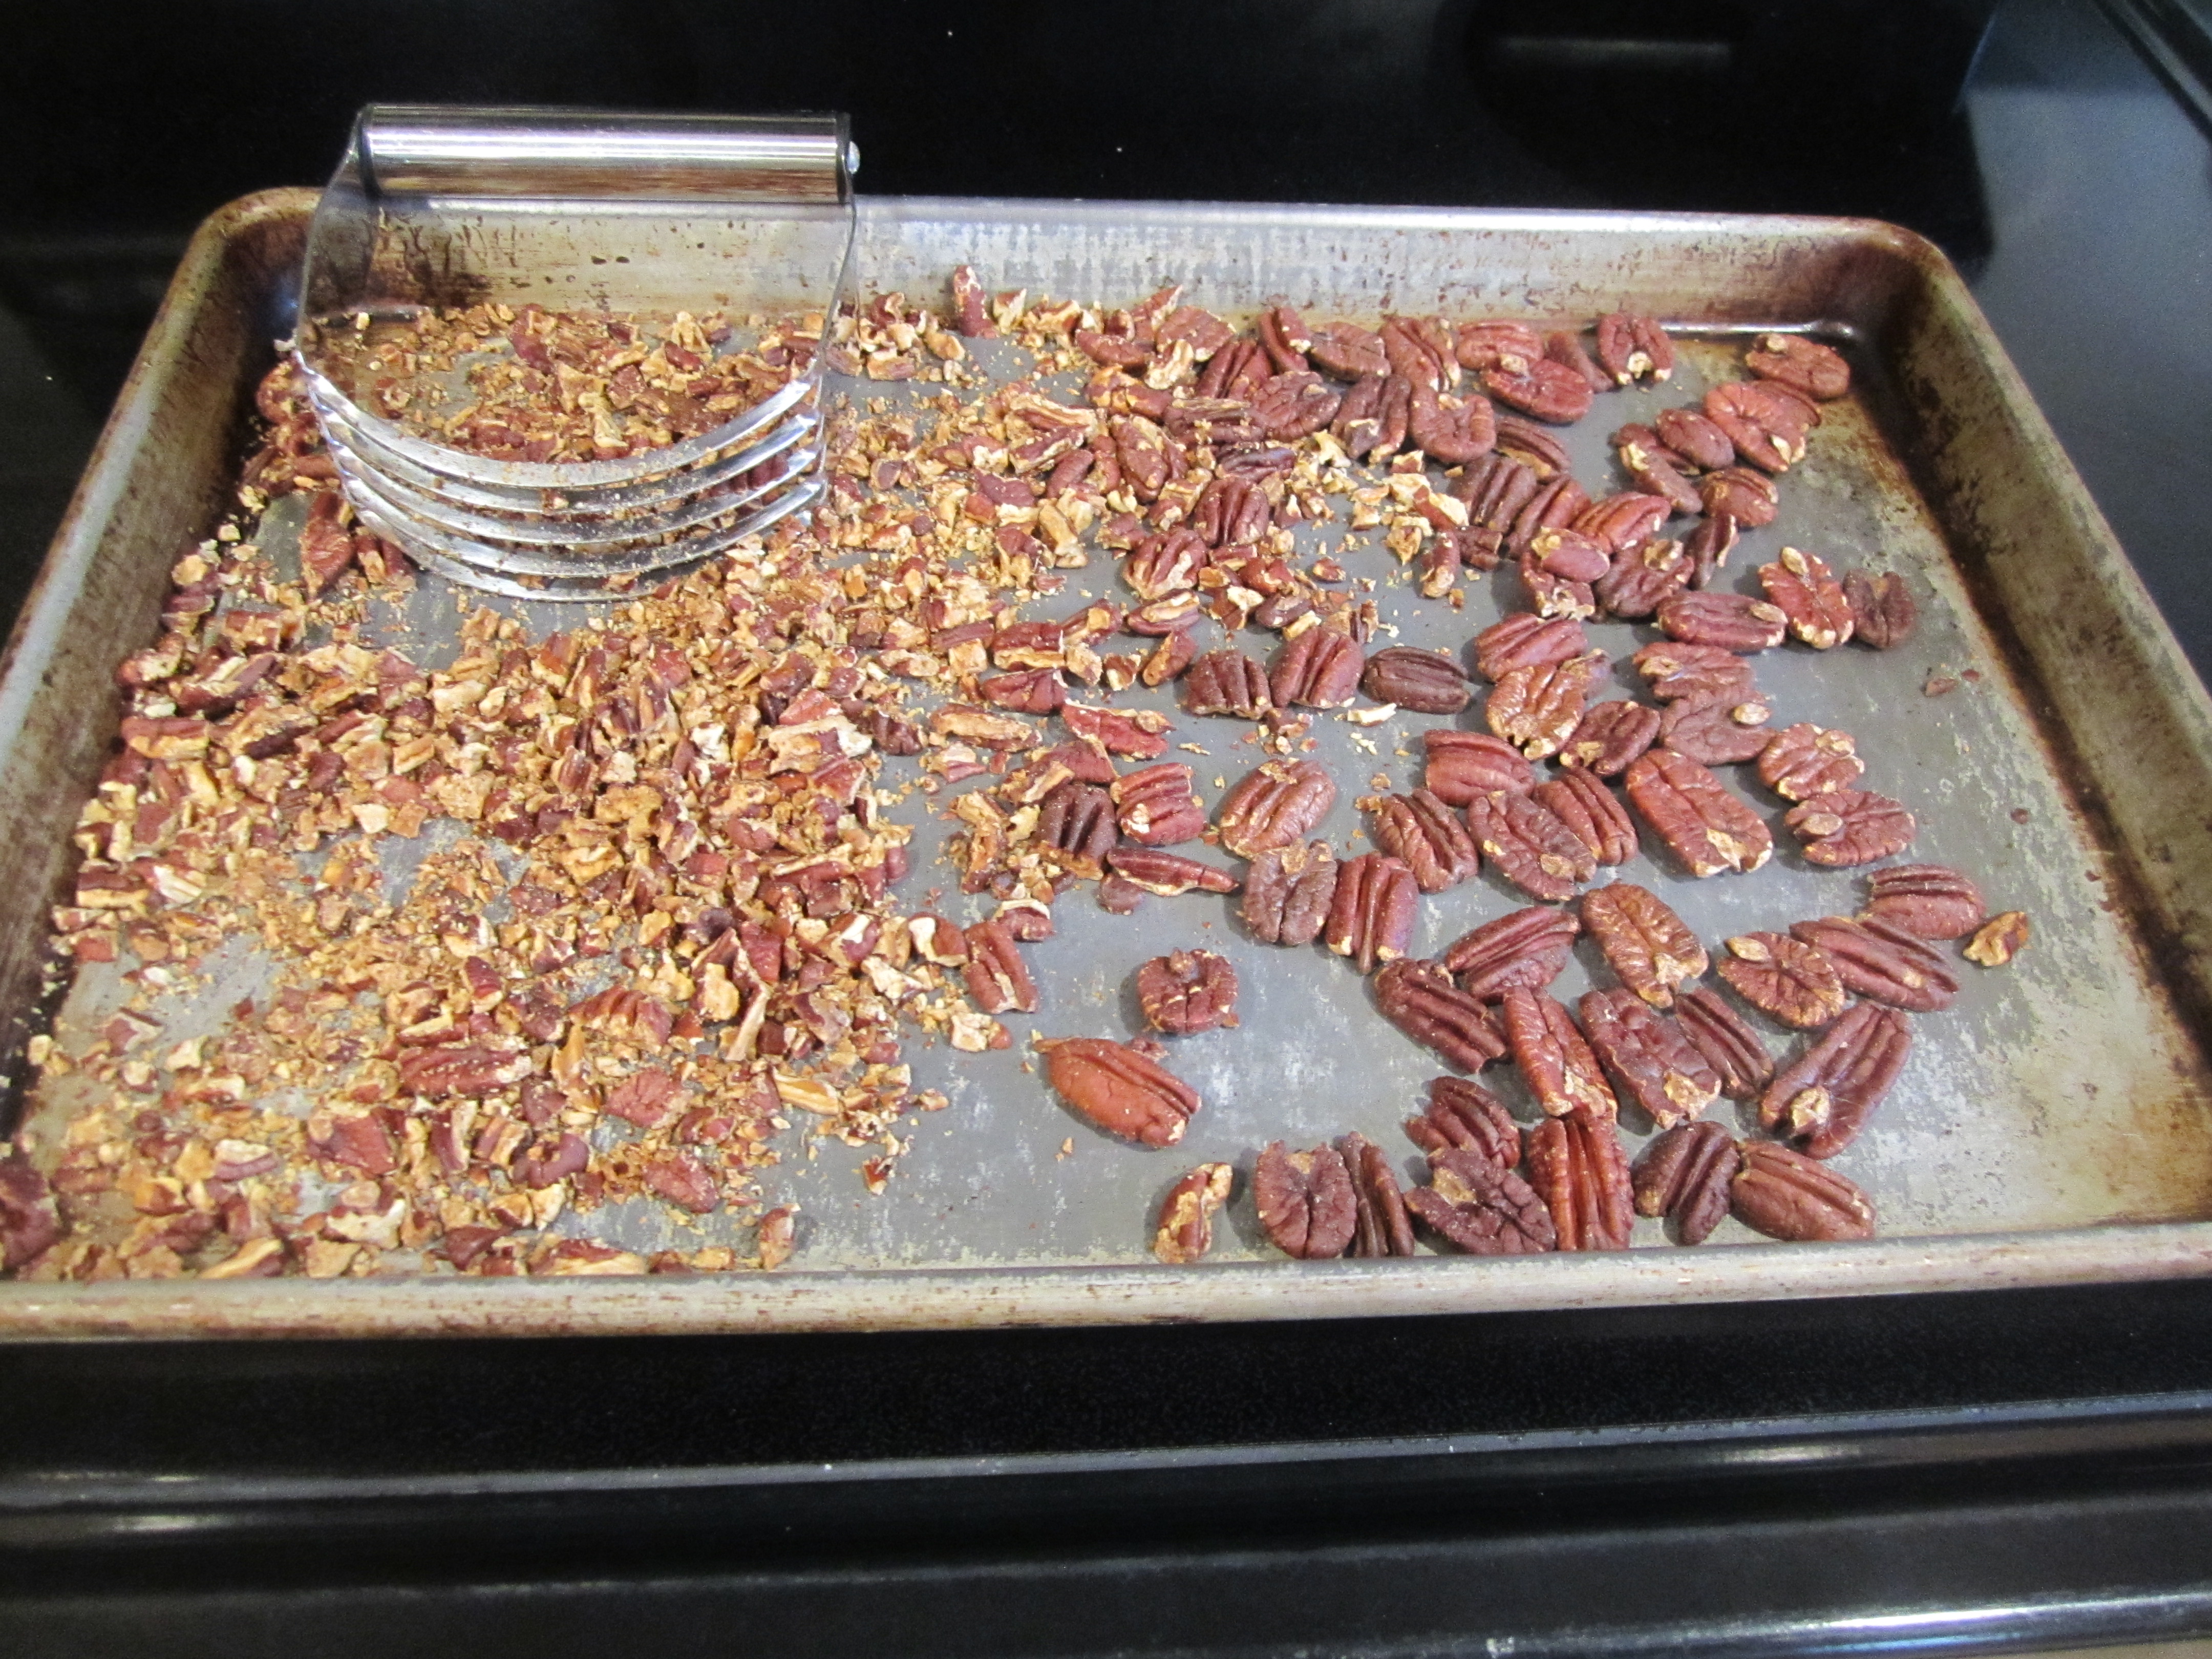
Toasting the pecans: preheat oven to 375 degrees and place pecan halves on a baking sheet sprayed with canola oil. Bake for about 12 minutes until dark brown. When you begin to smell the pecans, they are very close to being ready. Remove from the oven and coarsely chop and set aside. I used a pastry blender/knife and it worked really well.
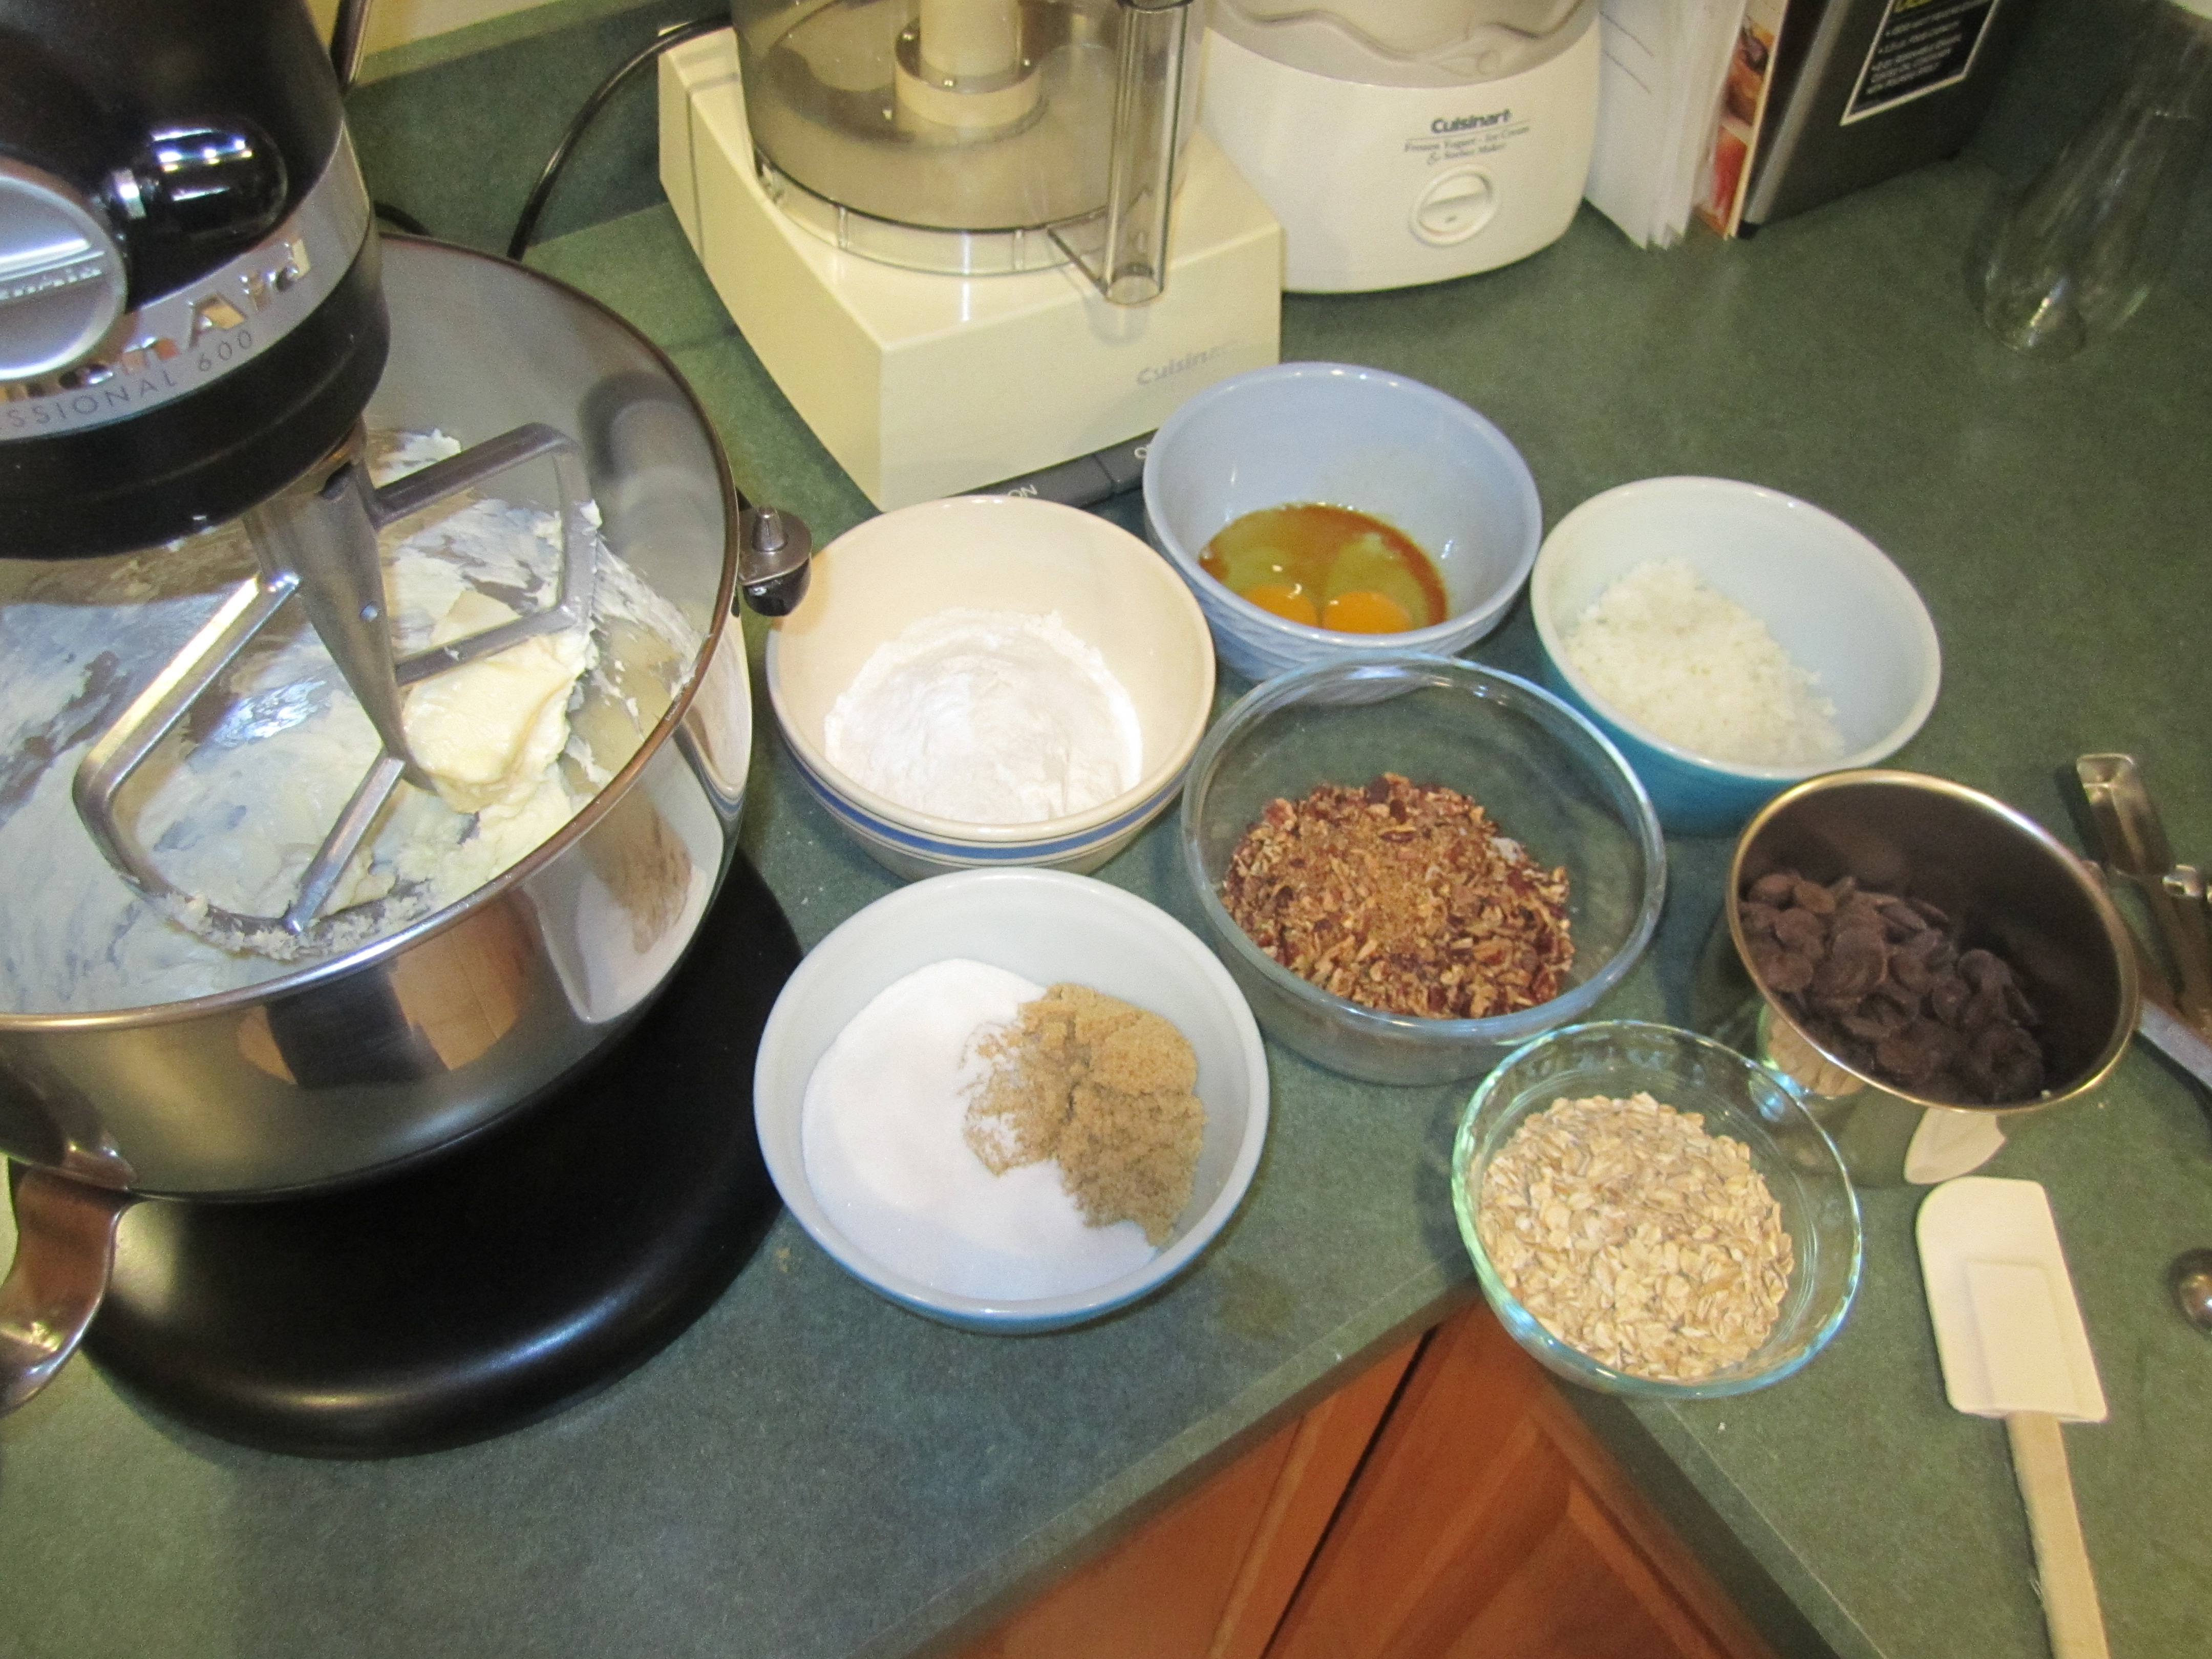
Place the butter in bowl of stand mixer and beat on medium until soft. While the butter is getting soft, get other ingredients together: place sugars in medium bowl, place eggs and vanilla in a small bowl, combine flour, baking soda and salt in medium bowl. Measure out oats and shredded coconut. Open chips and place in small bowl.
When butter is ready, add sugars and beat until thoroughly combined. Add eggs and vanilla and beat until light and fluffy. Gradually add flour mixture, then oats and mix until just combined. Add chips, pecans and coconut and mix until just combined.
Cover dough with plastic wrap and refrigerate for at least 3 hours or overnight.
Preheat oven to 350 degrees.
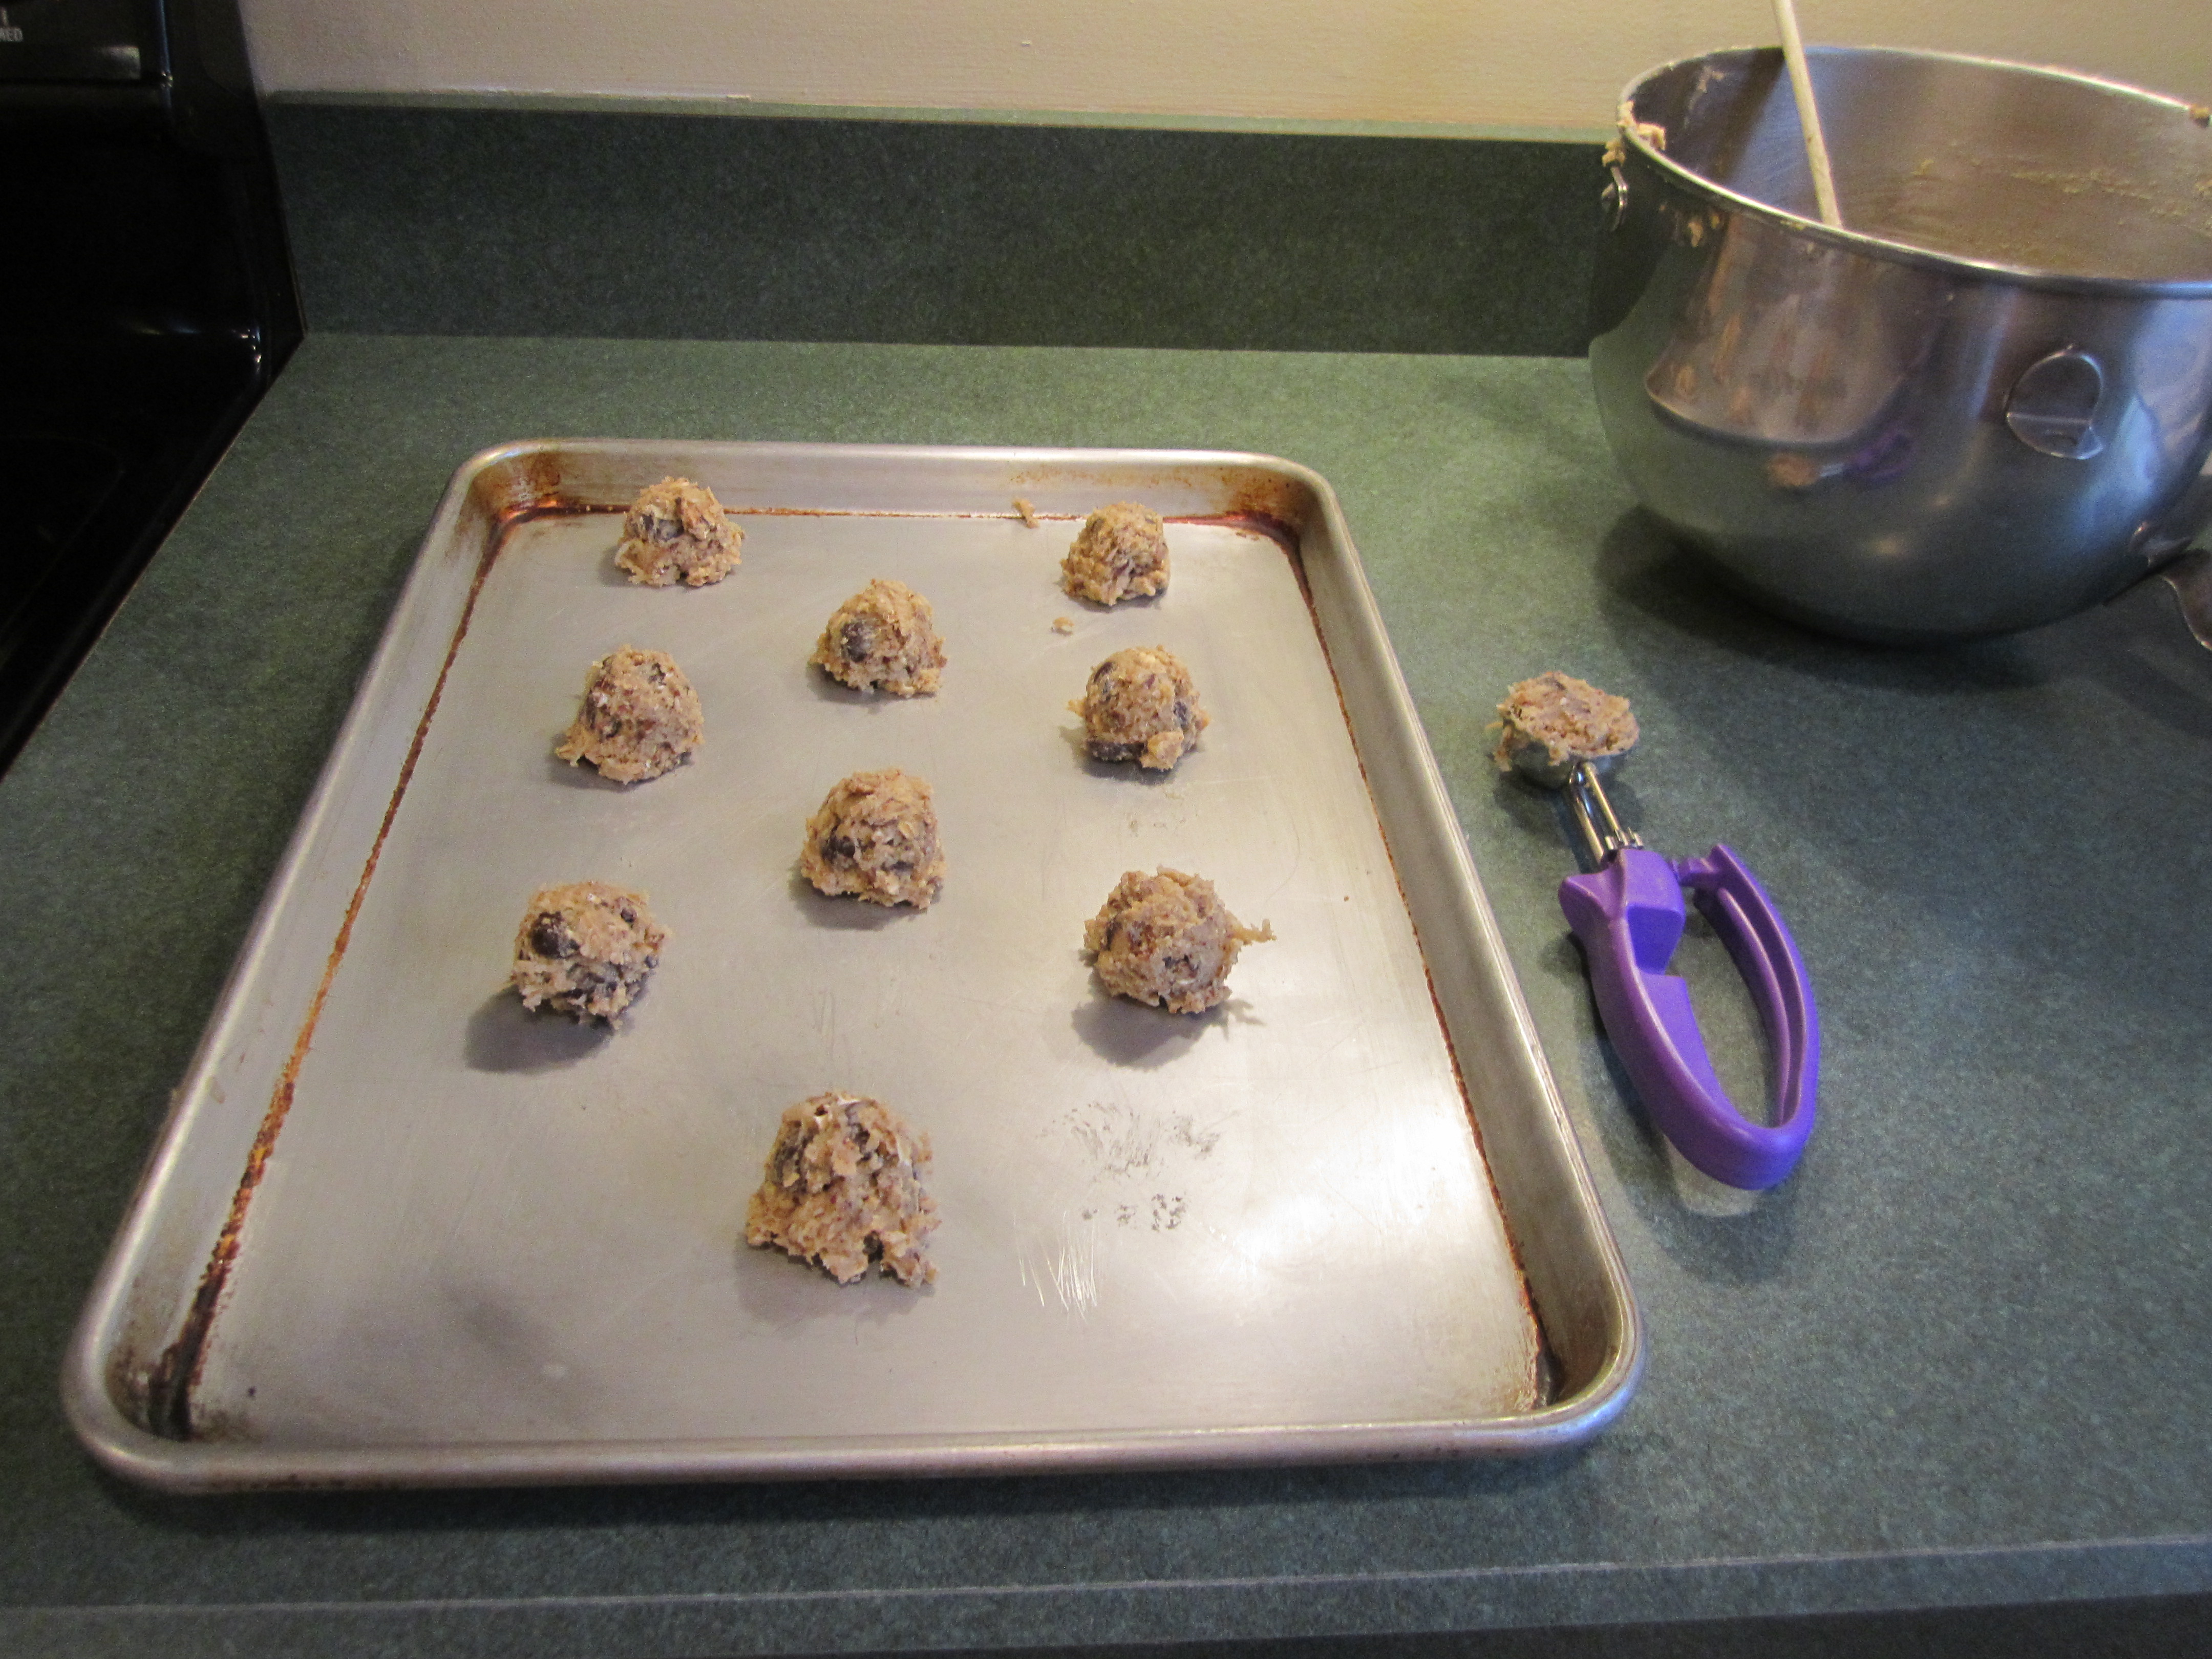
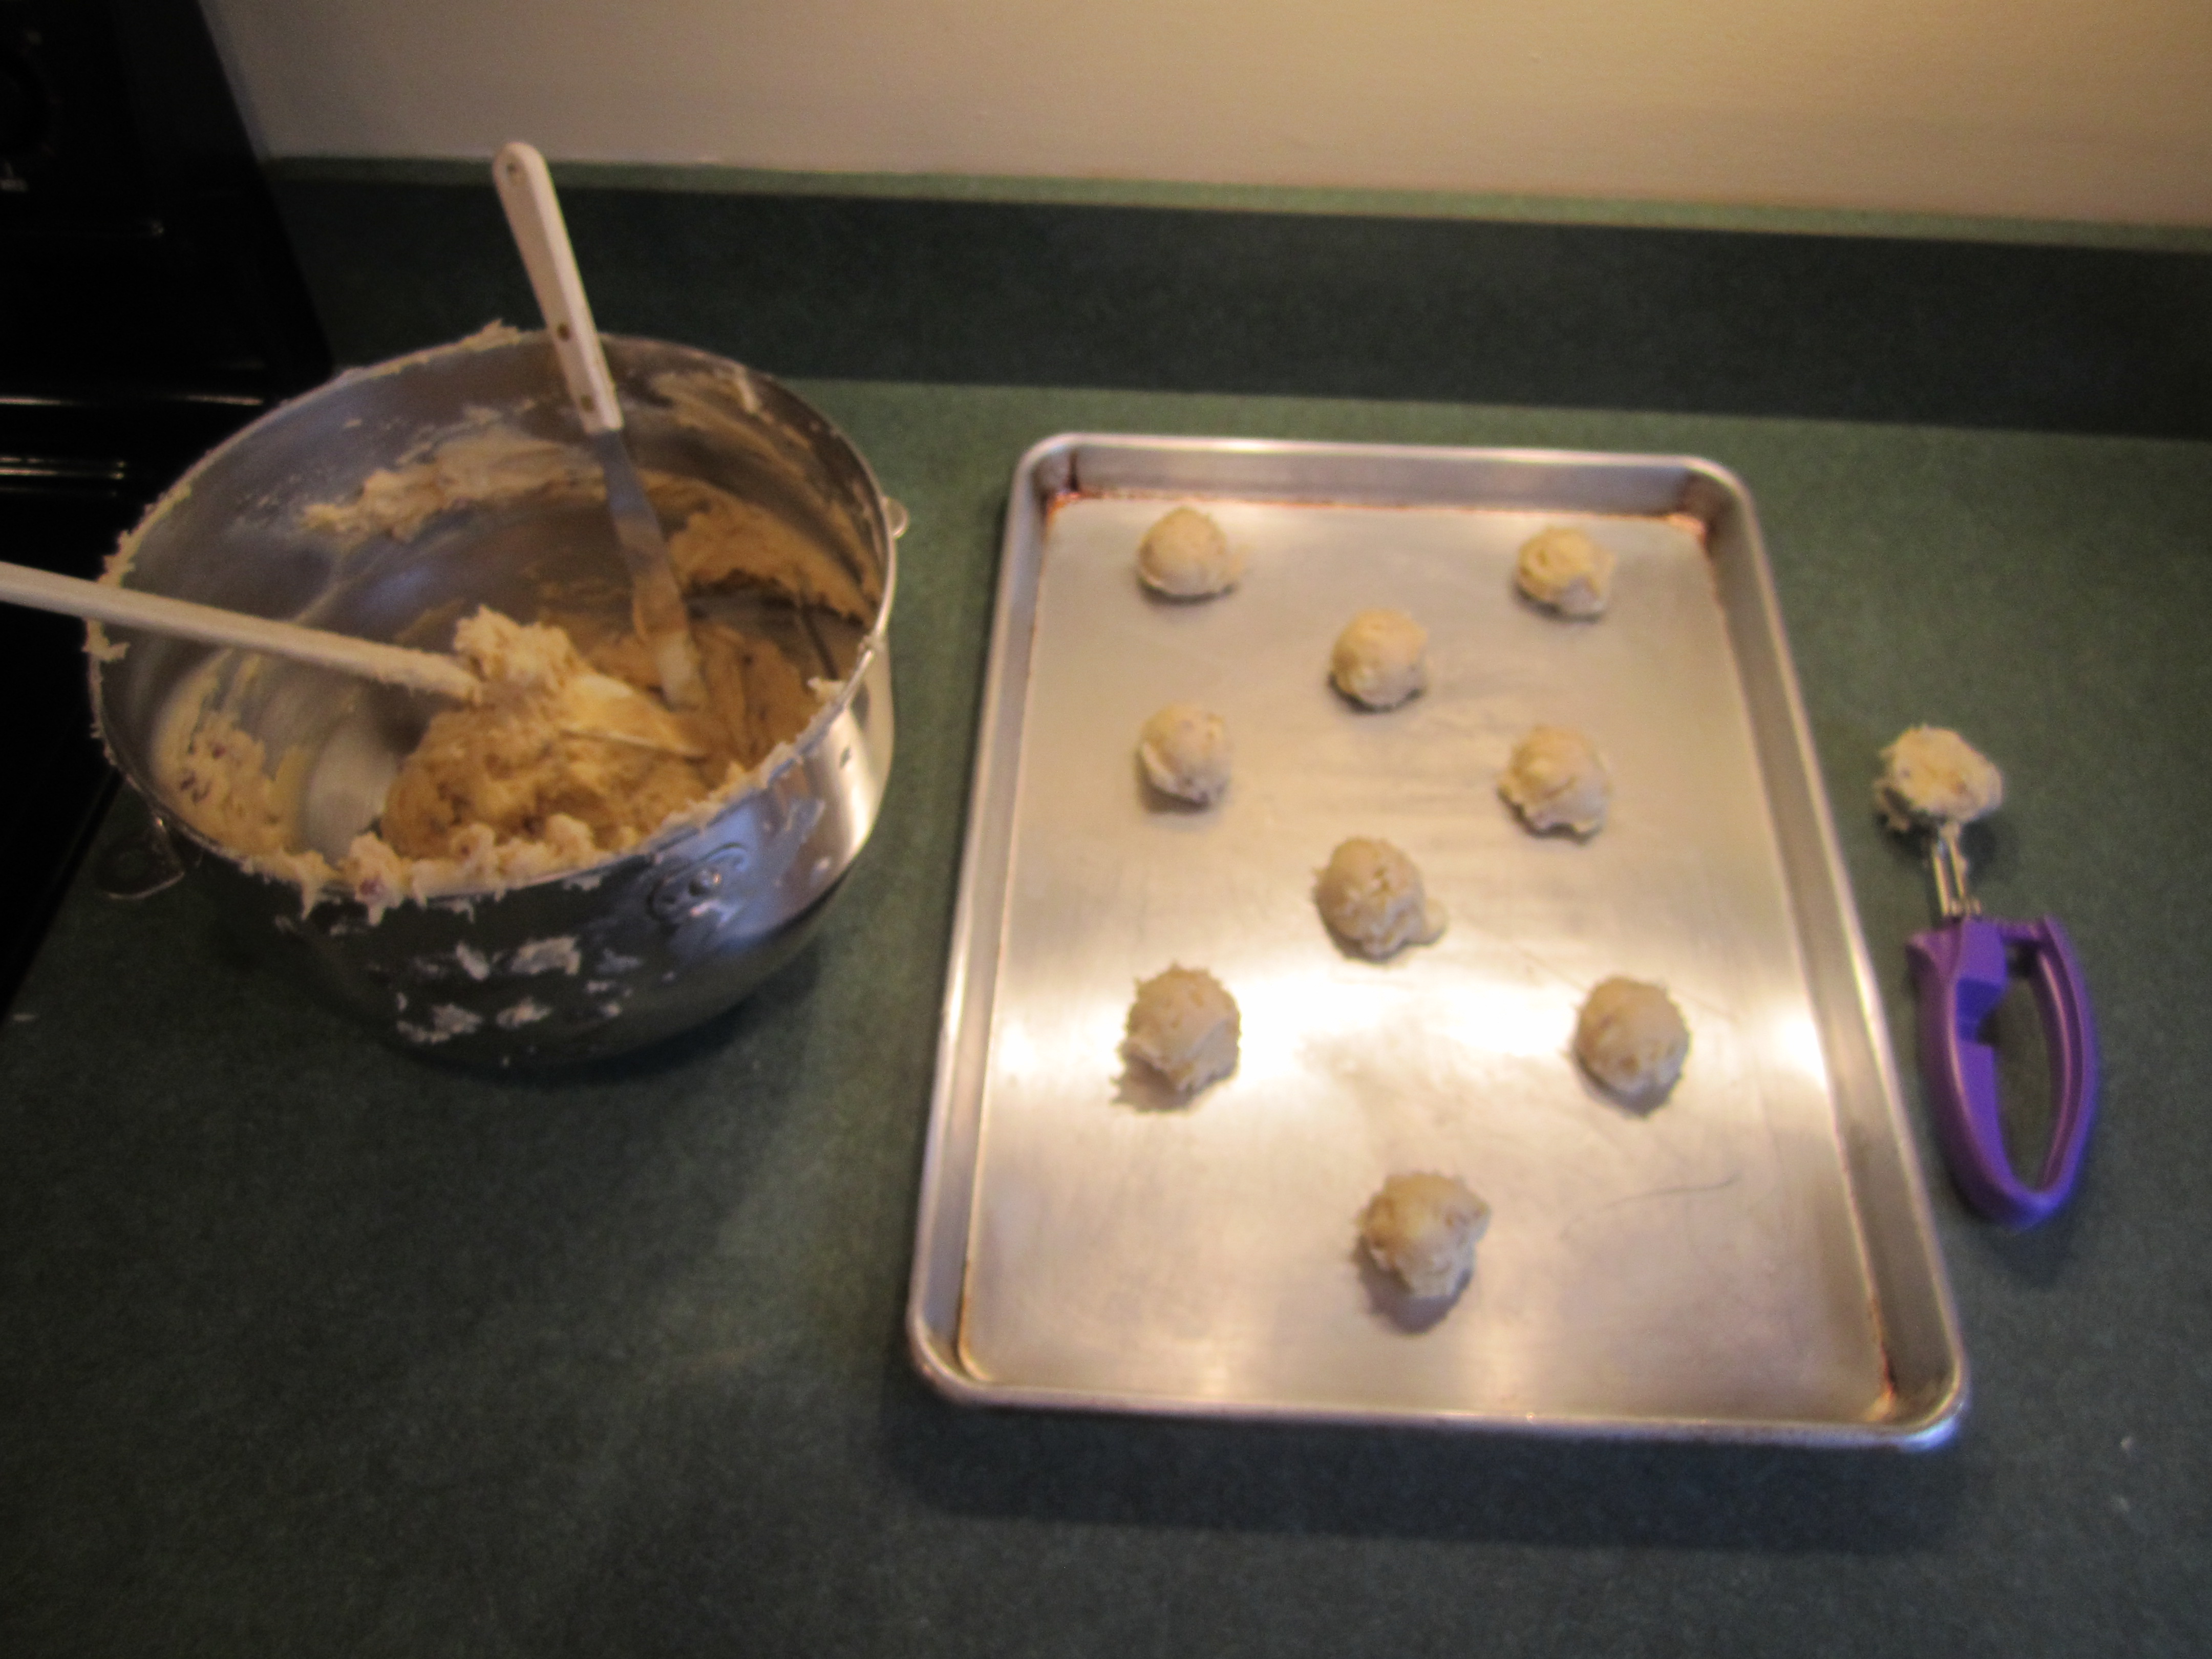
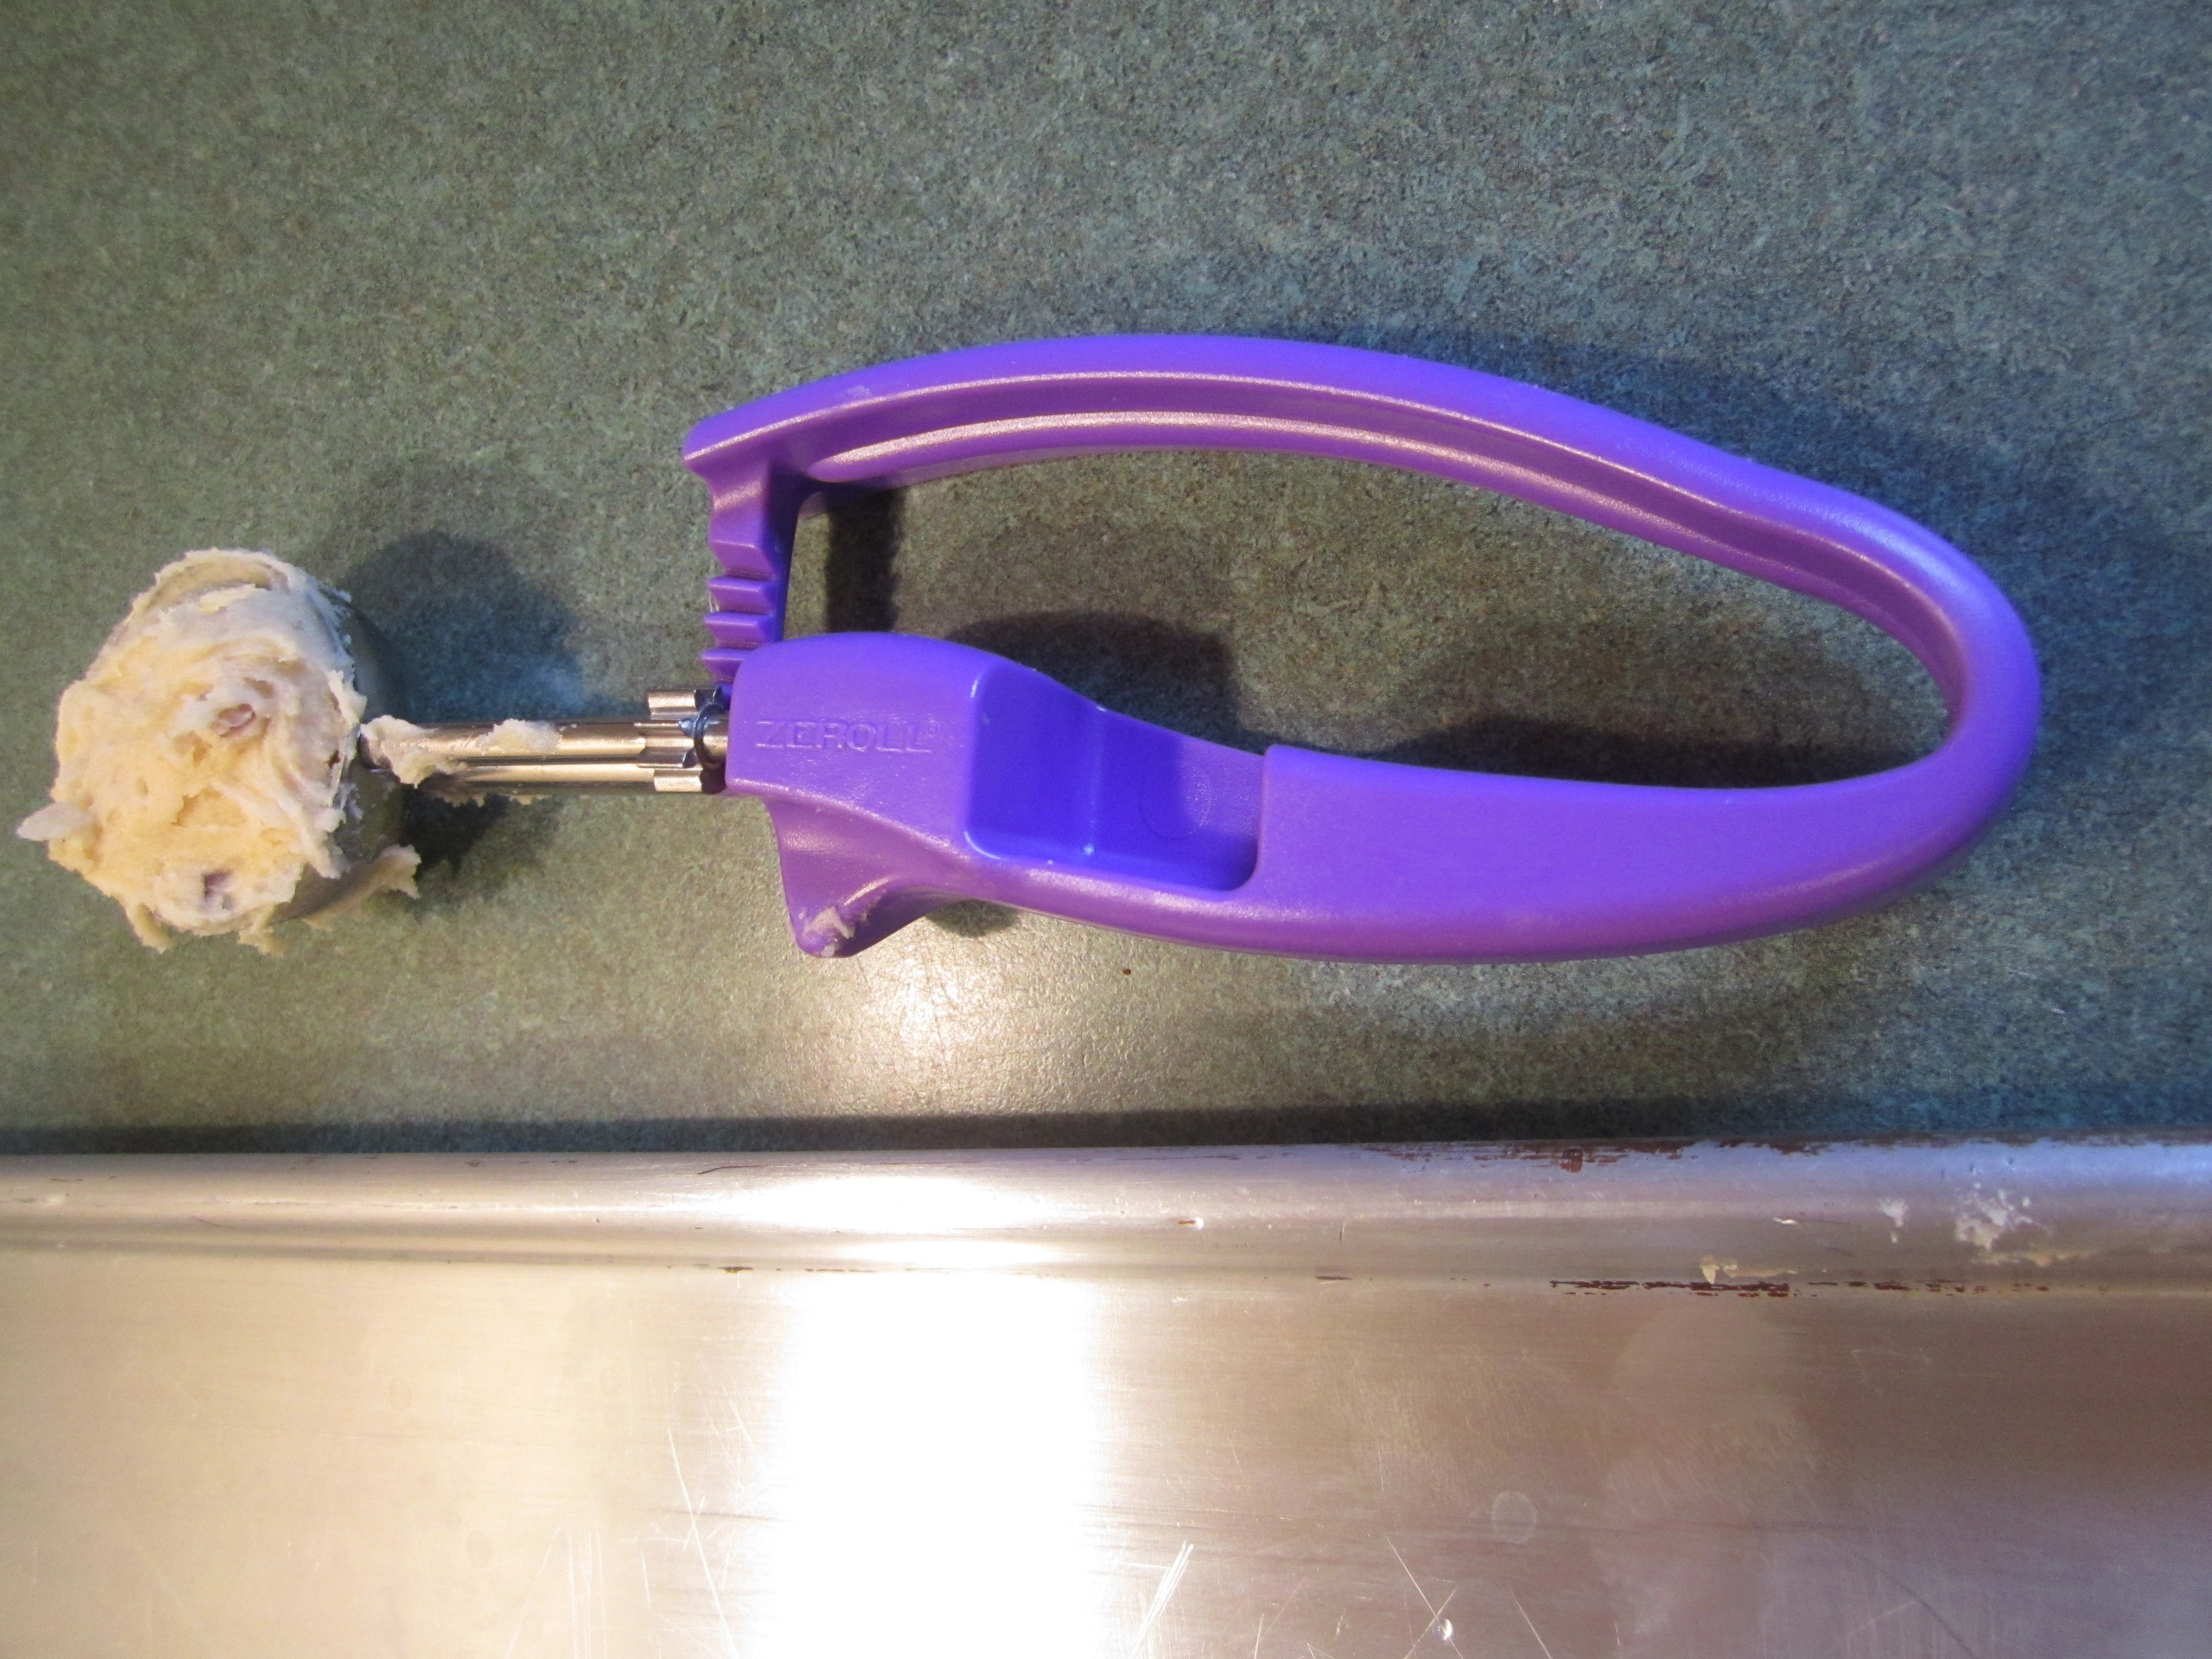
Measure 1-1/2 ounces of dough (I got to use my new toy!: Cookie Scoop) and place on ungreased cookie sheet, continuing with the remaining dough.
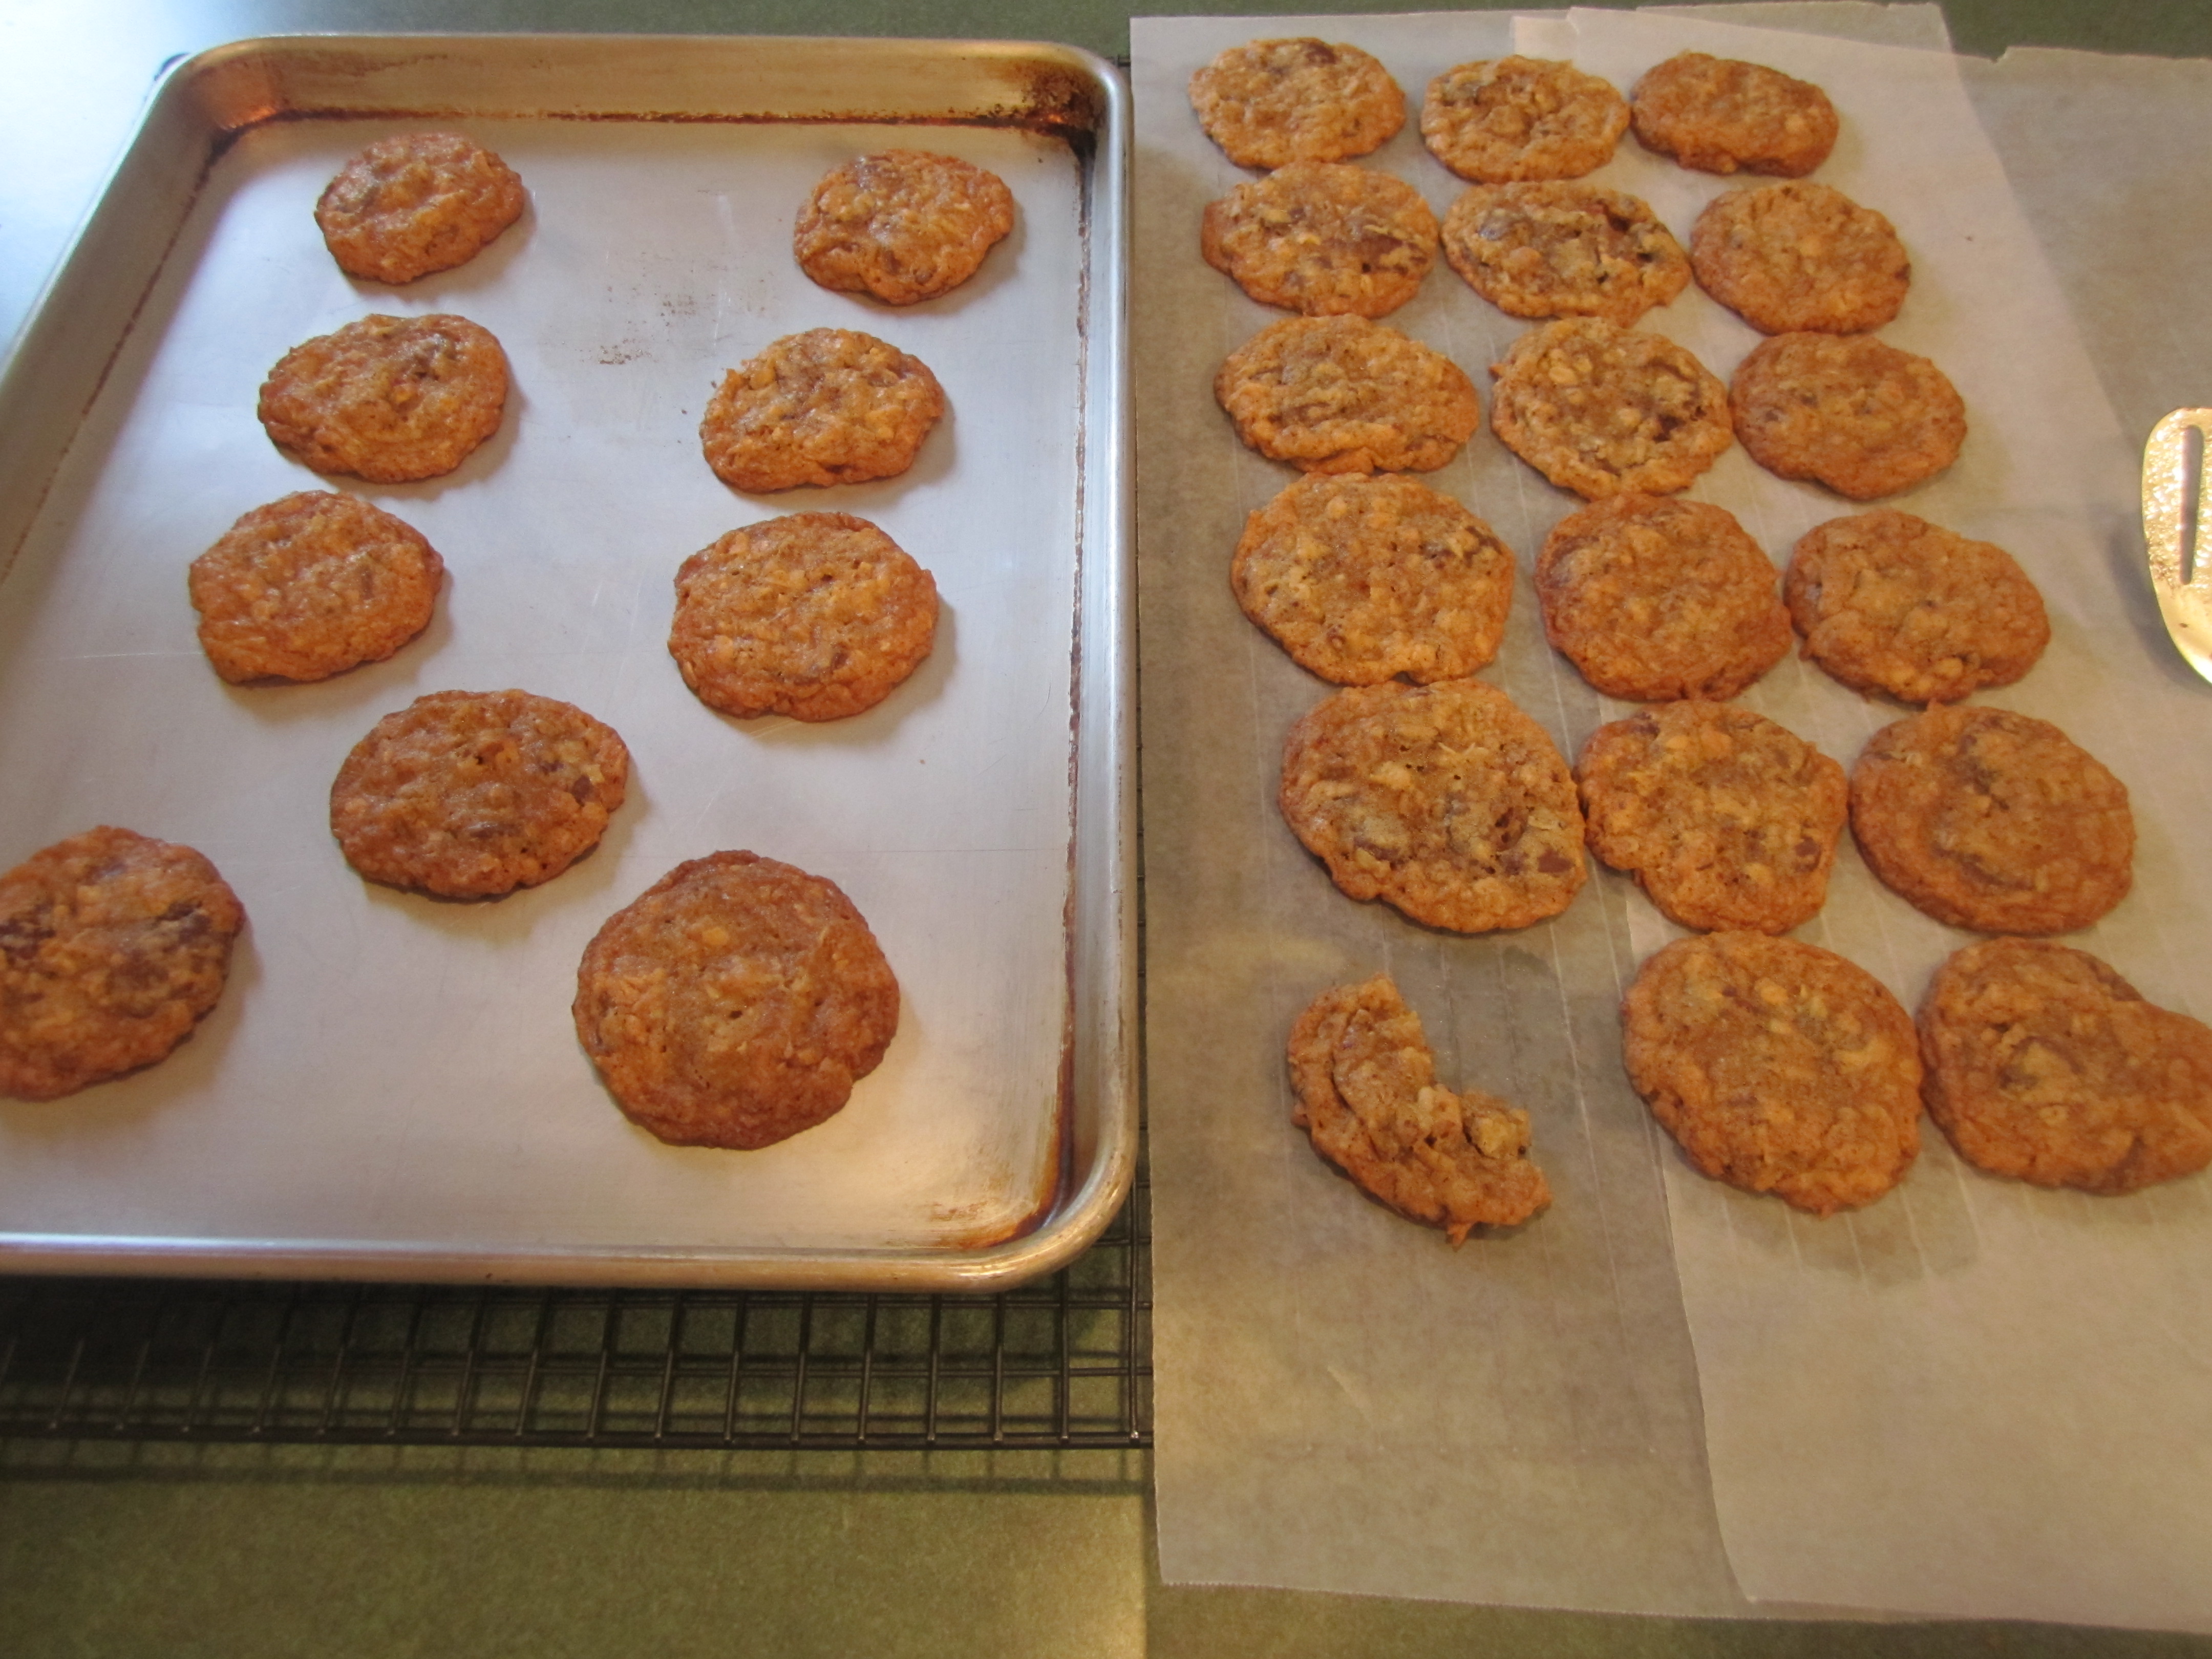
Bake for 5 minutes, turn cookie sheet and bake for another 6 minutes for a total of 11 minutes. This may vary according to your specific oven so these are guidelines. Let cookies rest on cookie sheet for 5 minutes before placing them on a rack to cool completely.
chopping toasted pecans:
mis en place:
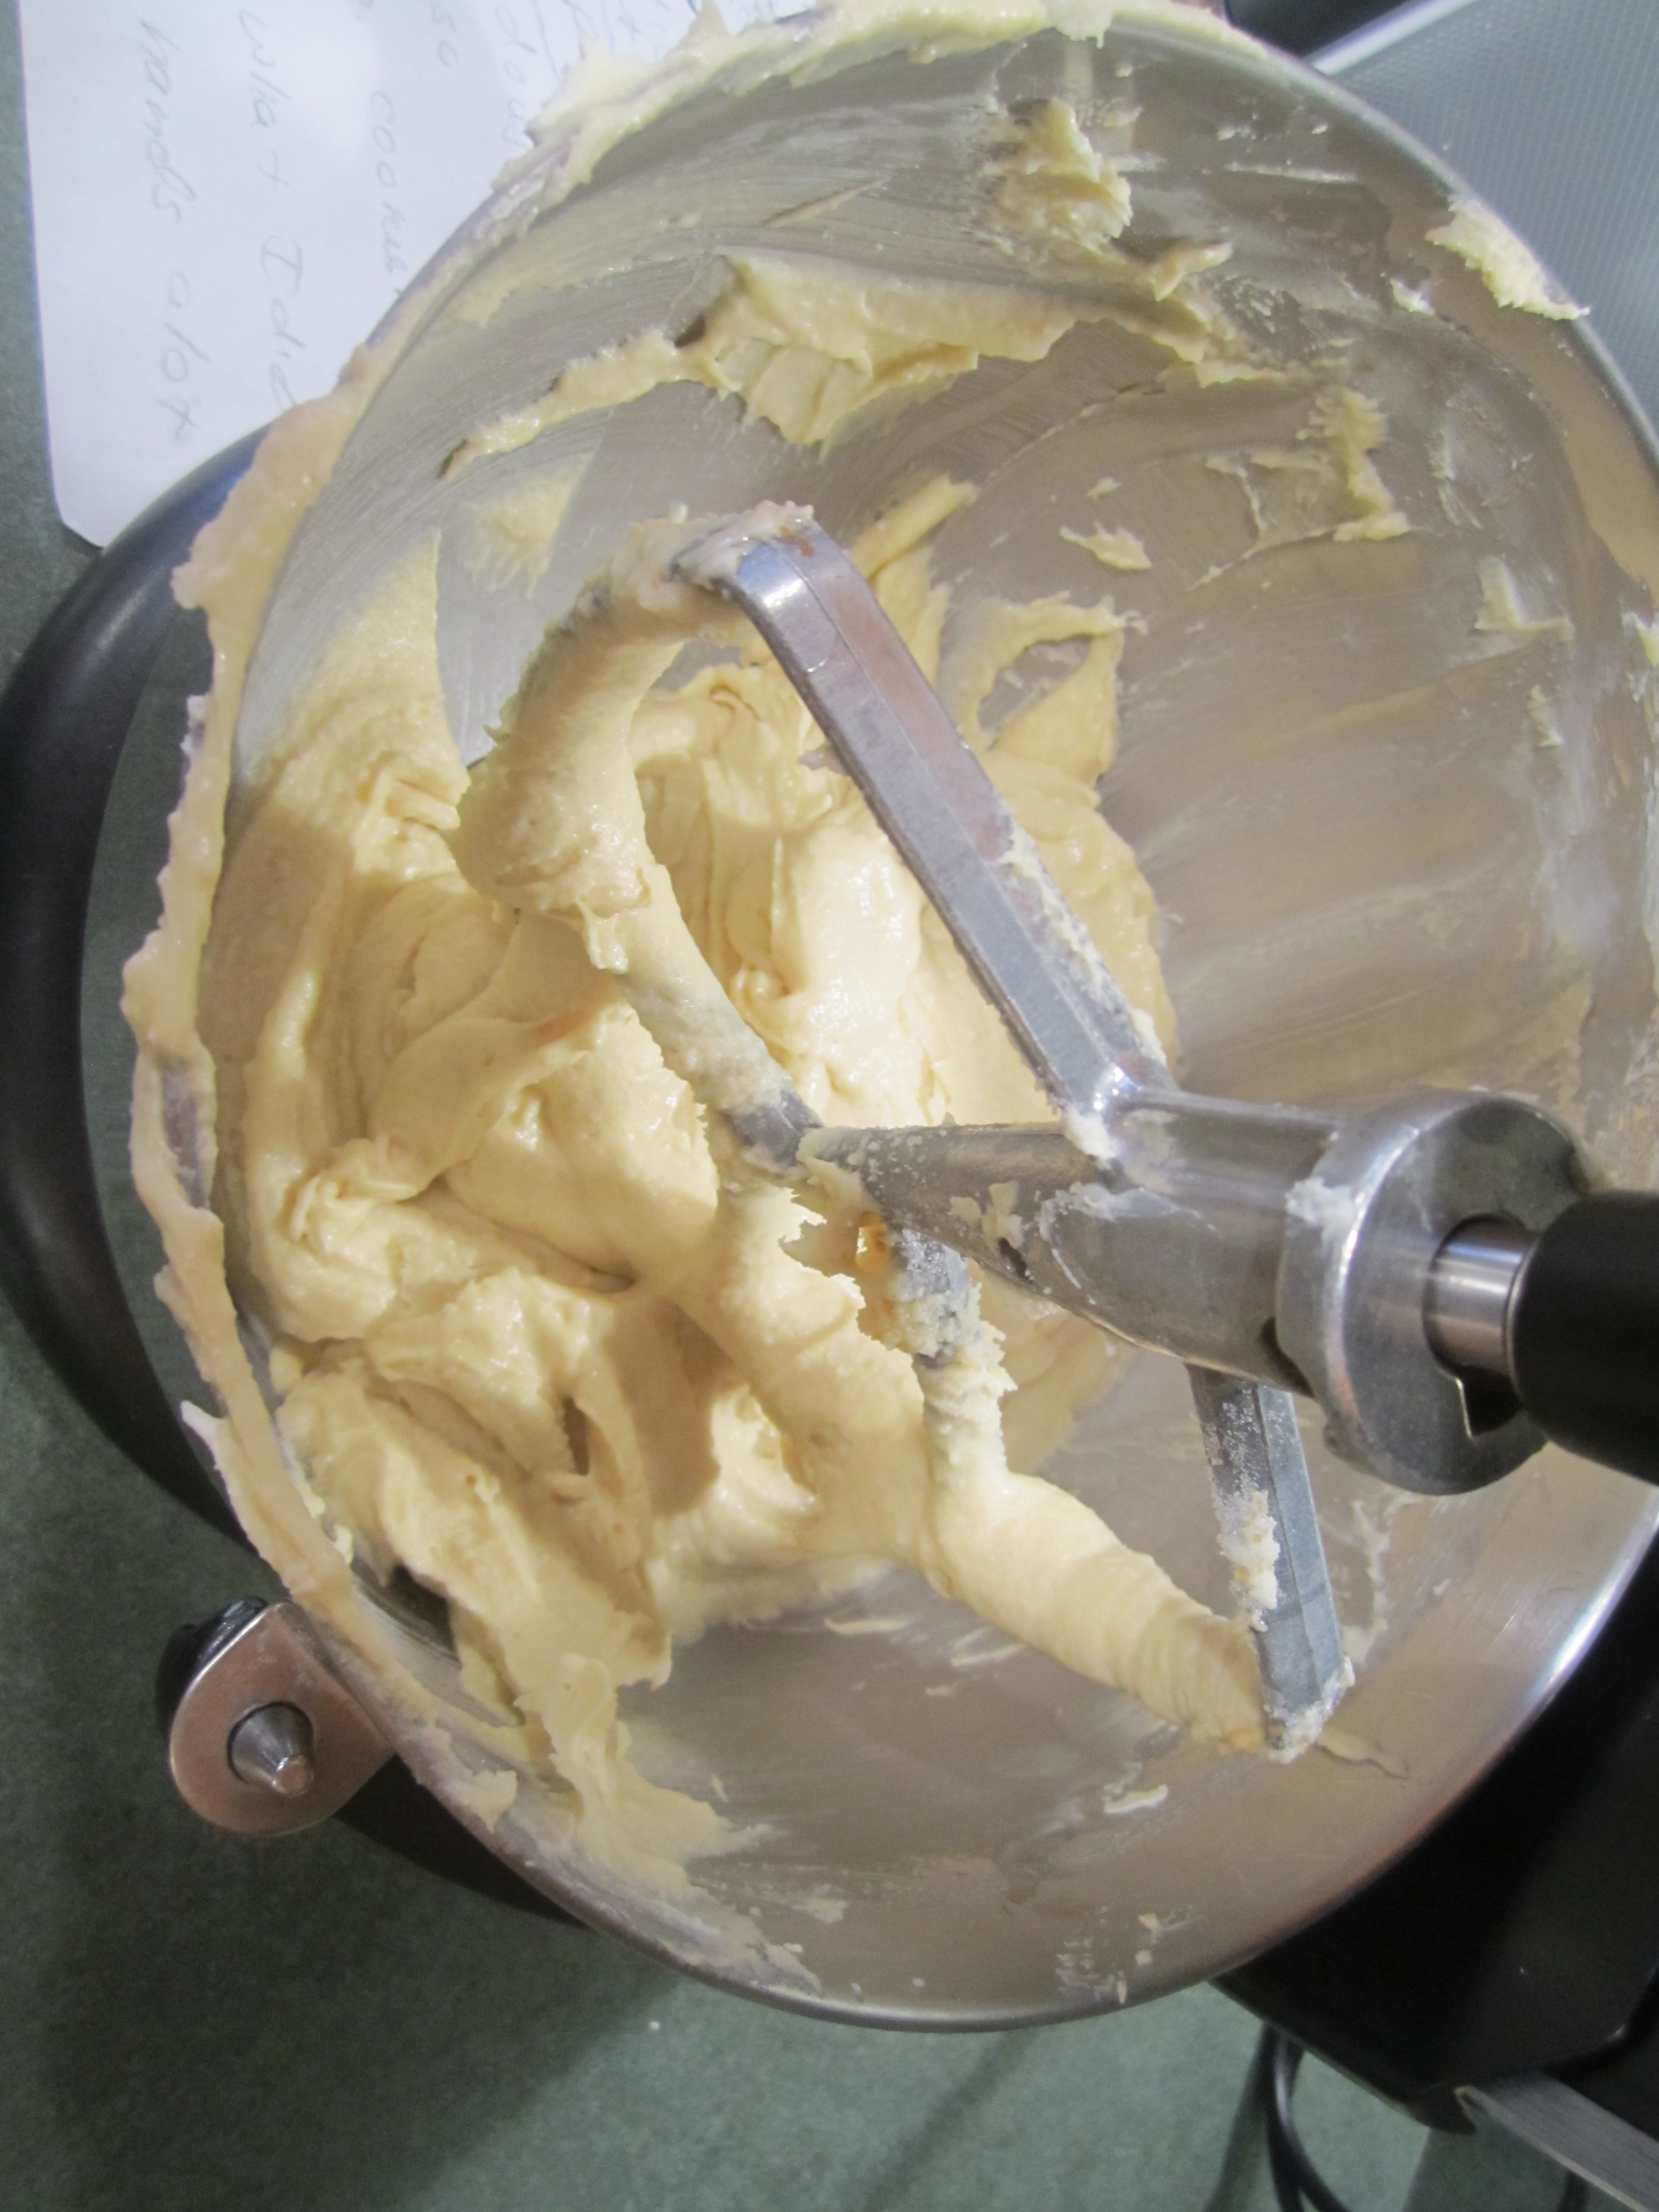
dough complete:

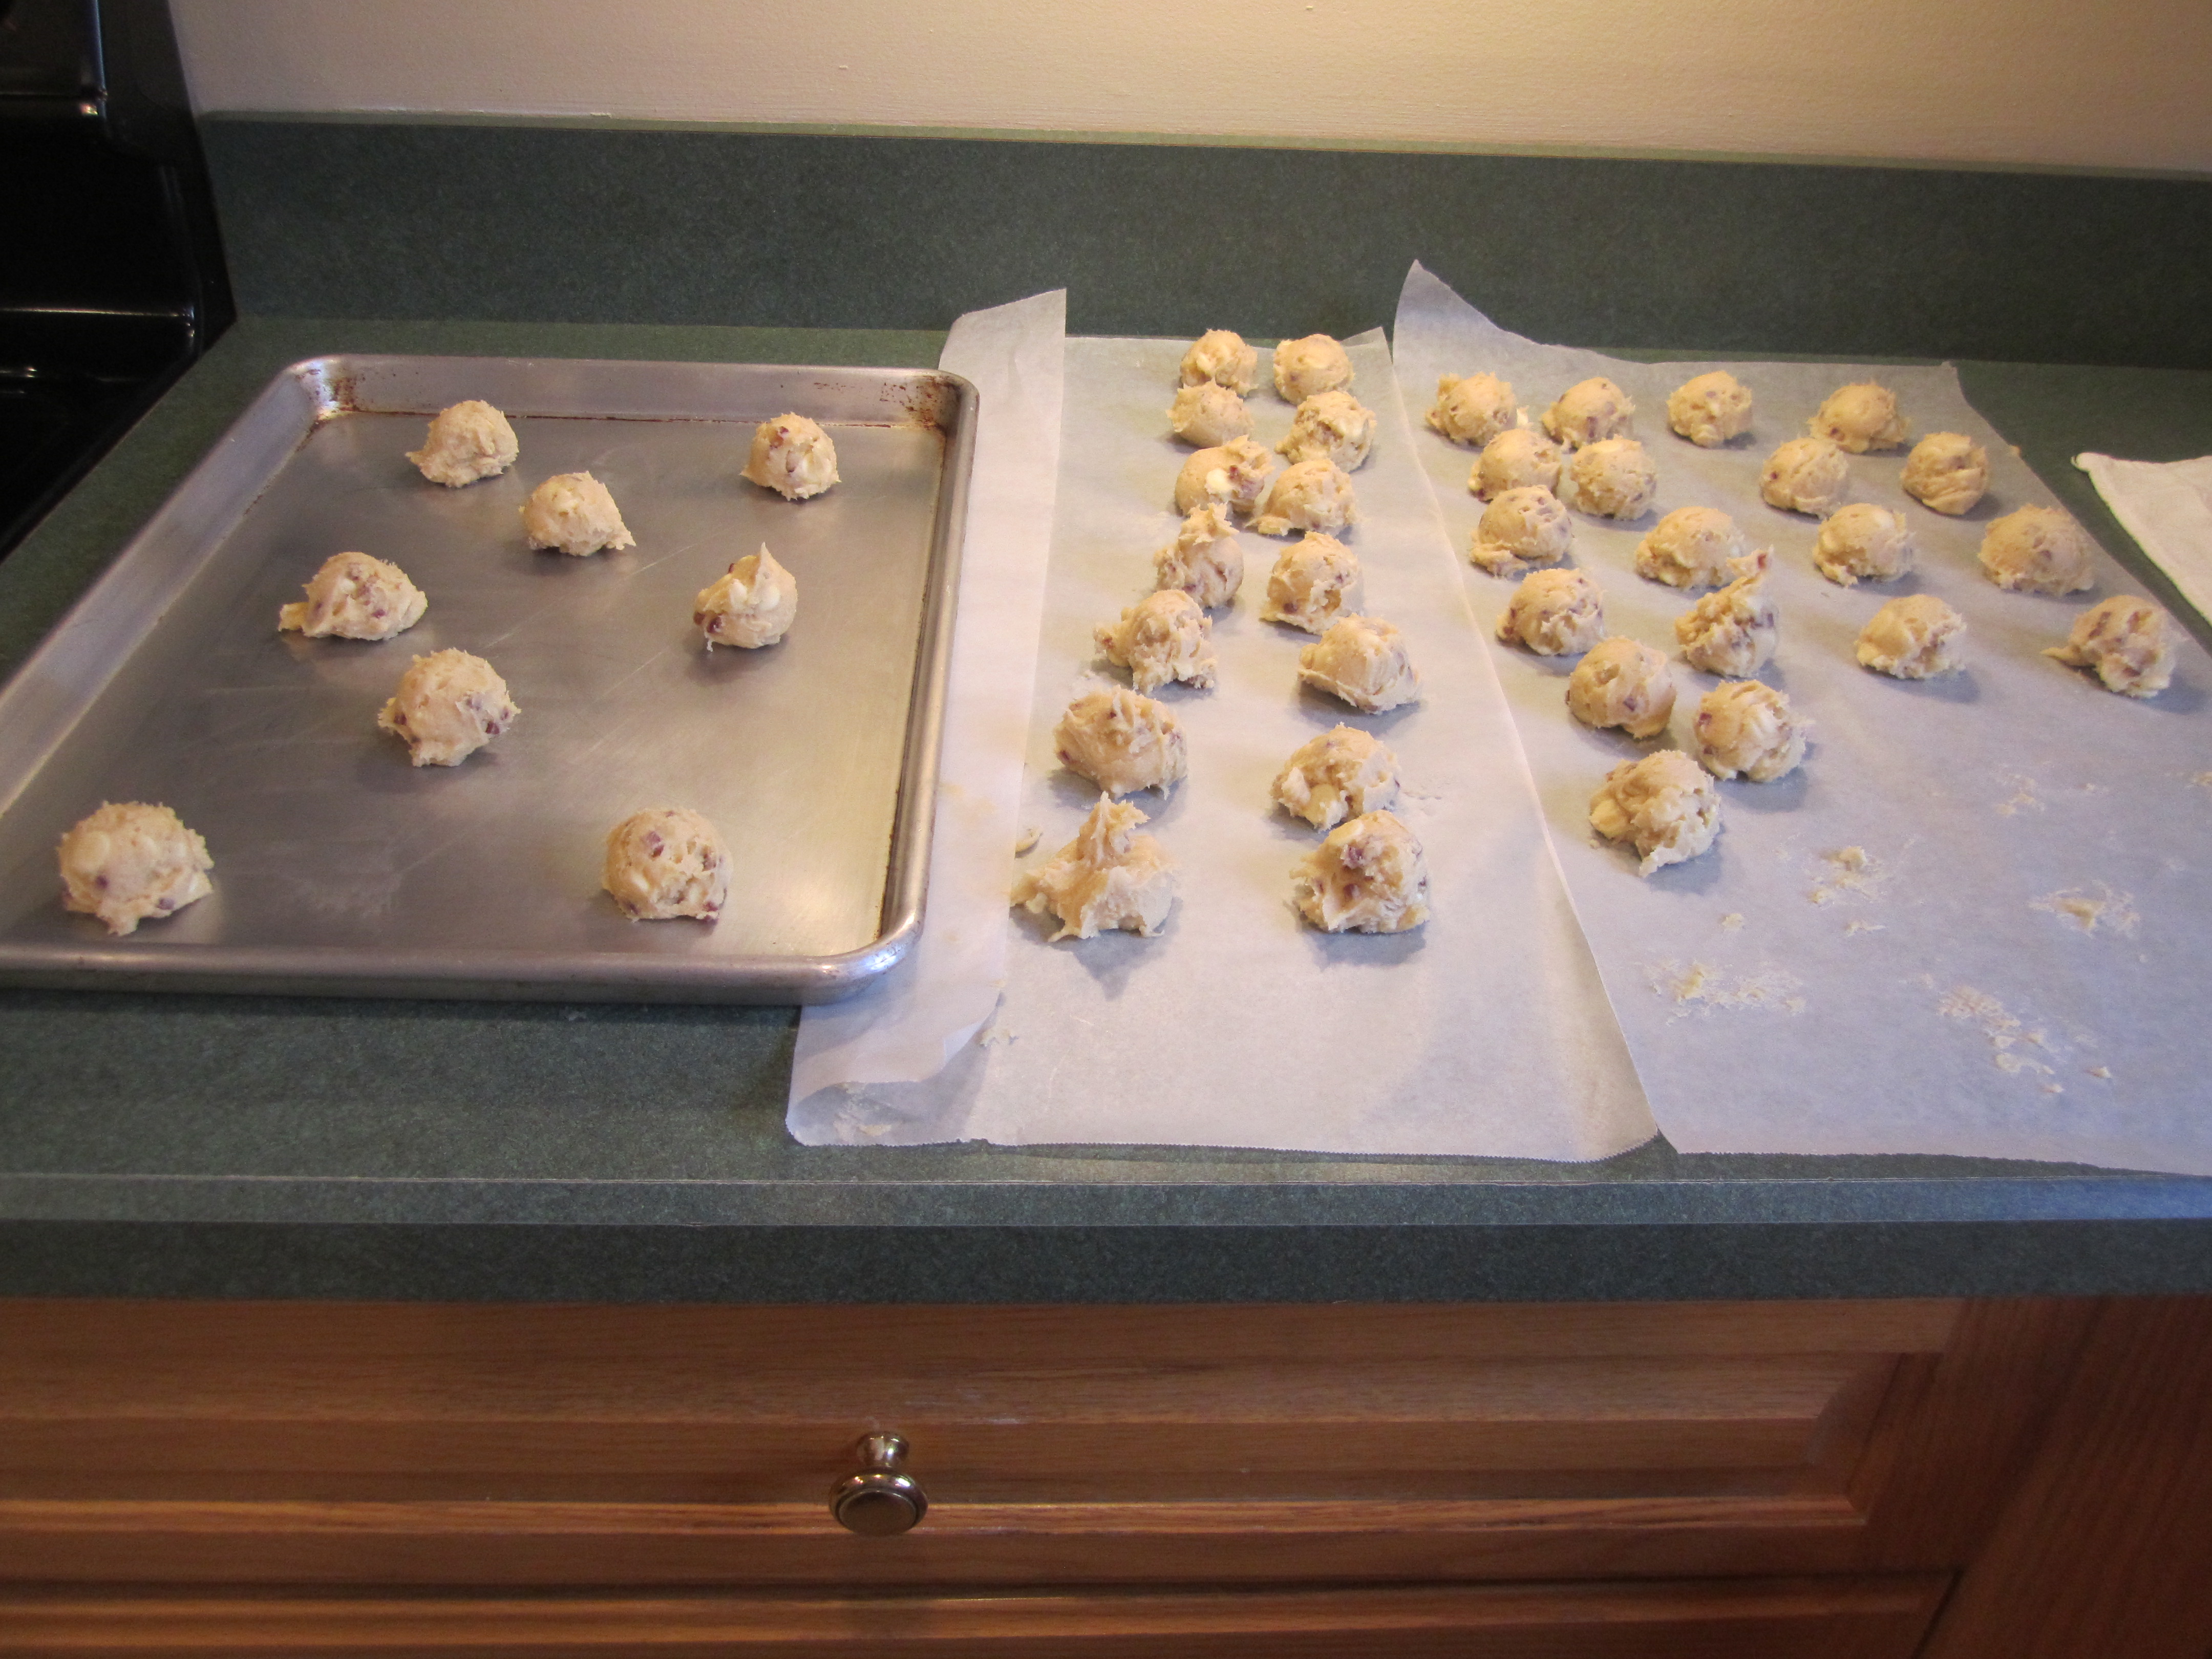
ready for the refrigerator:
measuring out dough and placing on cookie sheet:
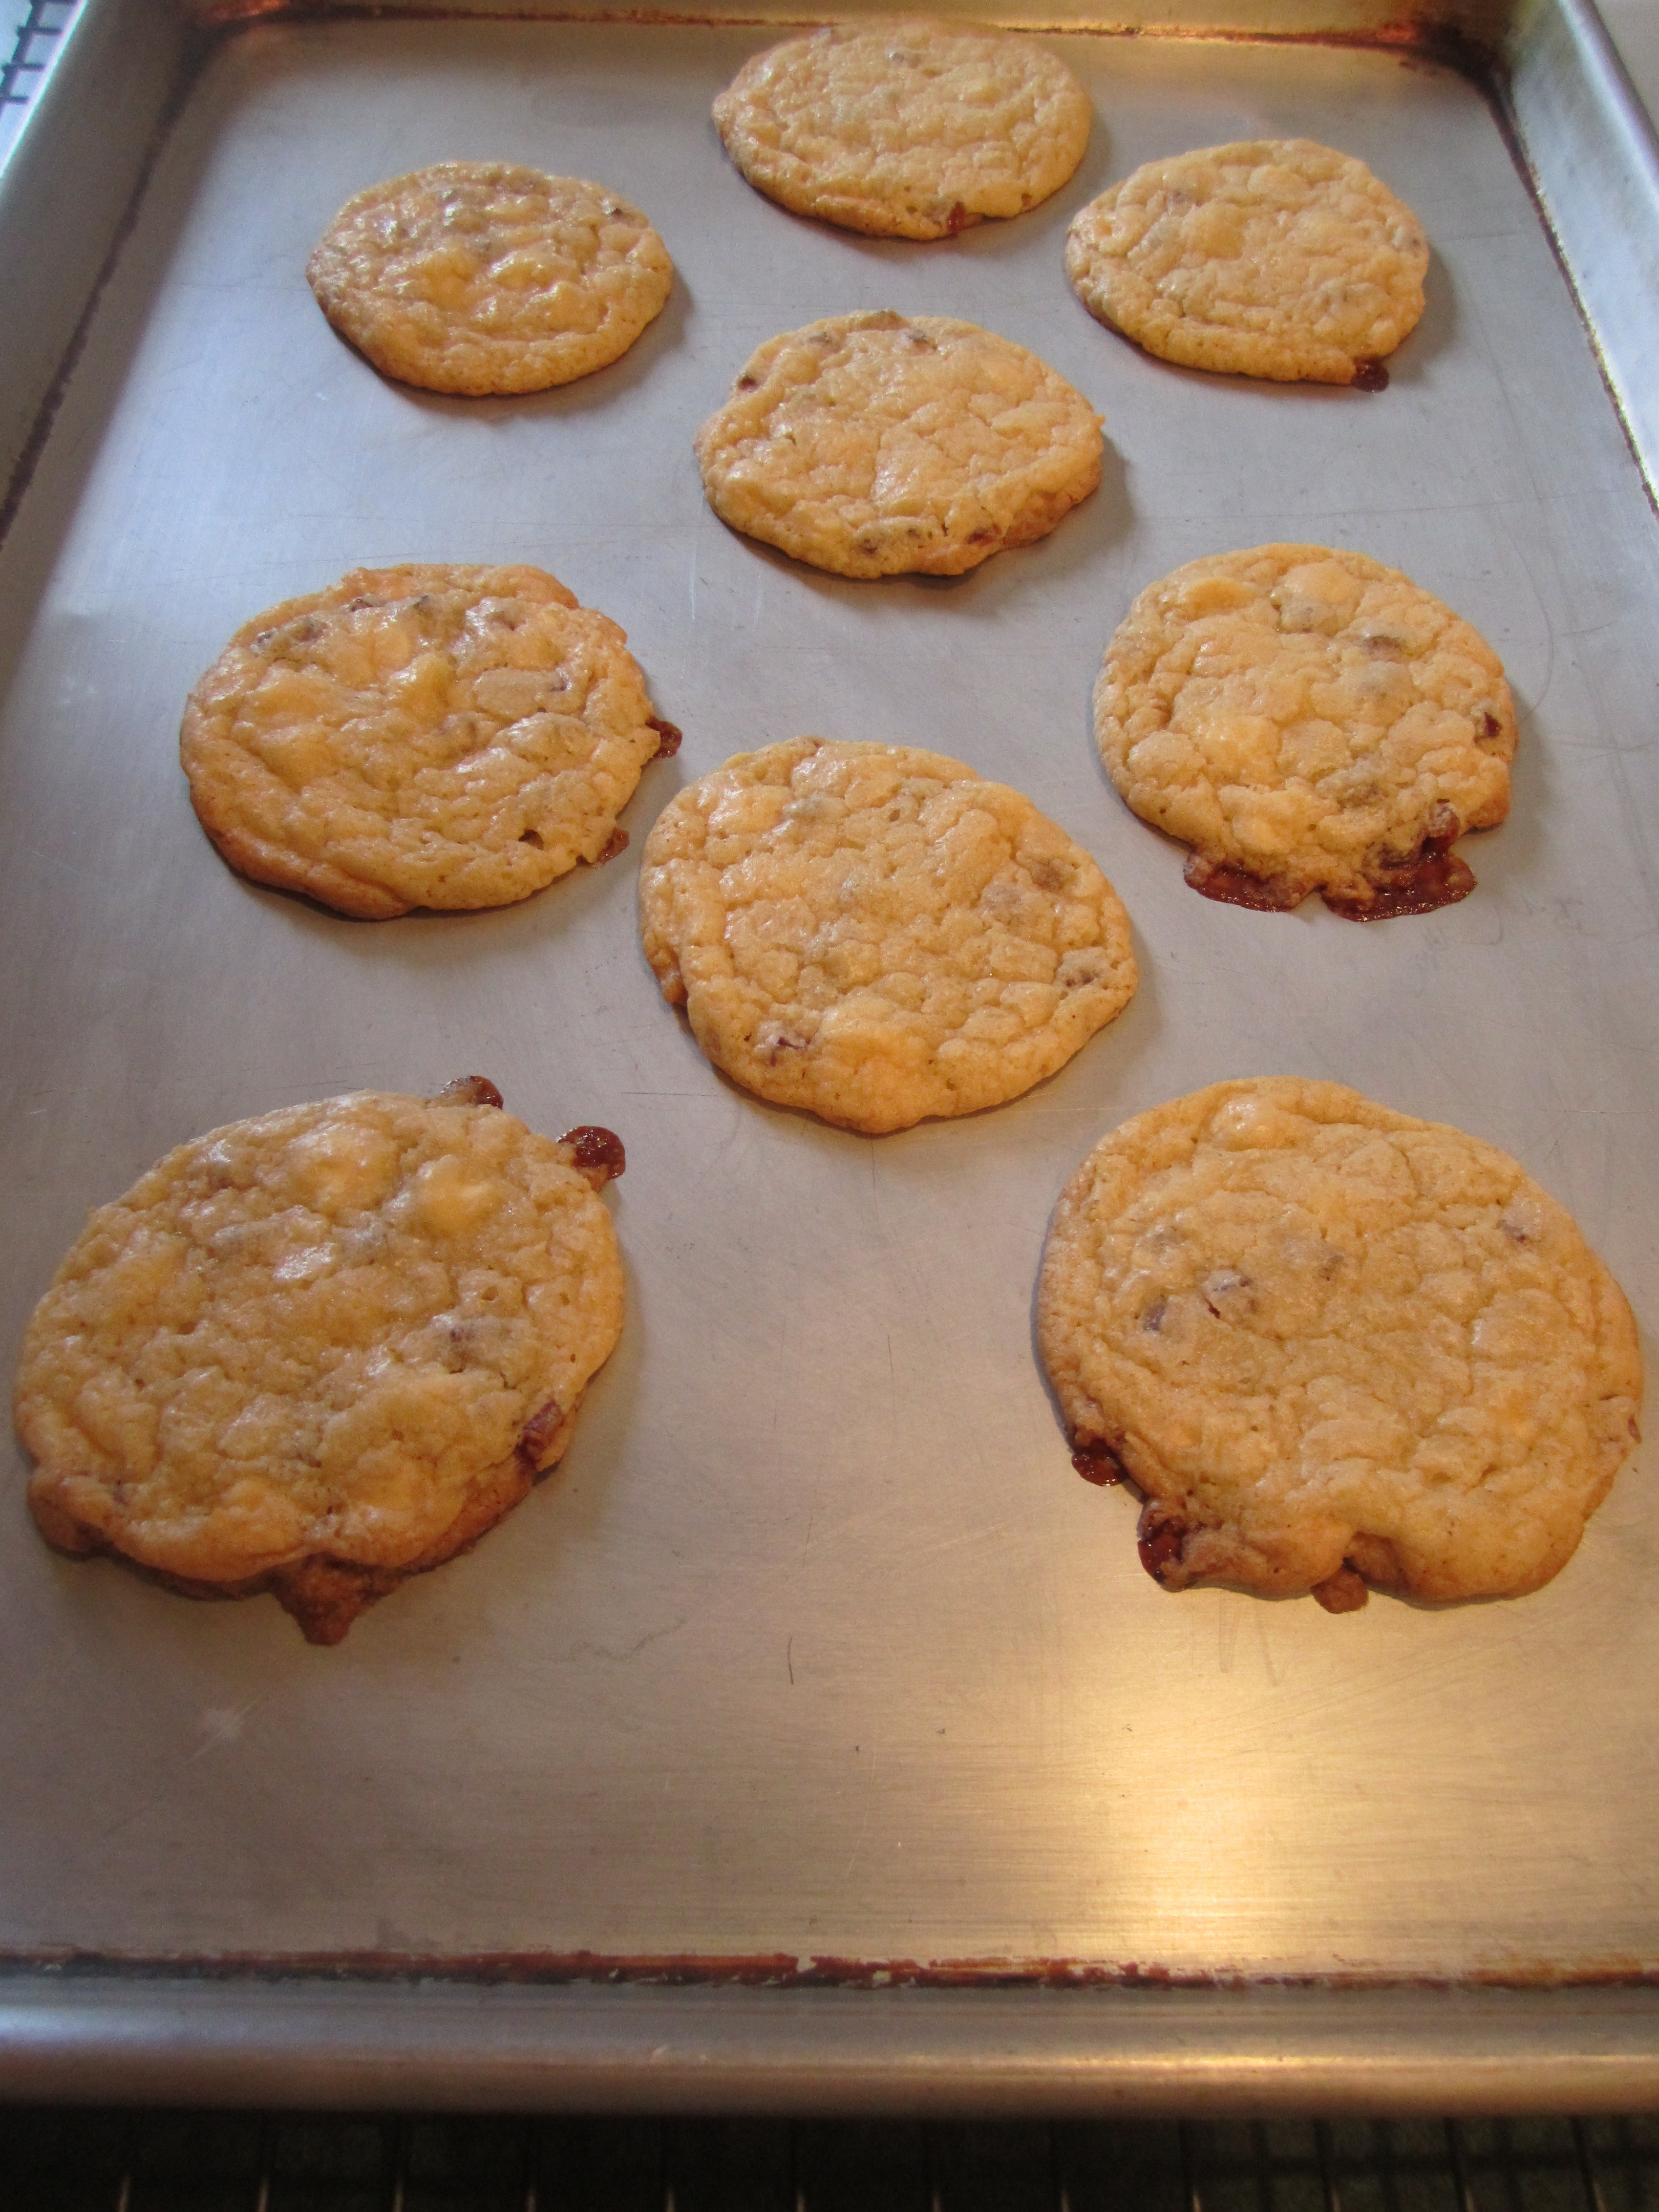
cookies cooling, mmmm…..yummy!:
The Cheesemaking Workshop Experience
Quite awhile ago I mentioned that I was going to tell you about my Cheesemaking Workshop that I took with my daughter back in October. Sarah and I were very excited to attend the Cheesemaking 101 with Ricki Carroll because it was in a food area we were not that familiar with. I thought that I would come back with some awesome techniques, stories and of course cheese.
Unfortunately, I don’t have much to share technique or cheese wise. We did get a nice lunch out of it and it was very interesting to see Ricki Carroll’s home, a very cool looking Victorian in Deerfield, Massachusetts.
If you are looking to learn how to make cheese, I would recommend checking out her website which has a wealth of information as well as cheese making kits that you can make right in your own kitchen.
Fortunately, Sarah and I had Sunday to be together before we had to head home. We went to this great little town, Northhampton, had an awesome shopping experience at 25 Central that was part of a mini-mall and a great lunch at the Haymarket Cafe. The town was very walkable, quaint and great to explore, so the trip was not totally in vain.
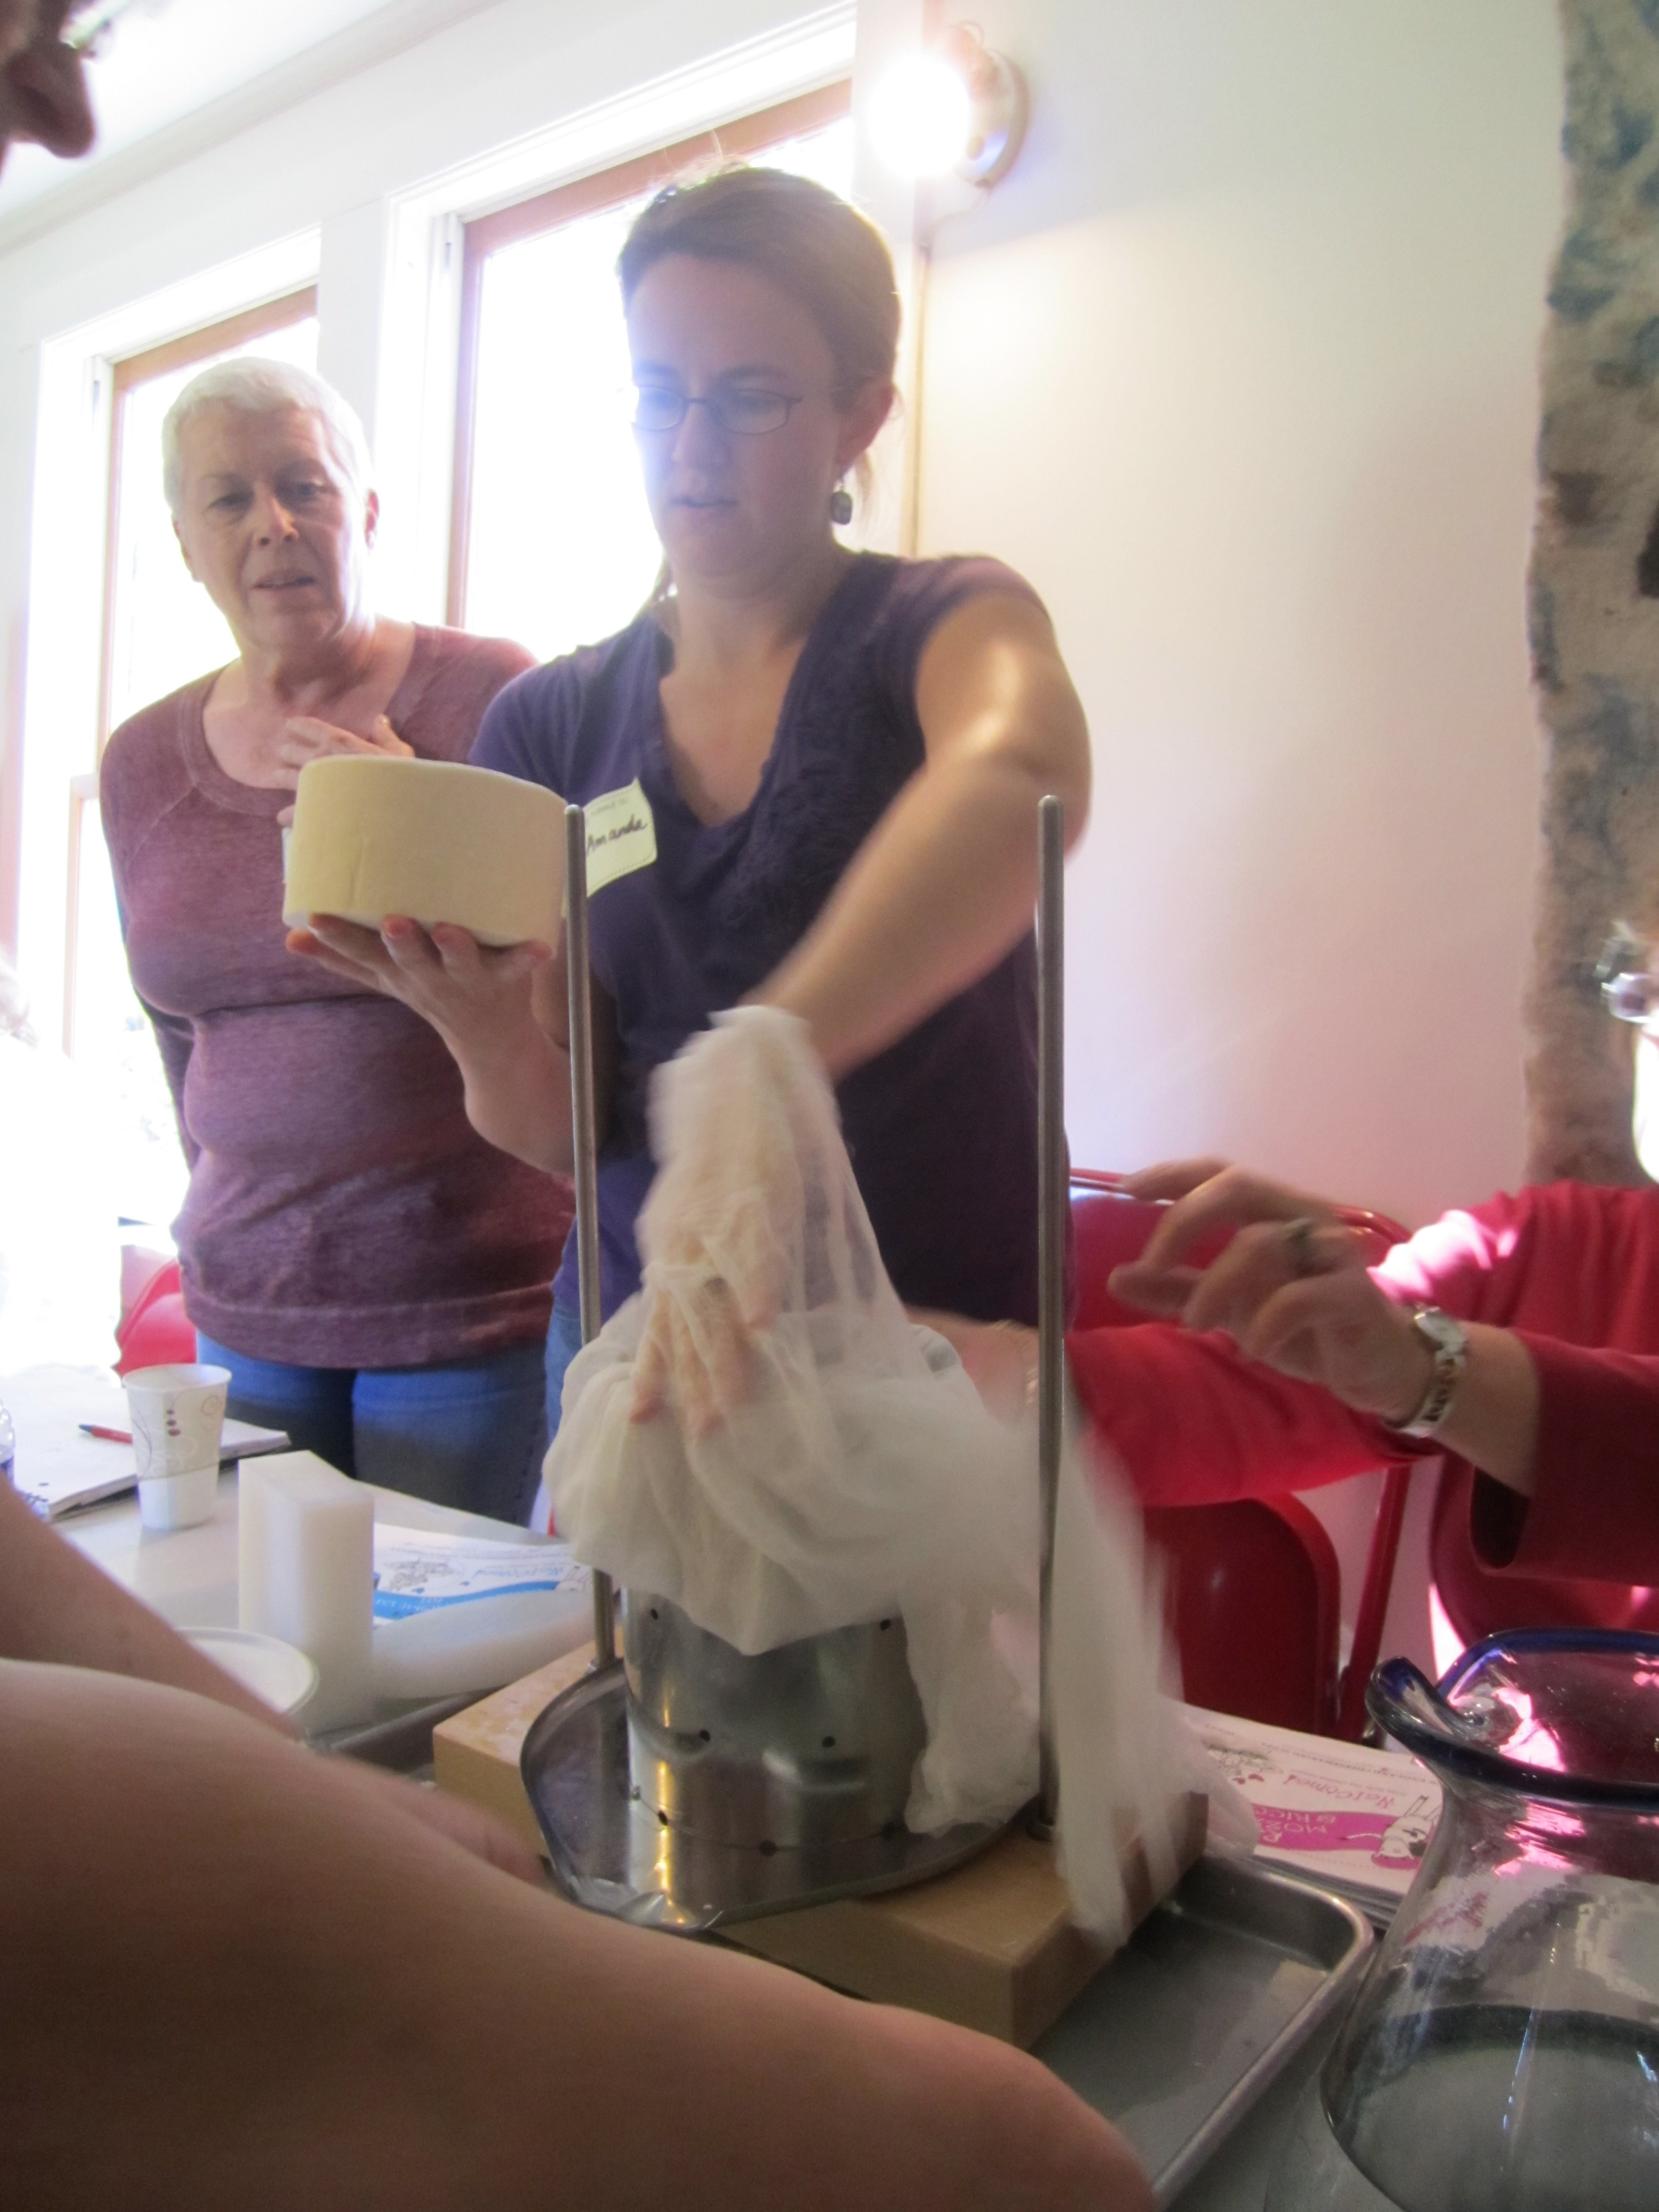
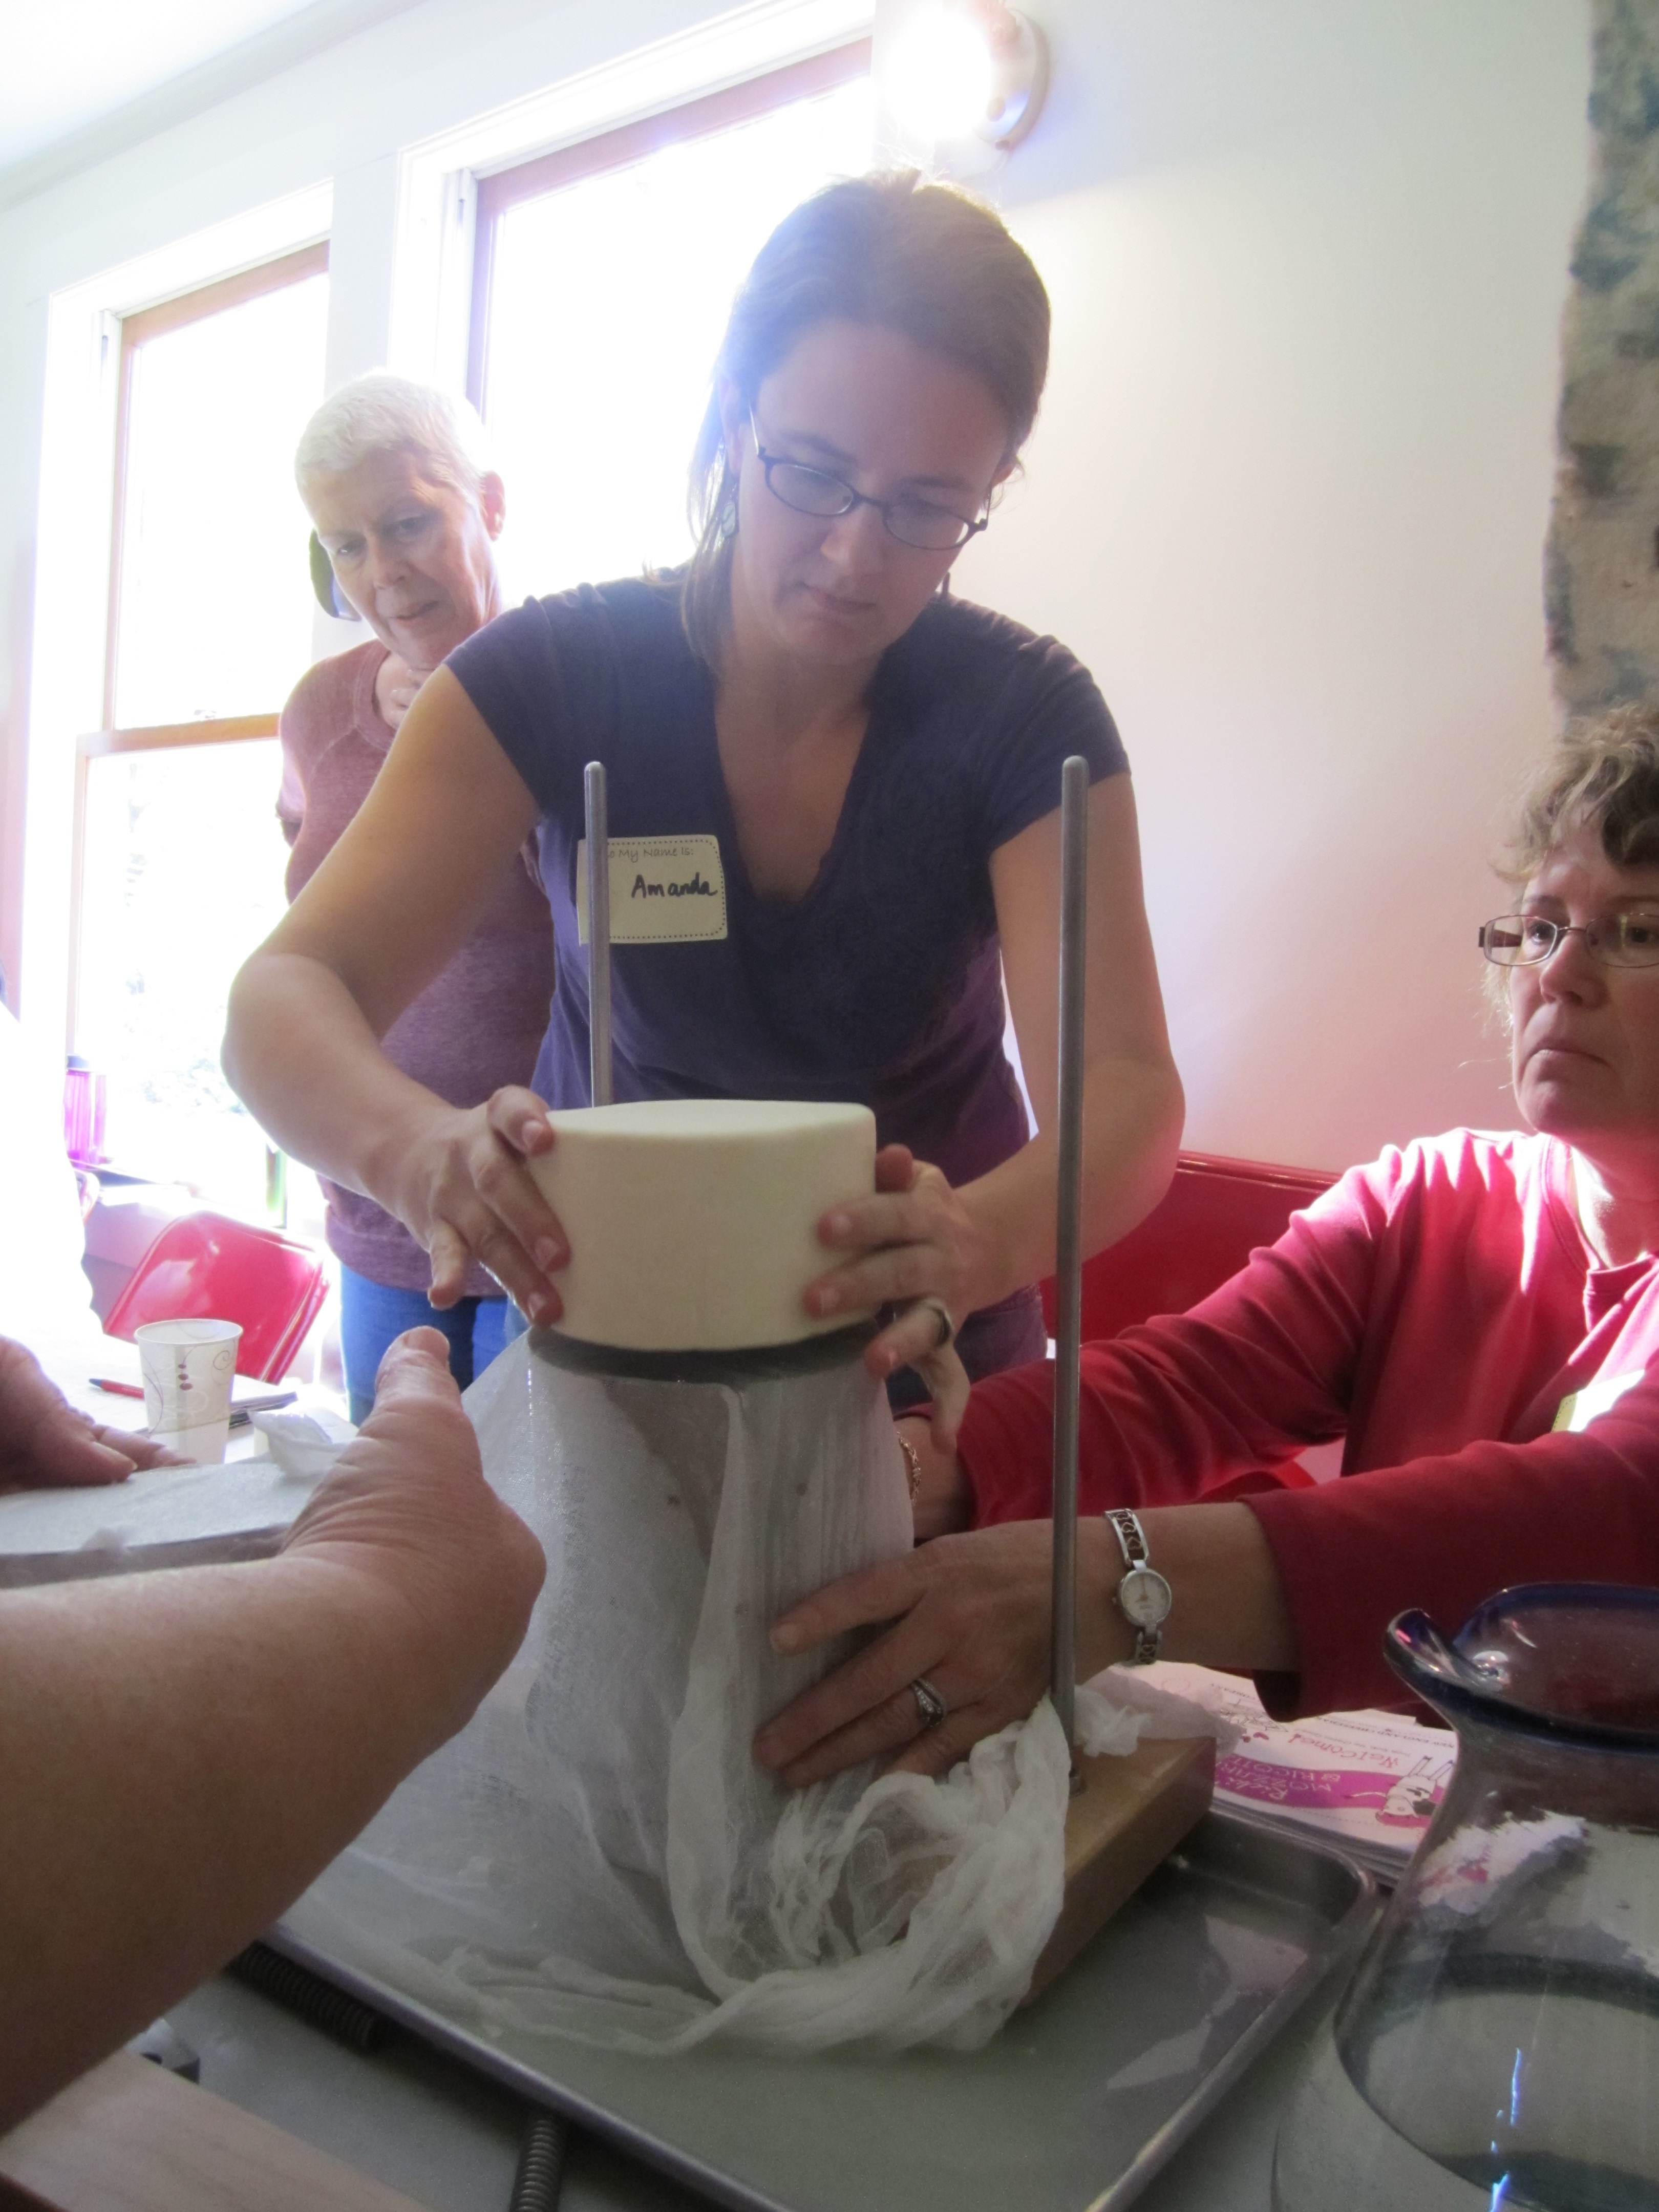
Below are a few pictures from the class. In groups, we made farmhouse cheddar, and watched Ricki make mozzarella, ricotta, queso blanco, mascarpone, fromage blanc, creme fraiche and yogurt.
All instructions are available on the Cheesemaking Website for this cheese as well as lots of others.
the milk heated to 90 degrees, starter culture added, stirred and left at a steady temperature for 45 minutes:

rennet is added and stirred a special way:

the container is covered and left undisturbed for 45 minutes:

curds are cut:


this is a picture of the curds after having been drained in cheesecloth that has been hung over the pot:
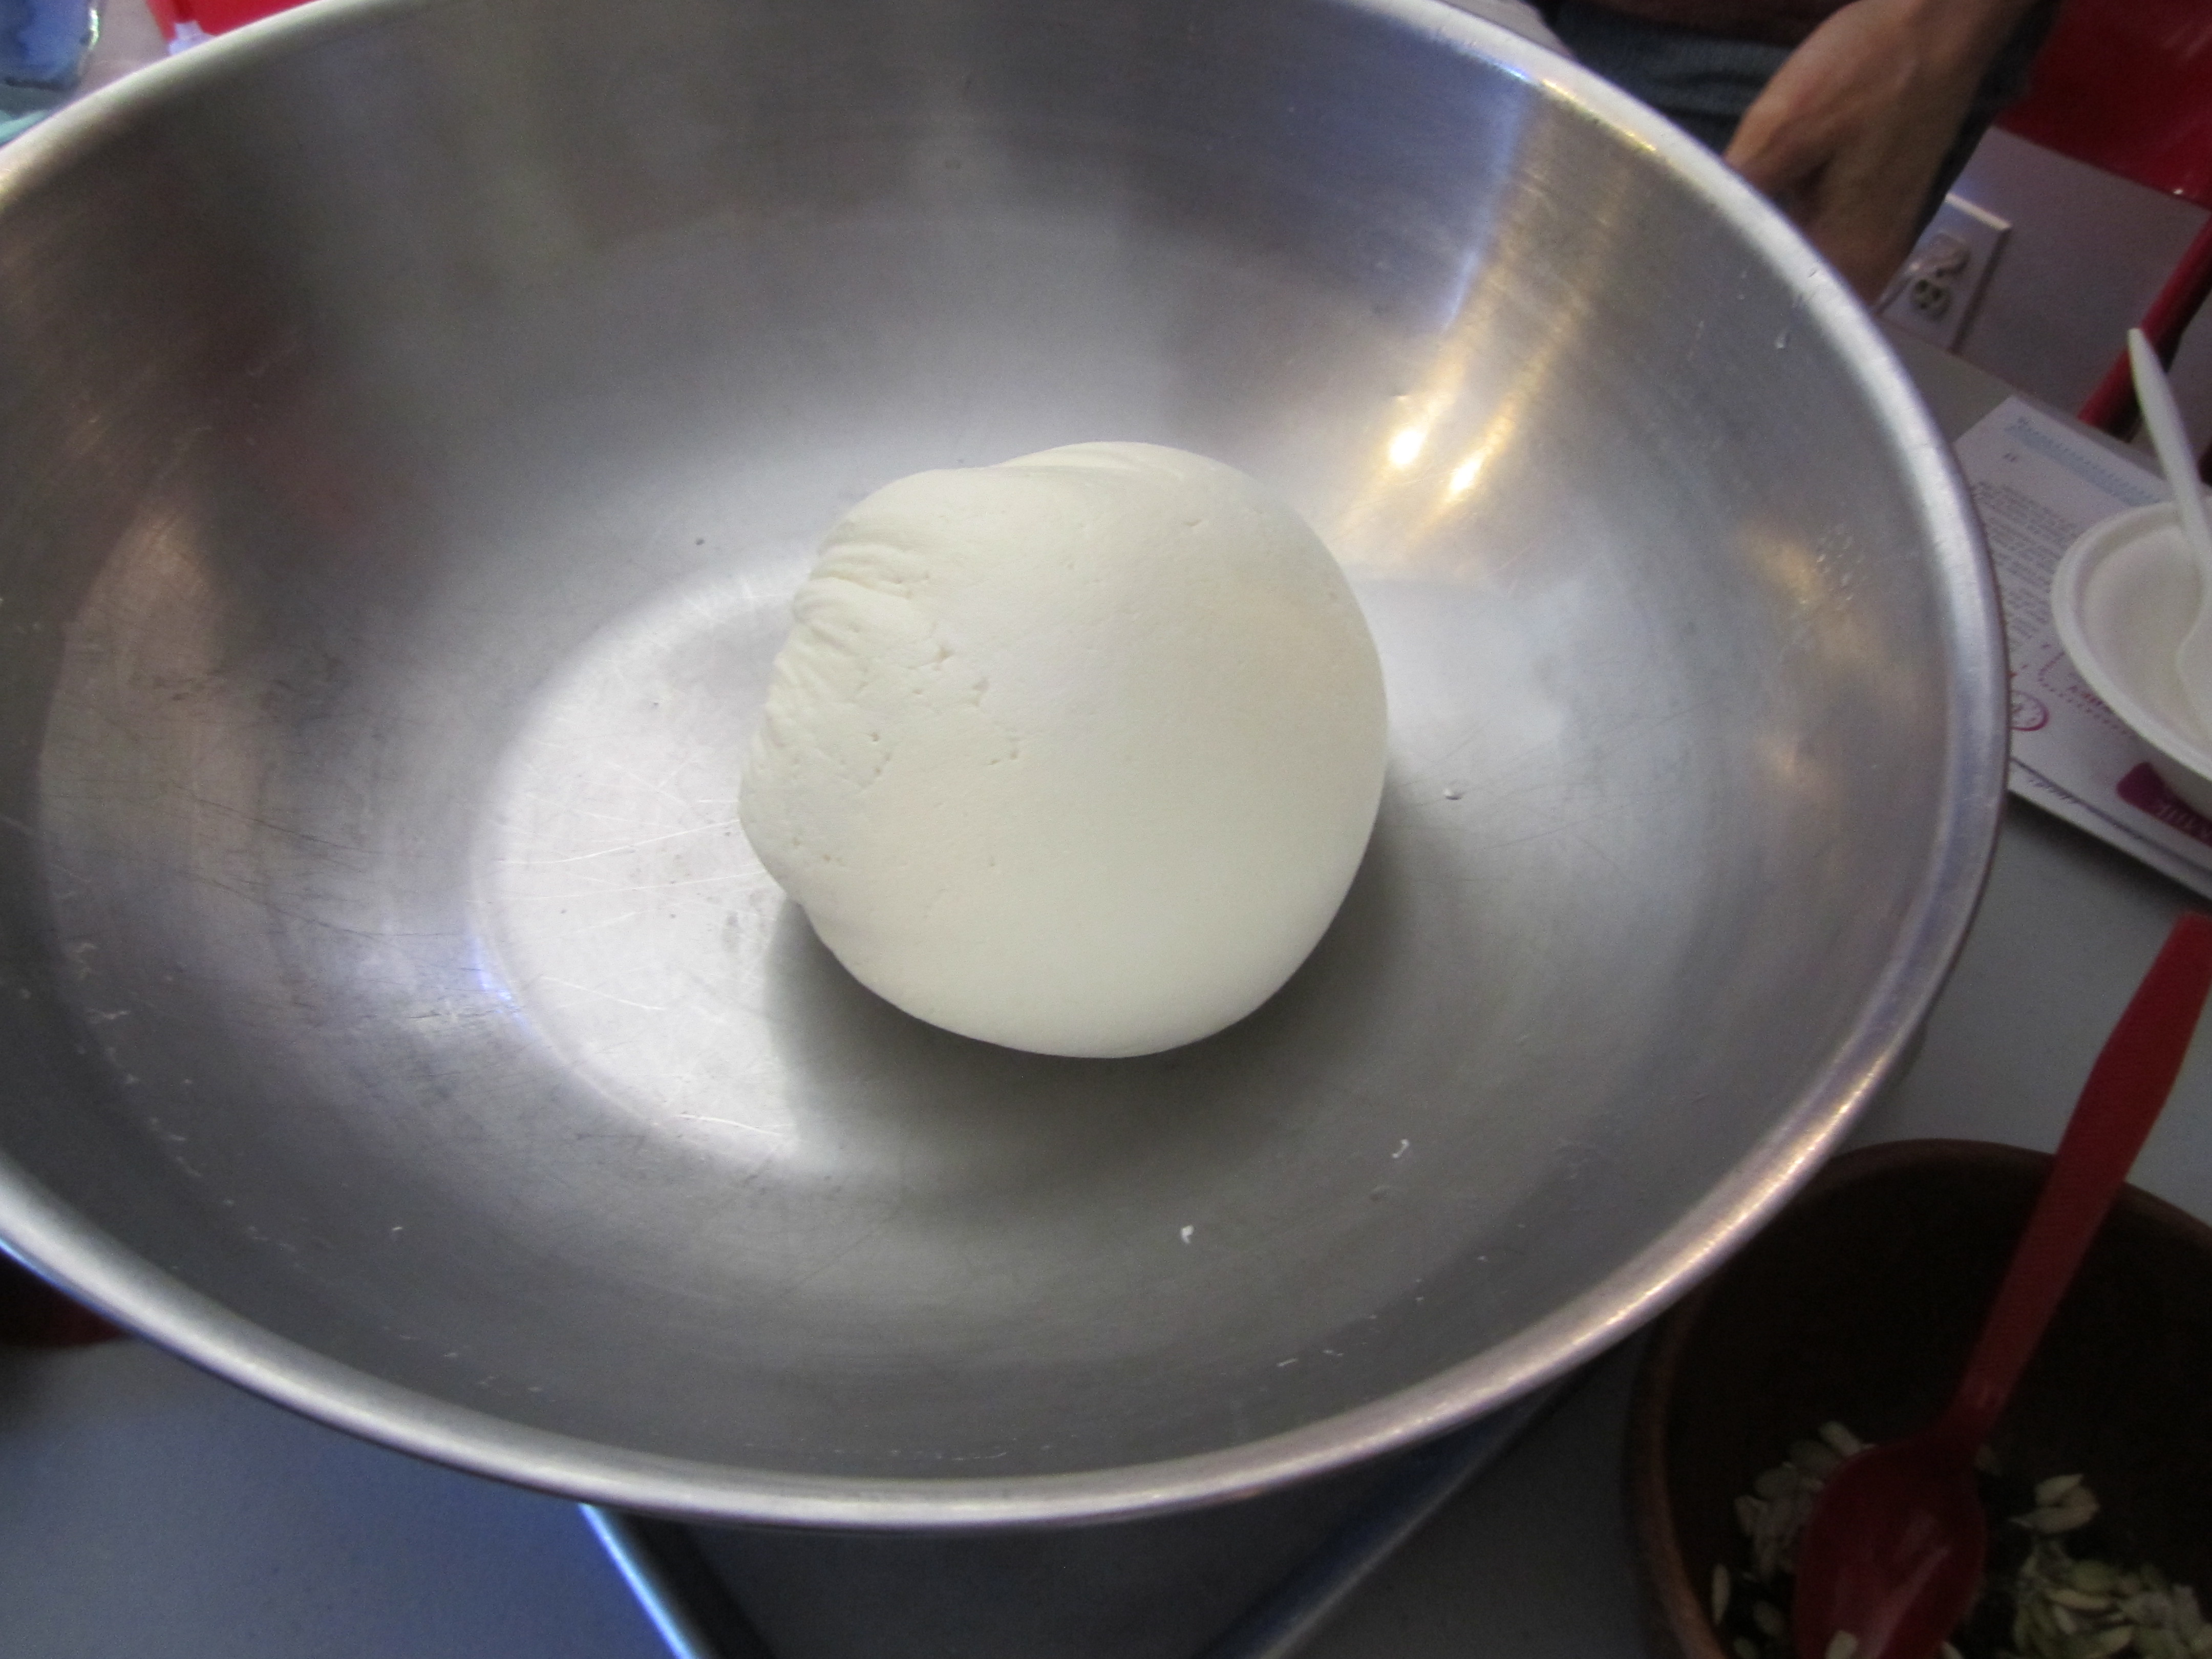
breaking up the curds and adding the salt:

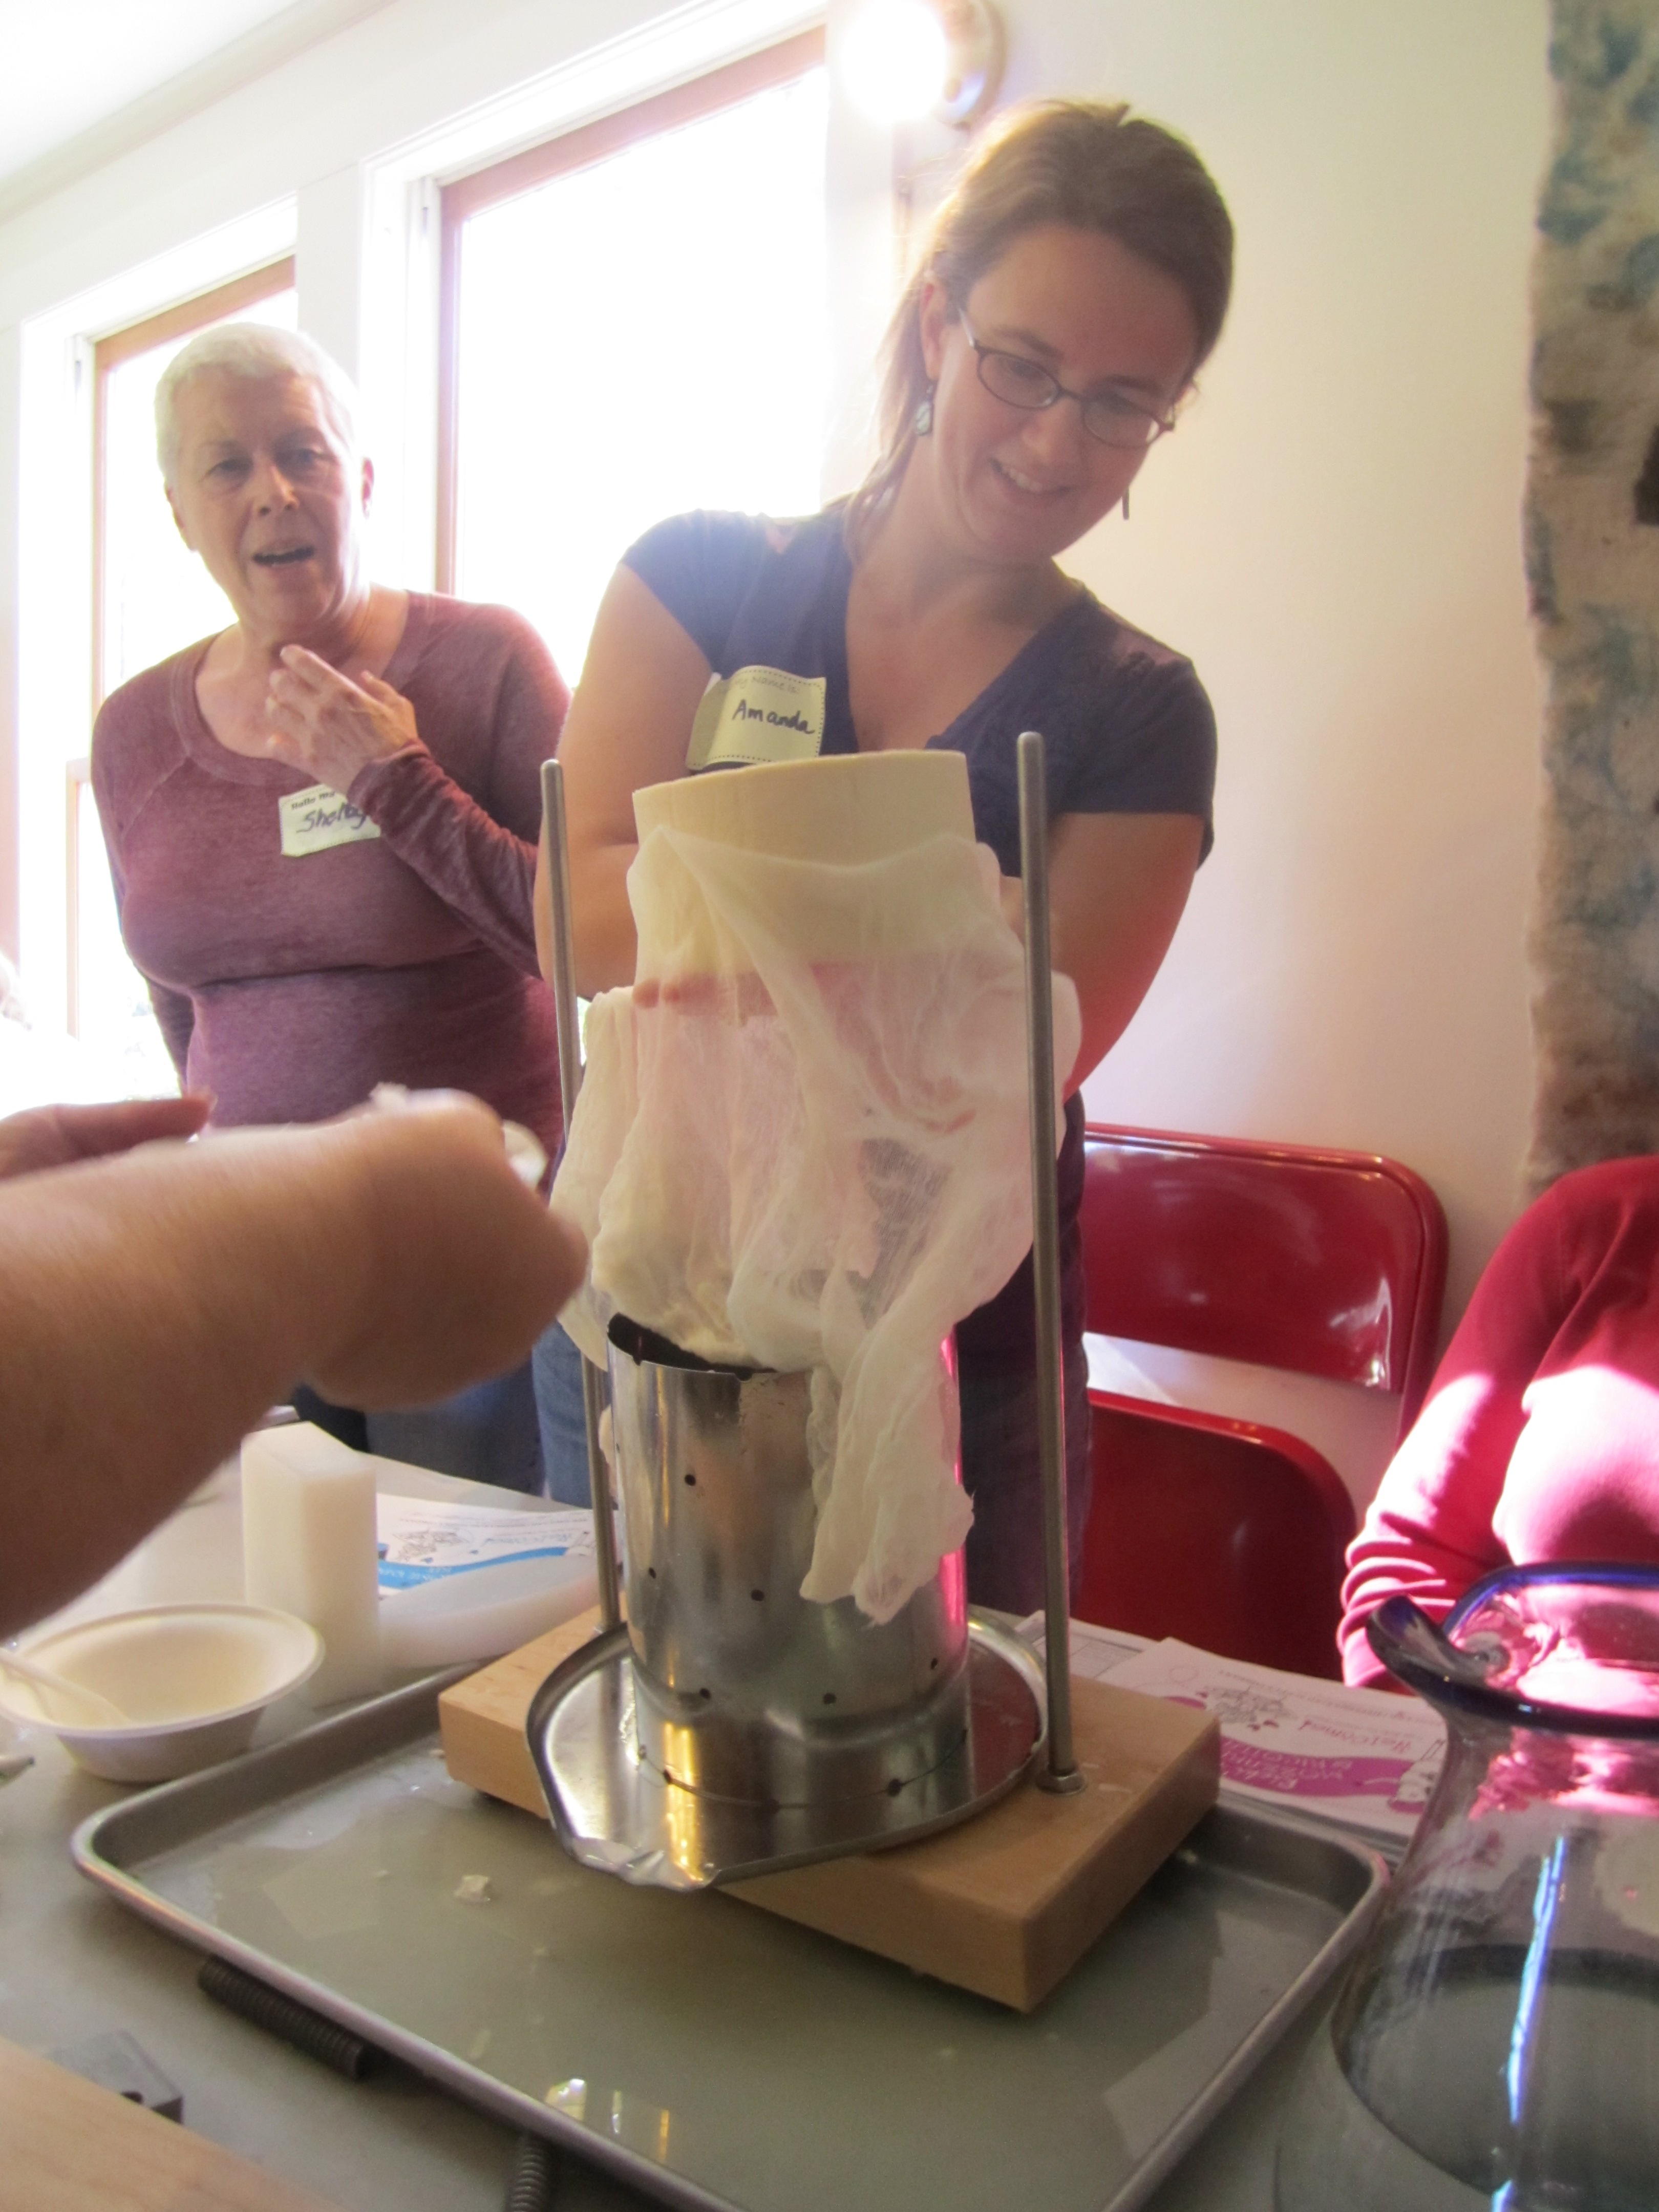
the next series of shots are of the cheese being molded in the cheese press:

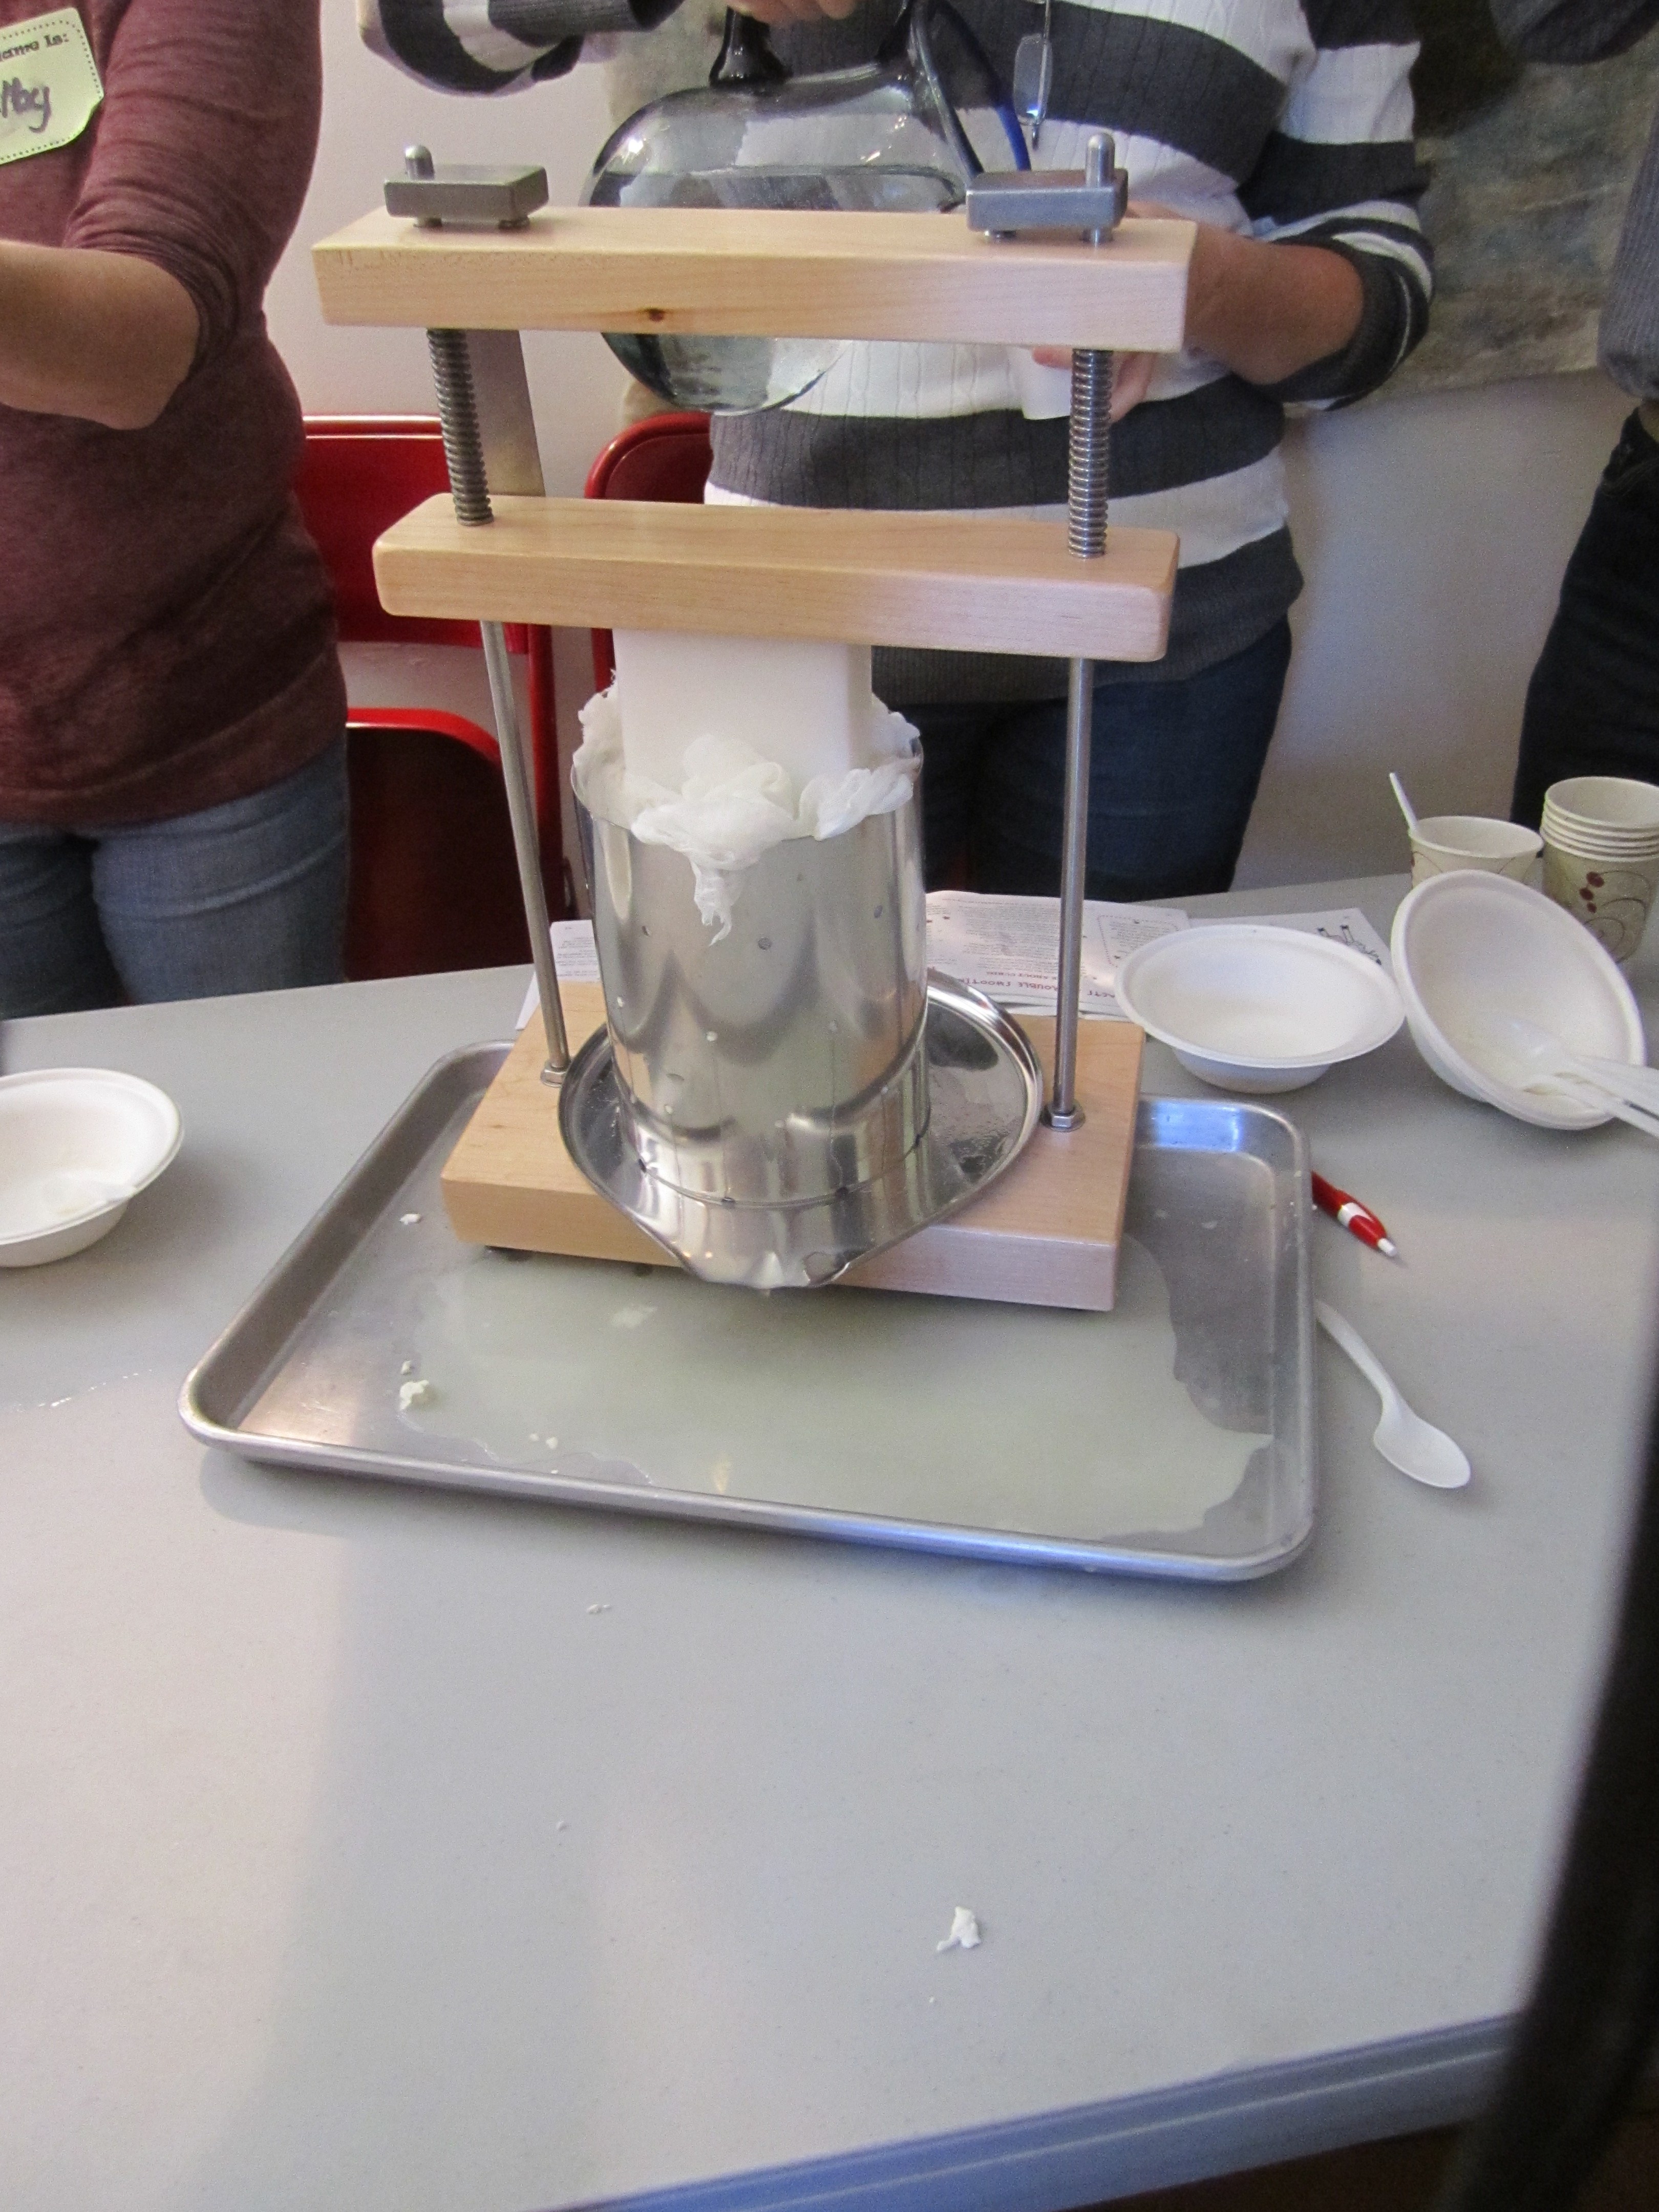


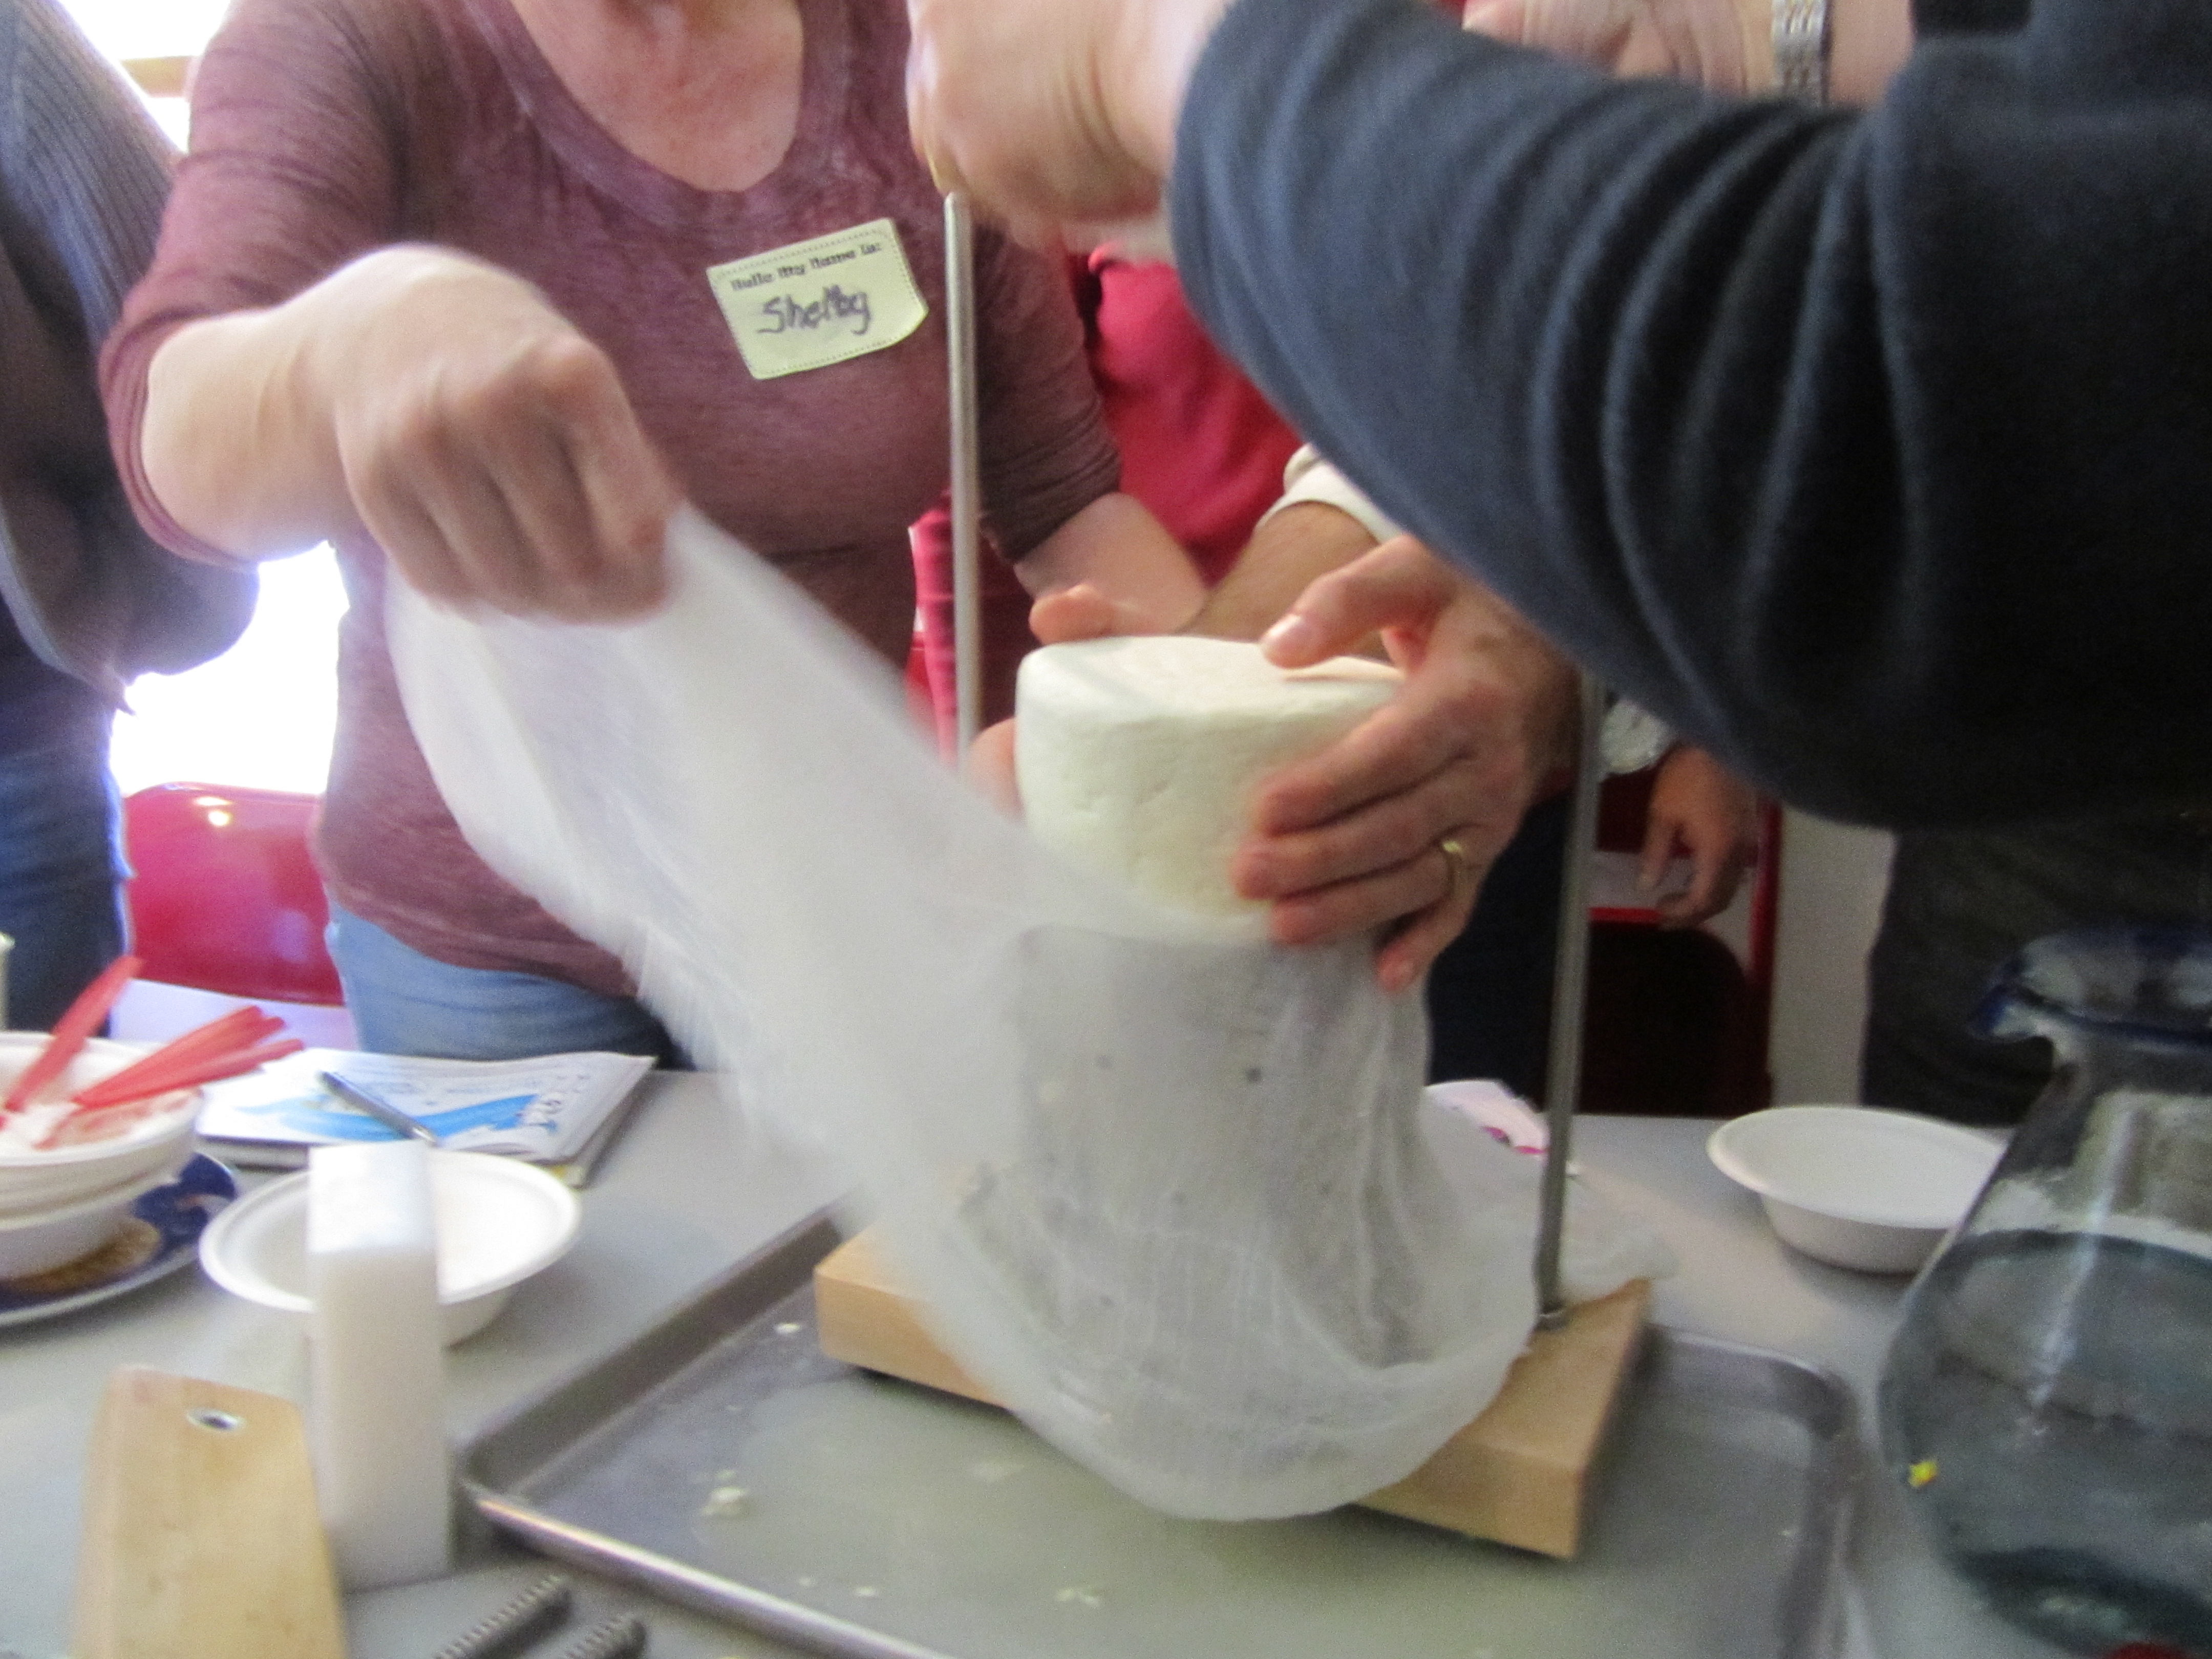
you keep on putting it back in the press until it’s pretty firm, we did it twice:

I have since been to an awesome class with my daughter at the end of January and will be happily talking about that one. We both realize now how important it is to find out exactly what you will be doing in a food workshop or class. Find out whether it is completely hands on or is it mostly lecture, whether you will be making individual food stuff your self rather than in a group and what exactly will you be taking home with you. Otherwise you will be sorely disappointed as we were.
Raspberry Cheesecake Cookies

I stumbled upon this recipe looking for something to do with my King Arthur Flour Raspberry Jammy Bits. I couldn’t resist buying them, there had to be something out there I could make with them.
The Raspberry Jammy Bits are an intensely powerful raspberry flavored tiny cube. So itty bitty that you cannot believe the raspberry flavor you get out of that one little morsel. King Arthur has some more recipes that sound yummy as well: Raspberry Jammy Bits Recipes. (They have Blueberry Jammy bits too: yikes!!) But give these cookies a try first: they are my daughter’s favorite, right now. So here’s to you Sarah!
Raspberry Cheesecake Cookies (adapted ever so slightly from the Baking in Sunshine Blog: Raspberry Cheesecake Cookies thank you Kim!!)
8 ounces butter, softened
8 ounces cream cheese, softened
1 cup packed light brown sugar
1-1/2 cups sugar
2 eggs
1-1/2 teaspoons Pure Vanilla Extract
3 cups flour
1/2 teaspoon baking soda
1 teaspoon salt
12 ounces Ghirardelli White Baking Chips
4 ounces of King Arthur Raspberry Jammy Bits
Preheat oven to 350 degrees.
In a stand mixer, beat butter and cream cheese together until soft and creamy. While this is beating, get the rest of the ingredients together. Put sugars in a bowl. Put eggs in small bowl and add vanilla. Whisk together the flour, baking soda and salt in a medium bowl. Measure out baking chips and jammy bits. When butter and cream cheese are creamed, add brown and white sugars and mix thoroughly. Add eggs and vanilla and beat until creamy and somewhat fluffy. Slowly add flour mixture. When just incorporated add chips and jammy bits and beat until just mixed in. Do not over beat.
Place 1-1/2 tablespoons of dough onto ungreased cookie sheet. 1-1/2 tablespoons can be accomplished by using a heaping measuring tablespoon of dough or scooping dough with an ice cream scoop and then halving the dough or using a #40 Zeroll Universal EZ Disher or Cookie Scoop, my new toy that I just got when I went to King Arthur Flour for a class (all to be revealed in a later post)!
Place cookies into oven and bake 10 minutes, turning baking sheet around after 5 minutes. The cookies should be ever so slightly brown around the edge.
Let cookies rest on baking sheet for 5 minutes and then remove onto cooling racks until completely cool. I think the cookies taste better after cooling completely. When they are warm, you can’t really taste the raspberry jammy bits or my taste buds are just getting too old 😦 Because of the cream cheese, I think they will stay fresh on the counter for a couple of days but freeze any extra. This works beautifully because the recipe makes a lot of cookies: at this size, about 60.
mis en place:

after adding sugar:
after adding eggs:
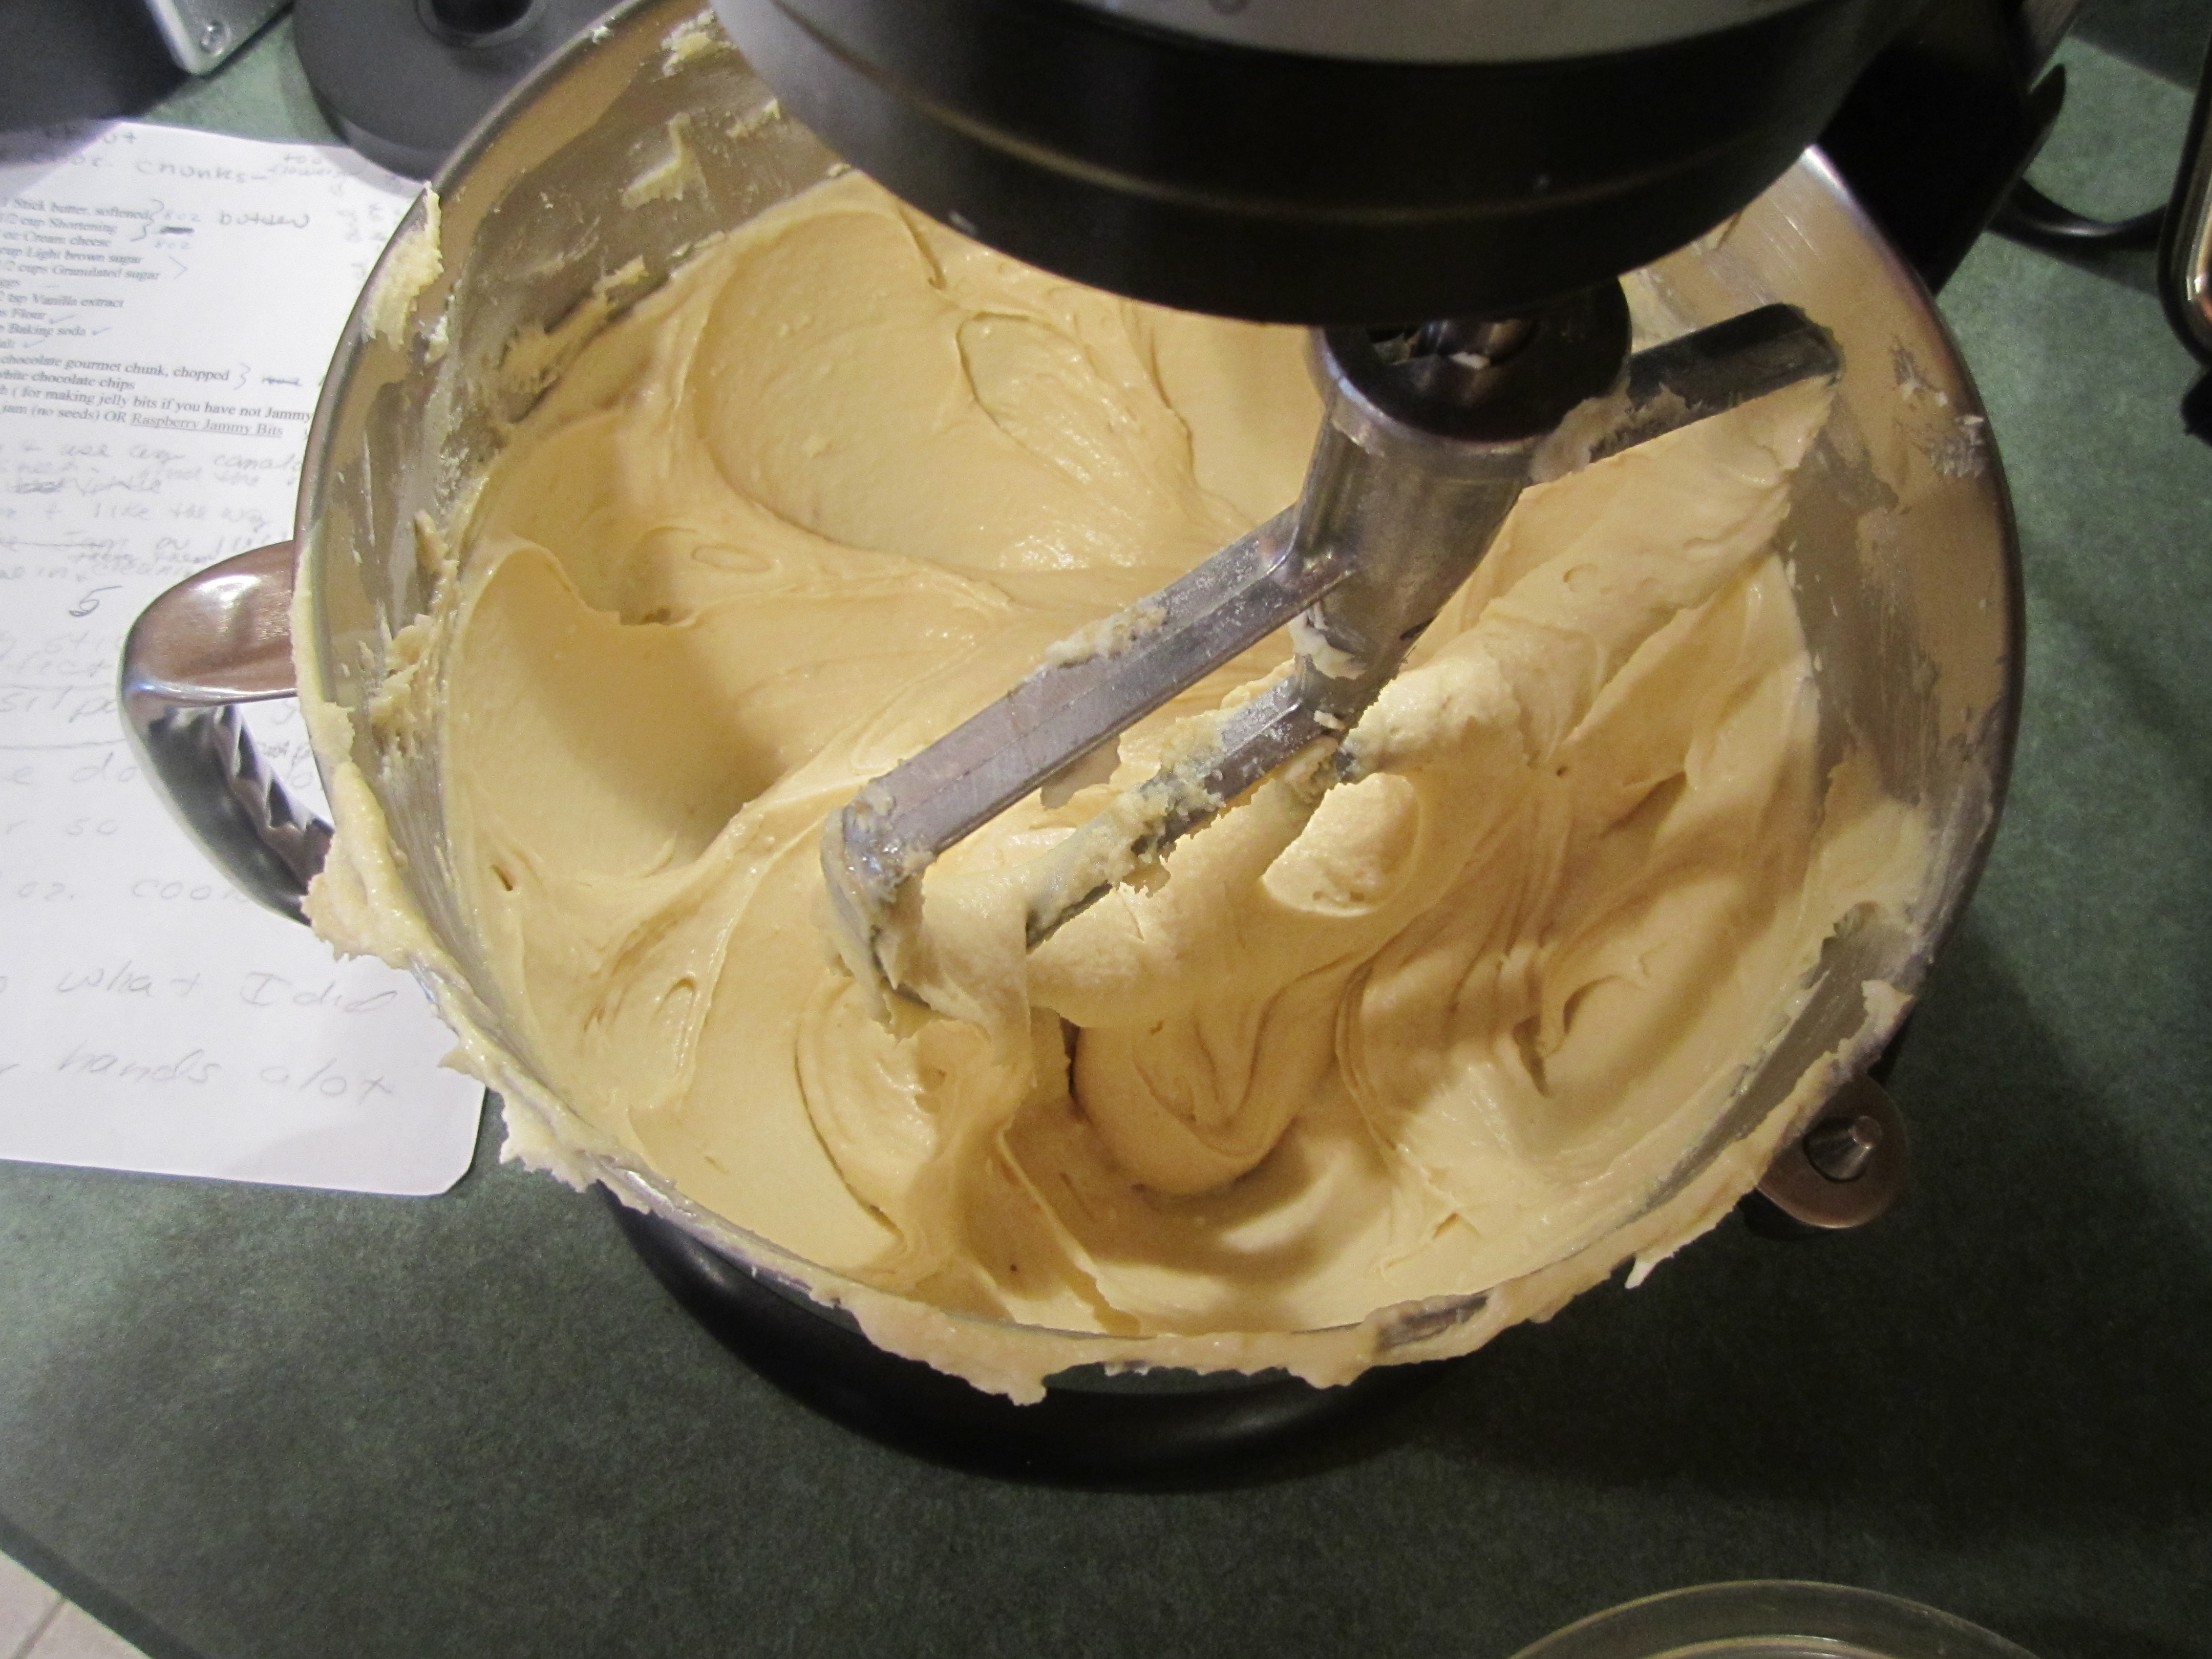
dough complete:

cookie dough on baking sheet, ready for oven:
my new toy and it’s purple, how cool is that:
prepping the dough:
cookies cooling:

close up of baked cookies, slightly brown around the edges:

Lamb Rib Chops with Carrots and Brussels Sprouts

I usually plan what I am making for dinner: get a recipe, make a little list and go shopping. But today, dinner kind of evolved. I sorta knew what I wanted but when I went to Deciccos (a specialty grocer) near Michaels craft store, where I was returning some items, I went around the store with a basket and ended up leaving the empty basket and the store, disappointed. Nothing appealed to me. So I ended up going to Shoprite (had to get something….) and went to the meat section thinking I would get lamb chops. I usually get the lamb loin chops but they were not looking so great to me. But they did have a perfect package of lamb rib chops, just enough for my husband and I. So back to the produce section for a side. Asparagus was too expensive and from Chili or someplace. Then I thought of Brussels Sprouts: a nice winter vegetable, that would go well with the lamb chops and grown in the United States, thank you very much.
Now I needed a recipe for the brussels sprouts. I had a great one that I usually made for dinner parties, maybe I could halve it. It seemed possible so I started cutting the brussels sprouts and then remembered I could complete the recipe because I already had fresh, peeled carrots in the refrigerator. Perfect! Dinner was complete.
Lamb Chops
The lamb chops take very little time but they can be prepped while you make the brussels sprouts and carrots. Leaving meat out for a 1/2 hour or so is always better for grilling.
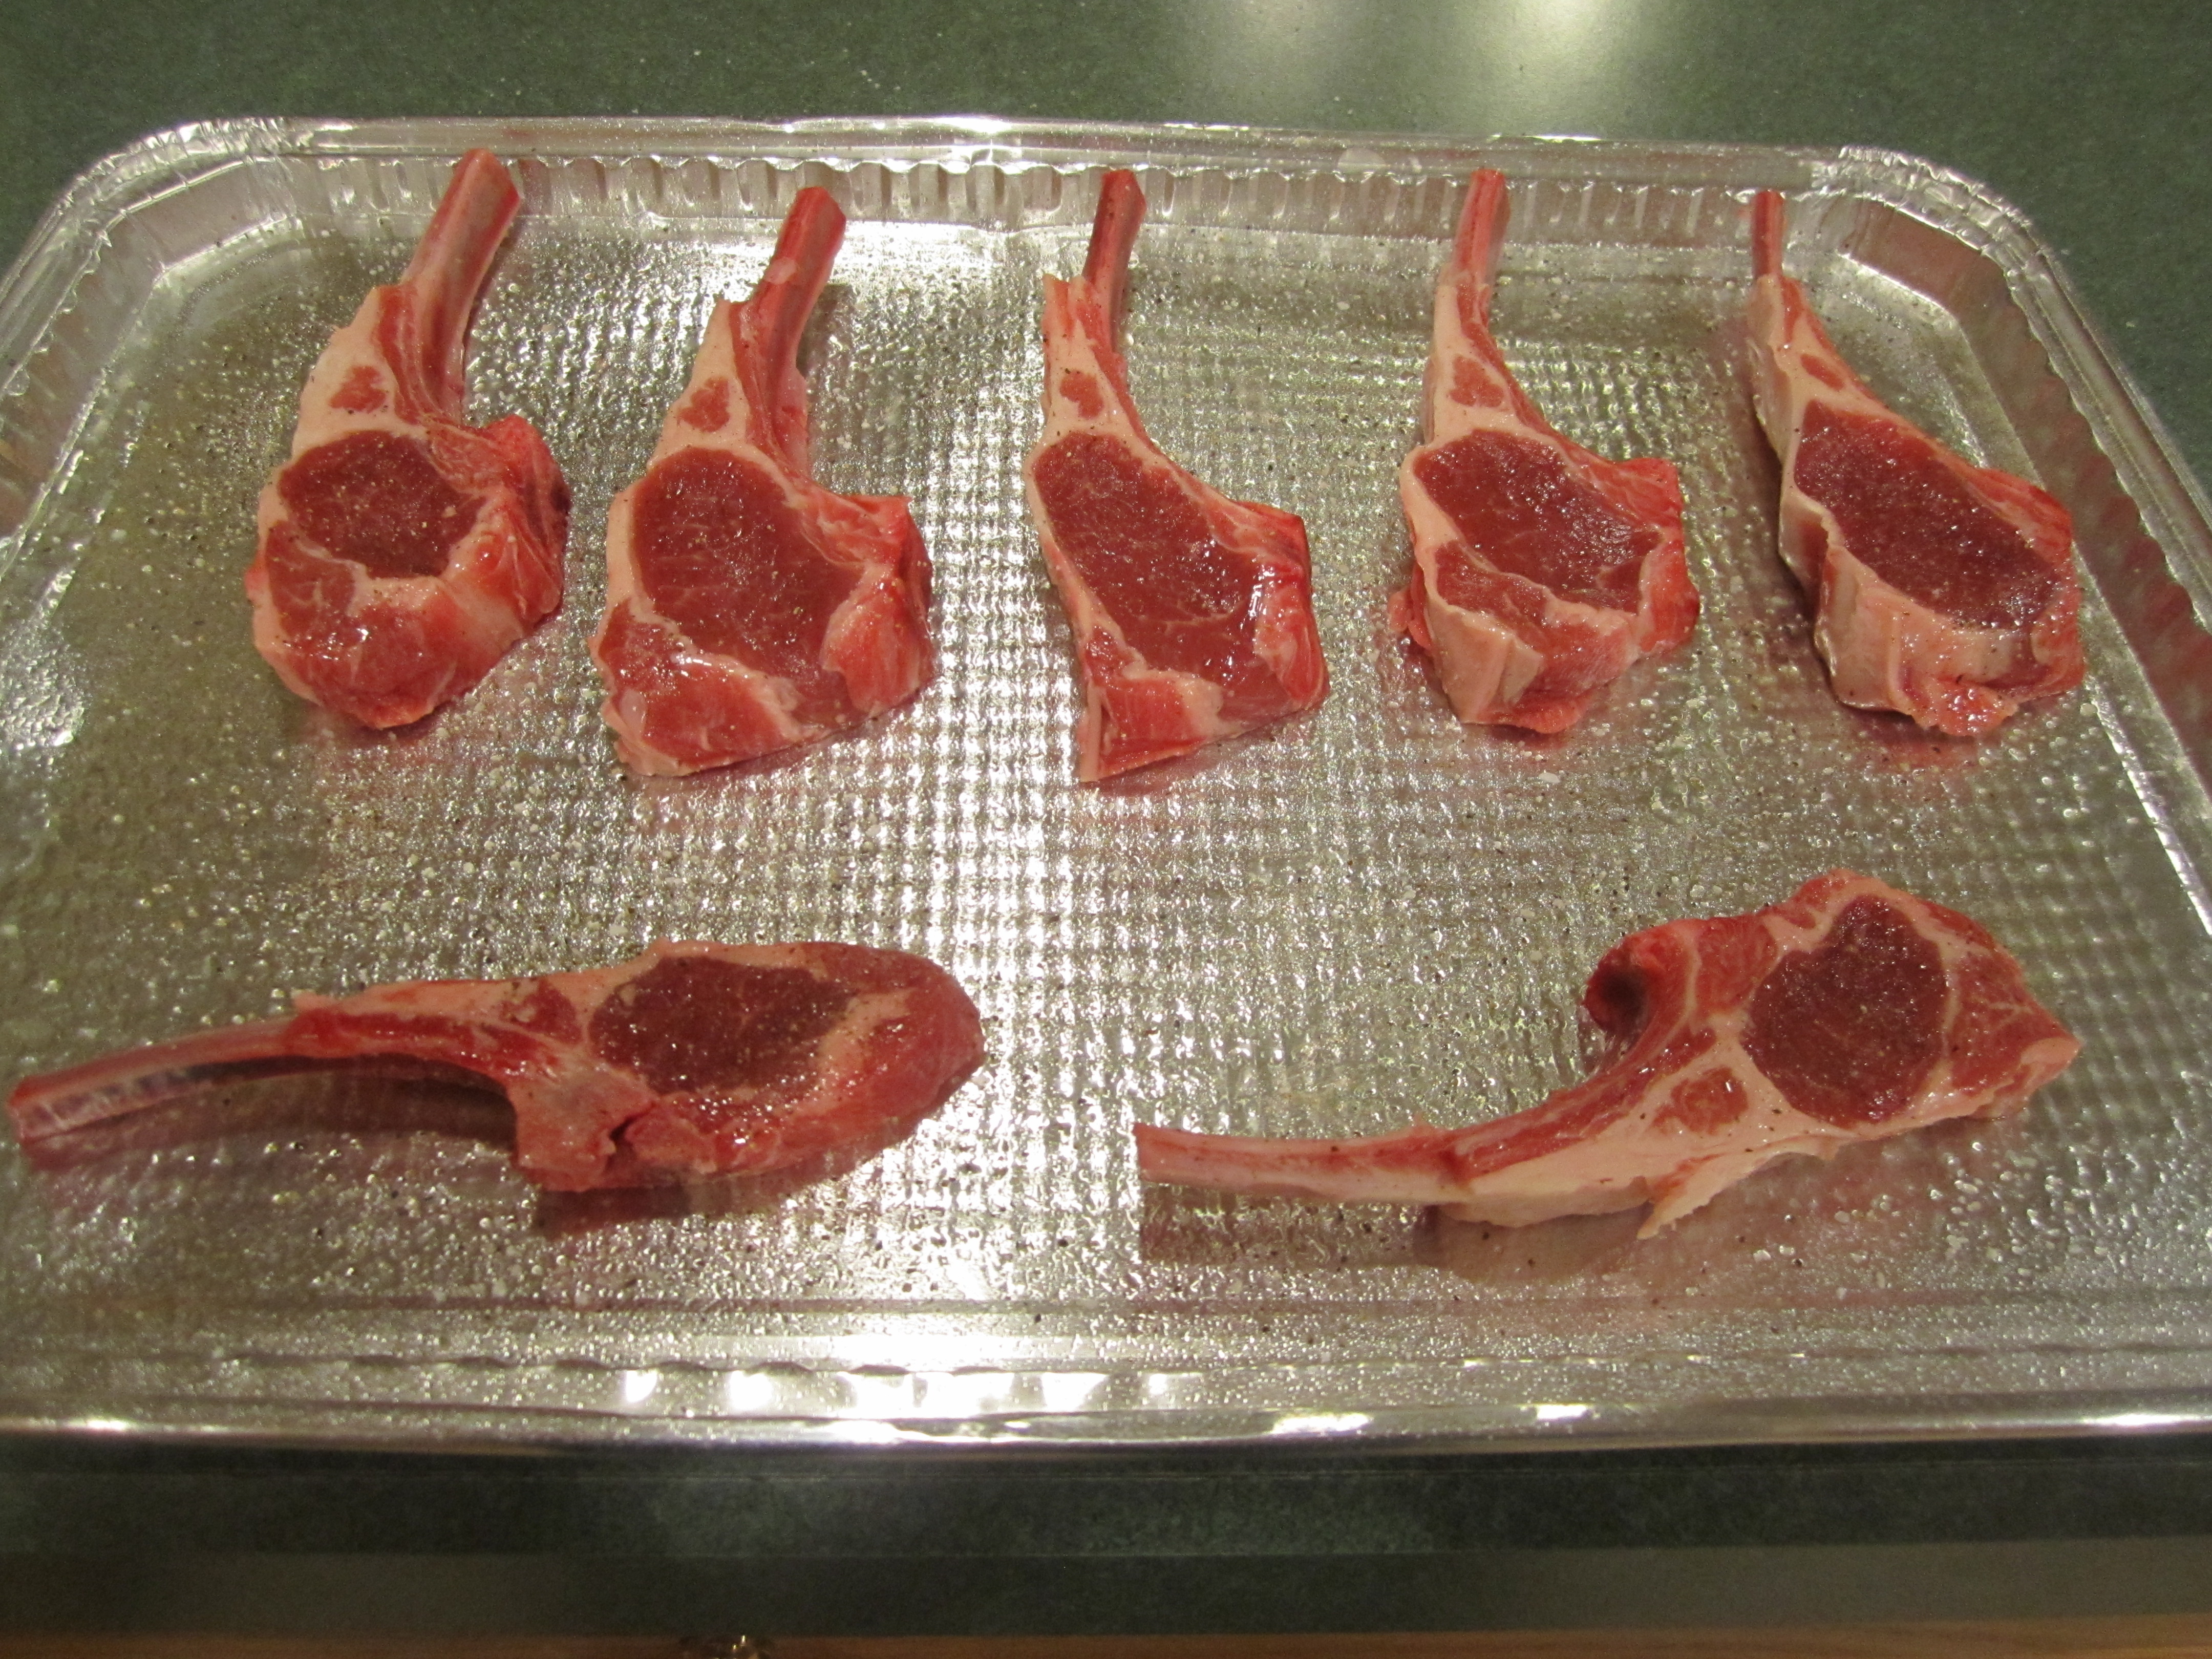
7 Lamb Rib Chops (these are small: my husband ate 4 and I ate 3: adjust quantity to the number of people you are serving
1 disposable aluminum pan
Spray aluminum pan with canola oil spray. Place lamb chops onto pan. Sprinkle lightly with salt and pepper. Turn over and sprinkle the other side with salt and pepper. Start grill.
When the vegetables are done, bring the lamb chops on the pan out side and place on the grill. Bring the lid down. Adjust the heat to 1 notch below high. Cook on one side for 2 minutes. Open grill and turn lamb chops over and cook for another 1-1/2 minutes. Open lid and turn lamb chops over and then remove onto a plate. Serve with Mint Jelly and Mint Sauce if desired.
Carrots and Brussels Sprouts (slightly adapted from Gourmet February 2008 Carrots and Brussels Sprouts)
The following is for half the recipe. I follow the recipe almost exact with some very slight changes.
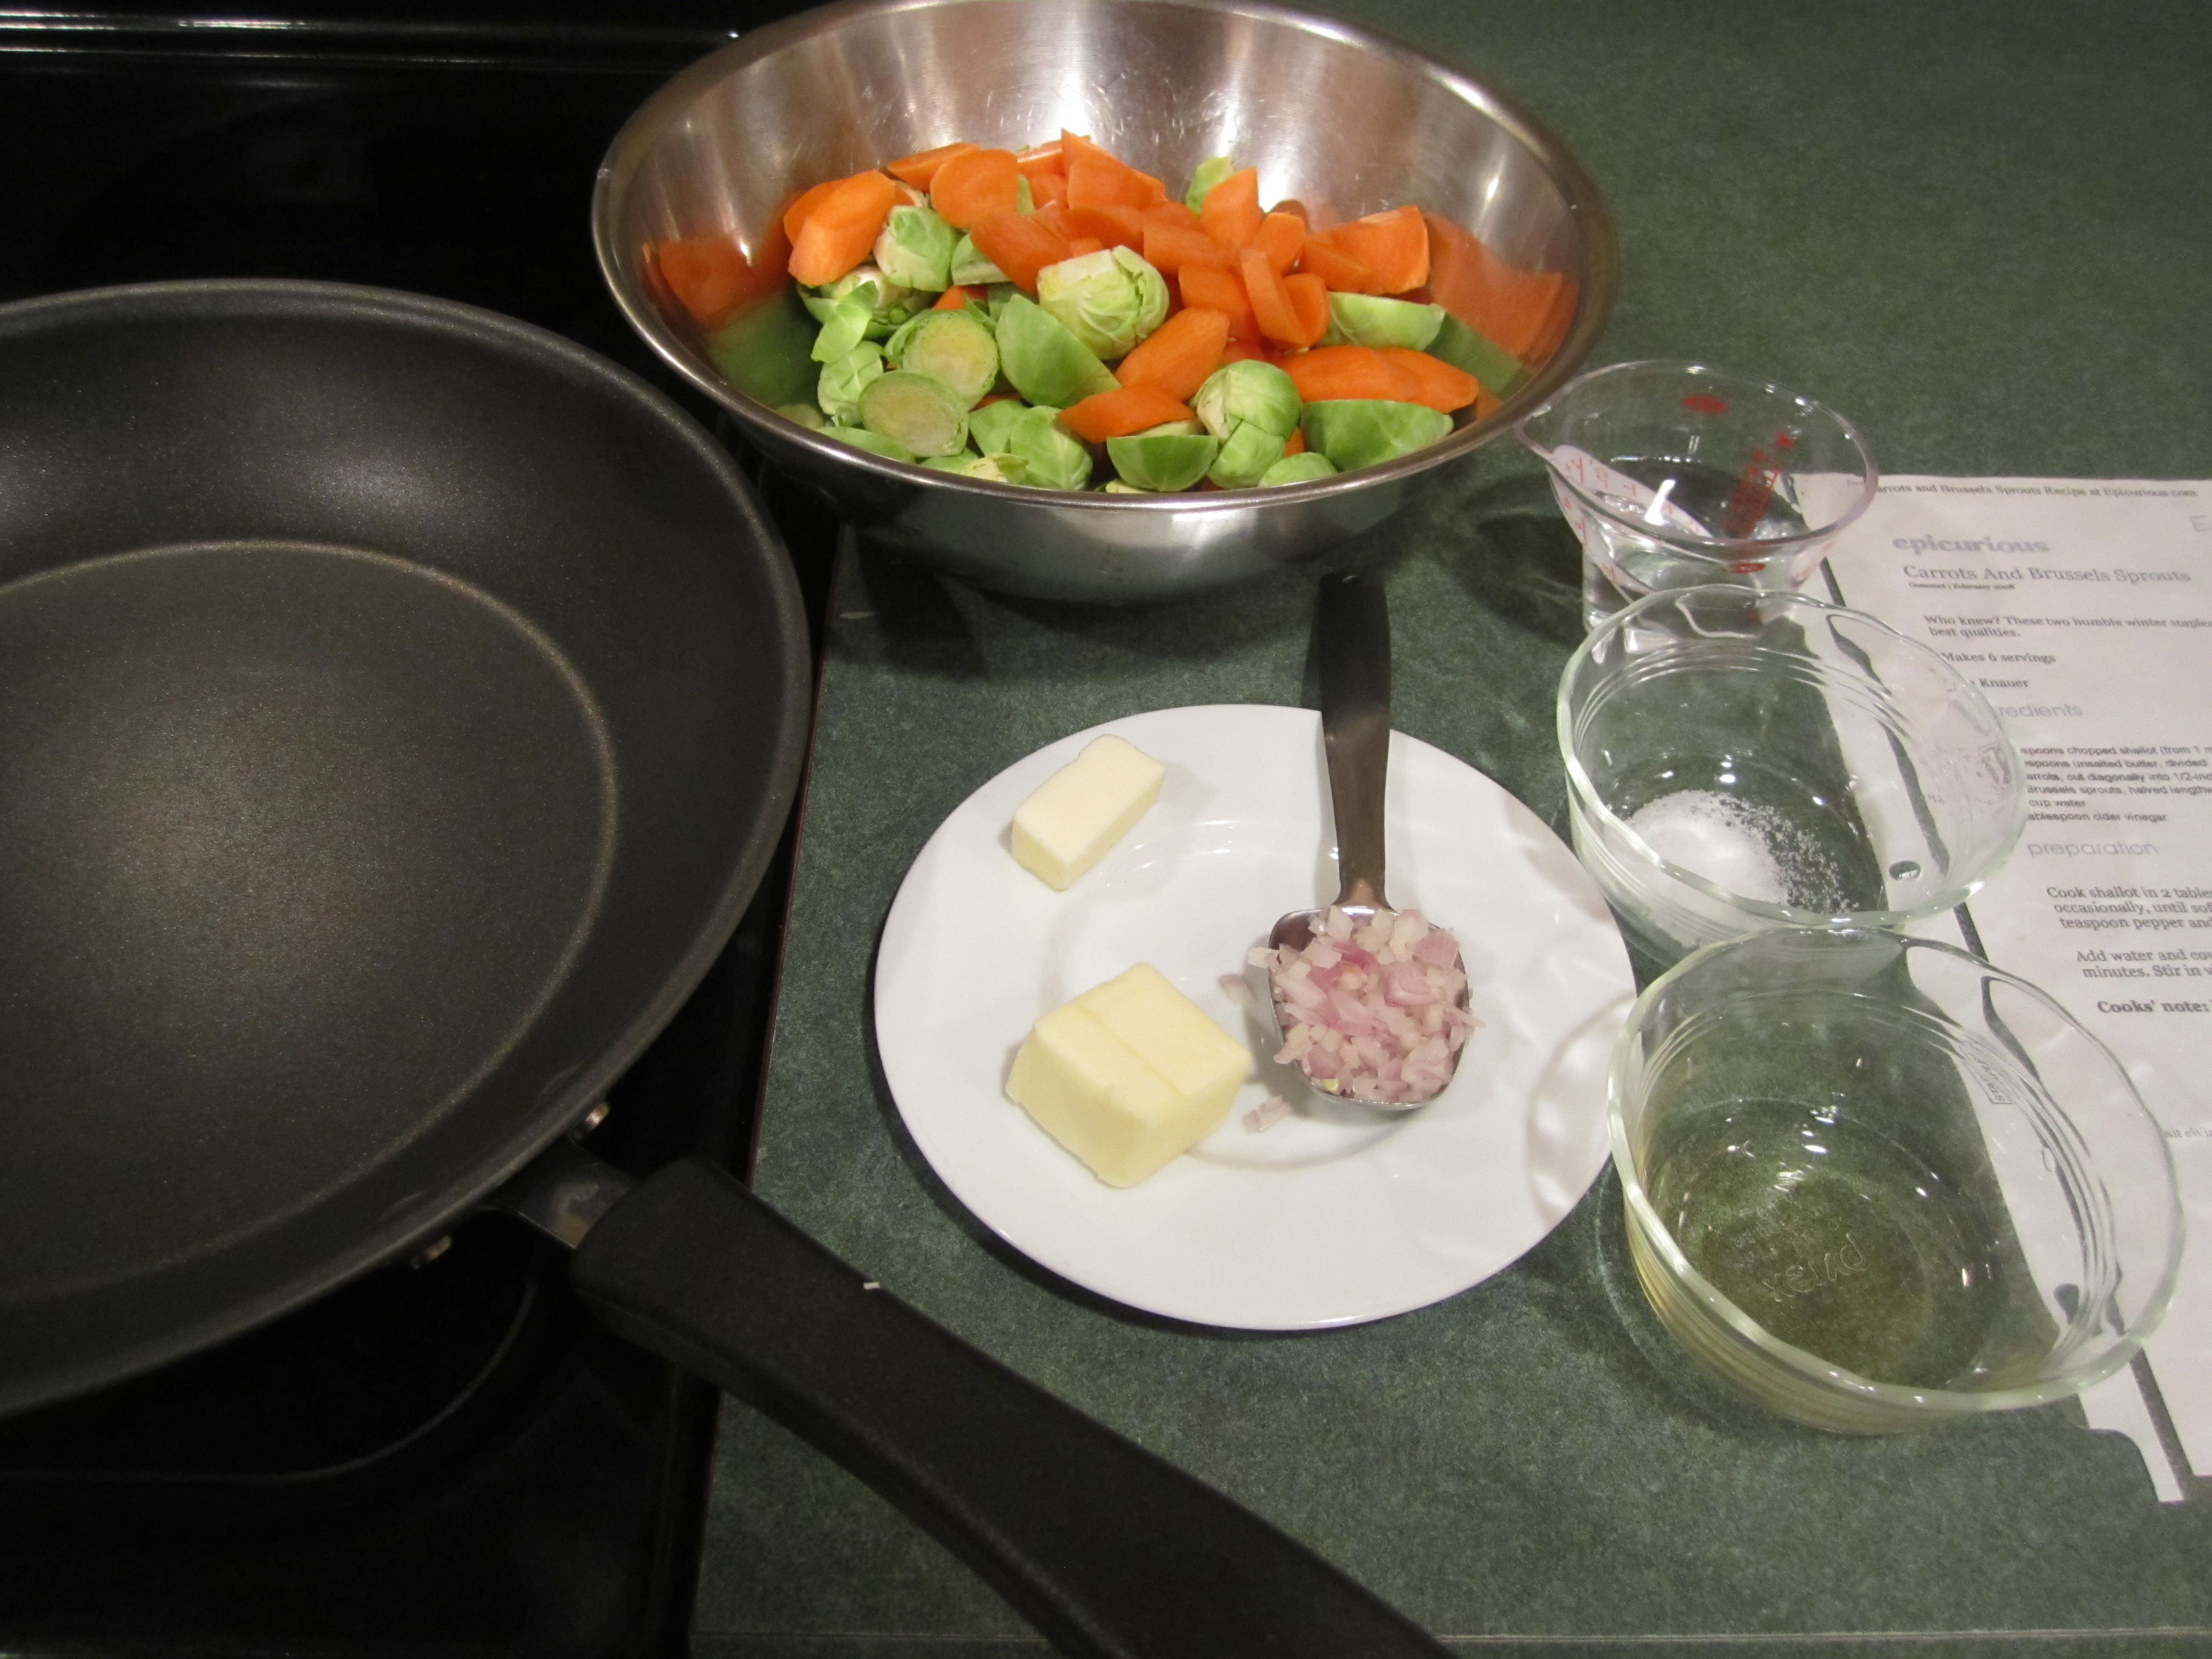
1 tablespoon finely chopped shallot (from 1/2 of very large)
1-1/2 tablespoons butter
1/2 lb. of carrots, peeled and cut diagonally into 1/2 inch thick pieces
1/2 lb. of brussels sprouts, halved lengthwise (cut off stem end and peel off any bad leaves)
1/3 cup water (this is the only quantity that is not halved)
1/2 tablespoon cider vinegar
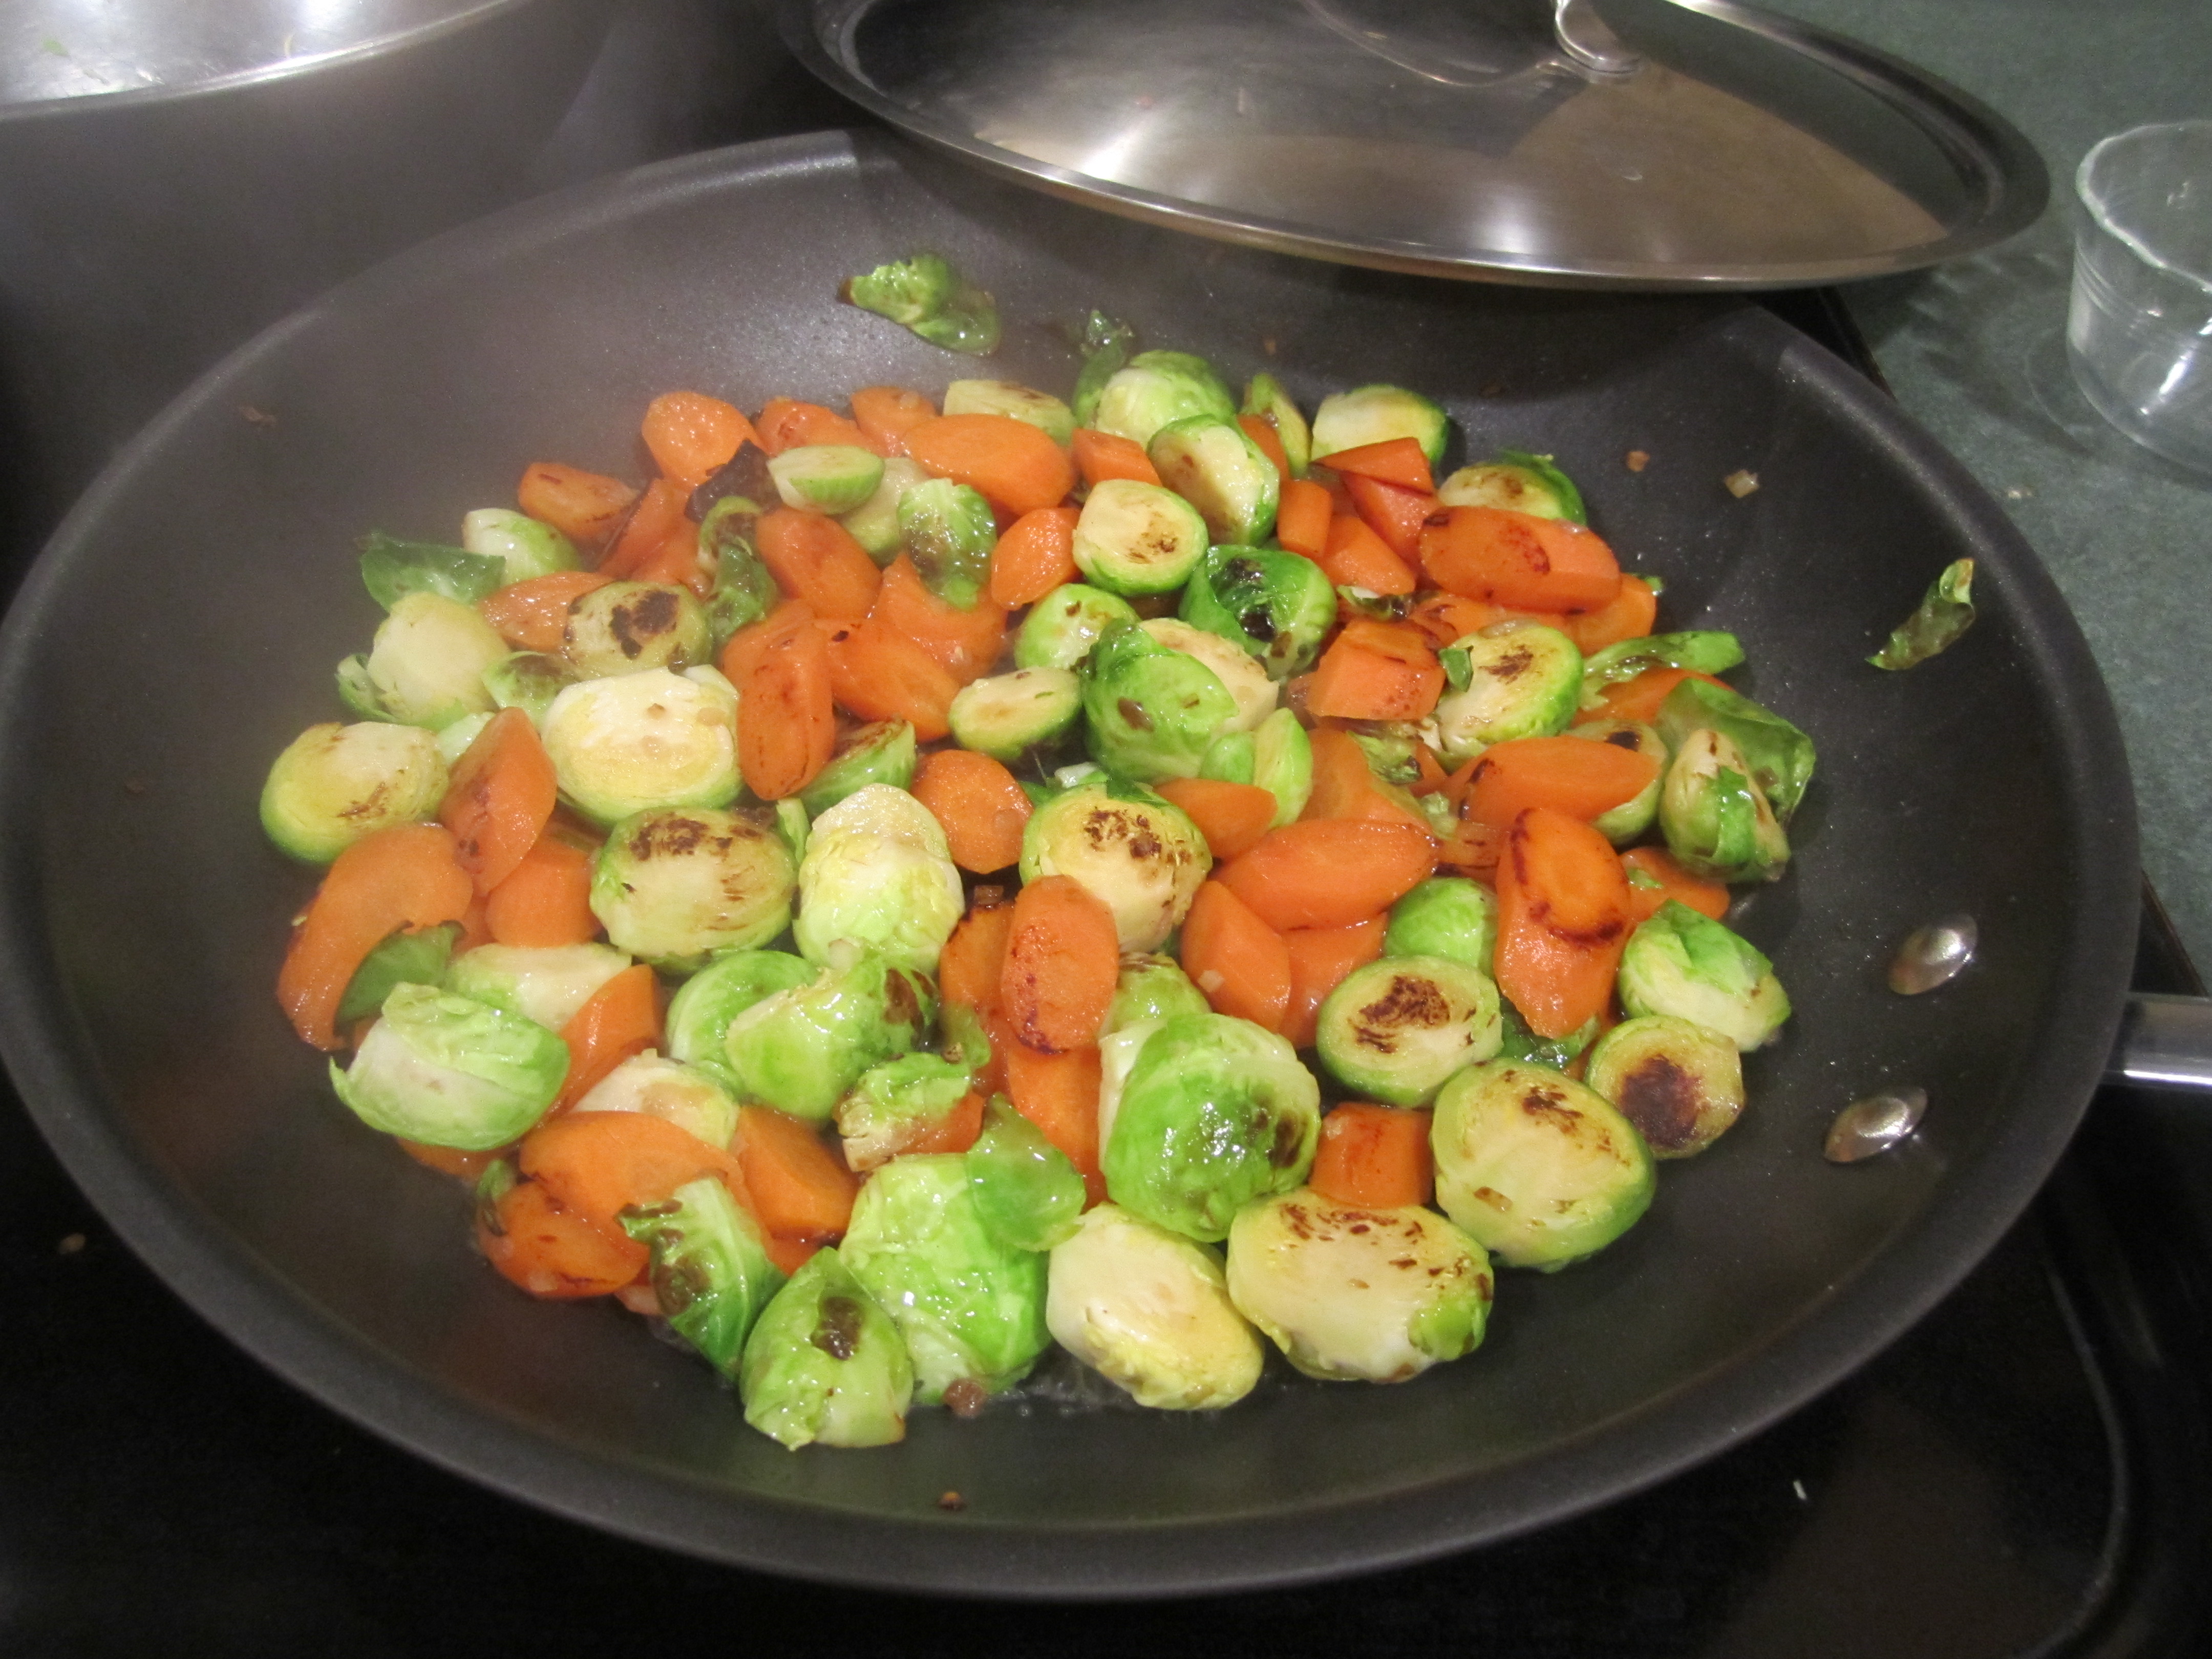
Cook chopped shallots in 1 tablespoon of butter in a 12 inch non-stick anodized pan or heavy skillet, over medium-high heat, for about 1-2 minutes, stirring until soft and somewhat browned. Add carrots and brussels sprouts, 1/4 teaspoon of salt and cook, stirring occasionally, until vegetables begin to brown, about 4-6 minutes.
Add water, cover skillet and cook over medium heat until vegetables are tender, about 5-8 minutes. Stir occasionally and add little dribbles of water to the pan if the vegetables seem too dry or are browning too much.
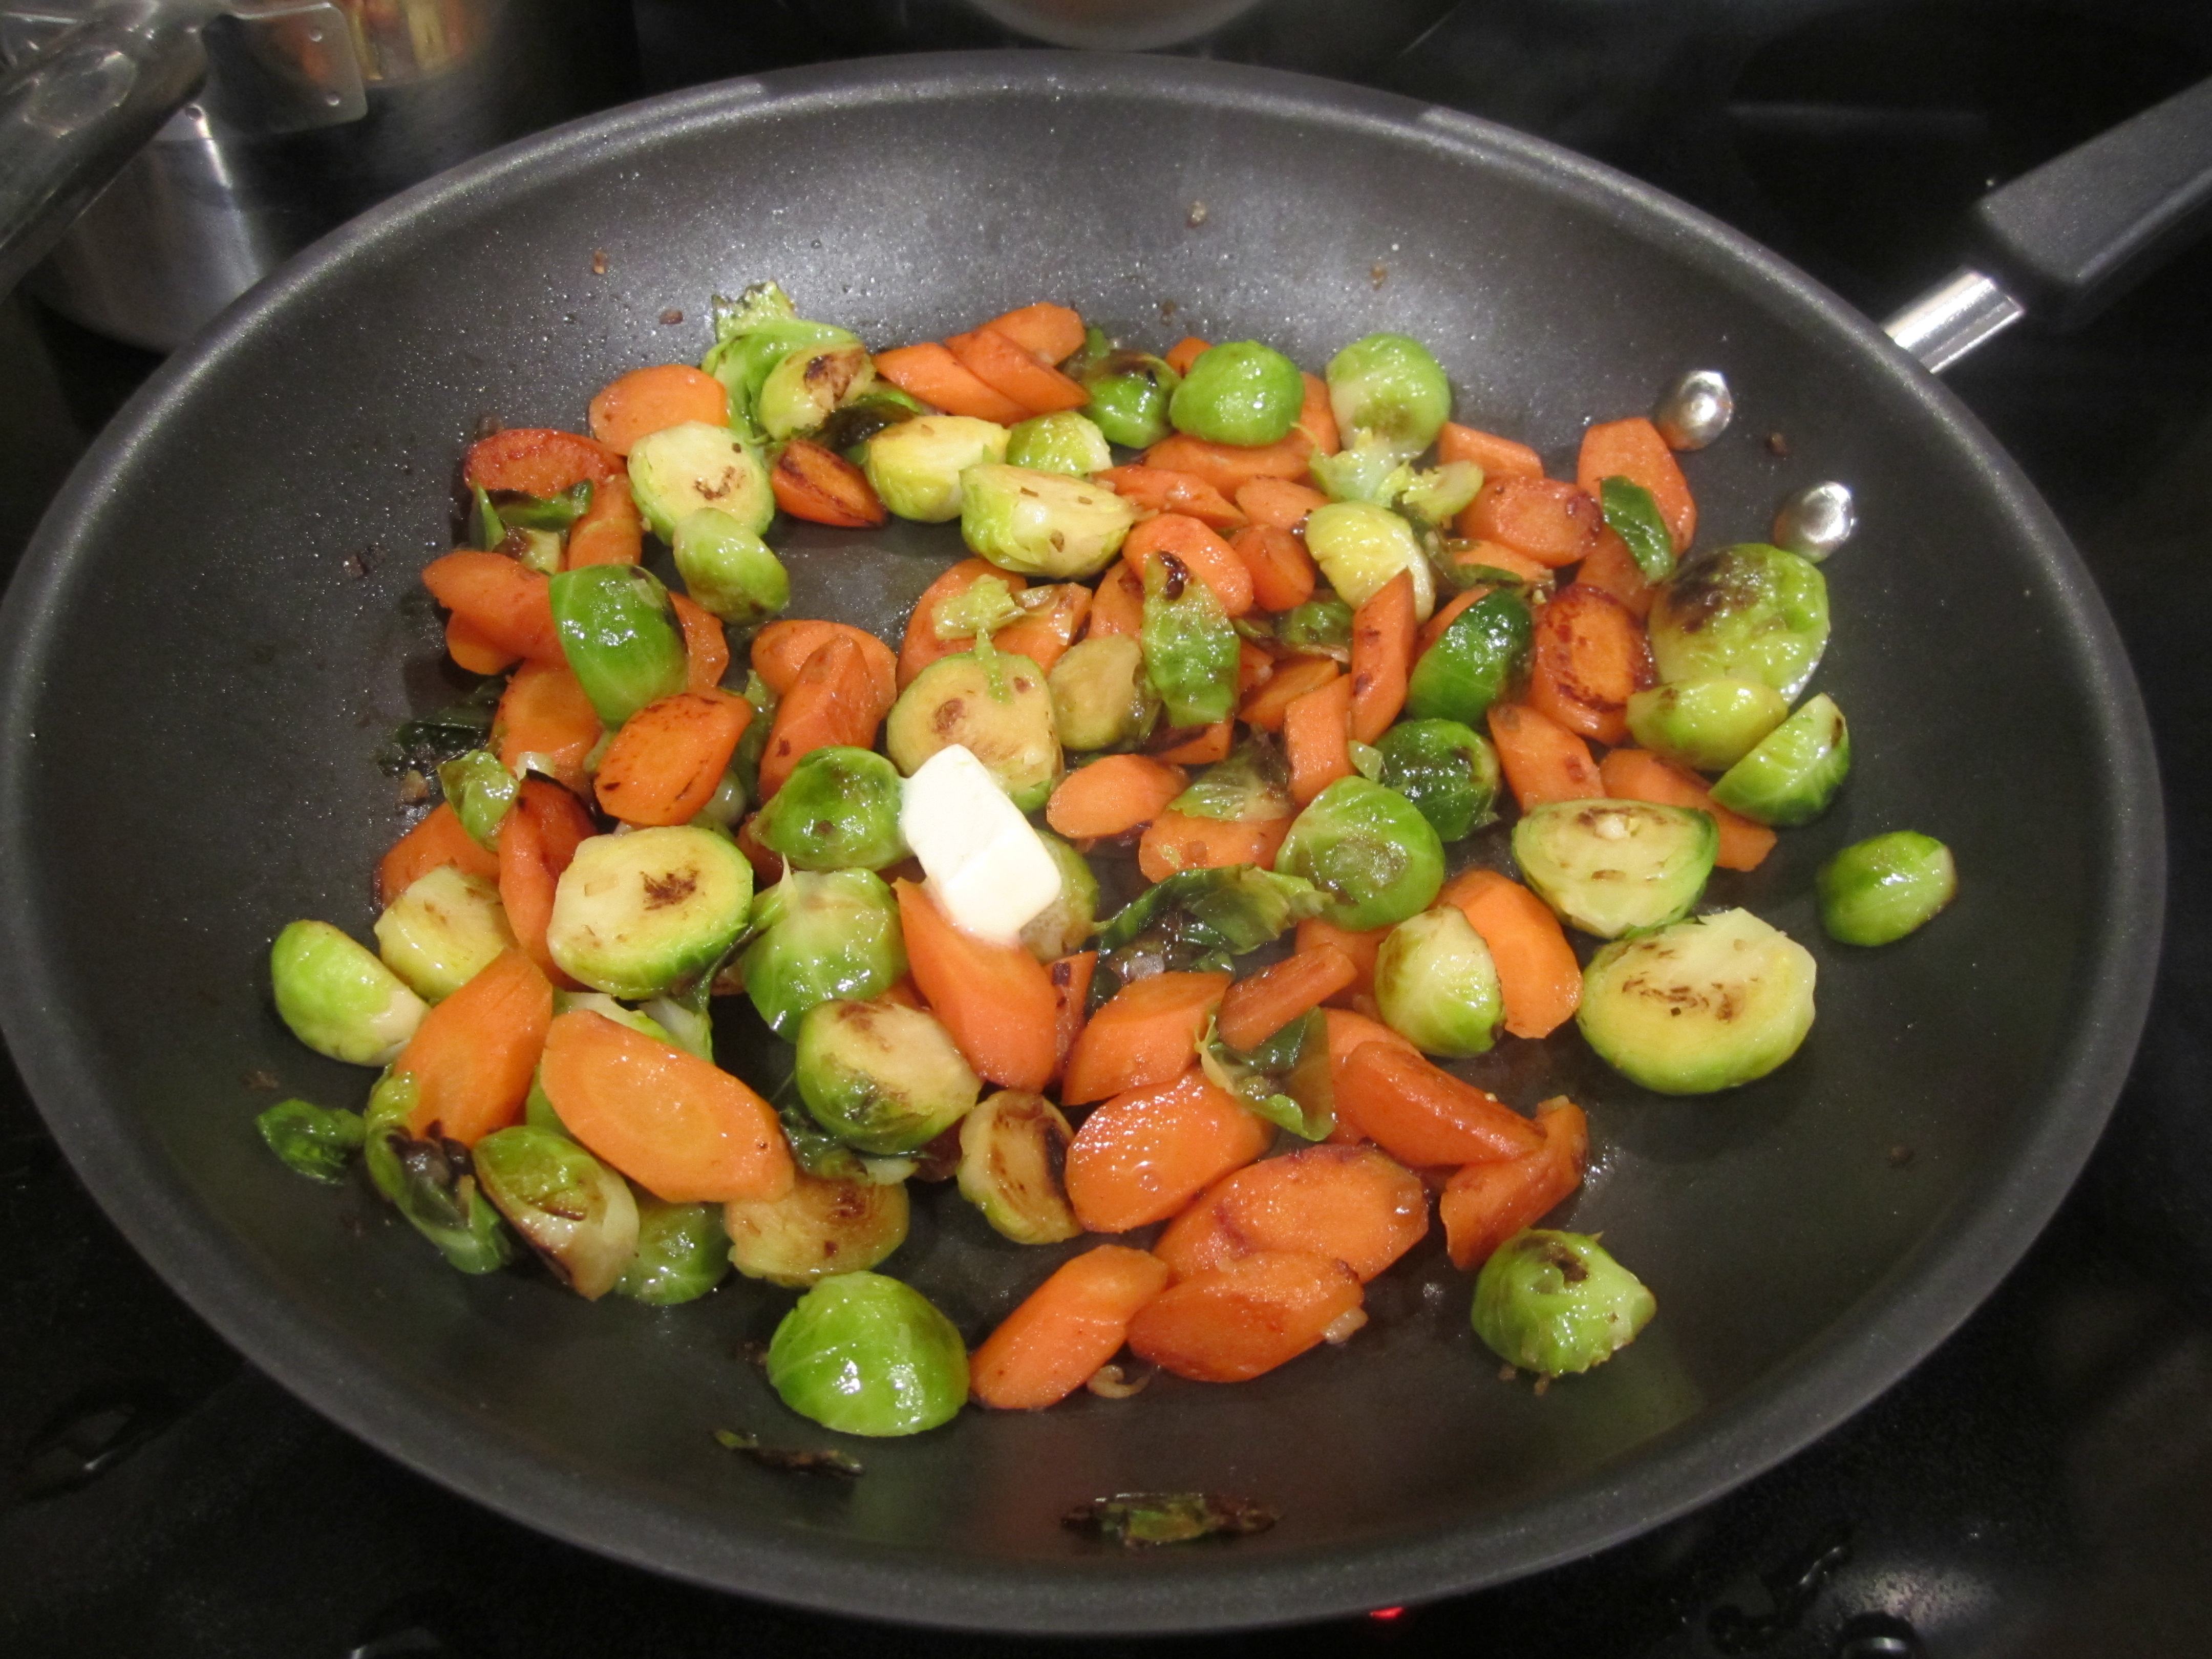
Add vinegar and remaining 1/2 tablespoon of butter to vegetables, stirring thoroughly. Add salt to taste, if needed. Set aside and cover. Cook the lamb chops.
lamb rib chops prepped on disposable aluminum pan:
mis en place for carrots and brussels sprouts:
cooking shallots:

carrots and brussels sprouts added:

finished browning:
add water and cover:

adding the rest of the butter and vinegar:
all done:

lamb chops done:

mint sauce and mint jelly, a nice addition to the lamb:

my husband really enjoyed this tonight, I hope you do too:

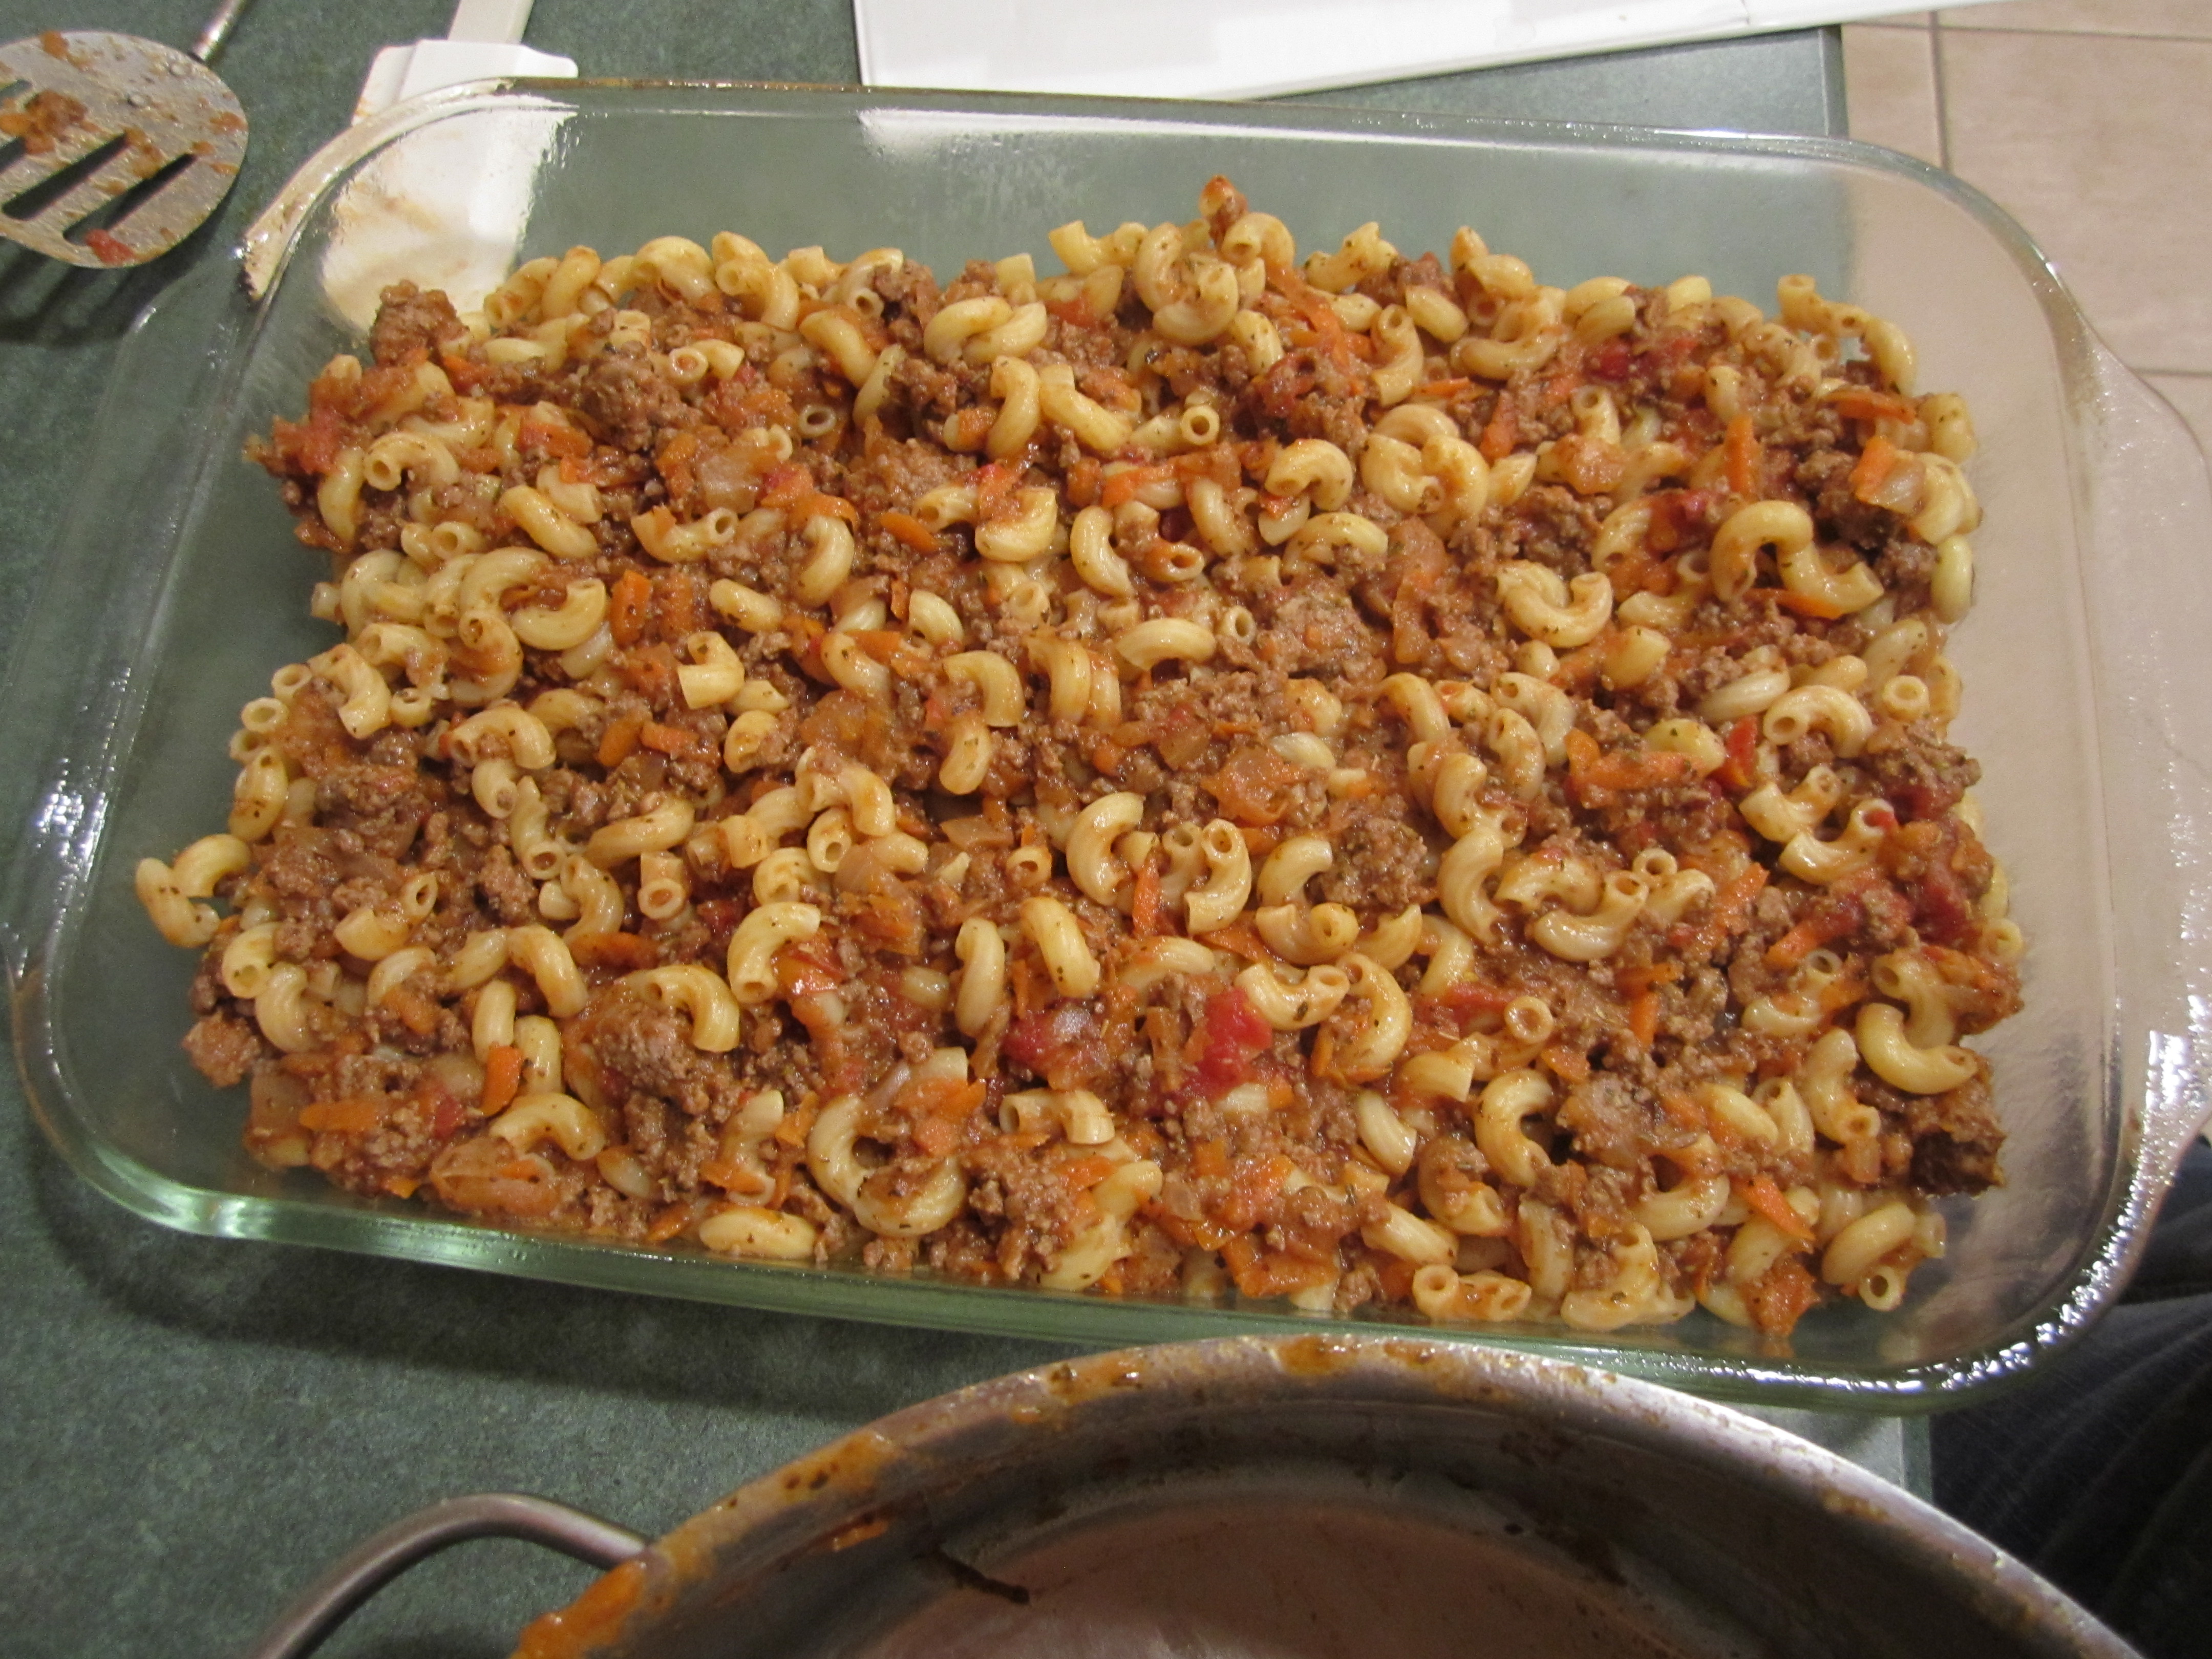
Beef and Cheese Macaroni
This is a great family recipe. One we have liked for a long time, especially my son. It’s simple and satisfying: a must have comfort food for your repertoire.
I have made it so many times that I have slimmed down the pan usage amount from 3 to 1, always a goal of mine. I do not like nutmeg, which is in the original recipe (check it out if this is a spice that you love) and have made it more ‘Italian’ in flavor by adding dried oregano and basil. I also do not follow the low-fat nor the pre-cut veggie suggestions but certainly do if this is important to you.
Beef and Cheese Macaroni (adapted from Cooking Light, Beef, Cheese and Noodle Bake)
8 ounces small elbow macaroni
1 tablespoon olive oil
1 large onion, finely diced, to measure 1 cup
3 medium carrots, shredded, to measure 1 cup
2 teaspoons bottled minced garlic or 2 garlic cloves, minced (I like Christopher Ranch bottled minced garlic, one of my only ‘cheat’ foods)
1 pound of 85% ground beef
1-1/4 to 1-1/2 cups tomato sauce (I usually have my own Tomato Sauce on hand but I have used Hunt’s Tomato Sauce or Victoria Marinara Sauce in a pinch)
1-1/2 teaspoons Kosher salt
1-1/2 teaspoons dried oregano
1-1/2 teaspoons dried basil
1 cup 2% milk or whatever milk you have on hand
2 tablespoons flour
6 ounces grated sharp cheddar cheese (Cracker Barrel: yes!)
Preheat oven to 350 degrees.
Prep a 9 x 13 inch glass baking dish by spraying with canola oil.
In a large saucepan, cook pasta according to directions on package, omitting salt. When pasta is done drain and set aside in colander. Dry out saucepan and put back on burner over medium heat.
Add olive oil and move saucepan around to coat bottom. Add onions and carrots and saute for 4 minutes. Add garlic and saute for 1 minute. Add ground beef and cook for 5-6 minutes, until brown, stirring to crumble meat. Take sauce pan off heat and add tomato sauce, salt, oregano and basil. Stir together. Add pasta back into pan and stir everything together thoroughly. Place mixture into prepared glass baking dish, using a rubber spatula to get everything out (a few bits are fine, it’s all going to go together anyway).
Put saucepan back on burner at medium. Add milk and flour. Stir constantly until thickened, about 1 maybe 2 minutes. Take off burner and add cheese and stir with whisk until smooth and cheese is melted. You may have to put it on the medium burner to accomplish this but be very careful. Only do it for a minute or less and stir constantly.
Pour cheese over beef and macaroni mixture. Using the rubber spatula and another spoon or metal spatula in my case, stir ingredients thoroughly until combined.
Bake for 20 minutes (no more). Let rest for 5 minutes before serving. I like to serve mine with extra tomato sauce, some crusty italian bread and a nice chopped salad of lettuce, spinach, carrots, celery, cucumber and tomato.
mis en place:

onion, carrots and garlic:

browning beef:

elbow macaroni added back in and stirred:

into baking dish:
milk and flour, getting thick:

cheese added:

cheese sauce added to meat macaroni mixture:

ready for the oven:

mmm……

Apple Muffins
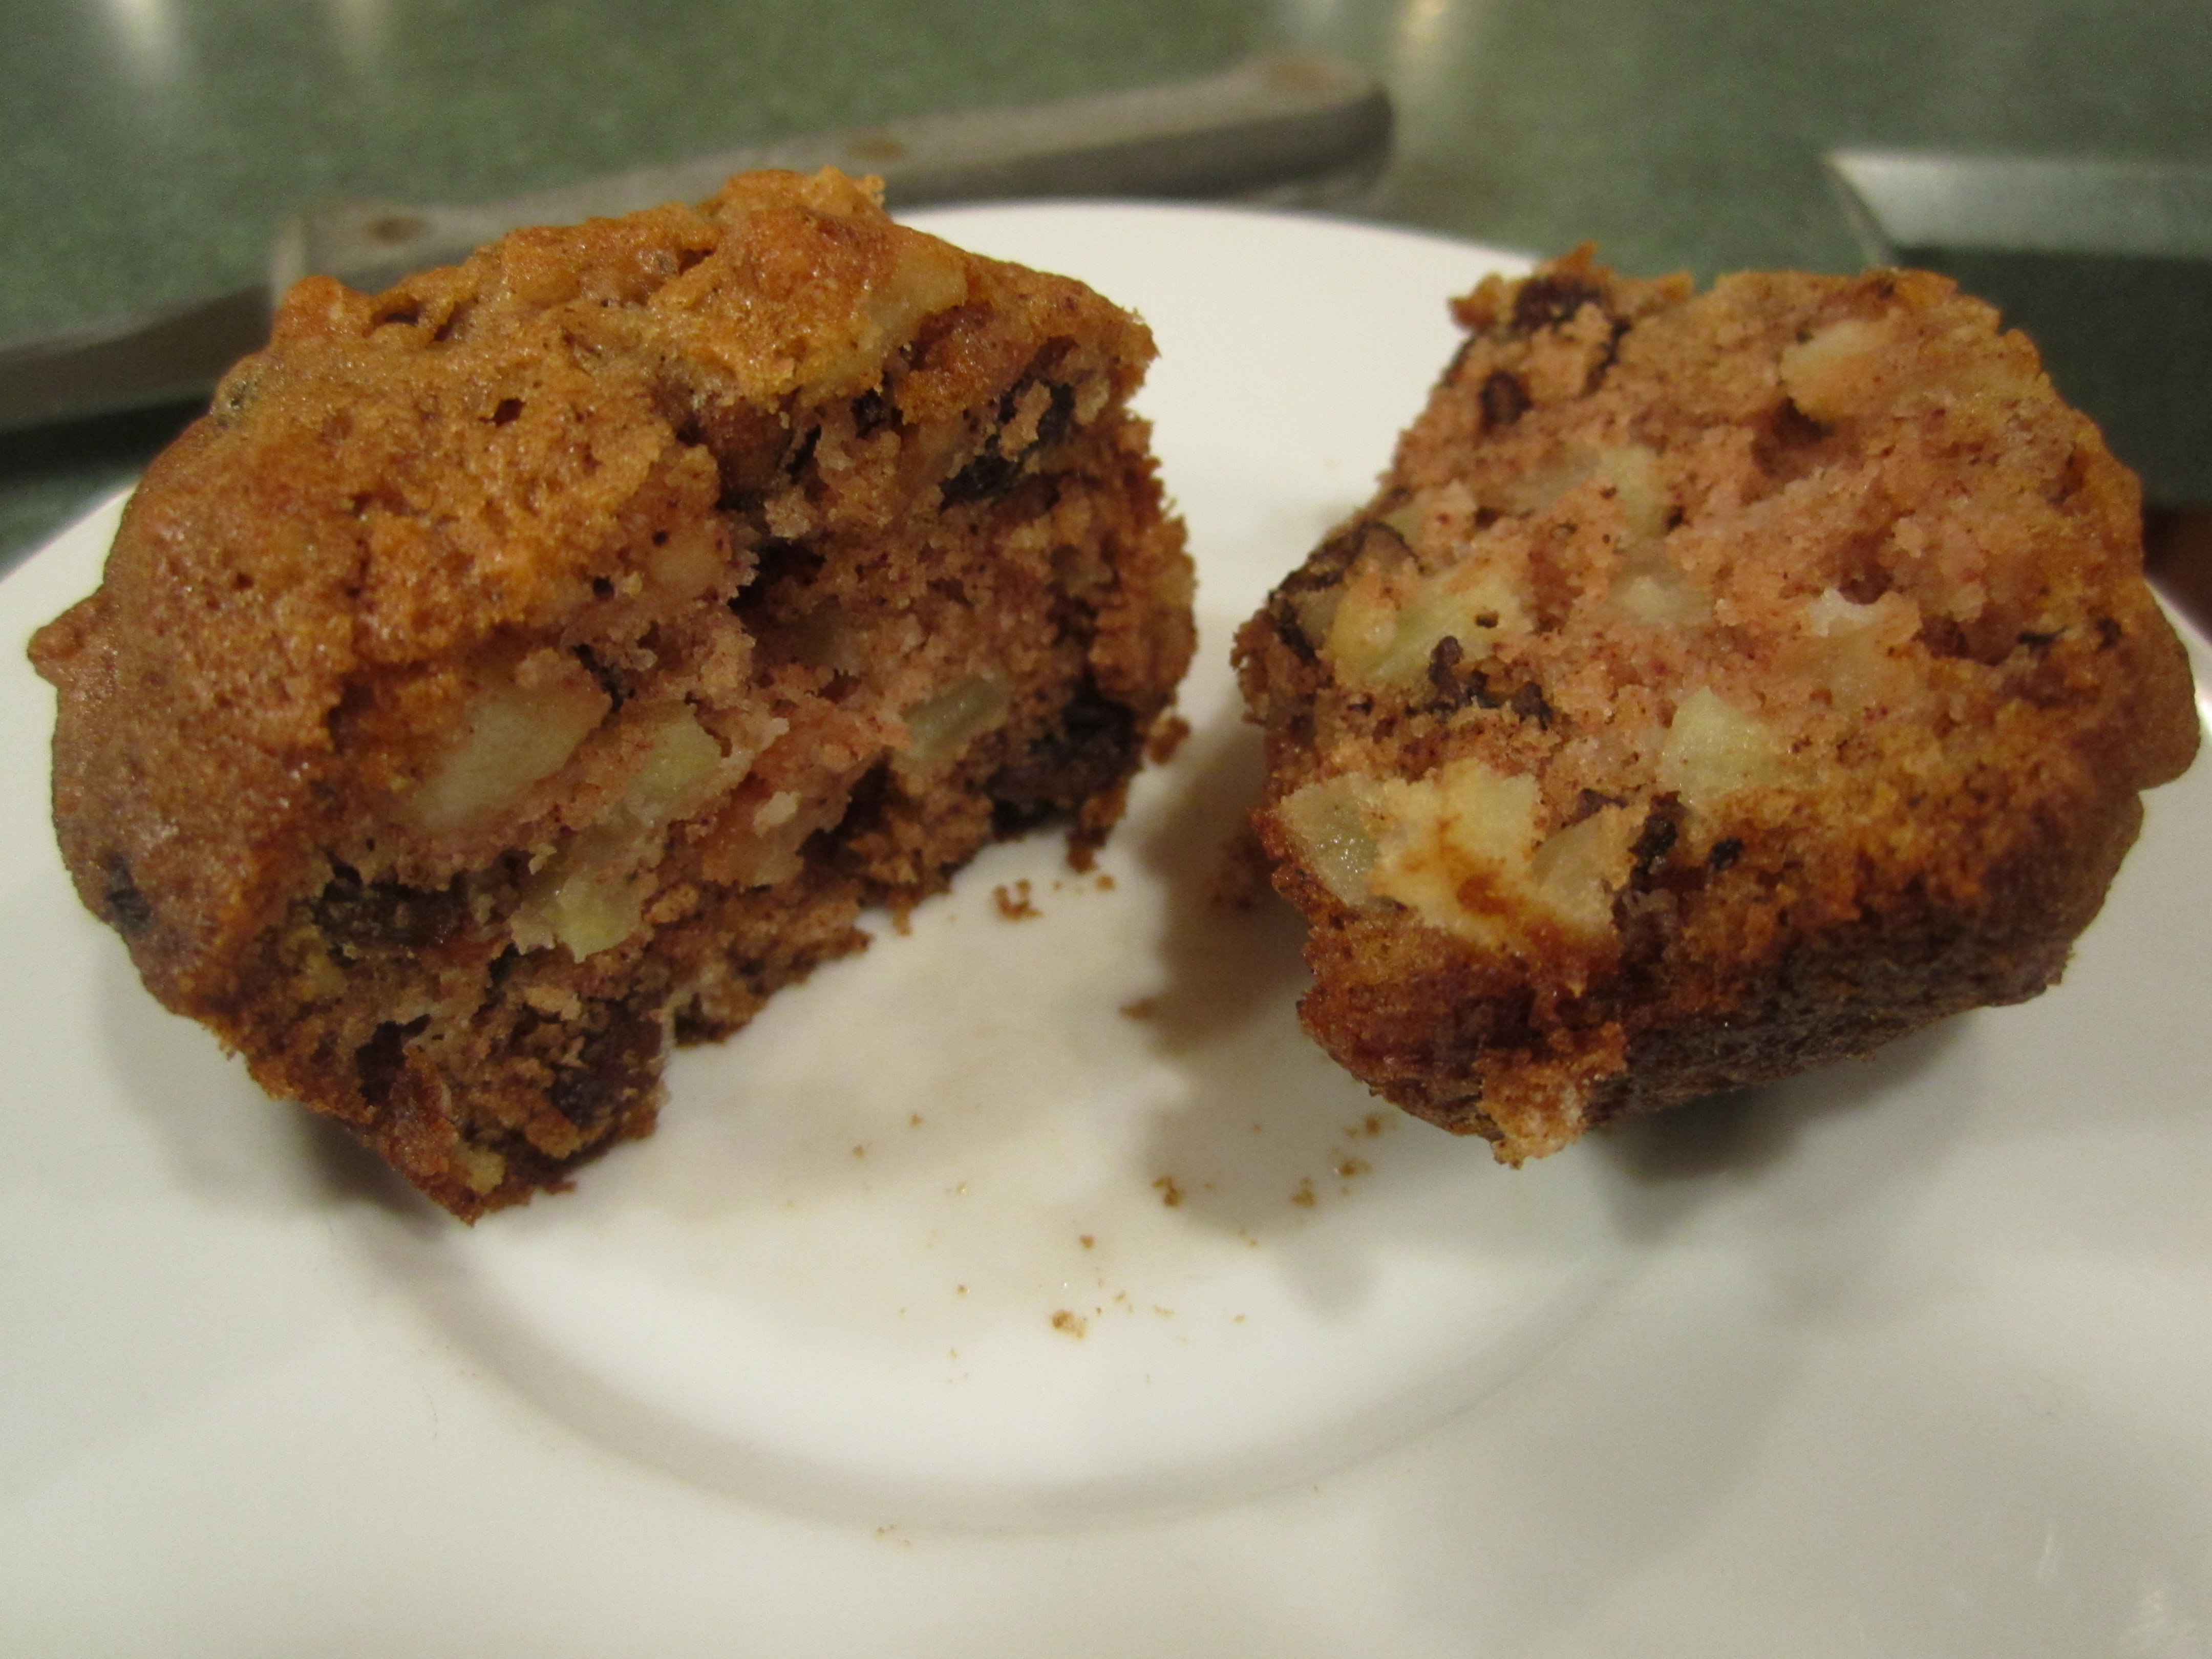
This is the most unusual muffin I have ever made.
When I first made them, I thought I had done something wrong and re-read the recipe 3 times to make sure I was clear on everything.
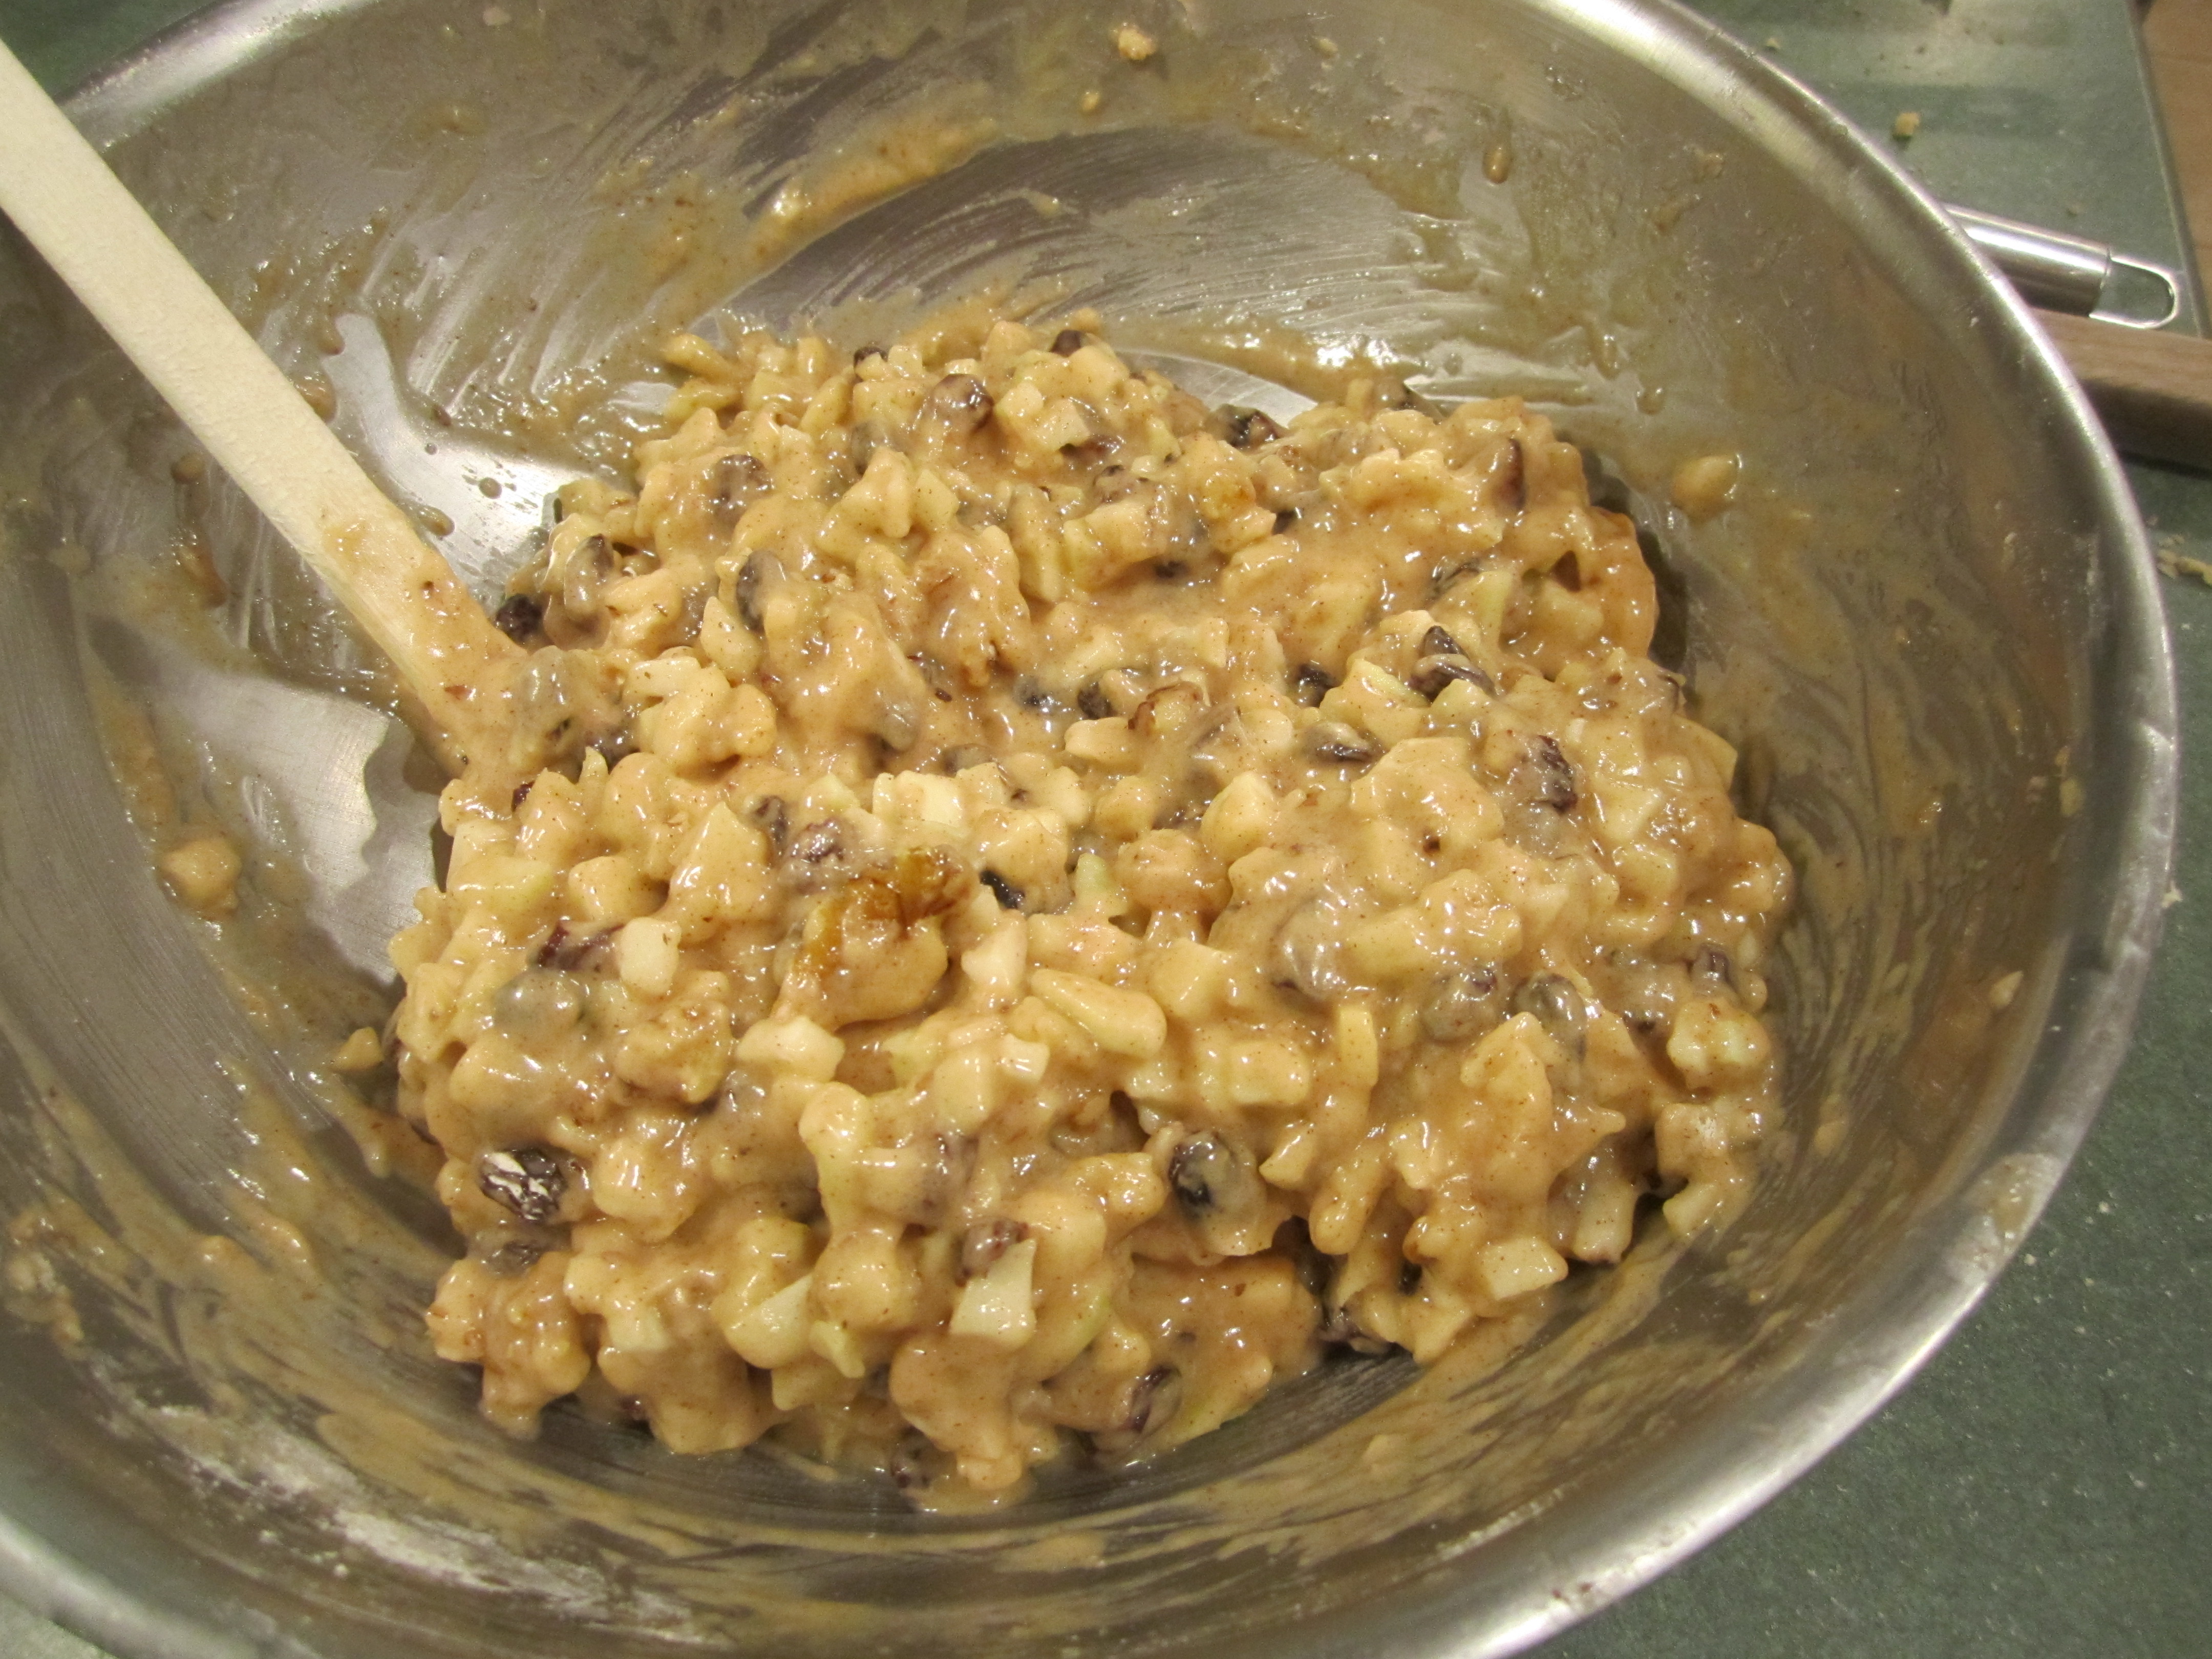
The batter is super thick so the muffin comes out packed with apples, raisins and walnuts.
I tore out this recipe from Gourmet, September 1987. They were reviewing Marion Cunningham’s ‘The Breakfast Book’, and included several of her recipes. This was one of them.
Gourmet.com no longer has the recipe on their website and the book review from that year is not there either, otherwise I would have linked you right to the recipe. I am copying it here, with some slight changes in directions.
So enjoy: it is now one of my husband’s favorite muffin!
Apple Muffins (adapted from The Breakfast Book by Marion Cunningham, Raw Apple Muffins)
4 cups of peeled, cored and 1/4 inch diced Granny Smith Apples (about 1-1/2 pounds)
1 cup sugar
2 large eggs
1/2 cup vegetable oil
2 teaspoons vanilla
2 cups flour
2 teaspoons baking soda
2 teaspoons cinnamon
1 teaspoon salt
1 cup raisins (you could substitute dates)
1 cup coarsely chopped walnuts (you could substitute pecans or almonds)
Pre-heat oven to 350 degrees.
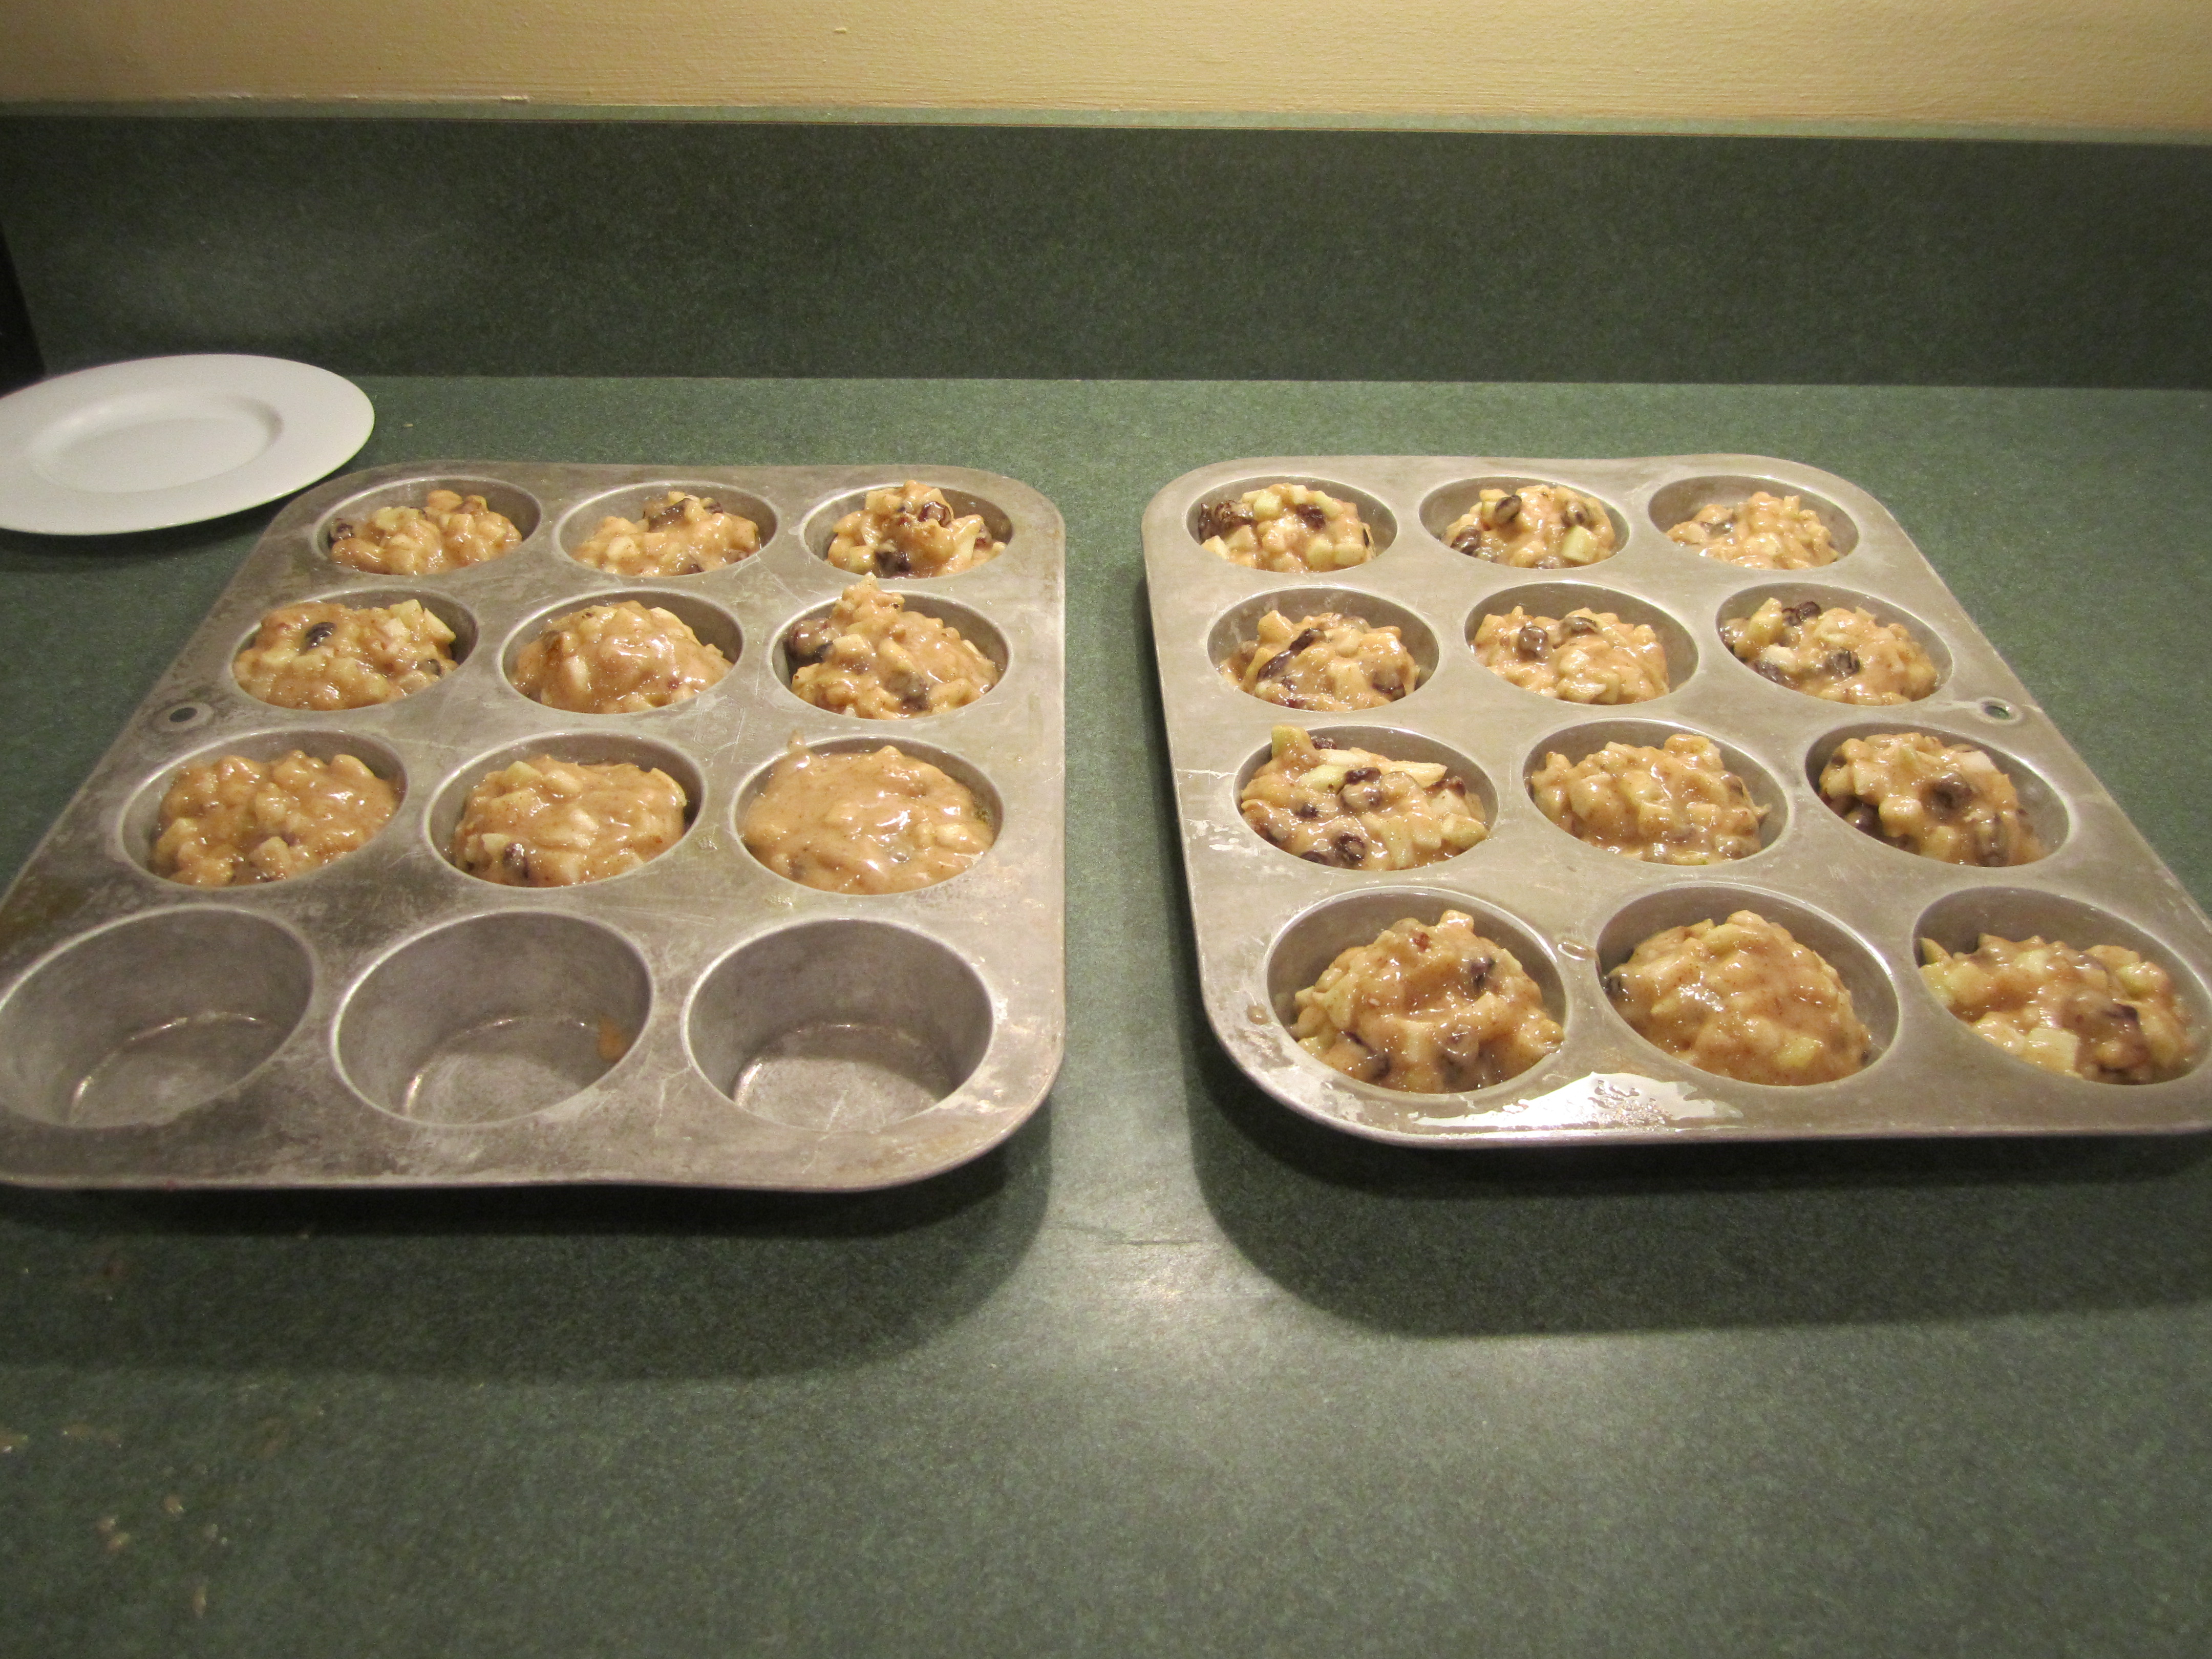
Canola oil spray 21 muffin tins.
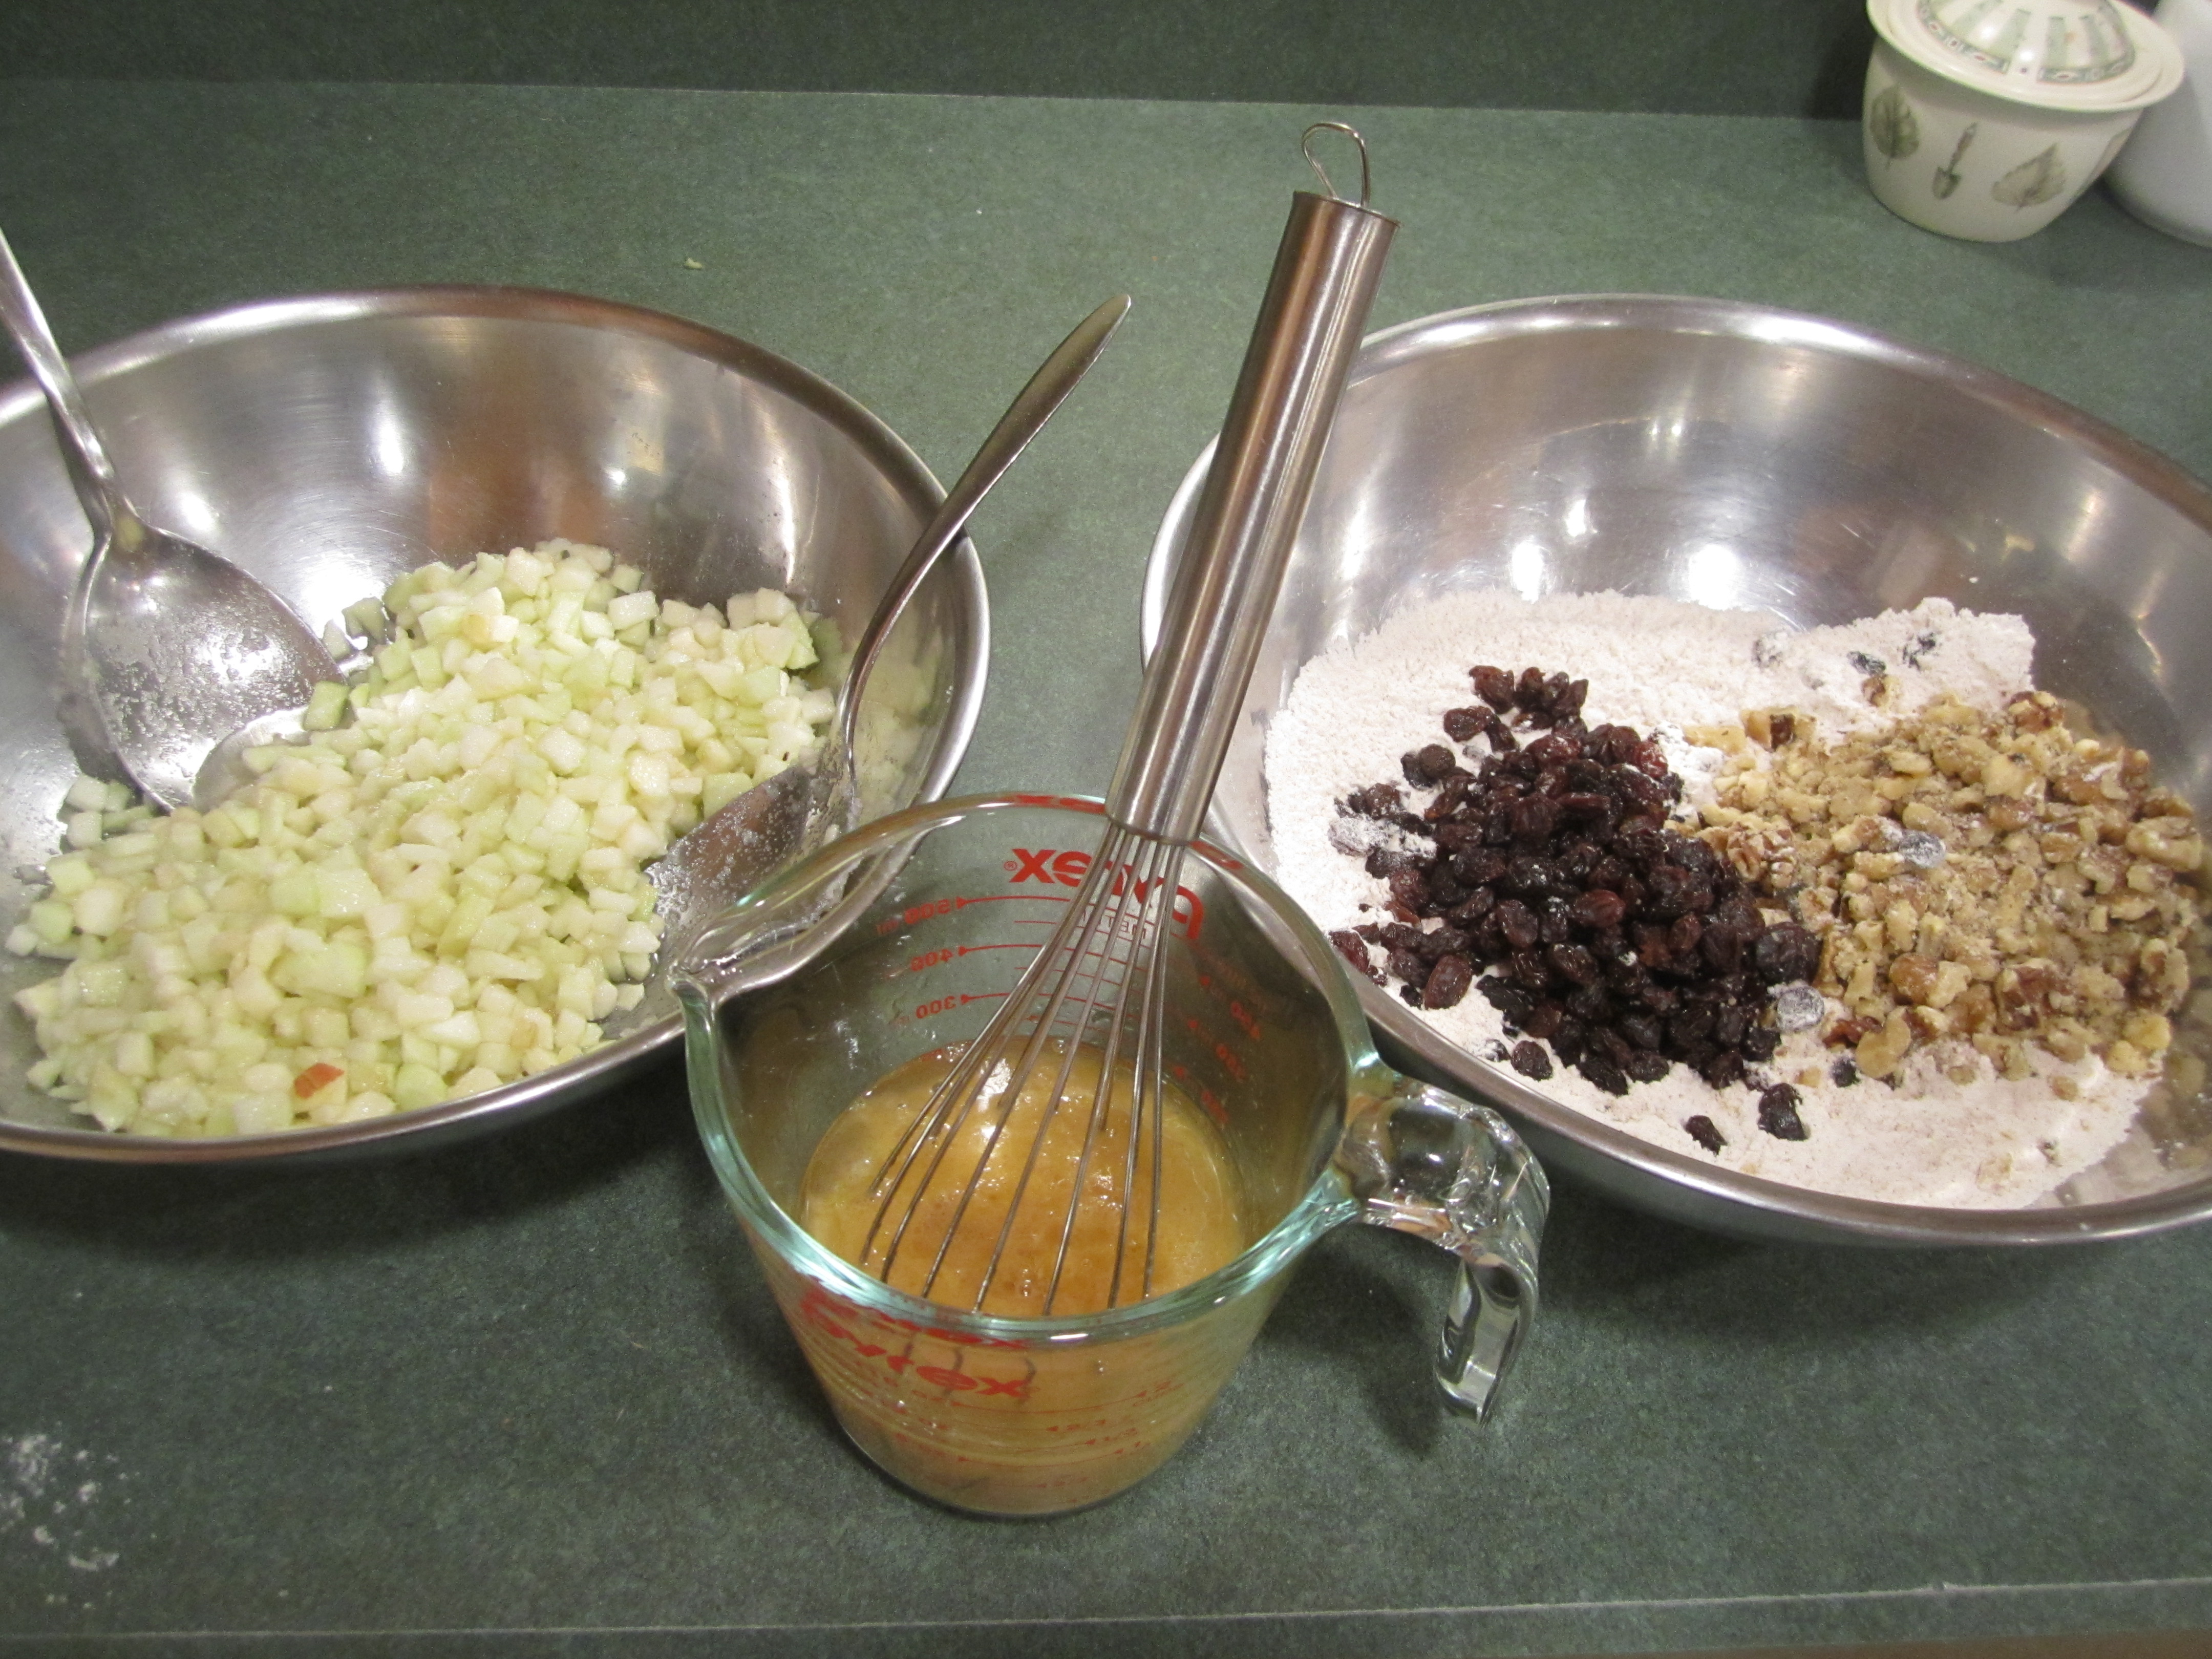
In a large bowl, toss the apples and sugar together.
In a small glass bowl or glass 2-cup measuring cup, combine the eggs, oil and vanilla and stir together with a whisk.
In another large bowl, combine the flour, baking soda, cinnamon and salt and stir together with a whisk.
Add the raisins and walnuts to the flour mixture and stir thoroughly, breaking up walnuts and separating the raisins with your fingers.
Add the egg mixture to the flour mixture and stir until just combined.
Then add the apple/sugar mixture and fold and stir together until just combined. The batter will be extremely thick. This is the way it’s supposed to be.
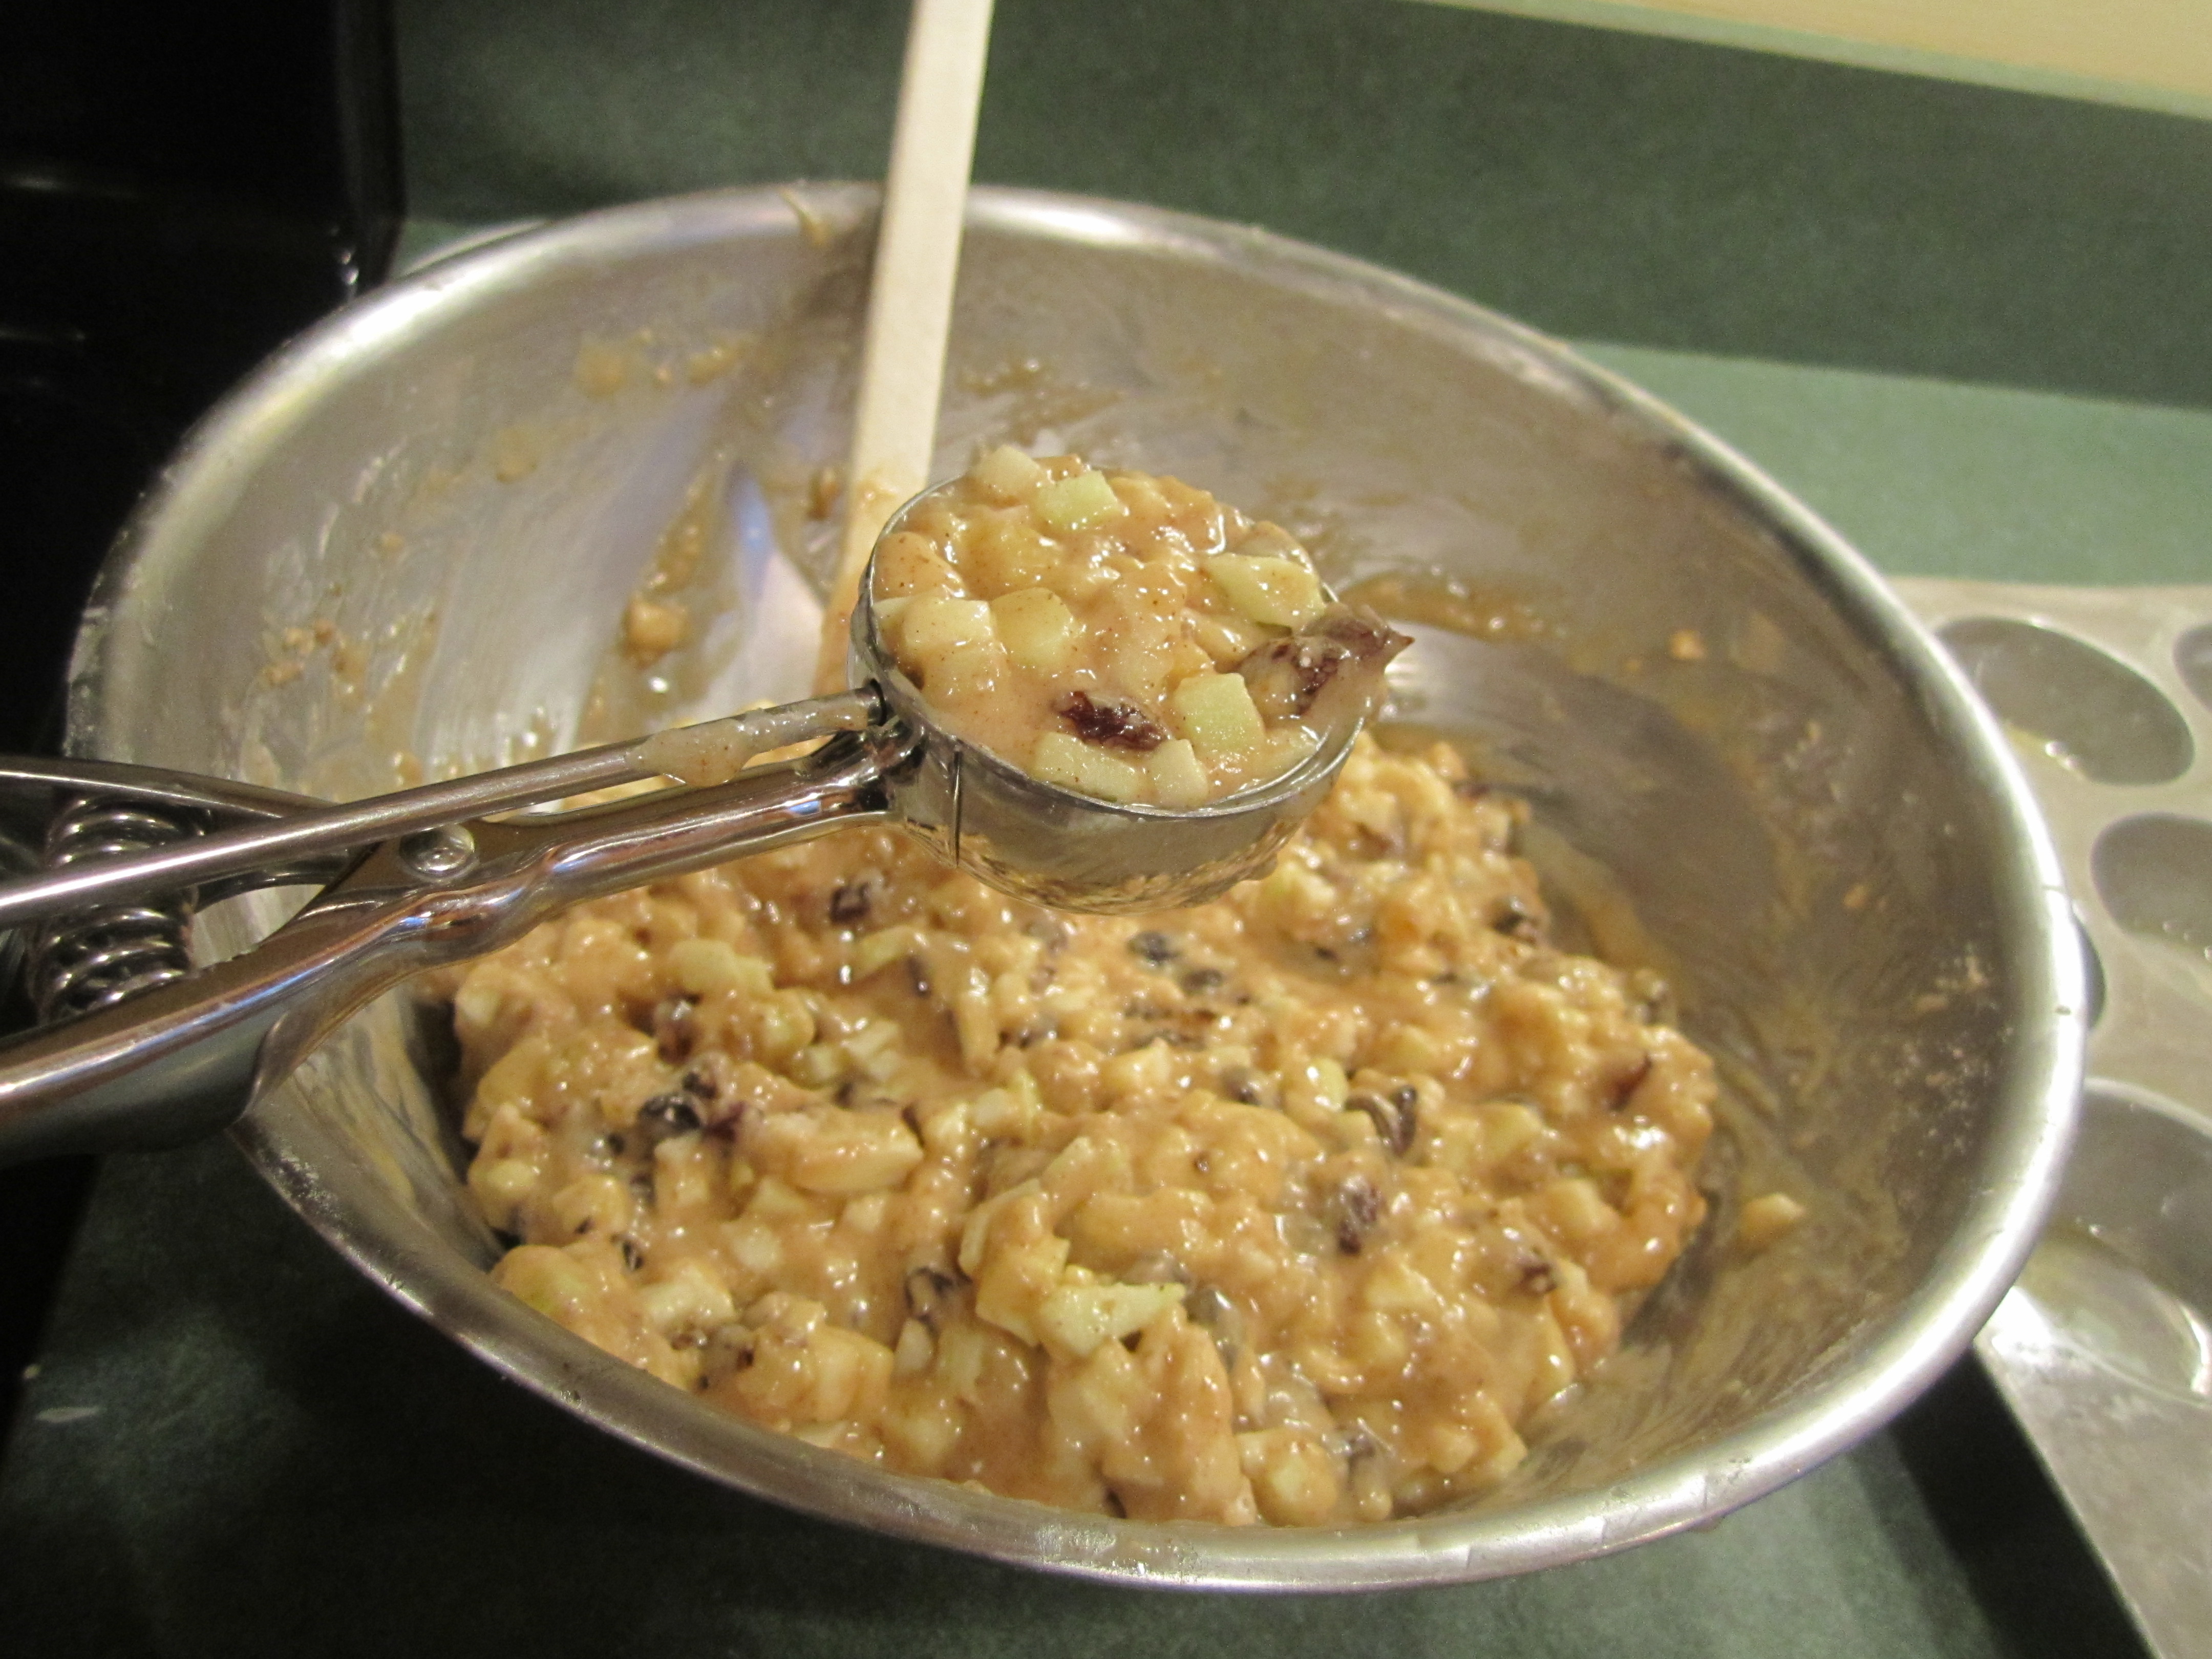
Using an ice cream scoop, that measures a scant 1/4 cup, scoop batter into prepared muffin tins.
Bake at 350 degrees for about 18 minutes until golden brown.
Let cool in pans for about a 1/2 hour and then remove on to wire racks to cool completely.
They can easily be frozen, if this is too many to eat all at once. Though they stay fresh pretty nicely for a couple of days on your kitchen counter.
Your apple pieces need to be a small dice. Here’s how to do it.
peel, core, and quarter apples, slicing each quarter horizontally into 3’s:
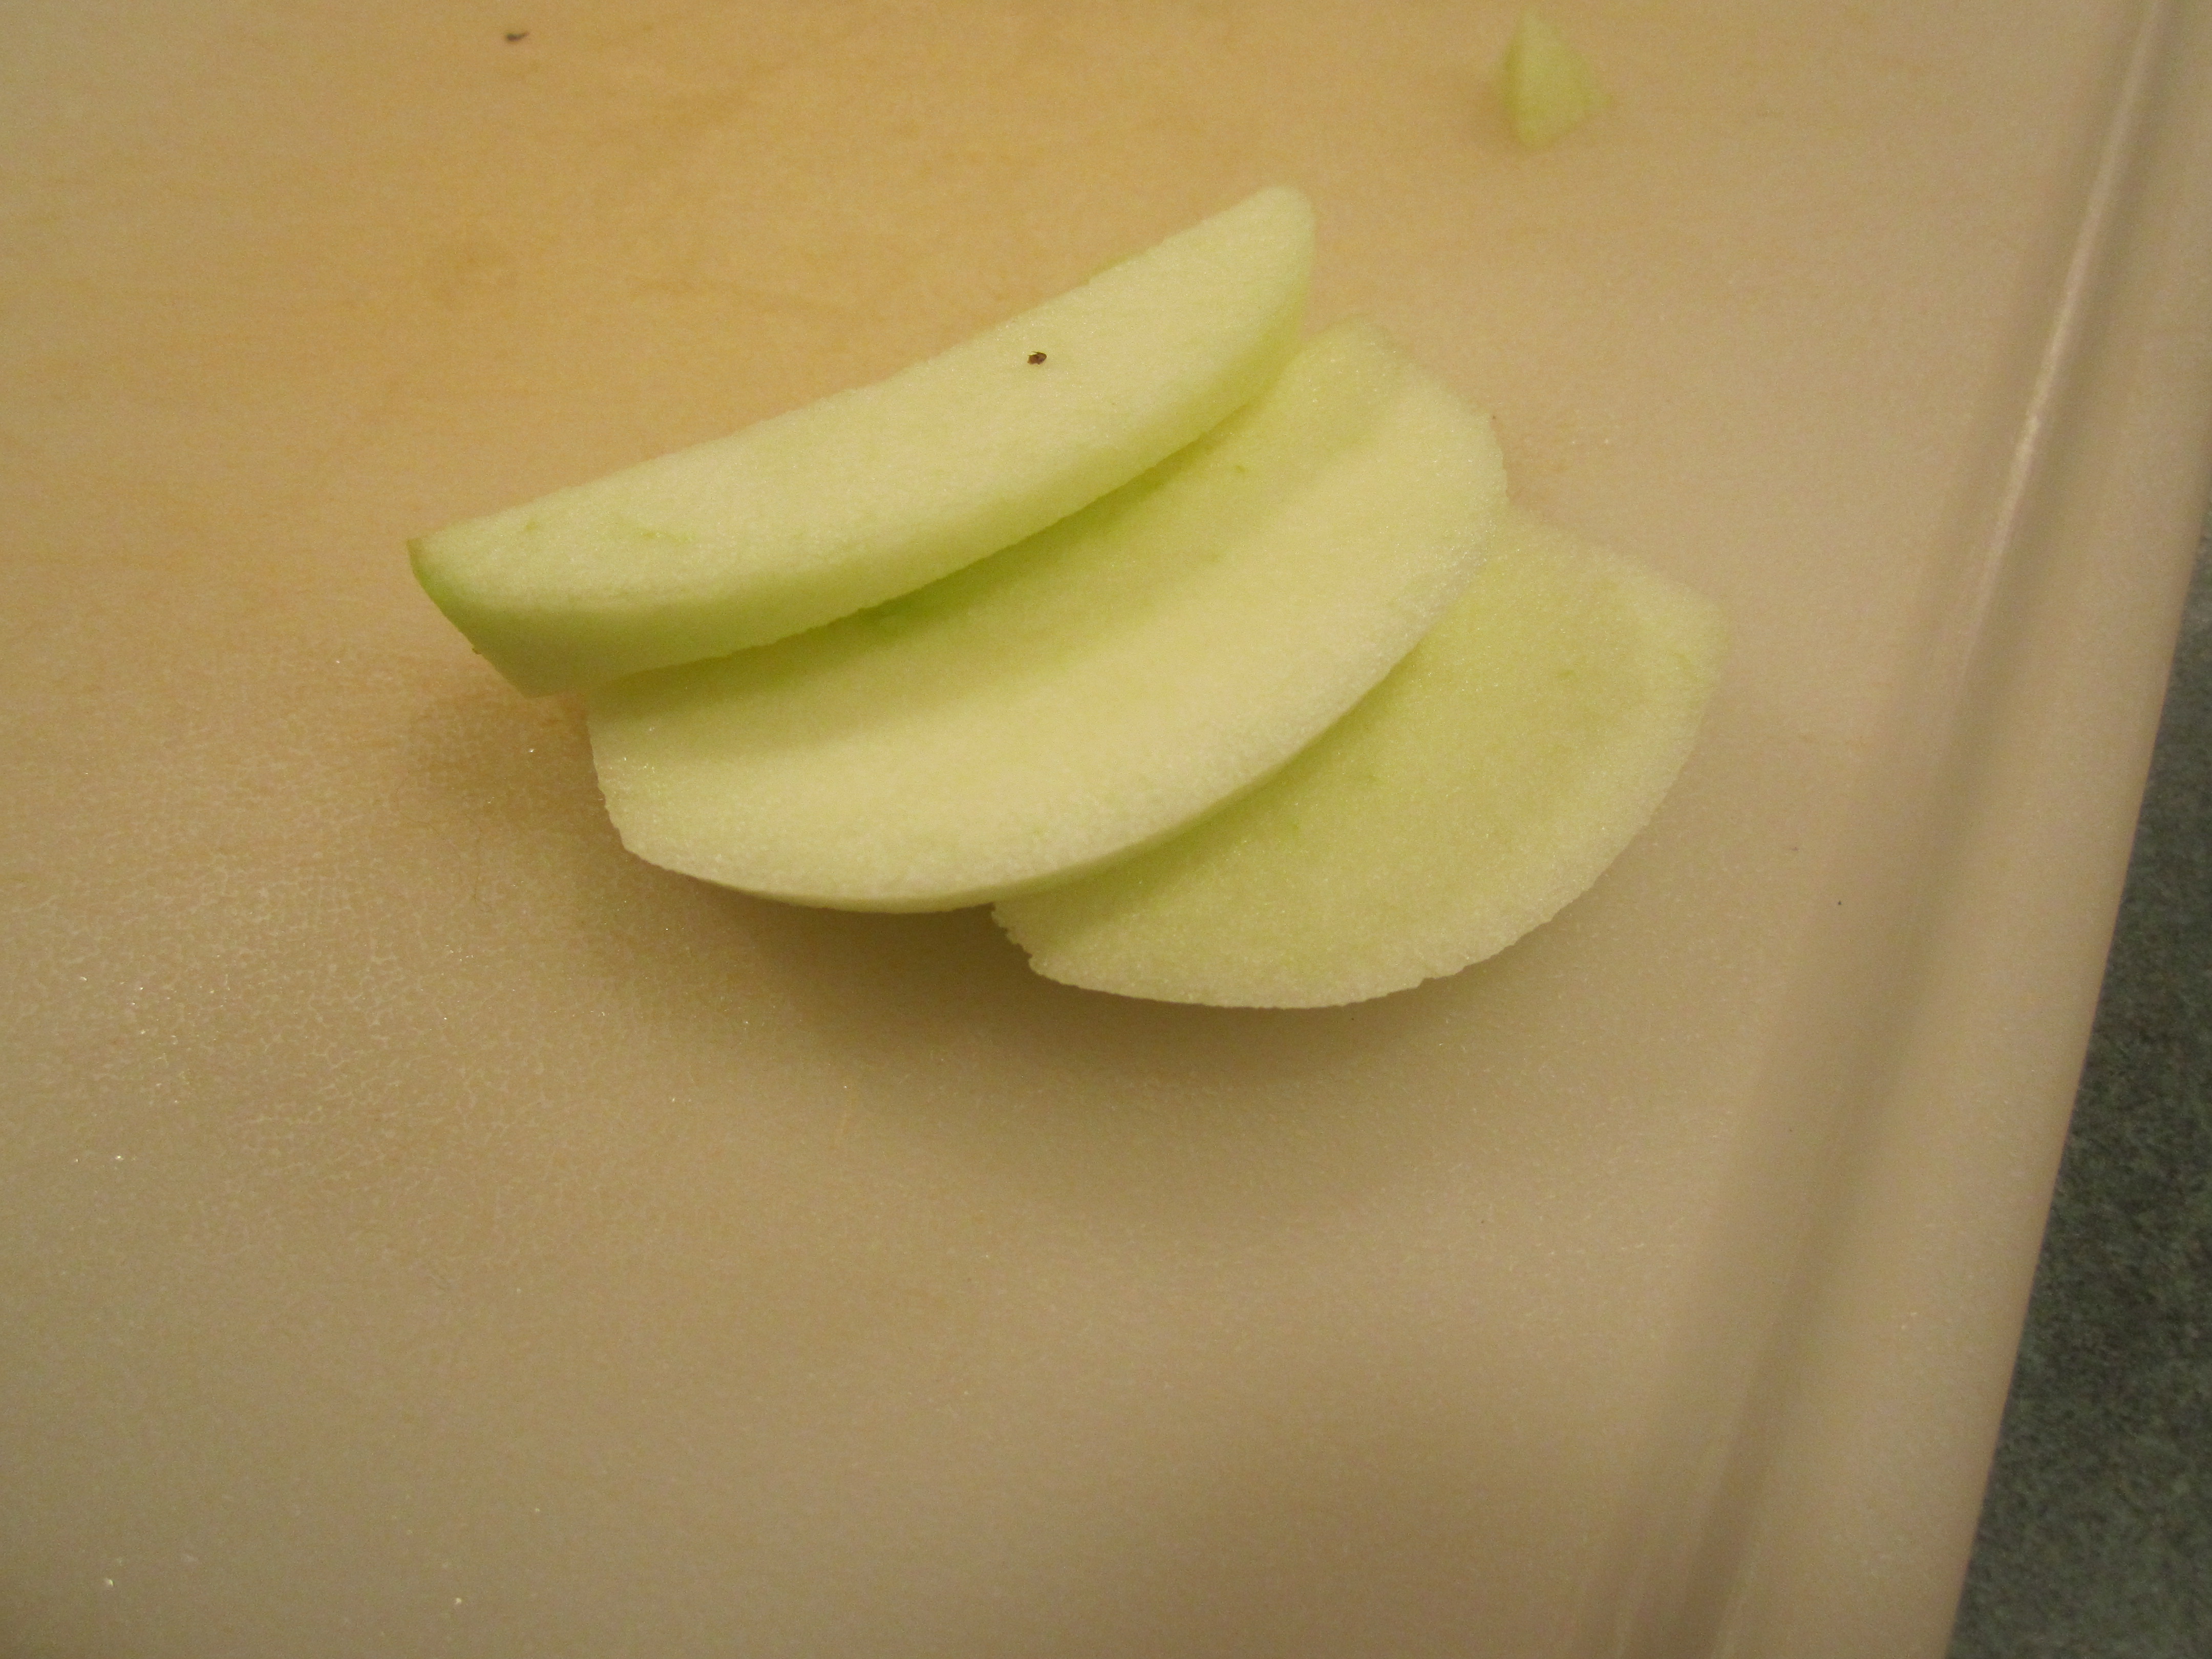
then slice into 1/4 inch matchsticks:

dice into 1/4 inch pieces:

mise en place:
the very thick batter:
ice cream scoop measurer:
ready to go into oven:
golden brown:


