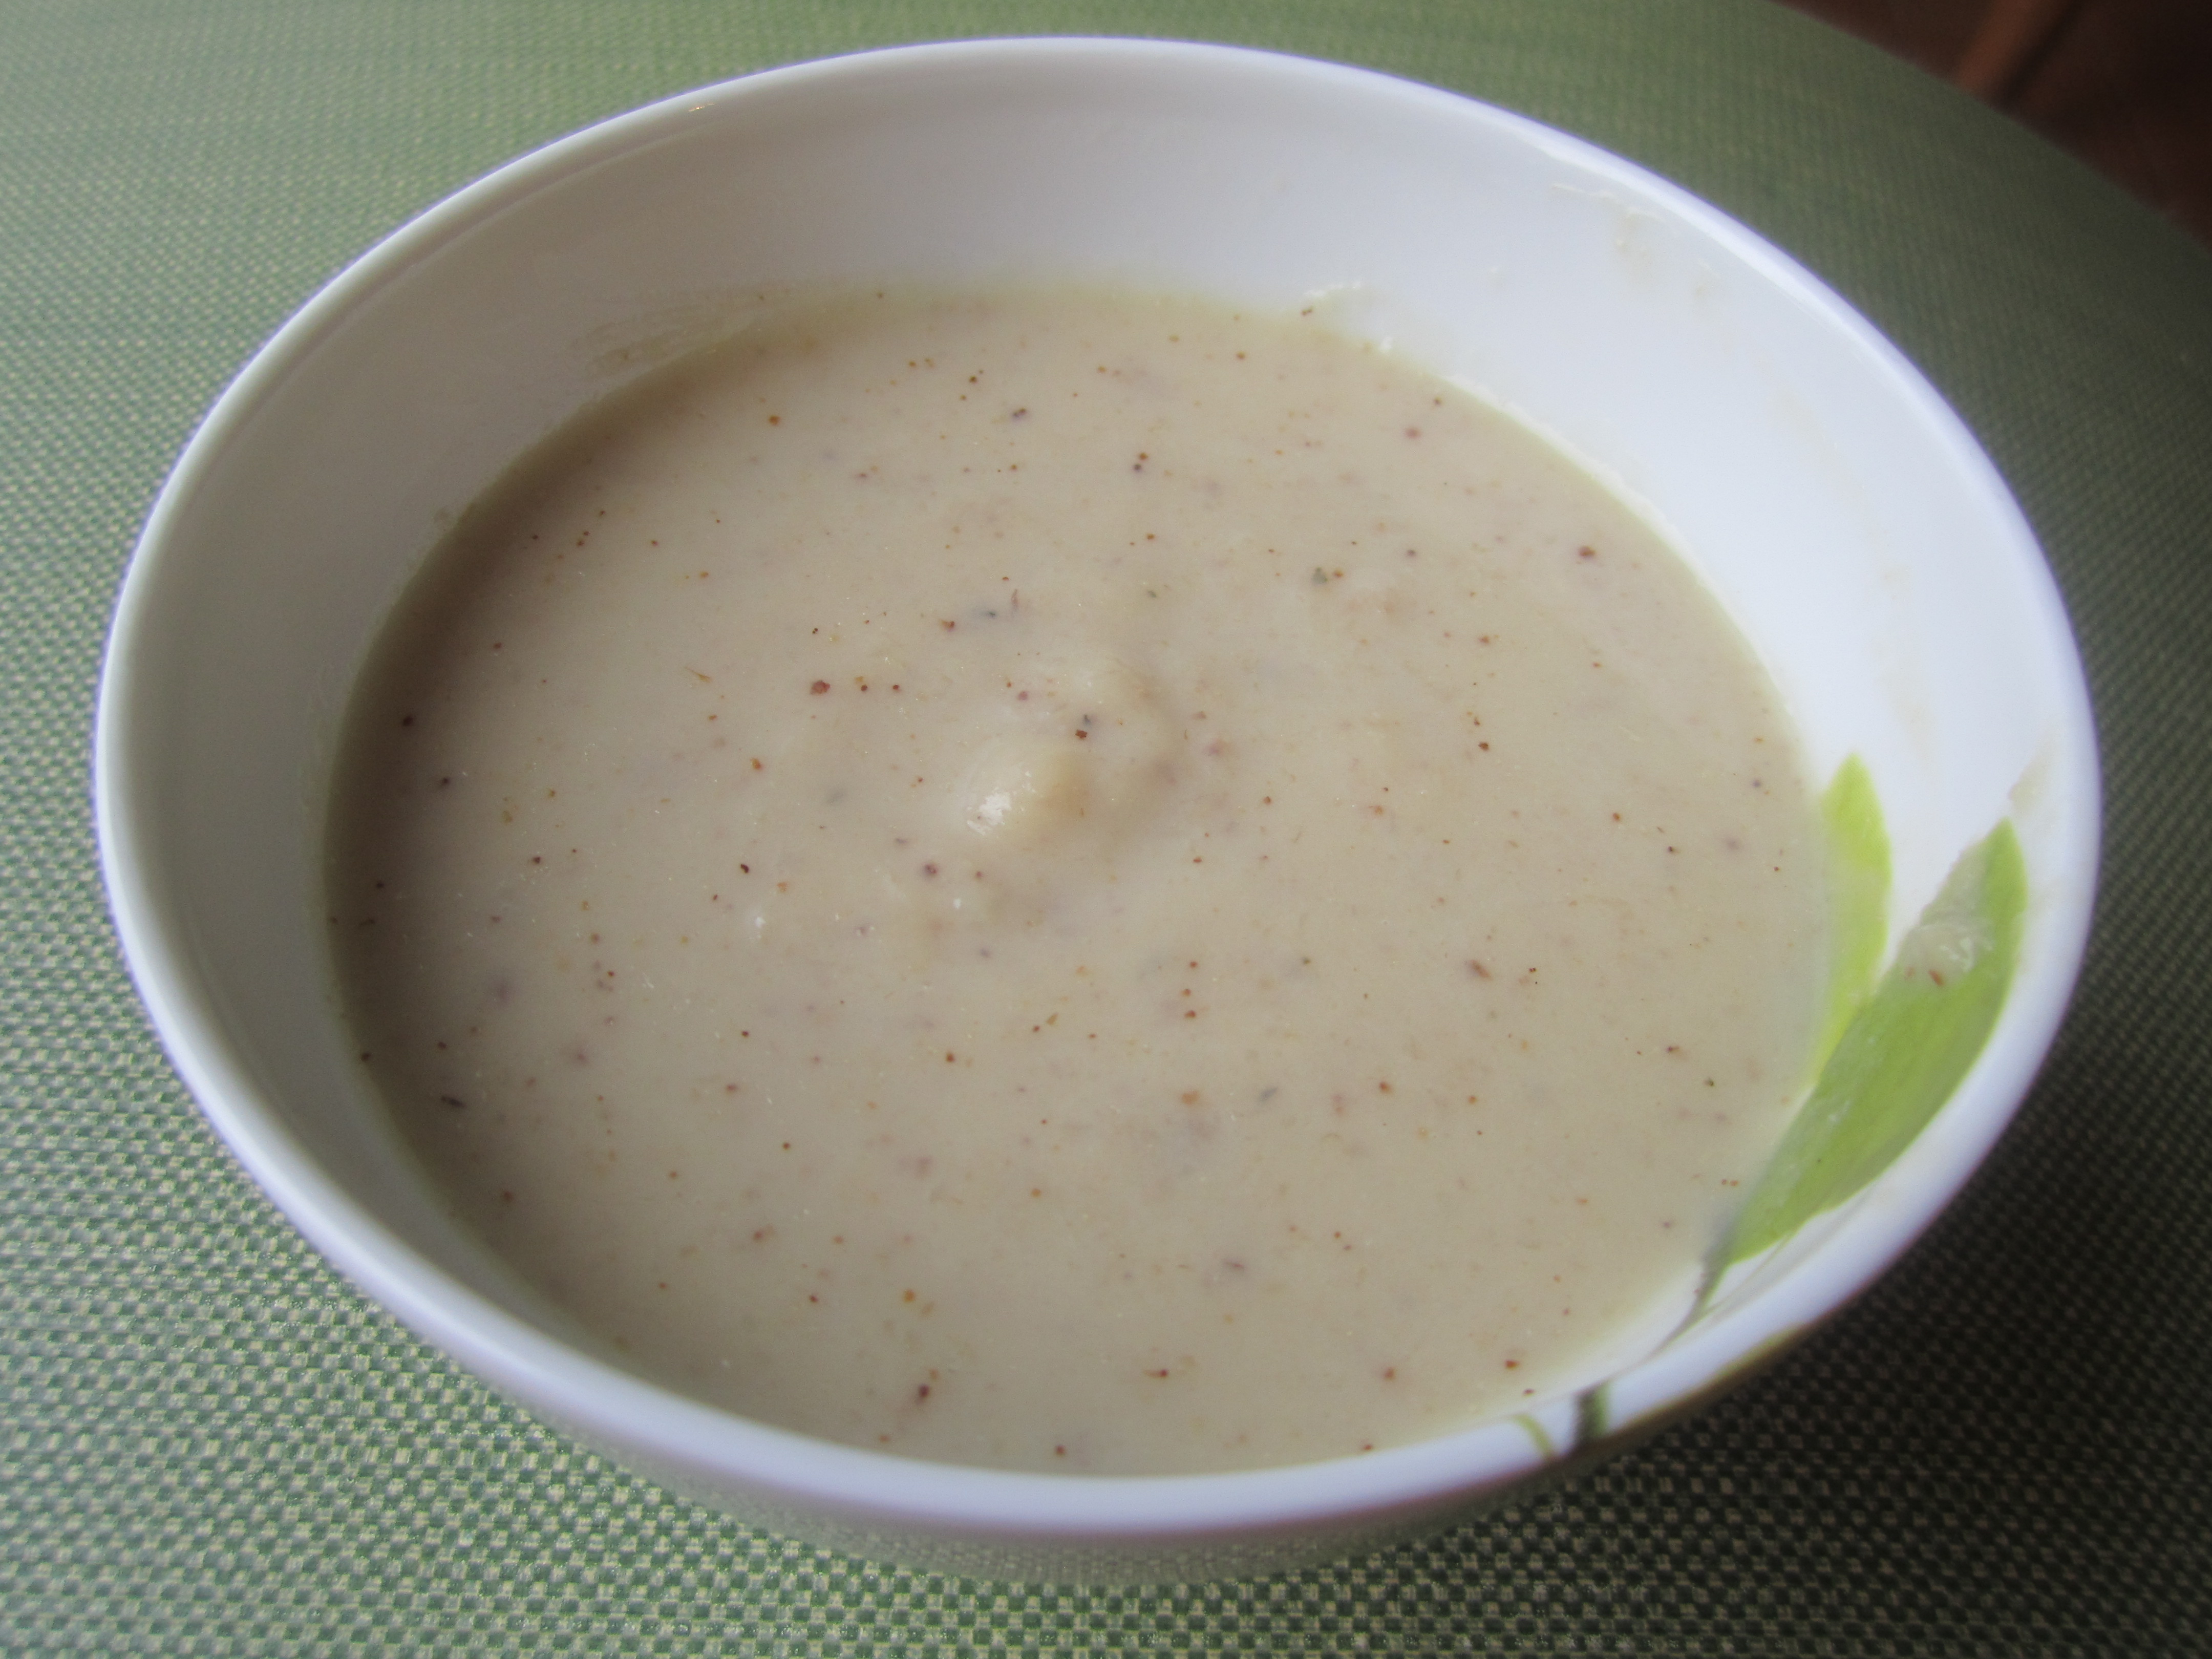
Cauliflower Soup
I usually make soups about now. Very satisfying lunch instead of the usual bread and cheese I eat because there is nothing else or I’m too lazy to put anything together. I pull out my recipes and start organizing what to buy. But I went shopping before I did this and fortunately spotted this beautiful head of cauliflower and thought, “oooh, cauliflower soup!’.
I flipped through my recipes thinking I had one but came up with nothing. This is one I found on Epicurious and I think it’s pretty delicious. It’s mild and slightly sweet and if you like cauliflower the flavor is right on.
I made a few changes but really followed the recipe exact. There are a ton of reviews with some great suggestions, maybe for future soups.
Cauliflower Soup (adapted from Epicurious Roasted Cauliflower Soup)
2 head or 1 very large head of cauliflower
3 garlic cloves, peeled and left whole
2 large shallots, peeled and cut in quarters
2 tablespoons olive oil
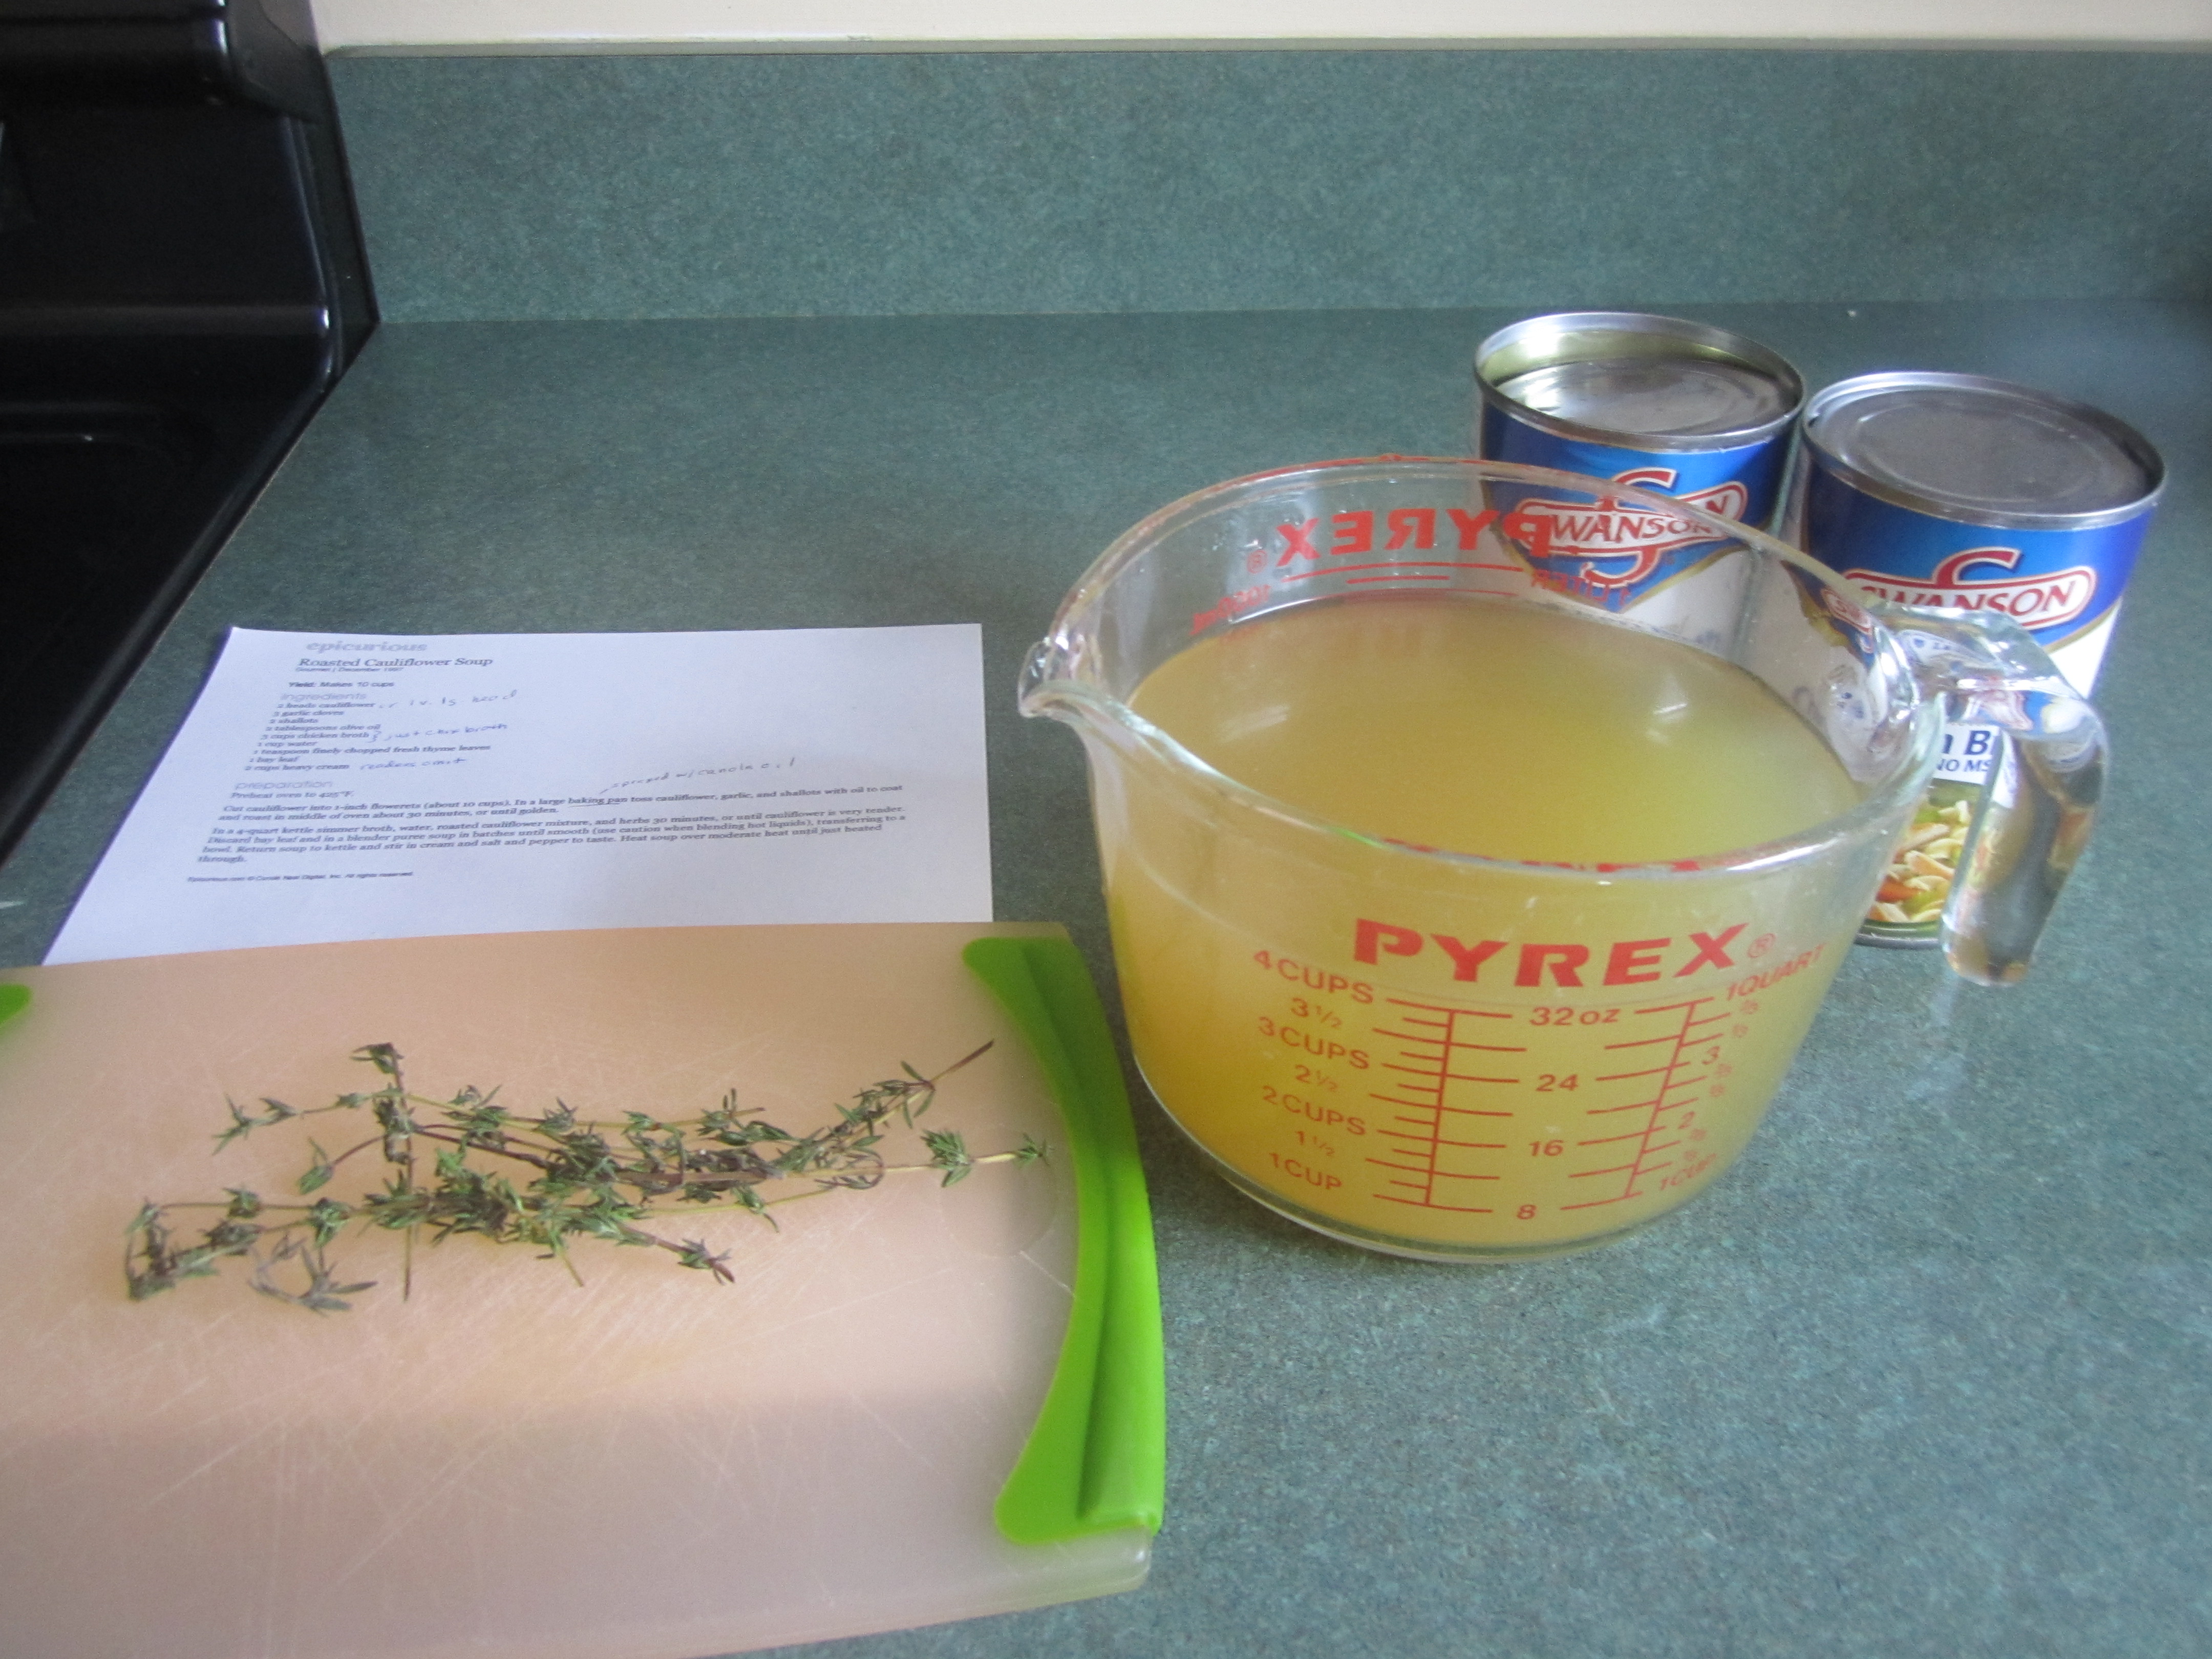
4 cups of chicken broth (Swanson is my favorite)
1 teaspoon of finely chopped fresh thyme leaves
2 cups 2% milk
1/2 teaspoon of salt
Preheat oven to 425 degrees.
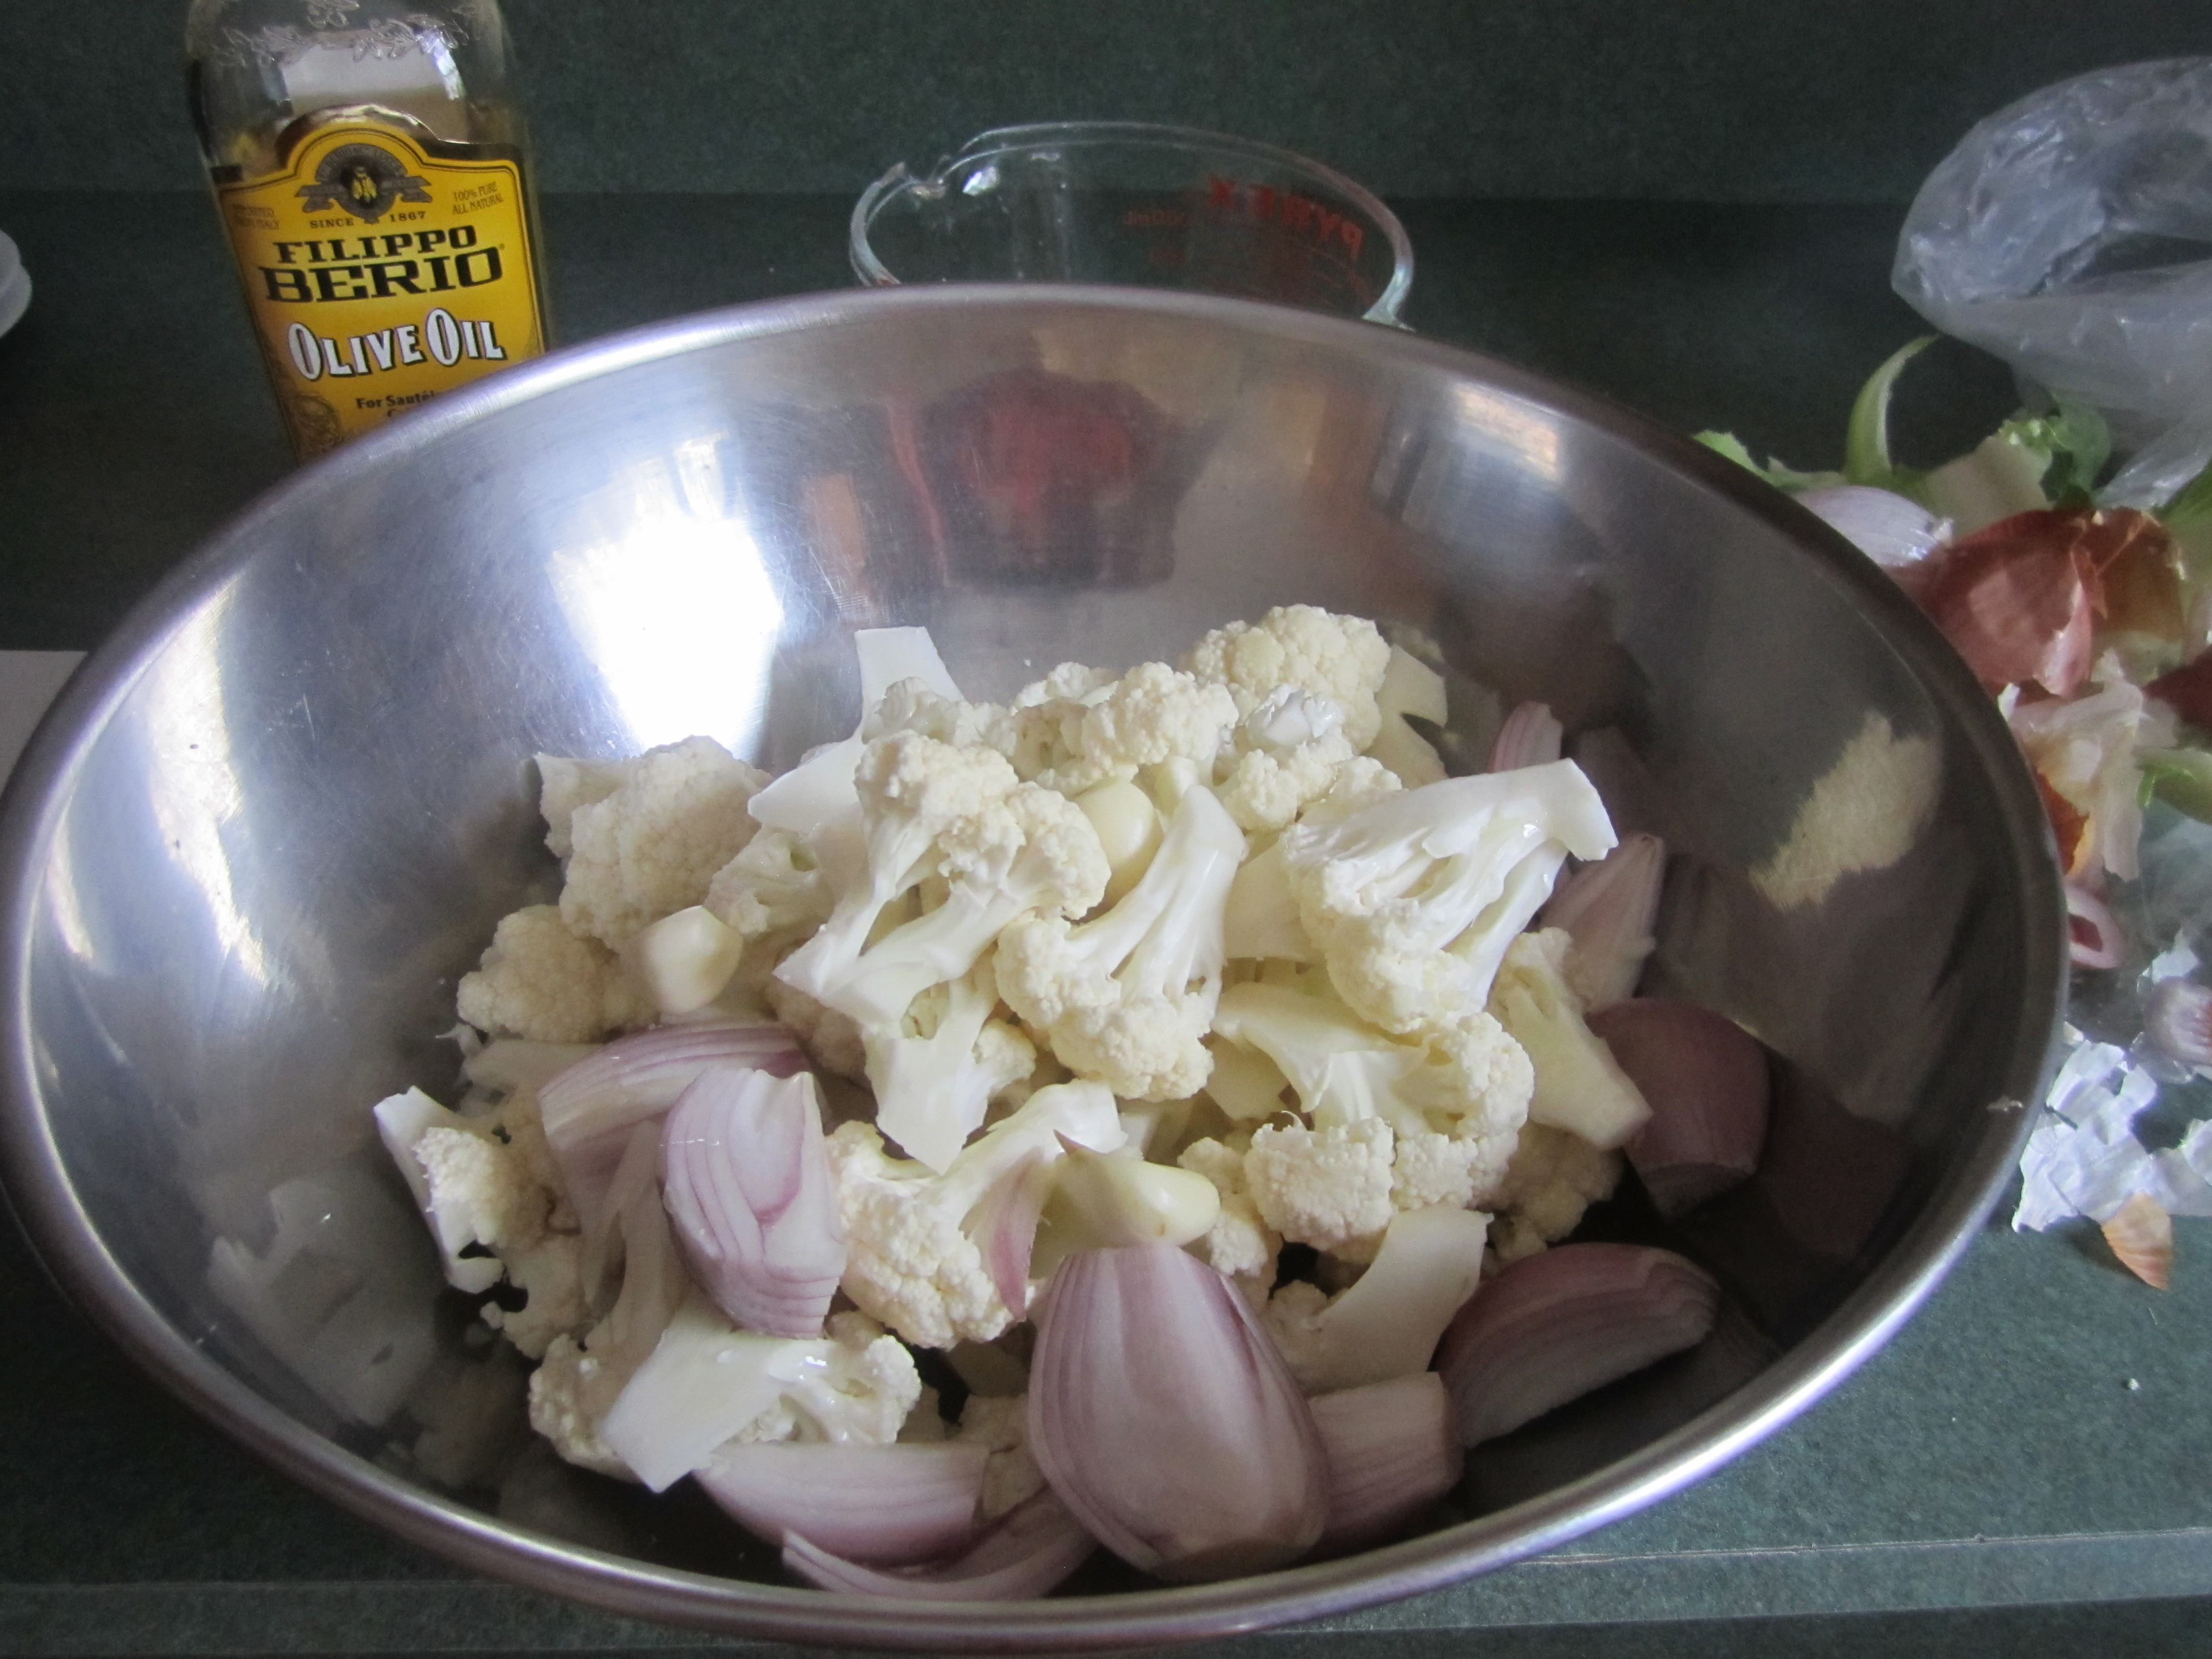
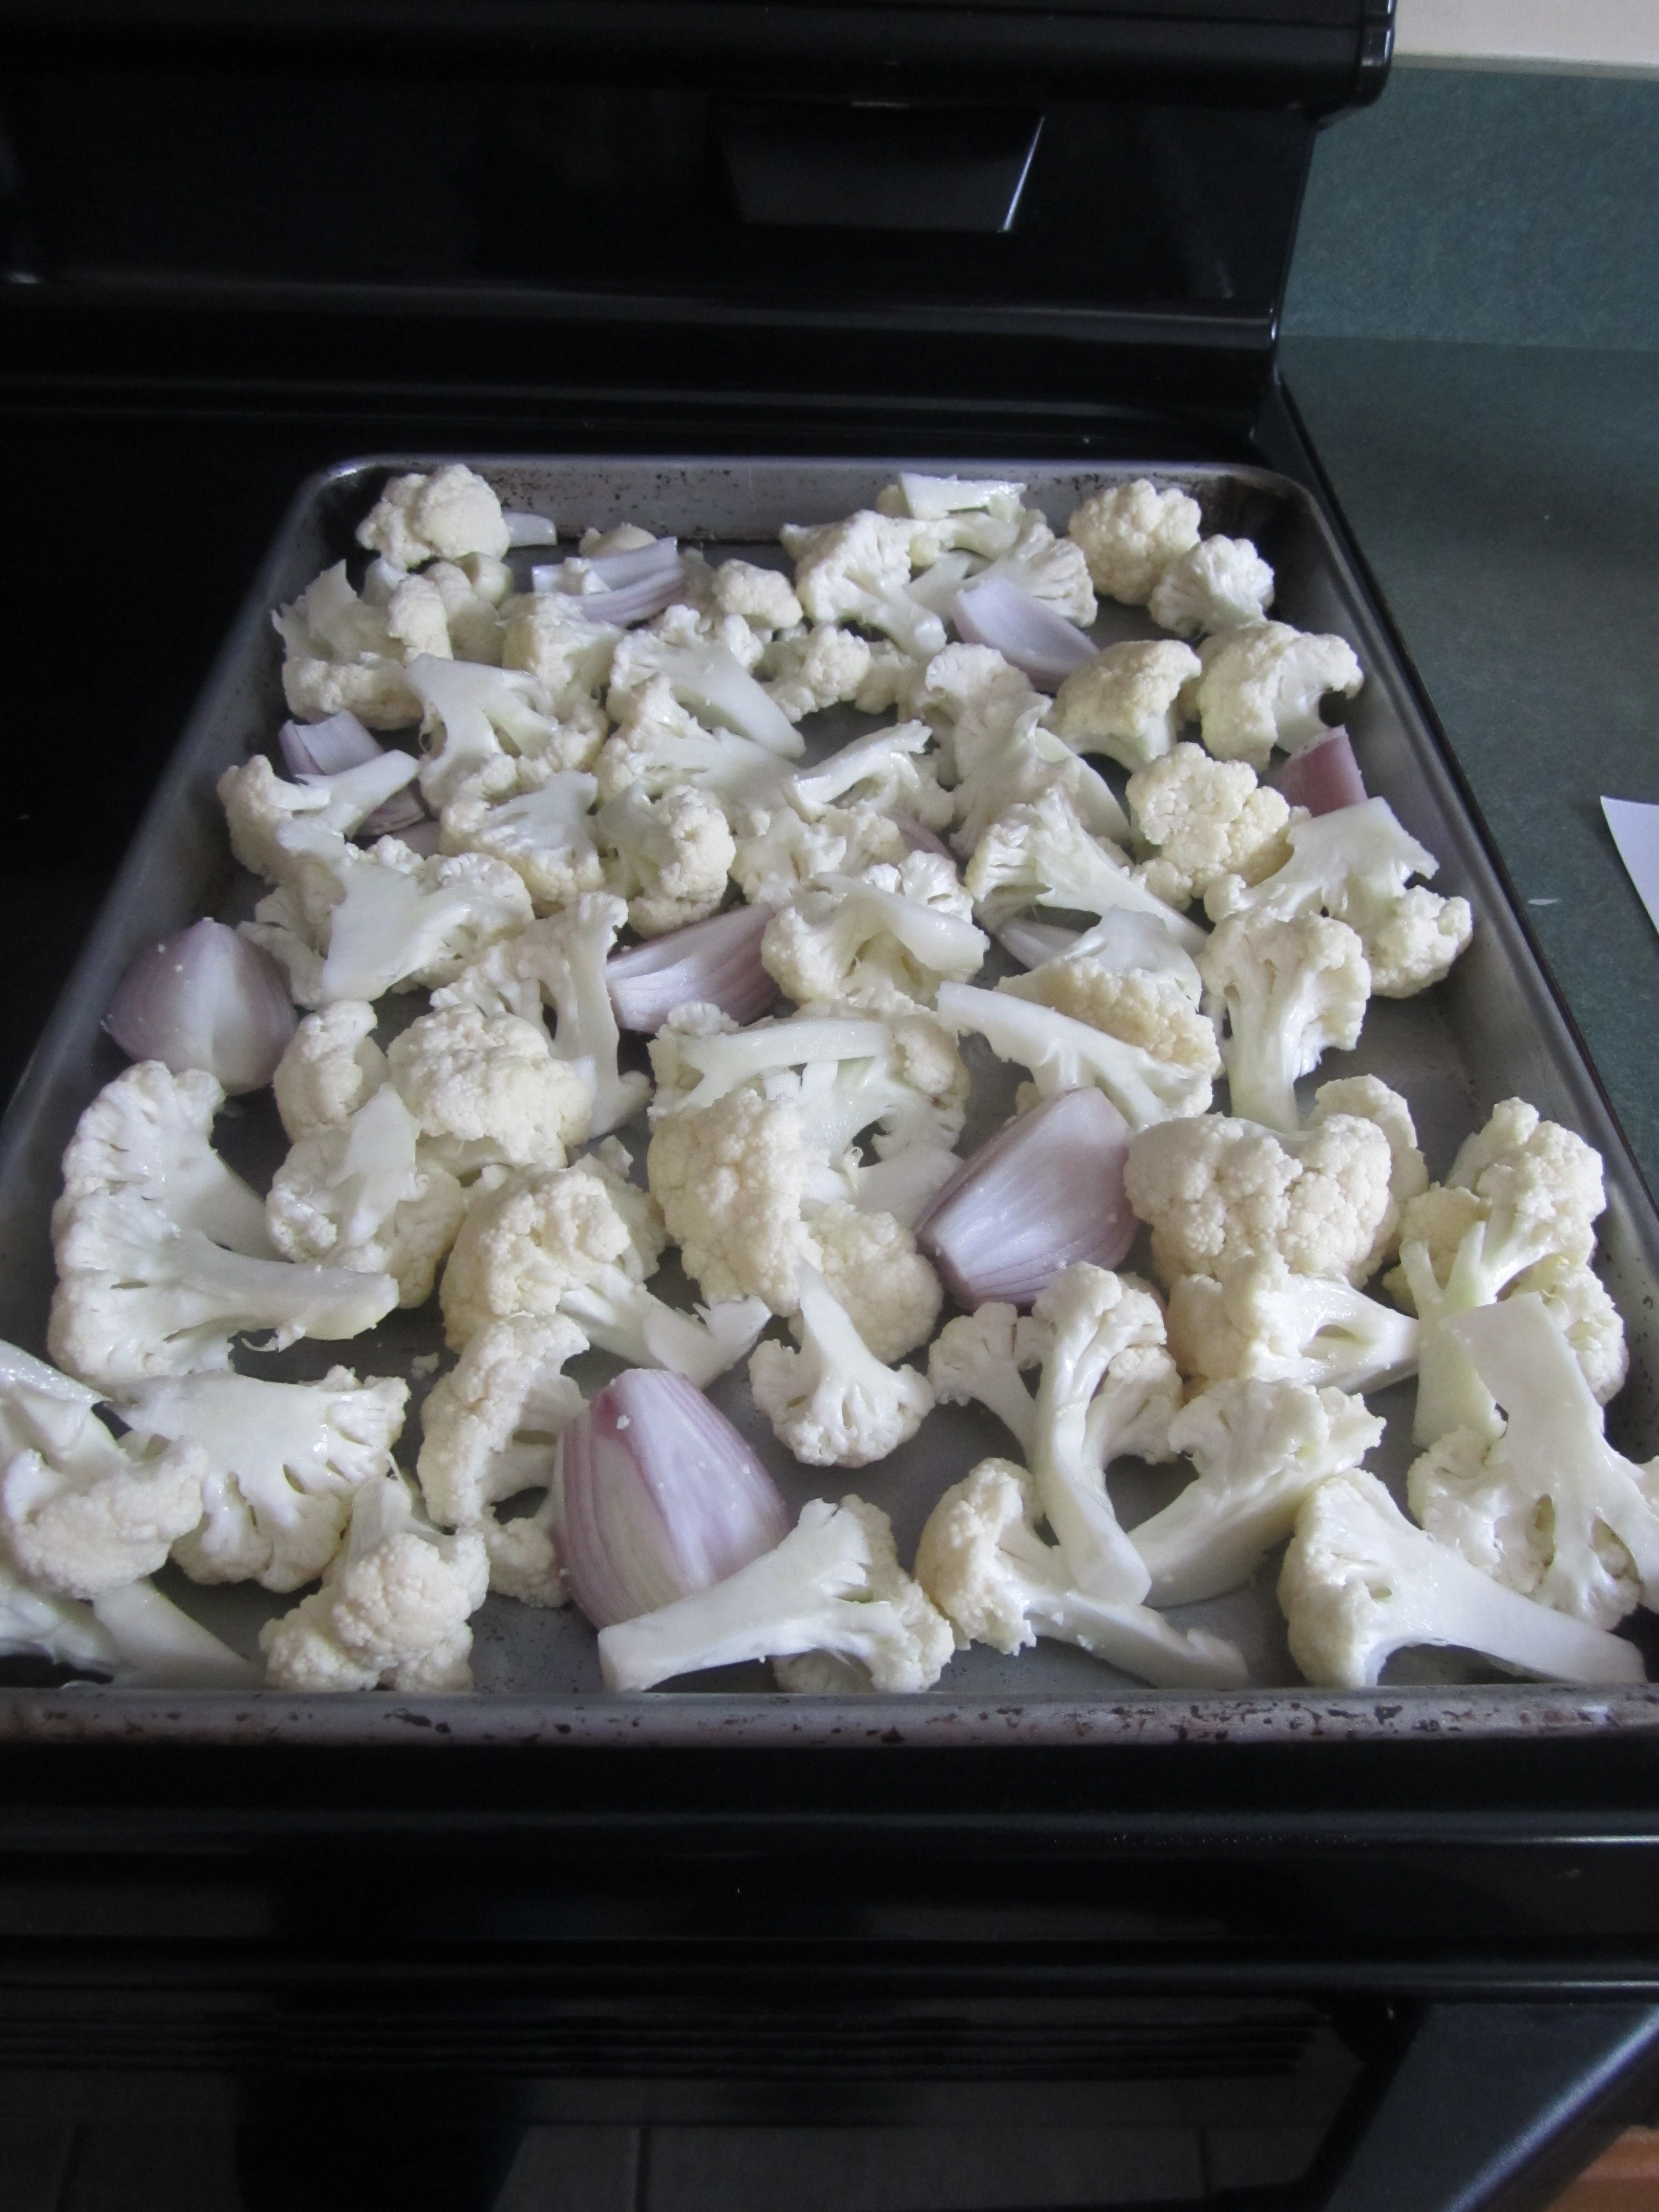
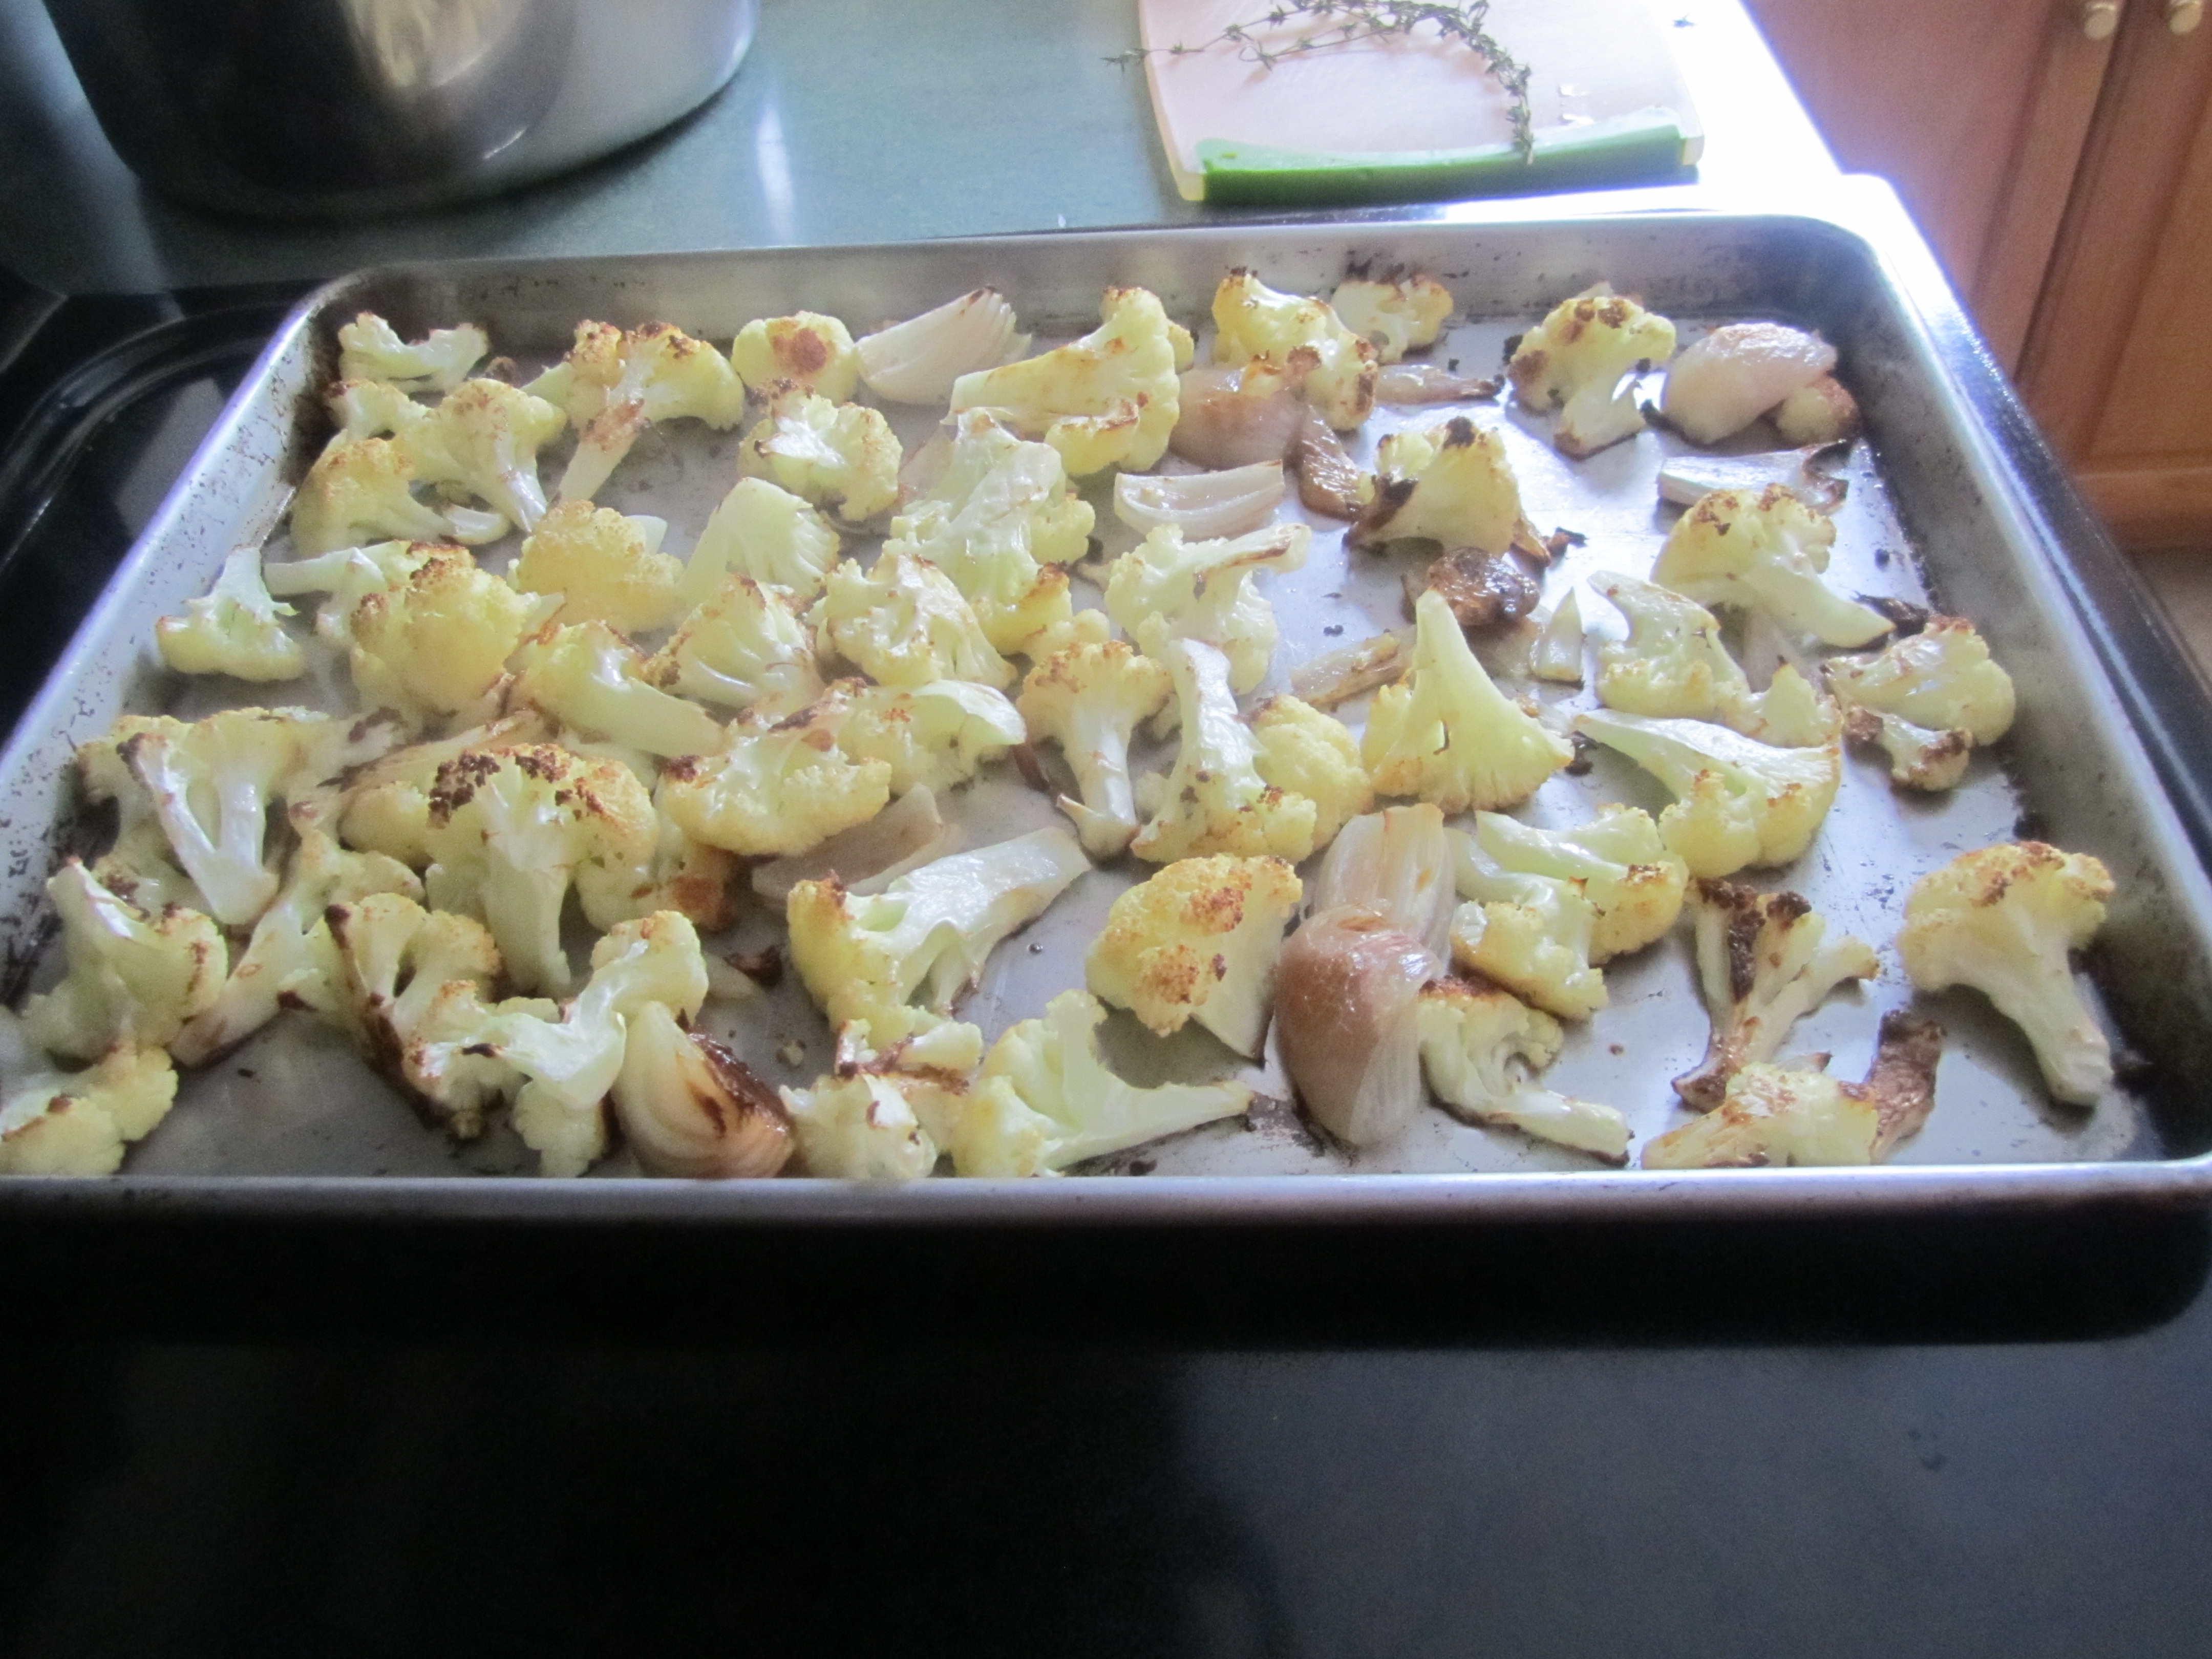
Cut cauliflower into small florets, you should have about 10 cups, and place into a very large bowl. Add garlic and shallots and toss everything together with the olive oil. Place onto a large rimmed cookie sheet, sprayed with canola oil. Bake for 30 minutes, tossing everything around a bit with a metal spatula half way through.
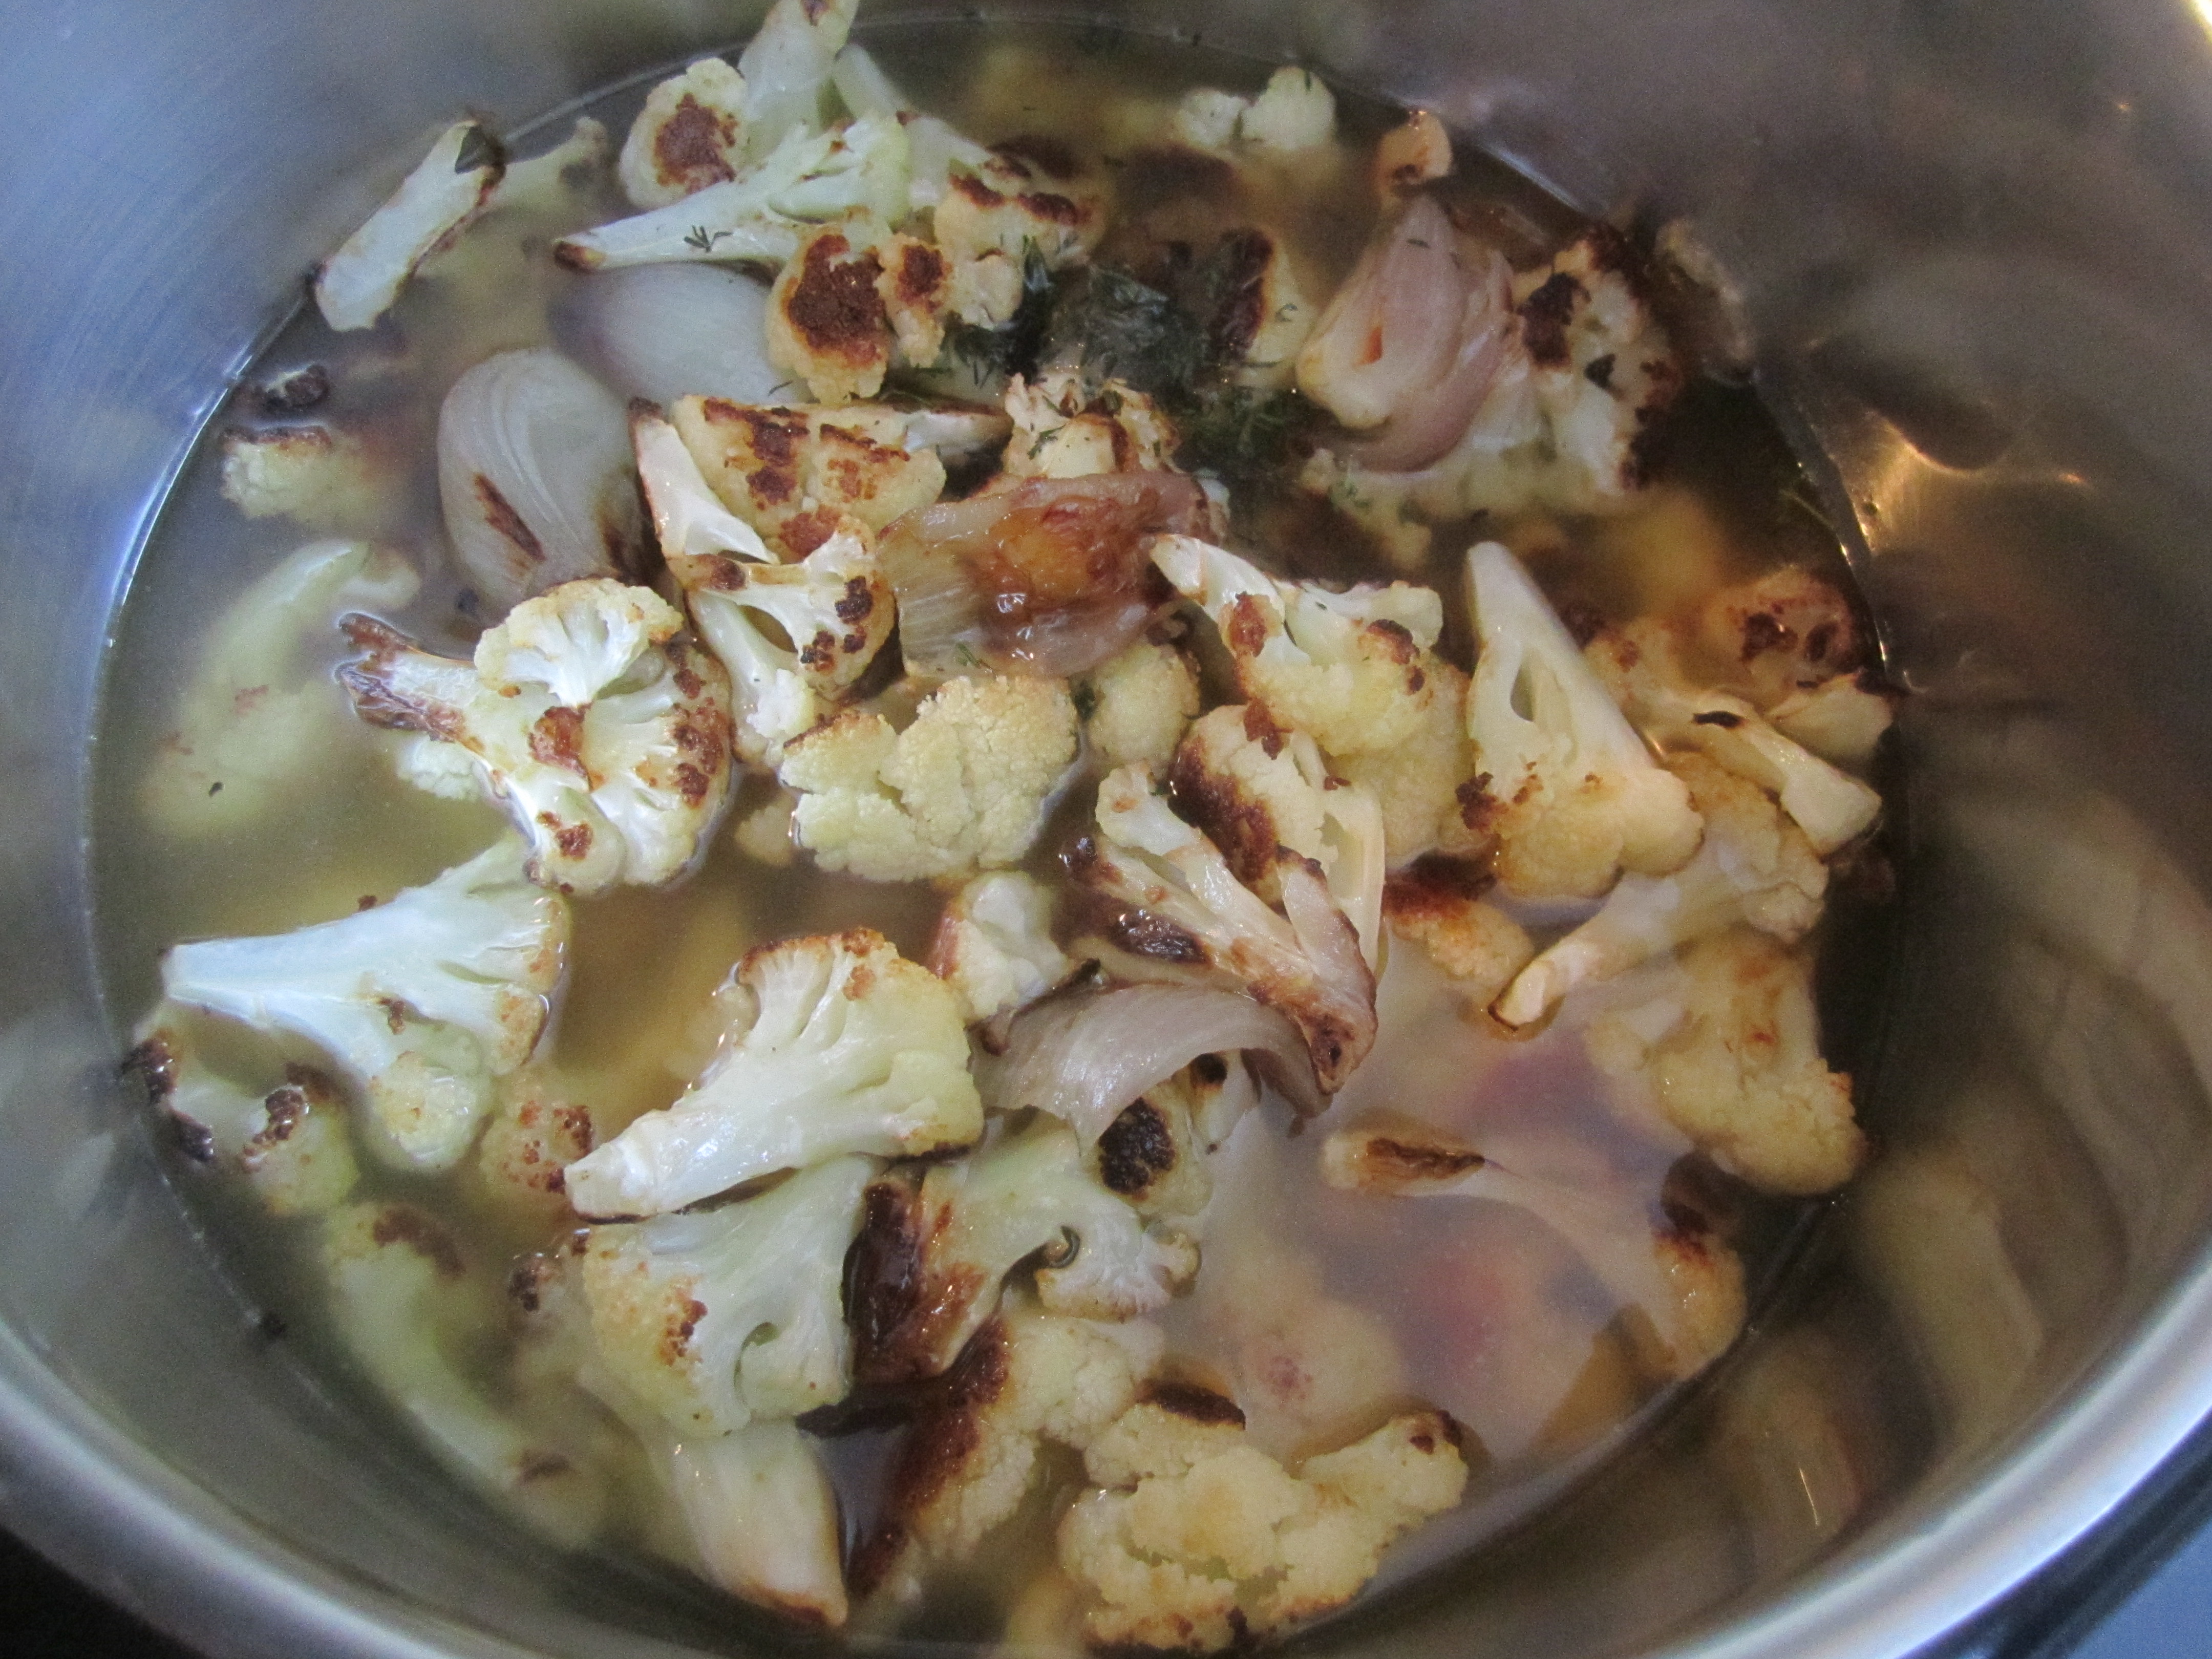
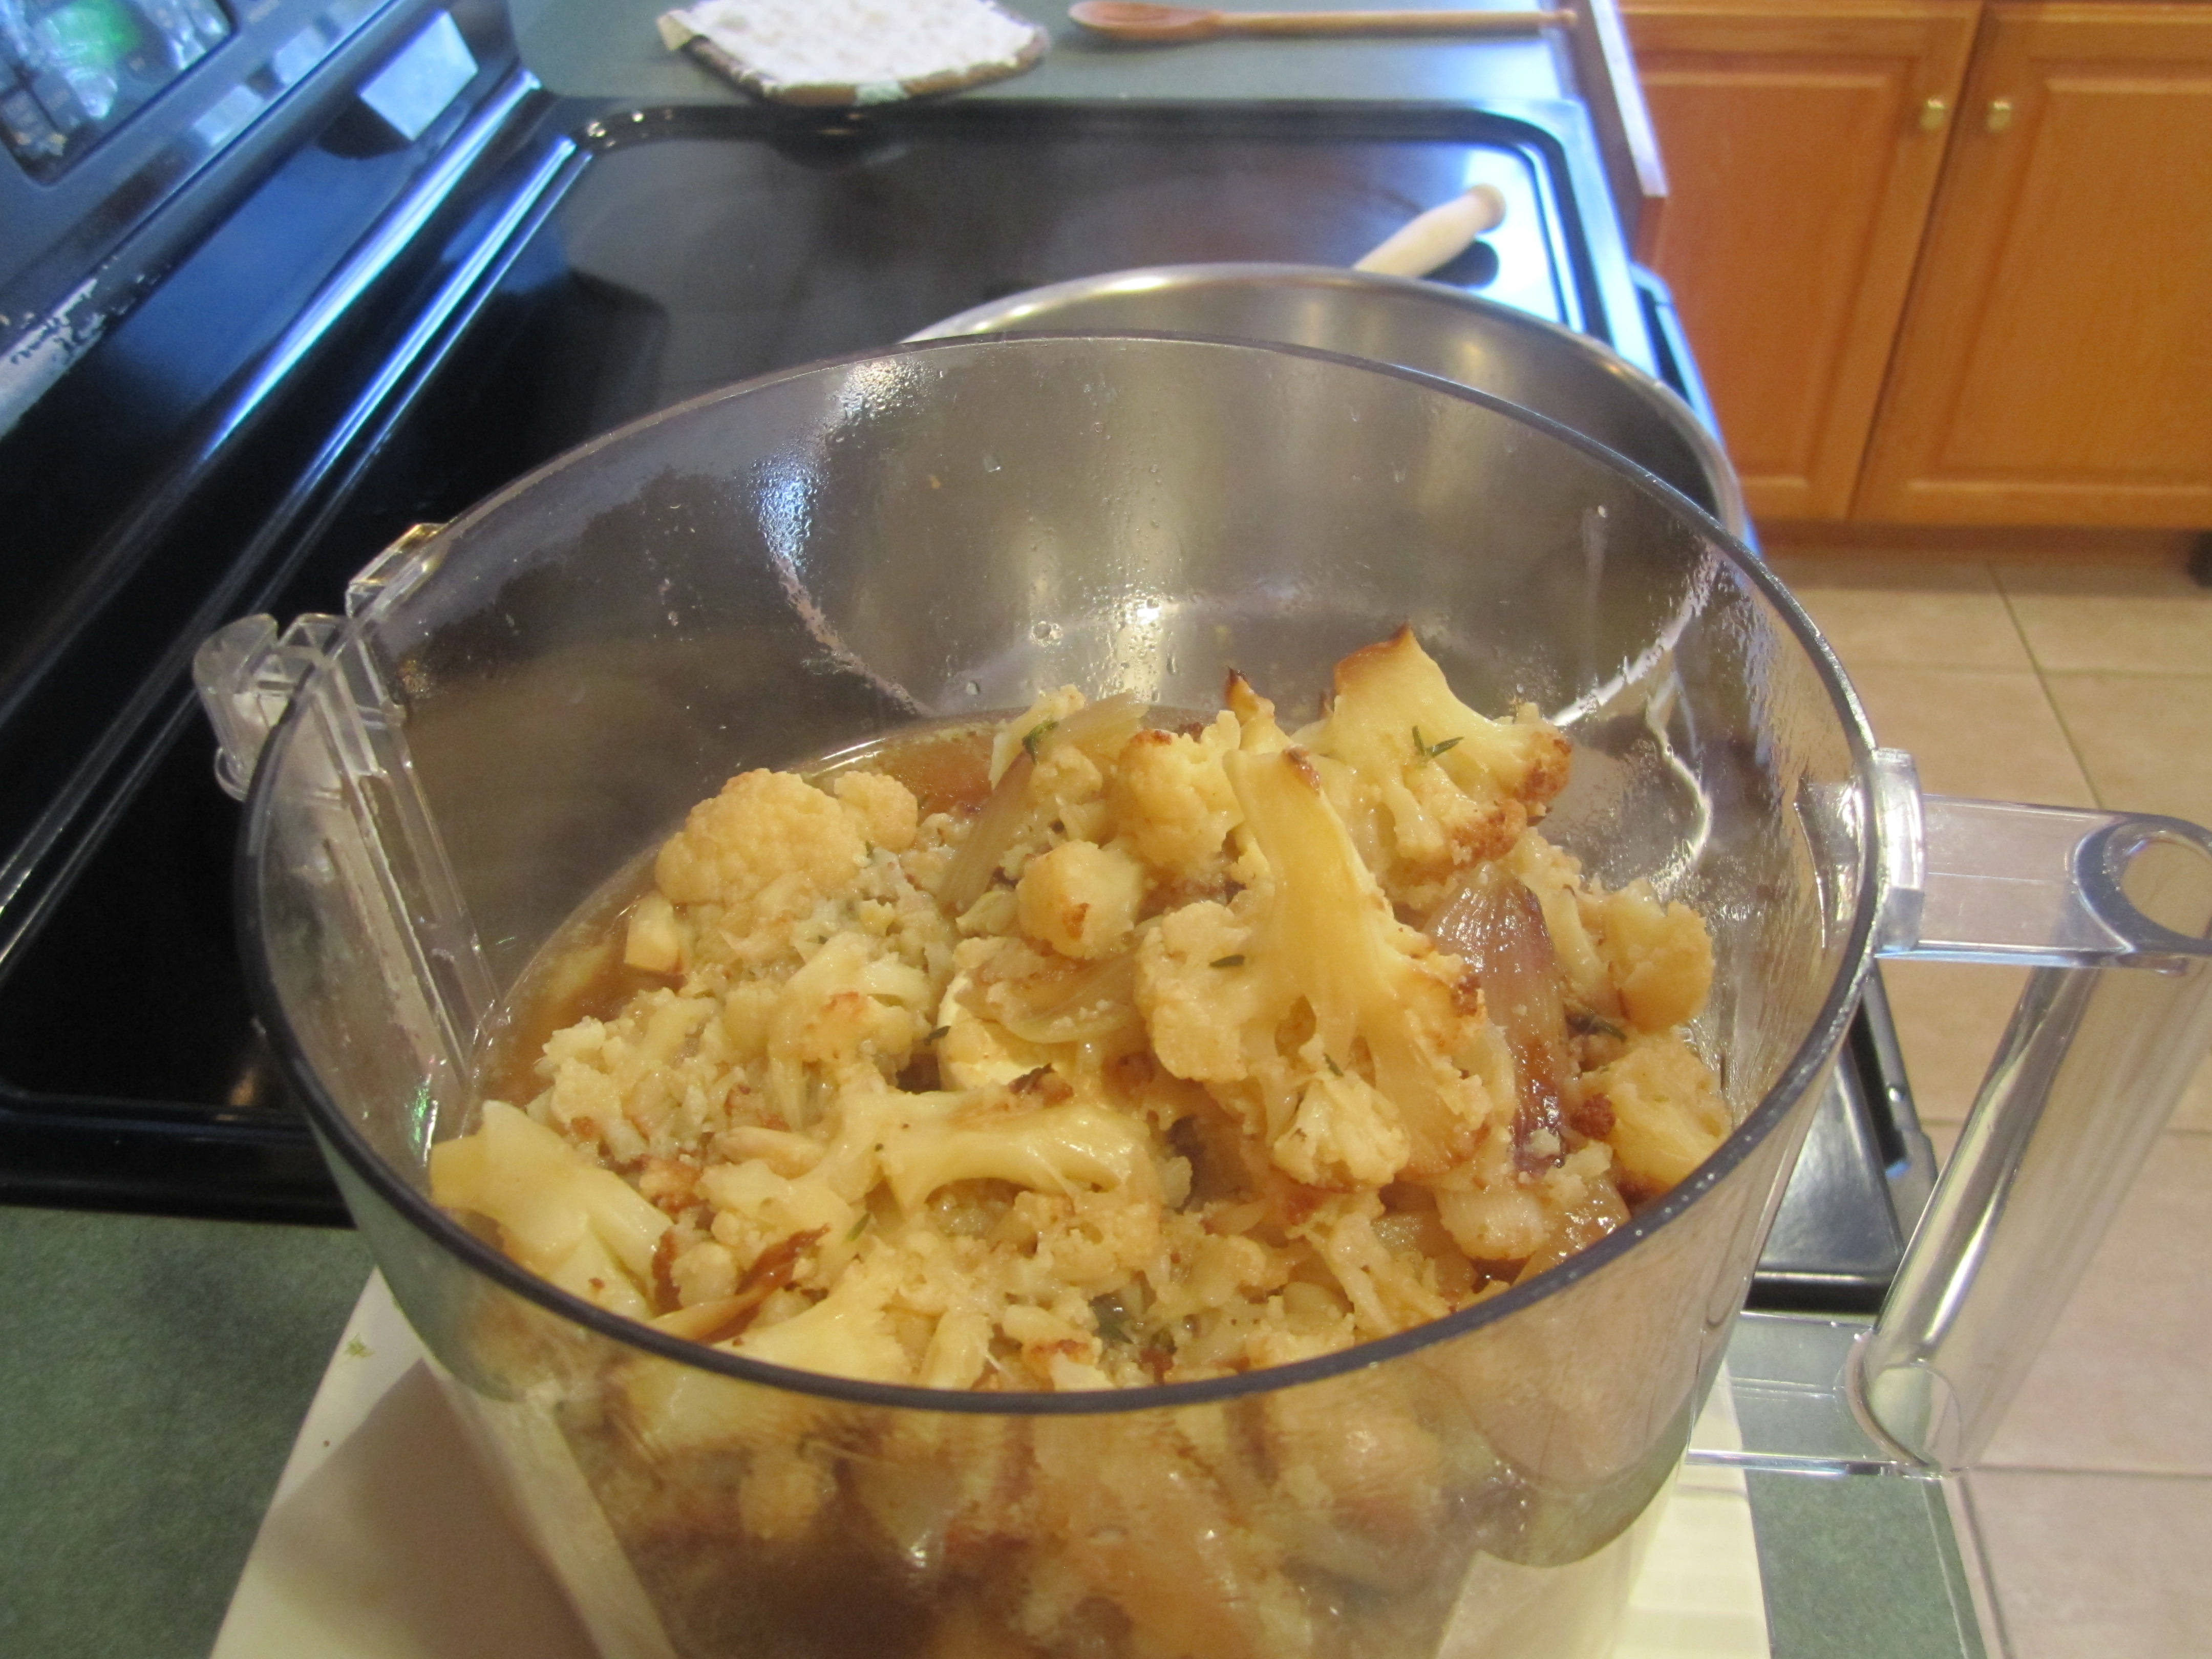
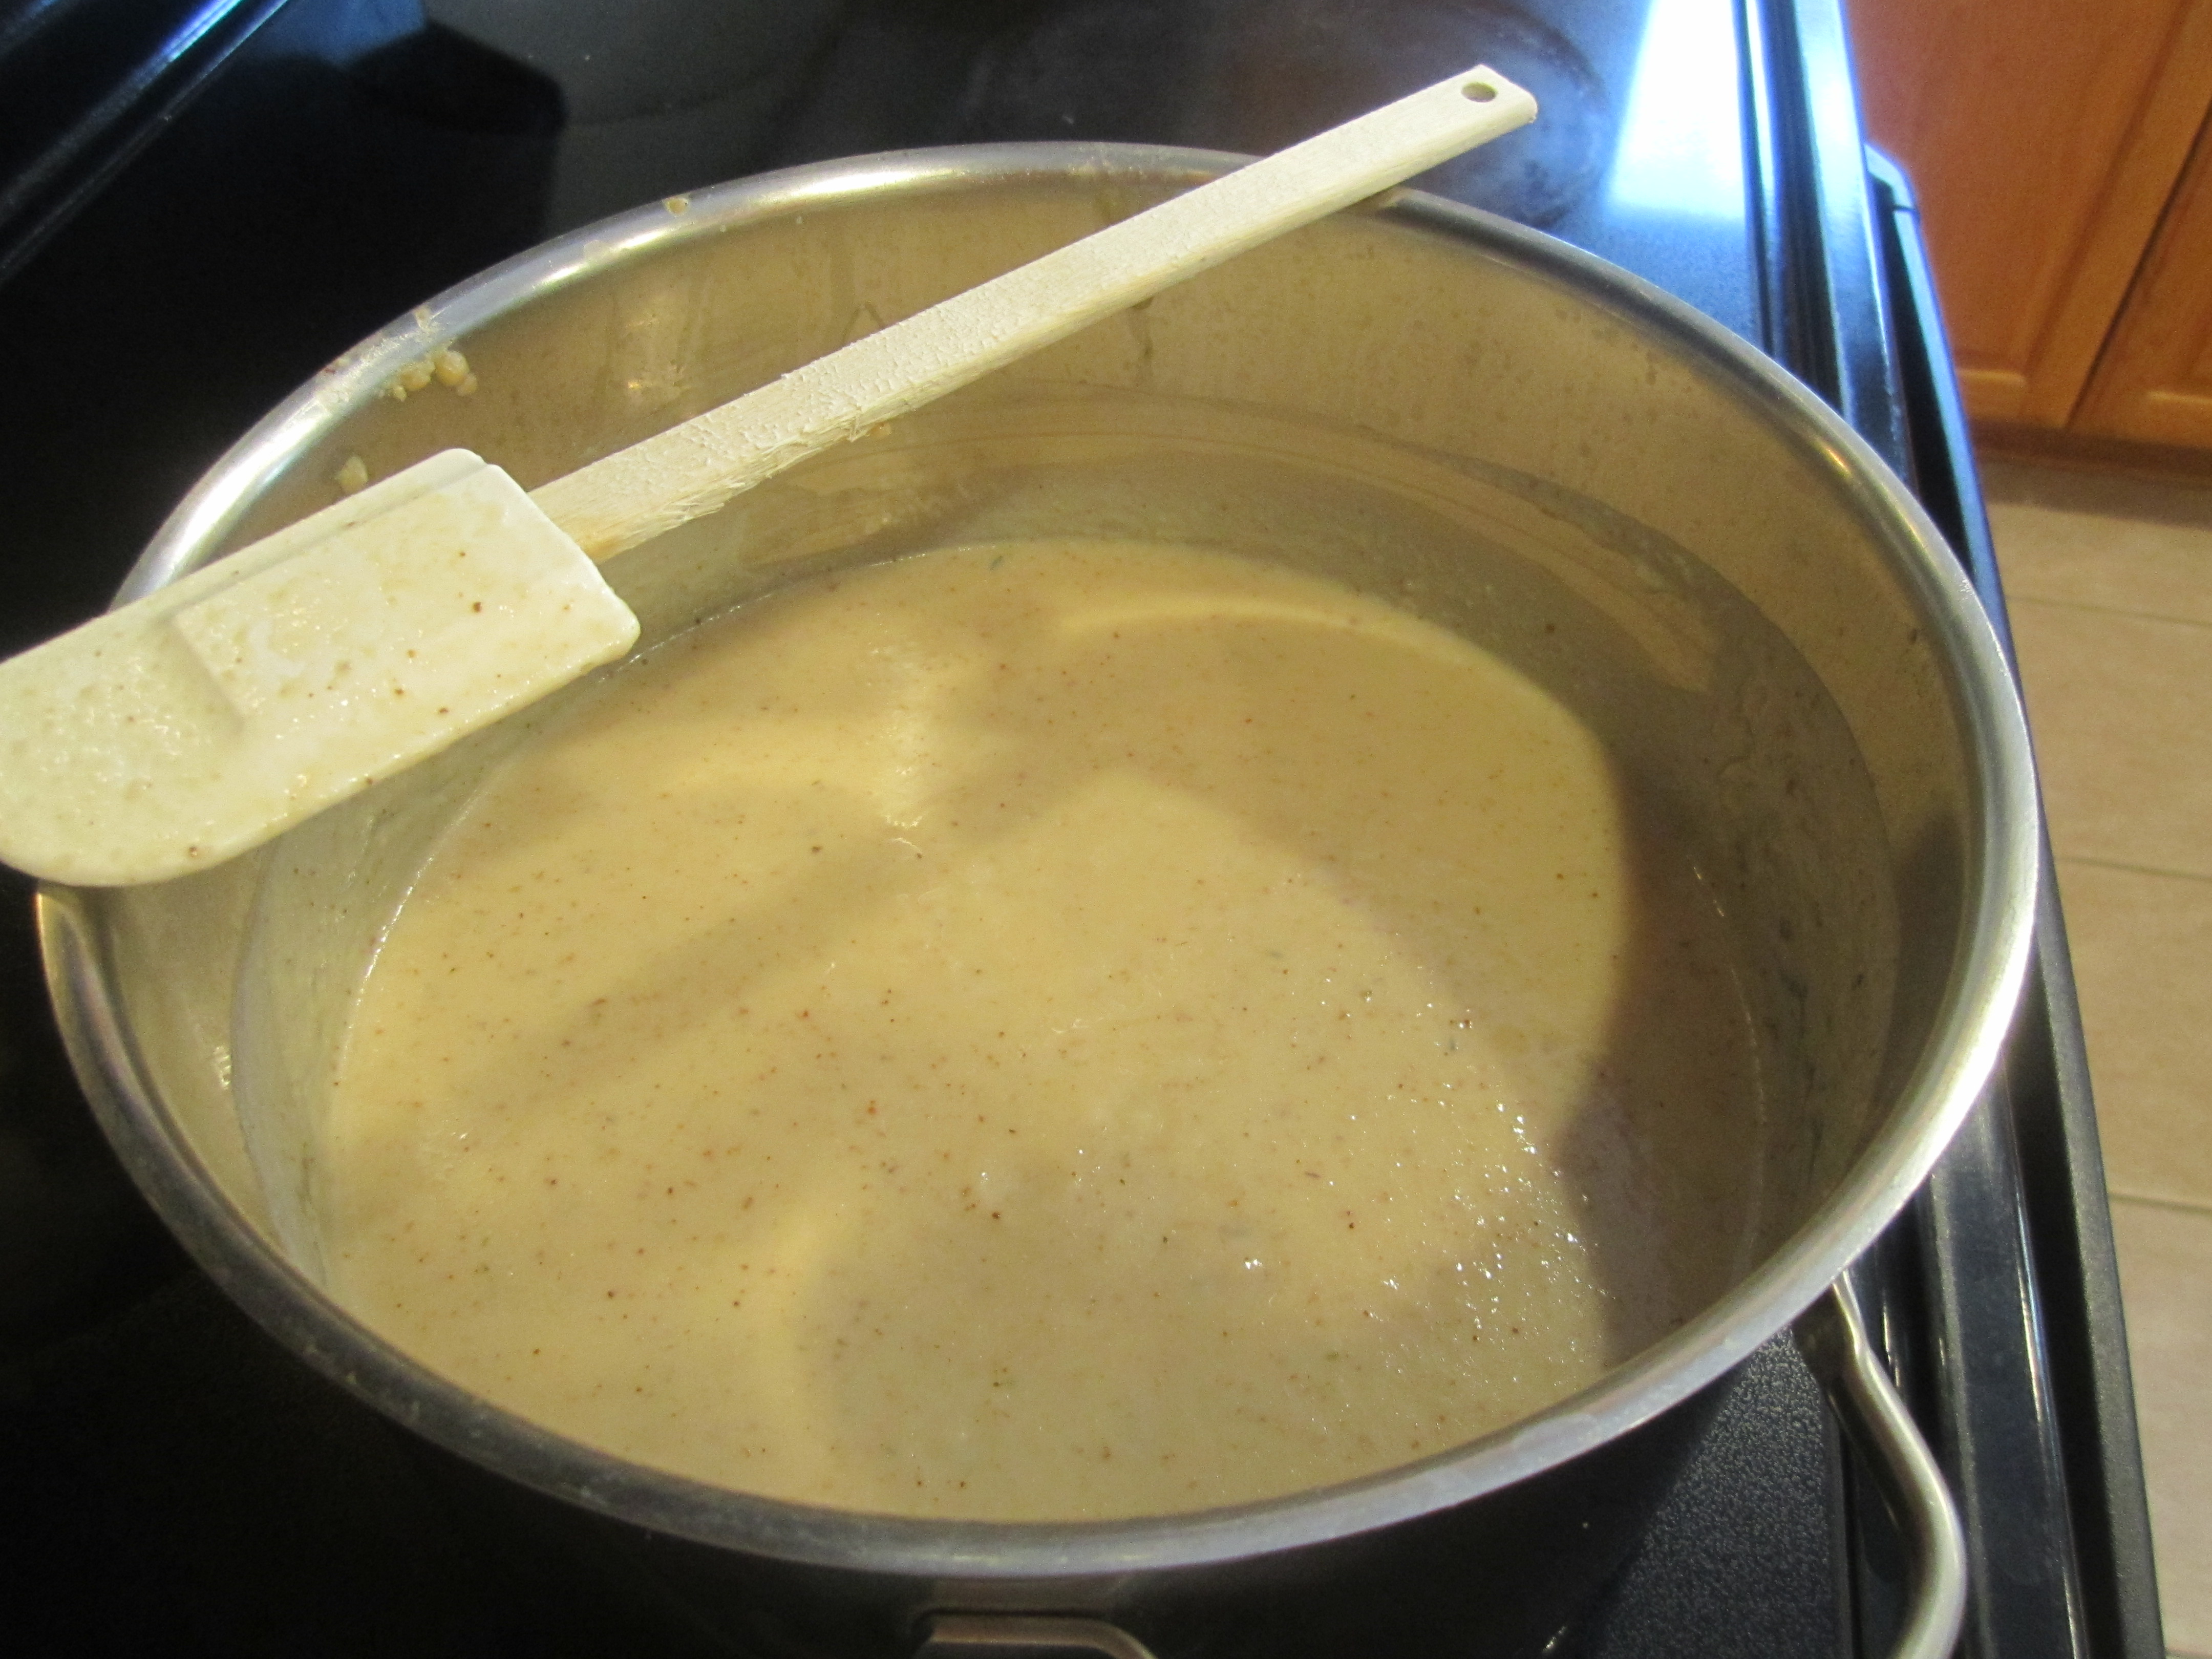
Place cauliflower mixture, chicken broth and thyme into a large 4-6 quart saucepan, and bring to a simmer over medium heat. Let cook for 25-30 minutes until the cauliflower is very tender. Take mixture when done and carefully place into a food processor, (if you only have a blender, process small batches, putting them into the large bowl until finished) and process until smooth. (it’s hot so be careful!) Return soup to saucepan and add milk and salt (and pepper to taste if you like). Stir to combine. At this point you can reheat the soup very gently over medium heat and serve or just divide among containers and refrigerate. When cool they can be placed in the freezer for future eating!
getting ready to toss ingredients together with olive oil:
ready to go in oven:
rest of ingredients (I added a bit of water to the chicken broth, to bring it to 4 cups):
after 25 minutes in oven:
cauliflower mixture in saucepan with the chicken broth and thyme:
ready to process:
processed soup back into pot:

2% milk stirred in:
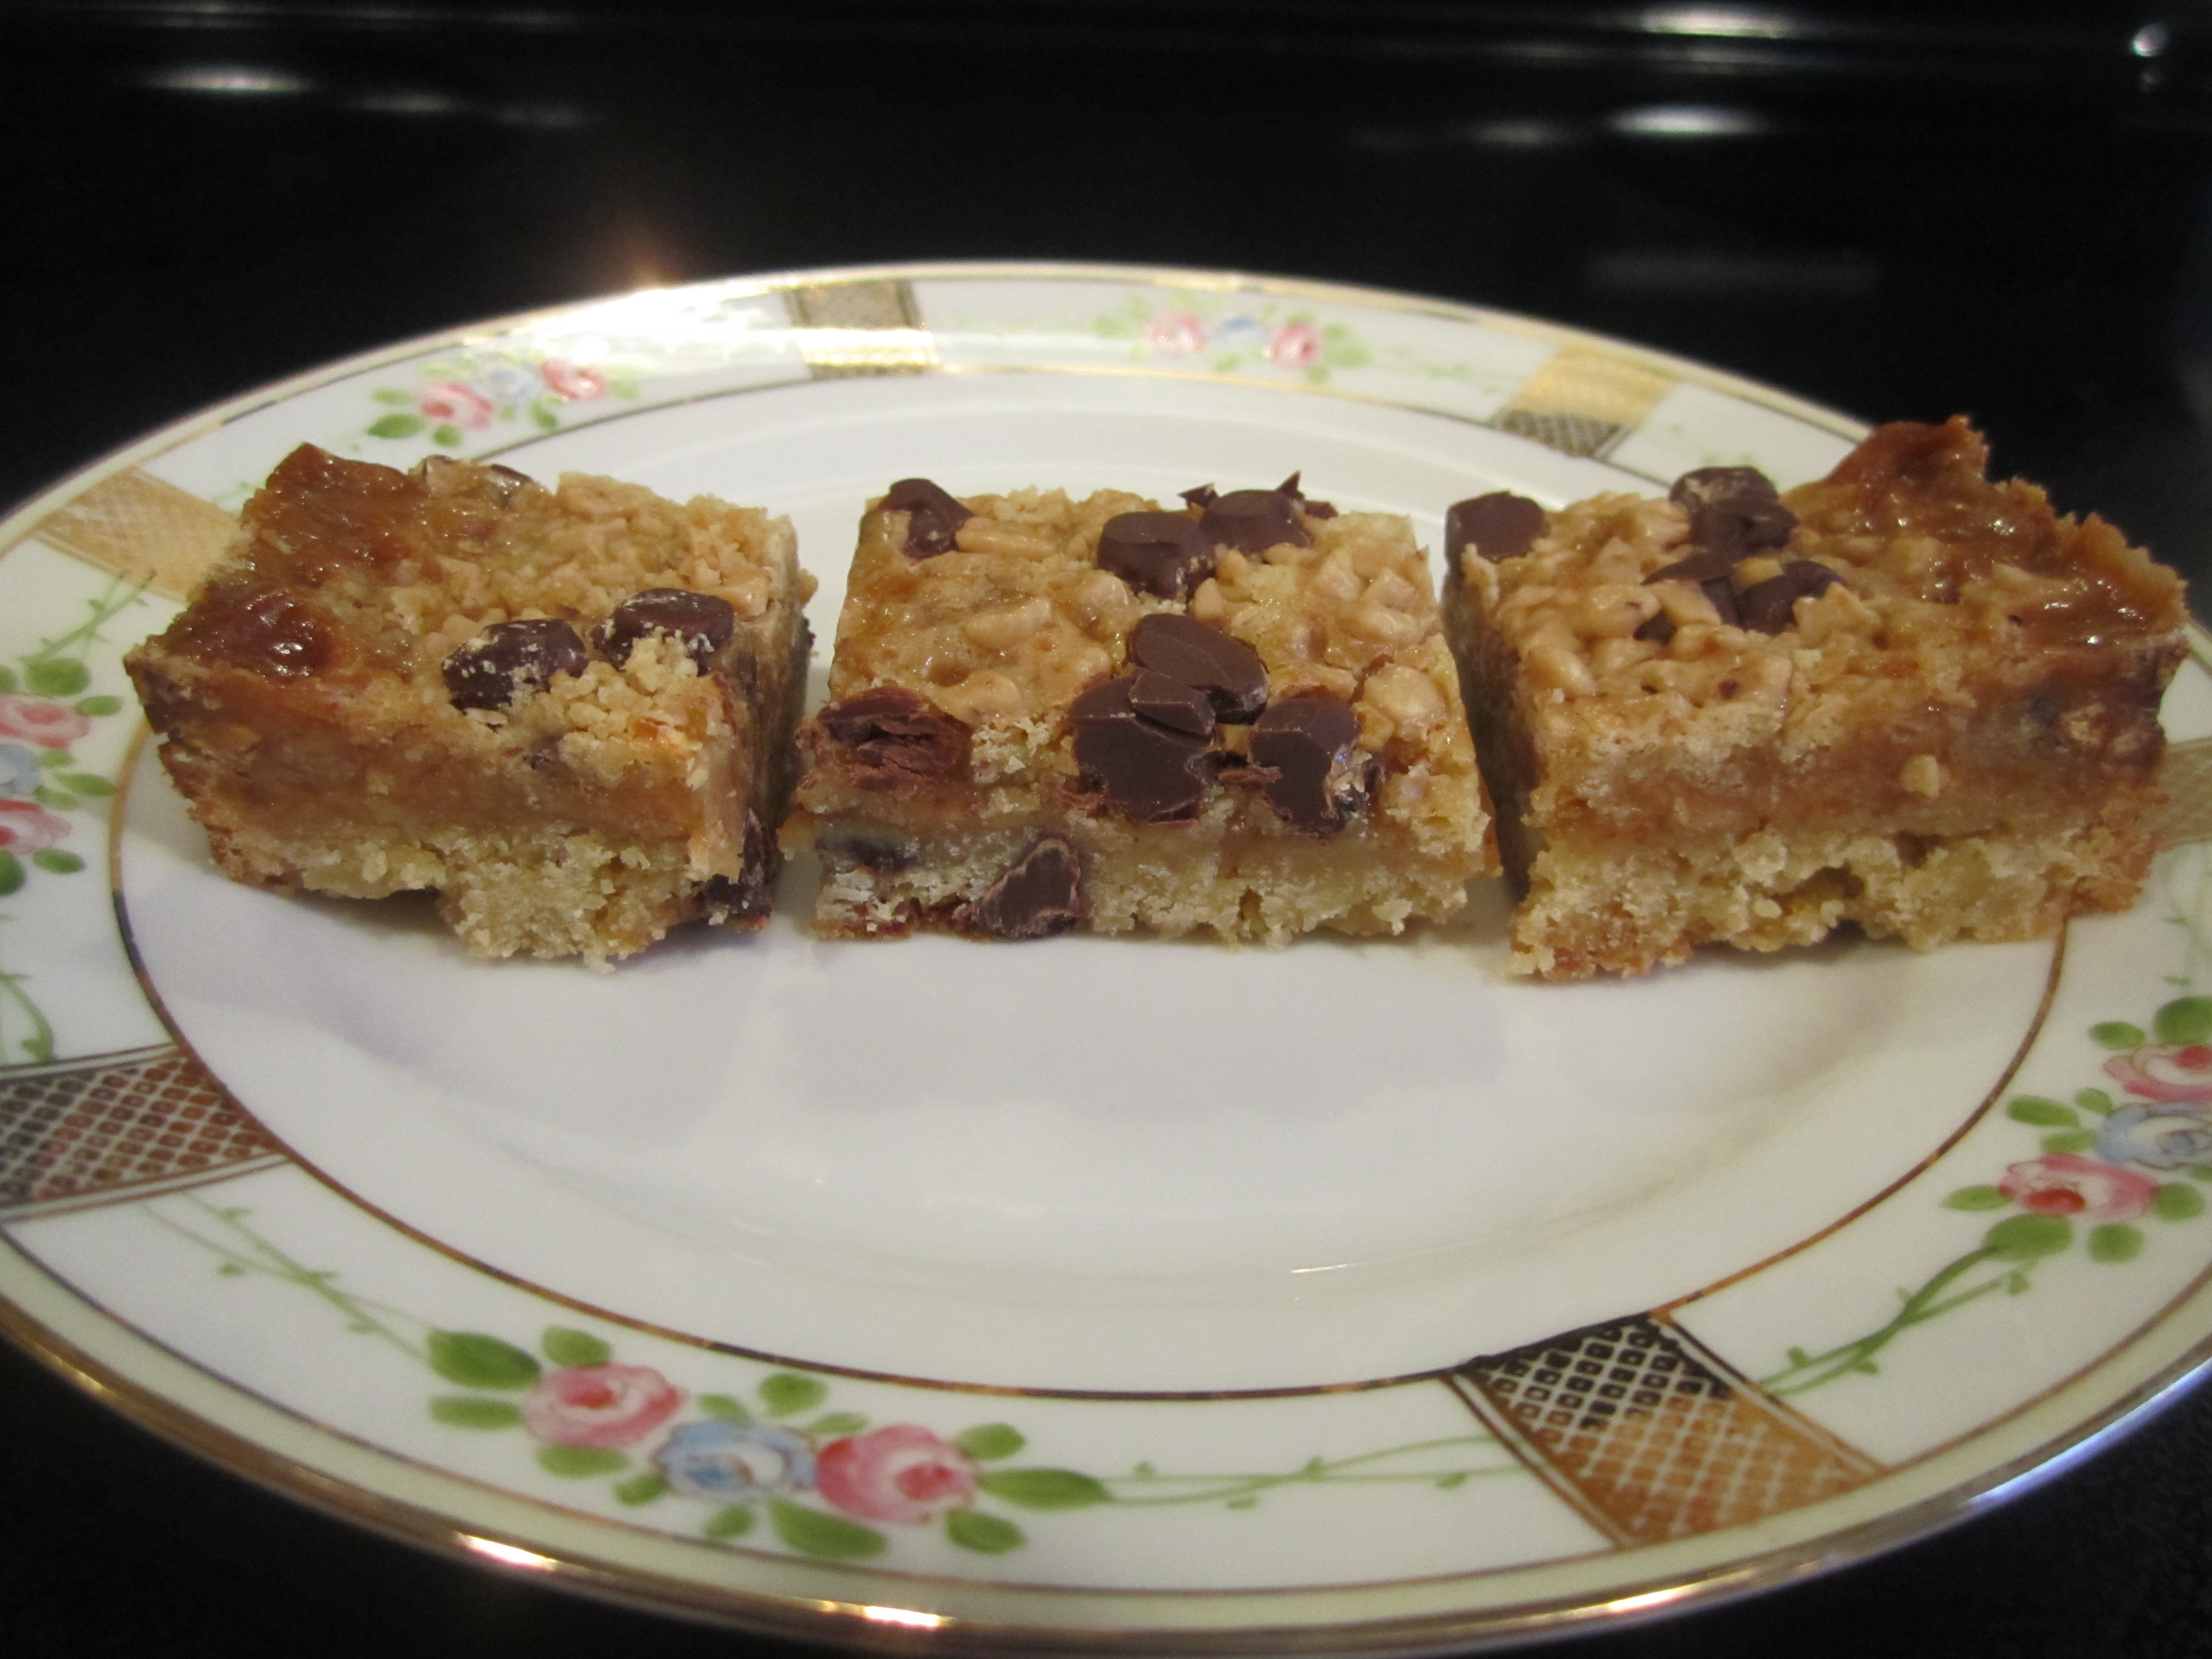
Chocolate Chip Toffee Bars
When I was a Girl Scout leader (my daughter of course was in the troop), I made these cookies for my girls on a regular basis. When they became senior girl scouts (now called Ambassador girl scouts) in high school , they would ask me to make them. The cookies were always a hit. But I haven’t made them in about 8 years. To me, they were cookies just for my Girl Scouts.
I decided to give them a try again when I had my knitting club over. I had completely forgotten how good they were. Chocolaty, chewy and somewhat crispy all at the same time. And they keep really well for about a week at room temperature. Freeze them if you want to extend the time.
Chocolate Chip Toffee Bars (adapted from Hershey’s Rich Chocolate Chip Toffee Bars)
2-1/3 cups flour
2/3 cup packed light brown sugar
3/4 cup cold butter, cut into small cubes
1 egg, beaten lightly
12 ounces of Ghirardelli Semi-Sweet Chocolate Chips, divided
1, 14 ounce can sweetened condensed milk
10 ounces Heath Bits ‘O Brickle Toffee Bits, divided
Heat oven to 350 degrees.
Spray a 9 x 13 inch baking pan with canola cooking spray.
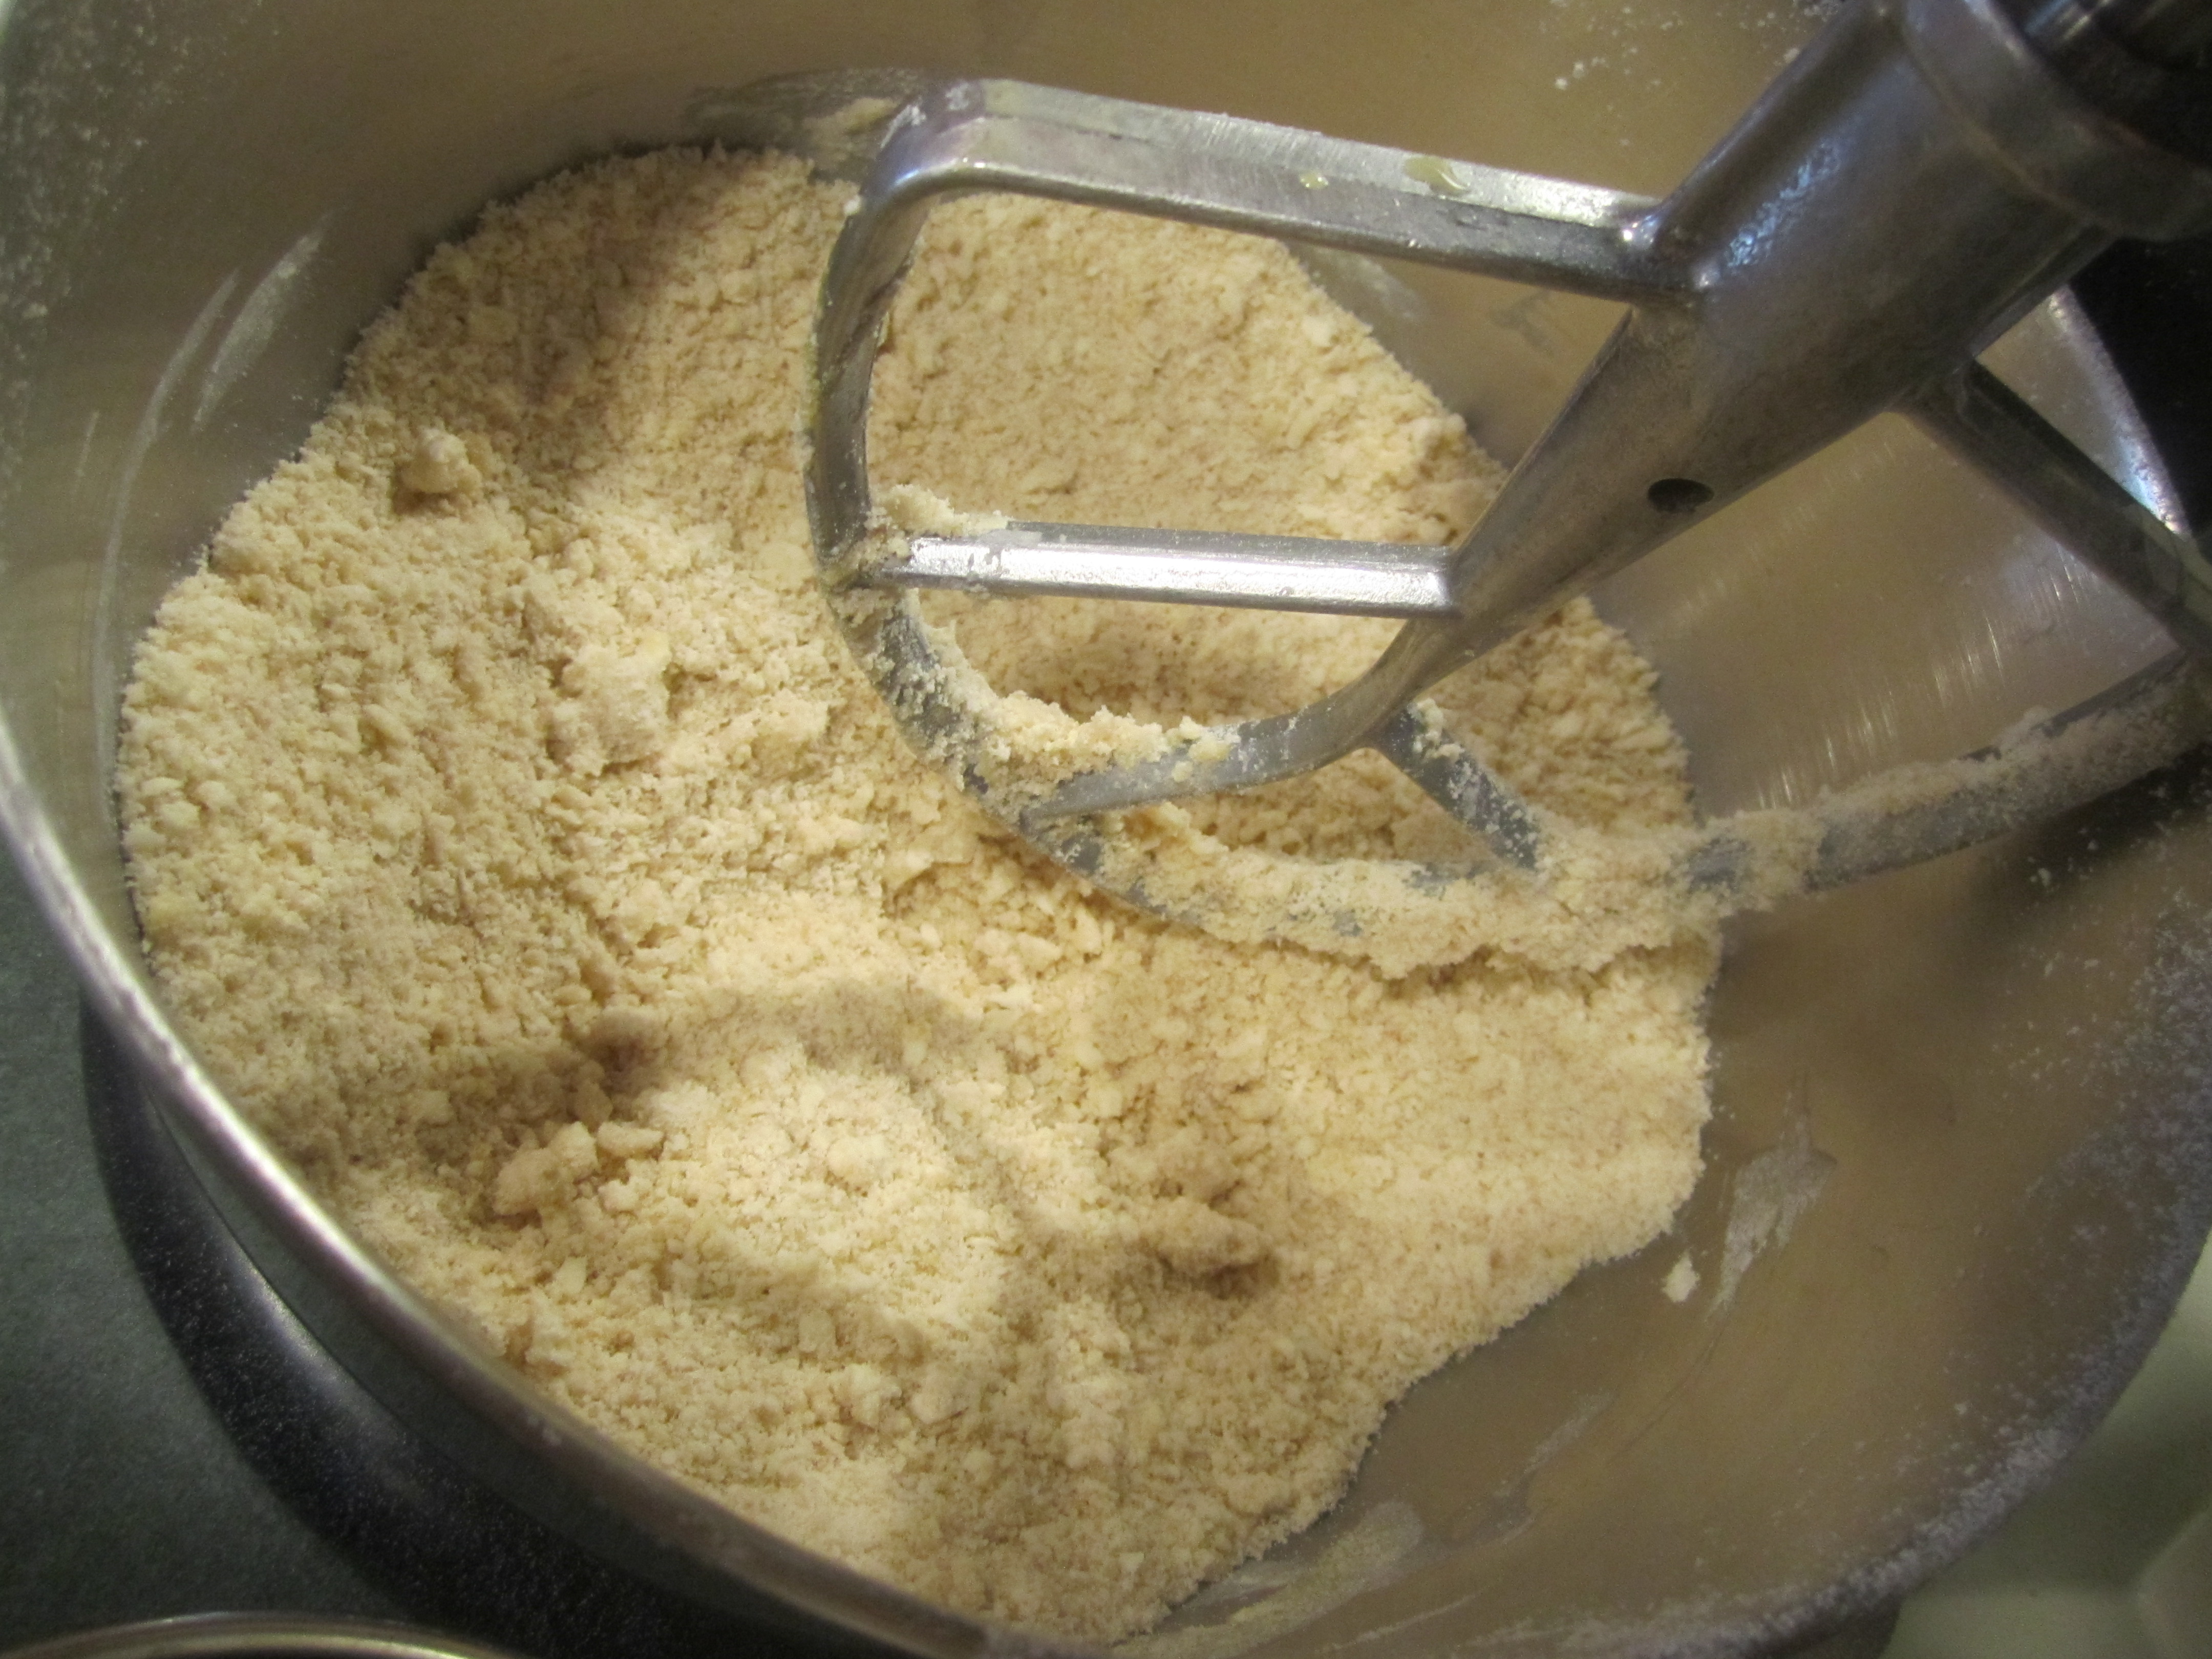
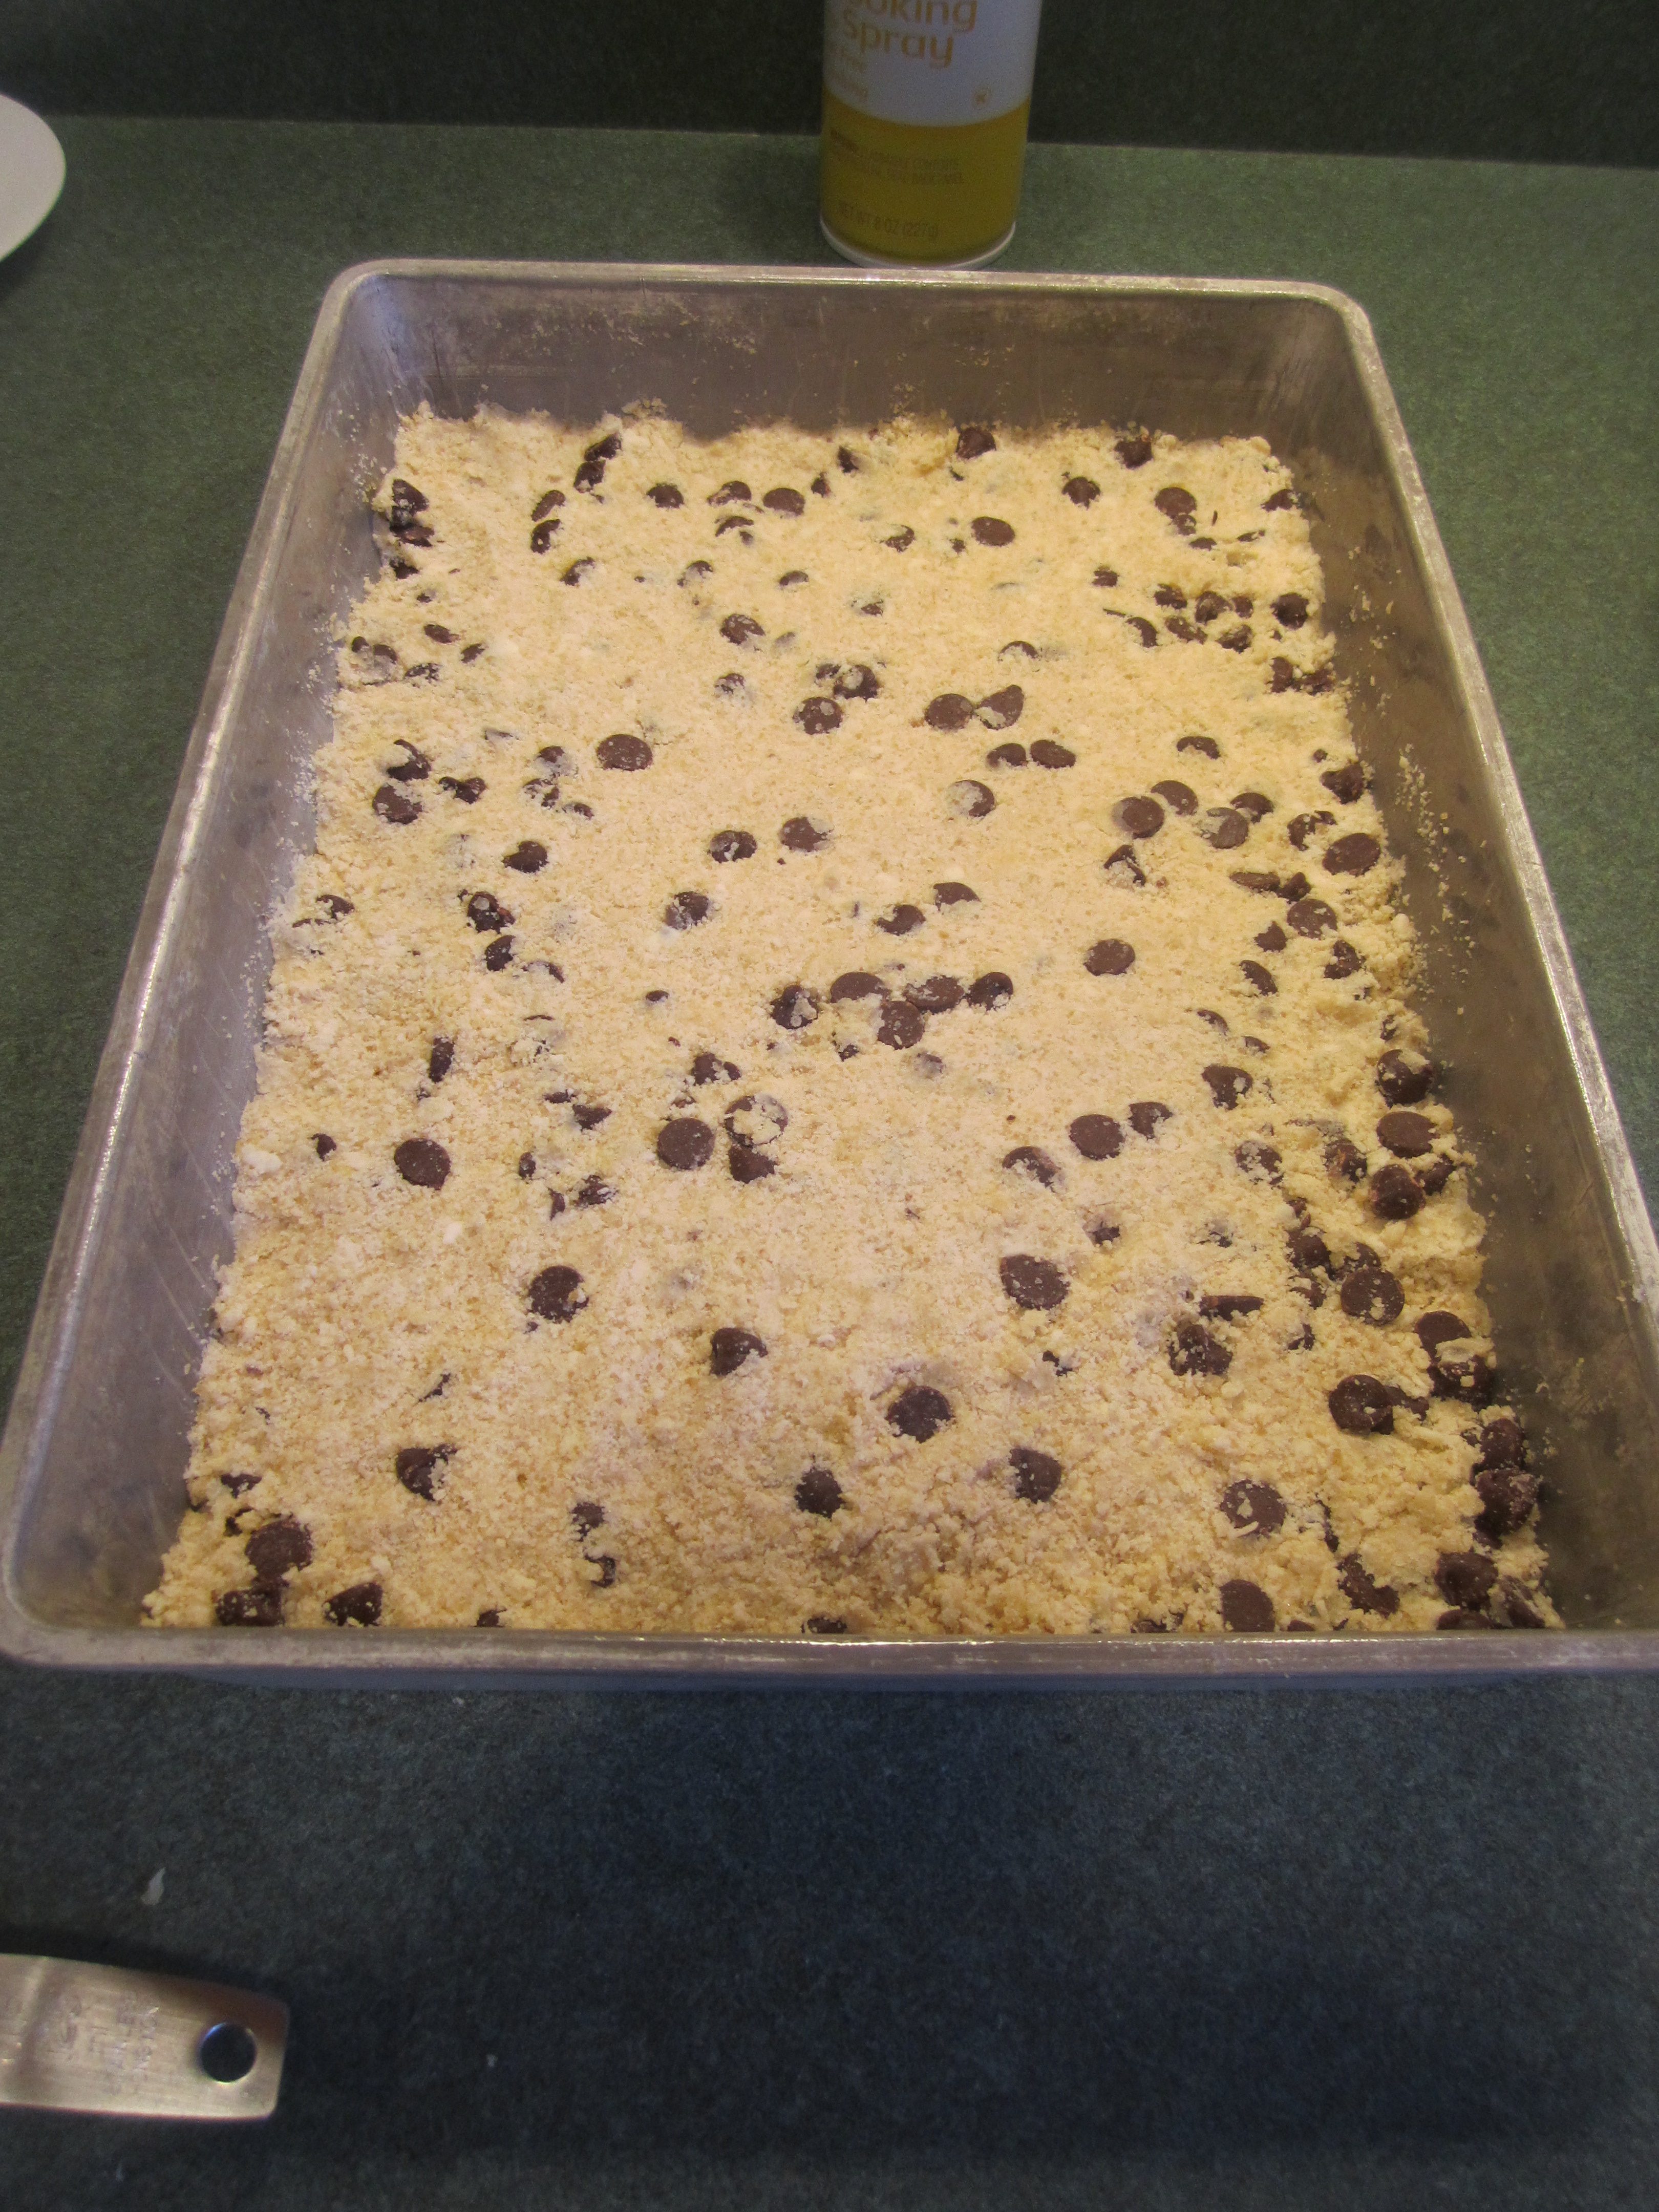
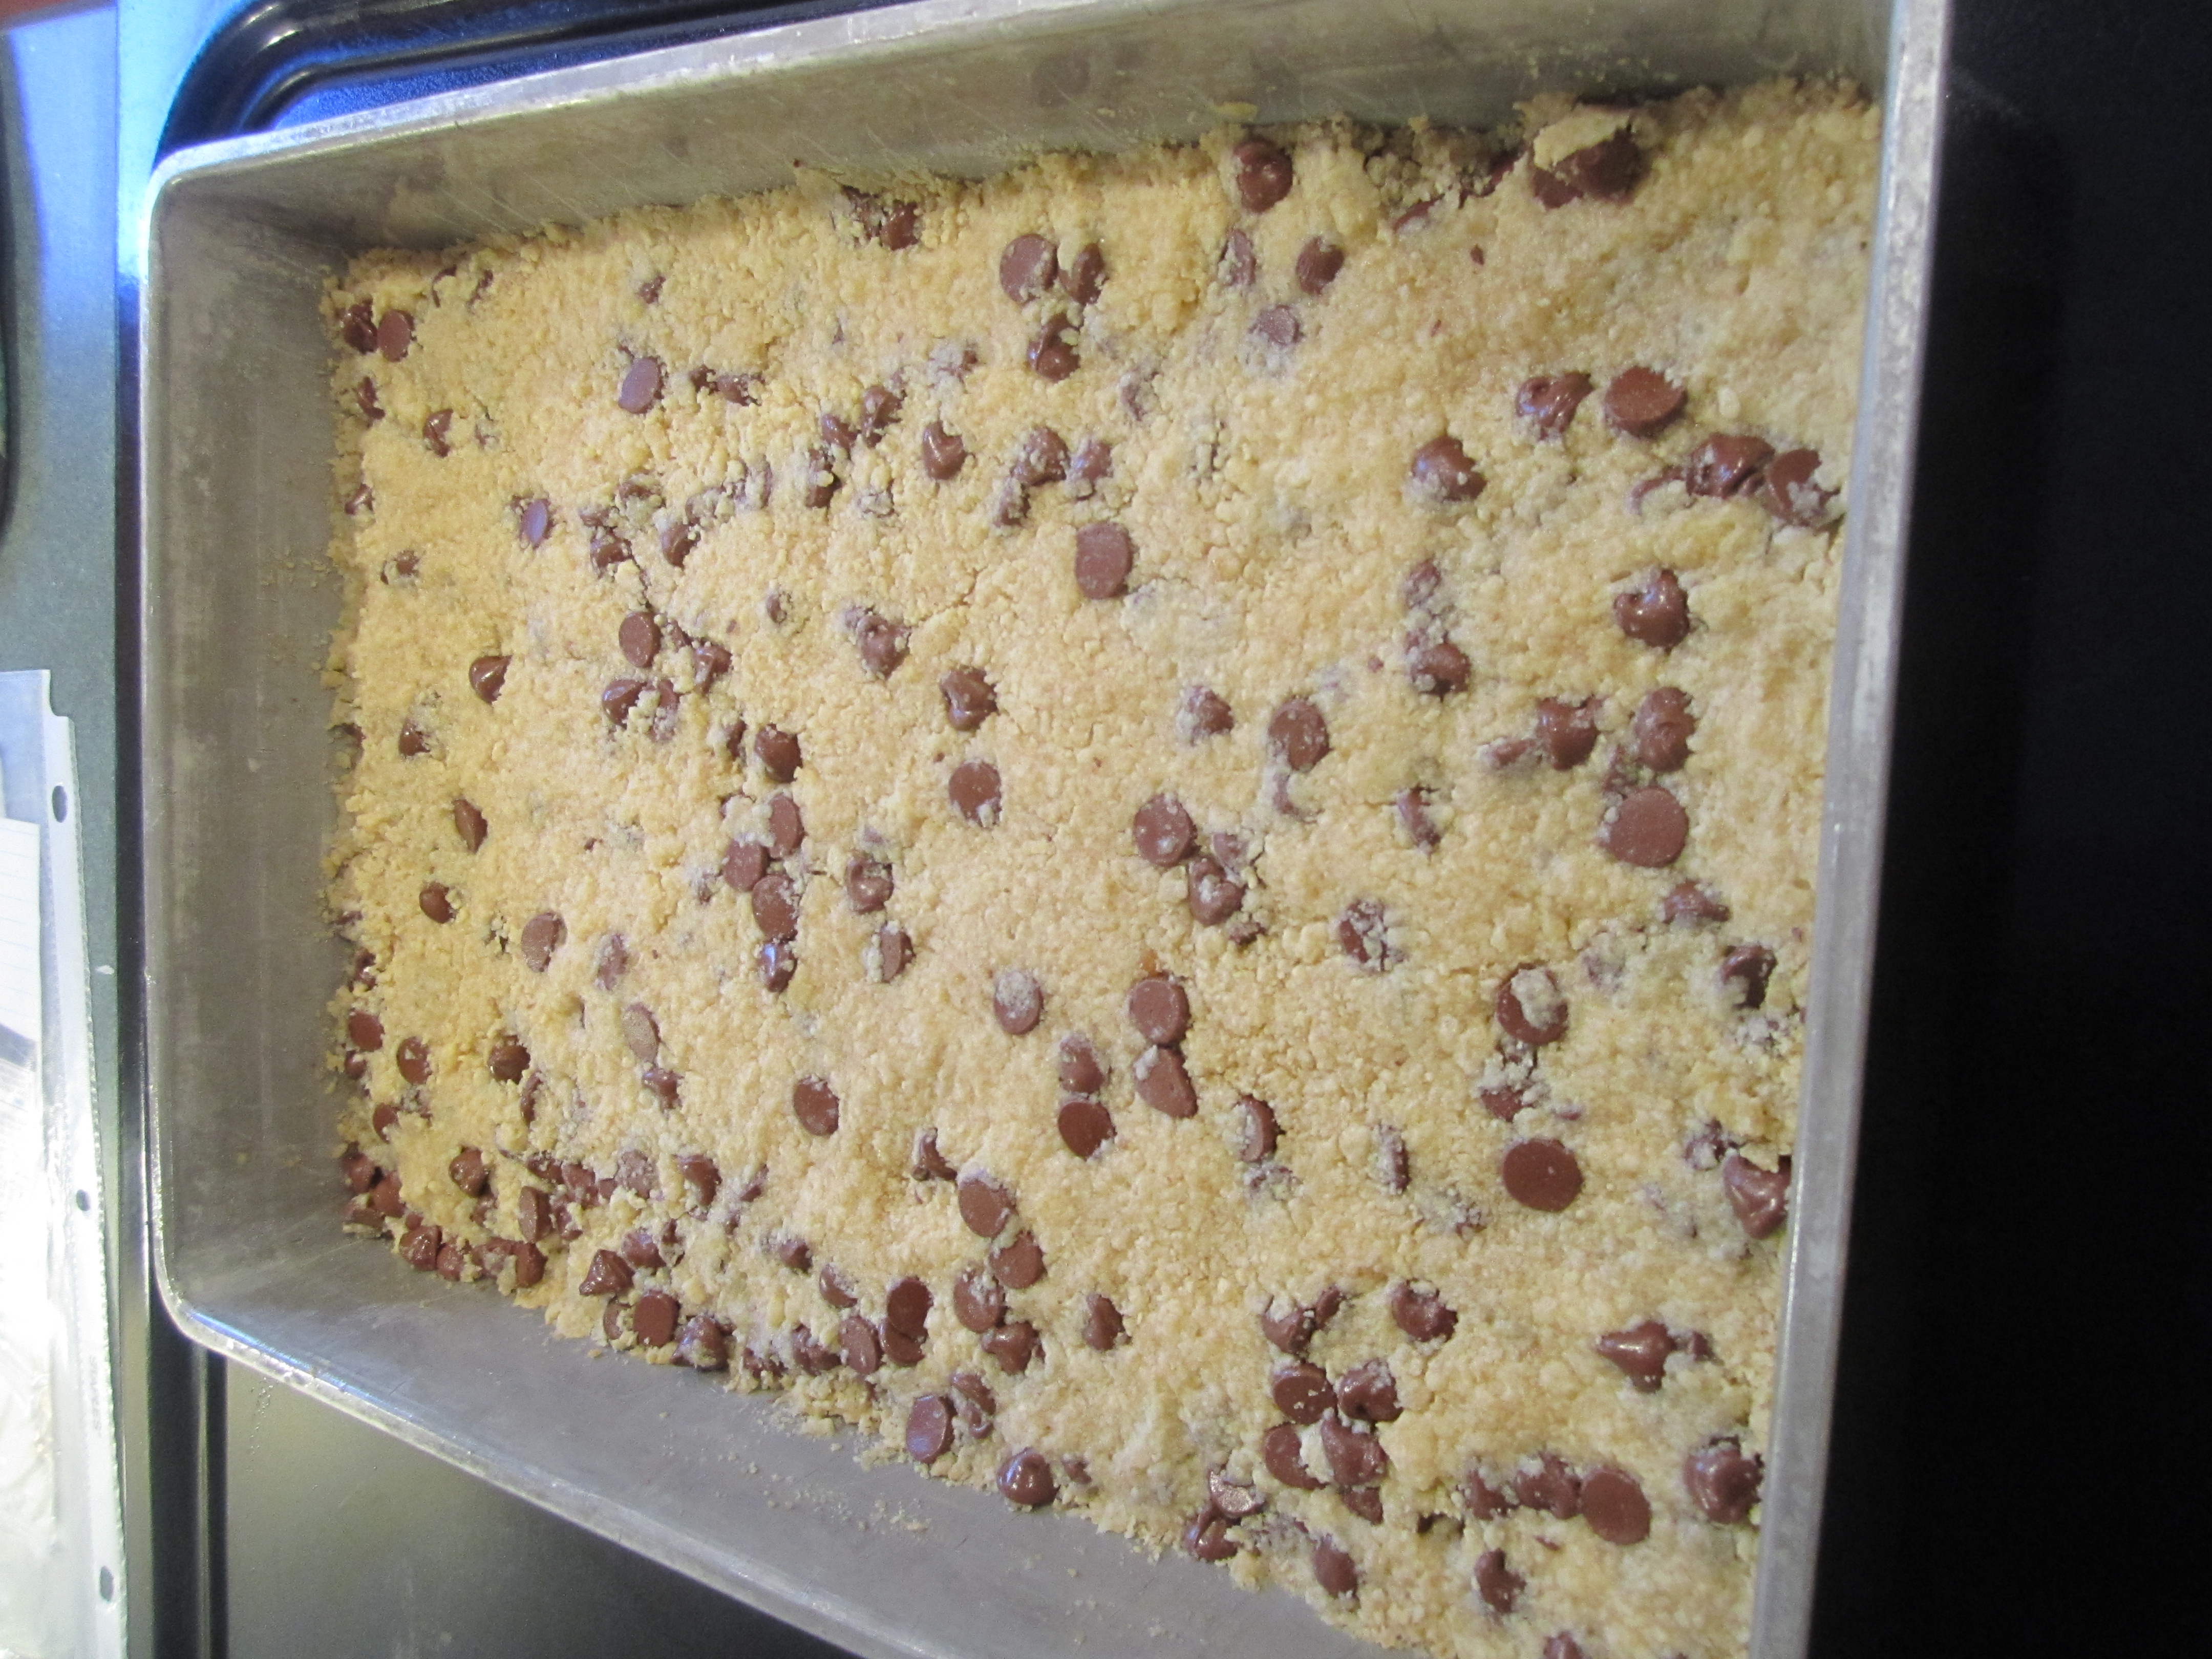
In a large bowl, place the flour, brown sugar, butter cubes and mix with beater or beaters until the mixture resembles coarse crumbs. Add egg and mix well. Add 1-1/2 cups of chocolate chips and stir until distributed evenly. Set aside 1-1/2 cups of the mixture. Press remaining crumb mixture into bottom of prepared pan. Bake for 10 minutes.
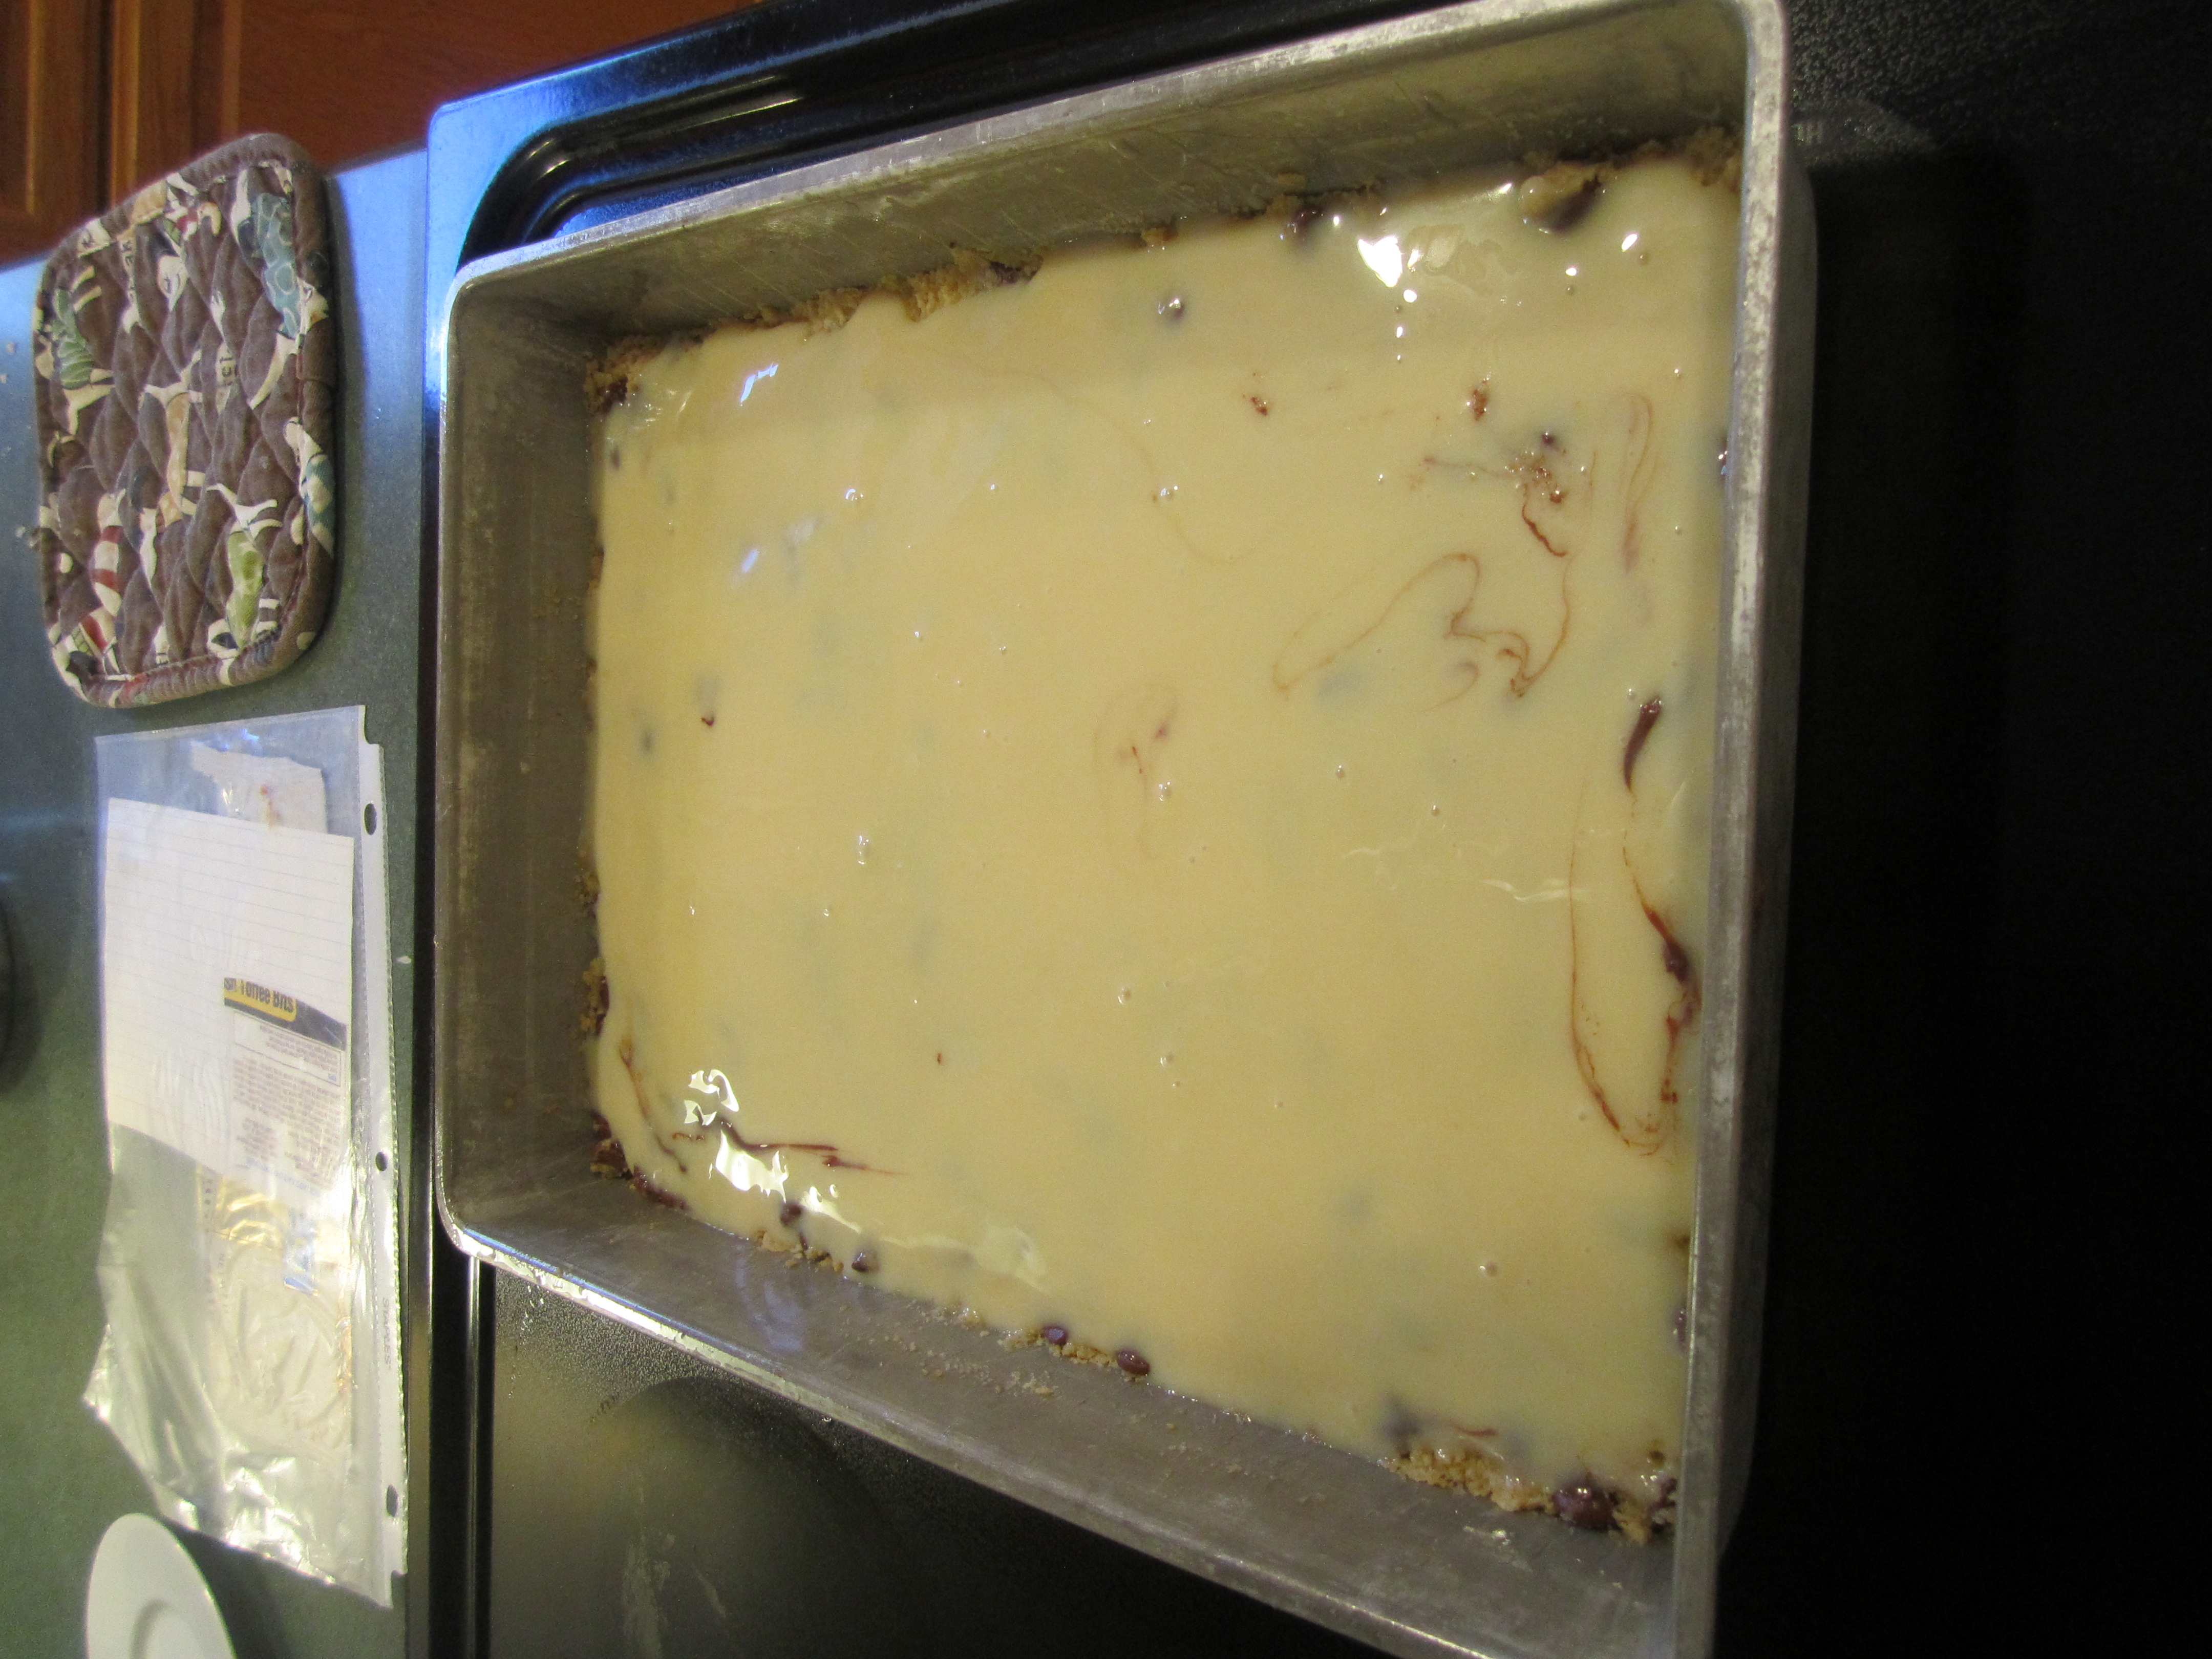
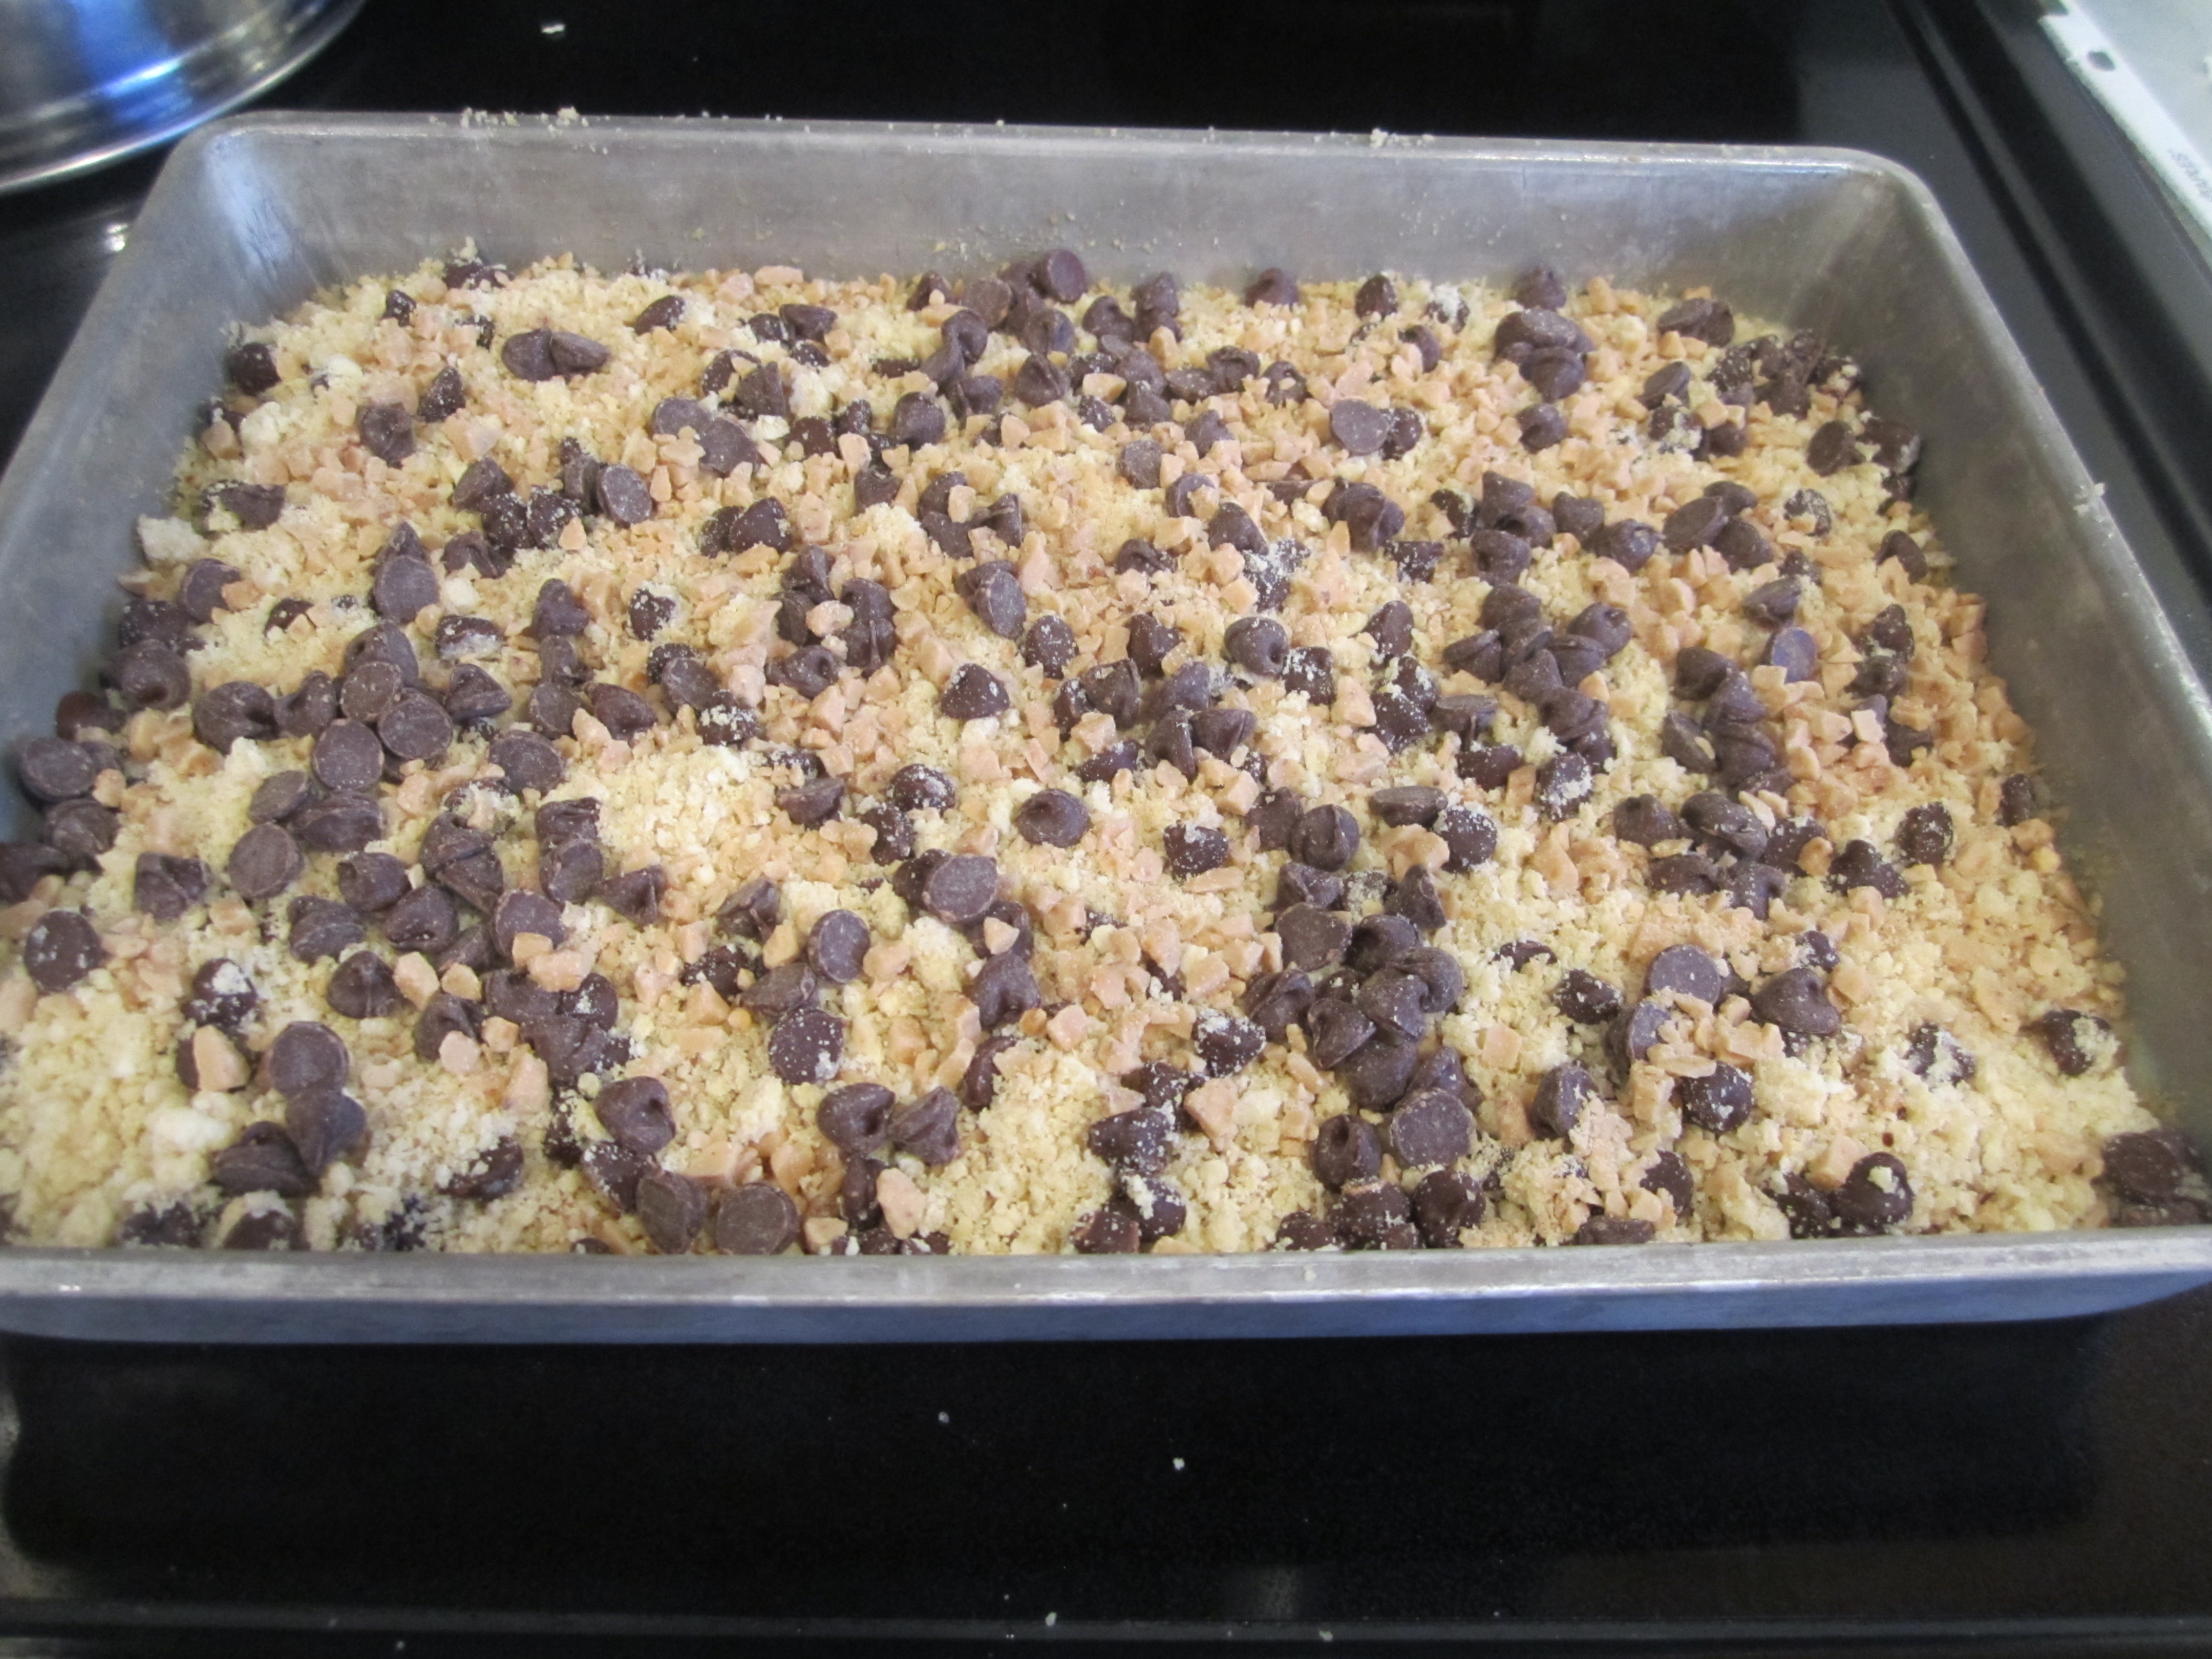
Pour sweetened condensed milk evenly over hot crust. Top evenly with 1-1/2 cups of Toffee bits. Sprinkle reserved 1-1/2 cups of crumb mixture and 1/2 cup of chocolate chips over top. Bake for 25 minutes until golden brown.
Remove from oven and sprinkle remaining 1/4 cup of Toffee Bits on top.
Cool completely and I mean completely, on a wire rack until the pan is cool to the touch. If you do not let them cool completely, they will be a complete mess to cut. Believe me I have tried this when I was in a hurry. Not worth it.
Take a dull knife and loosen the cookie all around the edge.
Invert over a cutting board.
Invert over another cutting board so the top is up.
Cut into small squares or rectangles.
crumb mixture:
chocolate chips added:

crumb mixture pressed into bottom of prepared pan:
rest of the ingredients ready to go:

crust after 10 minutes in oven:
sweetened condensed milk poured over top:
then toffee bits:

reserved crumb mixture and the rest of the chocolate chips:
out of the oven:

cooled thoroughly and ready to cut:

Berrymisu

This is a great dessert recipe that I got from Epicurious and tweaked a bit. There is no baking involved, you can make it 24 hours in advance and it’s full of fresh berries and cream: yum!
It’s an excellent dessert for a crowd, it easily serves 10. I’ve made it for parties that I have given and parties that I have been invited too.
The only item that you need that you may not have is a 10 inch Springform pan with 3 inch sides. Mine looks similar to this one: Springform Pan. If you happen to have one and it’s not exactly this size, maybe a 9 inch pan with 2-3/4 inch sides (like it says in the Epicurious recipe) or a bit smaller, no worries. The recipe is very forgiving.
Other uses for this pan, so you don’t feel that this will be a one use deal: Deb Perelman in her new book The Smitten Kitchen Cookbook (which I just received as a Christmas present from my daughter, I highly recommend it!) makes an awesome Deep Dish Apple Pie (she also writes the best food blog, Smitten Kitchen) cheesecake is another use, Chocolate Flourless Cake, Aunt Kitty’s Raspberry Dessert, deep dish pizza…..
Berrymisu (adapted from Epicurious Mixed Berry Tiramisu)
*1, 12 ounce package unsweetened frozen mixed berries
6 tablespoons of sugar
1, 12 ounce package of frozen raspberries
2 tablespoons sugar
2 tablespoons water
1/4 cup raspberry liqueur
3, 3 ounce packages of Ladyfingers (the soft cakey kind)
2, 8 ounce containers mascarpone cheese, softened
6 tablespoons sugar
2 teaspoons pure vanilla extract
1, 8 ounce container of heavy cream
1, 1 pint basket strawberries
2, 1/2 pint baskets raspberries
1, 1/2 pint basket blueberries
1, 1/2 pint basket black raspberries
*( Trader Joe’s sells frozen mixed berries of Raspberries, Black Raspberries and Blueberries. If this is not convenient, then get 2, 12 ounce packages of frozen mixed berries which usually contain strawberries as well, and take out the strawberries for another use, and measure out 12 ounces of frozen raspberries, black raspberries and blueberries)
Put the frozen mixed berries and 6 tablespoons of sugar in a medium saucepan over medium heat and cook, stirring frequently for about 15 minutes, until it reduces and looks like jam. You should have about 1 cup when you are finished. Put jam in glass measuring cup and let cool.
Put the frozen raspberries, 2 tablespoon of sugar and 2 tablespoons of water in a medium glass bowl or dish. Microwave on high for 1 minute. Take out and stir. Microwave again on high for another minute. Take out and stir. It should be soft and thawed. Put raspberries in a sieve over a bowl. Very gently press on solids to get juice from raspberries. Discard solids. Add raspberry liqueur to raspberry juice, stir and set aside into a square or rectangular glass dish. At this point, you can put both the jam and raspberry juice in the refrigerator and continue with the recipe later in the day or the next day. Or continue with the recipe now.
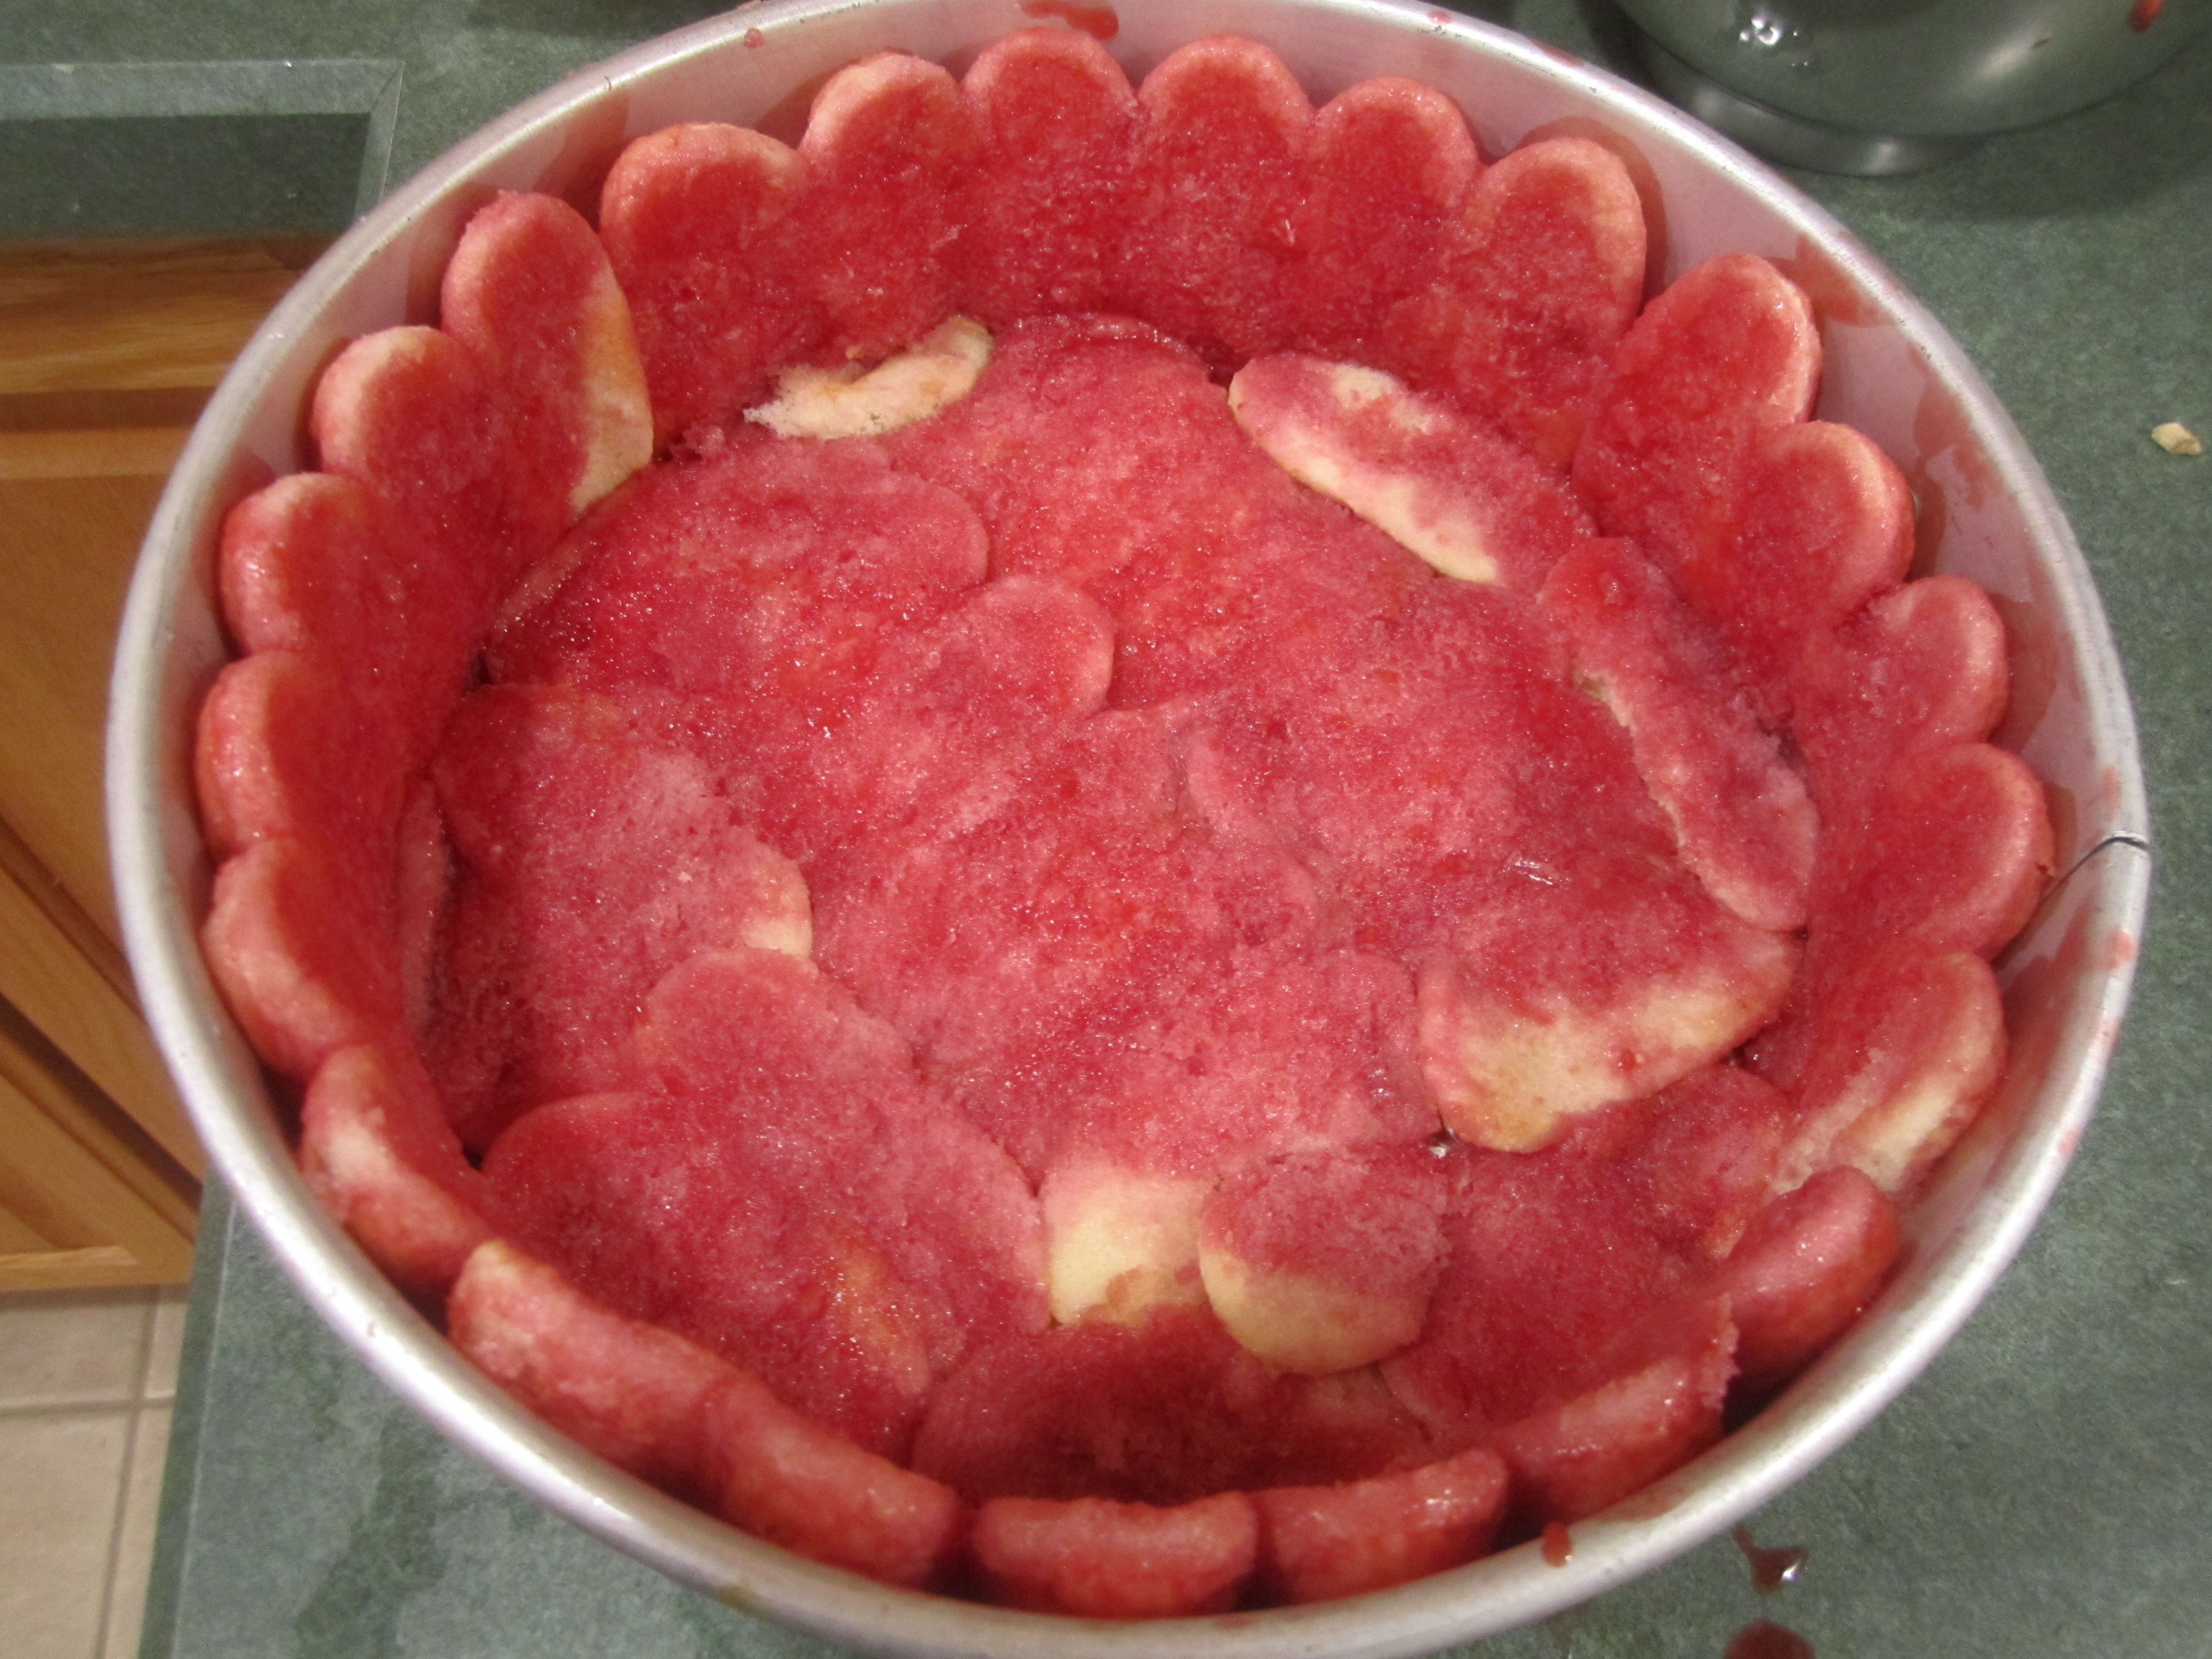
Set up your springform pan, making sure the bottom is securely in place. Unwrap your ladyfingers. Take a section of ladyfingers and dip them quickly in the juice and place on the side of the springform pan, with the flat side facing out. Continue this way until the edges are wrapped in raspberry juiced ladyfingers. Continue in the same manner with the bottom of the springform pan, covering the bottom completely. This may mean tearing up some ladyfingers to fit and squishing them in to form a pretty solid bottom of ladyfingers.
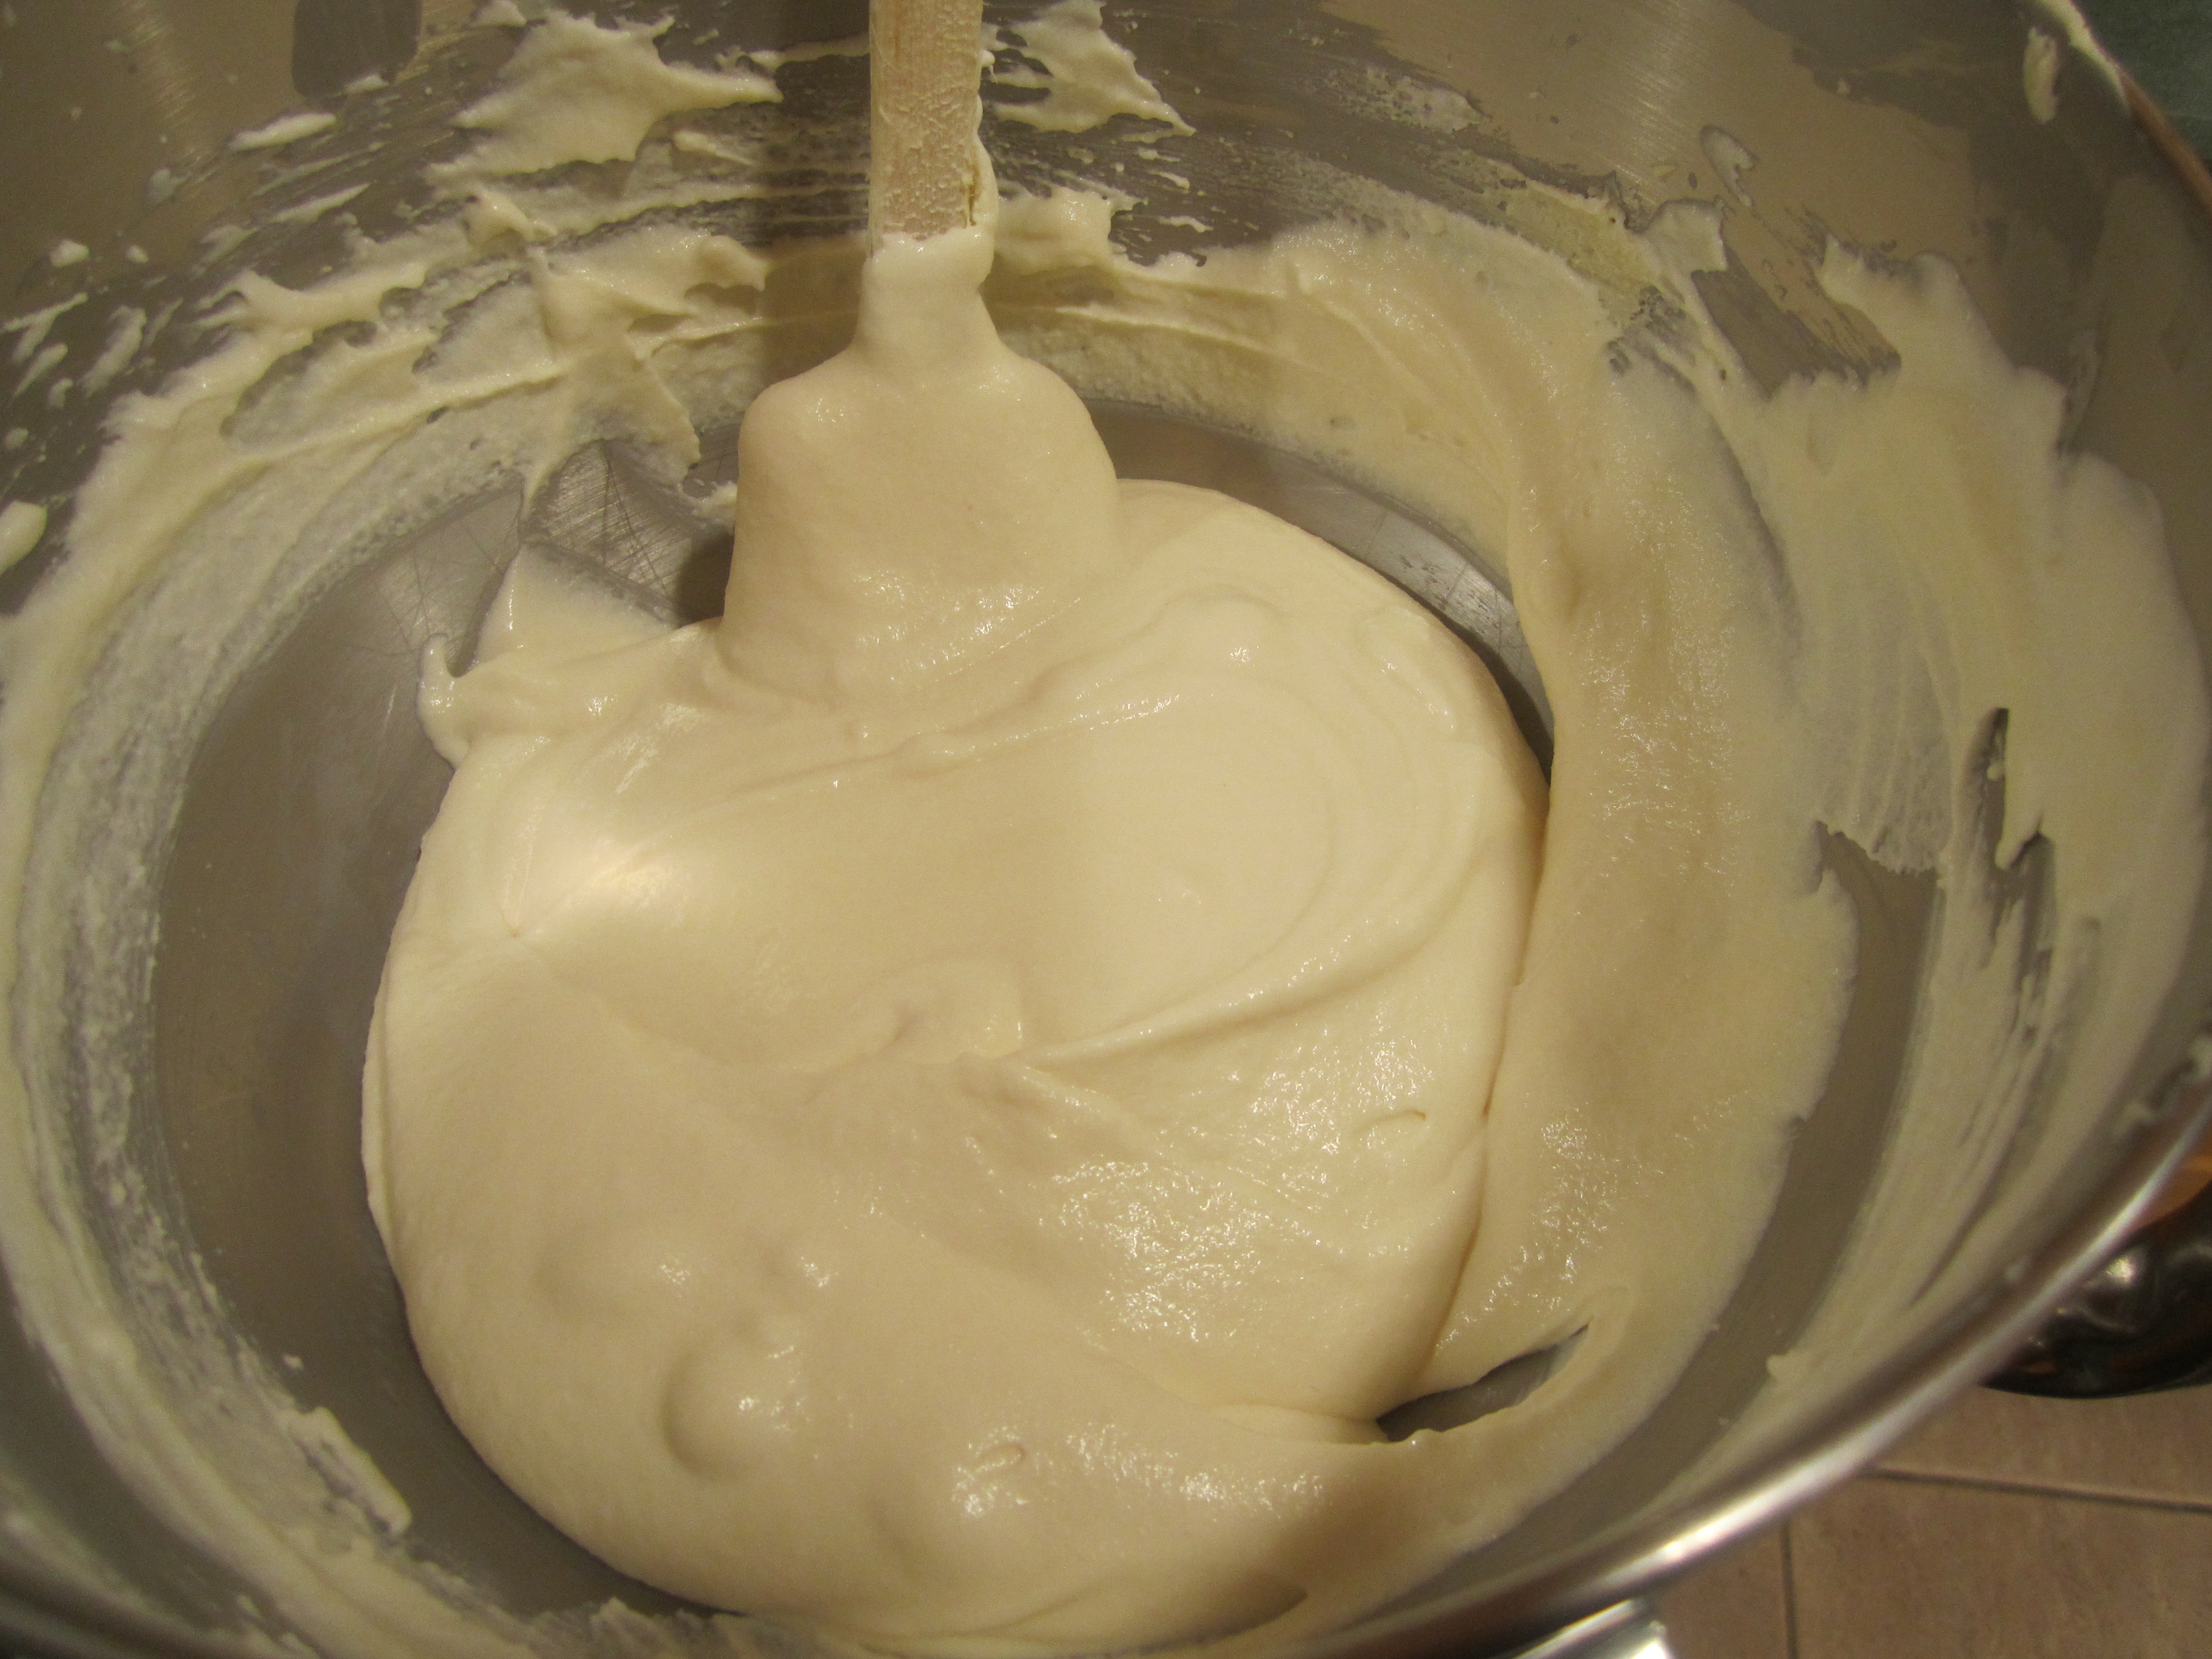
Put the mascarpone cheese in a medium bowl. Add the vanilla and 6 tablespoons of sugar and beat with a mixer until soft. Put the heavy cream in another bowl and beat with a mixer until soft peaks form. Combine the mascarpone mixture with the whipped heavy cream, folding and gently stirring together. Set aside.
Thinly slice the strawberries to measure 1 cup and set aside.
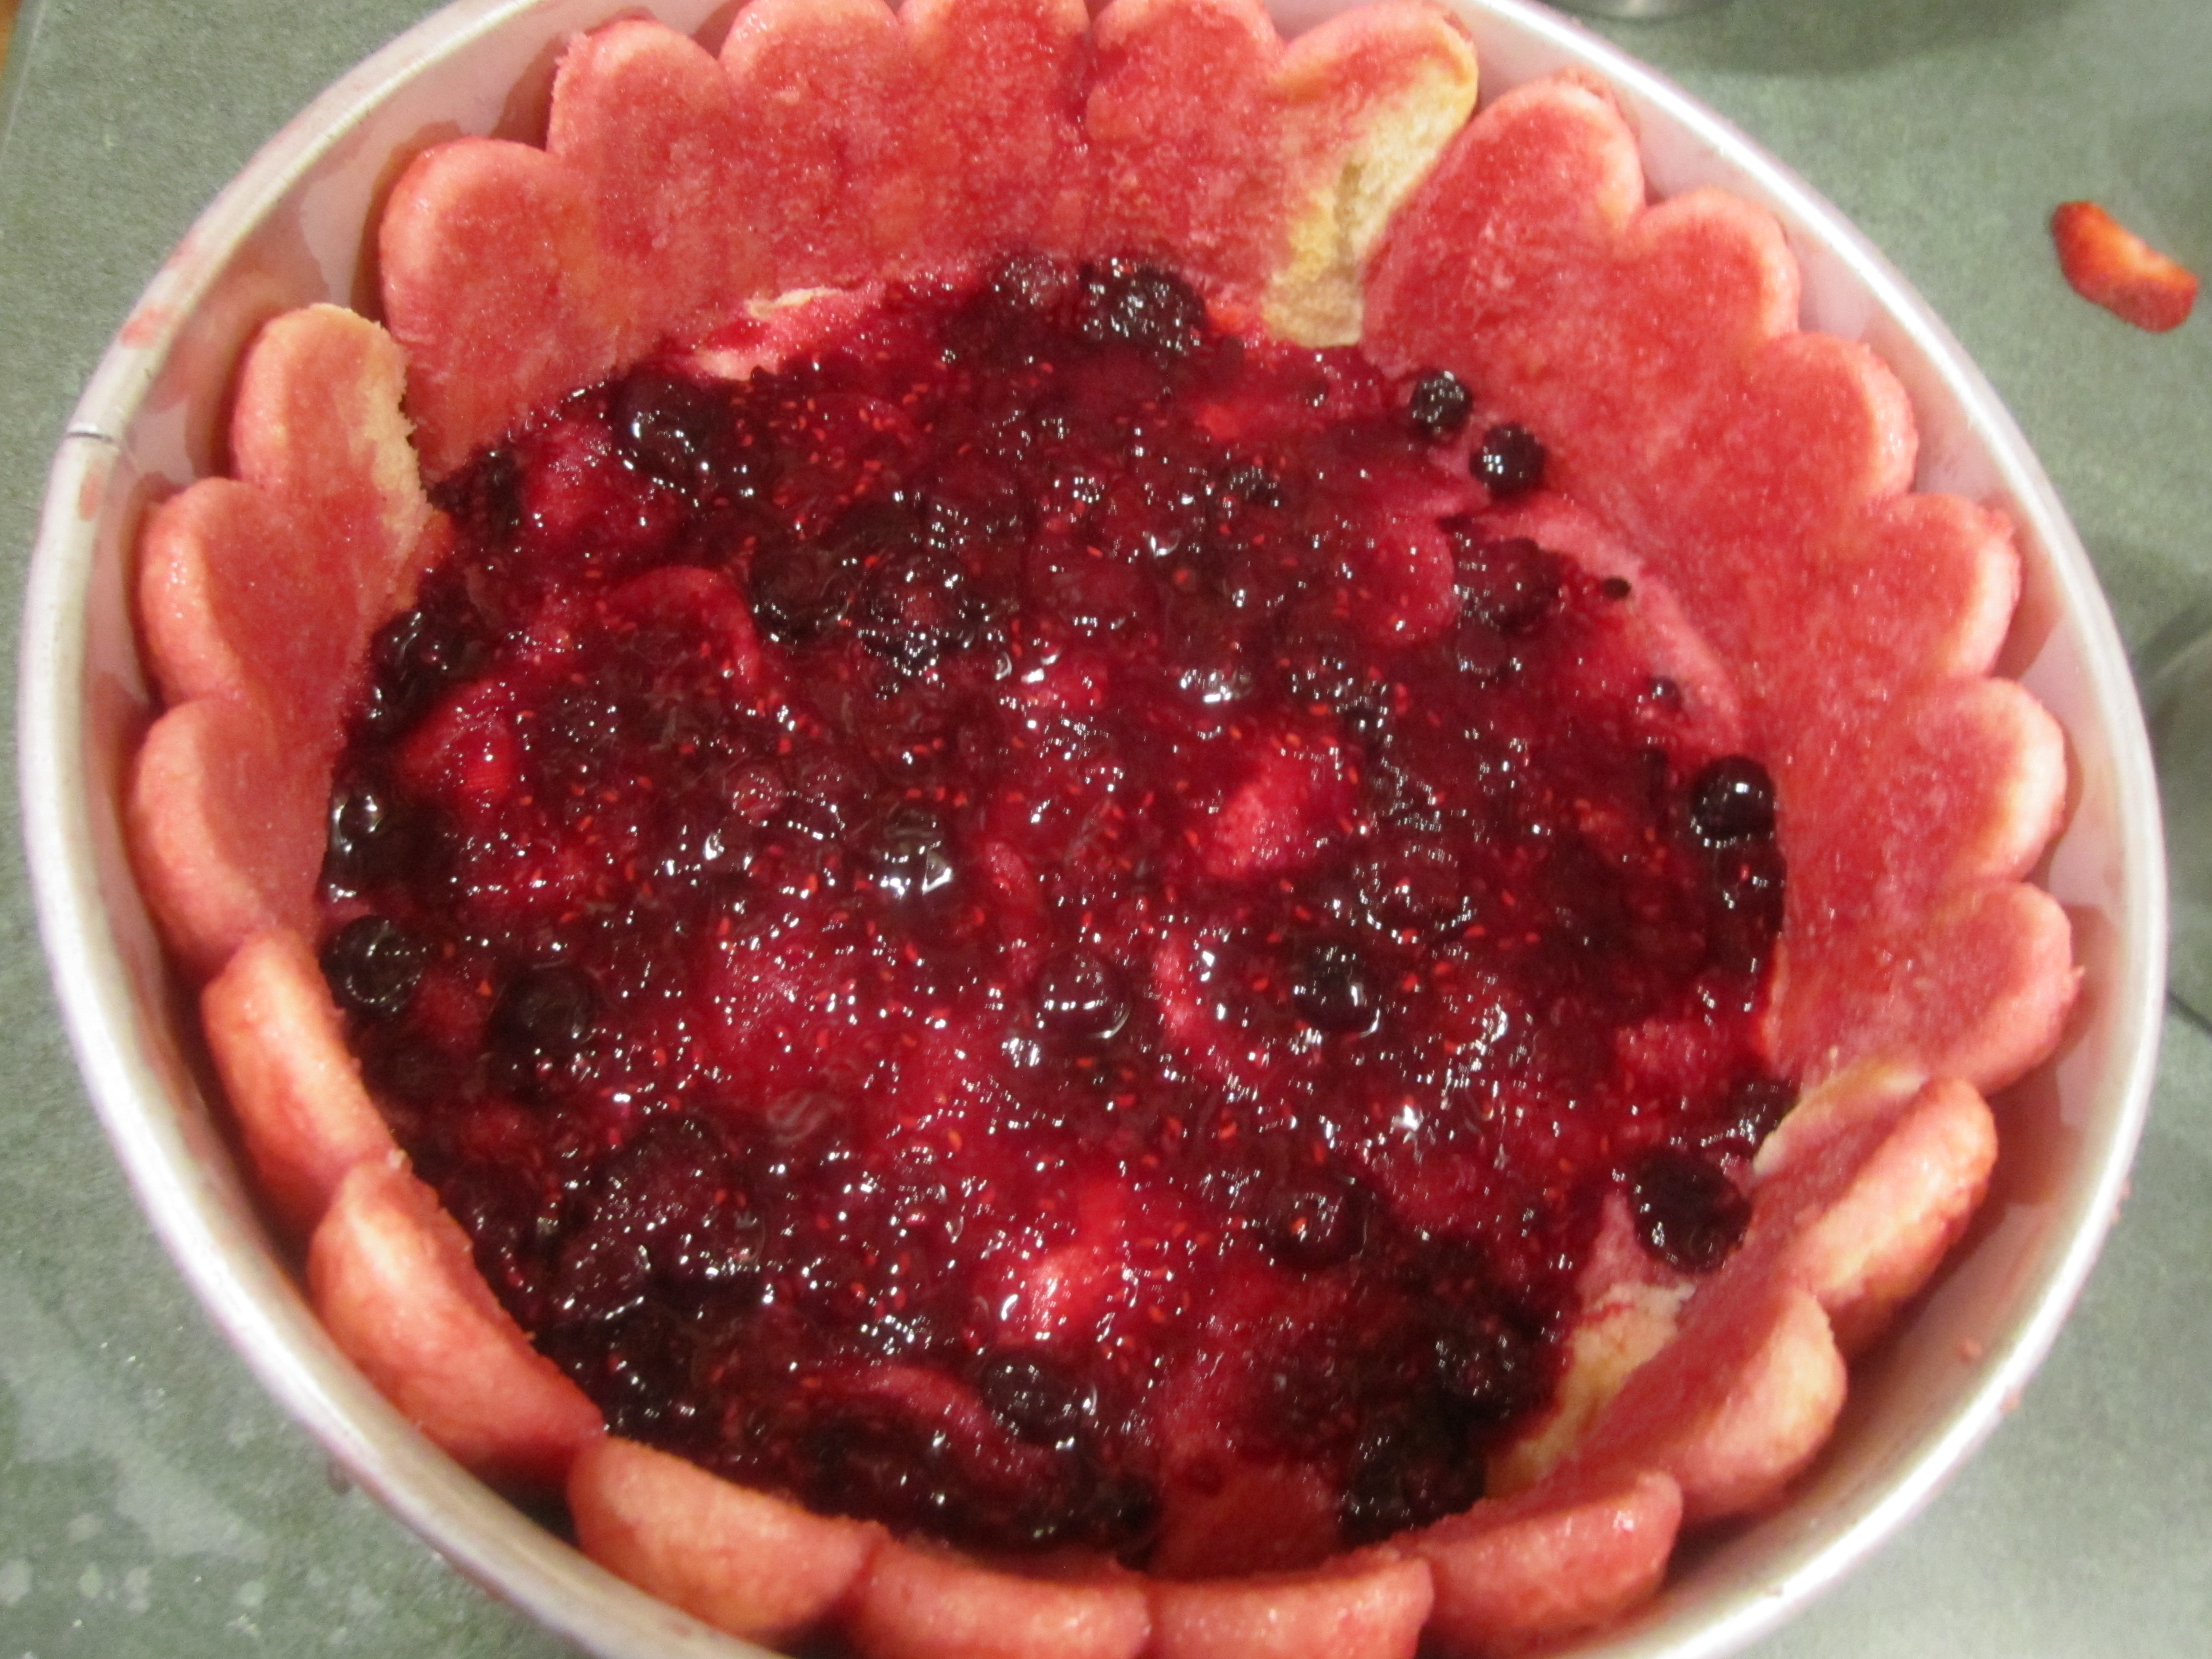
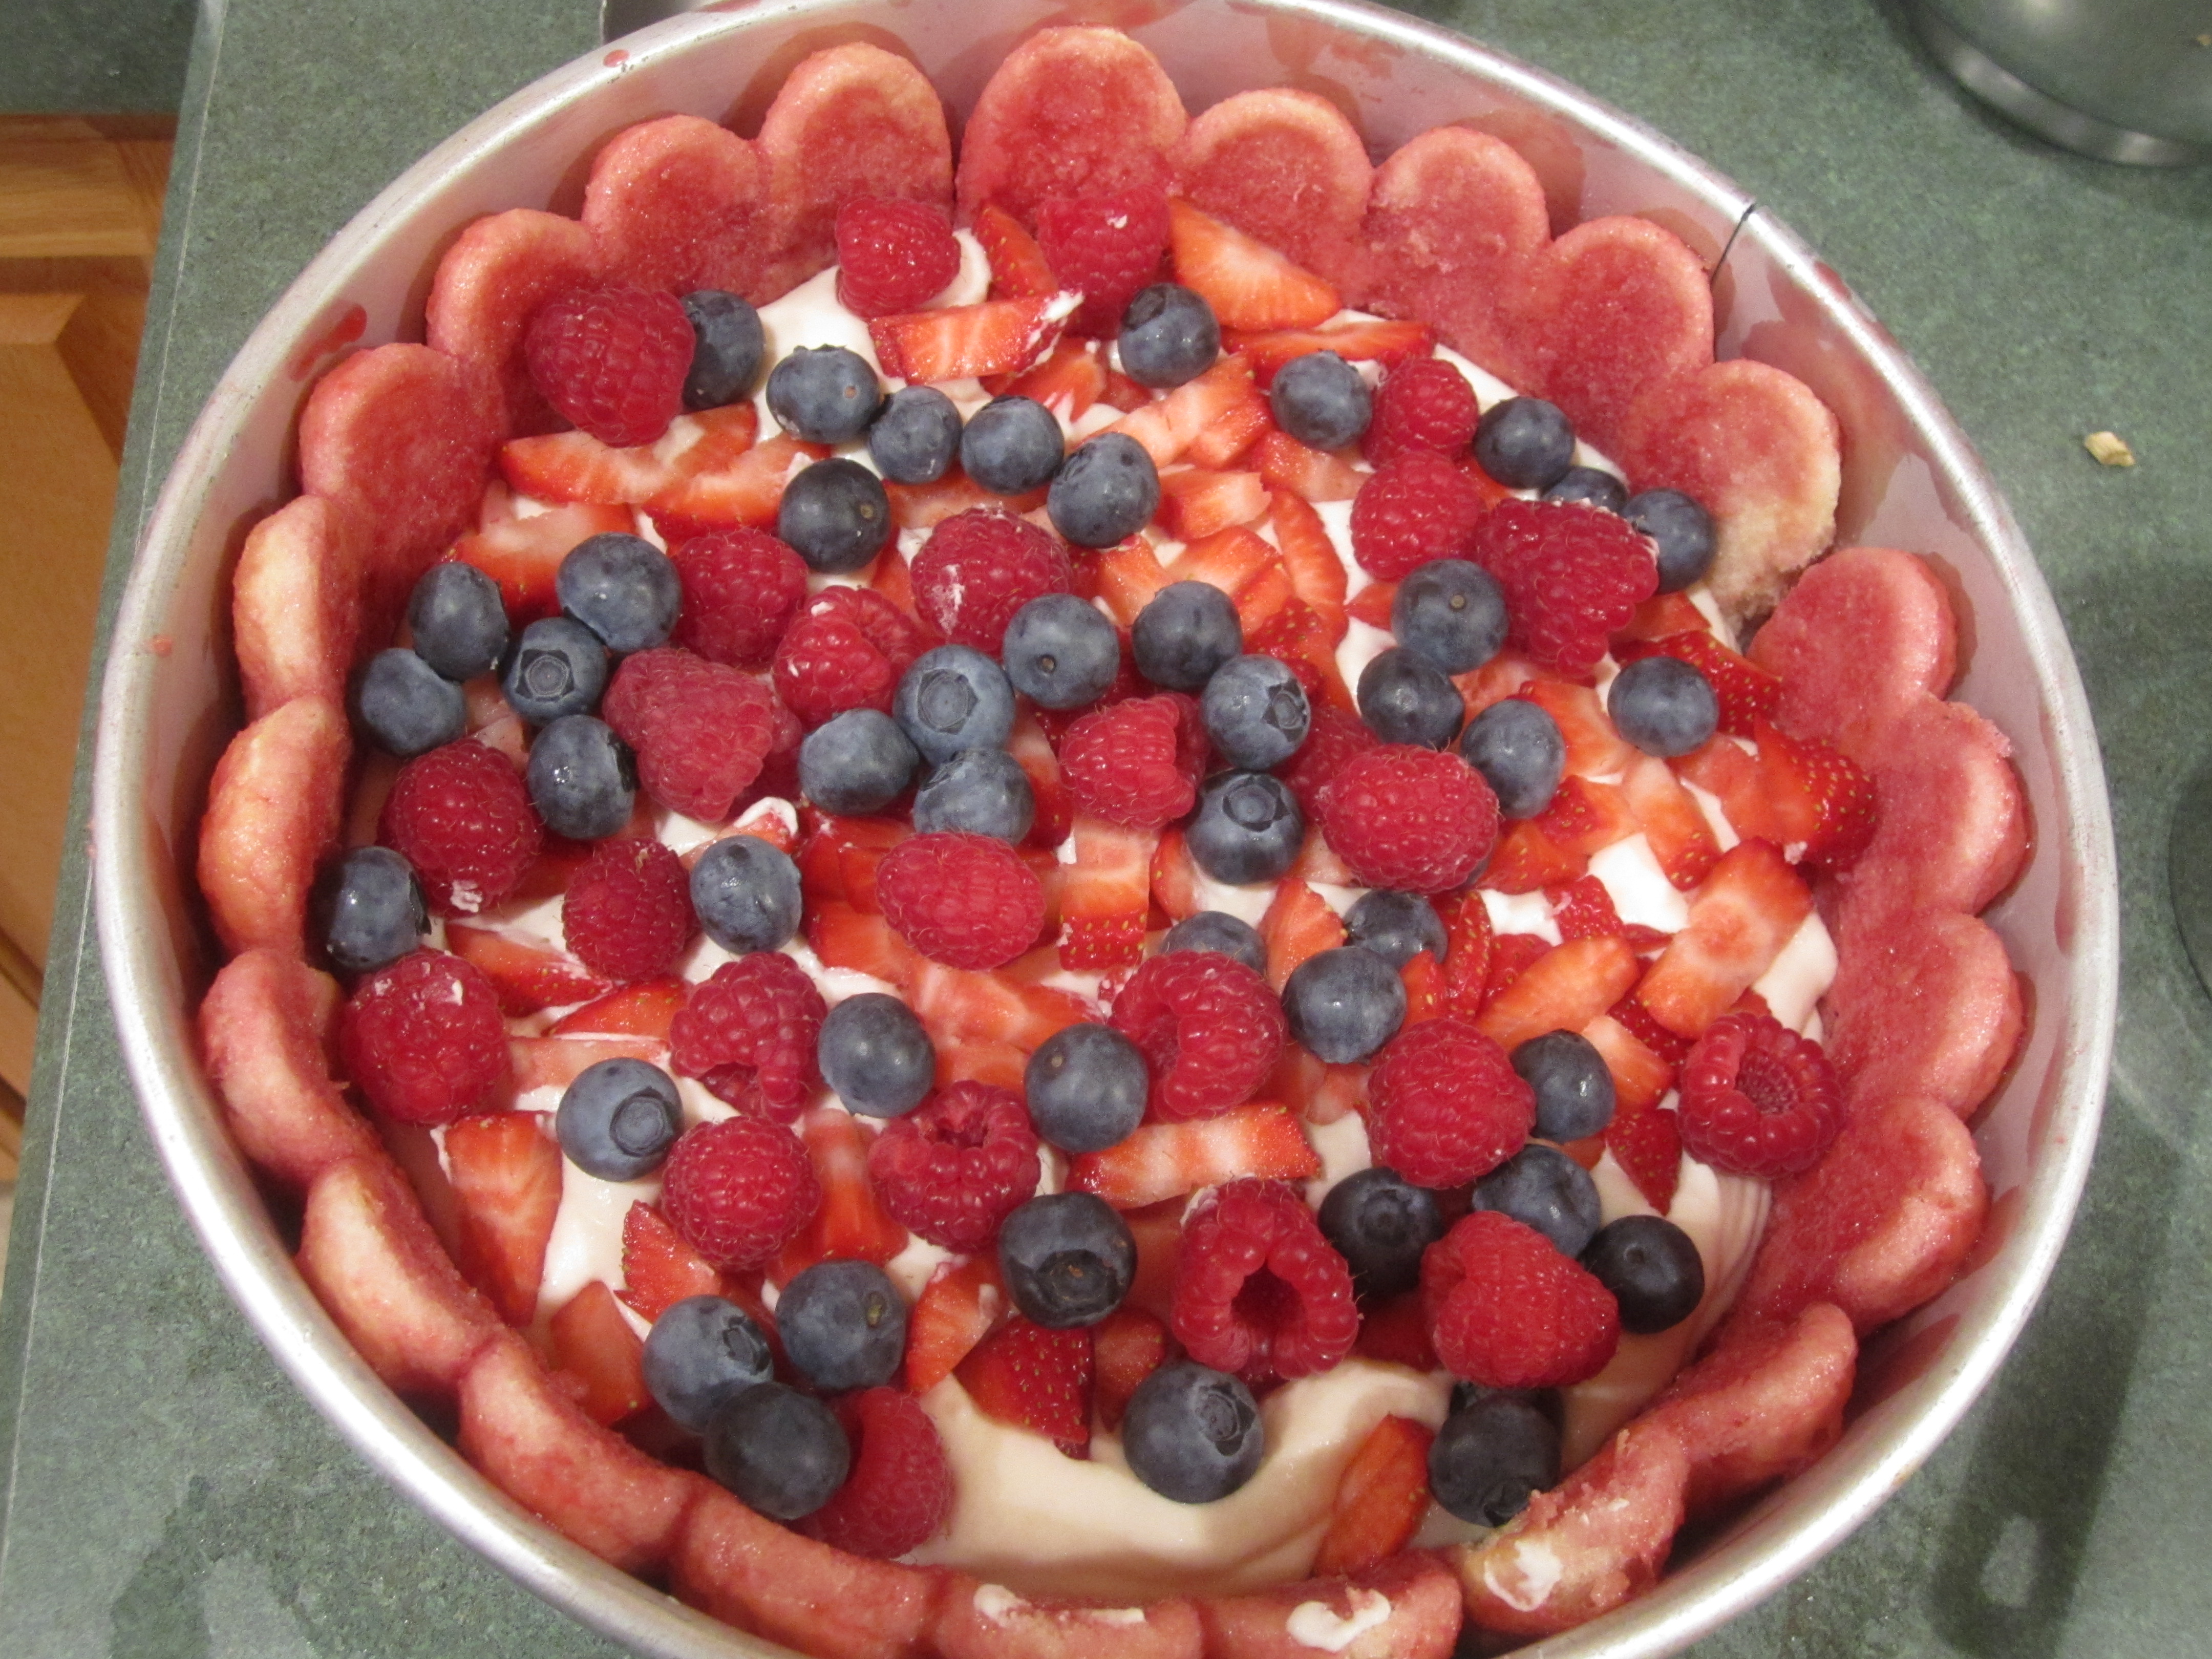
Gently spread half the jam mixture over the ladyfingers in bottom of springform pan. Spoon half the mascarpone/heavy cream mixture over and smooth the top. Sprinkle with the sliced strawberries, 1/2 of the fresh raspberries and 1/2 of the fresh blueberries. Dip more ladyfingers into the juice and arrange over the fruit in the pan, covering completely.
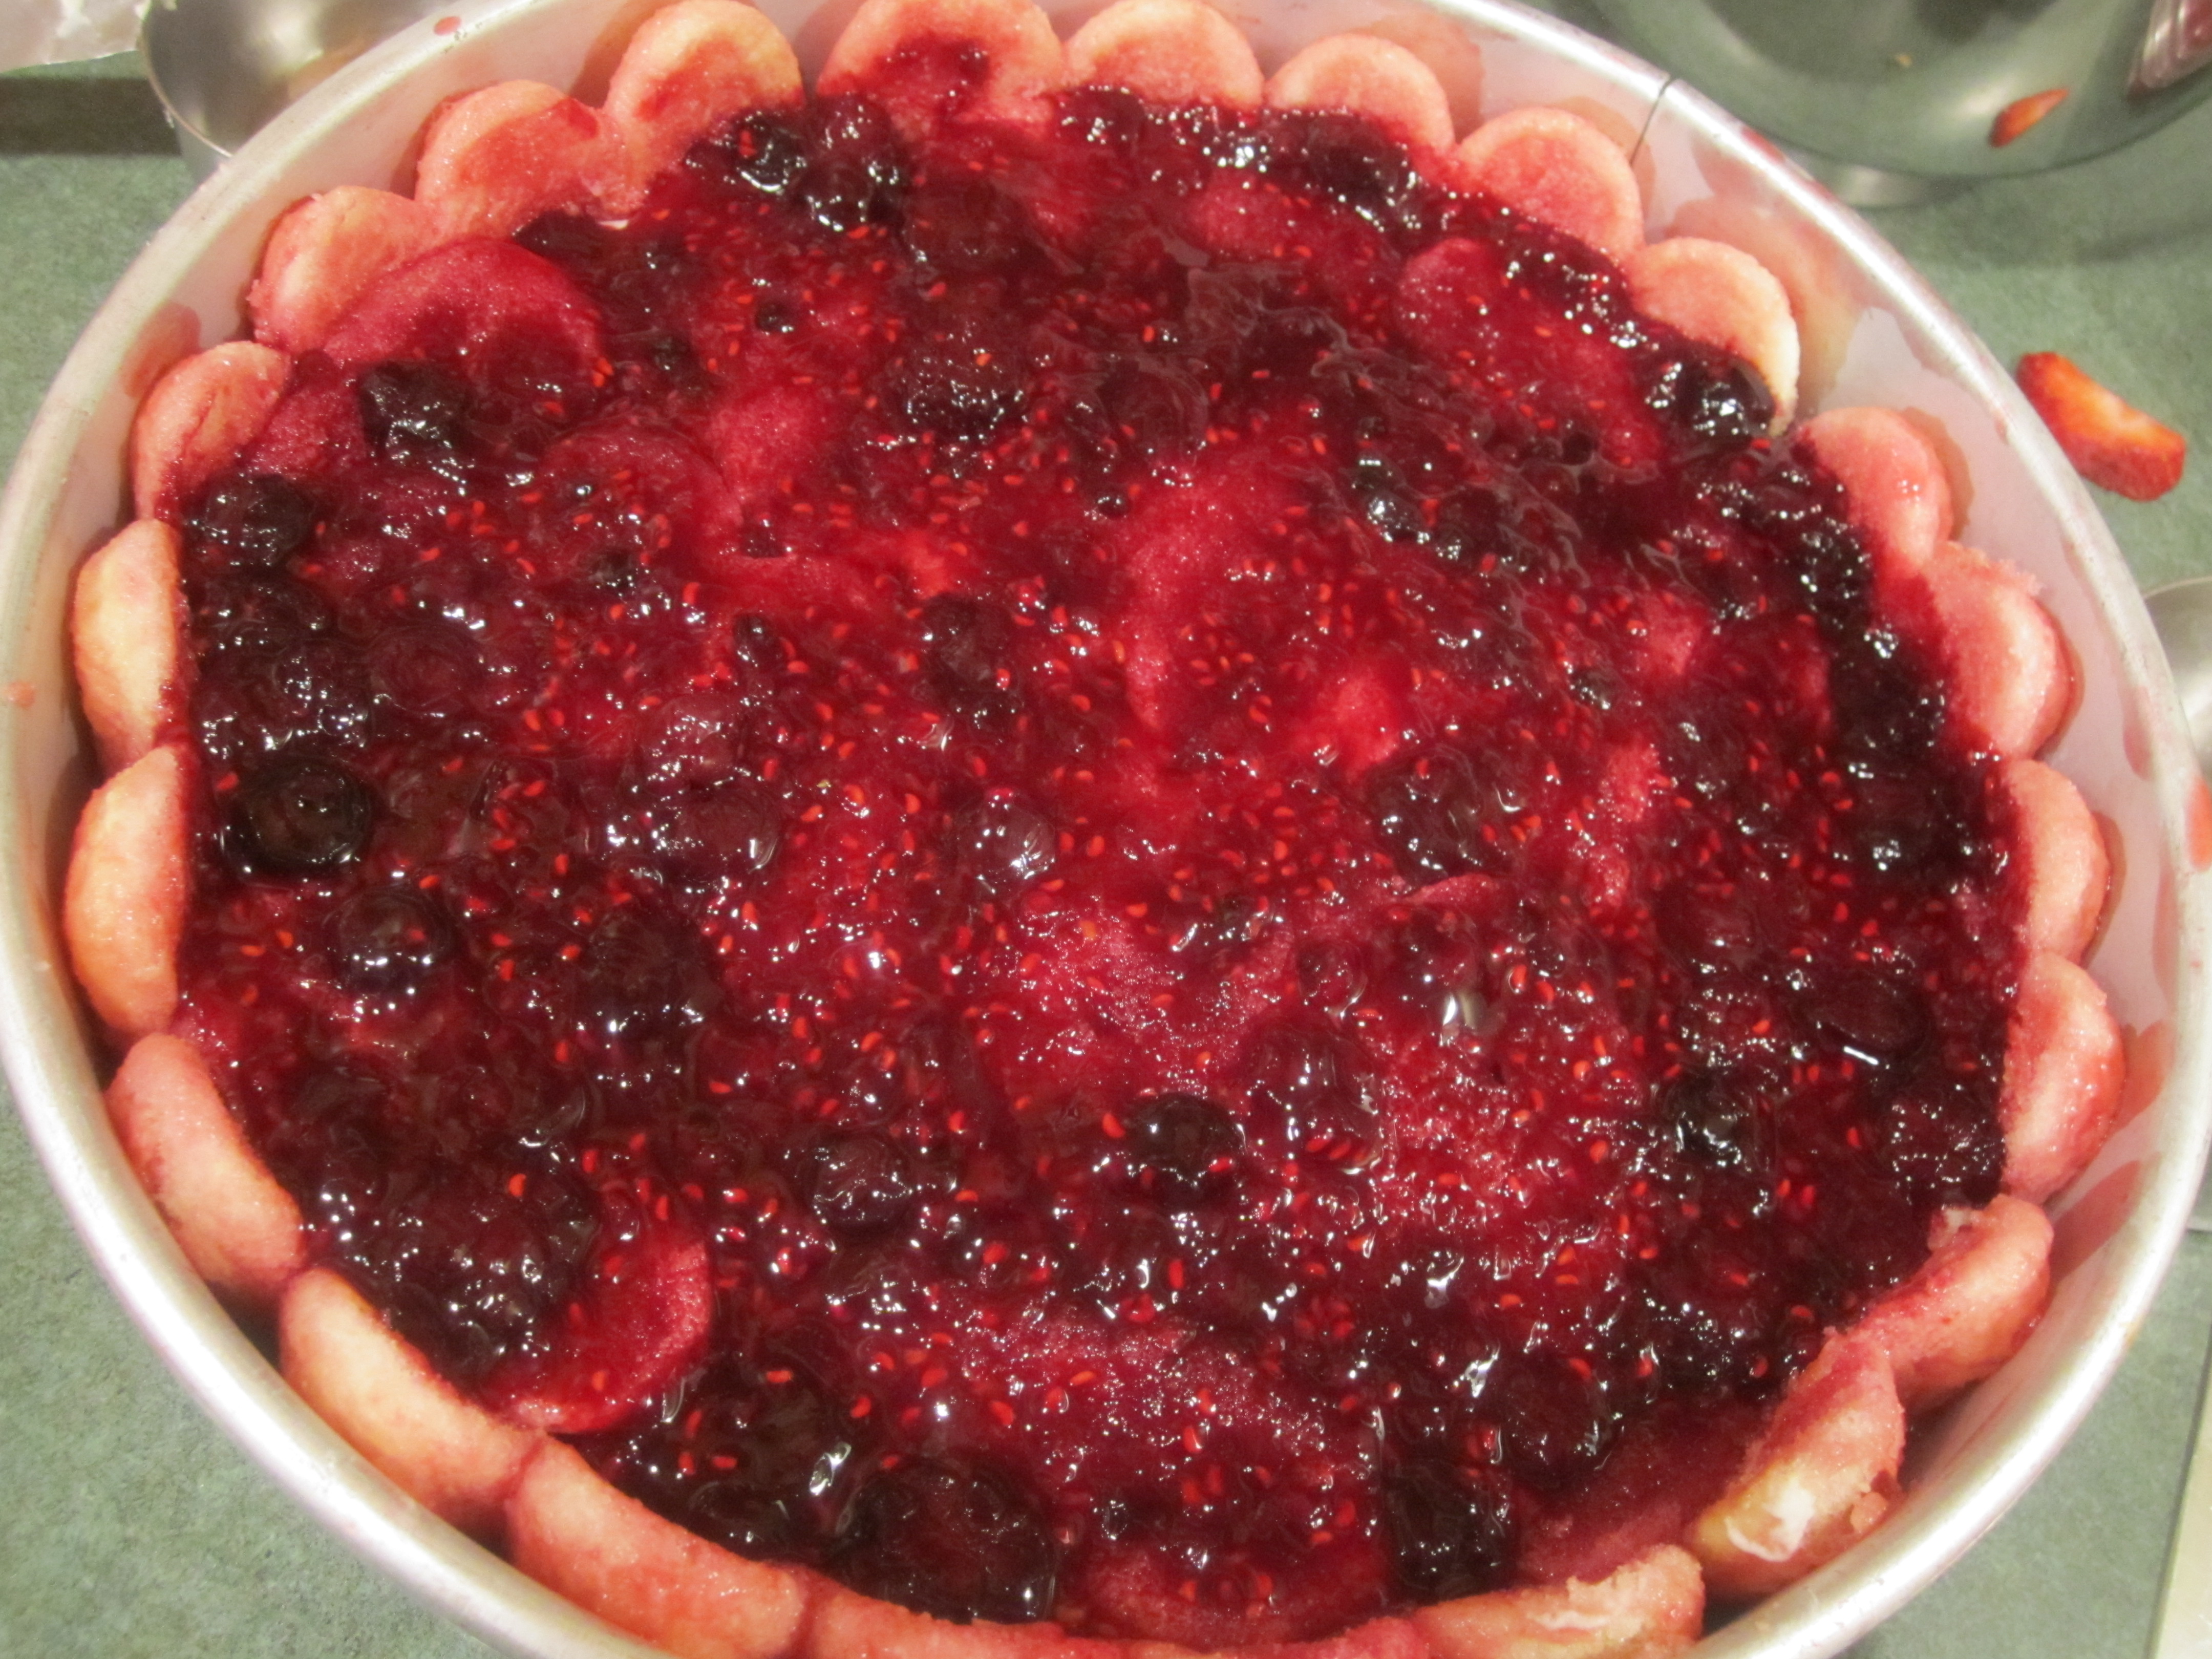
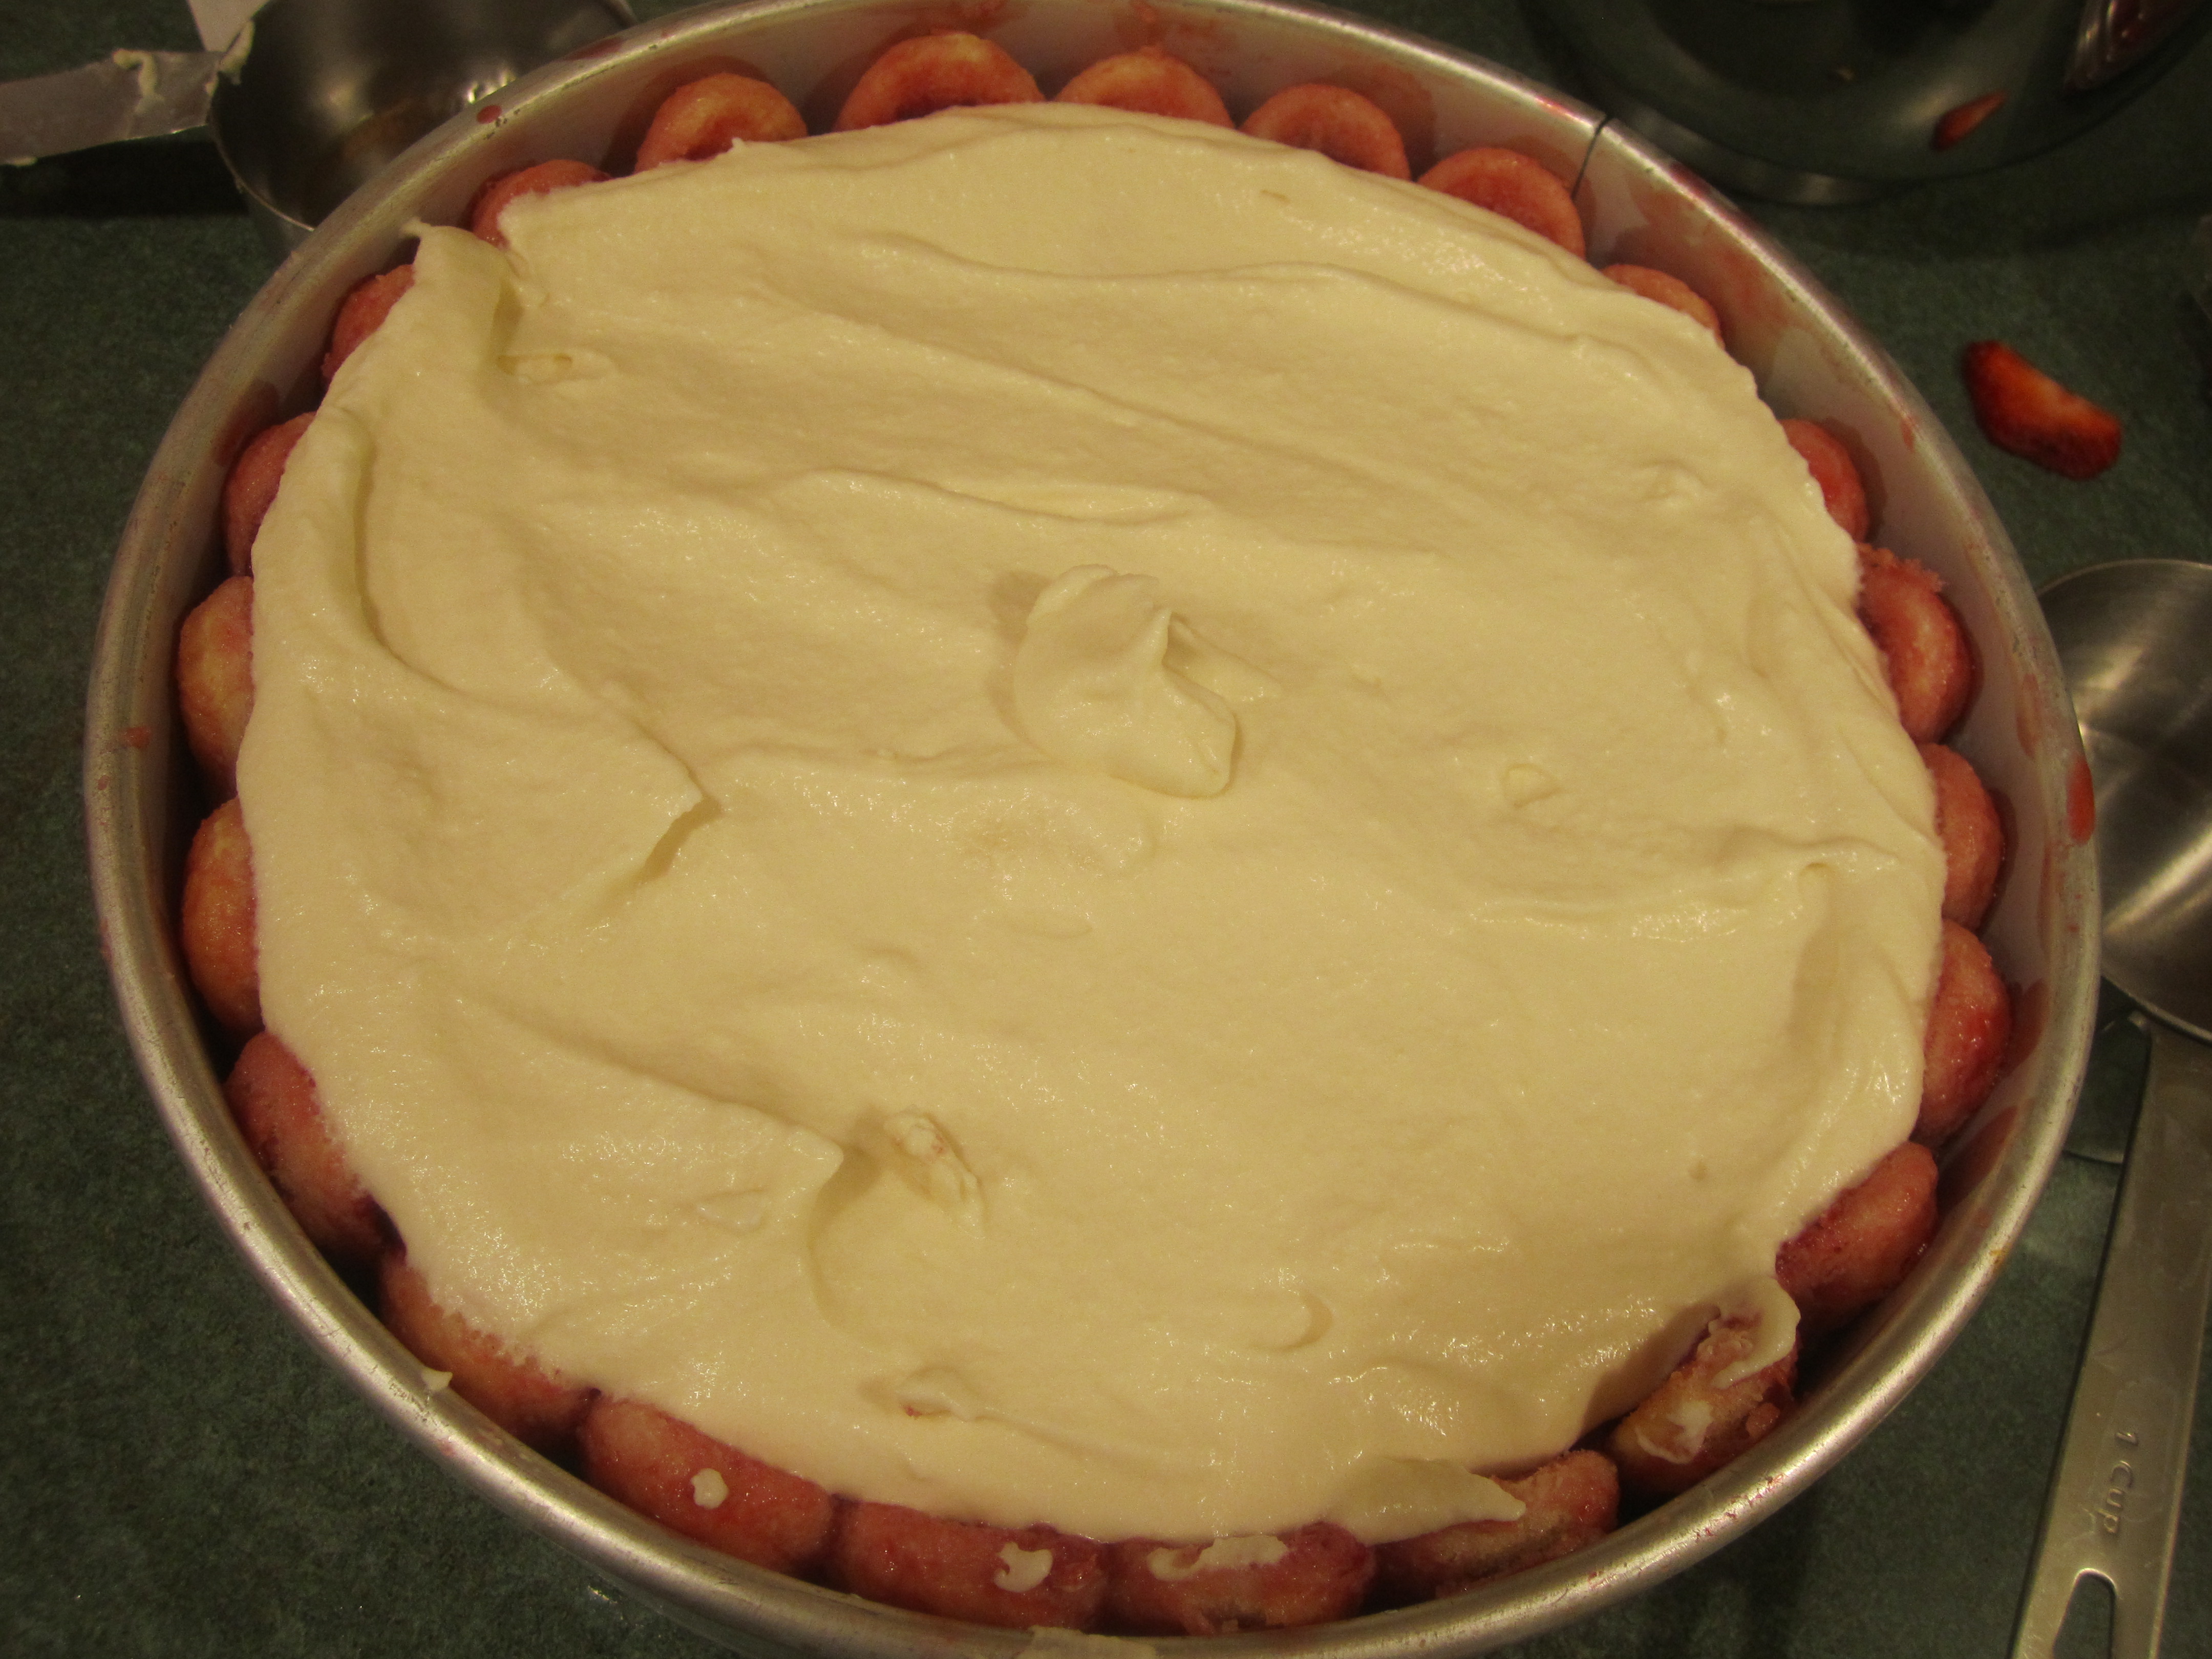
Gently spread remaining jam mixture over ladyfingers. Spoon remaining mascarpone/heavy cream mixture over and smooth top. If you are serving the dessert that night, finish the dessert by placing the rest of the fresh raspberries, blueberries and all the black raspberries on top of the cream mixture. If you are serving this the next day, then wait until the next day to finish the dessert with the fresh berries.
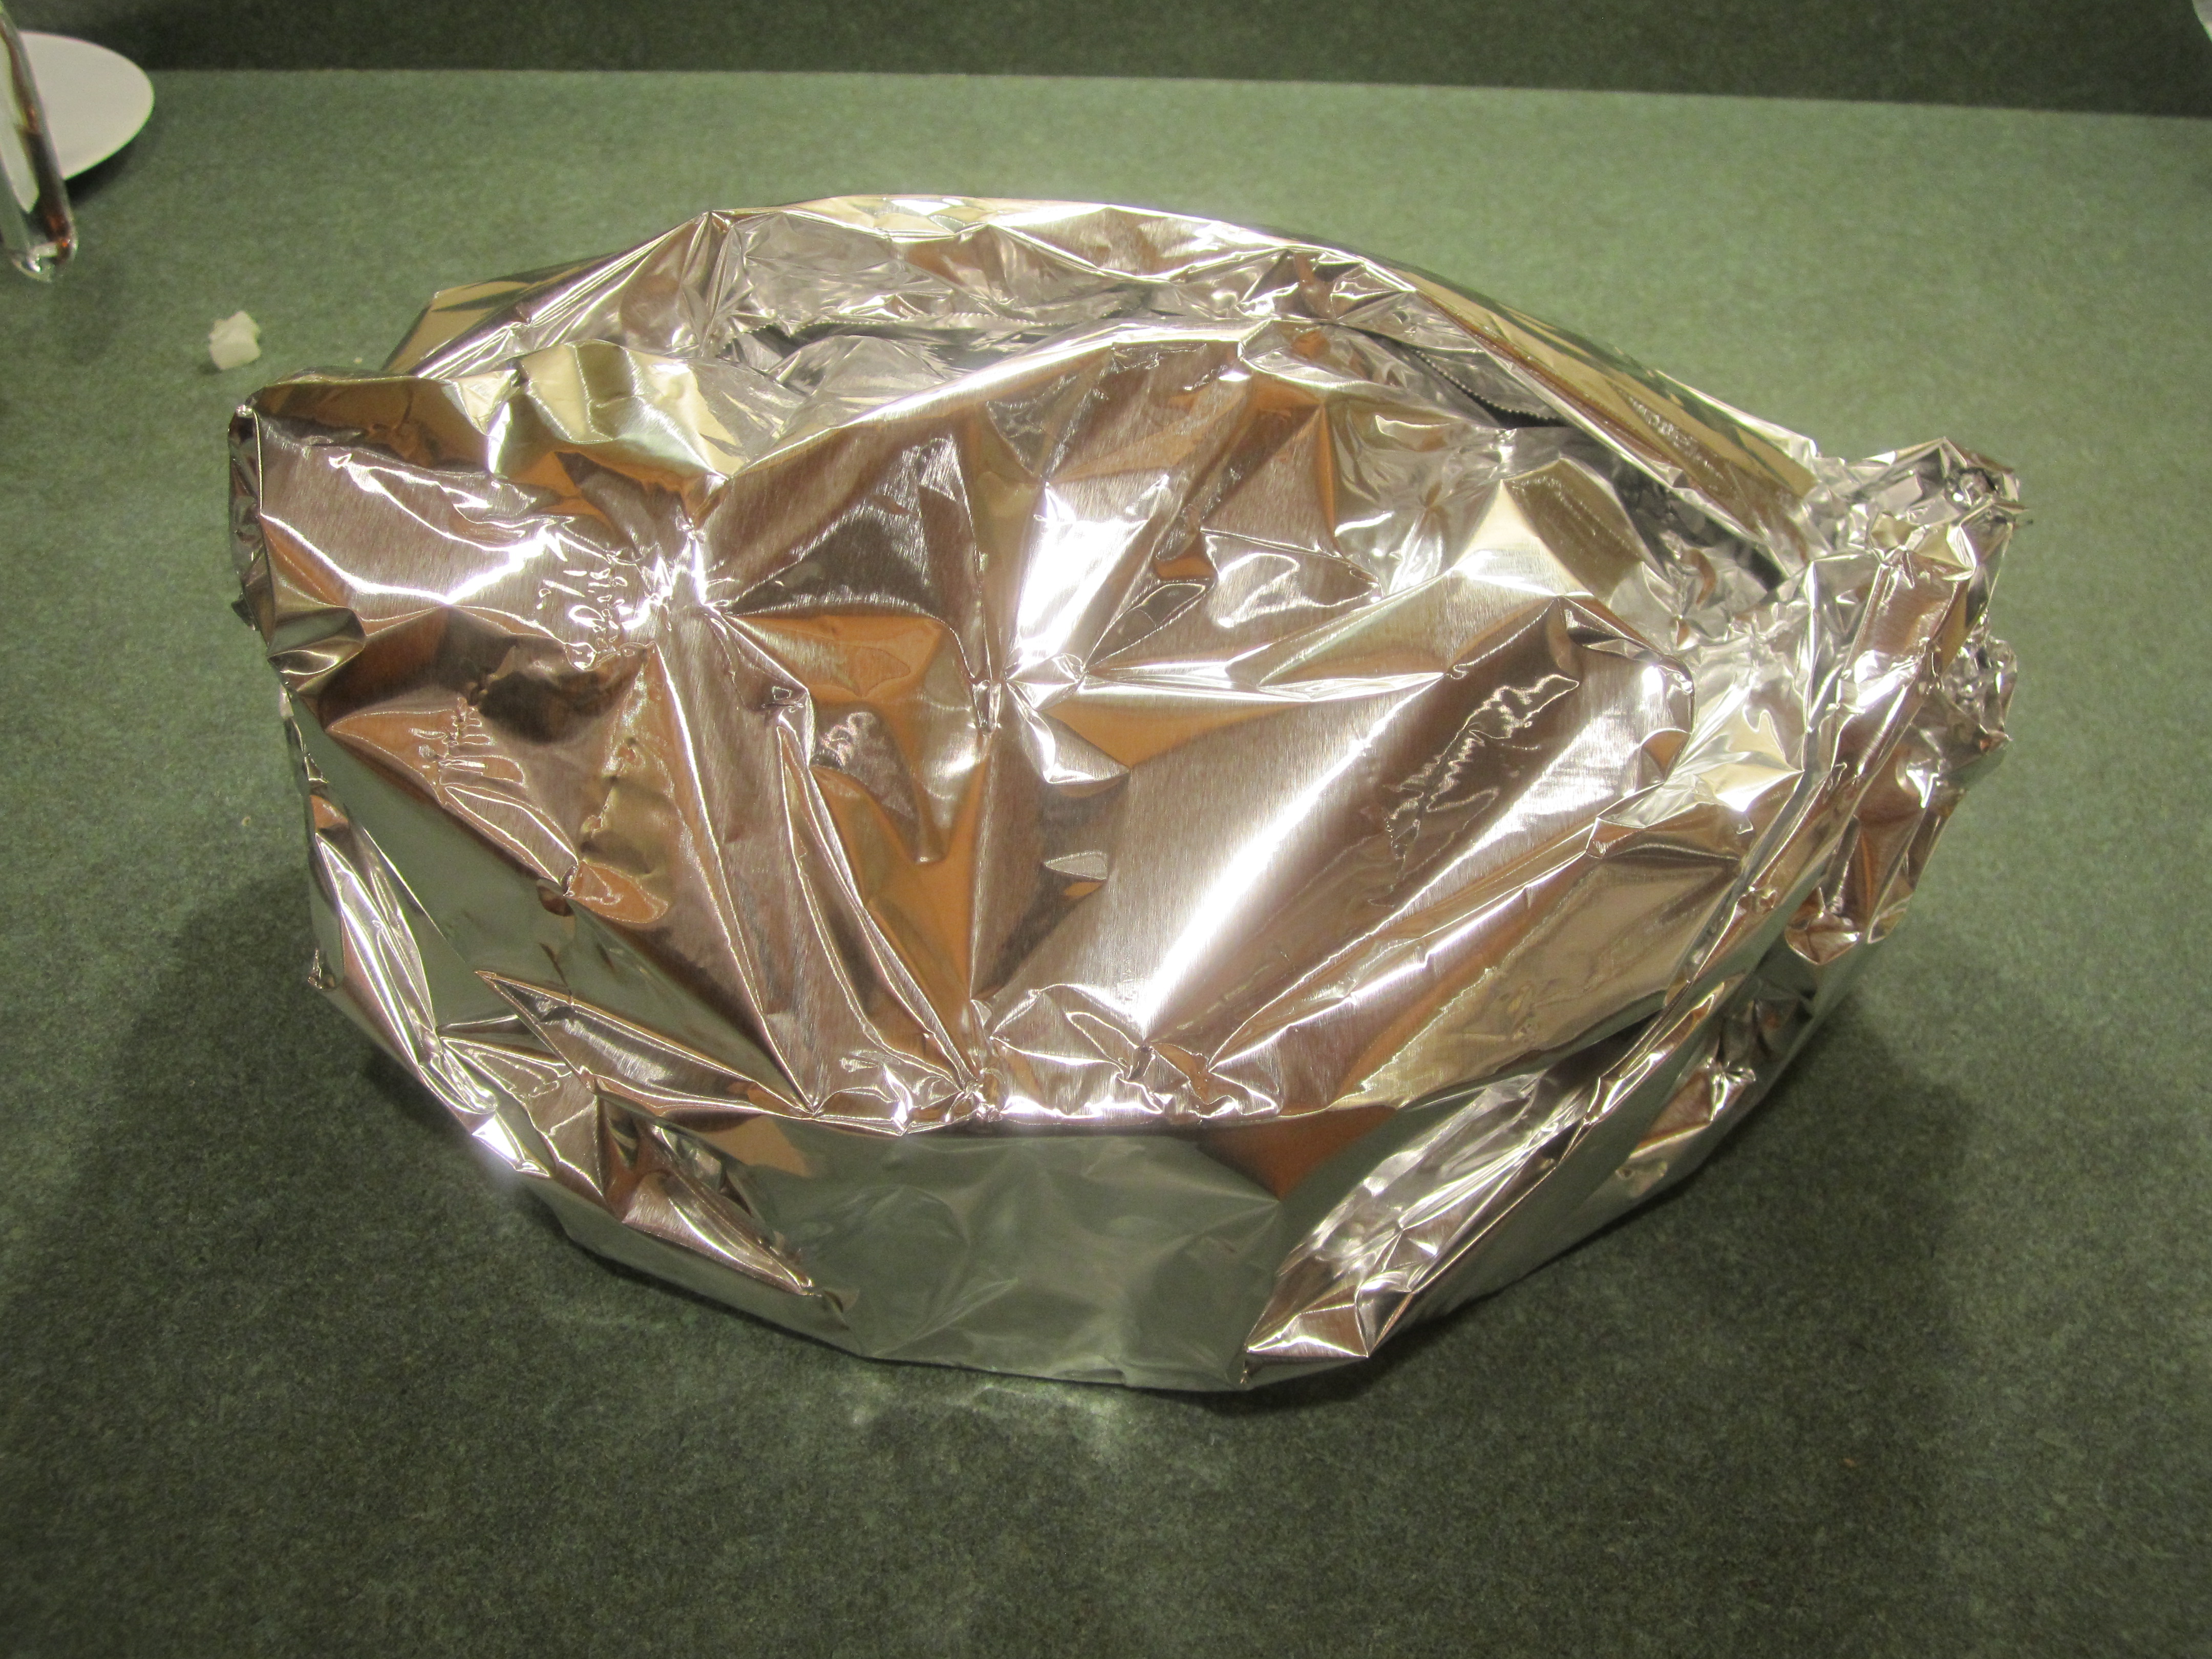
Wrap up the Berrymisu in heavy-duty aluminum foil, trying not to press foil on top of dessert. Chill for at least 4 hours or overnight.
frozen berries and sugar ready to cook into jam:

the result: jam

frozen raspberries, sugar and water:

after microwaving:

raspberry juice:

raspberry liqueur:

step one: raspberry soaked lady fingers on sides and bottom of pan:
mascarpone and heavy cream mixture:
raspberry jam layer next:
mascarpone/heavy cream mixture layer:

fresh berry layer:
second layer of ladyfingers:

raspberry jam layer #2:
the rest of the mascarpone/heavy cream layer:
finishing with berries on top:

all wrapped up to go into the refrigerator:
sides off, ready to serve:

yum!

Oatmeal Toffee Cookies

I have had this recipe a long time. So long that The Hershey Company has reduced their Toffee Bits package from 10 ounces to 8 ounces. And they changed the name of the Toffee Bits that I originally got this recipe from. They now sell them as Heath Bits ‘O Brickle Toffee Bits instead of Heath Bits ‘O Brickle Almond Toffee Bits. Anyway, enough of my jabber. These cookies are really good.
Oatmeal Toffee Cookies (adapted from Hershey’s Oatmeal Toffee Cookies)
8 ounces butter
2 cups packed light brown sugar
2 large eggs
2 teaspoons pure vanilla extract
1-3/4 cups flour
1 teaspoon baking soda
1 teaspoon ground cinnamon
1/2 teaspoon salt
3 cups quick cooking oats
10 oz. of Heath Bits ‘O Brickle Toffee Bits
1 cup packed Sweetened Coconut Flakes, preferably Baker’s
Preheat oven to 350 degrees.
Get 2 large cookies sheets out in preparation. Do NOT spray with canola oil or grease or anything. I may not have discussed this much in the other recipes I have shared for drop cookies. Many recipes tell you to lightly grease the cookies sheet. I never do this. And this is why: you don’t need to and I think it makes the cookies spread out too much. It makes for much easier clean up of the cookie sheets and it makes a much better cookie. Ok, enough said. On with the directions.
Using an electric mixer, beat butter in large bowl until creamy and soft. While this is going on, get the rest of your ingredients together.
In a small bowl, combine eggs and vanilla.
In a medium bowl, combine flour, baking soda, cinnamon and salt and stir with a whisk until combined.
When the butter is soft, add the brown sugar and beat until light and fluffy. Then add the eggs/vanilla and beat until well blended.
Gradually add the flour mixture and beat until just combined.
Add the oatmeal,toffee bits and coconut and beat until just combined.
Scoop dough with an ice cream scoop (scant 1/4 cup) . Pinch dough in half and roll each half into a ball. Place balls of dough on cookie sheet at least 2 inches apart.
Bake for 5 minutes. Turn cookie sheet. Bake for 5 minutes more.
Let rest for 5 minutes before taking them off the cookie sheet. They will seem really soft when you take them out of the oven but will firm up in the 5 minutes.
Let cool completely on wire racks.
mise en place, butter in the bowl:

the dough is pretty stiff:

using the ice cream scoop to help make the balls of dough consistent:

balls of dough on cookie sheet ready for the oven and the rest of the dough prepped:

out of the oven resting, alongside the finished cookies:

crispy and chewy at the same time, cookie perfection in my book!

Spinach Puffs

I have to credit my daughter, Sarah, for steering me to this recipe. She made them for their Christmas Party and highly recommended them to me. So, I made them for an Apocalypse Party that my husband and I attended (the end of the Mayan Calendar, end of the world maybe party. Um, that did not happen but the party was fun!). They were gone in 15 minutes.
Below is the link to the recipe that I followed exactly with pictures and notes to guide you along.
The only thing that I would strongly recommend is that you use Canola Oil spray on the muffin tins before you put the puff pastry in. My puffs stuck and I had a difficult time getting them out. Also my daughter and I both doubled the recipe but we used them as an hors d’oeuvre. As a side dish like the recipe suggests, 6 would probably be fine.
I defrost the spinach in the microwave. I also start drying it in a colander first, pressing on the spinach until most of the liquid comes out. Then I take small fistfuls and press them between the palms of my hands to get the rest of the liquid out. This is a little less messy rather than starting out right away squeezing the spinach with your hands. 2/3 cup of well-drained spinach is what you are aiming for.

The rest of the ingredients mixed with the spinach. Remember, this is double the recipe.

This is one sheet of puff pastry rolled to a 12 inch square and cut into 9 even squares. Remember, I doubled the recipe, so I ended up using the other pastry sheet as well, to get 12 squares rather than 6.

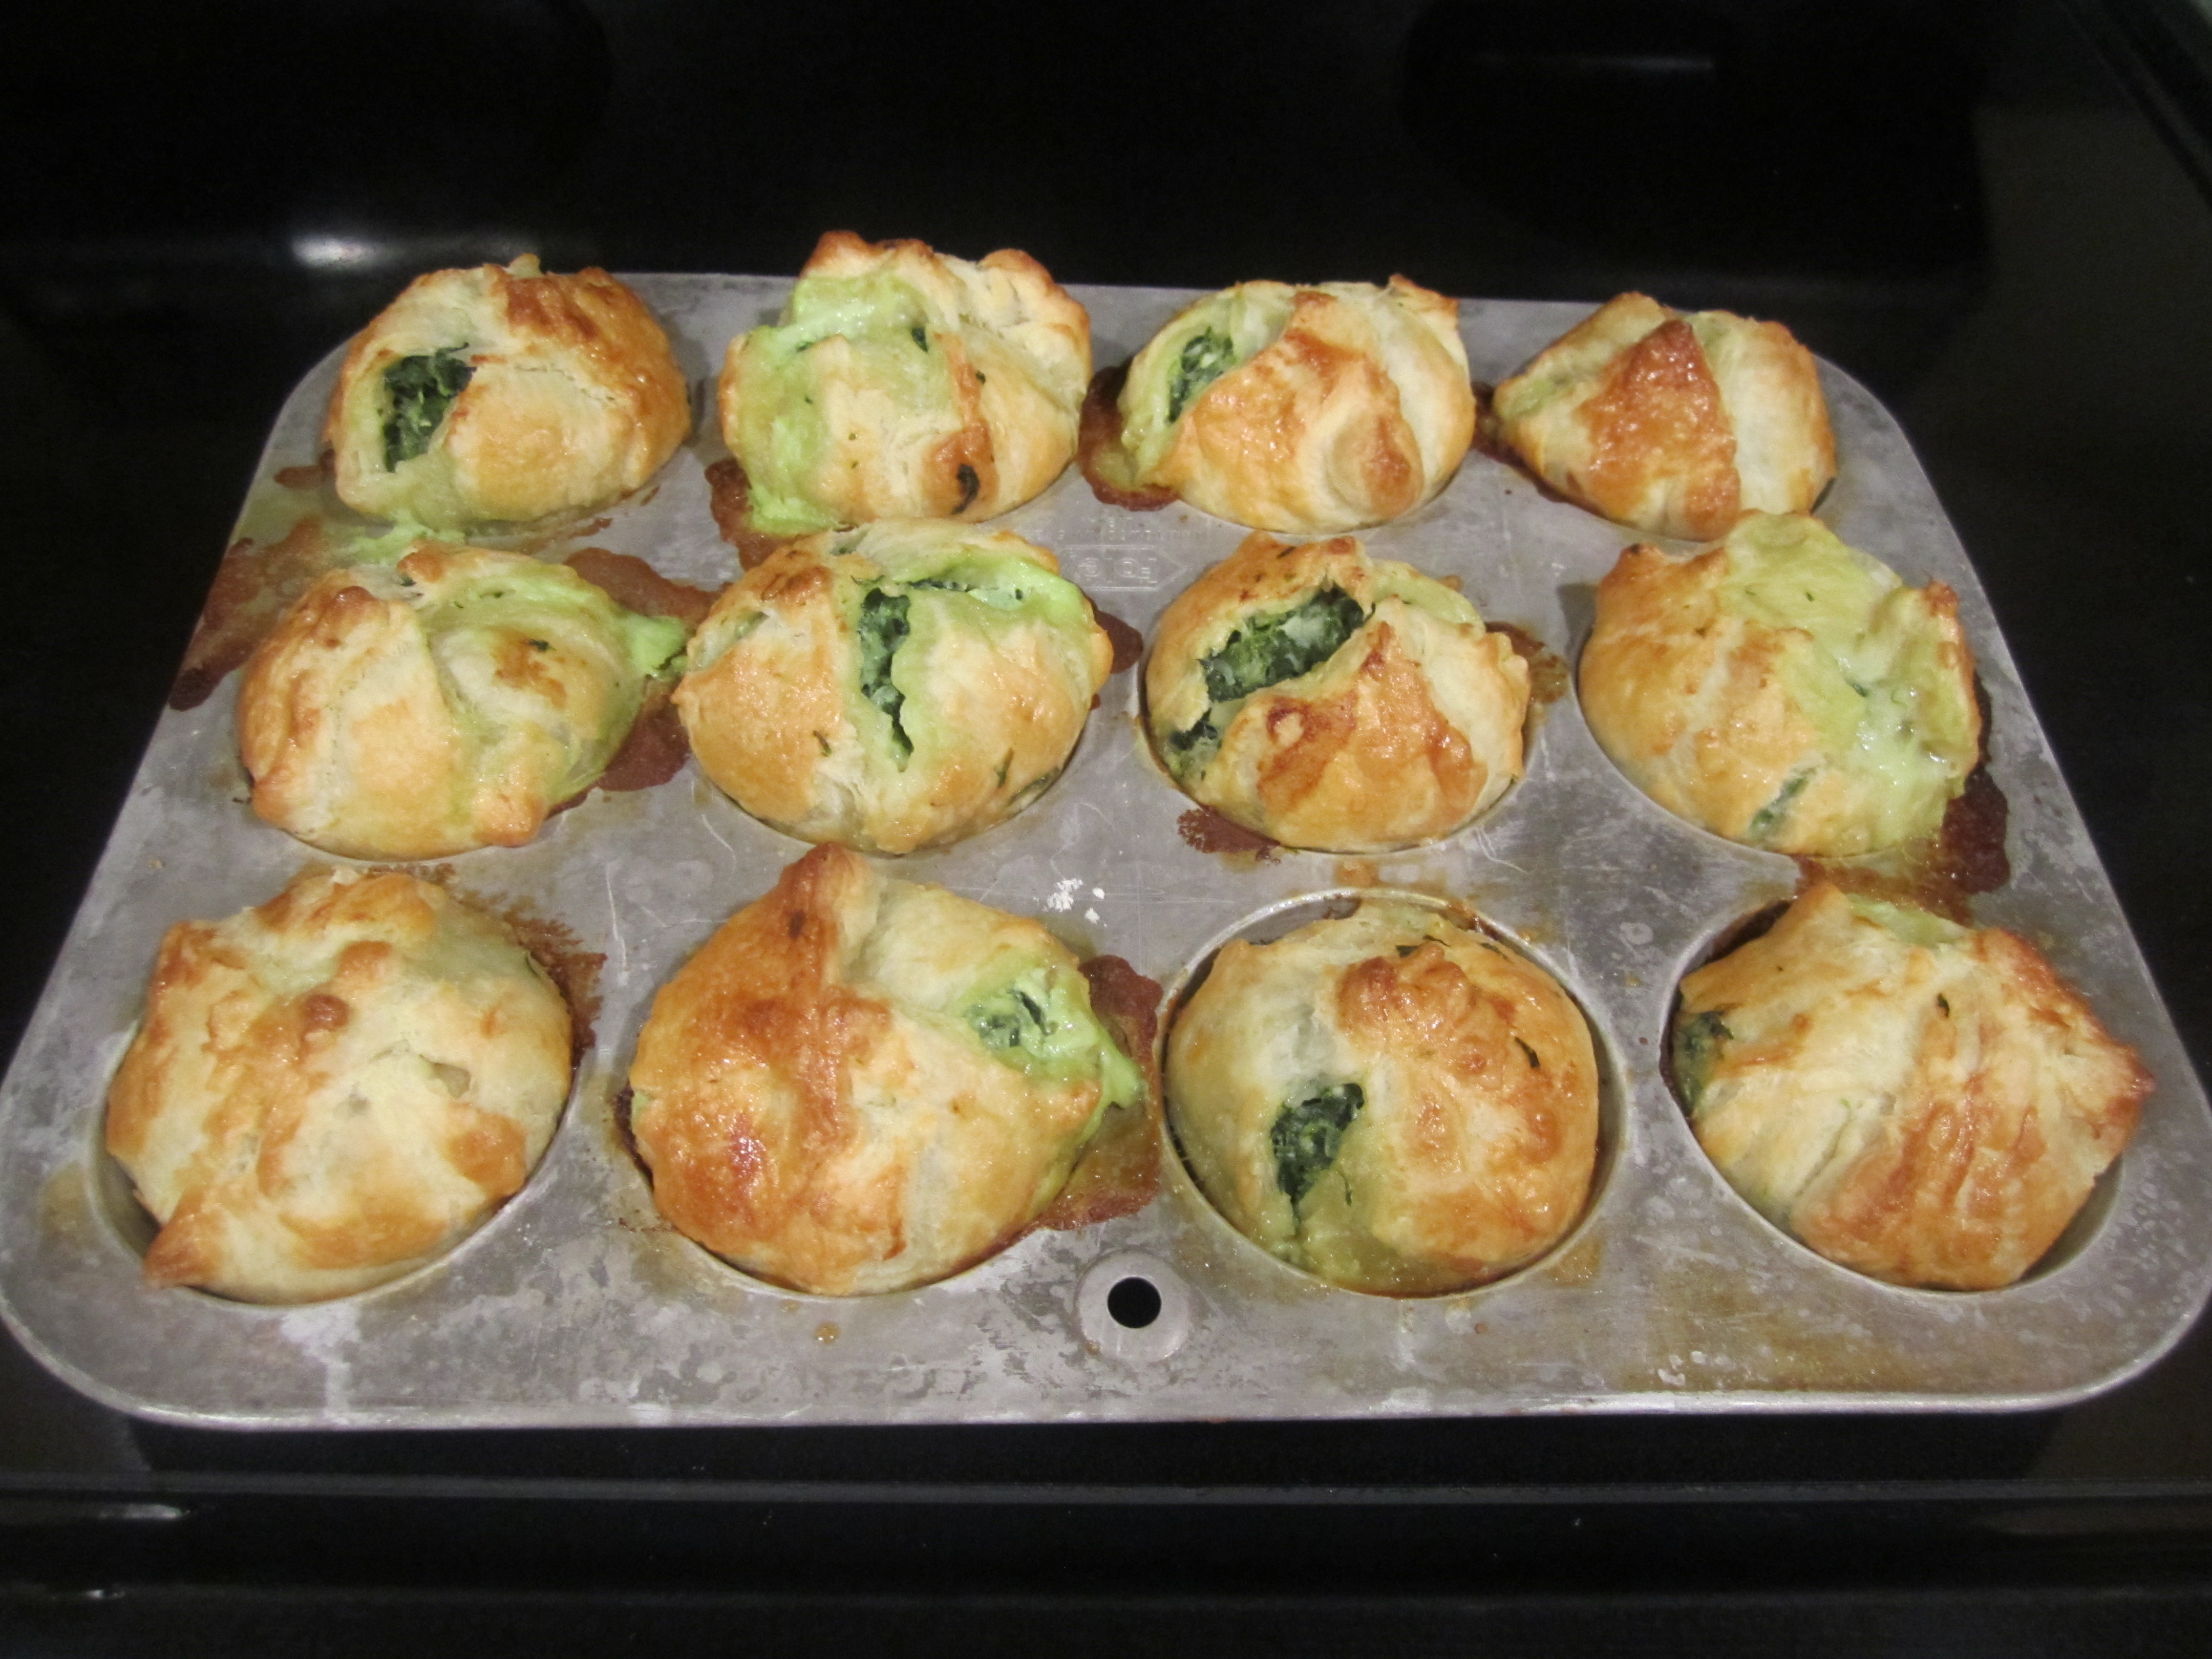
I used a scant 1/4 cup of spinach mixture for each puff and made one spinach puff at a time because the puff pastry was getting in the way: I put the puff pastry in the muffin tin (spray with canola spray first), put the spinach mixture in and then folded the pastry over the filling, squeezing the corners together to meet in center. I continued in this manner until all were complete.

Almost ready to go into the oven, need the egg wash:

Delicious!:
Baby Cocoa Sour Cream Chocolate Chip Coffee Cakes

These little cakes were a new addition to my Holiday Food Gifts that I gave for Christmas this year (well I guess that’s actually last year, really, geez, anyway…..). They will stay on the food gift list. I alternated them in packaging with the mini-bundt Sour Cream Pound Cake. Nice combo.
You will need little bundt pans like this: Mini Bundt Pans. I bought mine at Michaels and either they were Celebrate It 6 Cavity Fluted Pans or Wilton’s Mini Fluted Mold Pan. If buying the pans seems ridiculous to you, then put the batter in a *12-cup Bundt pan and bake at 350 degrees for 50 – 60 minutes.
I used to pick up this magazine called Chocolatier once in a while, which this recipe came from. I tried finding a link to the recipe but the magazine is no longer published, so the recipe is as follows, with a few tweaks from me:
Baby Cocoa Sour Cream Chocolate Chip Coffee Cakes (adapted from Chocolatier magazine, March 1997)
2-3/4 cups flour
1/4 cup unsweetened cocoa powder
2 teaspoons baking powder
1 teaspoon baking soda
3/4 teaspoon salt
9 ounces butter
2 cups sugar
4 large eggs
2-1/2 teaspoons pure vanilla extract
8 ounces sour cream
14 ounces of Ghirardelli semi-sweet chocolate mini chips (if you can find them) or regular chips
Preheat oven to 350 degrees.
Spray the mini bundt pans with Pam Baking Spray or something similar and set aside. If this is unavailable to you, then spray the pans with Canola Oil spray, then put about a teaspoon of flour into each cavity and rotate the pans around until thoroughly coated with the flour, then knock out excess. Try to get the baking spray, it’s worth it. I got 17 mini bundt cakes out of this recipe, which means you need 3 pans. You could get by with 2 pans, bake the 12, cool and remove cakes. Clean pan and bake the other 5 mini cakes. I’ve done it, just a little more time consuming. You could also experiment with putting the extra batter in cupcake tins but the baking time will be different. Or you could just put the whole batter in a *12 cup bundt pan.
Start creaming your butter in the bowl of your electric mixer at medium speed, gradually increasing the speed. While the butter is getting soft, get together your other ingredients.
Sift the flour, cocoa, baking powder, baking soda, and salt together and set aside.
Combine eggs and vanilla in a medium bowl and set aside.
When the butter is nice and soft, add the sugar and beat until thoroughly combined. Add the egg mixture, one egg at a time and beat until light yellow and fluffy. Scrape down the bowl at least once to make sure you get the batter from the bottom of the bowl.
With the mixer on low, alternately add the flour mixture and sour cream, making sure the flour is incorporated before adding sour cream.
Stir in the chocolate chips.
Divide the batter among the 17 mini bundt pans. 1/2 cup of batter per mini bundt.
Bake for 14 – 15 minutes. Chocolate cake can be tricky and can be easily overbaked. Insert a toothpick into one of the mini cakes, it should come out fairly clean or with a few cake crumbs attached.
Cool the cakes for about 15 minutes on wire racks. Then take a dull knife and very carefully make sure that there is no cake stuck onto the pan. Invert cakes onto wire rack and cool completely. Serve as is or dusted with a little confectionary sugar.
creamed butter and the rest of the ingredients:

batter in pans:

cakes out of oven:

cooling on racks:

yum!:
Palm Beach Brownies with Chocolate Covered Mints
I came upon this recipe from “Cuisine at Home”, a magazine that I used to subscribe to. They had a section called ‘chef at home‘ and this particular one featured Maida Heatter, the Queen of Desserts (I think I promised this recipe a few posts ago). It’s a scrumptious brownie and the addition of peppermint patties makes them out of this world good!
I would have been happy to bring you to the Cuisine at Home recipe that I have, but they do not publish their recipes on-line, you have to subscribe to their magazine. So I found this one: Palm Beach Brownies from Saveur Magazine. There are some slight personal differences: I use salted butter, I do not use almond extract, no walnuts and the recipe I have only asks for 20 ounces of peppermint patties. In the future, I will add more peppermint patties, if I can fit them in!
Palm Beach Brownies with Chocolate Covered Mints (adapted from Maida Heatter)
8 ounces unsweetened chocolate (Ghirardelli is my favorite)
8 ounces butter
3-3/4 cups sugar
5 large eggs
4 teaspoons instant espresso powder
2-1/2 teaspoons vanilla extract
1/4 teaspoon salt
1-2/3 cups flour
40 York chocolate covered peppermint patties (about 20 ounces: I had to get two bags)
Preheat oven to 425 degrees. (I know this sounds crazy hot: but just do it! haha!)
Prepare a 9 x 13 x 2 inch baking pan: invert pan upside down, take a large sheet of heavy duty aluminum foil and place over pan and press aluminum down sides, shaping the foil like the pan. Remove foil, turn pan upright and place foil into pan, carefully pressing into the sides and corners of the pan. Spray with canola oil.
Unwrap all the peppermint patties and set aside.
Melt the chocolate and butter. You can do this in the microwave in a glass bowl: one minute on high, remove and stir, stir, stir. Put back in microwave for 30 seconds, remove and stir, stir, stir. Only put back in for 15 seconds if not completely melted and stir, stir, stir again. OR you can do the double boiler method if you do not feel confident with your microwave. Either way is fine but the goal is NOT to burn the chocolate. Burned chocolate? yuk.
Beat the sugar, eggs, espresso powder, vanilla extract and salt in bowl of an electric mixer at high speed for 10 minutes.
Add the chocolate mixture (it can be warm) to the sugar and egg mixture and beat on low until just blended.
Gradually add the flour until just combined.
Pour half the mixture into your prepared pan.
Place the peppermint patties on top of the batter, close to the edges of the pan and touching each other. DO NOT CUT ANY PEPPERMINT PATTIES to make them fit. Thank you.
Pour the rest of the batter on top of the patties and smooth top.
Bake for 35 minutes, turning once half way during baking. DO NOT BAKE ANYMORE THAN THIS. If you test it with a toothpick, it will come out wet but do not bake anymore.
Remove from oven and let stand until cool.
Invert pan and remove foil lining from brownies.
Invert again so brownies are upright. Cool overnight in the refrigerator, covered with wax paper. DO NOT try to cut while warm . They need that refrigerator time.
The next day cut brownies with a very large sharp knife into desired squares or rectangles. Share with your friends.
Preparing the pan:


unwrapped peppermint patties:

Sugar, eggs, espresso powder, vanilla extract and salt:

after 10 minutes of beating:

after adding the chocolate mixture:

the finished batter:

half the batter in the prepared pan with patties on top (I think there is room for more, next time!):

other half of batter on top and smoothed:

out of the oven (a little burned but that is perfectly ok):

out of the pan and ready for the refrigerator:

I did cut the edges off, but I did not throw them out. They are in the freezer. For later. Because the somewhat burnt edges are very good…..


Macaroni and Cheese with Sweet Apple Chicken Sausage

My mom made a delicious Macaroni and Cheese with a custard base: very creamy and delicious and slightly crusty on the top. I made it several times when my children were younger but no one really looooved it. I tried many, many different recipes to see if anyone of them hit the spot for my family but not really.
I guess when my son was in high school, my husband said, “Why don’t you make a Macaroni and Cheese with just the cheese sauce that you always make.” Hmmm. Ok. I gave it a try. My son liked it, my husband was on board, it was good. But of course I needed to make it better. So I kept on experimenting, adding the Sweet Apple Chicken Sausage, increasing the cheese sauce and then finally adding a fine layer of lightly toasted butter and bread crumbs on top. This was quite delicious. Now my son asks for it when he comes home for college because well he dreams about it!
It’s really a simple recipe and the cheese sauce recipe can be halved and used as a sauce for vegetables like broccoli if you like.
2 cups milk (or 1/2 No Fat Milk and 1/2, 2% Milk, which is what I always have on hand)
4 tablespoons cubed butter
4 tablespoons flour
1/4 teaspoon salt
1/2 pound of Velveeta Cheese, cubed (you can substitute cheddar if you like or a combination of cheeses. The Velveeta produces a very creamy and smooth cheese sauce)
12 ounce package Sweet Apple Chicken Sausage (I like the brand Al fresco )
1/3 cup of fresh bread crumbs (see Breadcrumbs post)
1 tablespoon butter
8 ounces of medium shells or elbow macaroni
Spray a 2-1/2 quart glass baking dish with canola spray. Preheat oven to 350 degrees.
Put a large pot of water on the burner on high. While waiting for the water to come to a boil, cook the apple sausage according to the package directions. While you are cooking the sausage, cut up the cheese into cubes and lay out the milk, butter, flour and salt.
When the sausage is cooked, put on a cutting board and cut length wise and then cut into 1/2 inch pieces. Do this for each link. Set aside.
Put milk into a saucepan. Put heat on medium and add butter, flour and salt. Stir with a whisk until completely combined and keep on stirring until it just comes to a simmer or slight boil. Simmer/boil for about one minute, stirring constantly. Take off burner and add cheese. Stir. Put lid on pan and set aside.
The water should now be boiling so add your macaroni and cook according to the directions on the package. When done, drain thoroughly and put back into pan. Add cheese sauce (all cheese should be melted into the white sauce by now. Stir to combine. ) and Apple Sausage. Place mixture into baking dish.
In a small fry pan, over medium heat, place butter. When melted, add breadcrumbs and stir with a fork until lightly toasted. Spread evenly over Macaroni and Cheese and Apple Sausage. Place in oven and bake for 20 minutes. Serve immediately. Leftovers rewarm nicely in the microwave, my son can attest to that!
Af fresco Sweet Apple Chicken Sausage:

cooking sausage:

cutting the sausage:

milk, butter, flour, salt simmering:

cheese added:

sauce complete:

mixing cheese sauce, sausage and macaroni together:

breadcrumbs and butter nicely toasted:

ready to go in oven:

after 20 minutes in oven:

Holiday Food Gifts: Homemade Snicker Bars

So I am gearing up for my annual food gifts for family and friends for the Holiday Season. Usually the month of December is dedicated to thinking about and then making sweets to give away. It’s just about my favorite thing to do besides making Birthday Cakes (just made one for our Auto Mechanic who has become a friend as well: Chocolate Crunch Layer Cake with Milk Chocolate Frosting by Maida Heatter. I was able to use the Skor candy that I found, for the middle layer. He was impressed when I unveiled it and said later that day it was delicious. Yippee!)
I traditionally include in my Gift Baskets, mini pound cakes from the Sour Cream Pound Cake recipe, Coconut Biscotti , Triple Chocolate Biscotti, Cranberry and White Chocolate Biscotti, some jam that I have made over the summer (sorry never did post that, draft is still in the works. Next year!) and candy. The candy is always something different and this year I think I have found my ultimate candy addition (well this years ultimate choice, anyway): Homemade Snicker Bars.
I love Snicker Bars because I love caramel and chocolate together and the addition of peanuts puts it over the top. So making them homemade just really appealed to me.
I am directing you to the recipe link because I followed the instructions almost exact but am following up with pictures and comments. This is not a difficult candy, probably one of the easier ones I have made because there is no candy thermometer involved.
Leite’s Culinaria Homemade Snickers Bar
In the recipe Valrhona chocolate is suggested. I would have to send away for this, not something I am inclined to do. Ghirardelli chocolate works fine for me.
I used parchment paper and sprayed it with Canola Oil spray rather than buttering it. I also only had a glass loaf pan. I think a metal loaf pan would work better because the edges would be less round.
I melted the milk chocolate in my microwave BUT this can be tricky because it can burn the chocolate VERY easily. So if you know your microwave intimately (hmmm) then use this method otherwise do as the recipe says and use the double boiler method.
The milk chocolate was cold to the touch for me in 30 minutes so check yours in 30 minutes.
Follow the directions exactly for the next layer, the times are excellent.
Once I added the peanuts, I did not let it sit for 5 minutes. I poured it immediately onto the first milk chocolate layer.
I did not trim the uneven edges when I was cutting up the giant Snickers bar (if I did, I would have had to eat the trimmings! yikes!)
first layer of milk chocolate:

sugar and water boiling:

deep amber color:

cream, white chocolate, salt and peanuts blended:

second layer over milk chocolate:

giant Snicker bar:

cutting up:


Have Fun!!
Apple Pie

My mother made the best pie. Ever. It was her crust that was incredible. I asked my Mom once how she got started making pies. She said that her mother made cakes all the time, really good cakes and she wanted to be different. So she learned to make pies.
I tried, when she was still here, to make her crust and had lessons from my Mom several times, even once with my daughter.
The crust was so hard for me. I just couldn’t get it. So I would give up, use a pre-made pie crust from Pillsbury and homemade filling. I even had the audacity (that’s how I look back at it now!) to make this kind of pie when my Mom came for dinner and she would always tell me how delicious it was. And she really meant it: always encouraging, never selfish.
But I could tell the difference. Her pie crust was flaky and melt in your mouth delicious.
So now, several years later, I am back on the pie road. My inspiration to start again was a video of a Pie Making Contest Winner and her recipe. Video’s are good. It seemed simple enough watching her. And she used Crisco Shortening, different from my Mom’s crust, maybe this would be the answer. Well, I made 3 crusts in one day and got 2 apple pies out of it. The first crust was the all Crisco Shortening and a disaster because I couldn’t roll it out. (And this is from a person that just recently and successfully made chocolate croissants! A complex dough! With a lot of rolling! Sigh.) It stuck all over the place so I threw it out! It looked so easy in the video! I made another all Crisco and decided to roll it between two sheets of wax paper. That was ok but the wax paper started falling apart 2/3 through the rolling. So then I decided to look up a recipe with Crisco and butter because I was running out of Crisco. This recipe used 1/2 Crisco and 1/2 butter and less flour. I rolled that one between pieces of plastic wrap, which was better but it barely fit into the pie plate because the amount of crust was too small. I realized a pie crust needs at least 2 cups of flour for a double crust pie. I was learning. The pies were ok, I didn’t care for the crust and the filling was not how I remember my Mom’s. So much for the informative video and prize-winning recipe.
My Mom used lard and a bit of butter in her crust recipe and she never used the Cuisinart to cut the fat into the flour. She used a Pastry Blender/Cutter and a fork to mix the water, flour and fat together. Well, I needed to take baby steps if I was going to get over my pie crust phobia. So I decided to find a recipe (so I could read directions) that used lard and butter and the Cuisinart. Bon Appetit had just what I was looking for and also great tips on how to roll out dough using sheets of parchment. Ok, I could do that. Maybe if I practiced rolling out dough between parchment, I could eventually move up to no parchment rolling.
So below are the links to the pie crust recipe and tips on how to roll it out:
I ended up freezing the butter and the lard (I highly recommend lard as opposed to Solid vegetable shortening) cubes for about a 1/2 hour, to make sure they were cold enough.
I kept on gathering sections of the dough when it was ready, setting it aside and adding more ice water to the rest of the dough until all of it was gathered. I probably used 10 tablespoon of cold water, total. This made me extremely nervous and the part I disliked the most besides rolling. After discussing this with my daughter, she made me realize that the more you do this the better you will get. Sigh. Again.
The rolling between the parchment worked well. Except I had to lift the parchment once on each side and add a bit more flour so the dough wouldn’t stick so much when I finally took it all off.
*Also, I read a tip on how to prevent too much space between the baked crust and the apple pie filling: press down on the apples after putting them into the pie crust and do not stretch the pie crust over the filling. Gently place it over the pie filling.
I knew my Mom did not put a lot of extra stuff into her filling. It was truly just about the apples so I went to Salingers Orchard , a local orchard that grows apples, pears and peaches plus other fruits. They had a nifty little card that told you exactly what apples were good for: pie, sauce, eating out of hand, etc. I realized that the Empire that I used in my first two attempts was the wrong apple, even though that’s what it said in the recipe. Salingers recommends, from very good to excellent: GINGERGOLD, CORTLAND, MUTSU/CRISPIN, JONAGOLD, GOLDEN DELICIOUS, WINESAP, NORTHERN SPY, IDA RED, GRANNY SMITH. After looking at several recipes and trying to channel my Mom, I came up with this recipe:
APPLE PIE
1 recipe of Best Ever Pie Crust or your favorite pie crust recipe, enough for 2 crusts
7 – 8 cups of 1/4 inch sliced apples (cored and pared) see above for recommended varieties
1 tablespoon of lemon juice
1-1/2 cups sugar
2 tablespoons of flour
1 teaspoon of cinnamon
2 tablespoons butter, cut into 1/2 inch cubes
Preheat oven to 375 degrees. Roll out one dough disk and place into pie dish. You may want to trim a bit so that it’s an even circle. In a small bowl, add the sugar, flour and cinnamon. Mix thoroughly. Place cut apples in a very large bowl. Pour in lemon juice and stir thoroughly. Add sugar mixture and again stir thoroughly. Pour apple mixture into pie crust, distributing the apples evenly. *Press down on the apple mixture (see above). Distribute cubed butter over apple mixture. Place second rolled out dough disk on top. Fold edges of the top crust under the edge of the first crust. Crimp edges. With a small paring knife cut vent holes into top crust. Place in oven and bake for 50 minutes to 1 hour, until golden brown. Test for doneness by inserting a carving fork into pie: if there is very little resistance then the pie is done. If not, bake for another 5-10 minutes. You may want to cover the pie at this point with some aluminum foil so that the crust does not burn. Carefully remove from oven and cool on a rack. Serve warm or at room temperature. Pie will keep covered, on counter for 2 days. If it lasts that long……
cubed lard:

cubed butter:

ice water:

fat and flour, after pulsed in Cuisinart: (sorry, no pictures of actually adding the iced water and mixing. I was a nervous wreck and the camera was the last thing I was thinking of)

dough, after refrigerated and on parchment:

6 inch disk, after rapping:

dough rolled out:

into pie plate:

this is my new toy: Apple Peeler, Corer, Slicer. Alot of fun when it works. You need very firm apples, soft ones create a mess:

peeled, sliced and cored all at once:

finished apple, cut in half:

apple mixture and butter added:

second crust on top (I probably should have trimmed a bit more, will do next time):

folding top crust edge under bottom crust edge:

ready to go in oven: (this is my first good attempt. I know the more I make them, the more perfect they will look. But taste in my book is more of a priority)

out of oven:

thumbs up from my husband, the pie expert and a real fan of my Mom’s pies:
