Pulled Chicken Sandwiches

Easy, scrumptious dinner. I served them on rolls but I like the idea of serving it over a baked potato, gotta try that!
I followed this recipe exactly and served it with garden fresh beans and corn on the cob. Coleslaw as a side would be excellent as well.
Pulled Chicken Sandwiches (Cooking Light October 2013)
for the chicken:
2 tablespoon dark brown sugar
1 teaspoon paprika
3/4 teaspoon ground cumin
1/2 teaspoon ground chipotle chili pepper
1/4 teaspoon ground ginger
1/8 teaspoon salt
1-1/2 to 2 pounds skinless, boneless chicken thighs
for the sauce:
2 teaspoons canola oil
1/2 cup finely diced onion
1 tablespoon dark brown sugar
1 teaspoon chili powder
1/2 teaspoon garlic powder
1/2 teaspoon dry mustard
1/4 teaspoon ground allspice
1/8 teaspoon ground red pepper
1 cup ketchup
2 tablespoon cider vinegar
Heat your grill on medium high heat.
While the grill is heating, combine the spices for the chicken: dark brown sugar through the salt. Place chicken pieces on a cutting board, sprinkle combined spices onto chicken pieces and rub in. Turn chicken over and repeat. Place chicken on a canola oil sprayed disposable aluminum cookie sheet. Set aside while waiting for the grill to heat.
When the grill has come up to heat, place chicken on grill. Cover and cook chicken for 15 minutes, turning half way through. Remove chicken onto a clean cutting board and let cool.
While chicken is cooking, start preparing the sauce. Heat the 2 teaspoons of canola oil in a medium size sauce pan. Add onions and saute for about 5 minutes until translucent. Add spices, dark brown sugar through red pepper and cook, stirring into onions, for 30 seconds. Add ketchup and vinegar. Bring to a boil, reduce heat and simmer very gently for about 10 minutes, stirring occasionally. While sauce is simmering, shred chicken with 2 forks.
After 10 minutes of simmering, add the chicken to the sauce. Stir until chicken is thoroughly coated and cook gently for about 2 minutes.
Serve chicken on toasted rolls.
spices for chicken:

sprinkling spices over chicken:

onto a disposable aluminum cookie sheet:

removed from grill onto a cutting board to cool:

while chicken is cooking, make sauce:

sauteed onions then add spices


then ketchup and vinegar and let simmer:

shred chicken and add to sauce:


Chipotle Meatloaf

There are so many different meatloaves out there but this is by far one of my favorites (besides my Mom’s classic meatloaf). Tons of flavor! My husband and son love it and I have made it numerous times.
I happen to like the mini individual size but you can certainly follow the original recipe for one large meatloaf. I also have halved the ingredients, which you will see in parenthesis.
This recipe calls for heavy cream but you can substitute half and half. I even forgot one time to add either and it was still good. I also have since made the original quantity of ketchup/chipotle chile pepper sauce so that we can have extra to serve with the meatloaves, a definite must 🙂 Also, as you know, I am not a fan of cilantro so I substitute parsley. And I did not add rosemary either, another herb I am not too fond of. But please add if you wish. Amounts are in the original recipe.
Another interesting option I read about while trying desperately to find Applewood Smoked Bacon. When I made it the first couple of times, I used to be able to find Tommy Moloney’s Applewood Smoked Bacon in Shoprite. Now I can’t find it anywhere. When I wanted to make it again I looked up a substitute and lo and behold, I read that there is really not much difference flavor wise between Applewood Smoked and regularly smoked bacon. So guess what? I agree. Just use really good bacon, which in my opinion is Oscar Meyer Naturally Hardwood Smoked.
Just a note about the eggs: 1/2 of 3 eggs is sorta crazy, so that’s why I put 2 eggs as half of 3 eggs. I did measure and all that to see exactly what a half of an egg would be but realized the little bit of extra egg really doesn’t make that much difference.
Ok, let’s get on with the recipe!
Chipotle Meatloaf (http://www.bonappetit.com/recipe/chipotle-meatloaf#recipe-ingredients)
4 (2) ounces Oscar Meyer Naturally Hardwood Smoked Bacon or apple wood-smoked bacon (if you can find it) 1/4 inch diced
1 (1/2) cup diced onion
1 (1/2) cup heavy cream or half and half
1 (1/2) cup panko
3 (2) large eggs
1/2 (1/4) cup diced celery
3 (1-1/2 teaspoons) tablespoons flat leaf or curly parsley
1 (1-1/2 teaspoons) tablespoon kosher salt
1-1/2 (3/4) teaspoons minced fresh thyme
1-1/4 (1/2 plus 1/8) teaspoons ground ancho chiles
1-1/4 (1/2 plus 1/8) teaspoons smoked paprika
3/4 (1/4 plus 1/8) teaspoon ground black pepper
28 ounces (14) ounces ground beef (85%)
sauce:
1 cup ketchup
2 tablespoon (1 large mashed with a fork) chipotle chili pepper from canned chipotle chile peppers in adobo sauce
Preheat oven to 350 degrees.
Spray a rimmed cookie sheet with canola oil spray OR place a sheet of parchment paper on top of the rimmed cookie sheet. My really favorite thing to do these days. No mess at all.
Make the sauce by combining the ketchup and the mashed up chili in a small bowl.
Place the first 12 ingredients, bacon through black pepper in a very large bowl. Stir together with a large serving fork until all incorporated. Add ground beef and stir with the serving fork until thoroughly combined (I think mixing with your hands compresses the beef too much, I don’t like the texture after it cooks).
Divide beef mixture evenly into 4 mini meatloaves (~ 7 ounces) and place on prepared rimmed cookie sheet. Put about 1 tablespoon of sauce over the top of the mini meatloaves carefully smoothing it on to the sides as best as possible. Place in oven and bake for about 40 minutes.
Serve with extra sauce and be prepared to be happy.
make sauce:

first 12 ingredients:

add beef and stir with fork:


divide mixture evenly into 4 loaves:

cover with sauce:

serve:

yum!

Sweet-Spicy Chicken and Vegetable Stir Fry

So yeah I have quite a few stir fries in my repertoire of recipes. This is why I like them so much. They are a complete meal: starch, protein, veggies. Substitutions for aforementioned ingredients are endless. You can prep them ahead of time and then the whole thing comes together in a matter of minutes (a little exaggeration here but hey, what the heck). My husband loves them.
Ok, so this is a really excellent stir fry from Cooking Light. I have tweaked it ever so slightly but have included a link to the original recipe so you can see the difference and make your own decision. This stir fry could also pass as a vegetarian meal: substitute the chicken with tofu OR just put in more vegetables.
Sweet Spicy Chicken and Vegetable Stir Fry (Cooking Light September 2012)
4-1/2 tablespoons dark brown sugar
2-1/4 tablespoons lower sodium soy sauce
1-1/2 tablespoon fish sauce
1-1/2 tablespoons rice vinegar
1-1/2 teaspoons chili garlic sauce
1-1/2 teaspoons dark sesame oil
1 tablespoon cornstarch
vegetable oil
1 pound chicken tenders, cut into 1 inch pieces
10 ounces sugar snap peas
1 red bell pepper, thinly sliced
1/2 medium red onion, thinly sliced
1/4 cup sliced green onions (optional)
1/4 cup unsalted dry roasted peanuts (optional)
Combine the first 7 ingredients in a medium bowl, brown sugar through cornstarch, and mix thoroughly with a whisk. Set aside.
Heat a large non stick wok or large non stick skillet over medium high heat. Add about 1 tablespoon of vegetable oil to pan and heat up for about a minute. Add chicken and cook for about 4 minutes until chicken is done and slightly brown. Remove from pan and set aside.
Add another 1 tablespoon of vegetable oil to pan and add peas, pepper and red onion. Stir together for a few seconds. Add about 4 tablespoons of water and cover, steam cooking for about 1 minute until vegetables are crisp tender. Stir in chicken. Then add sauce stirring for 1 minute until sauce thickens and chicken is heated through. Remove from heat and sprinkle with optional green onions and dry roasted peanuts. Serve over rice.
mise en place:

cook chicken and set aside:


stir fry/steam vegetables:


add sauce:

add chicken:

optional garnish:


with garnish or without:


Apple Muffins II

These are yummy!! The first time I made them was 8 years ago (you’ve got to be kidding me :/) and I commented “Best apple muffin recipe so far” haha! guess I was testing quite a few back then. Anyway, just a few changes on my part. They are touted as being “healthy” but ahem, maybe because of the whole wheat flour? I don’t know but just make them, you will like them too.
I did not adhere to her mixing directions because I always make quick bread (a muffin is classified as this) by mixing the liquid ingredients into the dry ingredients. To me, this makes the best textured muffin. I never have whole wheat pastry flour on hand, so I substituted King Arthur White Whole Wheat Flour. I also doubled the topping and the apples. This made it the best apple muffin.
So this is very interesting to me. When I was much younger, and I mean living with my parents younger, Saco Pantry Cultured Buttermilk was a staple in our household because either fresh buttermilk was too difficult to get or it cost too much money at the time, I don’t know. But it is now coming back as THE thing to use. So I decided to try it again. I cannot tell the difference between fresh and the dry in the end product. So I am putting it in my list of ingredients as a choice. Once it’s opened the dry buttermilk must be stored in the refrigerator just like the liquid. But it lasts virtually forever, so you might want to give it a try.
Apple Muffins by Ellie Krieger, Food Network 2008
3/4 cup packed brown sugar
1 cup all-purpose flour
1 cup King Arthur White Whole Wheat Flour
1 teaspoon baking soda
1/2 teaspoon salt
1/4 cup vegetable oil
2 large eggs
1 cup unsweetened (natural) applesauce
1 teaspoon vanilla
3/4 cup buttermilk ***
2 Golden Delicious apples
Topping:
1/4 cup packed brown sugar
1/2 cup chopped pecans
1 teaspoon cinnamon
***OR you can use Saco Pantry Cultured Buttermilk (dry): 3 tablespoons of dry buttermilk, 3/4 cups water. Add dry buttermilk to dry ingredients, add water to liquid ingredients.
Heat oven to 350 degrees. Spray a 12 cup muffin pan with canola oil spray and set aside.
In a small bowl mix together the topping: brown sugar, pecans and cinnamon. If the pecans are not small enough, break them up into ~1/4 inch pieces.
Peel, core and cut the apples into 1/4 inch pieces. Set aside. See the picture below, it will help in cutting them into even pieces.
In a very large bowl, place the dry ingredients: brown sugar, the 2 flours, baking soda, and salt. Stir together with a whisk, breaking up any large pieces of brown sugar with your fingers. Then add the apple pieces, lightly tossing them with the dry ingredients until evenly dispersed.
Put the liquid ingredients, vegetable oil, eggs, applesauce, vanilla and buttermilk, into a medium bowl and whisk together.
Add liquid ingredients to dry ingredients, gently mixing until just incorporated. Do not over mix.
Put batter evenly into muffin pan and sprinkle each muffin with ~1 tablespoon of topping. Place in oven and bake for about 25 minutes.
Place muffins on a cooling rack and cool for about an hour. Gently slide a knife or small metal spatula, under the top that has cooked on top of the muffin pan. Then, using the knife or spatula, releasing the muffin. Remove and place on cooling rack
Because of the extra apple, the muffins will spill over the top a bit when they are baking. If you don’t like this (I like that part, because it’s a bit crispy, crunchy) you can either make the muffins with just one apple or place the extra batter into a few more muffins tins.
This is the dry buttermilk:

the applesauce. I love the individual containers (I know, a bit wasteful because of the packaging) because each containers is just slightly under a 1/2 cup and I don’t have a sticky jar of applesauce in my refrigerator that gets moldy and then I have to throw it out.

muffin pan prepped:

take a quarter of peeled, cored apple, and slice horizontally into 3 sections:

slice the apple vertically into 1/4 inch slices:

then cut through apple into nice 1/4 inch pieces:

topping:

liquid and dry ingredients and then mix together:


fill muffins tins then sprinkle with topping:


out of the oven :

removed and onto the cooling rack:

yum!

Sesame Chicken with Broccoli

A lesson to be learned, time and again: go with the recipe as written, eat and then make changes to suit your taste.
I had a bad experience with pan frying cornstarch coated chicken in the past and really thought this recipe would go the same . I was fully prepared to make it my way. But after reading all the comments and re-reading the recipe one more time, I decided to go for it. Thankfully I did because this turned out to be one yummy dish.
I used only one pound of chicken tenders for the 3 of us, kept the rest of the ingredients the same and it was a perfect amount. 4 people? 2 pounds of chicken tenders.
The directions say to steam the broccoli using a steam basket, which I don’t have. If you do, feel free to follow the directions in the original recipe. Otherwise you can use my method.
(Quick) Sesame Chicken with Broccoli adapted ever so slightly from Rhoda Boone Epicurious February 2016
8 cups broccoli florets
6 tablespoons cornstarch
few grounds of fresh black peppercorns
1-1/2 teaspoons kosher salt
1-2 pounds chicken tenders, cut into 1 inch chunks
vegetable oil
5 tablespoons of honey
4 tablespoons low sodium soy sauce
3 tablespoons rice wine vinegar
3/4 to 1 tablespoon of chili garlic sauce or Sriracha (I prefer chili garlic sauce because to me it has more flavor than the Sriracha. Sriracha is just heat to me and no flavor)
1 large clove of garlic, finely grated
1 teaspoon finely grated fresh ginger
1-1/2 teaspoons toasted sesame oil
1 tablespoon toasted sesame seeds
1/4 teaspoon kosher salt
for the garnish:
1 tablespoon toasted sesame seeds
2 scallions, thinly sliced
Heat 1 -2 tablespoons of vegetable oil in a large non-stick fry pan over medium high. Add the broccoli florets and quickly stir fry for 30 seconds. Then put in about 4 tablespoons of water and cover pan with top. Let broccoli steam for 4-5 minutes until crisp tender and water has evaporated (might need to add 1-2 tablespoon more during steaming, so check half way through). Place broccoli in large stainless steel bowl and set aside.
In a large bowl, add cornstarch, pepper and salt and whisk together. Add chicken (1 pound at a time) and toss until thoroughly coated. Add another 1-2 tablespoons of vegetable oil to the heated fry pan. Remove chicken with a slotted spoon, shaking a bit to remove excess cornstarch mixture. Add to fry pan and cook until chicken is light brown and a nice crust forms, for about 5 minutes, turning halfway through. Remove chicken to plate and set aside. If using another pound of chicken repeat procedure.
Combine honey, soy sauce, rice vinegar, chili garlic sauce, garlic, ginger, sesame oil, sesame seeds and salt in medium bowl. Whisk to combine and add to heated skillet, cooking for 1 minute until slightly thickened. Add cooked chicken and stir into sauce, cooking for about 2 minutes until chicken is heated through. Add broccoli and gently stir into sauce and chicken. Remove from heat and serve immediately, over rice, garnished with a sprinkling of toasted sesame seeds and scallions.
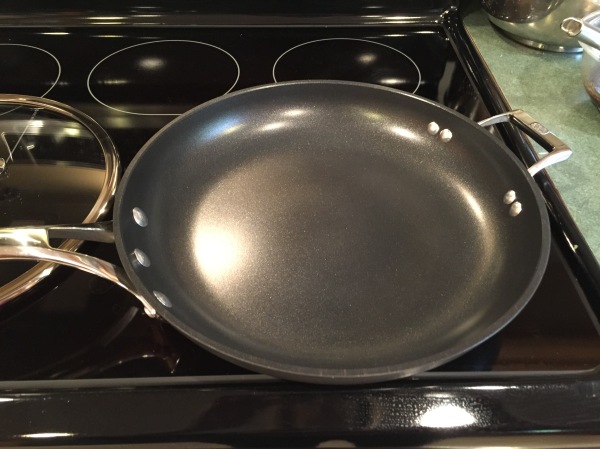
mis en place:

my new 12 inch fry pan, isn’t it beautiful ? came with a glass top too 🙂
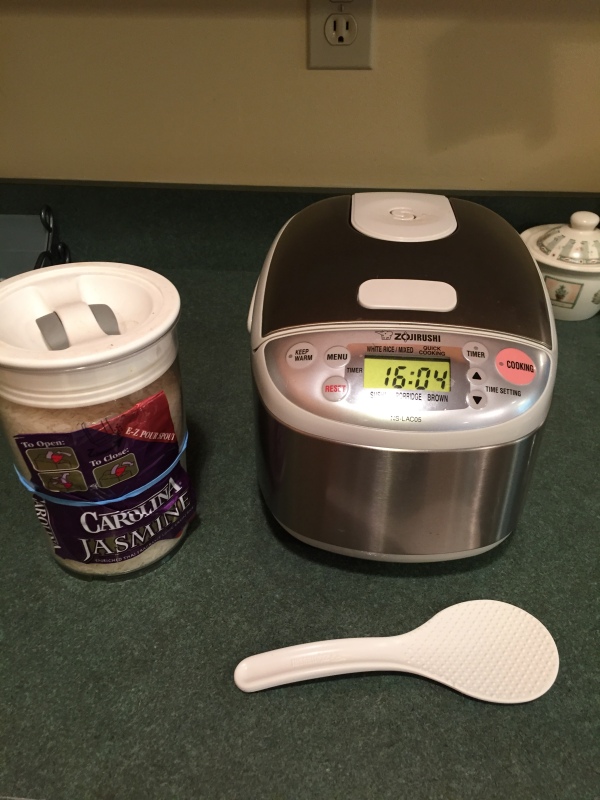
and this is how I cook my rice! love it, compliments of my daughter, thanks Sarah!!
steaming the broccoli:

Tossing the chicken in the cornstarch mixture:

cooking chicken and setting aside:

cooking sauce and adding chicken back in:


then broccoli:

yum!

Sweet Potato Puree with Smoked Paprika

If you don’t like sweet potatoes you must try these. They will make you a convert. Yum, yum, yummy is all I can say about this super easy, delicious side.
And if you LIKE sweet potatoes, well you will love these.
I have made them so many times this year I can’t count. My husband and son love them which is always a motivating factor.
Smoked paprika is the secret weapon here. Feel free, once you have tasted, to amp up the smoked paprika and or the cayenne to your taste. I just happen to like them just the way they are.
A Potato Ricer (this is what I have) is very helpful here but not 100% essential. They are just a bit more lumpy if you whip them with a hand held mixer. The potato ricer eliminates all lumps. It’s great for potatoes as well, of course 🙂
The pictures below are of half the recipe. Just right for 3 people with a little bit leftover (for tomorrow, cold, yum!) But I have written the recipe in the full amount with 1/2 measures in parenthesis.
Sweet Potato Puree with Smoked Paprika Gourmet November 2005
3 pounds (1 1/2) sweet potatoes
2 ounces (1 ounce) butter , cut up
1/3 cup(1/2 of 1/3, beats me what that measurement is, sorry) heavy cream
1/4 teaspoon(1/8) sweet or hot smoked paprika
1/4 teaspoon (1/8) salt
1/8 teaspoon(1/16) cayenne
Preheat oven to 400 degrees.
Wash sweet potatoes and poke about 5-6 holes into each potato with a very sharp knife. Place sweet potatoes on shallow pan (rimmed cookie sheet or smaller) lined with aluminum foil. Don’t forget the aluminum foil. You will thank me. Place in oven and bake for 1 hour to 1 hour and 15 minutes until very soft when inserted with a sharp knife.
Place butter, paprika, salt and cayenne into a medium bowl. Place ricer over bowl.
When potatoes are done, place on a cutting board. Working with one potato at a time (they are very hot), with a serrated knife, cut off ends. Then slice the skin once down the potato with the serrated knife. Carefully peal away the skin, using just the knife if possible. Sometimes I very quickly grab the skin and pull it off. Once all the skin is off, slice potato into 5 to 6 thick slices and place into ricer. Process potato using ricer. Do this with each sweet potato.
When finished, mix everything together with a rubber spatula. Add the heavy cream and mix again.
Place into a microwave safe glass container and serve right away or cover and refrigerate until ready to serve, microwaving for 1-2 minutes until hot.
sweet potatoes ready to peel, butter, paprika, salt, and cayenne in bowl

peeling the potato:

processing with potato ricer:

one down:

mixing dry ingredients, butter and riced sweet potatoes, then adding heavy cream:

place in microwaveable dish:
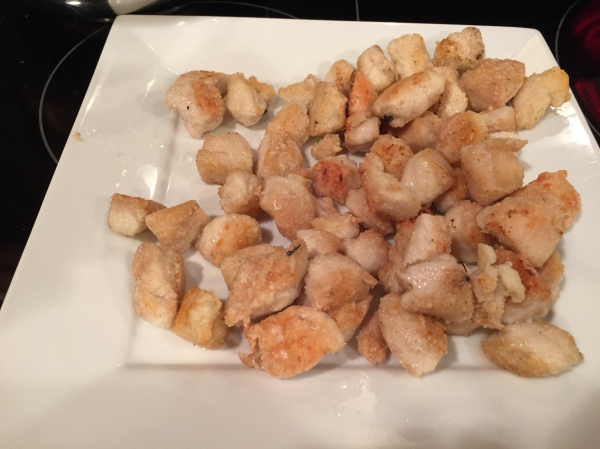
yum ( served them with breaded chicken tenders and peas):

Chewy Chocolate Chip Cookie Bars

This cookie is from David Lebovitz , one of my favorite blogs. Such a great writer. And delicious recipes.
Using good milk chocolate is really essential for this cookie. David uses Guittard milk chocolate wafers but I would have to send away for those, not really my favorite thing to do. So I perused my Shoprite candy bar section and found out that Lindt Milk Chocolate has the requisite 30% plus cocoa solids. A little more expensive but I think worth it and readily available. Each Lindt bar is 125 grams. So you will need 3 bars to get the required 255 grams. I have no problem with this because I happen to love their chocolate and am happy to have leftover. But it’s such a little bit more that you need from that 3rd bar that I think you could certainly just use 2 bars and you would be just as happy with the results. Cut the bars into chunks using the lines that are already on the bar.
I also substituted sweetened coconut for the unsweetened. I may try the unsweetened next time. Probably in the organic section of the supermarket. But I was pleased with the results from the sweetened.
When measuring out the ingredients I did use the gram option. If you don’t have a scale, this is not possible and the alternative is listed. But I liked it. Especially for some of the ingredients like cranberries and coconut, which I think are not as accurate using measuring cups.
I think my 9 x 13 pan may be a little too big (certainly old and not in very good condition, either. Maybe time for a new one.) because my cookies were a bit skinnier than Davids.
Baking time: 20-23 minutes if you like them soft, 25-30 minutes for a bit more crispiness, depending on how you like them.
For some reason my link to David’s recipe did not work out well. As you can see, it’s in http form. But it’s important that you read his because there are things you might want to change about the ingredients to suit your taste and also because he’s so damn interesting :).
Chewy Chocolate Chip Cookie Bars http://www.davidlebovitz.com/2016/01/chewy-chocolate-chip-cookie-bars-recipe/
4 ounces butter, softened
1-1/3 cups flour (160 grams)
1/2 teaspoon baking soda
1/2 teaspoon cinnamon
1/4 teaspoon salt
1 cup packed dark brown sugar (200 grams)
1 large egg
1 teaspoon vanilla
3 tablespoons milk, whole or any percentage
3/4 cup dried cranberries (90 grams) David also suggests dried sour cherries
1 cup shredded sweetened coconut (90 grams) or unsweetened
3/4 cup old fashioned oats, like Quaker (60 grams)
1-1/2 cups (255 grams) Lindt Milk Chocolate (31% cocoa solids)
Preheat oven to 350 degrees. Spray a 9 x 13 baking pan with Pam Baking Spray.
Place flour, baking soda, cinnamon, salt in a small bowl and mix with a wire whisk. Place egg and vanilla in a small bowl. Measure out all other ingredients and set aside. Cut chocolate into small rectangles and place in medium bowl. Place butter in mixing bowl and start beating, either with a hand mixer or stand mixer.
While beating butter, add brown sugar and mix until soft, about 1 minute. Add egg/vanilla mixture and beat until light and fluffy, about 1-2 minutes. Add milk and beat for another 30 seconds. There is not alot of batter here, so stop the mixer and scrape the sides and bottom of the bowl to make sure everything is mixed in. The batter will definitely appear curdled after adding the milk but not to worry, all will be well once the other ingredients are added. Gradually add flour mixture and the rest of the ingredients: cranberries, coconut, oats and chocolate. Mix until just combined.
Place batter into prepared pan and push and smooth batter until spread evenly. Be patient. If you happen to have an off set spatula, this is very helpful. If not just keep on pushing and spreading batter into pan until even.
Place in oven and bake for 20 to 23 minutes, if you like them soft, 25 to 30 minutes if you like them more crispy. At 23 minutes the edge will pull away from the sides and be slightly more brown. The center will be soft but done. Baking them longer will make the center a bit more firm.
Remove from oven and let cool completely. Cut into squares. I used a pizza cutter to cut them into bars for the first time. Saw this on an Alton Brown brownie episode. The pizza cutter couldn’t go right to the edge of the pan, so I needed to cut it there with a sharp knife. But otherwise, it was pretty cool. I would do it that way again.
prepare pan:

Lindt Chocolate and cut up:


mis en place:

finished batter:

batter spread into pan:

out of the oven and cooling:

when completely cool, cut into bars:


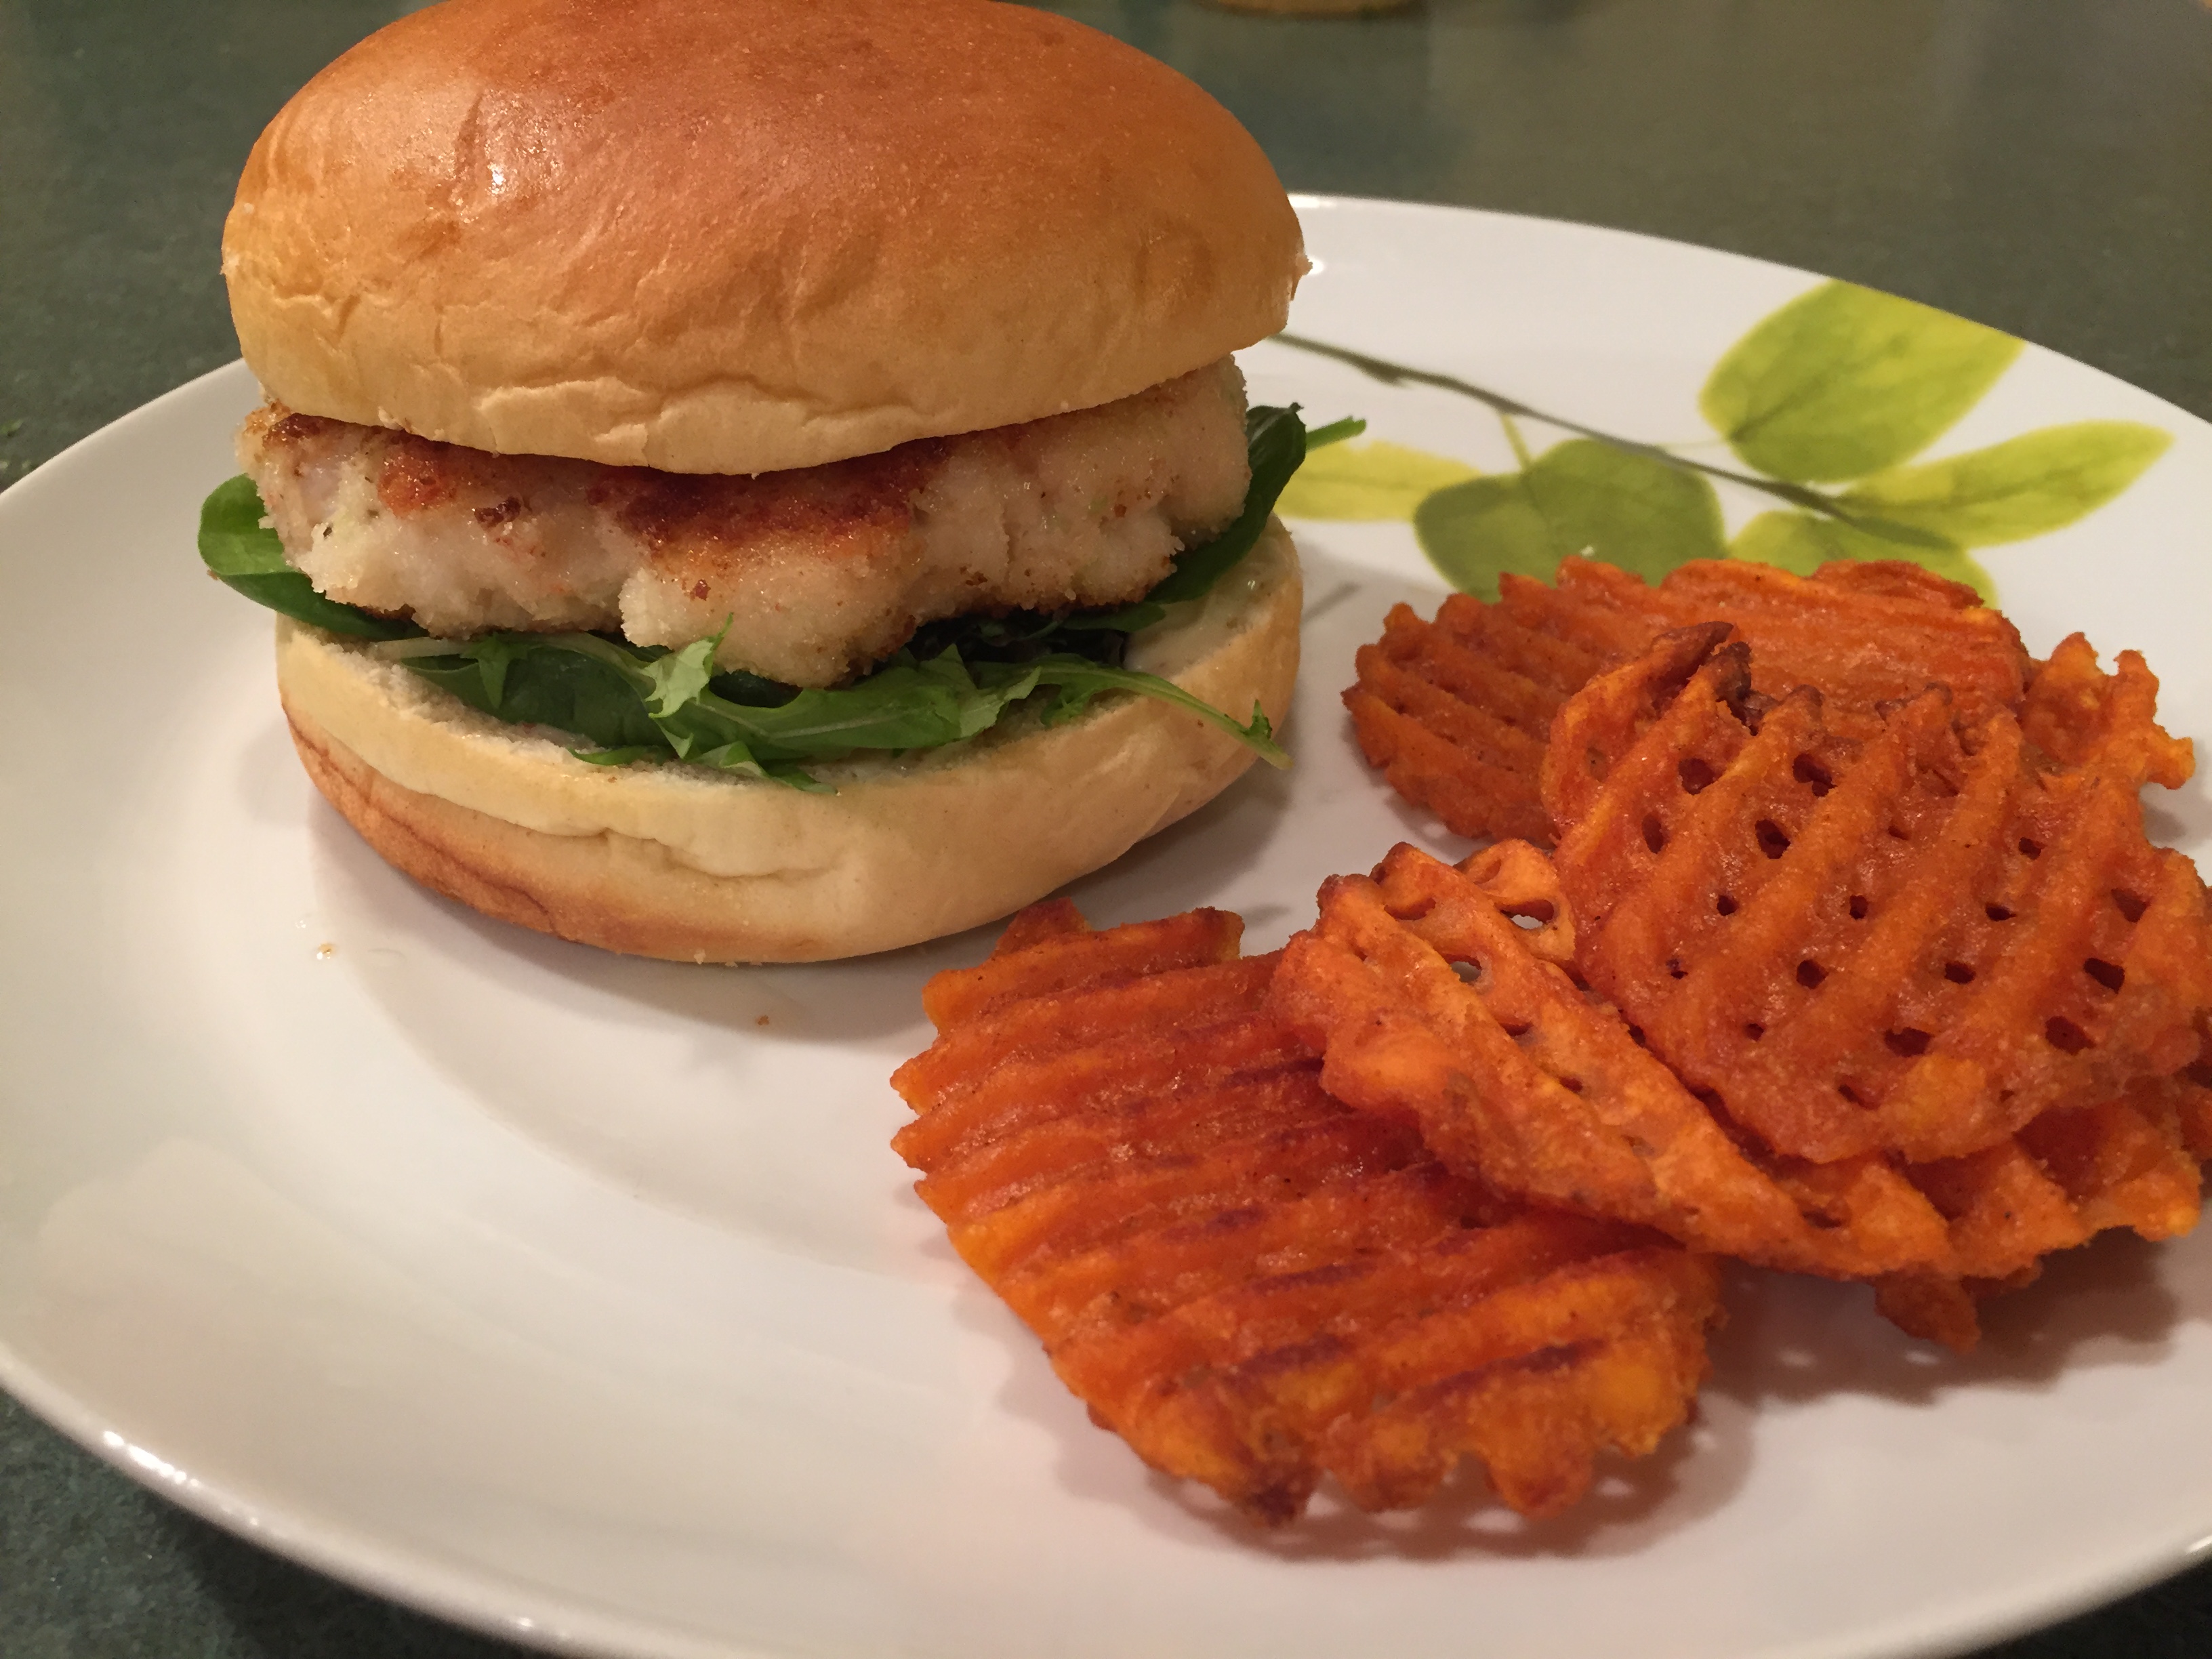
Shrimp Burgers
I was looking for a different recipe to make with shrimp than my usual stir fry or shrimp scampi. I found a shrimp burger recipe on Food Network but I was not pleased with the results. Then this recipe was posted on my America’s Test Kitchen subscription site and I was excited to try. It had similar ingredients to the Food Network recipe but with a unique twist: finely ground Panko breadcrumbs. Just this small change makes this a great recipe. I have made it 3 times and it is excellent, thumbs up from all my family, my best critics!!
This is a fairly easy weekday dinner possibility. The longest process was de-shelling and de-veining the defrosted frozen shrimp. But if there is anyway for you to get them fresh from your fish monger, already cleaned and de-veined, this recipe is a cinch. If you have to use frozen shrimp, you will need 1-3/4 plus pounds.
I bought Hellman’s Tartar Sauce, so I did not include their tartar sauce recipe here. I probably will make the tartar sauce from the recipe at some point, it sounds really yummy. But in the mean time, instructions are in the original recipe.
Shrimp Burgers (adapted ever so slightly from Cook’s Country via America’s Test Kitchen)
1 cup panko bread crumbs
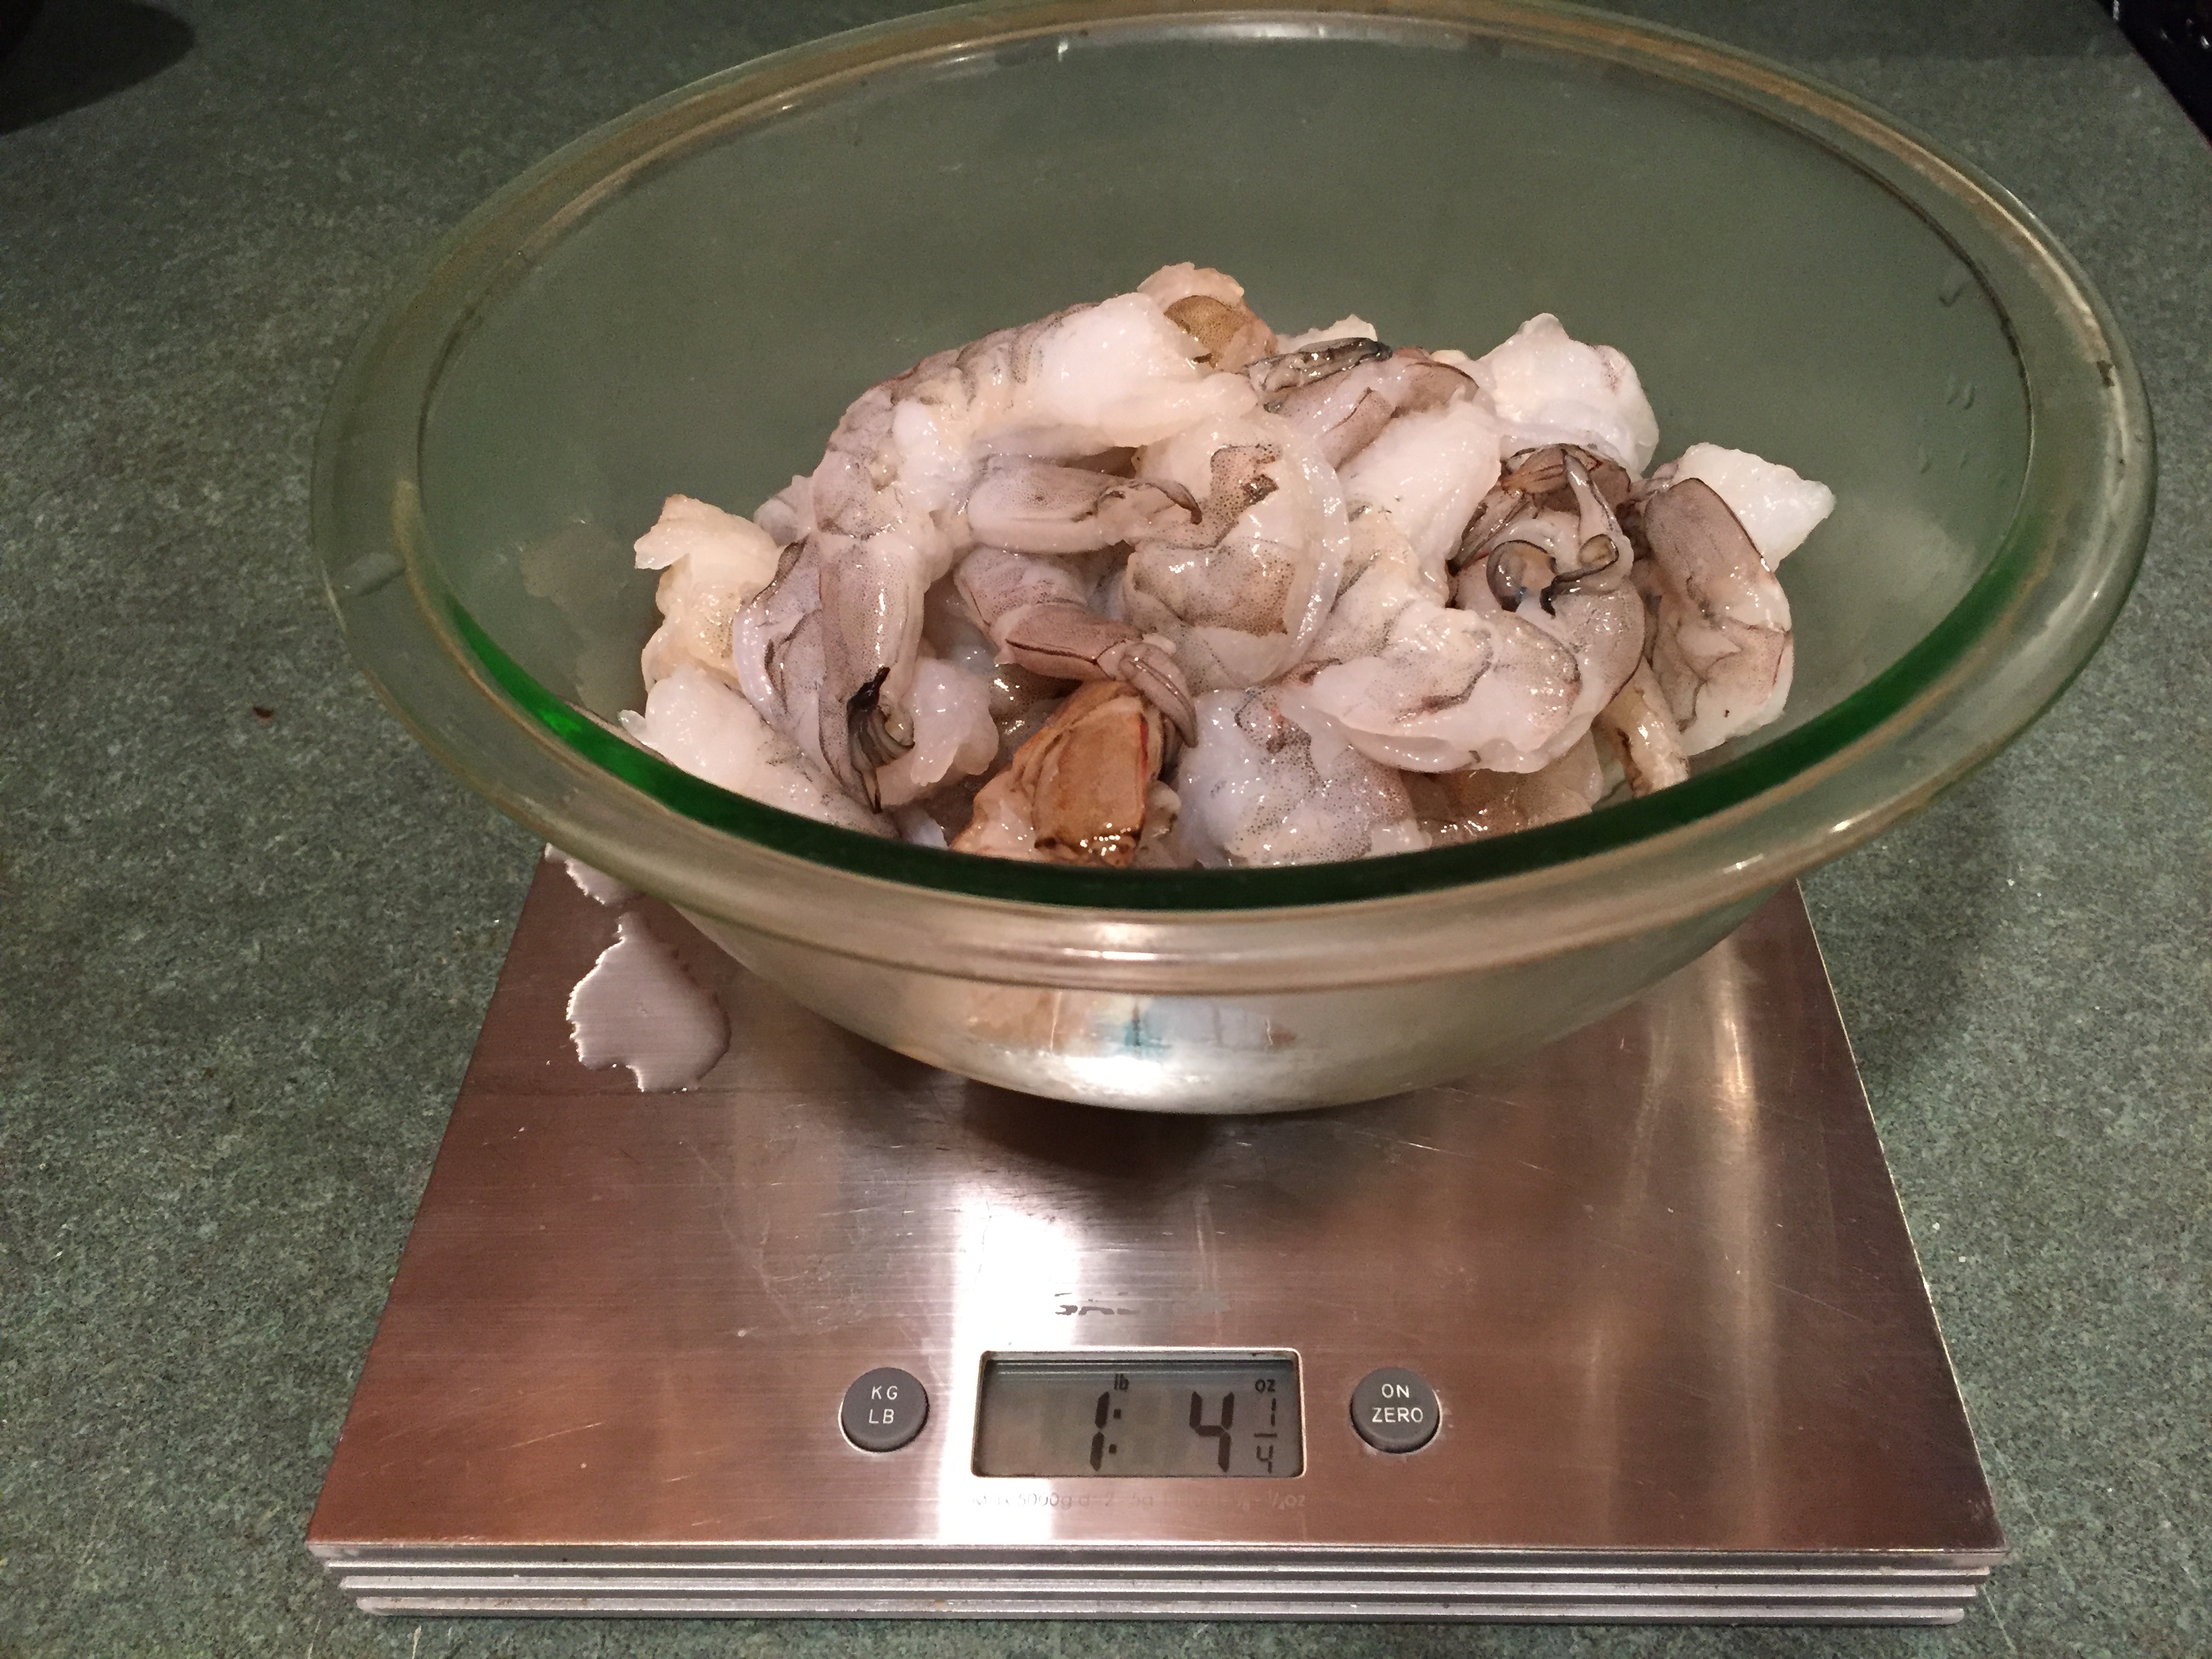
1-1/4 pounds peeled and deveined large shrimp (whatever size you can get, they suggest 26-30/lb. but I could only get 16-20/lb.)
2 tablespoons mayonnaise (I like Hellman’s)
1/4 teaspoon pepper
1/8 teaspoon salt
1/8 teaspoon cayenne pepper
1 bunch of scallions, very finely chopped
Vegetable oil
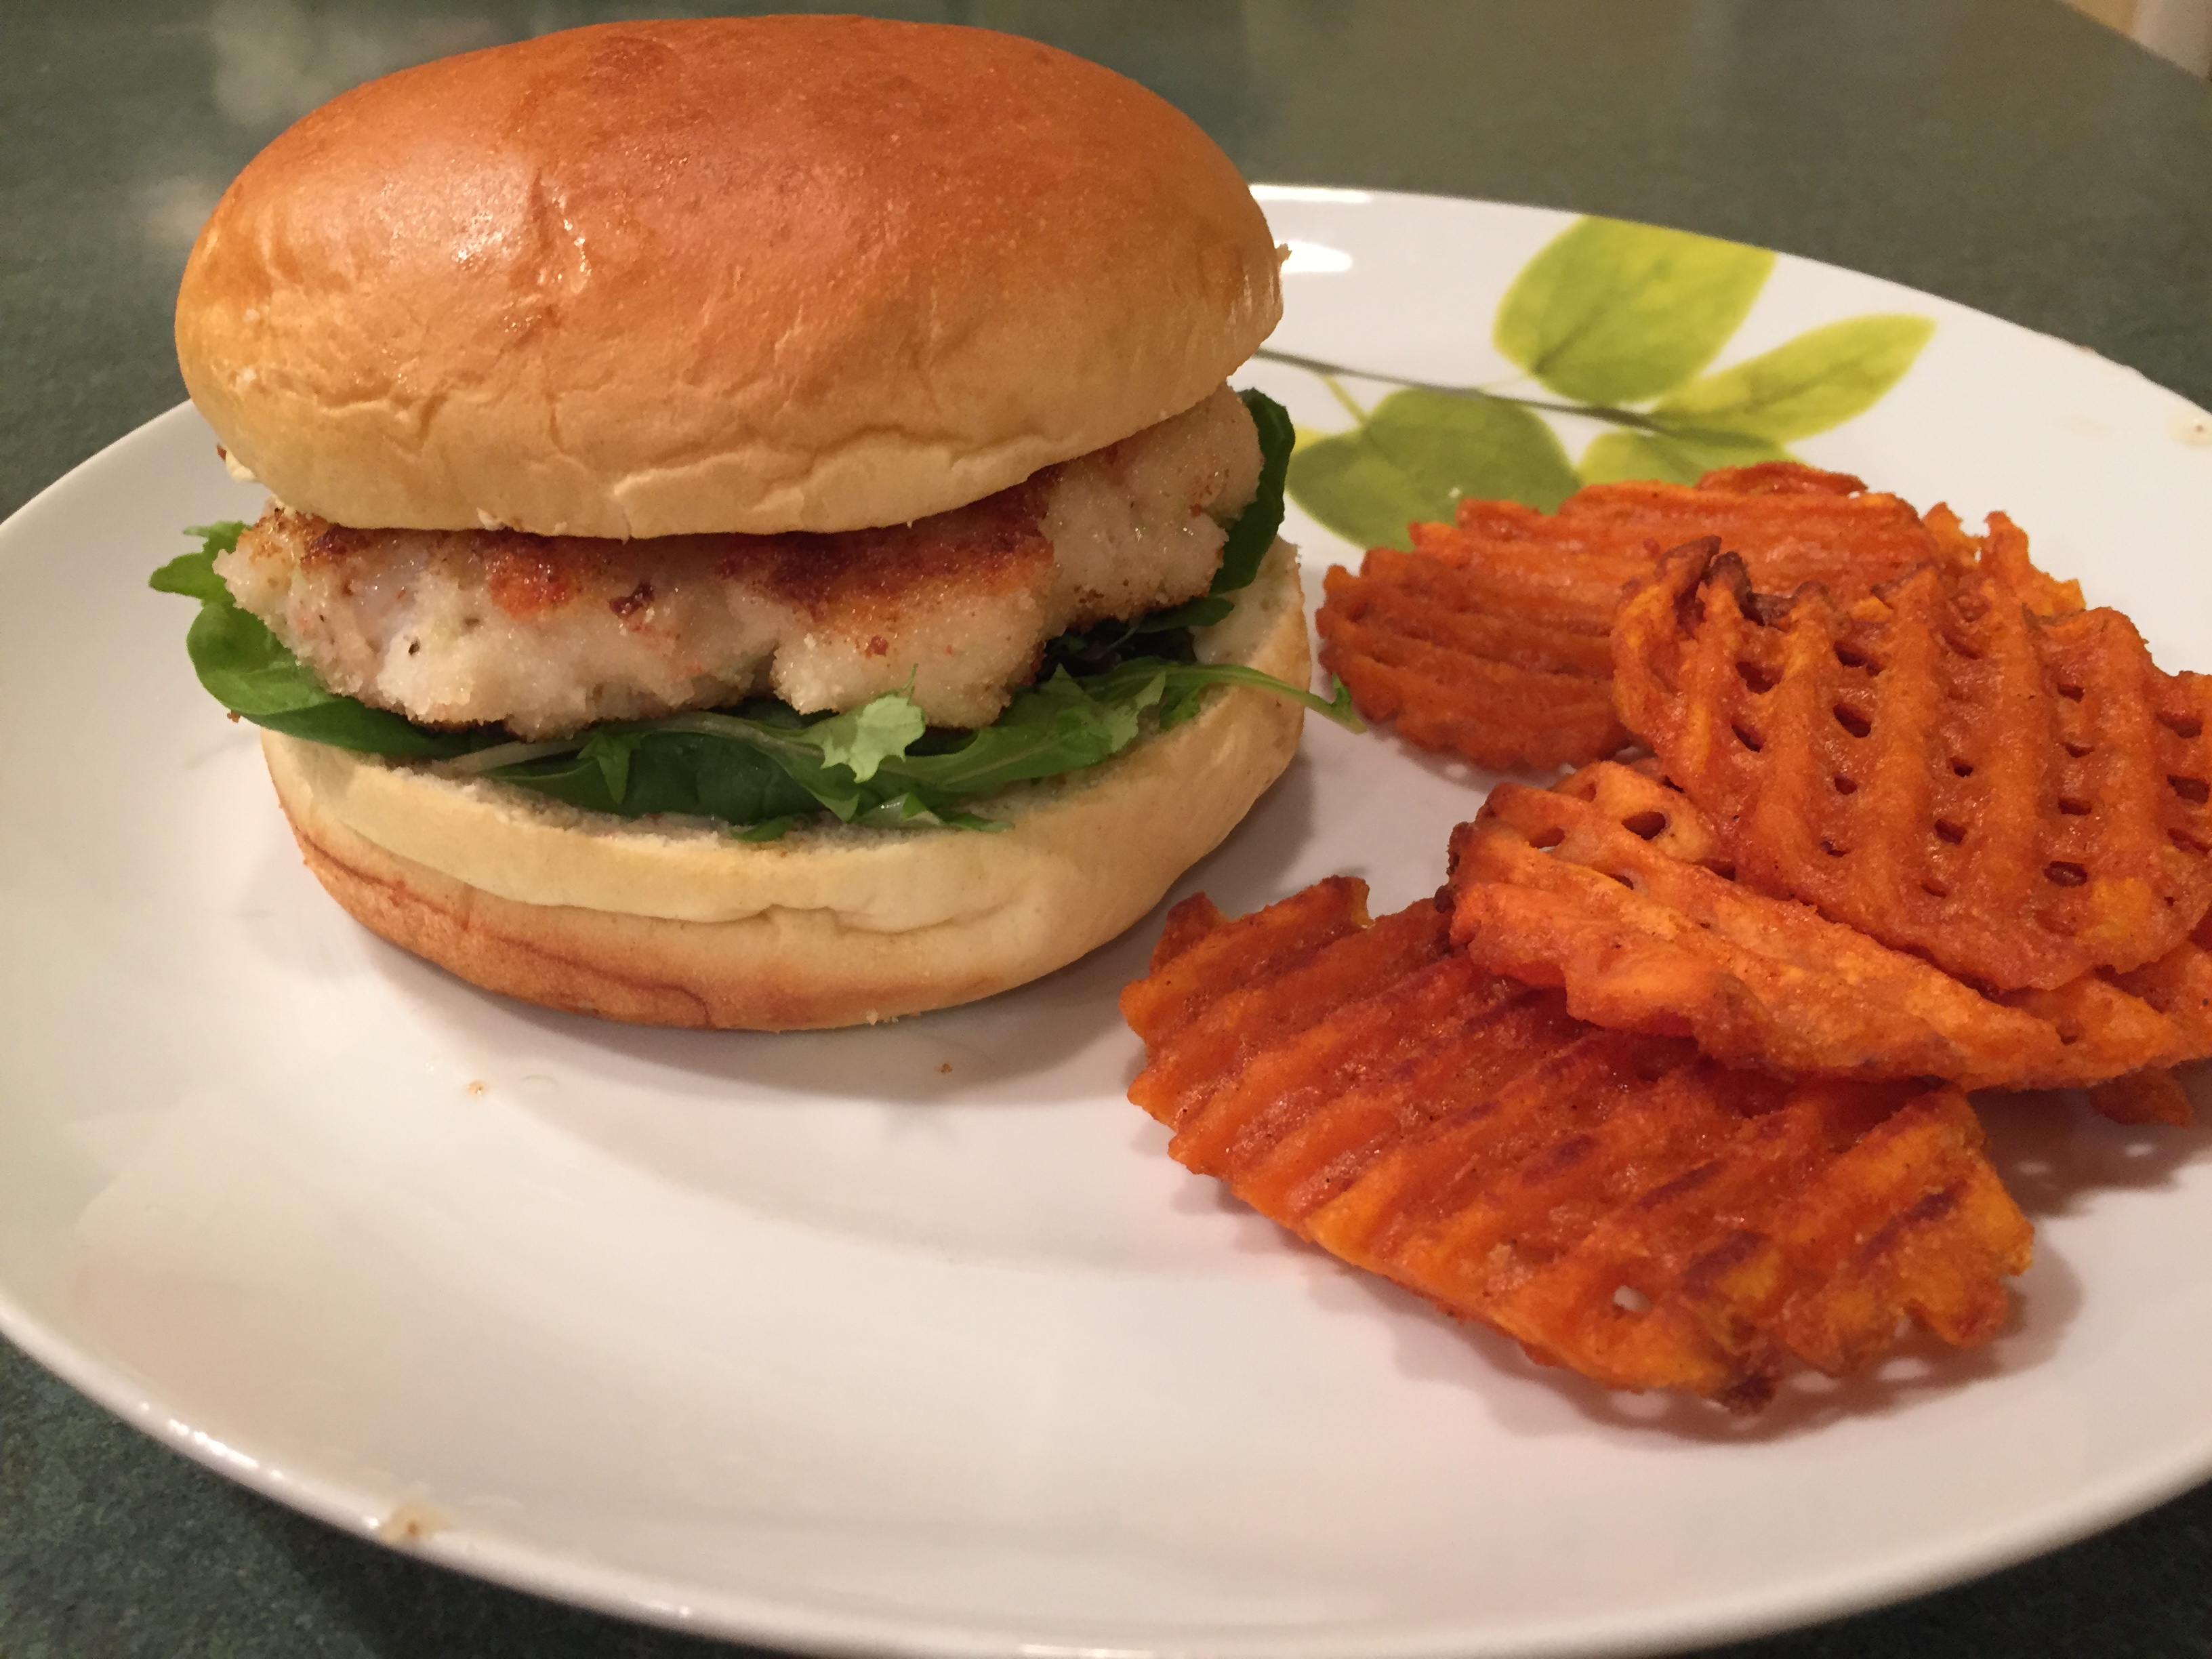
4 hamburger buns, toasted slightly (I used brioche hamburger buns, which I highly recommend. Very soft and delicious as compared to regular hamburger buns)
Lettuce (Bibb if it’s convenient but really any lettuce will be nice. I used a mixed lettuce for these.)
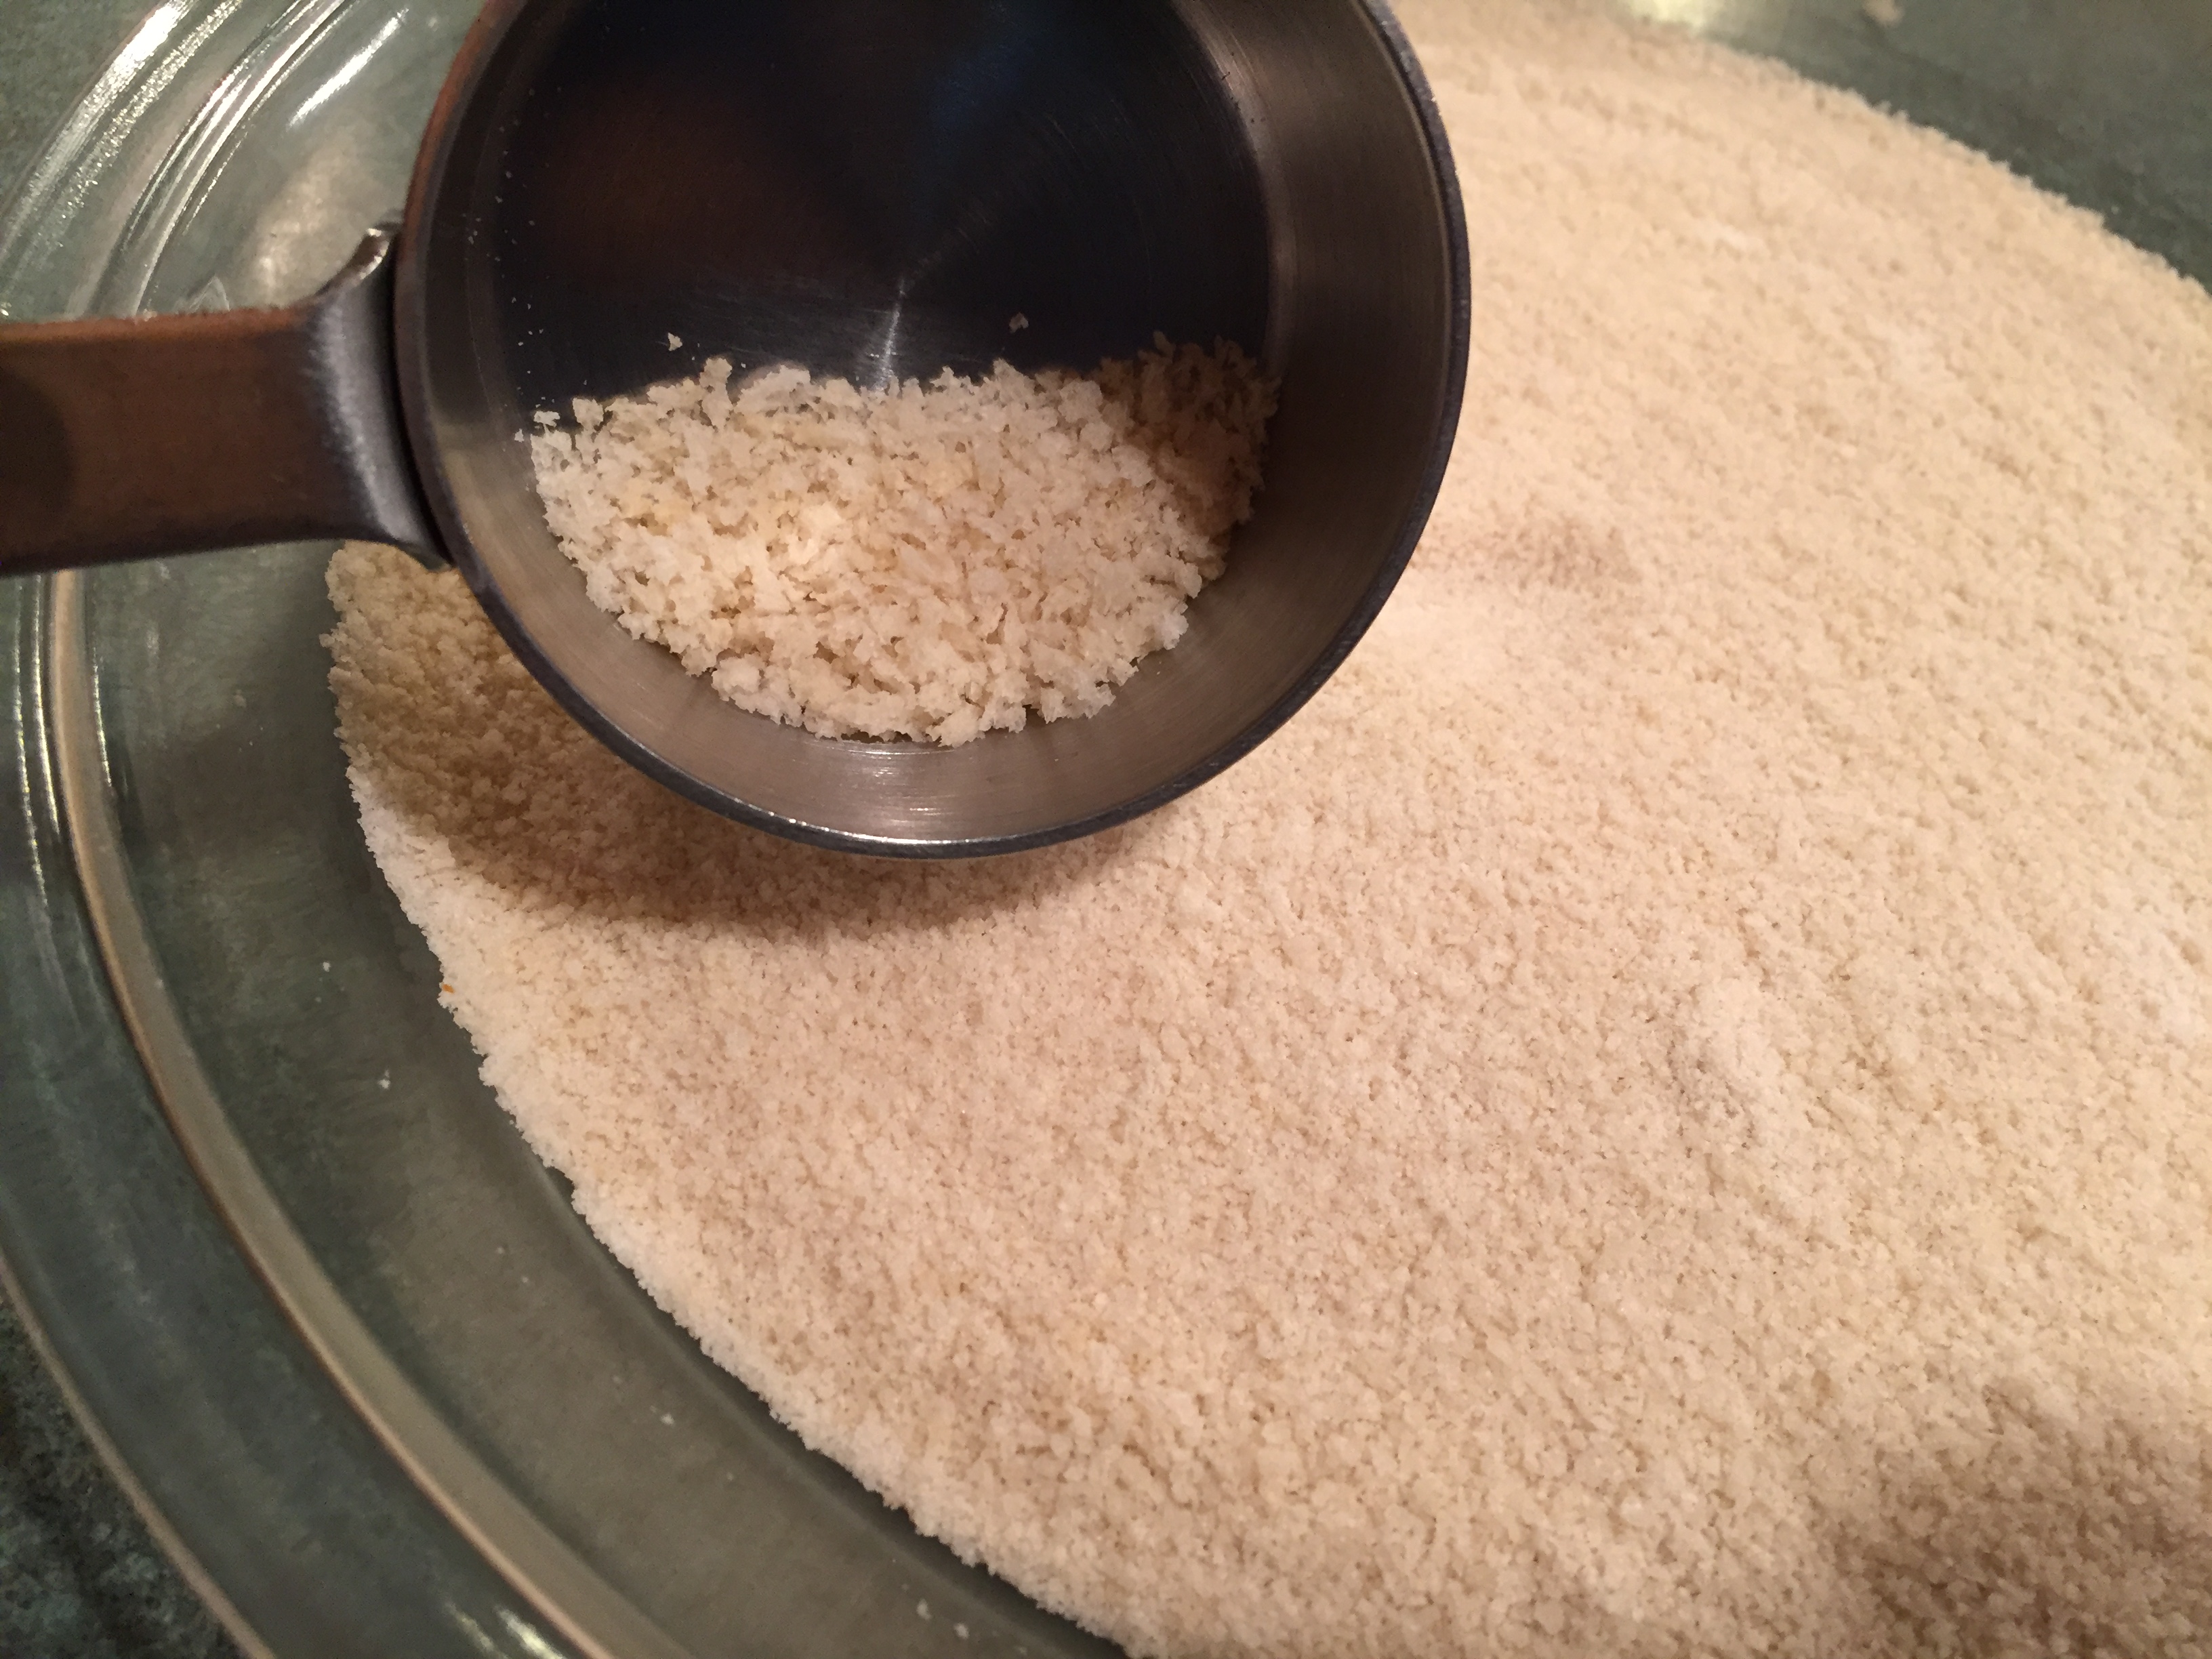
Pulse panko in food processor until finely ground. Place panko in a shallow dish (like a glass pie dish).
Finely chop the bunch of scallions and set aside.
Place 1 cup of shrimp, mayonnaise, pepper, salt and cayenne pepper into empty food processor and finely chop using the pulse button. You will need to take off the top to look at it. It may take 8 or more pulses to achieve this. If there is a somewhat whole shrimp in there, don’t worry it will be ok.
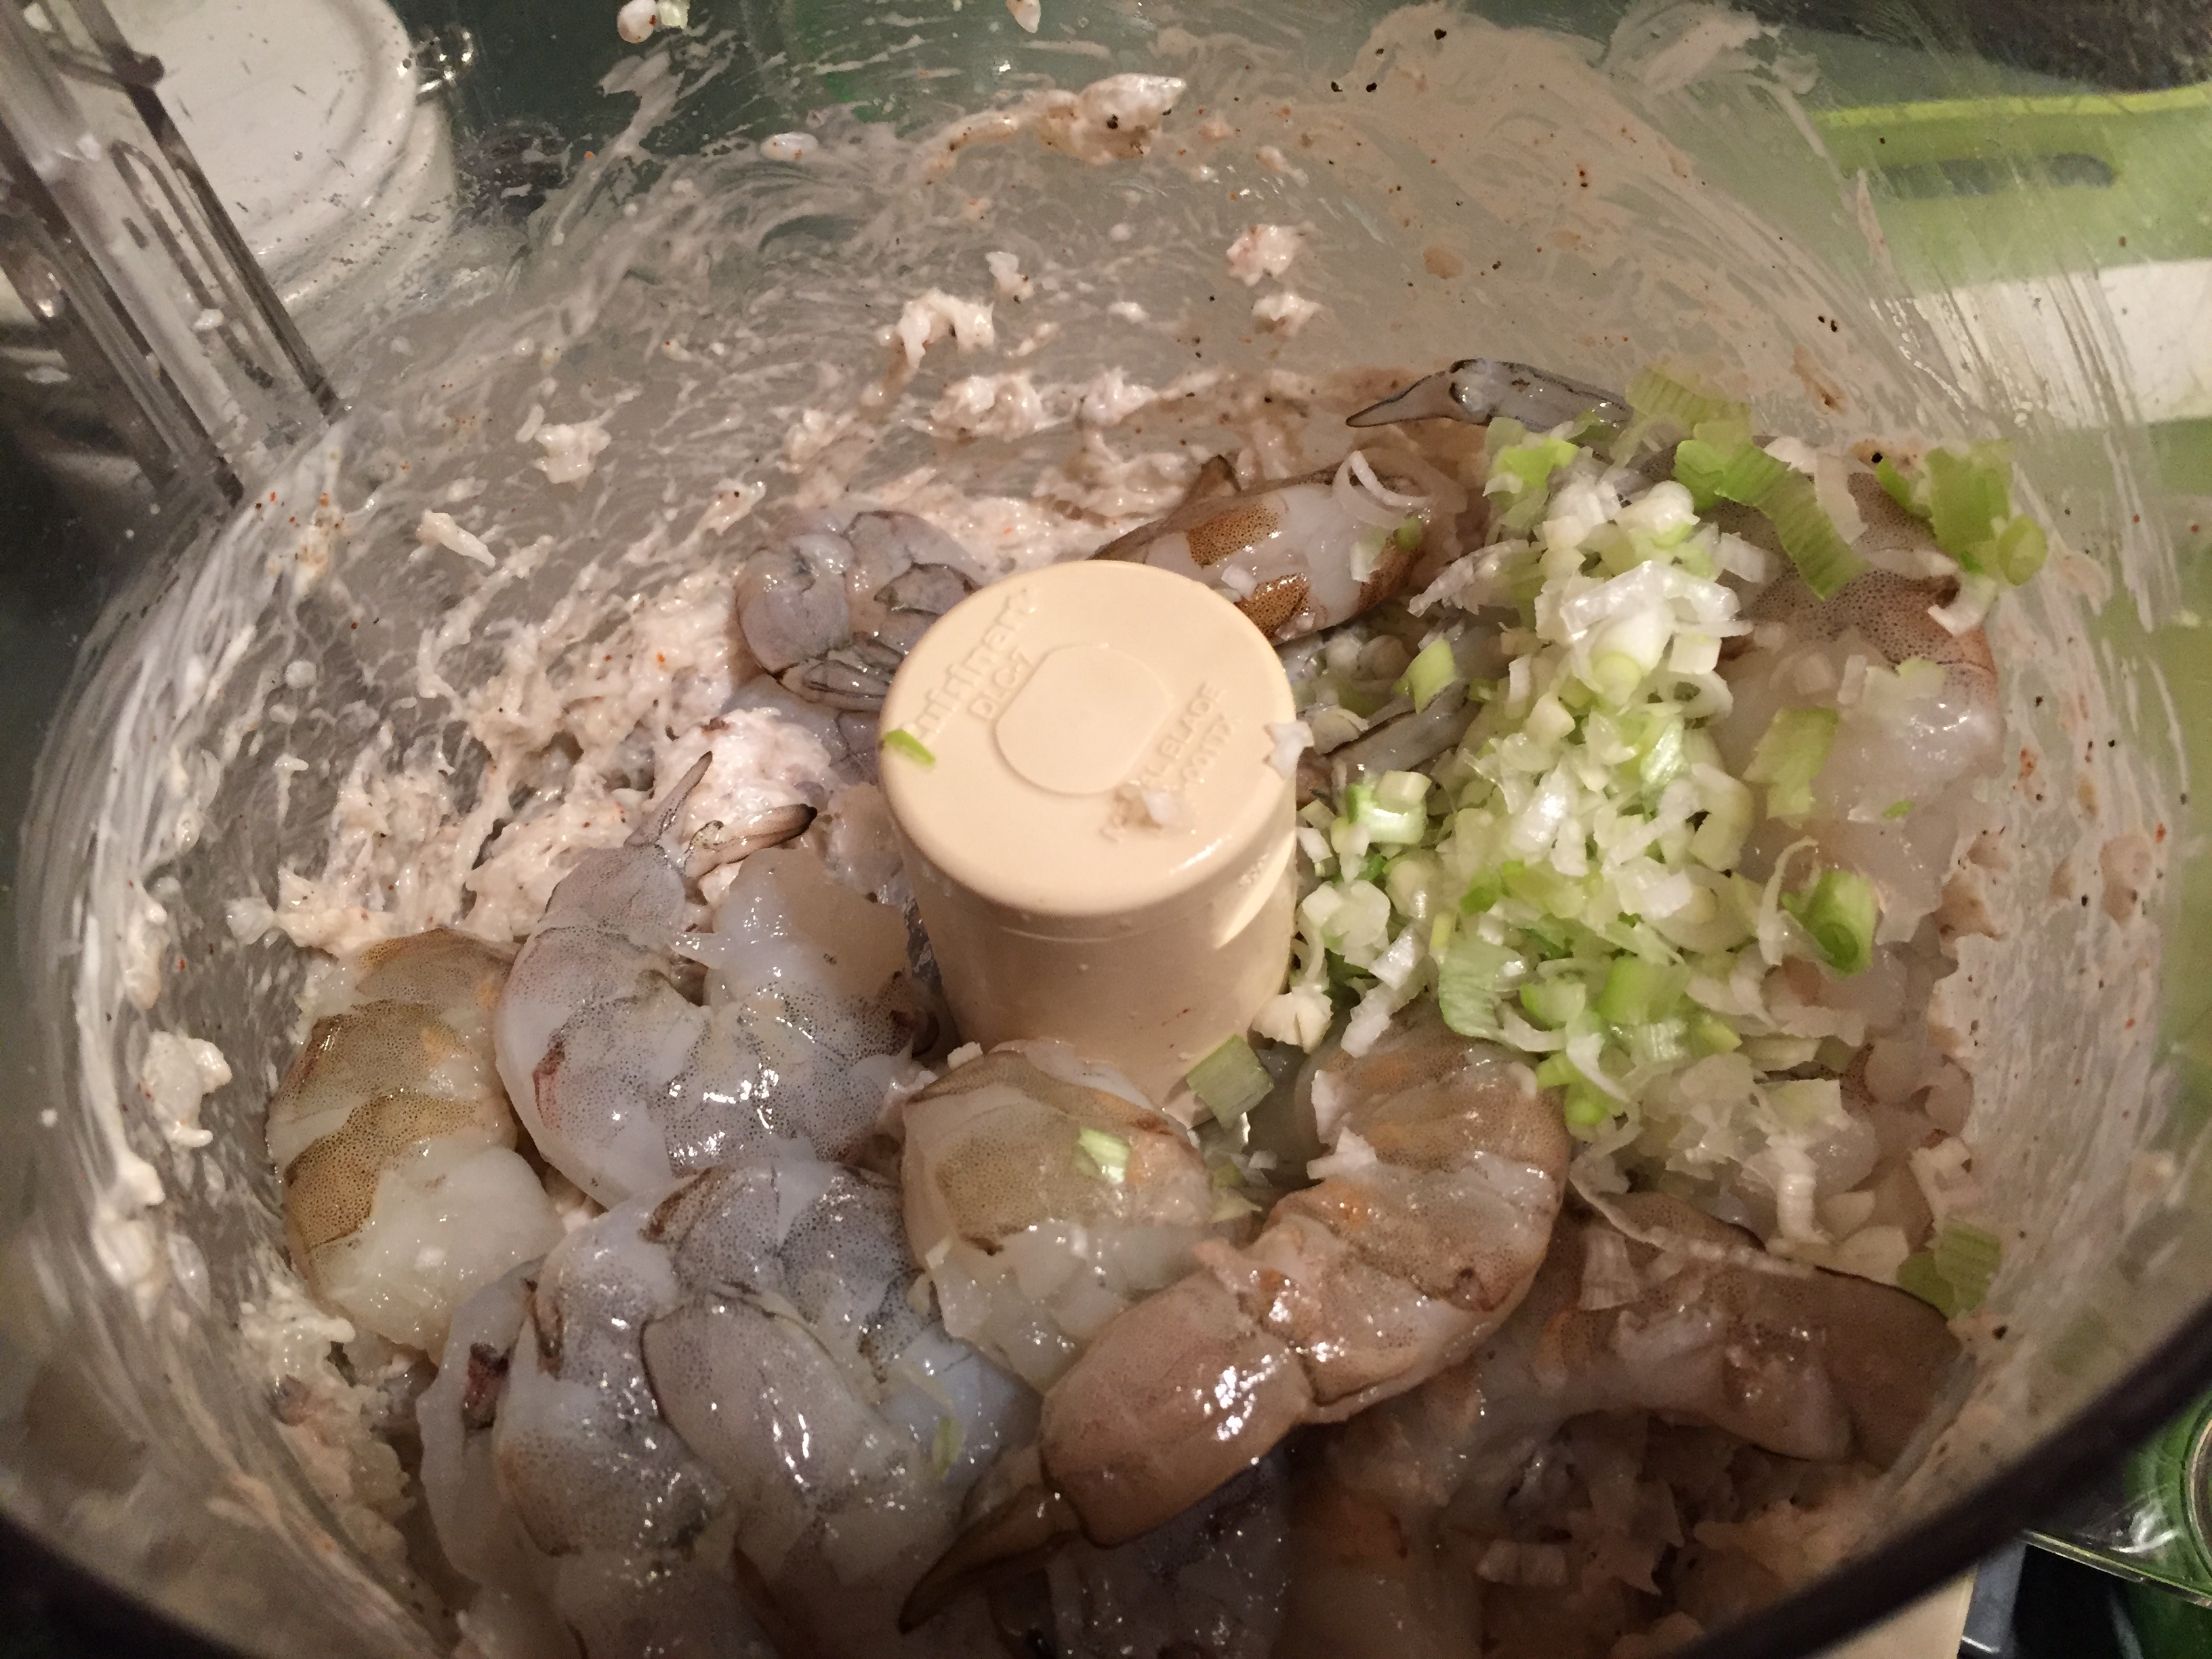
Add the rest of the shrimp and the finely chopped scallions and pulse until coarsely chopped, 4 or more pulses. If not sure, take cover off and look and pulse a couple more times if needed.
Place mixture into a bowl, mixing if necessary to make sure the scallions have been dispersed evenly.
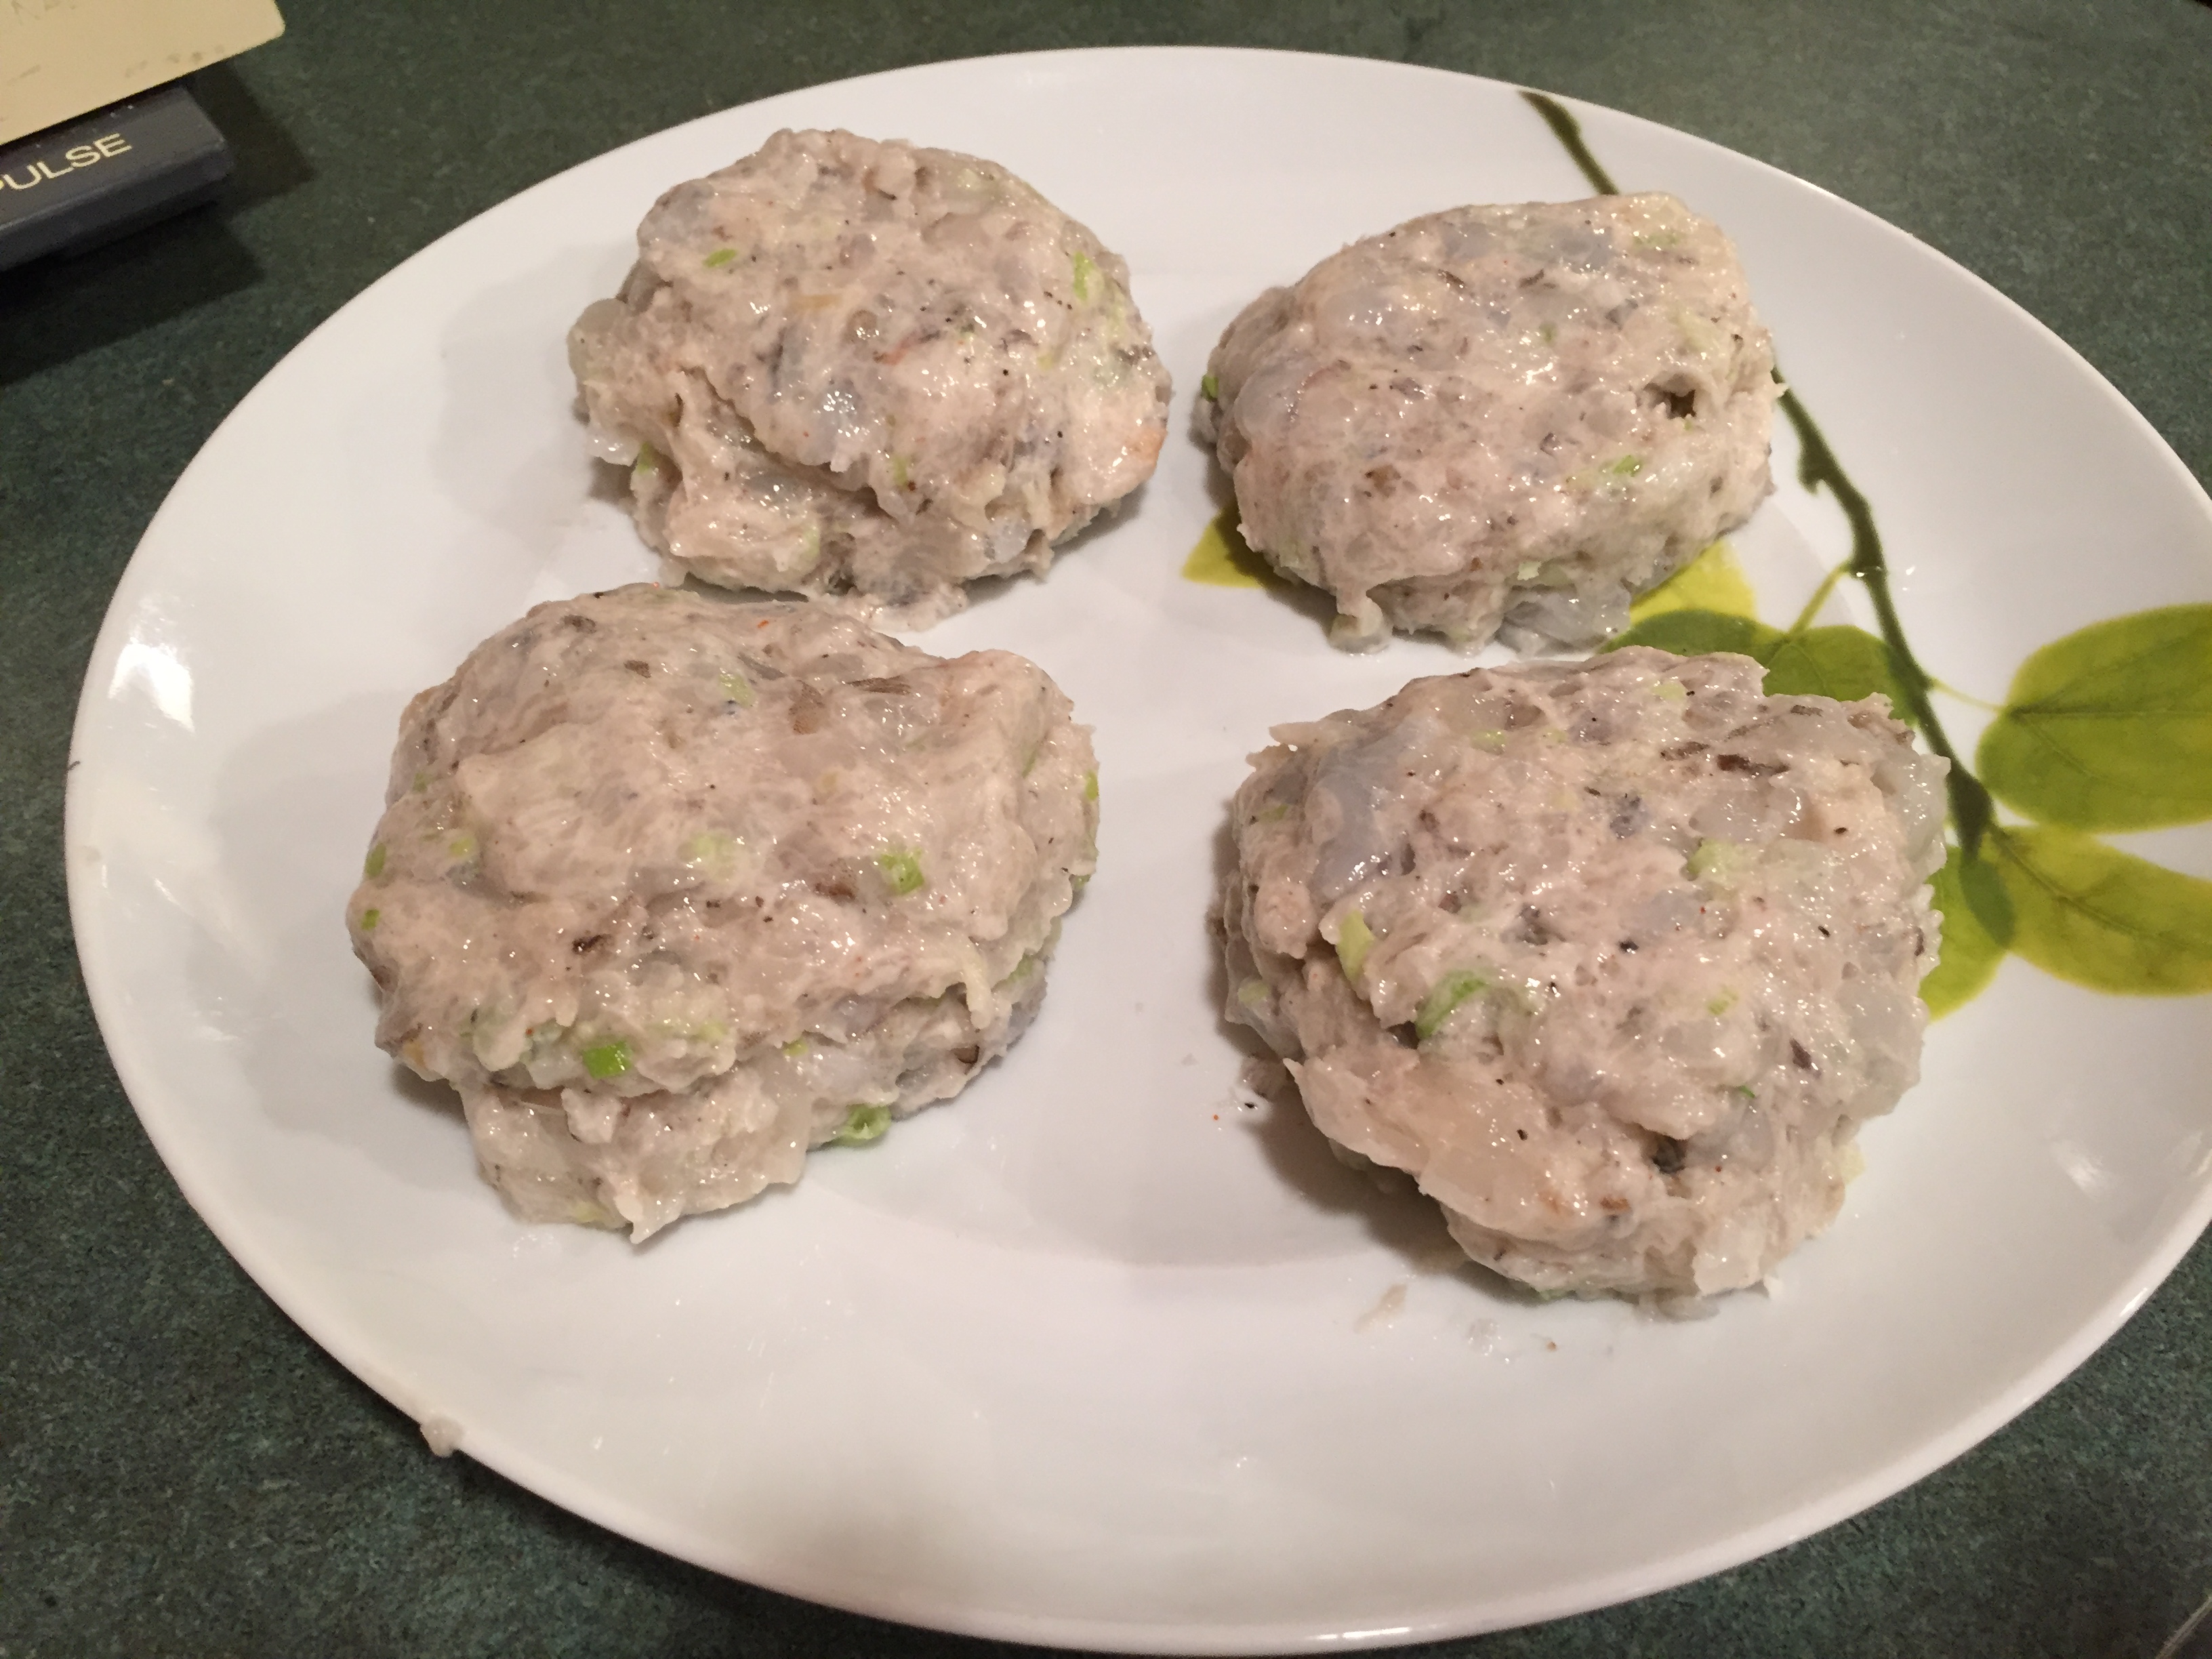
Divide shrimp mixture into four, 1/2 cup mounds onto a plate. At this point, you can cover lightly with wax paper and put them in the refrigerator until you are ready to cook them.
Just a word here: finely chopped shrimp is VERY sticky. This is why there is no need for a binder in the recipe like eggs. I highly recommend rinsing your food processor right away after using it plus any other utensils you have used. Otherwise things might get out of hand ![]()
Set the largest non-stick fry pan you have, on medium heat. Pour in about 1 tablespoon of vegetable oil and let heat up. Take one mound of shrimp mixture and place in shallow dish with Panko. Turn shrimp mound gently over and pat into a 1/2 inch to 3/4 inch patty. I find this immensely easier once the shrimp is covered with Panko crumbs. Place on a clean dish. Continue with the other 3 shrimp mounds.
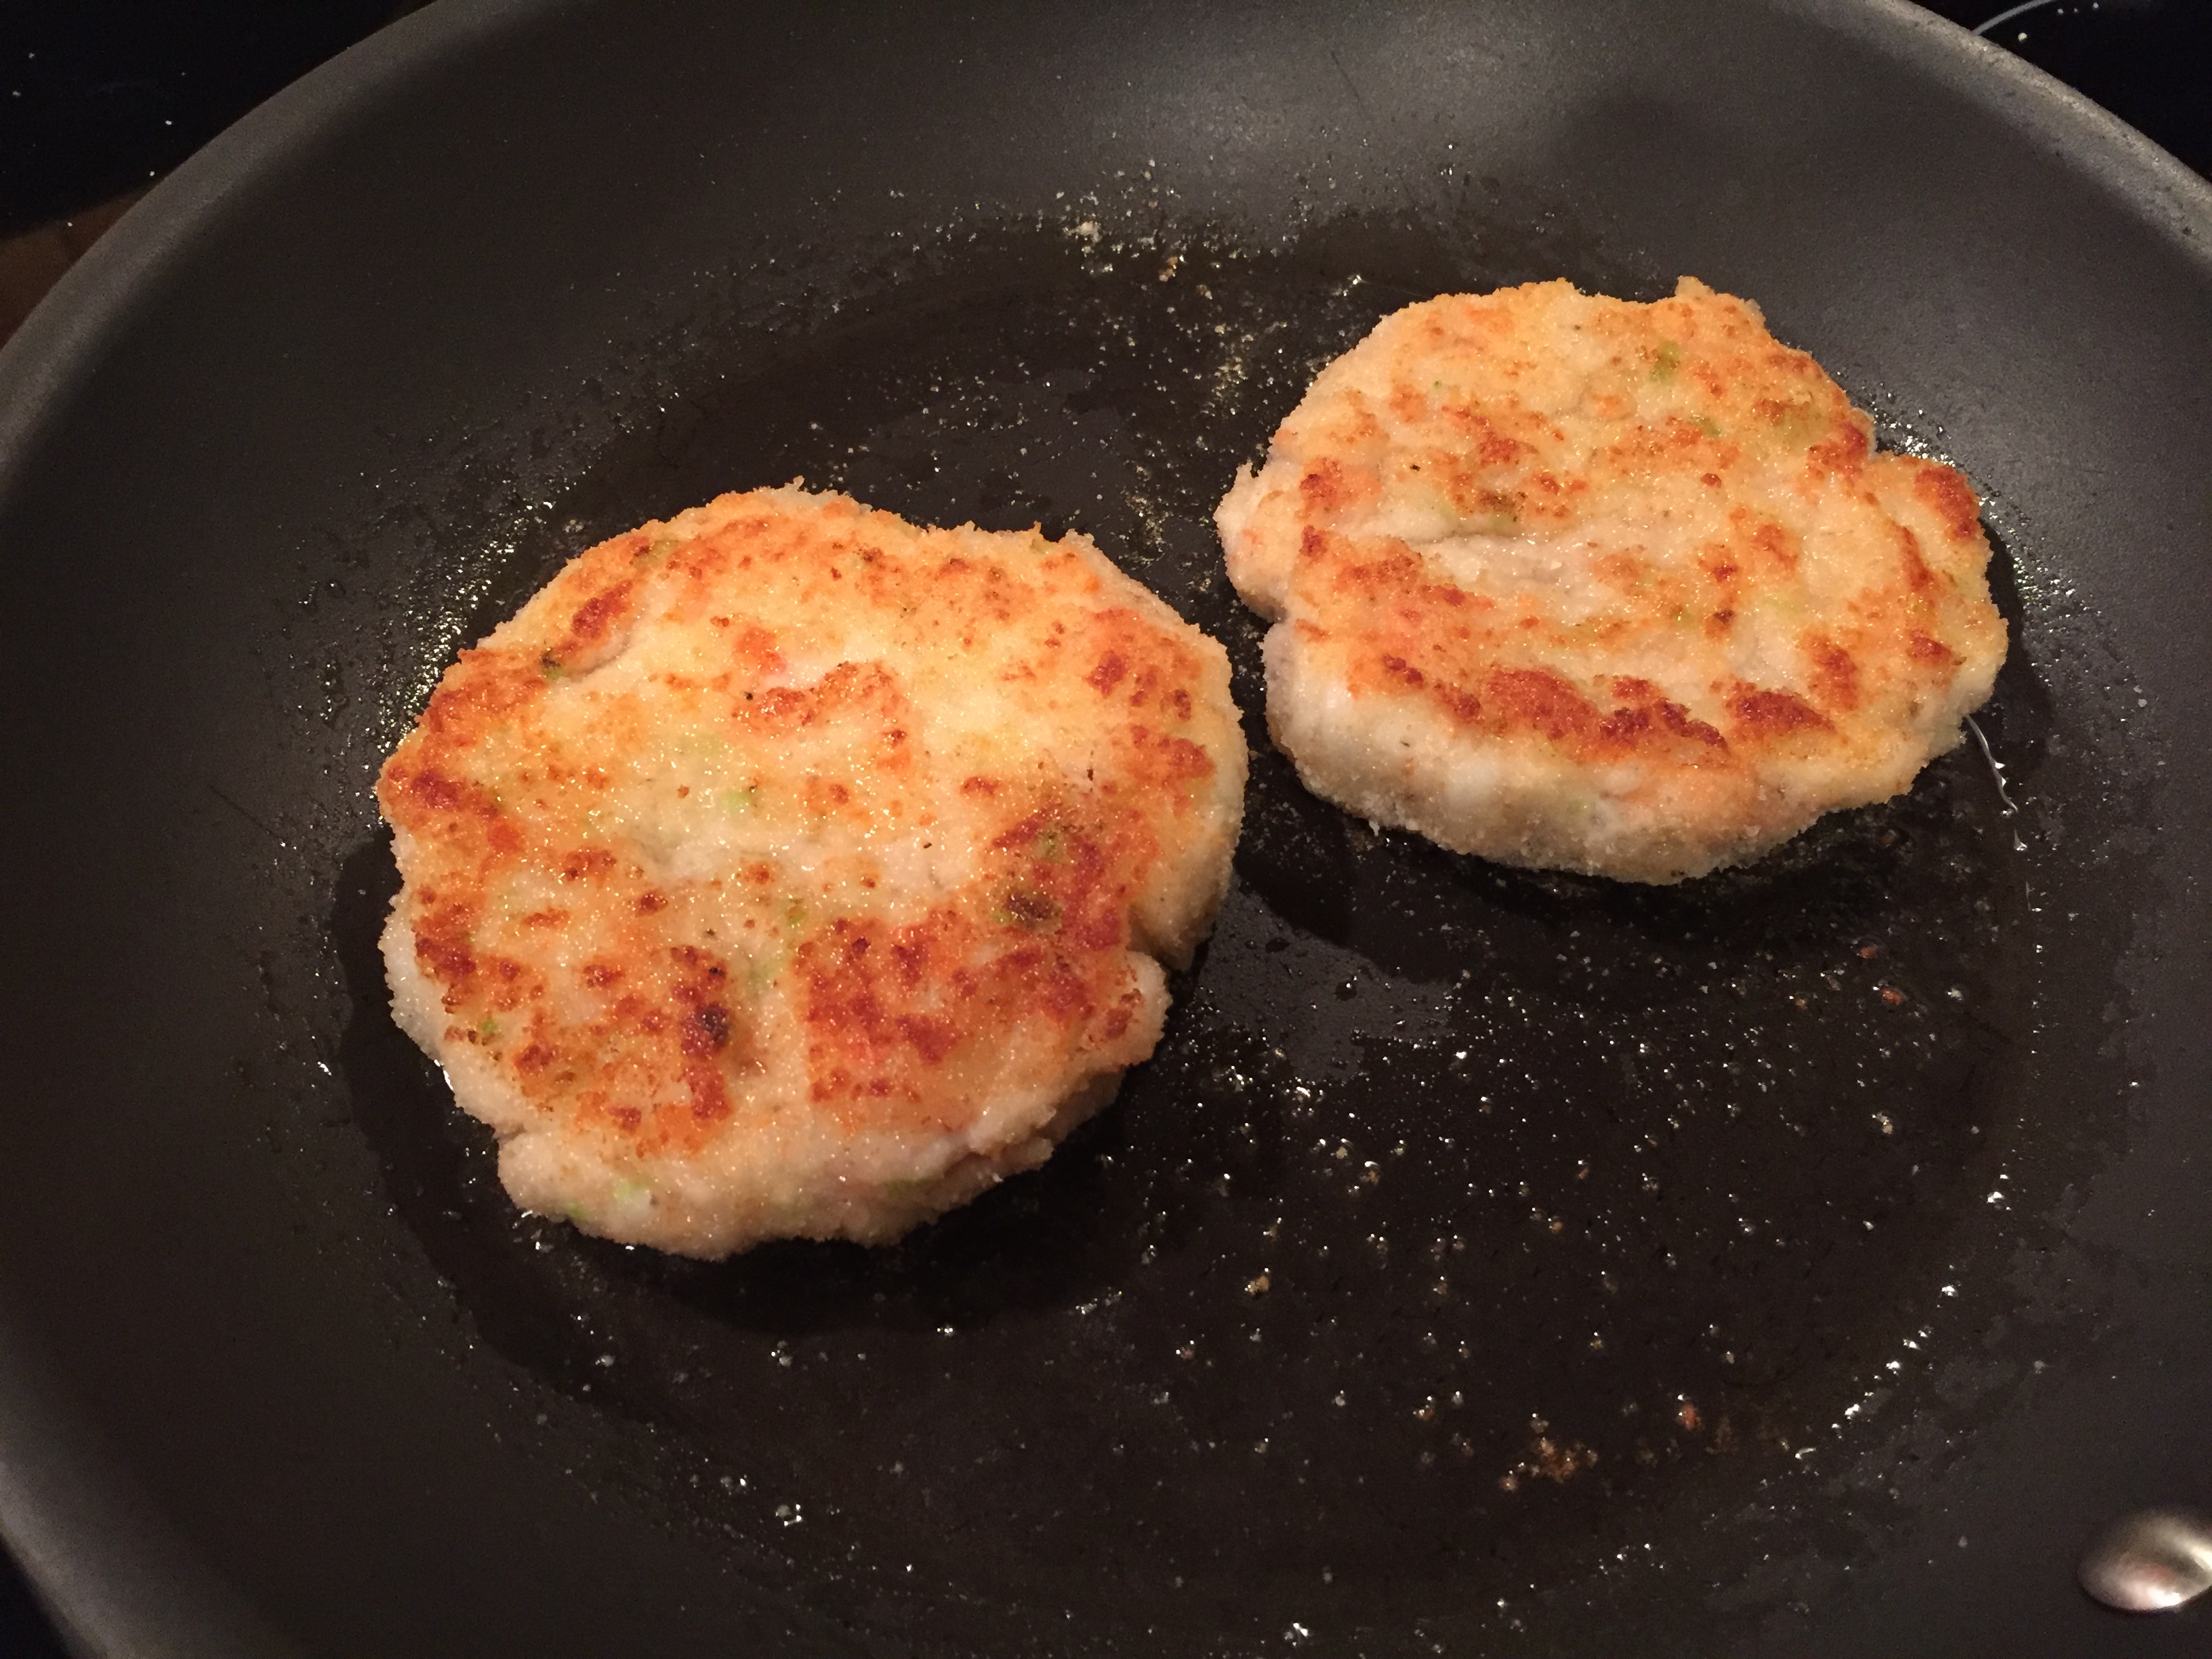
Place shrimp patties into fry pan. I could only fit 2 into my fry pan. Cook for 3-5 minutes until golden brown (you may have to reduce the heat a bit so that they don’t burn, just keep an eye on them) and flip over gently onto other side. Cook for another 3-5 minutes. Remove patty onto a another clean plate. Repeat with other patties, if need be, adding more oil.
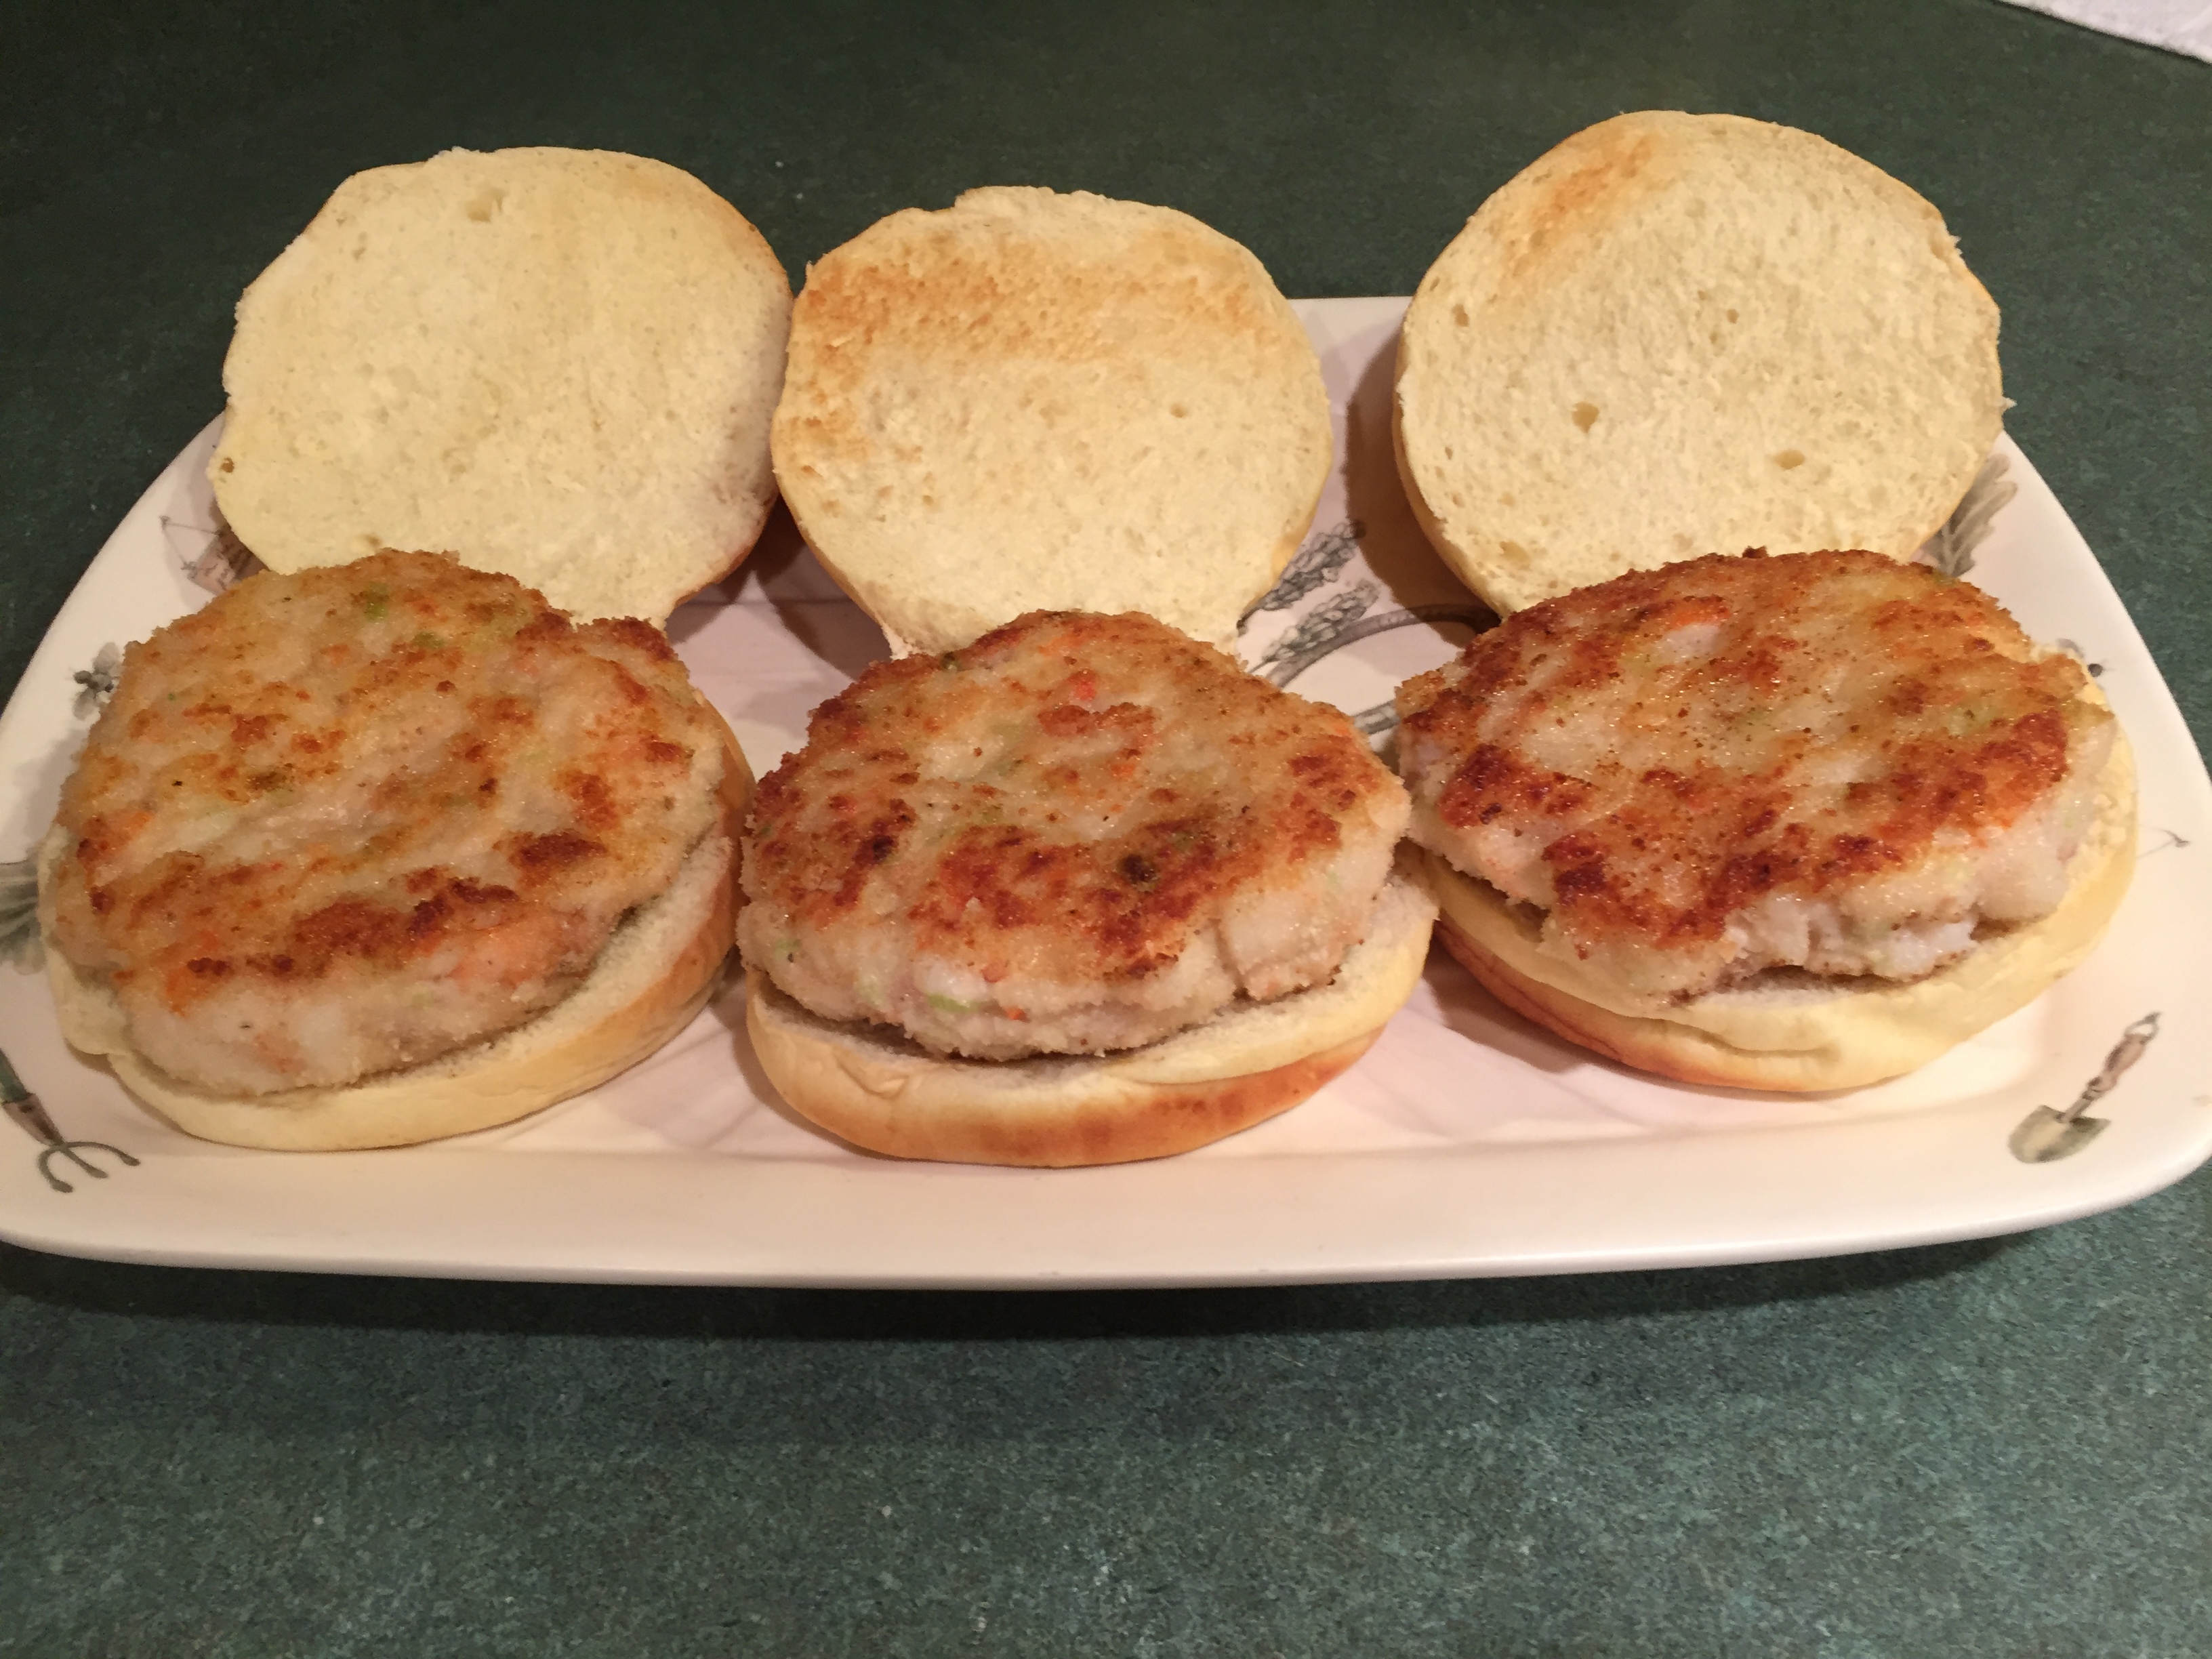
When patties are done, place on toasted rolls. Serve with lettuce and tartar sauce. I also served them with french fries and sweet potato fries. Yummy!
1-1/4 pounds of peeled and deveined shrimp:
1 cup shrimp, mayo, pepper, salt, cayenne pepper:

add the rest of the shrimp and scallions:
place in bowl:

4, 1/2 cup mounds:
panko finely ground (unground panko is in the measuring cup):
patties formed after dreding in Panko crumbs:

nicely browned:
Zucchini Muffins
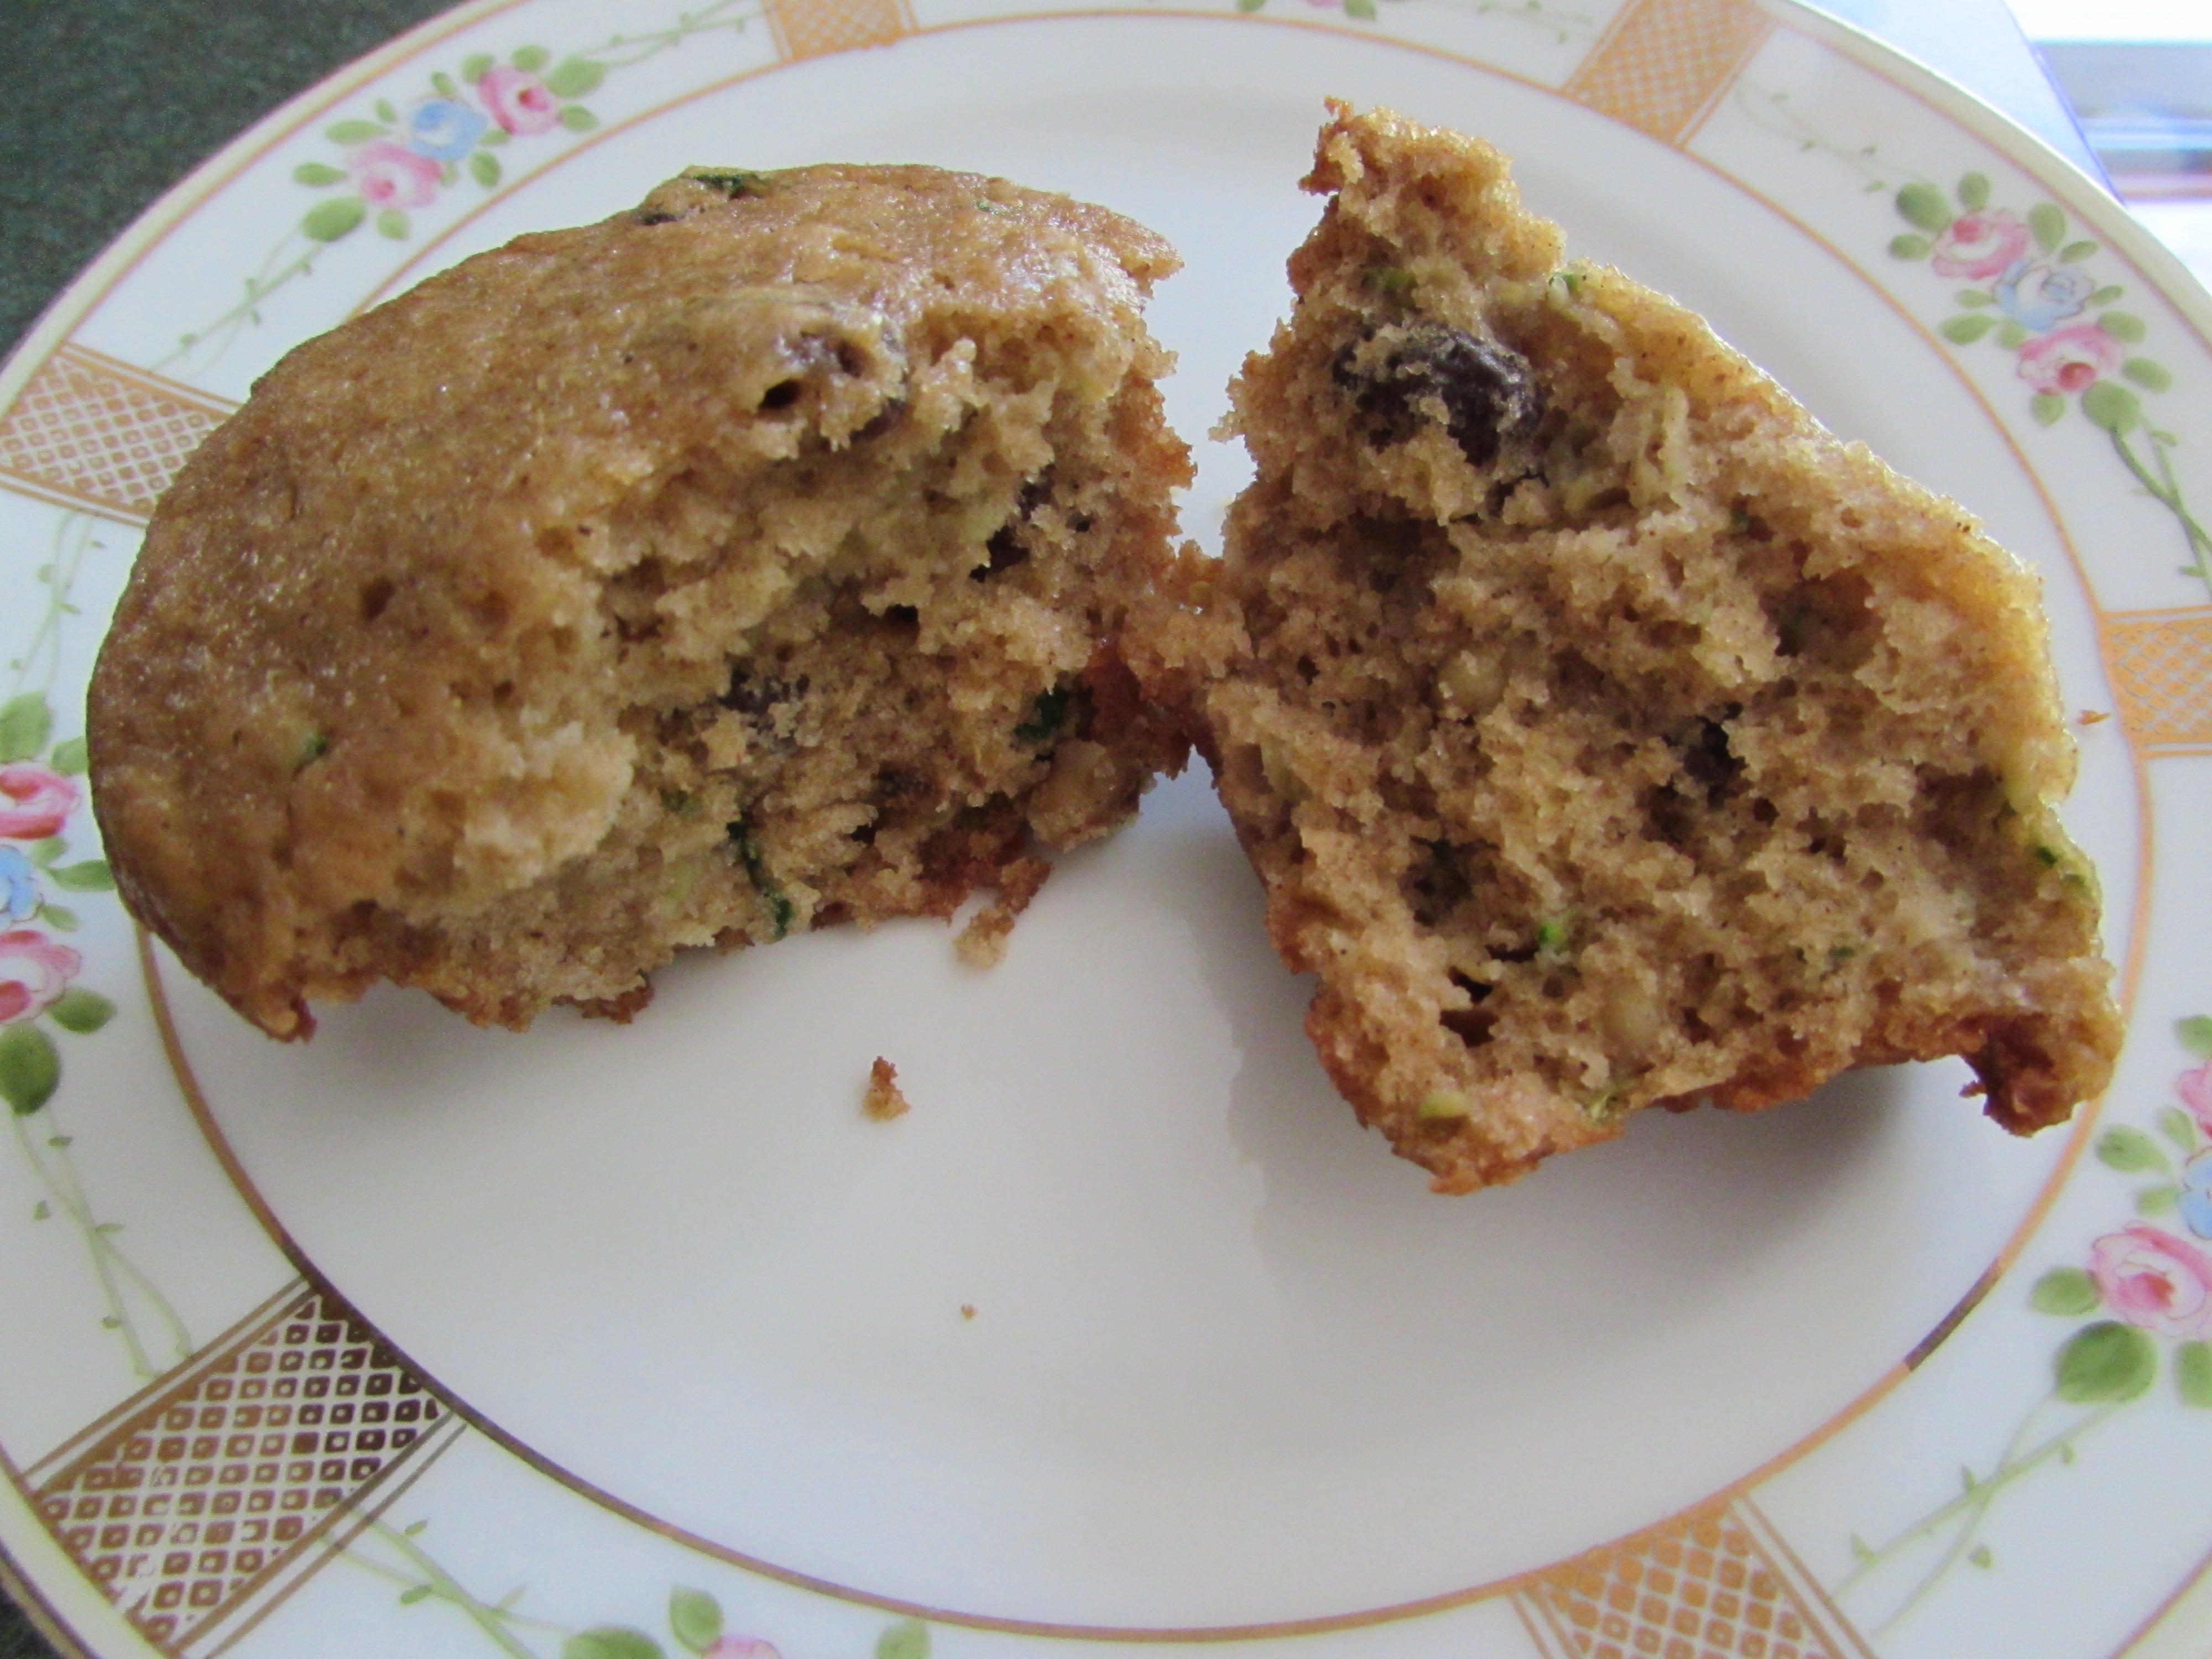
This is a delicious recipe from Smitten Kitchen. Moist, full of zucchini, nuts, dried fruit. Great breakfast material. The only change I made was doubling up on the nuts and omitting the nutmeg.
I prefer the portability of a muffin. But please make the loaf if that is what you desire. Instructions are in the original recipe.
*Weigh the flour or be very careful if using measuring cups. This is what I do: stir the flour in your container, creating fluffy flour. Spoon the flour into the measuring cup. When it calls for 1 cup of flour, I use my 1/2 cup (doubling of course), stirring the flour each time I measure. The first time I made this recipe I thought the muffins were too floury. But when I looked up a dozen Zucchini muffin/bread recipes they ALL had 3 cups of flour. The second time I made these, I made sure I was fluffing up my flour and weighed to make sure I was on target. They tasted much better the second time. They also taste better if you let them sit until they are cool before tasting. Sometimes that’s hard to do though :).
Zucchini Muffins from Smitten Kitchen
1-3/4 cups sugar
3 cups or 375 grams of *flour
1 tablespoon cinnamon
1 teaspoon baking soda
1/2 teaspoon baking powder
1 teaspoon salt
1 cup chopped walnuts
1 cup raisins or cranberries
2 cups grated zucchini, from 2 medium (I really pack the cups with zucchini)
3 large eggs
1 cup canola oil
2 teaspoon vanilla extract
Heat oven to 350 degrees. Grease 24 muffin cups with canola oil spray .
Combine dry ingredients: sugar, flour, cinnamon, baking soda, baking powder and salt. Add nuts and raisins and stir together until combined, using your hands to make sure the raisins are separated. Add zucchini and toss together lightly.
Combine eggs, oil and vanilla and whisk together. Add to dry ingredients and with a rubber spatula, stir and fold gently until ingredients are just combined.
Using a large ice cream scoop, divide dough evenly into muffins cups.
Bake for approximately 20-25 minutes.
Remove muffin tins onto a cooling rack for about 10 minutes. Then remove muffins to cool completely.
mis en place:

sugar, flour, cinnamon, baking soda, baking powder and salt, then nuts and raisins:

add zucchini:

eggs, oil and vanilla:

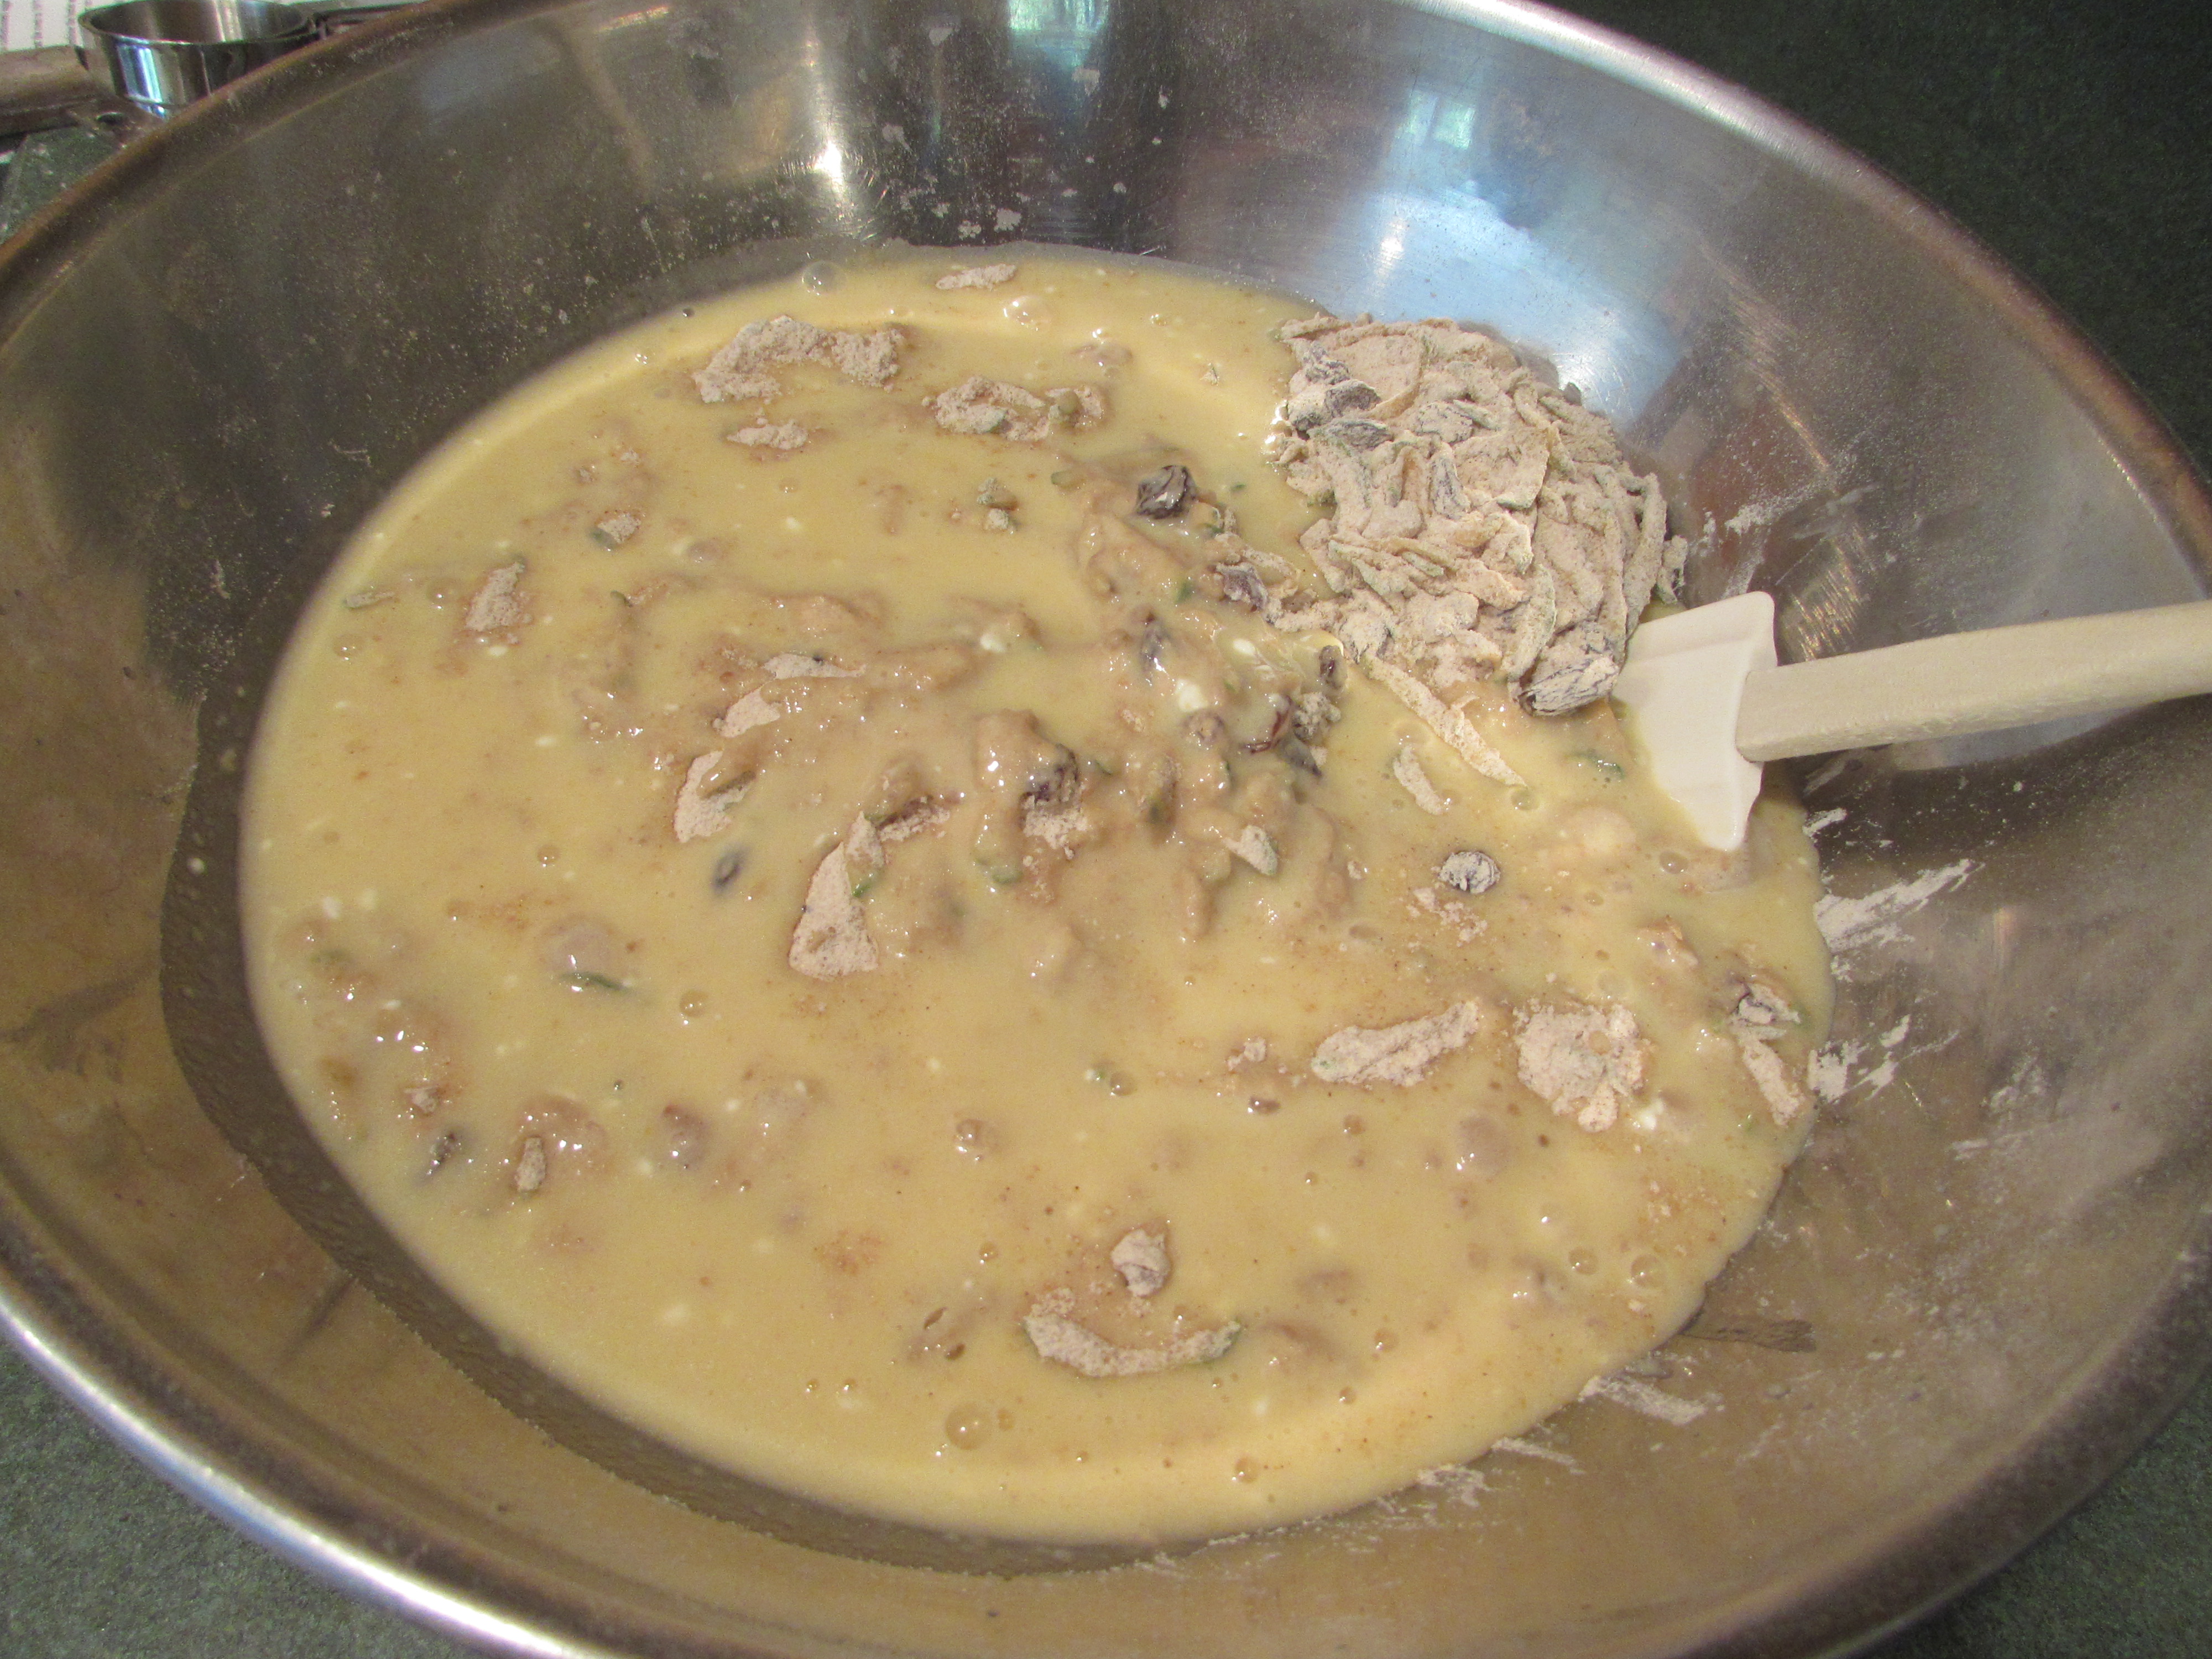
combine:

divide among muffin cups:

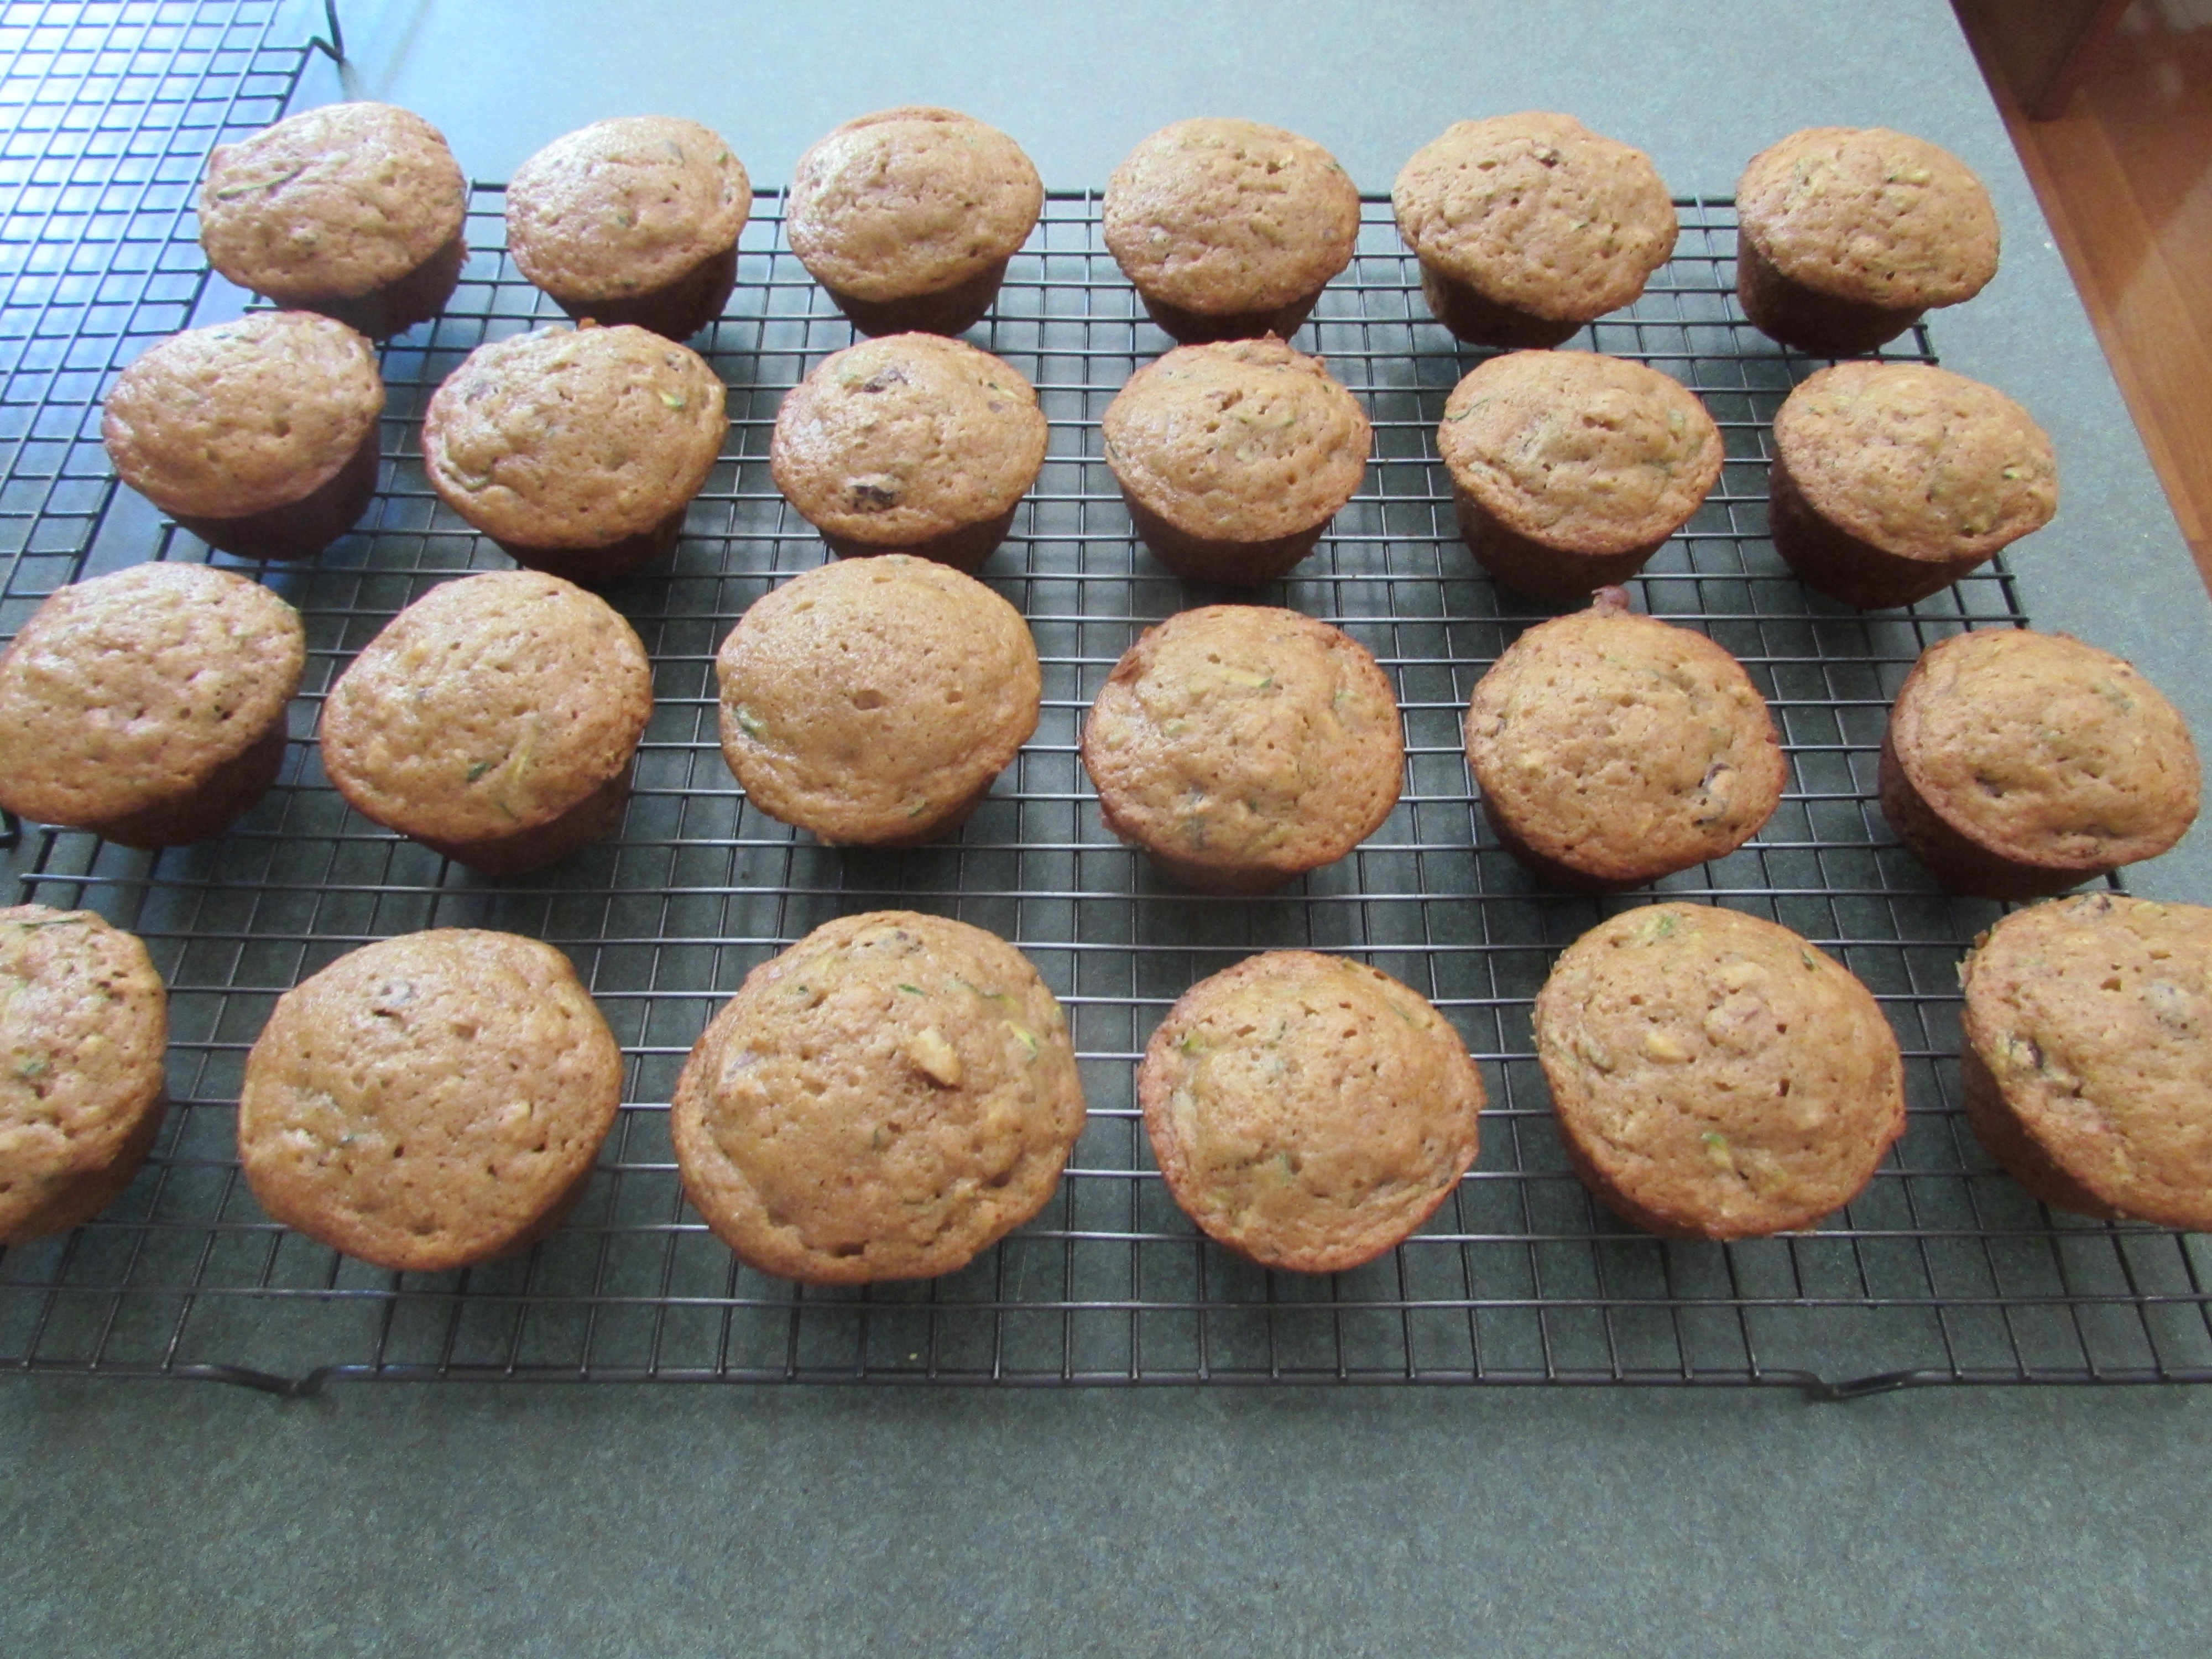
out of the oven, cooling on racks:

cool completely:
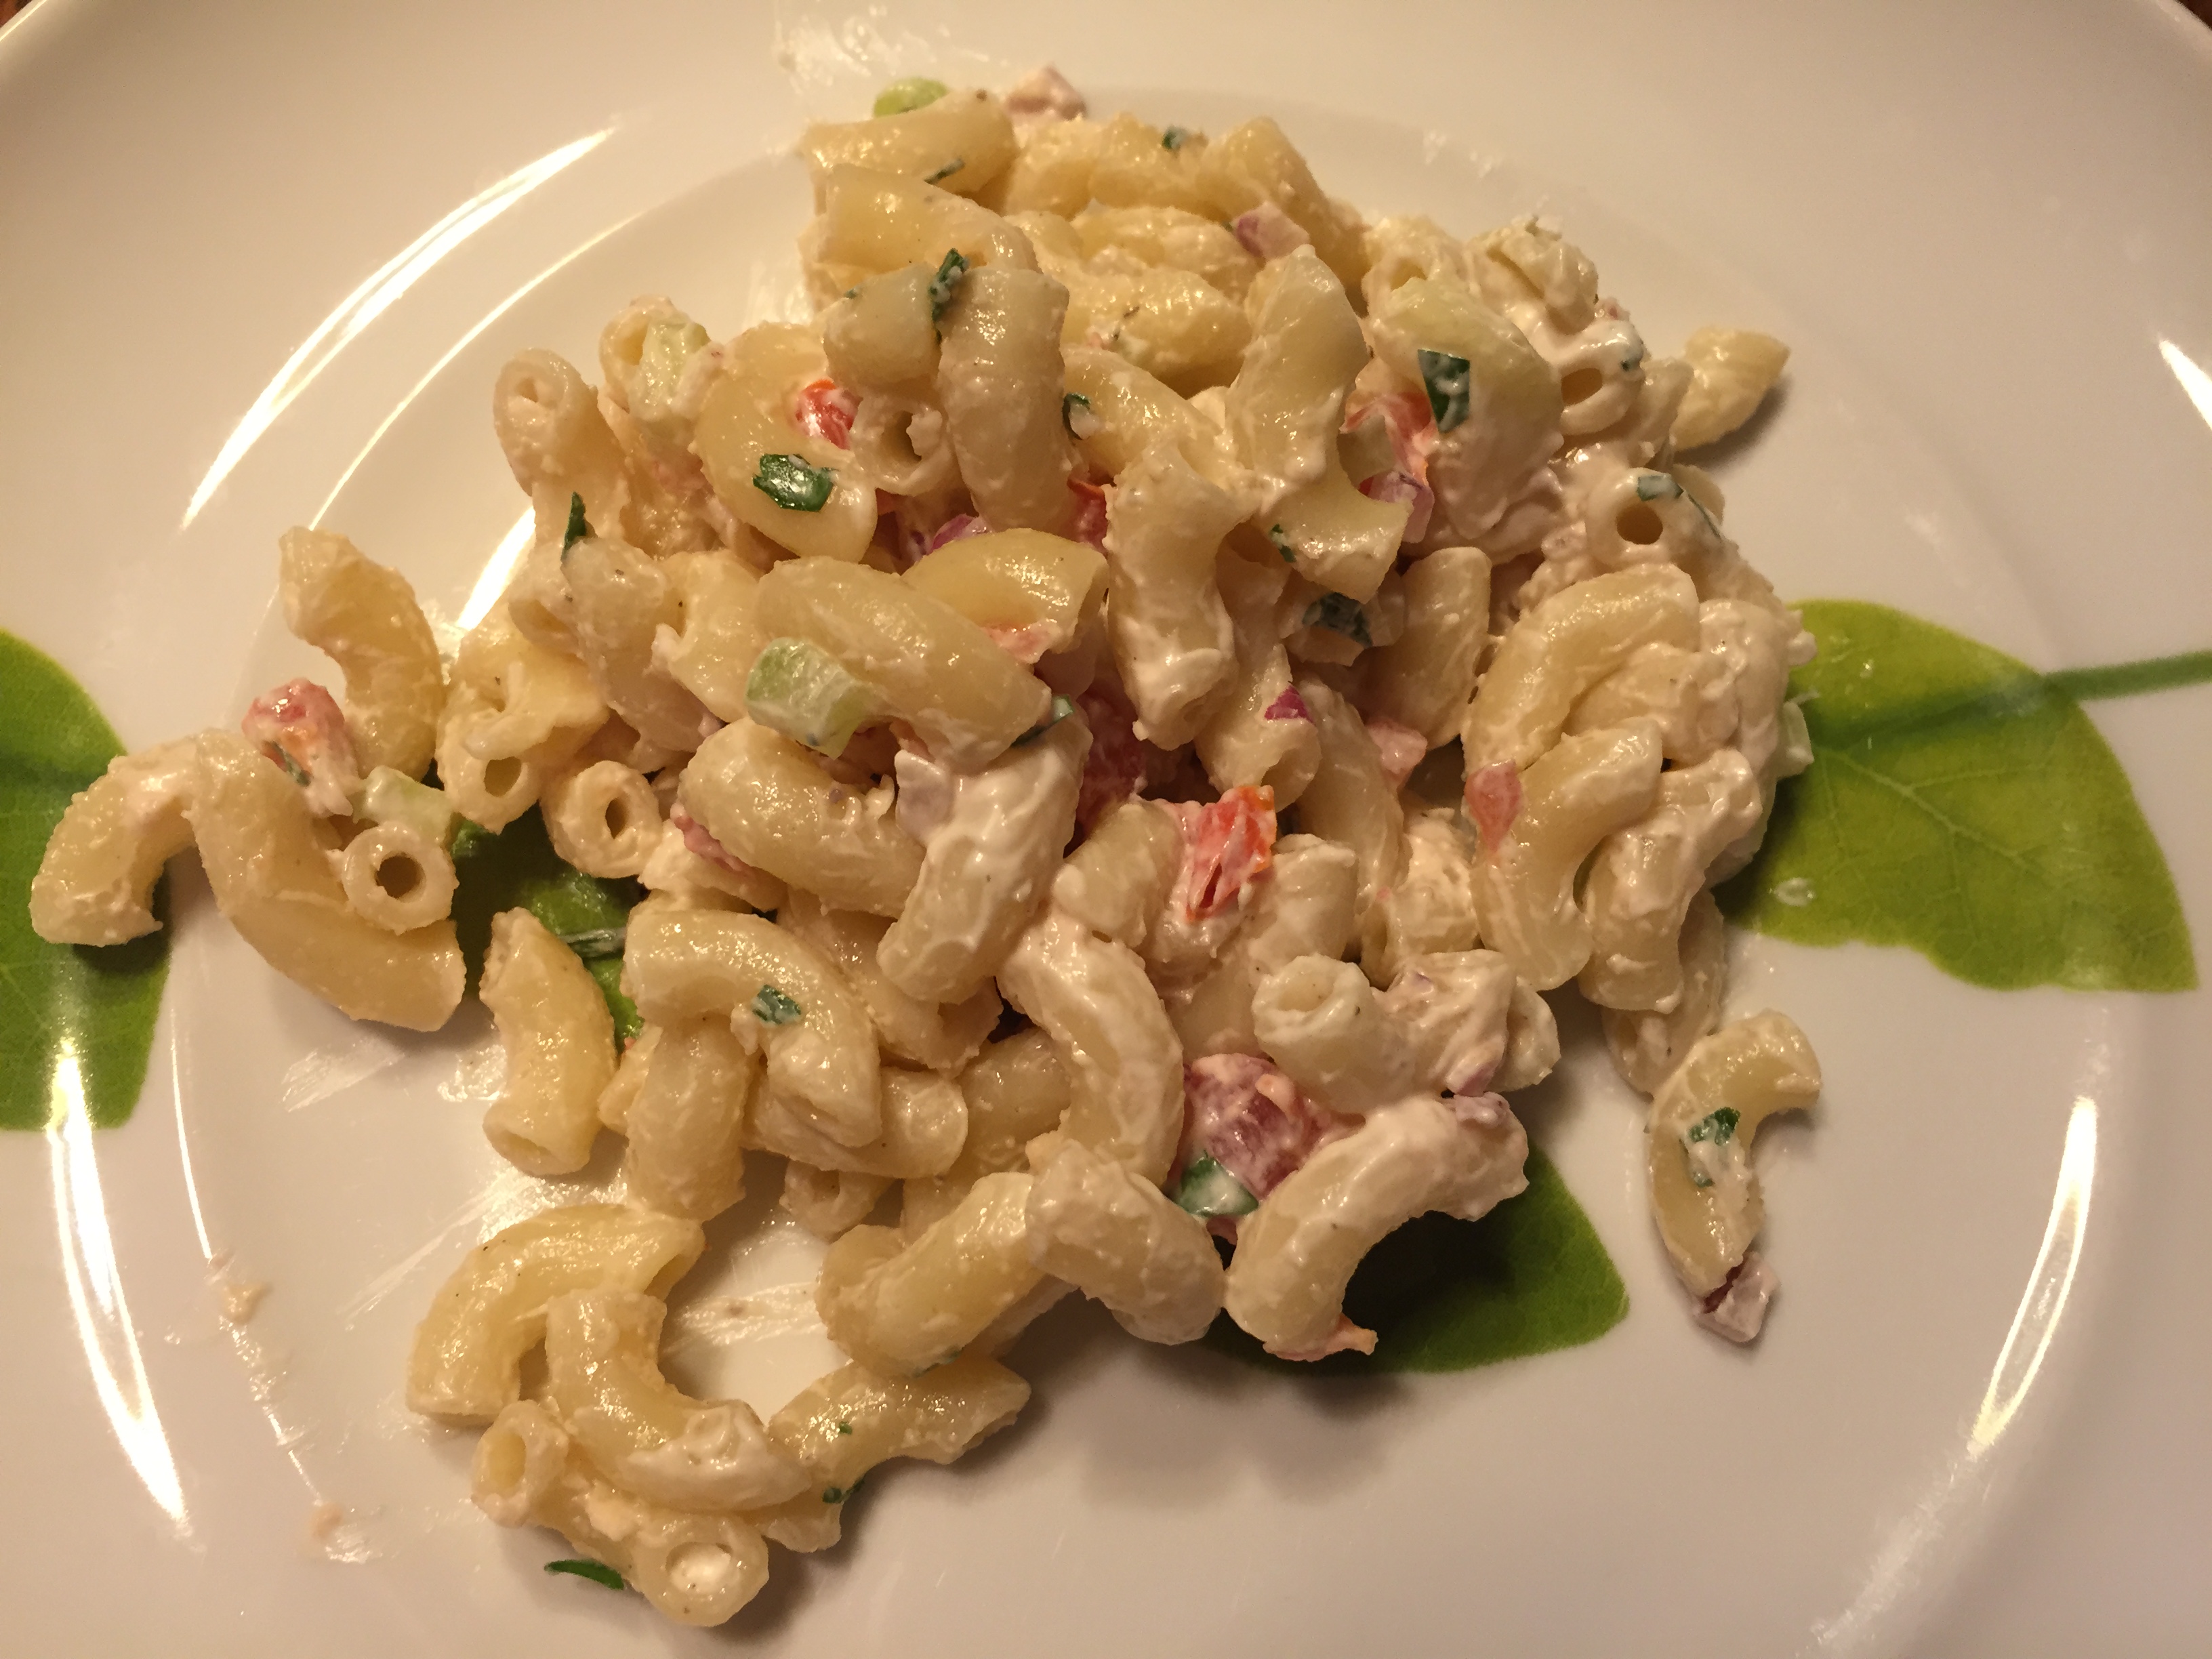
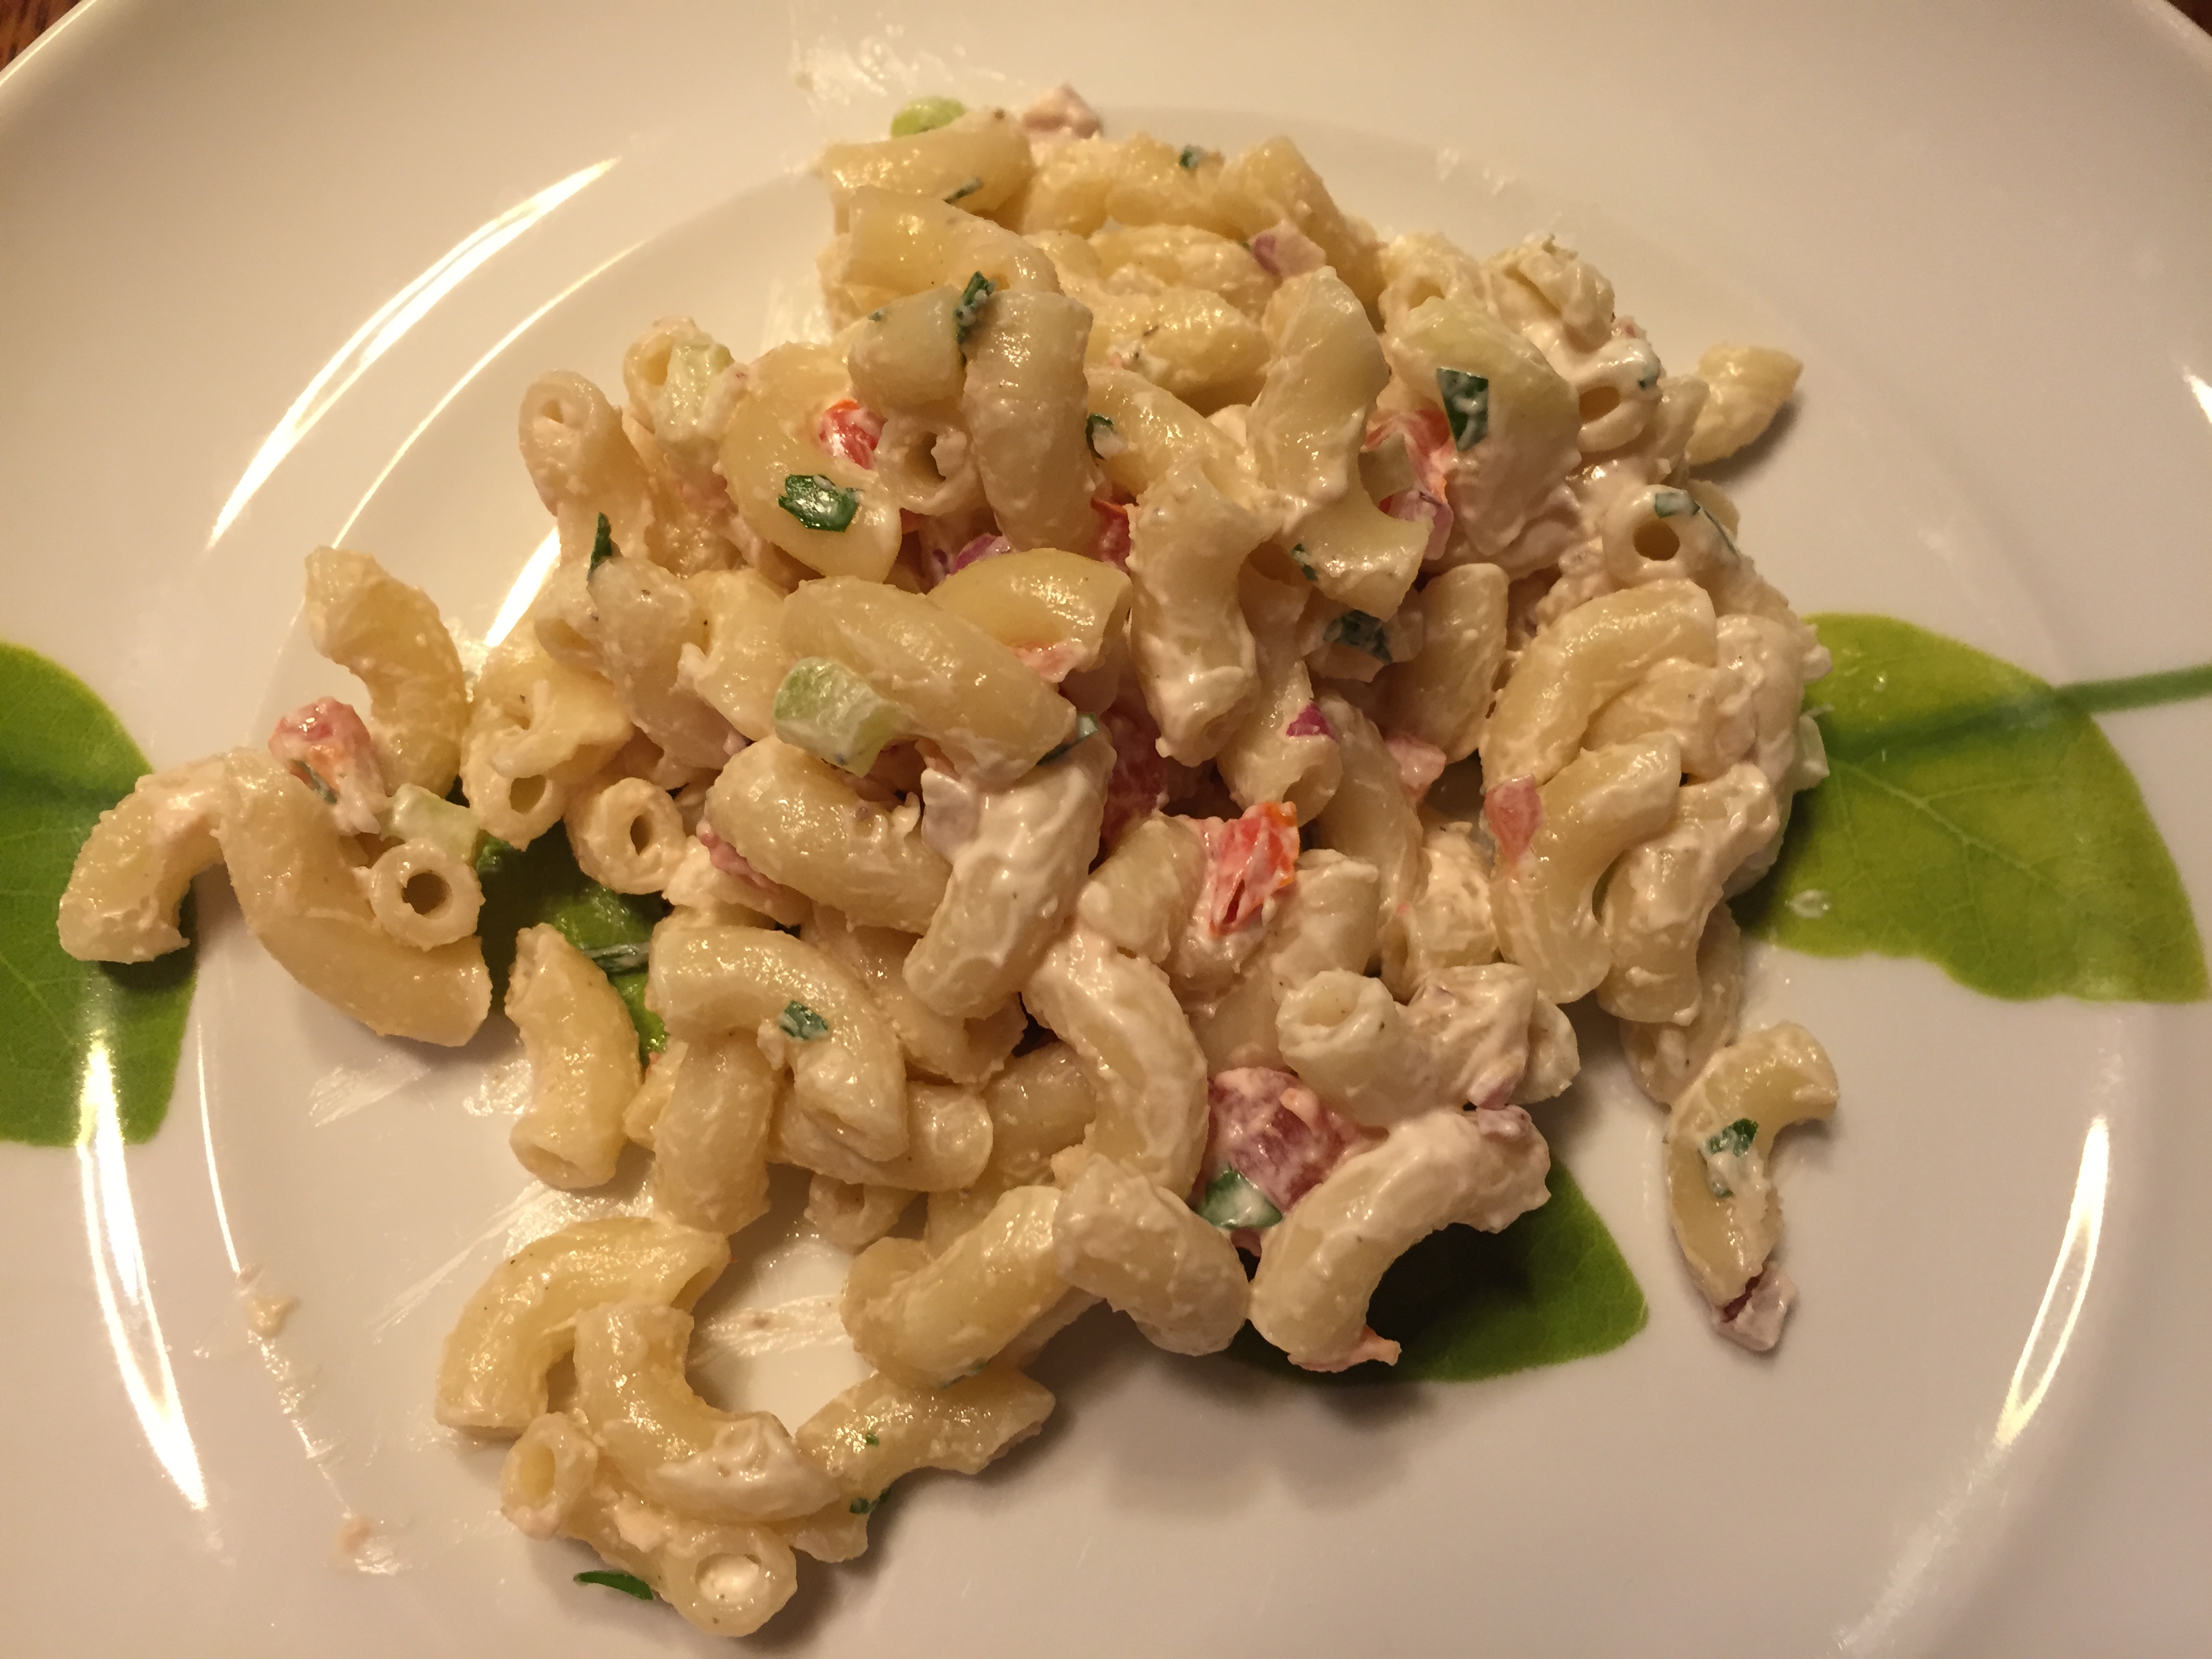
Macaroni Salad
There is something to be said about making the recipe exactly as written, tasting and then tweaking it to your liking.
I made this recipe in 2014 and dismissed it. I had eliminated some of the ingredients before I even made it. Wrong, wrong, wrong….. It needed every bit of those ingredients. It also needed time to sit for 2-3 hours. This was not in the directions but to me this is a standby for any type of cold macaroni dish. It seems to perfectly meld the flavors together when it’s given time to rest in the refrigerator.
This recipe also has a great technique that I actually picked up from a Rick Bayless ( an American chef who specializes in traditional Mexican cuisine with modern interpretations.) while watching one of his shows: Mexico: One plate at a Time. He was making guacamole (awesome spoon he had, something like this) and took the finely chopped raw onion and let it sit in cold water, drain and then used it in the recipe. He said it brought out the sweetness of the onion while getting rid of that bitter flavor. This recipe incorporates that technique.
Macaroni Salad (from Food Network)
8 ounces dry elbow macaroni
1/4 cup minced red onion (1/4 – 1/3 of large)
1/3 cup finely diced celery (~ 2 stalks)
1 tablespoon minced flat leaf parsley
1/2 cup diced tomato that has been seeded*
1/2 cup mayonnaise (I like Hellman’s)
3/4 teaspoon dry mustard
1-1/2 teaspoons sugar
1-1/2 tablespoons cider vinegar
3 tablespoons sour cream
1/2 teaspoon kosher salt
freshly ground pepper, few twists from your pepper mill
Cook macaroni according to directions on package. Drain and rinse in cold water.
Place minced red onion in cold water and soak for 5 minutes. Drain thoroughly.
In a large bowl, place all ingredients. Stir thoroughly with a rubber spatula until combined.
Season with more salt and pepper, if desired.
Place in refrigerator for at least 2-3 hours and serve.
*seeding a tomato: cut a large tomato in half. Scoop out the inside of the tomato which includes the seeds and the core, with a regular eating teaspoon until you have just the shell of the tomato left. (Most direction tell you to leave the core. But I take it out.)
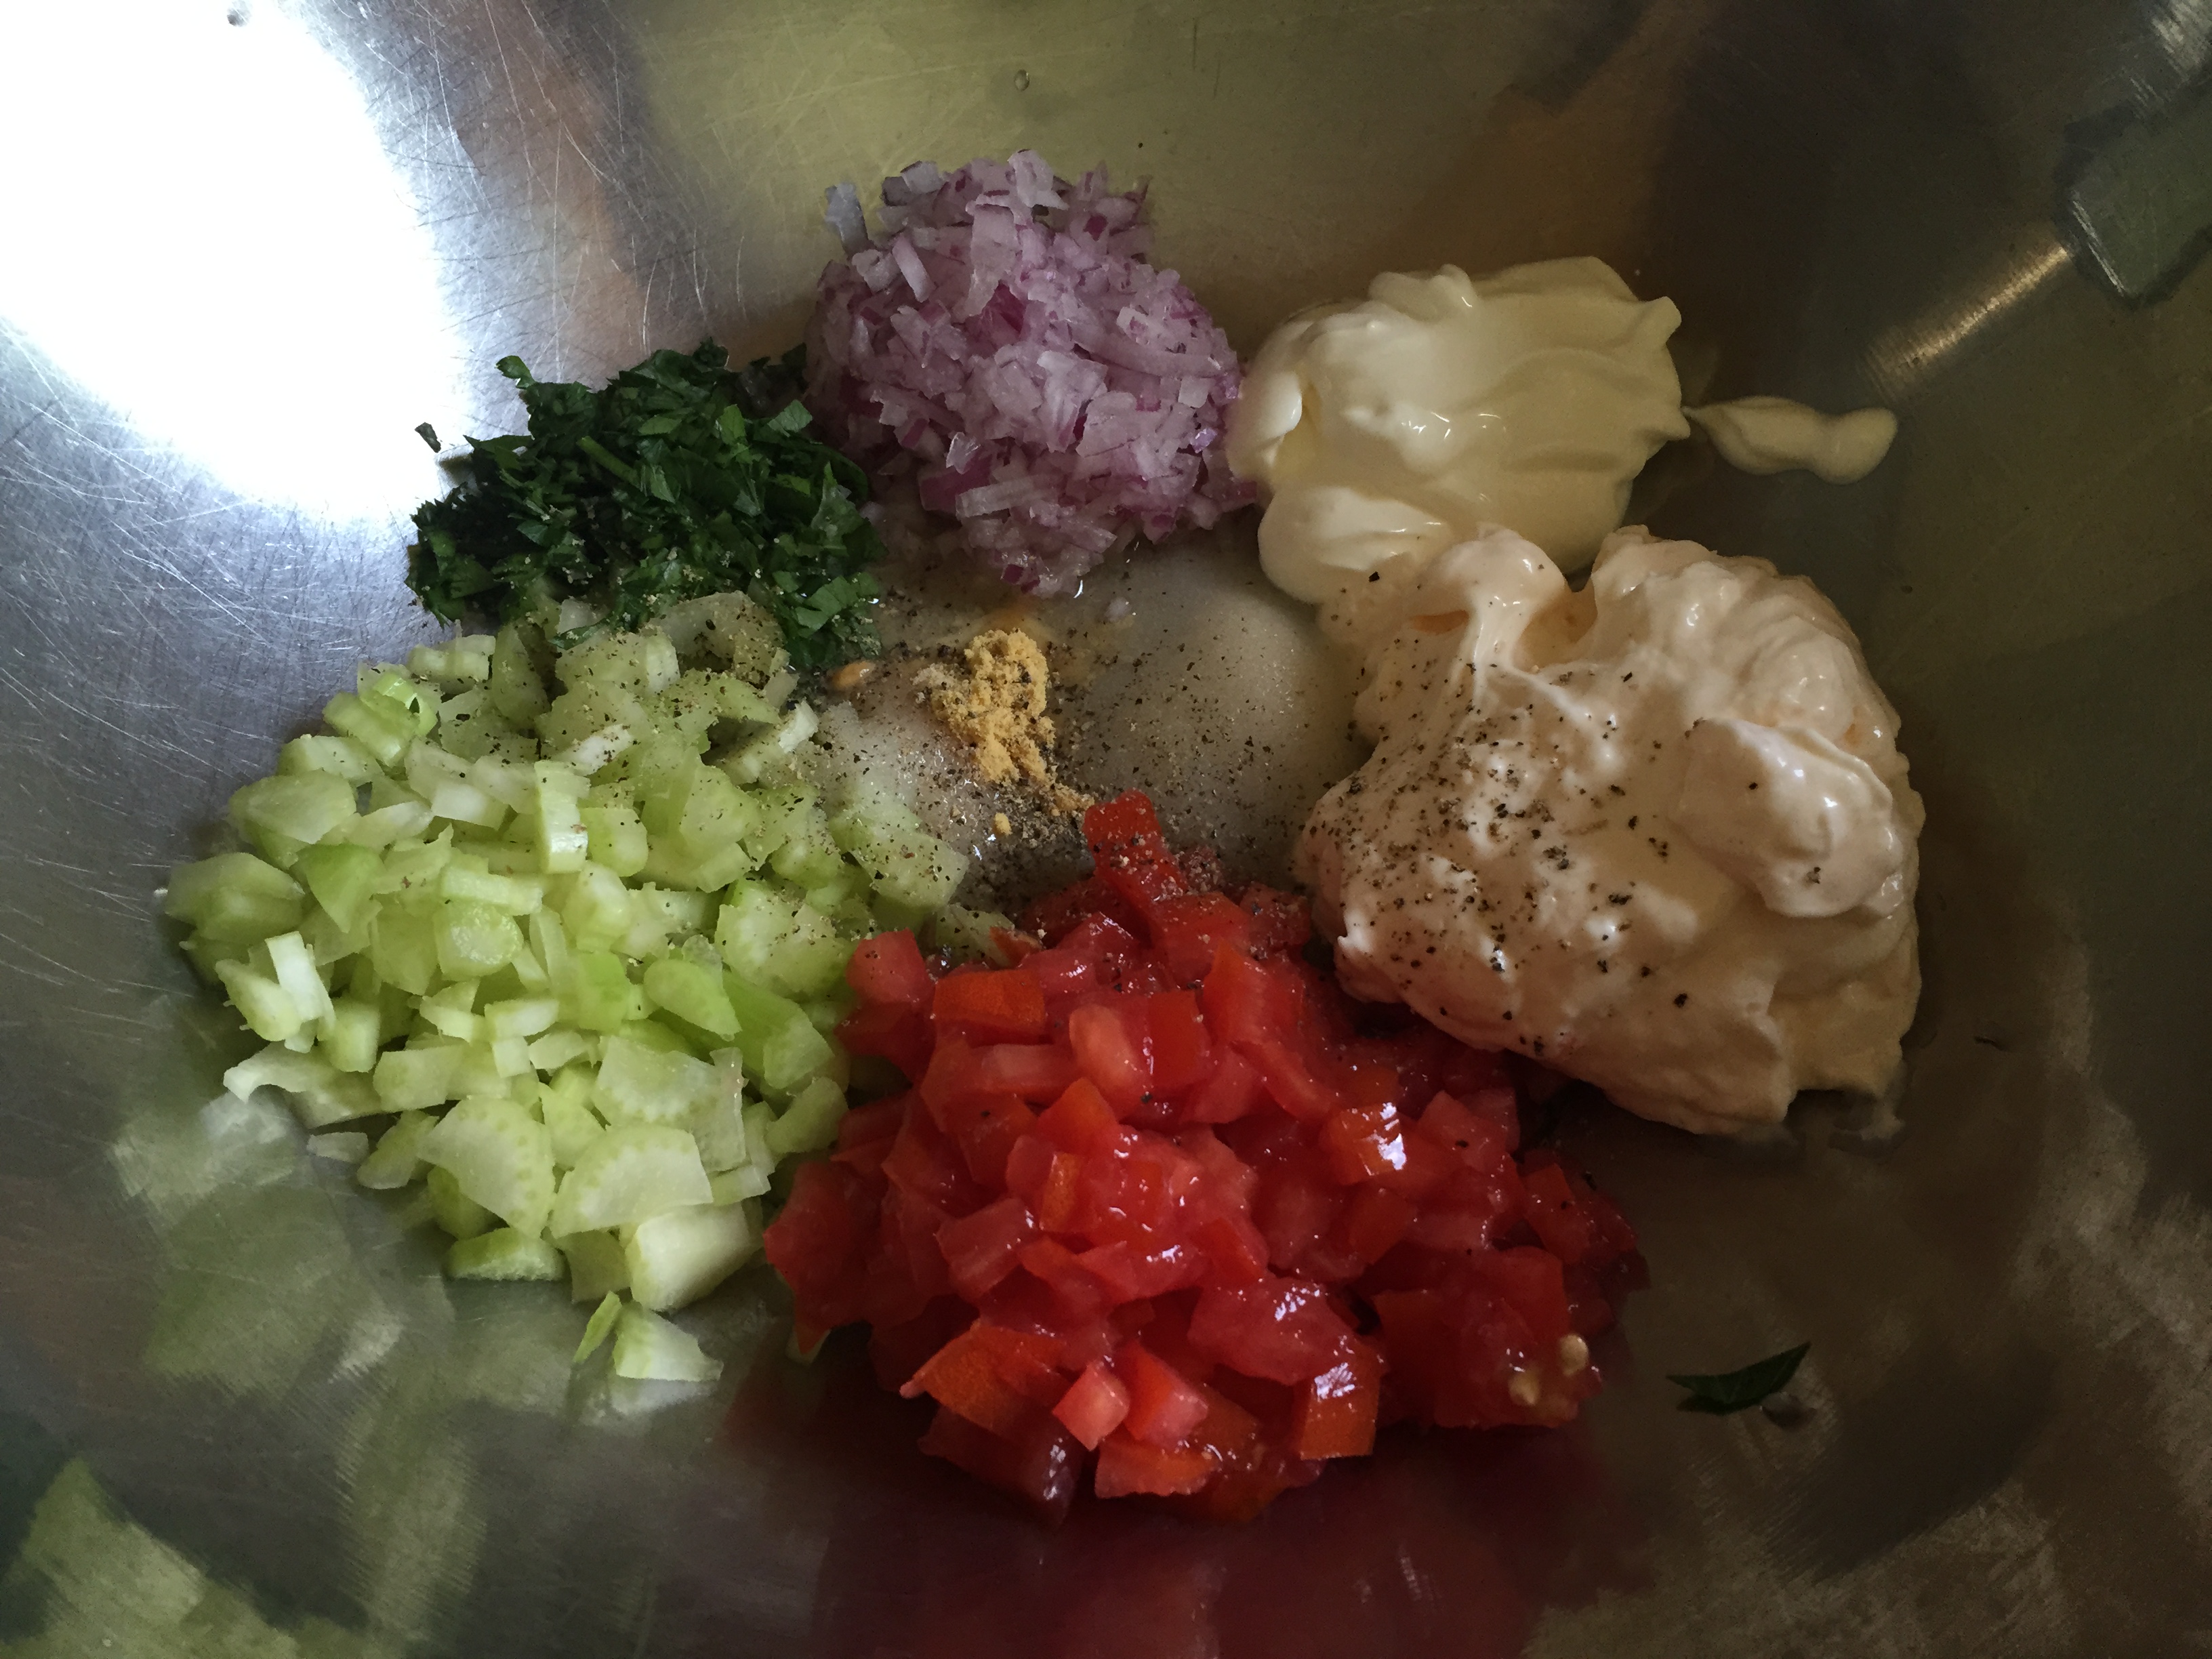
mise en place ( everything but the macaroni):
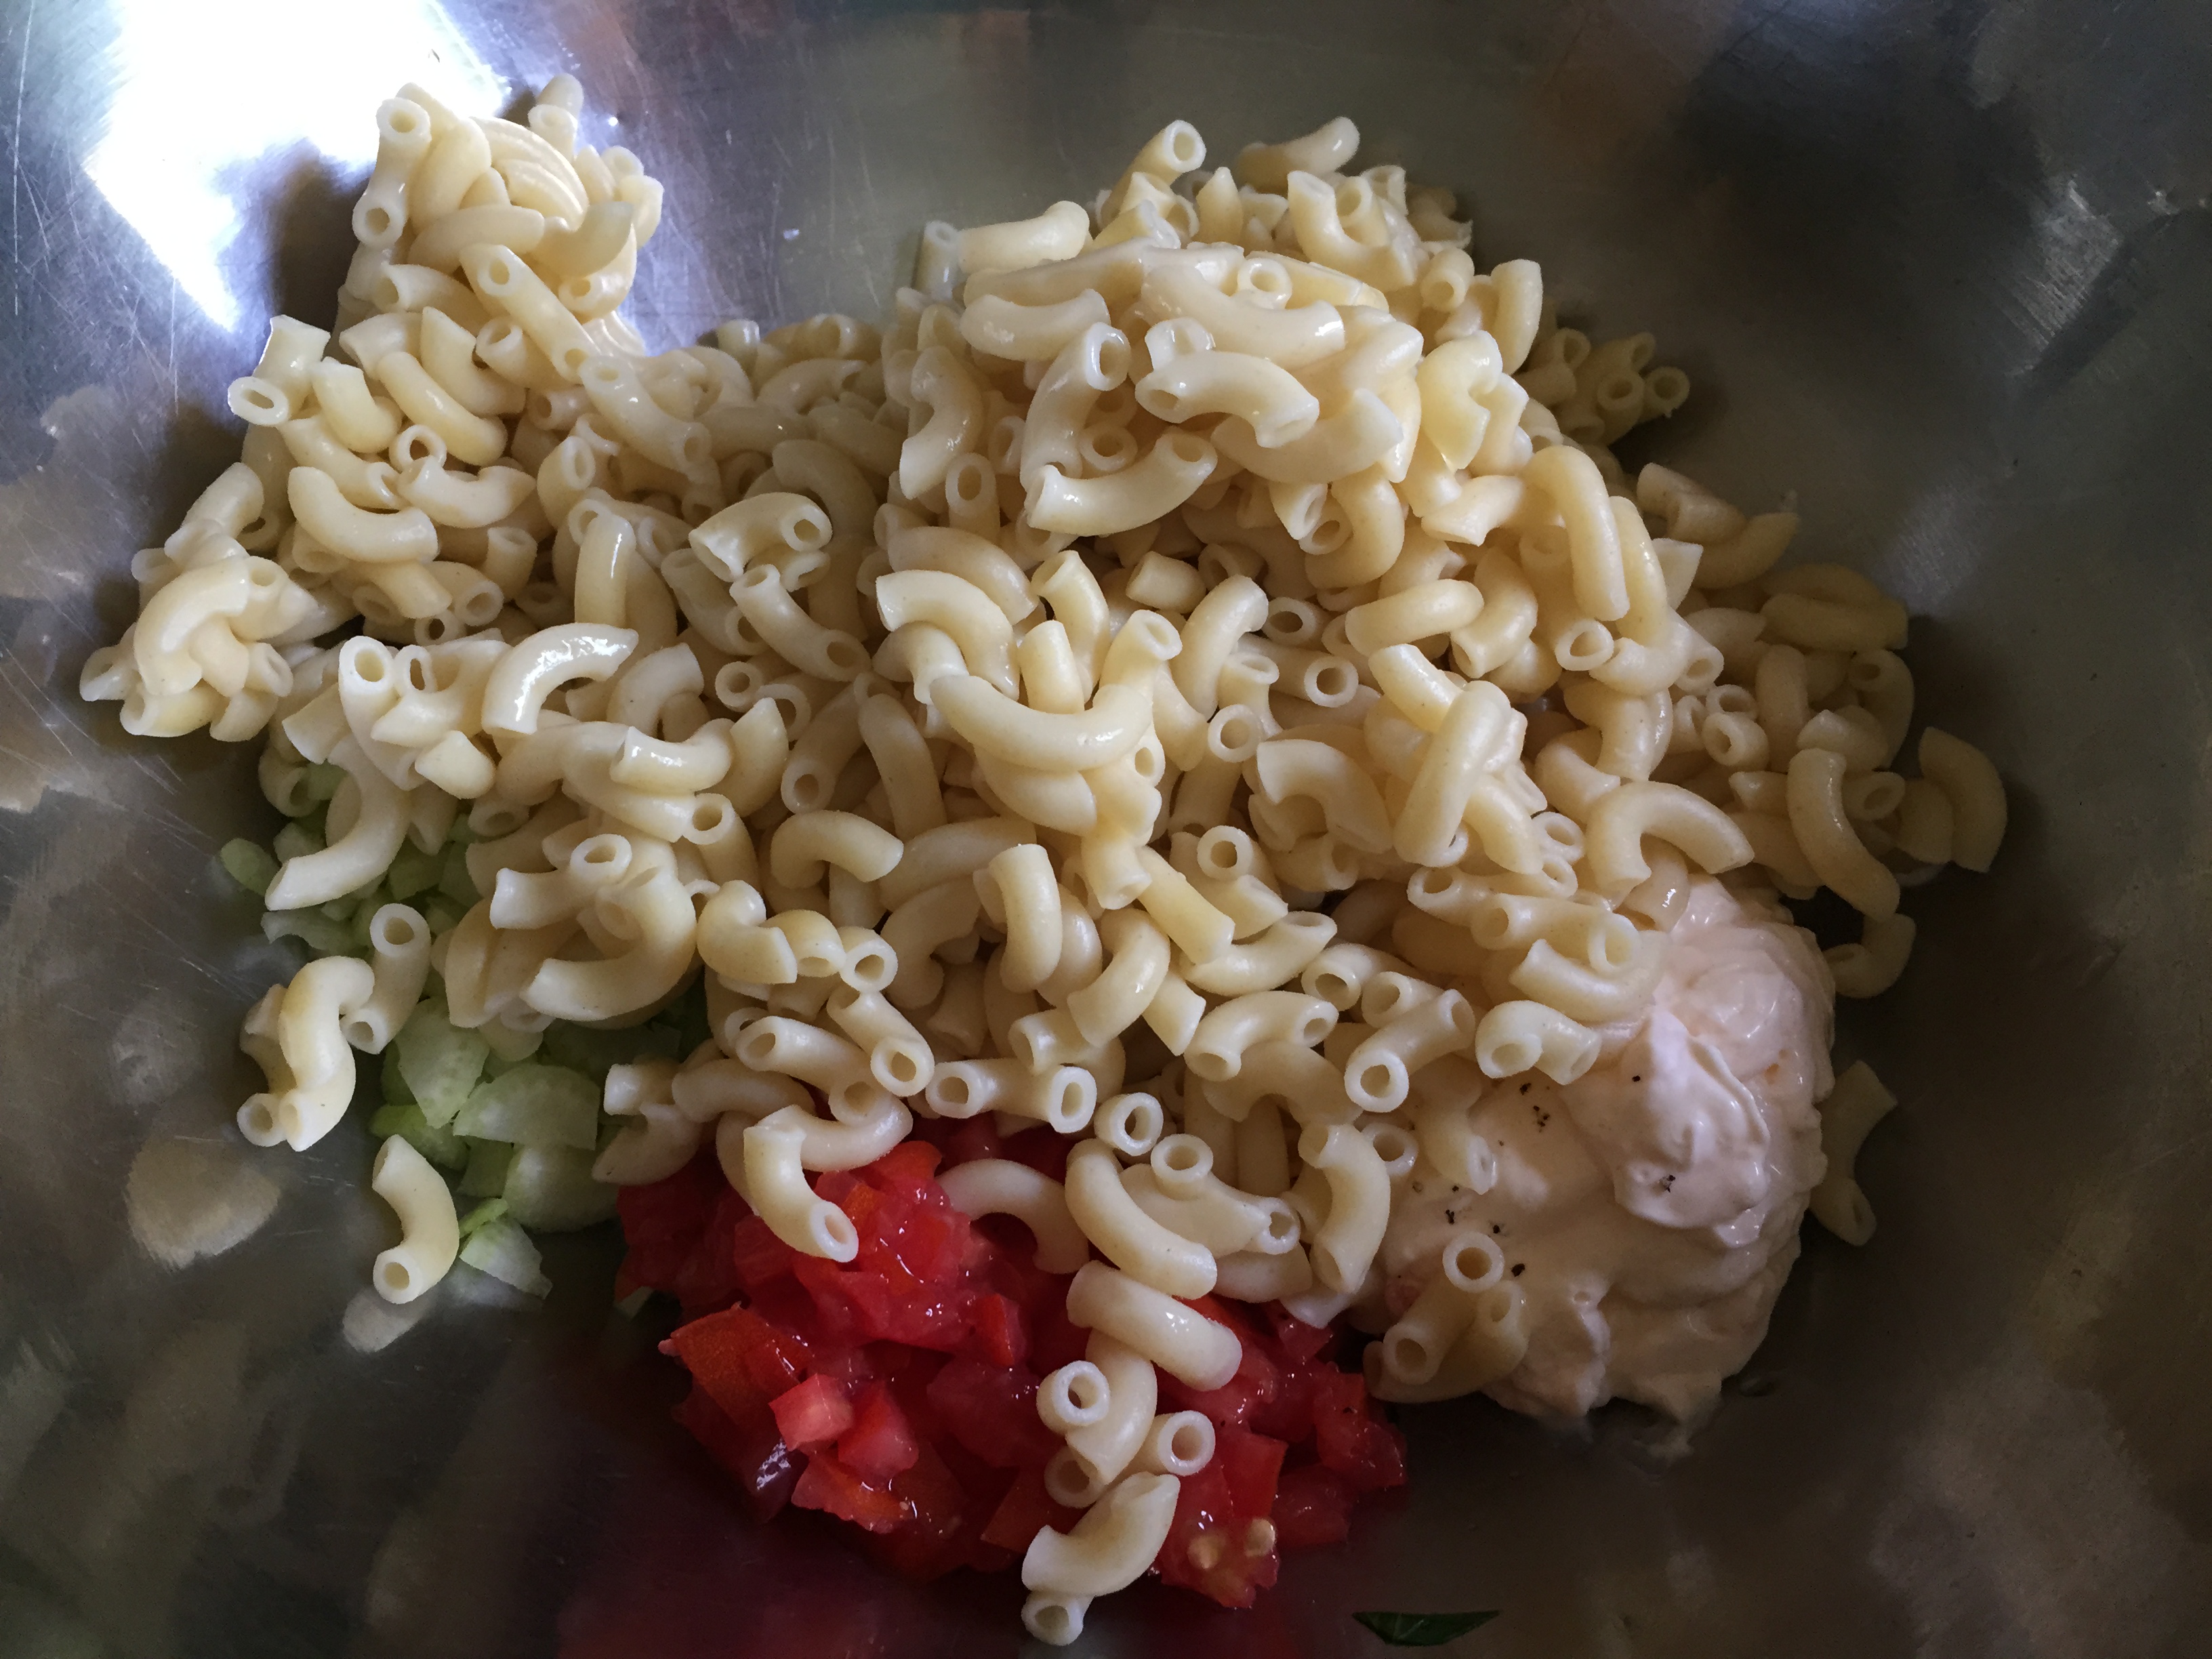
add macaroni:
stir thoroughly:
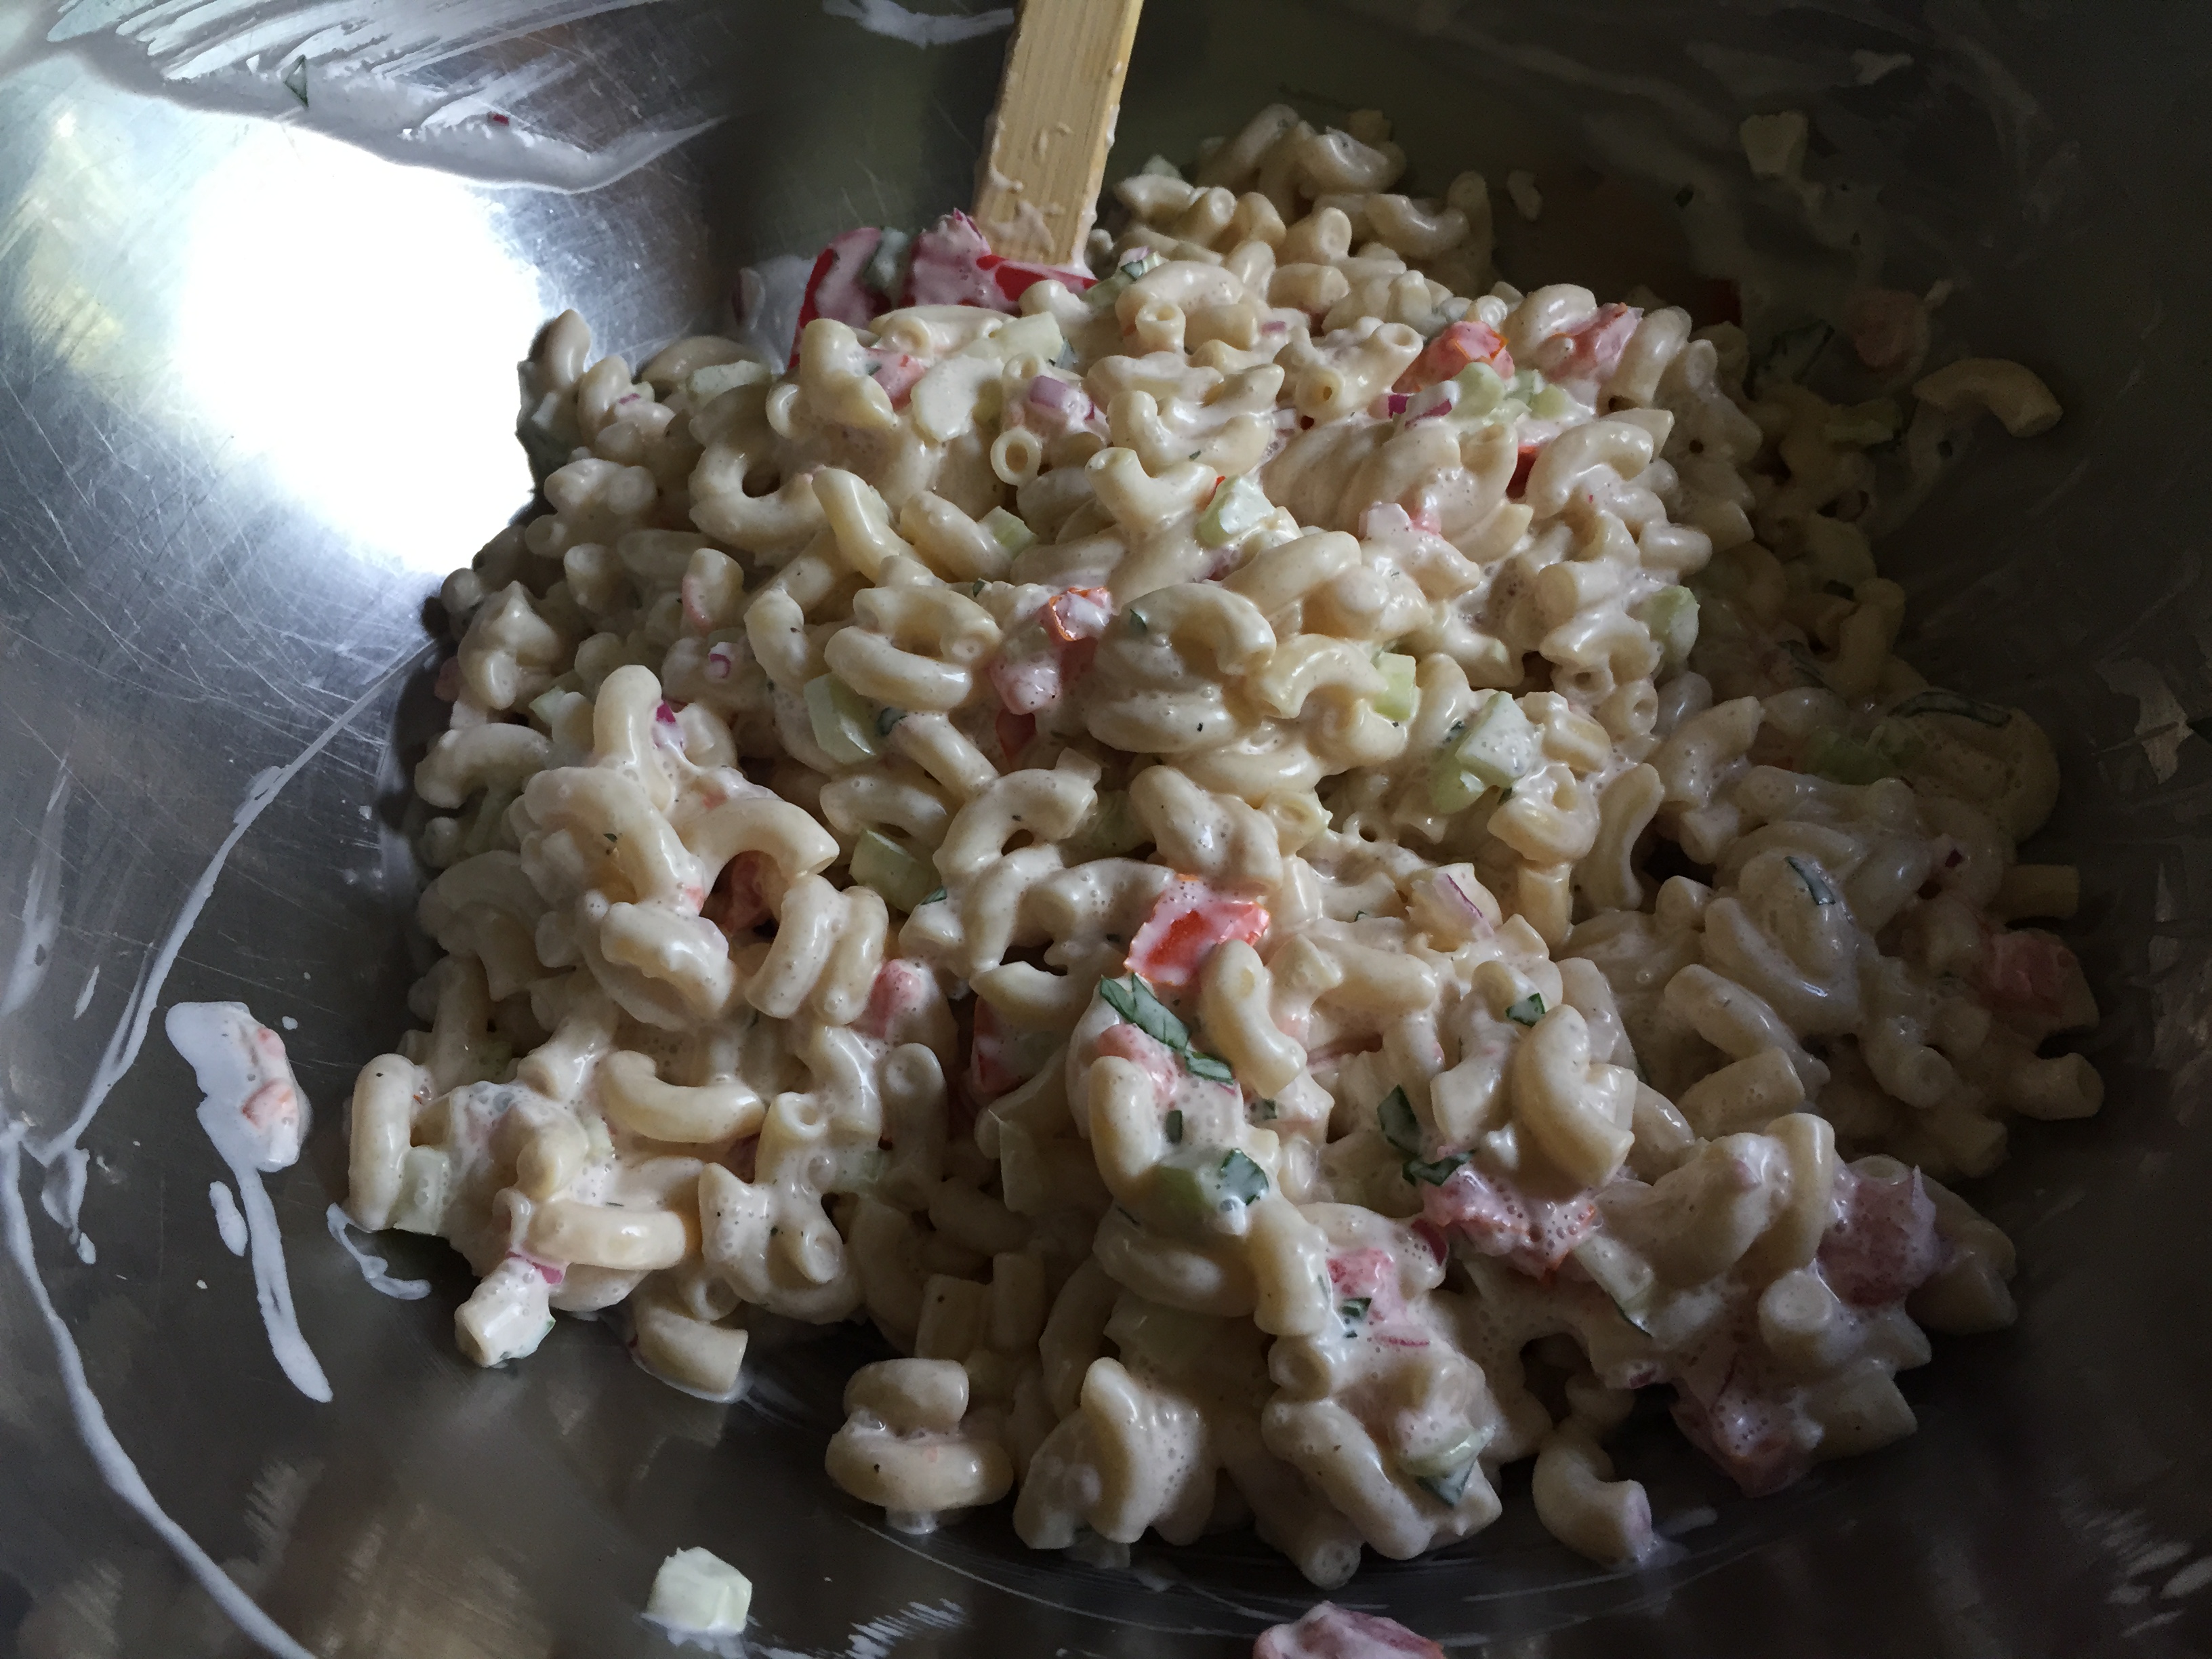
refrigerate 2-3 hours and serve: