Applesauce

So, it’s Fall and there are a lot of apples around now. Great time to make apple pies, apple cake, apple muffins and APPLE SAUCE!
It’s probably one of the easiest things to make. You can make it as sweet as you want or not sweet at all. It’s all up to you.
The only thing you need to make it easier is a food mill. I have an old Foley Food Mill but there are lots of new ones out there to choose from, with different size blades which I would definitely recommend. Like one of these or a stainless steel version like this.
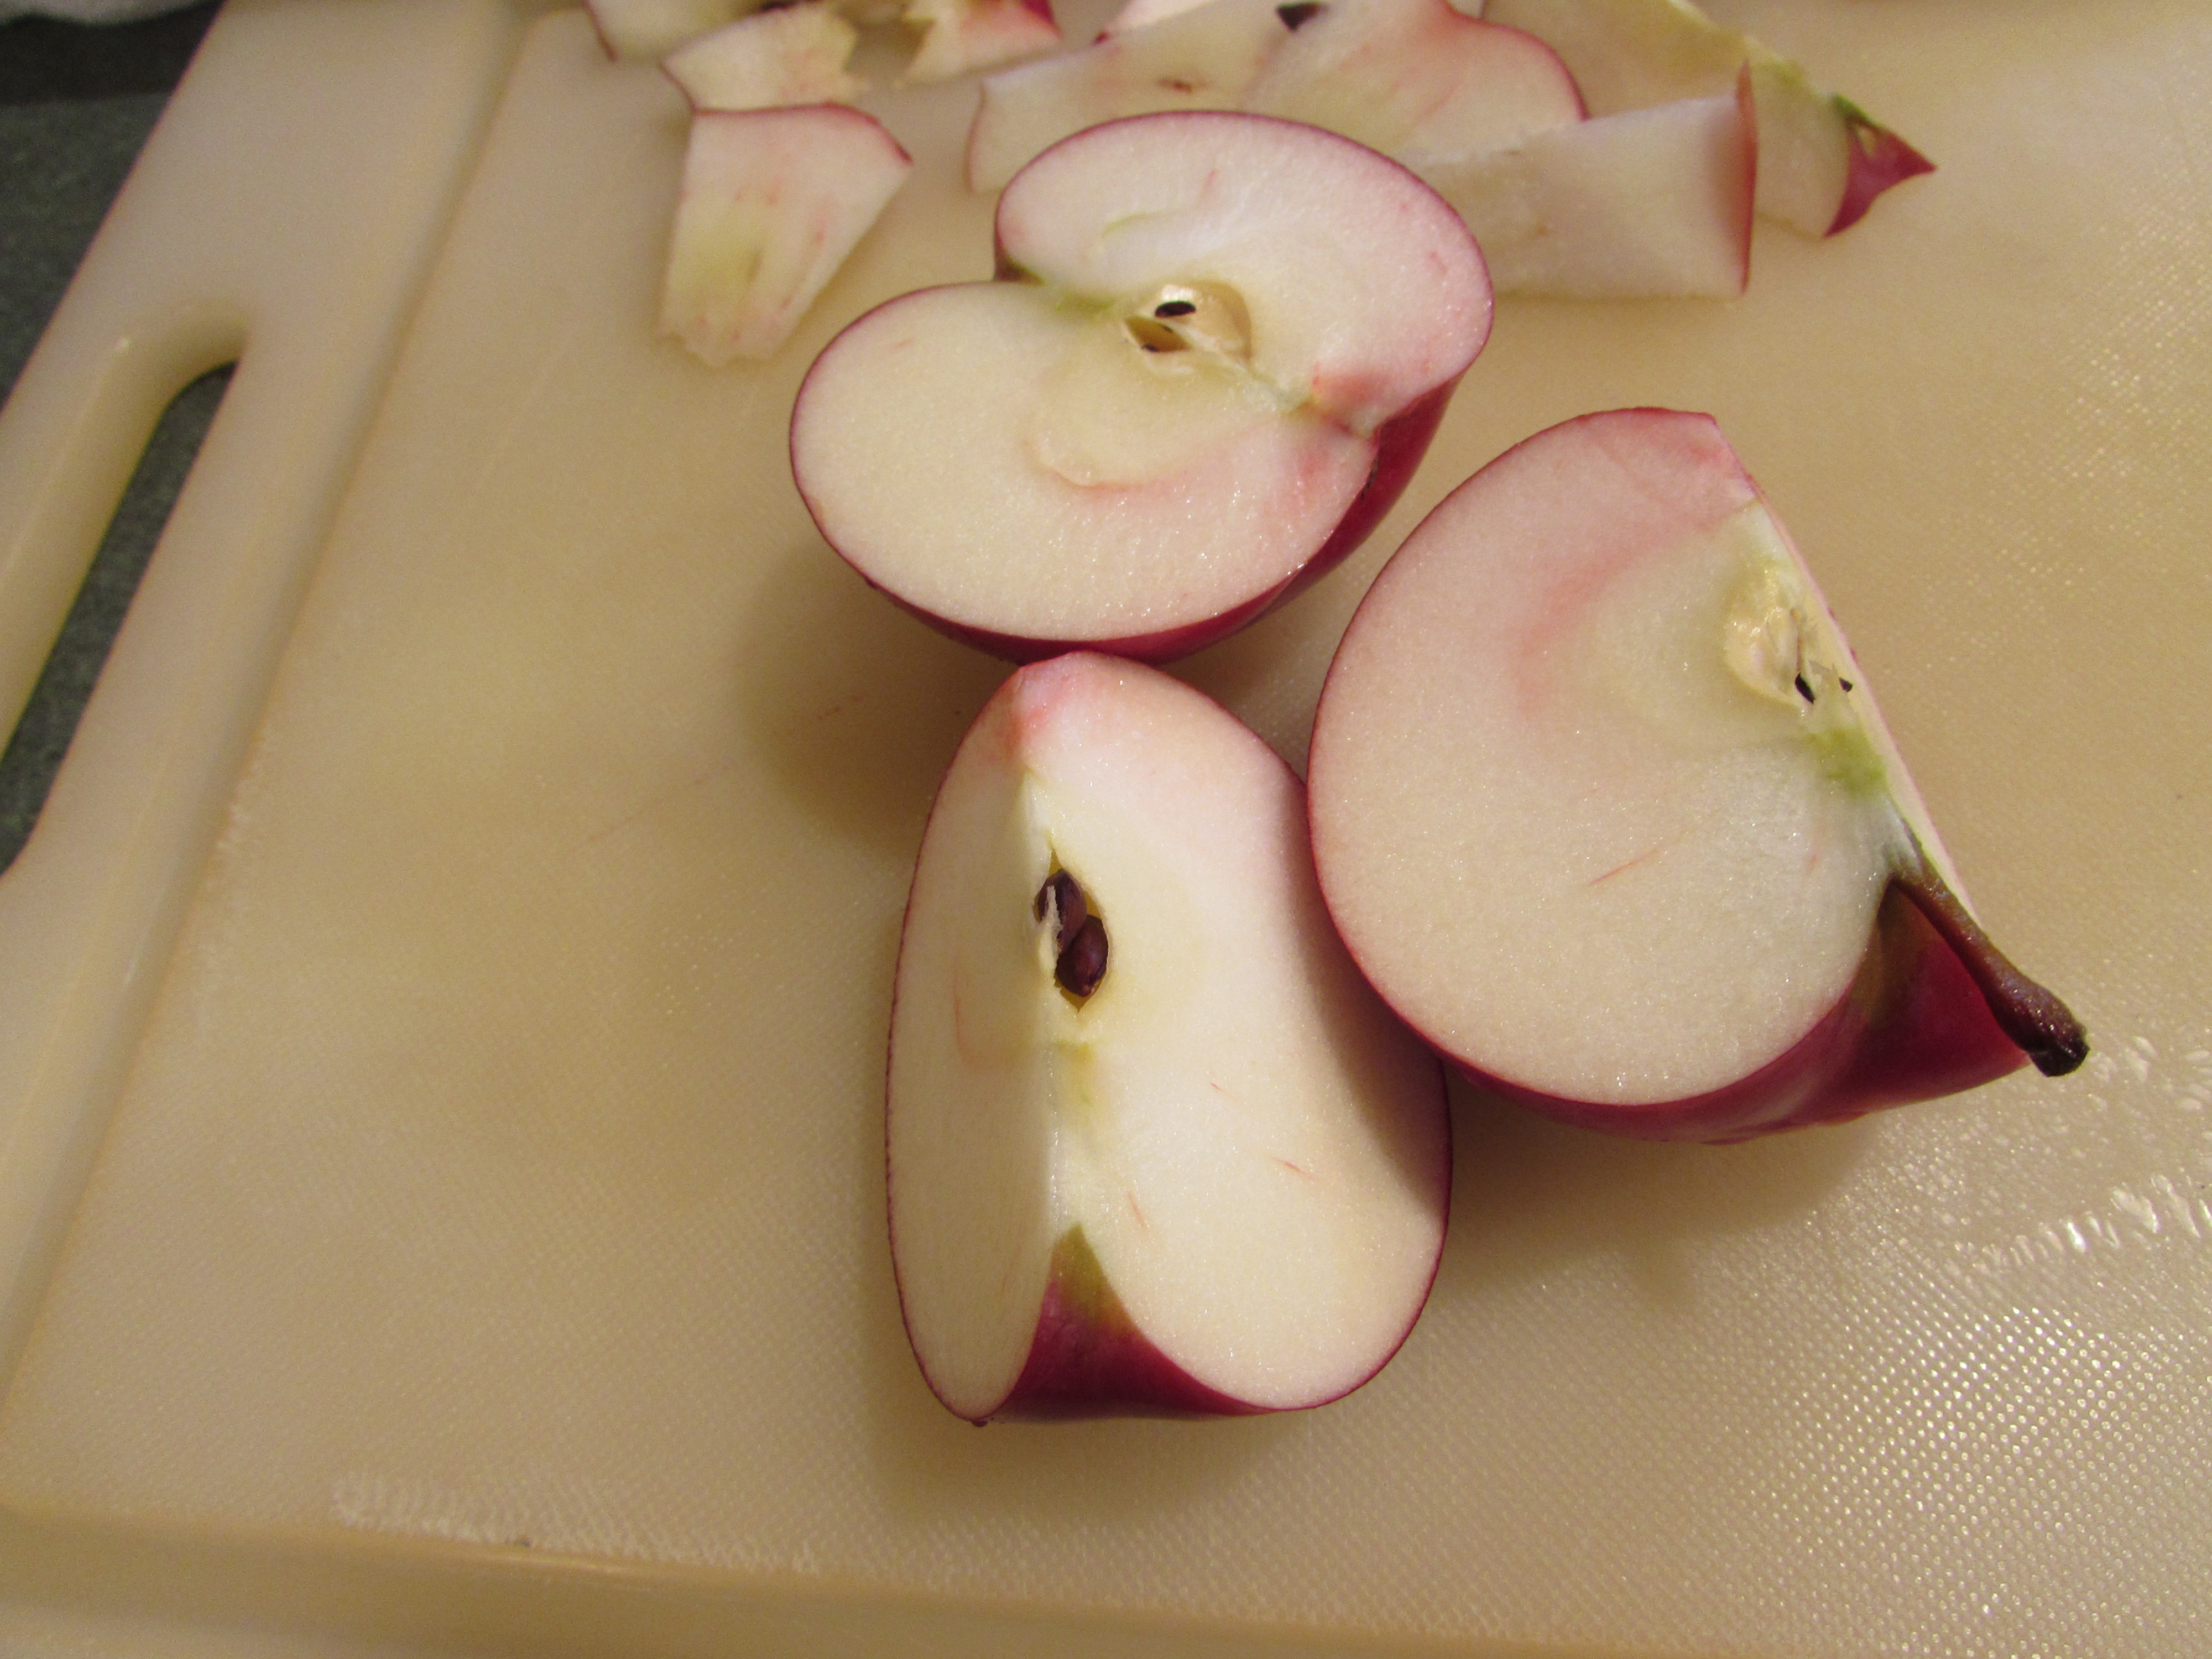
If you would like your applesauce to be pink, make sure you include some McIntosh apples that are deep red. More than likely there will be some red/pink streaks in the flesh and this is what will make your applesauce this beautiful color. The pictures below will show you that there doesn’t need to be a lot of red/ pink in the apple flesh to make the sauce pink.
Anyway, this is a fun project. Easy enough to get your children involved! You could go apple picking and then go home and make applesauce!
Applesauce
7 pounds of a variety of apples, like Jonamac, McIntosh, Honey Crisp, Cortland (very hard to get these days but my personal favorite)
3/4 to 1-1/4 cups of sugar (or less or more, you need to taste it 🙂 )
Wash apples in warm water, removing any labels if any. Cut into quarters and remove seed core and stems. Do Not Peel. ( I cut my large Honey Crisp quarters in half, so that they would be equal size to the small McIntosh quarters.)
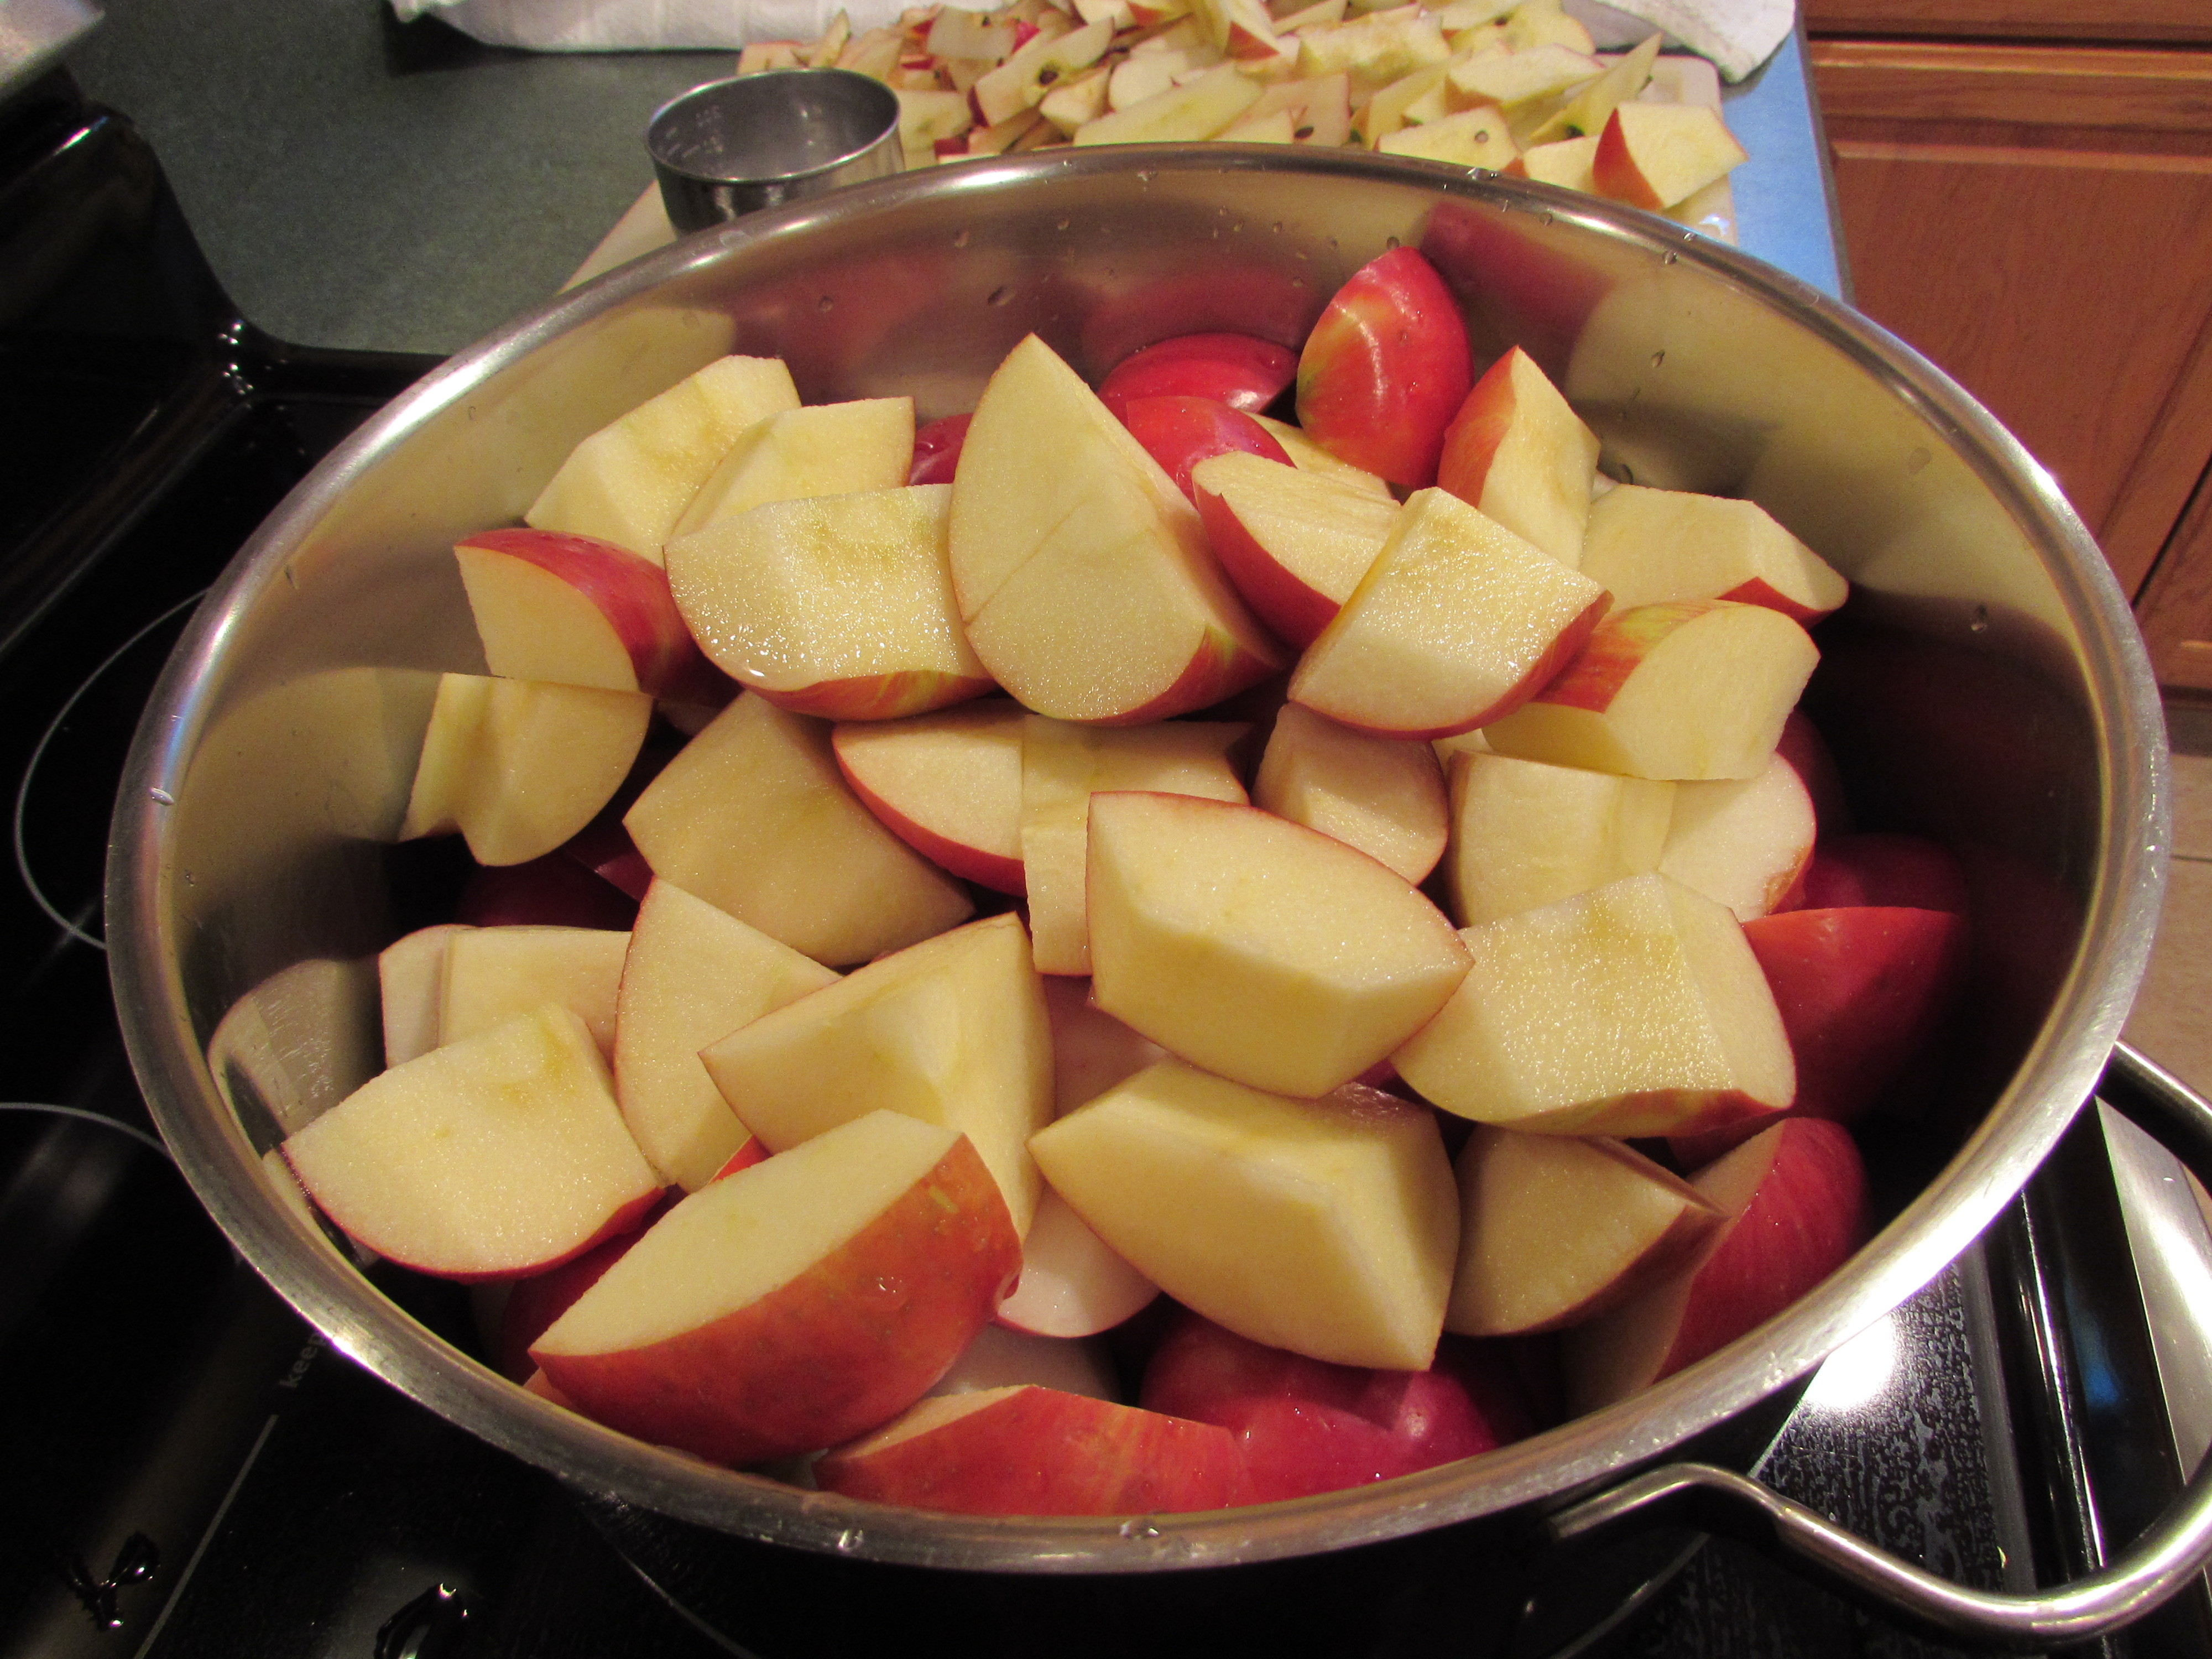
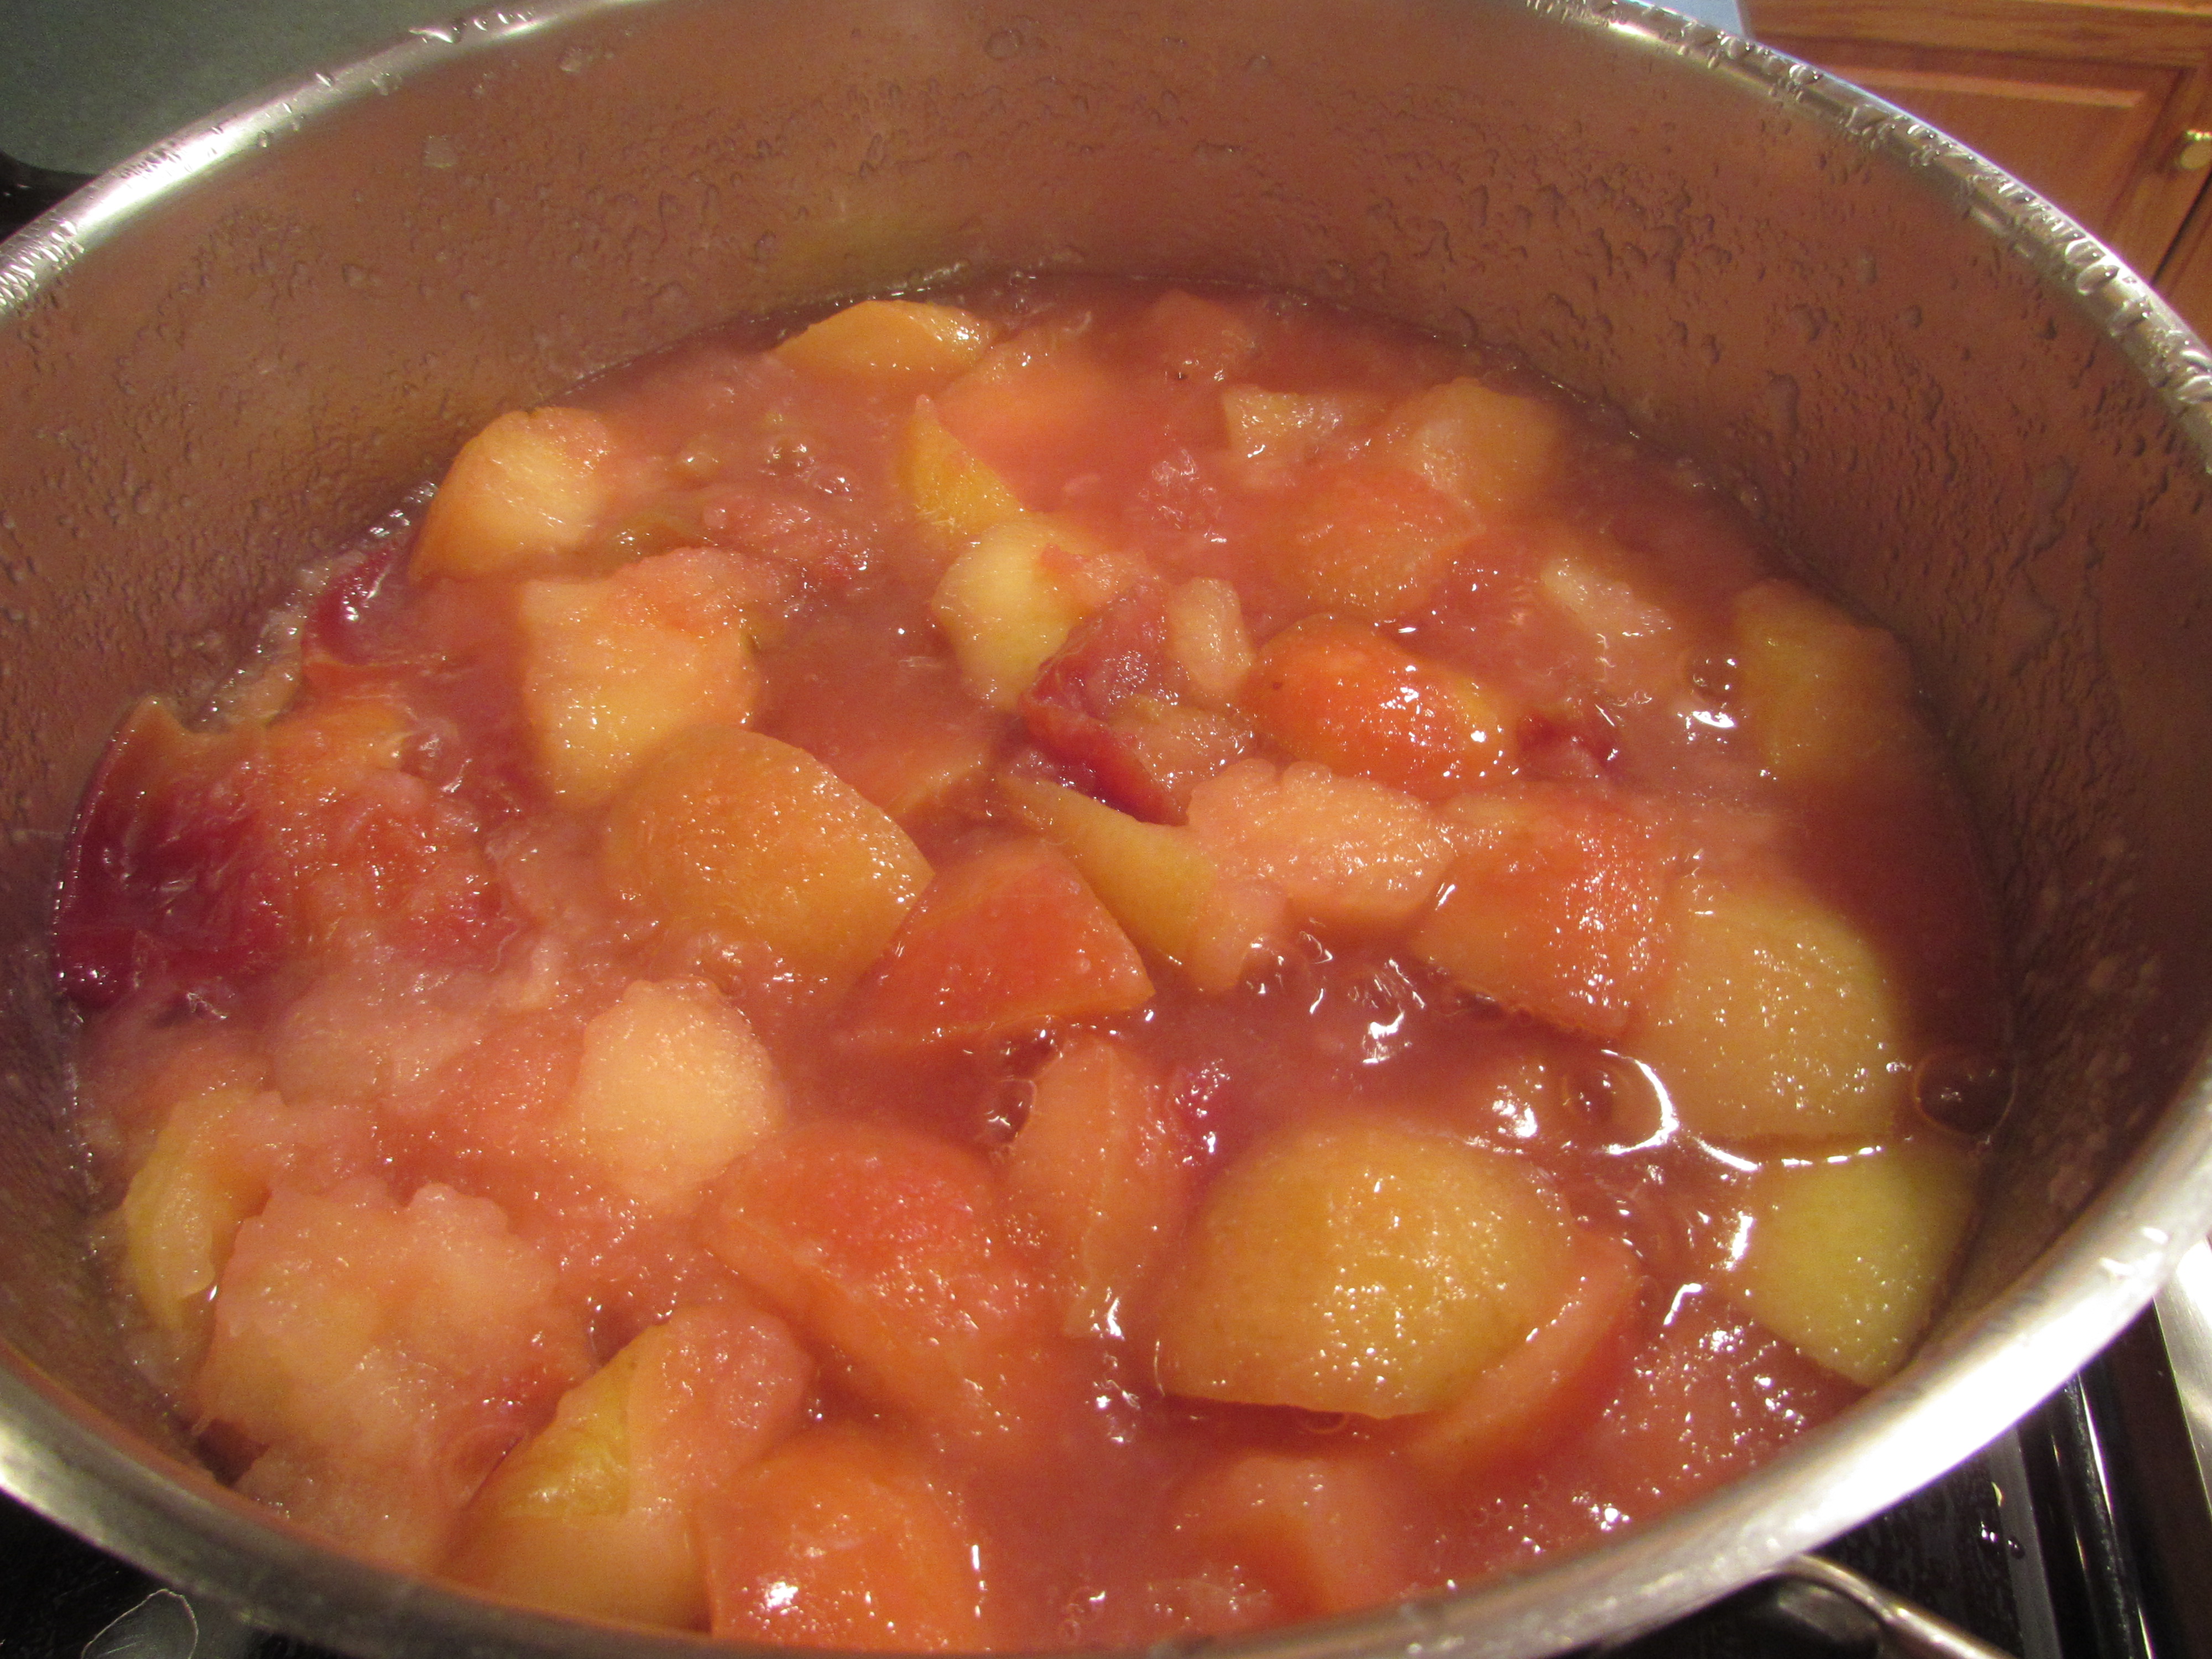
Place cut apples in a large (like 8 quart) sauce pan with about 2 cups of water over medium to medium low heat. Bring to a simmer and cook for about 30 minutes, stirring occasionally, until apples are soft and tender.
Remove from burner and place pot on a heat proof surface. Place your food mill over a deep, large bowl (I use my Kitchen Aid Mixer Bowl for this, it’s perfect) and place it right next to the pot of apples. Ladle about 2-3 spoonfuls of the hot apples into the food mill and process. Continue until all the apples are done. While the sauce is still hot, add sugar to desired sweetness. Cool sauce to room temperature.
Put applesauce into containers and place in the refrigerator. I like my applesauce icy cold, so I wait until the next day to eat it. Freeze any sauce that you will not be eating in the next 2 days.
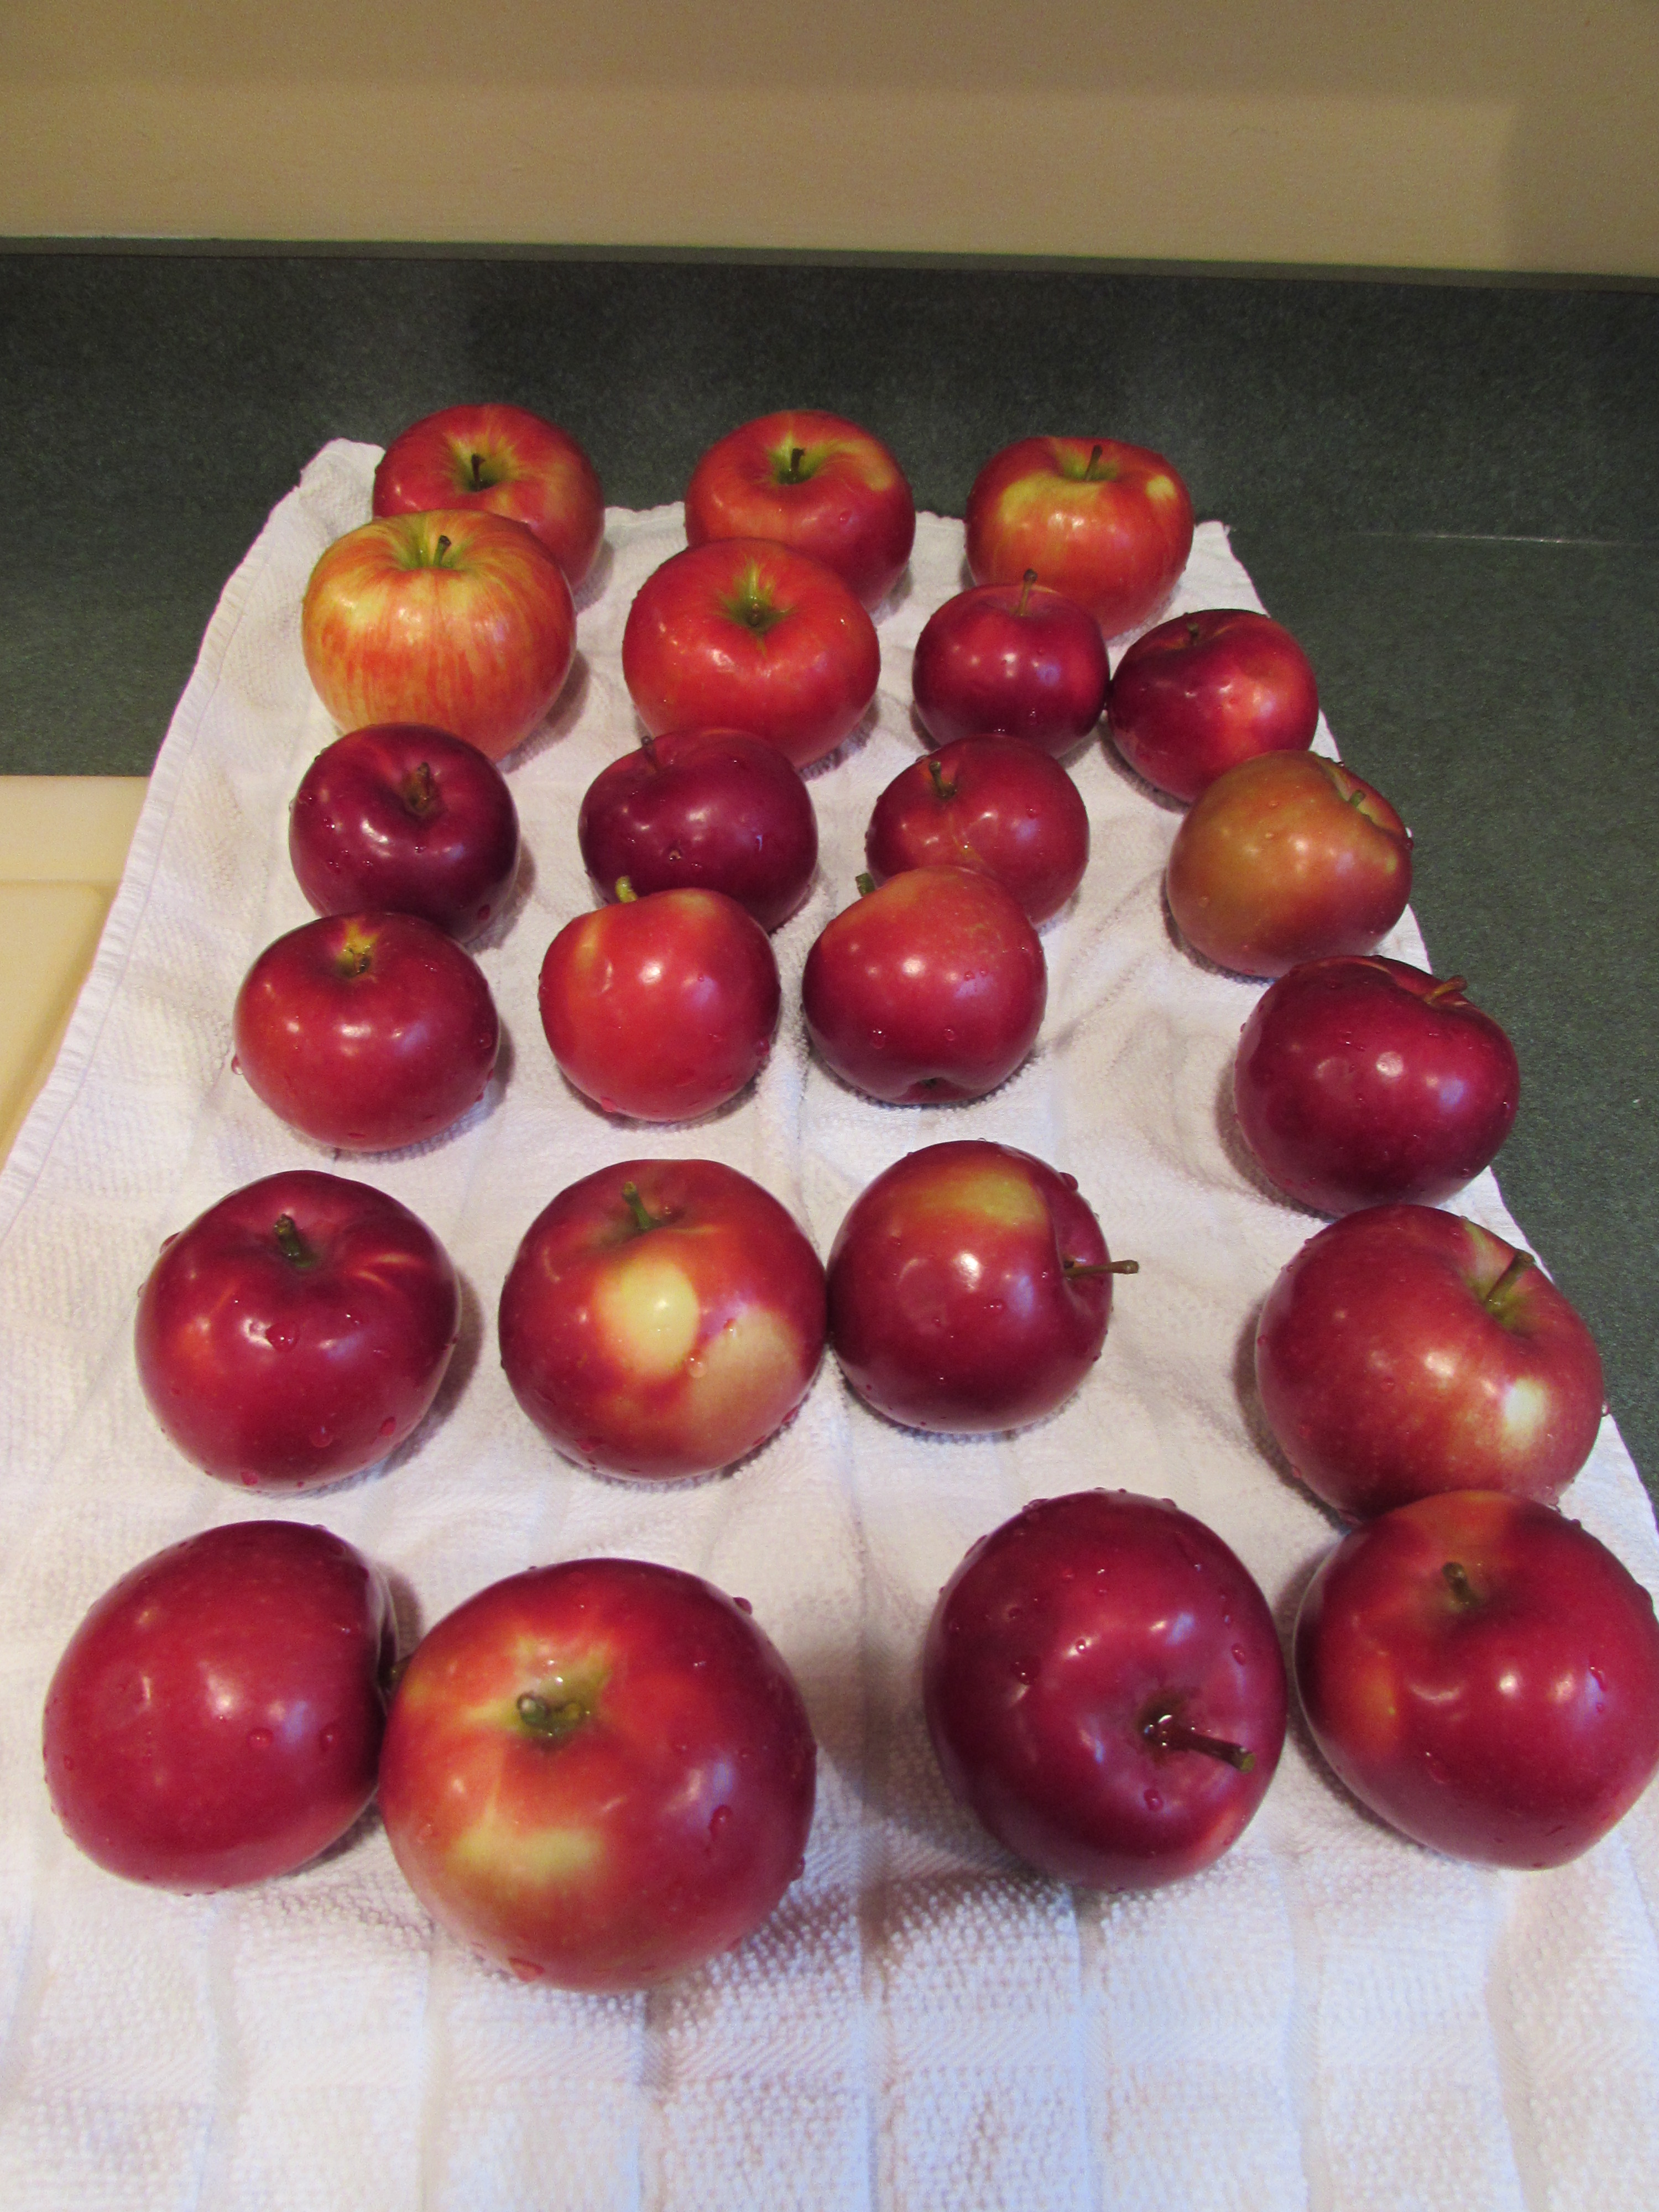
these are mostly McIntosh with a few Honey Crisp, all washed:
quarter and remove seed core and stems:
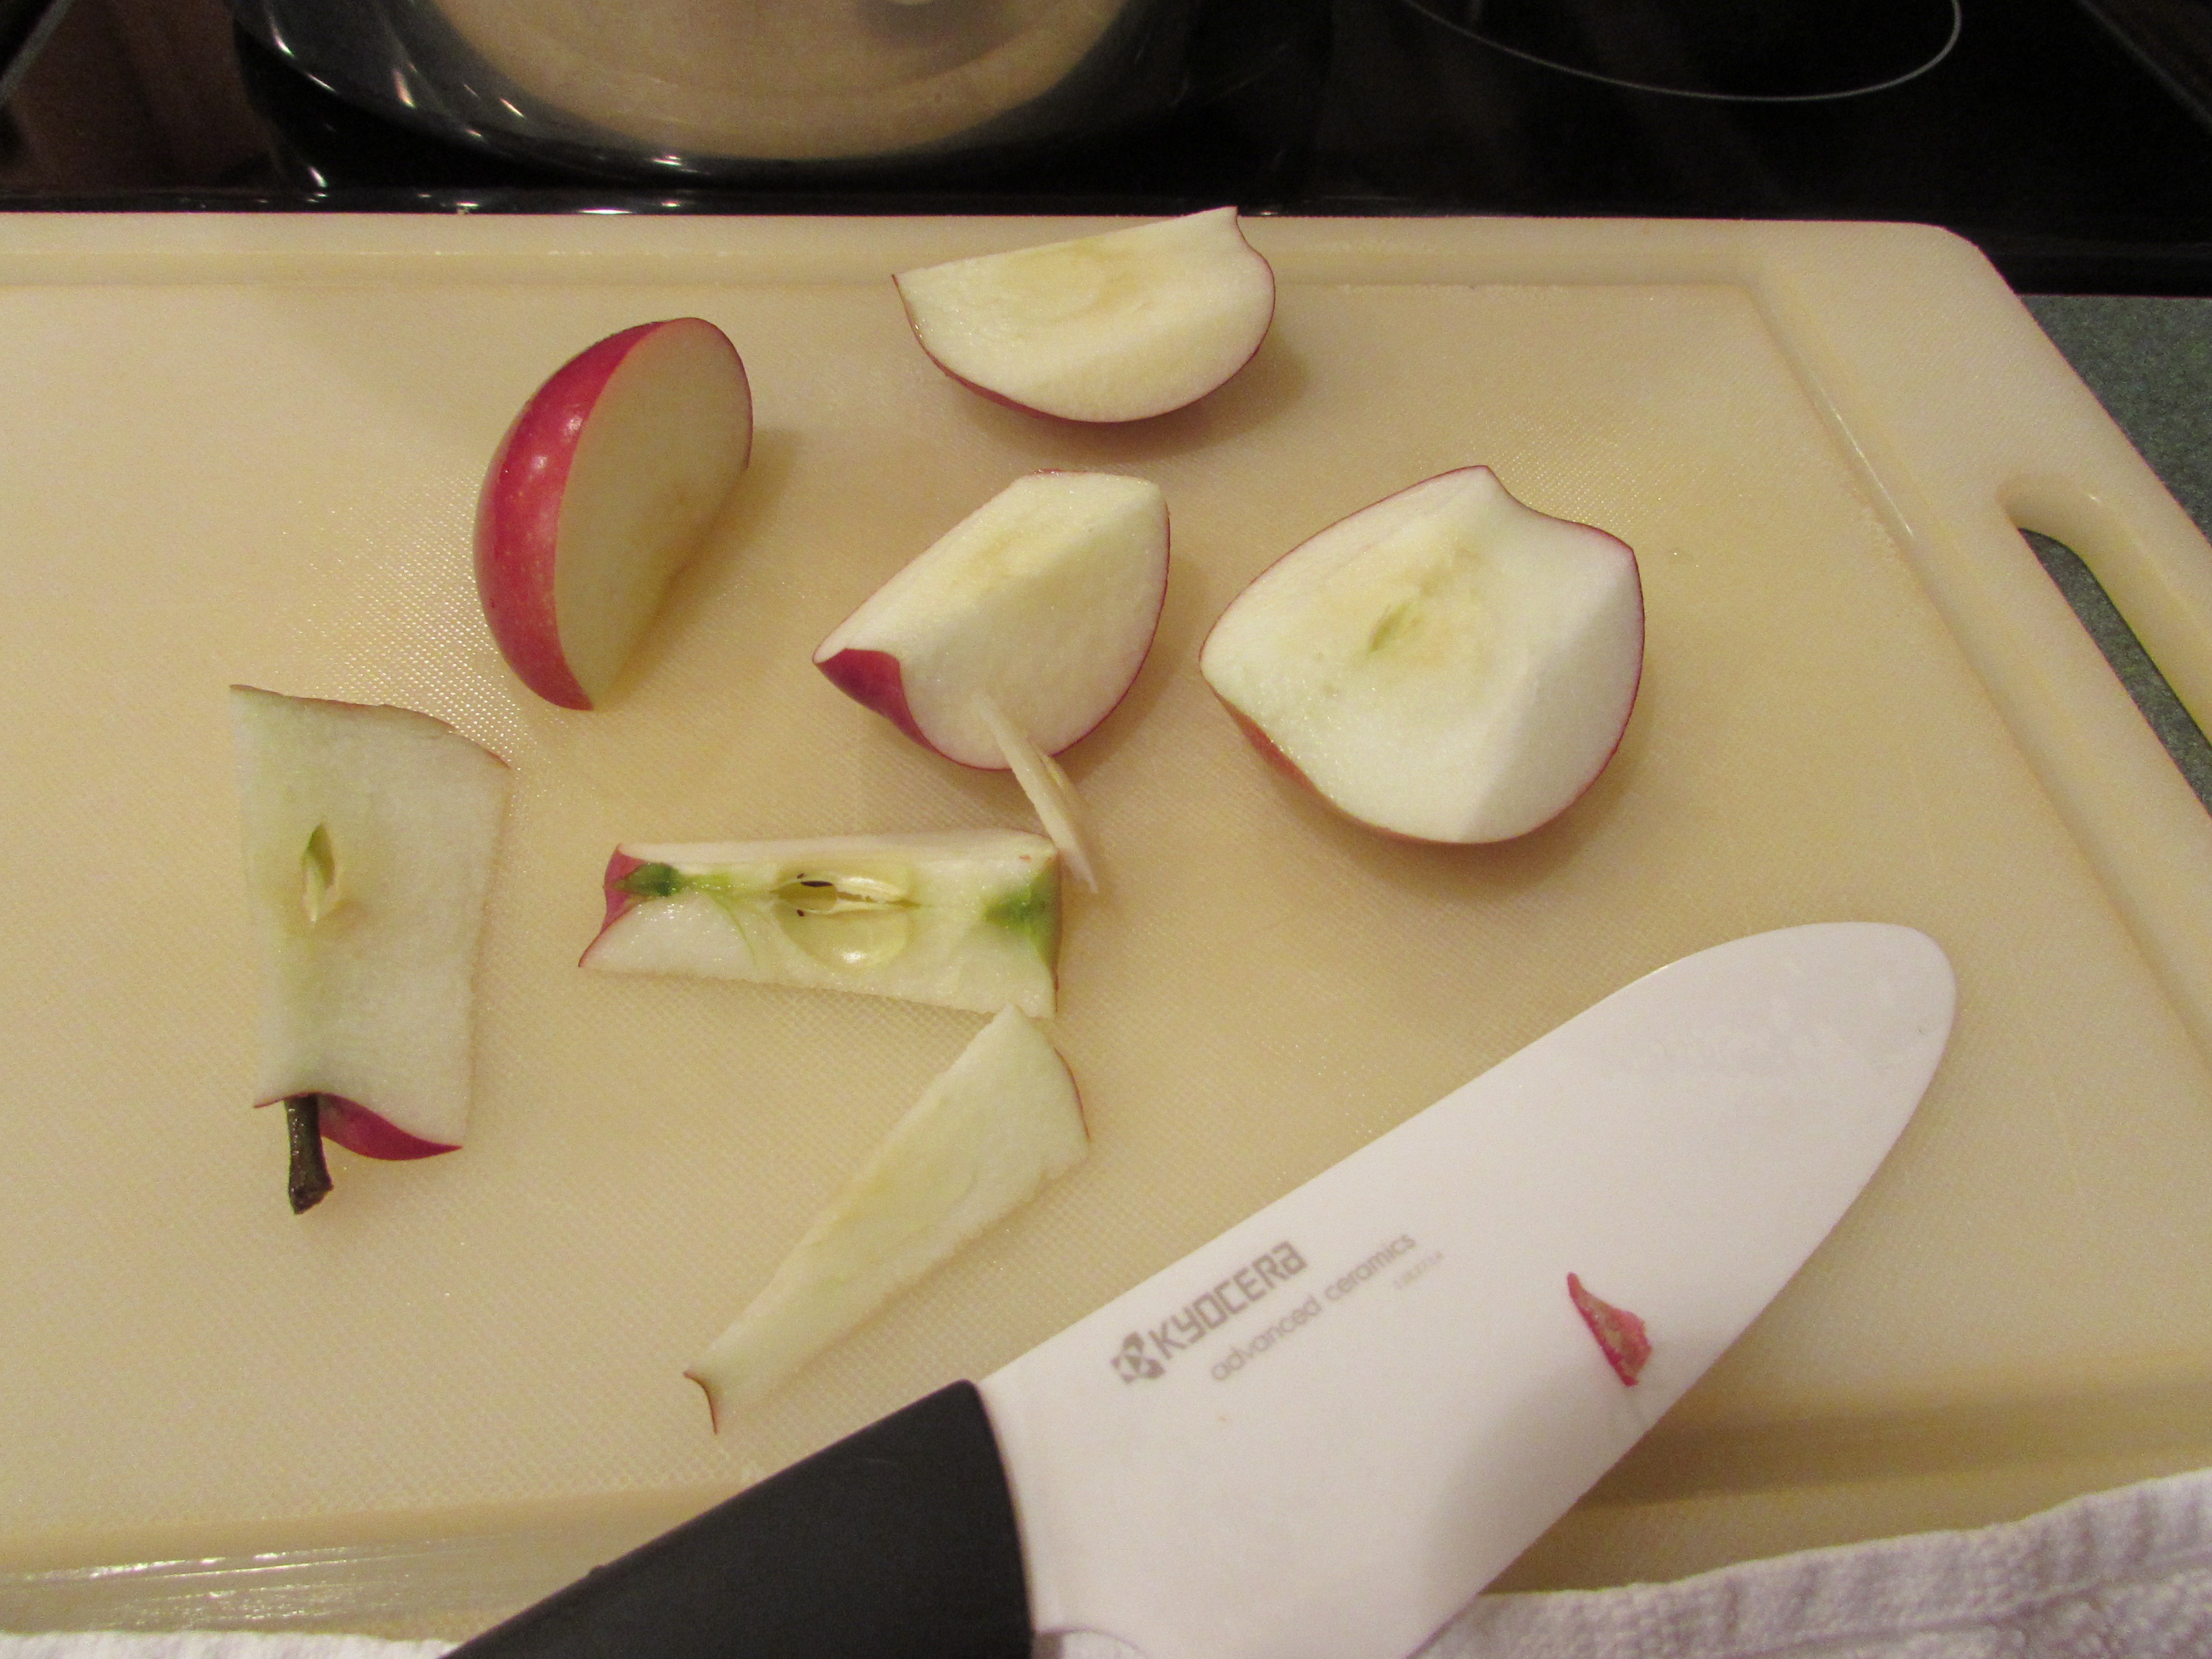
pink/red streaking:
into the pot:
cooking and stirring:

all done:
processing (I use the sink, it’s easier for me):


all done and then adding sugar, to taste, starting with a small amount:


Bran Flax Muffins

Flaxseed is ‘in’ these days and for good reason “…it owes its primary healthy reputation …to omega-3 essential fatty acids, lignans and fiber. Omega-3 essential fatty acids are “good” fats that have been shown to have heart-healthy effects…. Lignans have both plant estrogen and antioxidant qualities. Flaxseed contains 75 to 80 times more lignans than other plant foods. Flaxseed Meal is high in dietary fiber containing both the soluble and insoluble types. It’s also a powerful natural cholesterol controller….” Bob’s Red Mill
This muffin can be a tasty part of your arsenal to eat healthy. Easy to make and yummy to eat!
Bran Flax Muffins (inspired by Joy the Baker and adopted from Bob’s Red Mill)
1-1/2 cups unbleached white flour or white whole wheat flour
3/4 cup Bob’s Red Mill Flaxseed Meal
3/4 cup oat bran
1 cup brown sugar, packed
2 teaspoons baking soda
1 teaspoons baking powder
1/2 teaspoon salt
2 teaspoon ground cinnamon
1 cups nuts, like walnuts, toasted and chopped (walnuts are also packed with omega-3 fatty acids , so a double dose with this muffin)
1/2 cup raisins or dried cranberries or dates
1-1/2 cups carrots, shredded, from 3 large carrots
2 apples, peeled and shredded, about 1 cup
2 tablespoons of canola oil
3/4 cup milk (2 % is also fine)
2 eggs
1 teaspoon pure vanilla extract
Preheat oven to 350 degrees. Spray with canola oil spray, 14-15 muffin cups (you will need 2, 12 cup muffin pans).
Toast walnuts, in medium fry pan, over medium heat for 10-15 minutes until lightly toasted and fragrant. Chop walnuts.
In a large bowl, combine flour, flaxseed meal, oat bran, sugar, baking soda, baking powder, salt, and cinnamon. Stir with a whisk. Add toasted, chopped walnuts and raisins and stir to distribute evenly. Add shredded carrots and apples and stir together until distributed evenly among the dry ingredients. In a separate bowl or glass measuring cup, combine the oil, milk, eggs and vanilla and stir with a whisk to combine. Add liquid ingredients to dry ingredients and stir until just combined.
Distribute batter evenly among 14-15 muffin cups. Using an ice cream scoop for this task is very helpful. Place in the oven and bake for 20-23 minutes, depending on the quantity you chose.
Place muffins pans on rack and let cool for 10 minutes. Remove muffins and let cool completely on rack.
toasting and chopping walnuts:


mise en place:
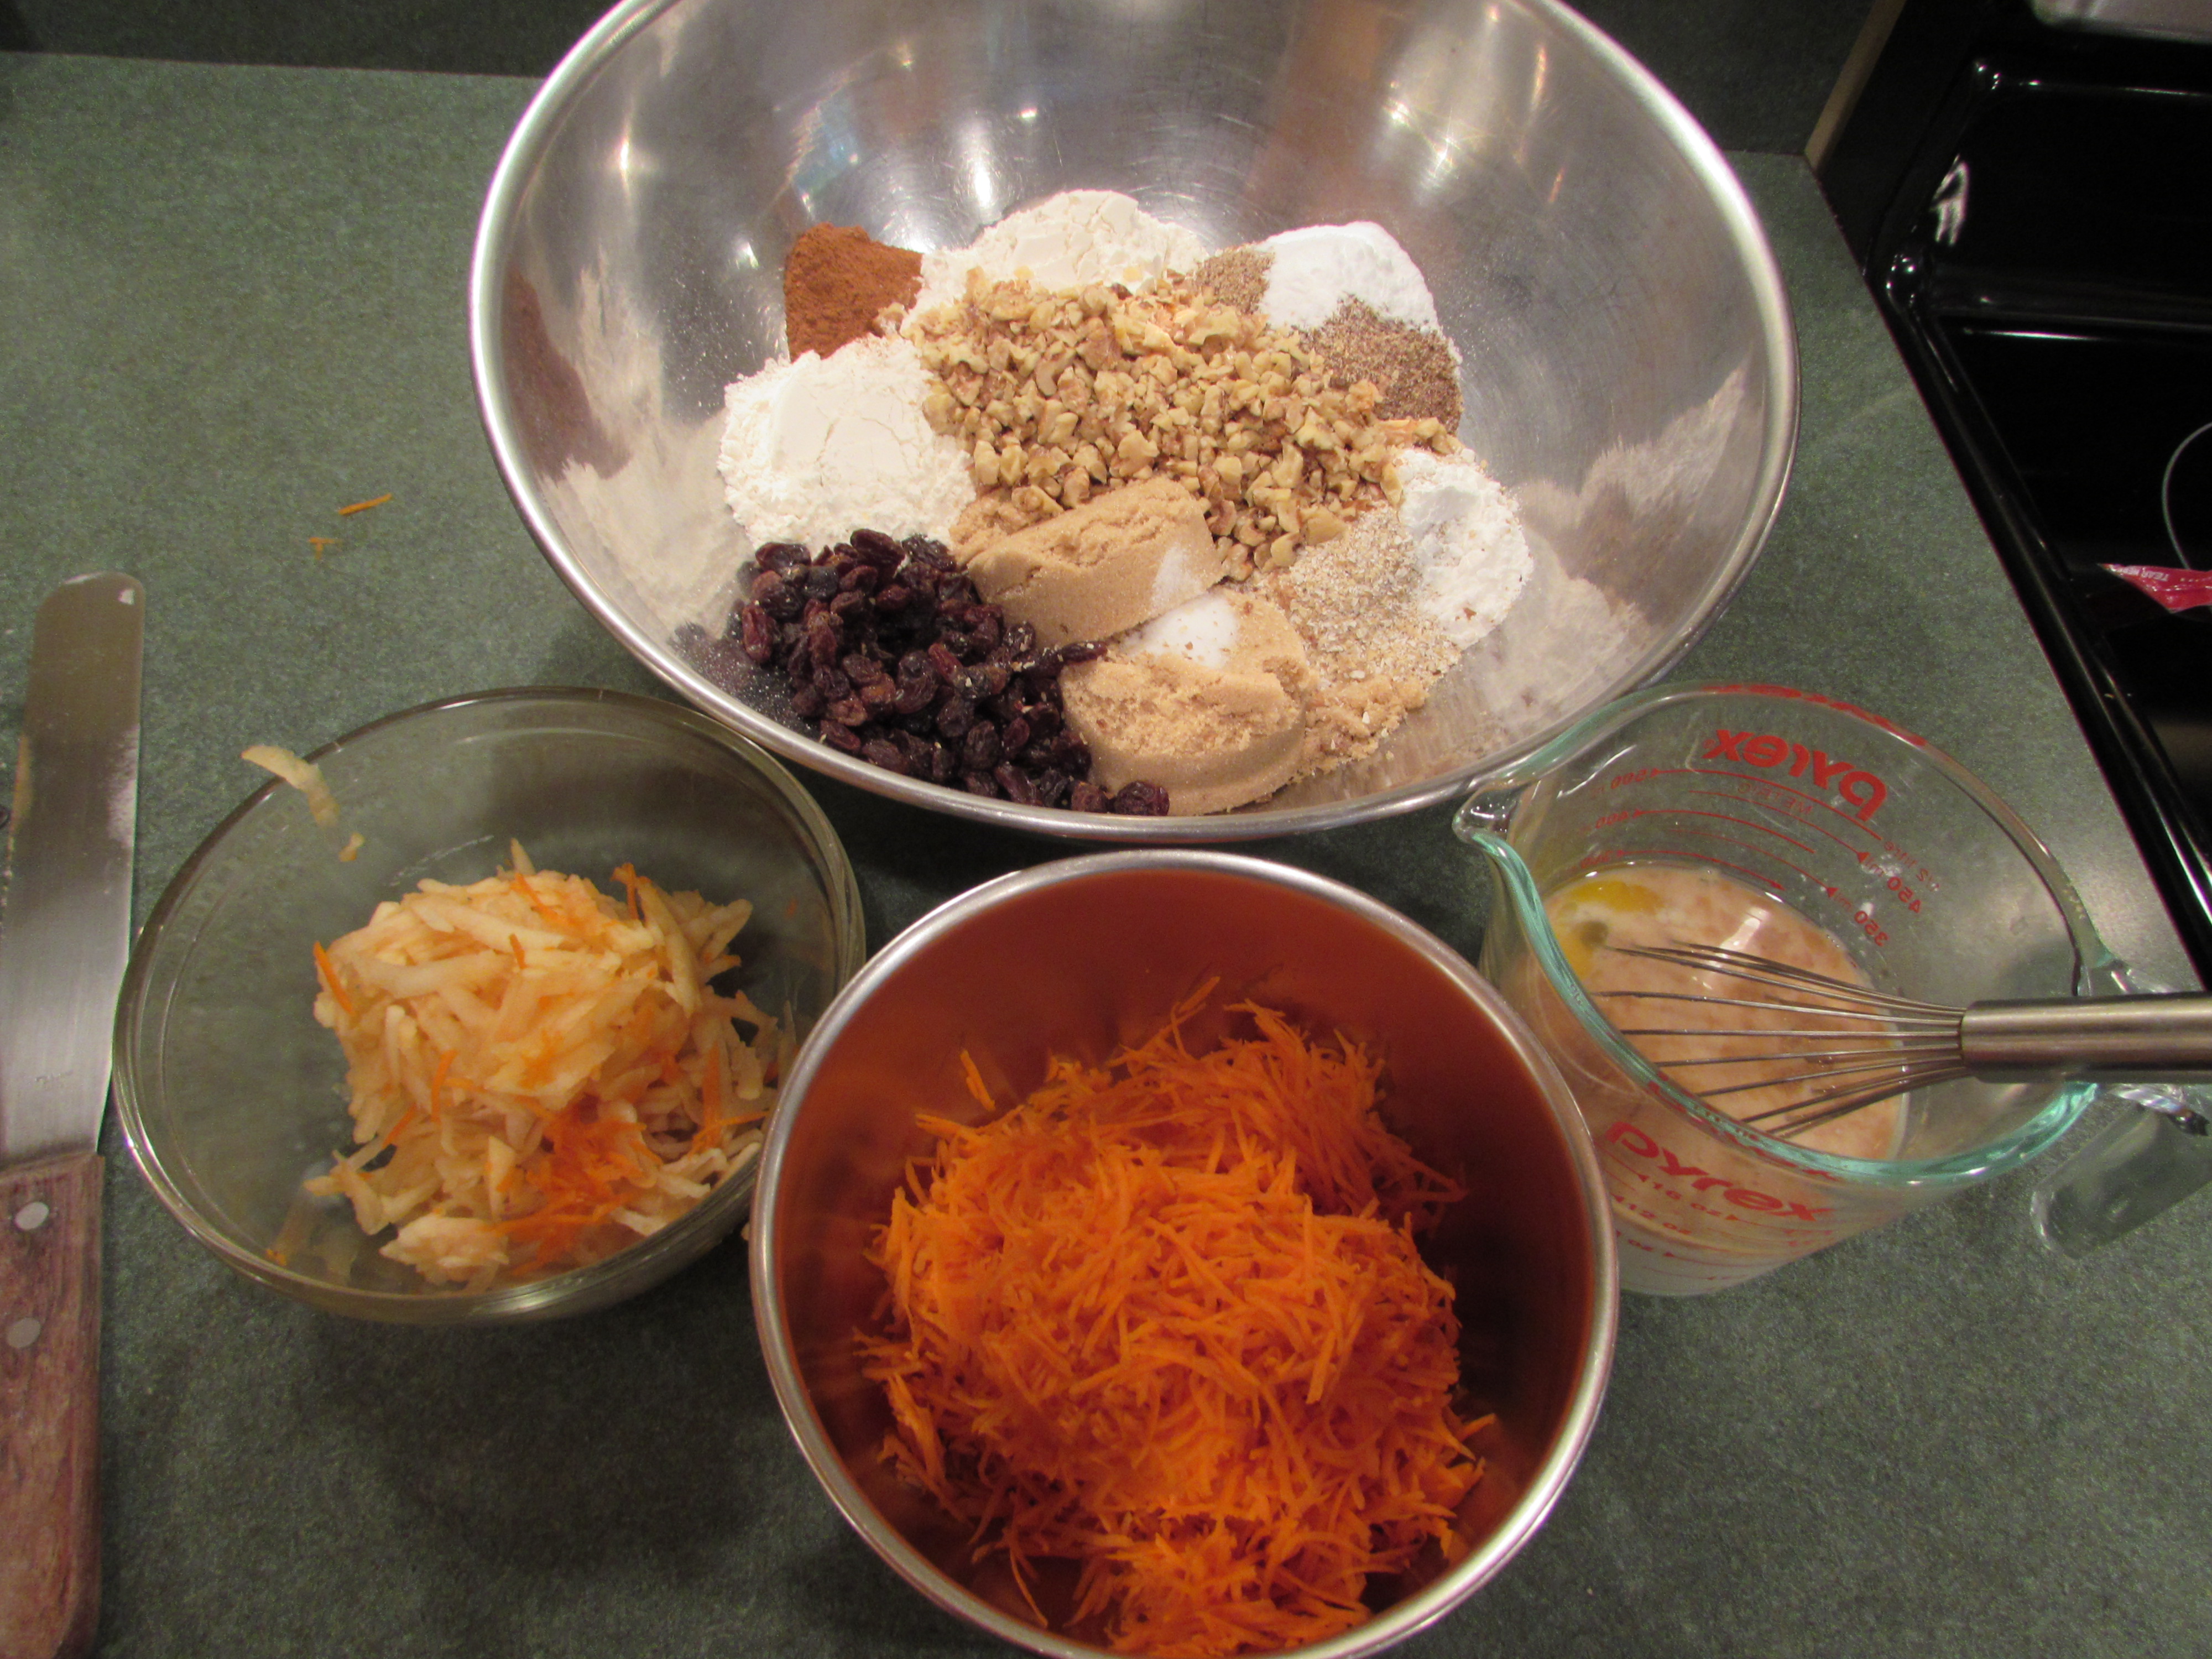
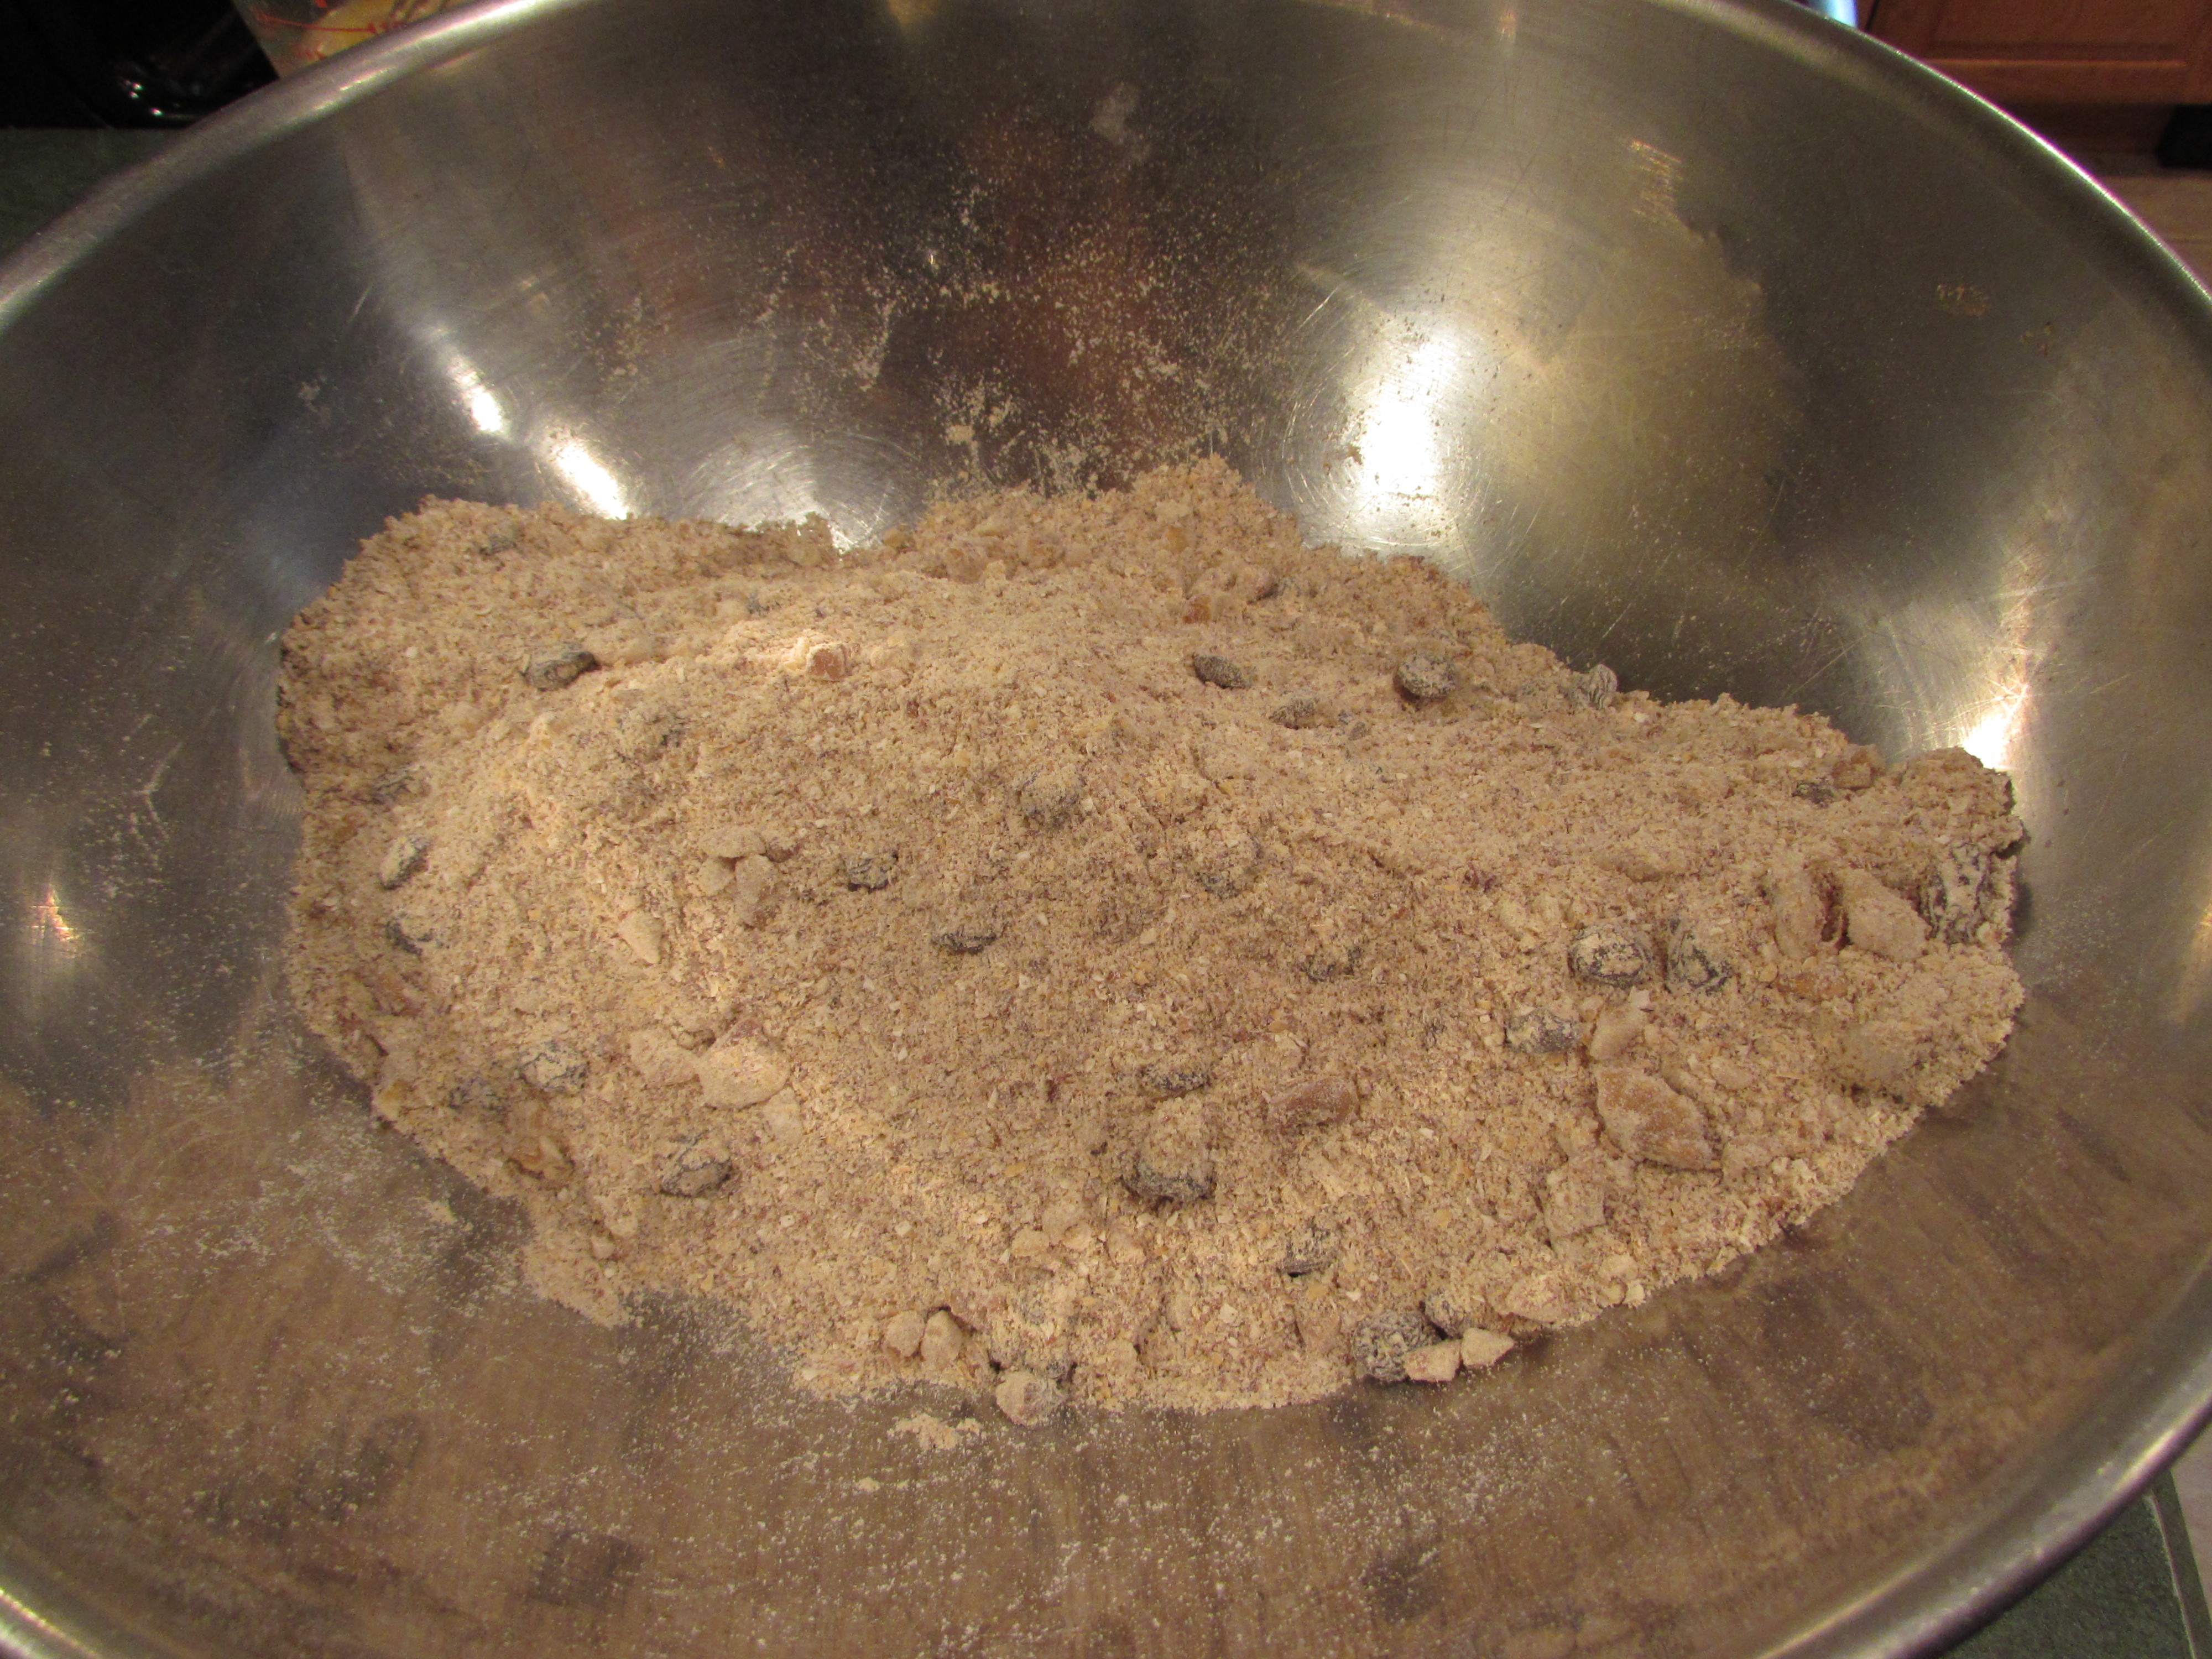
dry ingredients with chopped walnuts and raisins:
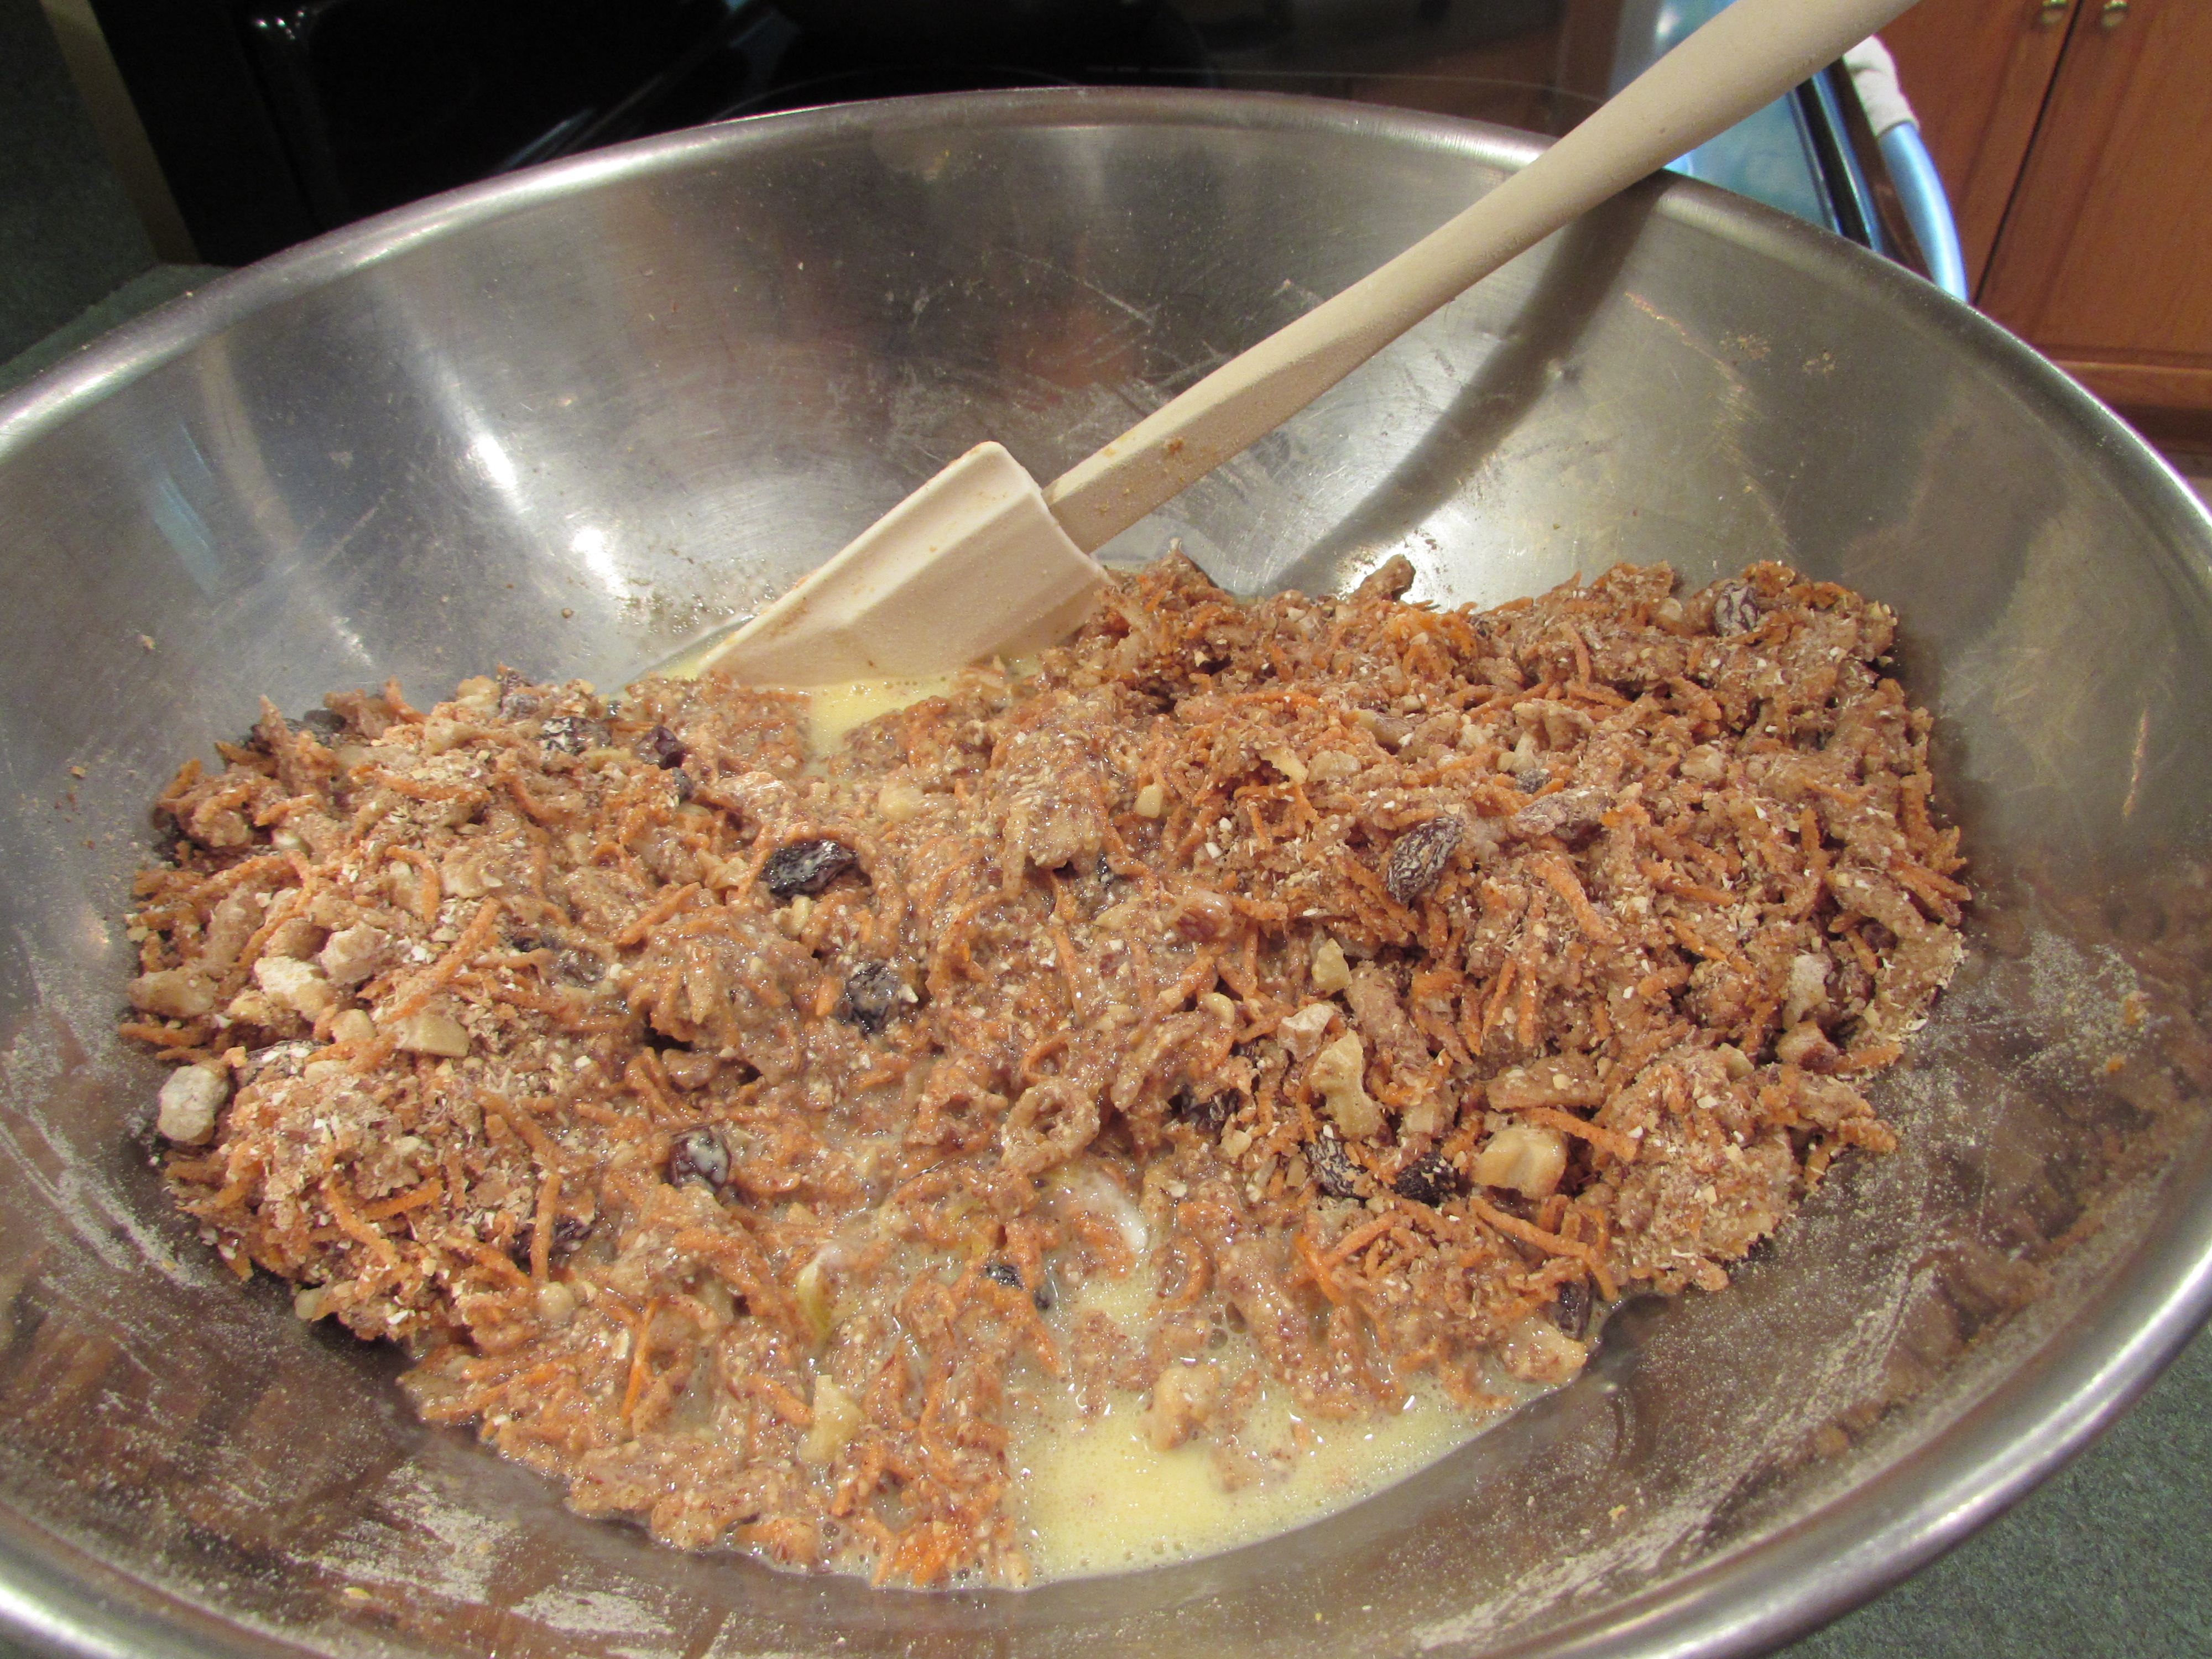
carrots and apples added:

liquid ingredients added:
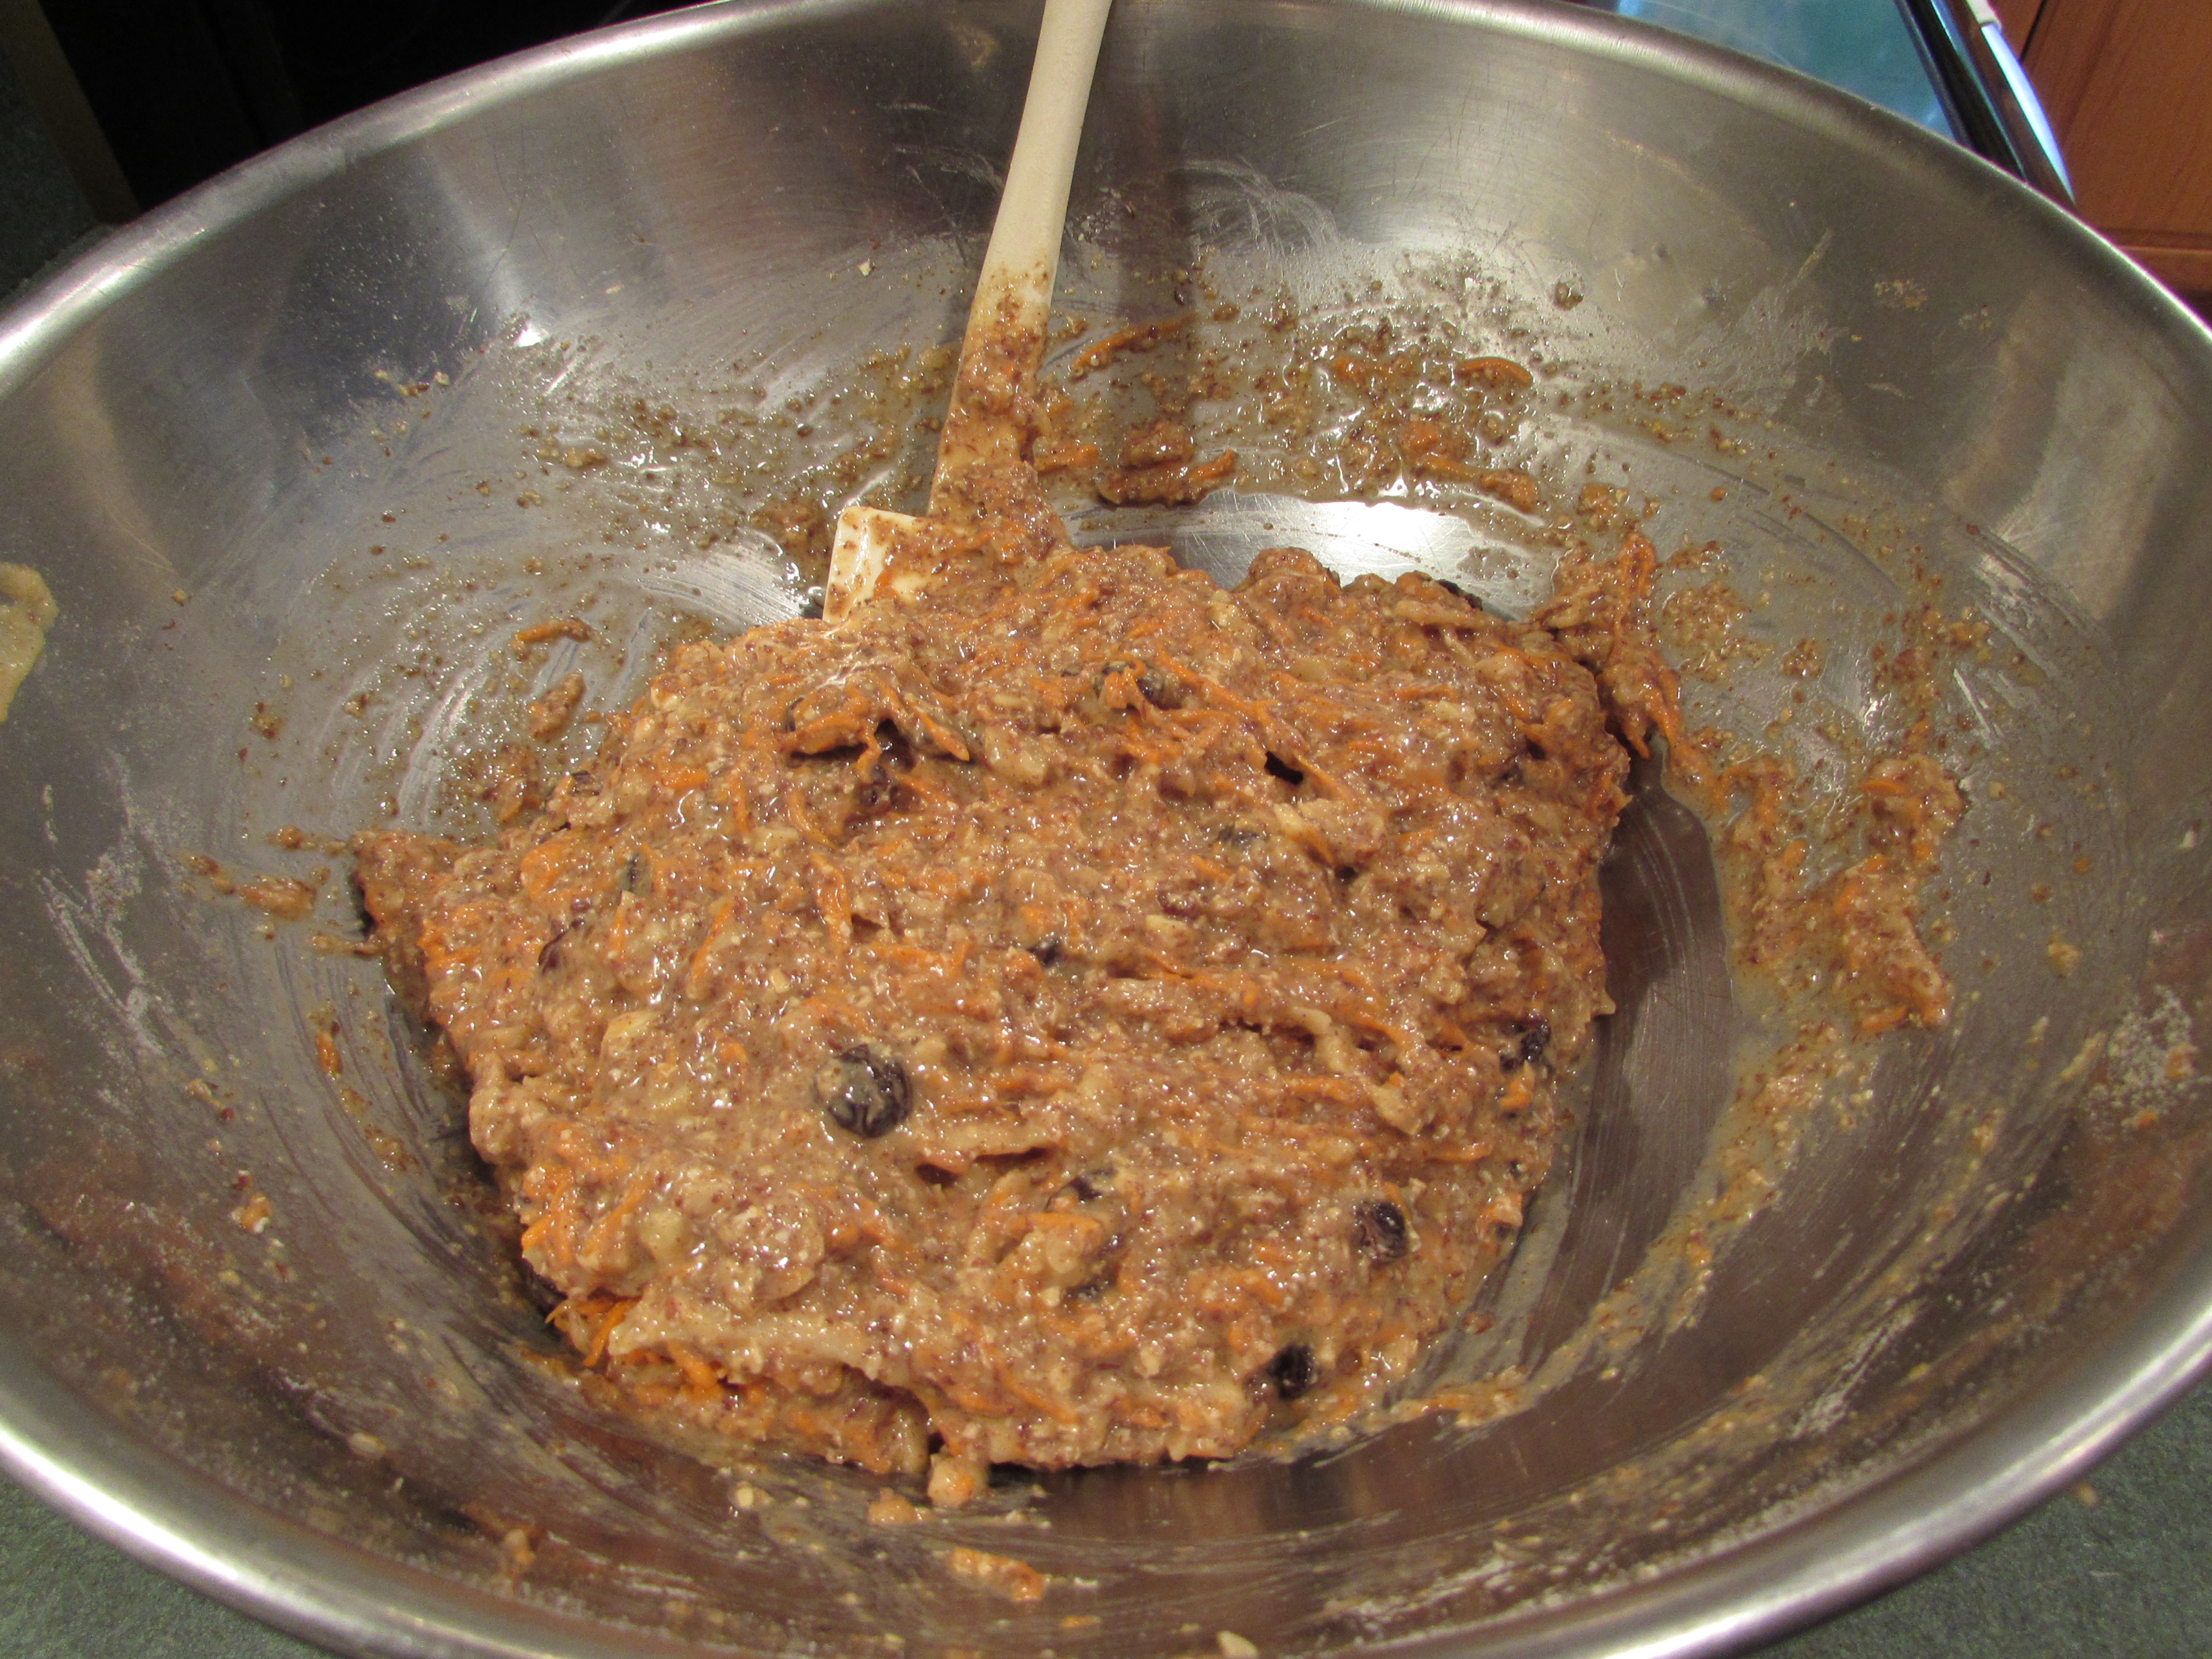
batter ready:
divided among muffin cups:

out of the oven:

and cooling:

Sloppy Joes

This is not your elementary school cafeteria sandwich nor the Hunts Manwich we might be familiar with but rather a super tasty ground beef on a bun!
I found out through the amazing world wide web that the sandwich actually got its name from the famed Key West bar it was invented in, Sloppy Joe’s. While Ernest Hemingway was living in Key West, his favorite bar was said to be Sloppy Joe’s, and that has helped it become a bit of a tourist destination and the sandwich to become famous.
I followed this recipe exact except for the red pepper. You may want to add that.
Sloppy Joes by Rachael Ray
1 tablespoon olive oil
1-1/4 pounds ground beef (sirloin or 90% lean)
1/4 cup brown sugar
2 teaspoons of Montreal Steak Seasoning Blend
1 medium onion, diced
1 tablespoon red wine vinegar
1 tablespoon Worcestershire sauce
2 cups tomato sauce
2 tablespoons tomato paste
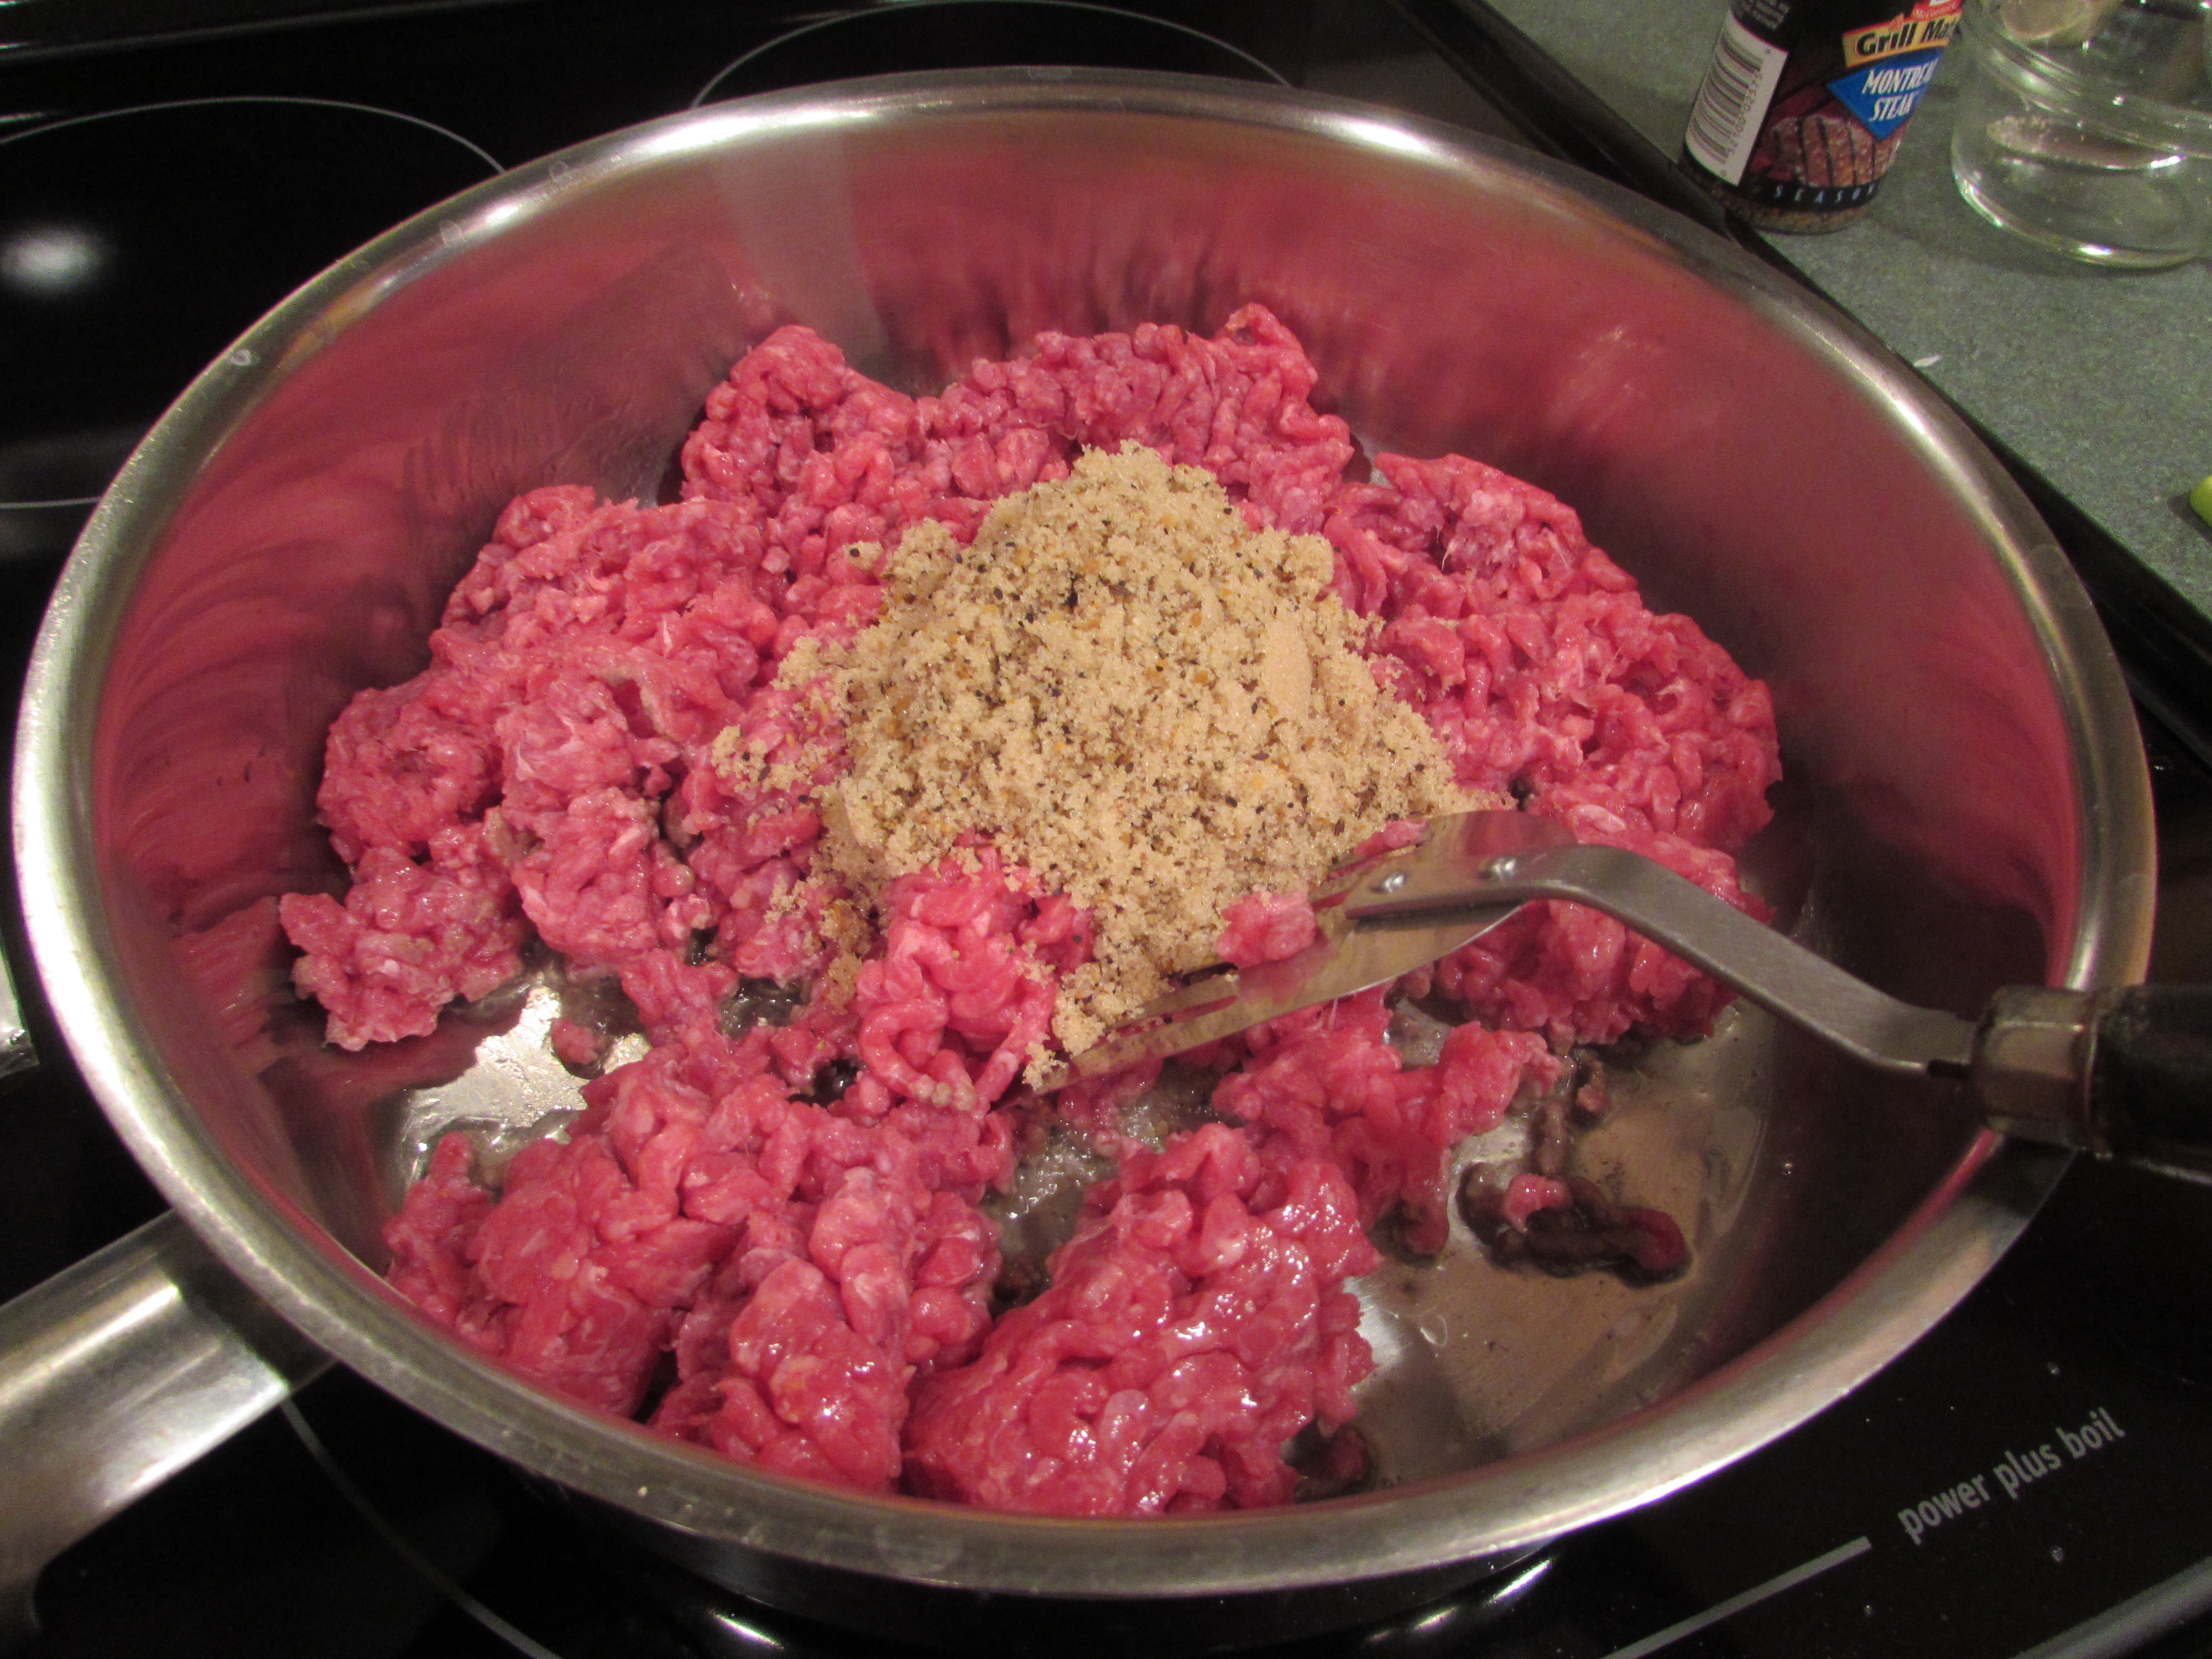
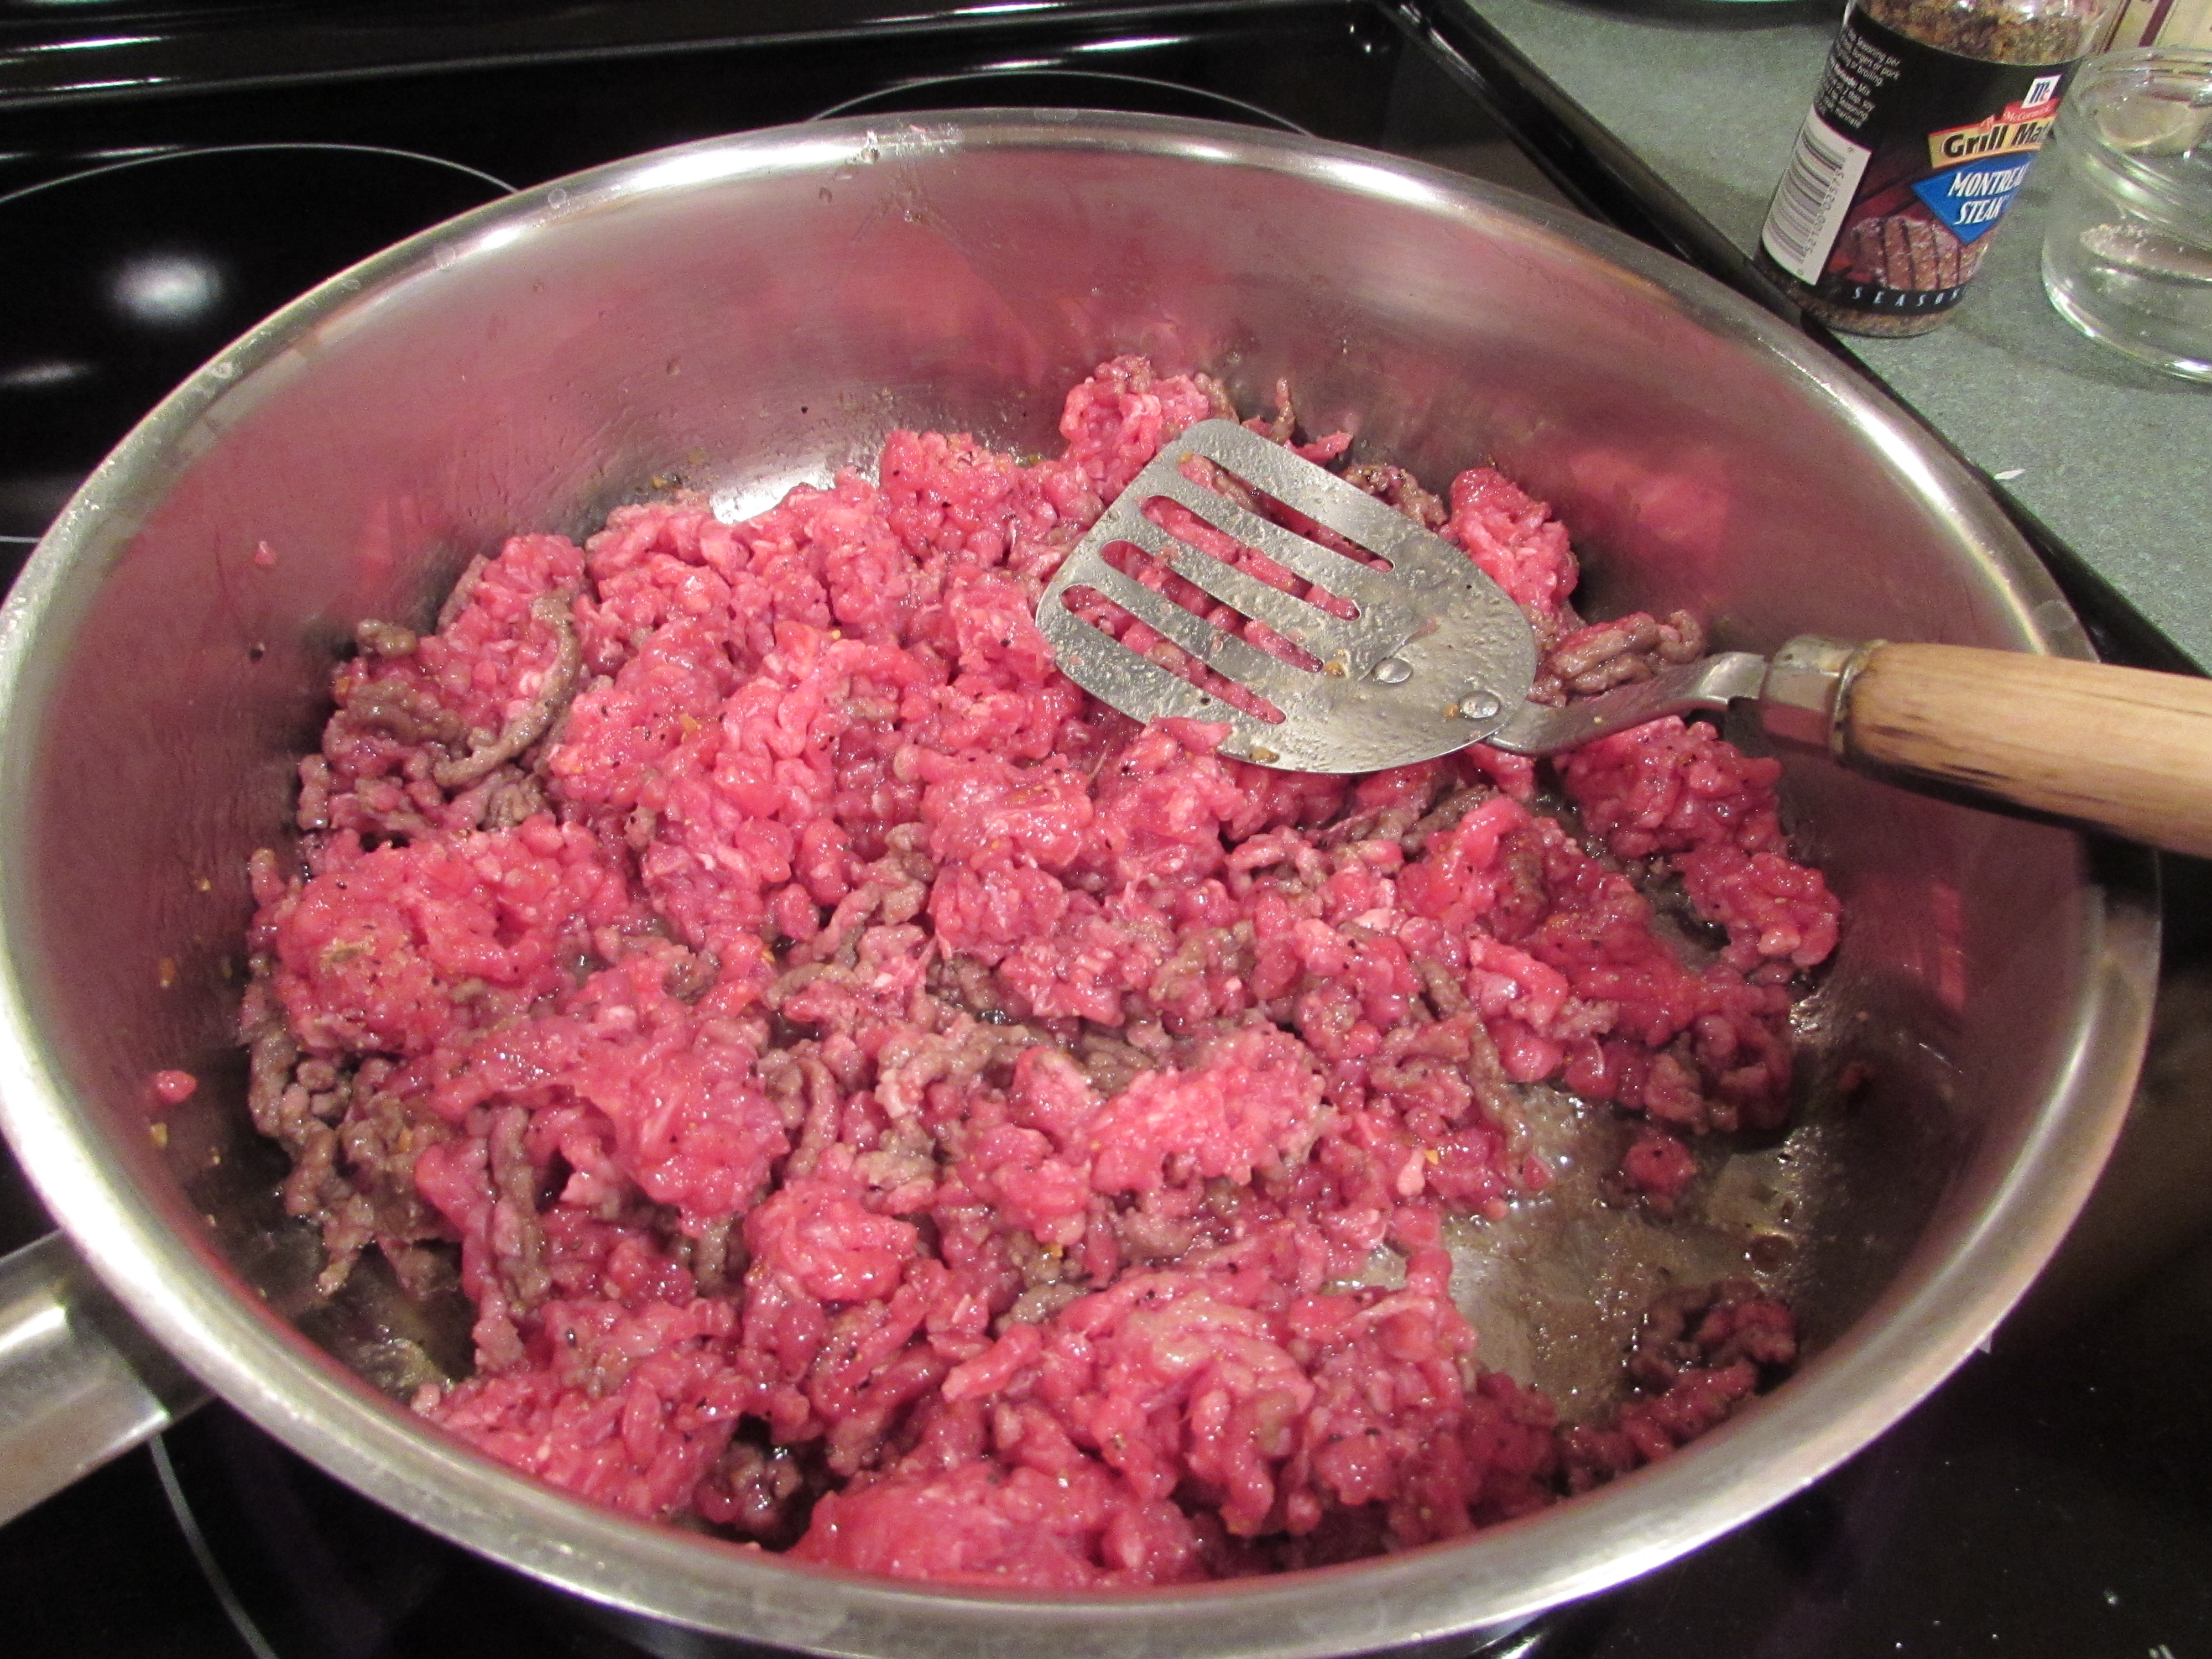
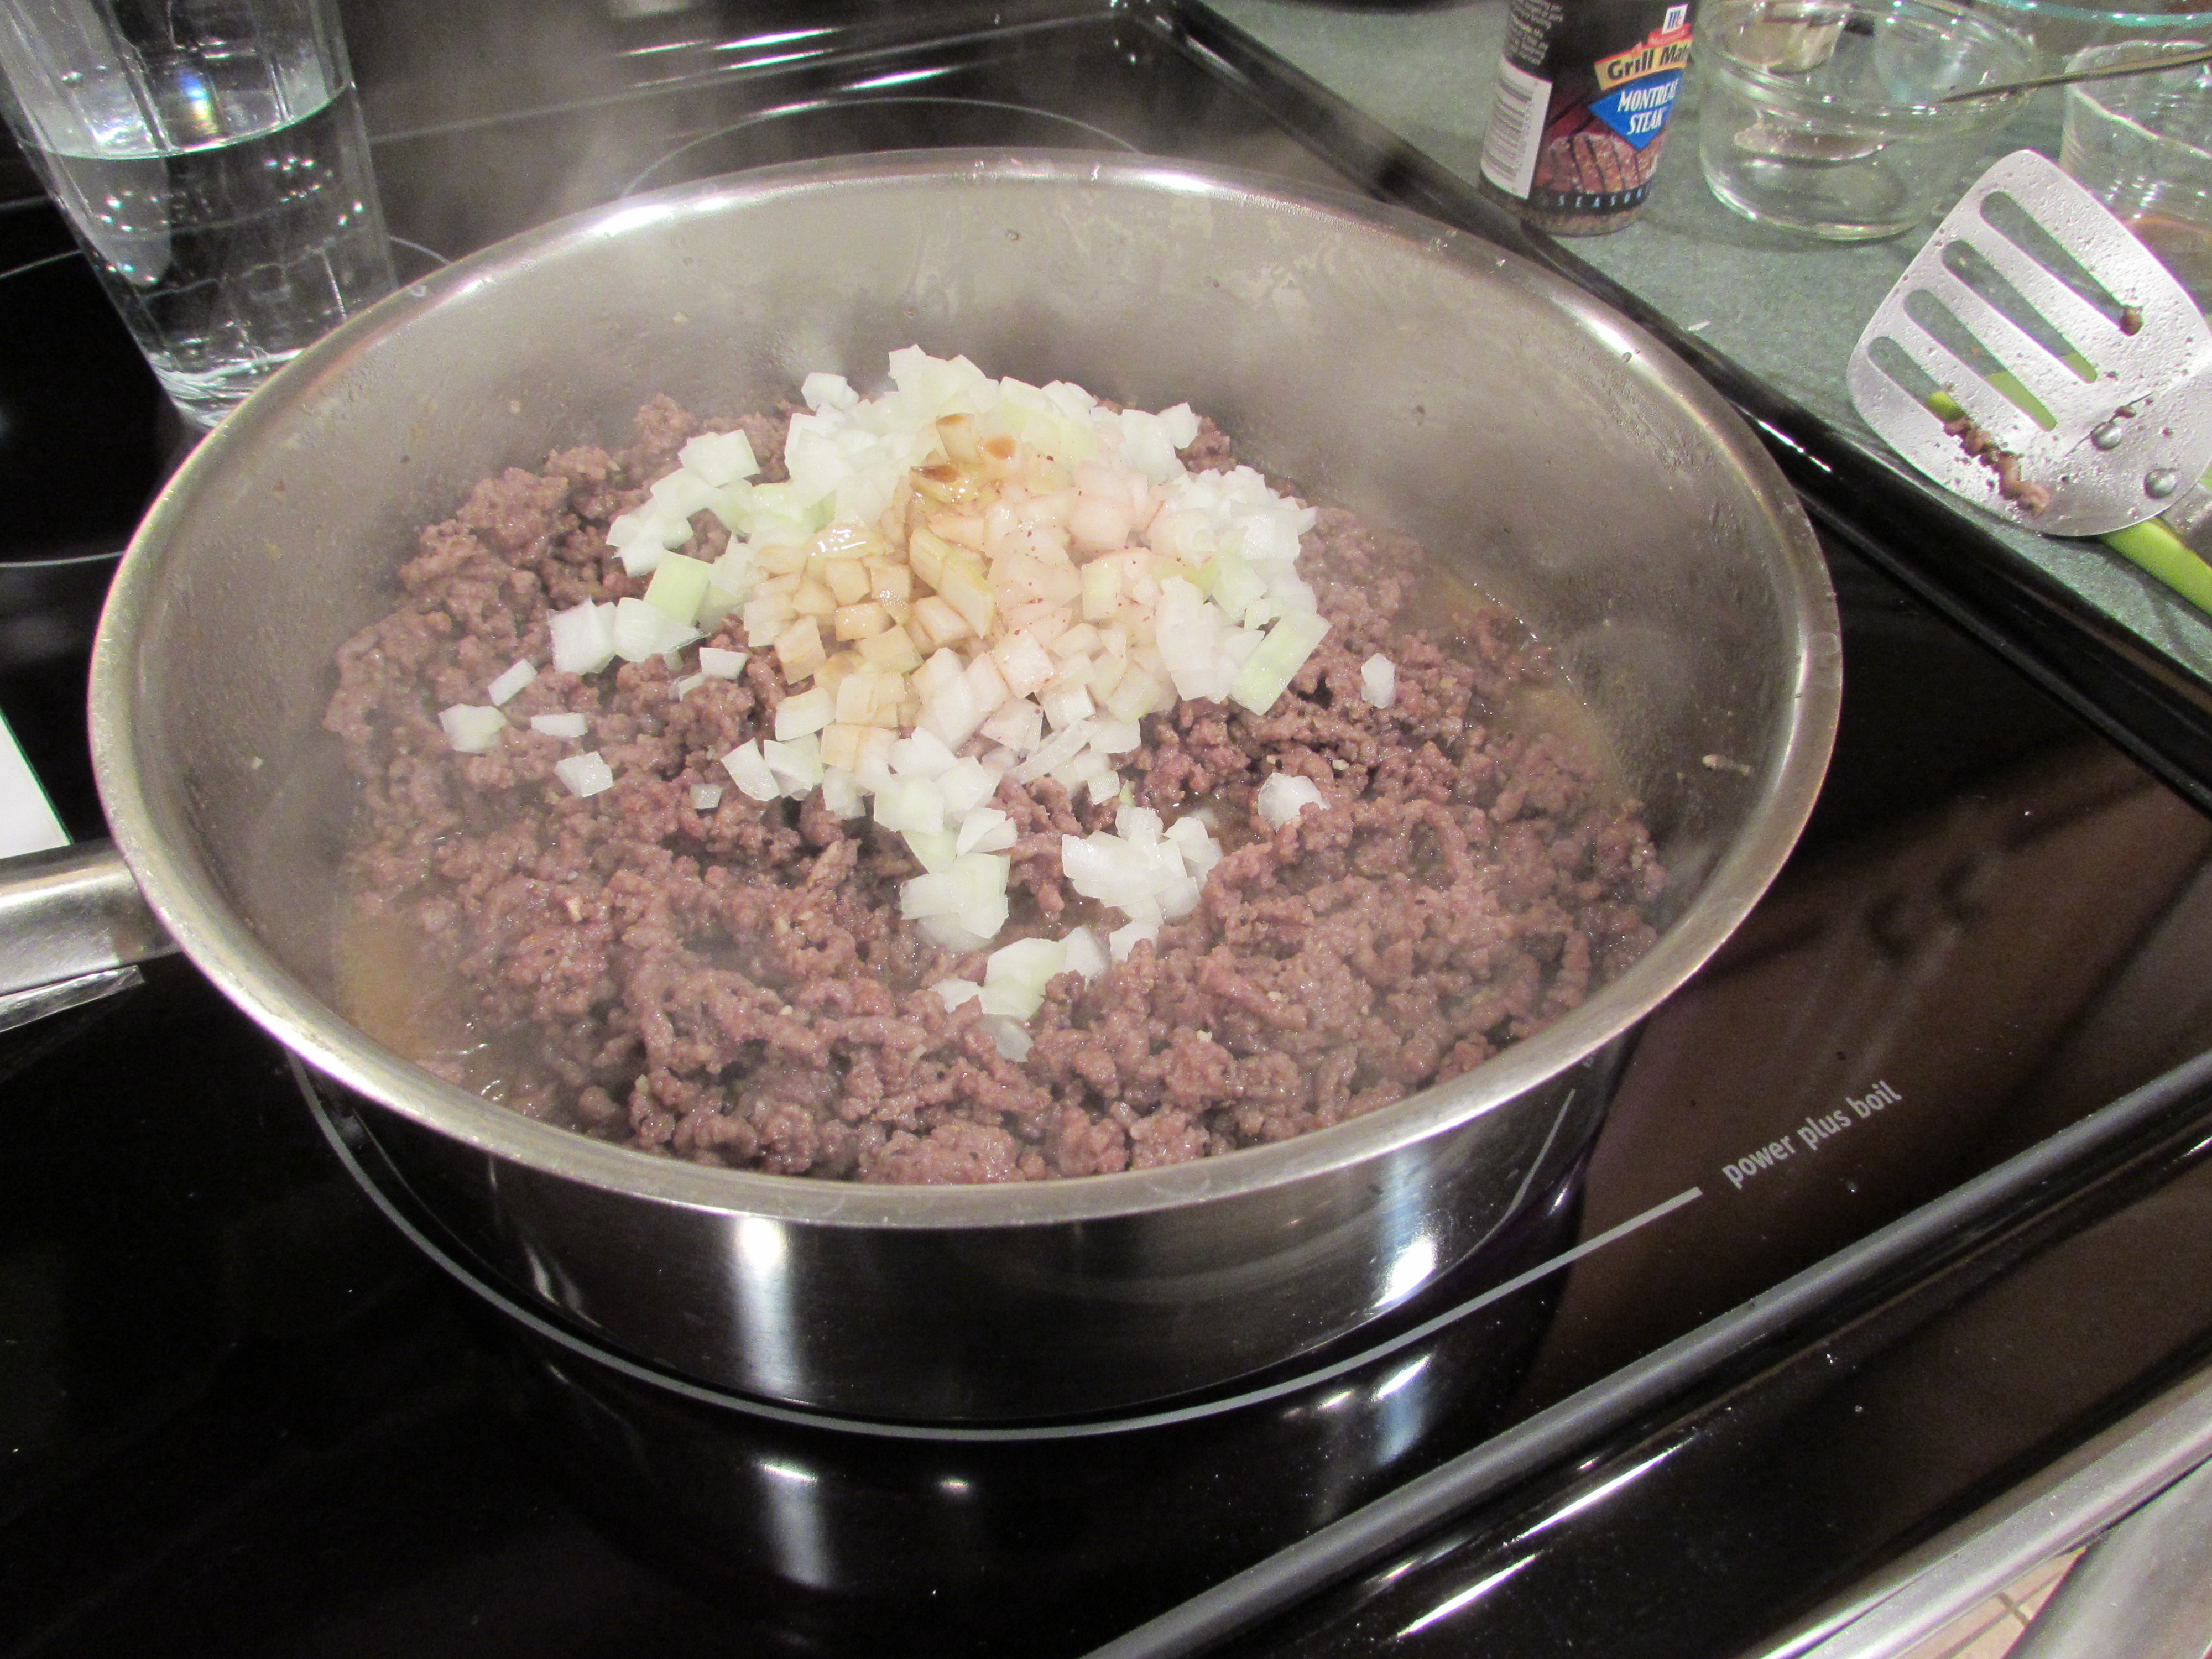
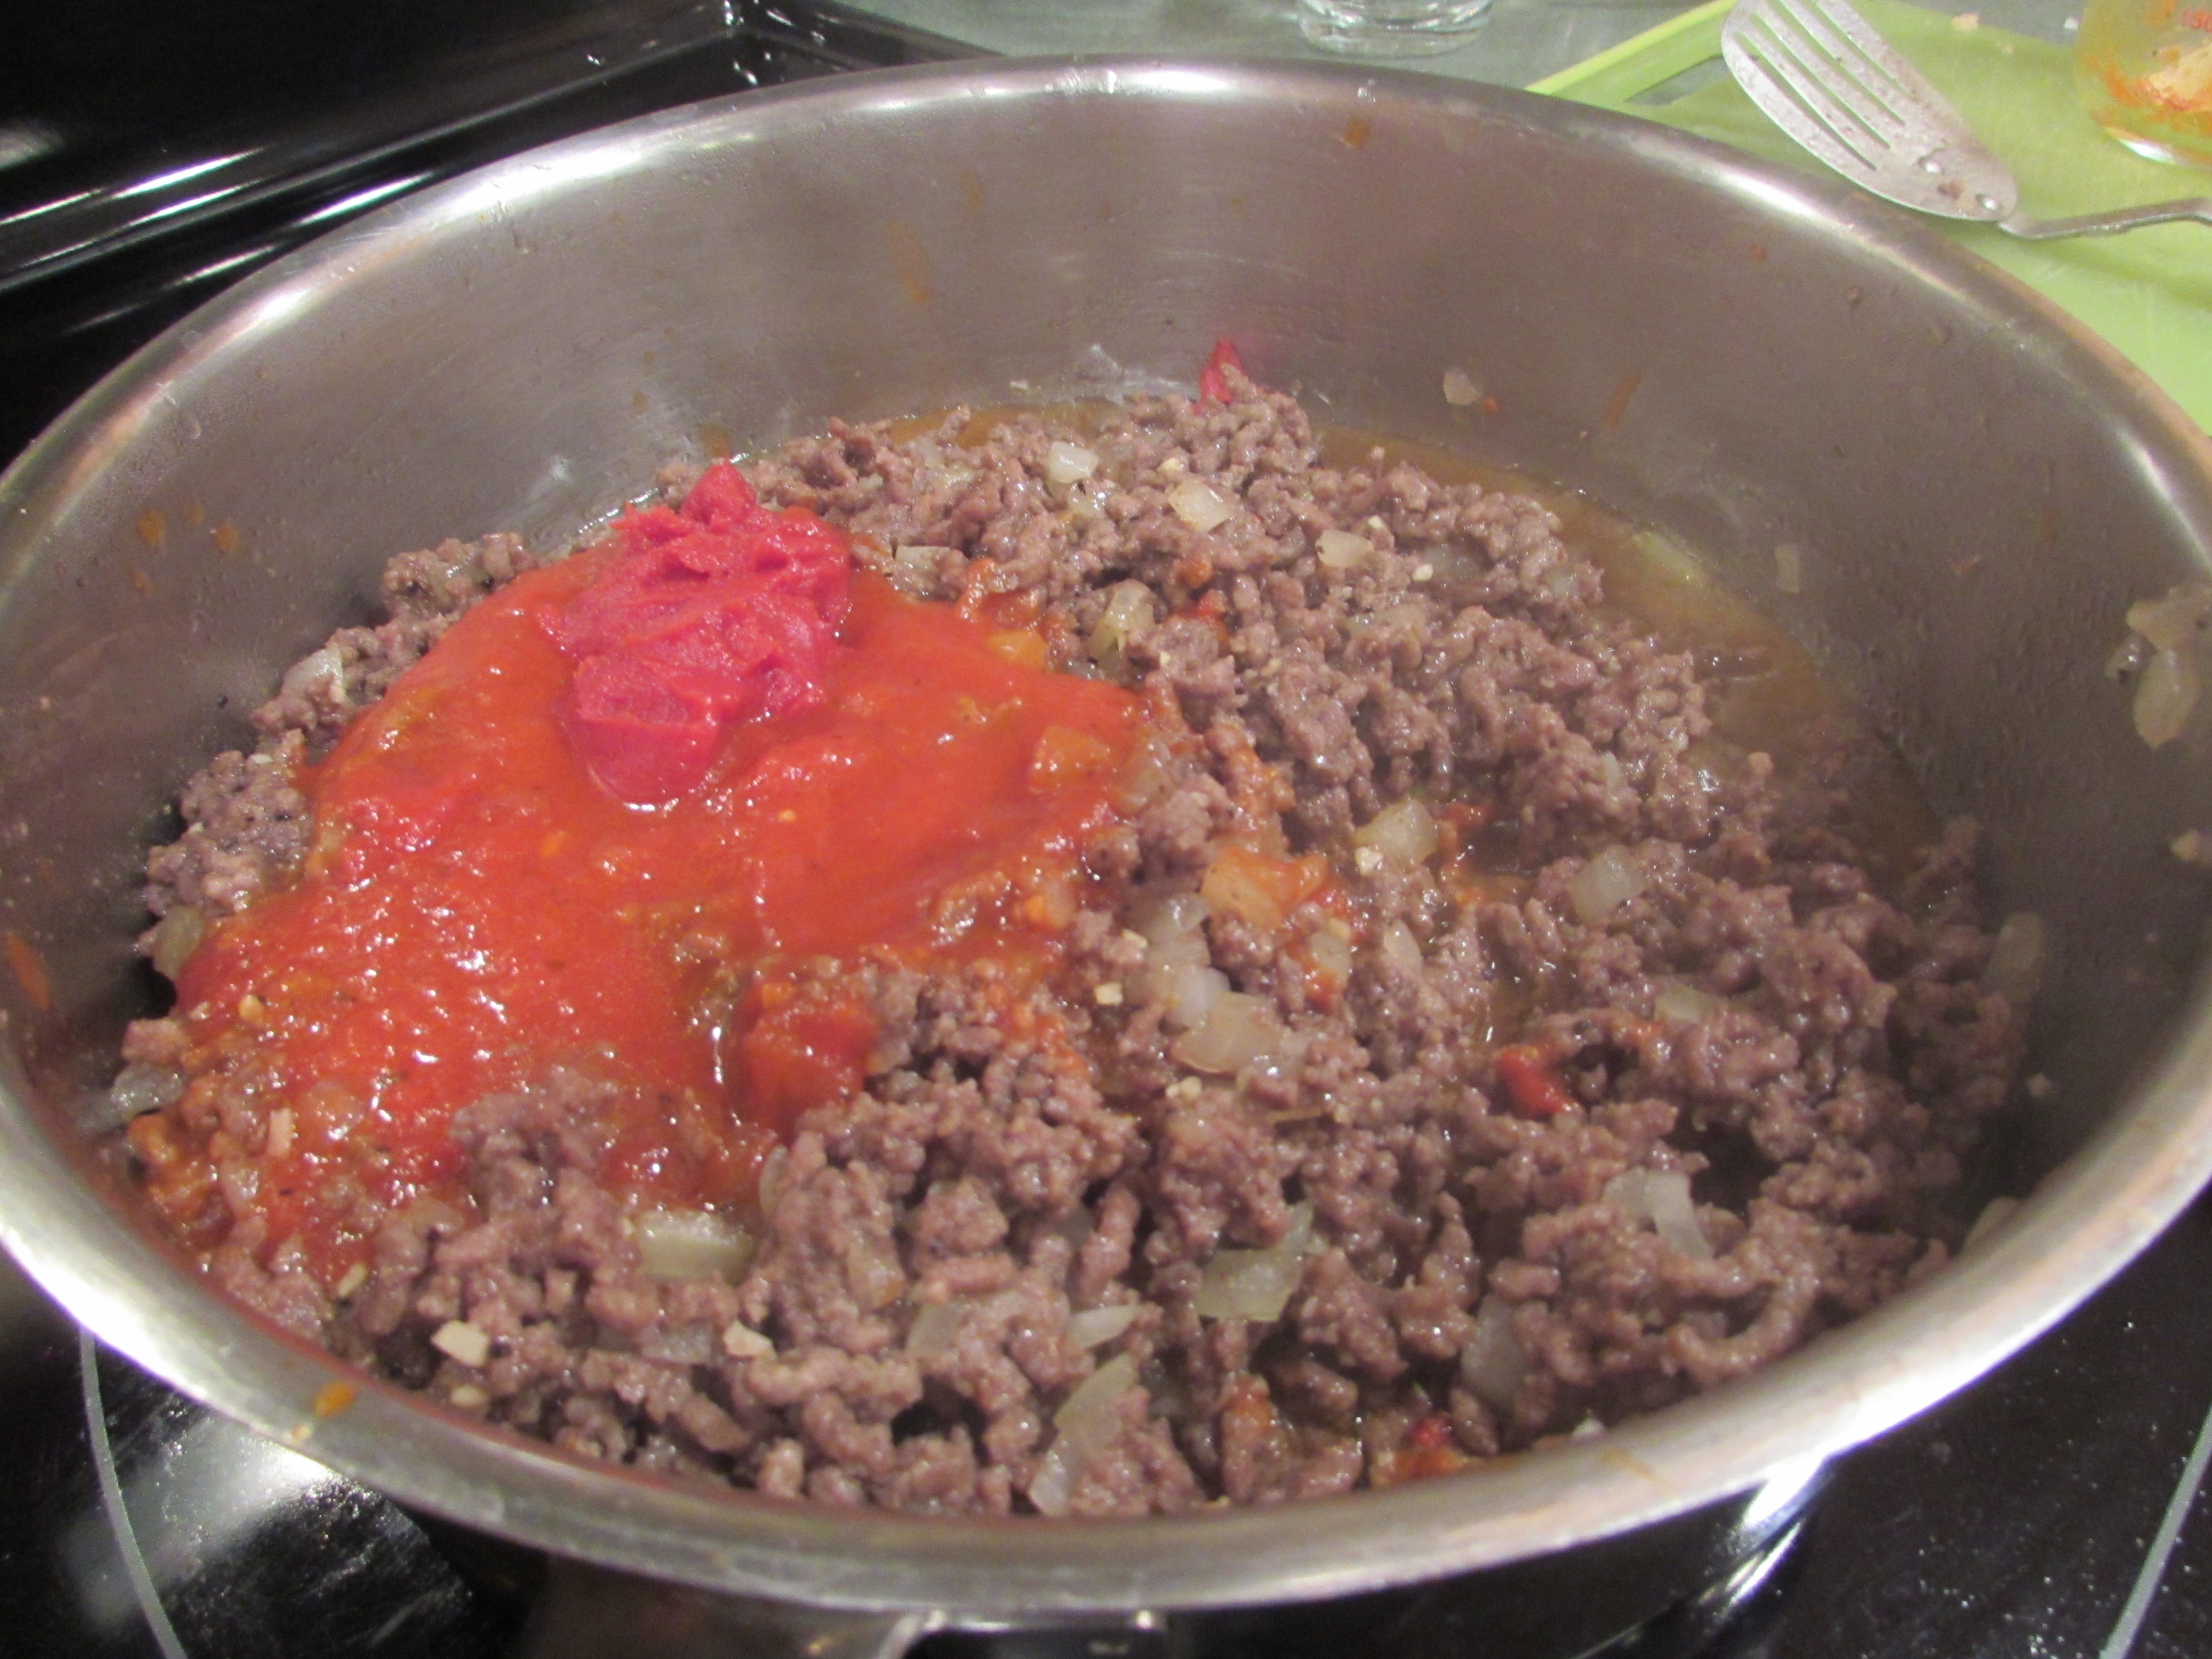
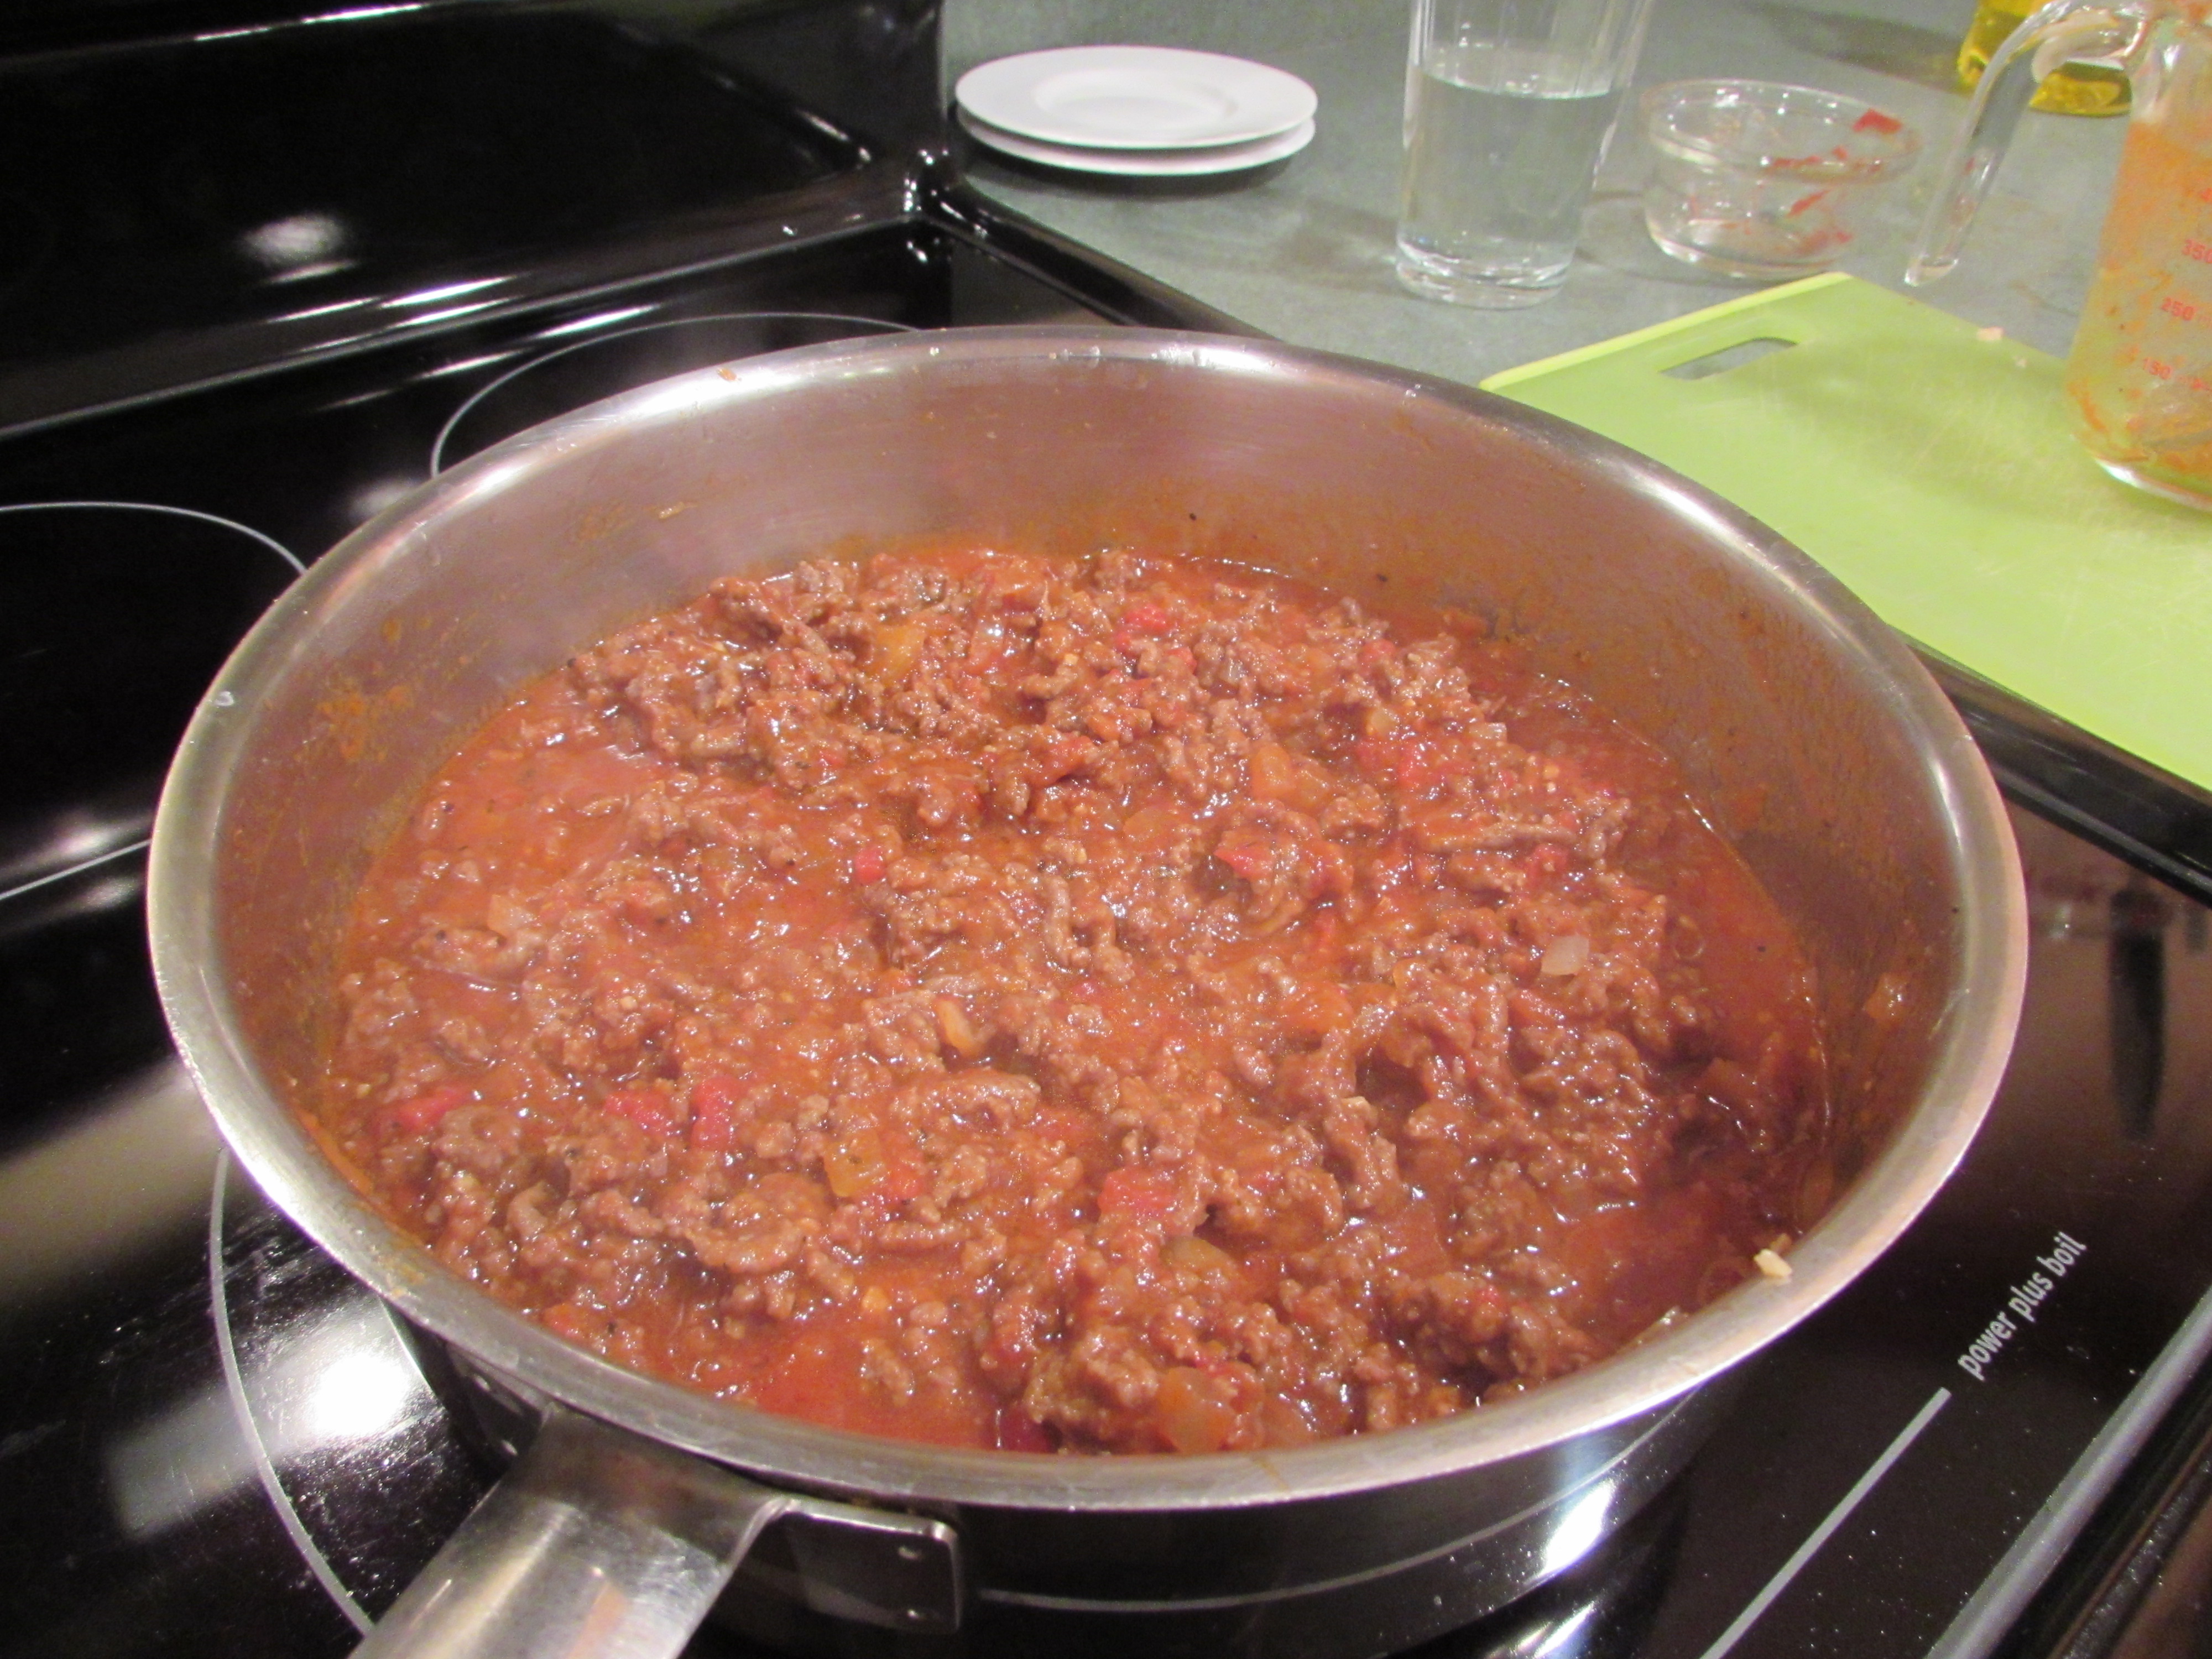
Heat a large skillet over medium high heat. Add oil. When hot, add meat and cook, breaking up with a metal spatula or spoon. Combine brown sugar and steak seasoning and add to the skillet. Stir into meat to combine. When the meat has browned, add the onions. Reduce heat to medium and add the red wine vinegar and Worcestershire sauce and cook for 5 minutes. Add the tomato sauce and tomato paste to pan and stir to combine. Reduce heat to a simmer and cook for 5 minutes longer.
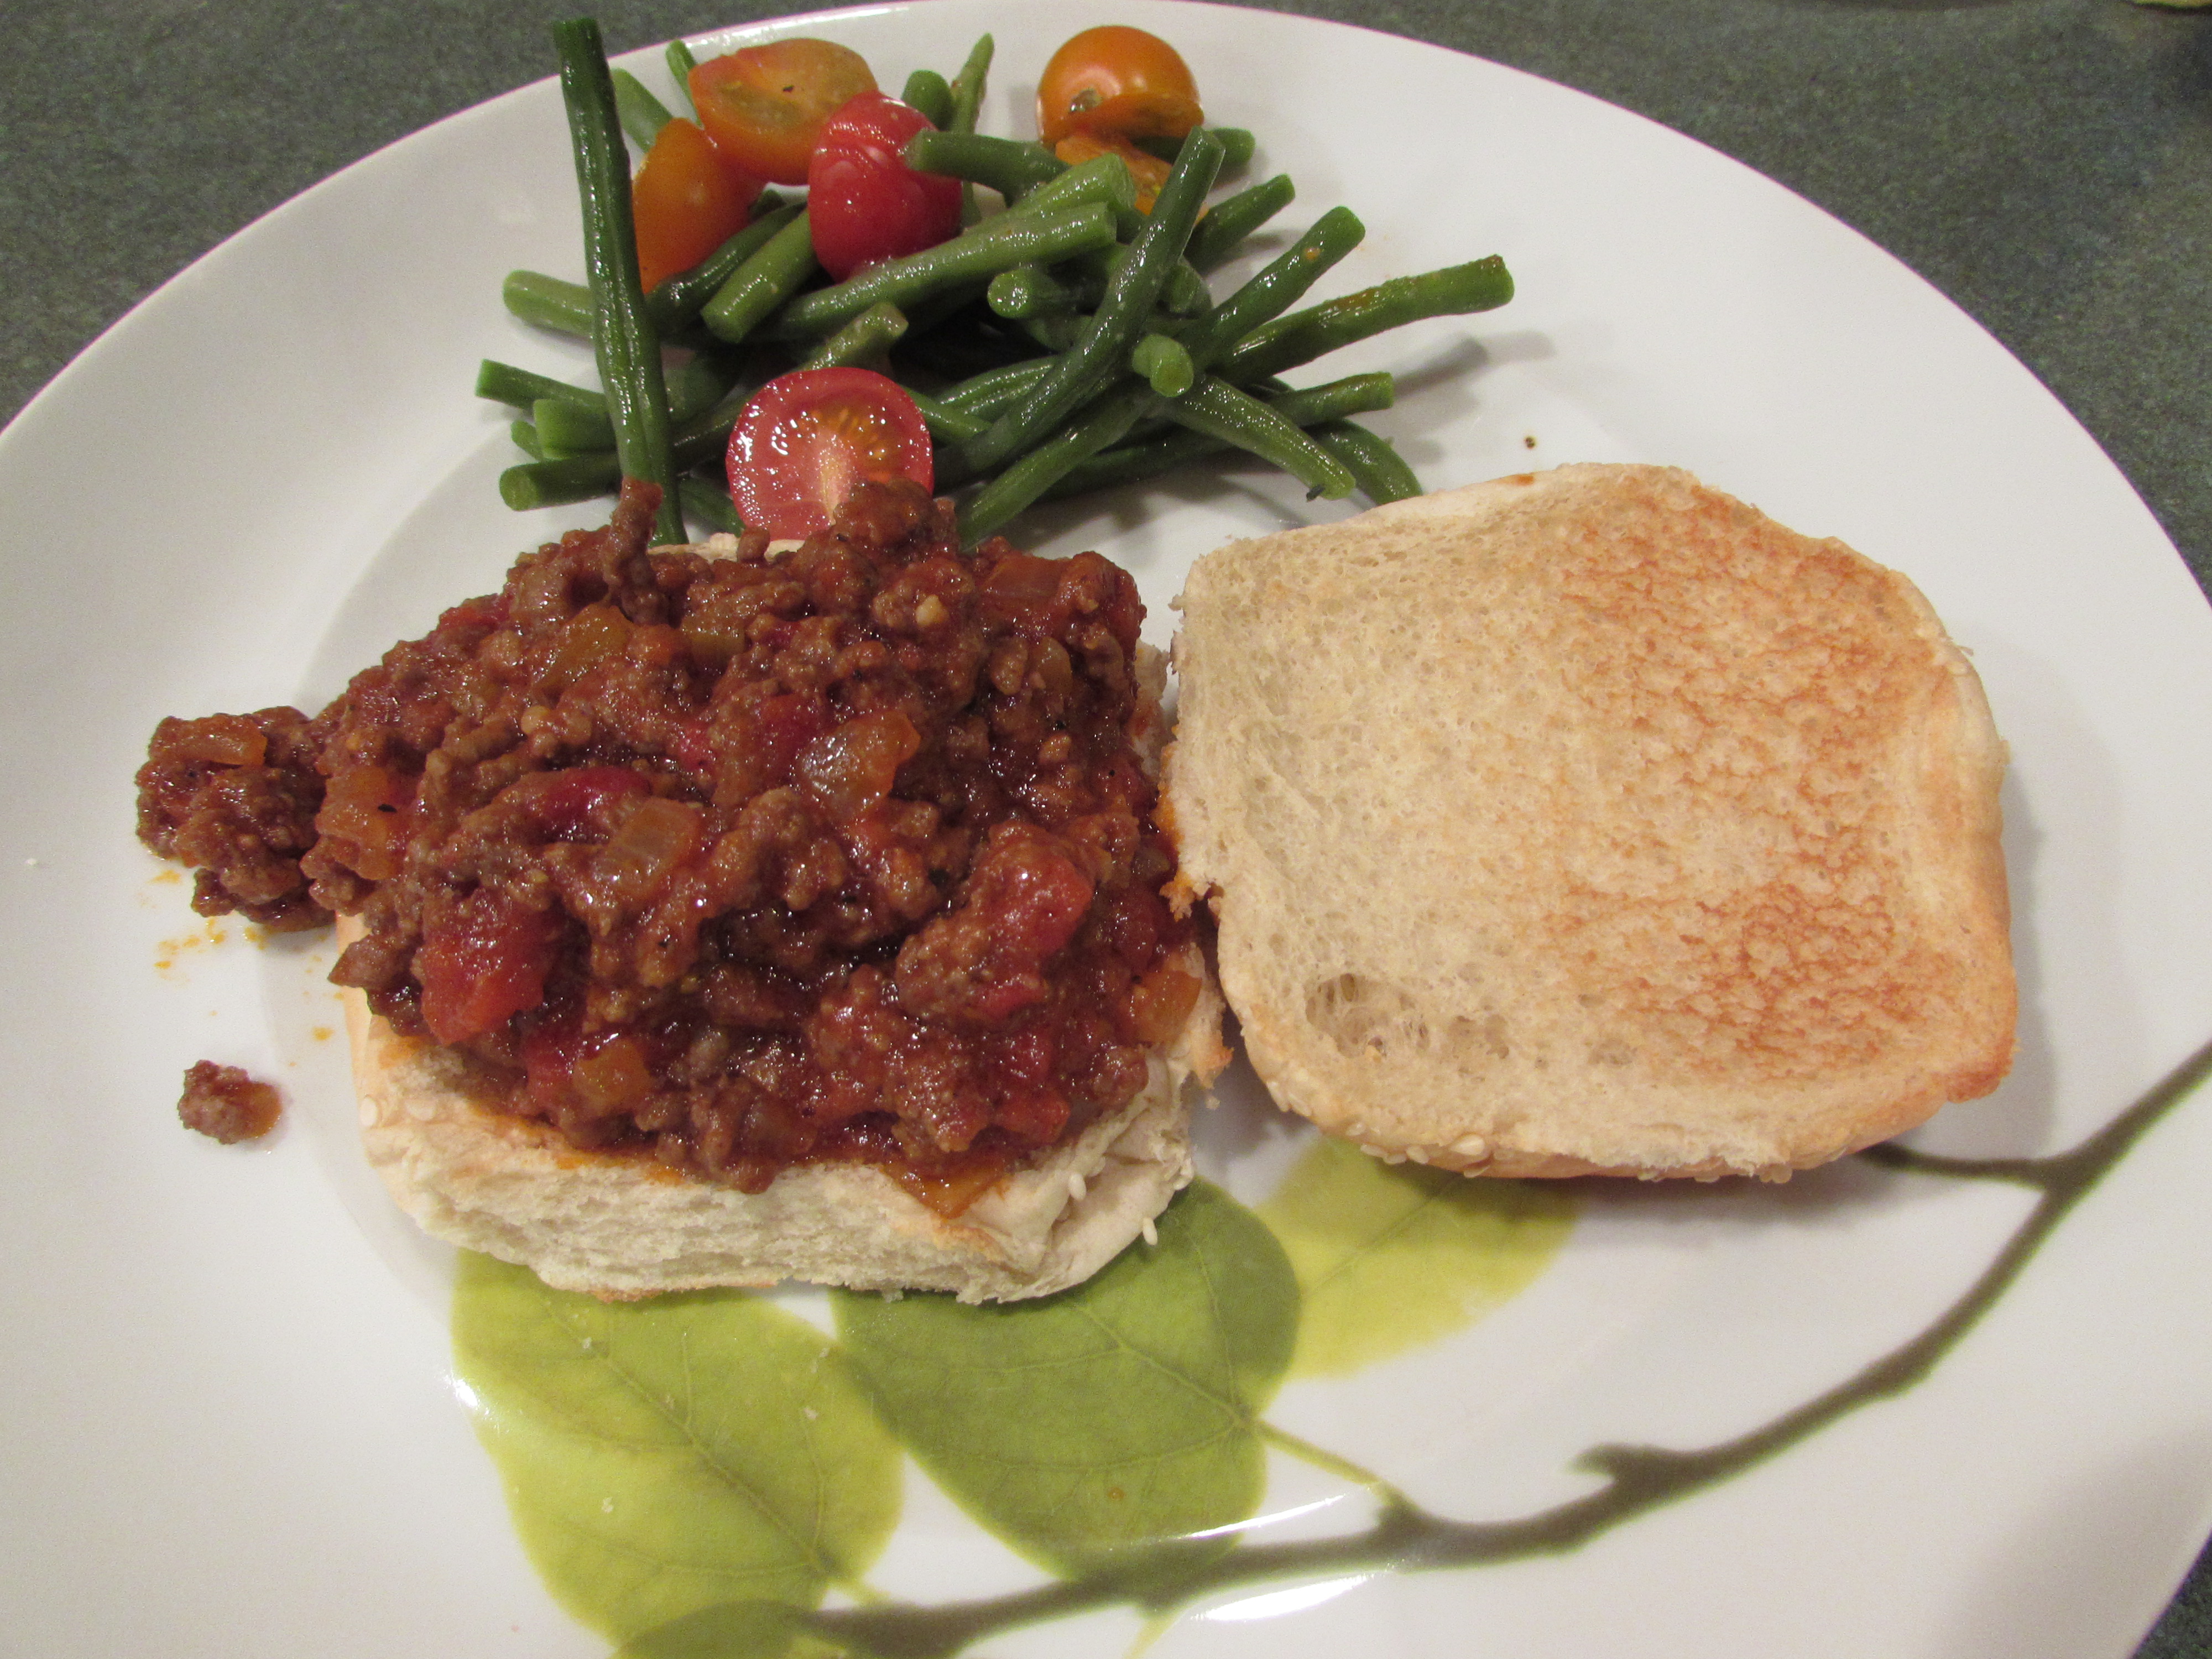
Serve on a toasted hamburger bun or crusty roll, as Rachael suggests. Either way it’s delicious.
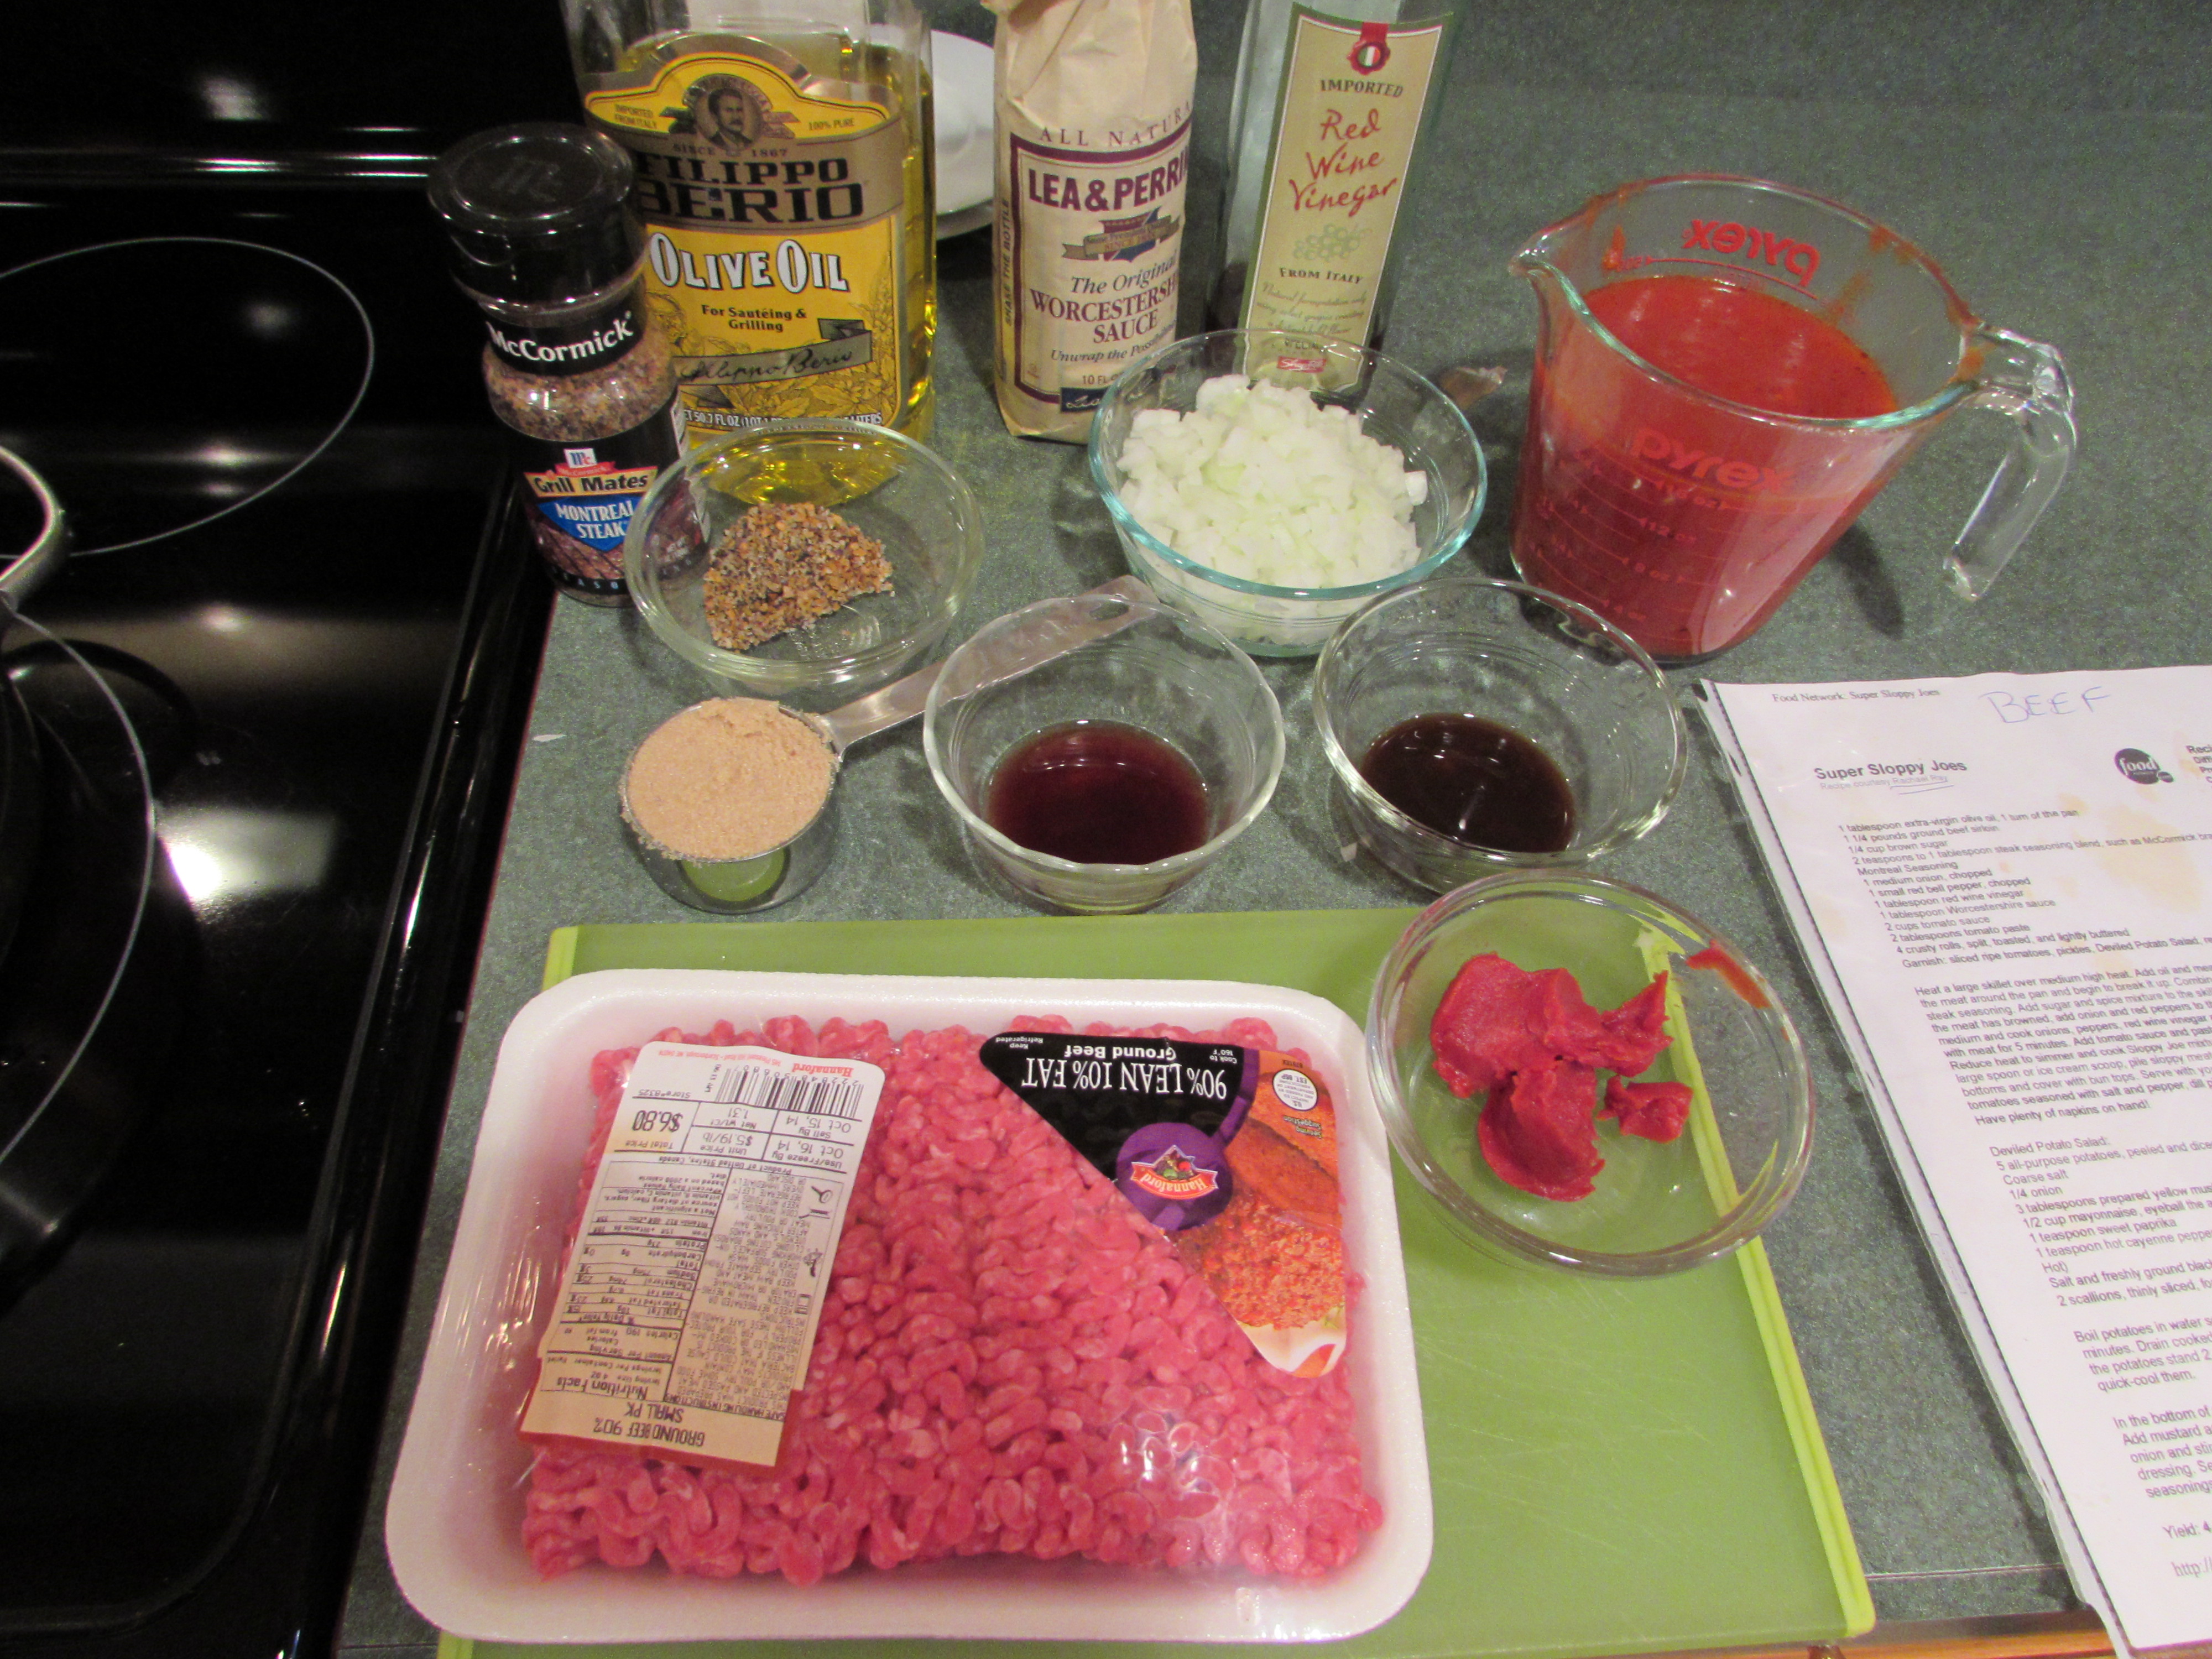
mise en place:
breaking up ground beef and browning with sugar mixture:
adding onions, vinegar and Worcestershire sauce:
tomato sauce and tomato paste:
simmering:
served with cold beans (variety Emerite) and cherry tomatoes (variety Sungold and Sweet Baby Girl) and a touch of Good Seasons Italian Dressing. Ever make this? It’s really good!
Inside Out German Chocolate Cake

This was my birthday cake this year, it had been on my radar for months. If you like chocolate and coconut, this is the cake.
My daughter and son-in law came up for that weekend (Sarah and I share the same birthday), my daughter loves chocolate and coconut, as I do, so this was an excellent choice for a birthday cake.
The cake was not perfect, it needed some tweeks, but it was delicious. When my daughter and son-in-law left to go back home, they drove back to get the leftovers. Definitely worth making again.
Then a few weeks later, I got my chance. We were invited to a Birthday party, and I asked the couple whether it would be alright if I brought this cake for the celebration. ‘OH YEAHHHHHHHH !!’
Excellent, I would be able to make the cake again but this time with a few minor adjustments.
I changed the pan size, from 9 inch to 8 inch and for the glaze, I used my tried and true ganache from Martha Stewart. It made a huge difference and pushed the cake from delicious to decadent!
This recipe has quite a few steps: cake, filling, glaze. But none of the steps are very difficult in themselves. You just need a chunk of time.
Inside Out German Chocolate Cake (adapted slightly from Gourmet March 2000)
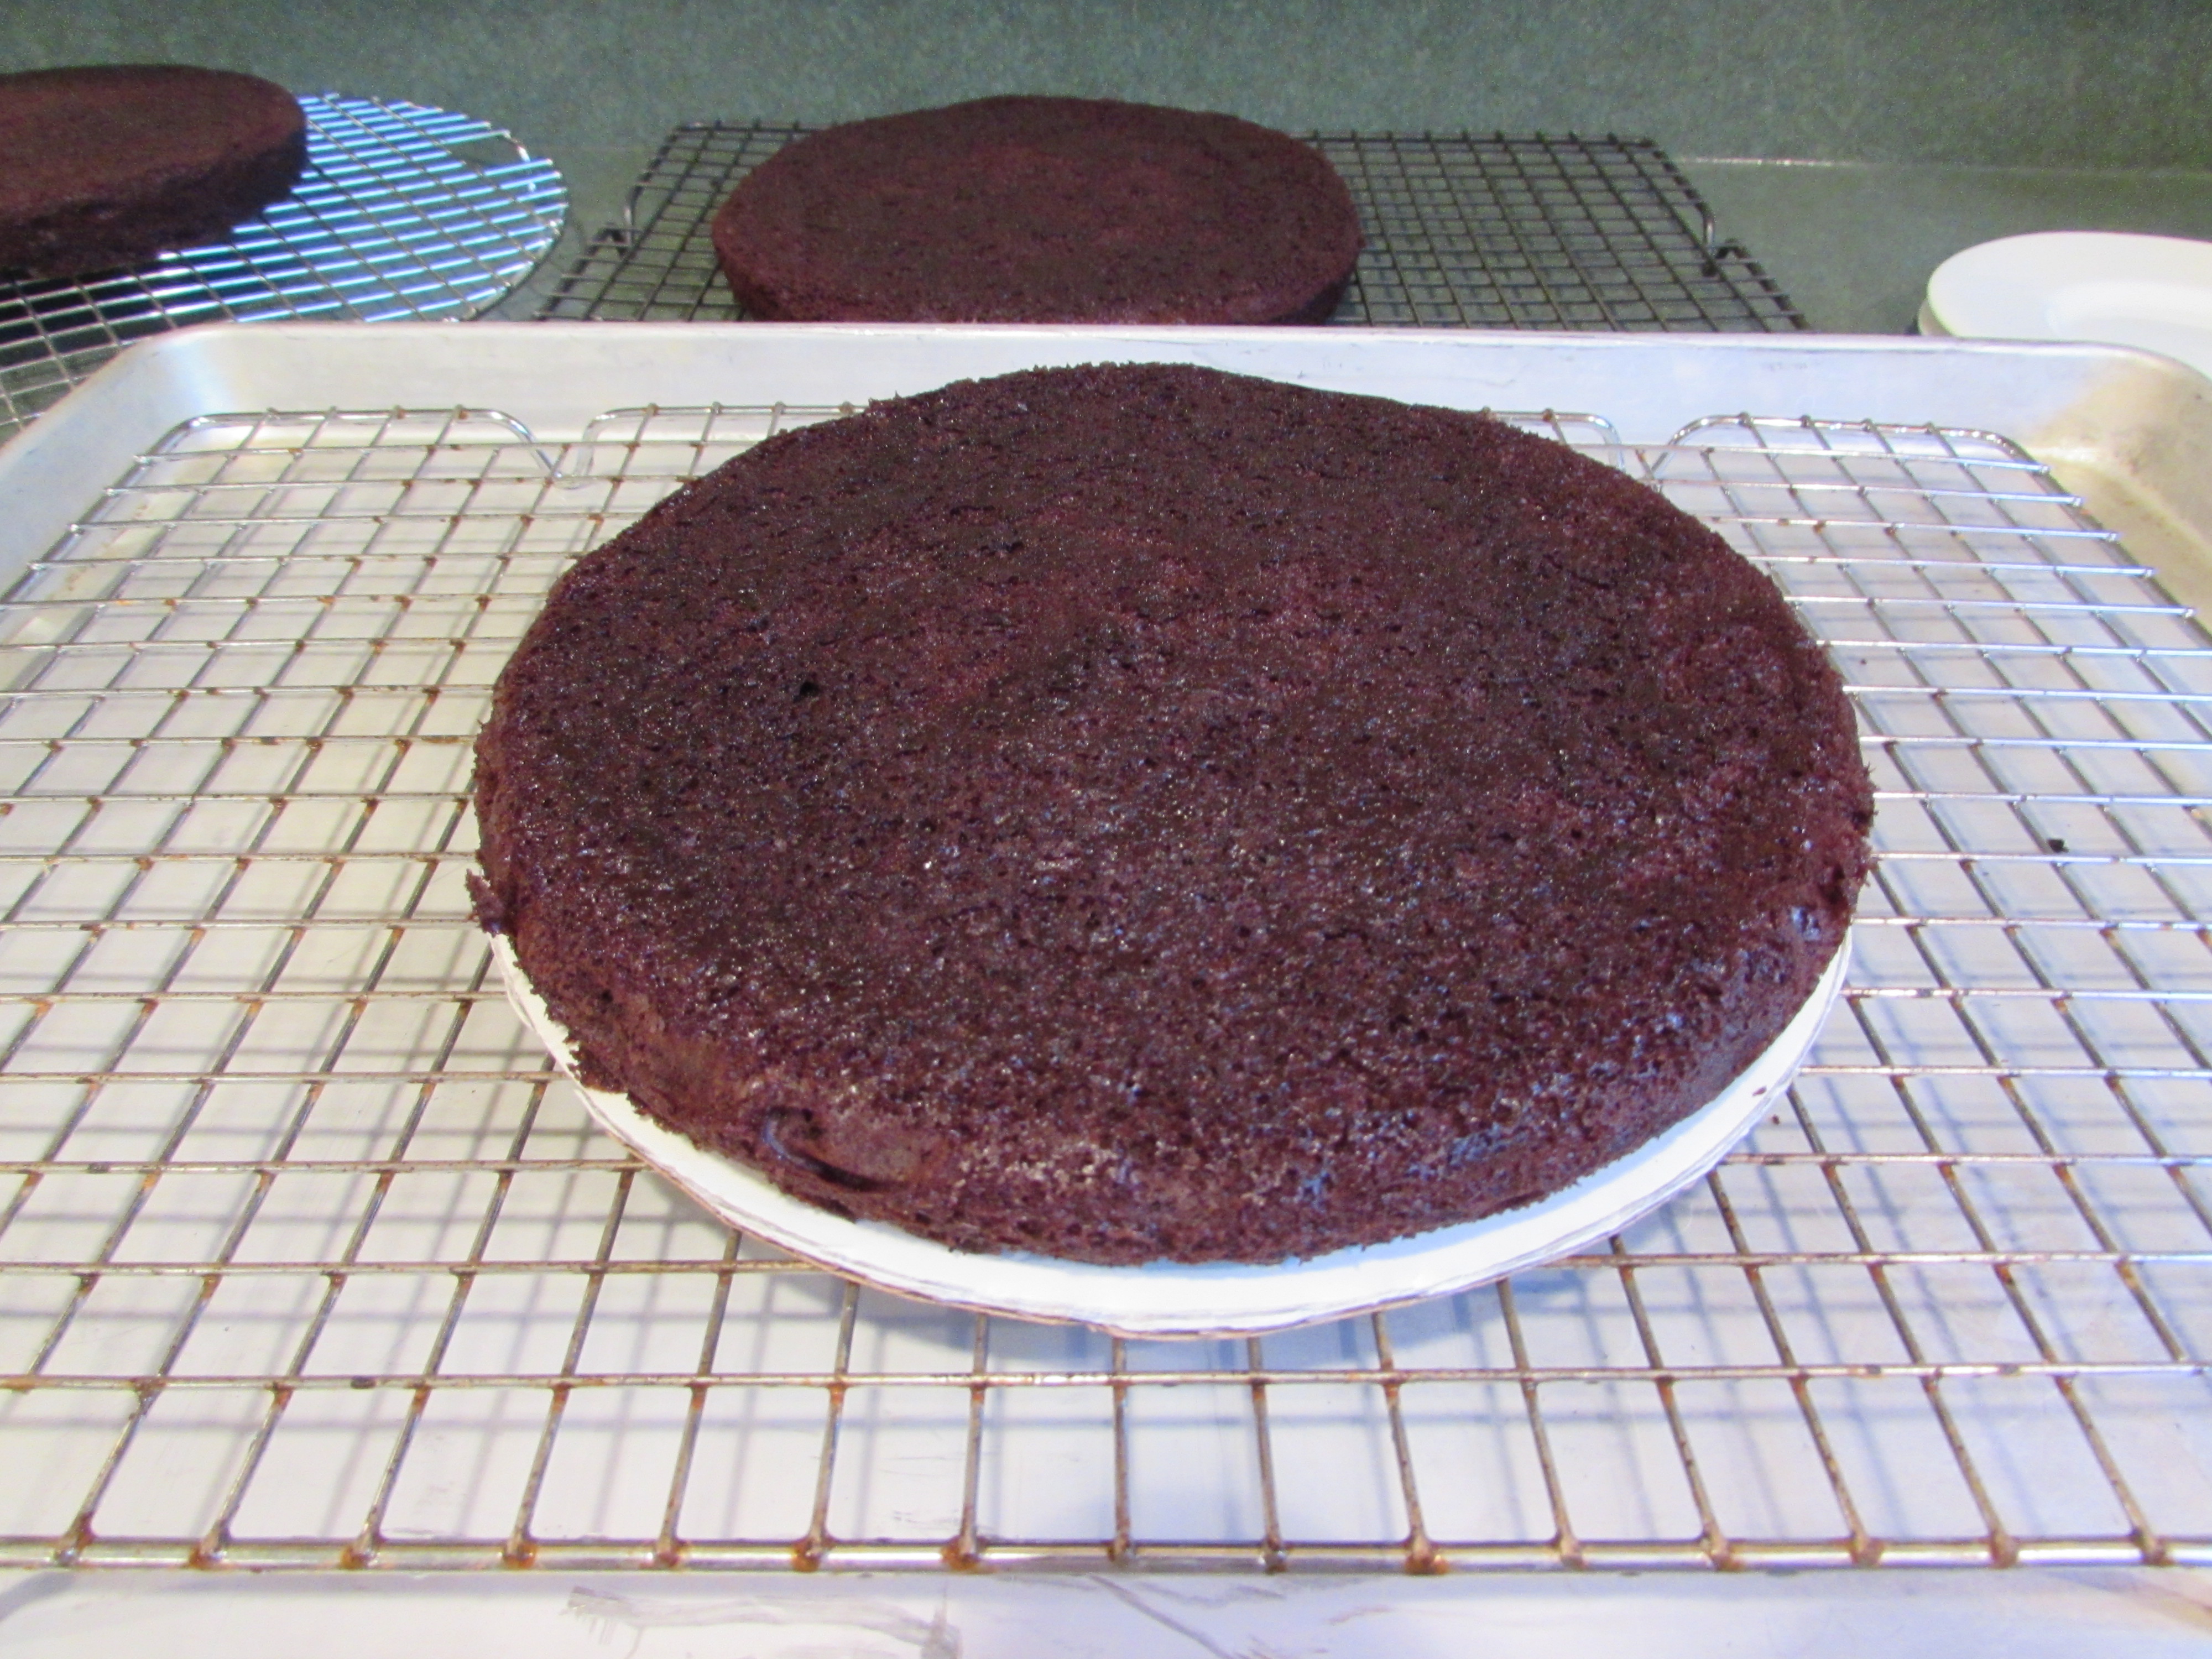
cake layers:
1-1/2 cups sugar
1-1/2 cups all purpose flour
1/2 cup plus 1 tablespoon unsweetened Dutch Process cocoa power (the best quality you can buy)
3/4 teaspoon baking powder
3/4 teaspoon baking soda
3/4 teaspoon salt
3/4 cup whole milk
6 tablespoons butter, melted
1 large egg
1 large egg yolk
3/4 teaspoon vanilla
3/4 cup boiling water
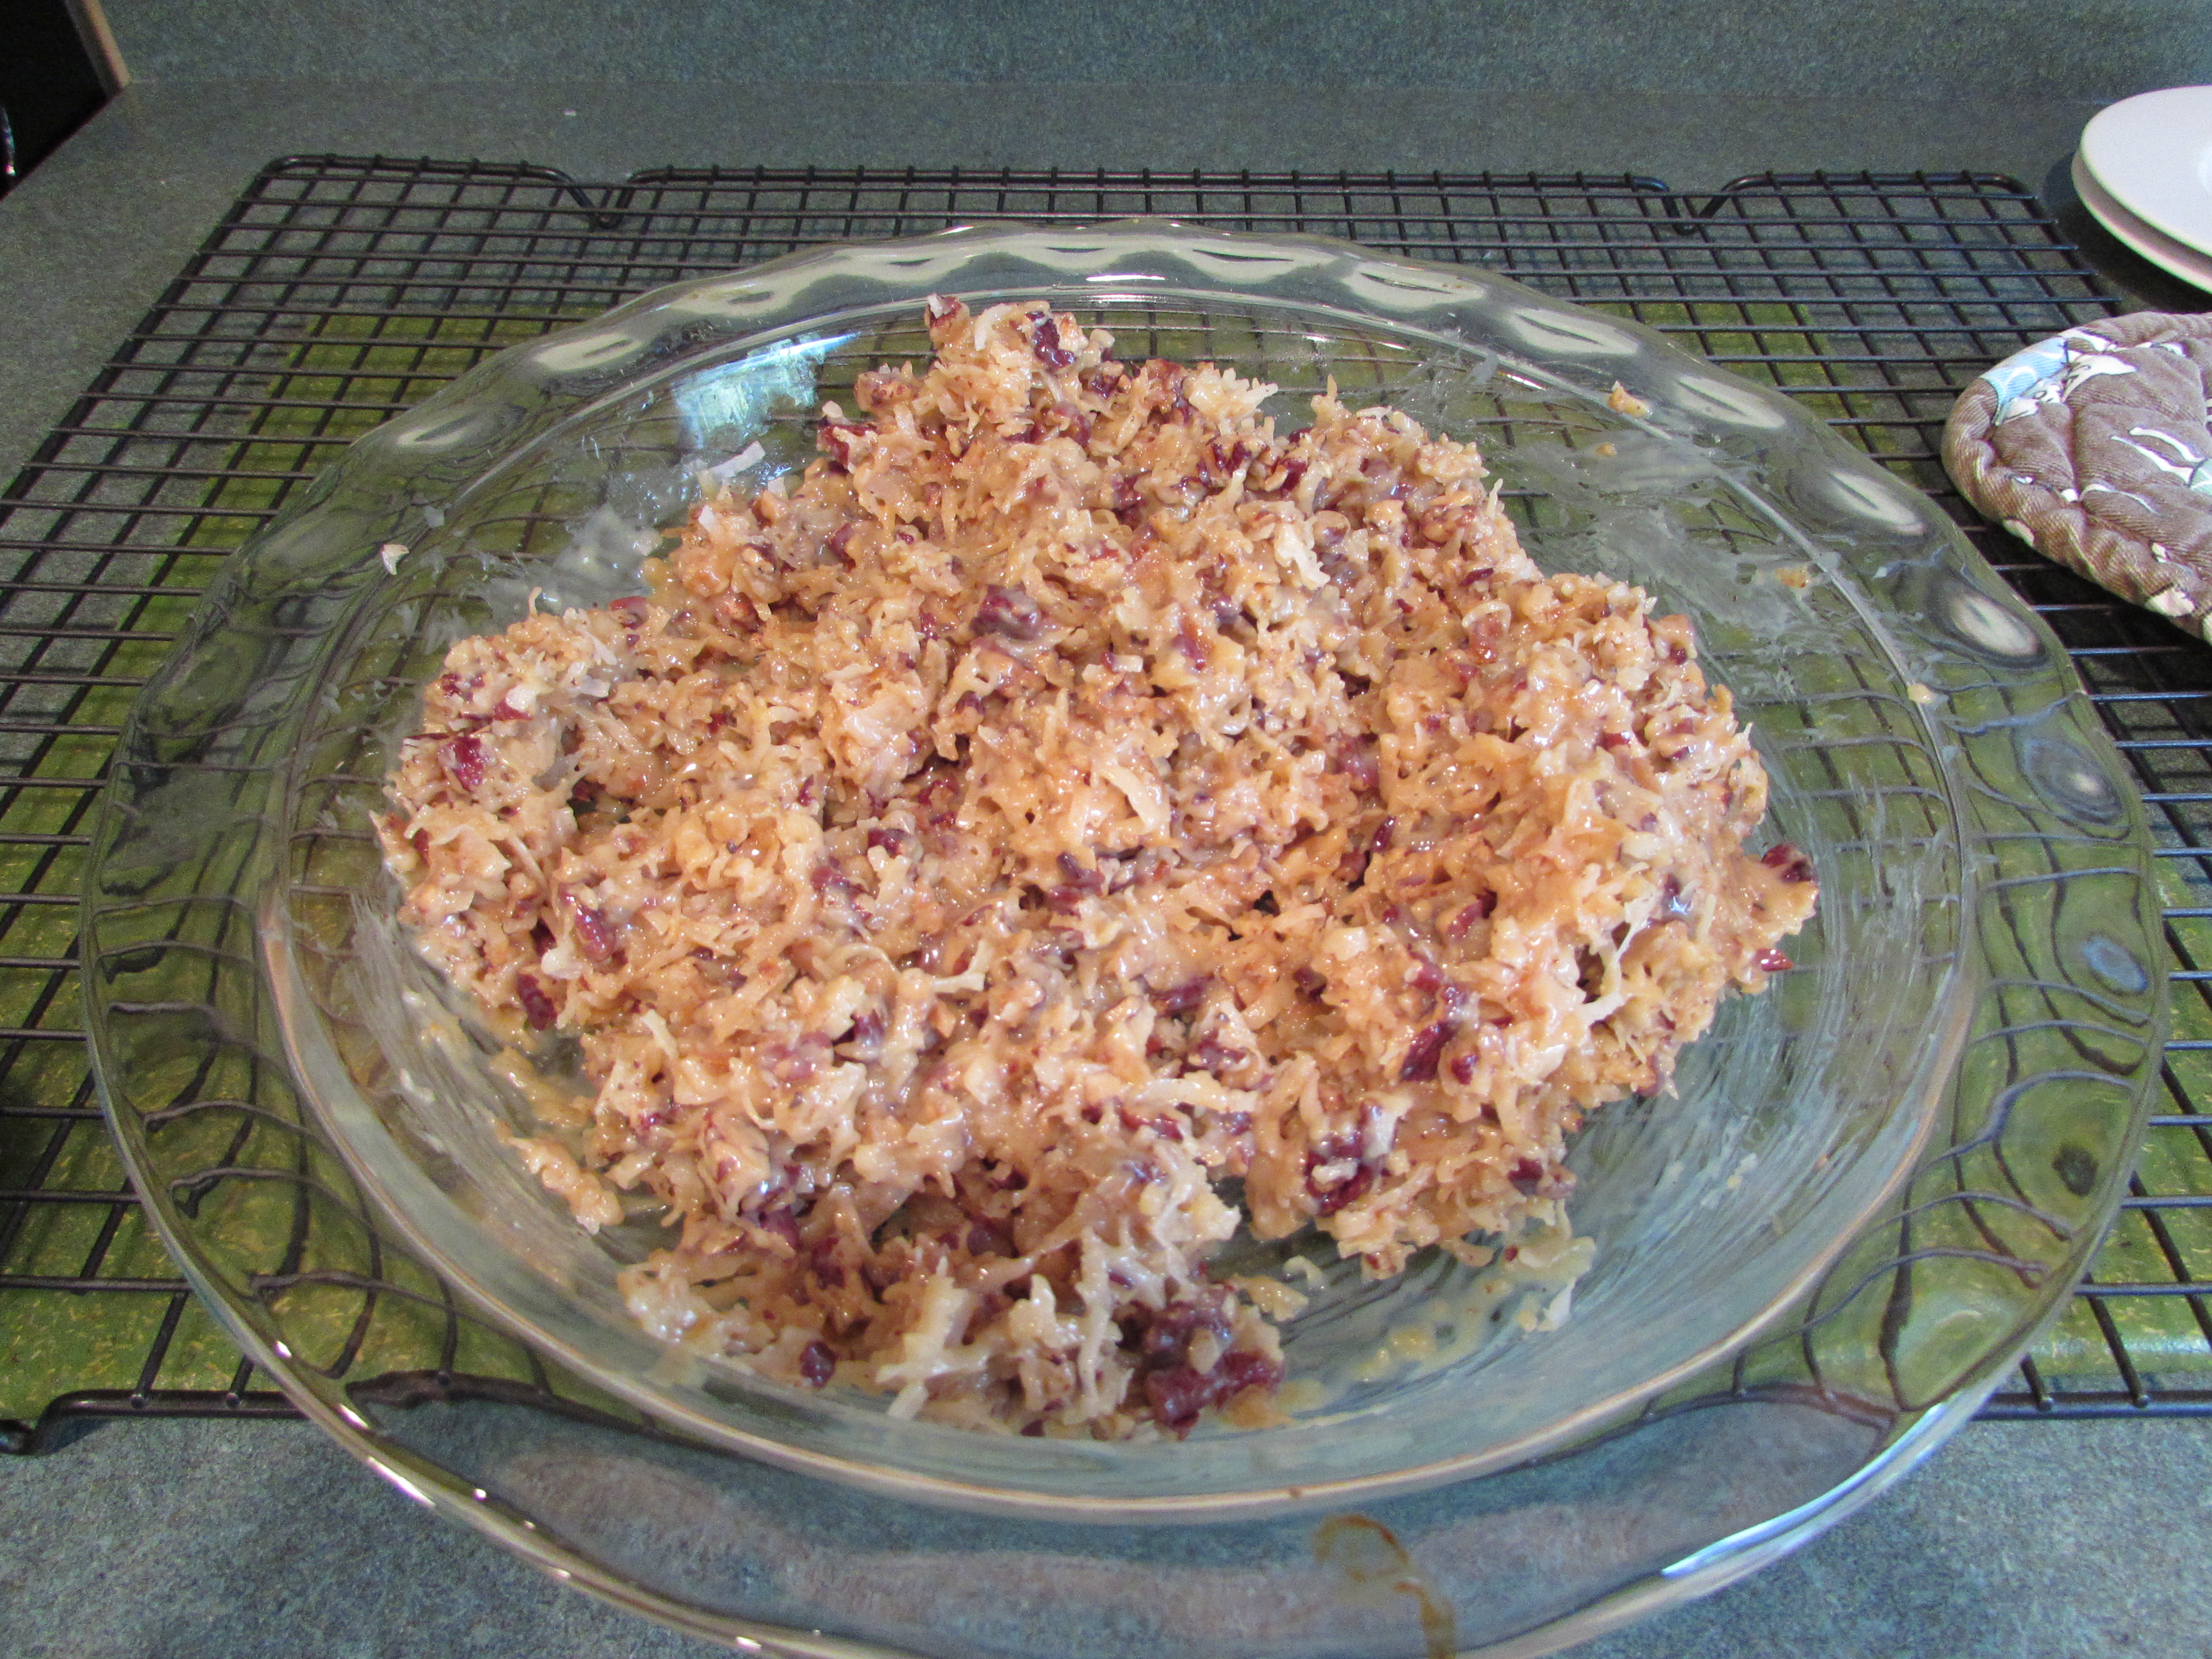
filling:
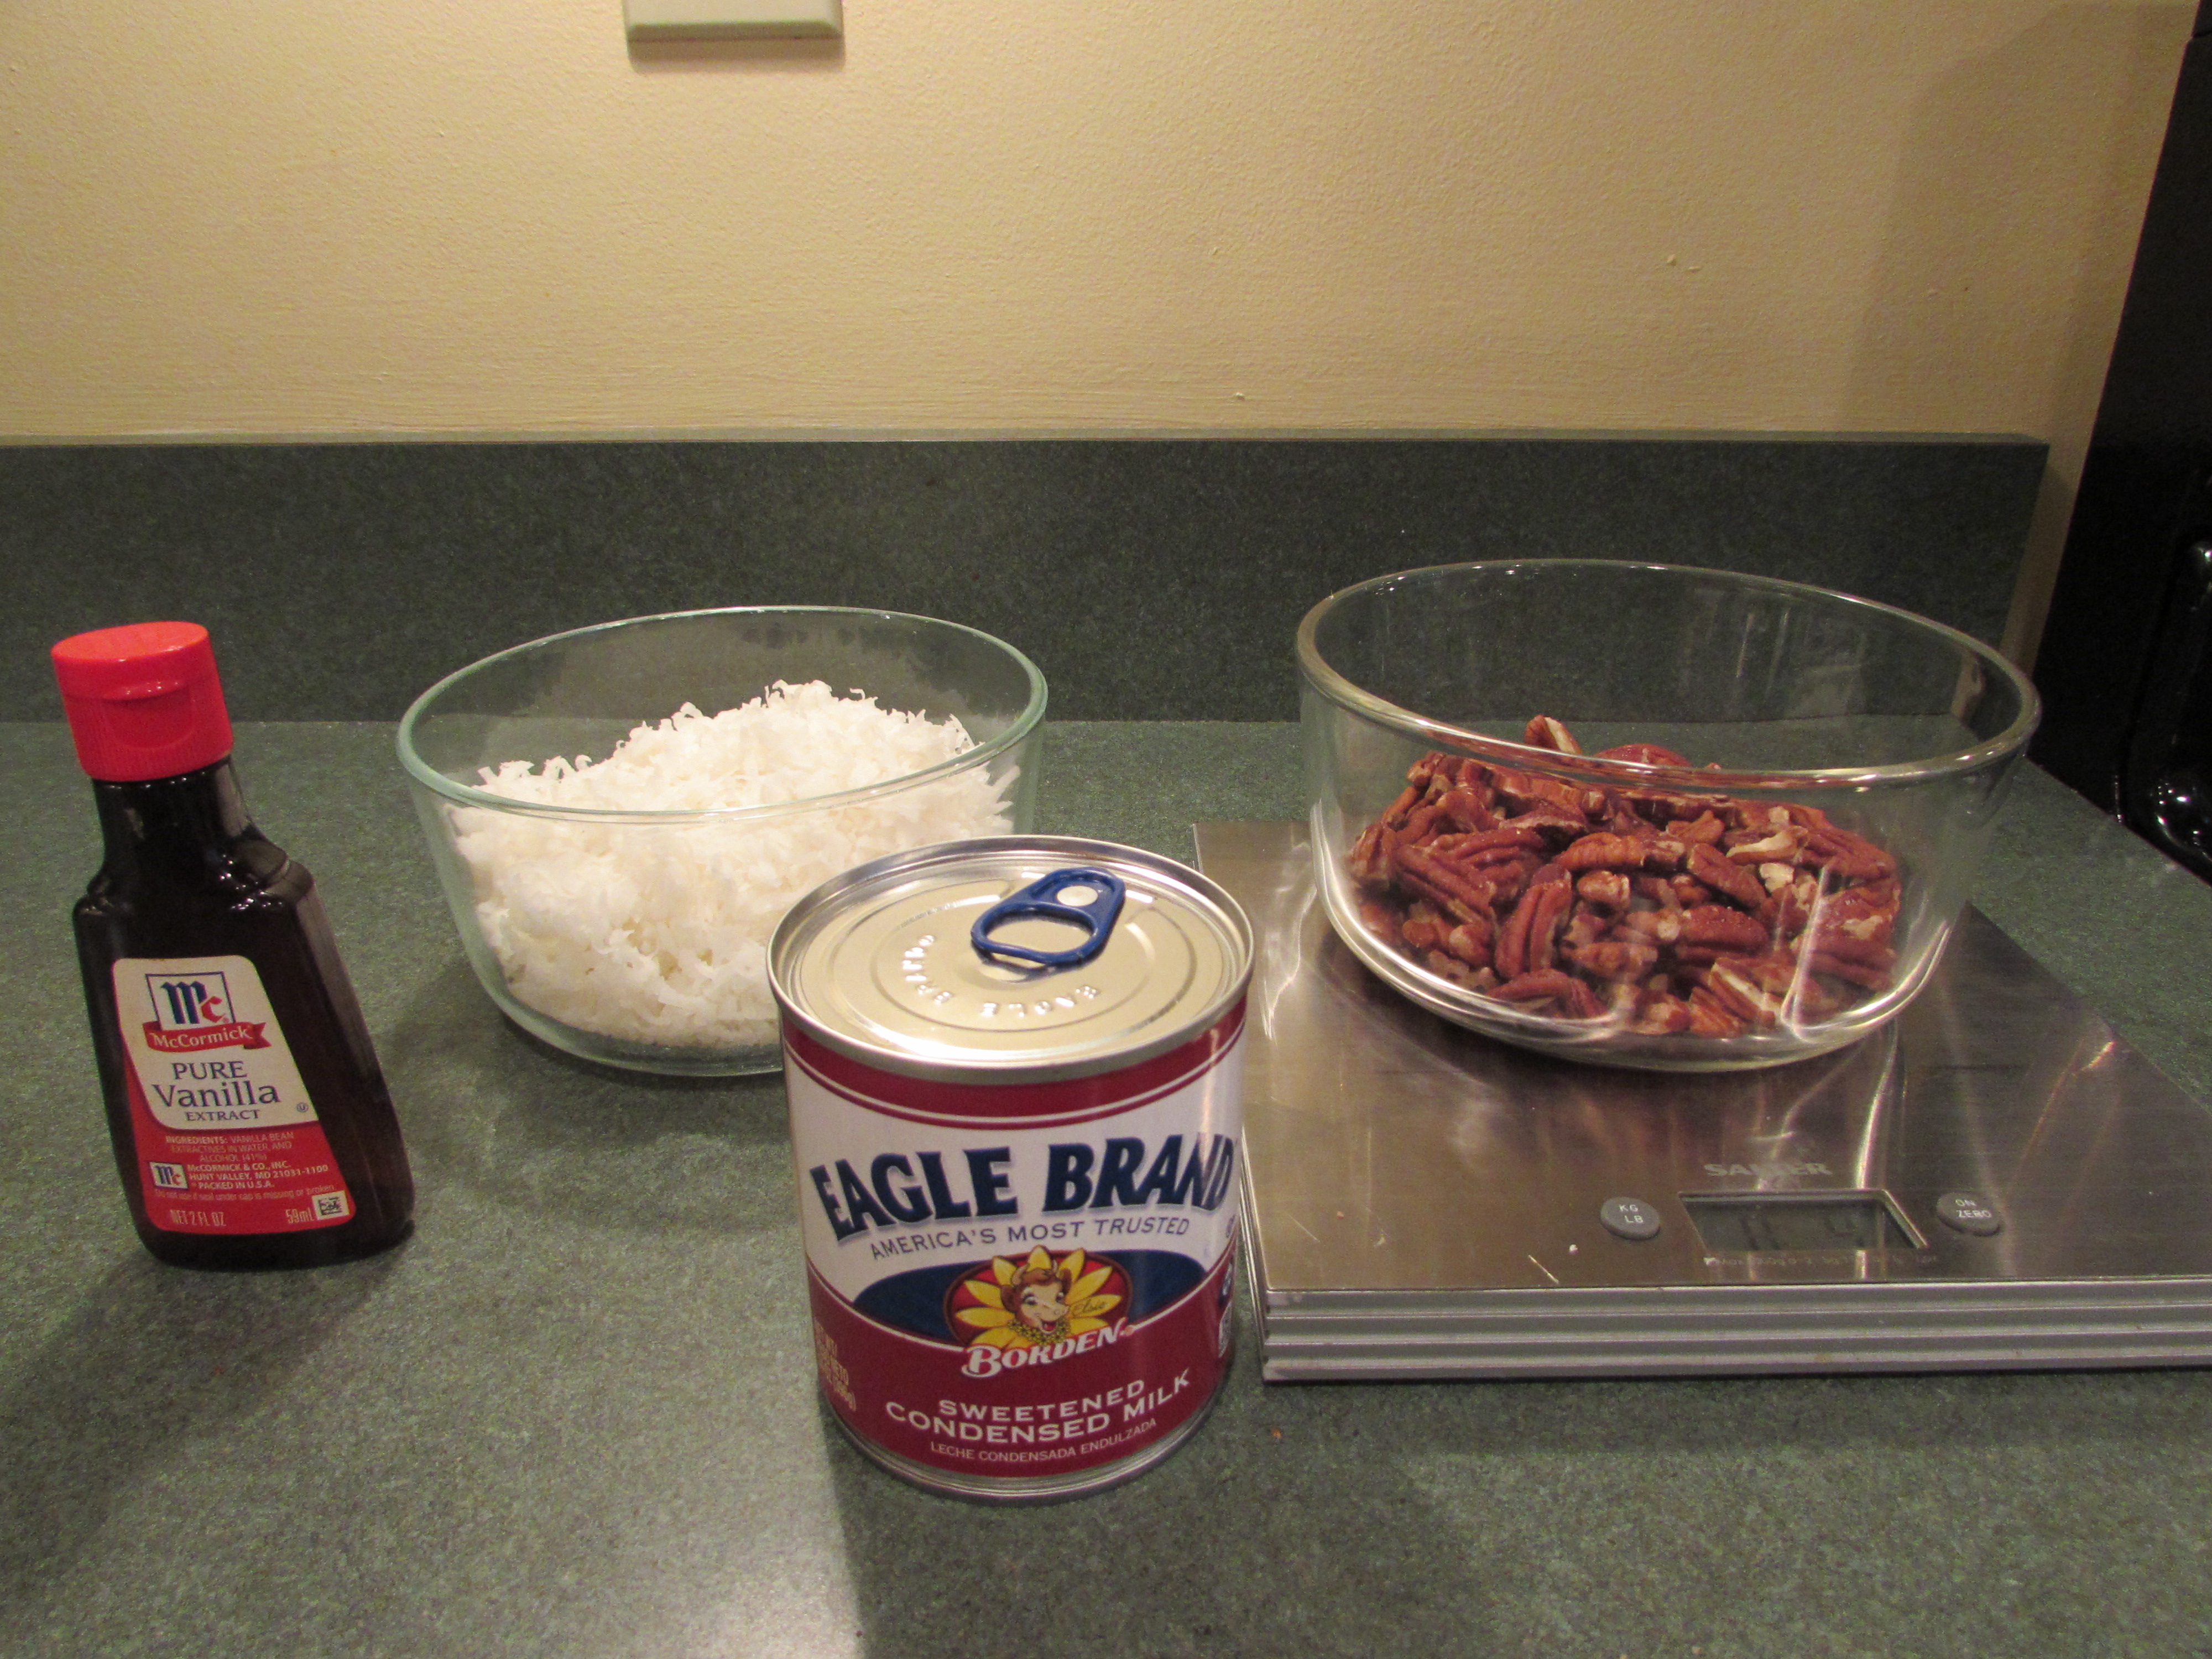
7 ounces sweetened flaked coconut
4 ounces coarsely chopped pecans (purchase chopped pecans and then chop them more)
14 ounce can sweetened condensed milk
1 tablespoon vanilla
glaze:
12 ounces bittersweet chocolate, the best quality you can buy
1-1/4 cups heavy cream
special equipment:
3 – 8 inch round cake pans
Preheat oven to 350 degrees.
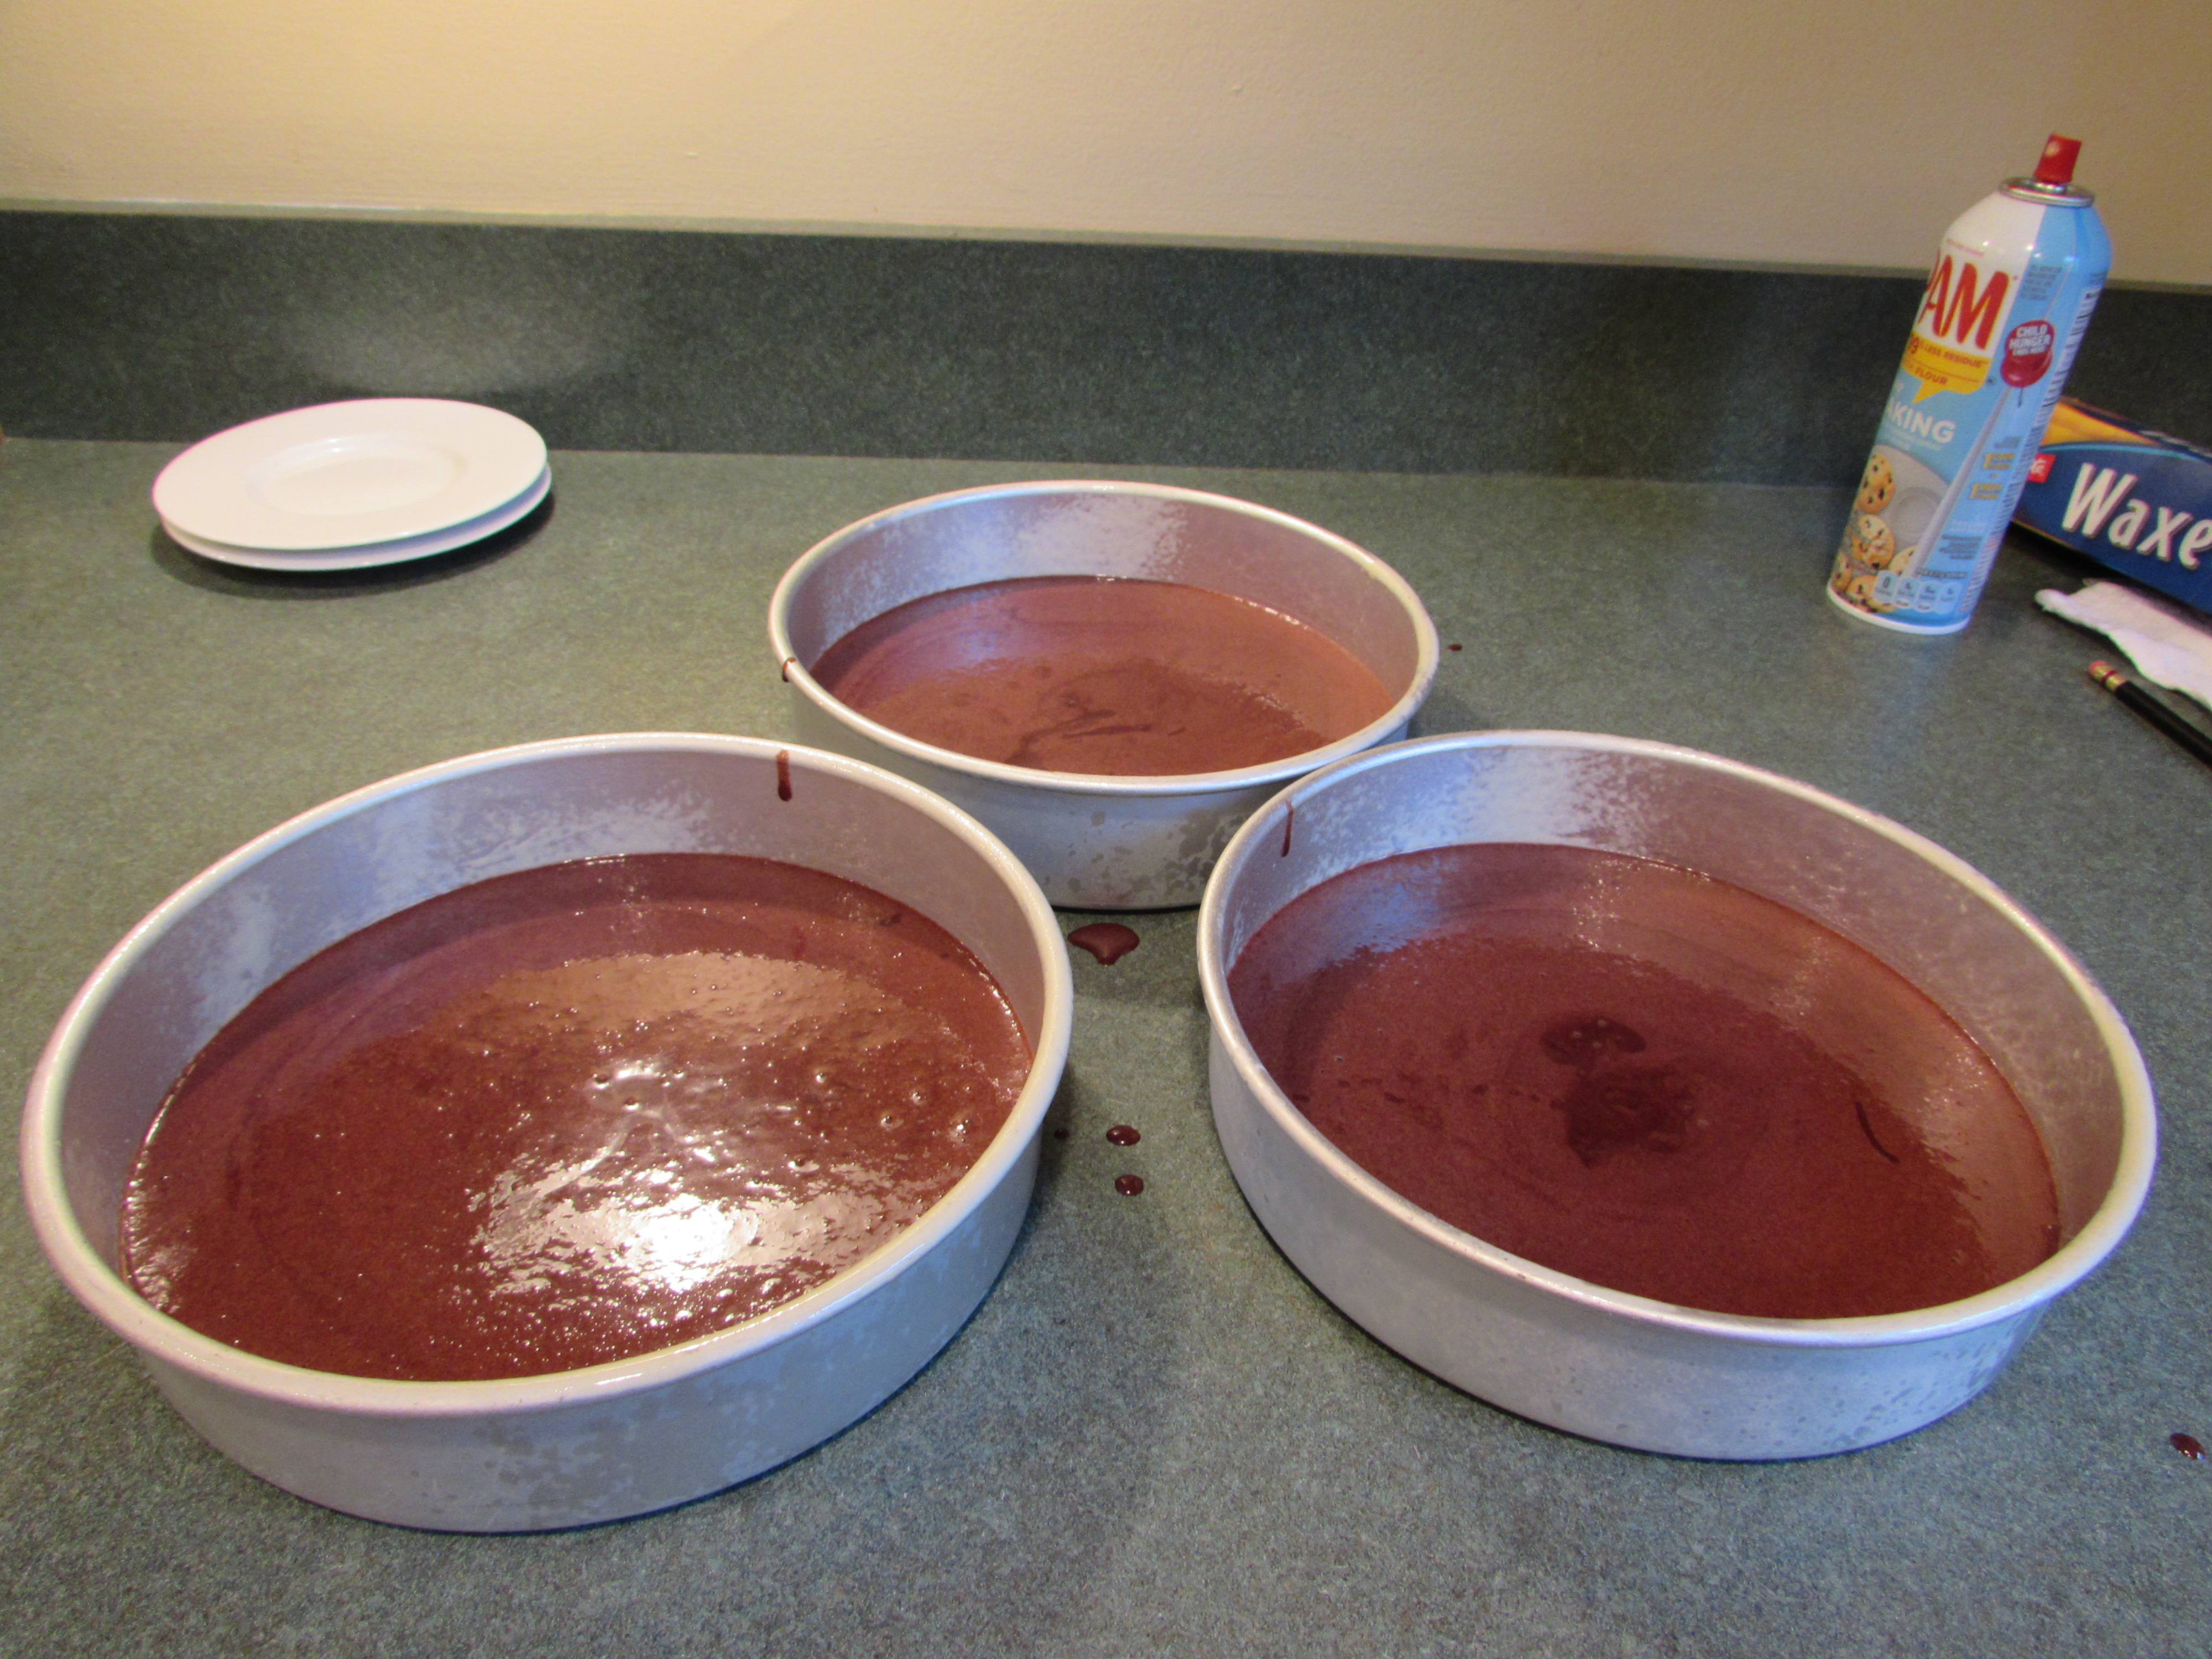
Cut out 3, wax paper rounds using the 8 inch round cake pan as your guide. Spray cake pans with Pam Baking spray, place wax paper round on bottom and spray bottom of pans with Pam Baking spray. Set aside.
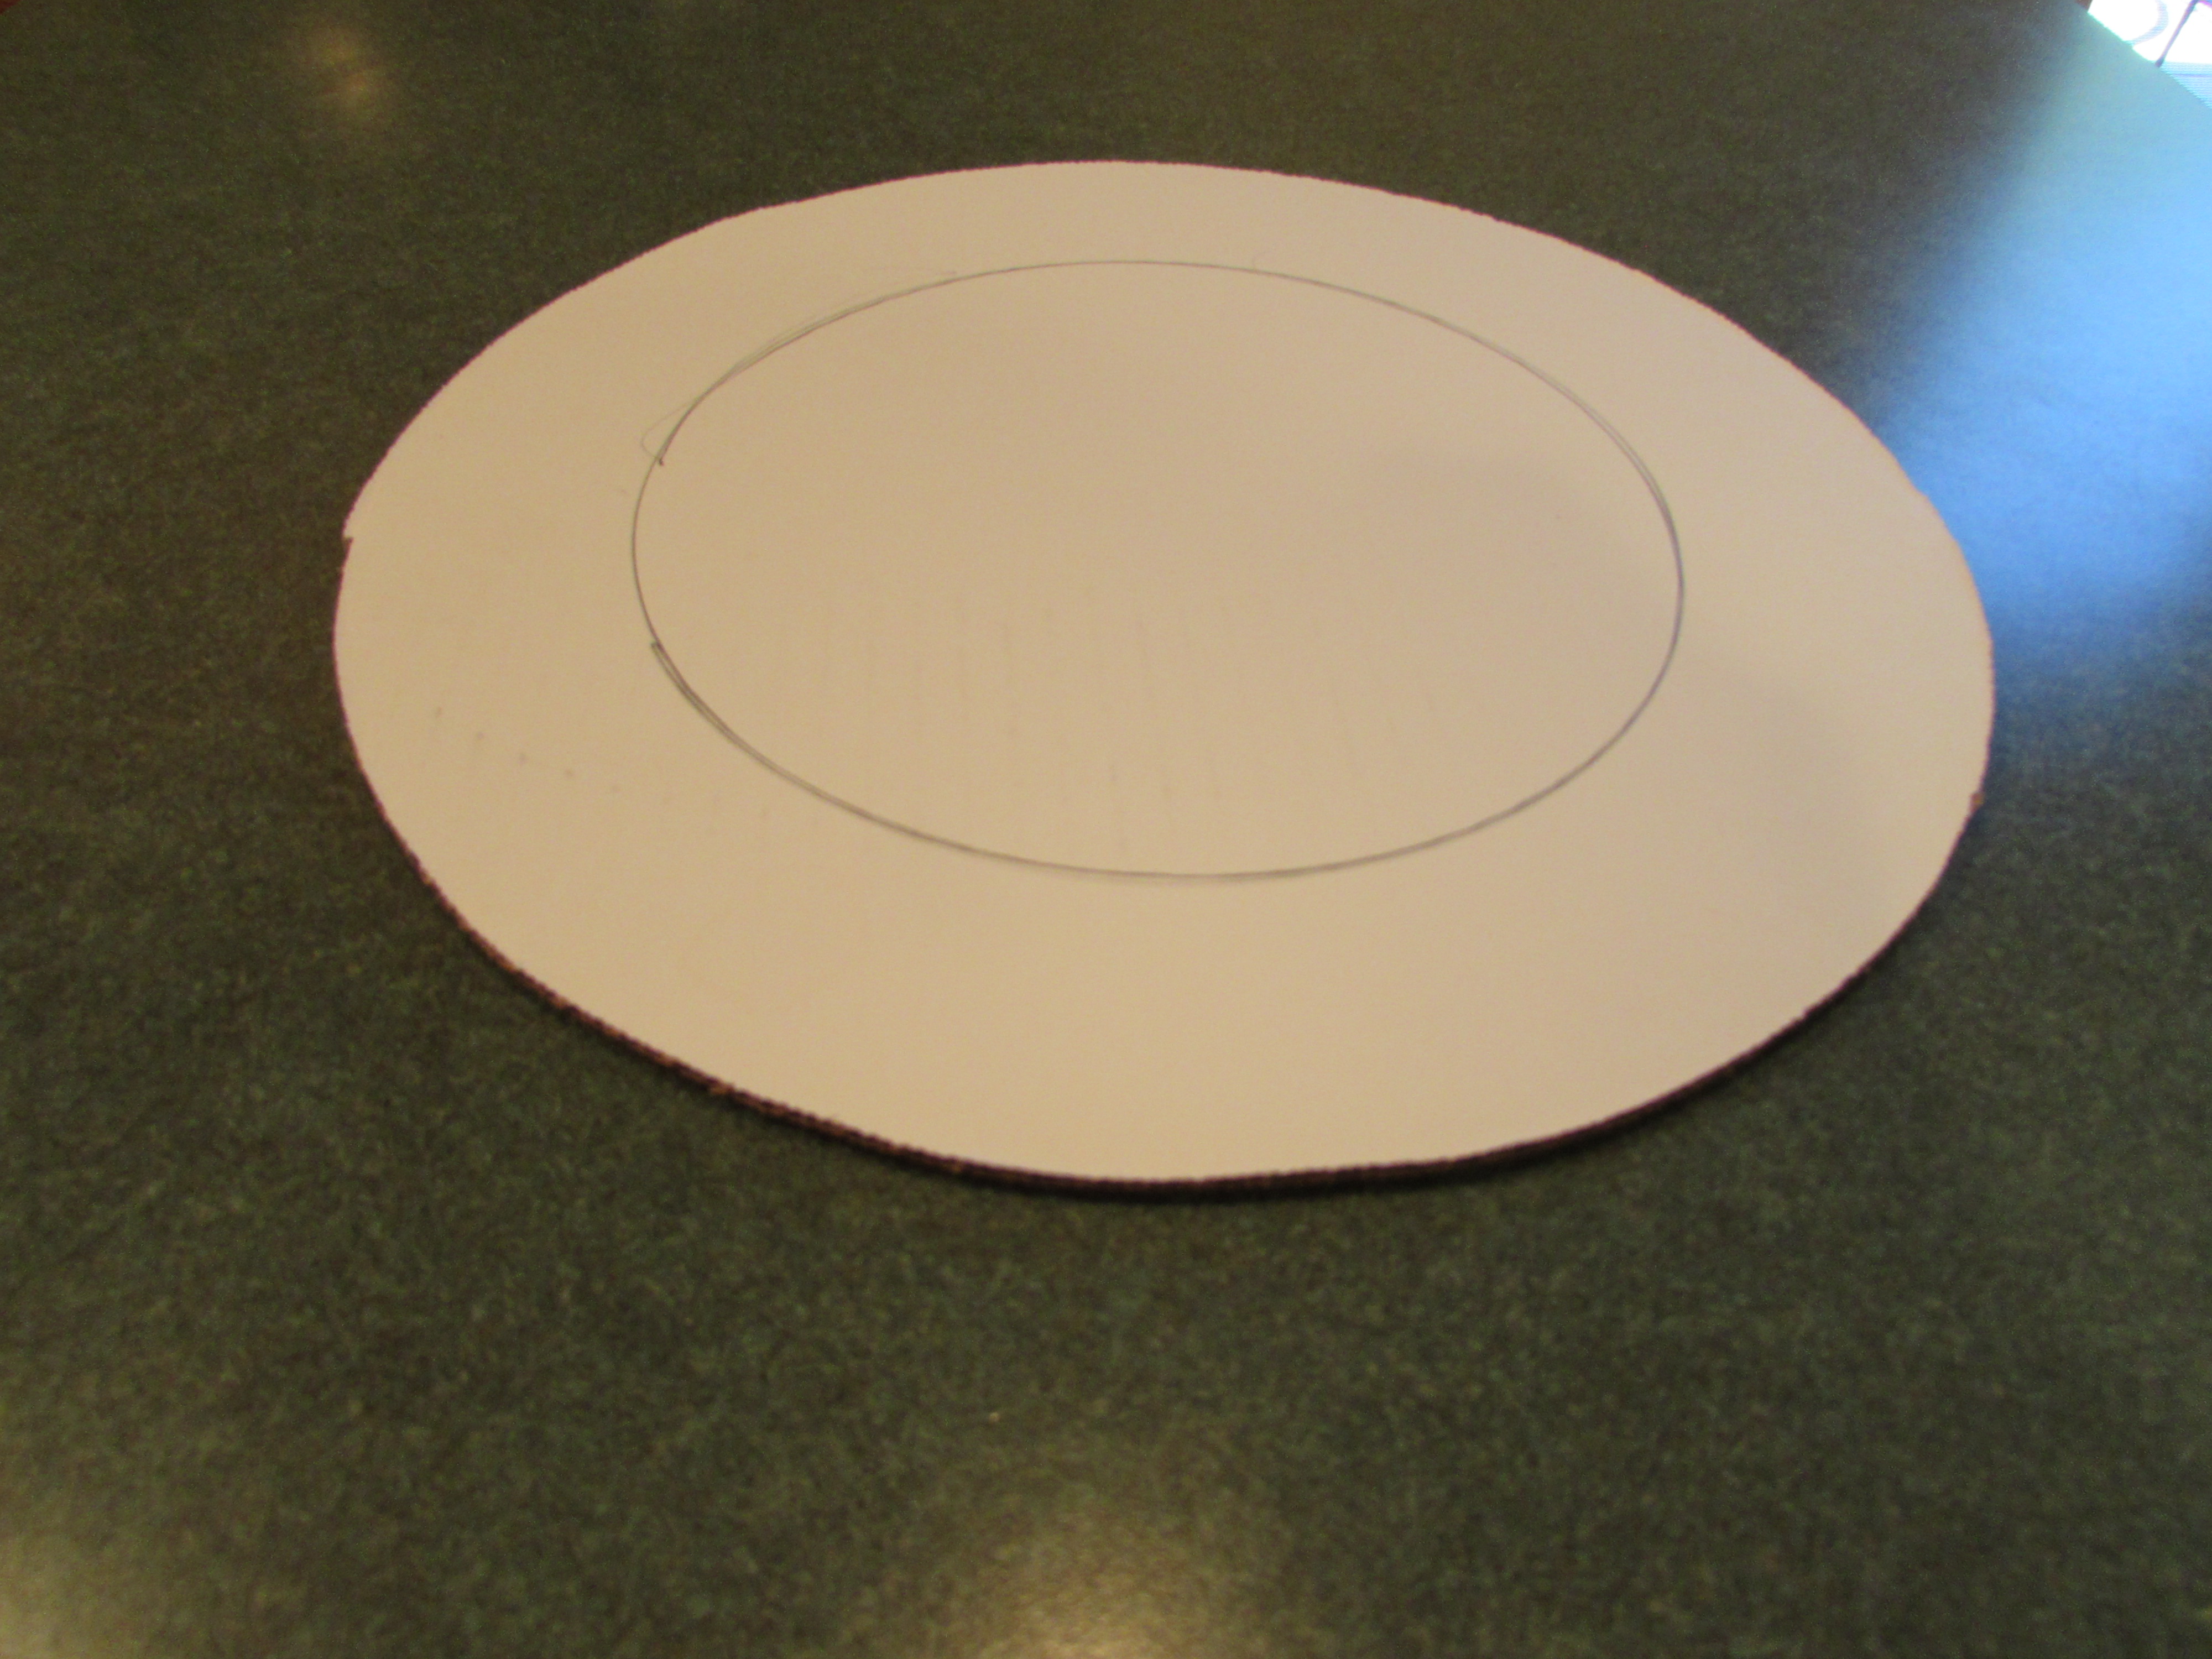
Cut out 1, cardboard round using the 8 inch round cake pan as your guide and set aside. You can purchase these from Michaels Craft Store. I have 12 inch rounds and cut them to whatever size I need. If you happen to have an 8 inch spring-form pan bottom, you can use that instead. This is really necessary, so don’t skip this step. If you don’t put the cake on it, you will NEVER get it off the cooling rack.
Whisk together the sugar, flour, cocoa powder, baking powder, baking soda and salt into a large bowl. Whisk together the whole milk, butter, whole egg, yolk, vanilla in another large bowl until just combined. Beat the egg mixture into the flour mixture with an electric mixer on low speed, then beat on high speed for 1 minute. Reduce speed to low and beat in water until just combined. Divide batter among cake pans, about 1-1/2 cups per pan, and bake in oven for about 20-25 minutes, or until a toothpick inserted in the middle of the cake comes out clean.
Cool layers in pans on racks for 15 minutes. Then run a thin knife around edges of pans and invert layers onto racks. Carefully remove wax paper and cool layers completely.
Reduce oven temperature to 325 degrees.
Spread coconut in a medium shallow baking pan and pecans in a small shallow baking pan. Place coconut and pecans in oven, for 12 – 16 minutes. Stir halfway through and then after 12 minutes, stir every minute for the next 3-4 minutes, until golden brown. Set aside to cool.
Increase oven temperature to 425 degrees.
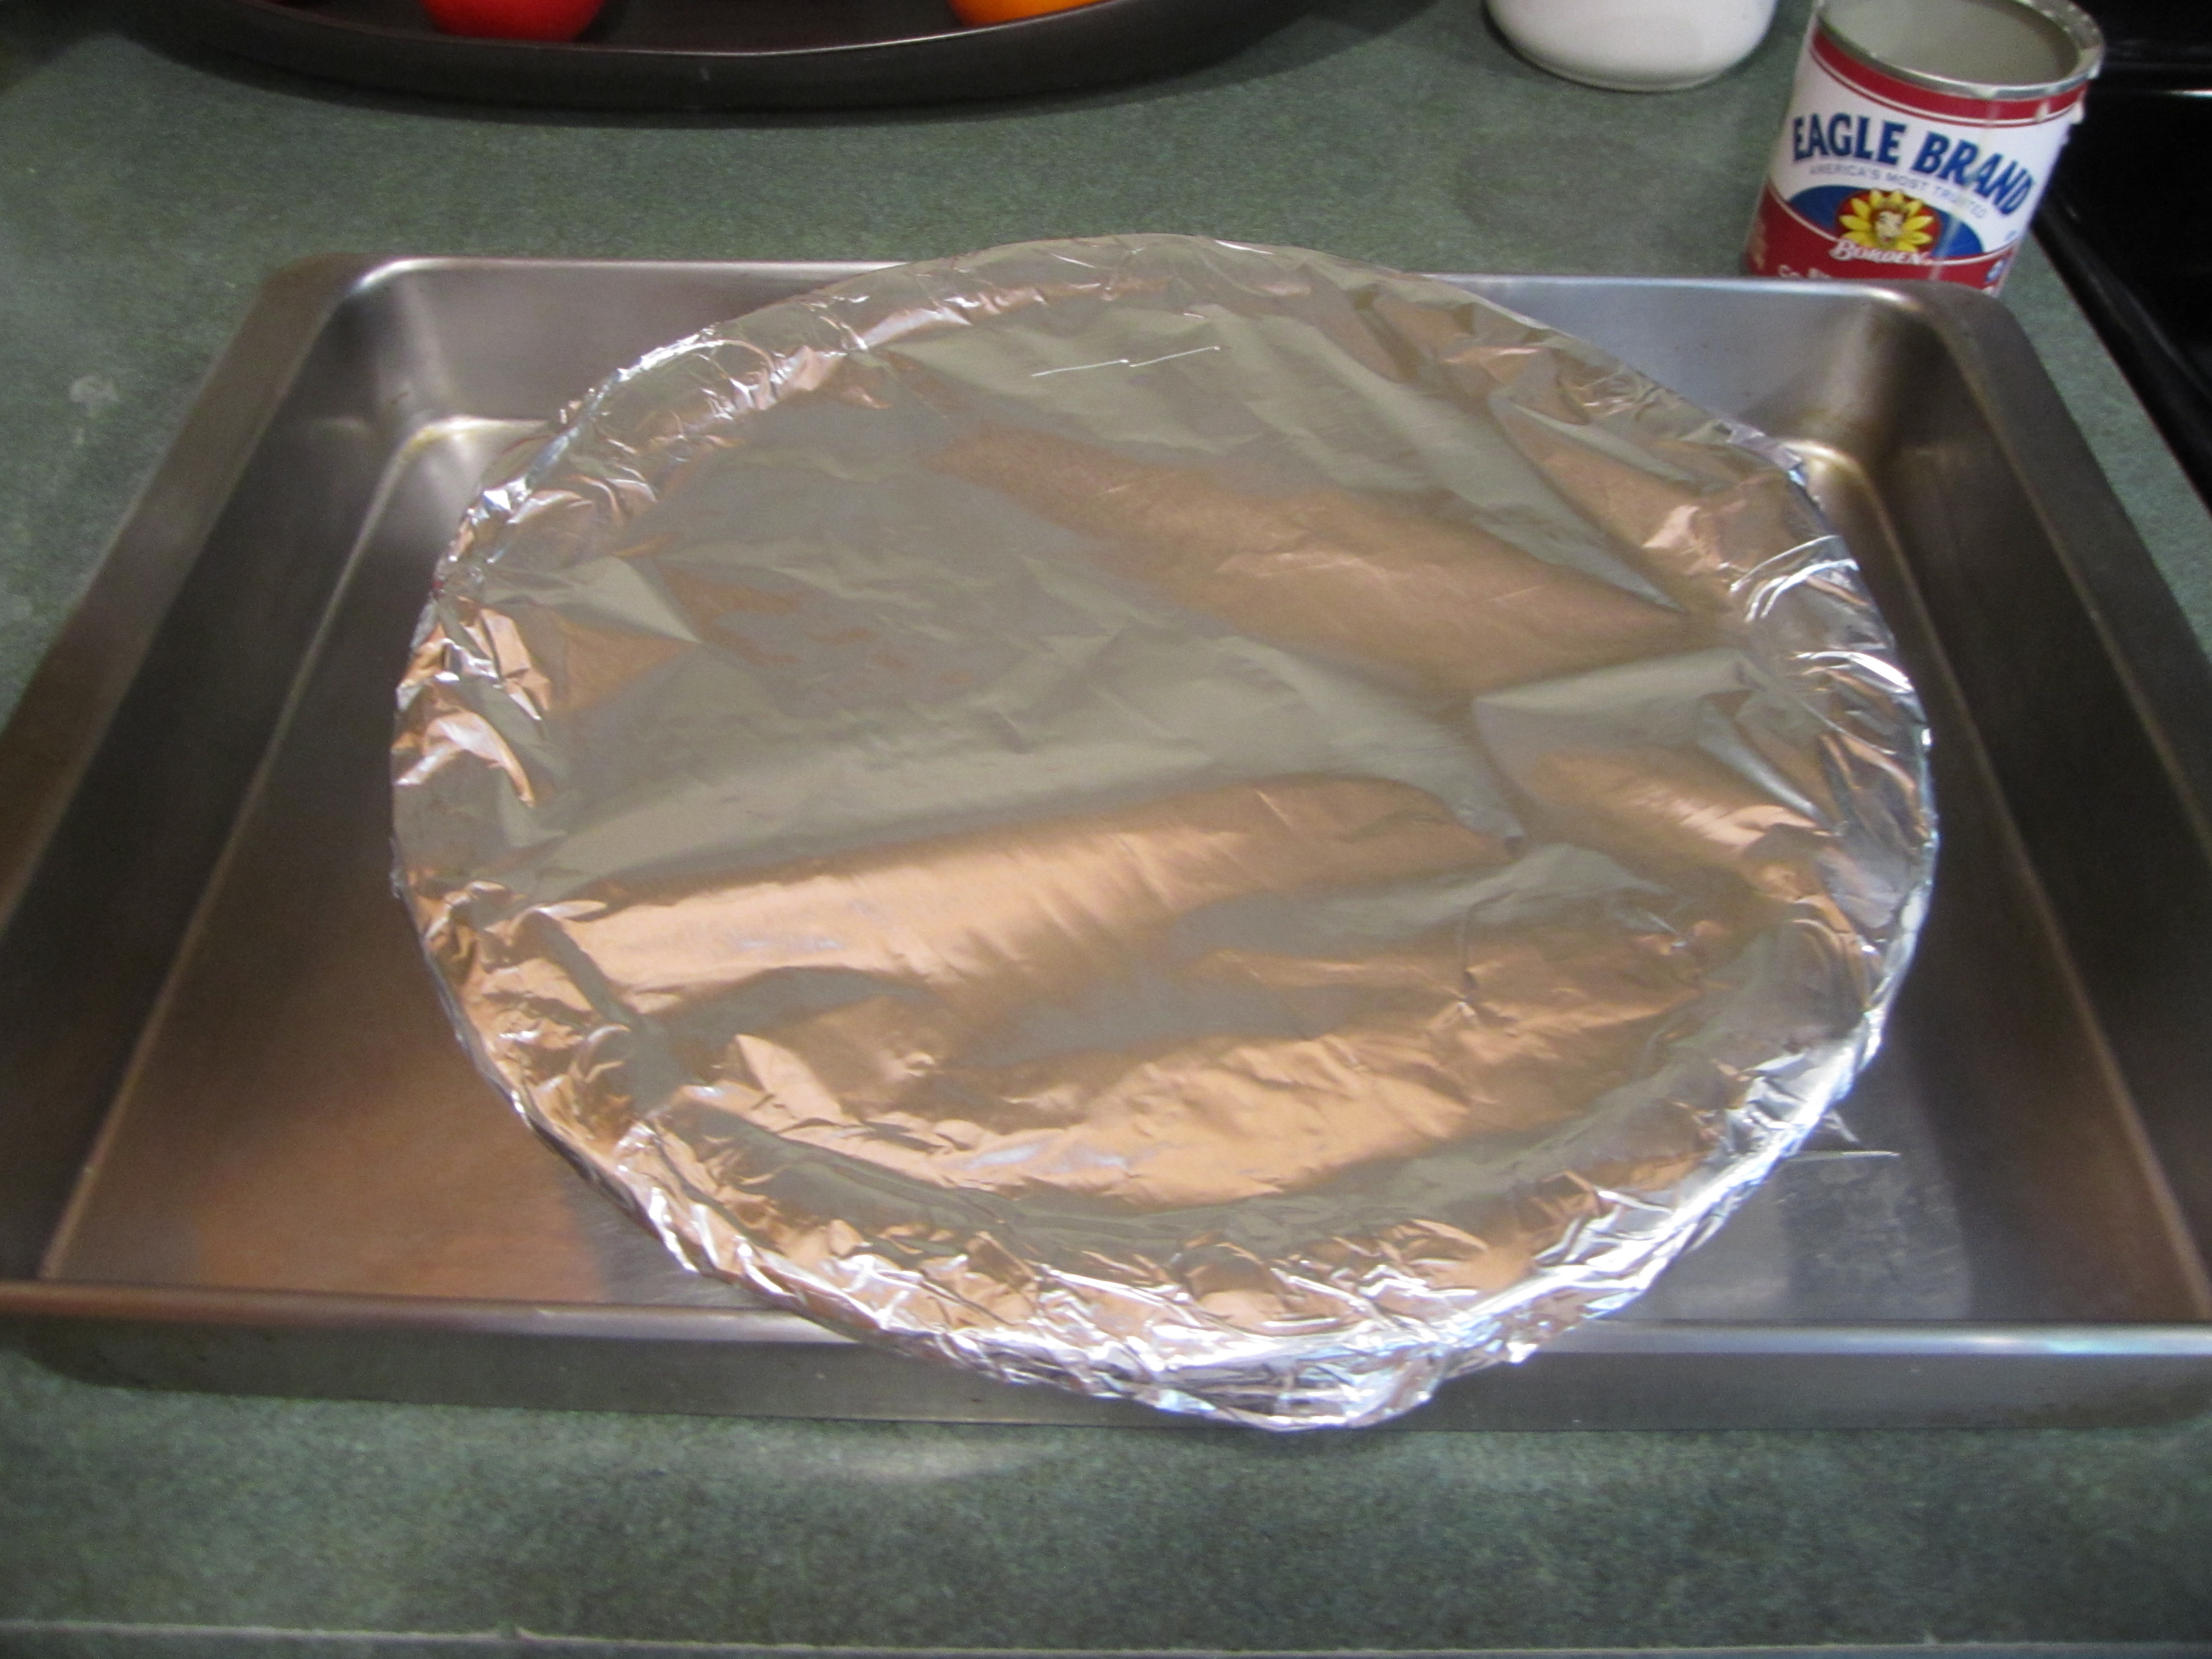
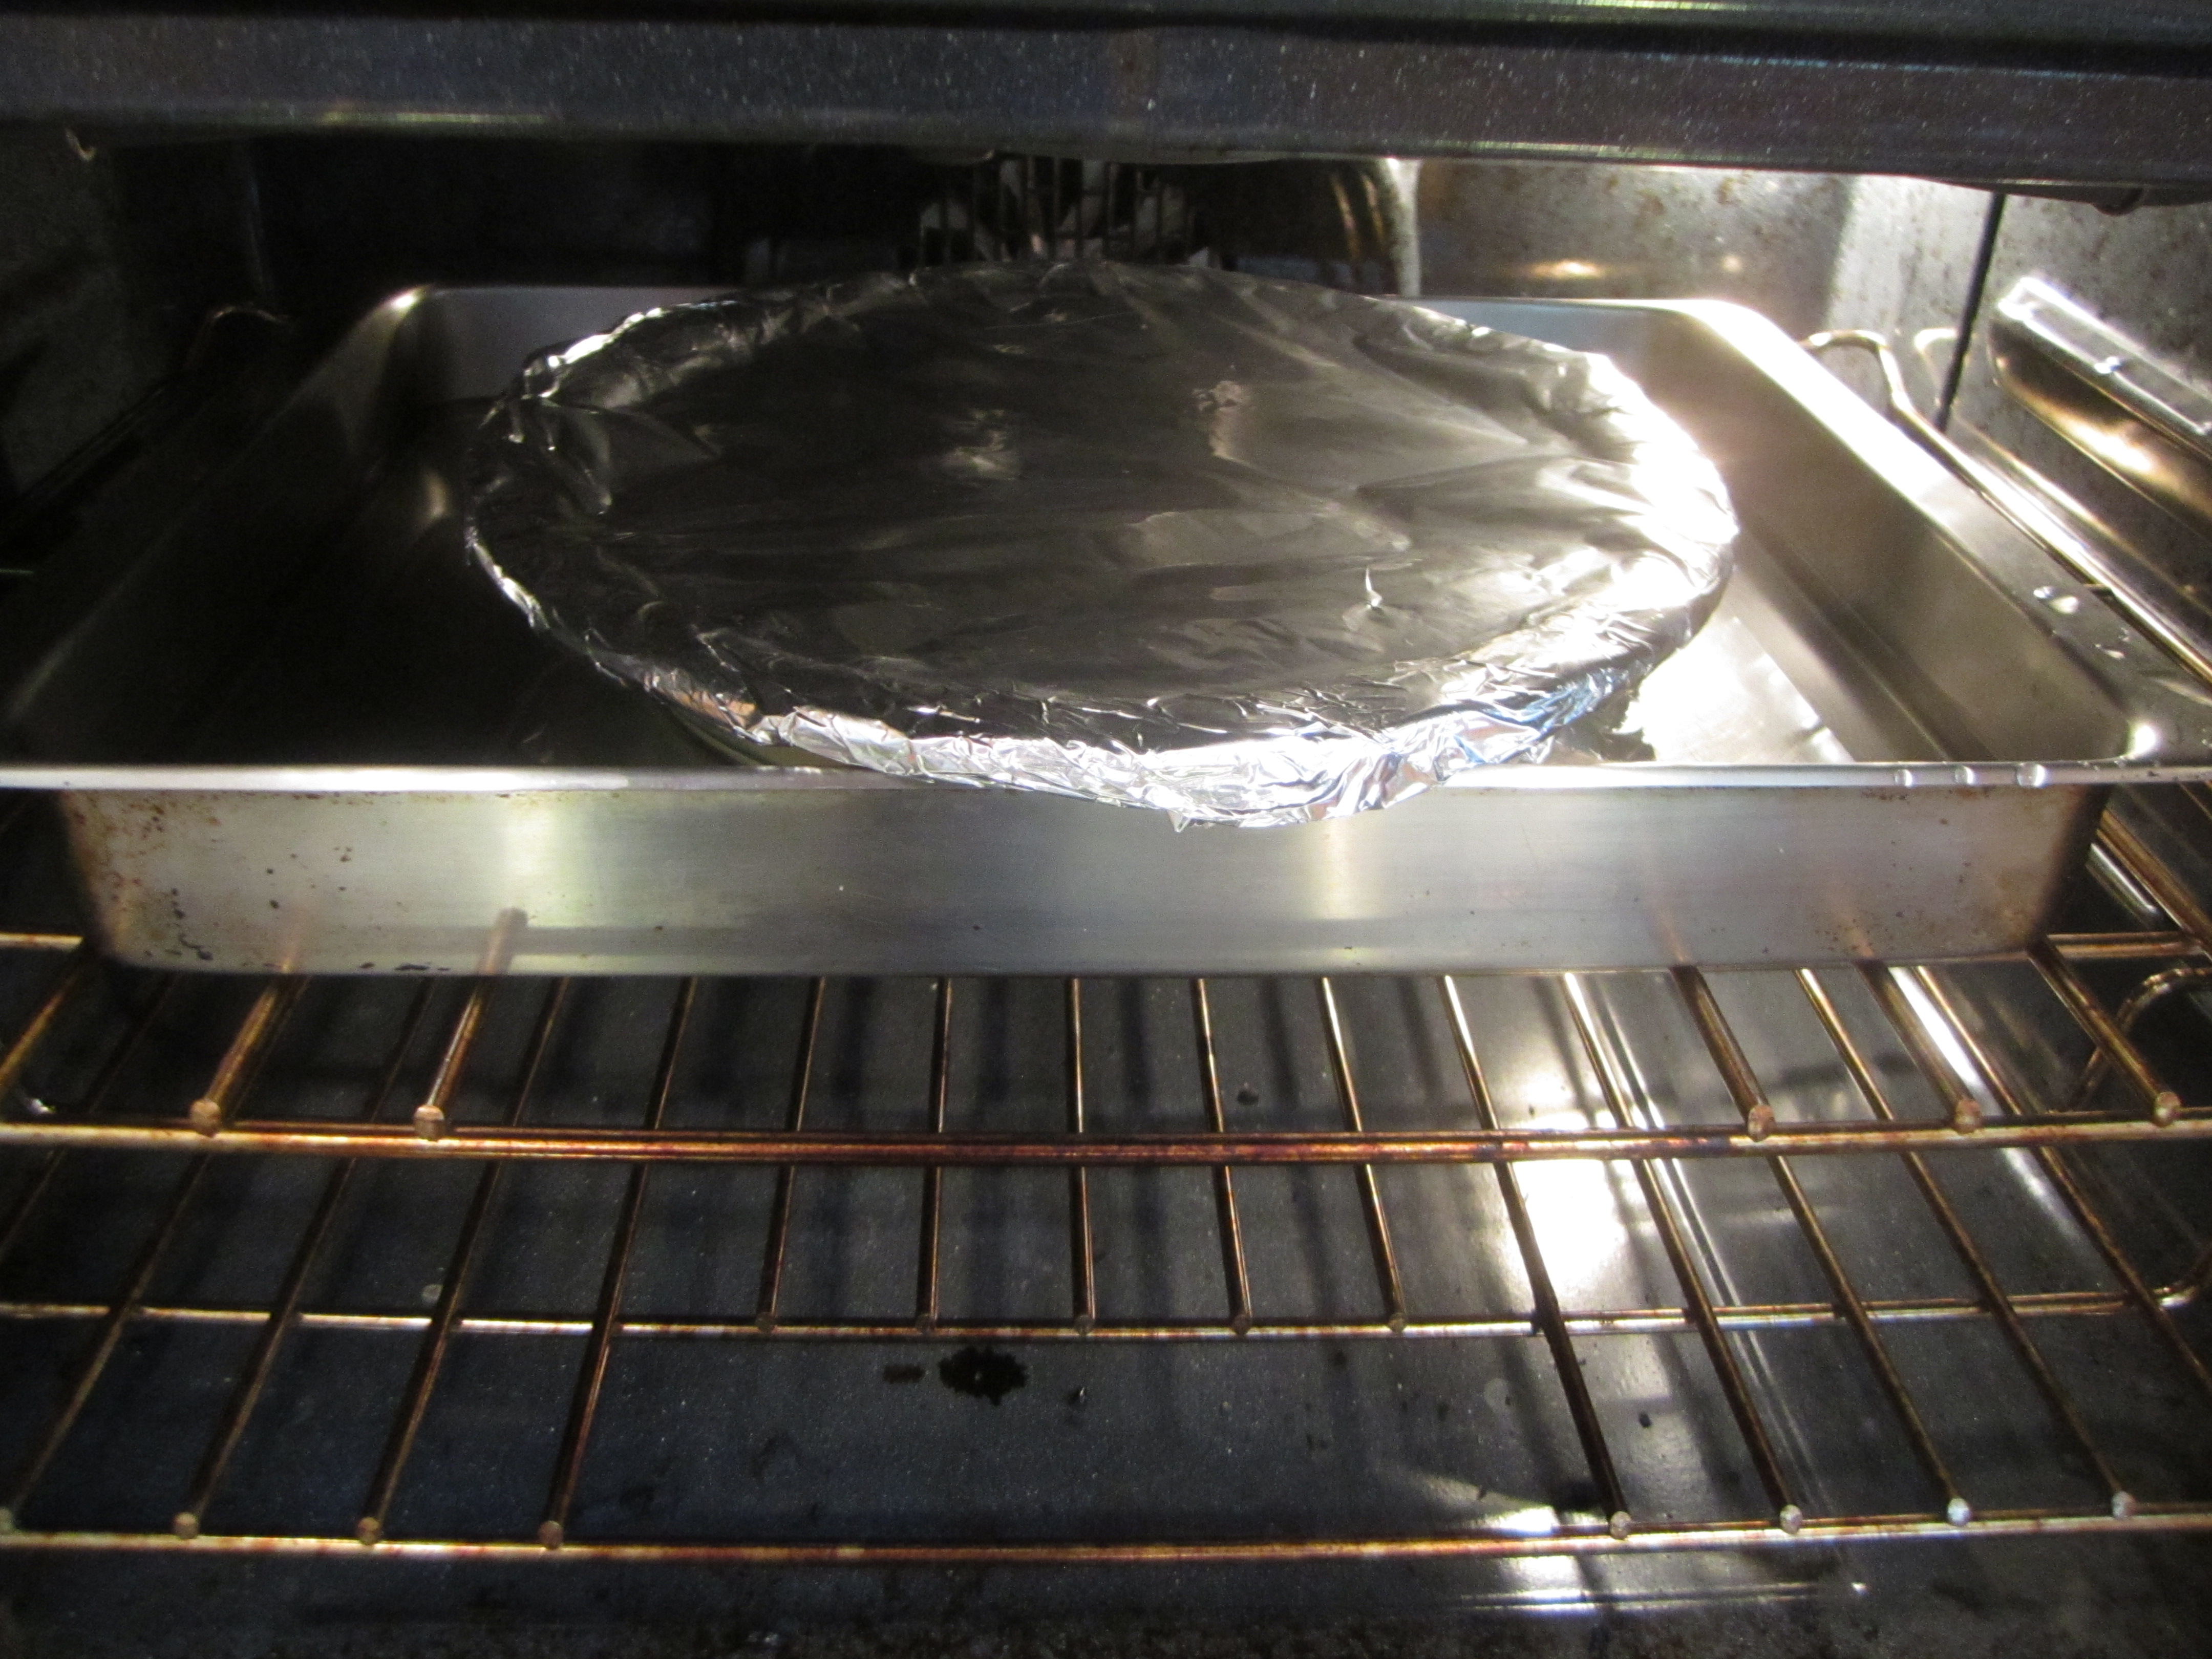
Pour condensed milk into a 9 inch glass deep dish pie plate and cover tightly with aluminum foil. Place dish in a large roasting pan. Pour water into roasting pan half way up pie plate. Place in oven and bake for 45 minutes. After 45 minutes, check to see if you need more water and if you do, pour more in so that it is half way up pie plate. Bake for another 30 minutes. The milk should be brown and thick. Remove from oven and take pie plate out of roasting pan. Take aluminum foil off and stir in pecans, coconut and vanilla. Set aside.
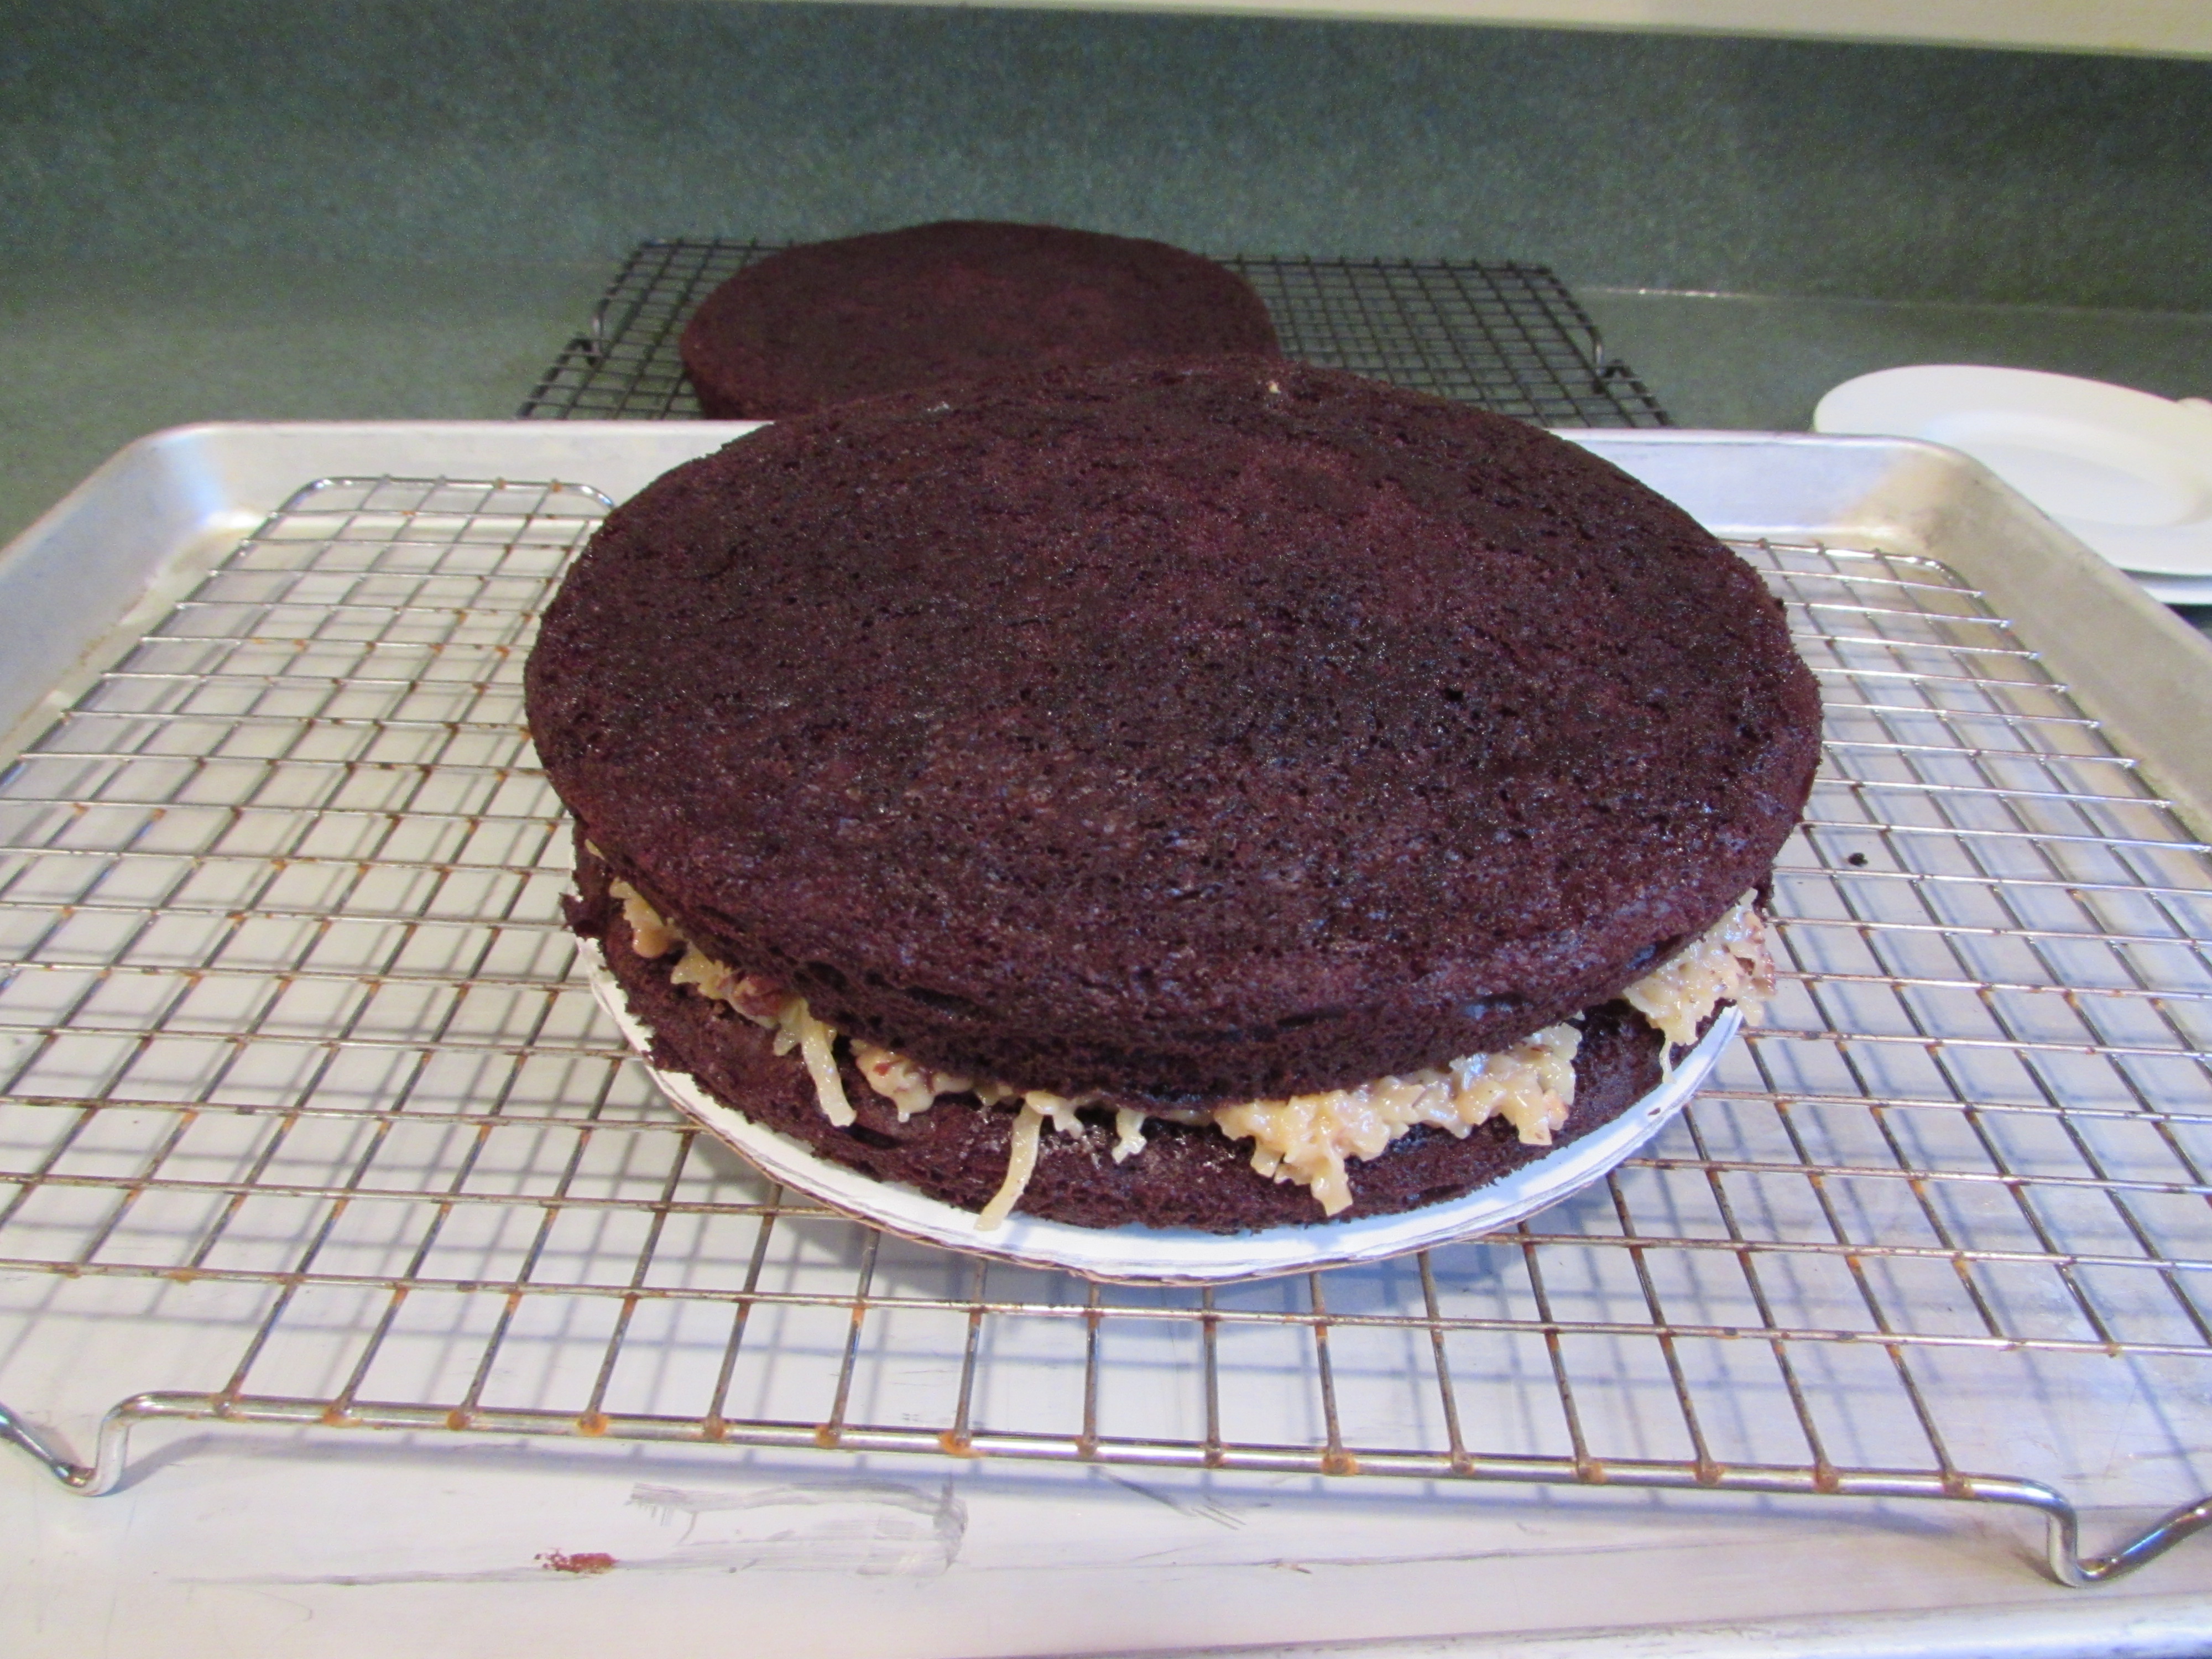
Assemble cake by placing 1 cake layer onto cardboard round and set on rack over a rimmed cookie sheet. Drop half of coconut filing by spoonfuls evenly over layer and gently spread with a spatula to the edge of the cake layer. Top with another cake layer, spreading the filling in the same way. Top with remaining cake layer.
Make glaze: chop the chocolate into small pieces using a large sharp knife and place in a large metal bowl. Measure heavy cream into a glass measuring cup and microwave on high for 1 minute and 30 seconds. Pour over chocolate and let sit for 2-3 minutes. Then whisk mixture together until thoroughly combined and smooth.
Slowly pour glaze over cake, smoothing the glaze over the cake using a large icing spatula. Do this in stages so that the glaze sets somewhat, making a nice layer over the cake. Let the cake sit for a half hour or so.
Then, very carefully, using a large metal spatula, transfer cake onto a plate and cover with a very large stock pot and put in refrigerator for at least one hour. Bring to room temperature before serving.
You can also bake this cake one day in advance. Just bring to room temperature before serving.
prepping pans with rounds of wax paper and spraying with Pam Baking Spray:
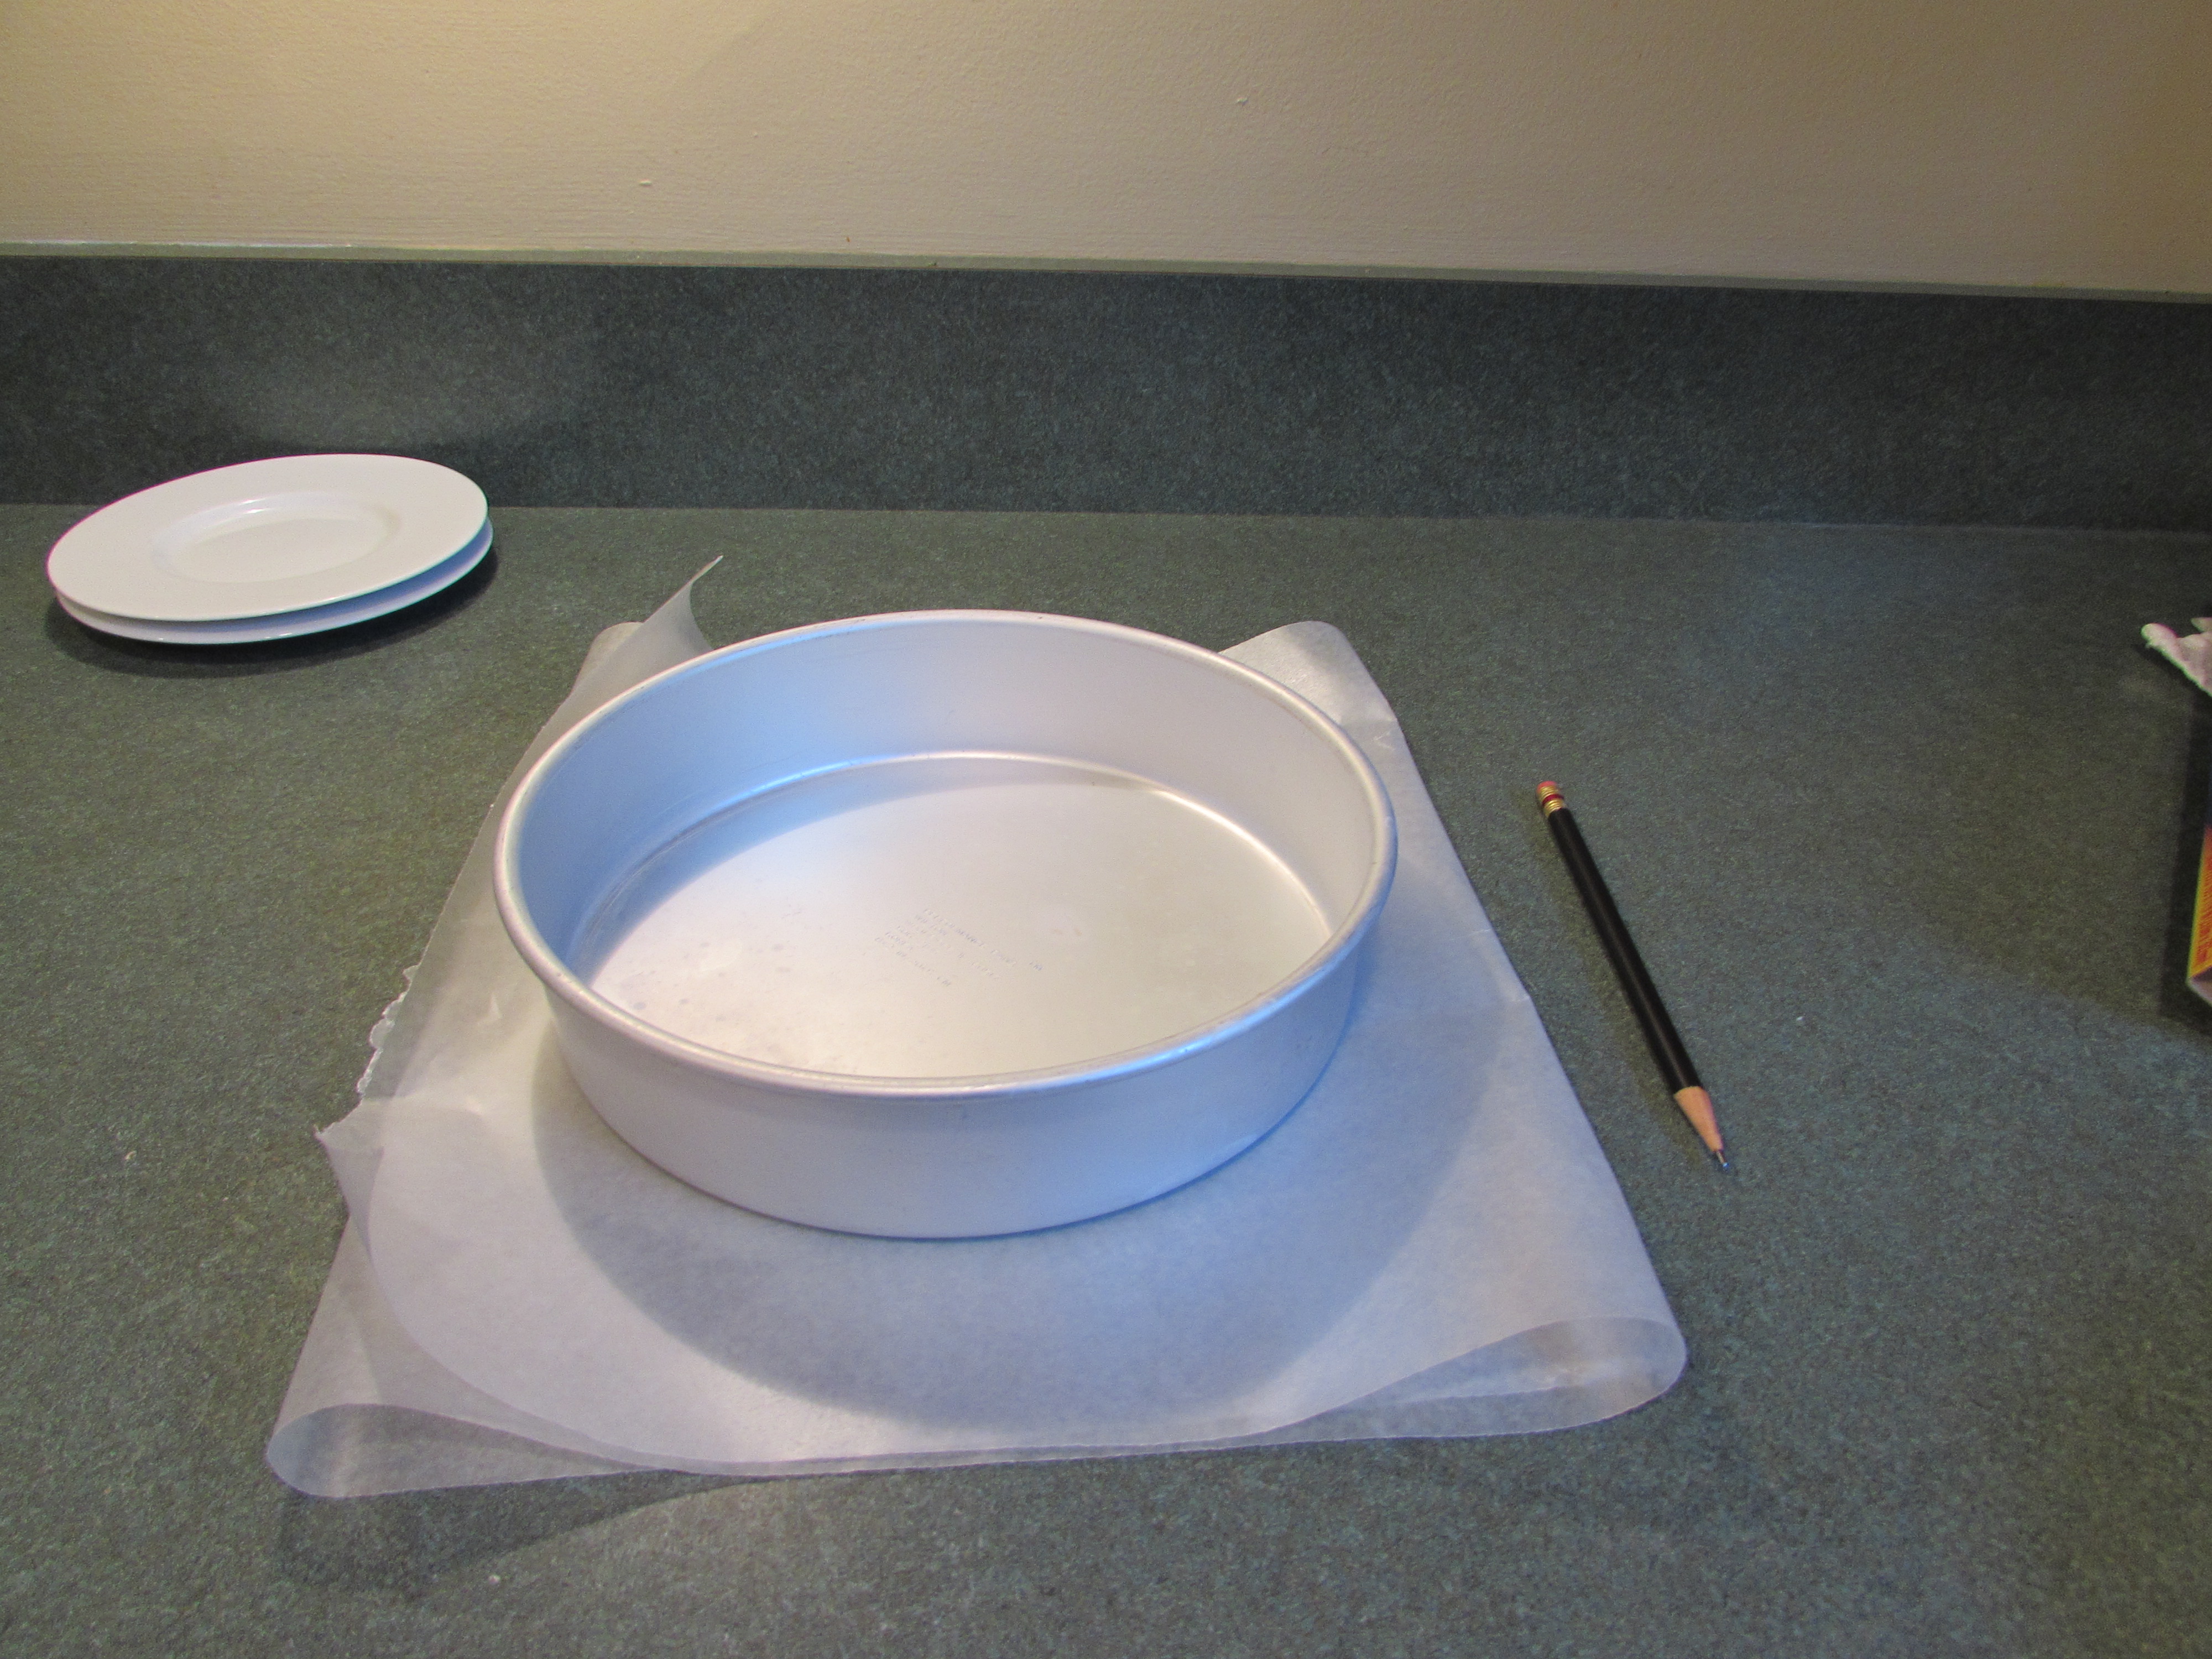


prepping cardboard round for bottom of cake:

Cake mise en place:

awesome cocoa that I used:

and my new gadget from King Arthur Flour, love it! and highly recommend:

cake batter into pans, out of oven and then cooling:


filling ingredients:
sweetened condensed milk in pie plate, covered and into the roasting pan:
in the oven, water 1/2 way up pie plate:
finished baking, brown and thick:

coconut and pecans golden:

coconut, pecans, vanilla added to milk:

filling ready for the cake:
ganache ingredients:

chocolate chopped:

cream poured over chocolate:

ganache ready:

first cake layer on cardboard round ready for filling:
filling onto first layer of cake, then second layer with filling and finishing with third layer :

.

applying ganache:

and more ganache:

and then more ganache:
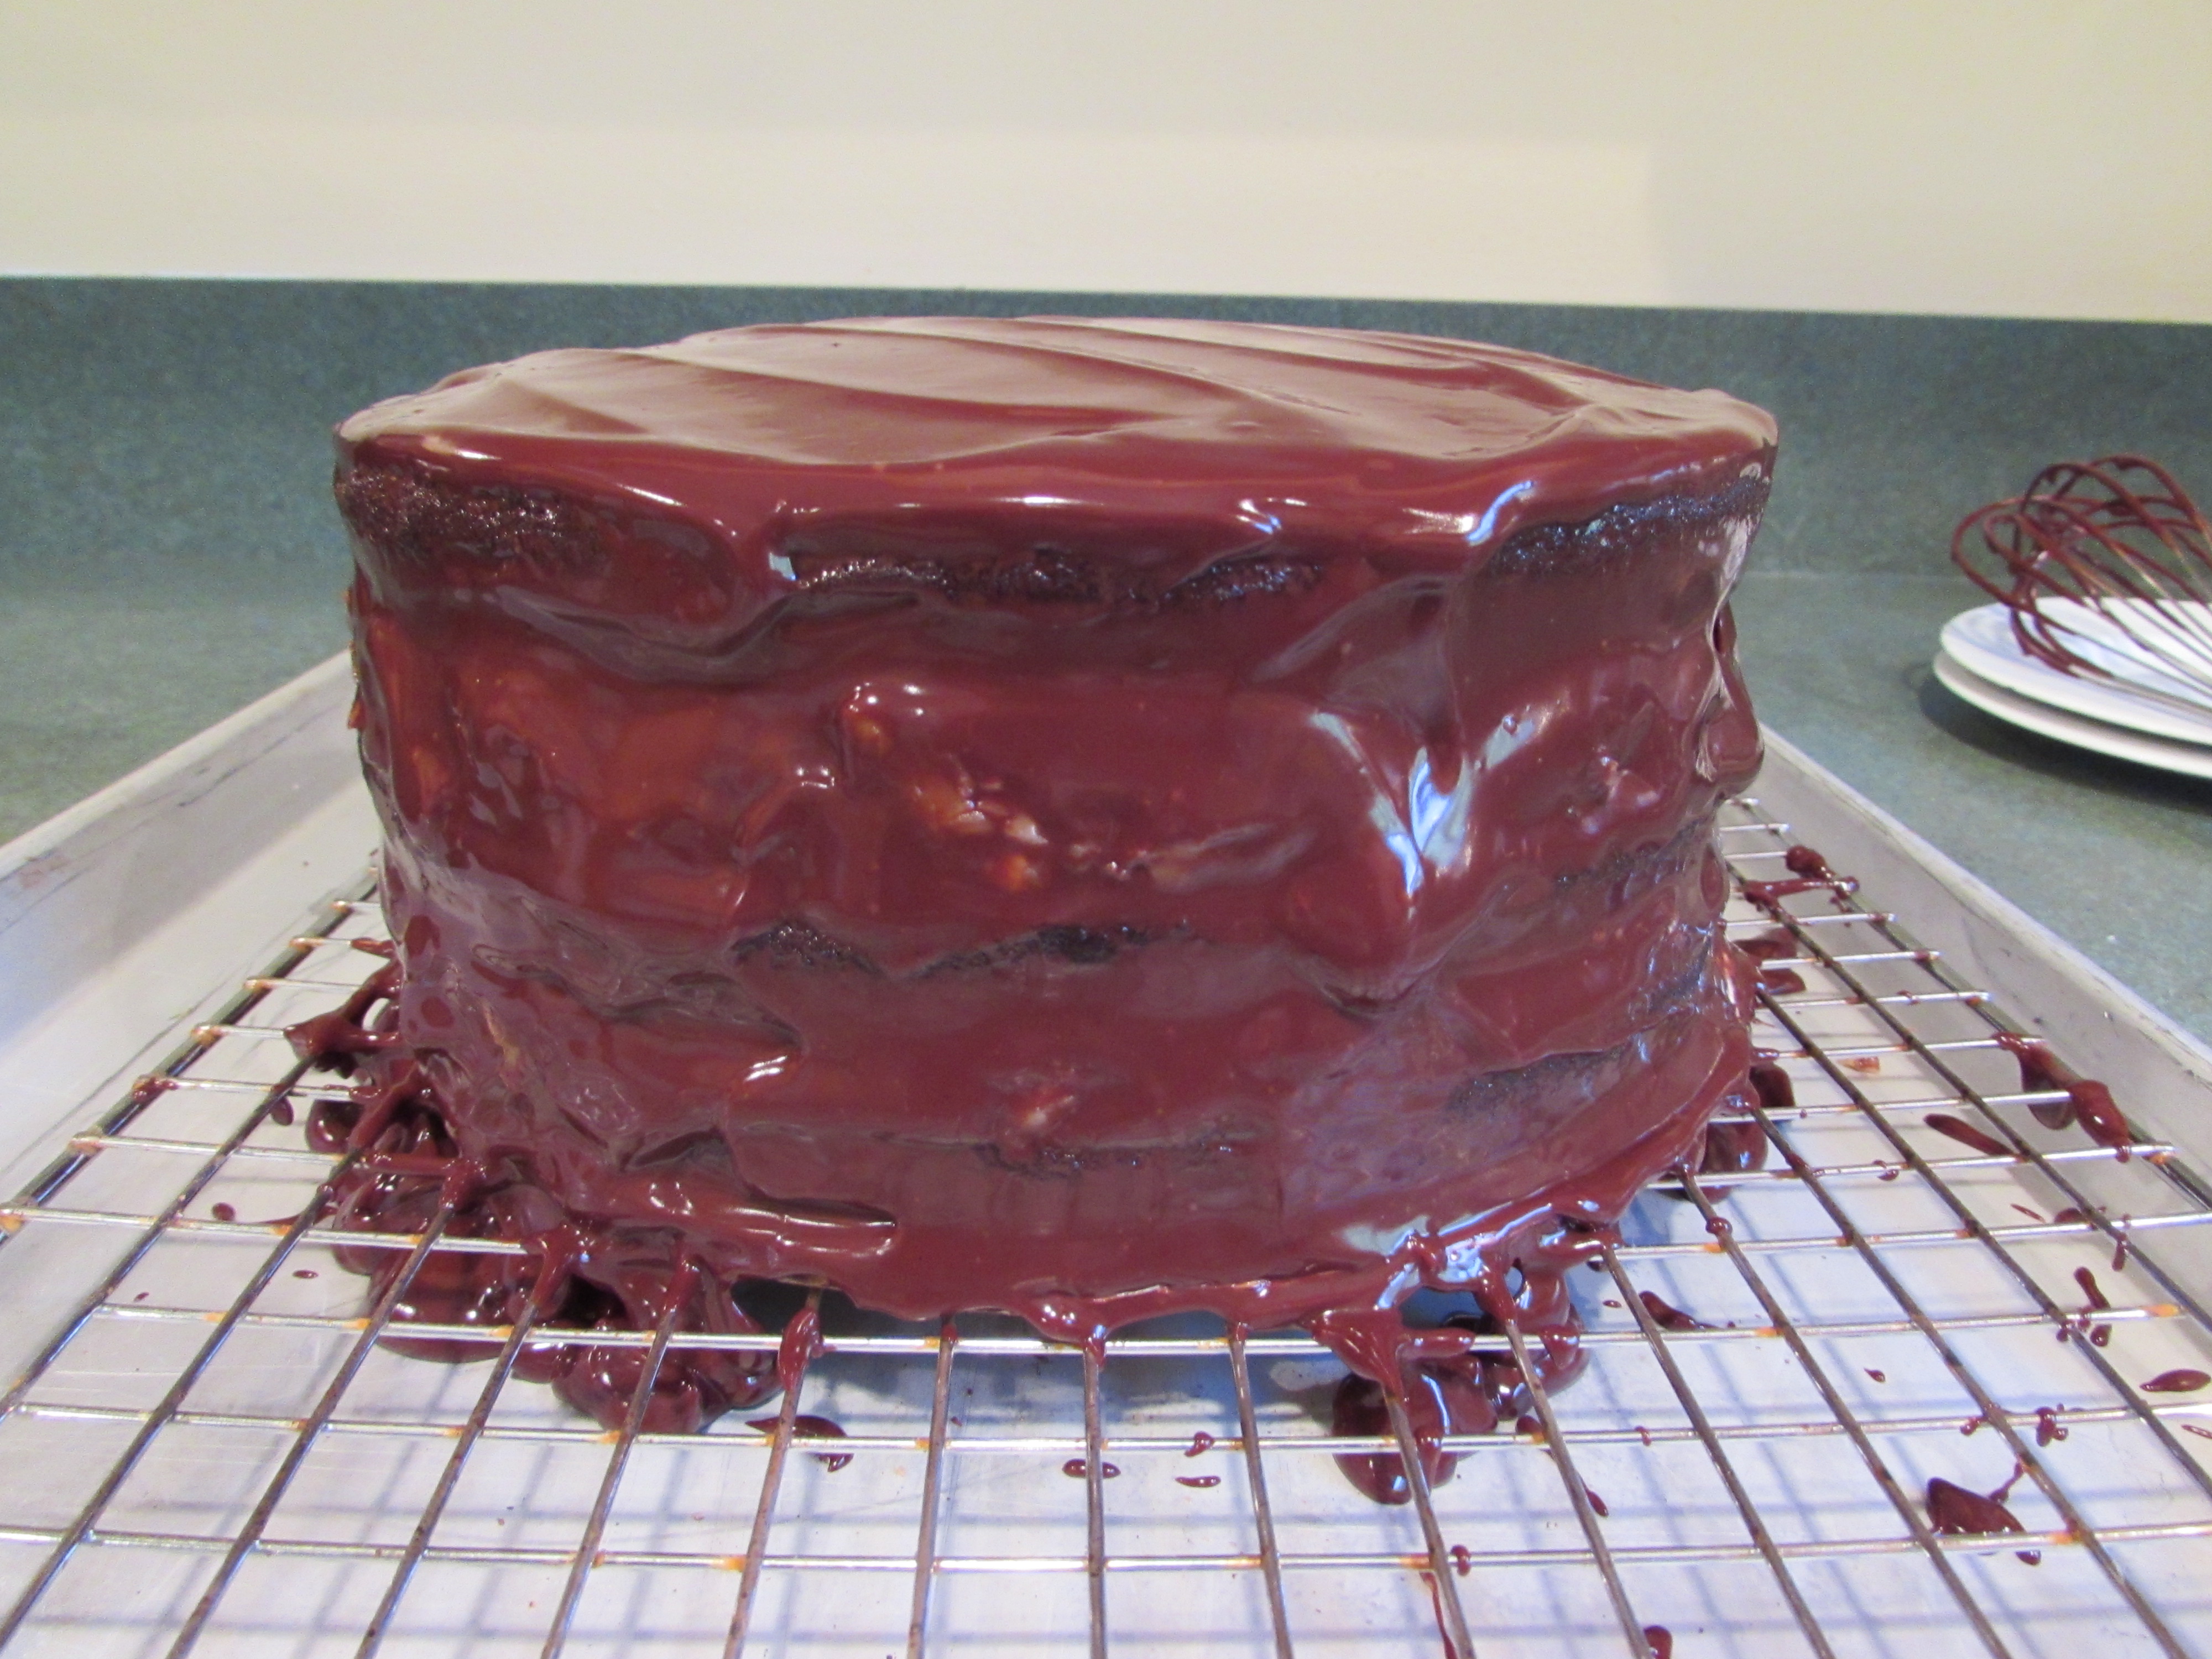
then smoothing it out until you have a finished cake:
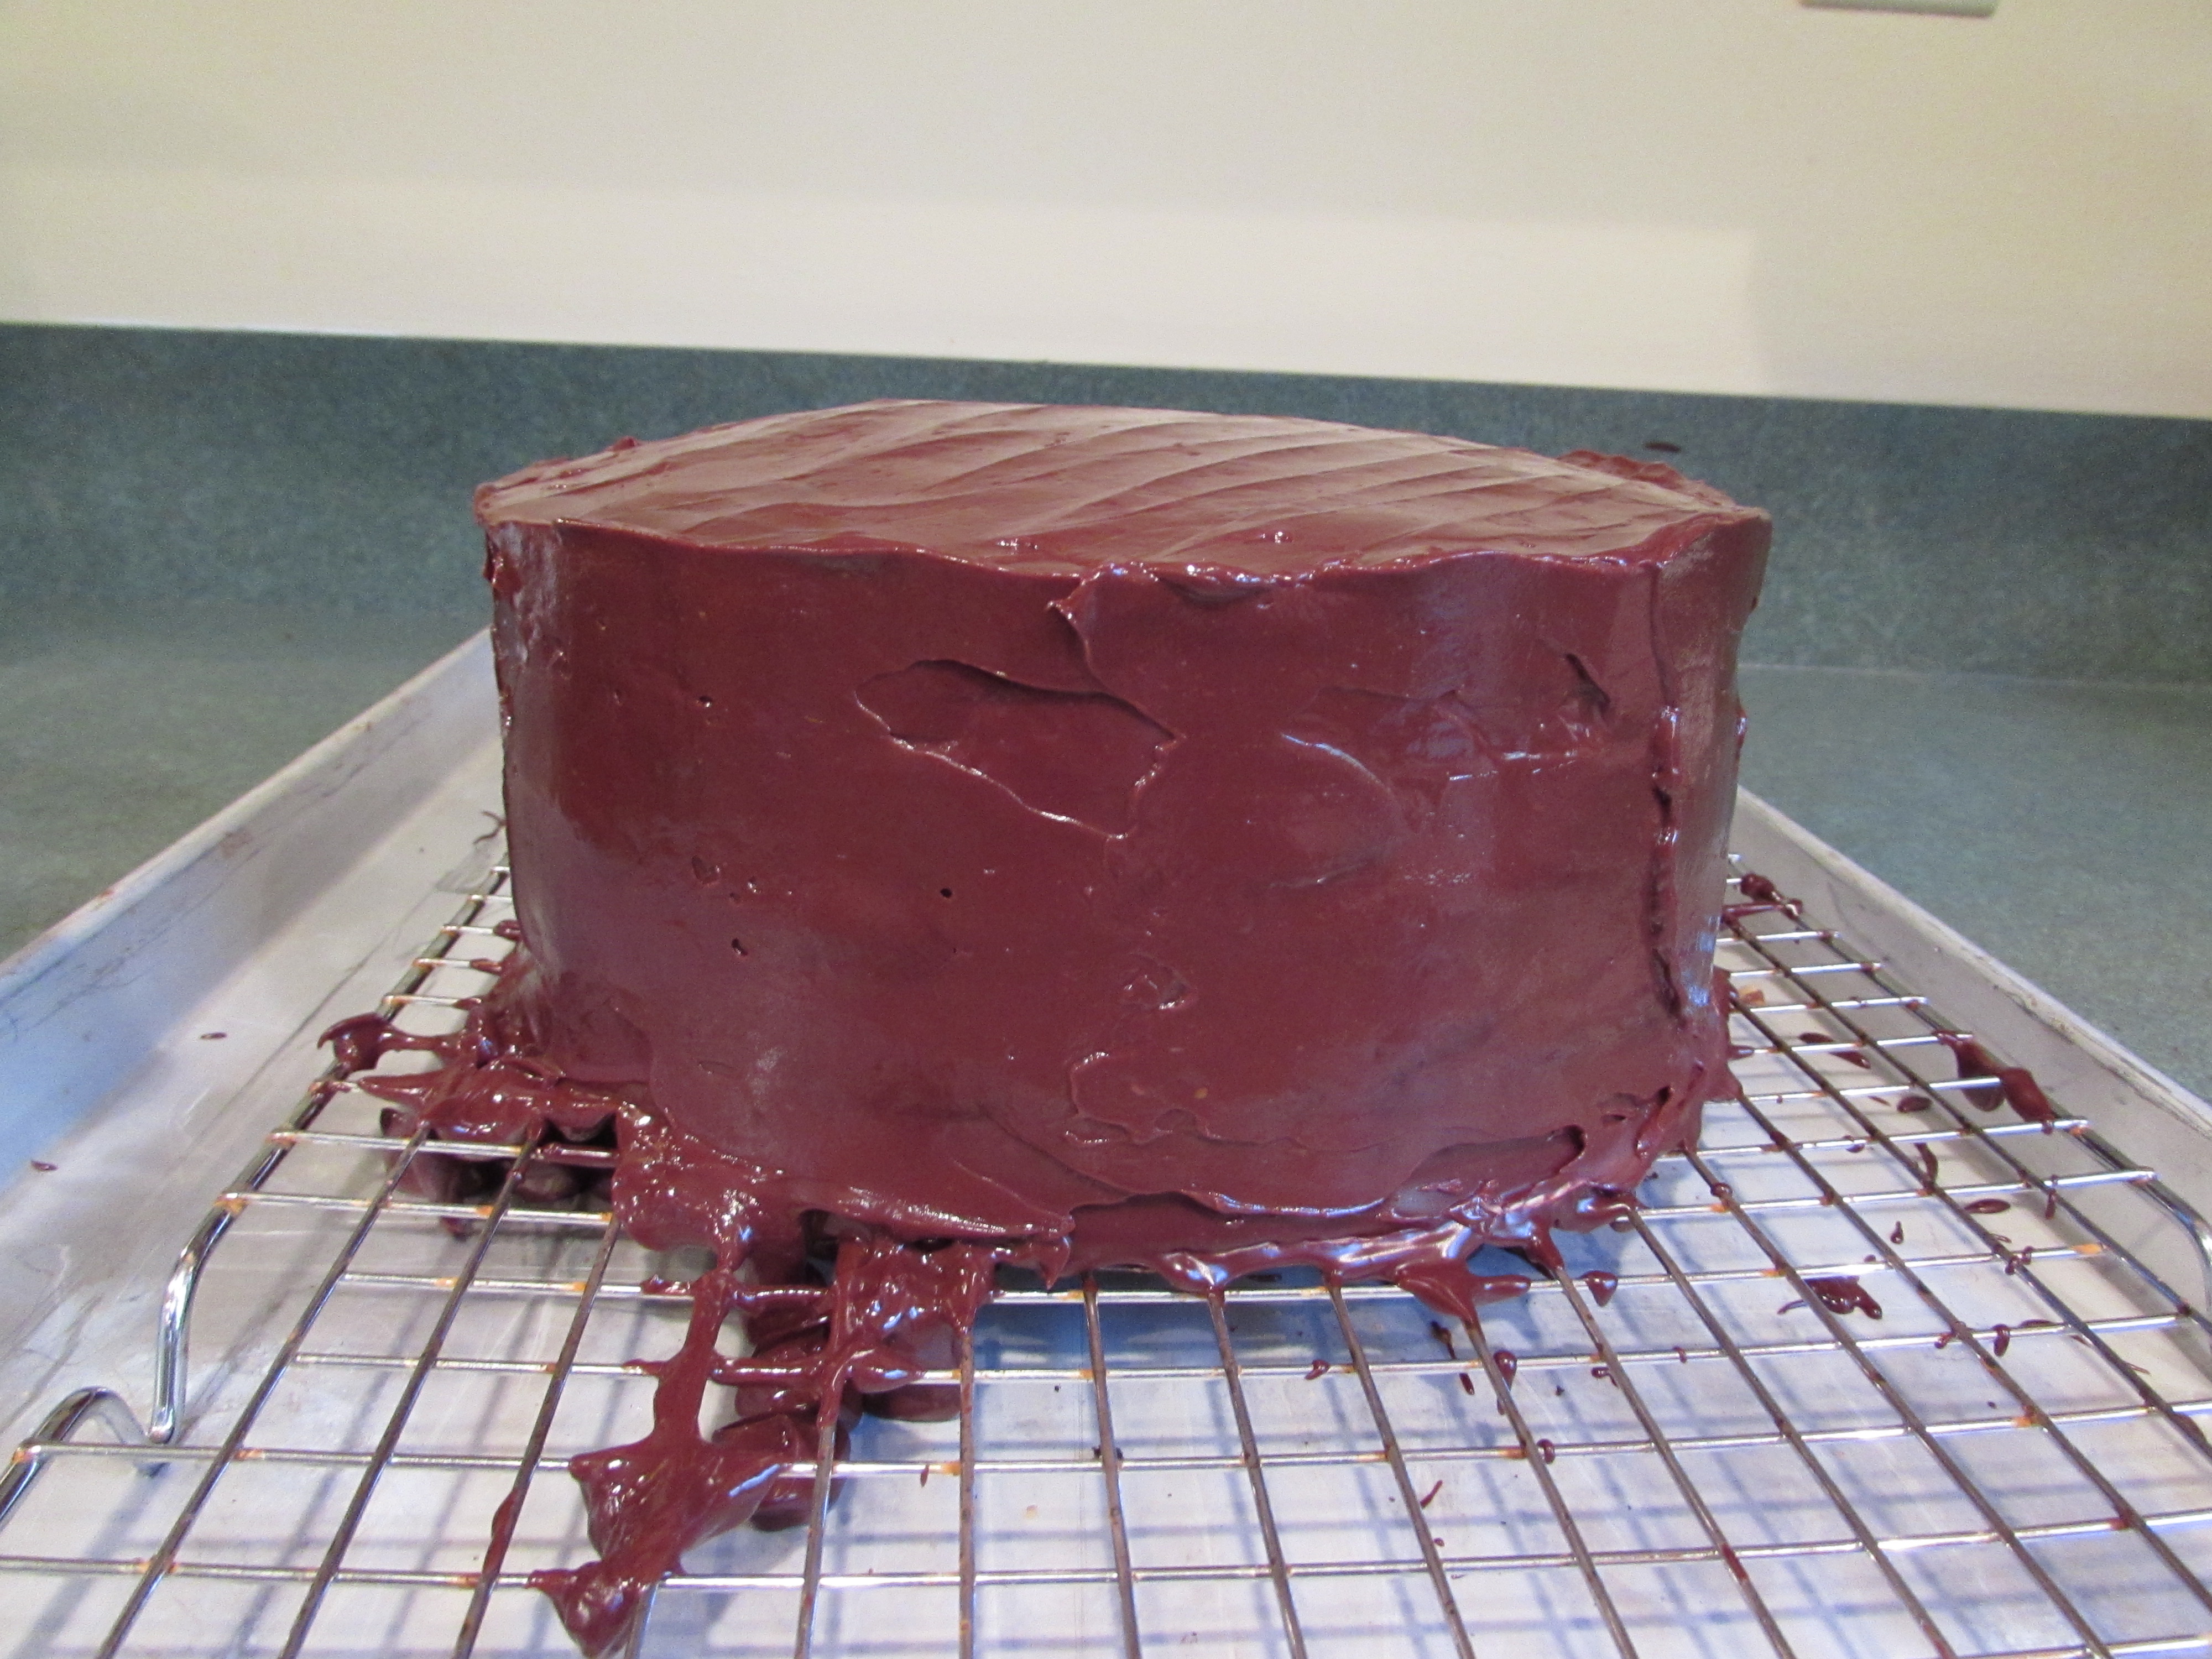
let sit for awhile and then transfer to a plate (or in this case a cake caddy bottom because I am taking it to a party, later that evening), cover and place in refrigerator for at least 1 hour:

Weber Grill Spray

This stuff is fantastic!
We bought a new grill last year ( another Weber of course, best grills ever! ) and instead of the Porcelain-enameled cast-iron cooking grates we opted for the stainless steel rod cooking grates.
I found the food sticking a little bit more to these stainless steel grates, even though I love everything else about the grill.
I stumbled upon this spray, at Hannaford’s, very late in the season. The first time I used it I wasn’t impressed. But I only sprayed lightly.
The second time I sprayed, I went back and forth about 3 or 4 times over the HOT, FLAMING stainless steel grates. Let me repeat, I sprayed over HOT, FLAMING stainless steel grates. You can never, ever do that with any other kind of spray. Believe me, I have tried. It is VERY dangerous.
The spray did not in any way make the grill flare up or put you in any kind of danger.
And the very best part, was that my marinated flank steak released beautifully!! And so did my grilled hamburgers!
So if you see this (you can also buy it online) at your supermarket or hardware store or garden center, BUY IT!
You will thank me.
And also, it’s still warm enough to grill, so fire it up ladies! and gentlemen!
Sweet and Sour Pork

I was on an Emeril Lagasse ‘kick’ (ha-ha) and this was one of his noteworthy recipes that I tried.
It has a very long list of ingredients but none of them are unusual or hard to get. He also includes ‘Emeril’s Creole Seasoning’ recipe which is a combination of dried herbs. It makes quite a bit so I stored it in a little lidded plastic container with my other spices, for future recipes. It keeps for quite awhile. I believe you can also buy this combination at the supermarket but there really isn’t any need to. The spices are also not unusual and you probably have them on hand anyway.
The best part about this recipe, is that Emeril really understands that stir fries which this is, need a lot of sauce. I am usually doubling the sauce ingredients in most recipes because there is never enough for me. Not so in this recipe. Emeril get’s it.
Sweet and Sour Pork (adapted ever so slightly from Emeril Lagasse)
1/2 cup pineapple juice (from the *canned pineapple below)
1/2 cup ketchup
1/2 cup light brown sugar, packed
1/4 cup apple cider vinegar
1/4 cup water
4 teaspoons soy sauce
1/4 teaspoon red pepper flakes (recipe calls for 2 teaspoons, add whatever you like!)
1 teaspoon sesame oil
3 tablespoons vegetable oil, divided
2 tablespoons minced ginger
2 teaspoons minced garlic
1 tablespoon cornstarch
2 tablespoon Sherry (I come upon many recipes that ask for Sherry, so I always have it. It keeps for a very long time. My favorite is Harveys Bristol Cream, original superior, in the blue bottle)
1 pound of pork tenderloin, fat and silver skin removed and cut into 1 inch cubes
2 teaspoons **Essence, recipe below
8 ounces trimmed, halved (lengthwise) snow peas from 2, 6 ounce packages
1/2 medium onion, thinly sliced
2 cups cubed pineapple from 2, 8 ounce cans of pineapple chunks, drained (see above about *juice)
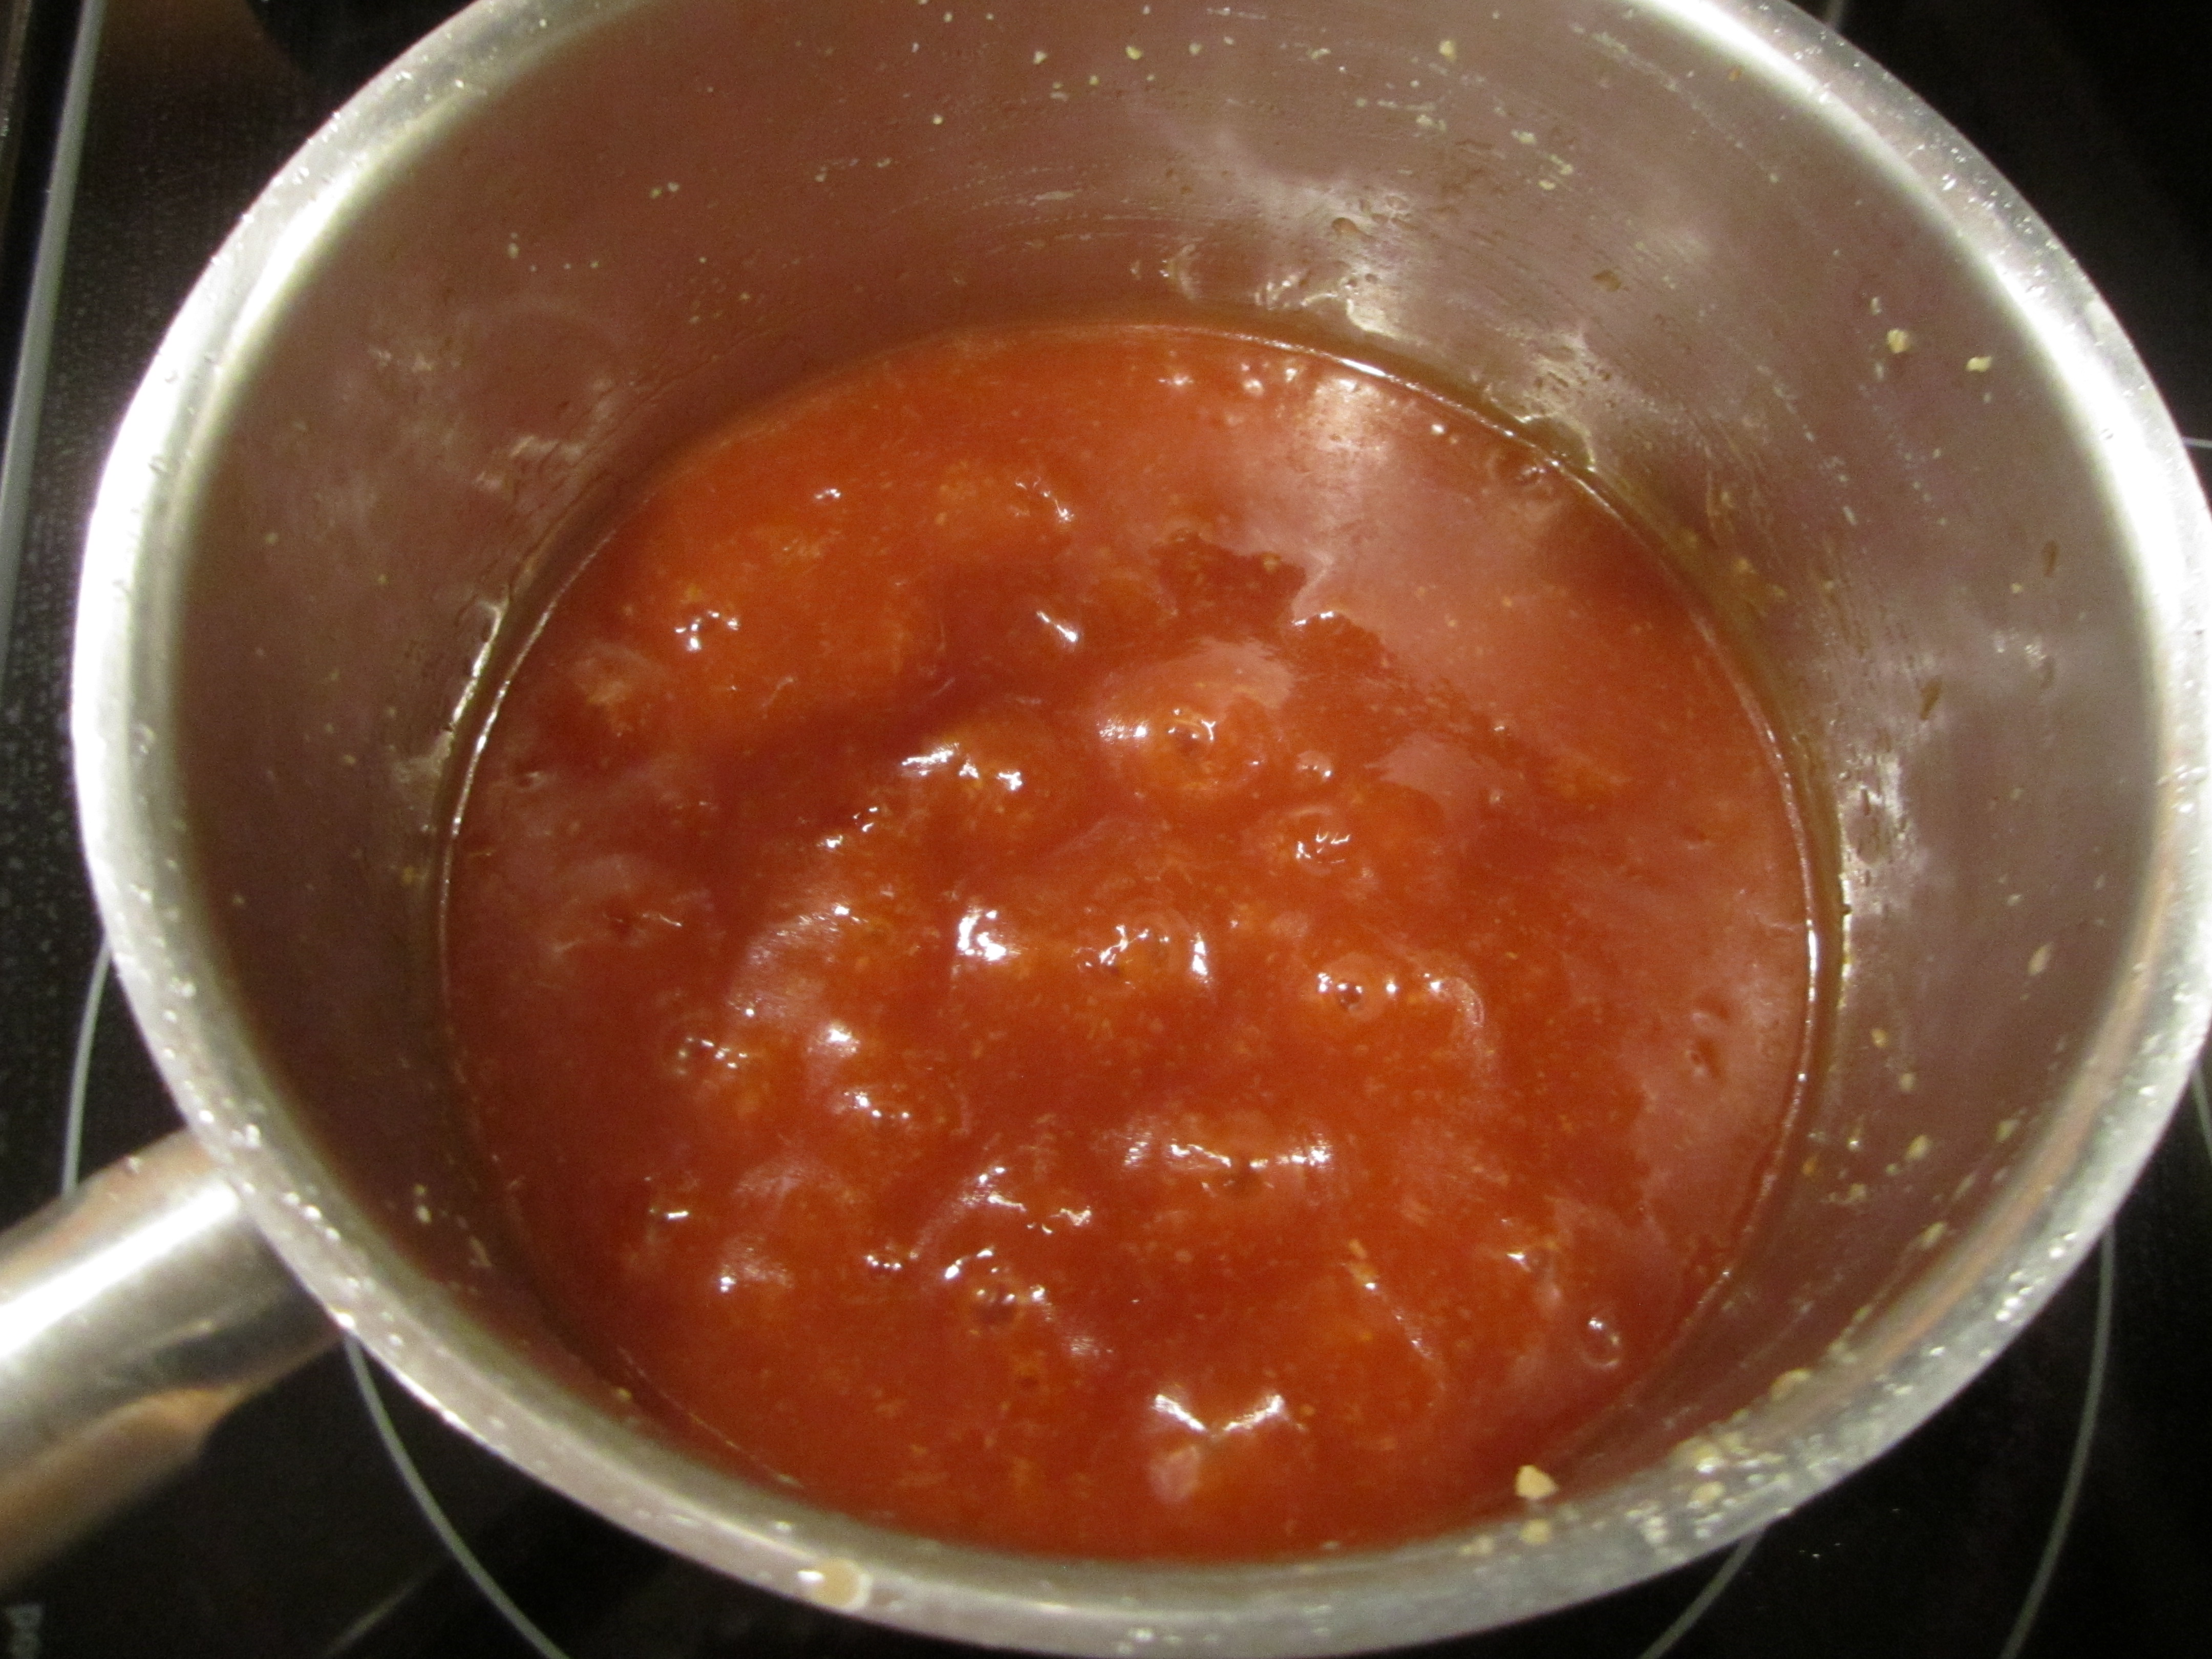
In a bowl, combine the pineapple juice, ketchup, brown sugar, cider vinegar, water, soy sauce, pepper flakes and sesame oil. In a medium saucepan, heat 1 tablespoon of the oil over medium high heat. Add the ginger and garlic, and cook, stirring constantly for 15 seconds. Add the pineapple juice mixture and bring to a boil. Reduce heat and simmer, stirring, until the sugar dissolves, 2-3 minutes.
In a bowl, dissolve the cornstarch in the sherry. Add to the simmering sauce, whisking constantly. Reduce the heat and simmer until thickened, 2-3 minutes. Remove from heat.
Season the pork with the Essence. In a wok or very large non-stick sauce pan (wok is my preference here. A worthwhile investment if you make stir fries on a regular basis. I have one similar to this that I inherited from my Mom) heat 1 tablespoon of the oil over heat, swirling to coat the pan. Add the pork and cook, stirring constantly, until golden brown, about 2-3 minutes. Remove onto a plate and set aside.
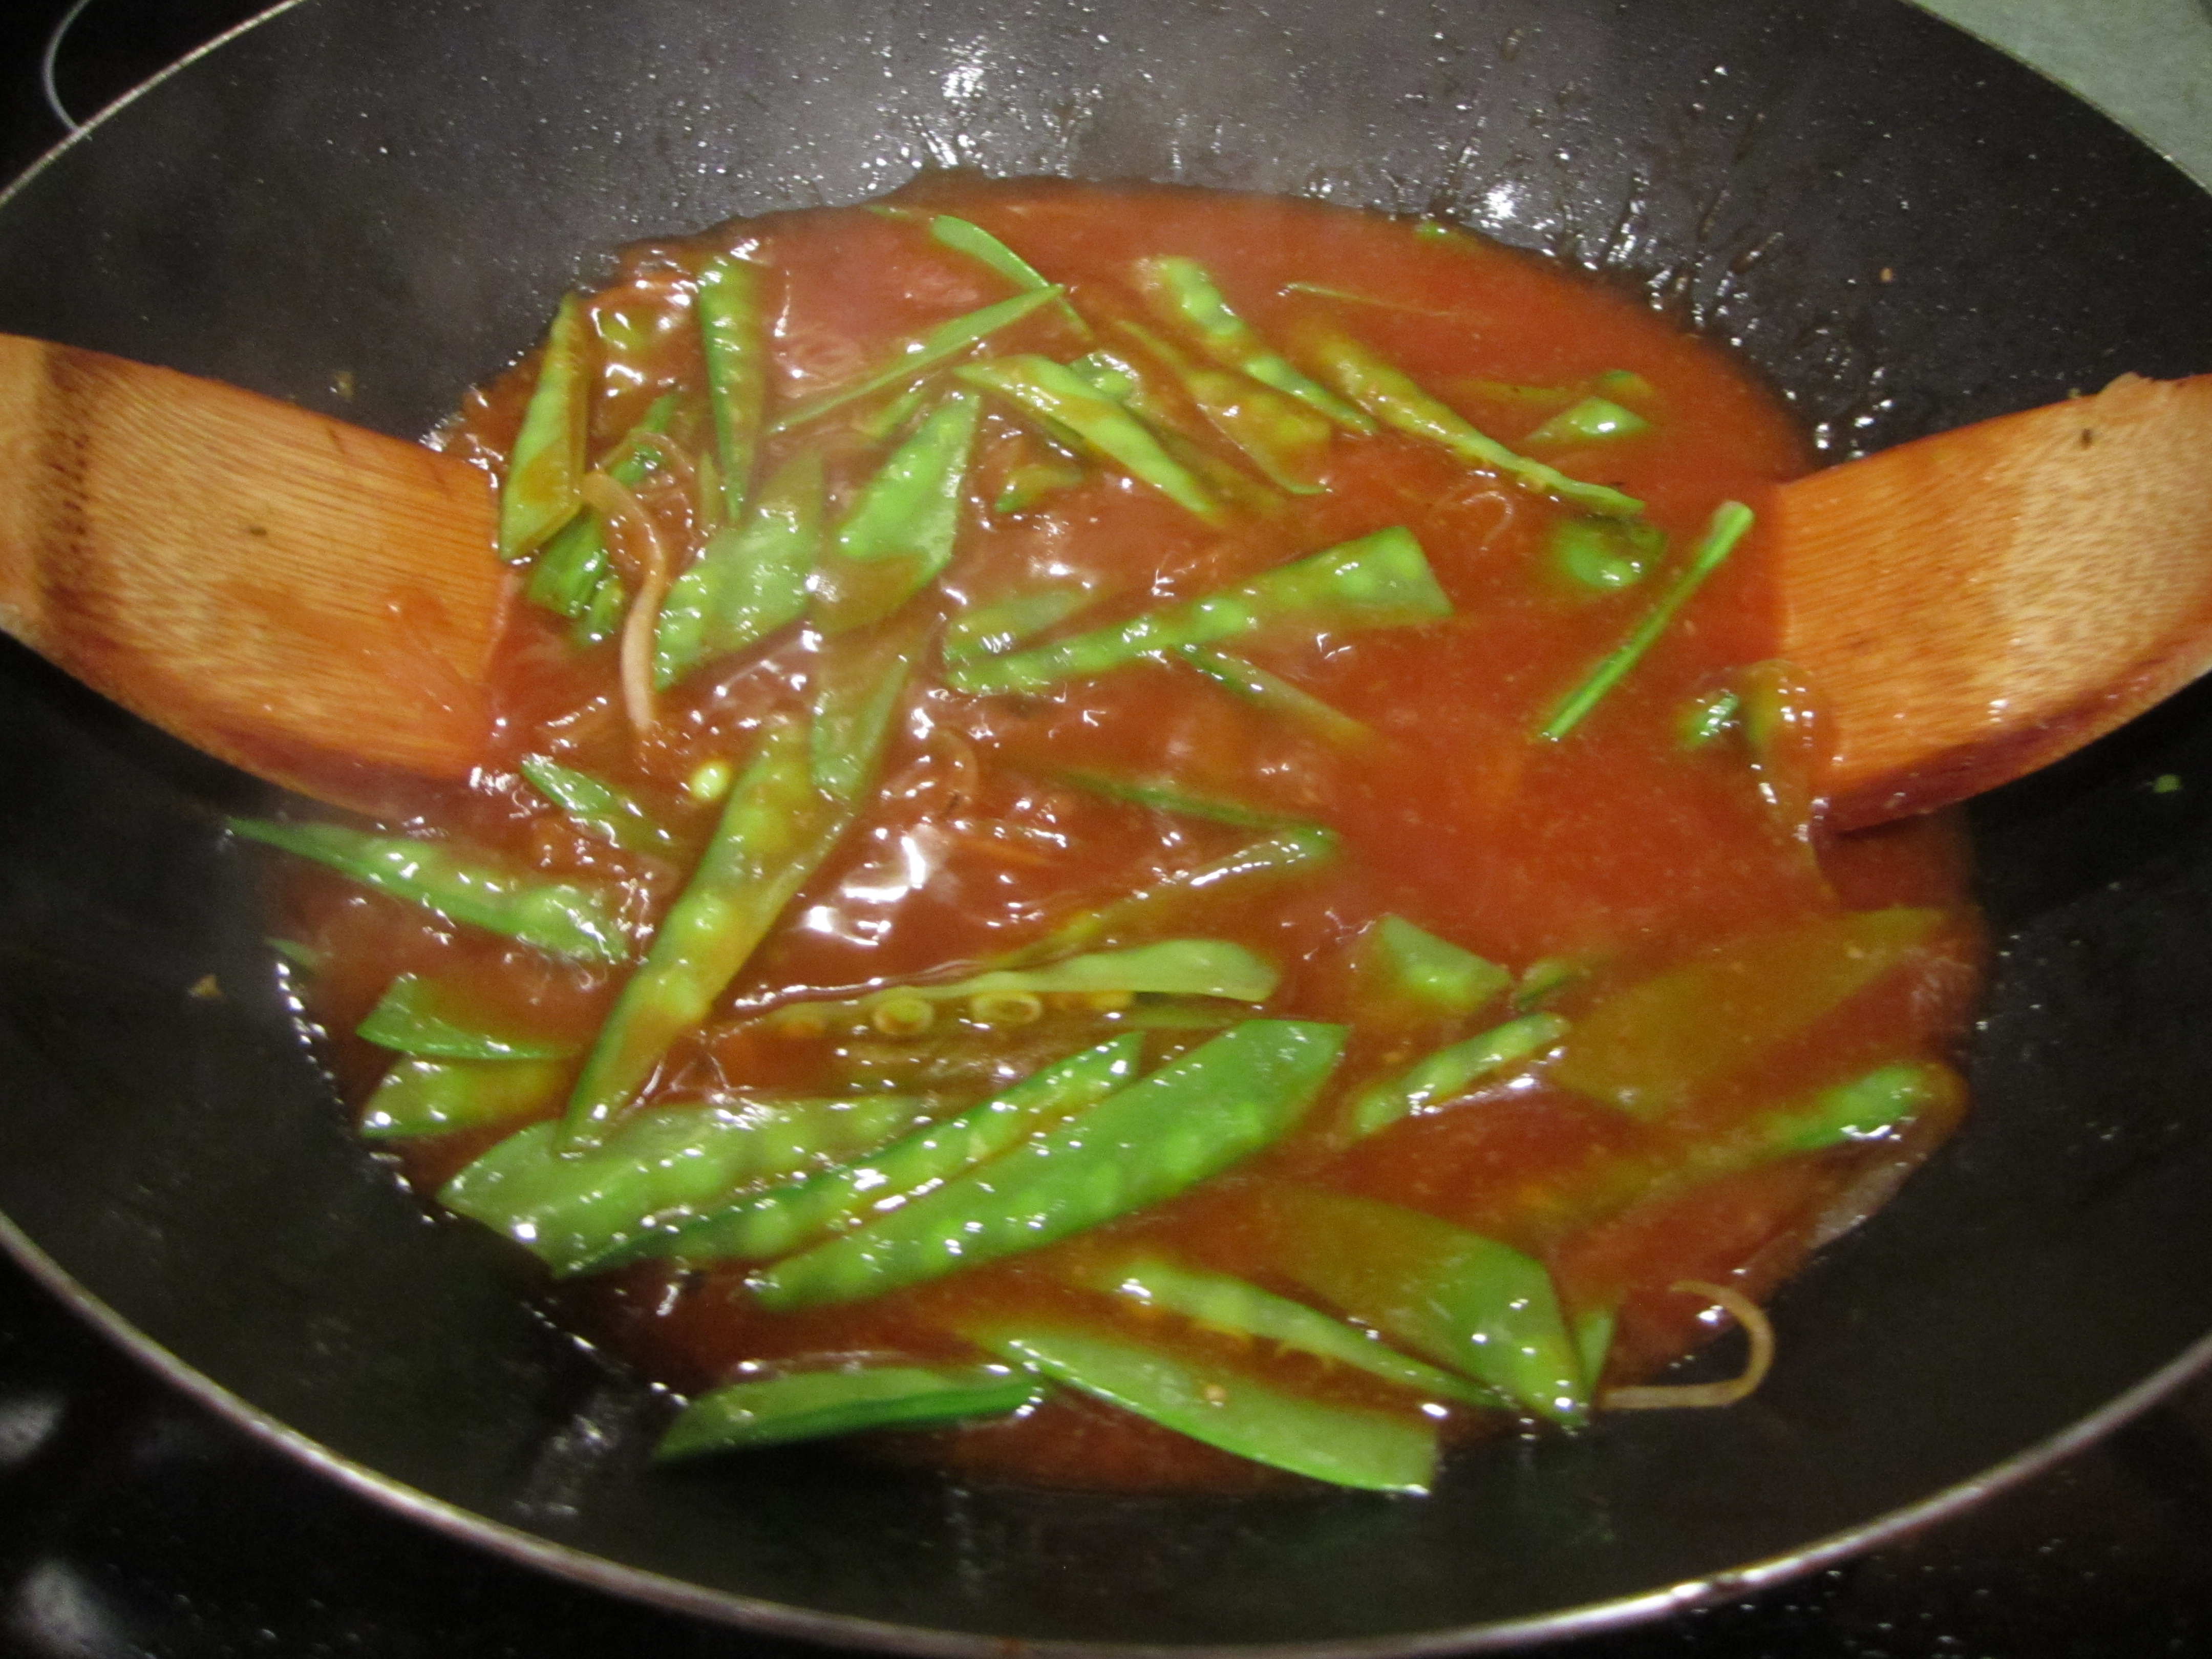
Return the wok to high heat. Add the remaining tablespoon of oil, swirling to coat the pan. Add the snow peas and onions and cook until crisp tender, about 1-2 minutes. Reduce the heat to medium-high. Add the sauce and bring to a boil until thickened, about 1 minute. Add the pineapple and pork and cook, stirring until warmed through, about 1 minute. Remove from heat. Serve over rice.
**Essence or Emeril’s Creole Seasoning:
2-1/2 tablespoon paprika
2 tablespoons salt
2 tablespoons salt
2 tablespoons garlic powder
1 tablespoon black pepper
1 tablespoon onion powder
1 tablespoon cayenne pepper
1 tablespoon dried oregano
1 tablespoon dried thyme
Combine all ingredients thoroughly and store in an airtight container.
mis en place (this is essential for this recipe to work smoothly, as with any stir fry for that matter. Cooking takes only minutes, so there is no time for prepping then.)
sauce ingredients simmering:
pork seasoned with Essence:

cooking pork (be careful not to over cook !) and then setting aside:


add snow peas and onion to pan and cook:

add sauce:
then pineapple and pork:
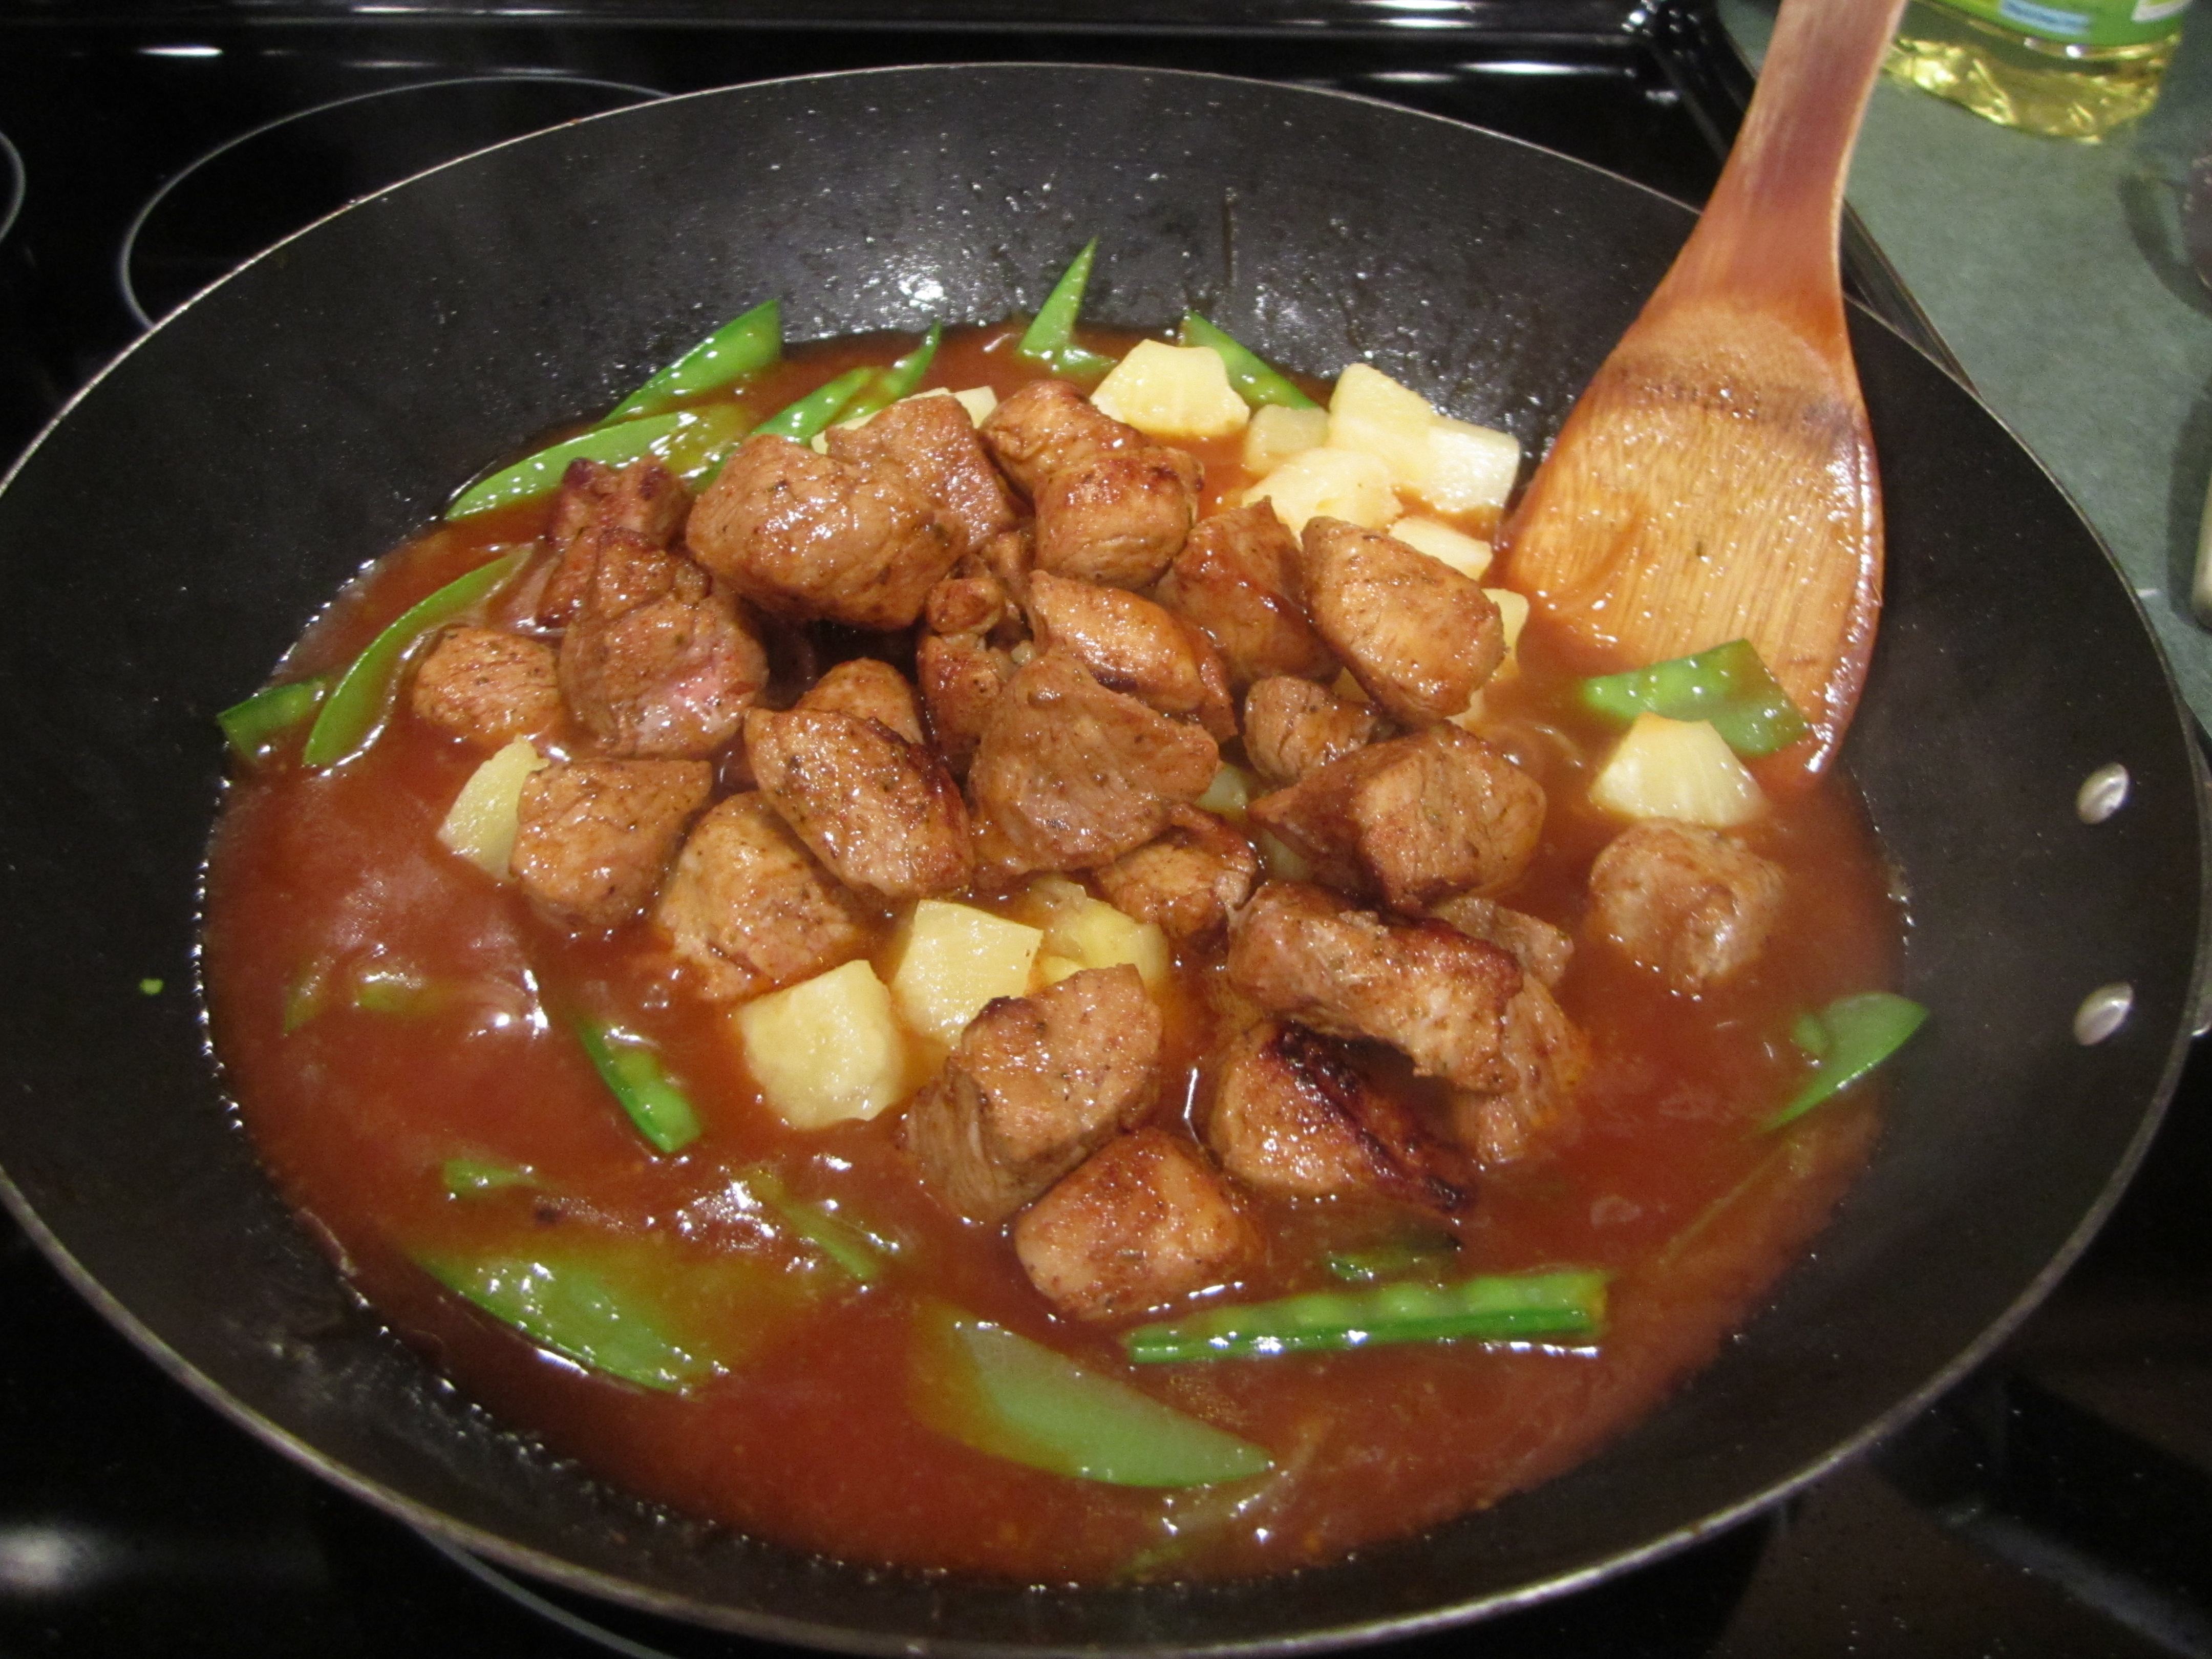
and you are done!

Blueberry Muffins
Flavor-wise, this is an excellent recipe but it needed a bit of tweeking.
The recipe gives you a choice to bake with or without muffin paper and I opted for no paper, like I usually do because I like the muffin to be a bit browner on the bottom. Not a good choice.
They were nearly impossible to get out of the tin and barely in muffin form when I finally did get them out. I was going to make them again and increase the amount of muffin tins from 12 to 18. Then my daughter e-mailed me for a good blueberry muffin recipe that she could make for her sister in law’s birthday breakfast. I said “these were excellent” but then explained my problems. I advised her not to smash any of the berries, only use 2 cups instead of 2-1/2 and make more than 12, like 18. After Sarah read alot of the reviews, she took my advice on the berries but opted for the muffin papers and made 12 like the recipe stated. She told me they turned out great and I must agree!!
Blueberry Muffins (from King Arthur)
1/2 cup butter
1 cup sugar
2 large eggs
1 teaspoon vanilla
2 teaspoons baking powder
1/2 teaspoon salt
2 cups all purpose flour
1/2 cup milk
2 heaping cups of fresh blueberries
1/4 cup sugar, for sprinkling on top
Preheat oven to 375 degrees. Line a 12 cup muffin tin with jumbo paper or jumbo aluminum foil liners (like this or these) folding over a bit so they fit the muffin tin (see picture below). Spray muffin papers with canola oil spray.
In the bowl of a mixer, beat butter and sugar for about 5 minutes, until well combined.
Add the eggs and vanilla and beat until light and fluffy, about 5 minutes.
Combine baking powder, salt, and flour in a medium bowl, stirring together with a whisk.
Add the flour mixture alternately with the milk until just combined. Scrape sides and bottom of bowl to make sure everything has come together.
Add berries and fold into batter with a rubber spatula until just combined and berries are fairly distributed.
Using a large ice cream scoop or 1/4 cup measuring cup, divide batter evenly among muffin tins.
Sprinkle each muffin with about 1 teaspoon of sugar.
Bake for 25 to 30 minutes until done and toothpick inserted into middle of muffin comes out clean.
Remove from oven and cool for 5 minutes on rack.
Remove from muffin tins and transfer muffins to rack to finish cooling.
jumbo muffin papers folded a bit to fit tins and sprayed with canola oil:

mis en place:

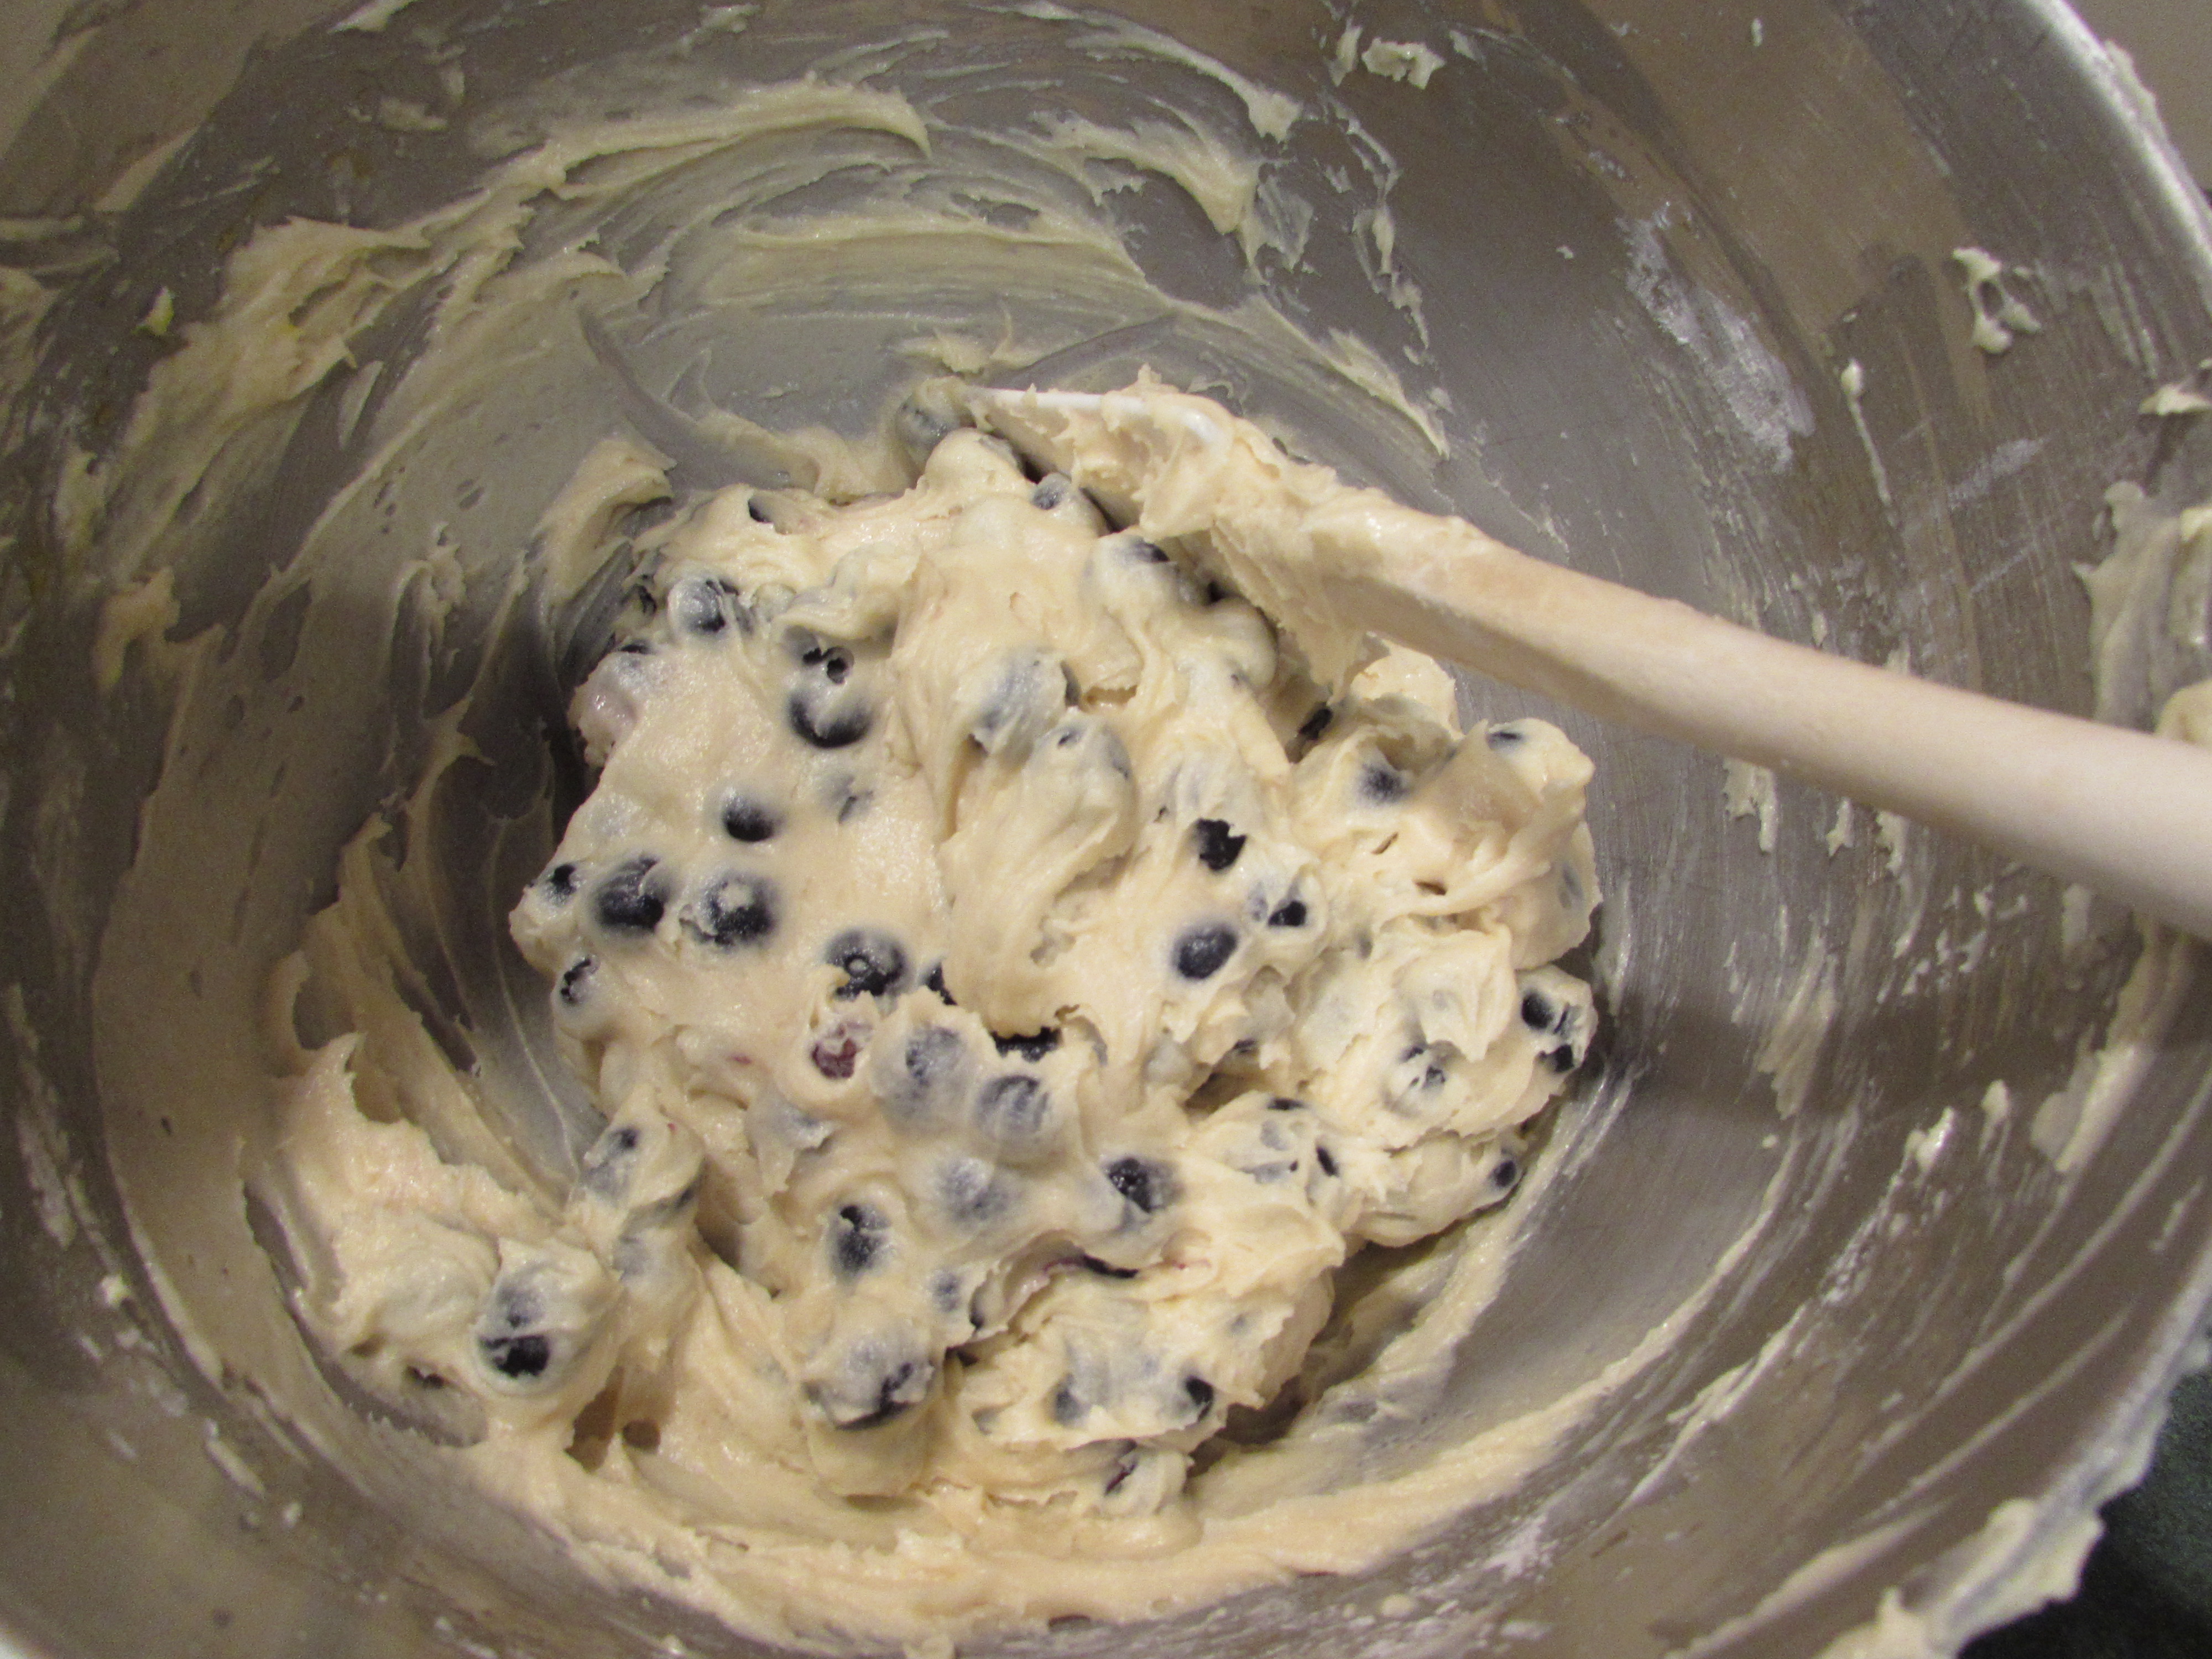
batter all mixed:
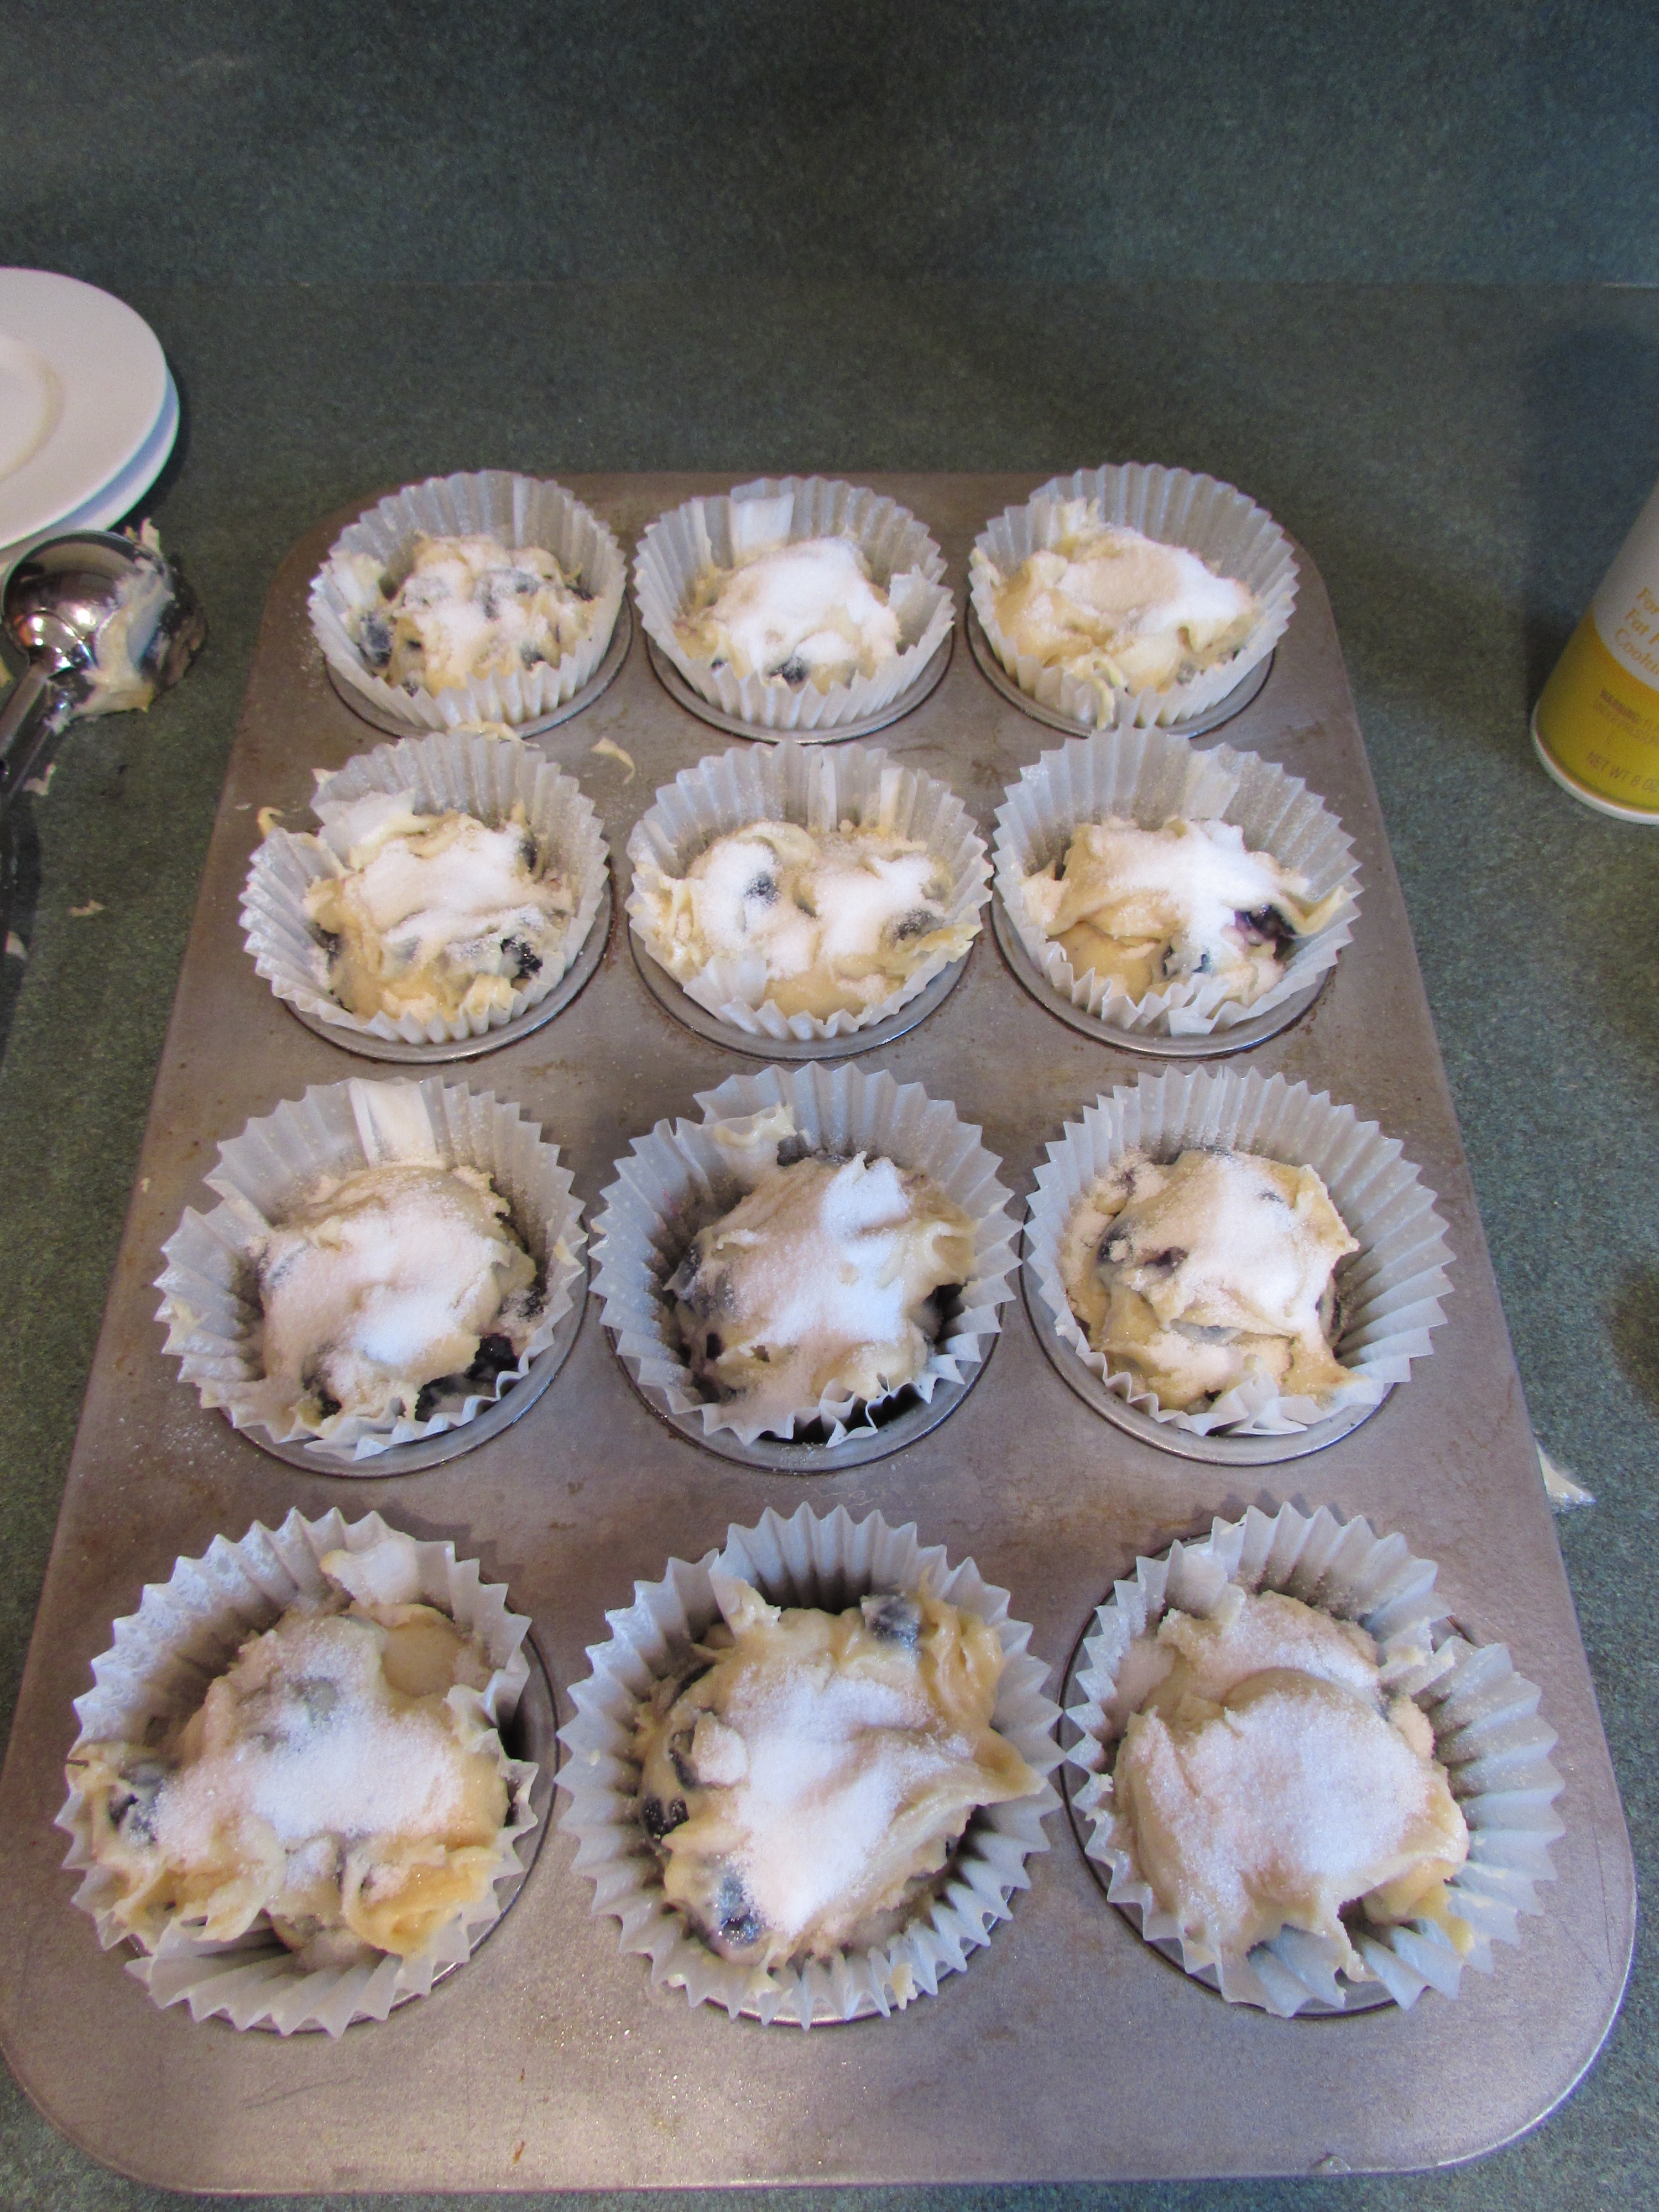
into the paper lined muffin tins and sprinkled with sugar:
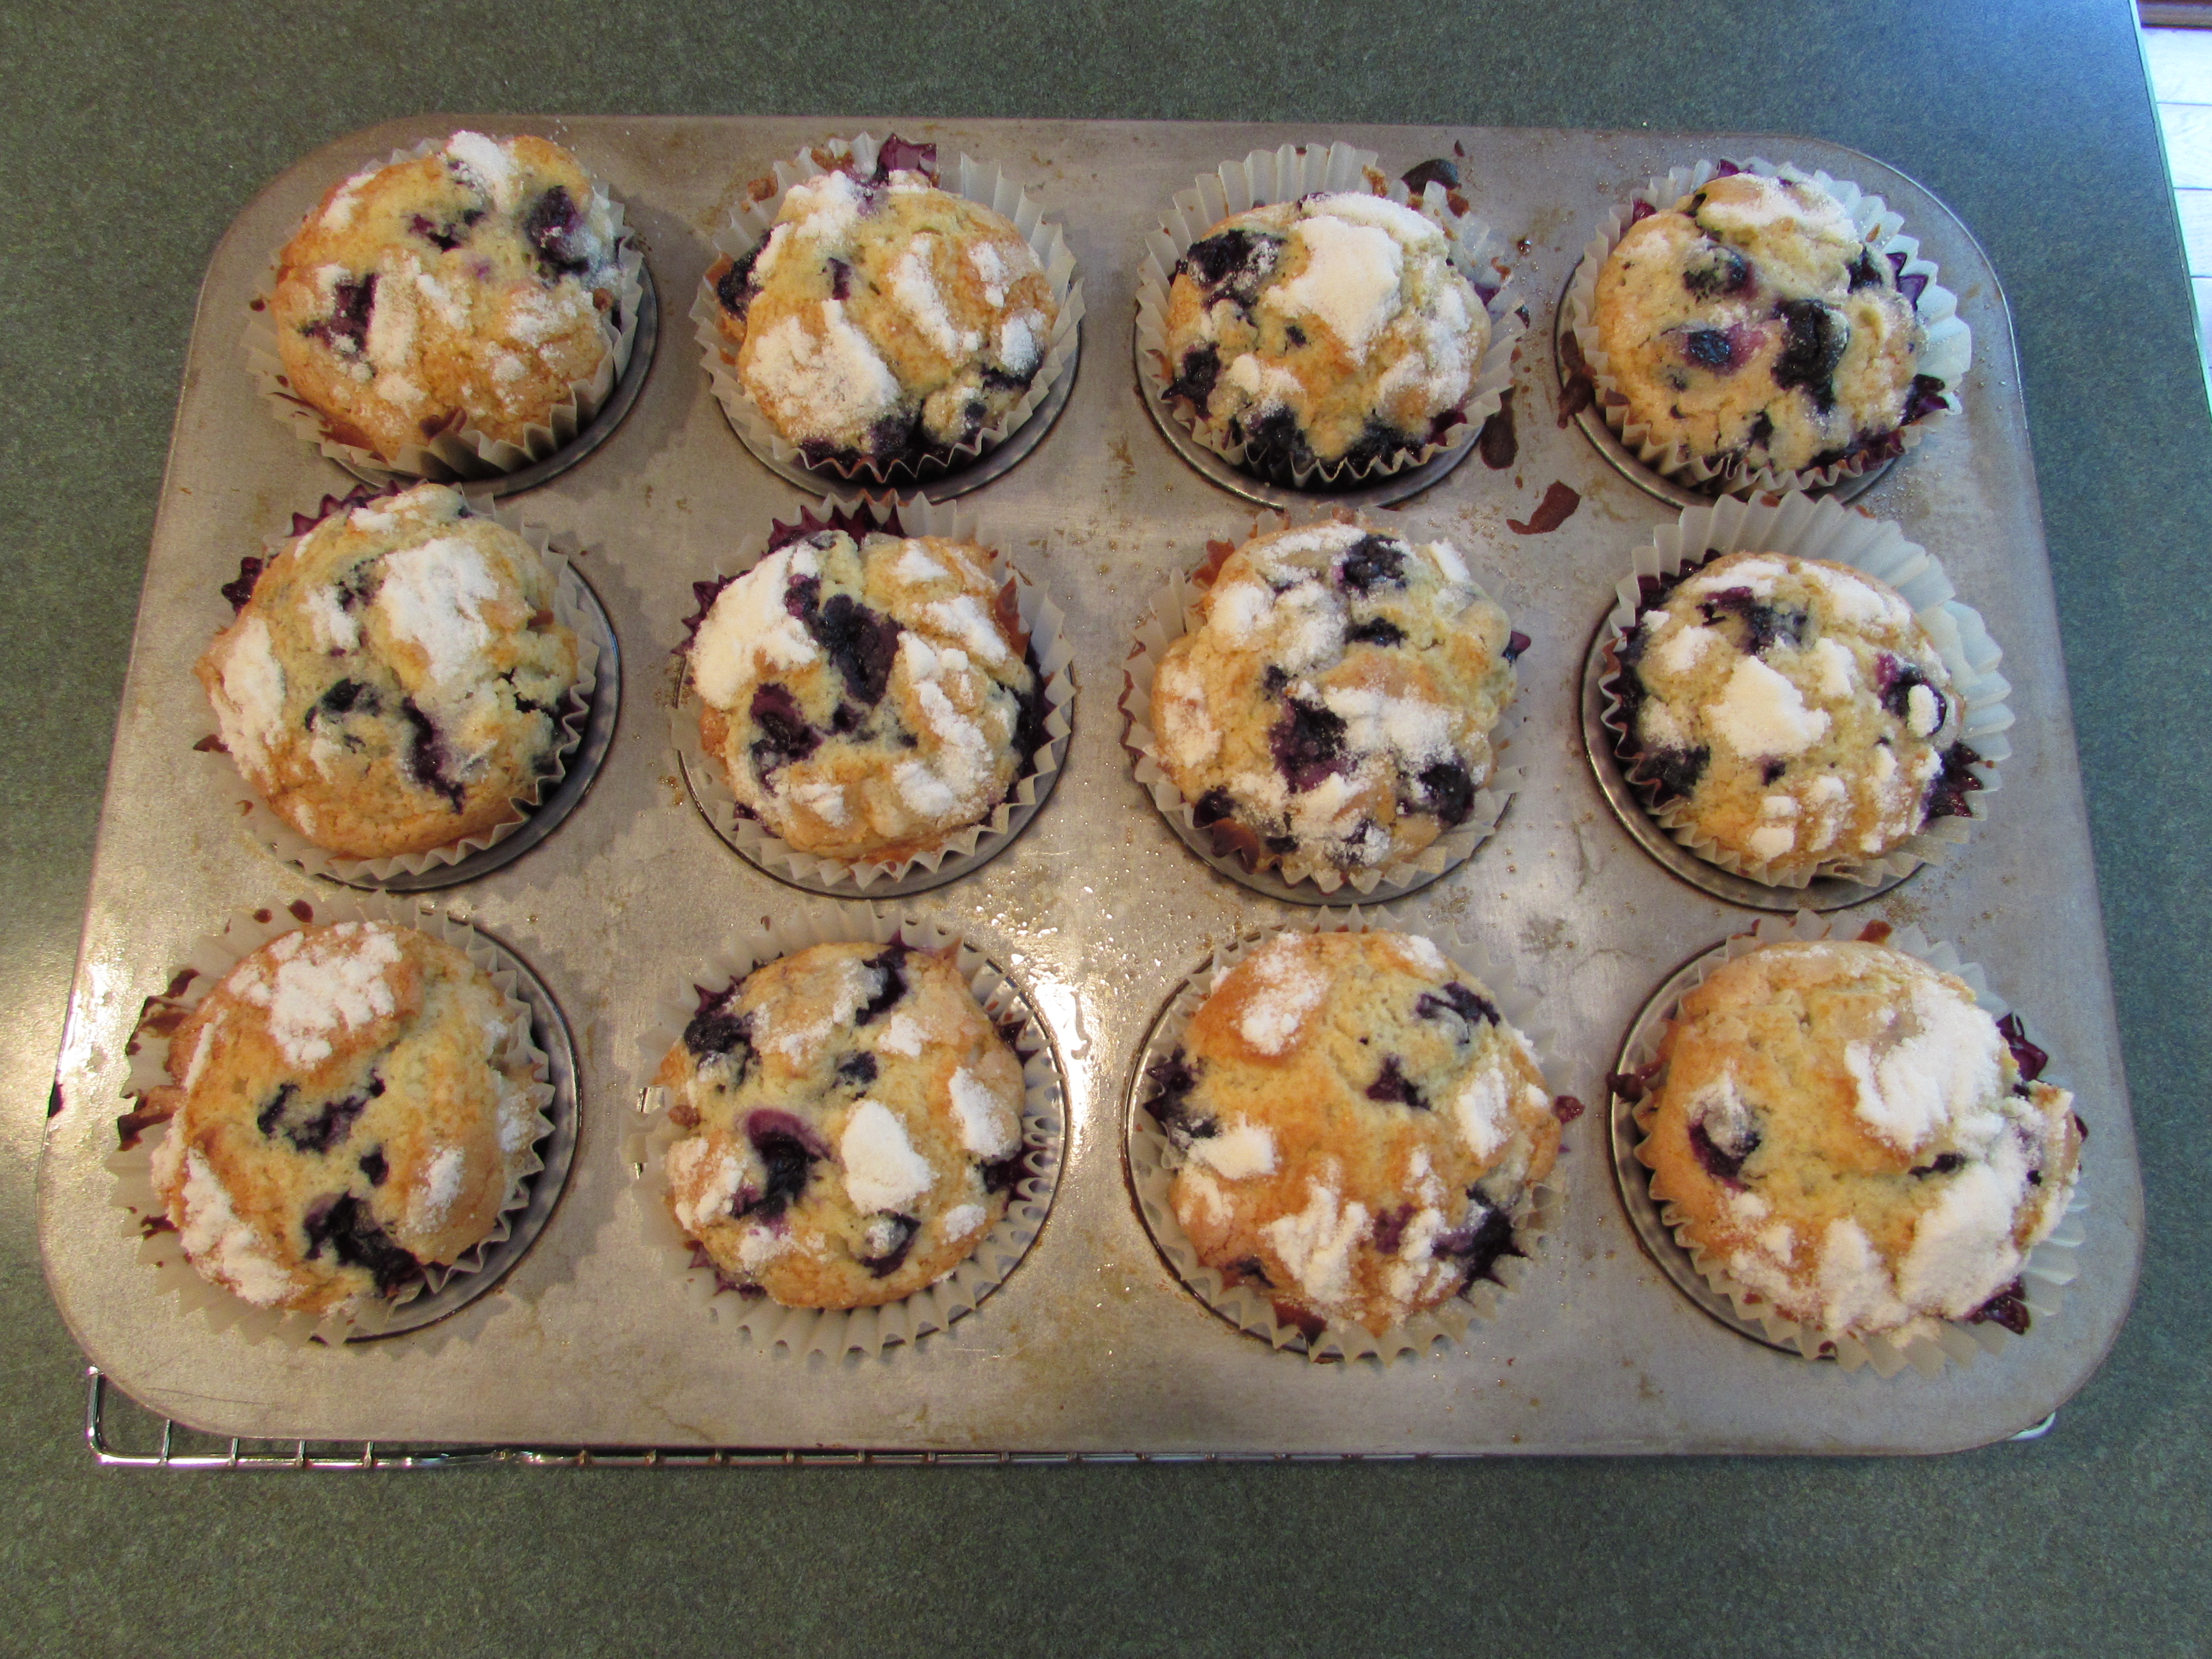
out of the oven, lightly browned:
this is what they looked like without the paper liners 😦

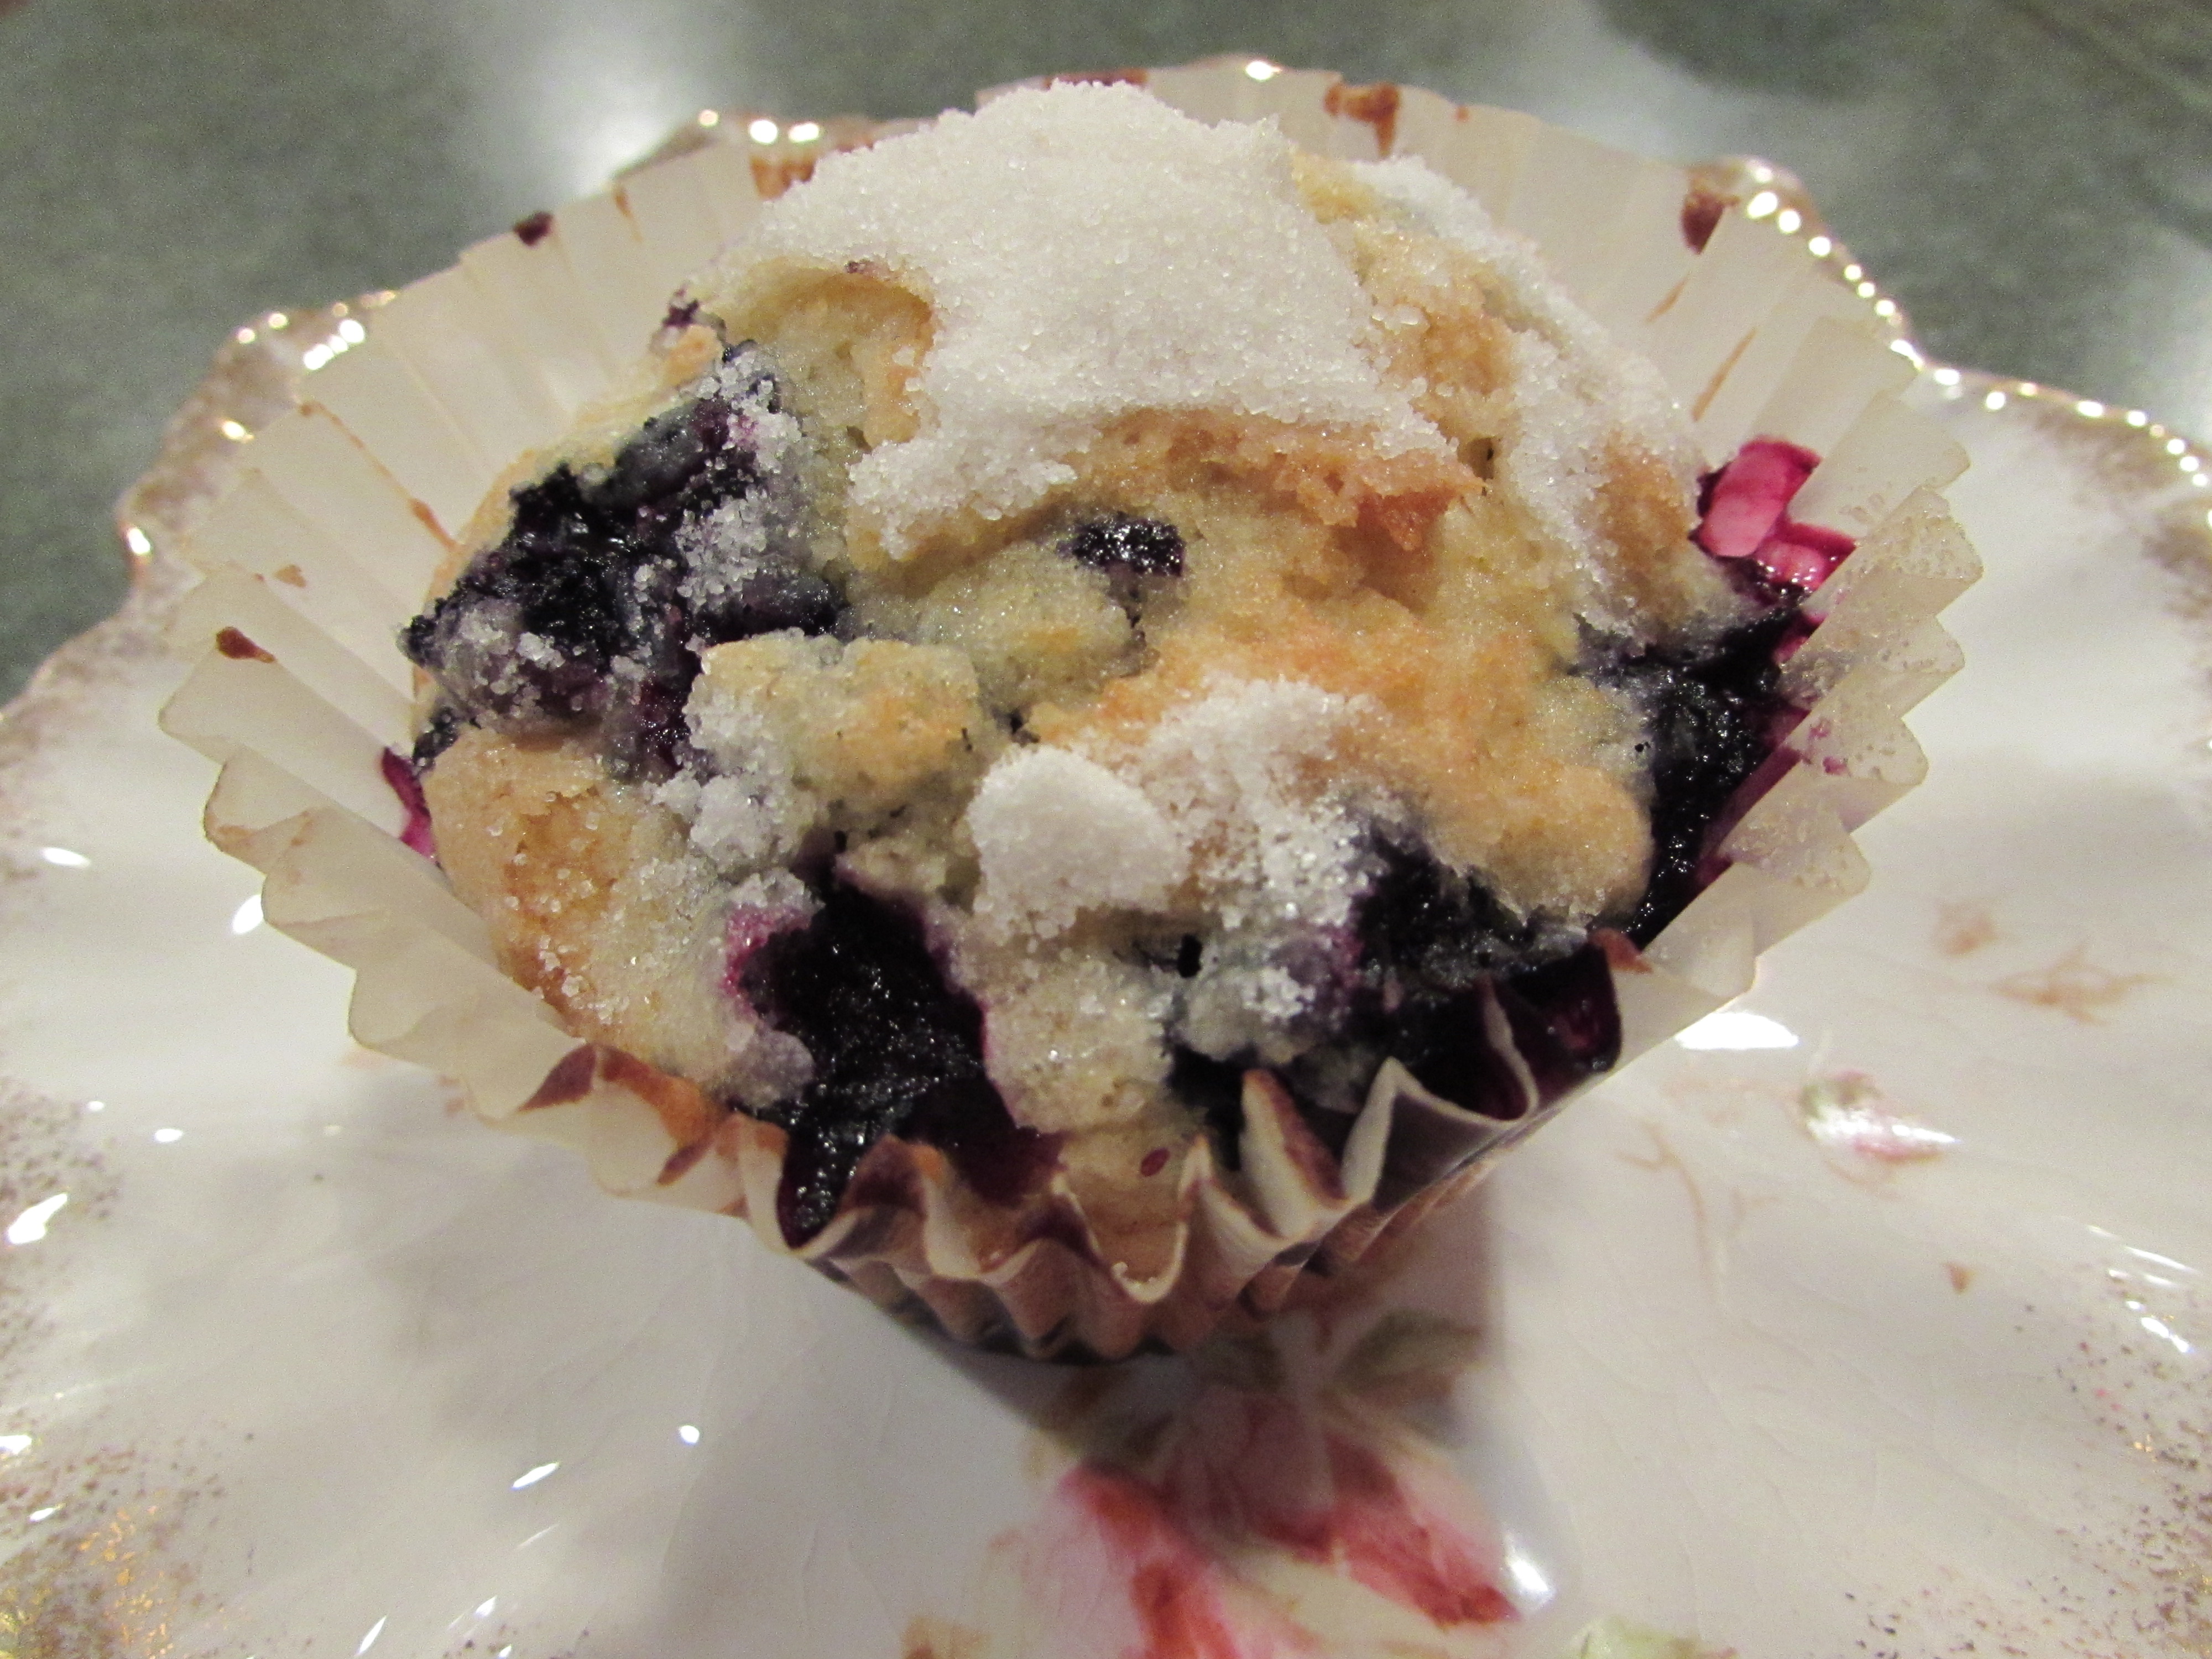
delicious:

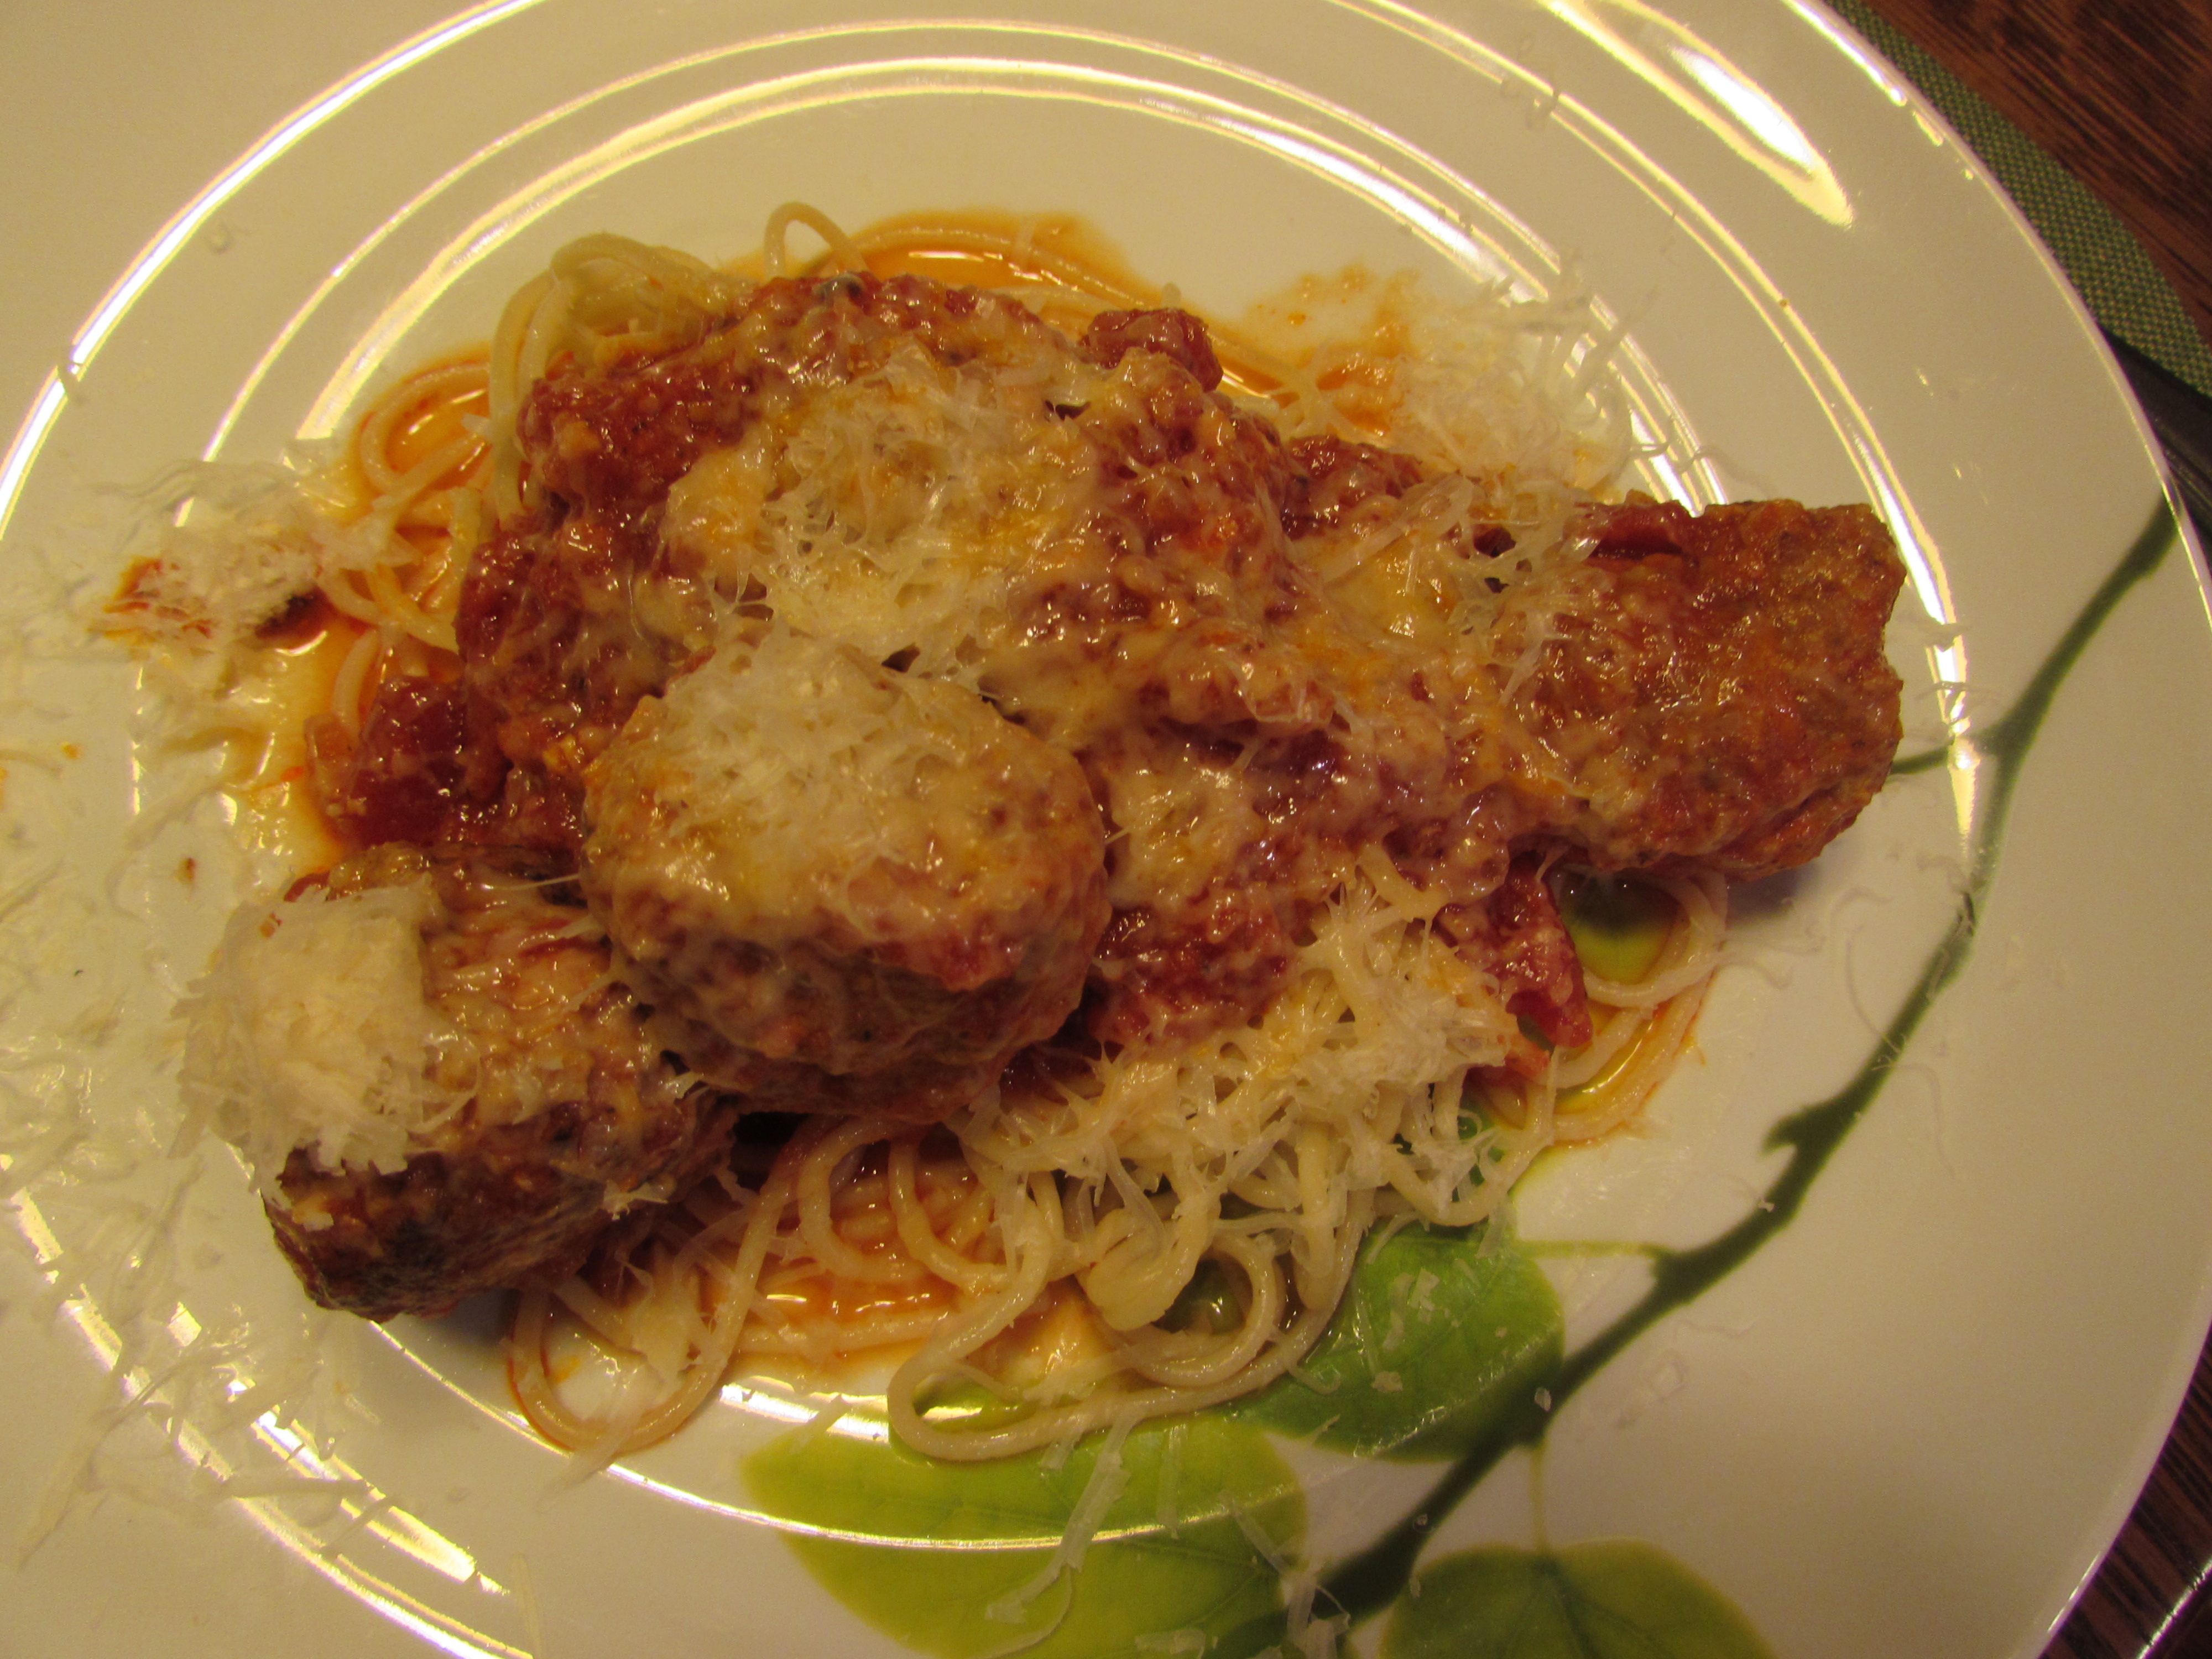
Spaghetti and Meat Balls
I love this recipe because it includes a very simple tomato sauce. Most of the time I have sauce in my freezer but it’s a winter/fall endeavor. By the time early fall comes around, there is no more sauce and this recipe comes in very handy.
There is never a nice handy 8 ounces of turkey or 8 ounces of pork at my supermarket, so I get what they have and then freeze the remainder for exactly an occasion like this.
Spaghetti and Meatballs (from Martha Stewart)
1 large egg
1/4 cup water
1 teaspoon salt
1/4 teaspoon pepper
1 large onion, finely chopped, divided
6 garlilc cloves, minced, divided
1/2 cup dry breadcrumbs
1-1/2 ounces finely grated Parmesan cheese
8 ounces ground pork
8 ounces ground turkey
1 teaspoon Italian seasoning, divided
3 tablespoons olive oil, divided
1, 28 ounce can crushed tomatoes
3/4 cup water
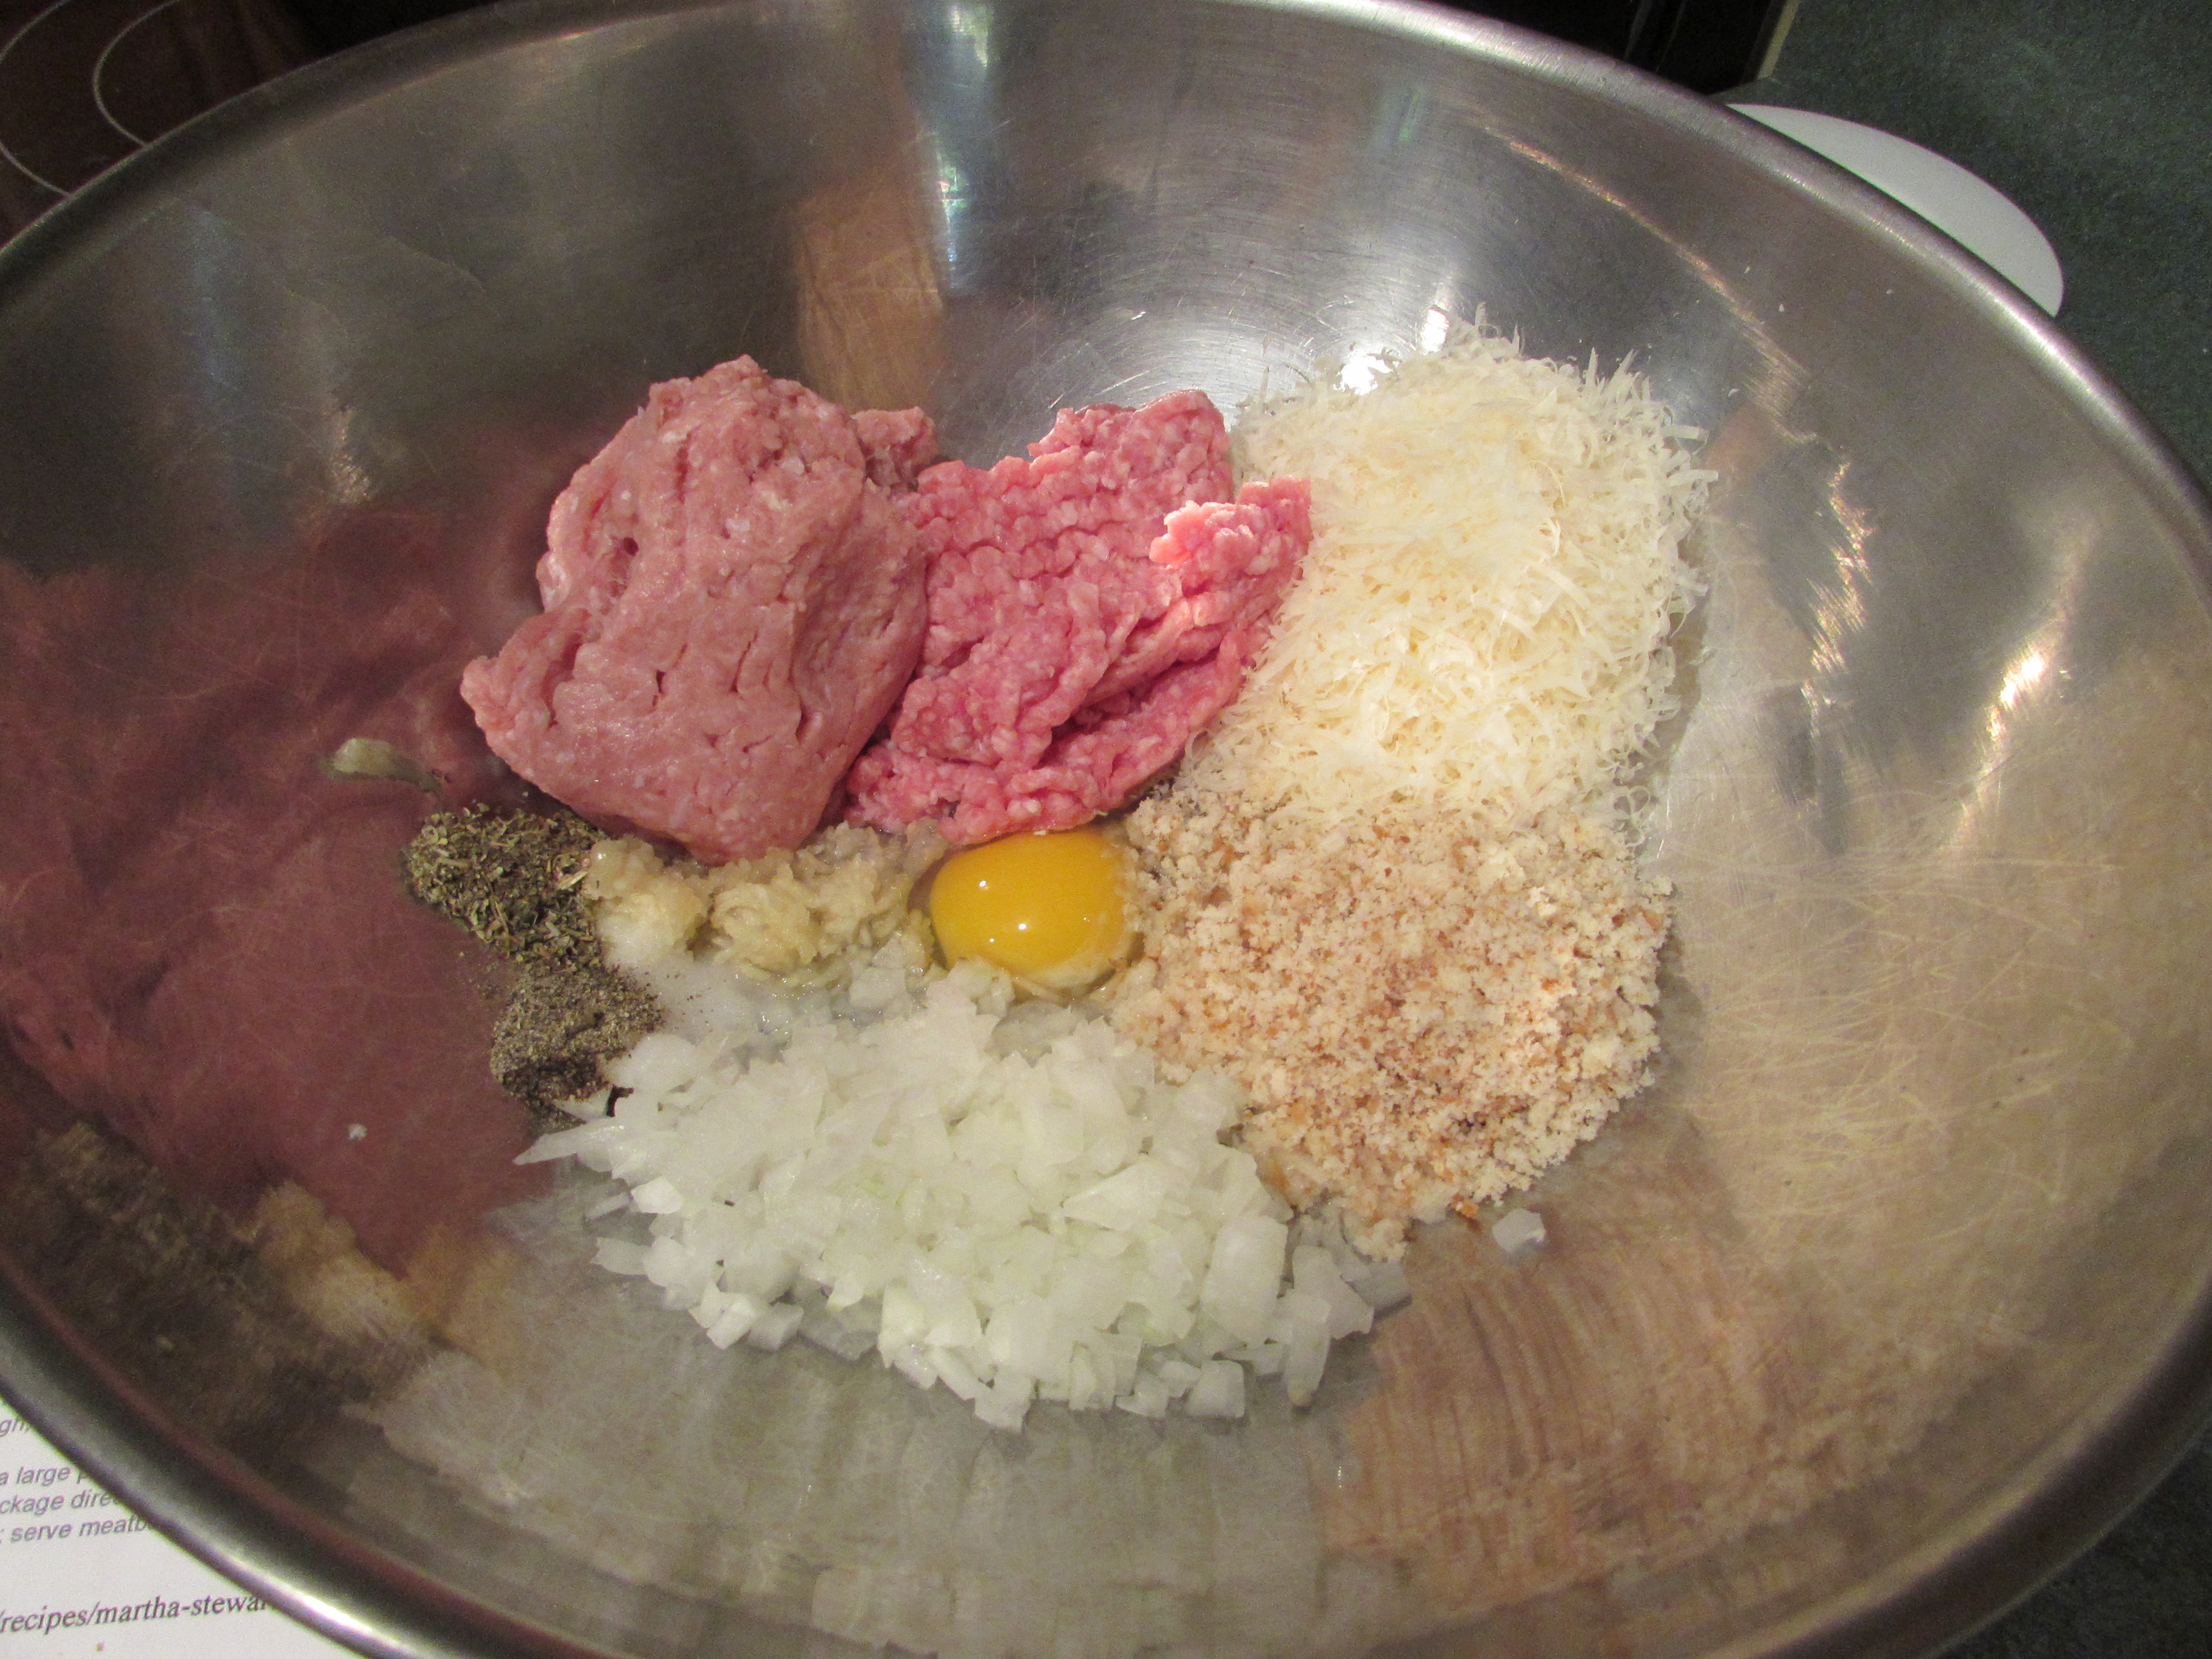
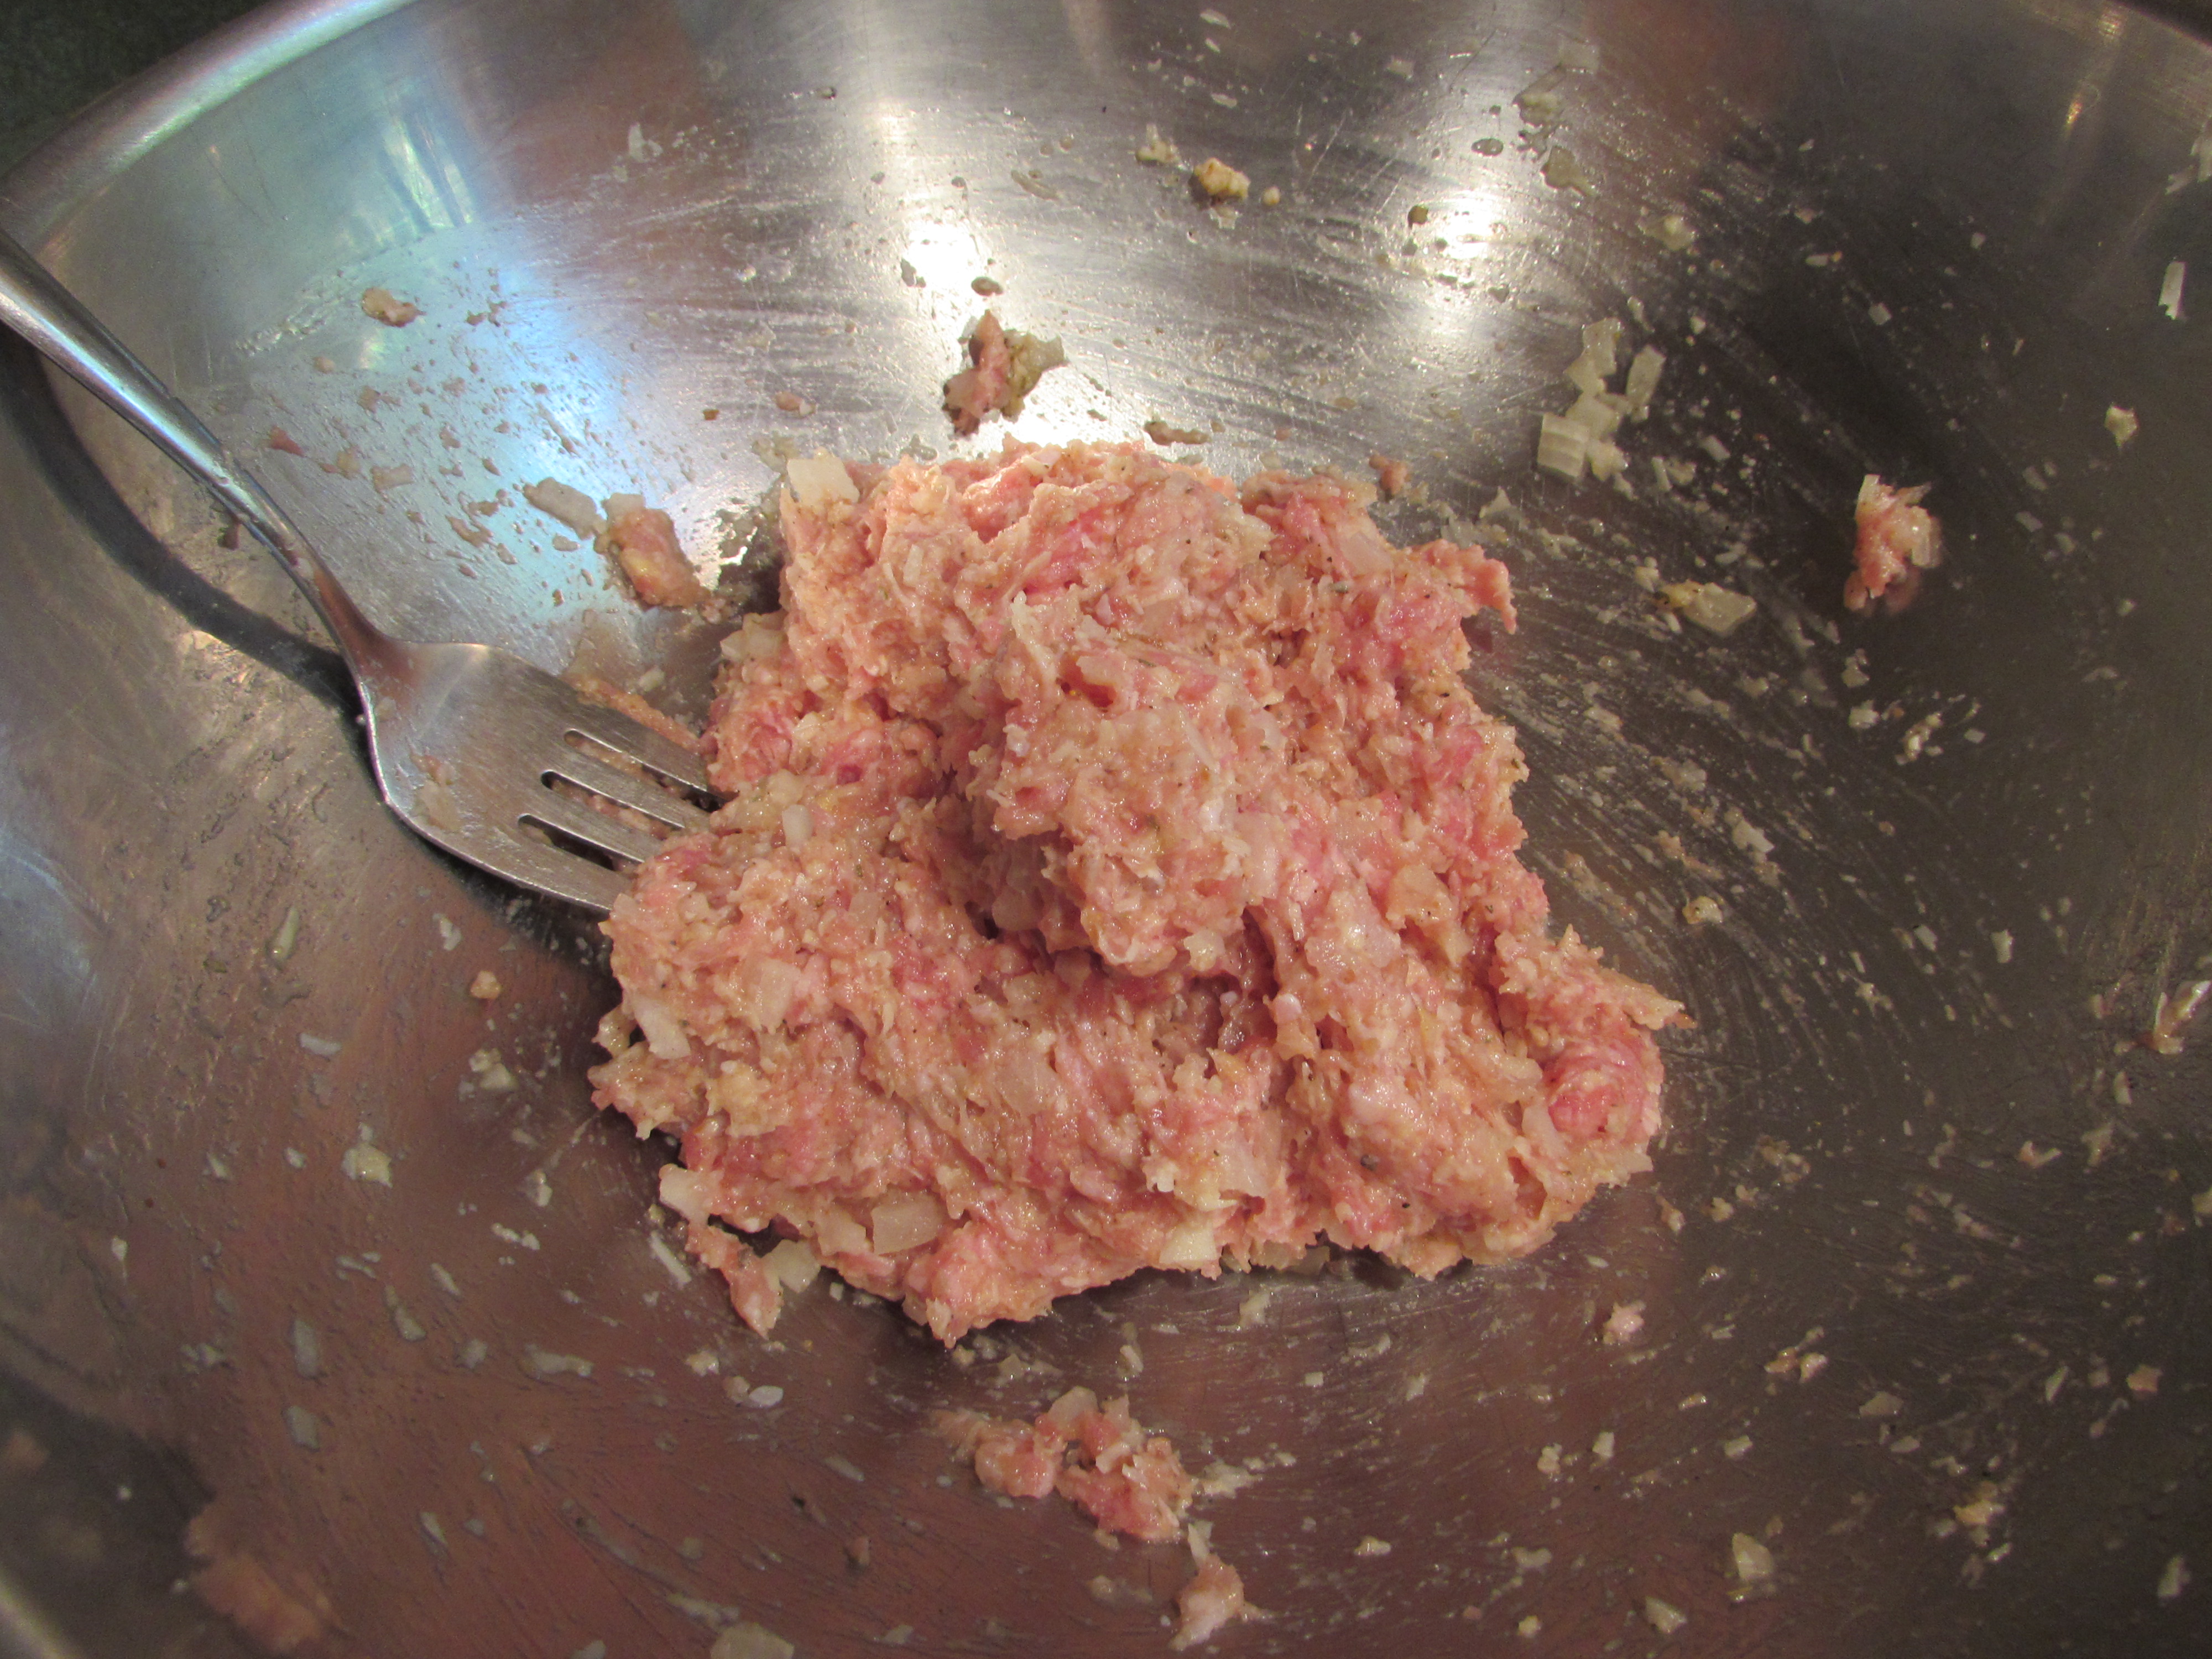
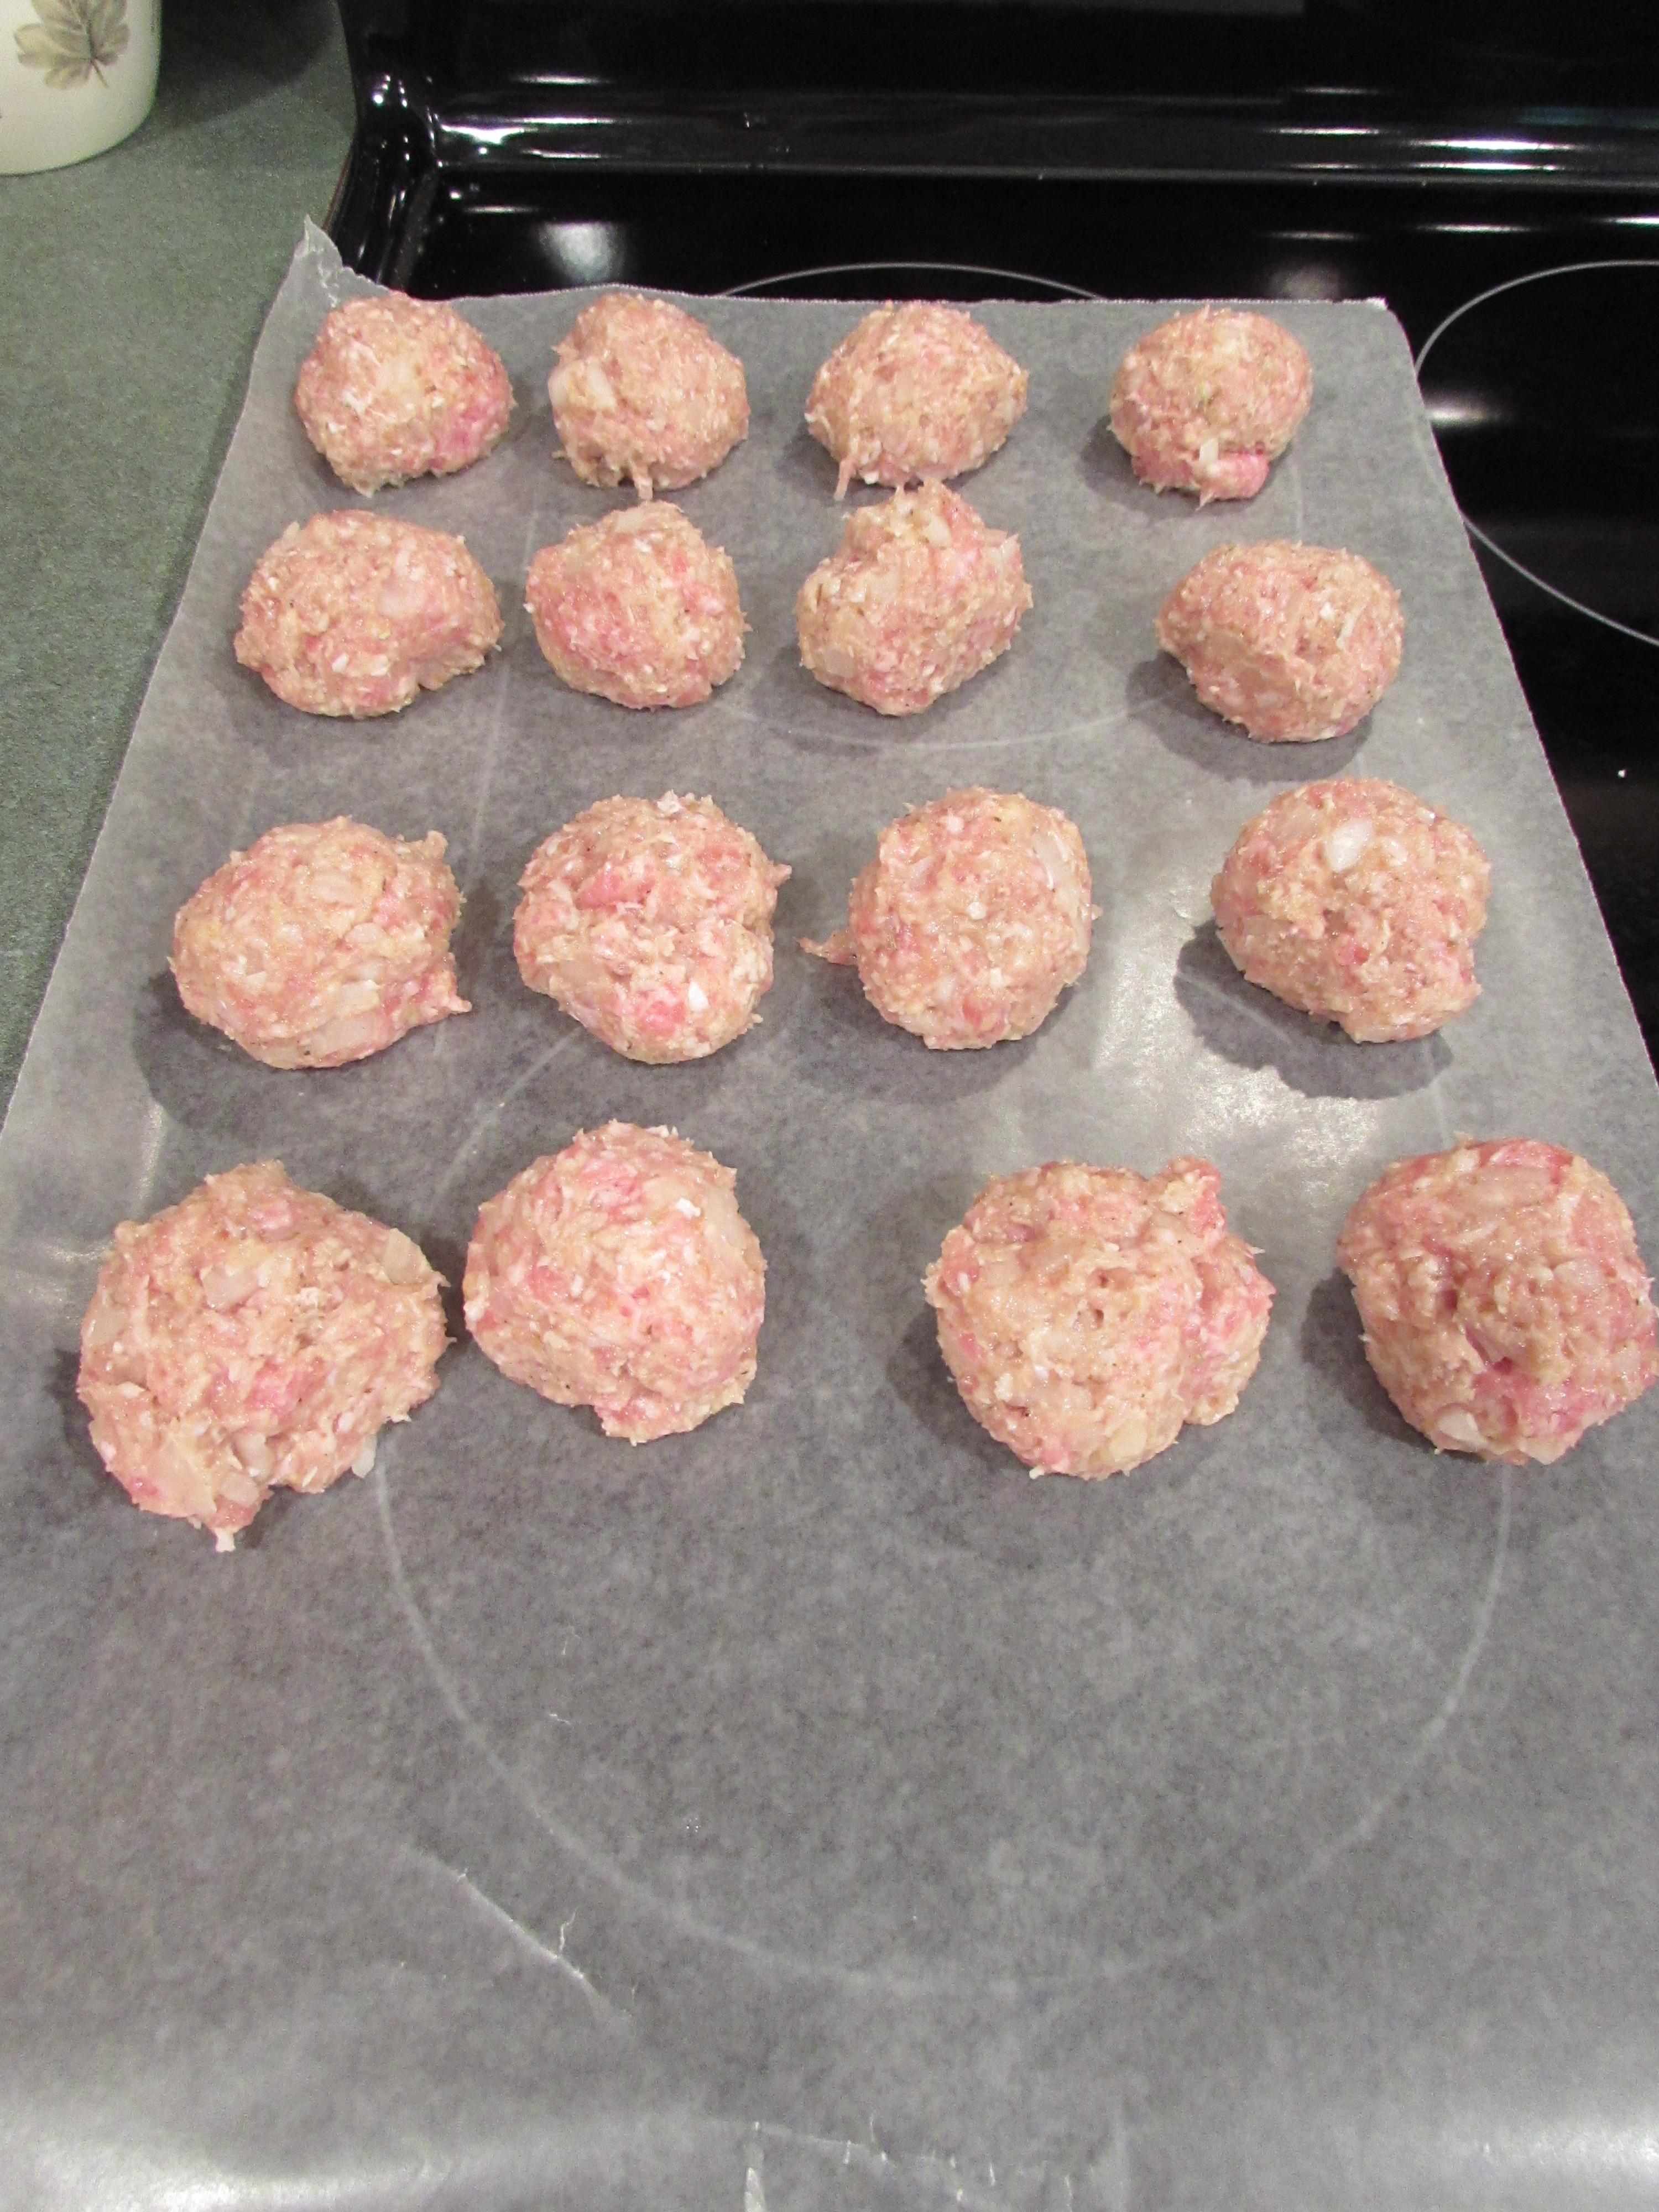
In a large bowl, add the egg, 1/4 cup water, 1 teaspoon salt, 1/4 teaspoon pepper, half the onion, half the garlic, breadcrumbs, cheese, pork, turkey and 1/2 teaspoon Italian seasoning. Mix gently with a very large fork. Form into 16 meatballs (an ice cream scoop comes in handy here, for making the meatballs).
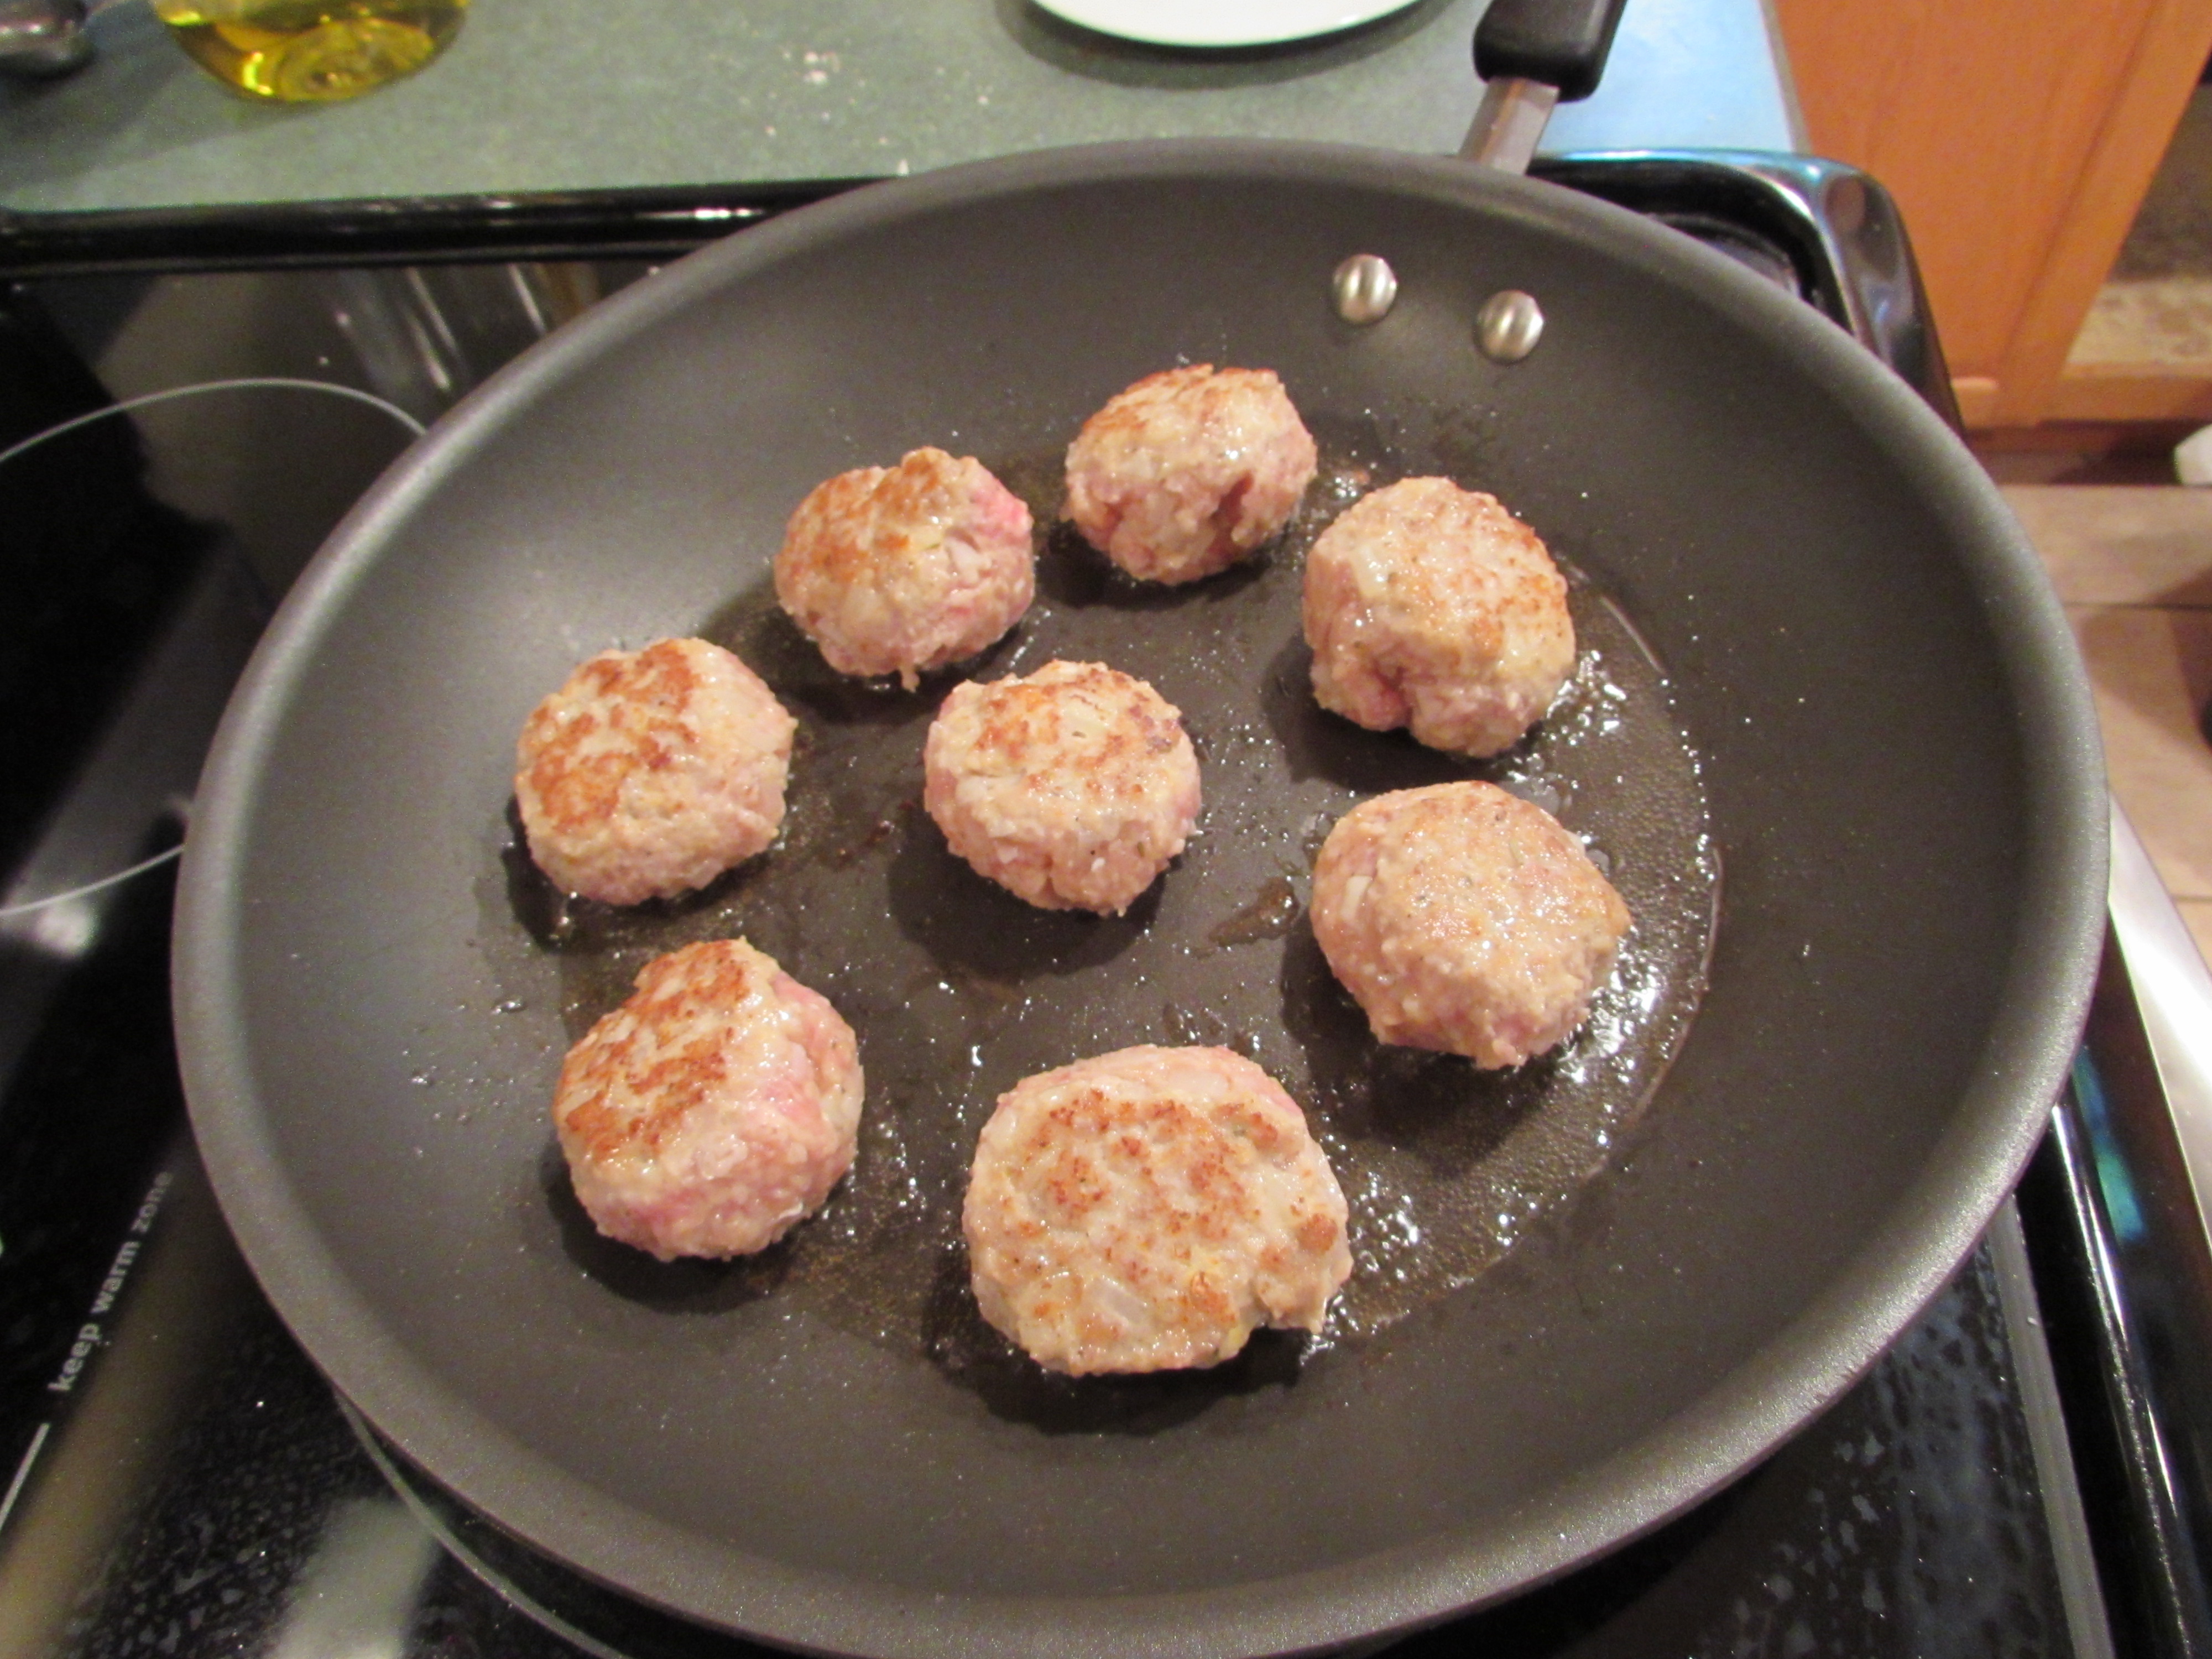
Heat 1 tablespoon oil in a large non-stick skillet over medium high heat. Add half the meatballs and brown on all sides, 4-6 minutes total and turning every minute or so. Transfer to a plate. Add 1 tablespoon of oil, and cook remaining meatballs. Set aside on plate.
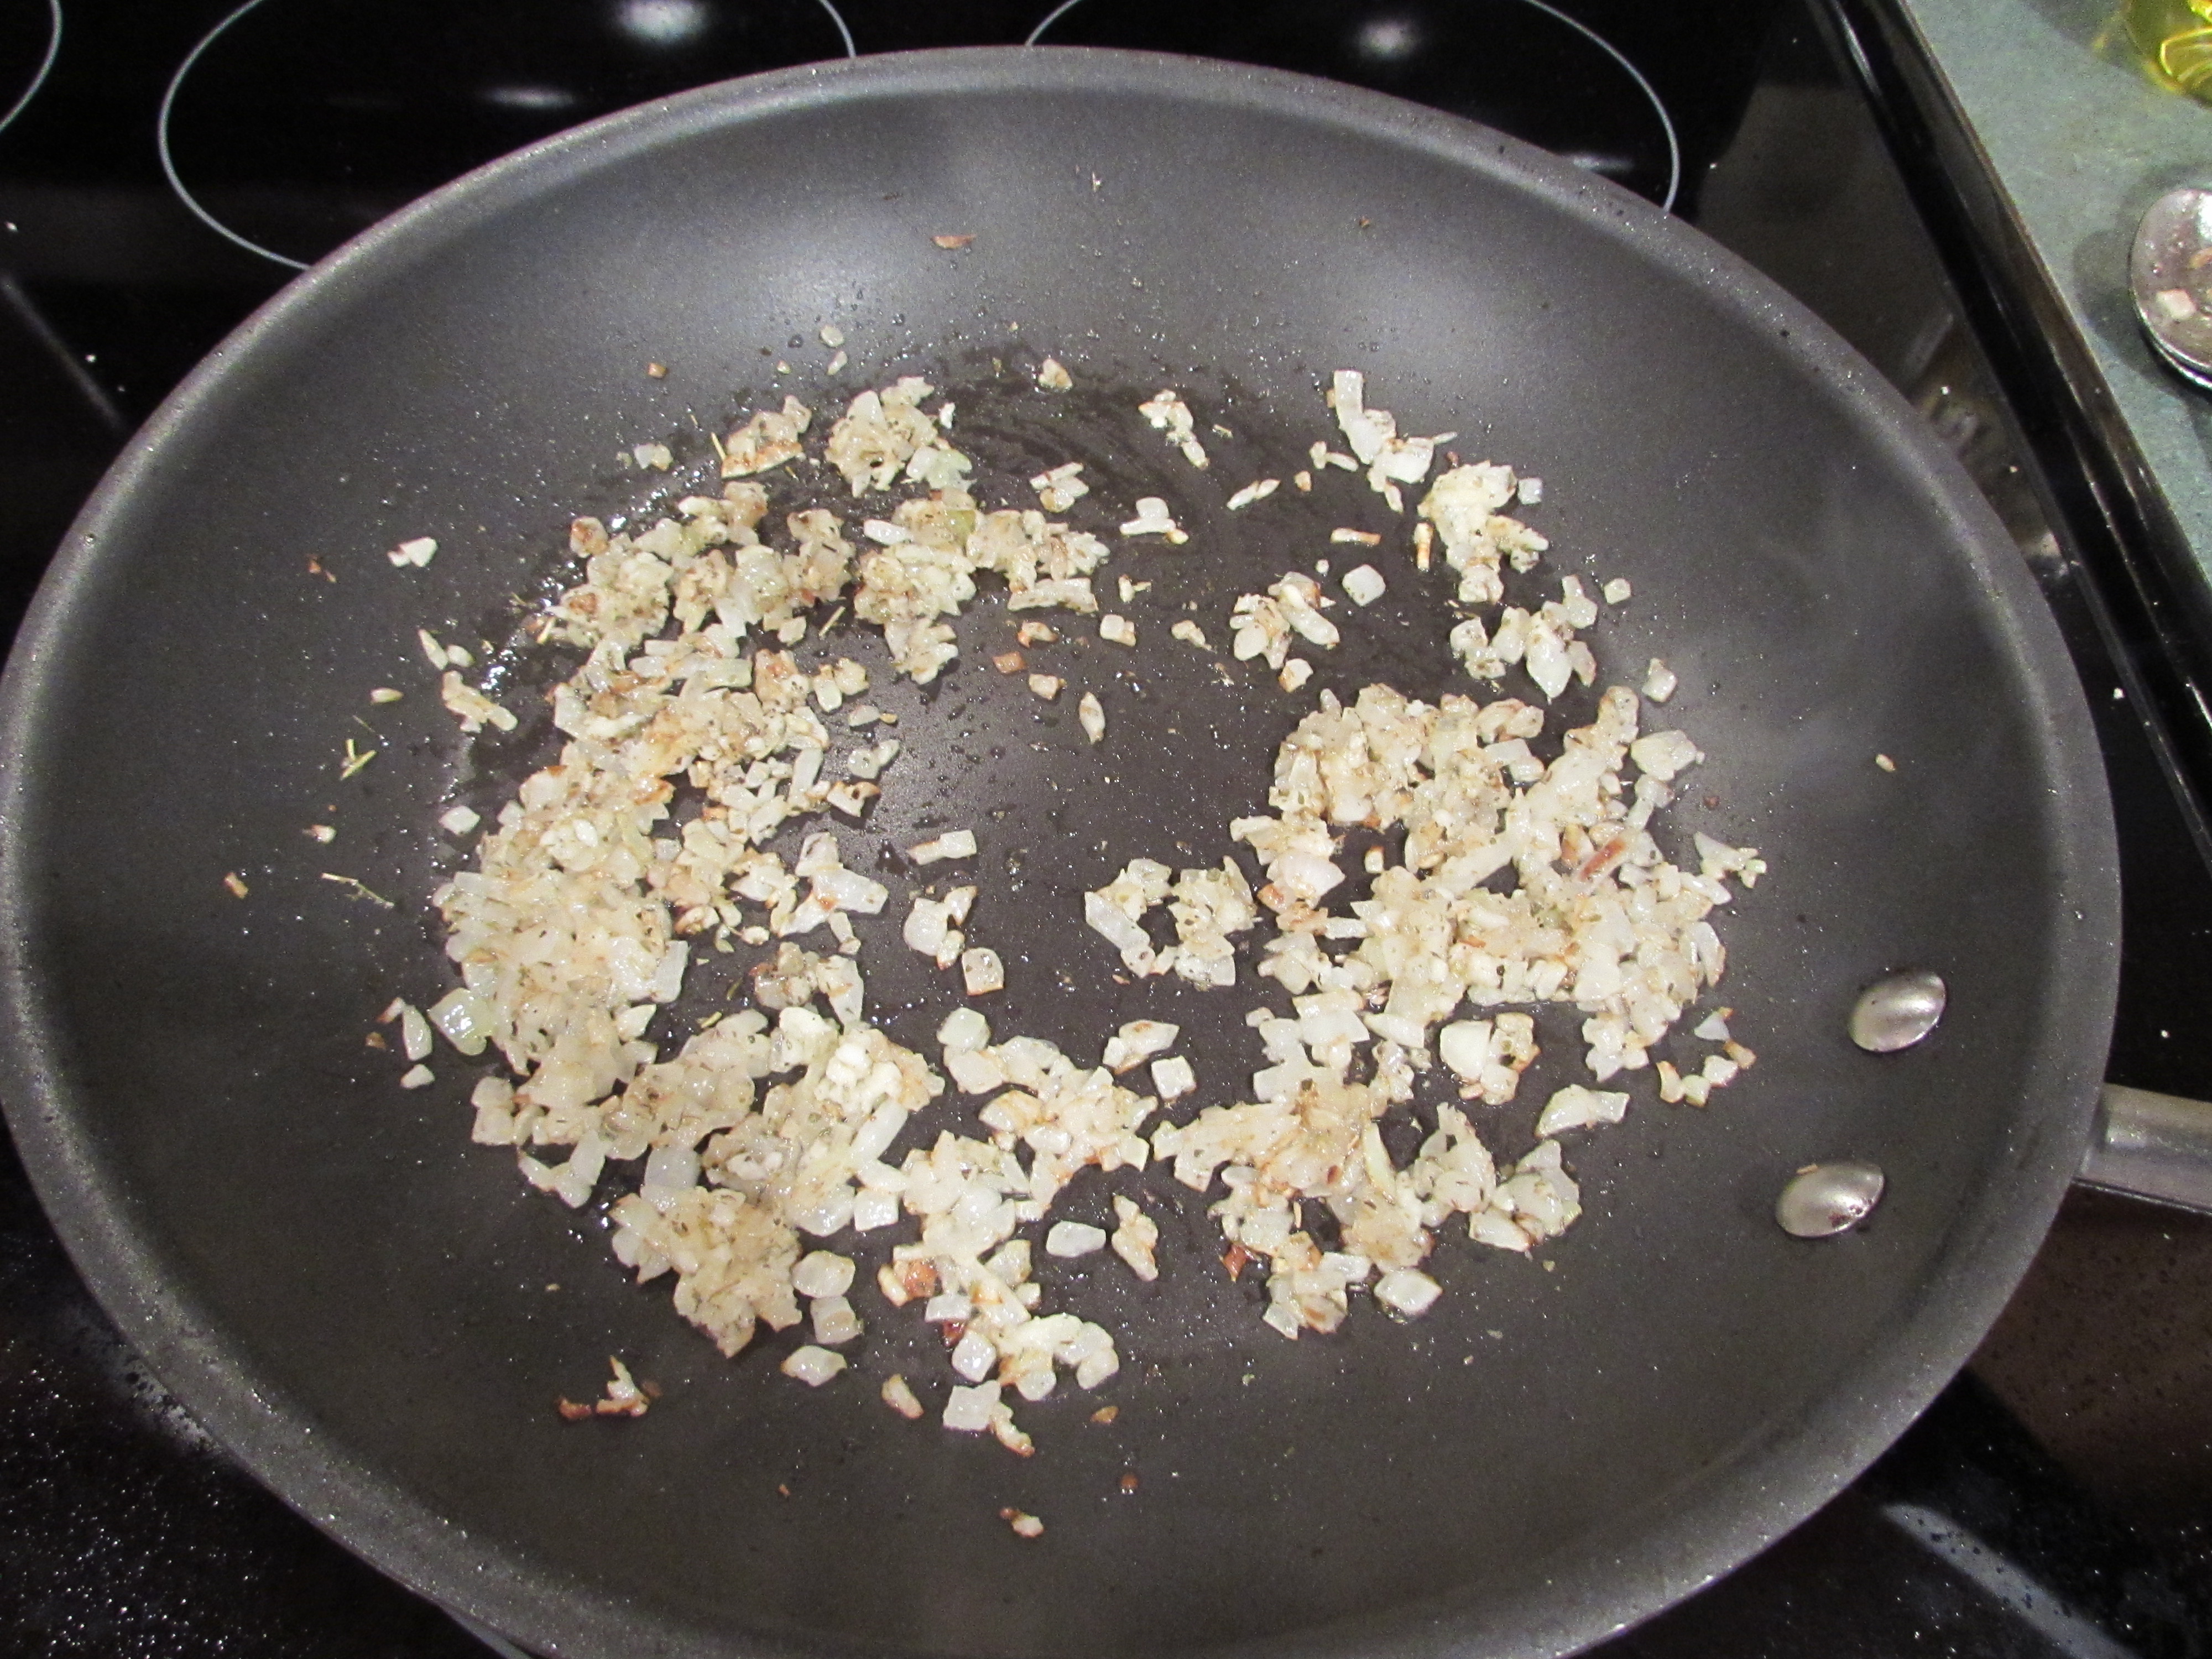
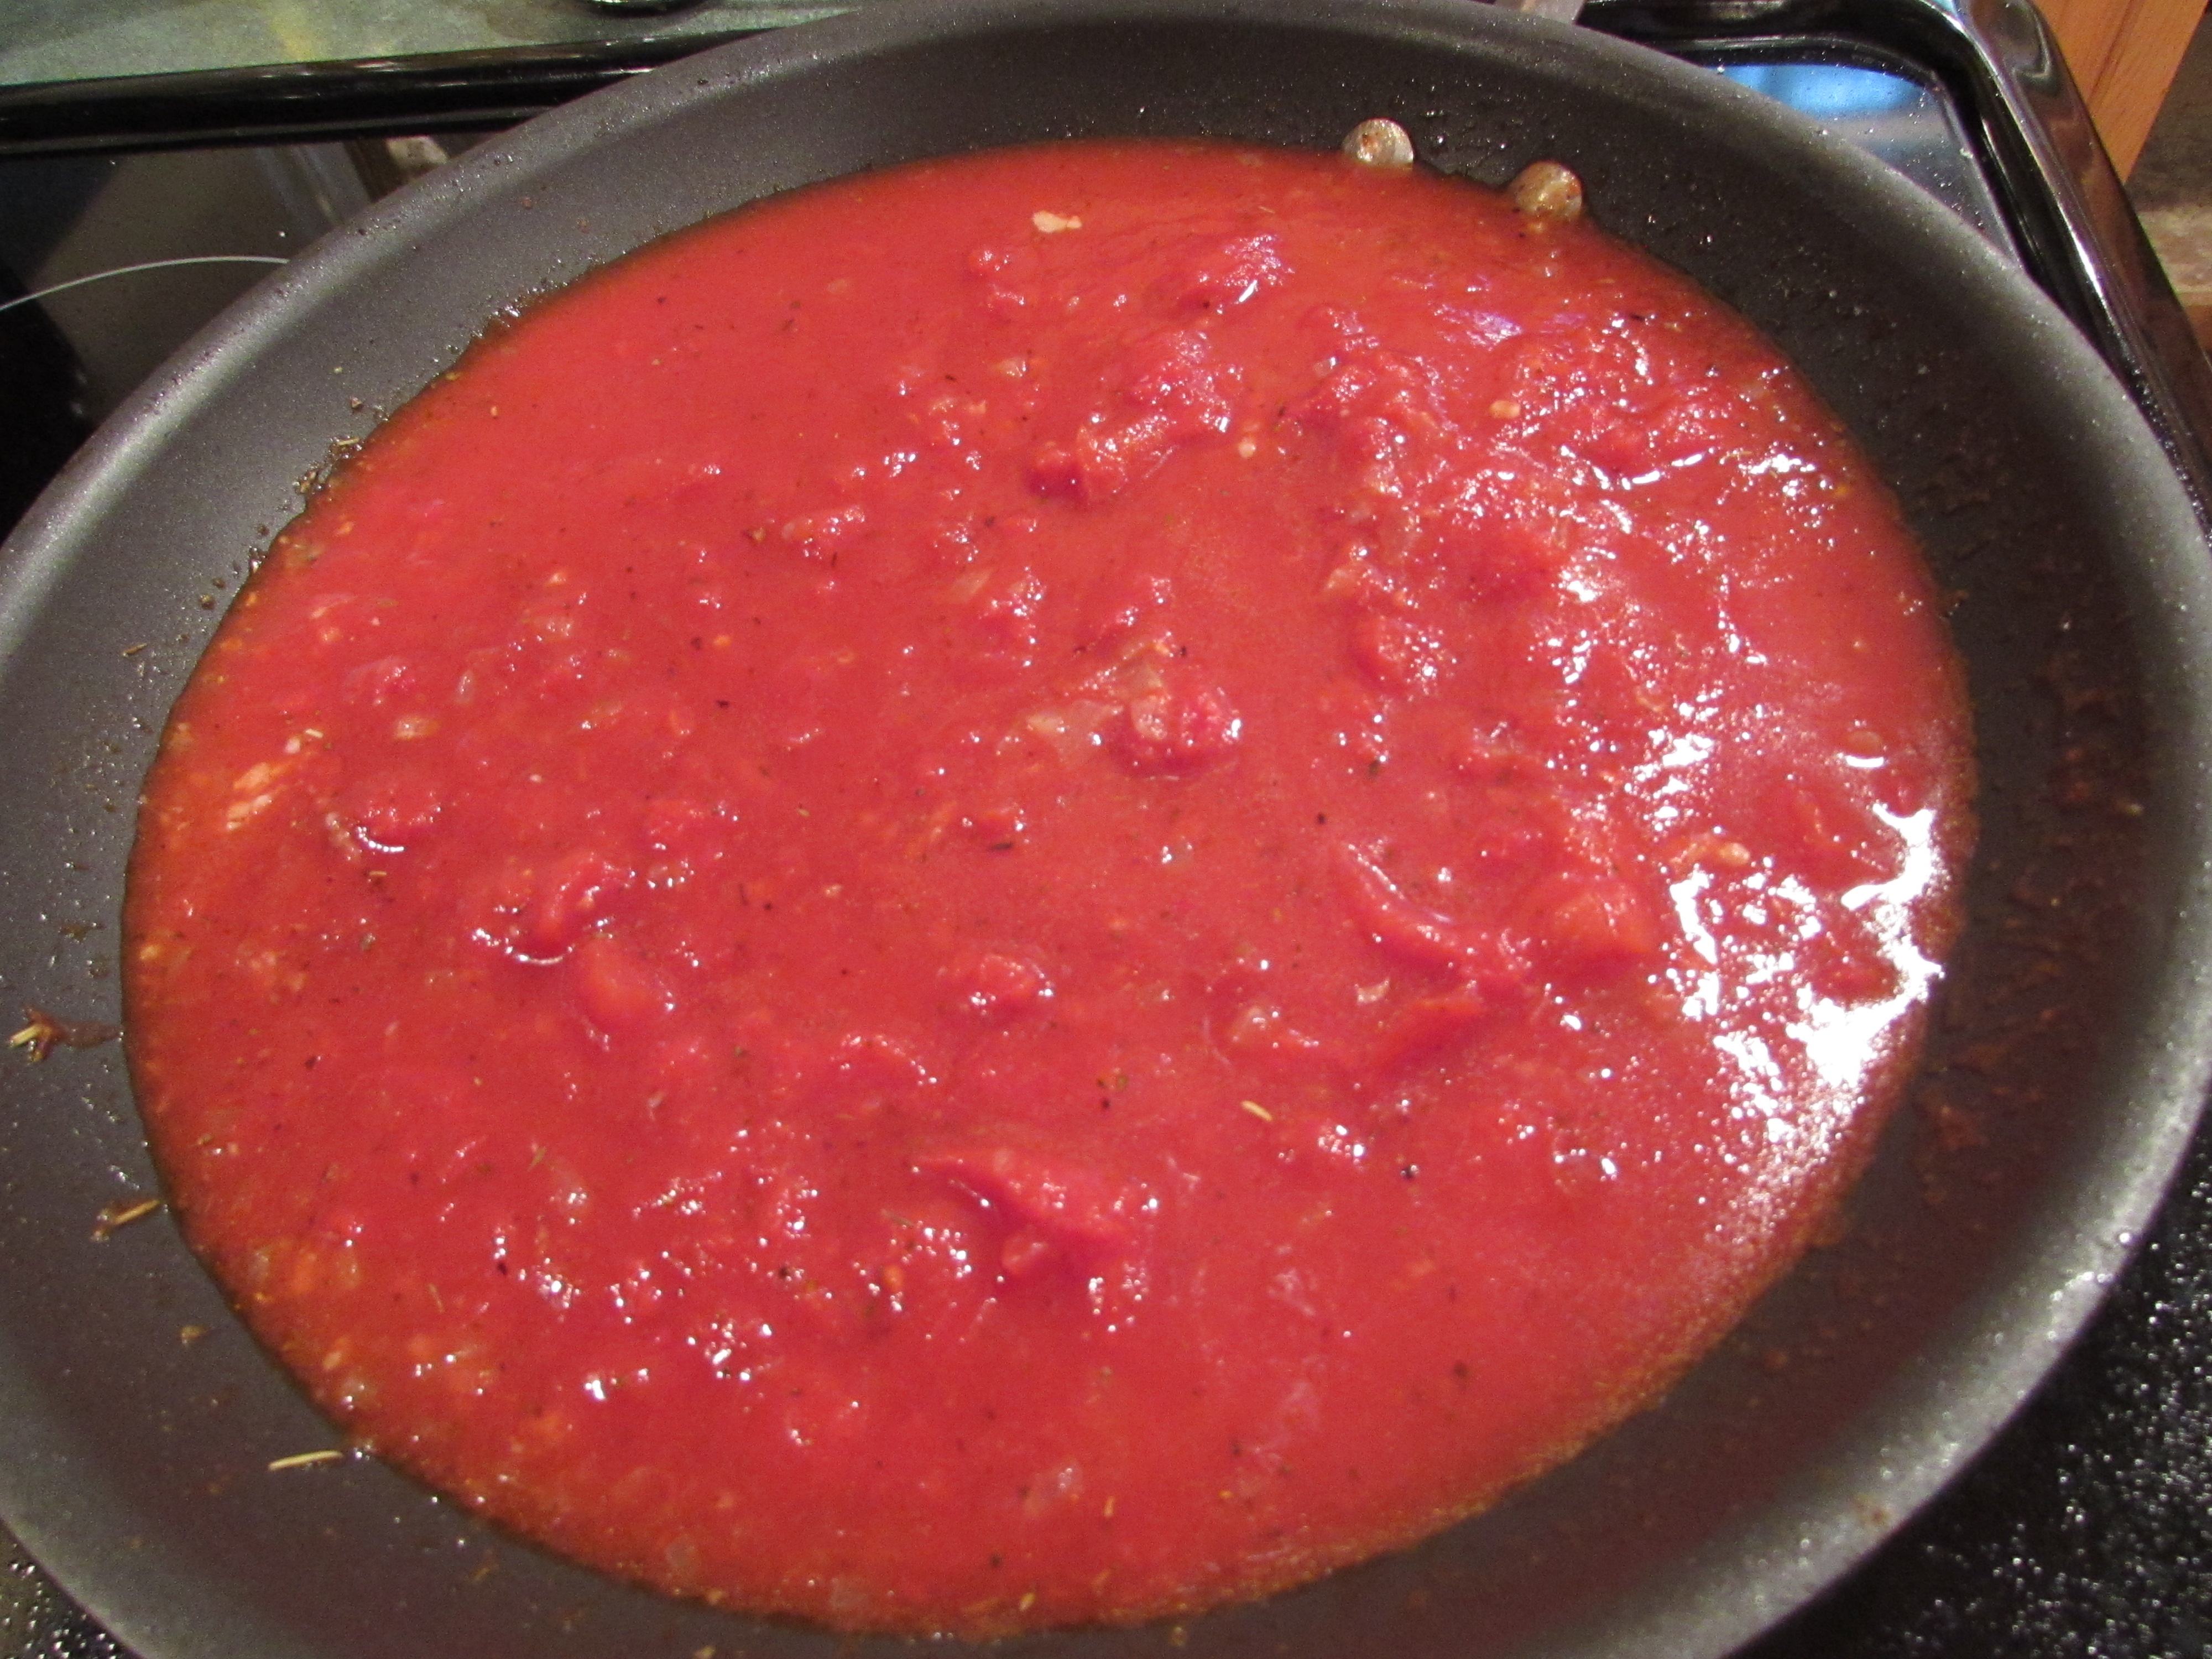
Clean out pan using paper towels and set back on heat, adding 1 tablespoon of oil. Add other 1/2 of onion and cook over medium low heat until soft, about 5 minutes. Add the other 1/2 of garlic and 1/2 teaspoon of Italian seasoning and cook 30 seconds. Stir in tomatoes and 3/4 cup of water. Return meatballs to pan, cover and simmer until cooked through about 20 minutes.
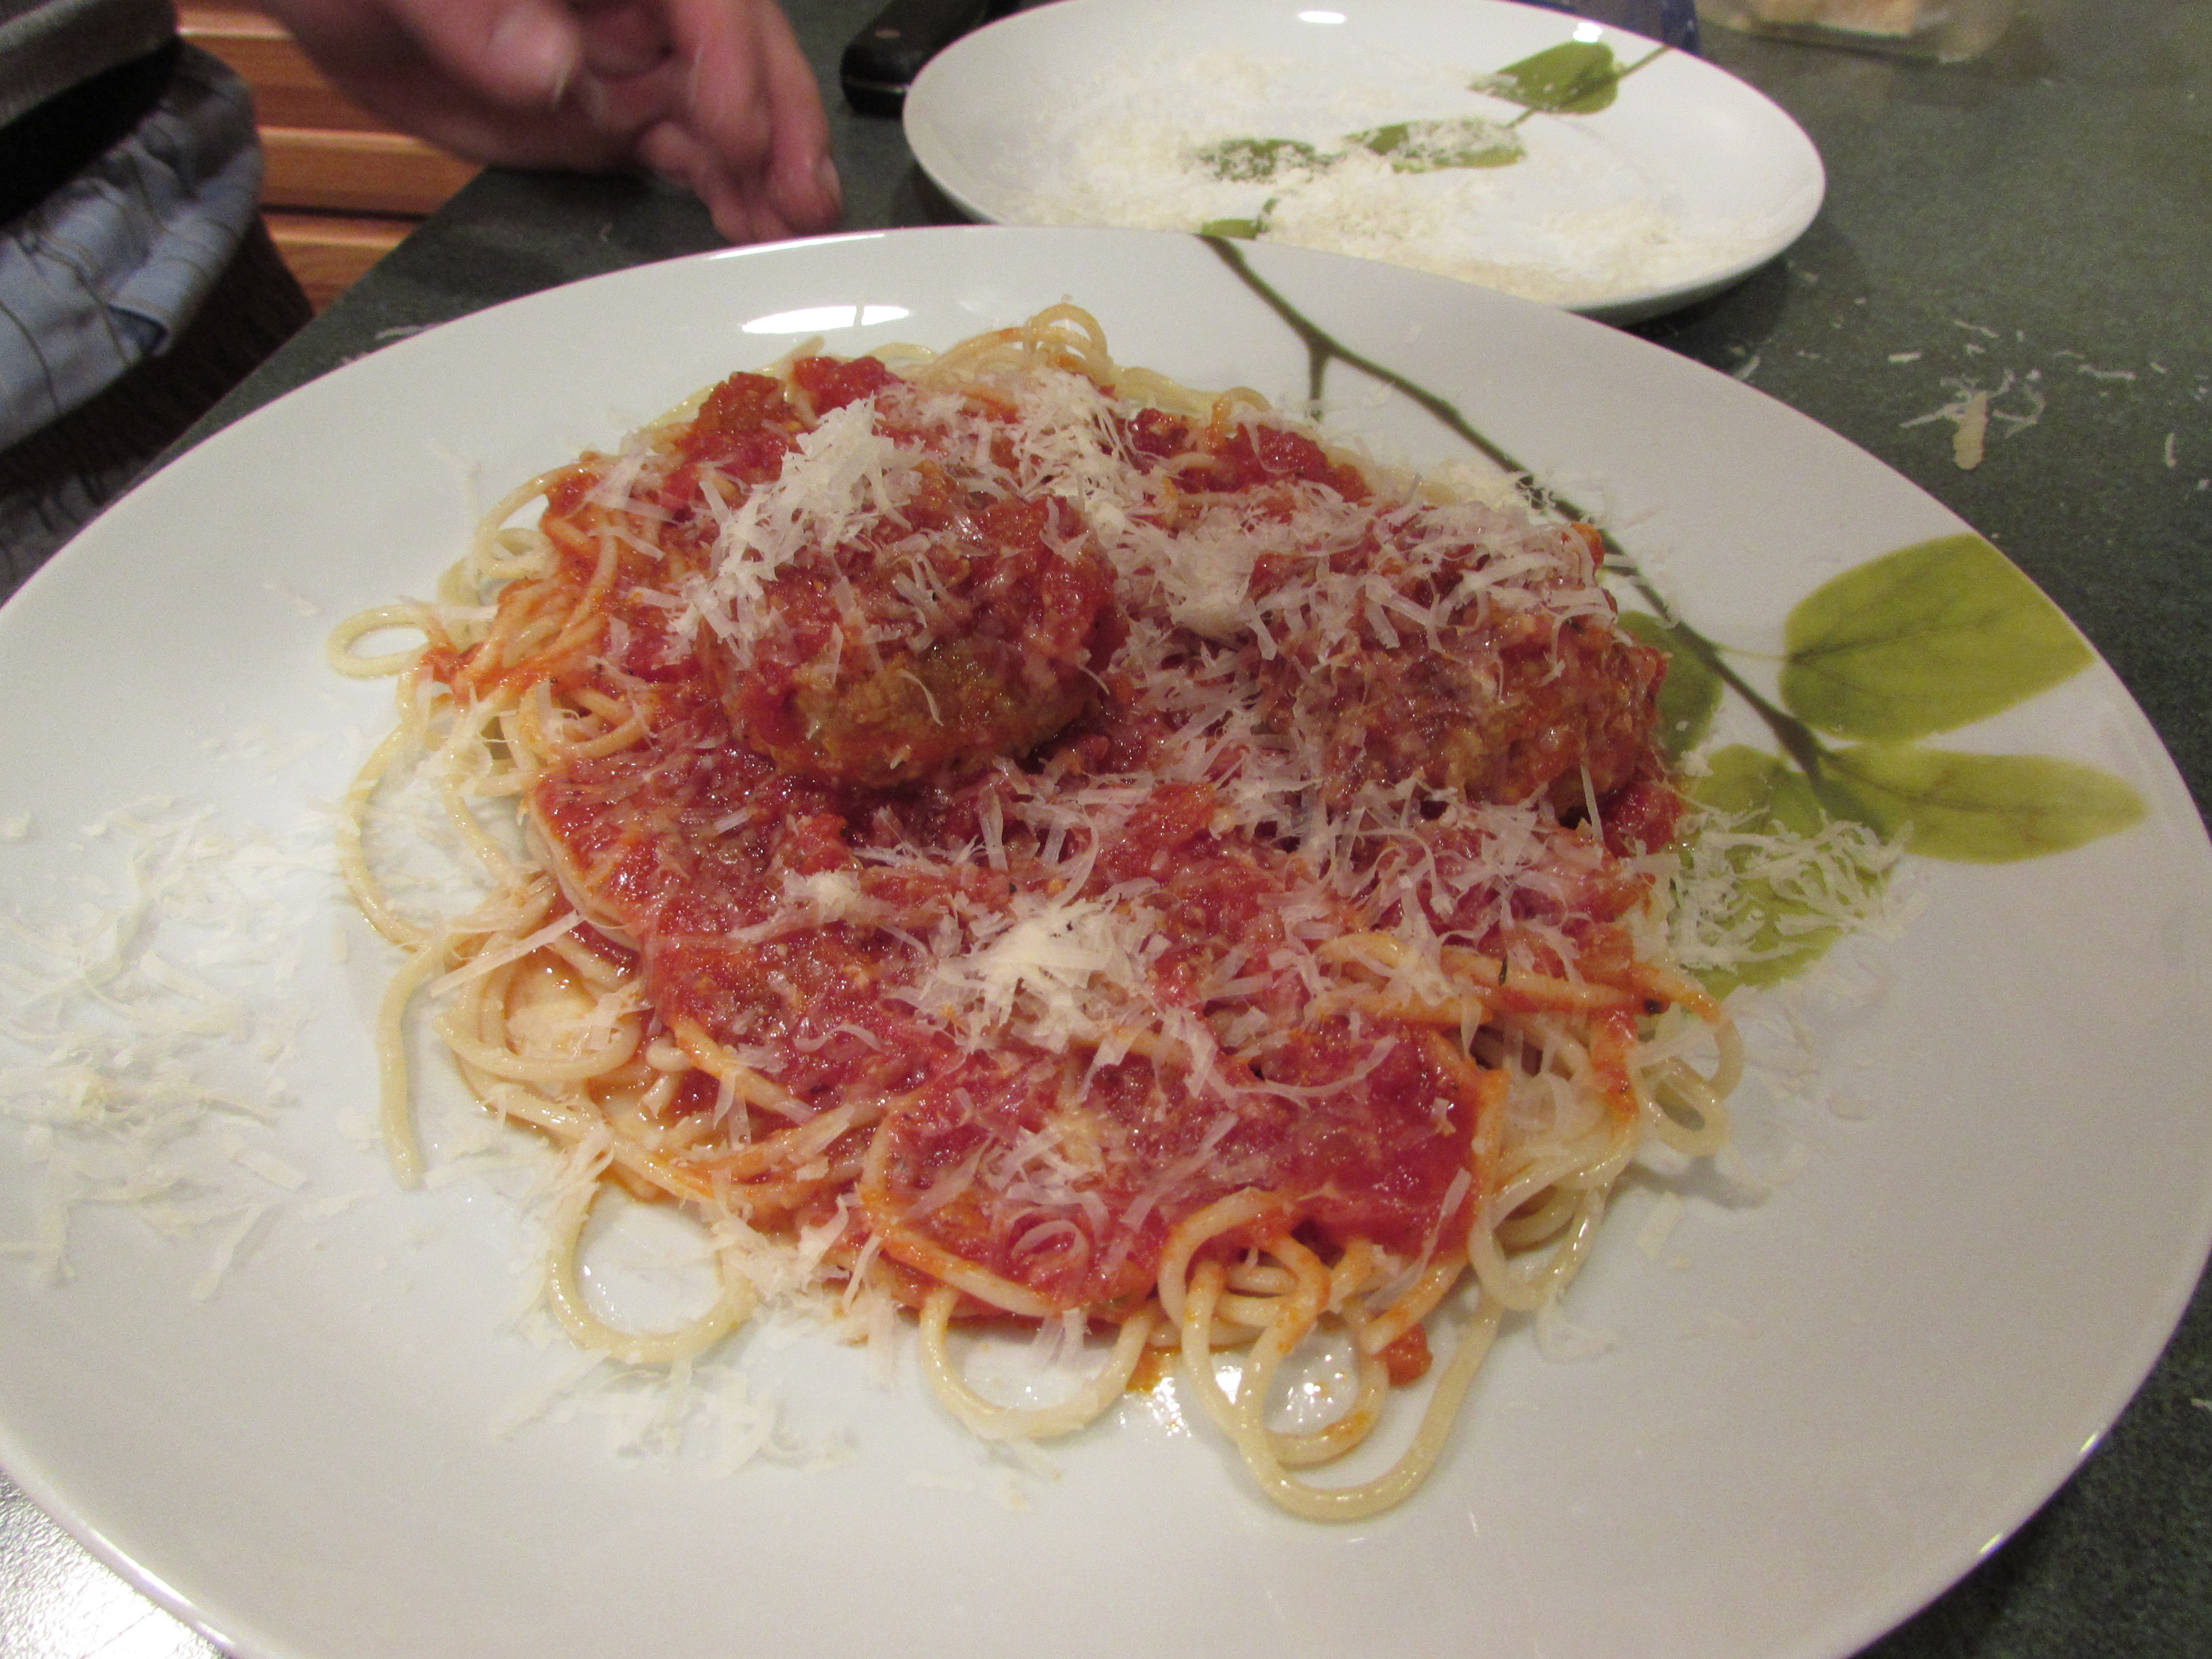
Serve over spaghetti with more Parmesan cheese.
meatball ingredients:
mixed together:
all ready to cook:
browning:
sauce ingredients:

onion, garlic, Italian seasoning:
add tomatoes:
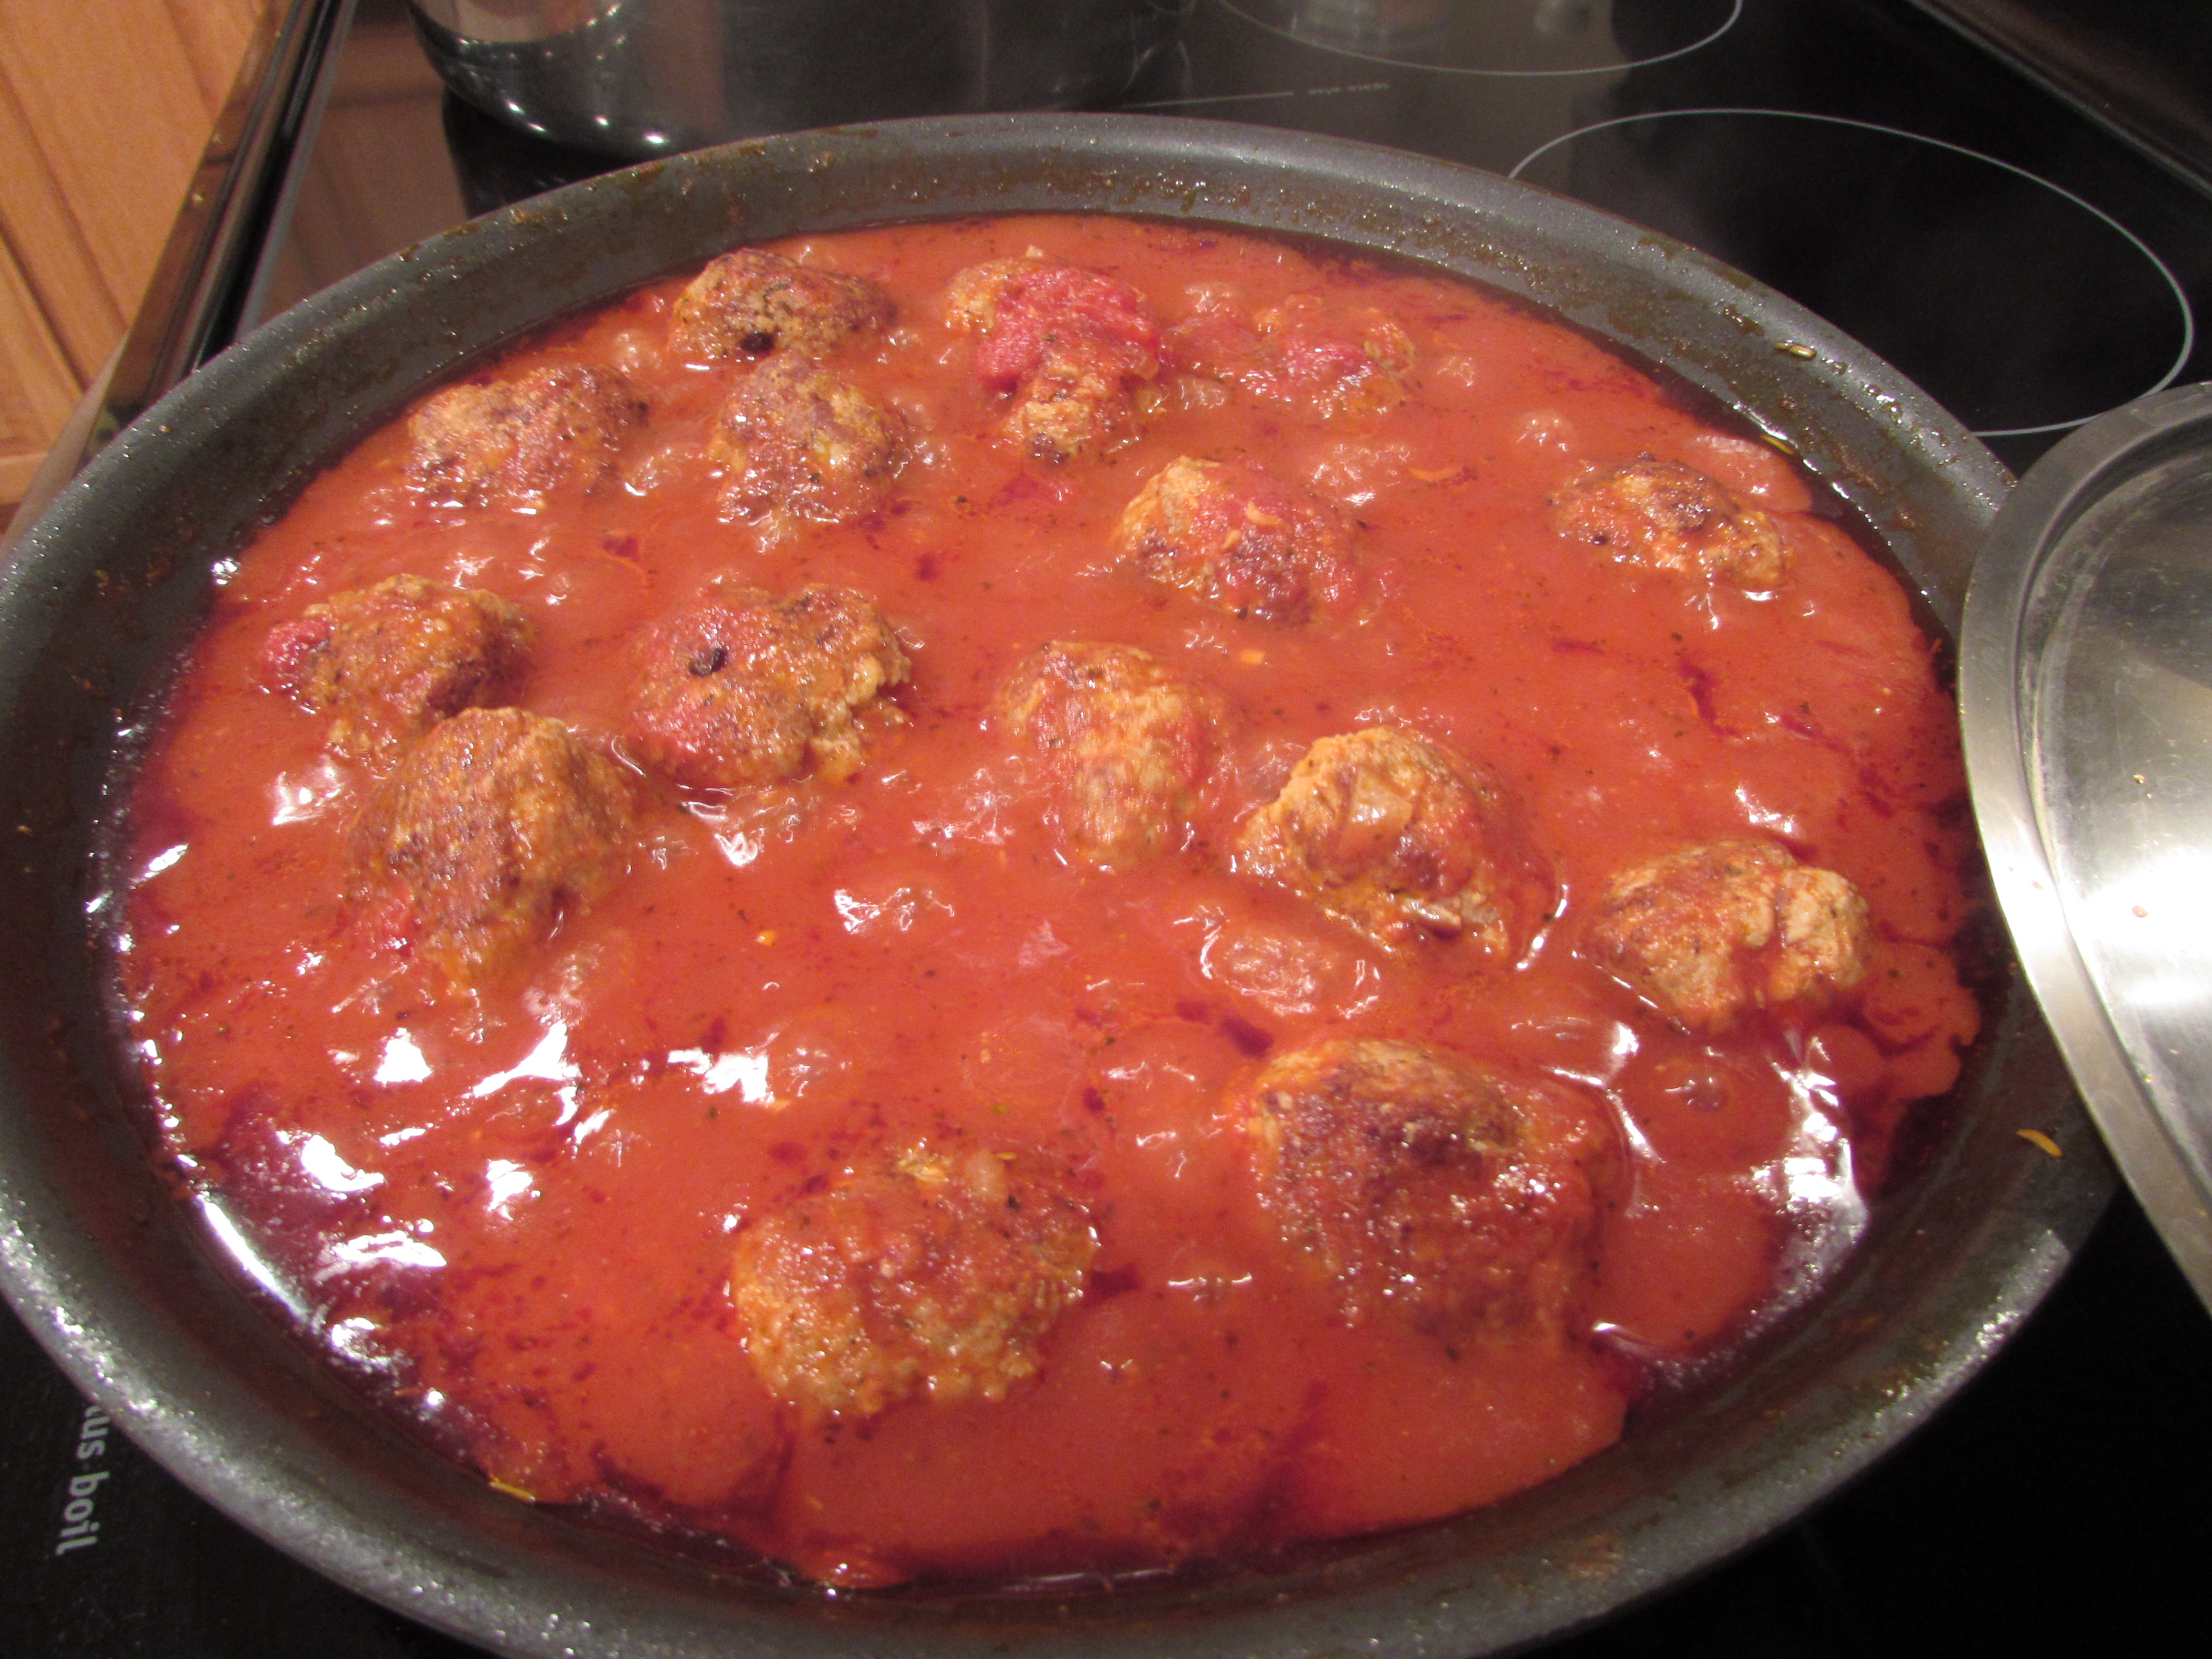
add meatballs:
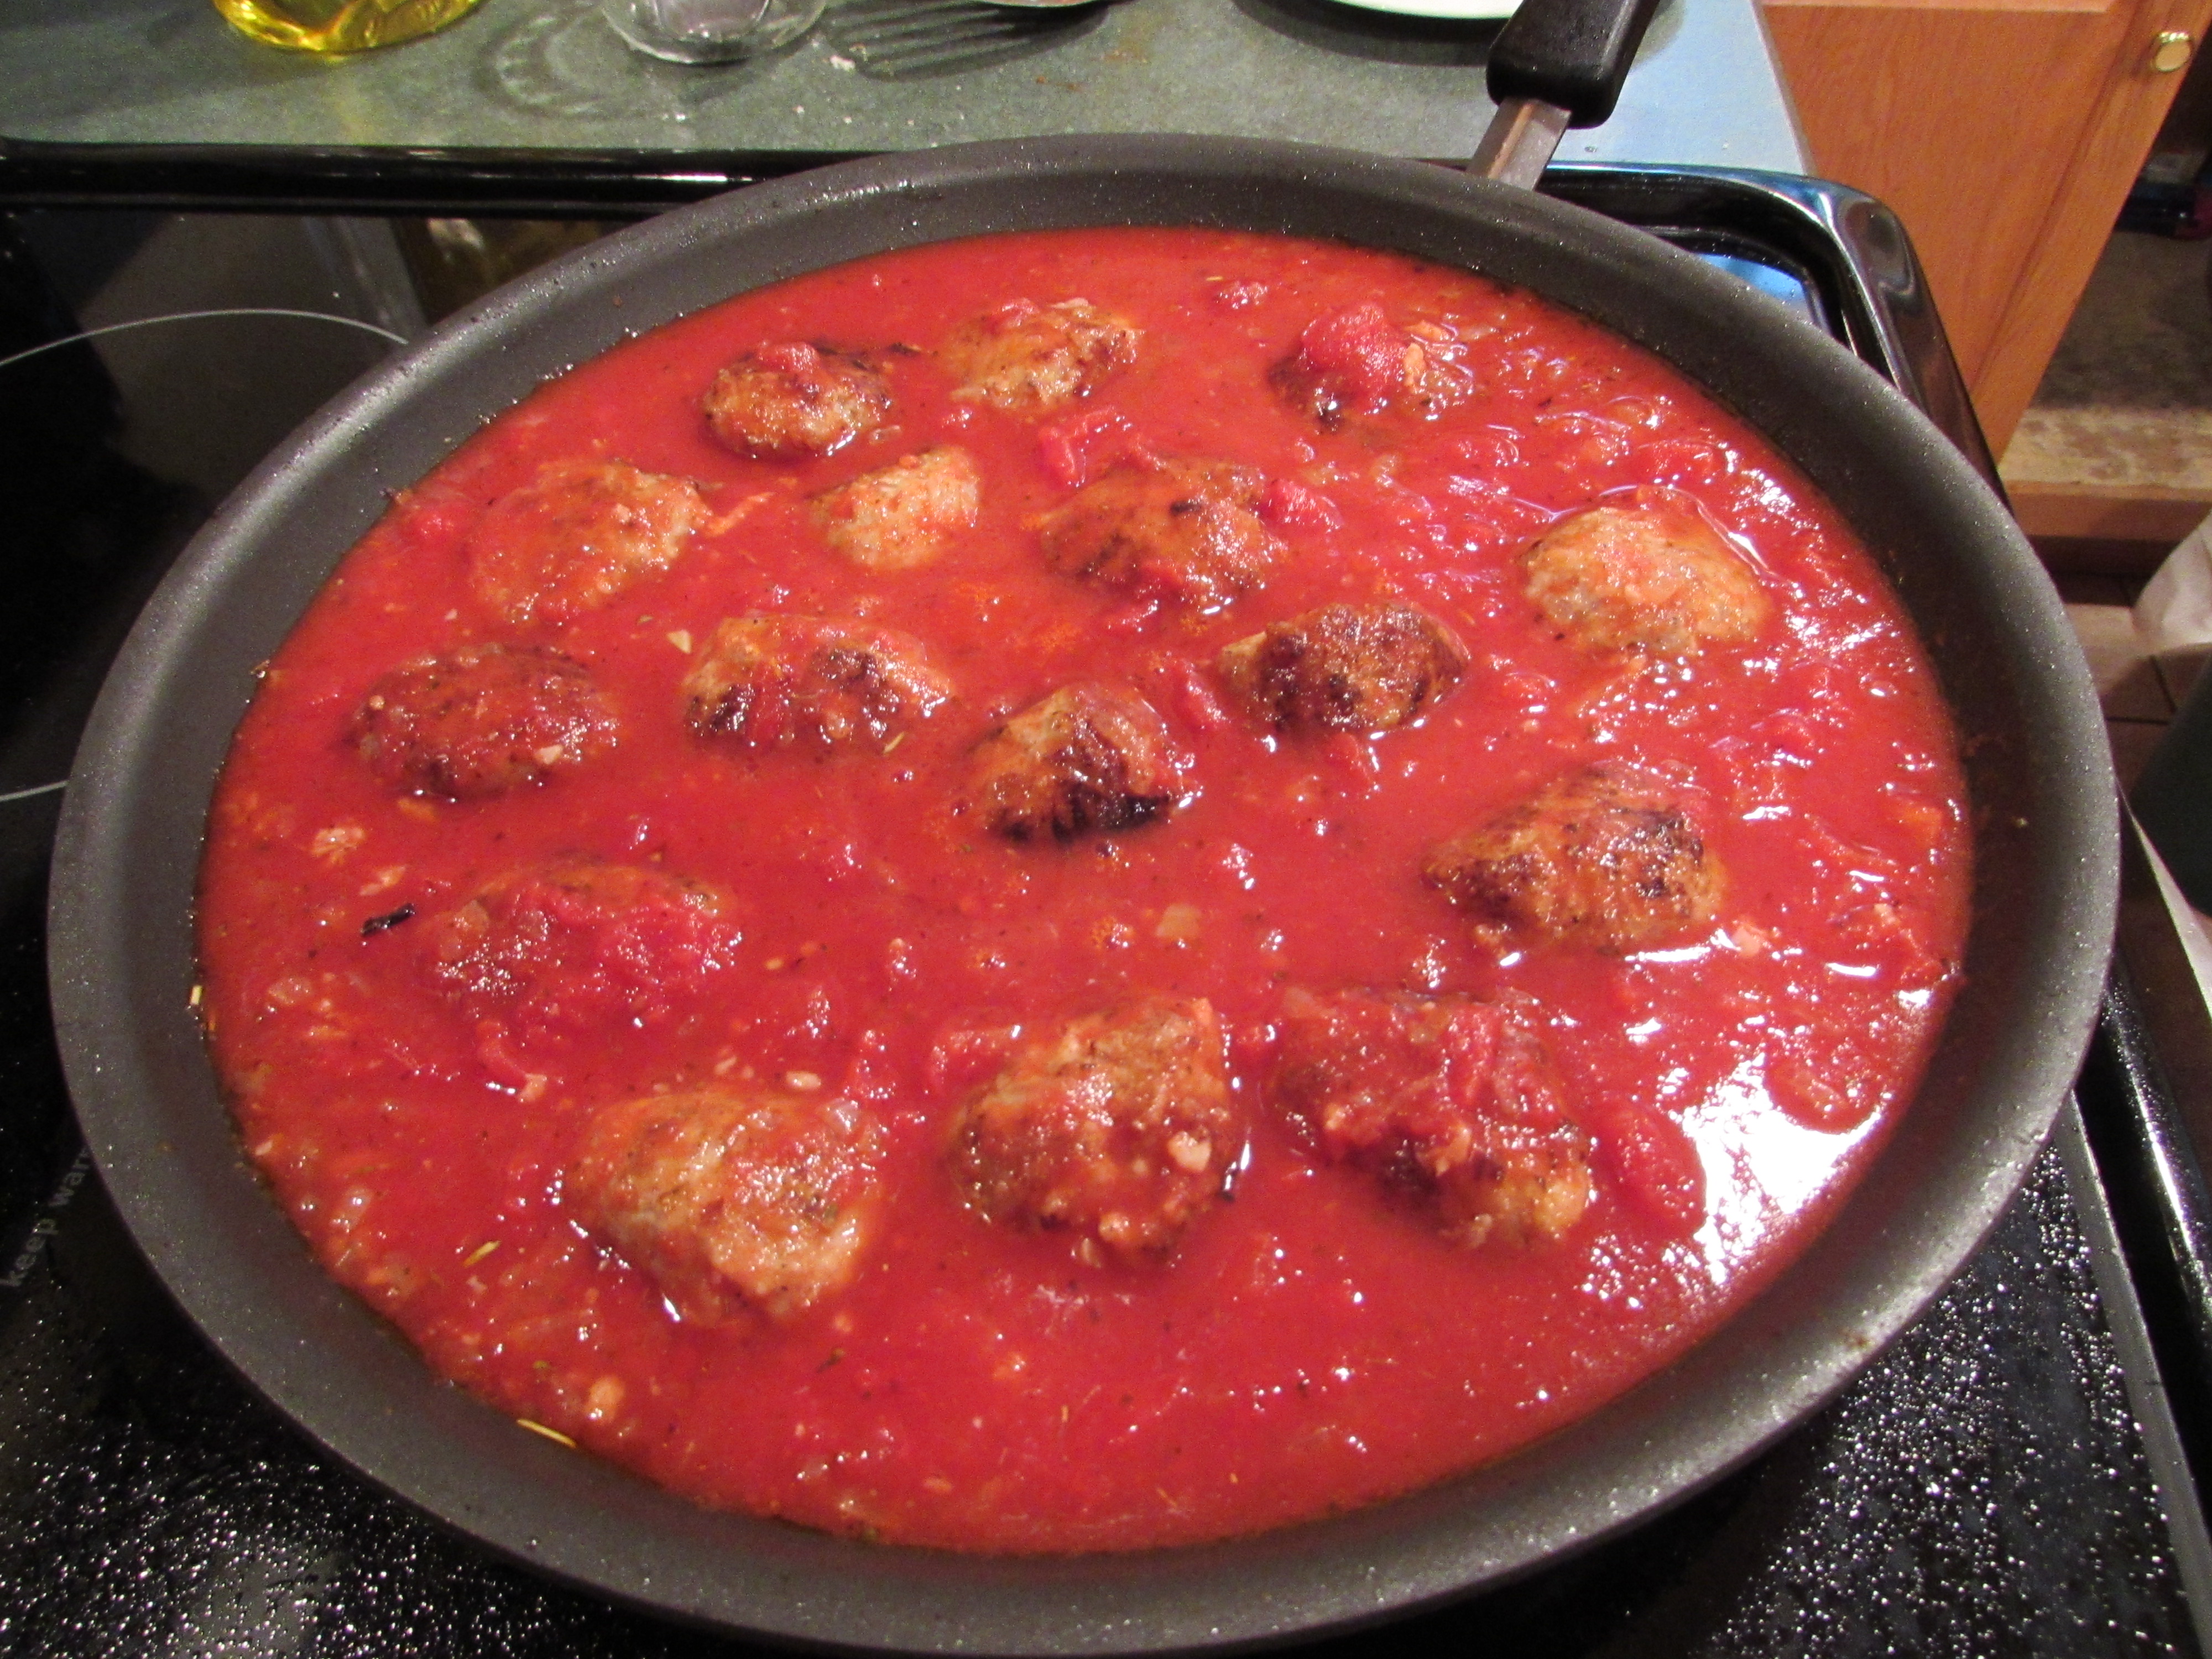
done after 20 minutes:
with a dusting of Parmesan:
Tomato Pie

Tomatoes (your garden or farmer’s market) will shortly be just a fleeting memory so make this recipe soon!
We just had the leftovers of this pie tonight and it was even better! I even dare to recommend making this pie the day before serving and rewarming it in a 400 degree oven for half an hour. Cover with aluminum foil for the first 15 minutes. It was delicious!
Tomato Pie (Paula Deen Food Network)
4 – 5 medium to large tomatoes
10 fresh basil leaves, finely diced**
1/2 cup finely sliced green onions (from 1 large bunch or 2 small)
1, 9 inch pie crust (no need to make your own for this recipe) like Pillsbury Pie Crust
4 ounces shredded mozzarella
4 ounces grated cheddar cheese (I like Cracker Barrell)
1/2 cup low fat mayonnaise
salt
Preheat oven to 450 degrees. Take pie crust out of refrigerator. Put a large pot of water onto boil. Prepare a very large bowl of ice water. Cut a cross onto the bottom of each tomato using a sharp knife. Place a cookie cooling rack over a large rimmed cookie sheet or have a large colander set aside.
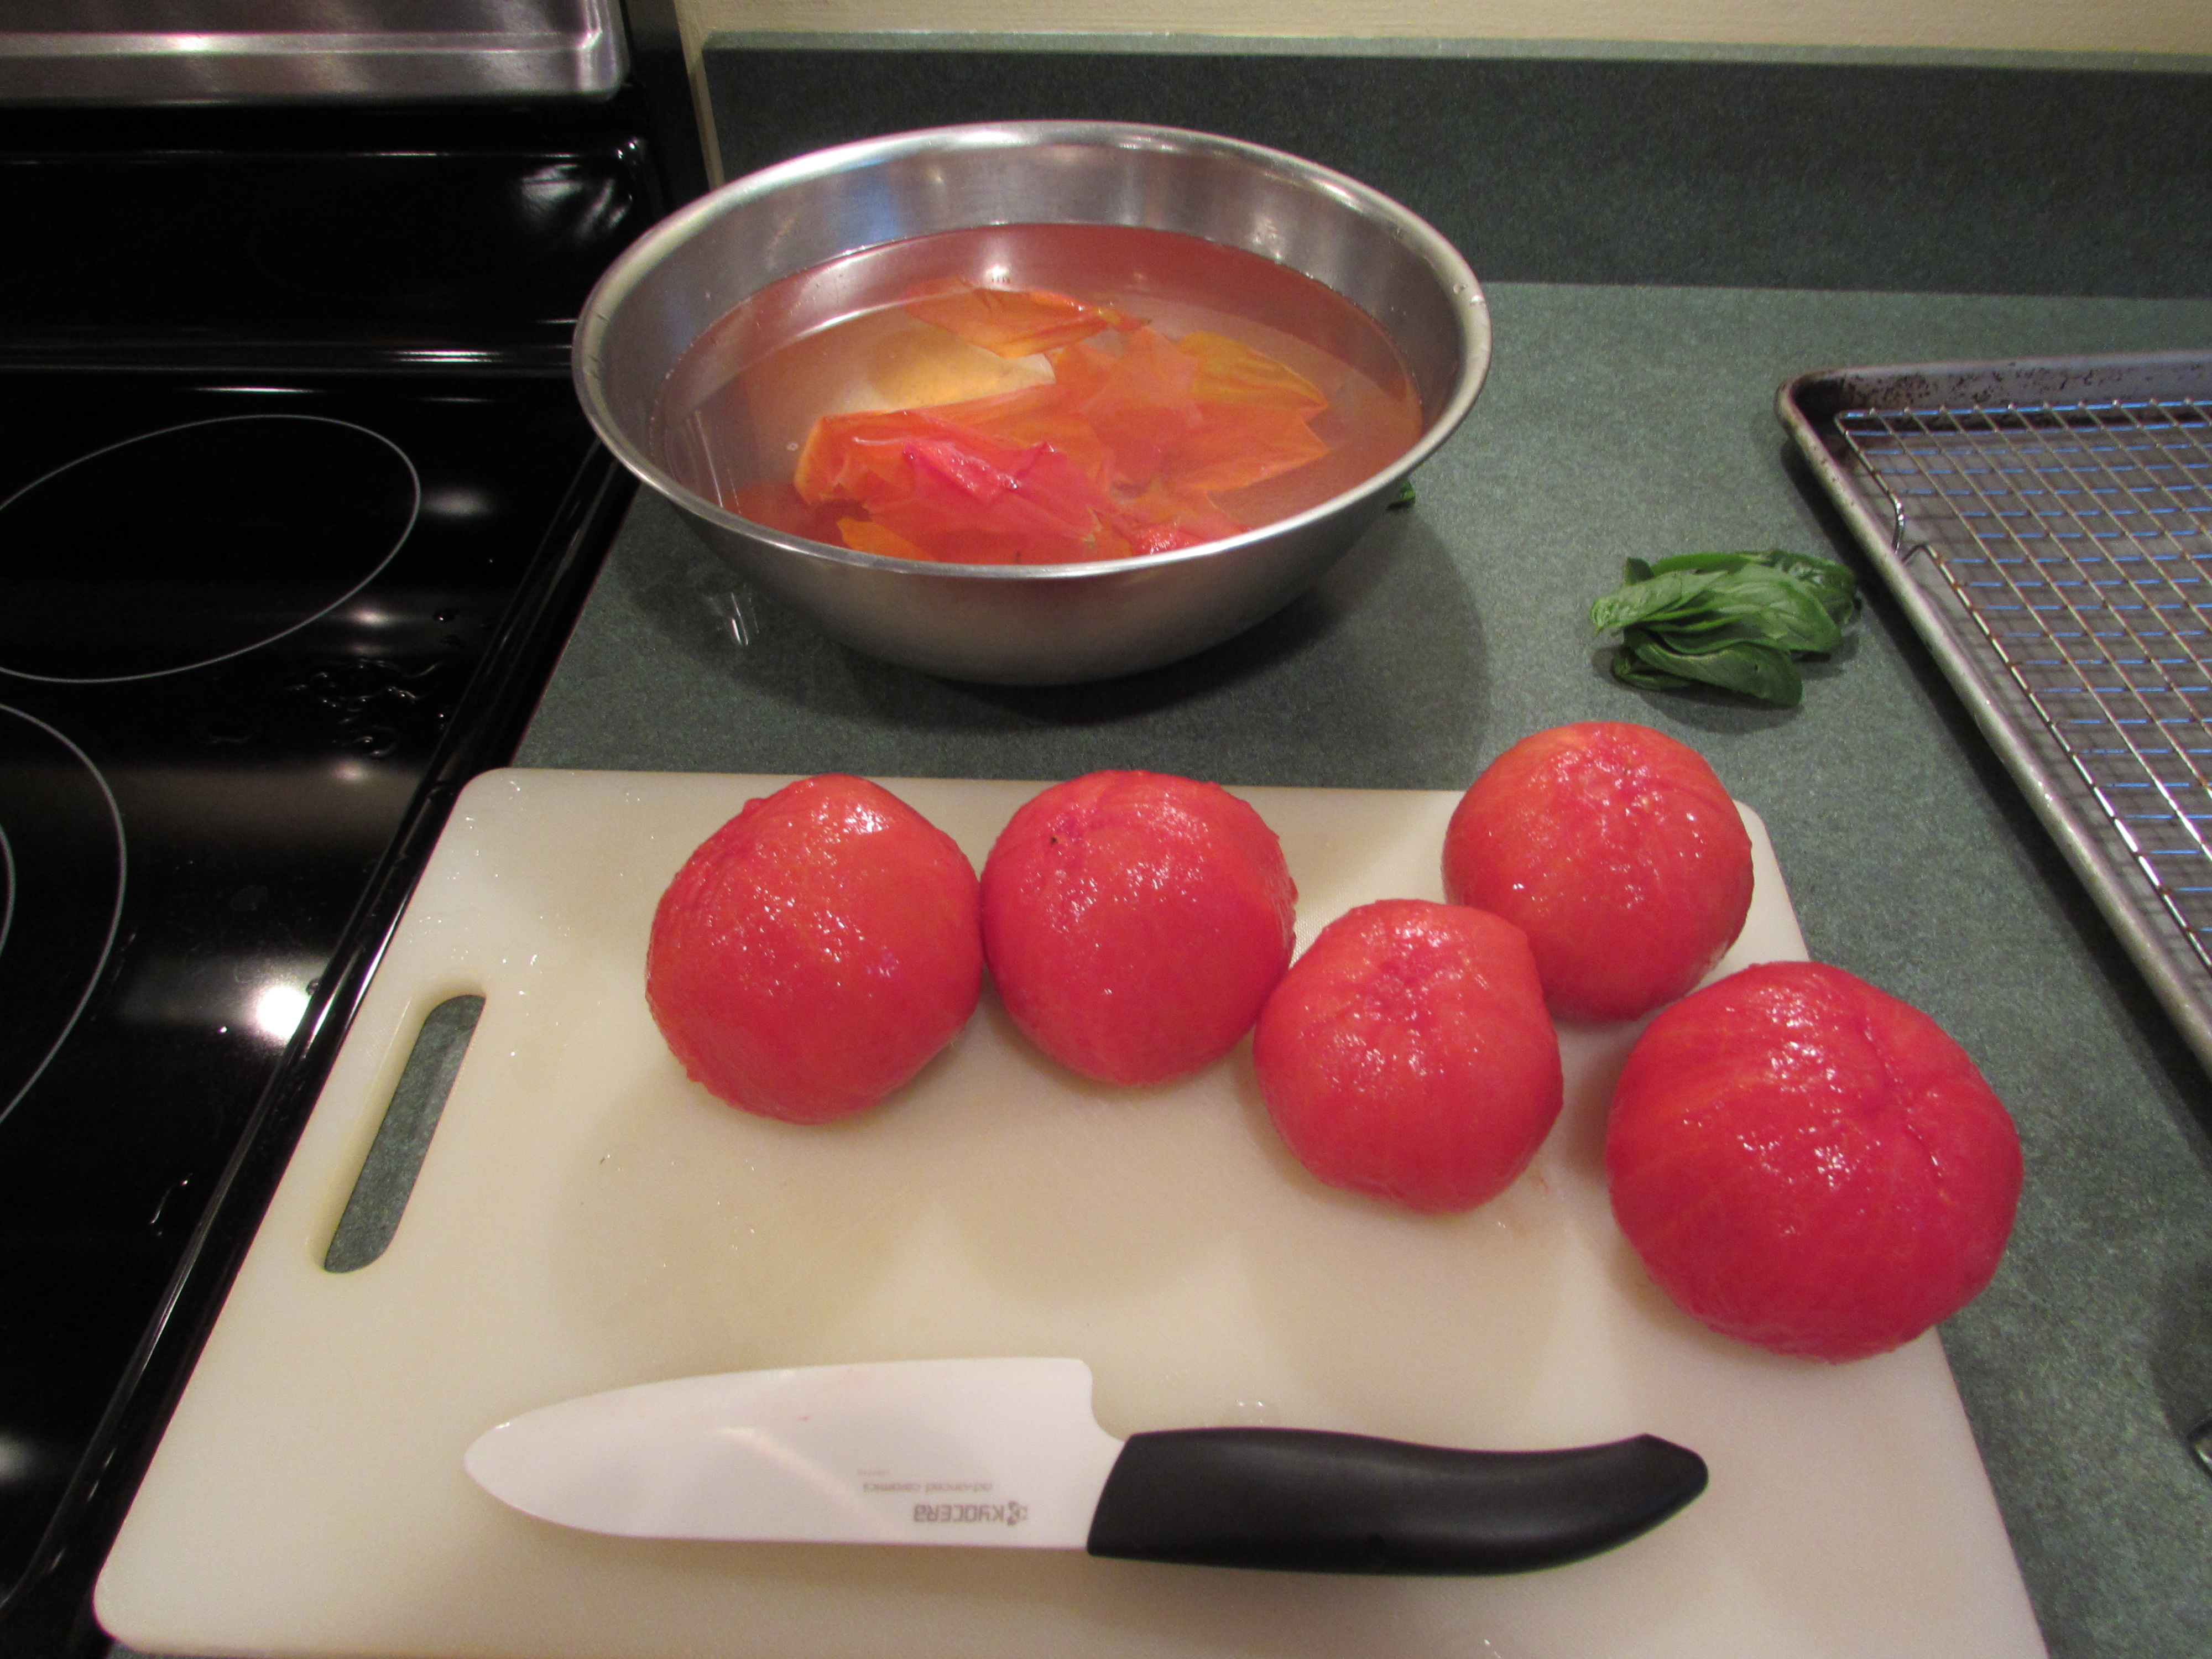
When the water comes to a boil, gently place the tomatoes into the water. After about 30 seconds the skin will start peeling off the tomato. When this happens, with a slotted spoon, remove the tomatoes into the ice water.
After about one minute, remove the tomatoes from the ice water. The skin should slip right off. Discard skin.
Cut each tomato into a 1/4 inch slice (you should get about 4 slices per tomato) and place onto cookie cooling rack or colander. Sprinkle tomatoes with salt (not too heavy), turn over and sprinkle the tomatoes on the other side. Let sit for about 30 minutes, allowing to drain.
While you are waiting for the tomatoes, pre-bake your pie crust, following the directions on the package. Then reduce oven temperature to 350 degrees.
**Chop up your basil by stacking leaves and rolling them into a tight tube. Slice the leaves width-wise into very narrow pieces, creating long thin strips. Chop the strips again to make a fine dice and set aside.
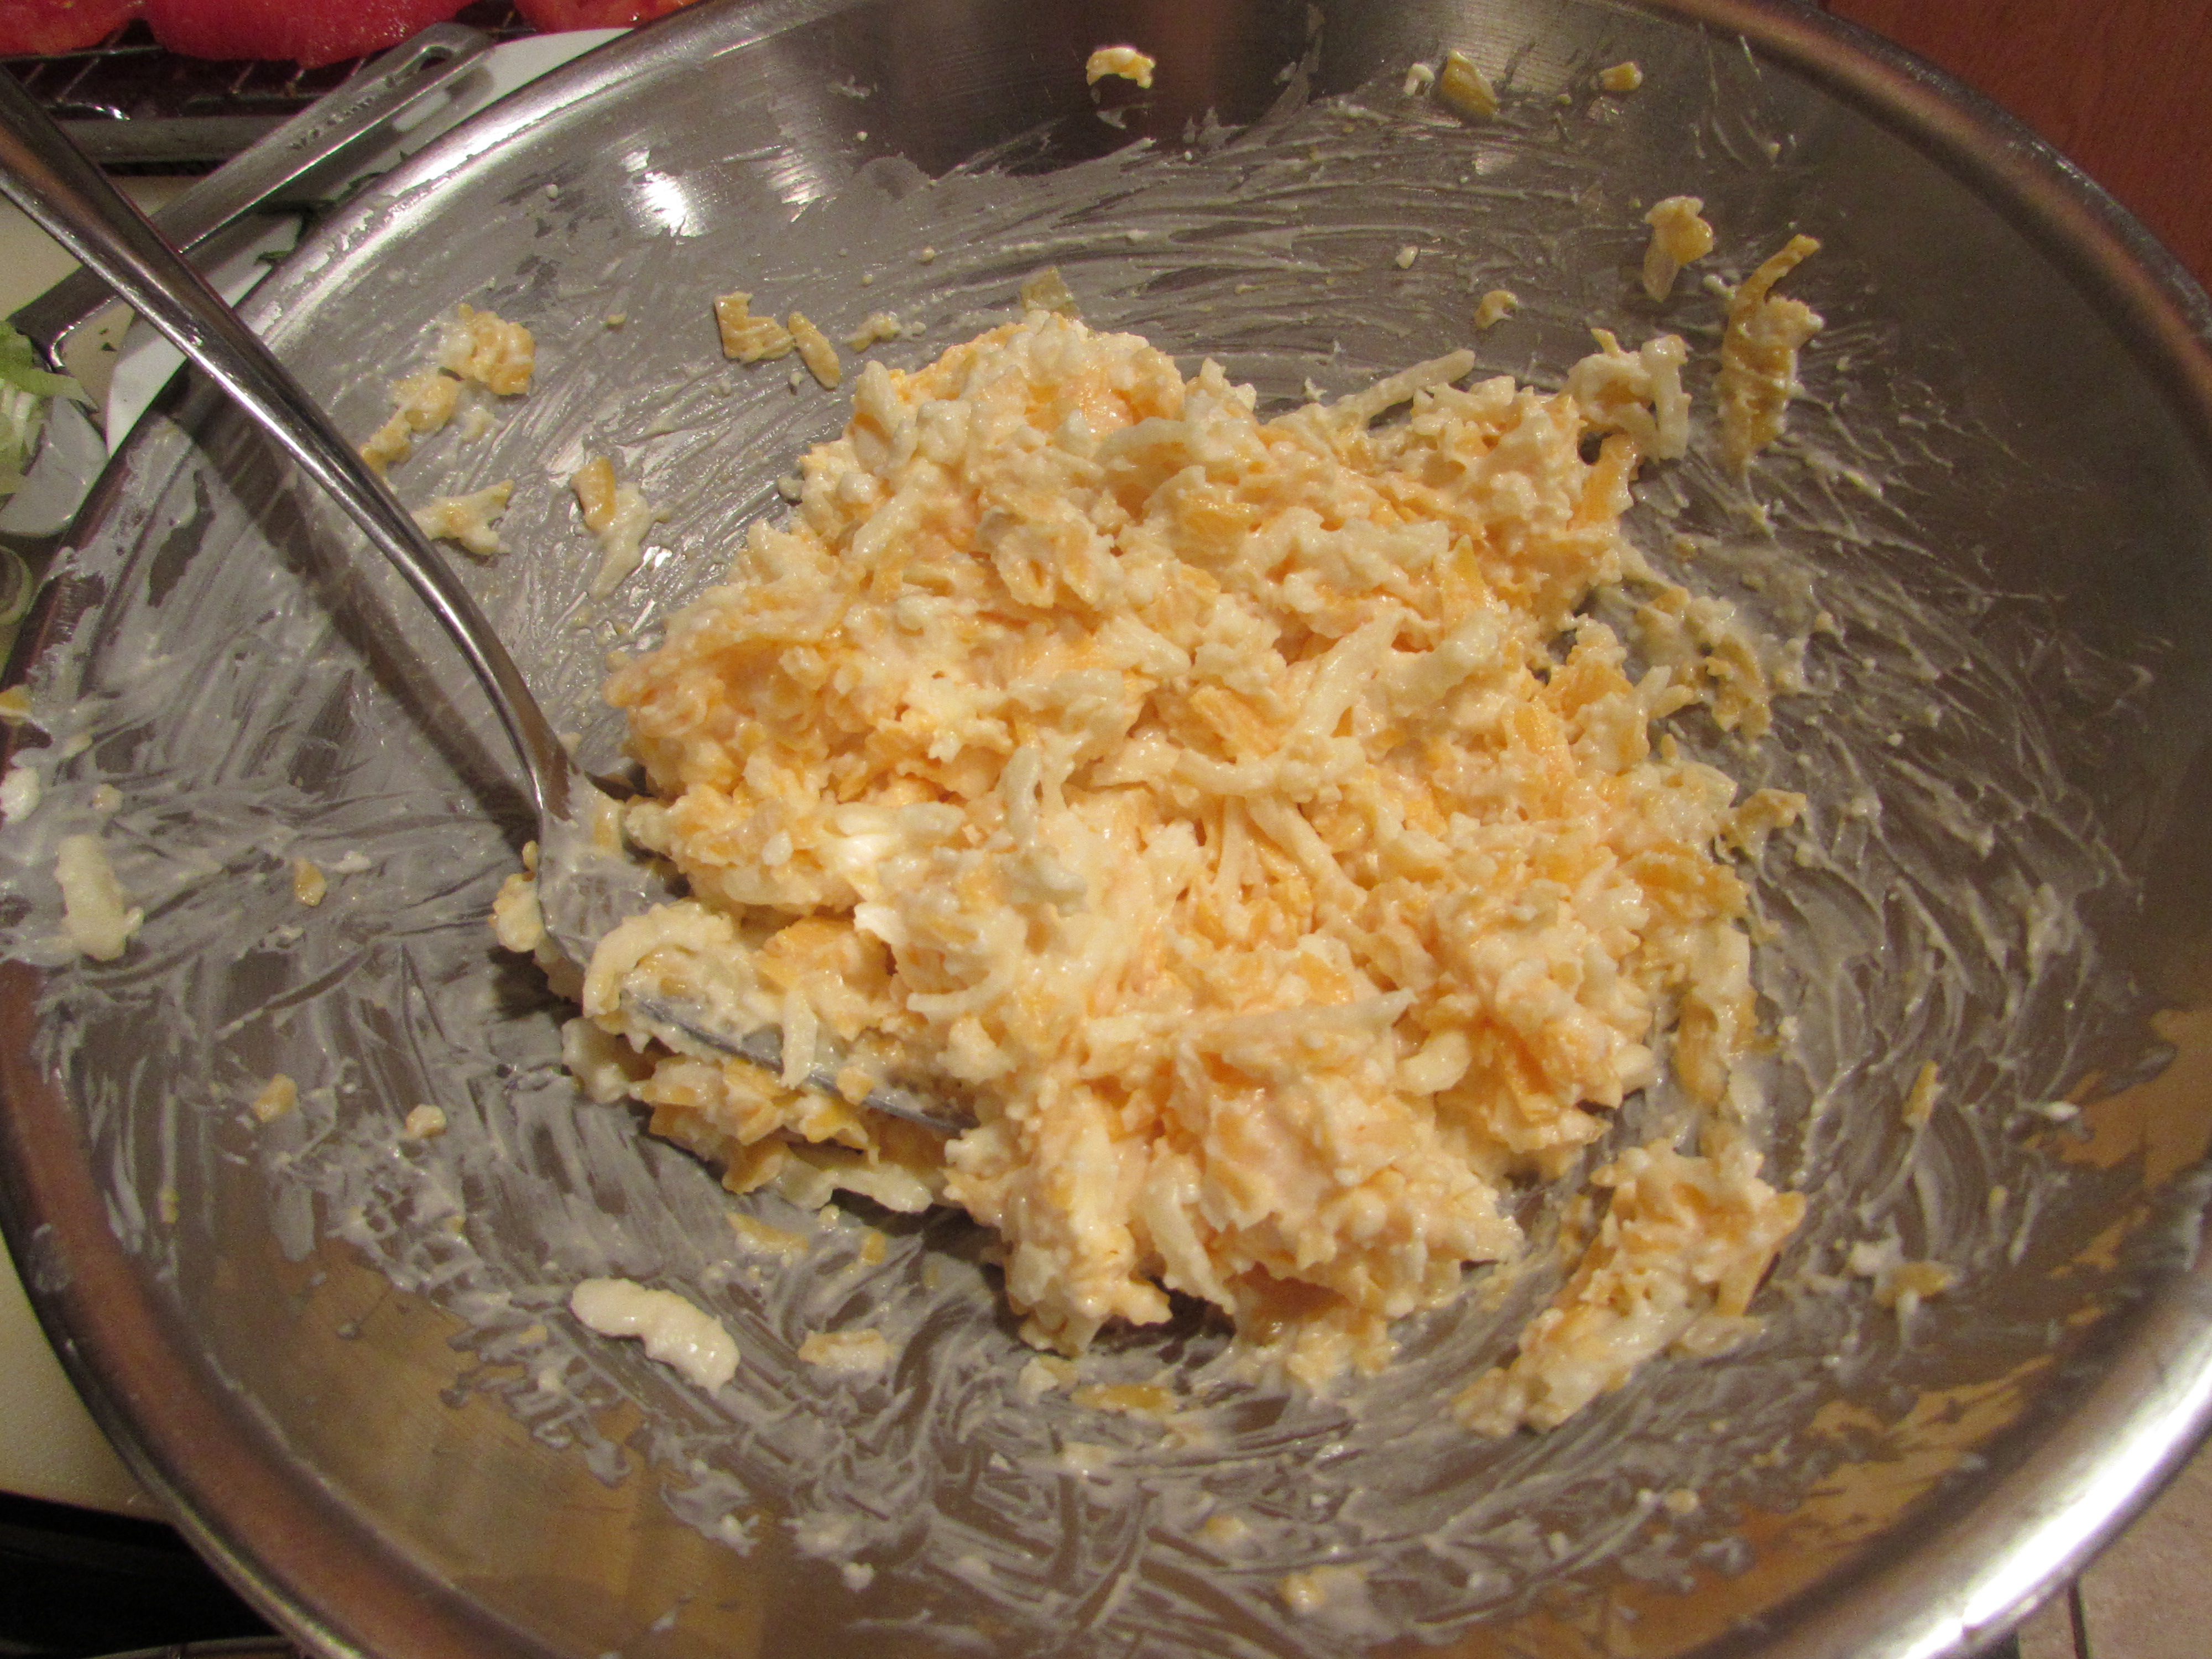
Combine the cheeses and mayonnaise.
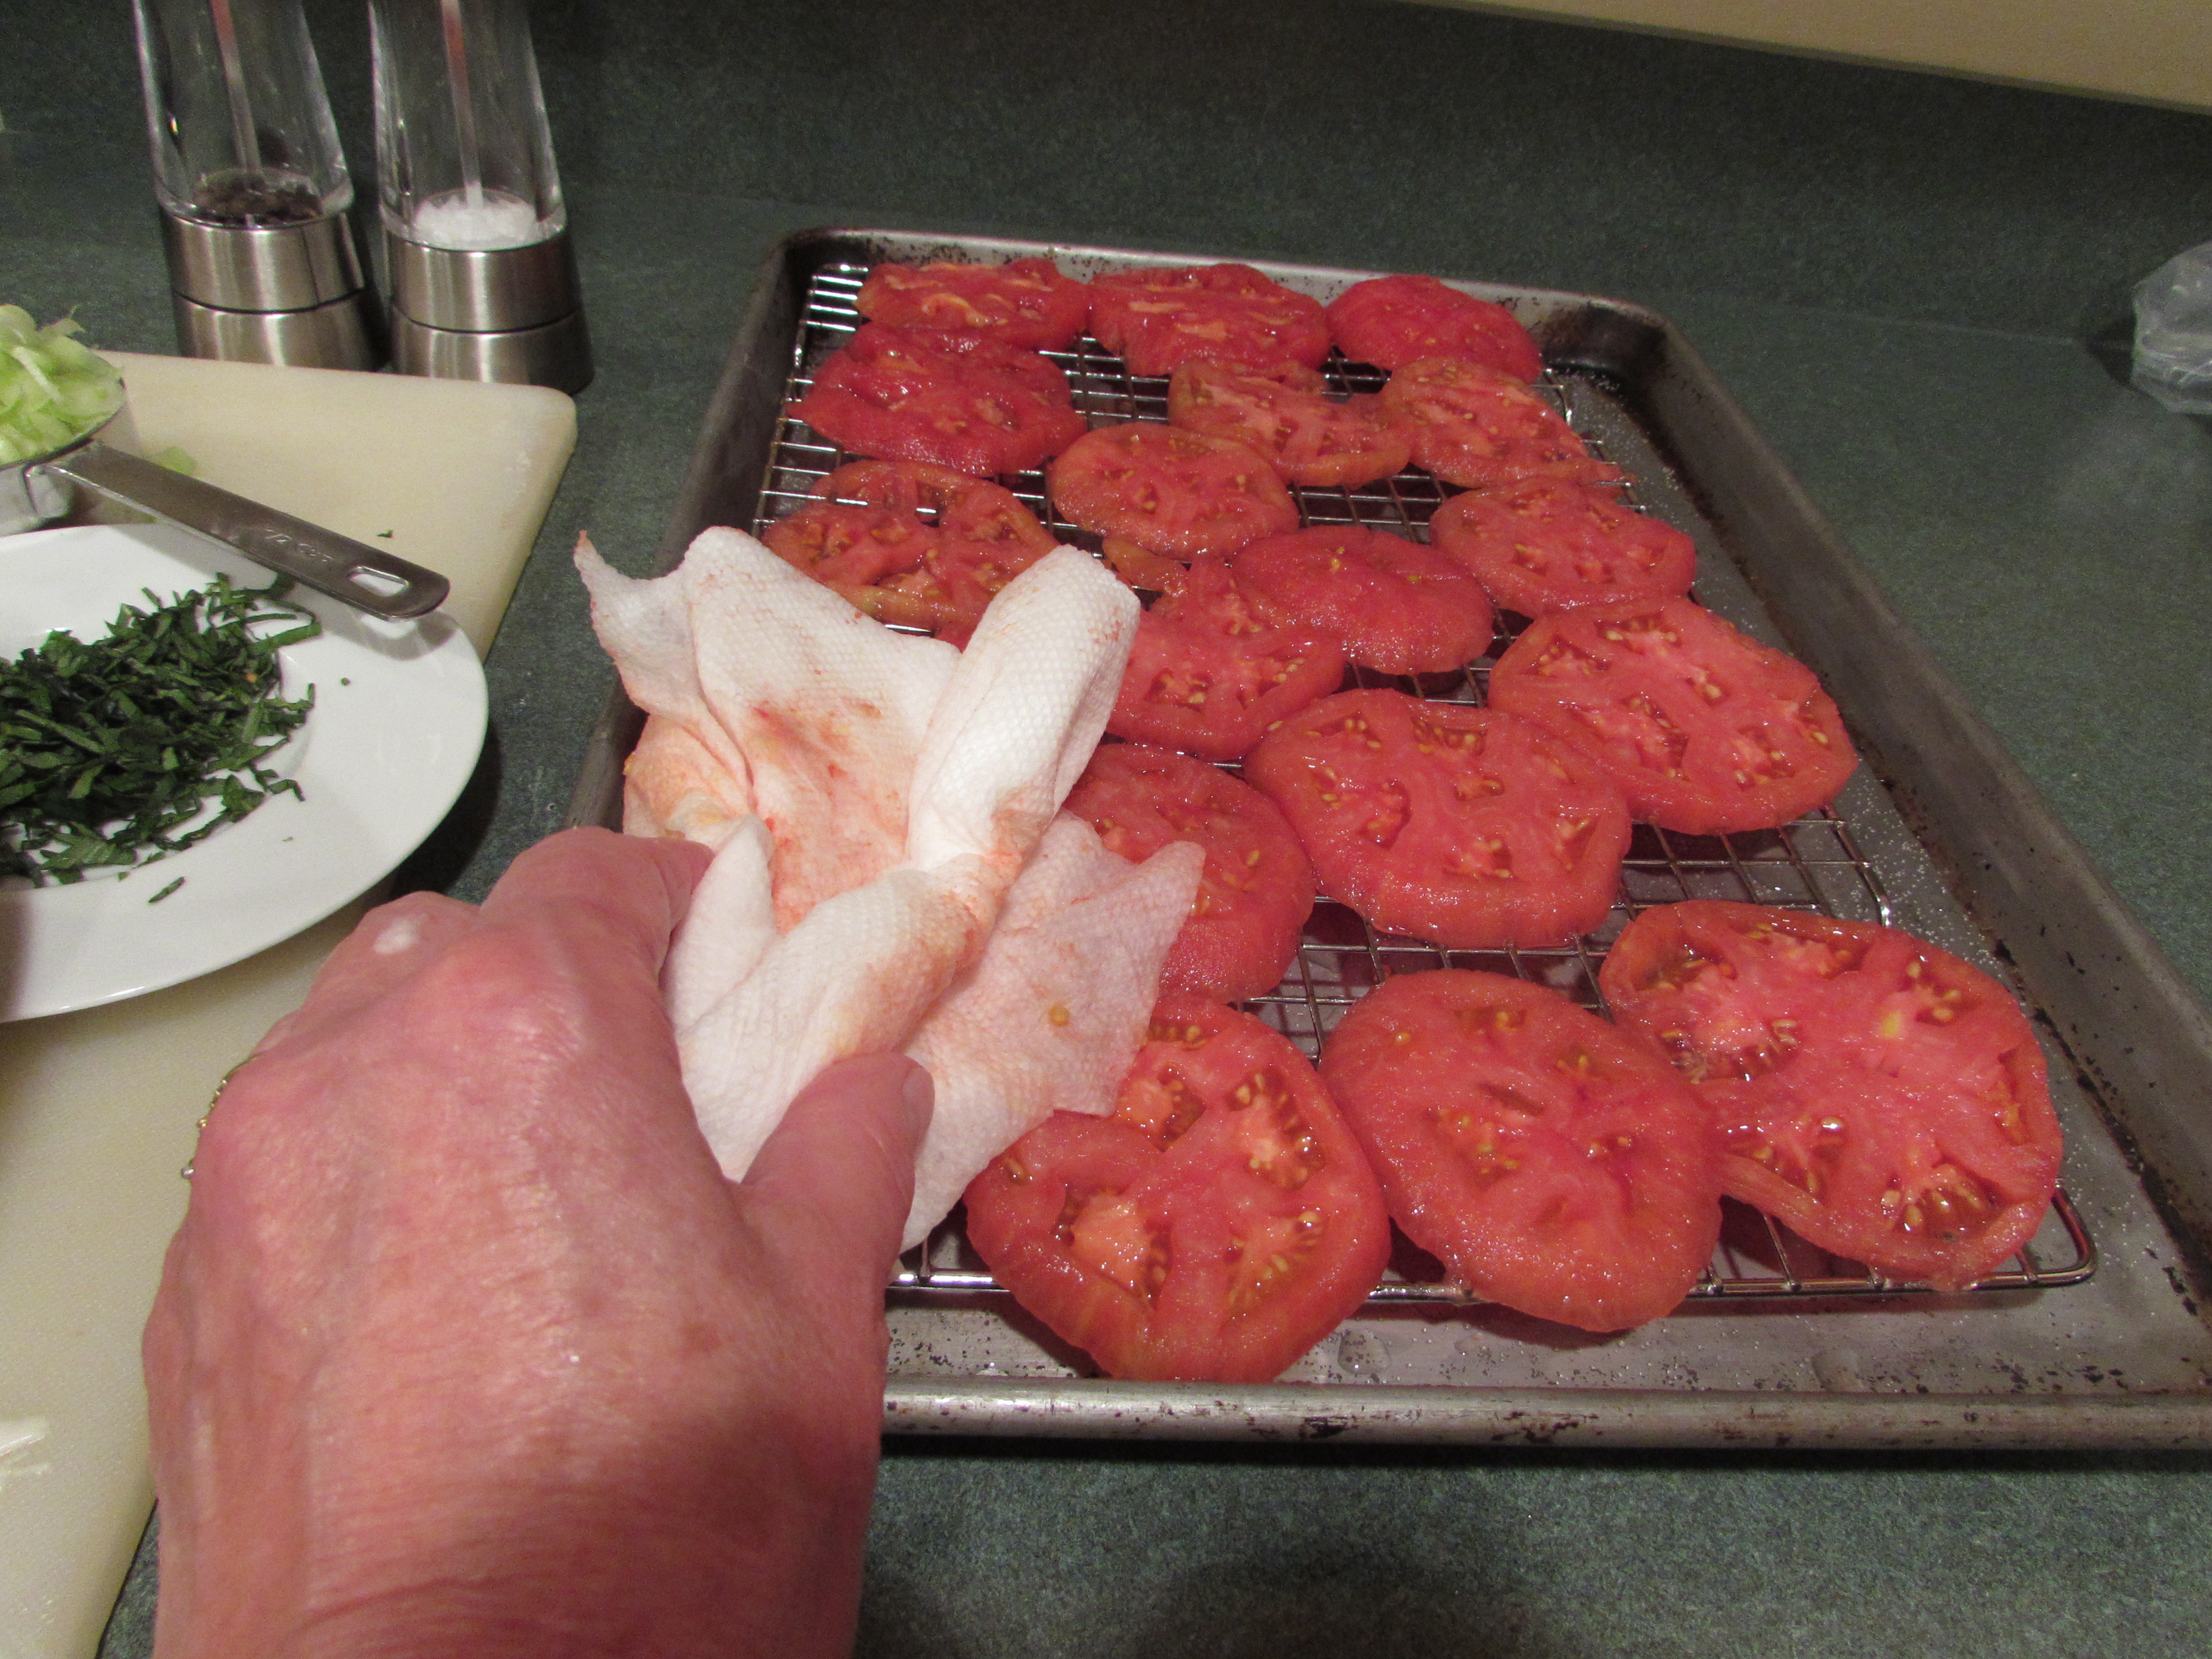
Assemble pie: pat the tomatoes carefully with paper towels while still on the cookie cooling rack. Then take each slice, place it on a paper towel, and fold the paper towel over the tomato, absorbing more juice from the tomato.
Layer the tomato slices into the pie shell. Sprinkle with the onions and basil.
Spread the cheese/mayonnaise mixture on top (I used my fingers, clean fingers!) of the tomatoes.
Bake for 40-45 minutes until lightly browned.
Let sit for 15 -20 minutes and serve.
Pillsbury Pie Crusts:

ice water ready, X on tomatoes:

after 30 seconds, skin starts to peel off tomato:

then into the ice bath:

pie shell ready to bake:

pre-baked pie shell:

skin off ready to slice:
and onto cookie cooling rack:

mis en place:

cheese and mayo:
drying tomatoes:
tomatoes, basil and onions:

then cheese mixture topping:

ready to eat:


Spicy Basque Style Chicken

This is a great recipe from Cooking Light. Easily doable during the week for a quick dinner. The recipe calls for sliced green olives. I am not a fan so I omitted them but you may love that extra pungent flavor.
Though it is fabulous on rice, lots of delicious sauce, my son creatively thought of another way to serve it: in flour tortillas, with grated cheese and sour cream! Yum! Should have taken a picture of that too!
Spicy Basque Style Chicken ( Cooking Light June 2007)
1 teaspoon smoked paprika
1/4 teaspoon black pepper
1 pound skinless, boneless chicken breast tenders
2 teaspoons olive oil
2 teaspoons minced garlic
2, 10 ounce cans diced tomatoes and green chiles, undrained (I used Ro*Tel, the milder version but you may like it hotter)
1/4 cup finely chopped prosciutto, about 1 ounce
2 tablespoons chopped fresh parsley
Combine paprika and pepper. Sprinkle evenly over the chicken.
Heat oil in a large nonstick skillet over medium high heat. Add chicken to pan and cook 4 minutes. Add garlic to pan and cook 30 seconds. Turn chicken over. Add tomatoes to skillet and bring to boil. Reduce heat and simmer 6 minutes.
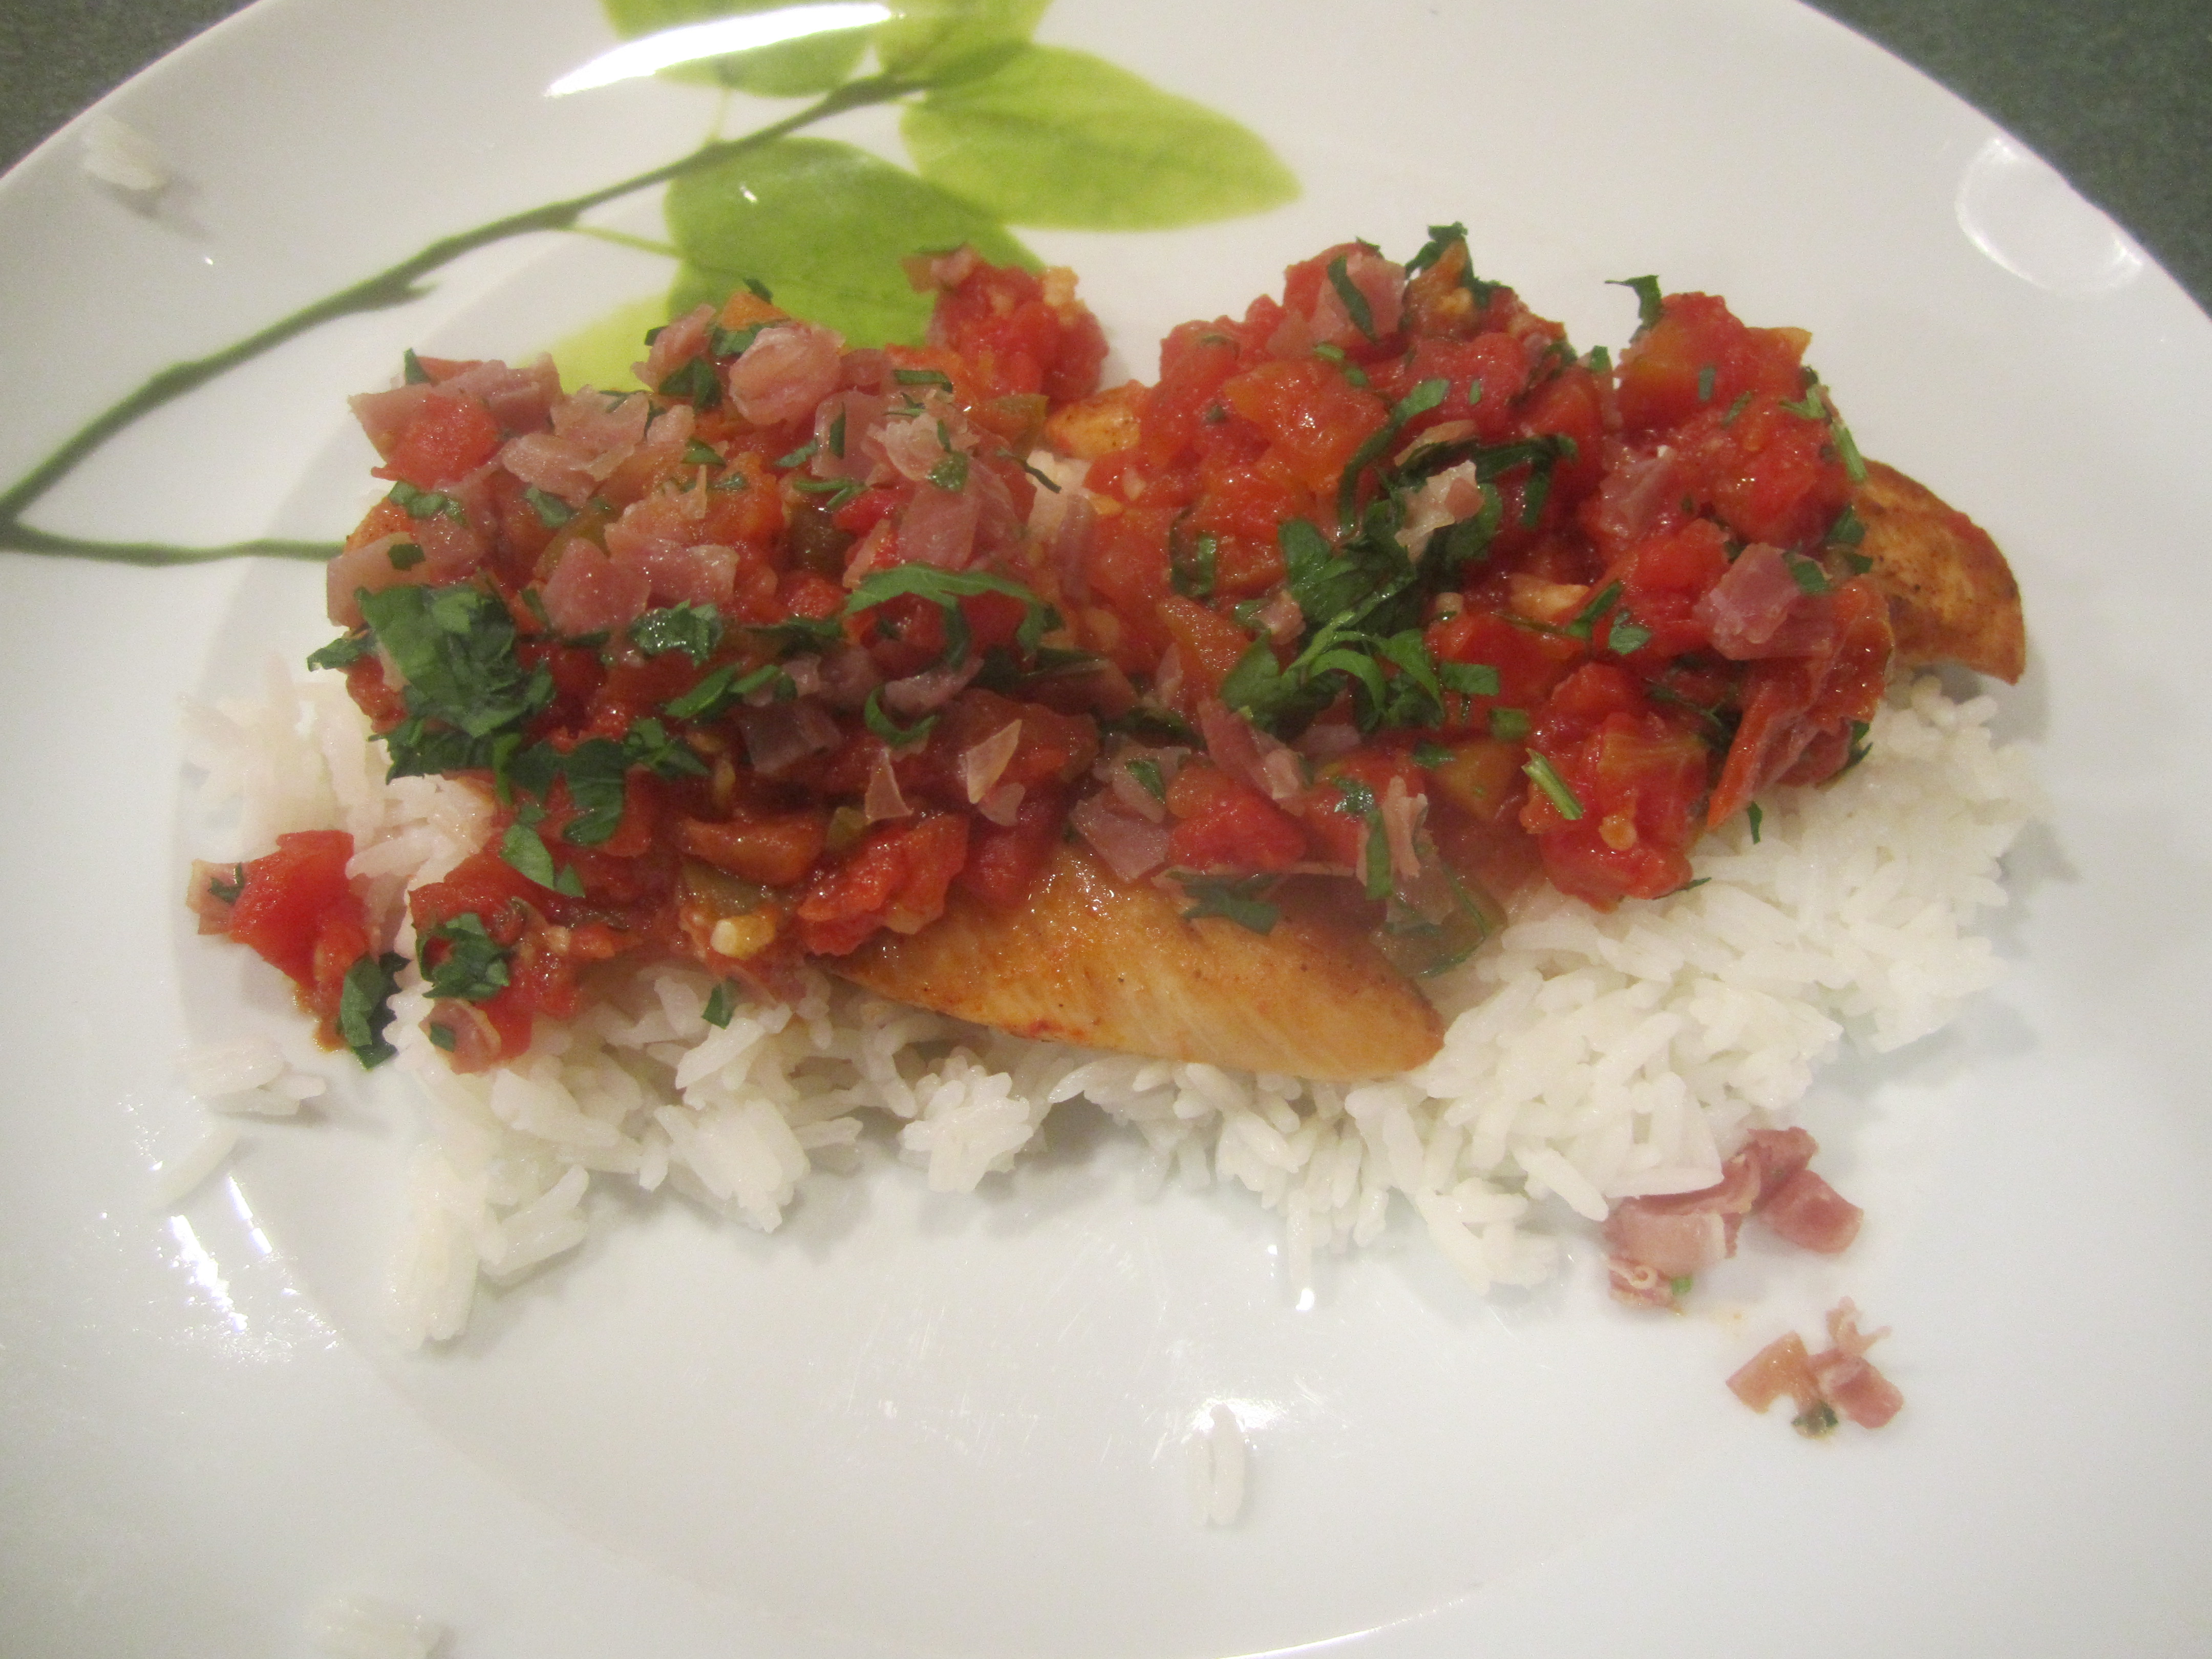
Remove chicken from pan and increase heat to medium high. Cook for 2 minutes, stirring occasionally. Add chicken back into pan and sprinkle with prosciutto and parsley. Serve over rice or in a flour tortillas, with cheese and sour cream.
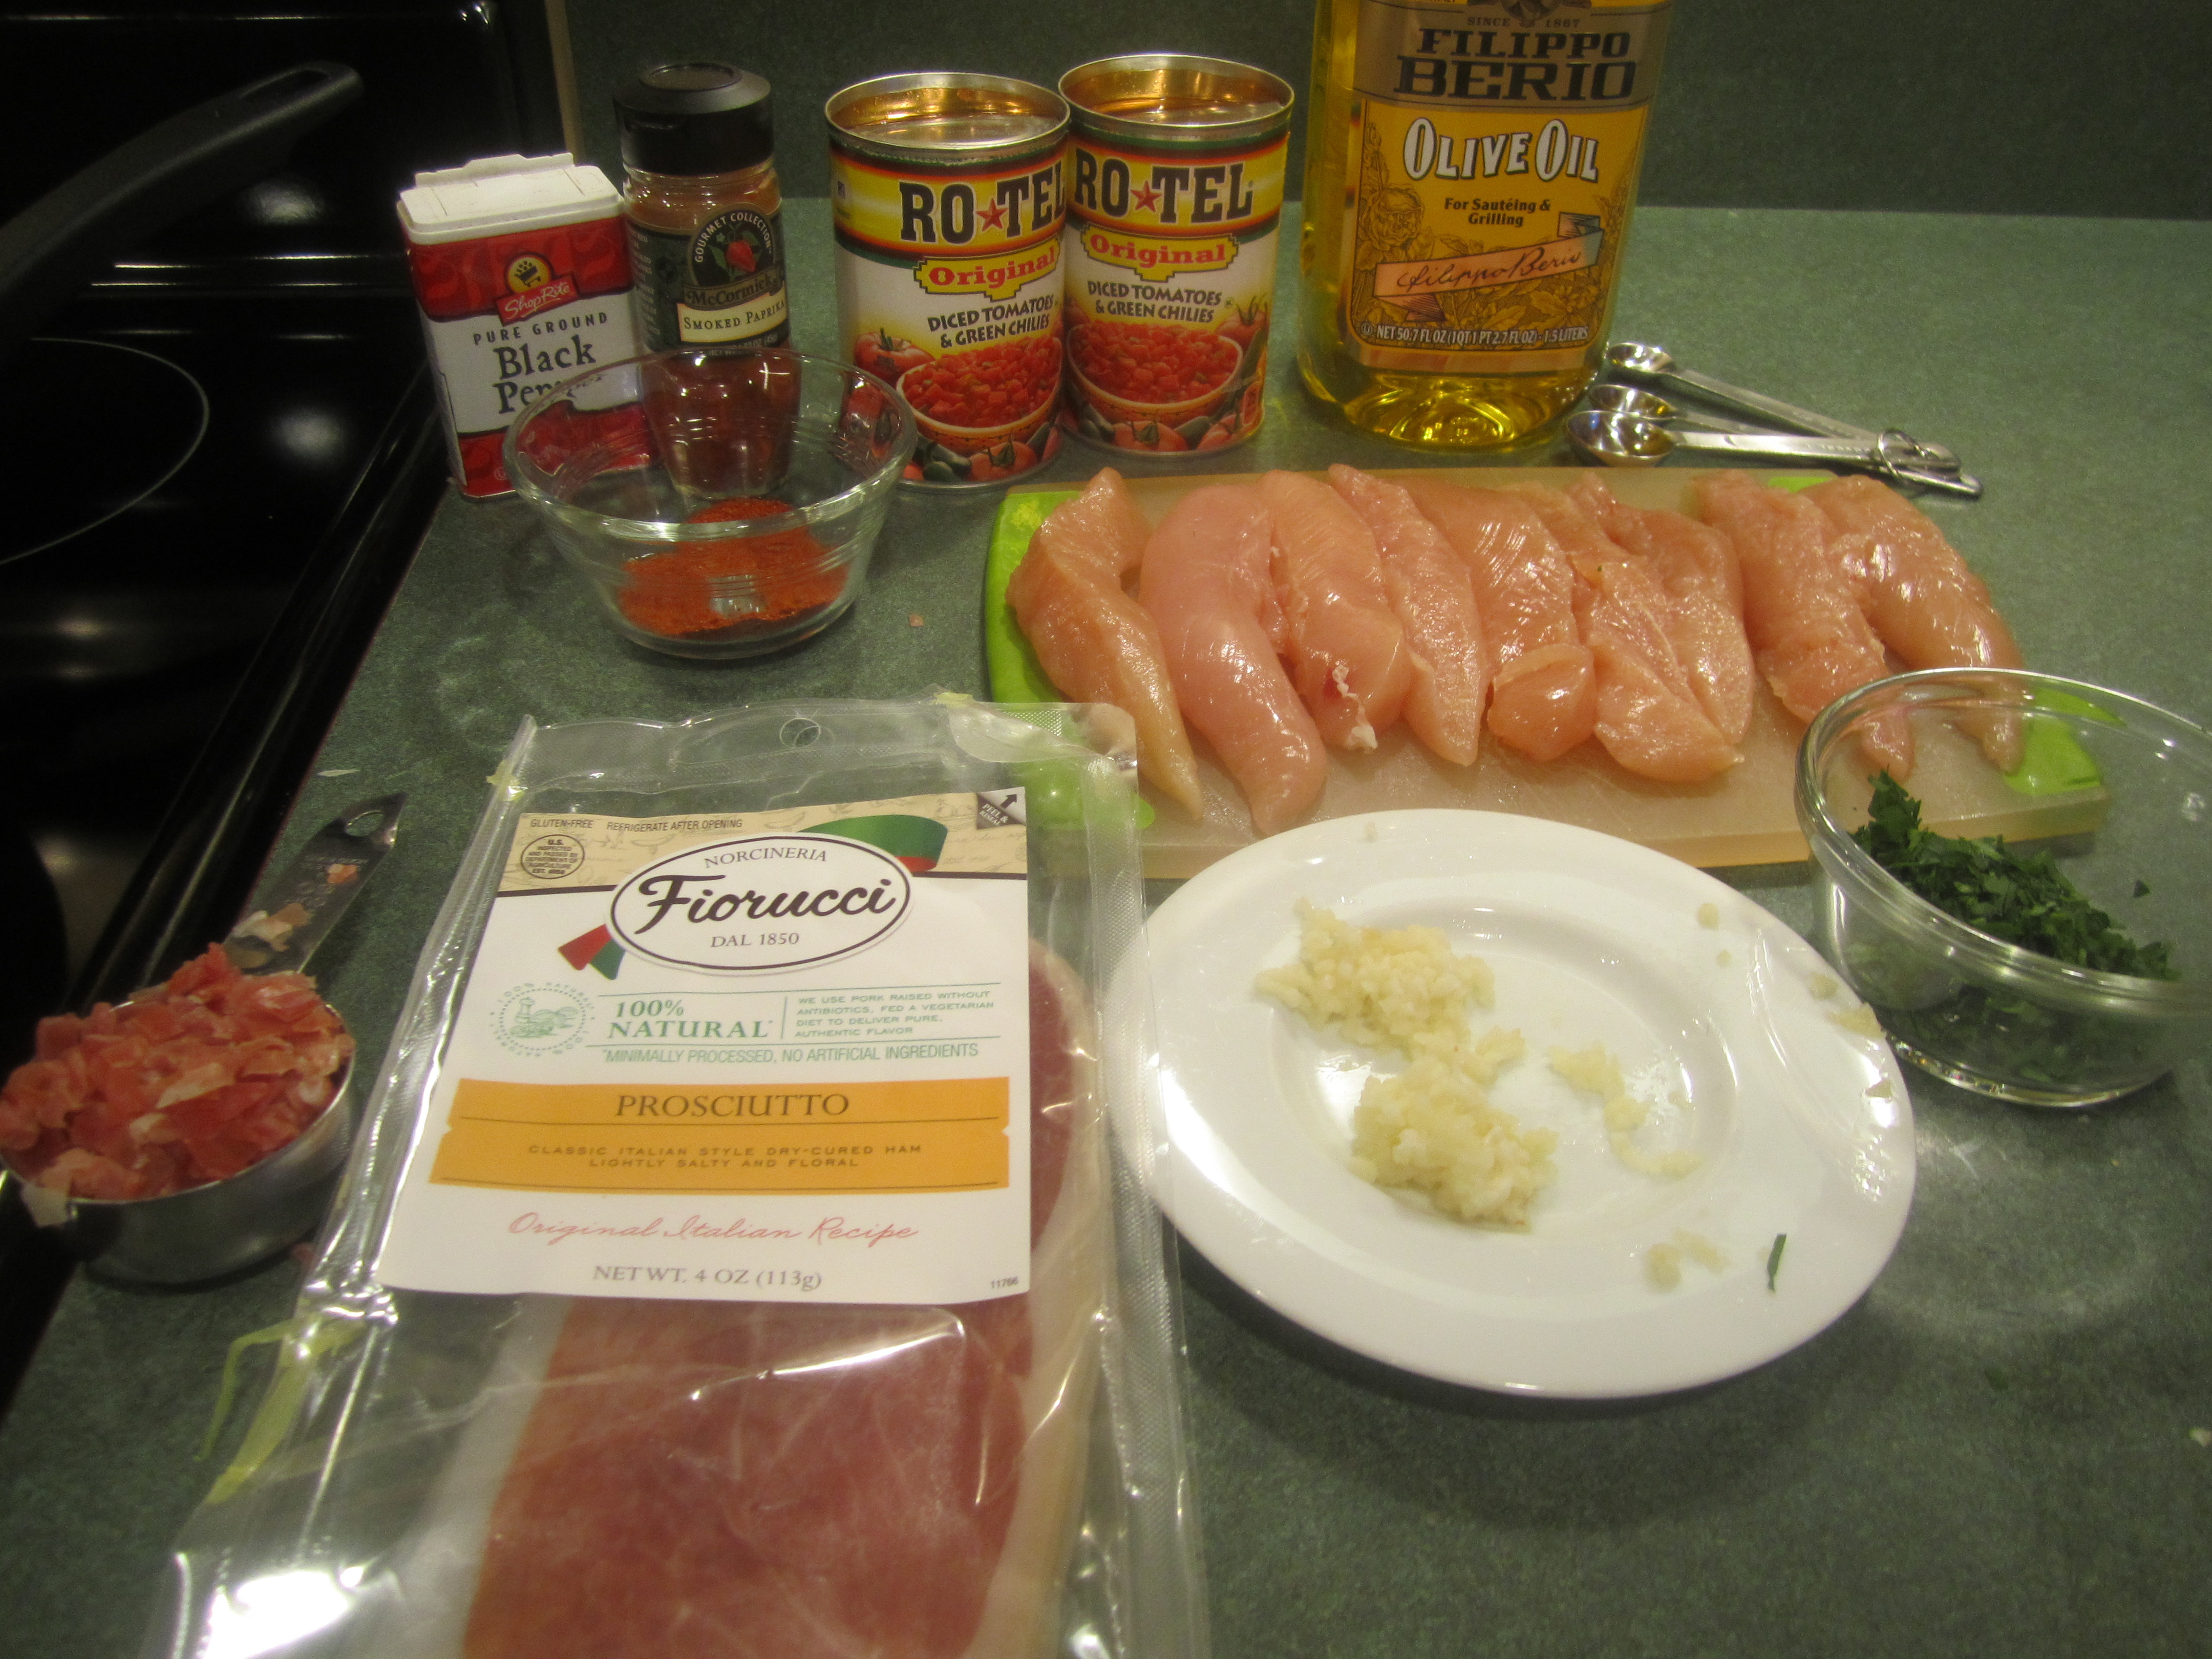
mise en place:
paprika and pepper sprinkled on chicken tenders:

cook for 4 minutes then add garlic:


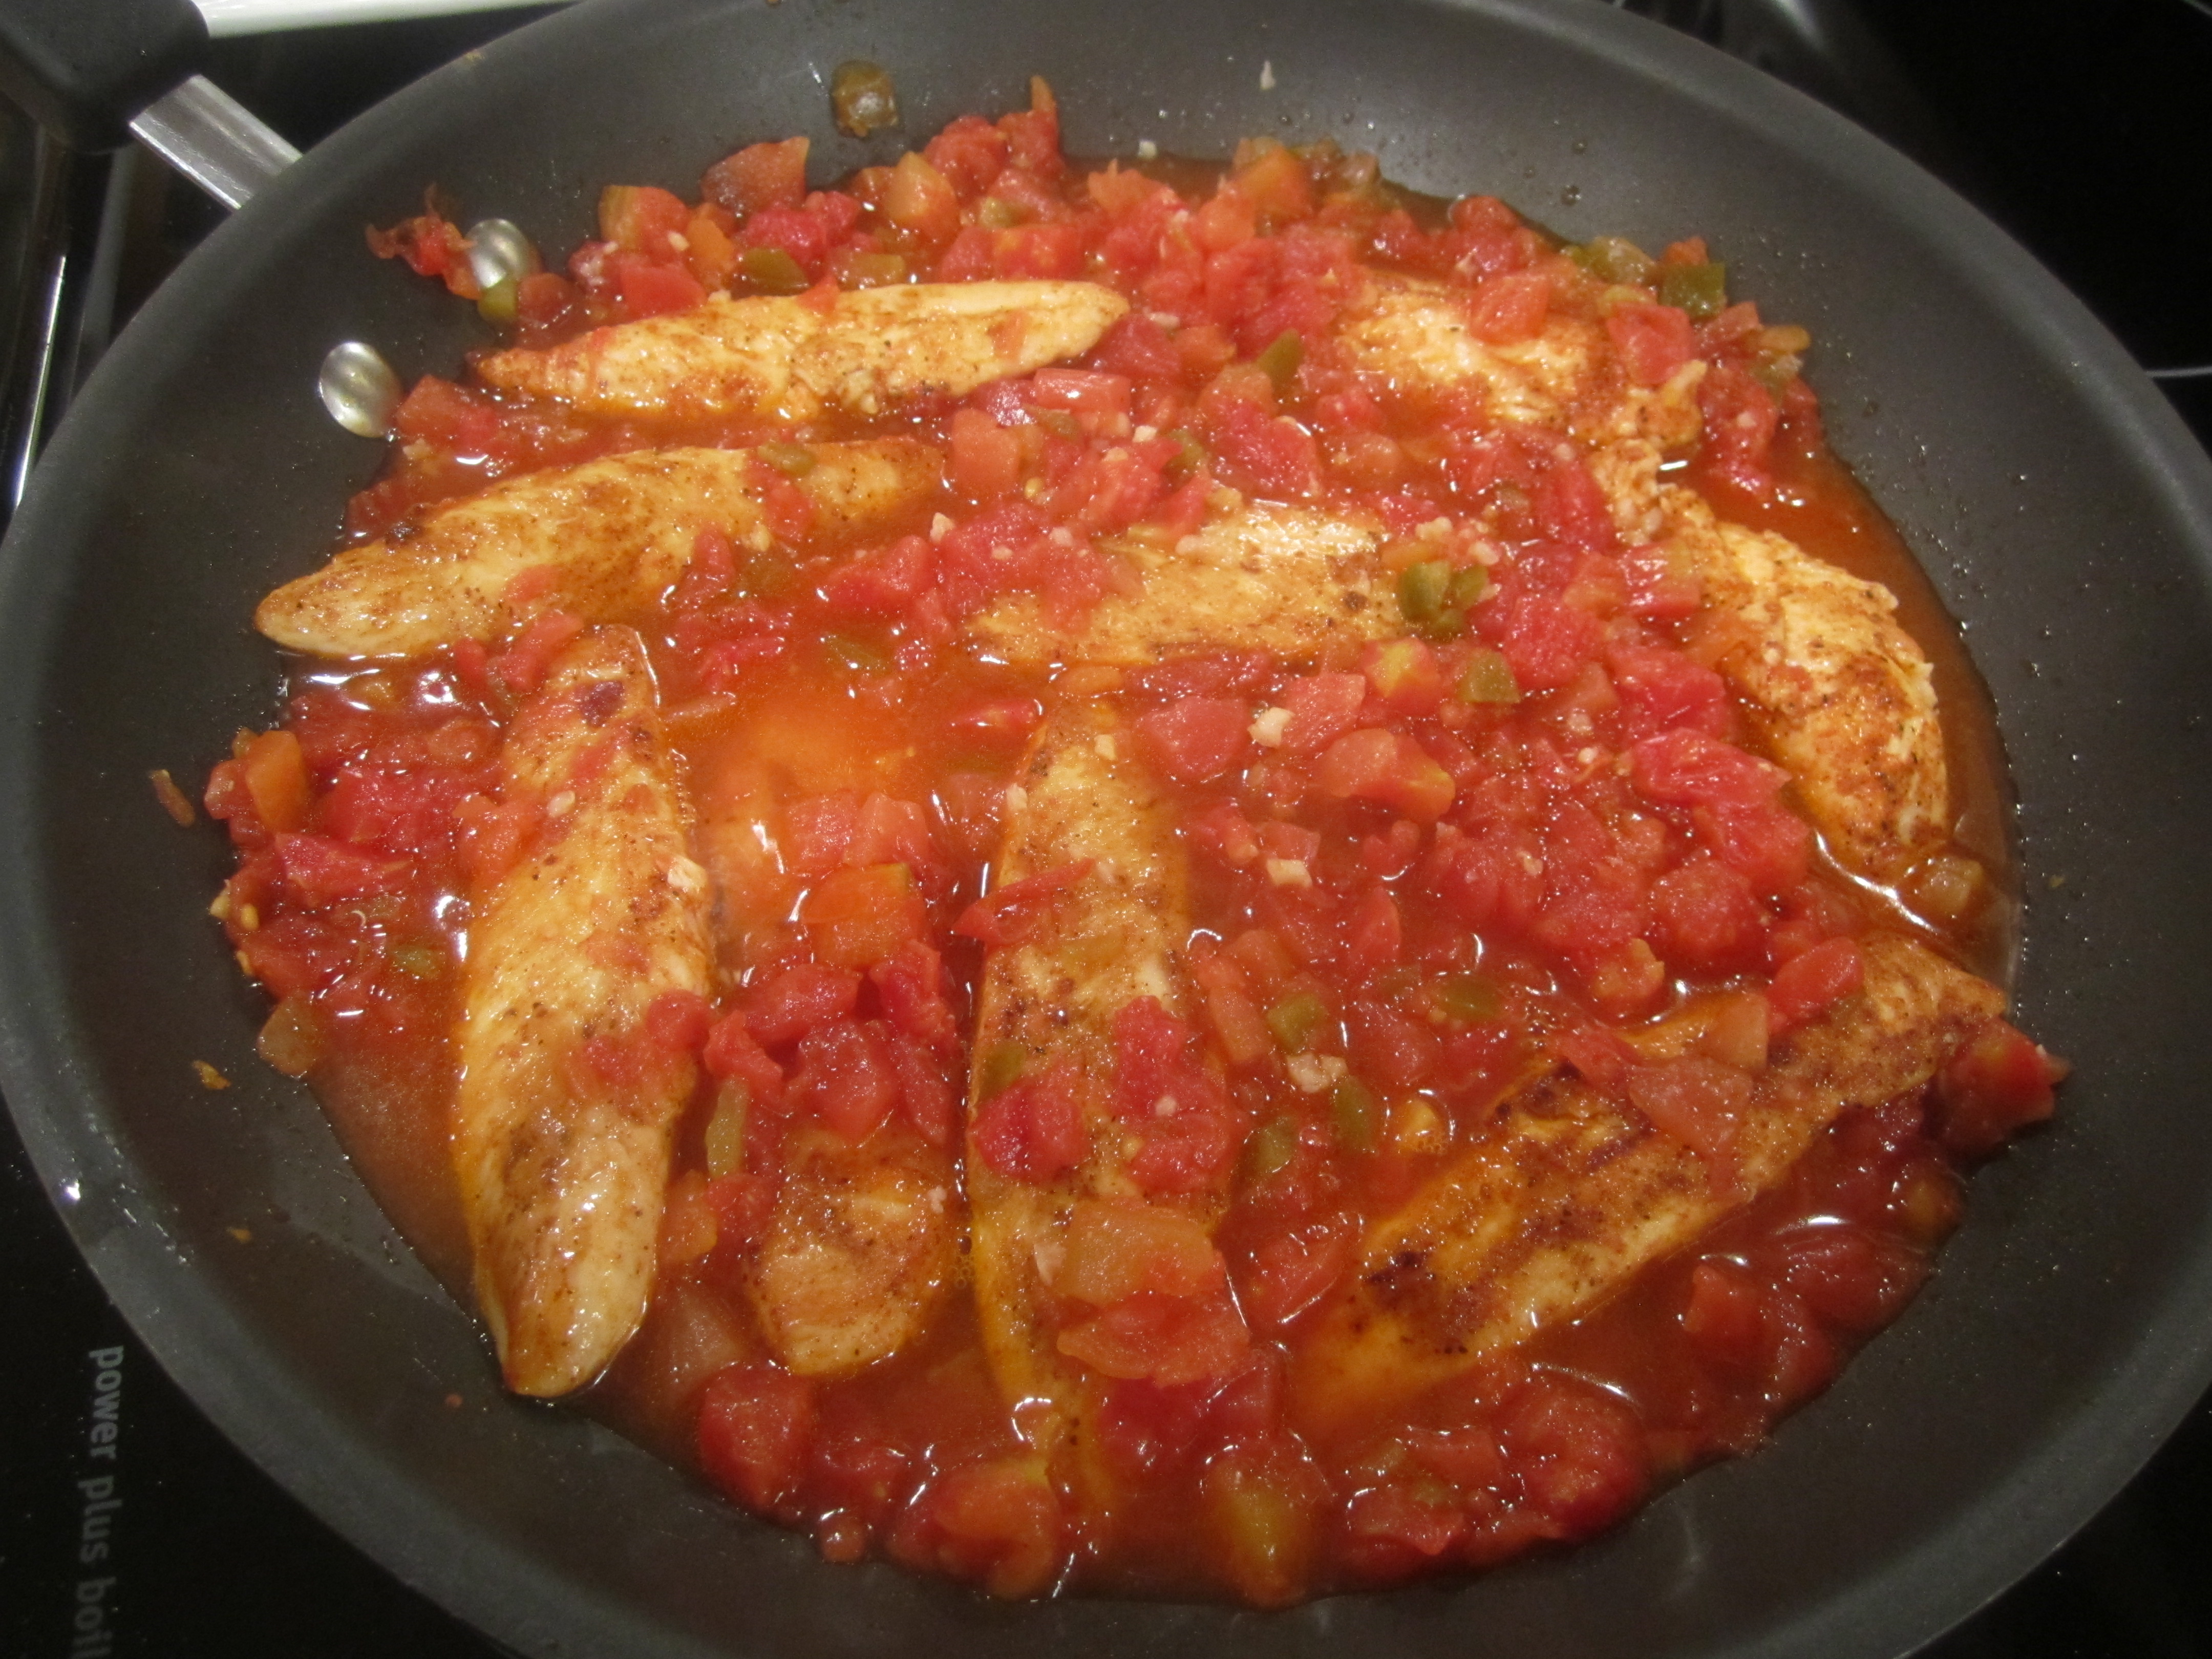
turn chicken over and add tomatoes:

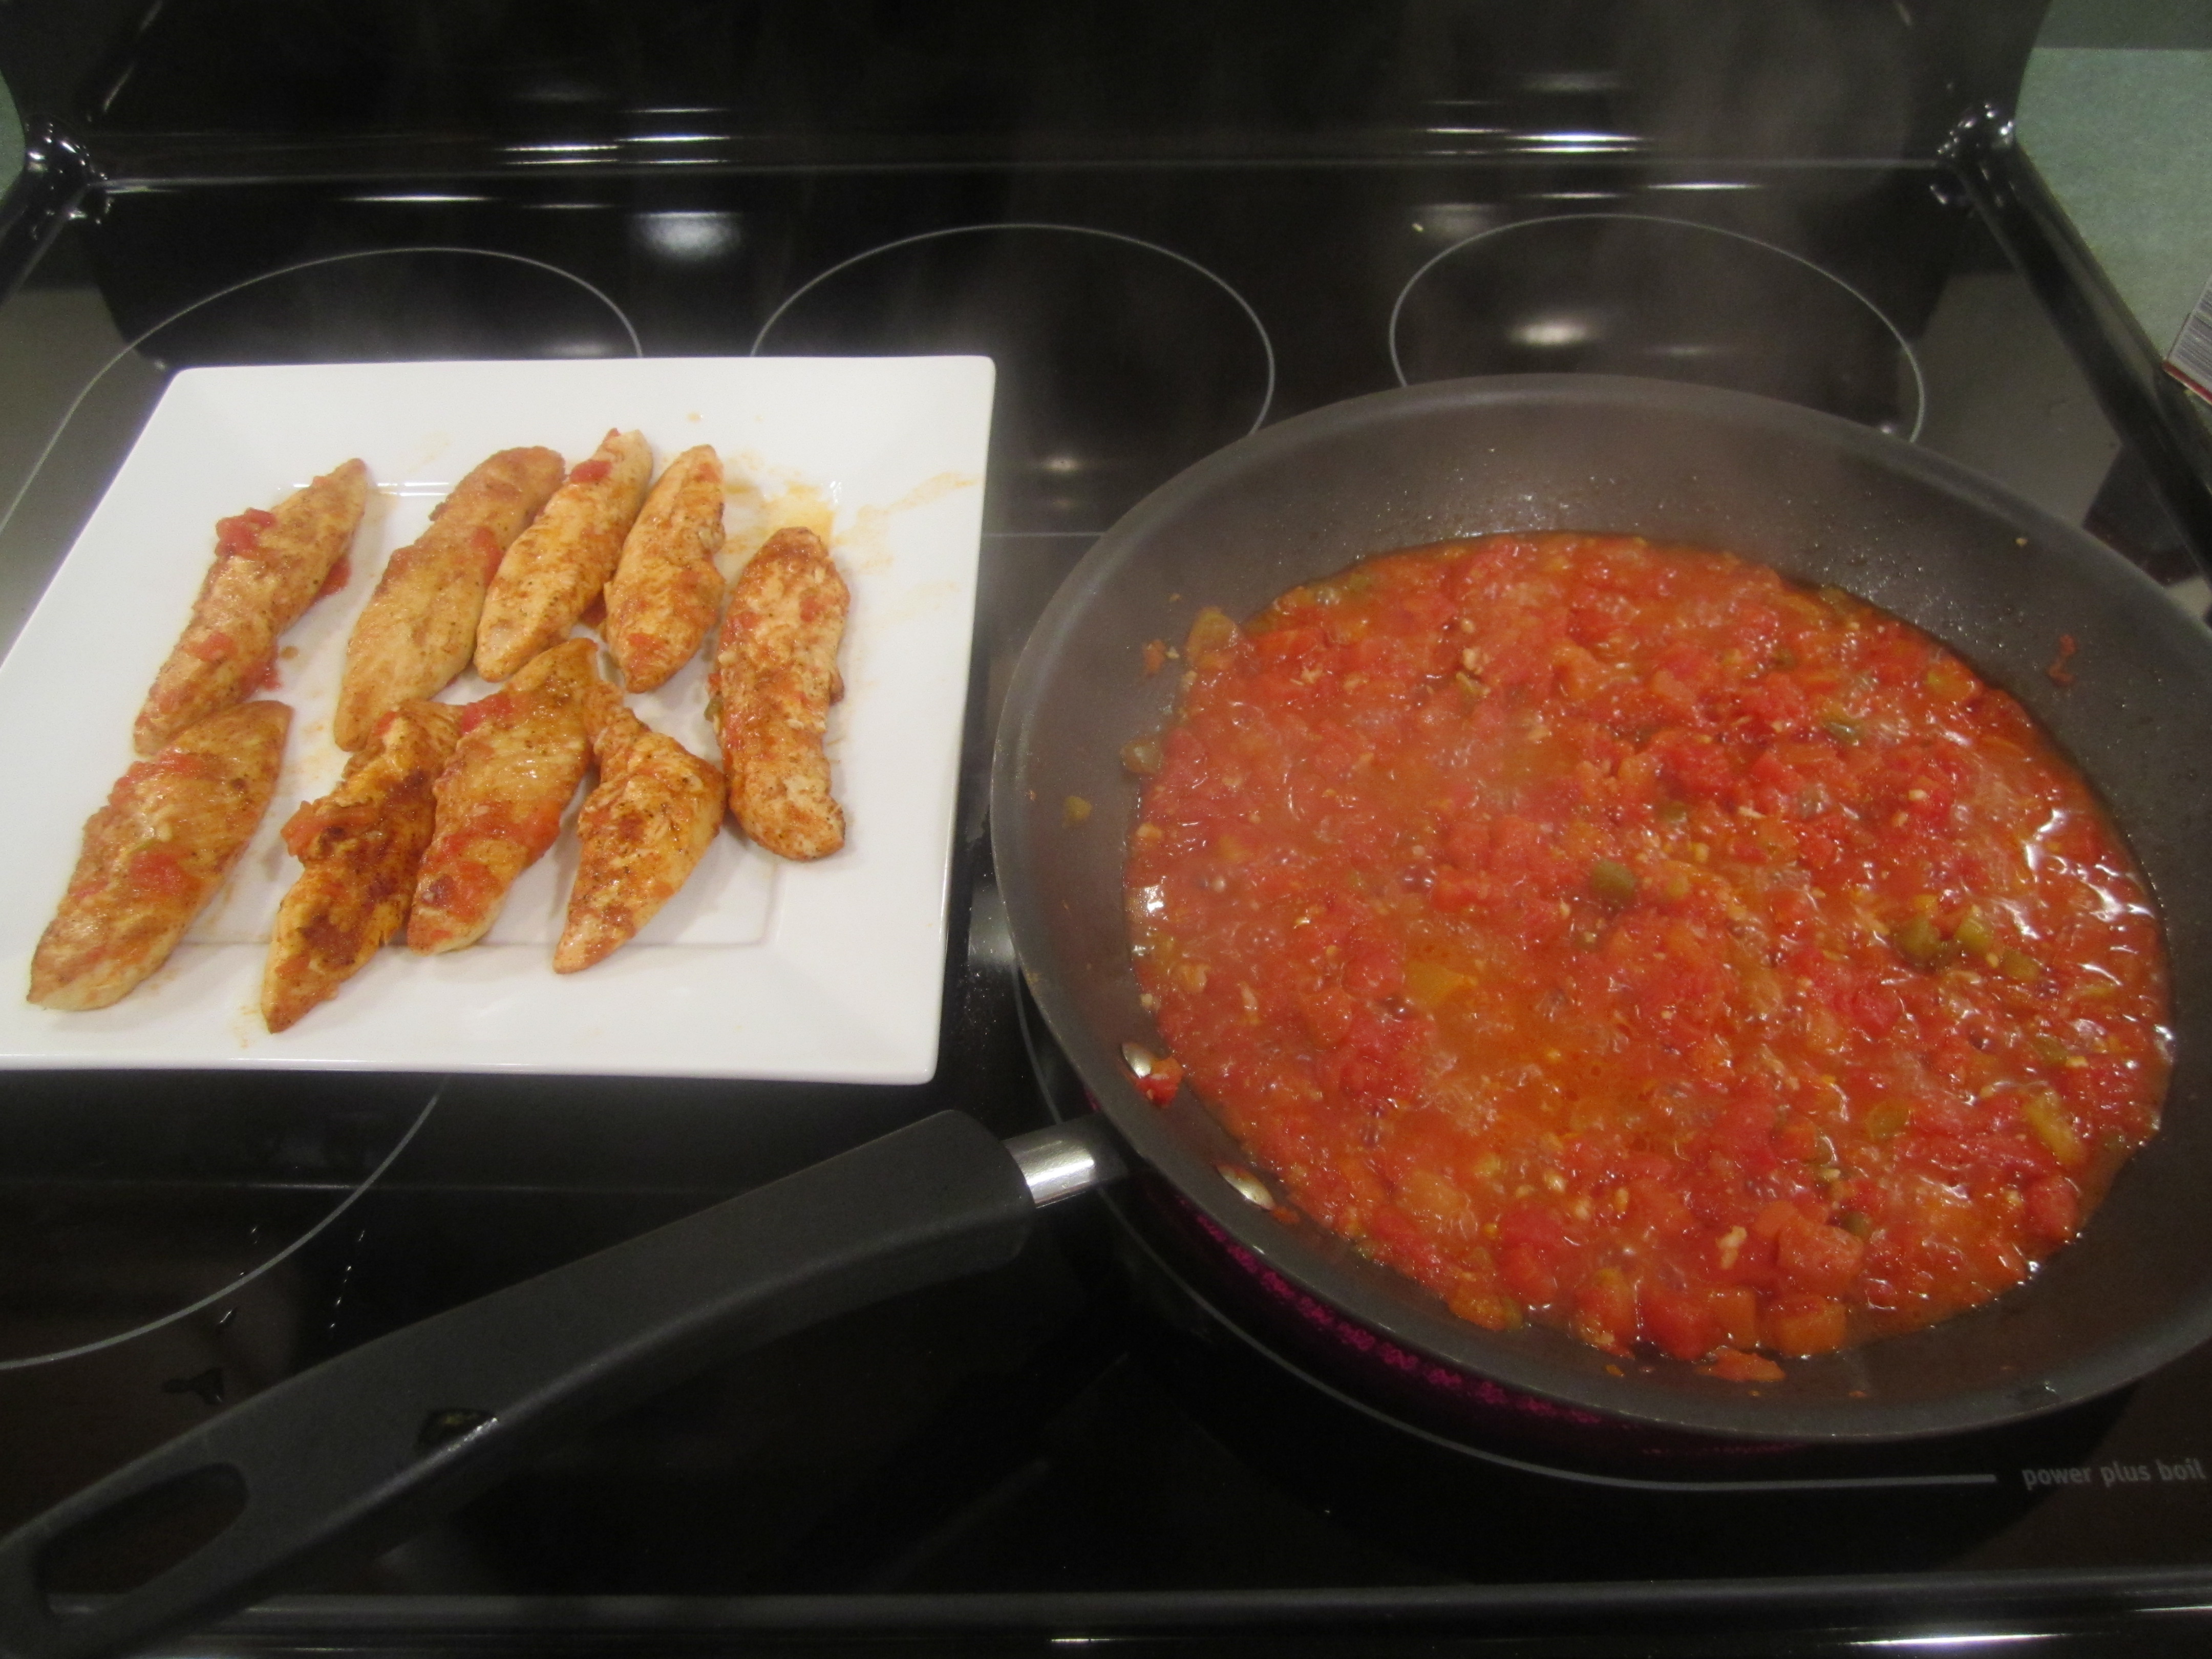
After 6 minutes, remove chicken and cook sauce:
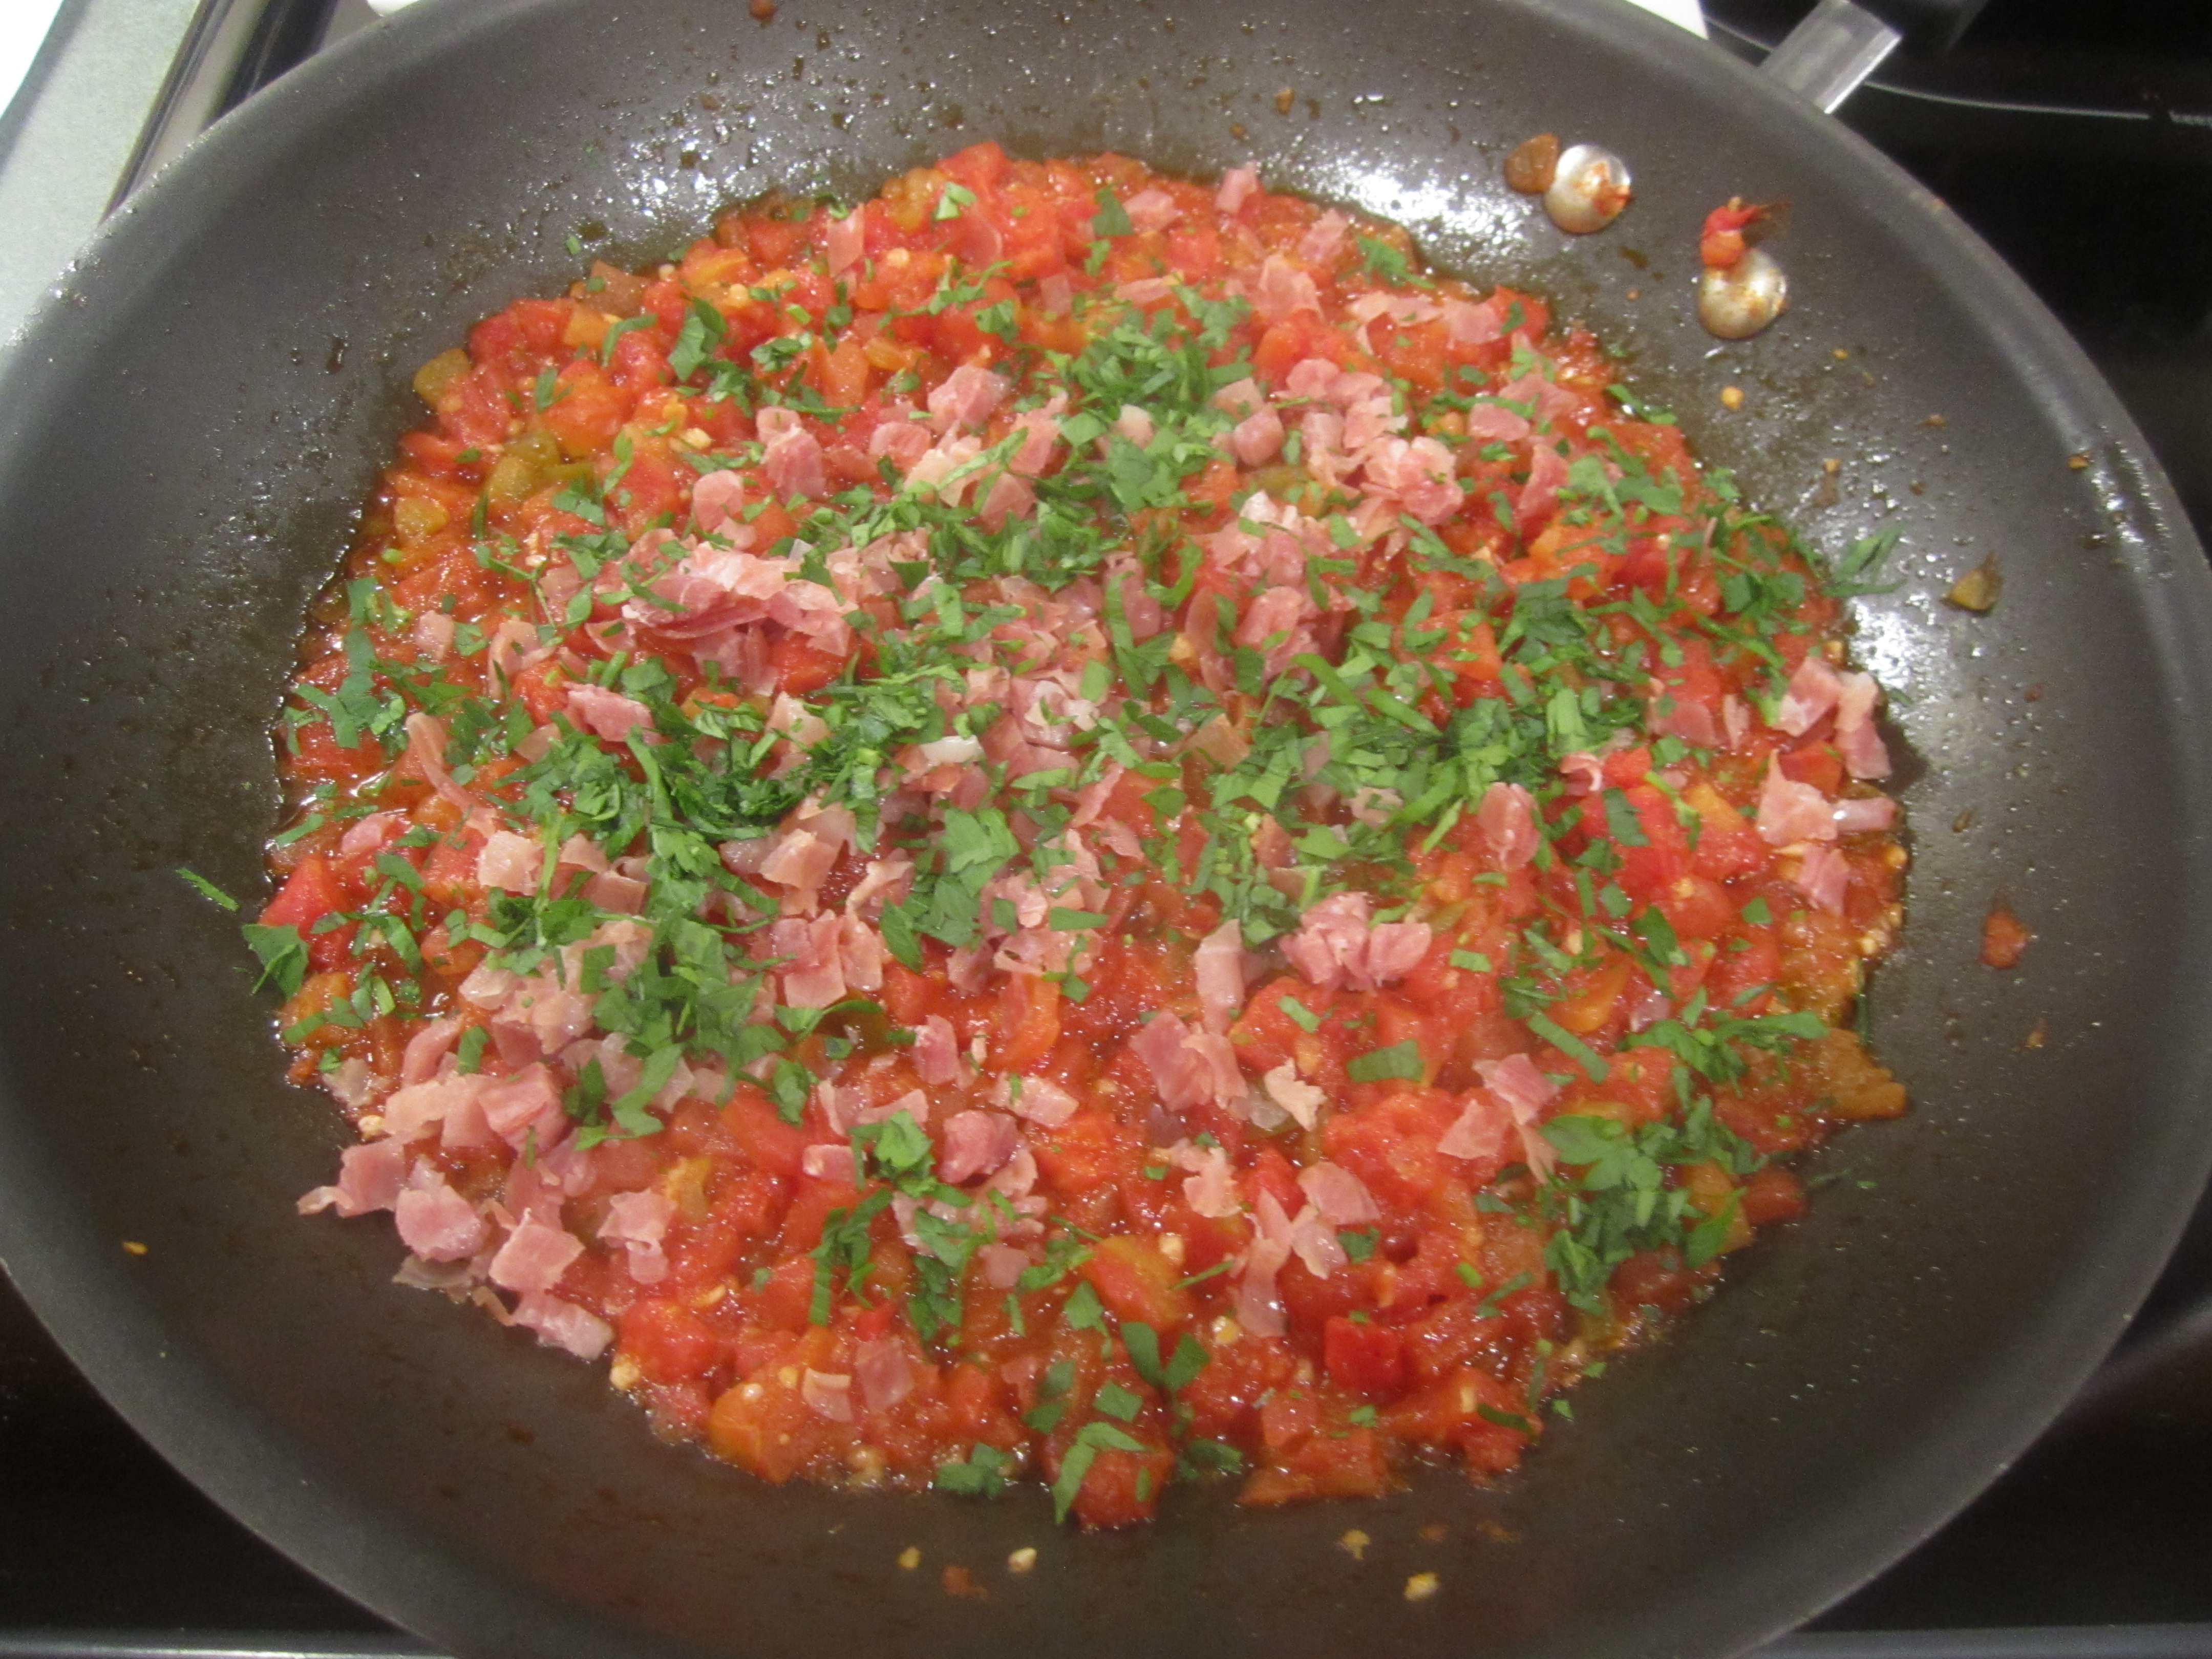
add prosciutto and parsley: