Sambal Chicken Skewers

Wow! These were spicy. Neither my husband or son could eat them (fortunately I had leftover Beef and Cheese Macaroni in the refrigerator, haha!) but I liked them!
I also thought the technique for cooking them with the marinade was very good and will use it again.
These are a few of my notes:
I did not add all the chicken to the marinade. I added about a 1/4 cup of the marinade to the chicken and then took the rest of the marinade and cooked it according to their directions.
I cut the boneless, skinless chicken thighs into quarters, as evenly as possible. I put 4 quarters on each bamboo stick. The brand of chicken is important too. I believe Perdue has the best product, which is what I used. They are not overly fatty.
I set the grill temperature to 3 notches below high.
I cooked the chicken for a total of 12 minutes on the grill, turning every 2 minutes and basting.
If these seem too spicy, there are comments from readers on the recipe that might be useful in reducing the heat.
Sambal Chicken Skewers Bon Appetit, July 2013
Enjoy!

My Mom’s Scalloped Potatoes
When I was growing up, these were a traditional side dish that my Mom would make on a regular basis. Not my favorite back then.
But, who knows why, my tastes have changed and now I really enjoy them. My husband and daughter have always liked them and my son feels as I did.
Alot of recipes call for cheese in their Scalloped Potato recipe but this one is very basic: potatoes, onions, butter, milk, a bit of flour, salt and pepper. The baking time and temperature I think is what makes these potatoes special. So give them a try. I just had them tonight with steak, very tasty!
My Mom’s Scalloped Potatoes
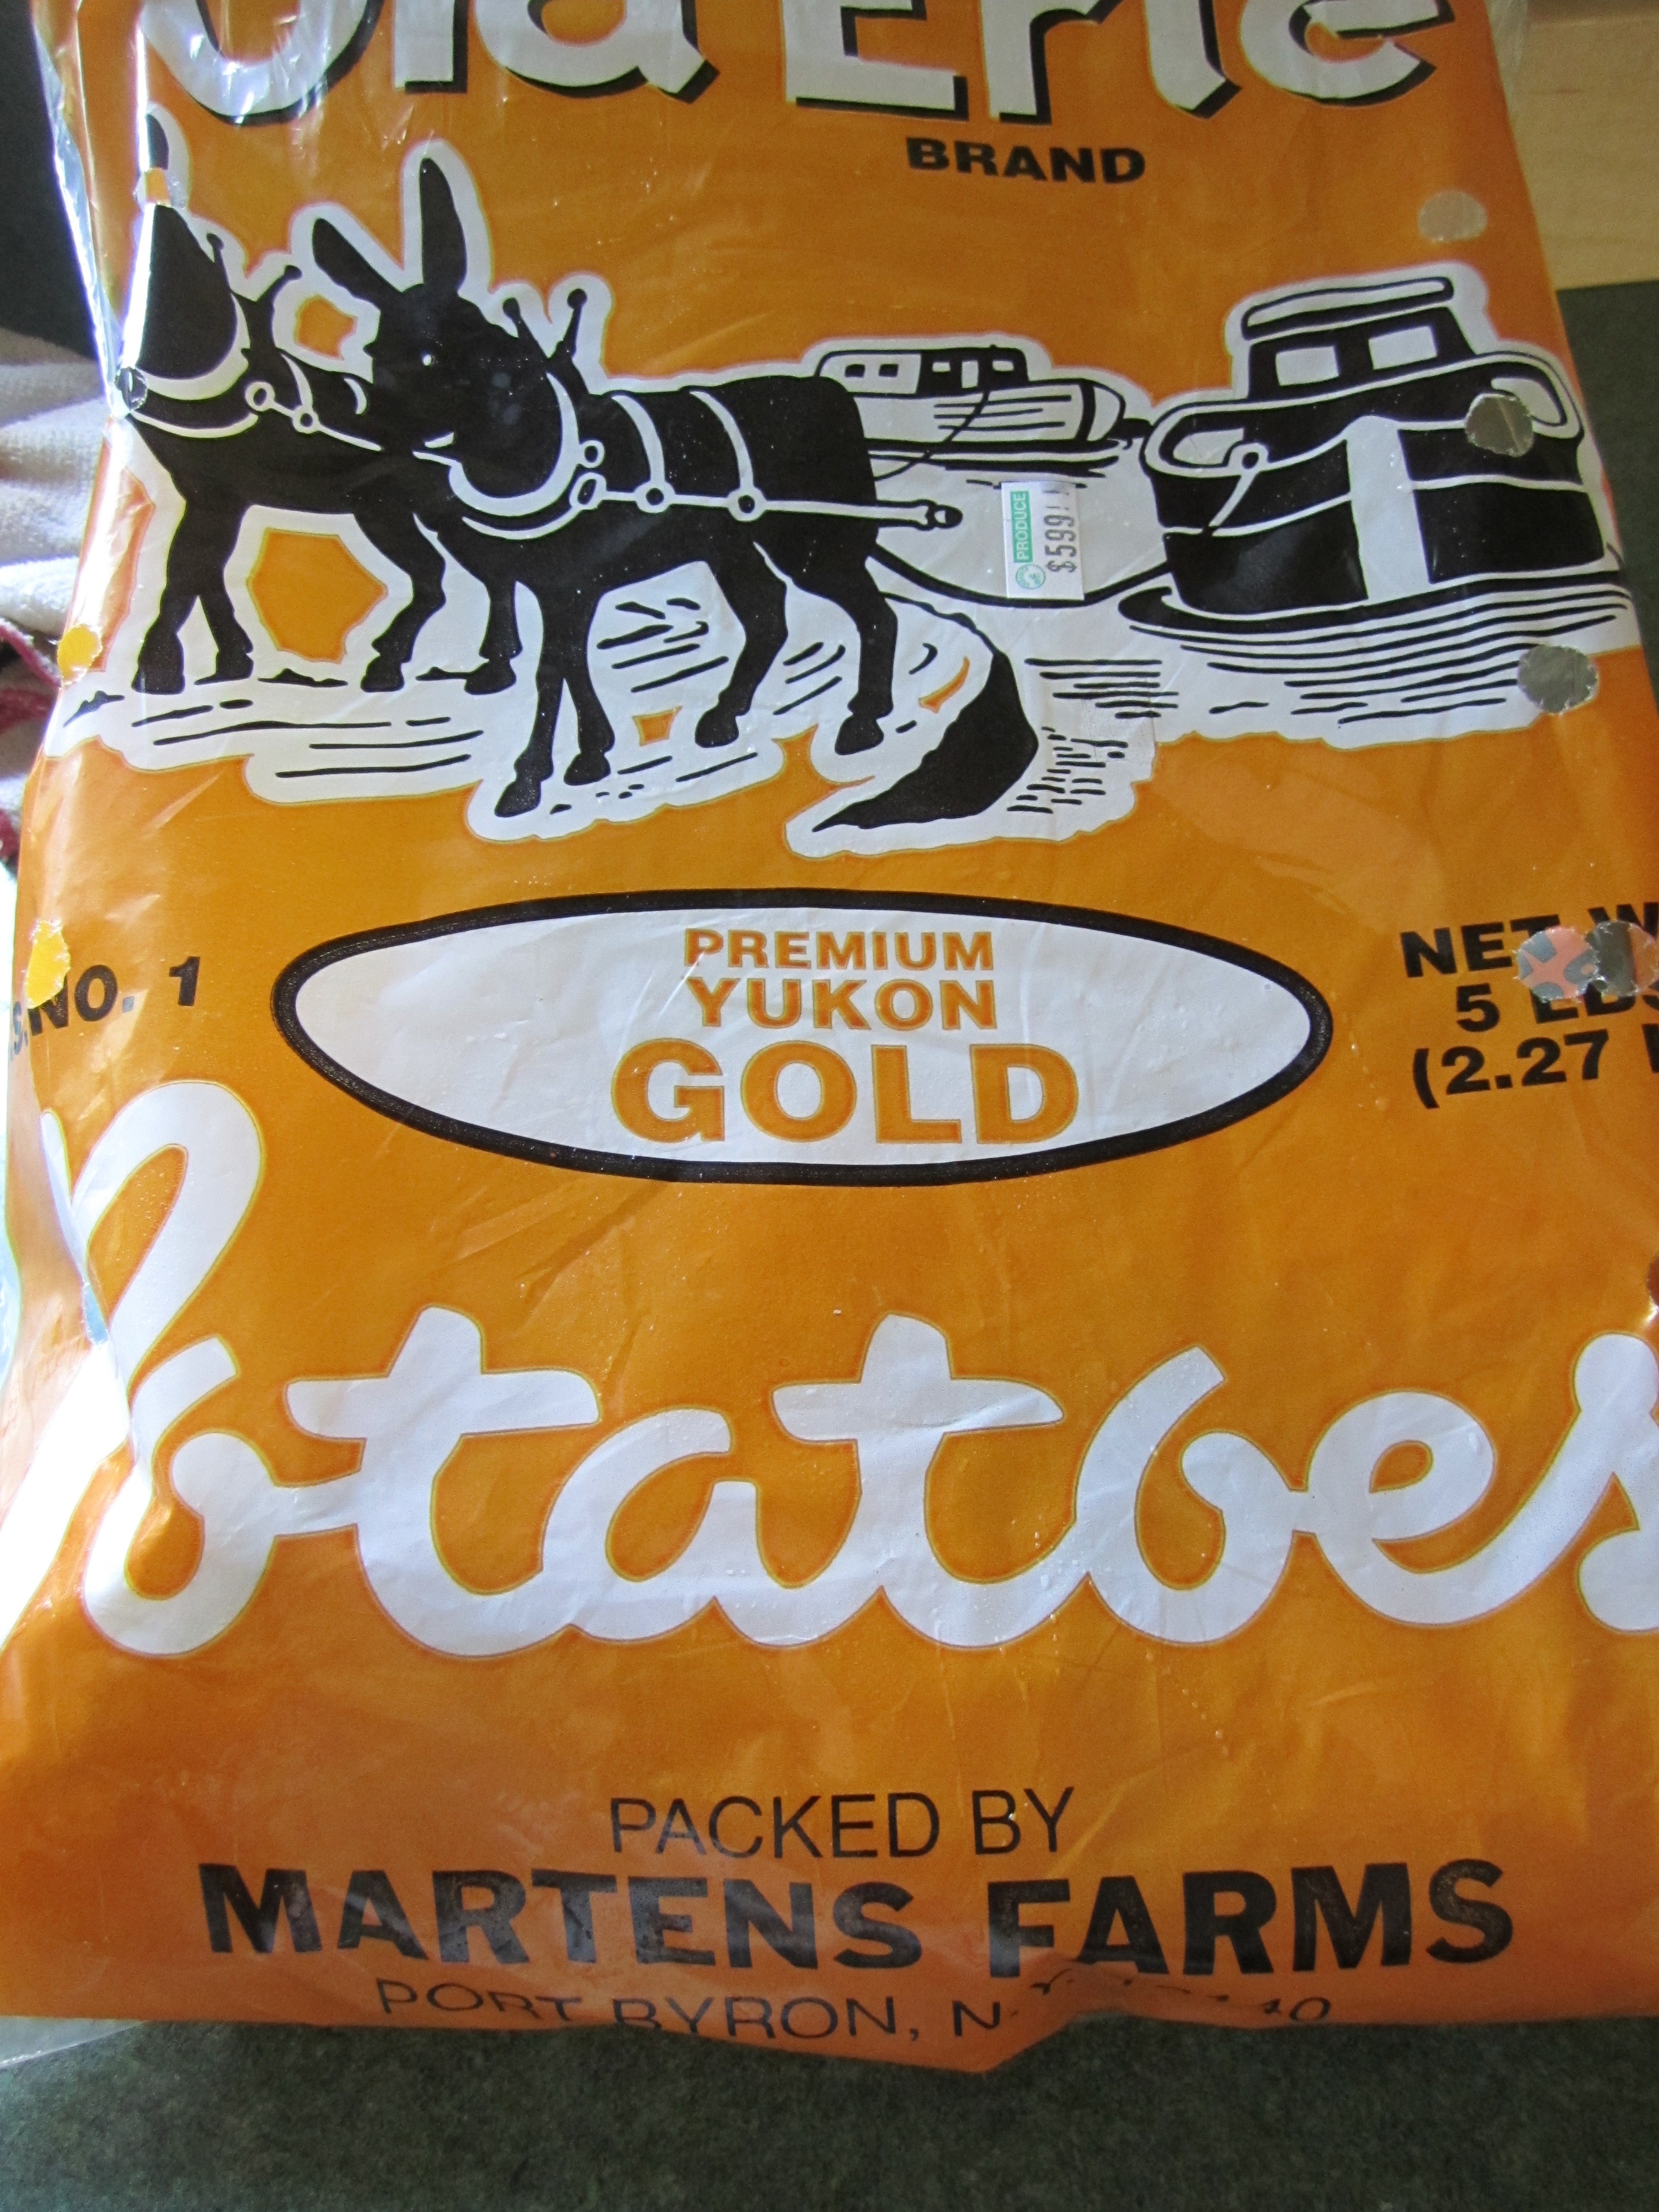
4 cups thinly sliced potatoes (approximately 6-7 medium potatoes, I like Yukon Gold)
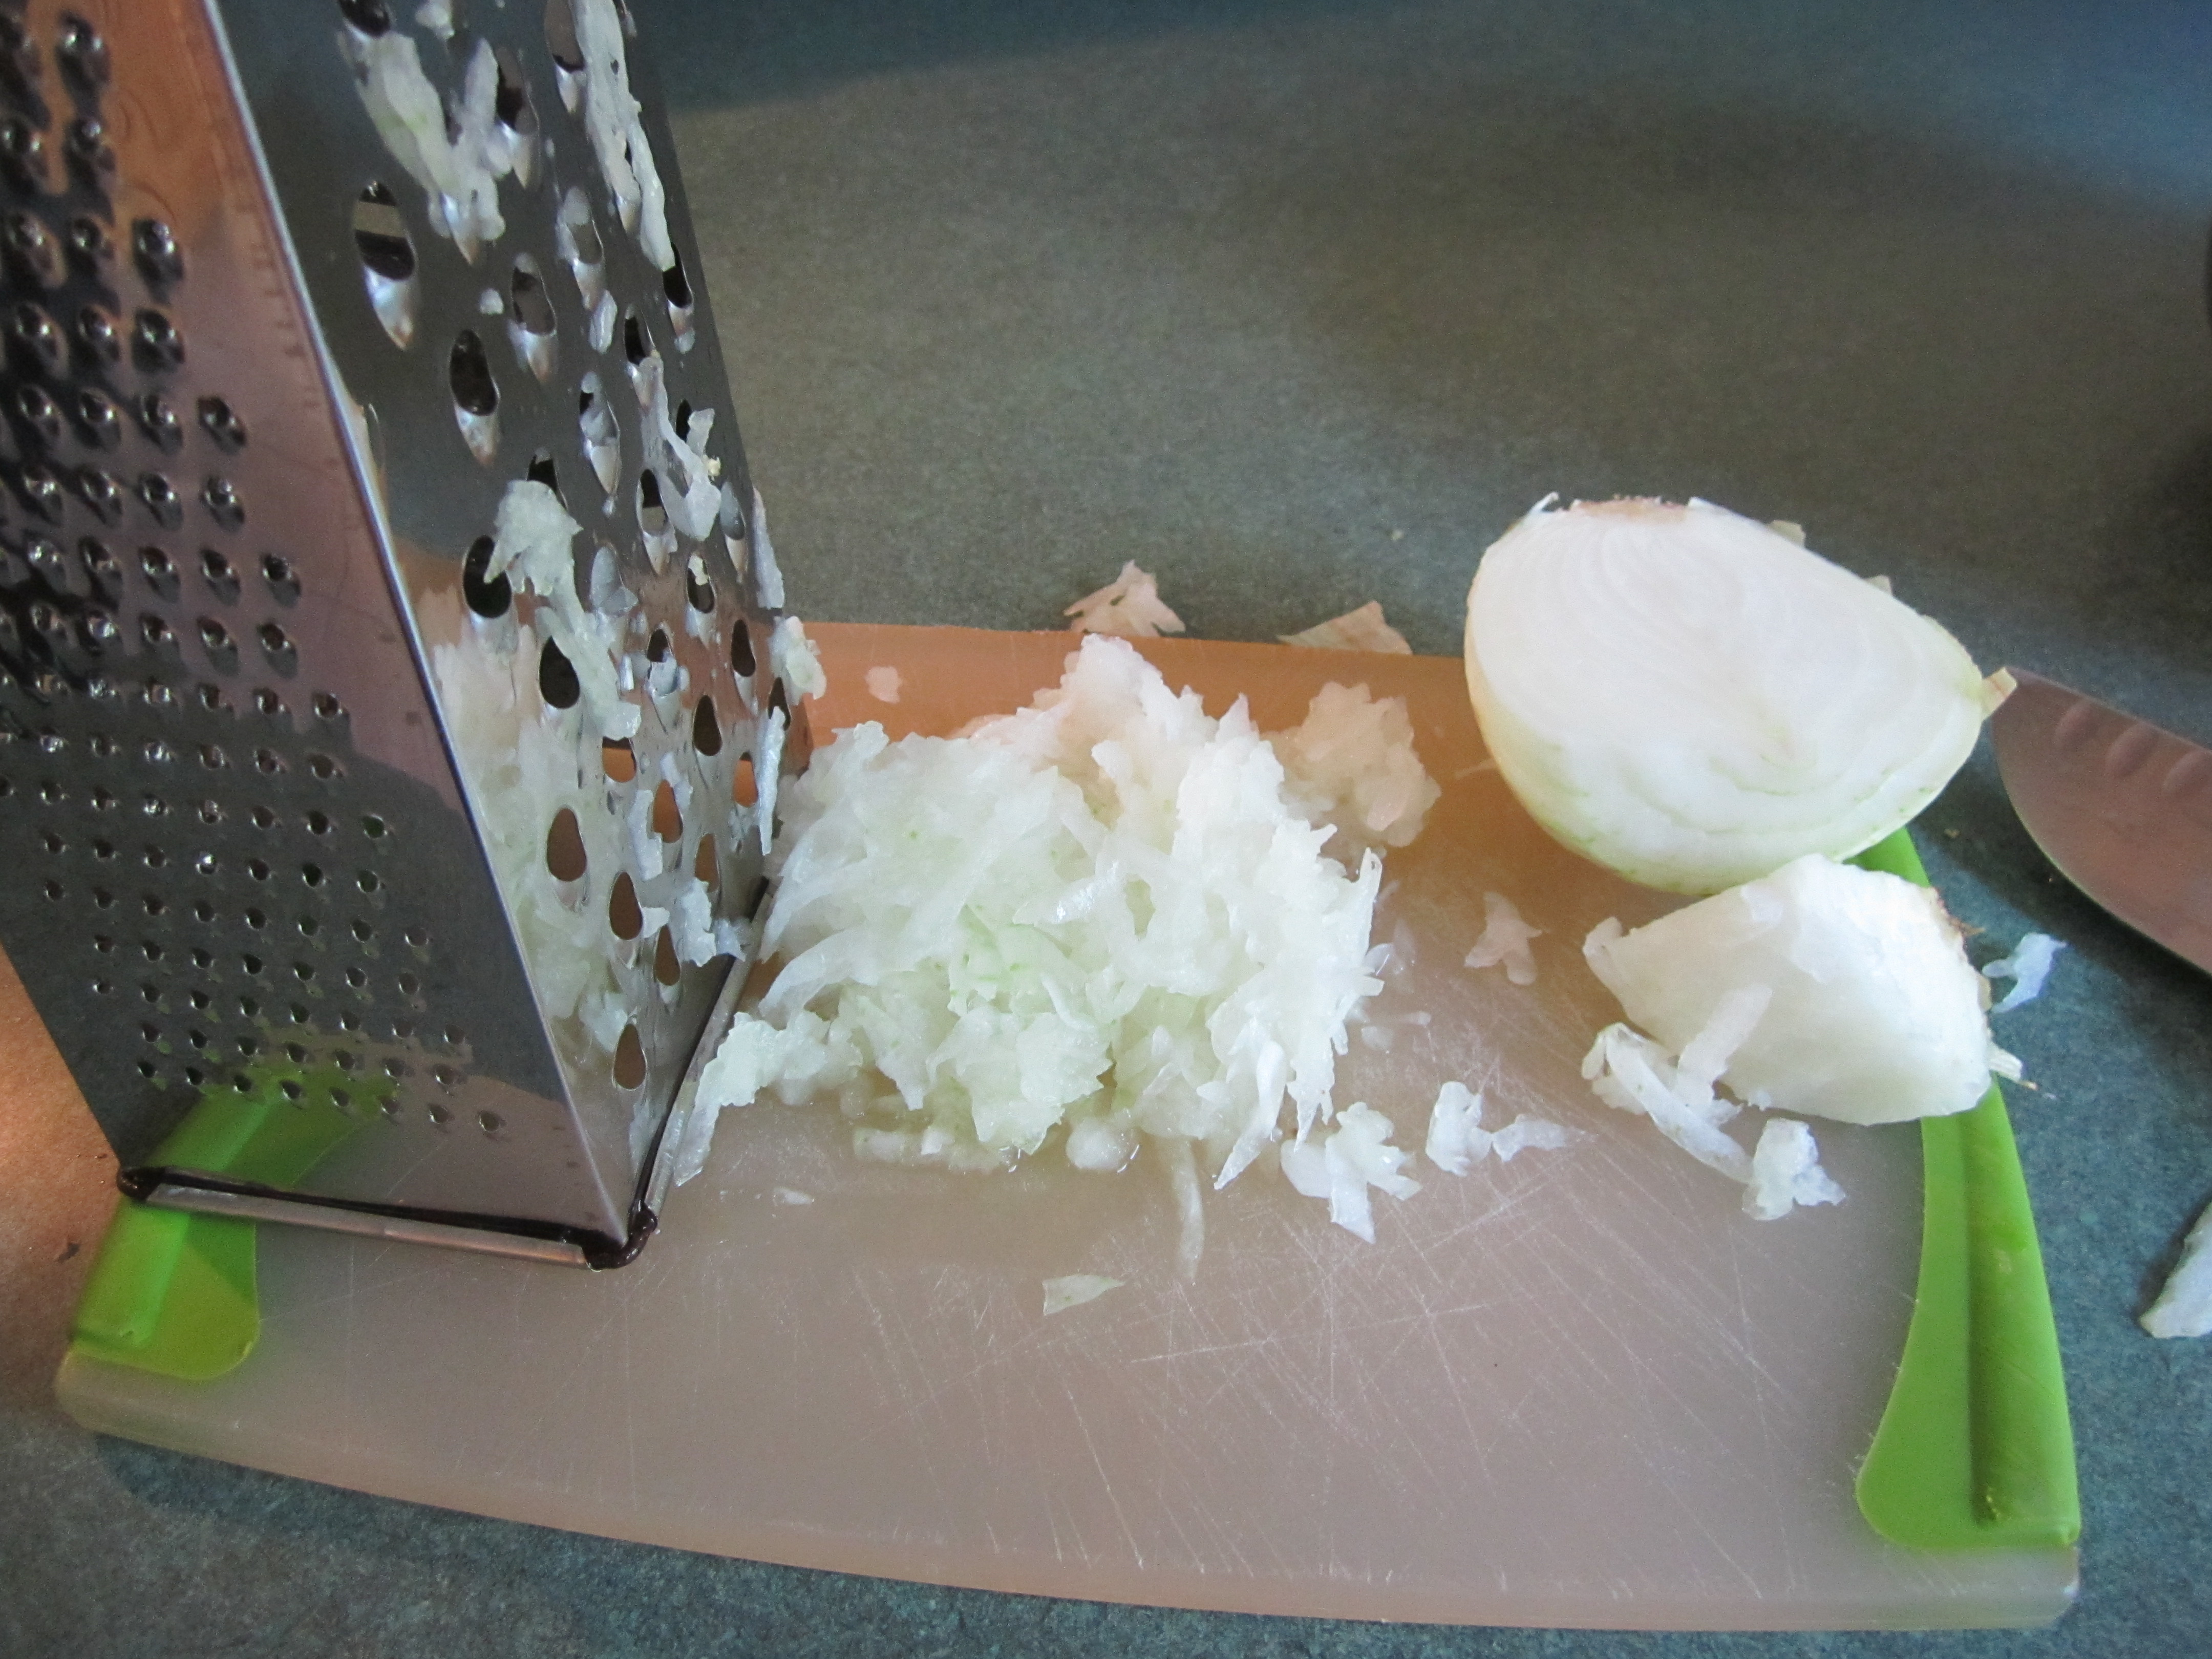
2/3 cup minced onions, from about 2 medium/large onions (I use my box grater to achieve the minced effect)
2 tablespoons flour
1 teaspoon salt
1/8 teaspoon pepper
2 tablespoons butter
1-1/2 cups scalded milk (microwave on high in glass measuring cup for one minute)
Spray a 9 x 13 inch glass baking dish with canola oil spray.
Preheat oven to 325 degrees.
If you have a Cuisinart or similar food processing machine, slice potatoes using the 2 mm slicer. Otherwise slice potatoes by hand or use a mandolin to achieve a 1/16 of an inch thickness.
Combine flour, salt and pepper in a small dish.
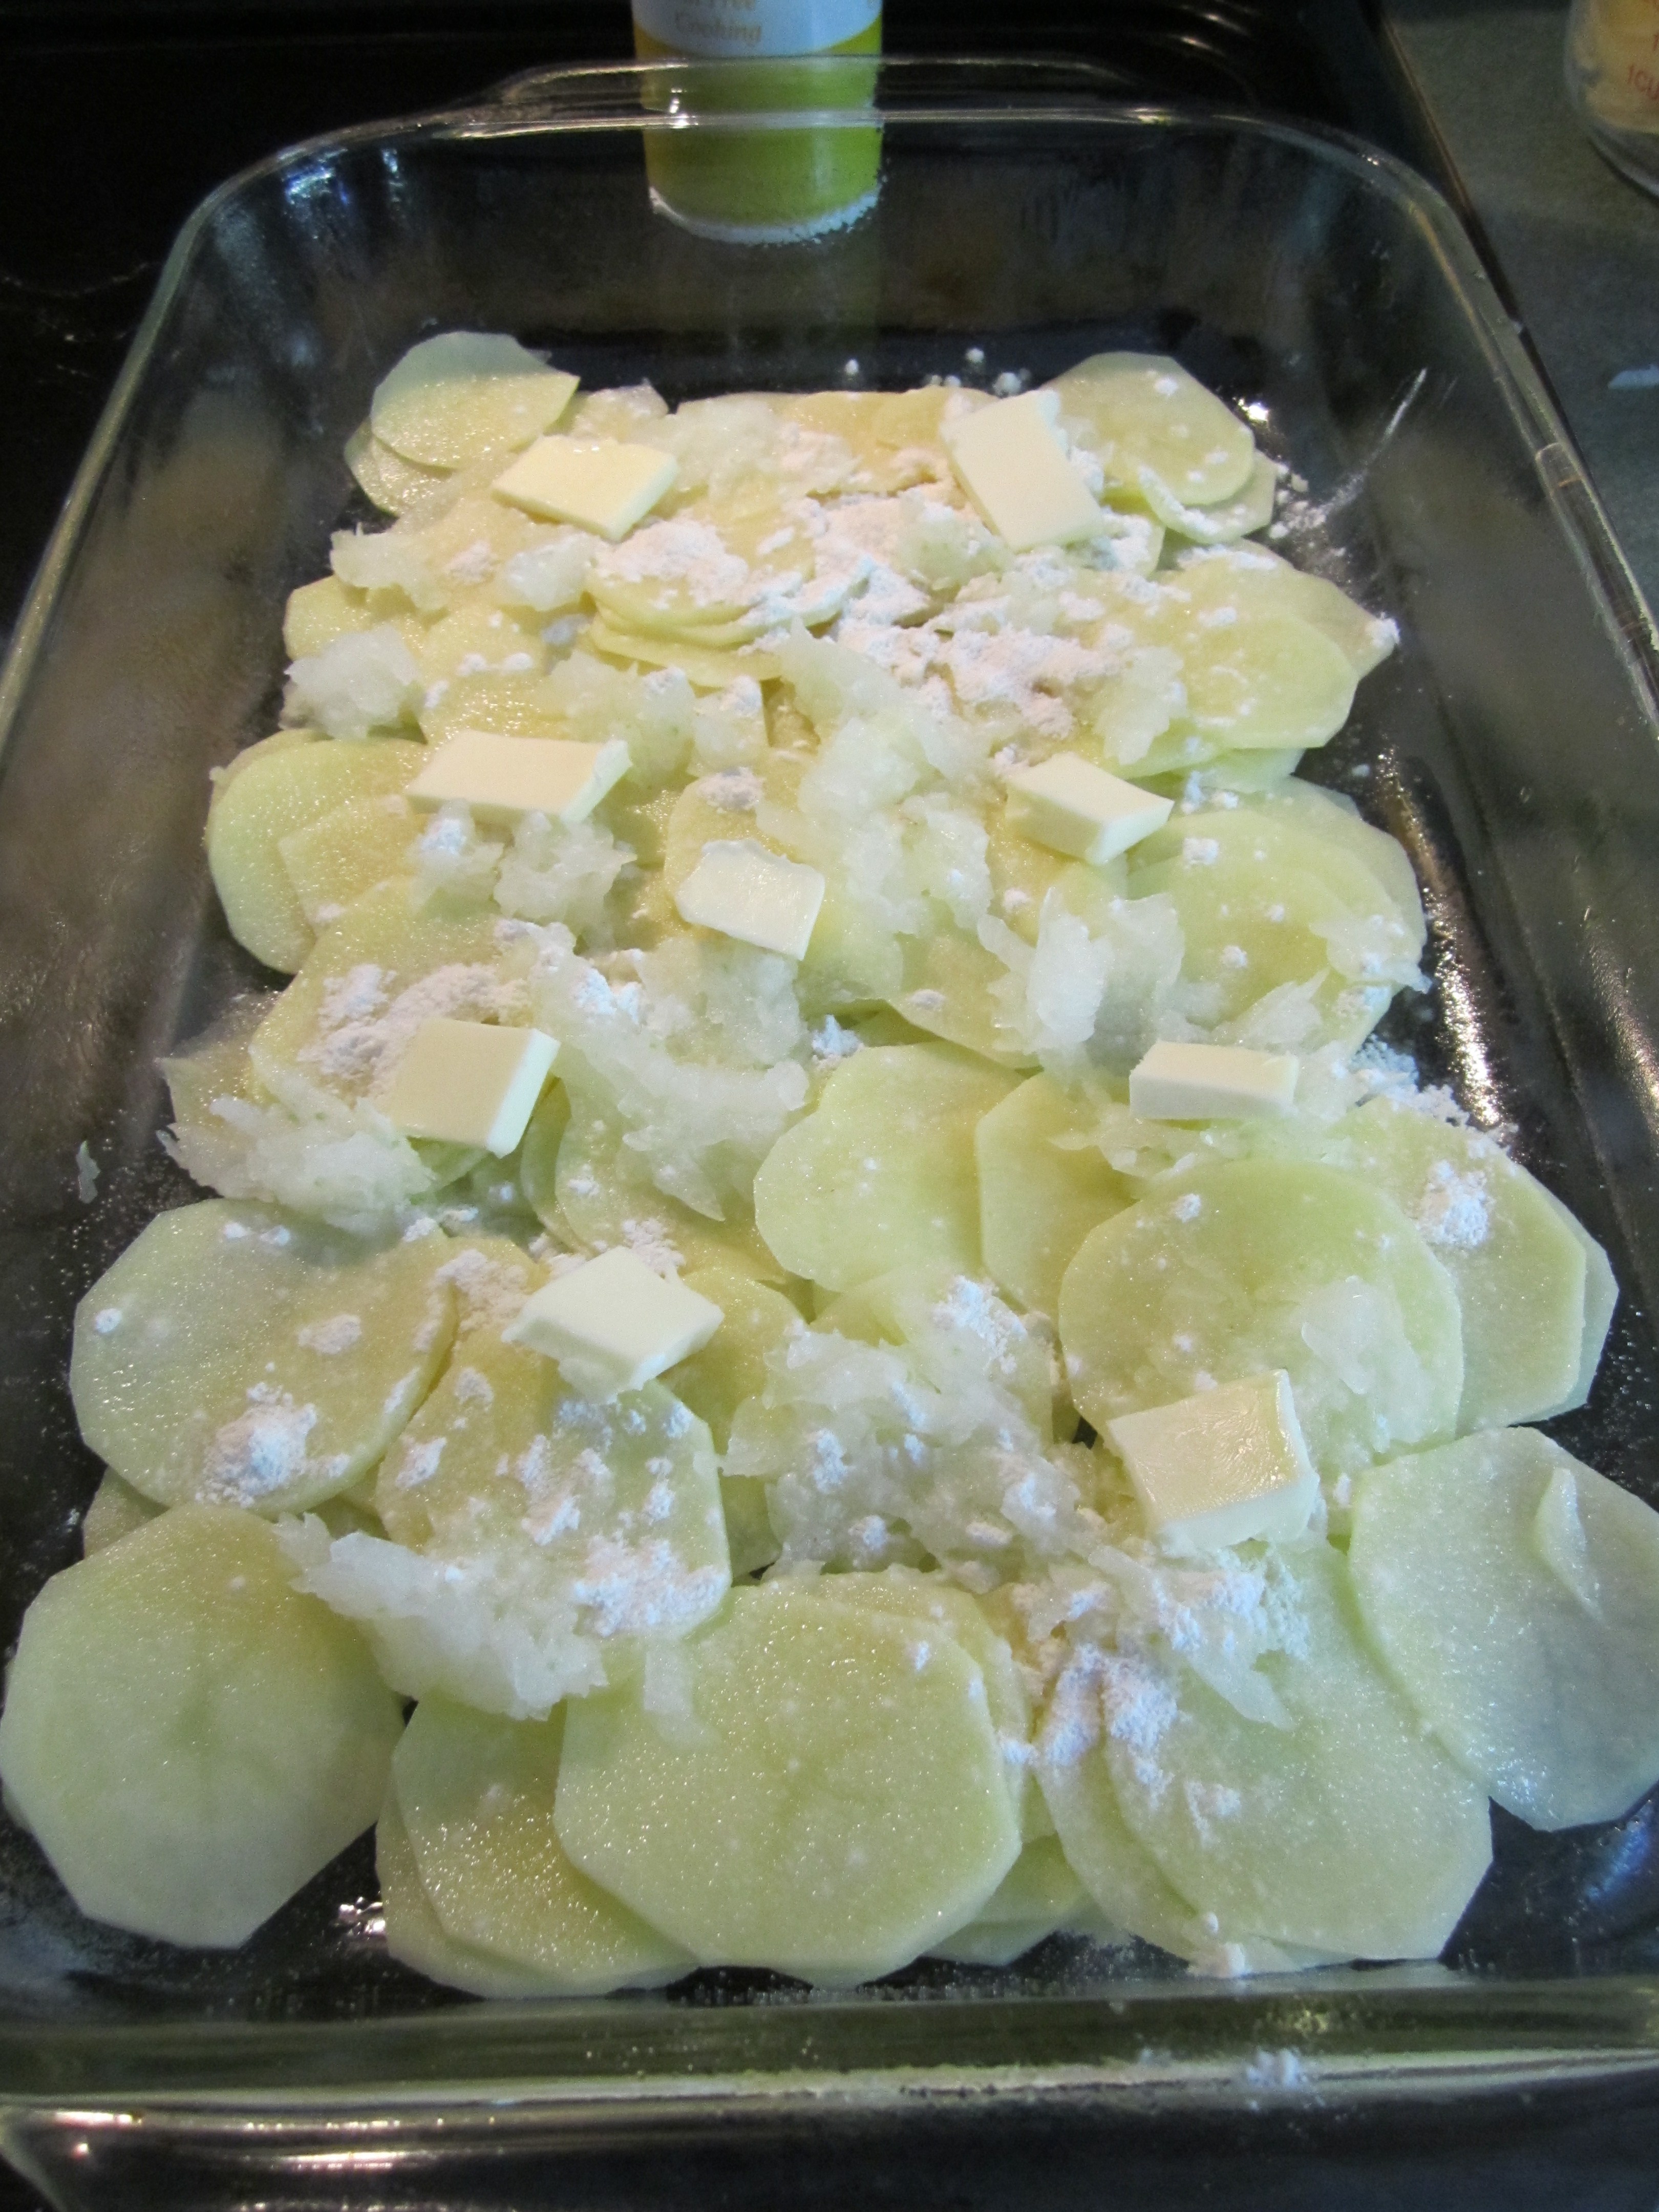
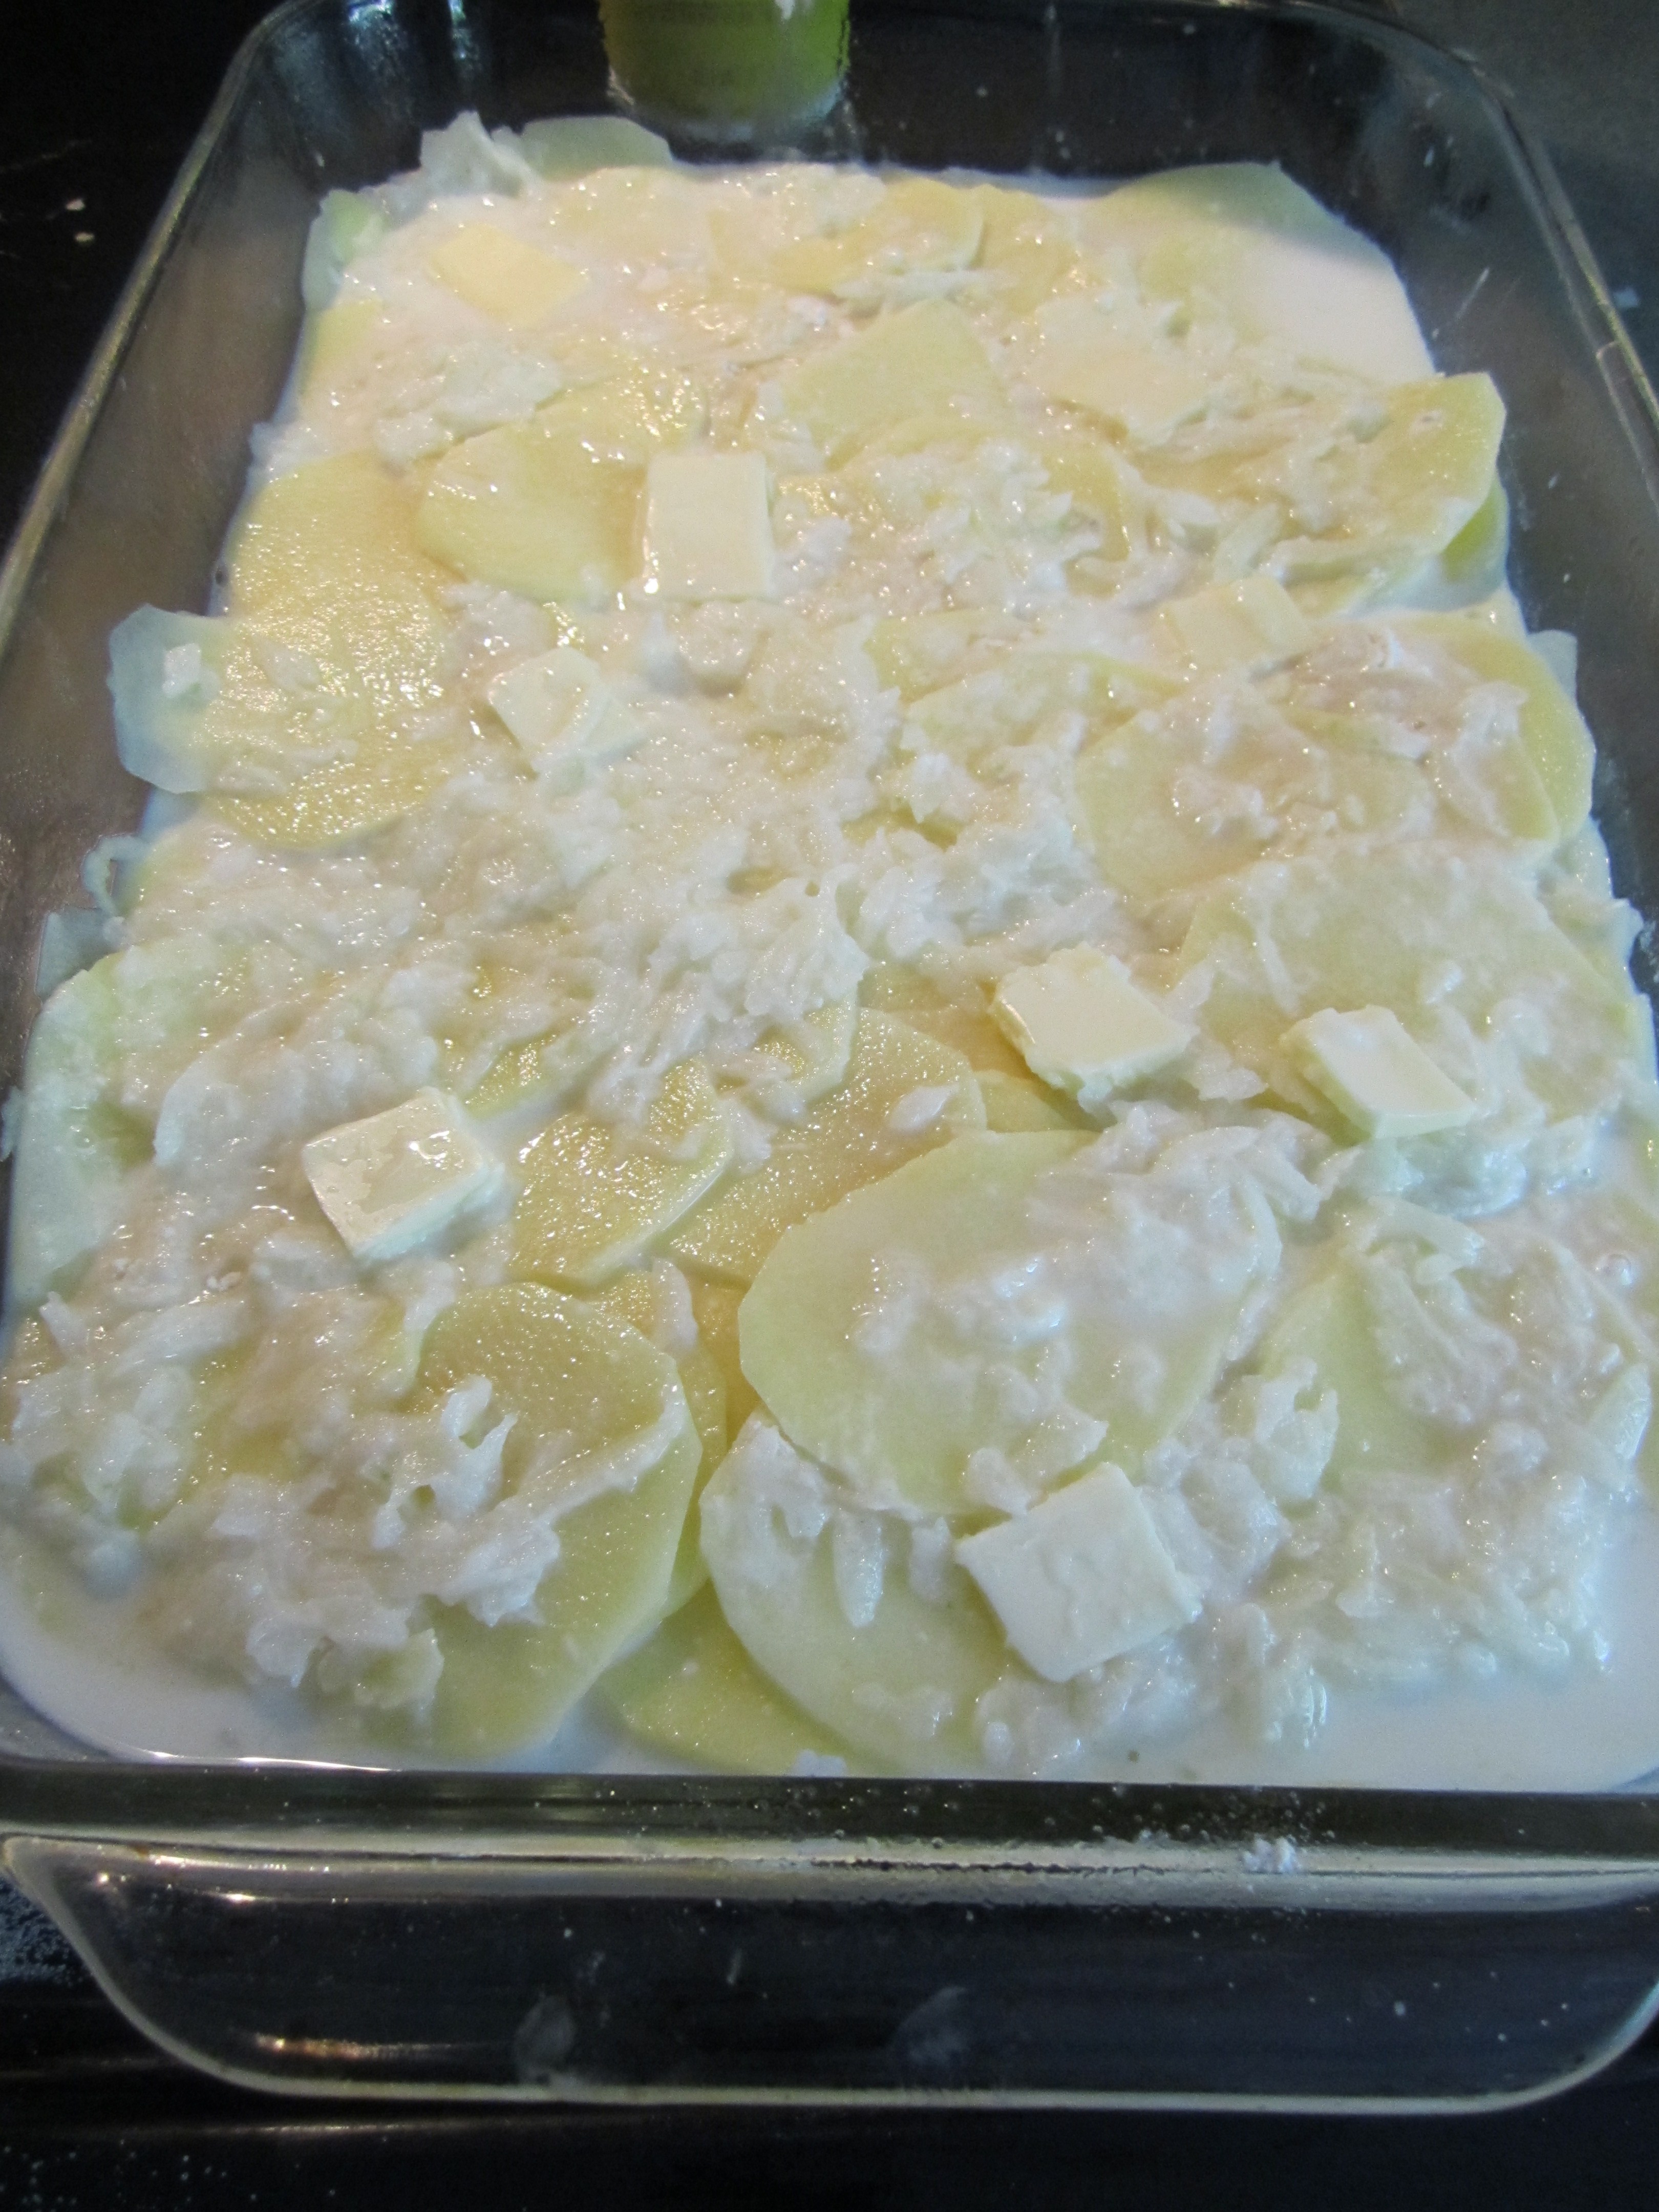
Arrange 1/2 the potatoes in the baking dish, spreading them out as evenly as possible. Cover with 1/3 cup of minced onion. Sprinkle with 1/2 of the flour mixture, then dot with 1 tablespoon of butter.
Repeat.
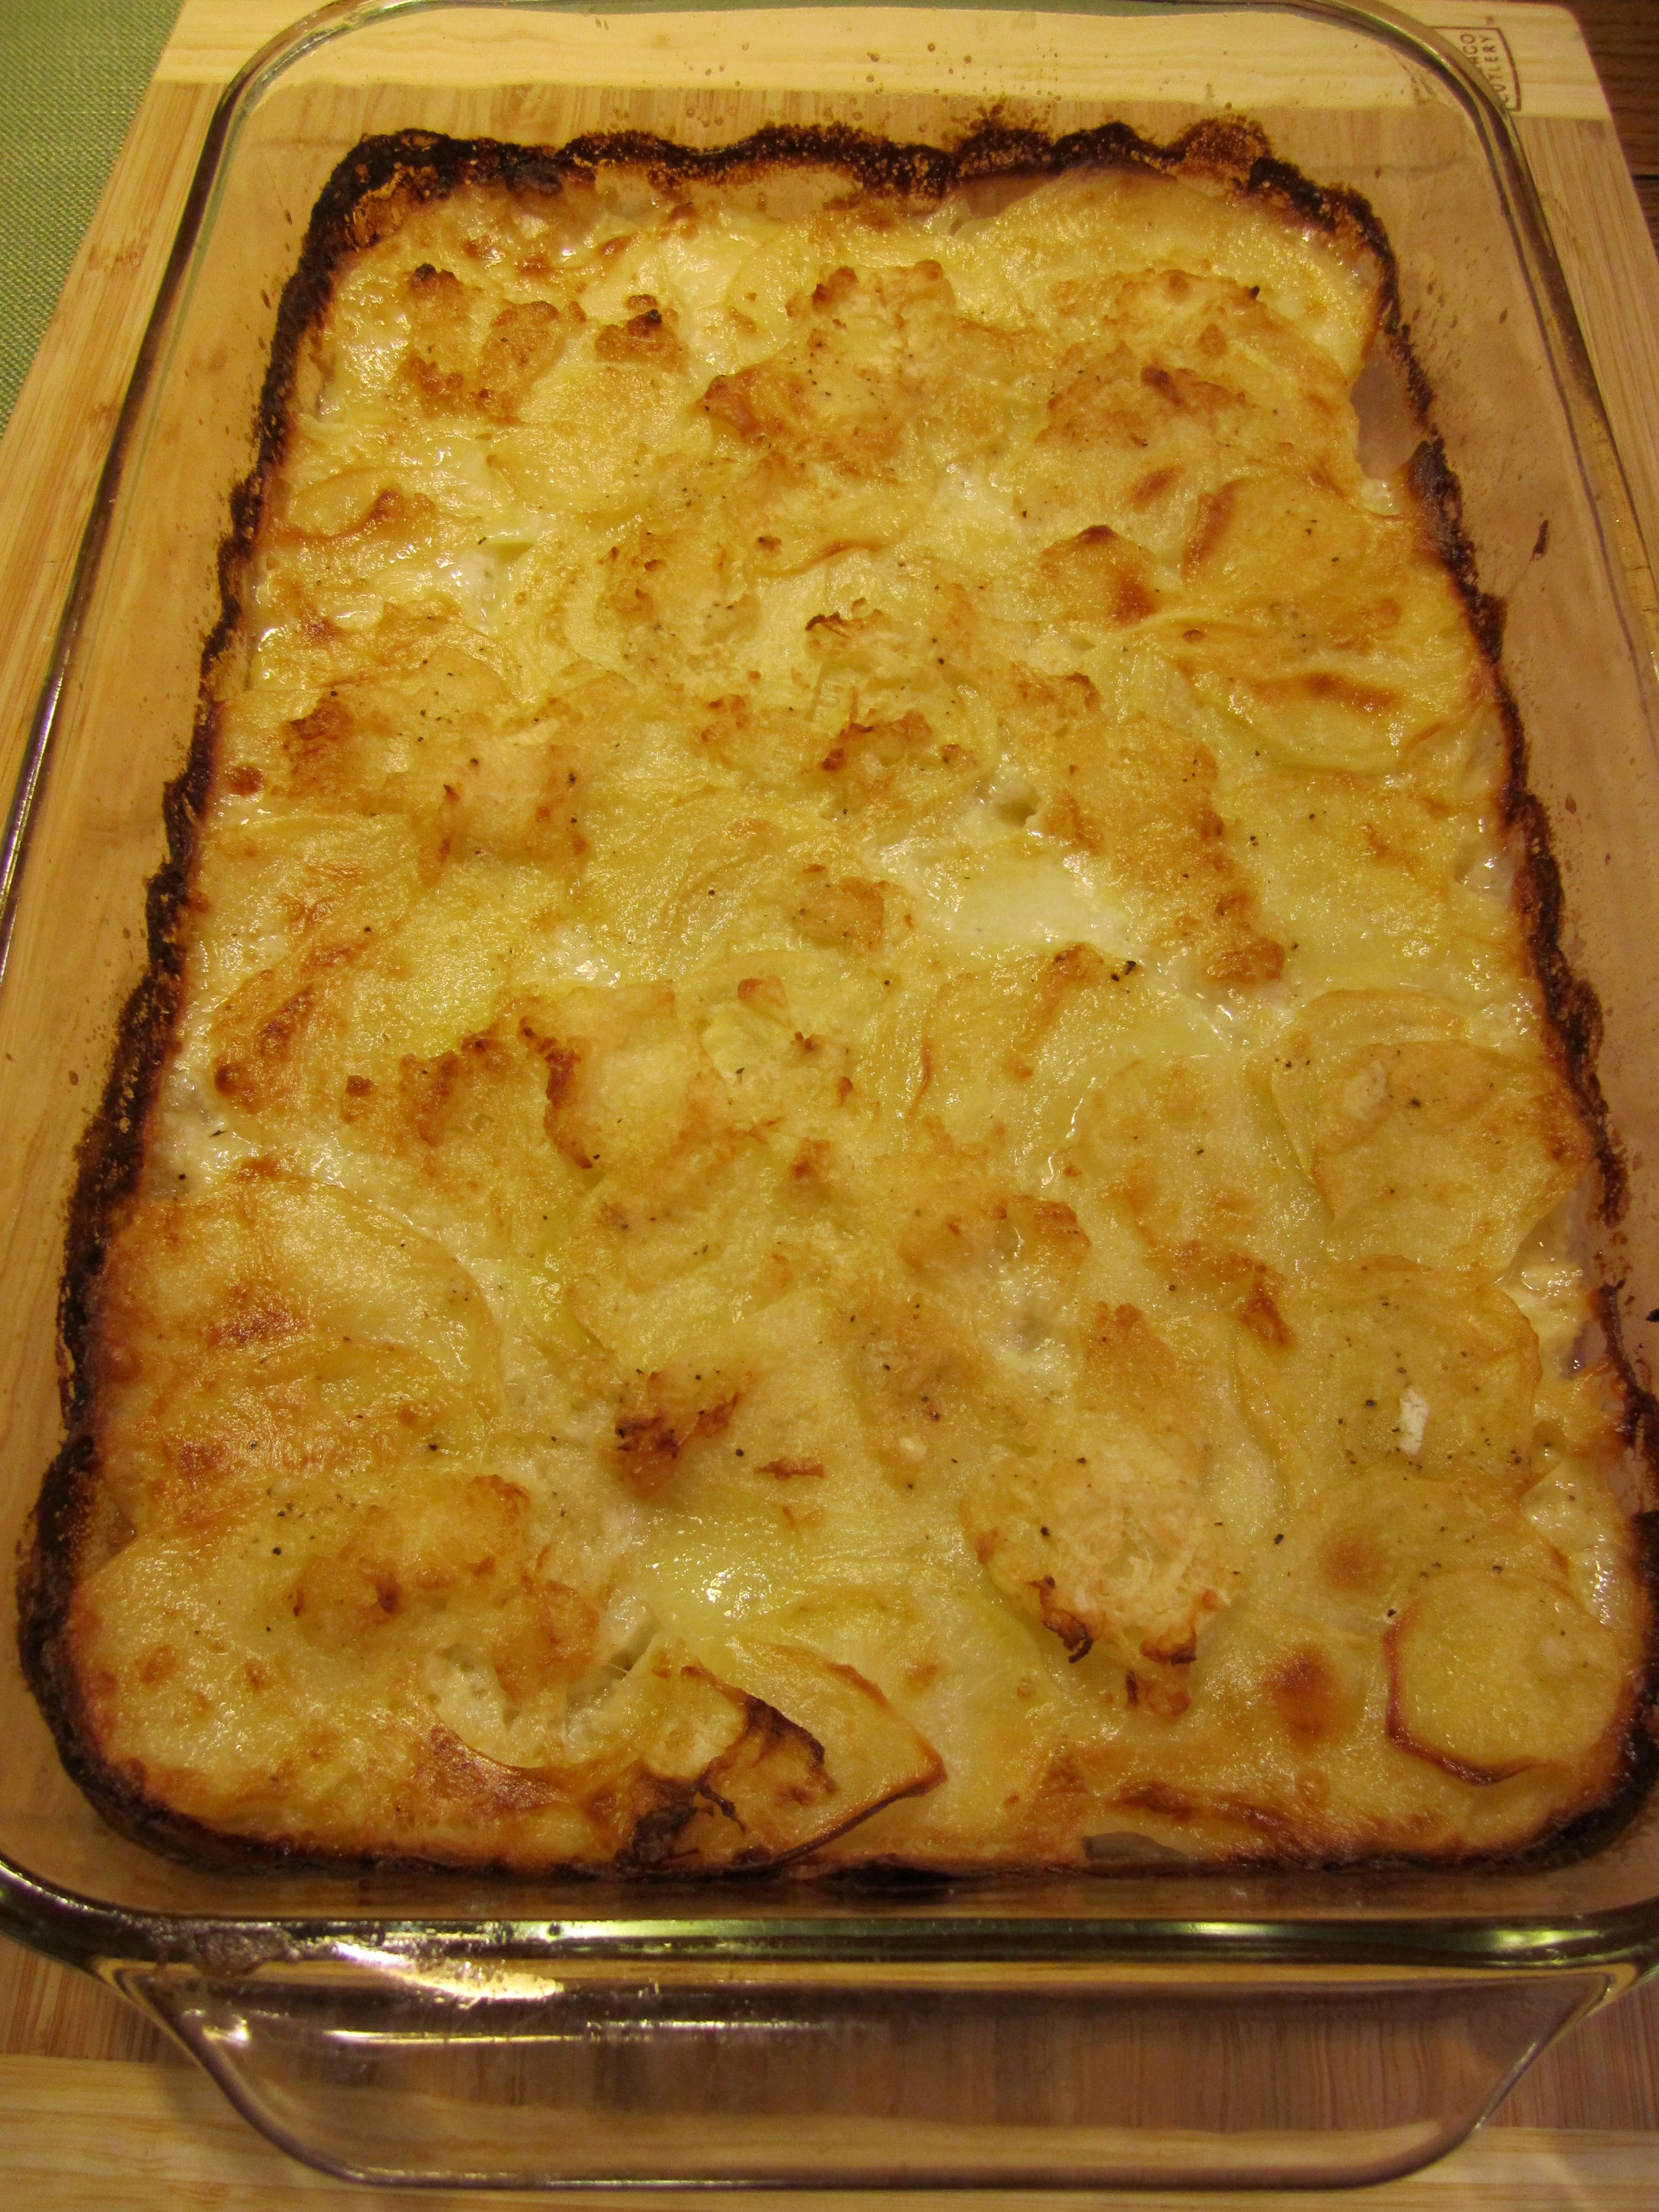
Pour milk over all and place in oven for 1-1/2 hours. Serve immediately.
the potatoes I used (I love the mules :)):
grating the onion for ‘minced’:
sliced potatoes:

mise en place:

first layer:
second layer and the milk added:
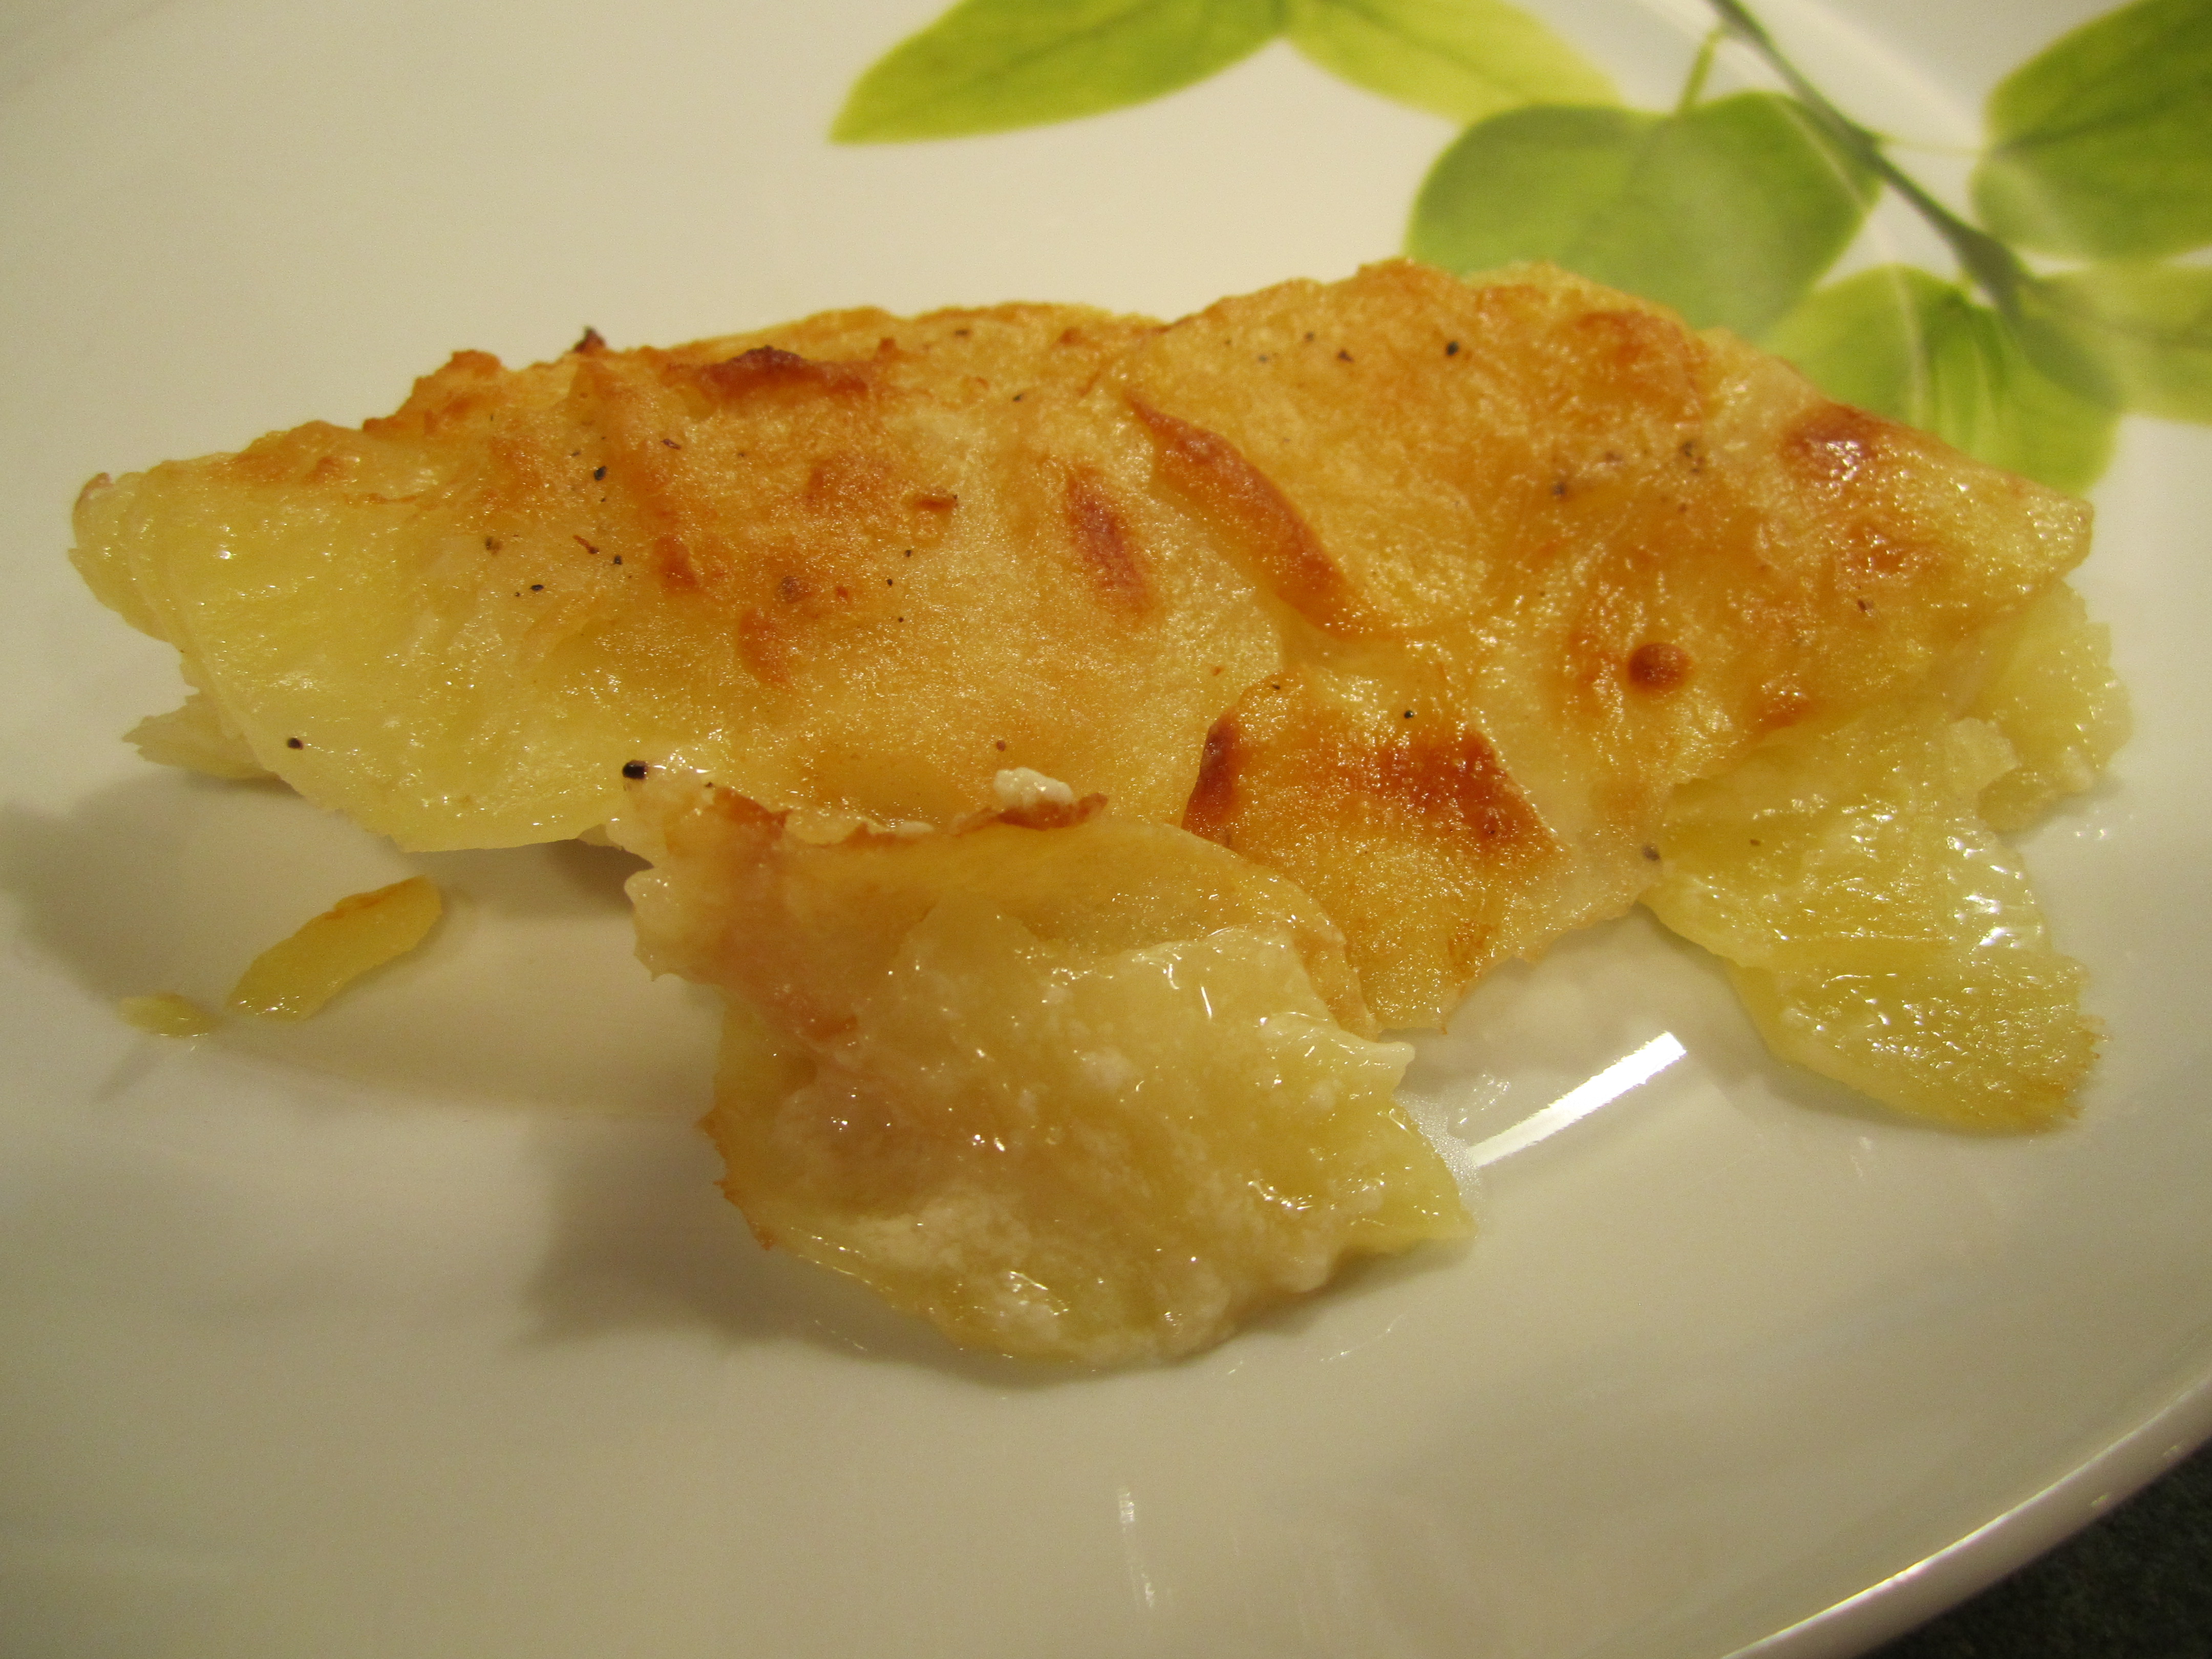
out of the oven:
enjoy!


Cakelike Brownies
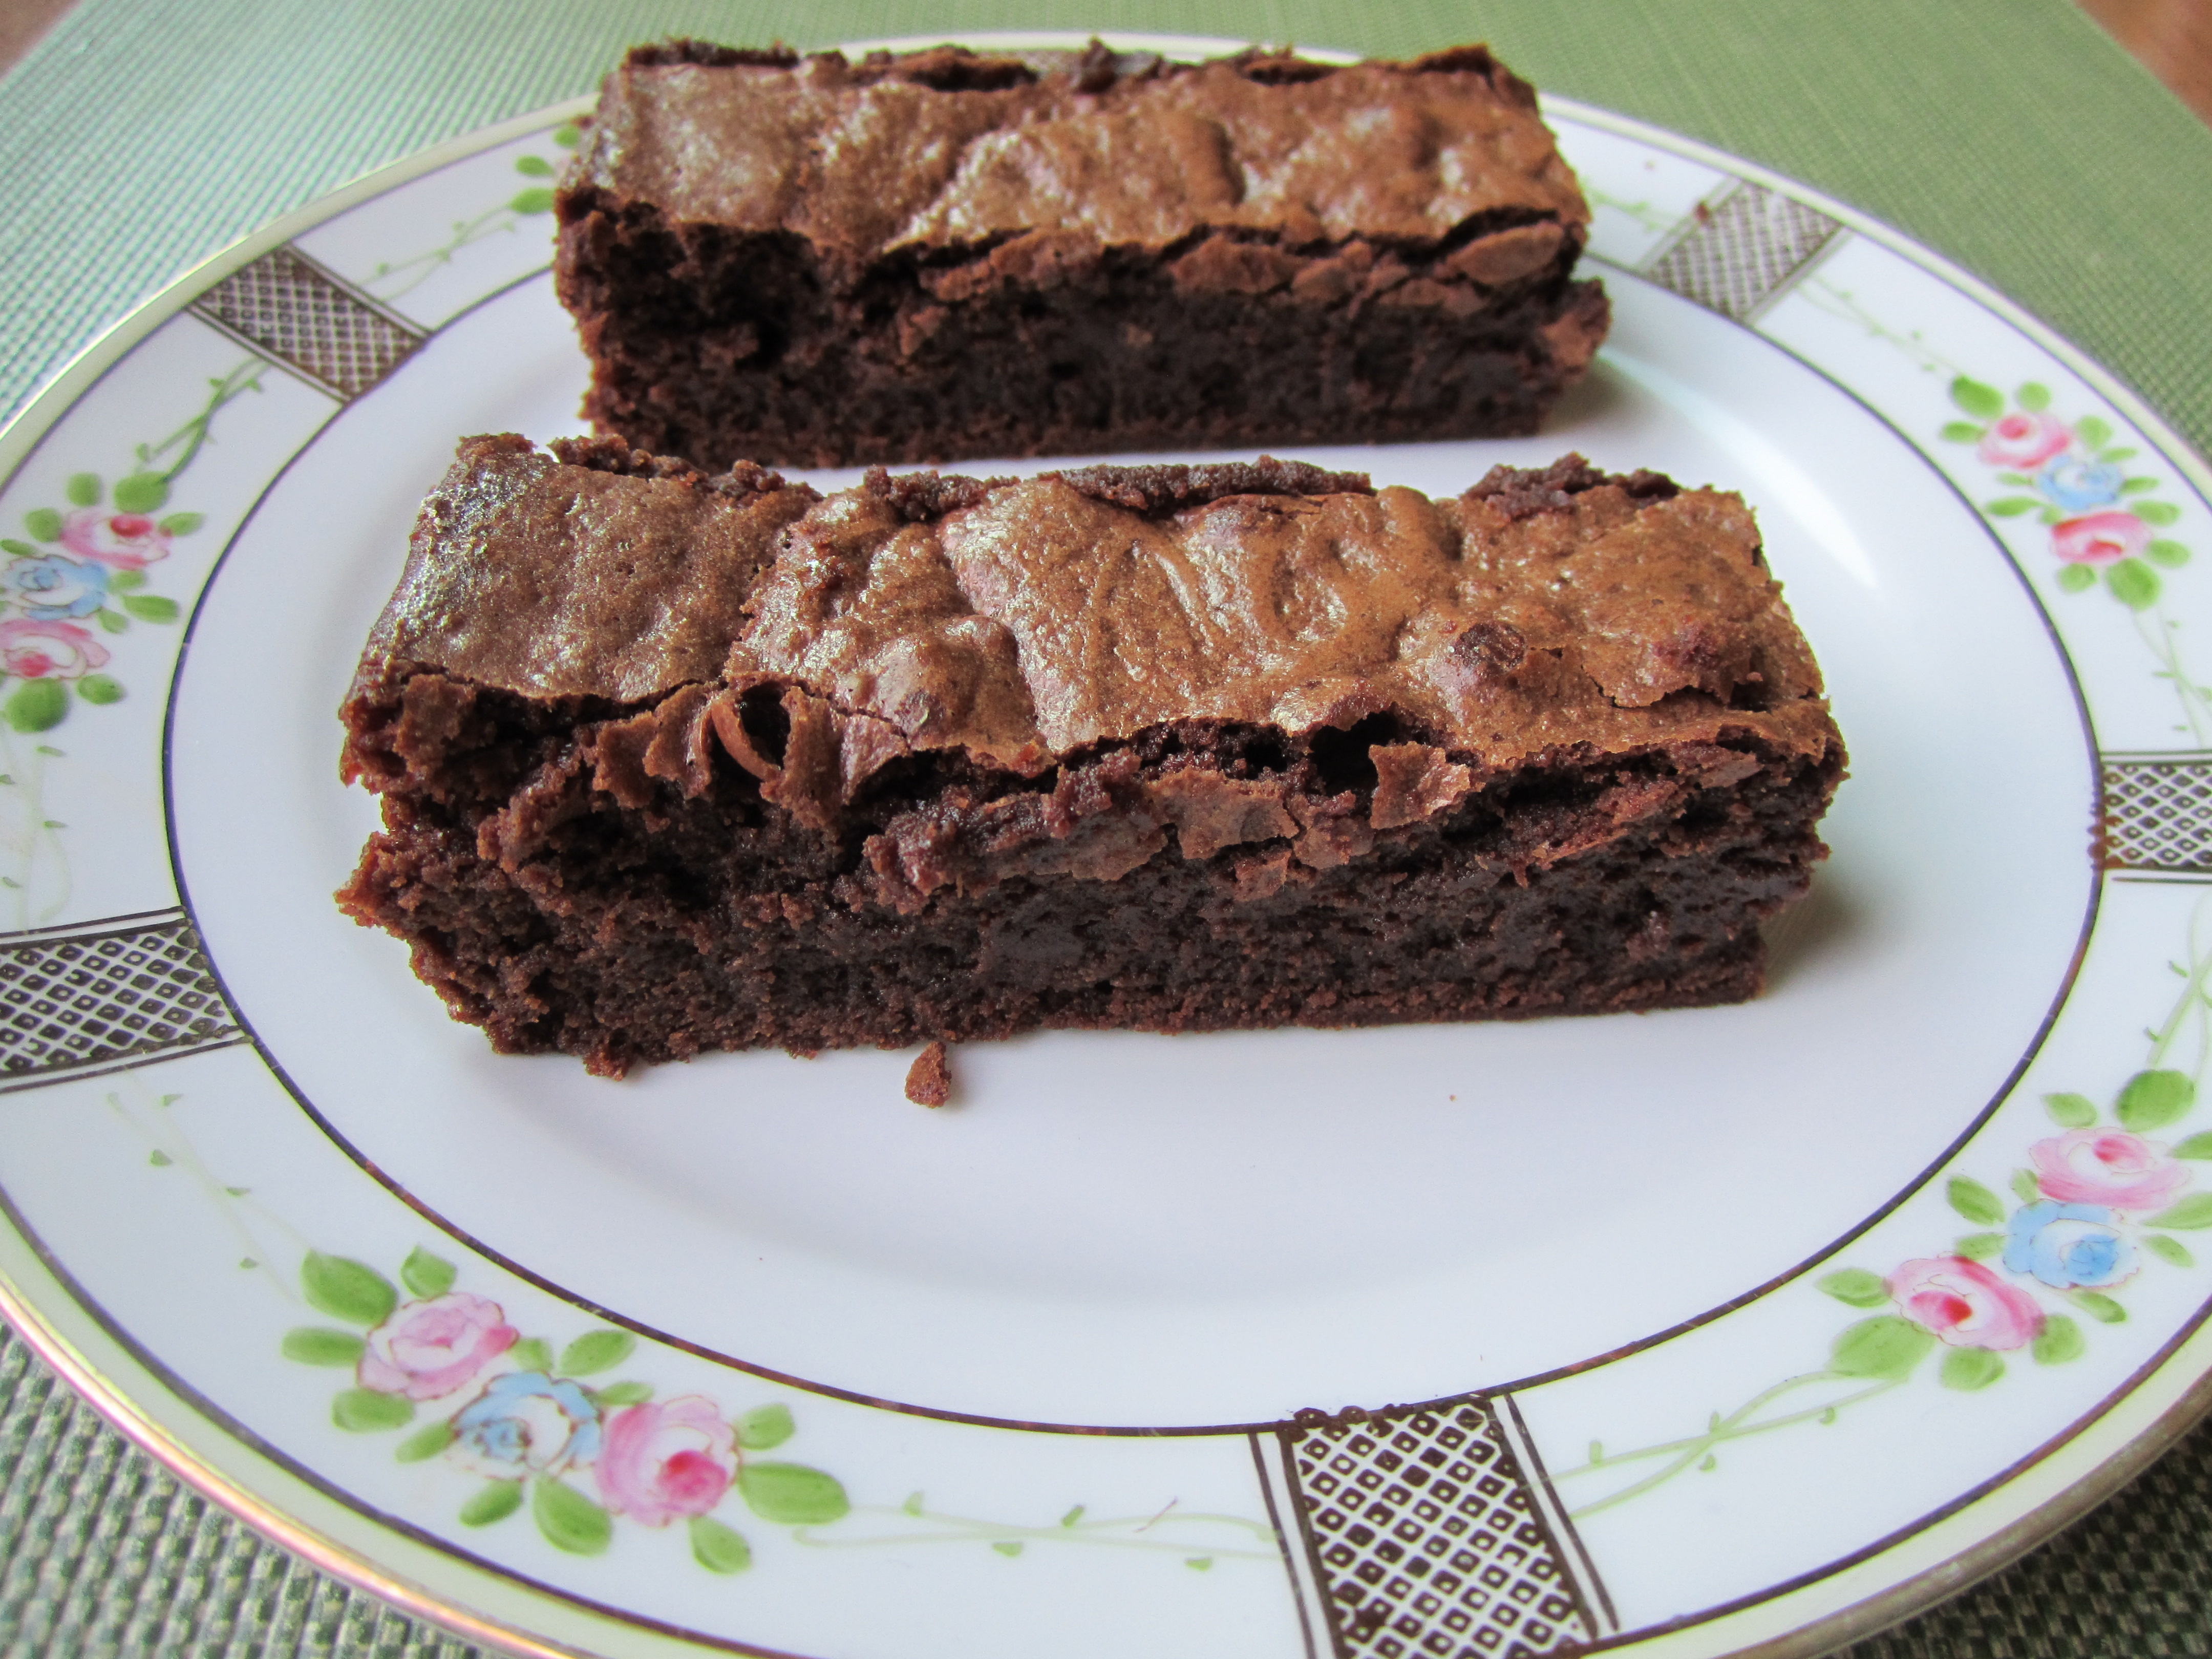
These are the brownies I promised I would post which I served with the Dulce de Leche Ice Cream. The original recipe is from David Lebovitz The Perfect Scoop (my daughter gave this to me and I have gotten incredible recipes out of it, so I highly recommend.) Even though I have a recipe for brownies already, these are great because you use only one ‘bowl’ (saucepan actually) and they make a smaller quantity, which sometimes is just what you need.
Cakelike Brownies by David Lebovitz
These are actually his Dulce de Leche Brownies from his blog. But in The Perfect Scoop, the Dulce de Leche Brownies are a variation. So ignore the dulce de leche step, to get the chocolate brownie (though the dulce de leche part sounds amazing!).
I followed the recipe exact except for the optional nuts. I did not add them.
Covering the bottom of the pan with aluminum foil was great, the brownies just pulled right out of the pan with the aid of the foil.
I baked mine for only 30 minutes. Ovens vary, so check yours after 30 minutes.
prepping pan:

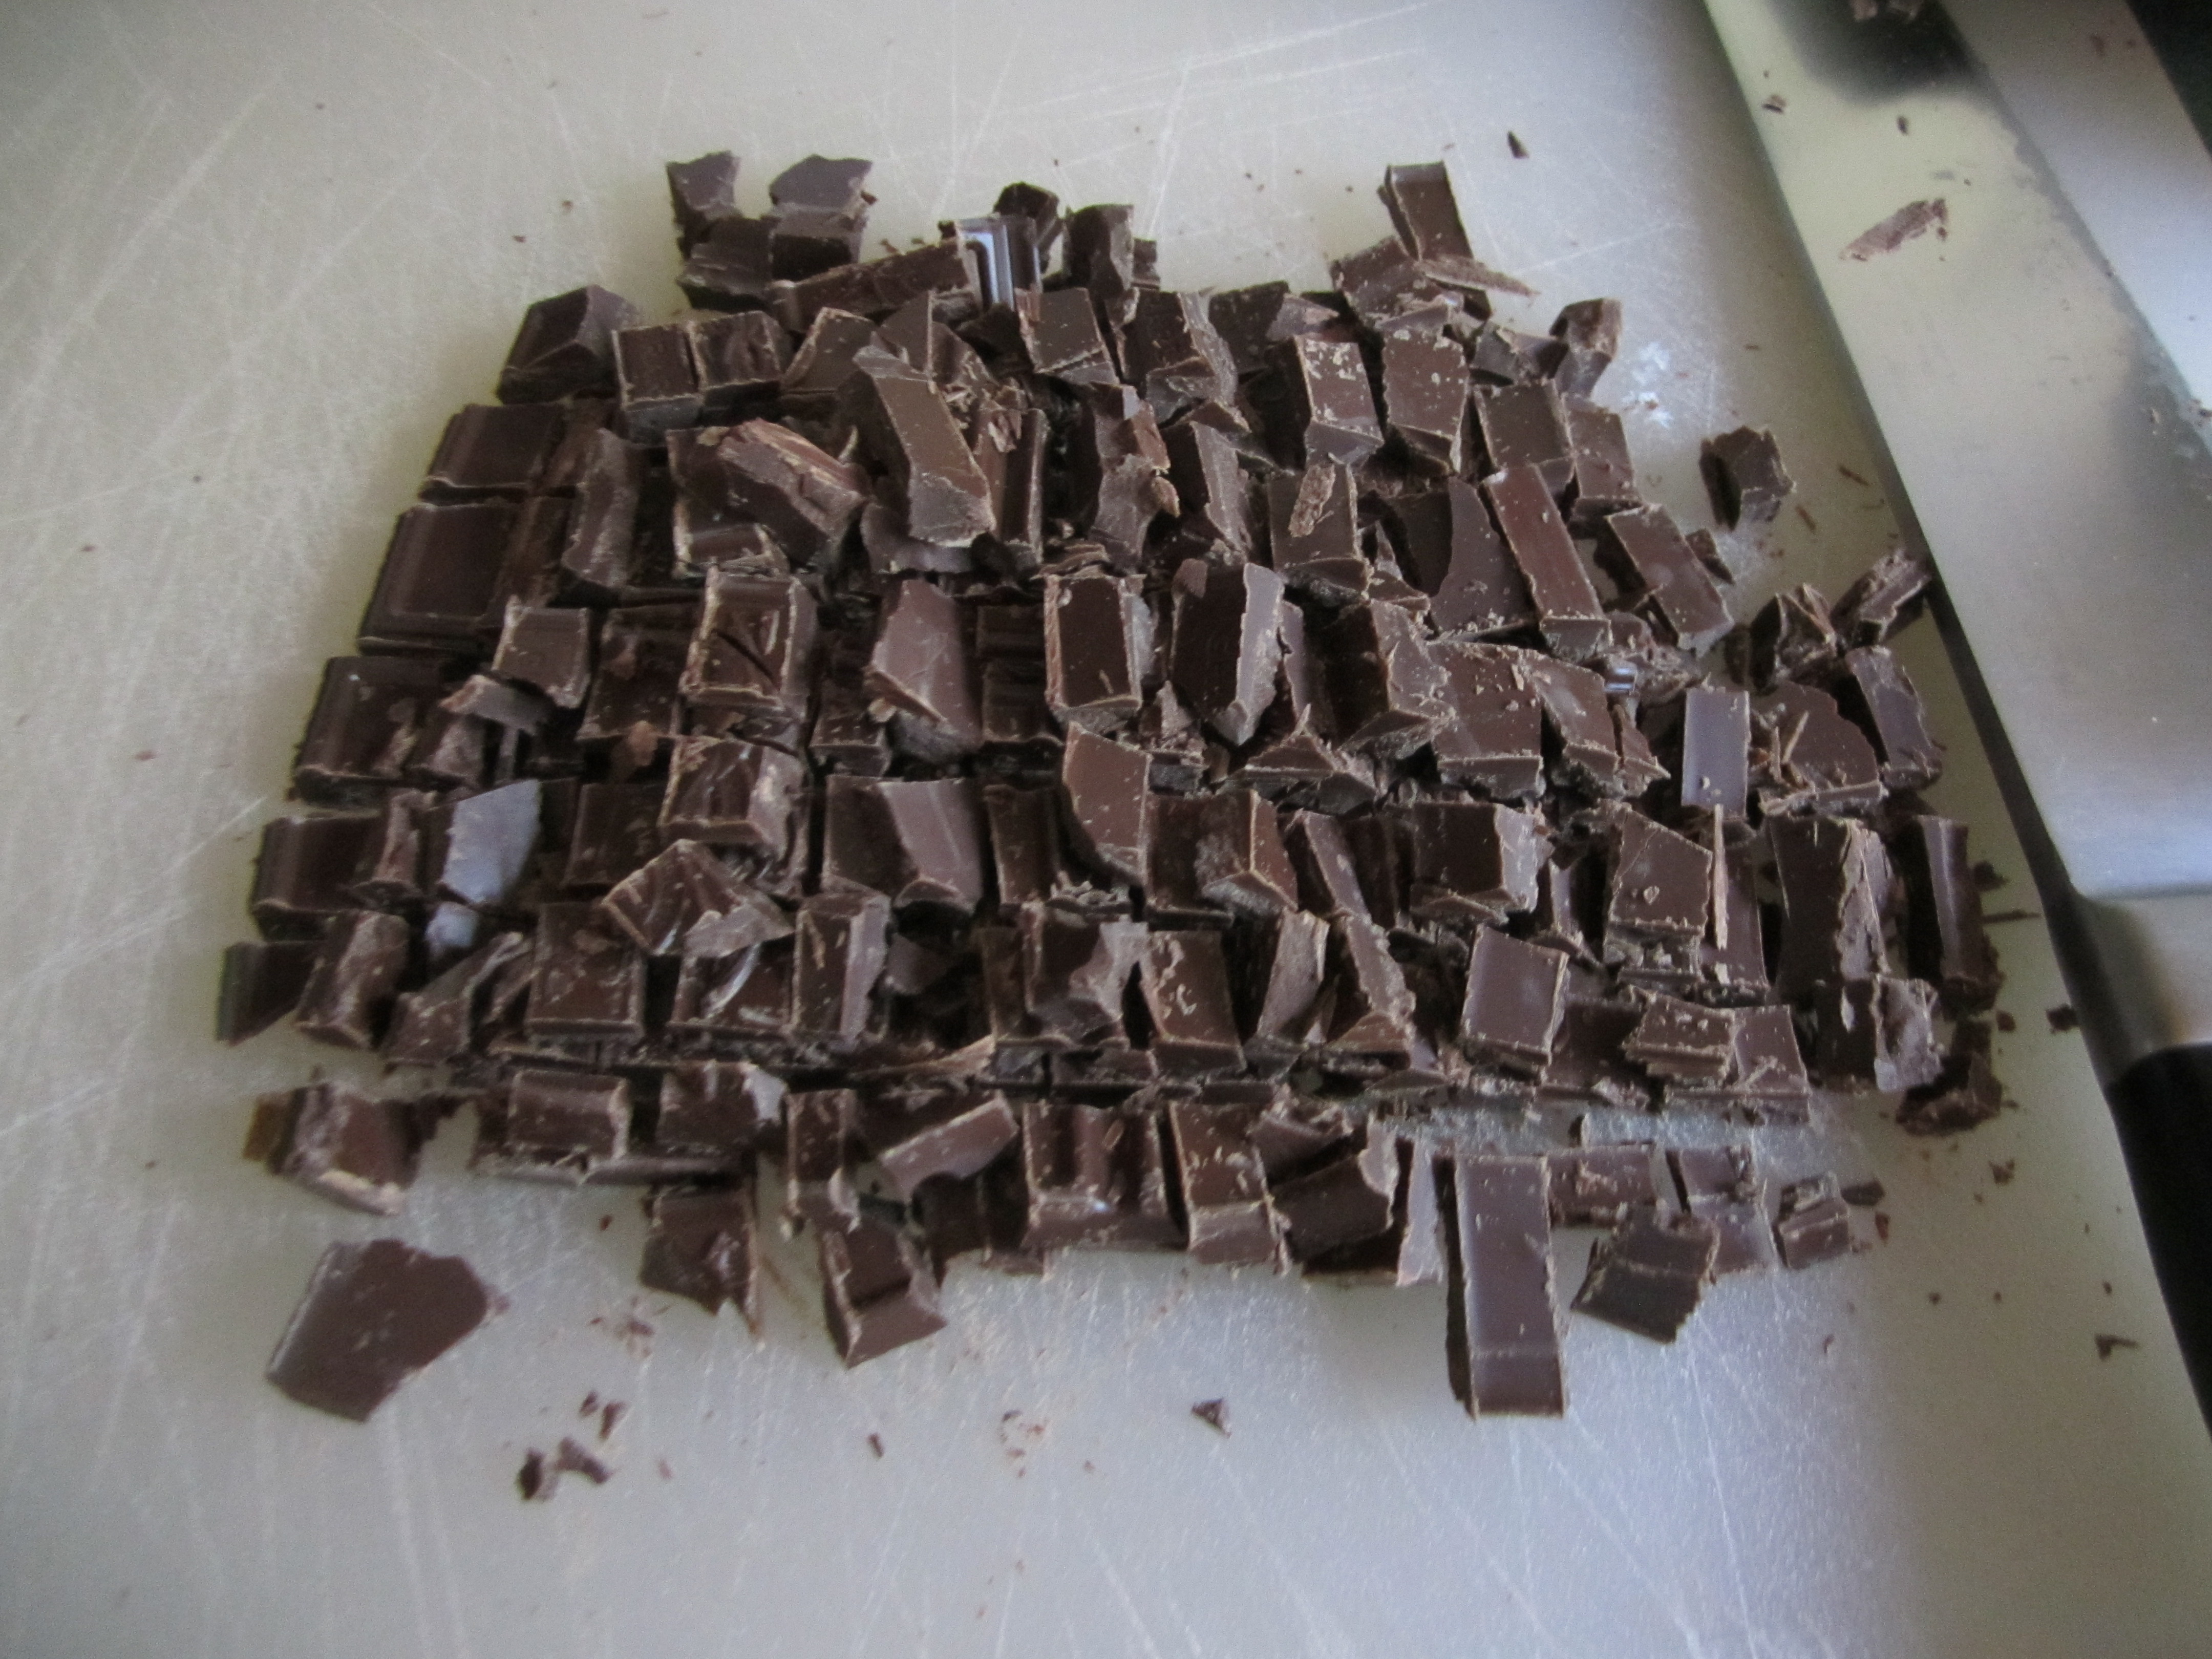
chopping chocolate:

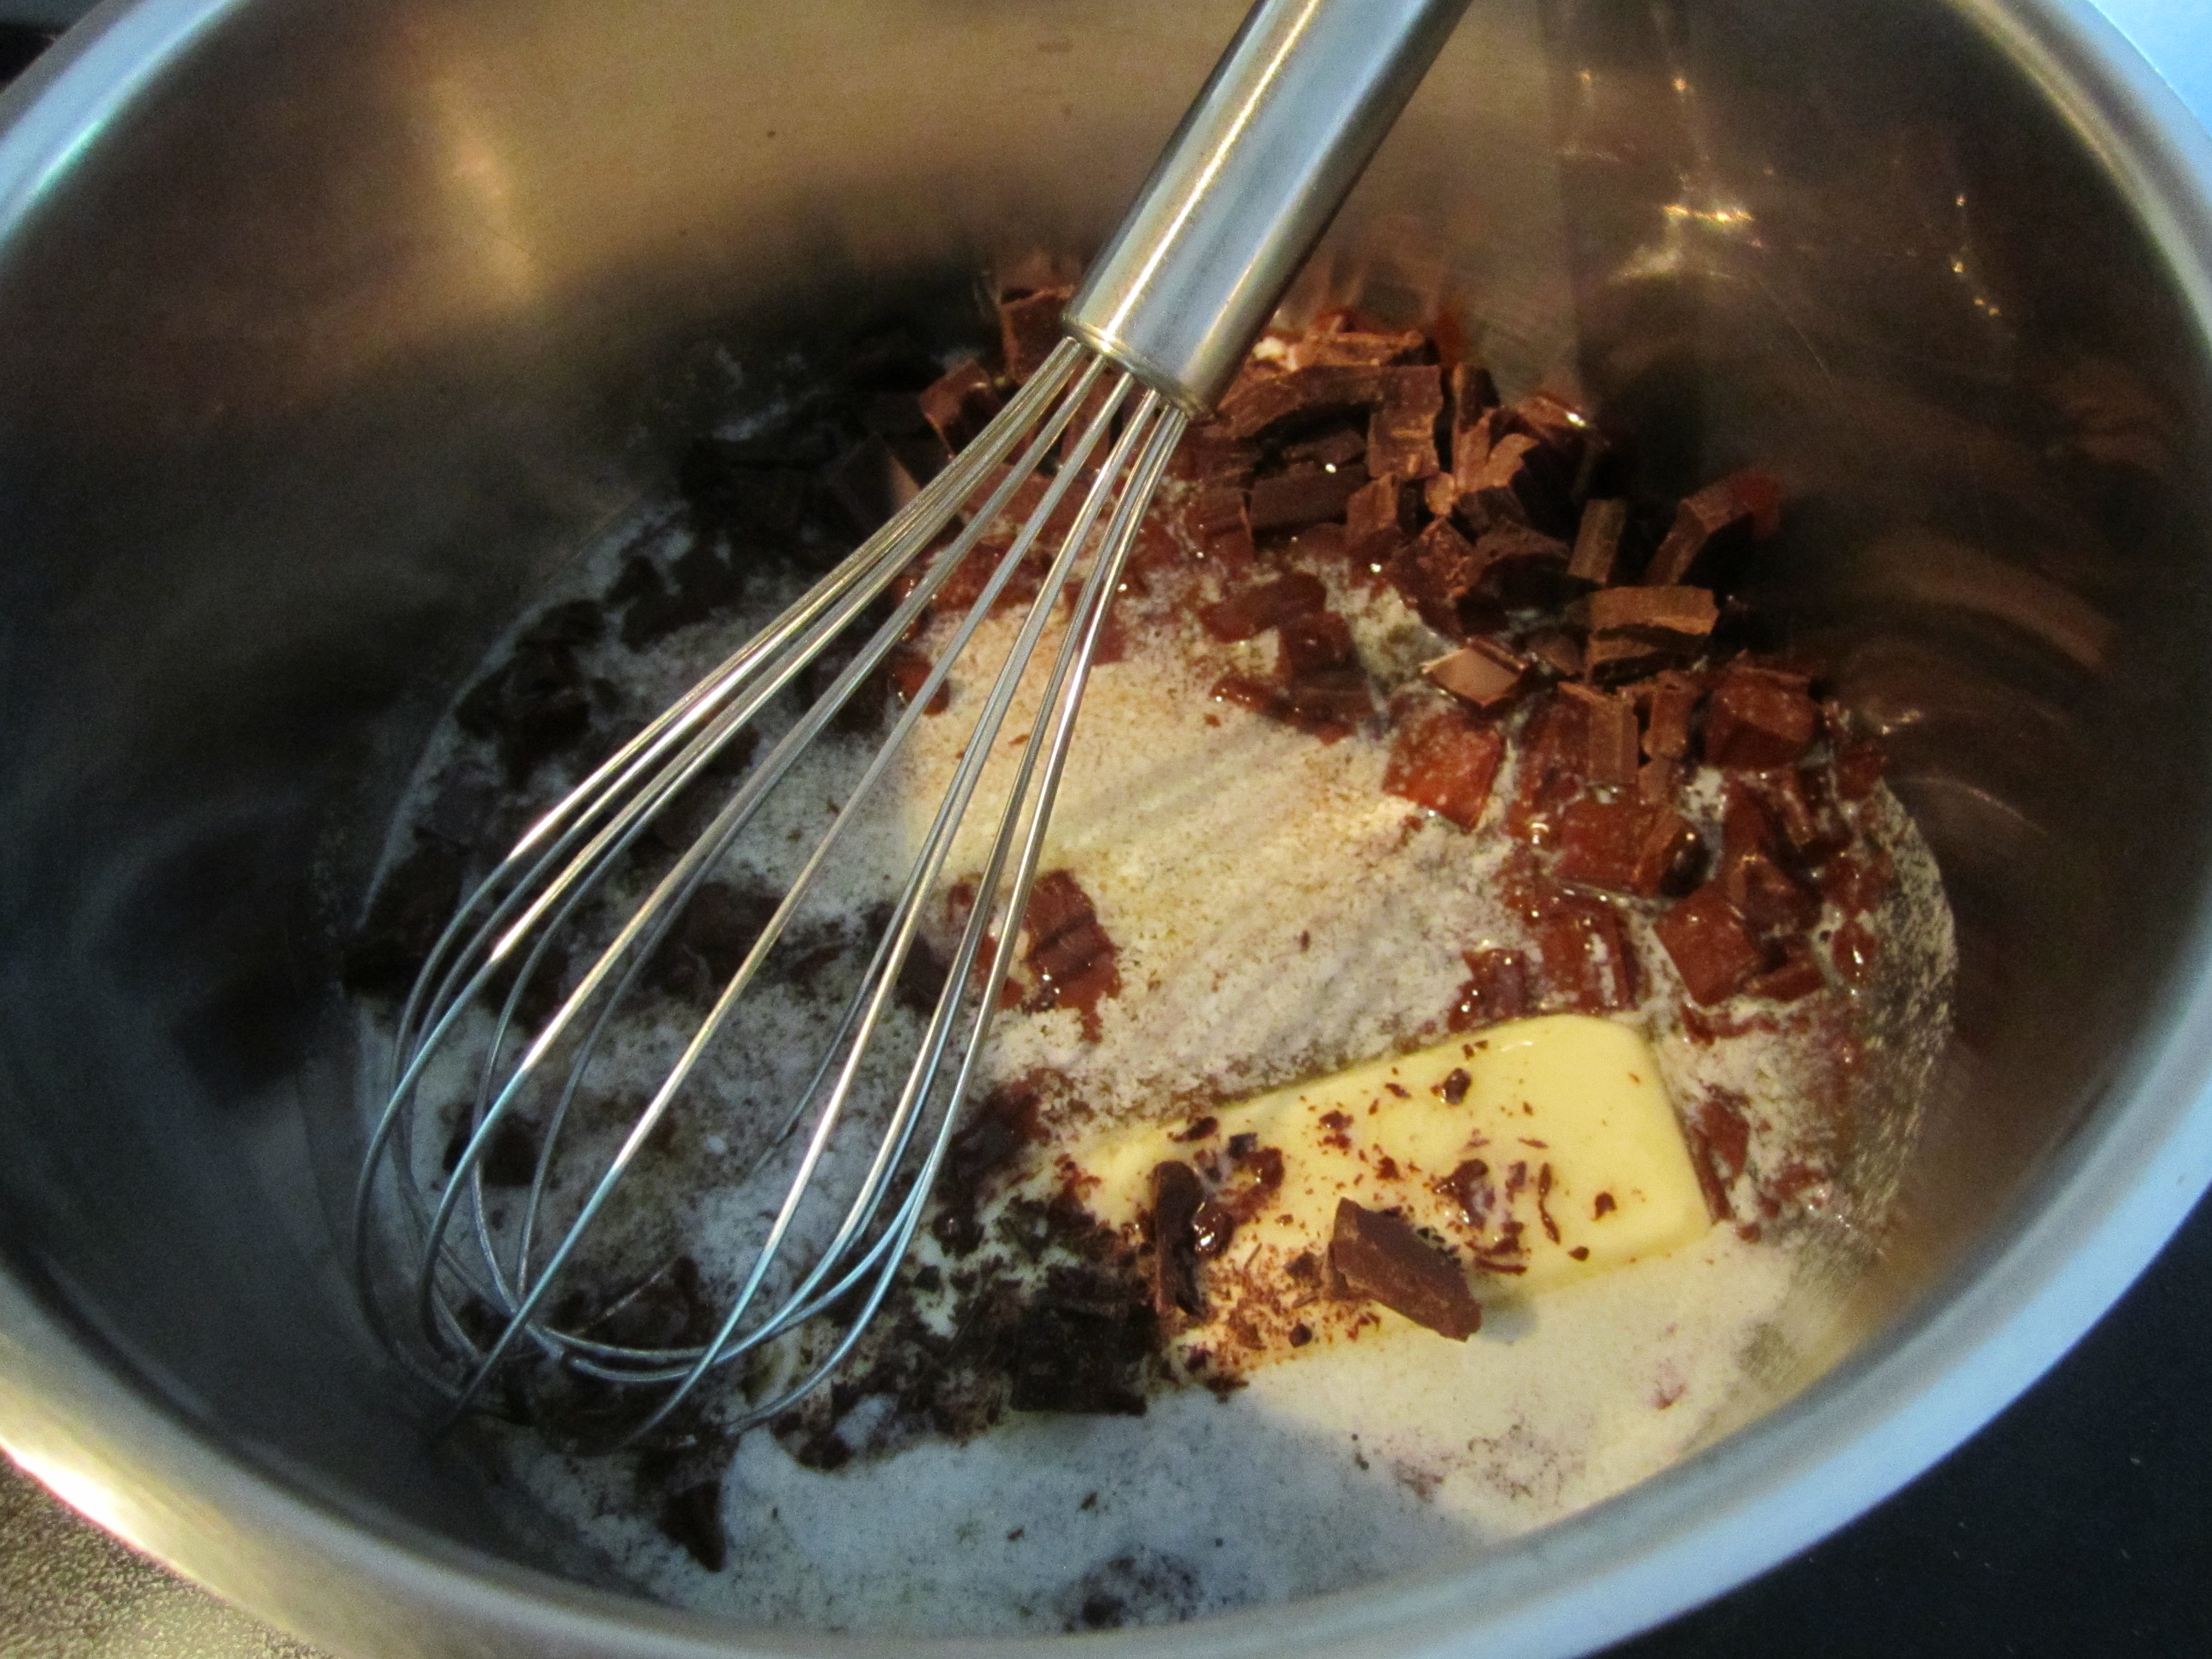
butter & chocolate melting:
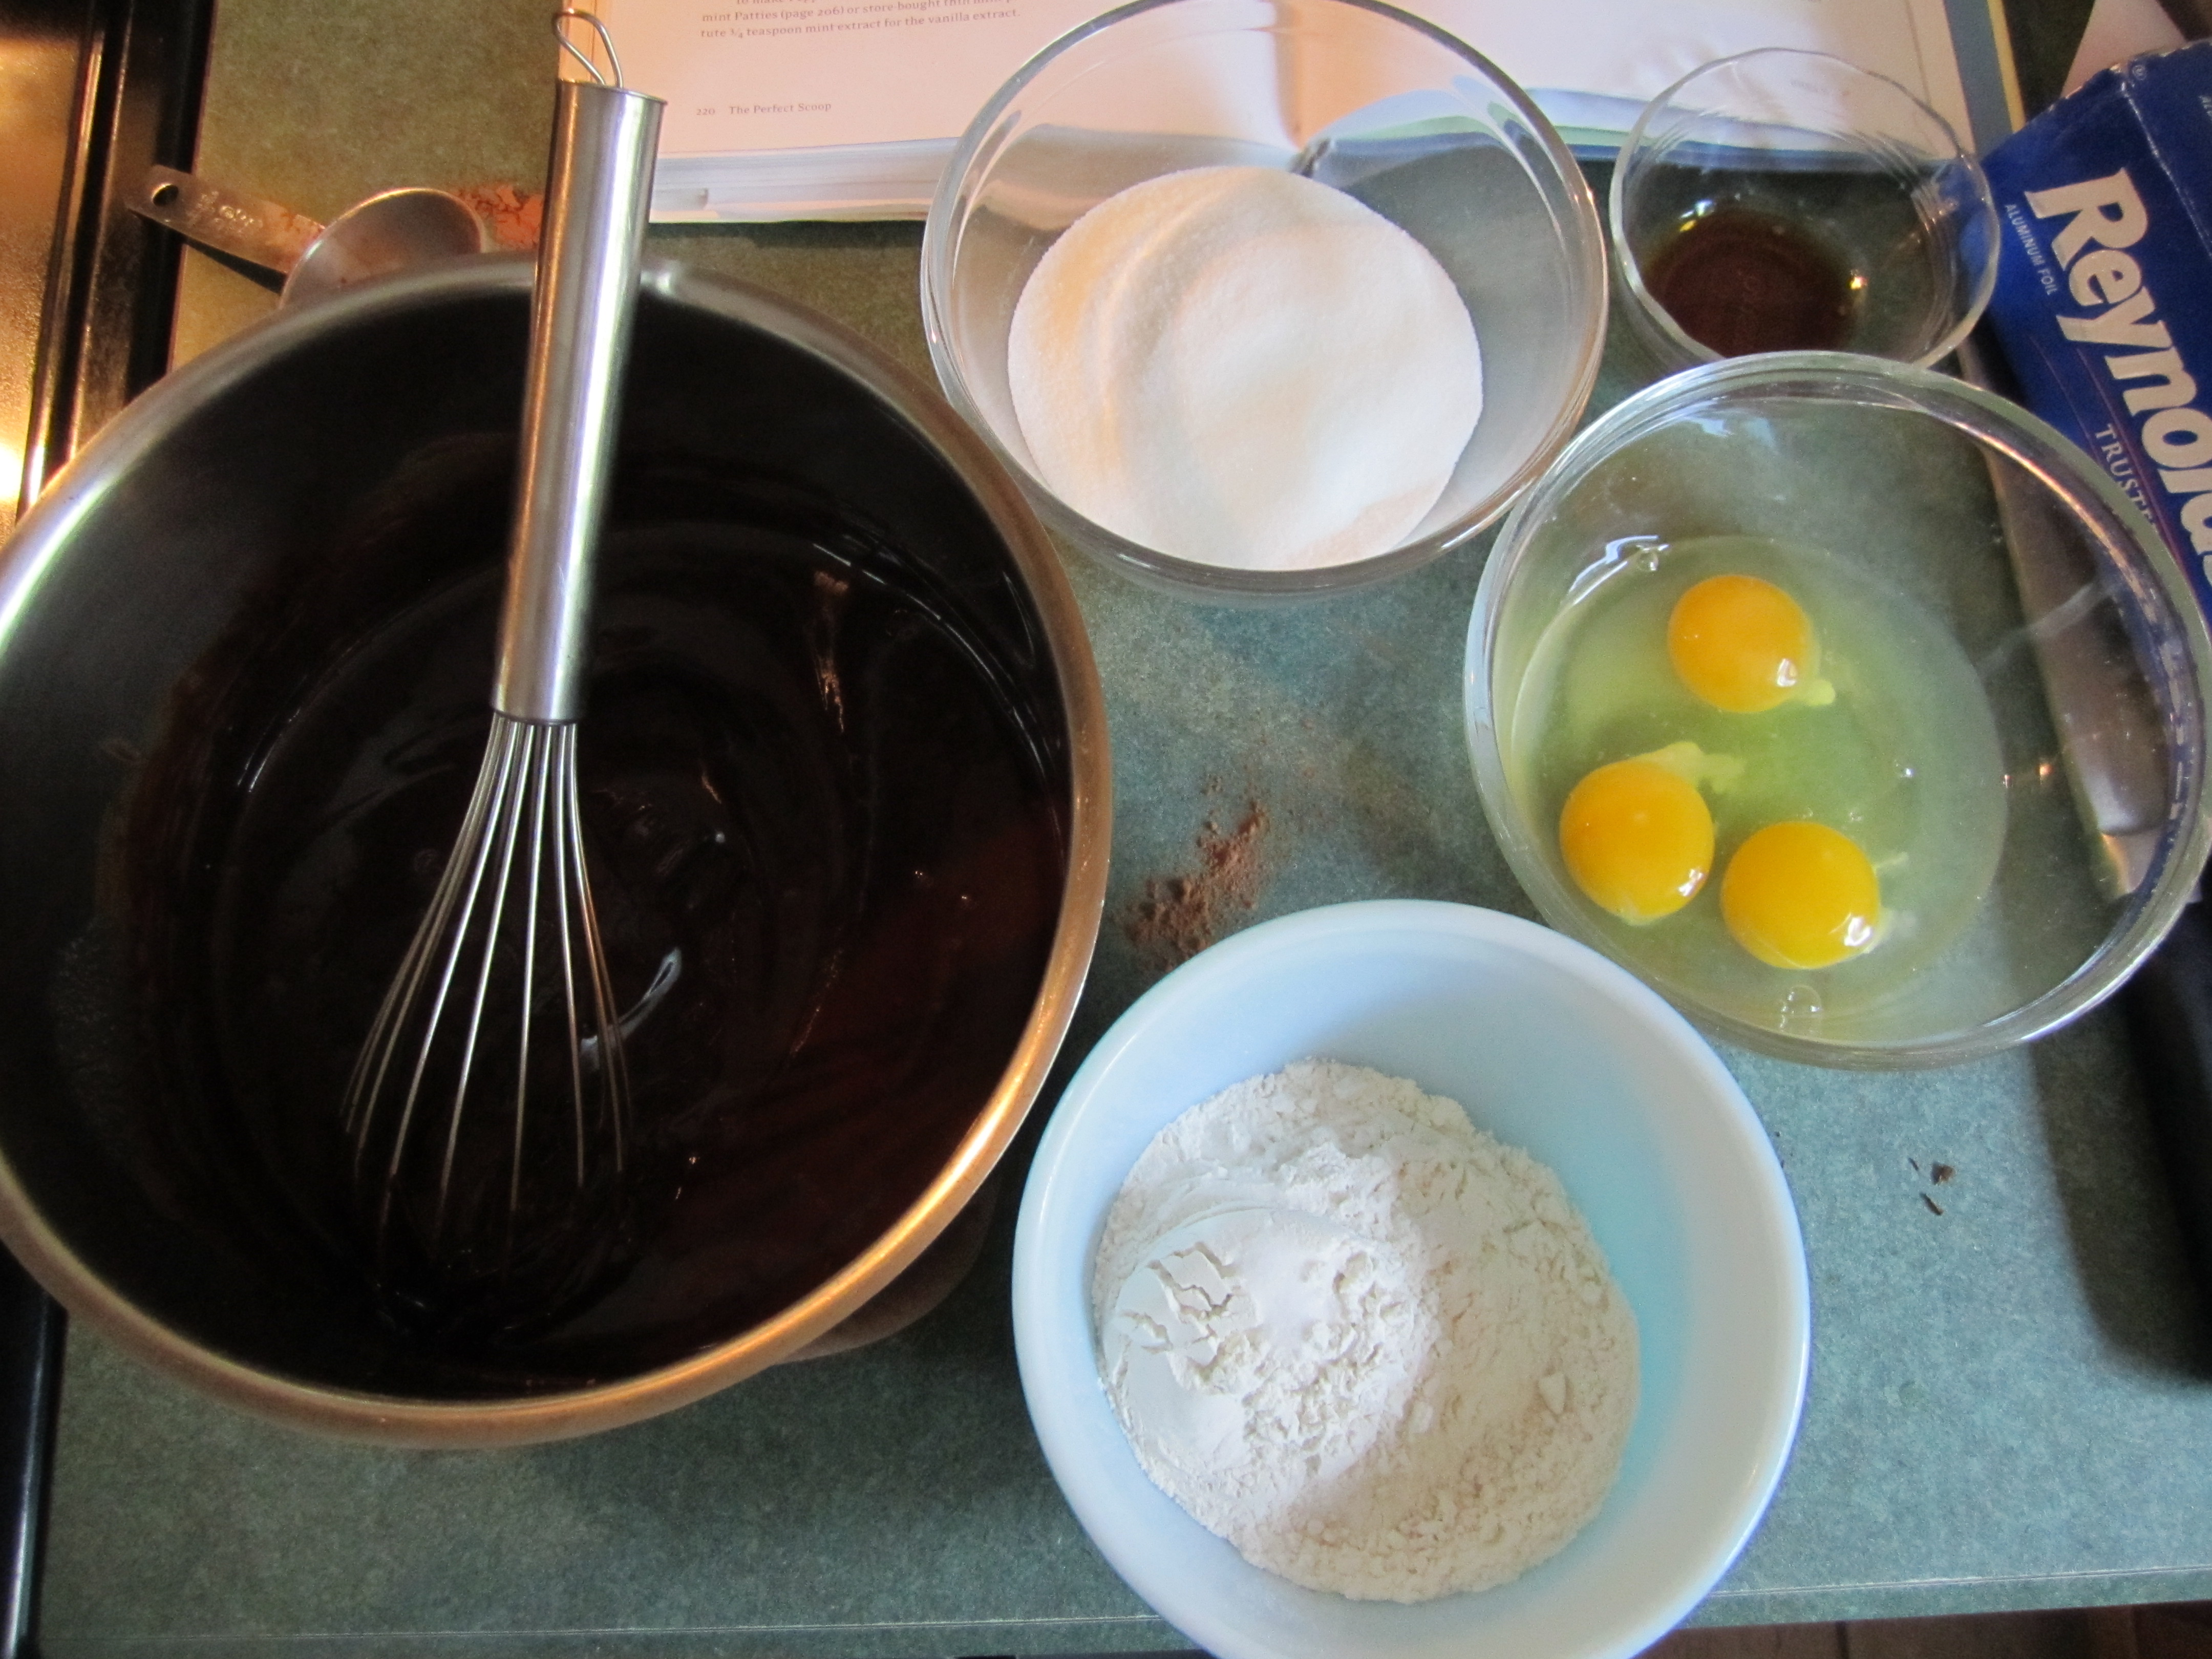
remove from heat, add other ingredients:
completed batter:

into the pan:

out of the oven:

I cut mine into rectangles:

yum…..

Dulce de Leche Ice Cream

A few weeks ago, when we had that incredible rain, it gave me an opportunity to finally do a large shopping. I used my Ultimatest Grocery List and started going through my food pantry to see what I did and didn’t have. Well that turned out into a 2 hour session of going through EVERYTHING and checking the sale by date and throwing out, unfortunately, a lot of expired food items. (I have been trying to reform my shopping to what I need rather than what I would like to make in the future. I’ve been better but I still need to fine tune.) Anyway, during my purge, I came up with 2 cans and a jar of Dulce De Leche, expiring in the next couple of months. Why so much? Who knows! But I decided right then and there to use them up! This ice cream is one of the results of my search and it is quite yummy.
Ice cream is such a great dessert to make. I find the homemade product far superior than what I can buy from Haagen Daz or Ben and Jerry’s. Most of the time, I make my ice cream with a base of milk and cream, which is lighter in texture and flavor than the custard based ice cream. The custard based ice cream includes eggs, which you have to cook and then cool, a little more work but delicious as well.
If you haven’t invested in an ice cream maker, I highly recommend you do. This is what I have: Cuisinart Ice Cream Maker. It’s not much money and it produces great results. The only disadvantage is that you have to wait 24 hours before you can make another ice cream so that the bowl completely freezes. And you need dedicated room in your freezer for the bowl.
This is what my daughter has: Lello Gelato Junior. More money, yes, but it has a built-in compressor freezer so you can make ice cream when ever you want!
Dulce de Leche Ice Cream by Gourmet 2007
Below are pictures to help you along. I did not add the pecans but I am sure they would be delicious!
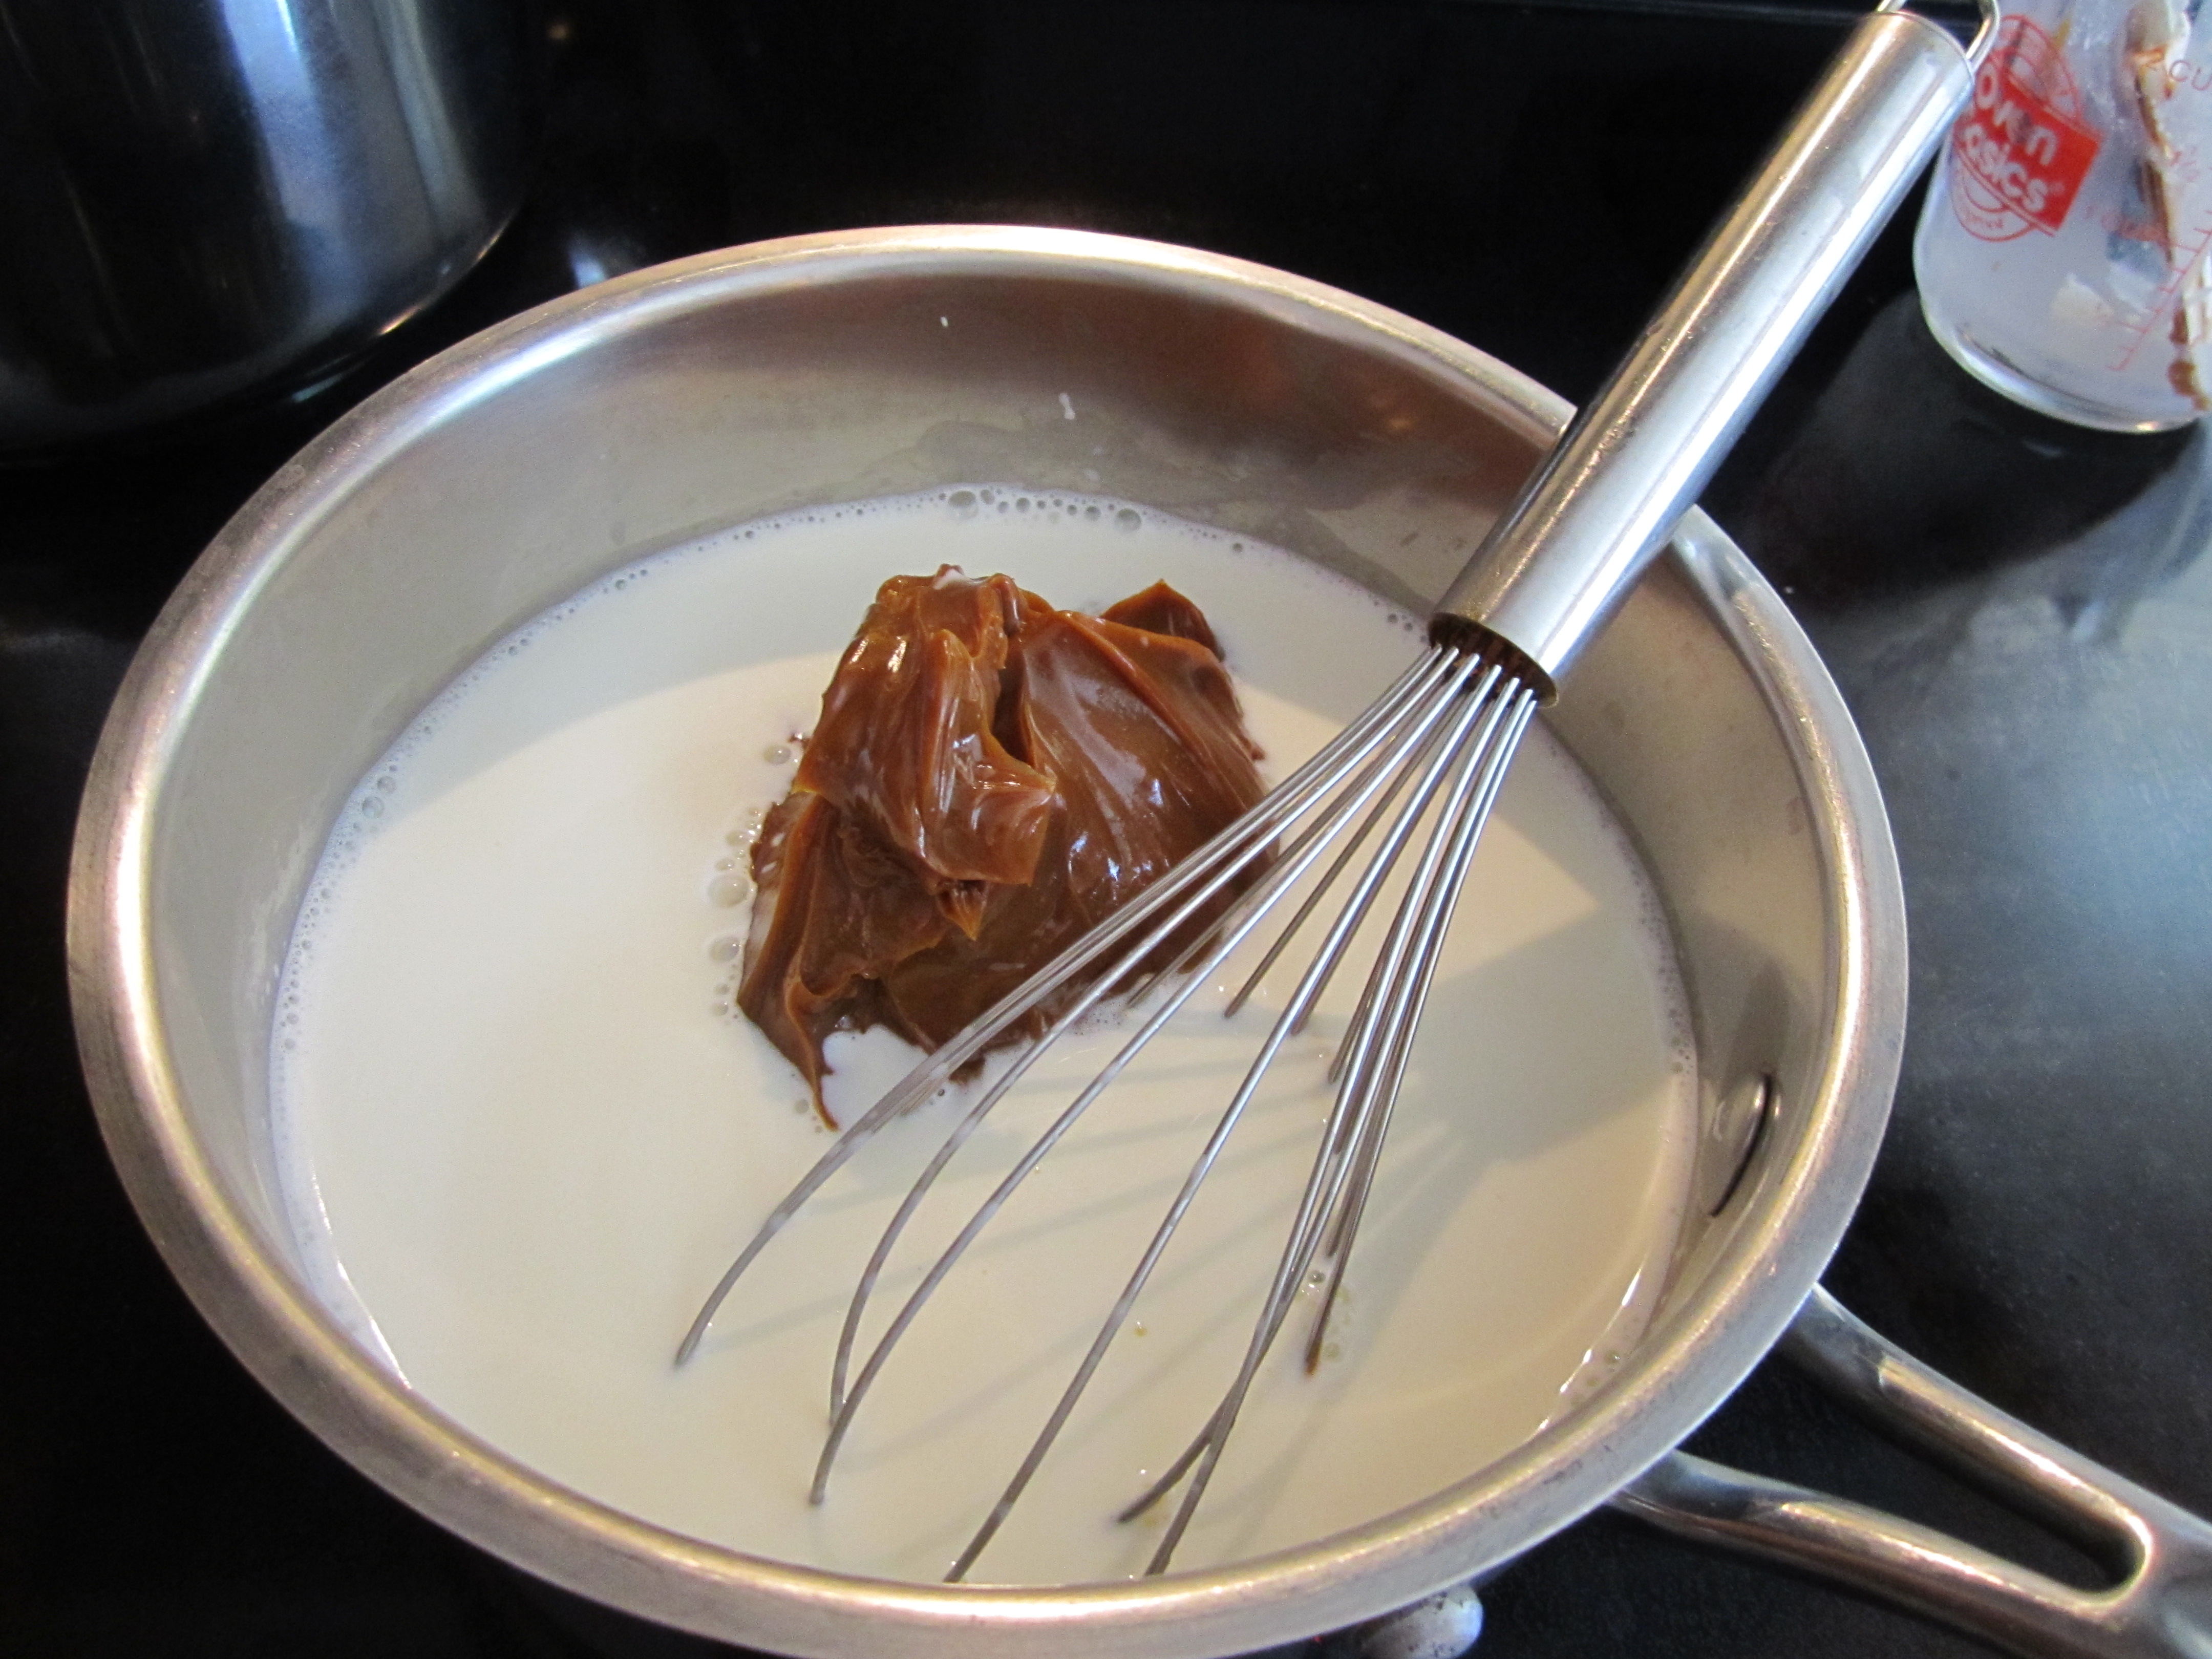
milk and cream just to a boil:

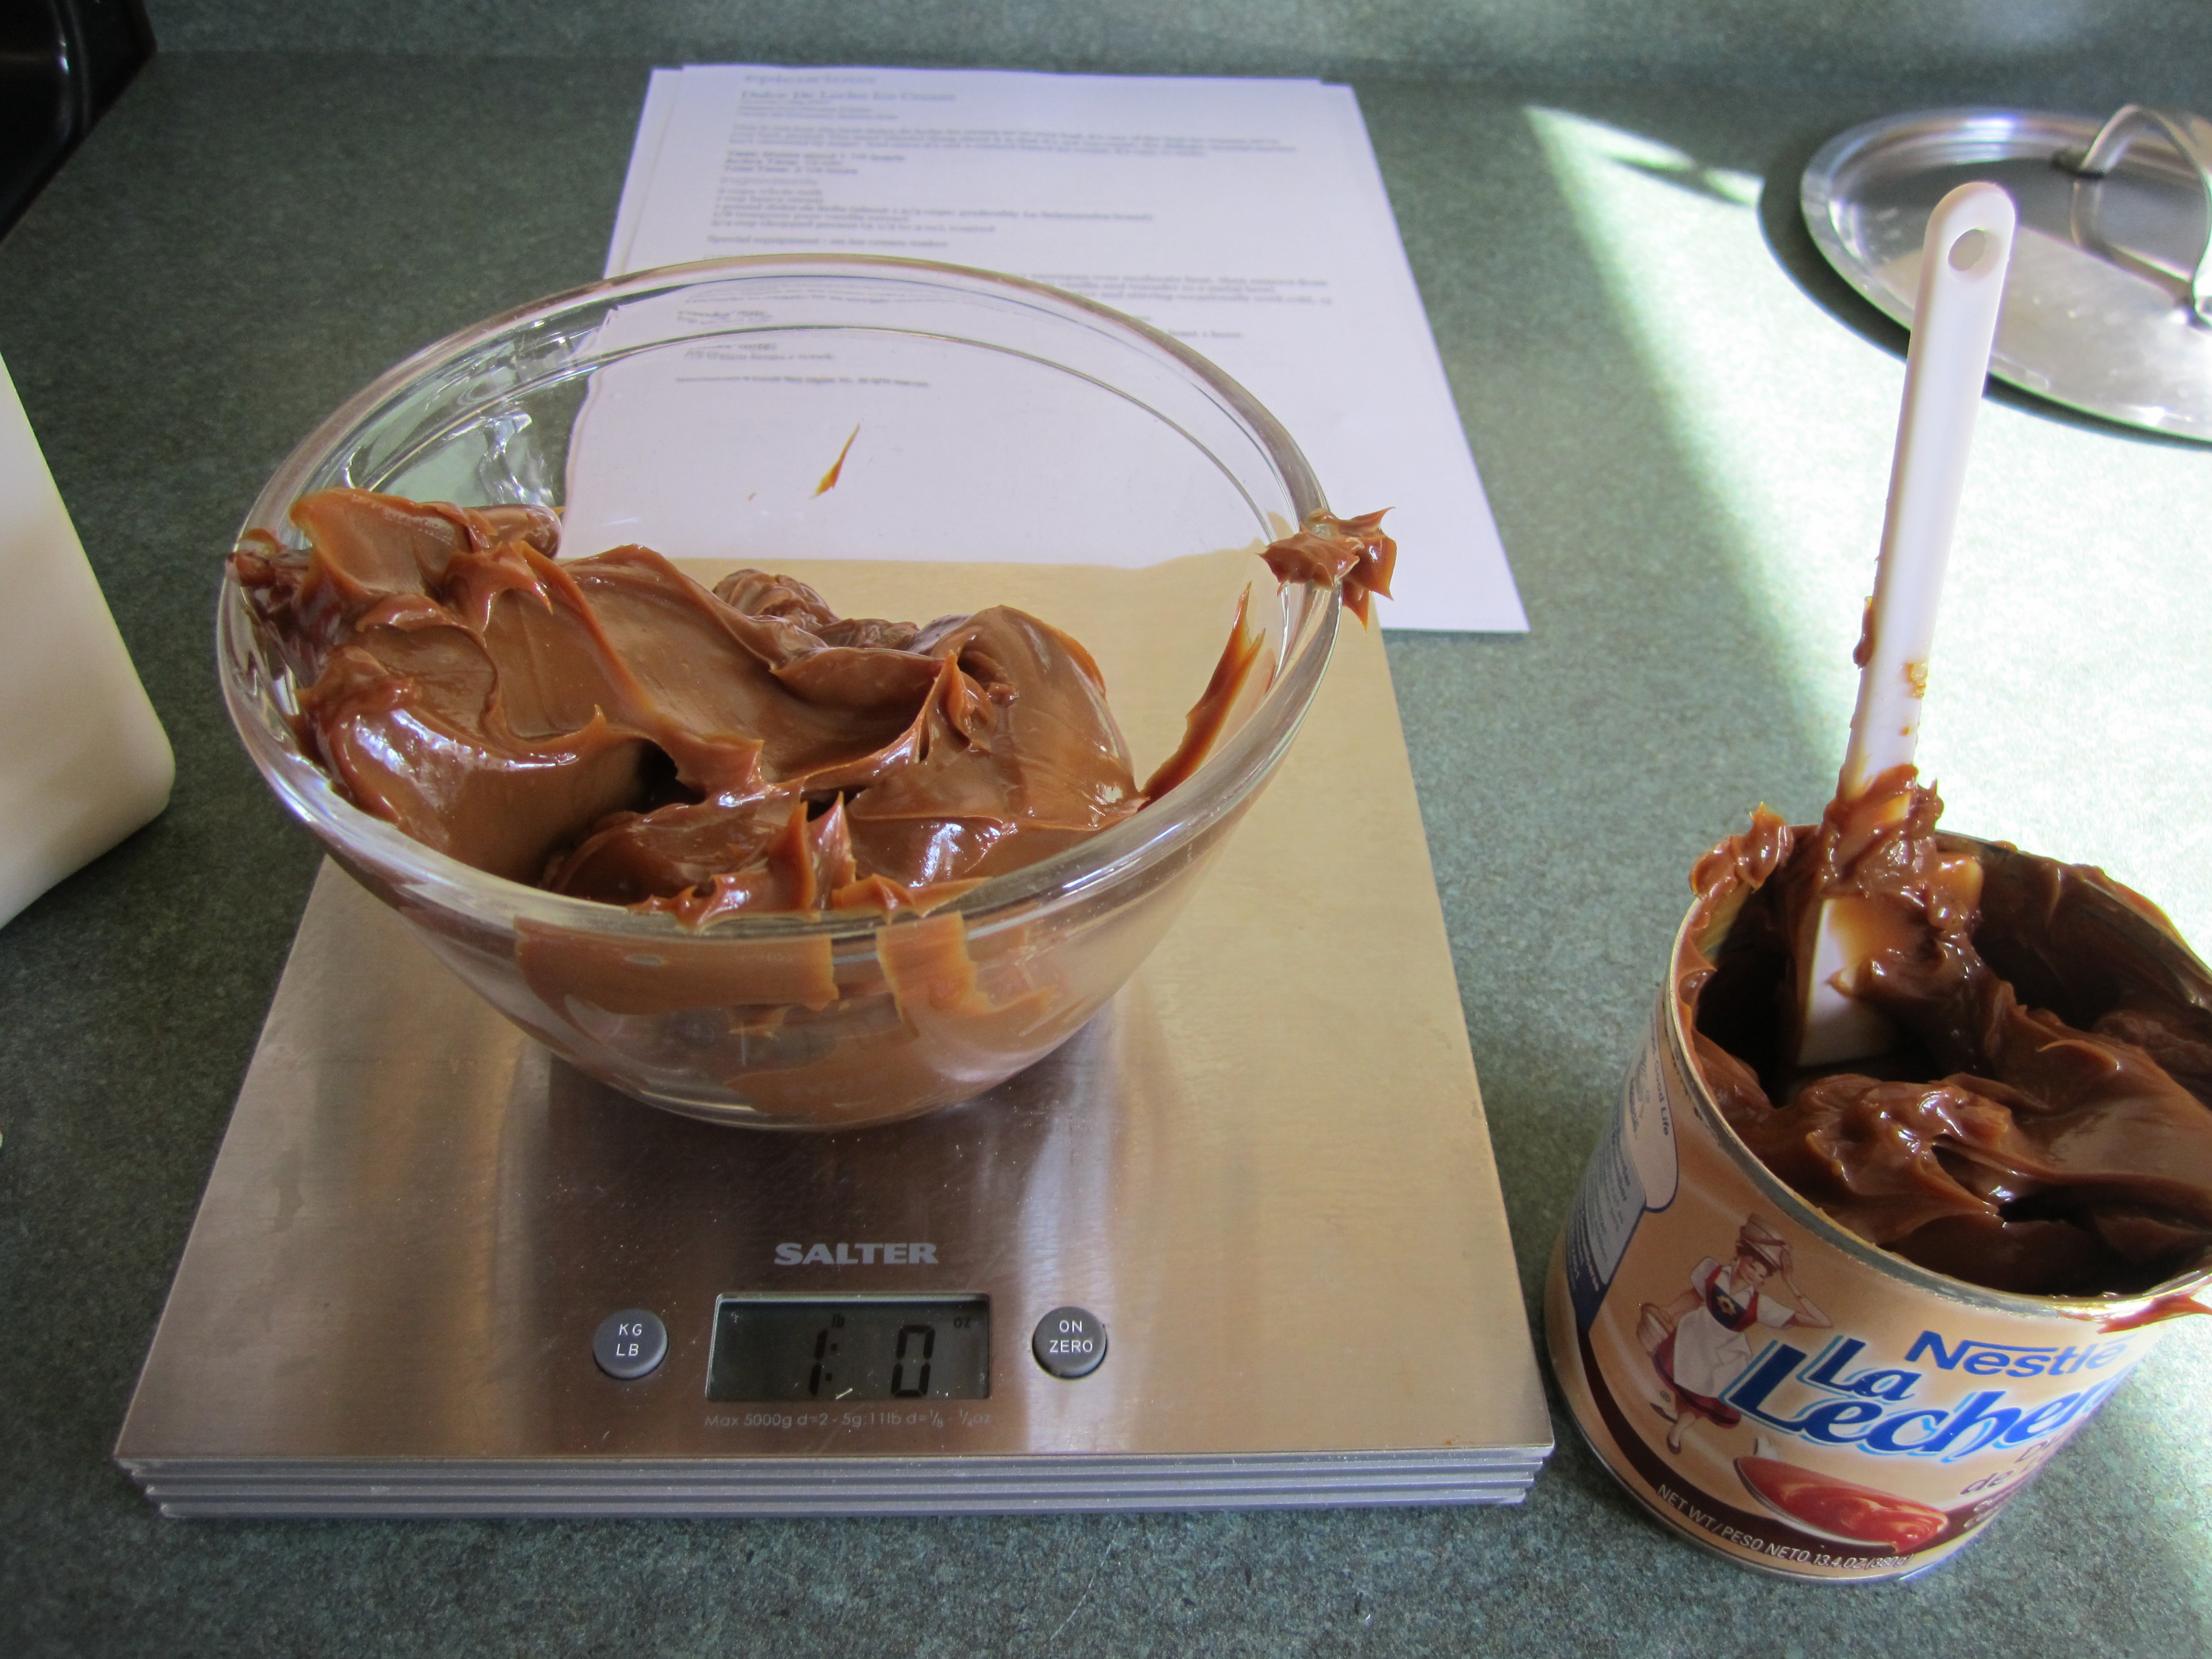
I used Nestle brand Dulce de Leche:

measuring the caramel, one can was not enough:
Remove milk/cream from heat, add caramel and whisk until thoroughly combined. I actually had to put mine back on the heat for a little bit to make sure the caramel had completely dissolved:
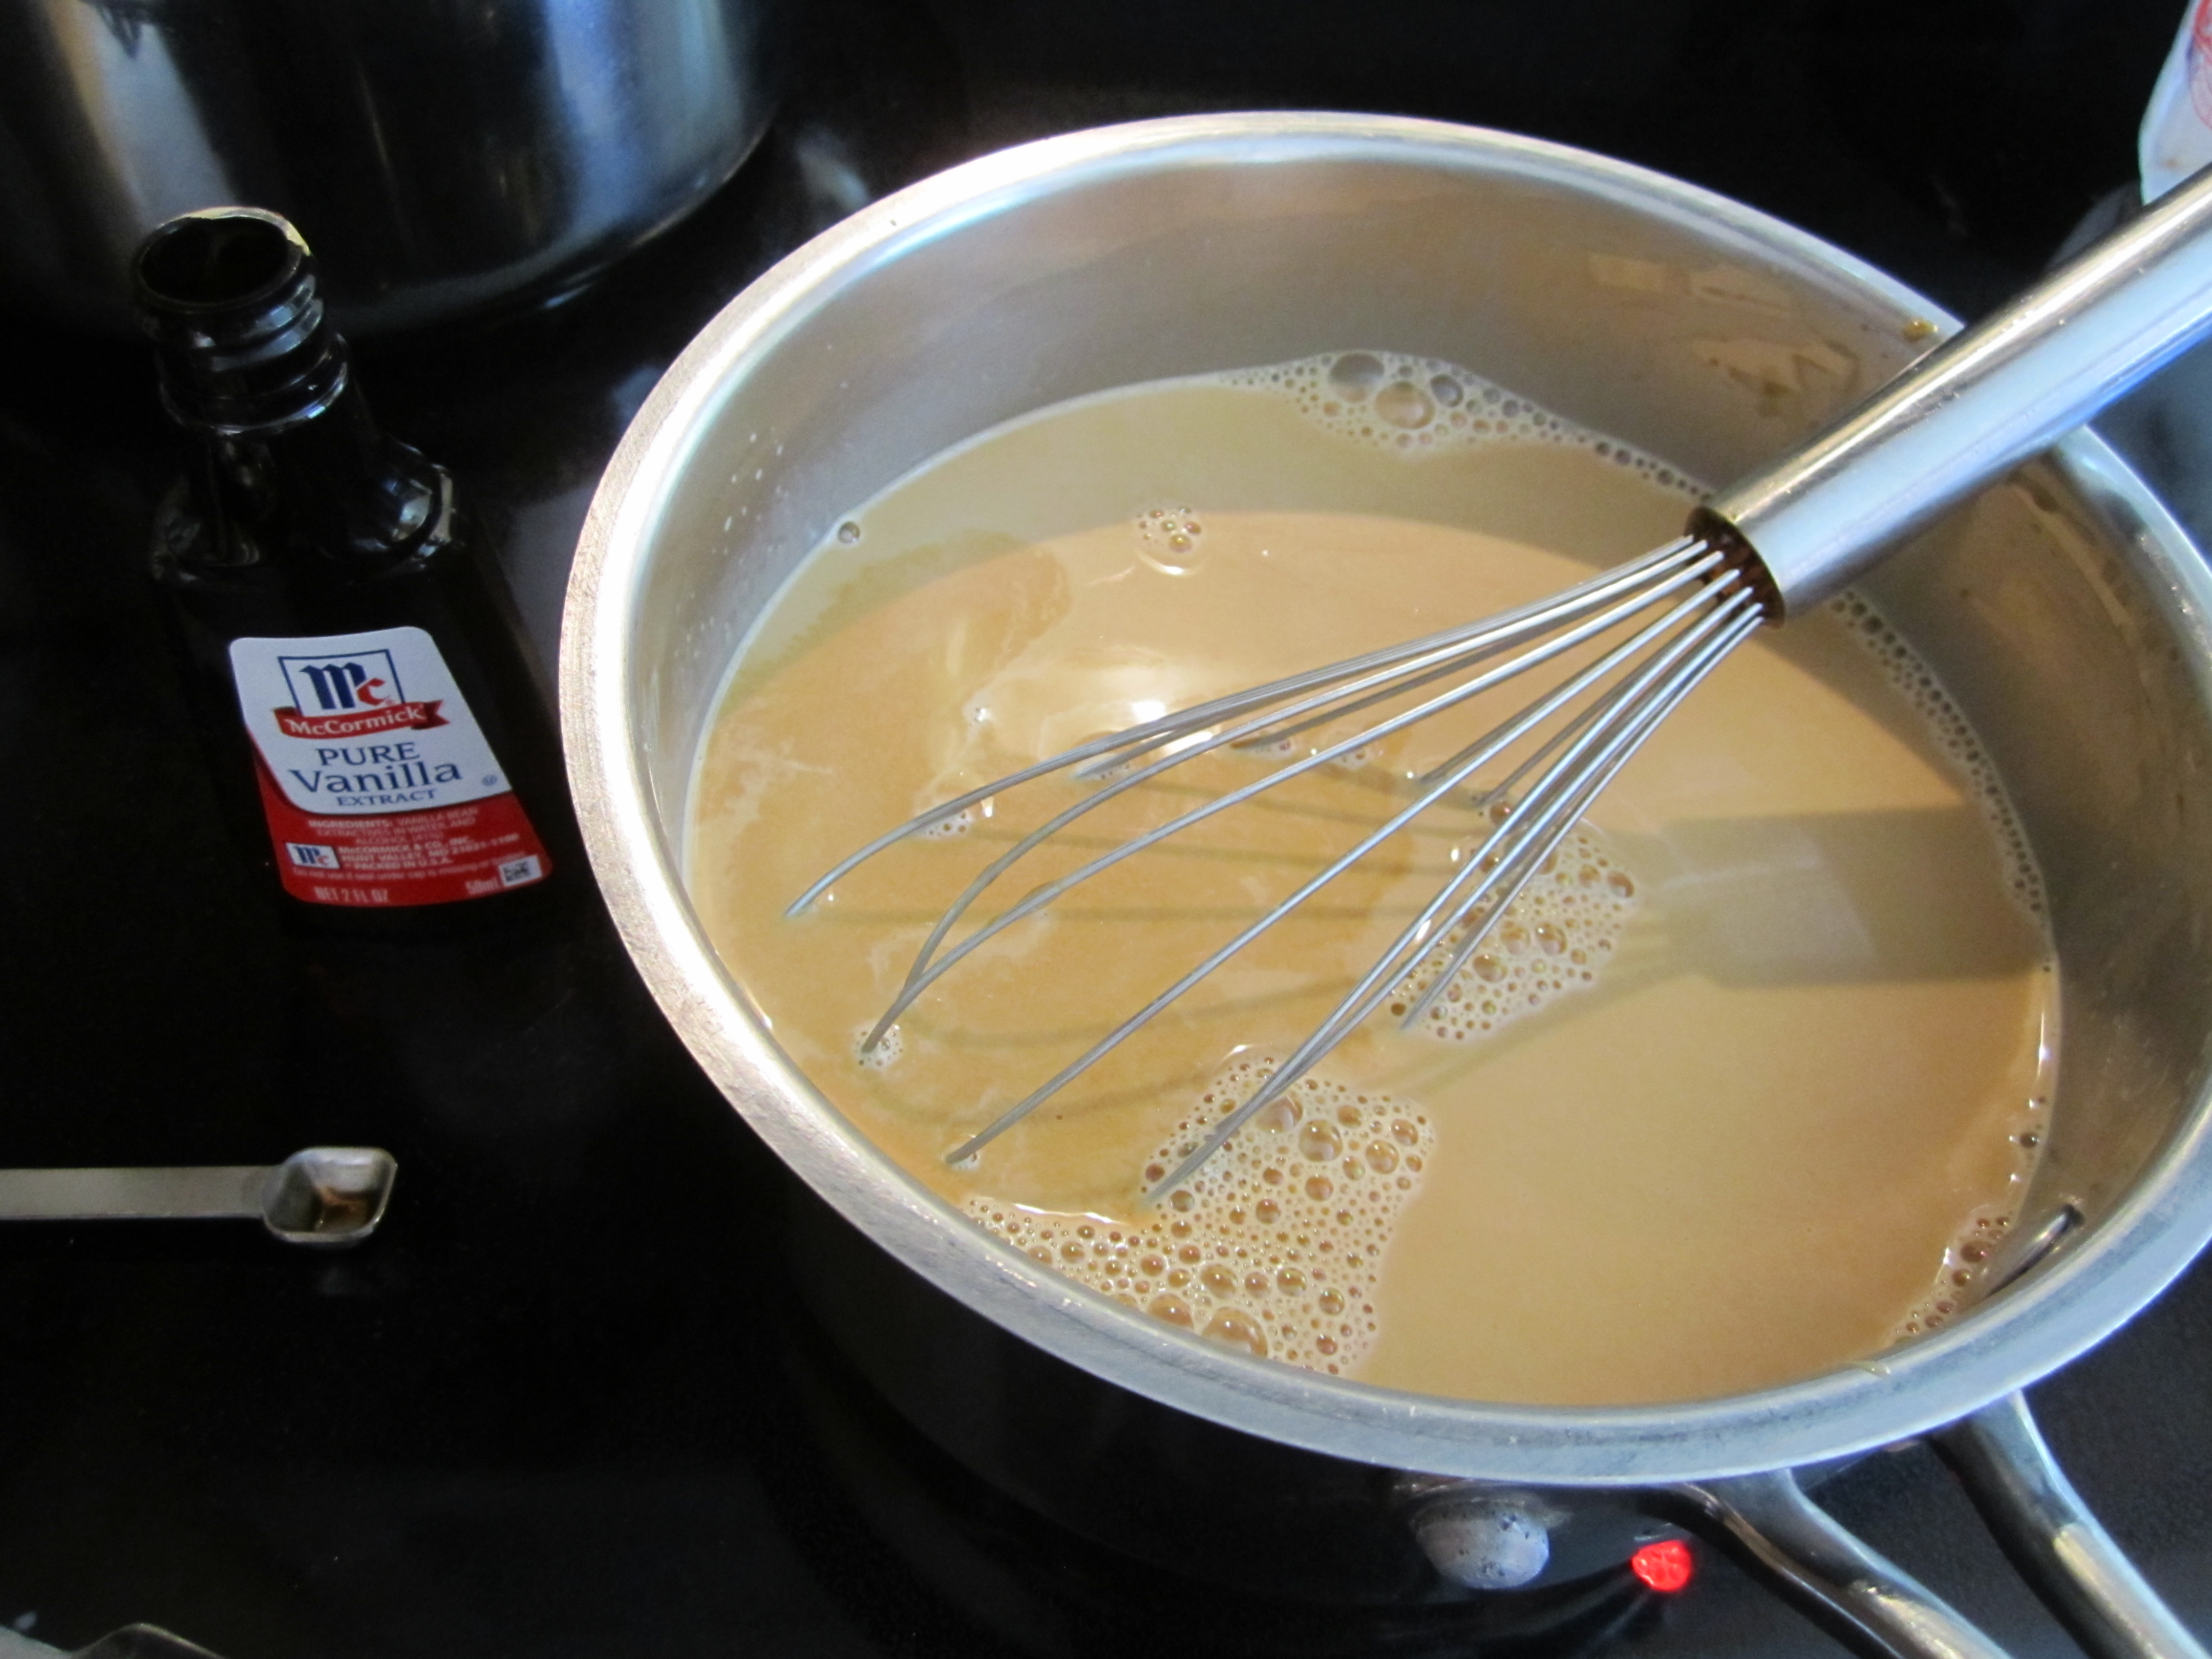
then add vanilla:
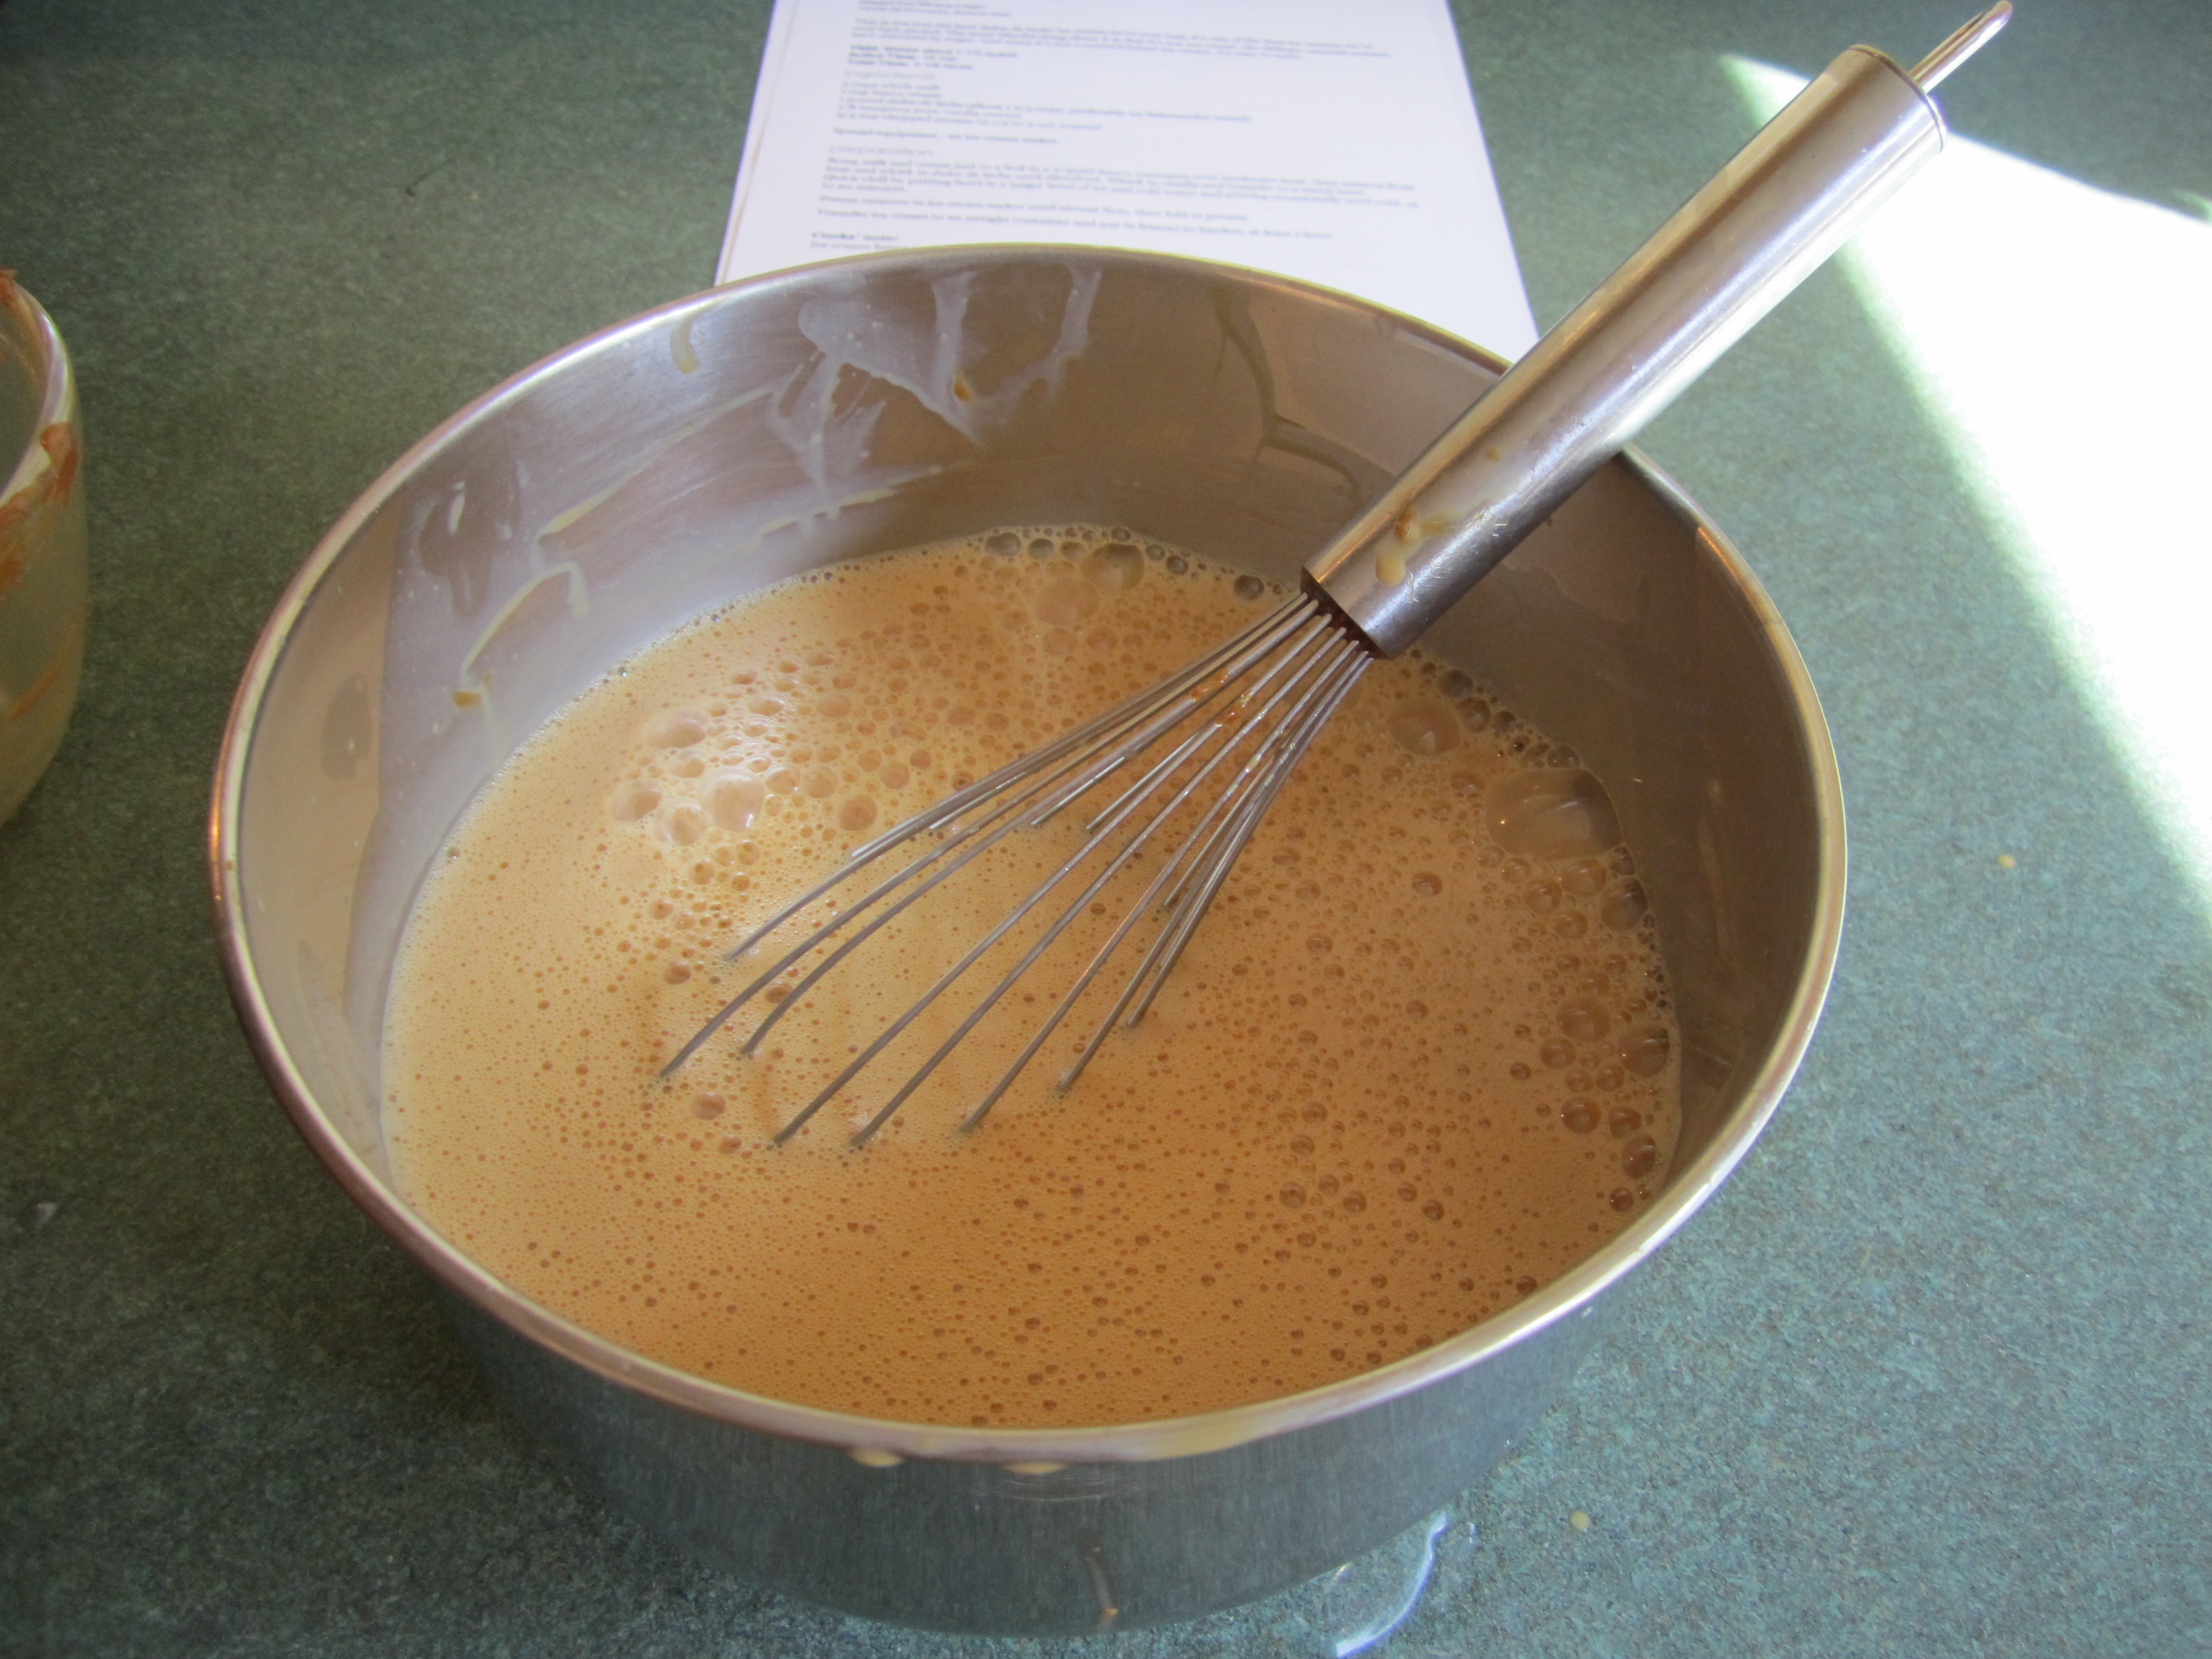
pour into another bowl, you can certainly do the ice bath but I put mine in the freezer for about an hour or so until it was cold:
after 30 minutes in the ice cream machine:

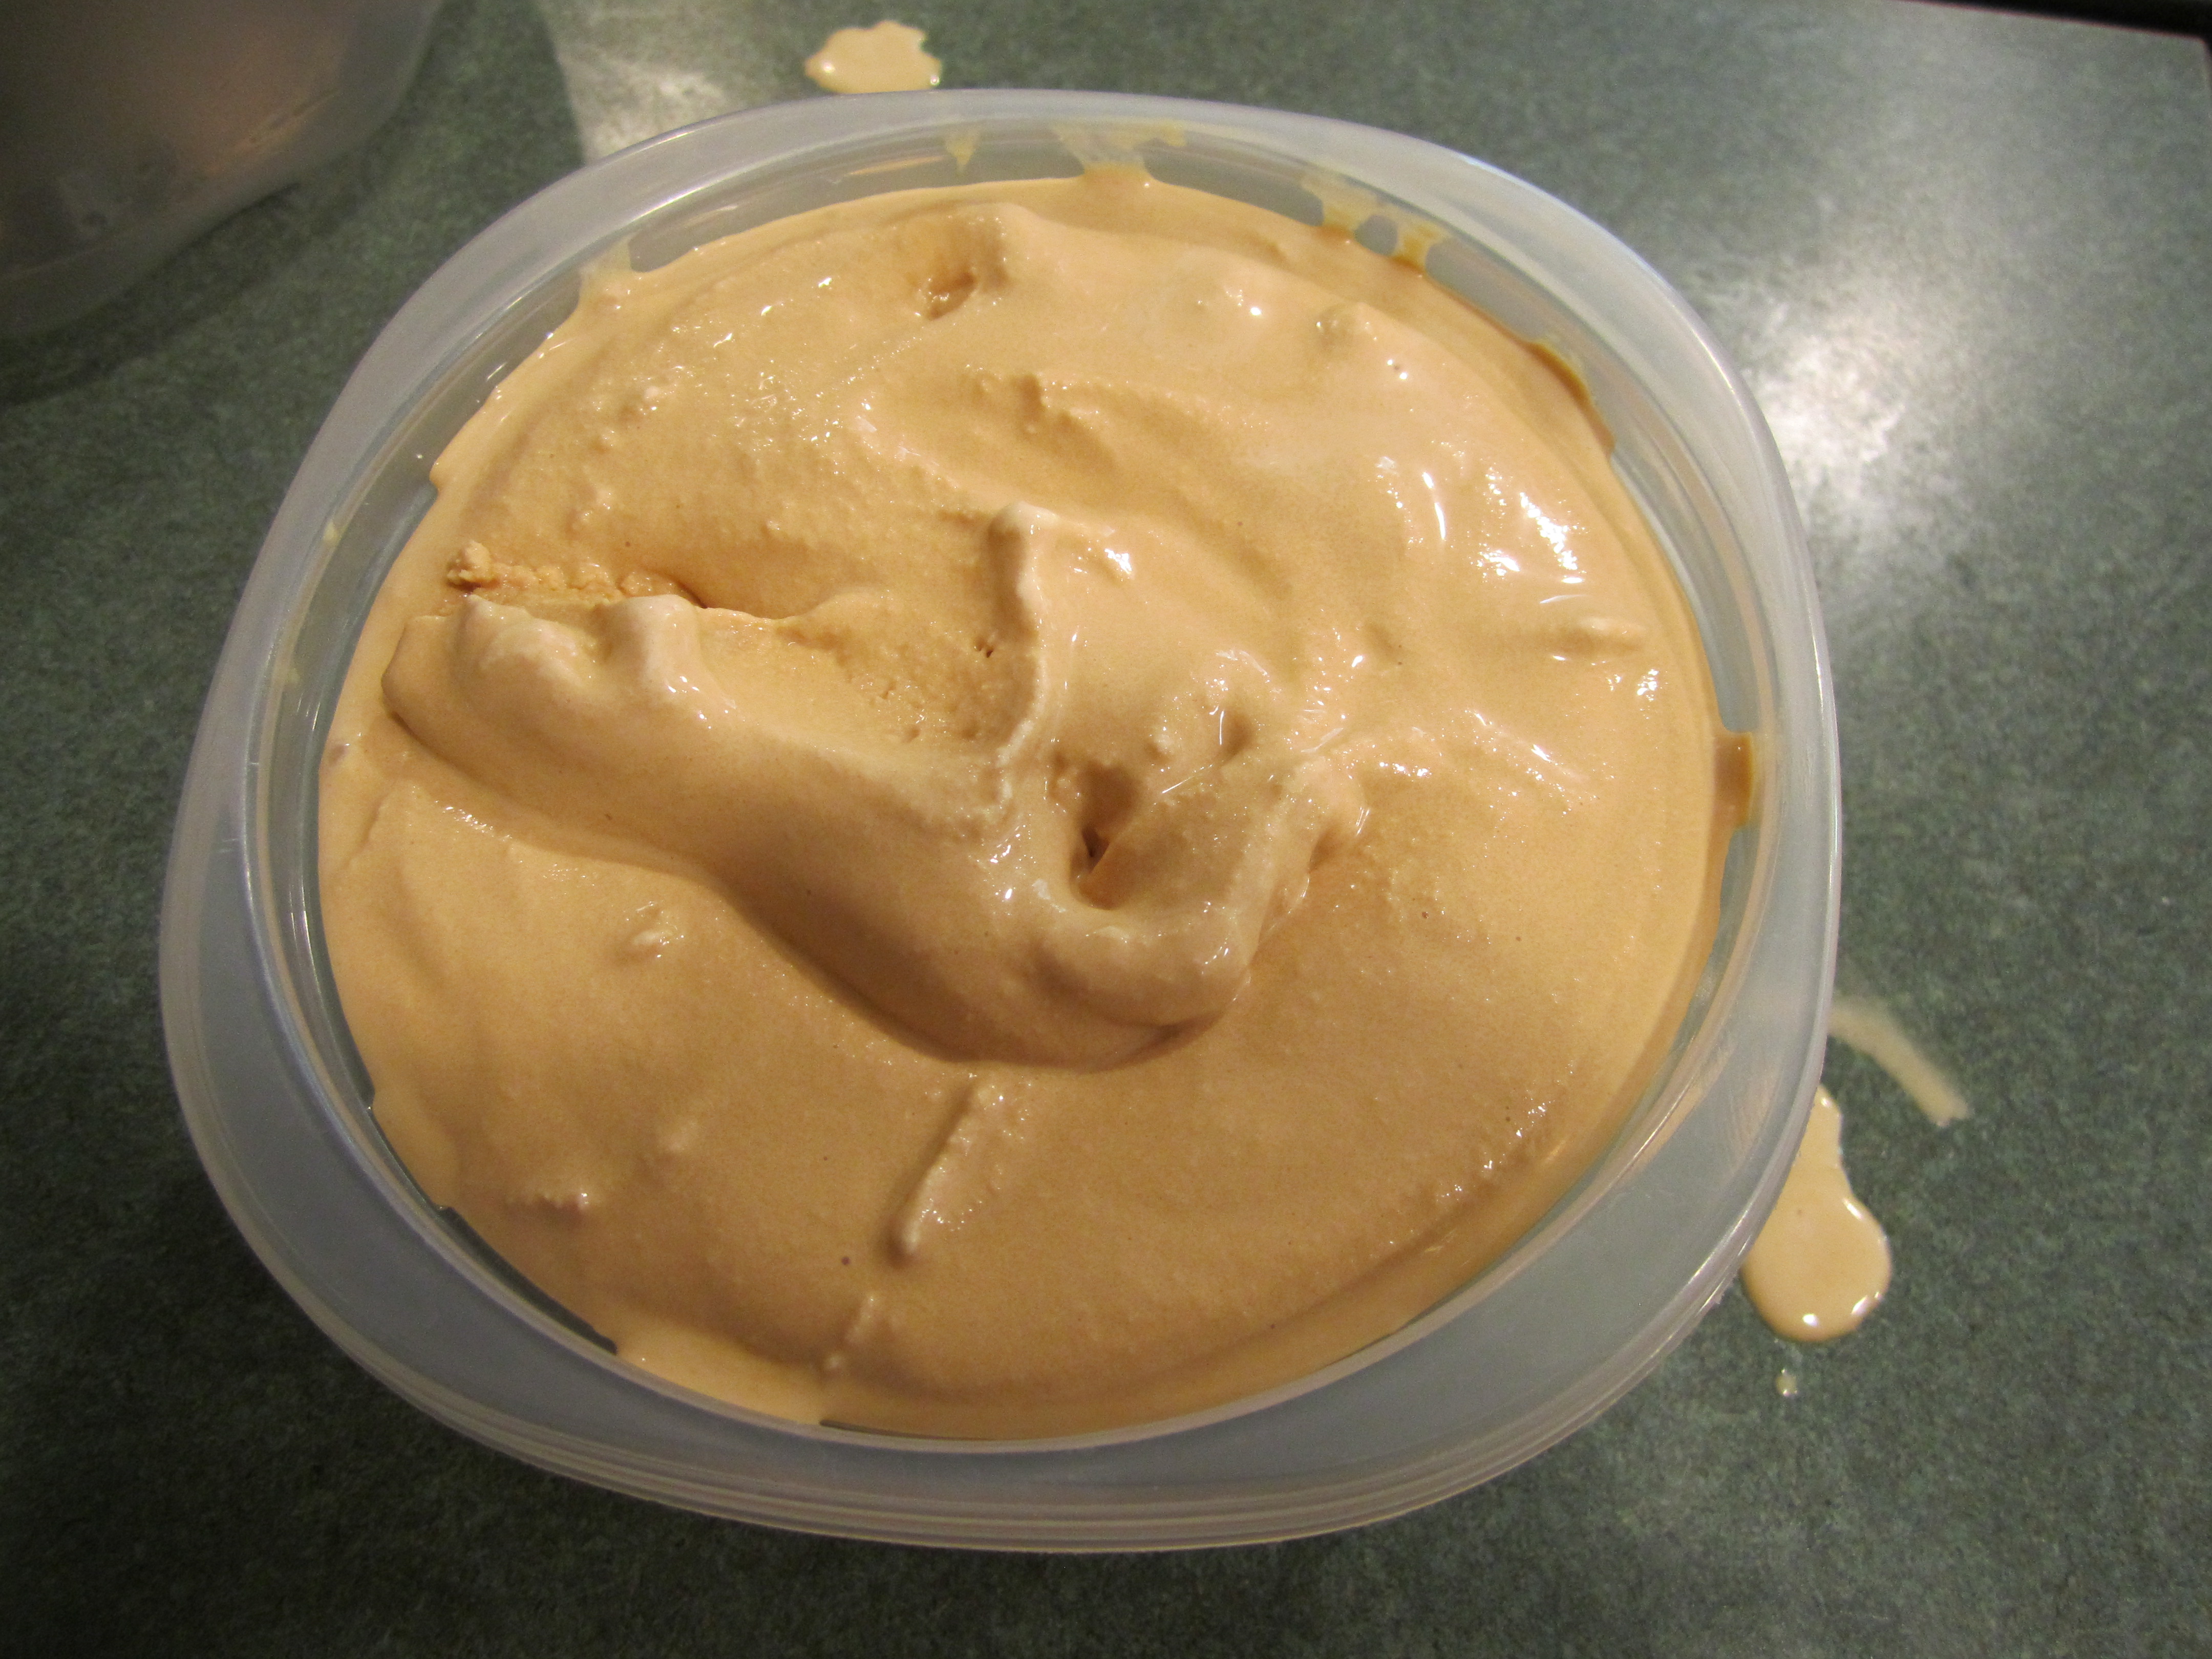
into the container and then the freezer for a few hours or overnight (it’s still soft after an hour, I think anyway):
yum!
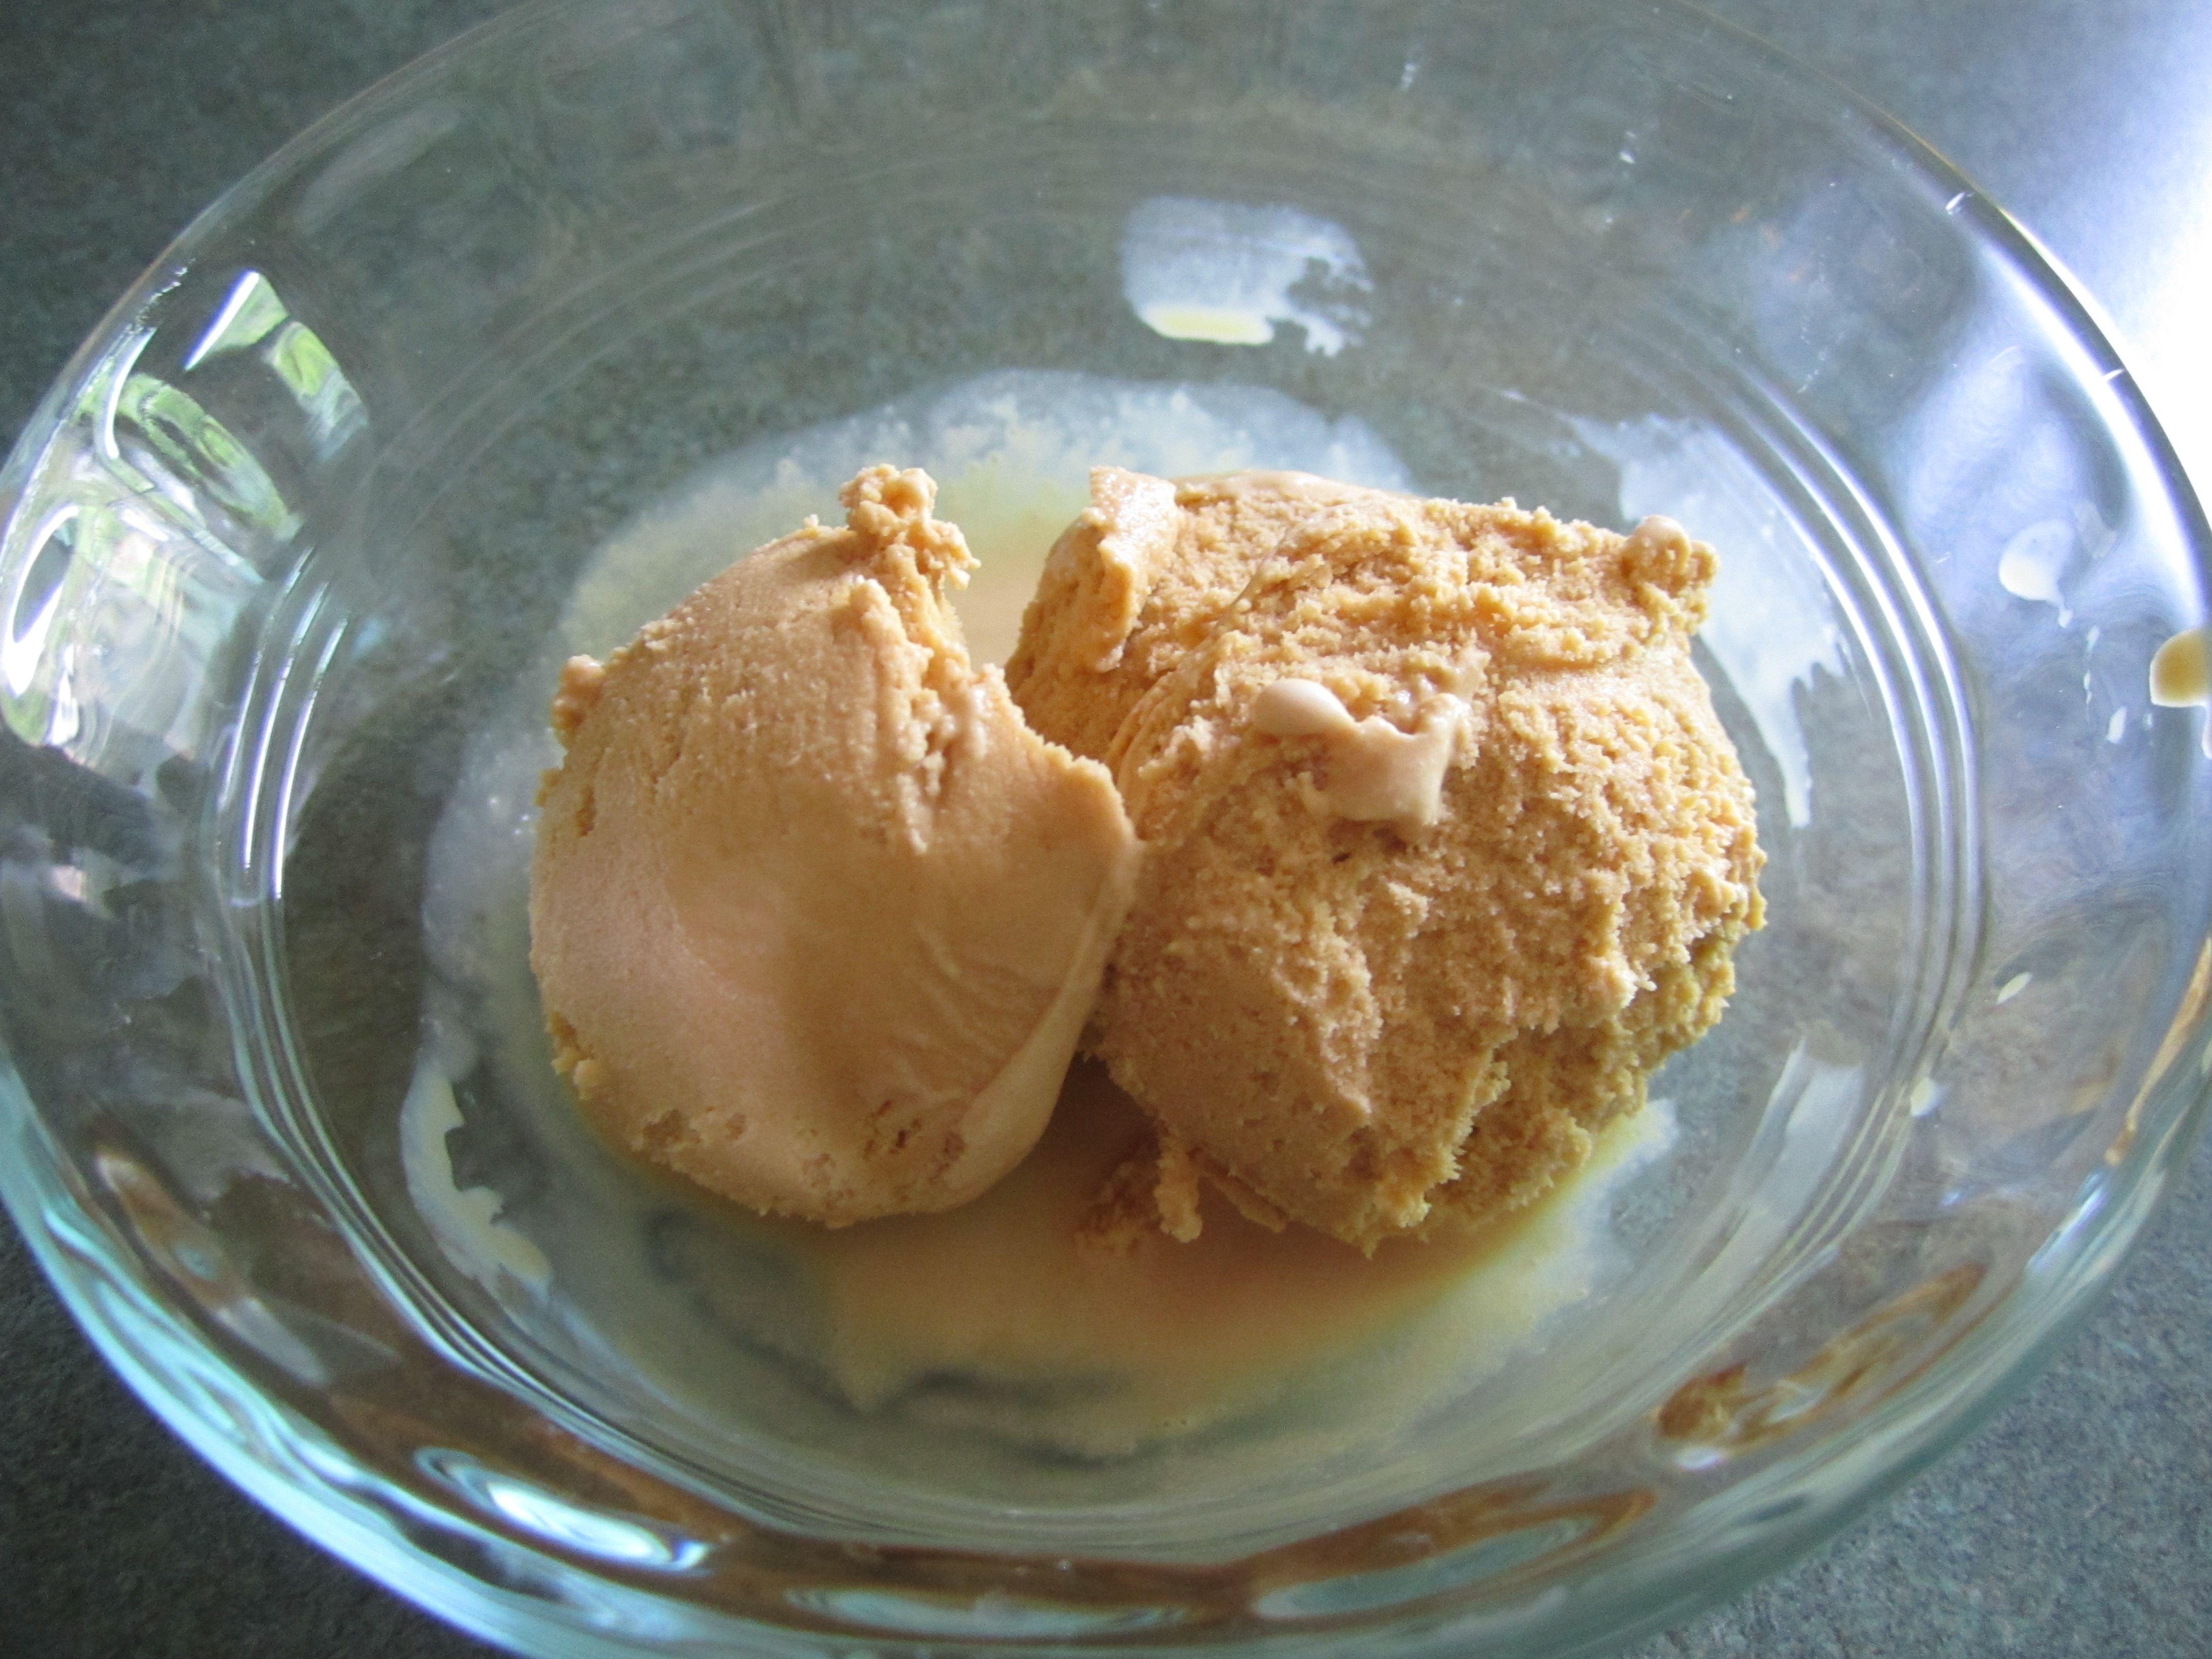
I served this with a very chocolatey brownie and though alone the ice cream is yum, together with the brownie it was really scrumptious! I will share this brownie recipe the next post. Though I have a really great brownie already, this is a one bowl recipe that’s super easy!
Black Cod with Teriyaki
I went to my favorite fish store, Mount Kisco Seafood, with a specific fish and recipe in mind but ended up getting Black Cod filets, instead. I had never had them before and thought it would be interesting to try.
When I got home, I needed a new recipe and found this one from Food.com. Very simple and very delicious. Thanks Julie!
Silk, that is the only word that properly describes the texture of this fish. Absolutely amazing! A little expensive but well worth it.
Black Cod with Teriyaki (from Julie’s Baked or Grilled Black Cod Teriyaki)
3/4 to 1 pound of Black Cod filet cut into 3 uniform pieces (as close to uniform as you can get)
2 teaspoons melted butter
1/2 cup teriyaki marinade
2 cloves garlic, minced
Preheat oven to 350 degrees.
Place butter, marinade and garlic into a shallow glass dish (like a glass pie plate) and stir together. Place fish into marinade, turning over to coat. Place into refrigerator and let marinate for 20 minutes.
Remove fish from refrigerator and place in shallow baking dish. Pour marinade over top. Bake for 20 – 30 minutes until fish flakes easily.
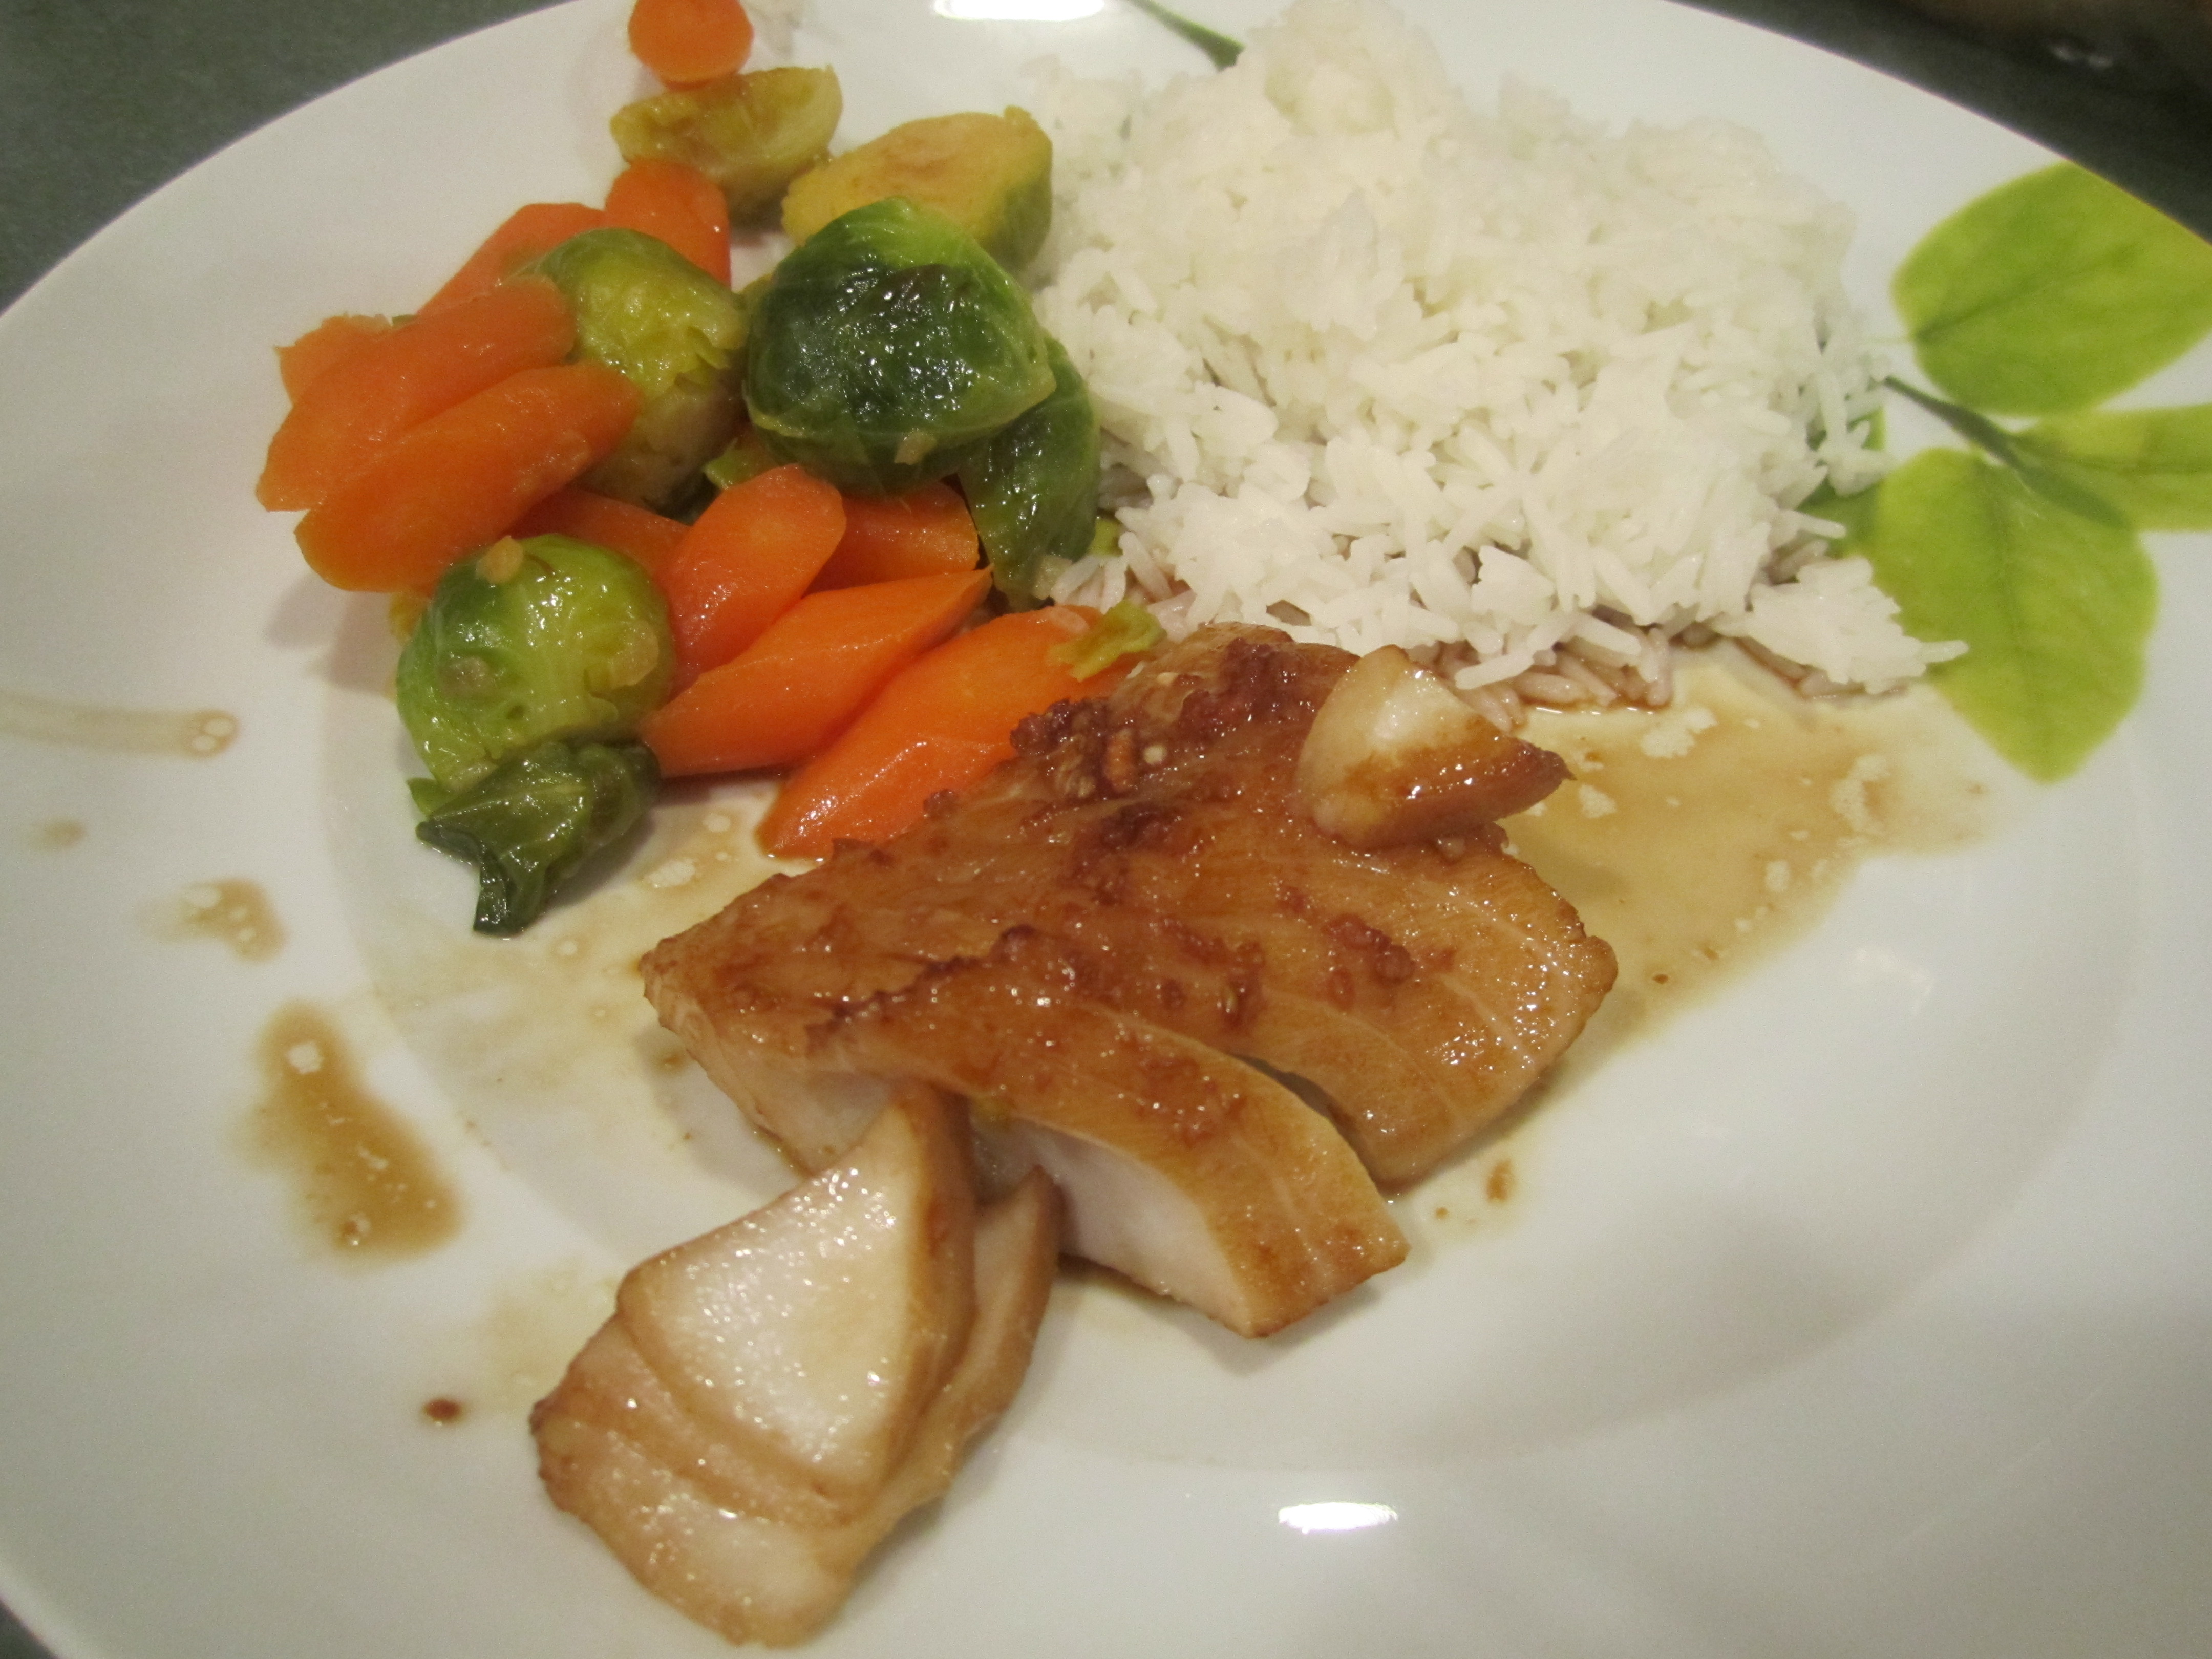
Serve with rice and sauce.
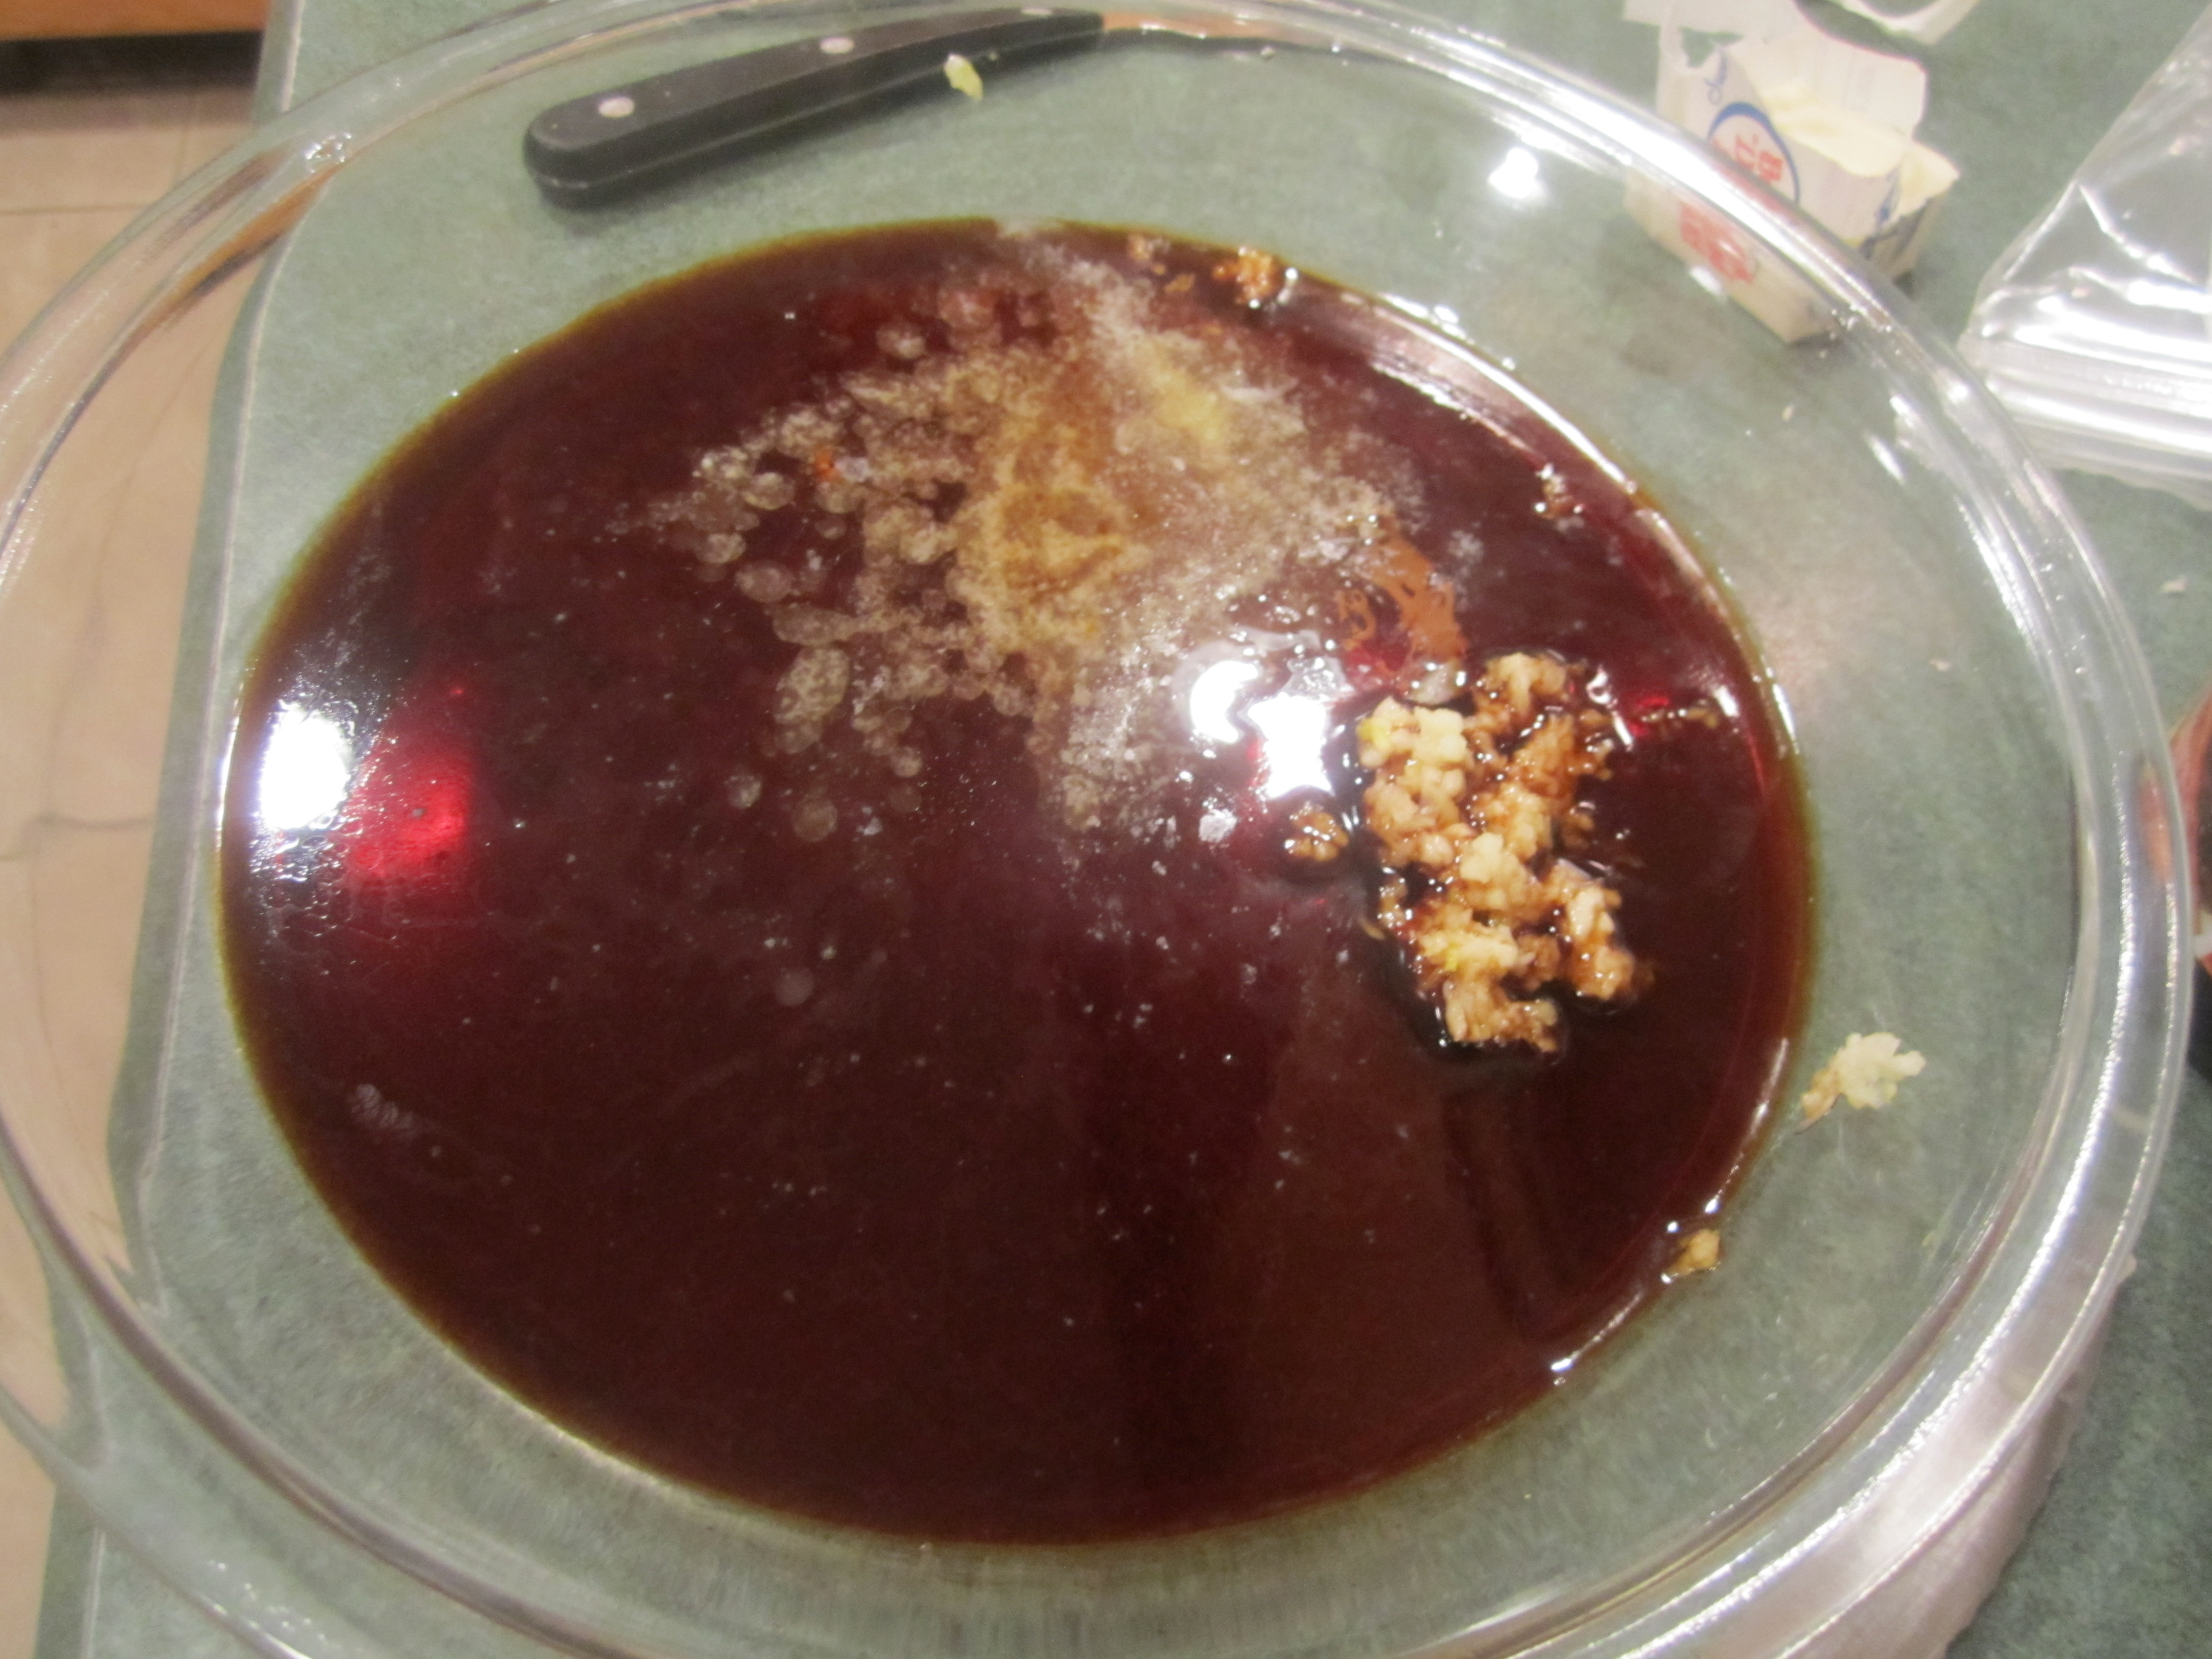
melted butter, teriyaki marinade and garlic:
add fish, turning to coat and place in refrigerator:

ready to go into the oven:
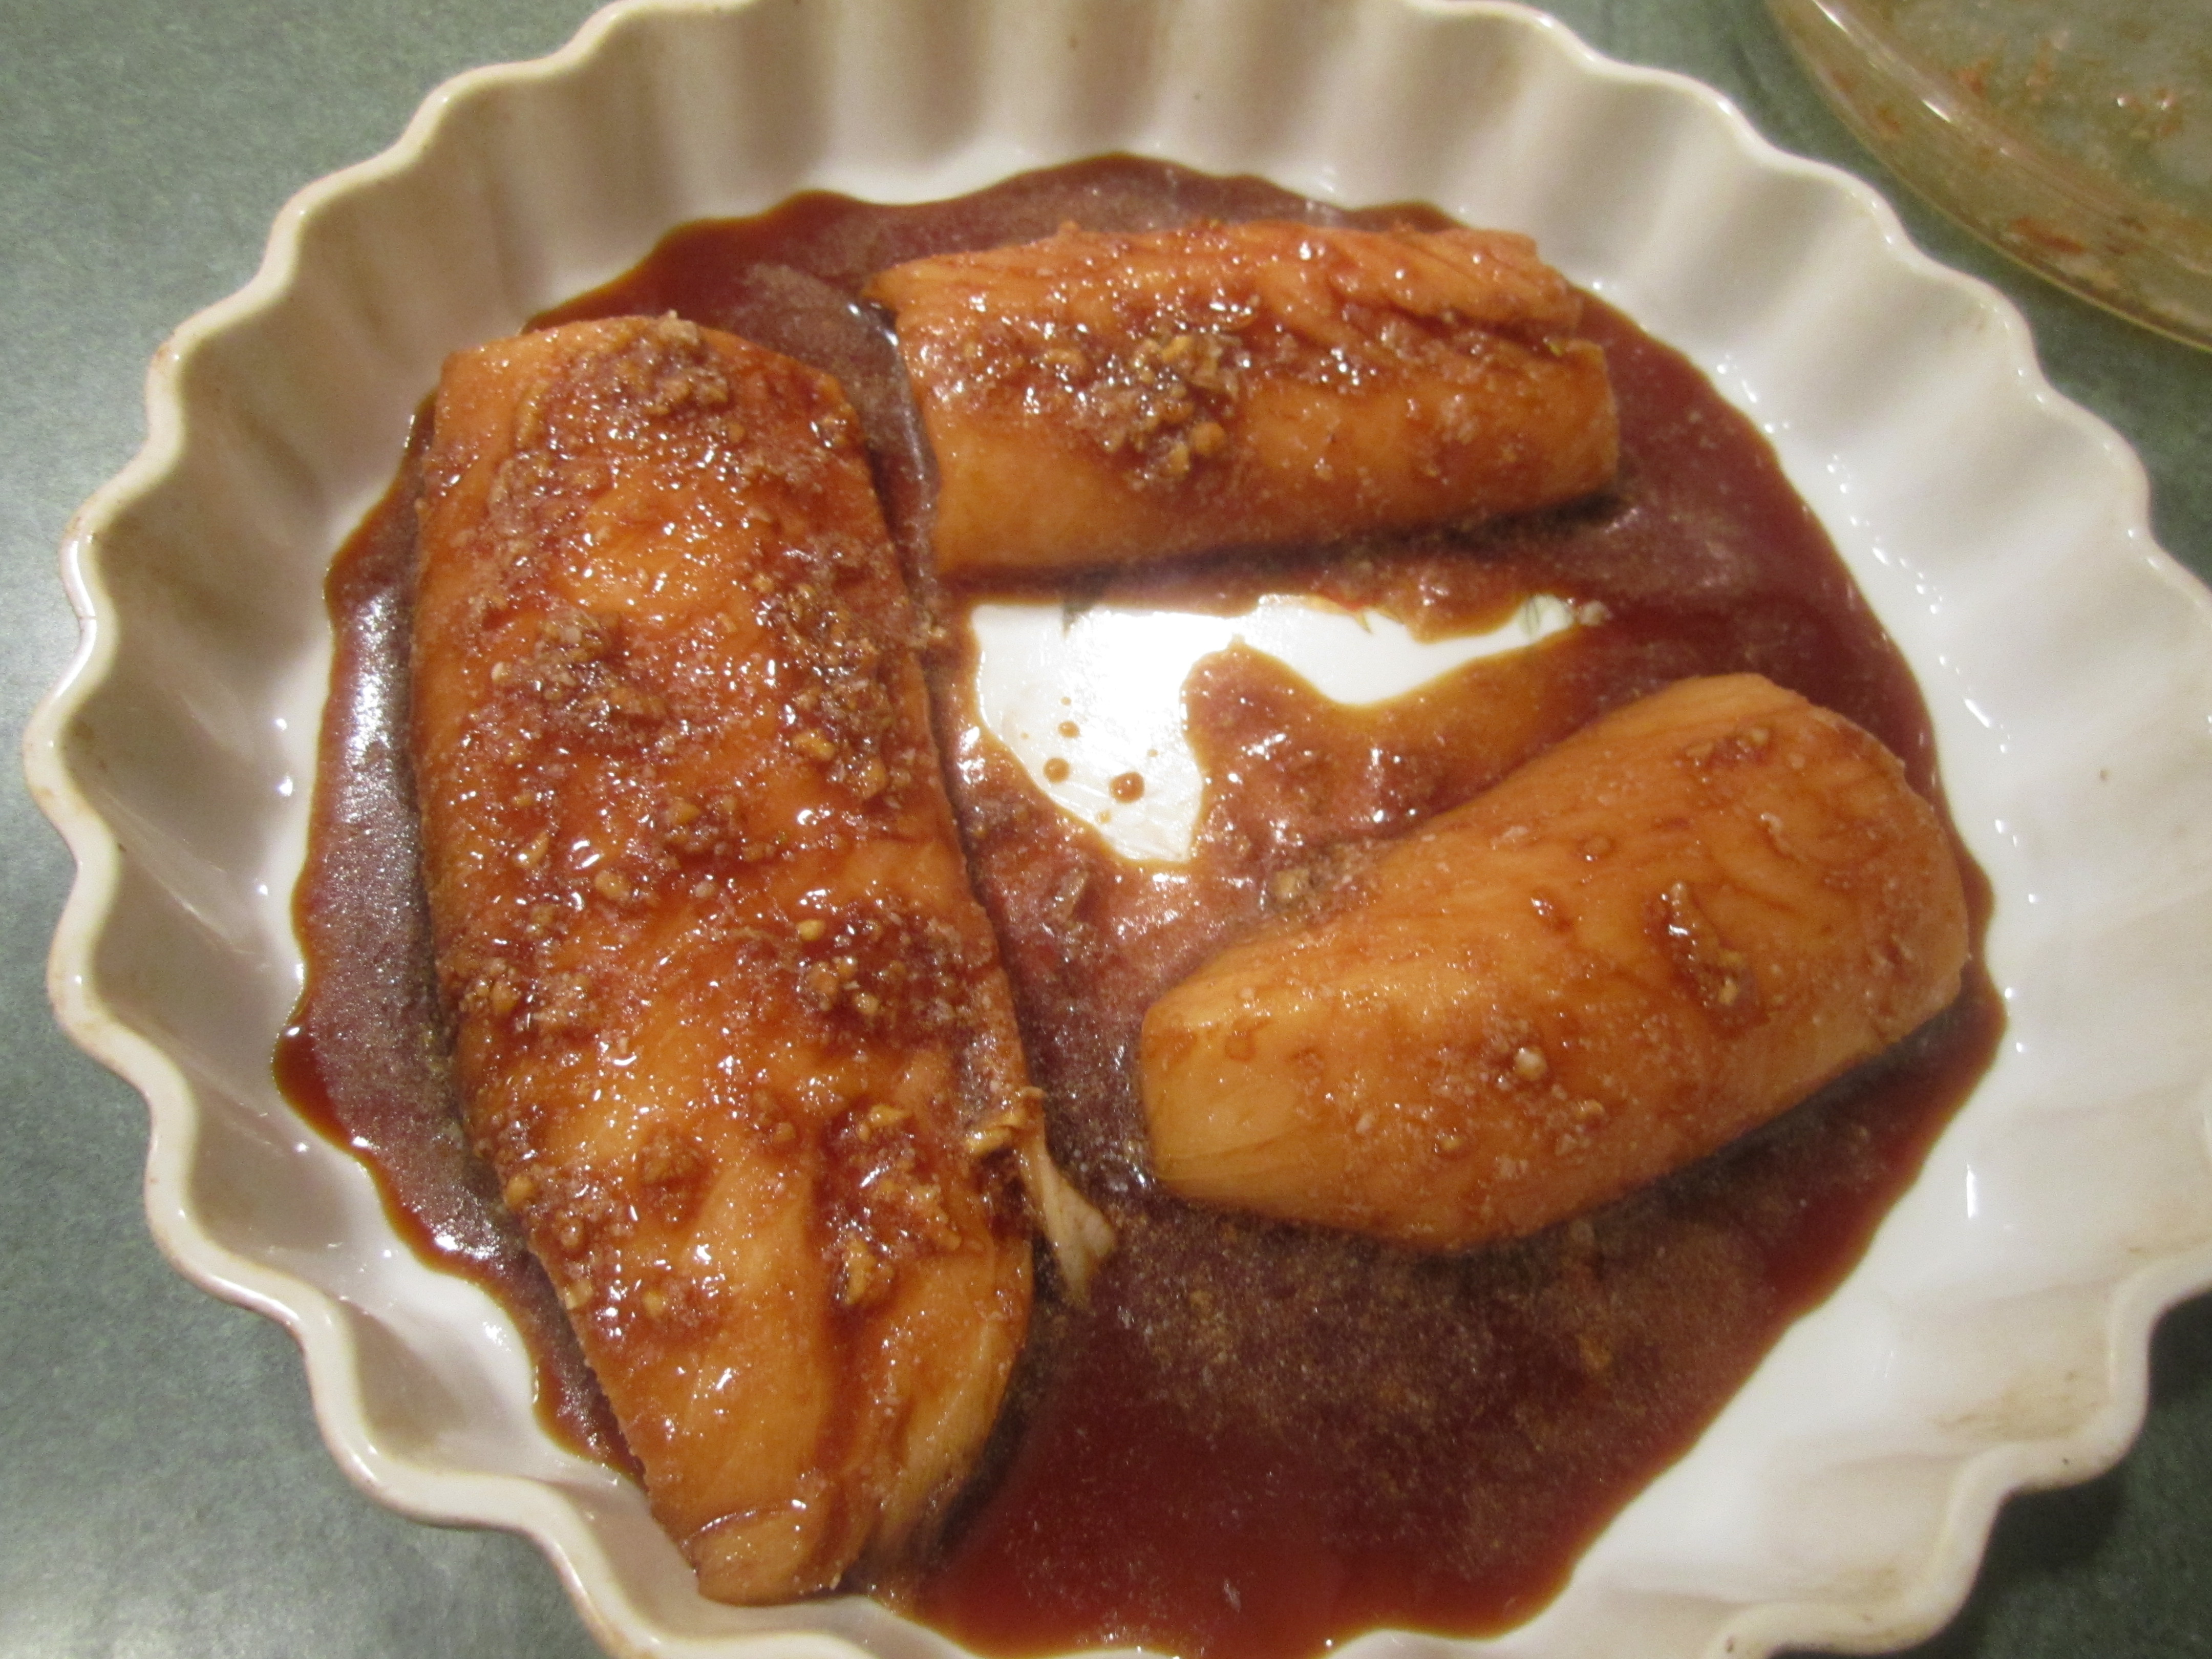
out of oven:

served with rice and Carrots and Brussels Sprouts:

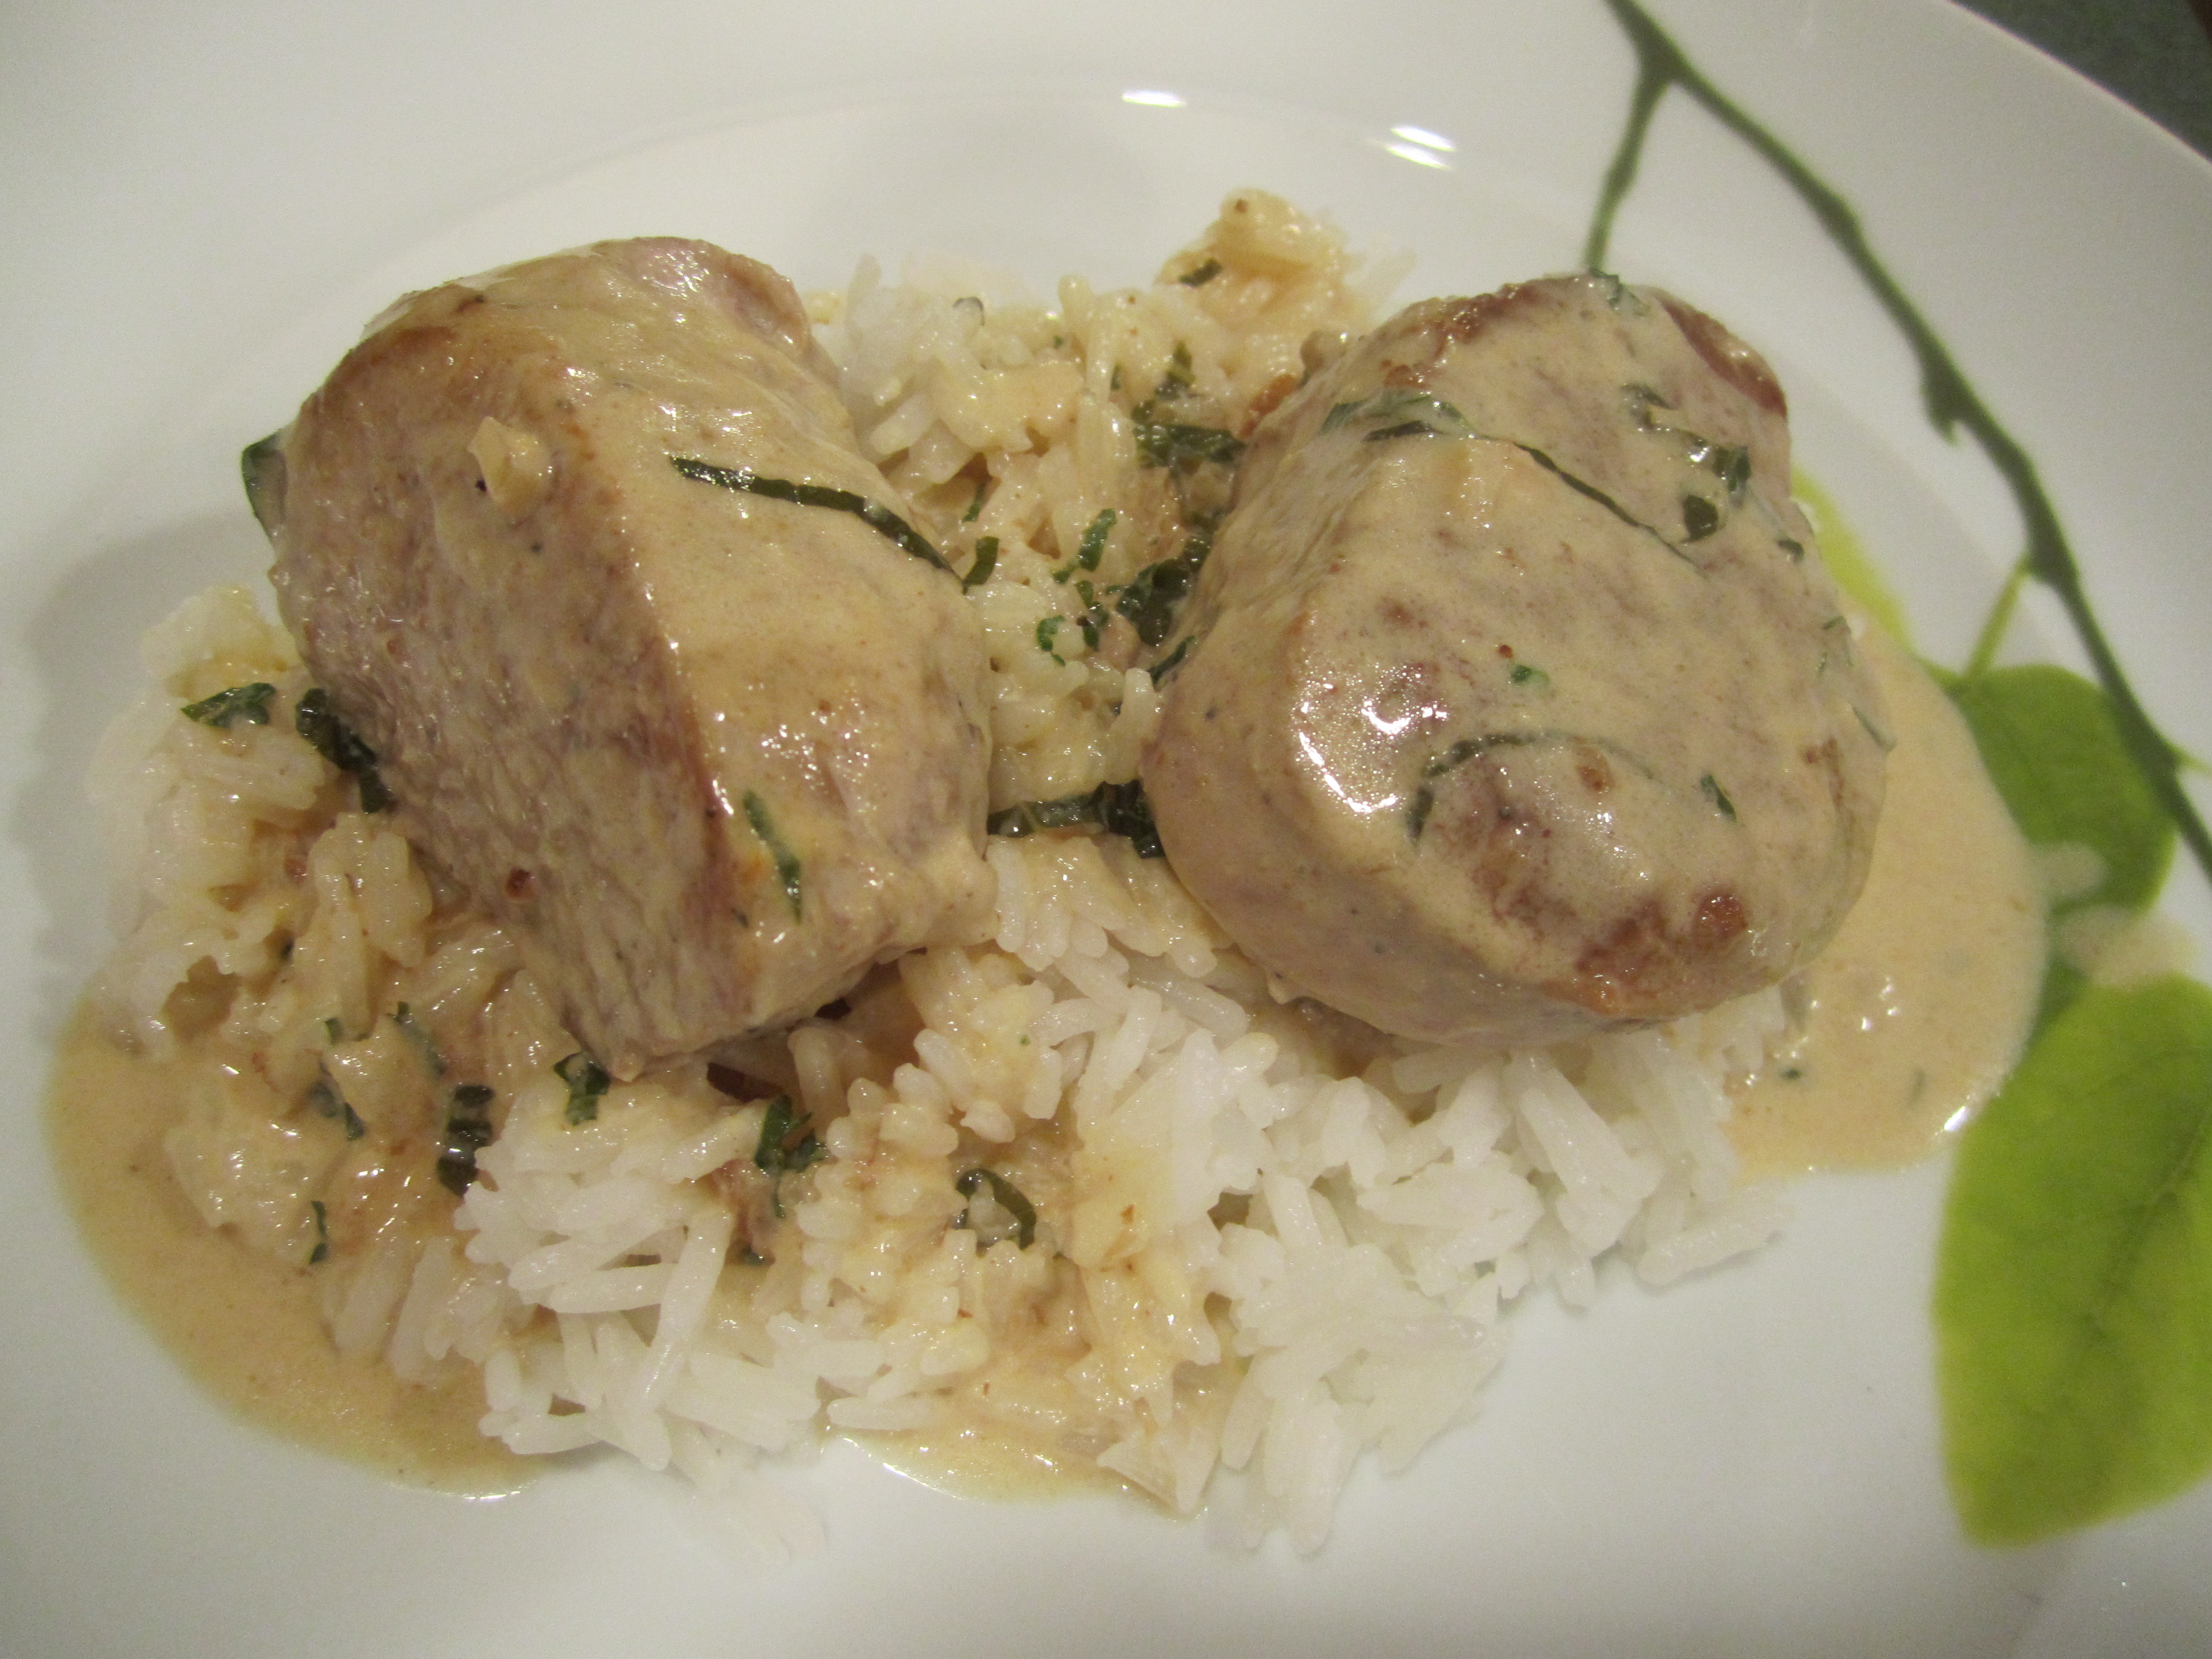
Pork Tenderloin with Mustard Sauce (or Varkenshaas)

I love pork tenderloin because it’s so versatile, tender, easy to cook and it’s always available.
The original recipe lists 2 pork tenderloins and directions on how to roast them. You can certainly take that direction. But I have chosen to use just one pork tenderloin and slice the pork into medallions but with the same sauce proportions. Either way it’s a great recipe and quick too!
Pork Tenderloin with Mustard Sauce (slightly adapted from Gourmet, September 1996 Varkenshaas)
1 Pork Tenderloin, ~ 1 pound
2 tablespoons olive oil
5 tablespoons butter
1 teaspoon minced shallot
1/4 cup dry white wine
2/3 cup chicken broth
3 tablespoons Dijon mustard ( I like Grey Poupon)
2/3 cup heavy cream
1 teaspoon finely chopped fresh basil leaves
1 teaspoon finely chopped fresh parsley leaves
Cut pork tenderloin into ~ 1 inch thick medallions. Sprinkle with salt and pepper.
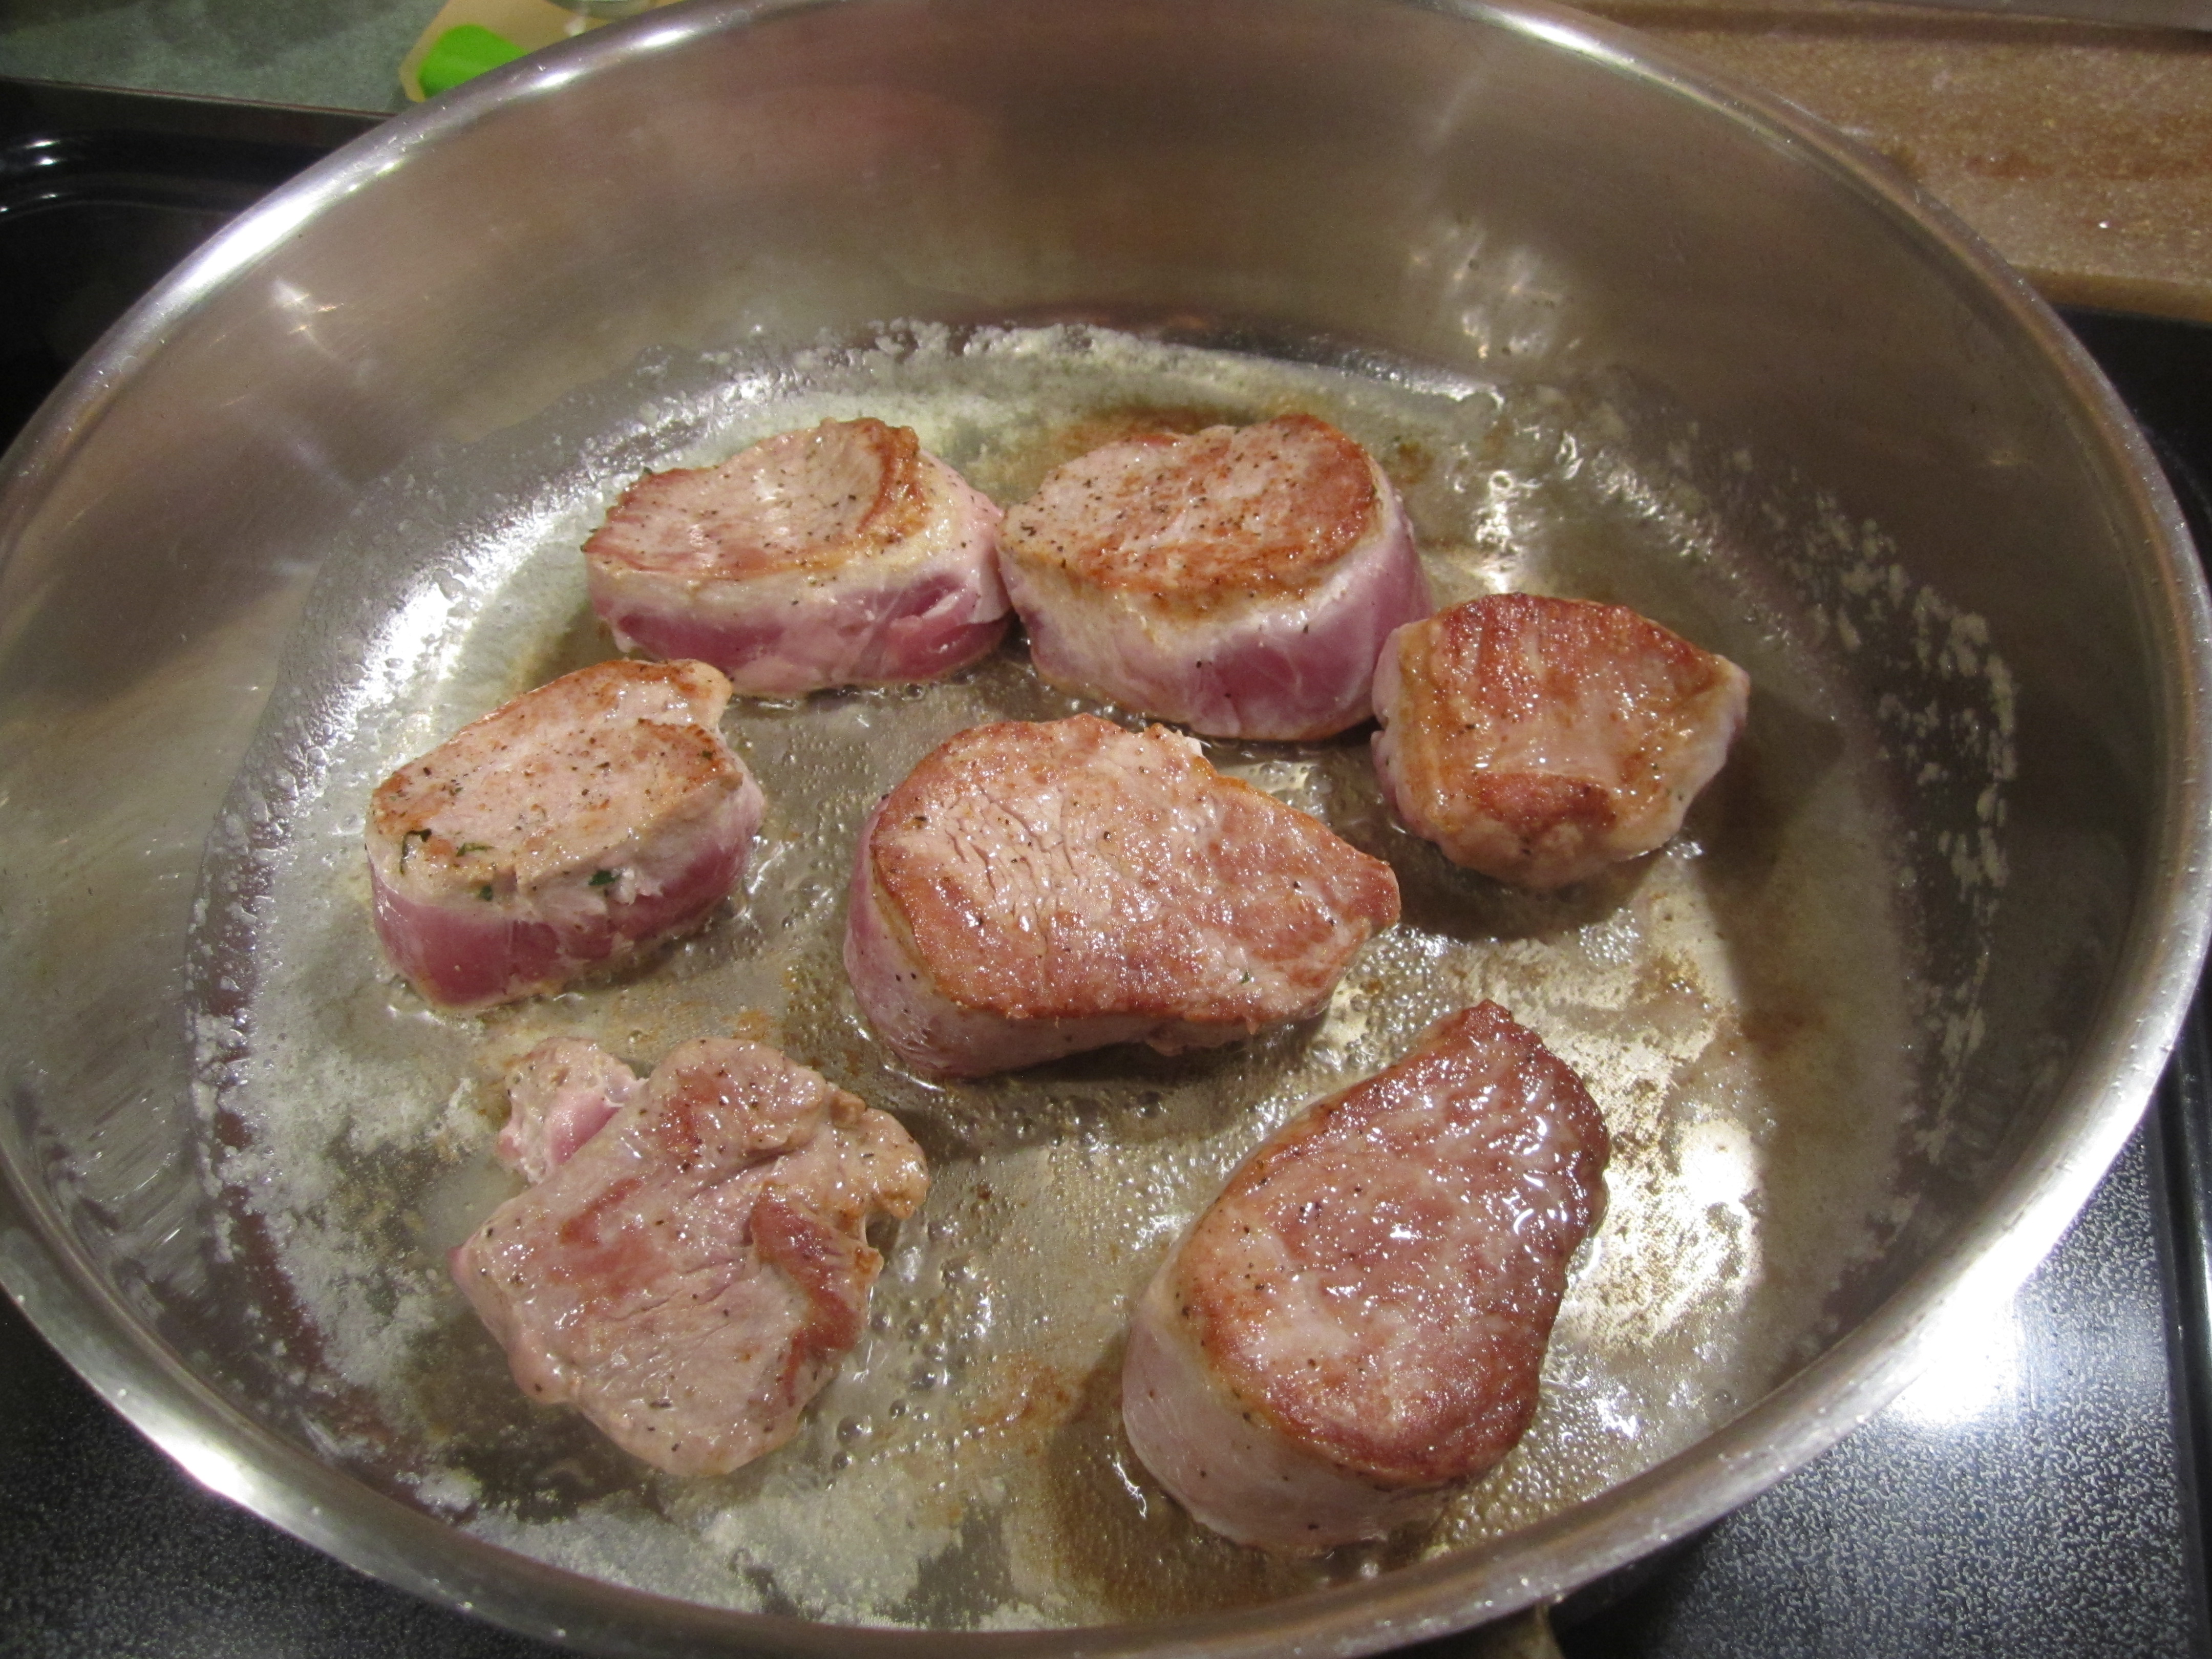
In a large saucepan, heat oil and 4 tablespoons of butter over medium heat until sizzling. Add pork slices and cook for about 4-6 minutes on each side, until nicely browned. When cooked, set pork aside onto a plate.
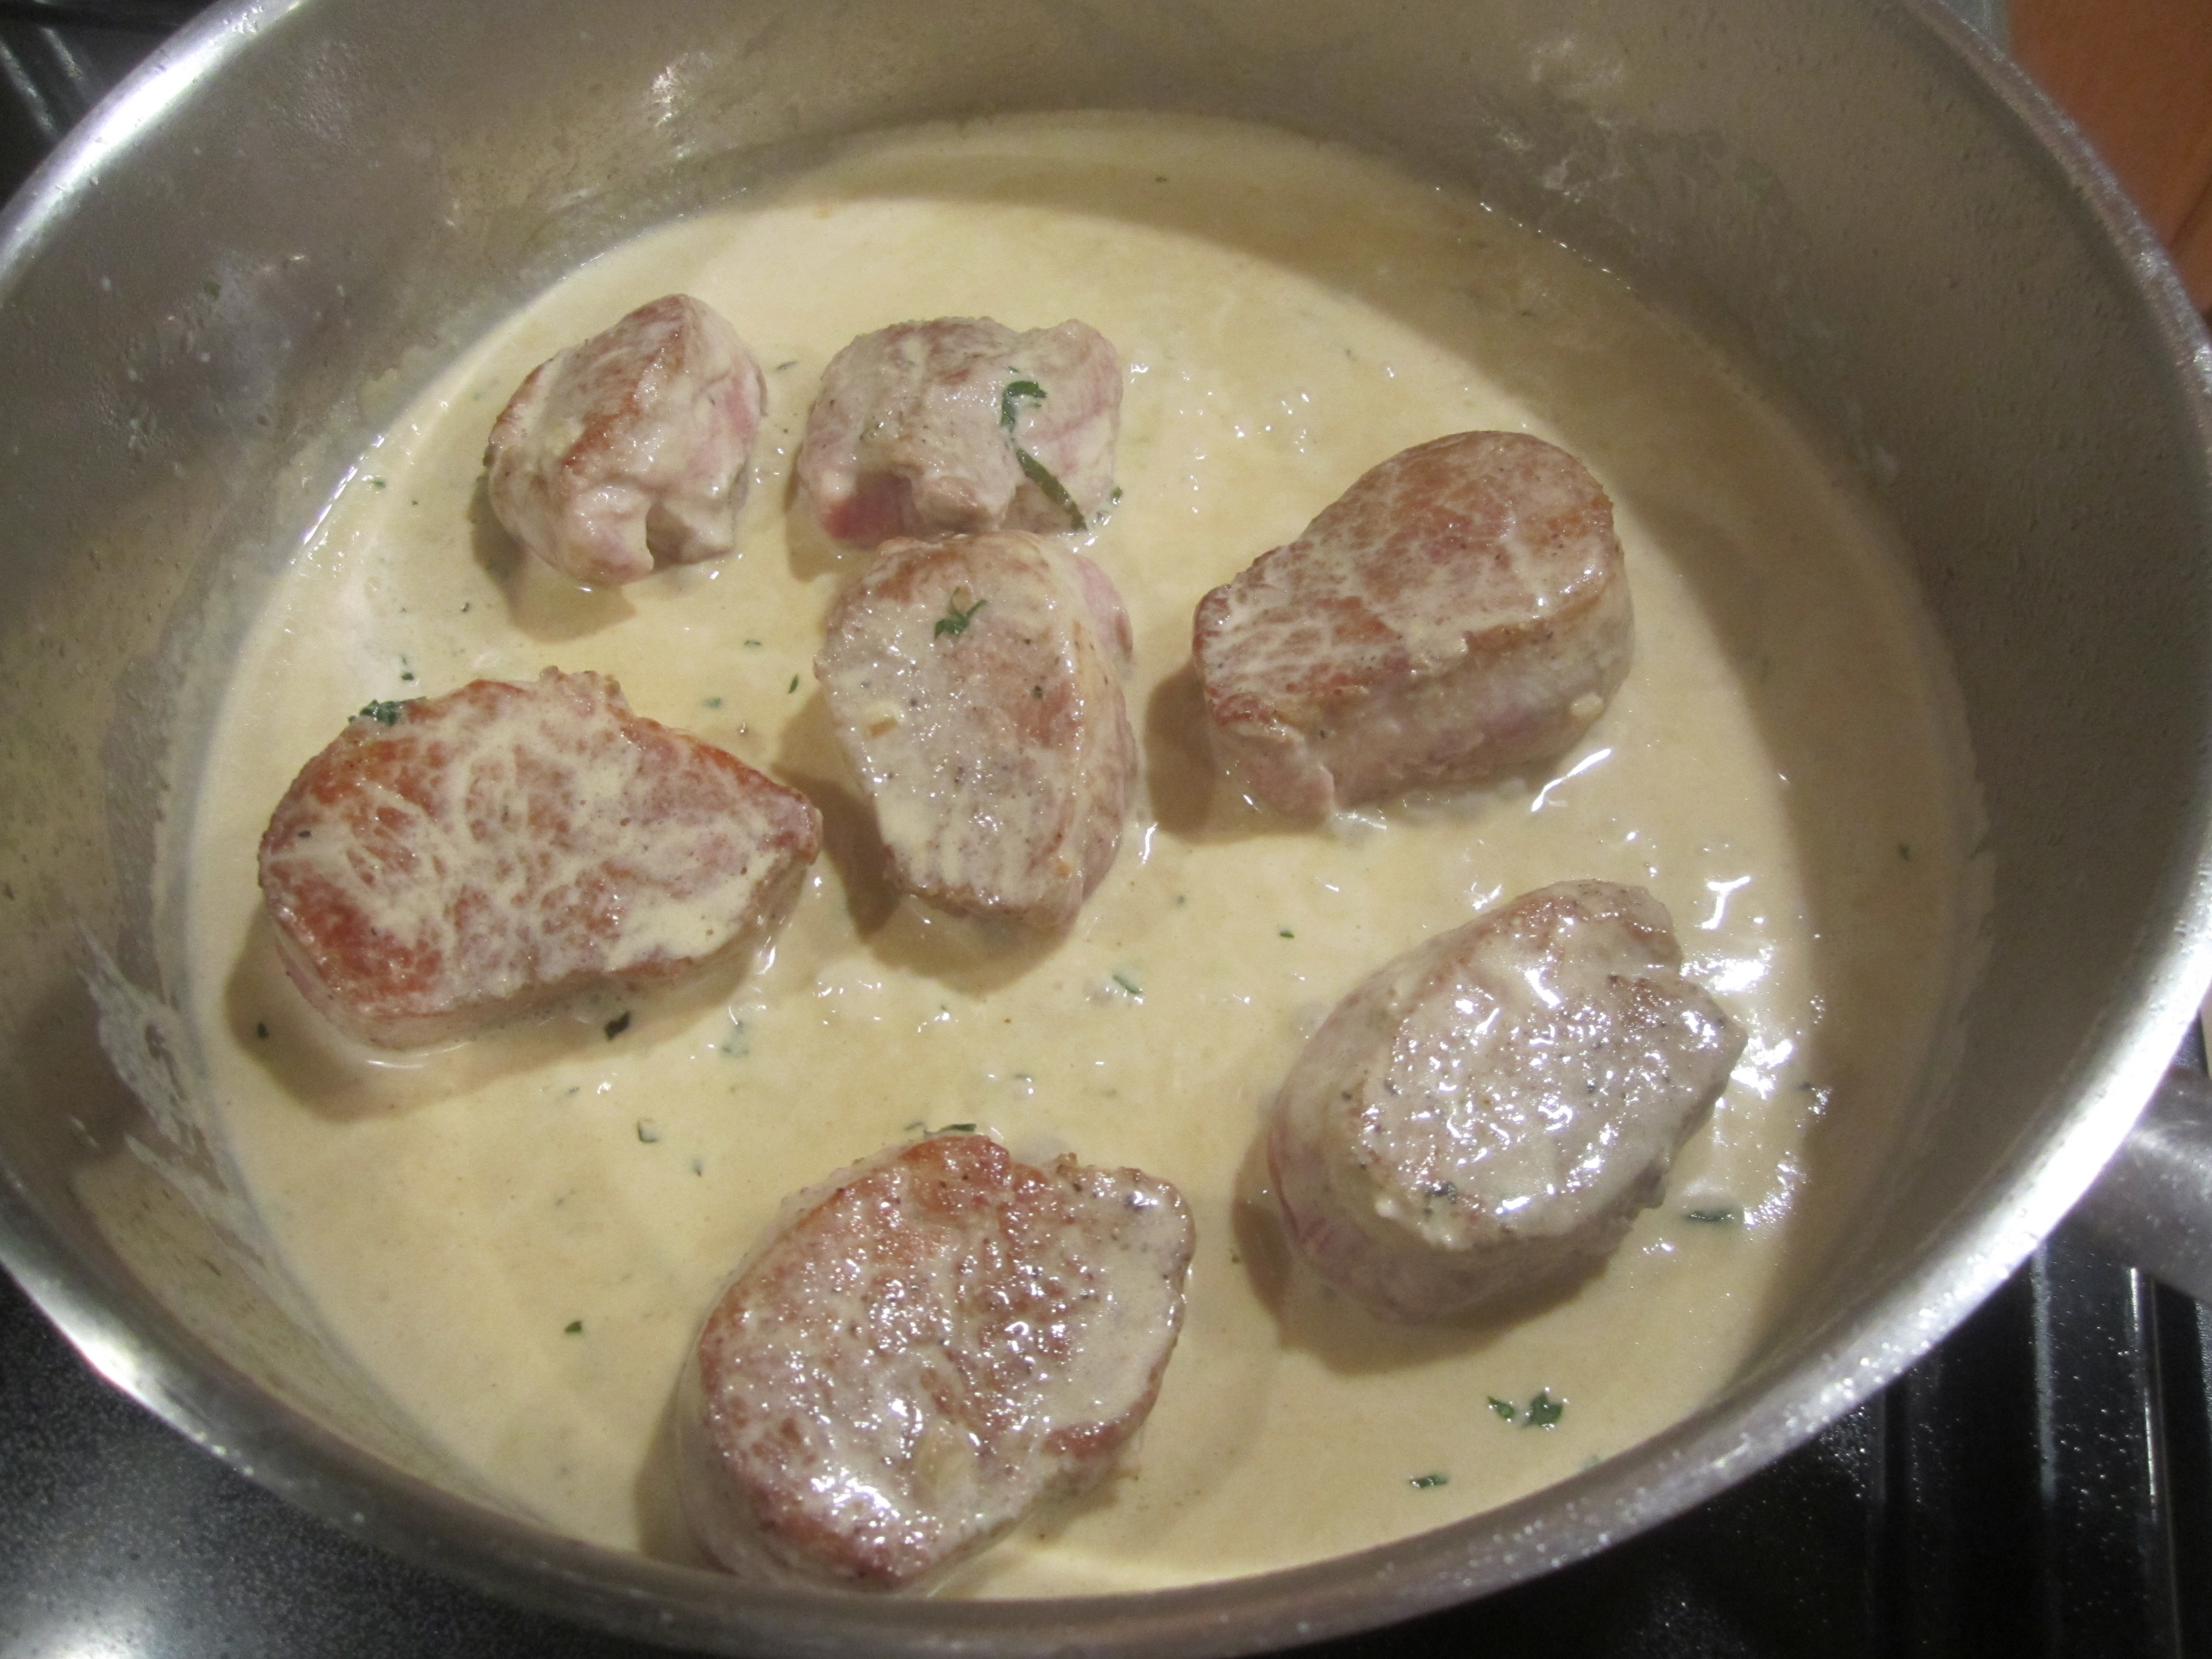
Add remaining tablespoon of butter and shallot to saucepan, cooking for about a minute. Add wine, broth and mustard, scraping up any brown bits and simmer for about 5 minutes. Add cream and basil and simmer until thickened, about 5 minutes. Stir in parsley. Add pork pieces, turning pieces over to cover with sauce and simmer, covering pan with top, for 2 minutes.
Serve pork over rice with sauce.
mise en place:

cooking pork:


shallots:
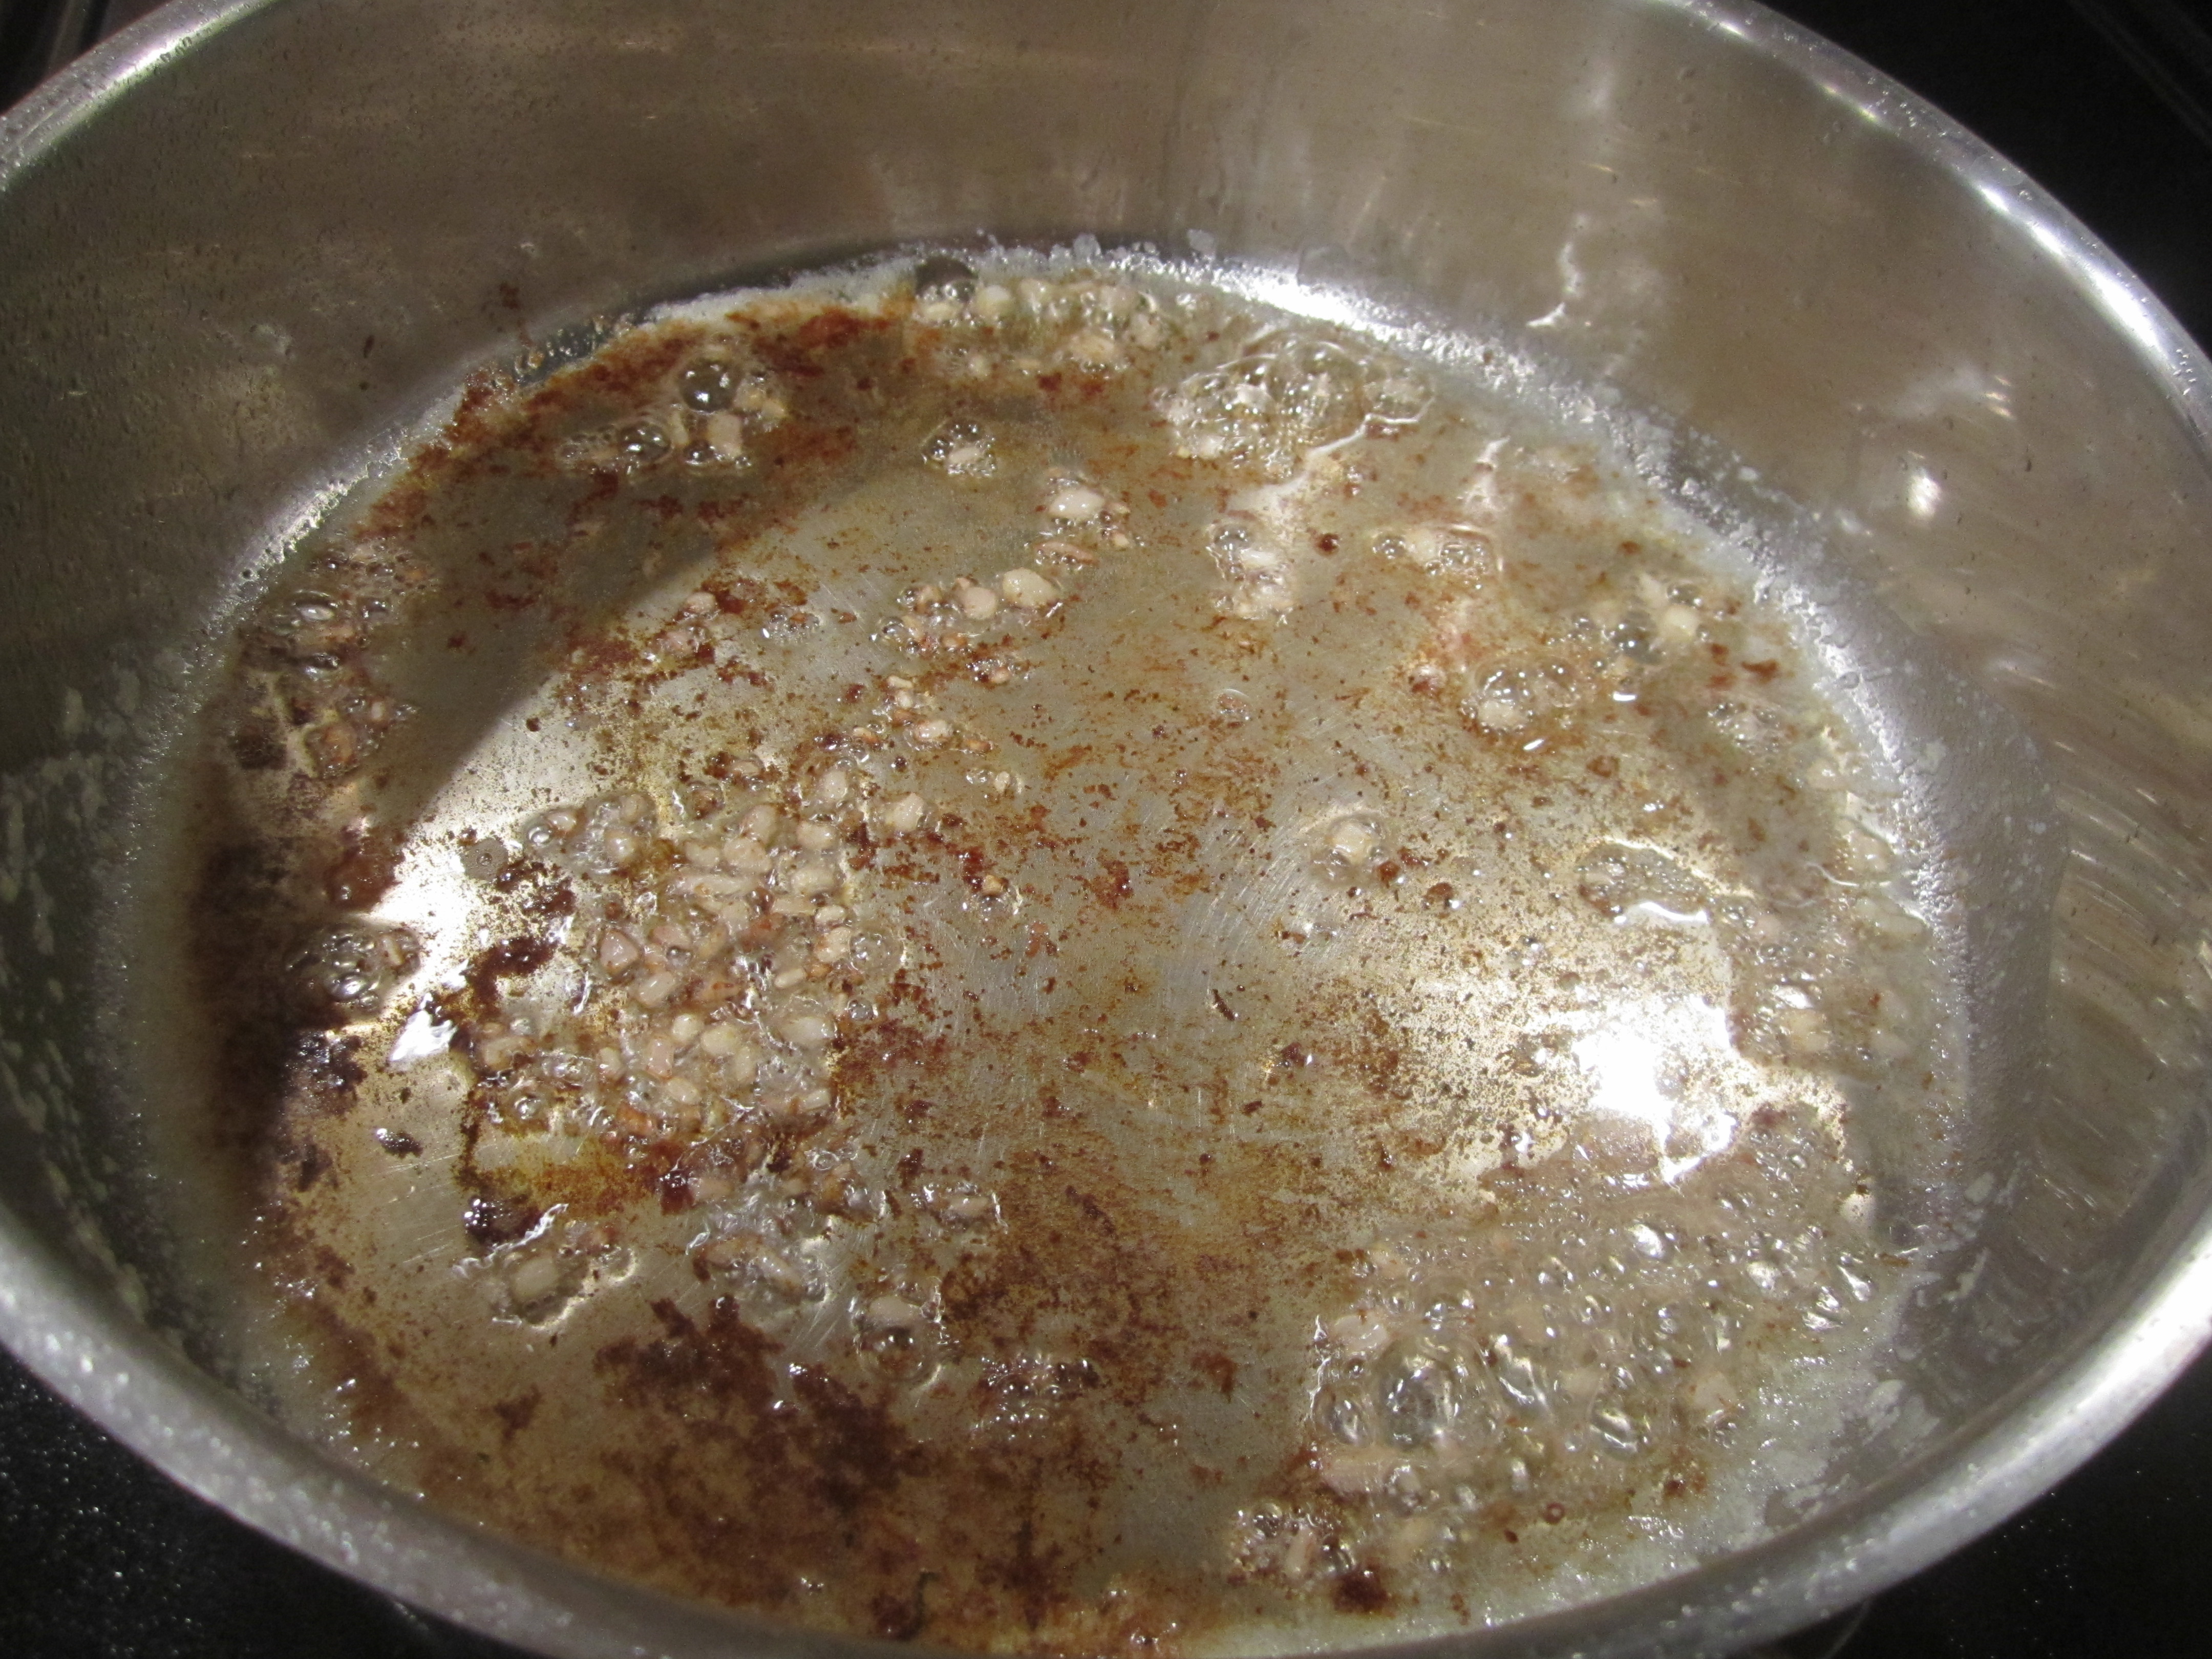
wine, broth and mustard:

cream and basil:

add parsley and pork back in and simmer, covered:
Enjoy!
Hummingbird Food
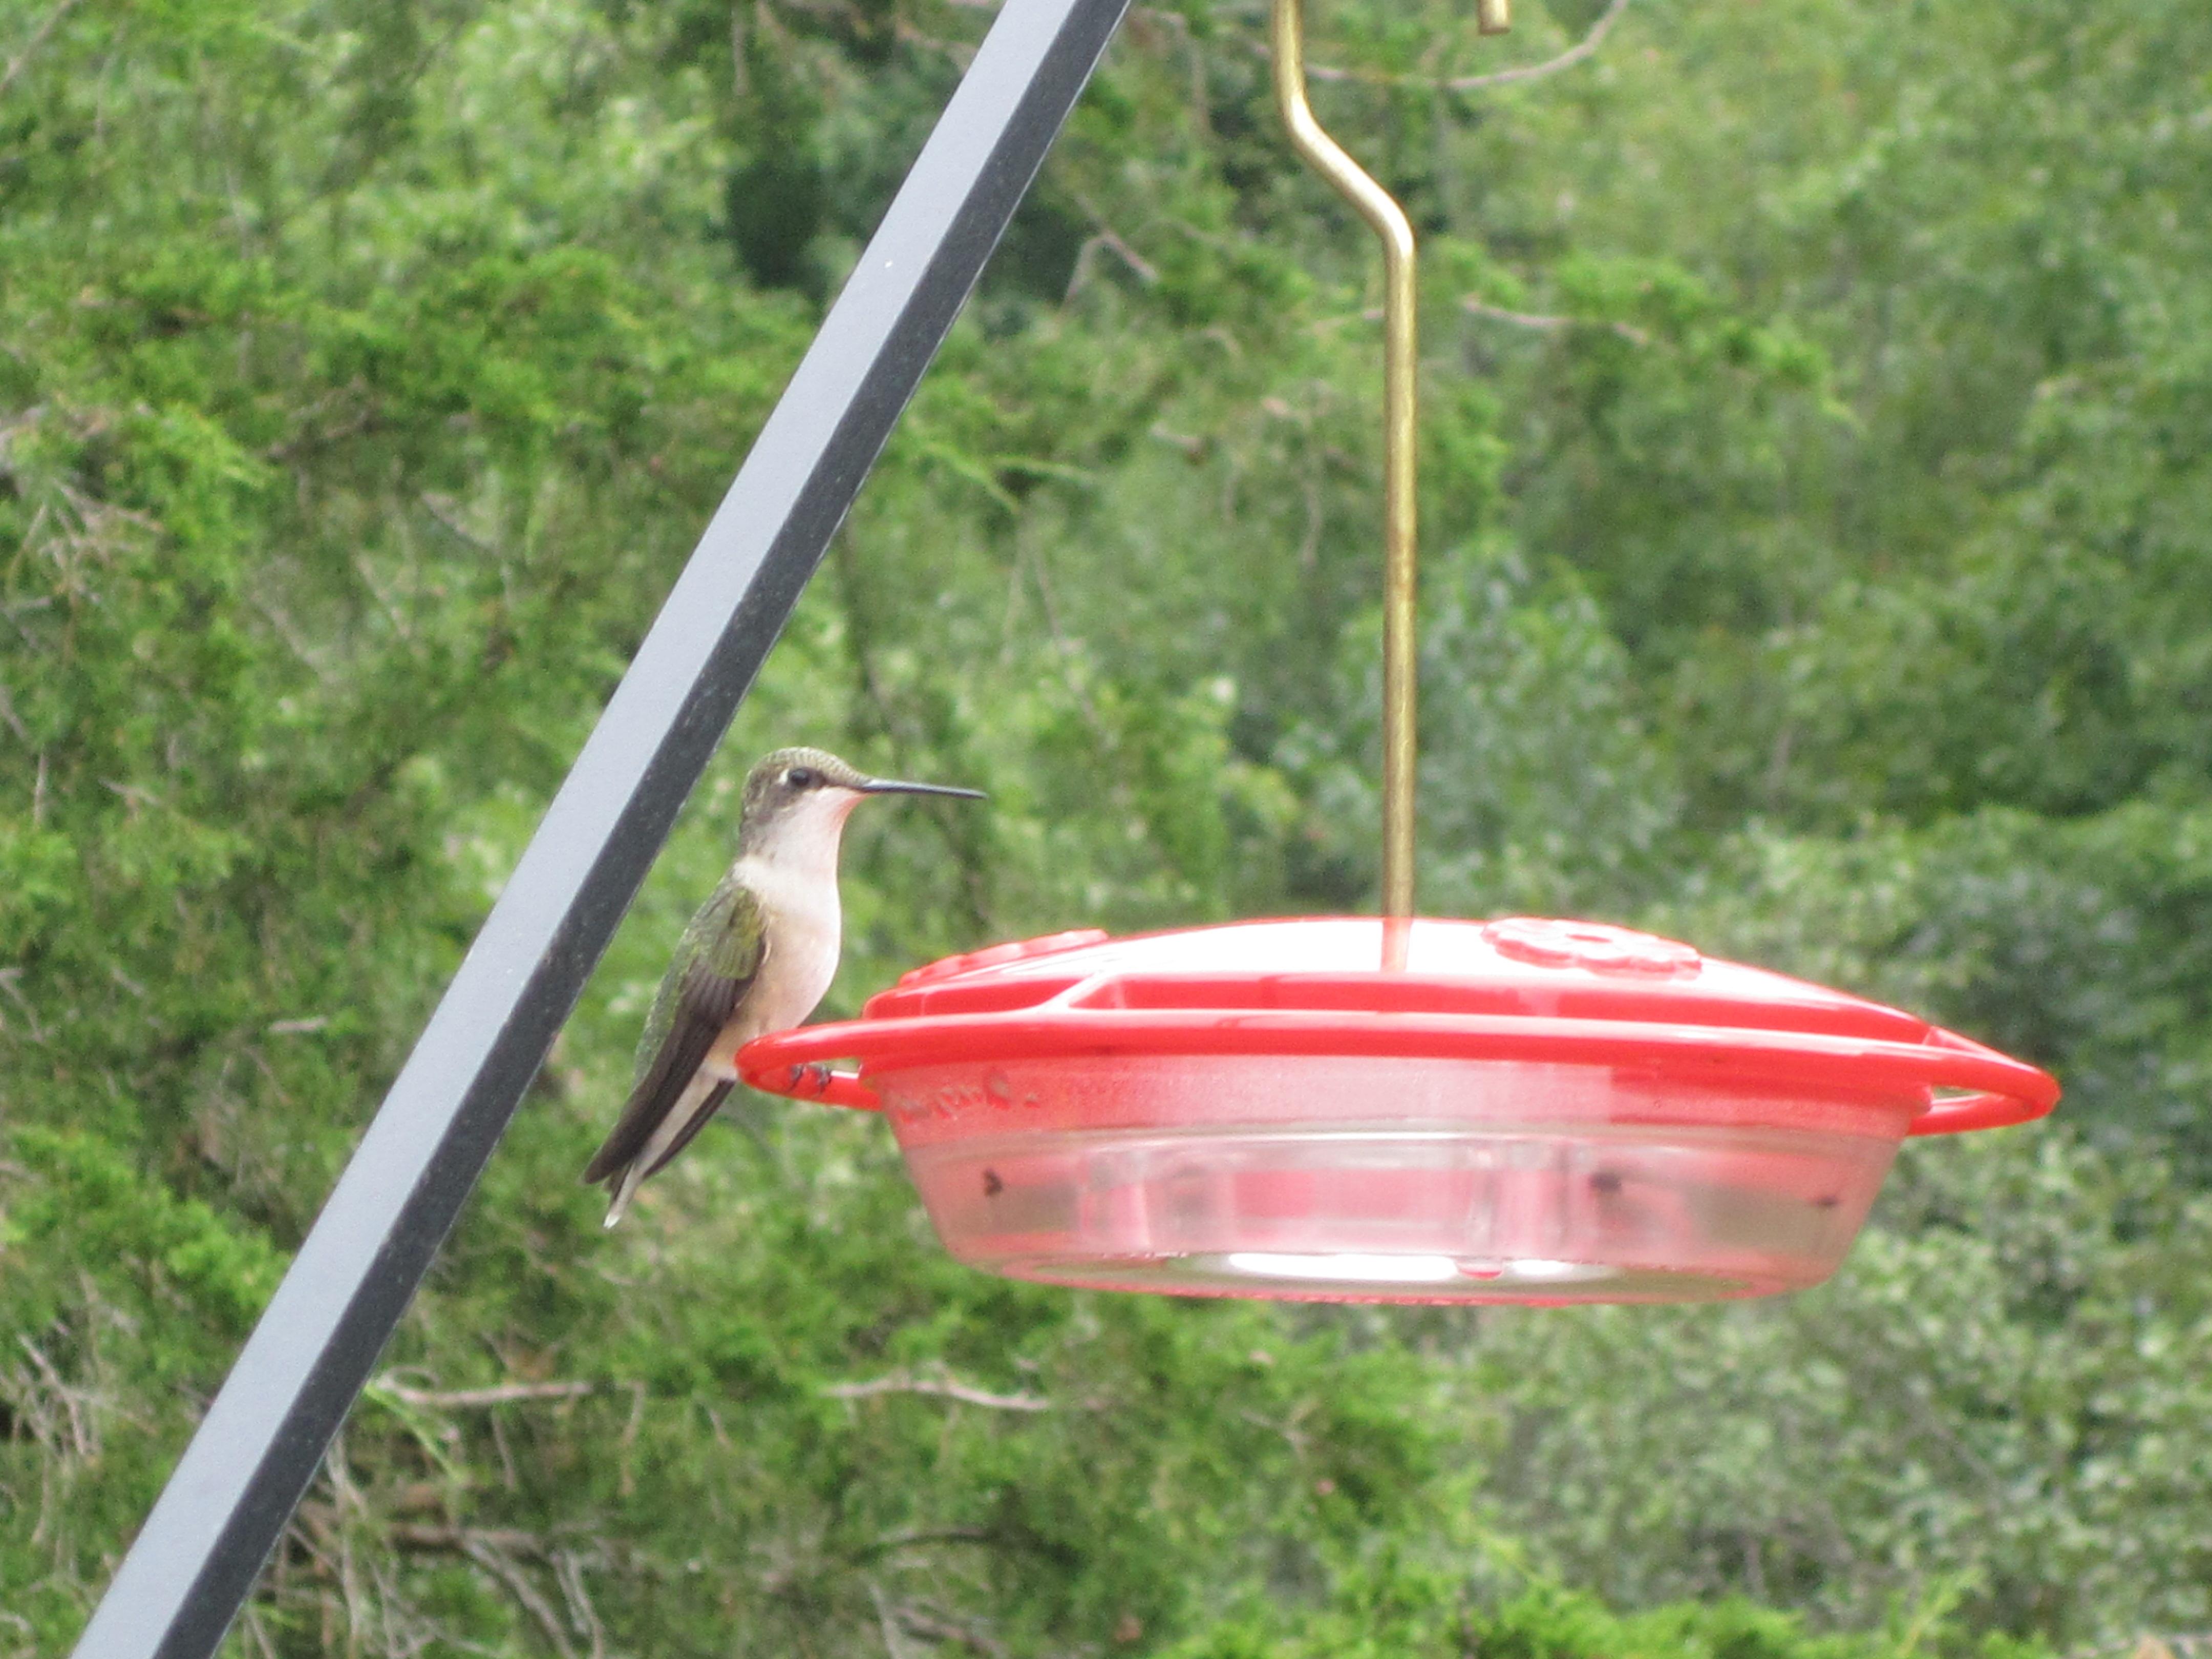
I am waiting for the Hummingbirds to arrive. Then I know Spring is here.
UPDATE: April 29, 2013: First Hummingbird sited! Yippee!!
I usually check the map on this site, Hummingbirds, to see whether they are close to my area. They are. So it’s time to put the feeder up.
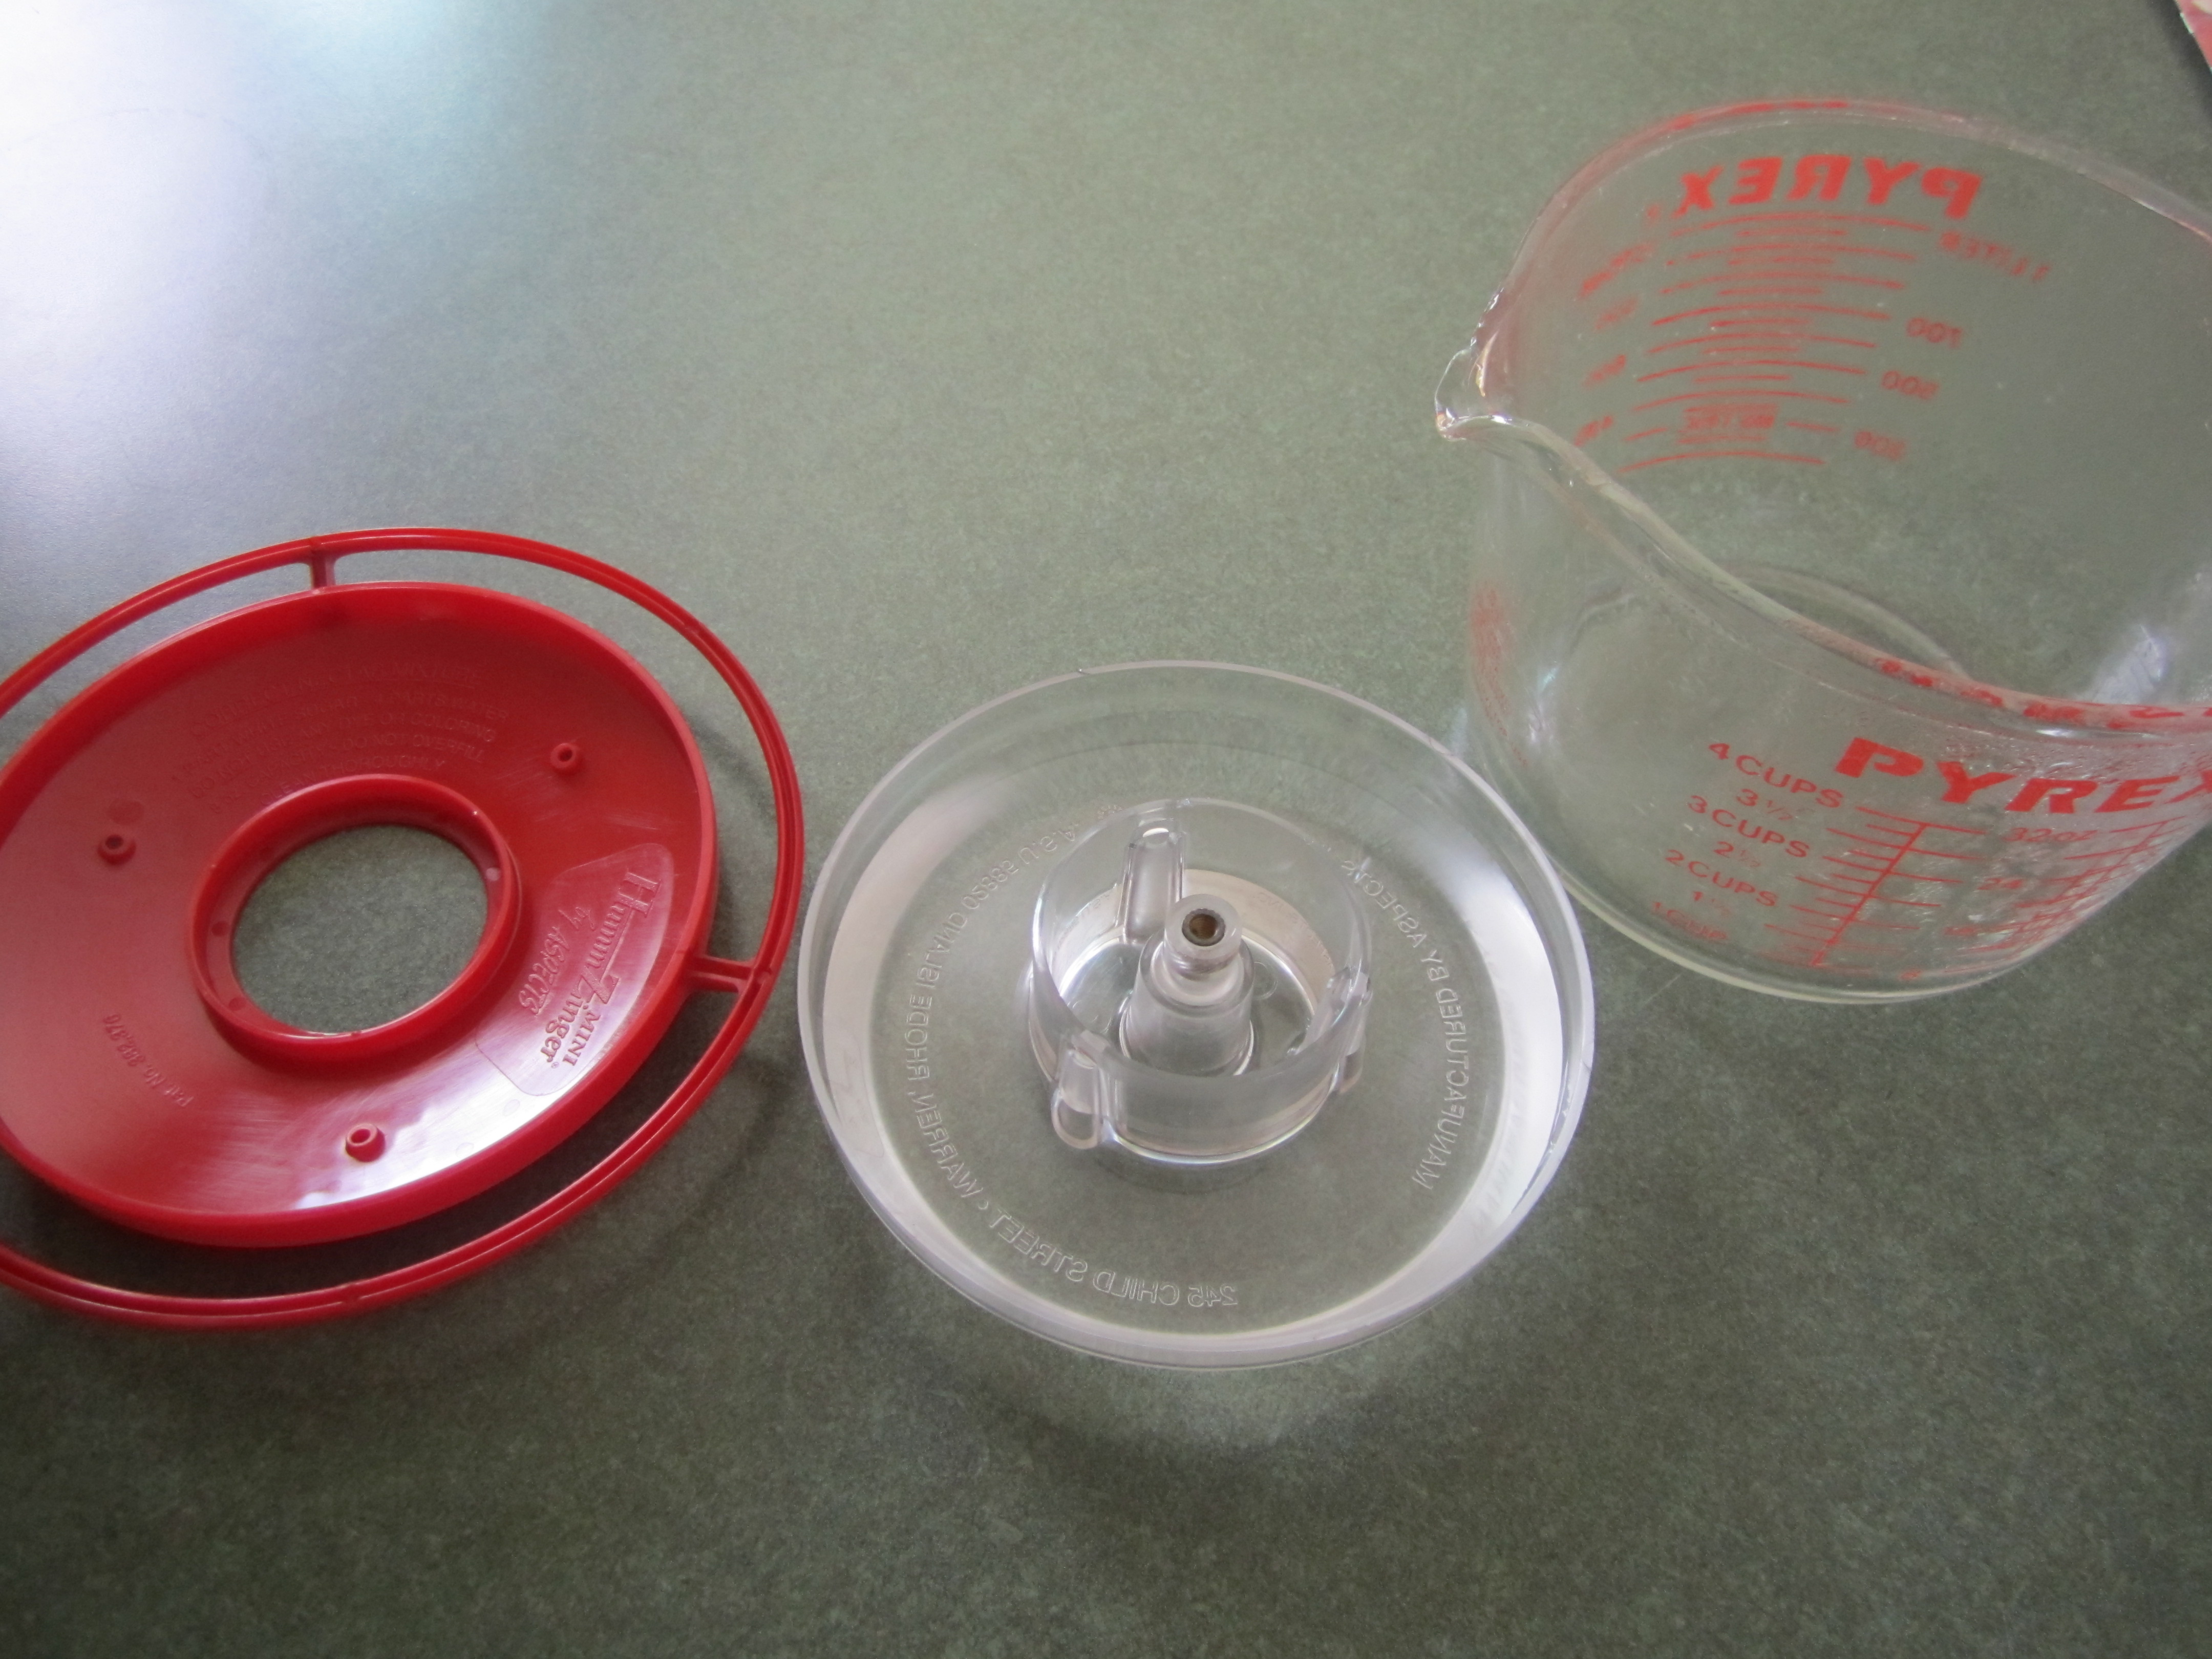
This is my favorite hummingbird feeder. I have 2 of them but right now I only put up one. I like it because it’s small. It only holds about 8 ounces of liquid. This way I can change it frequently, which is important.
Making food for the hummingbirds is very easy so please don’t buy a mix or anything. It’s water and sugar in a 4 to 1 ratio. If you buy this particular feeder, it has the proportions on the inside of the top. Very convenient.
So the male arrive first. (Though sometimes I get Hummingbirds that just pass through on their way to their breeding area further north.) Then the female arrives. I usually only get one pair. Then I stop seeing the female and I assume she is laying on their eggs. By the time the babies are out (we always get 2), the mom is very skinny (the male does not help with brooding) and the babies are flying around like crazy. This is when I put the second feeder up. And not too close to the first one either. I see pictures of other hummingbirds clustered around one feeder and am always amazed. Ours are very territorial and very rarely do I see 2 on one feeder. If I do it’s one of the babies and the mom.
Then for about a month or month and a half, we sit on our deck before dusk and are entertained by the acrobats of the Hummingbirds. Very enjoyable.
By the end of August the male leaves. Then in about 2 weeks the female leaves. By the end of September the babies have left, too. I usually keep my feeder up for another month or so just in case some other Hummingbirds are passing through on their way south.
Then it’s over and I’m sad. Next year.
Hummingbird Food
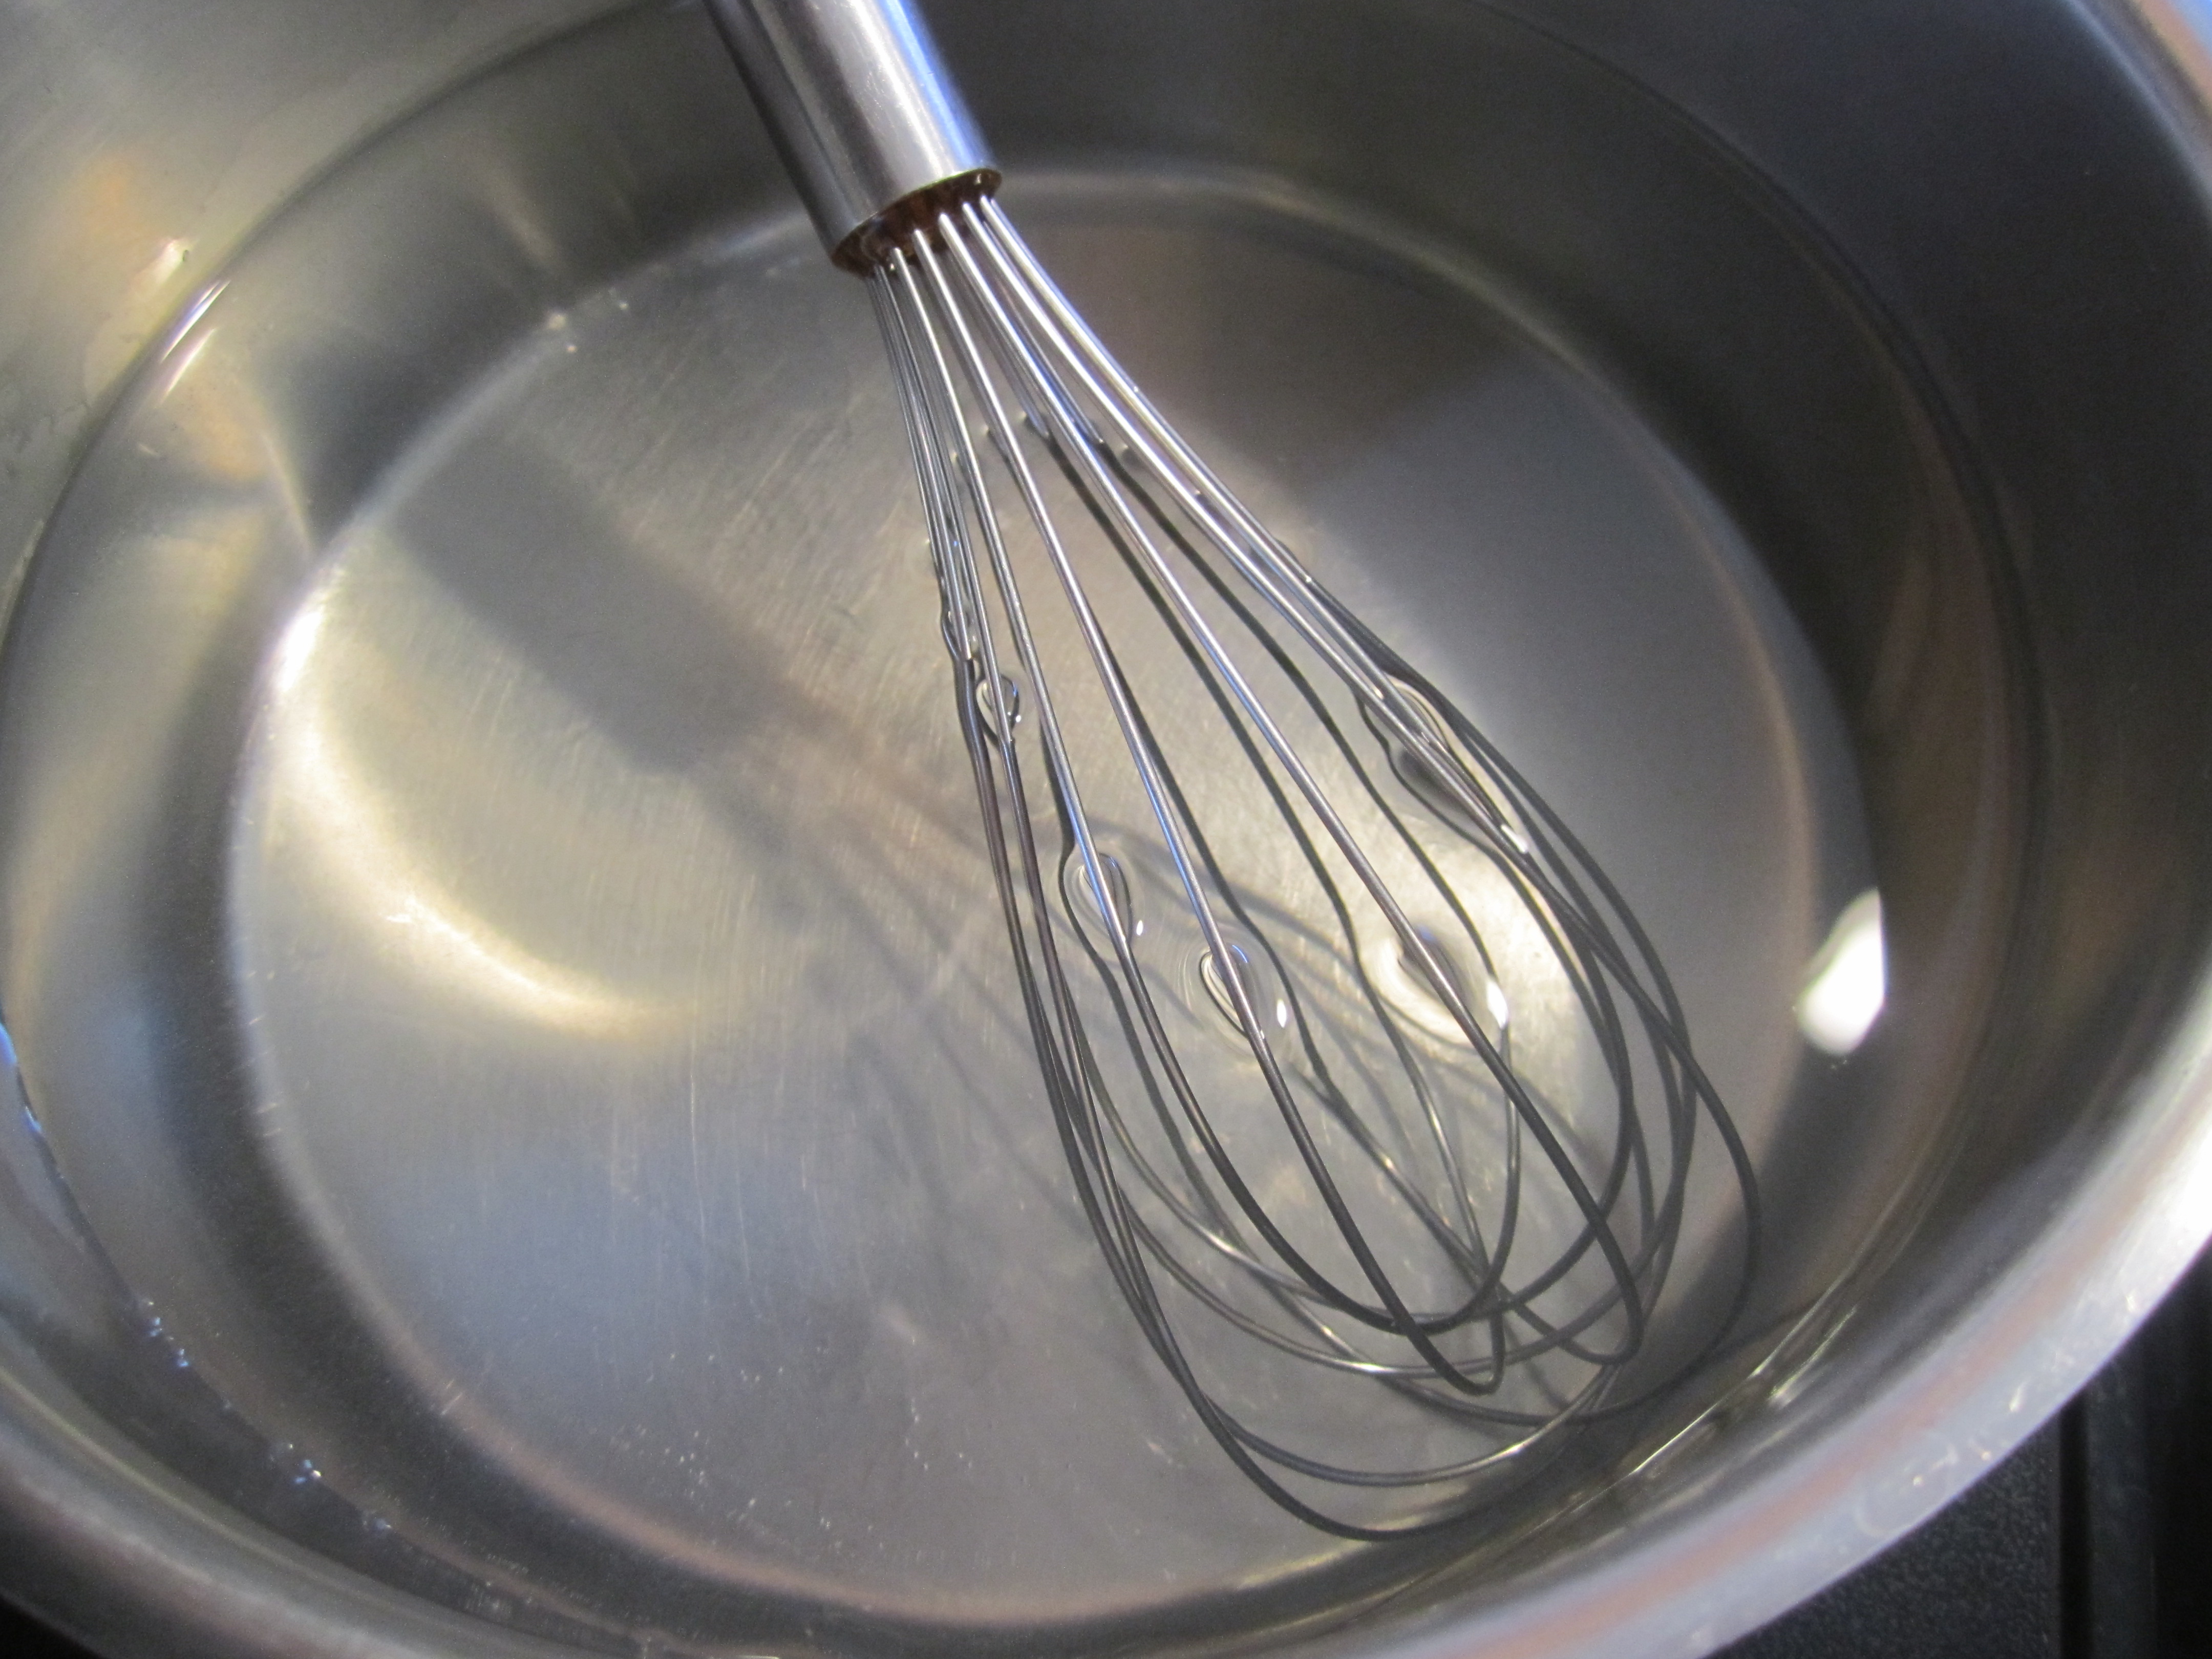
In a large saucepan, put 4 cups of water and 1 cup of sugar (this can be doubled, which is what I do).
Put saucepan on burner on high, and stir with a whisk constantly until the sugar has dissolved completely.
When the sugar has dissolved completely, stir occasionally until the water just starts to come to a boil. This whole procedure takes about 10 minutes.
Remove saucepan from heat and put top on.
Let sit for one hour.
After one hour, pour into a pitcher and place into your refrigerator until completely cool, usually overnight.
When completely cool, pour into your hummingbird feeder.
I change the food in the feeder, in the early spring and summer, every 3 days. I also clean the feeder itself, removing, with hot water from the tap and a toothbrush or paper towel, any black mold I can see. I clean it even if I don’t see black mold. I feel very responsible feeding the hummingbirds. I do not want to harm them, so I am very careful about cleaning the feeder and giving them fresh food. When it’s very hot and/or humid, I change the feeder every day.
sugar and water (I’m making a double batch so 8 cups water to 2 cups sugar):

stir constantly until sugar is dissolved completely (it will be clear):

bring mixture just to a boil, remove from heat and cover for 1 hour:


after 1 hour, pour liquid into pitcher and refrigerate. I also put about 8 ounces into a measuring cup and cover and put into refrigerator. In about an hour this small amount is chilled and ready to go into the feeder:

pour chilled liquid food into feeder:
hang feeder and wait:

these pictures are from last year, as well as the one at the top of the post:


Coconut Macaroon Bars

I decided to start going through my cookbooks and try some of the recipes I tore out of magazines, that I just seem to flip by, getting to my favorites. I have had some of these untried recipes for over 10 years and I’m not getting any younger. I thought I better start trying them out or I will need a magnifying glass instead of just my reading glasses to read them.
I needed to weed out the ones that were worth keeping and get rid of the ones that were not up to snuff. The first thing I did was plug them into their perspective websites (can you imagine: Bon Appetit launched theirs in 2008 ! How did we live without them?) and see what kind of rating they got. If they had a very good or excellent rating, then they were worth trying.
The first book I started on was my Cookie Book and this one was a keeper.
The original recipe does not call for chocolate in the middle but I decided to add it after reading other people’s comments. It makes them alot more like Mounds, the candy bar, one of my favorites. You can certainly omit that addition but, well, that’s up to you.
Coconut Macaroon Bars (adapted from Bon Appetit March 2001)
Cookie Crust:
1-1/4 cups all purpose flour
1/3 cups sugar
1/2 teaspoon salt
10 tablespoons butter, chilled (right from the refrigerator is fine) and diced
1 large egg yolk
2 tablespoons heavy cream
Middle:
1 cup of chocolate chips: dark, semi-sweet or milk, whichever you like
Top Coconut Layer:
2 tablespoons flour
1 cups sugar
1/4 teaspoon salt
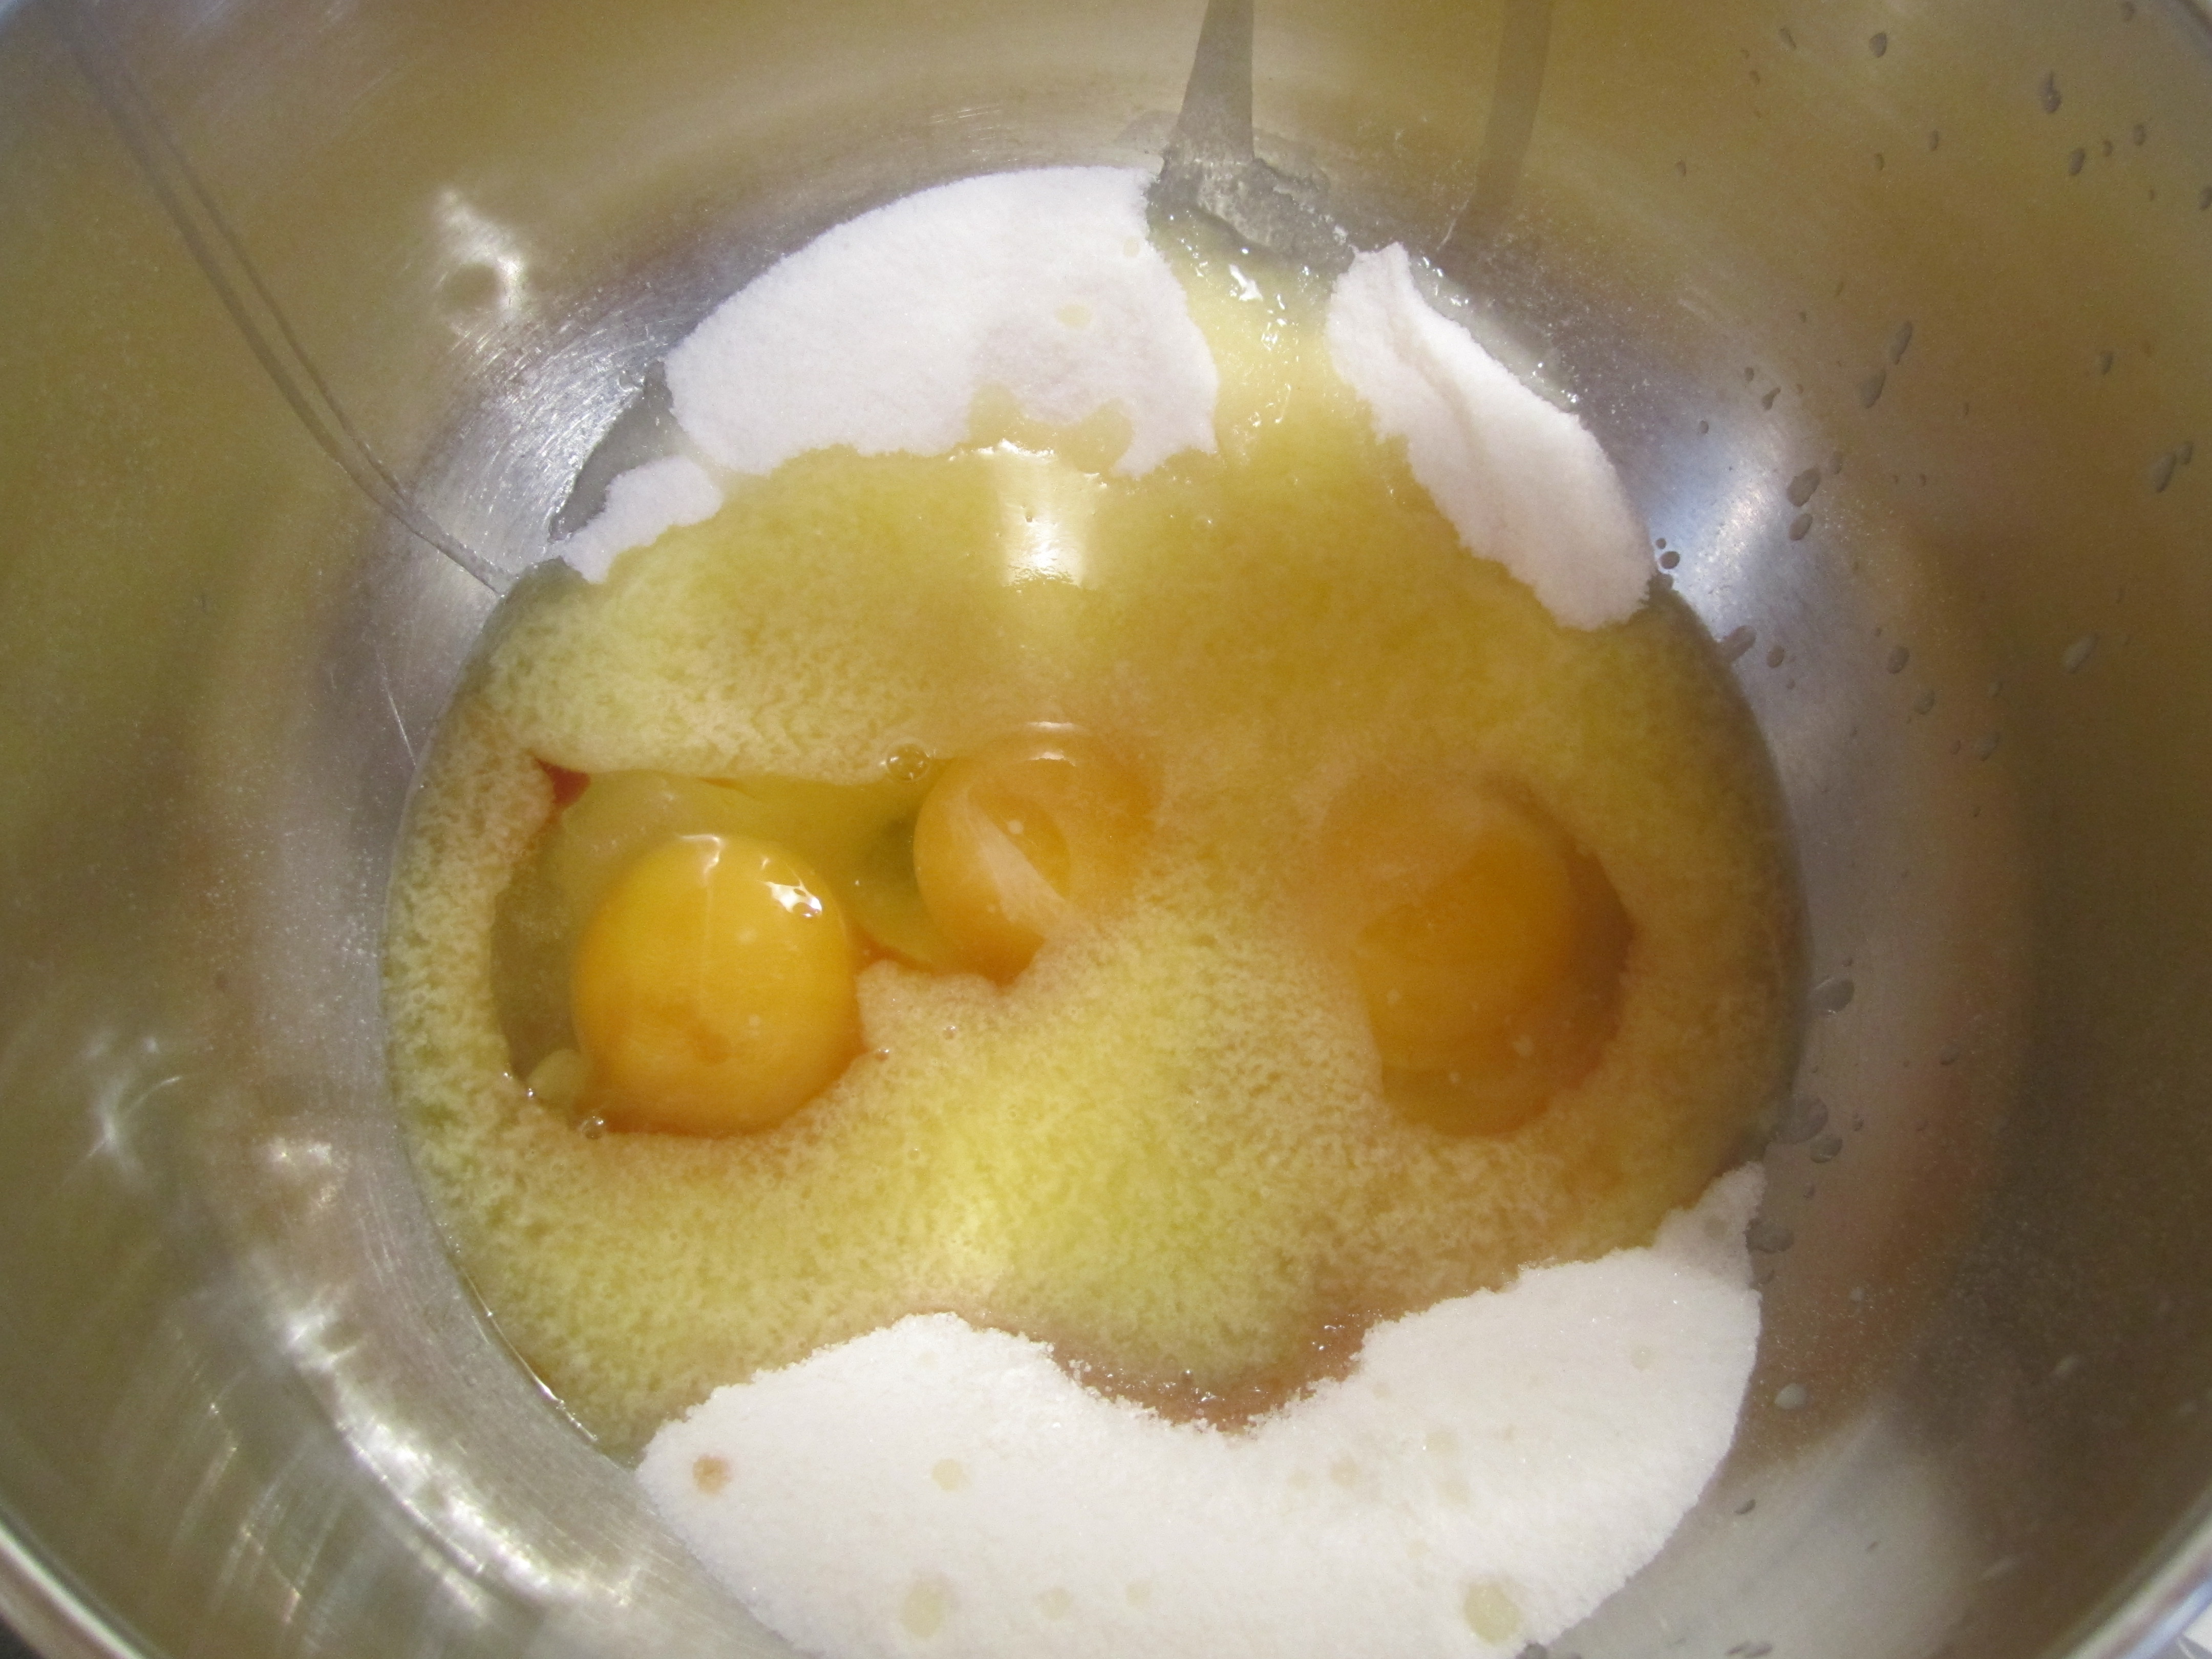
3 eggs
2 ounces butter, melted and cooled slightly
2 teaspoons pure vanilla extract
8 ounces sweetened flaked coconut (I like Baker’s)
Preheat oven to 350 degrees. Spray a 13 x 9 x 2 inch metal baking pan with canola oil spray.
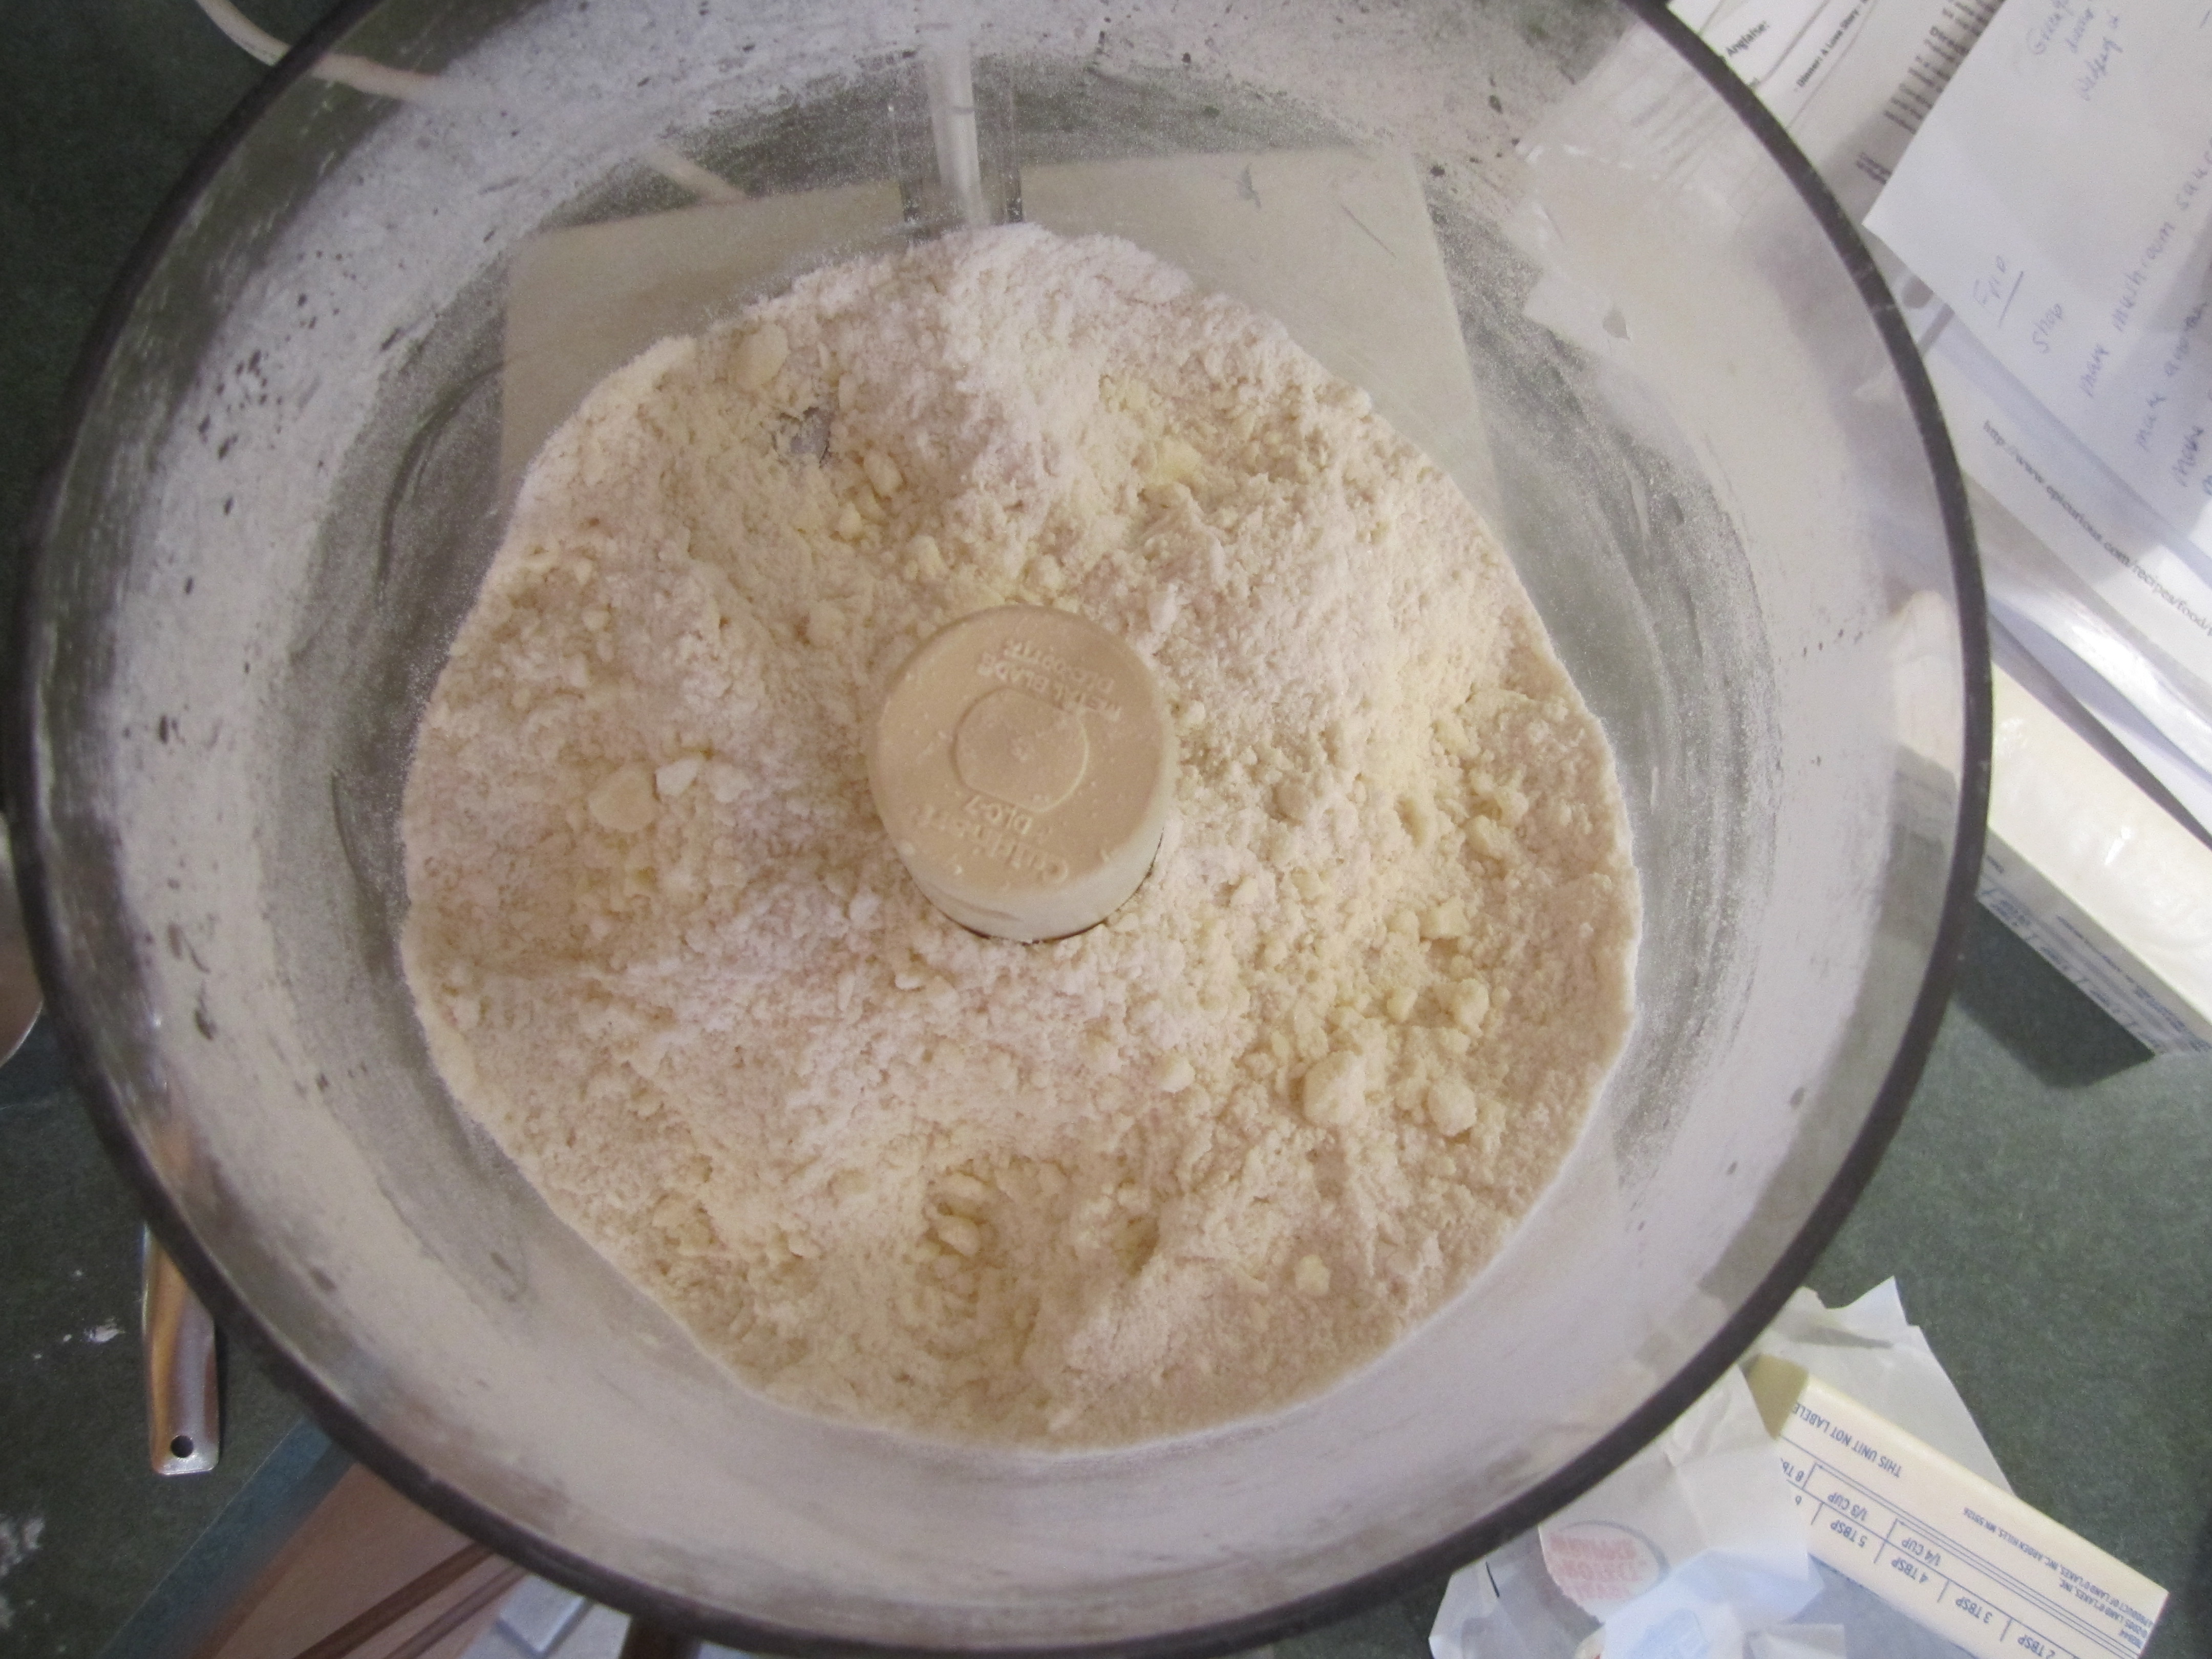
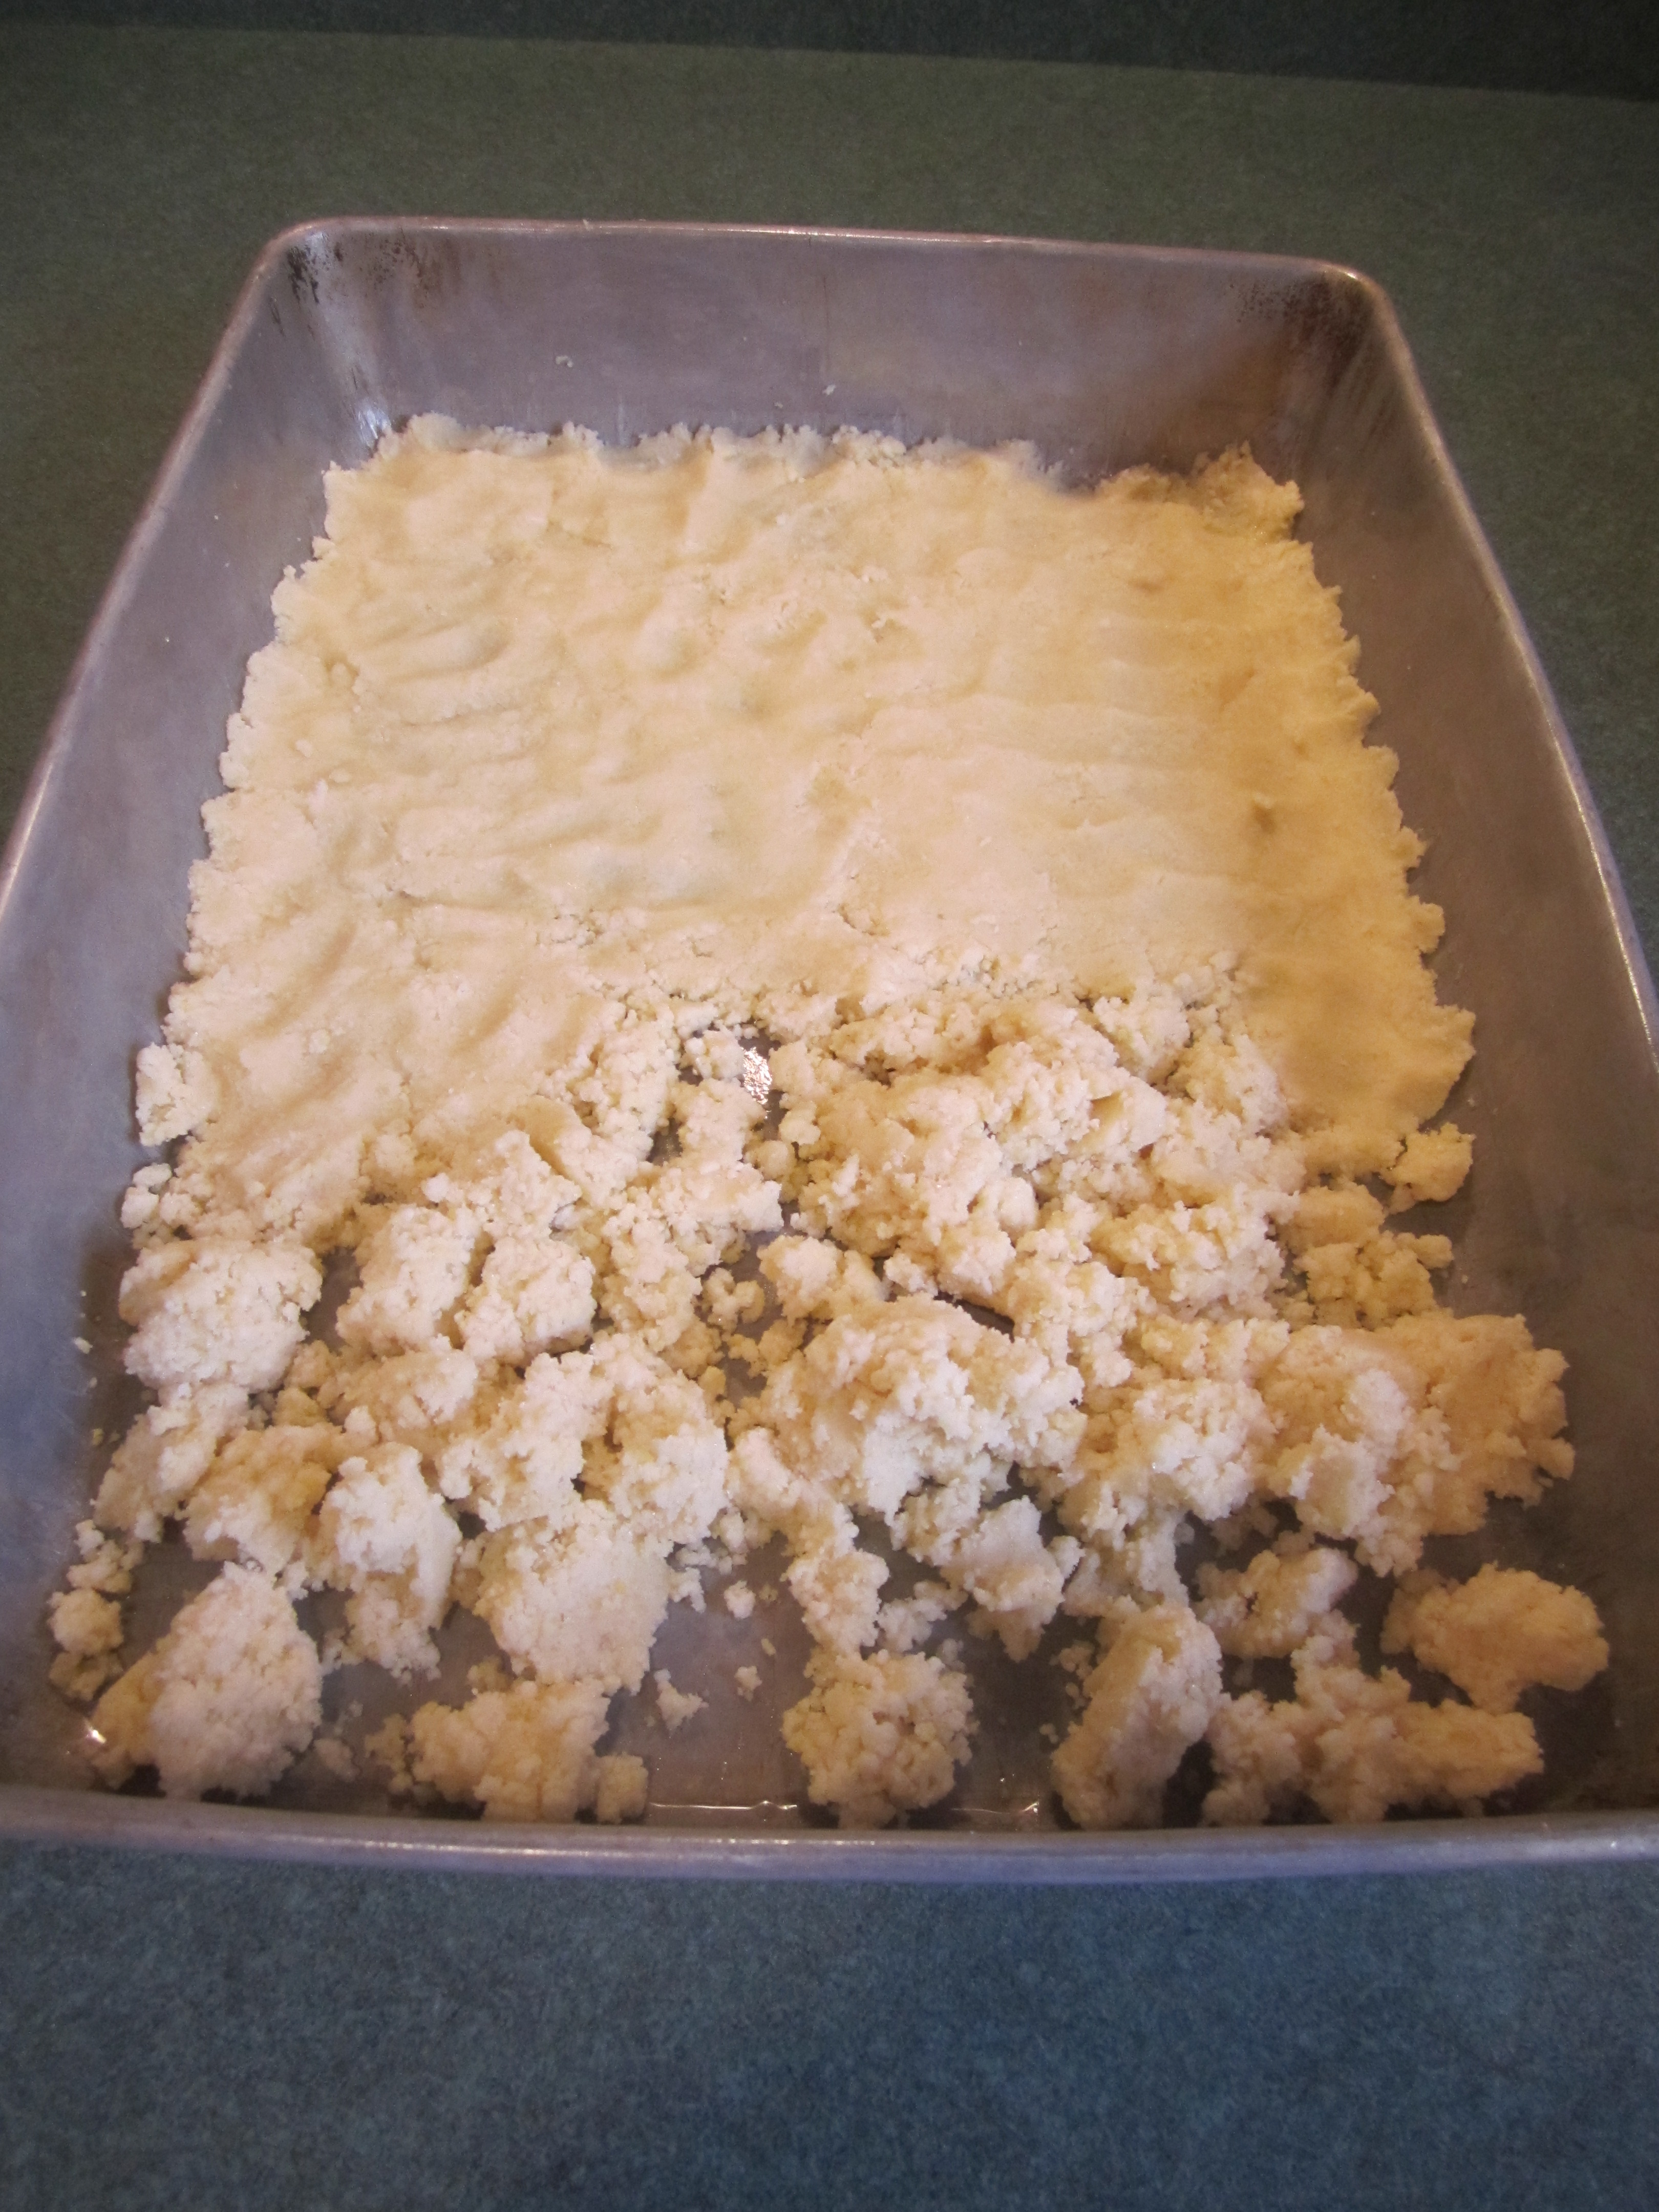
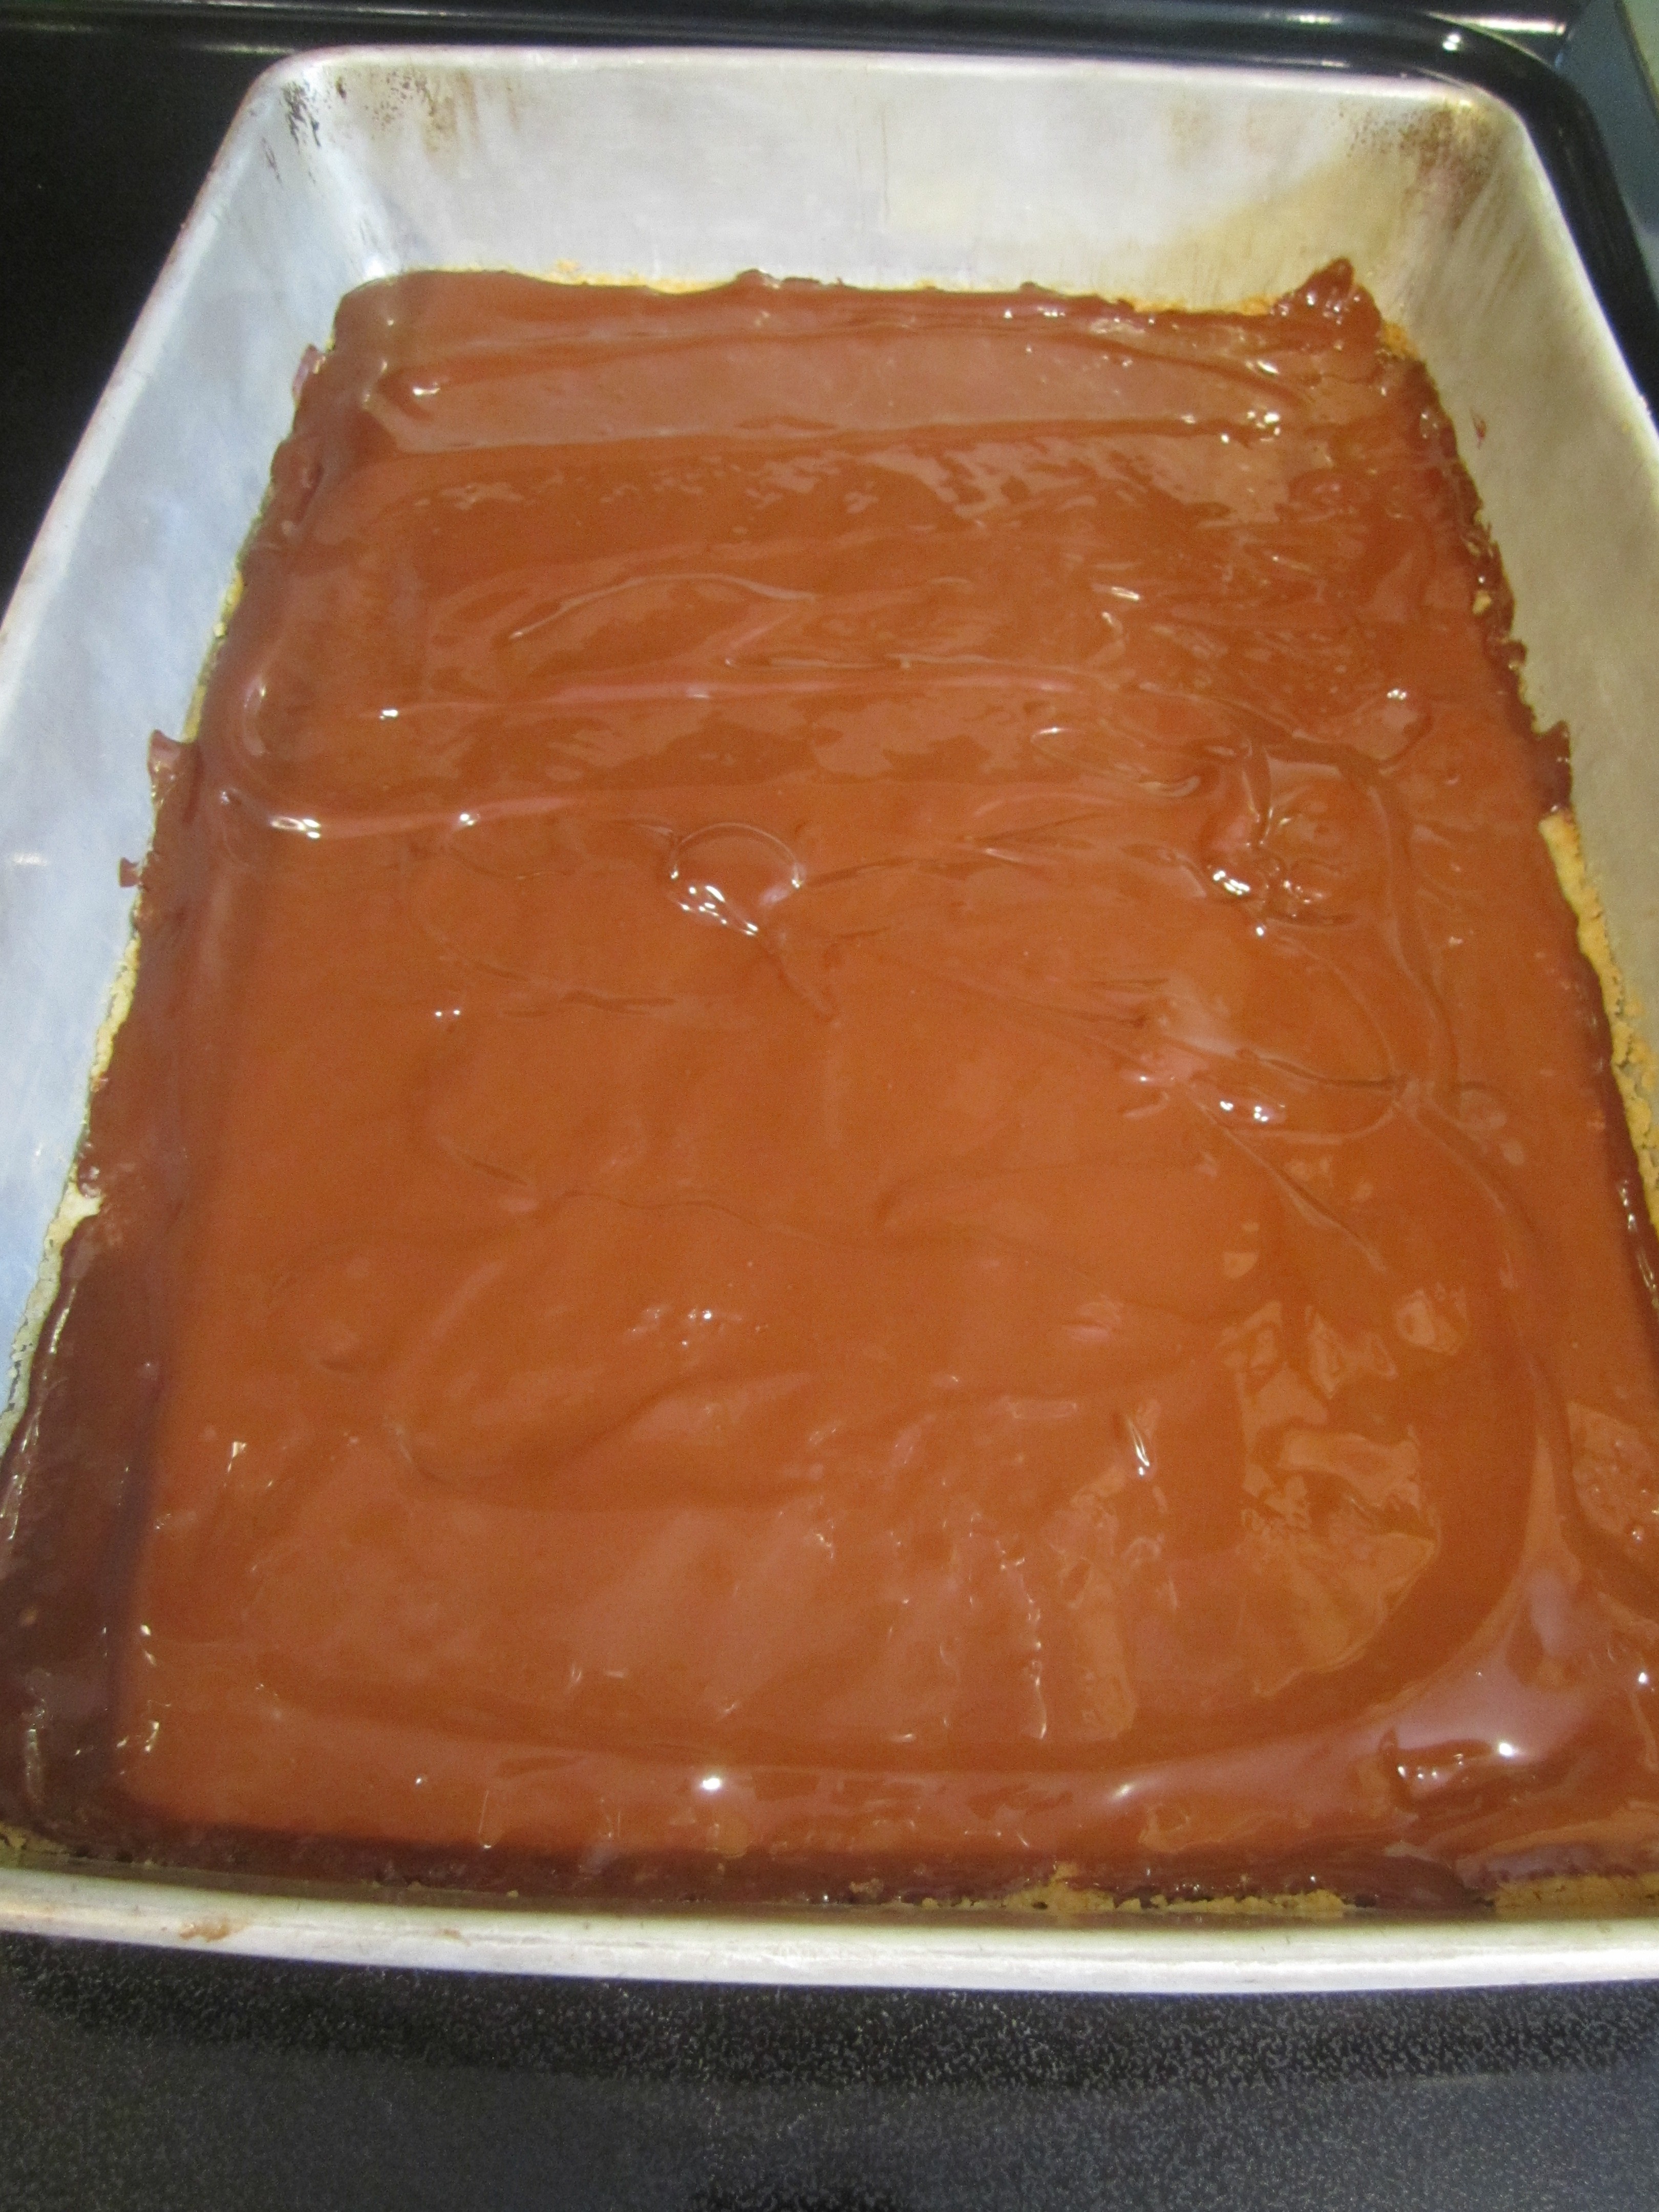
In the bowl of your food processor, blend the first 3 ingredients of the crust (flour, sugar, salt). Add the butter and using the on/off buttons, pulse until mixtures resembles coarse meal. Add egg yolk and cream and blend until the dough comes together in clumps, about 30 seconds. Press dough evenly over bottom of prepared pan. Bake until pale golden, about 15 minutes. Transfer to a cooling rack and sprinkle chocolate chips evenly over crust. After a minute or so, the chips should be melted. Spread melted chocolate with a small metal spatula, back of a spoon, whatever, over entire crust.
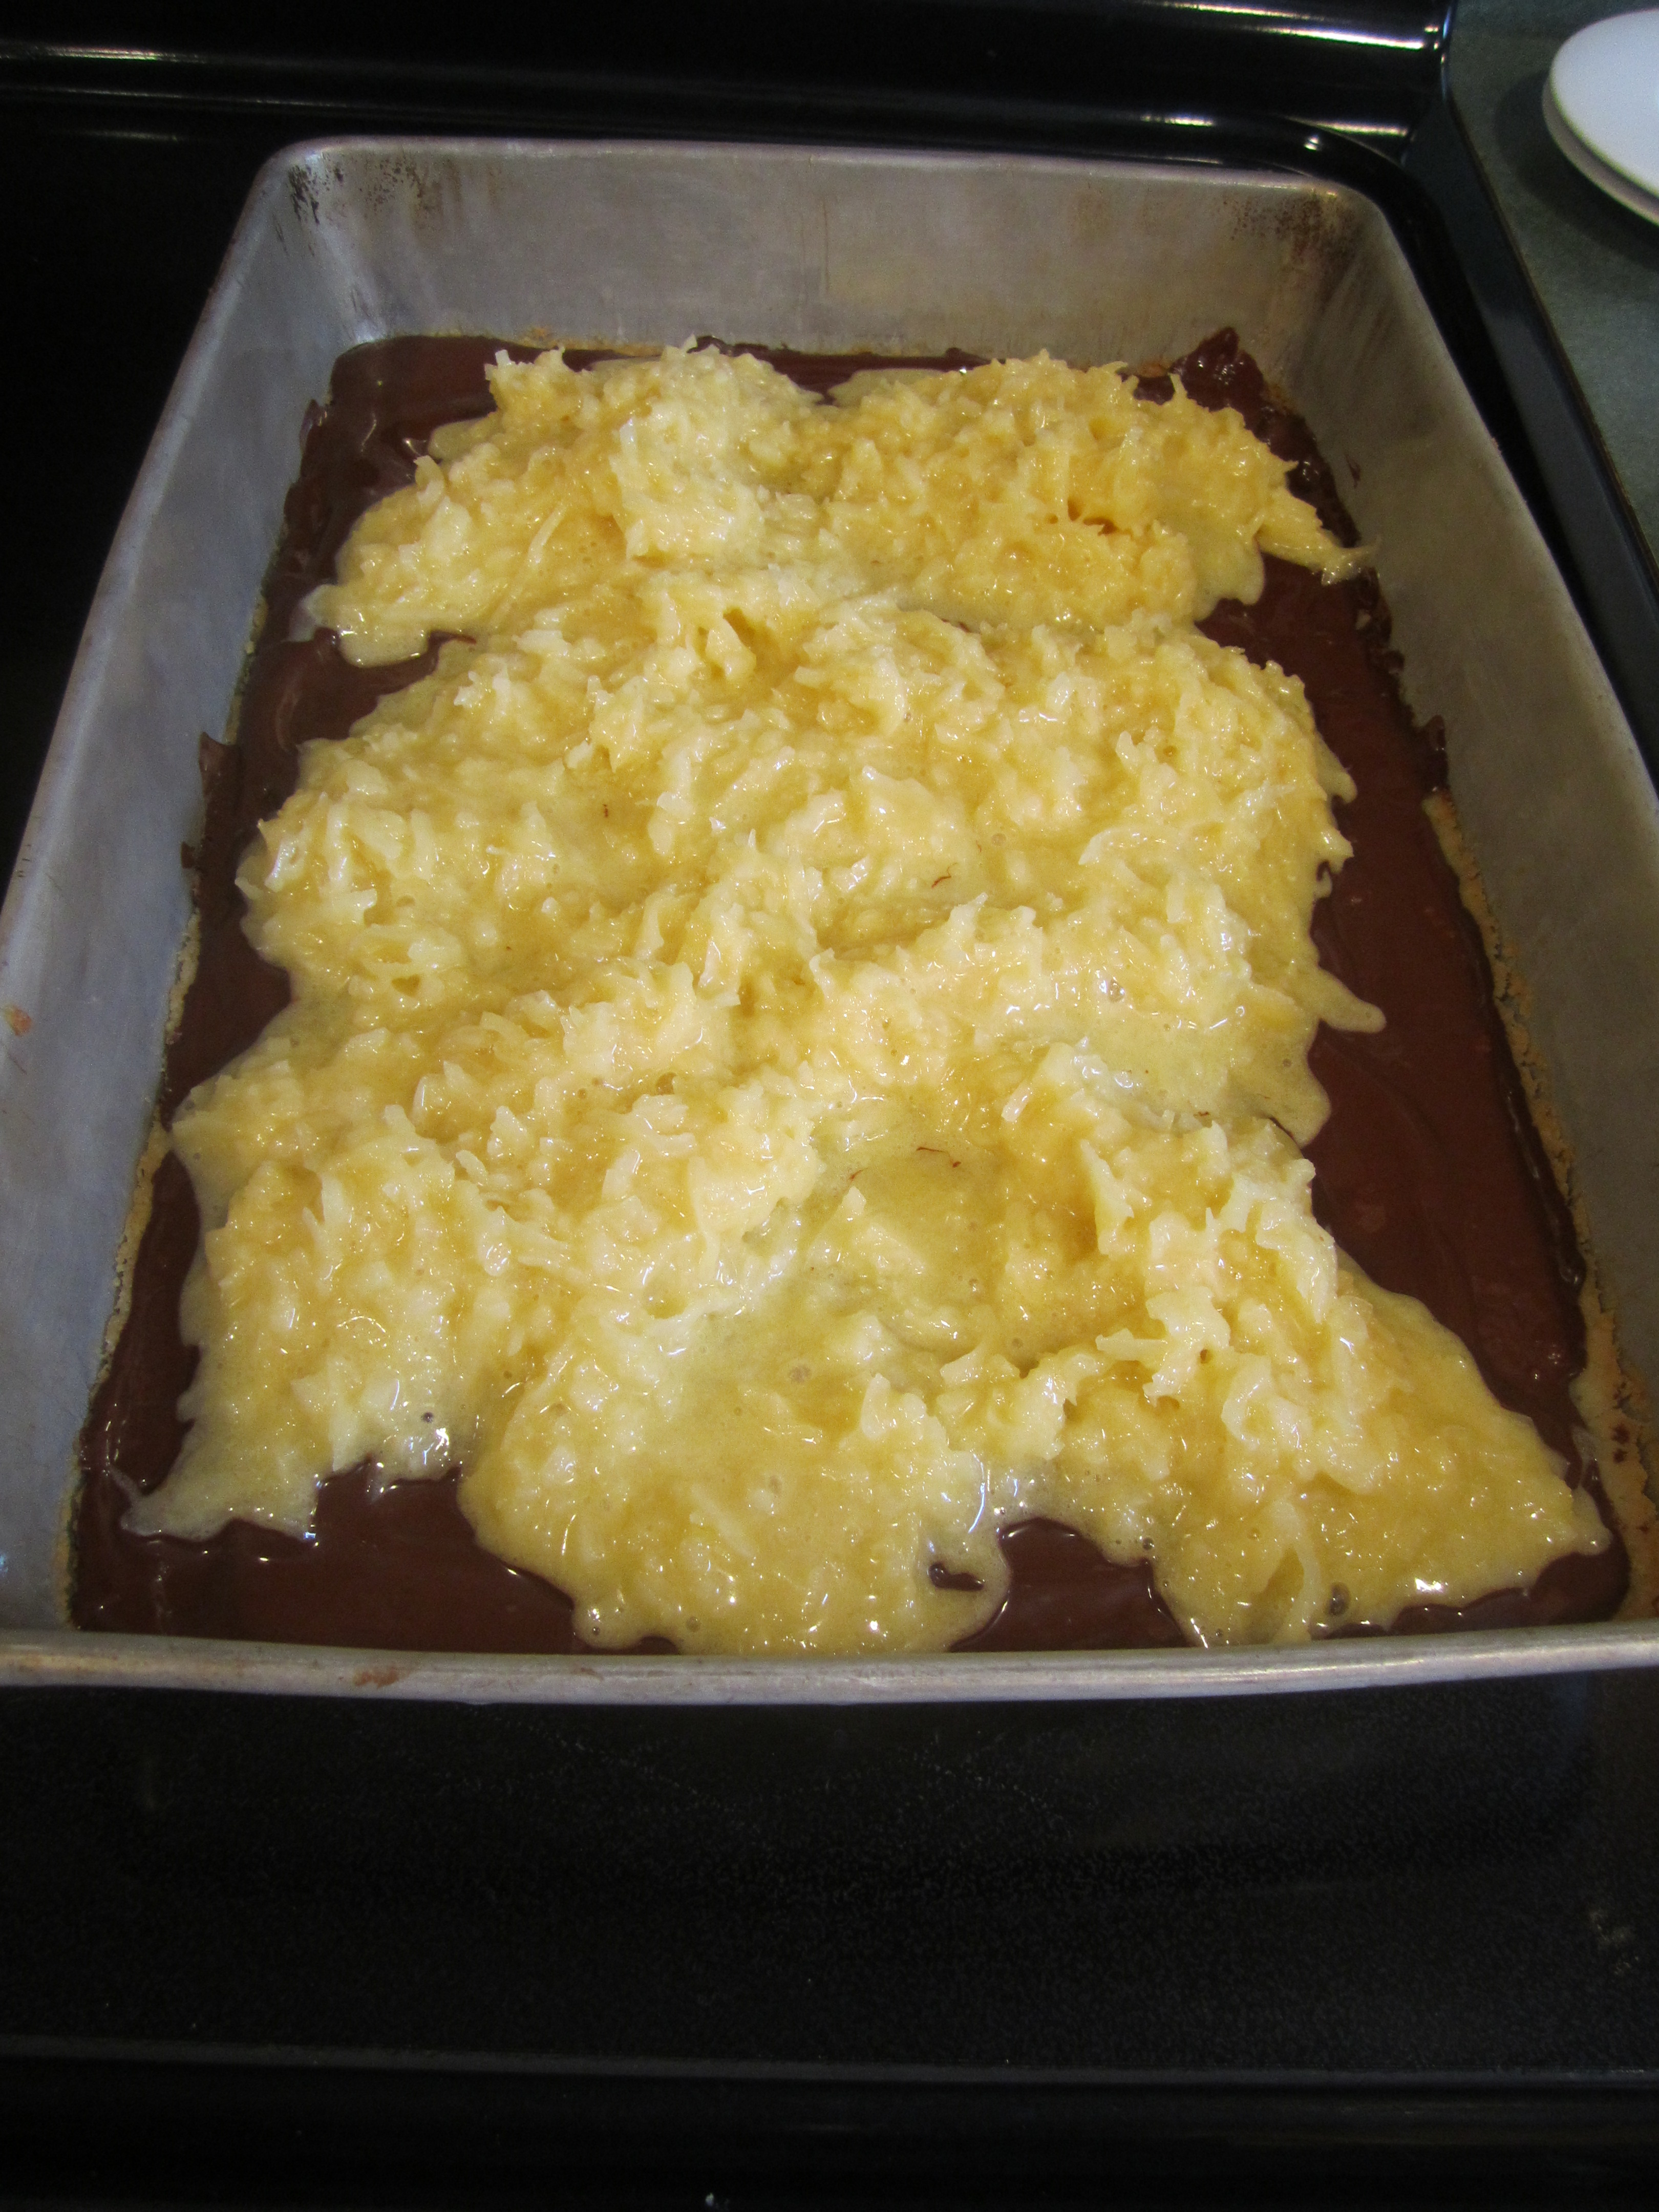
For the top coconut layer, place the flour, sugar, salt, eggs, melted butter and vanilla in a medium bowl. Stir with a whisk until thoroughly combined. Add coconut and stir with a rubber spatula until completely combined. Pour top layer over chocolate.
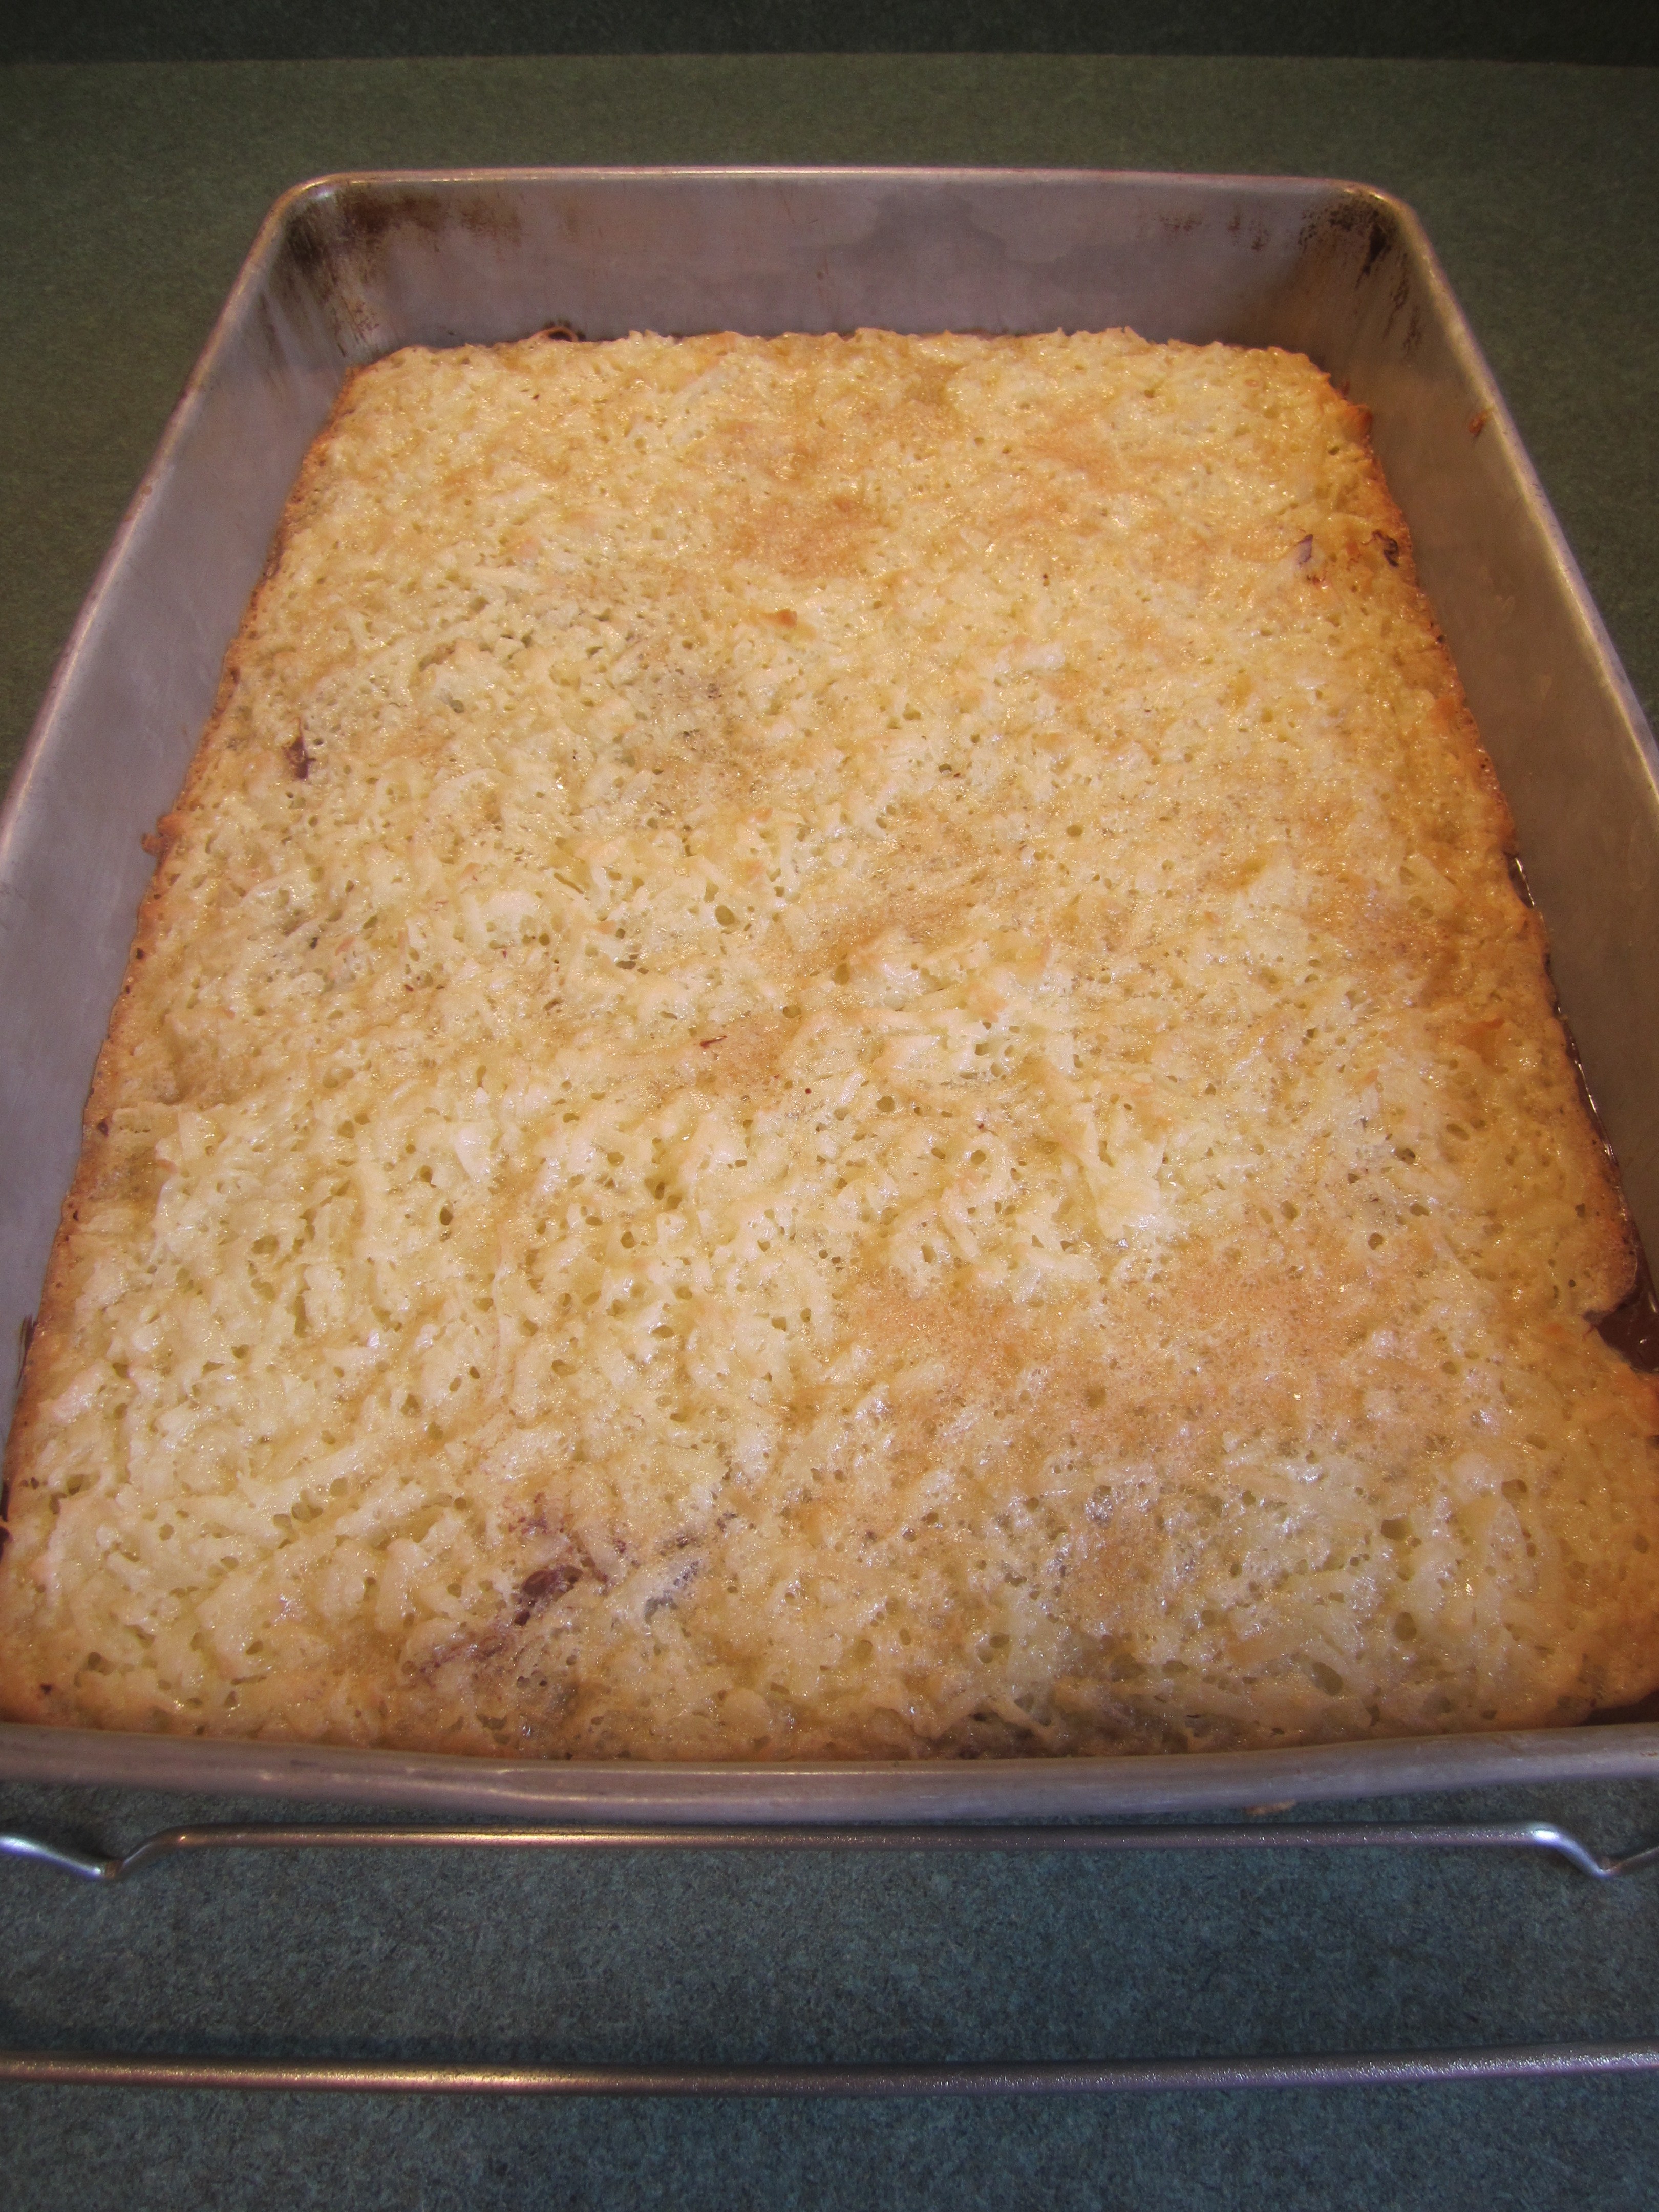
Bake for about 25 minutes until golden brown on top.
Cool in pan. Take a dull knife and loosen the cookie all around the edge. Cut into the square size of your choice.
adding diced butter to blended flour, sugar & salt:
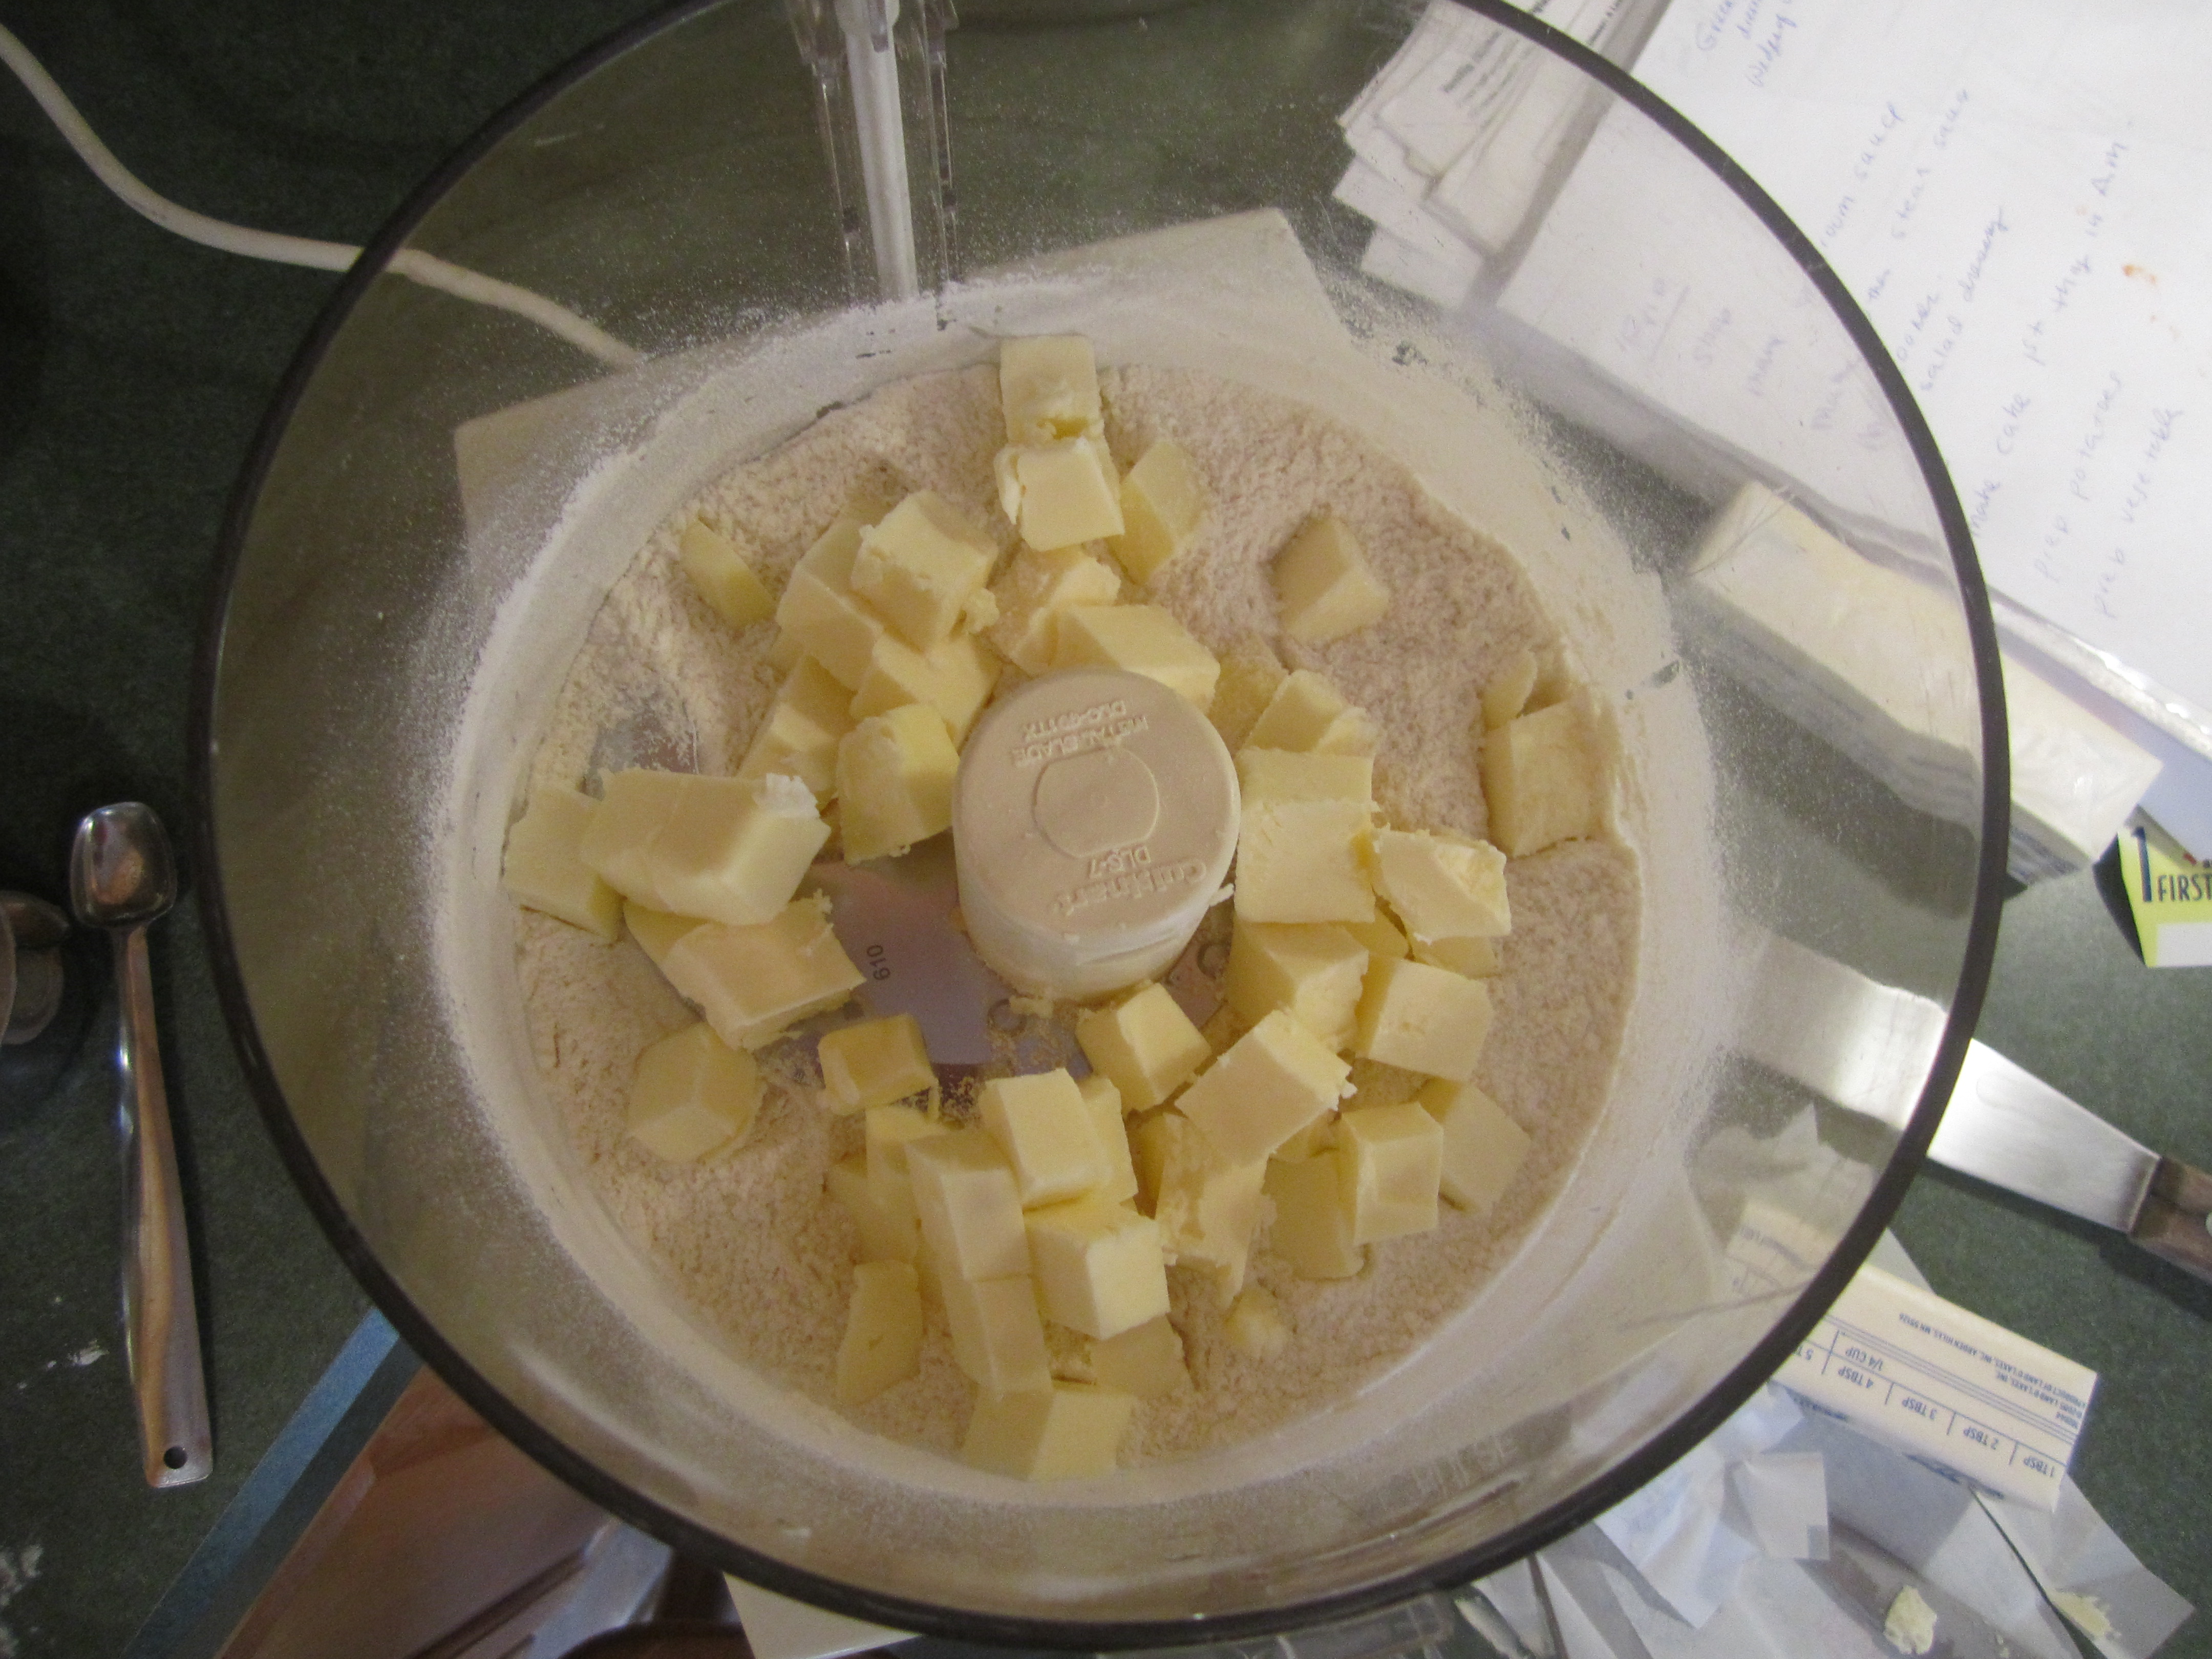
coarse meal:
add egg yolk and cream:

dough in clumps:

pressing dough into prepared pan:

sprinkling chocolate chips onto hot crust:
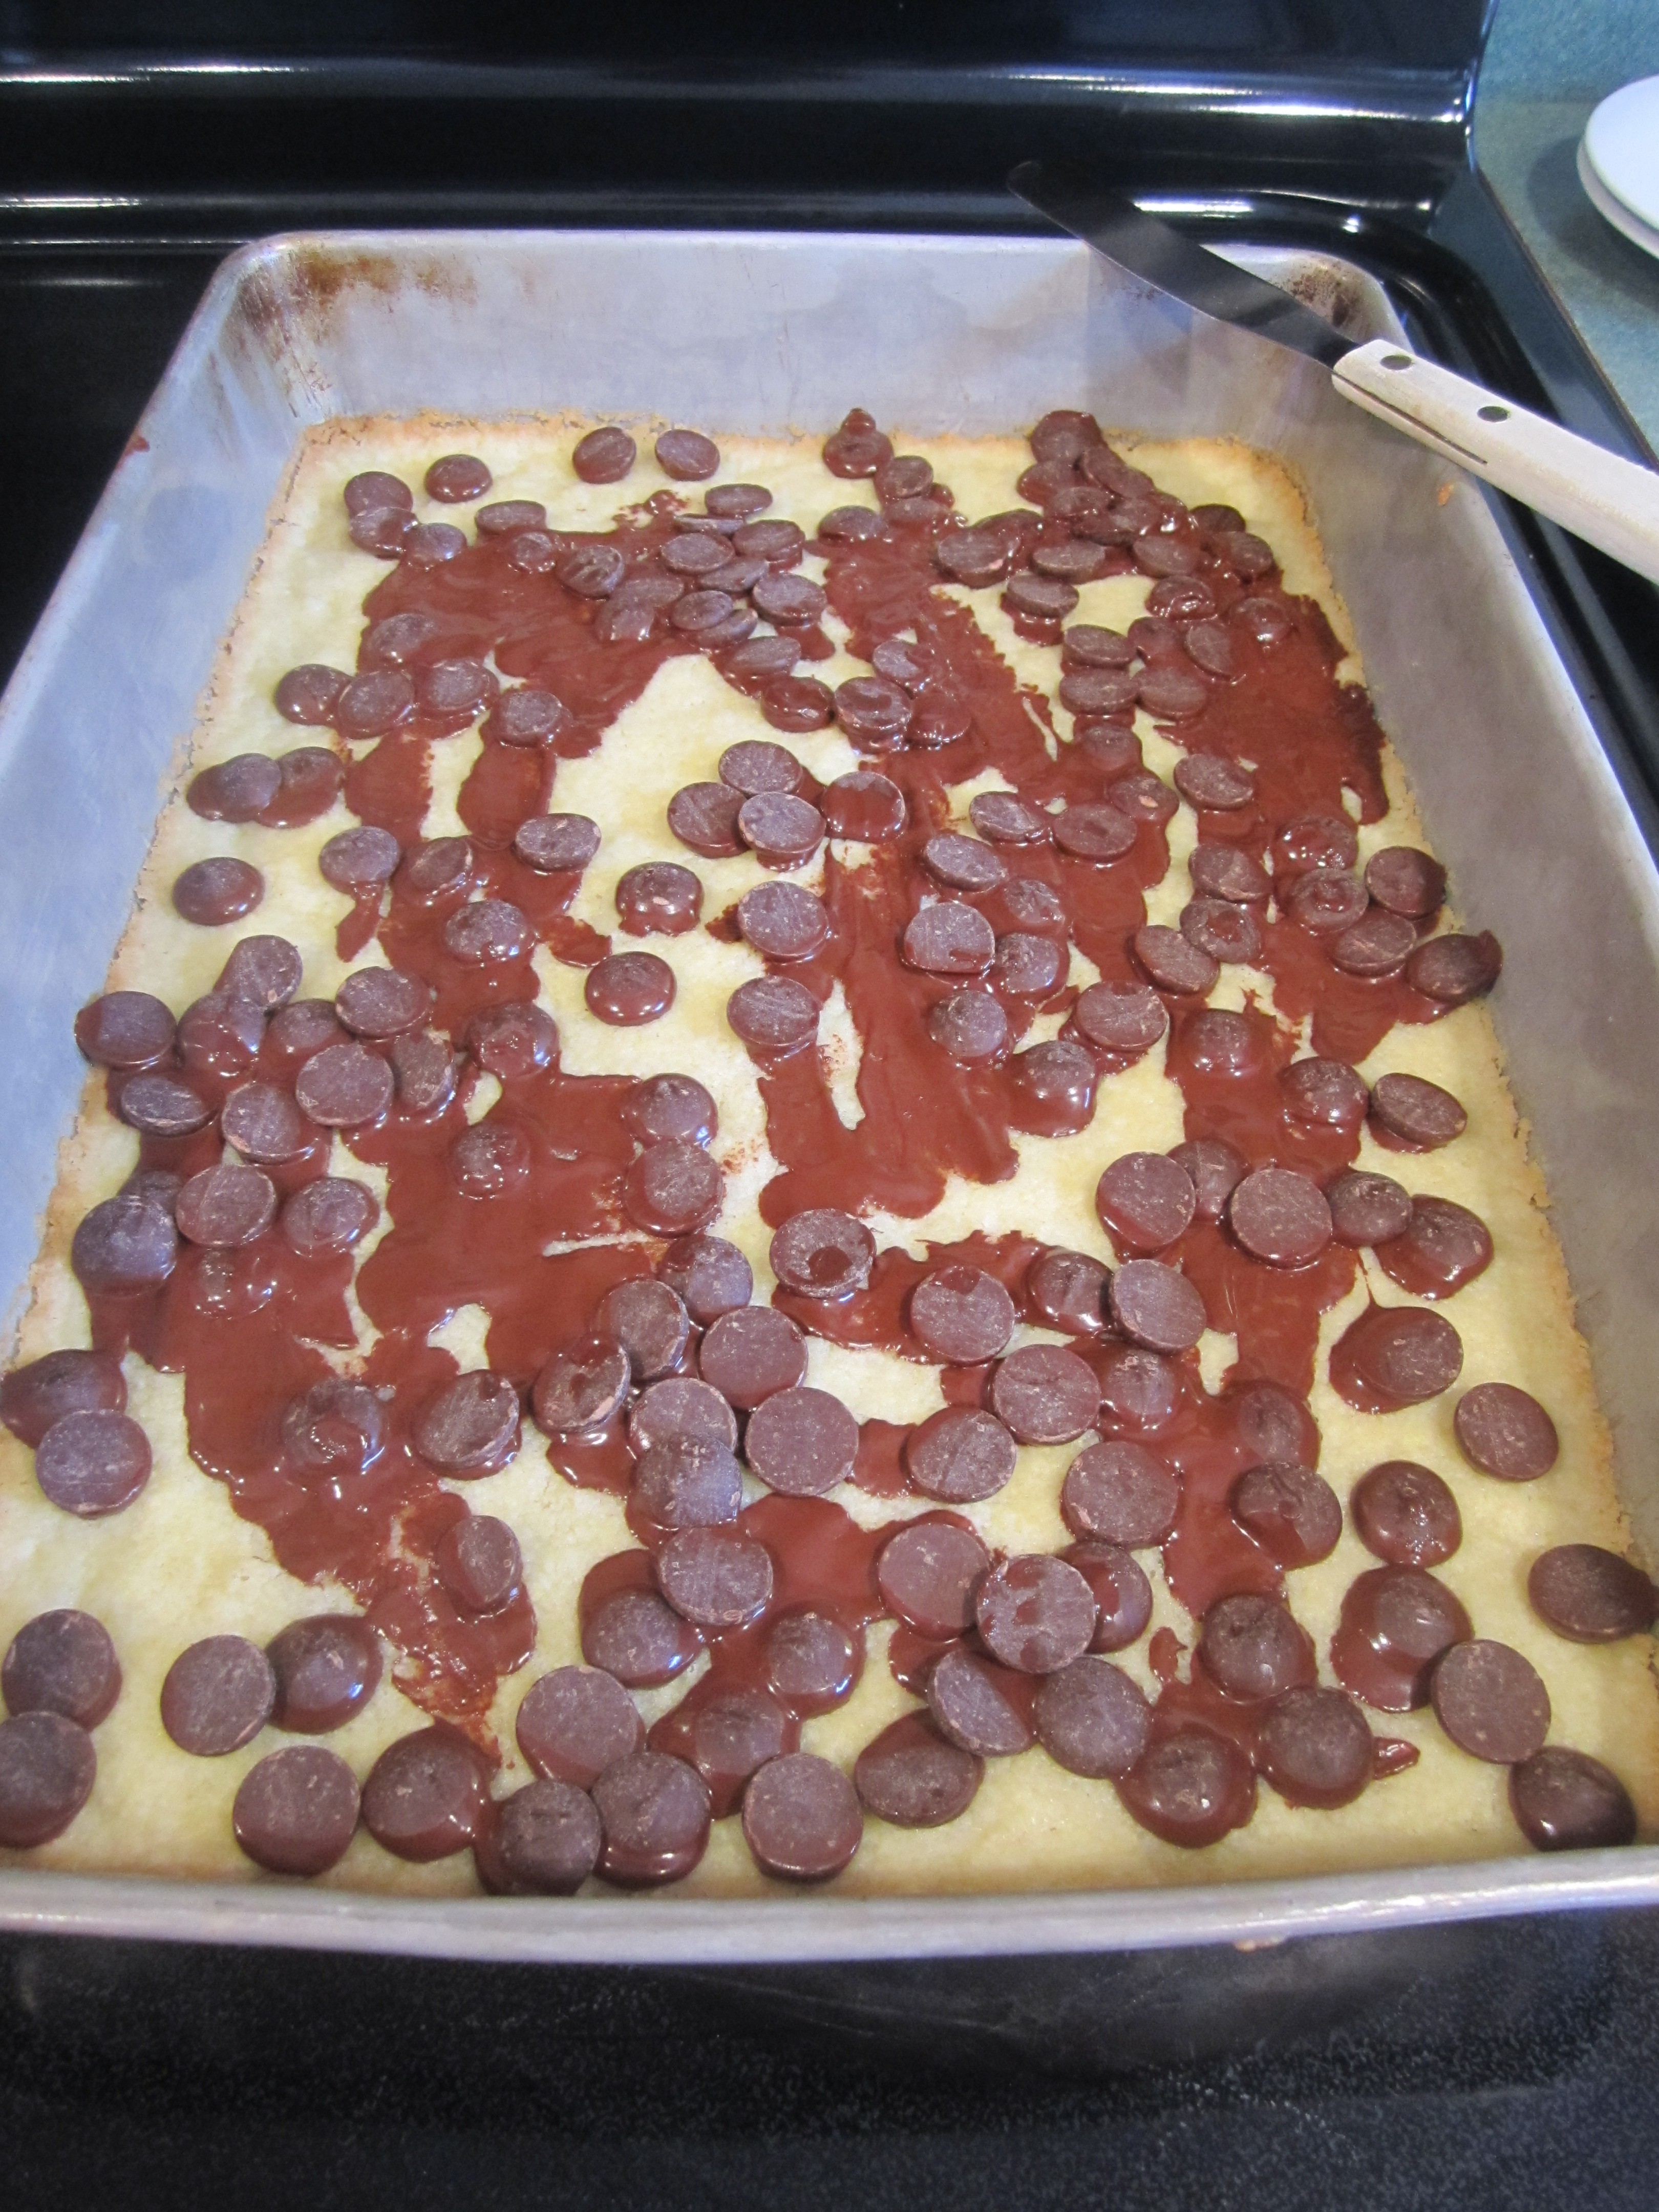
spreading melted chips over entire crust:
mixing top coconut layer:


pouring coconut layer over chocolate:
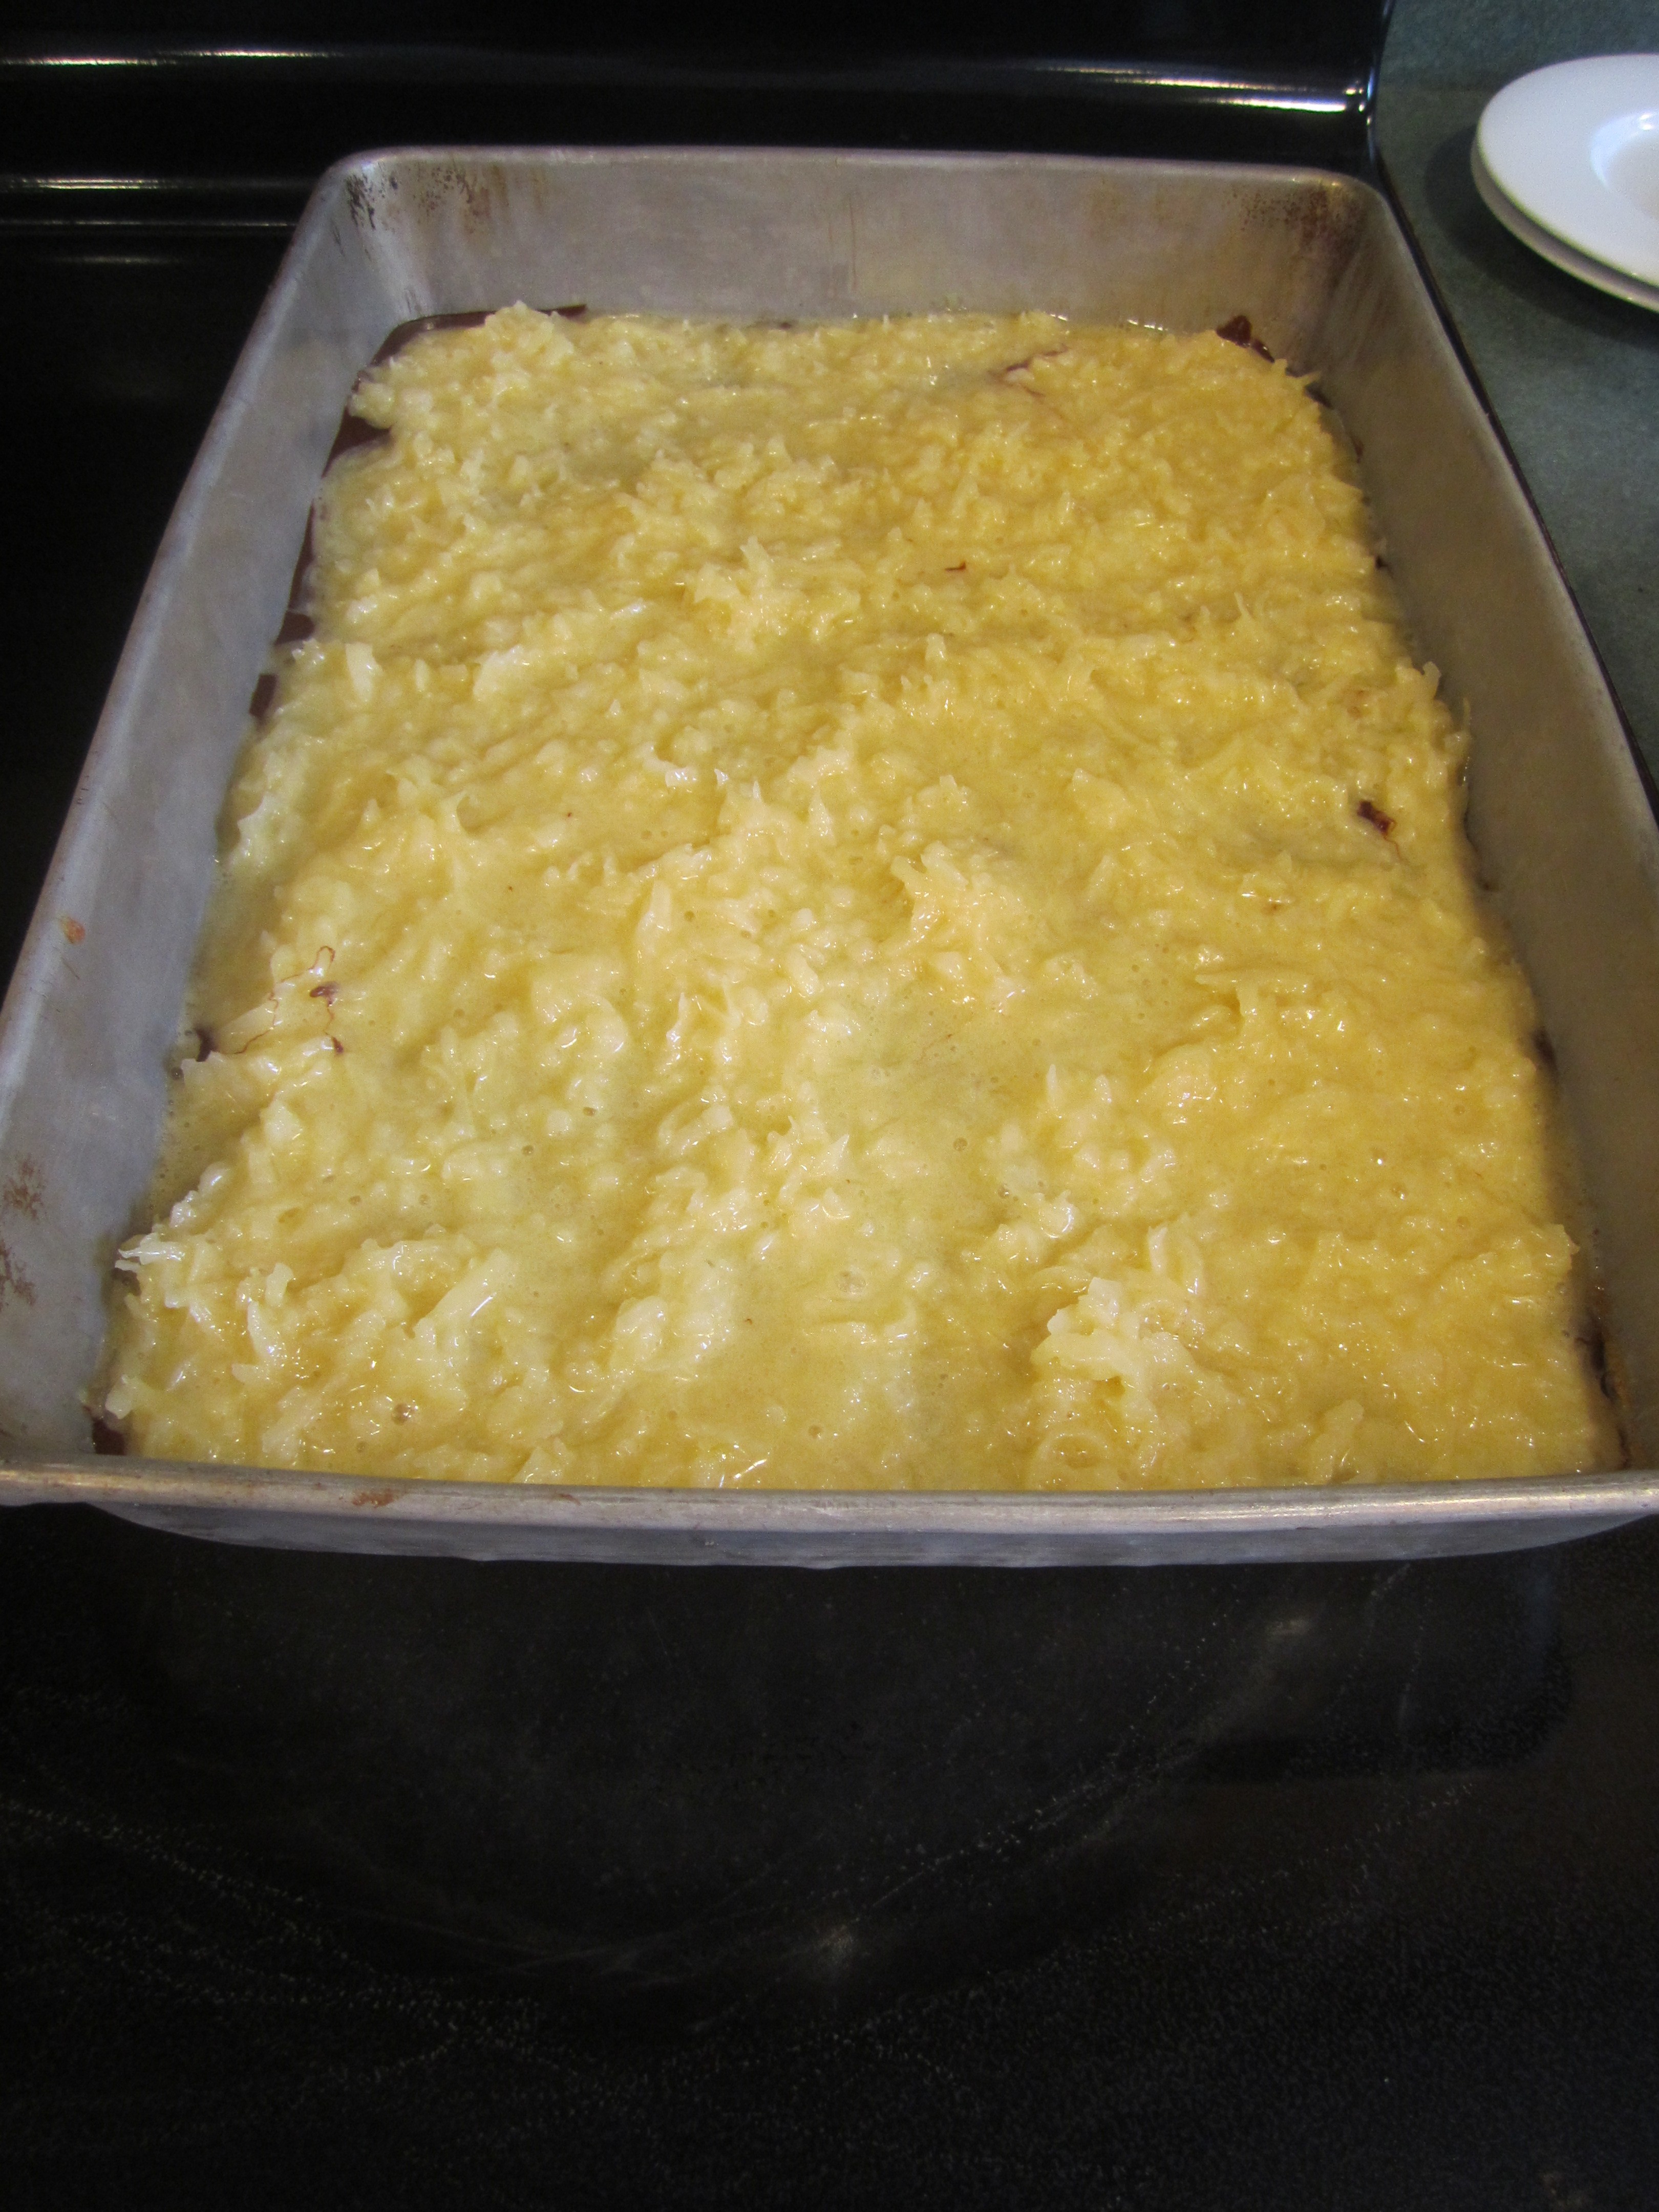
golden brown after 25 minutes in oven:

White Whole Wheat Bread

I love making bread. It makes the whole house smell delicious and the taste can’t be beat.
I started making this White Whole Wheat bread about a year ago. The best thing about the recipe is that it makes 3 loaves. If you are going to go to the trouble of making your own bread, you might as well make alot. And it freezes beautifully.
White Whole Wheat Bread (adapted slightly from All Recipes)
3 cups warm water (110 degrees)
2, 1/4 ounce packages of Fleischmann’s Rapid Rise Highly Active Yeast
1/3 cup honey
5 cups bread flour (I like King Arthur Unbleached Bread Flour which is available in the supermarket)
3 tablespoons butter, melted
1/3 cup honey
1 tablespoon salt
3-1/2 cups white whole wheat flour (again, I like King Arthur White Whole Wheat Flour, also available in the supermarket)
2 tablespoons butter, melted
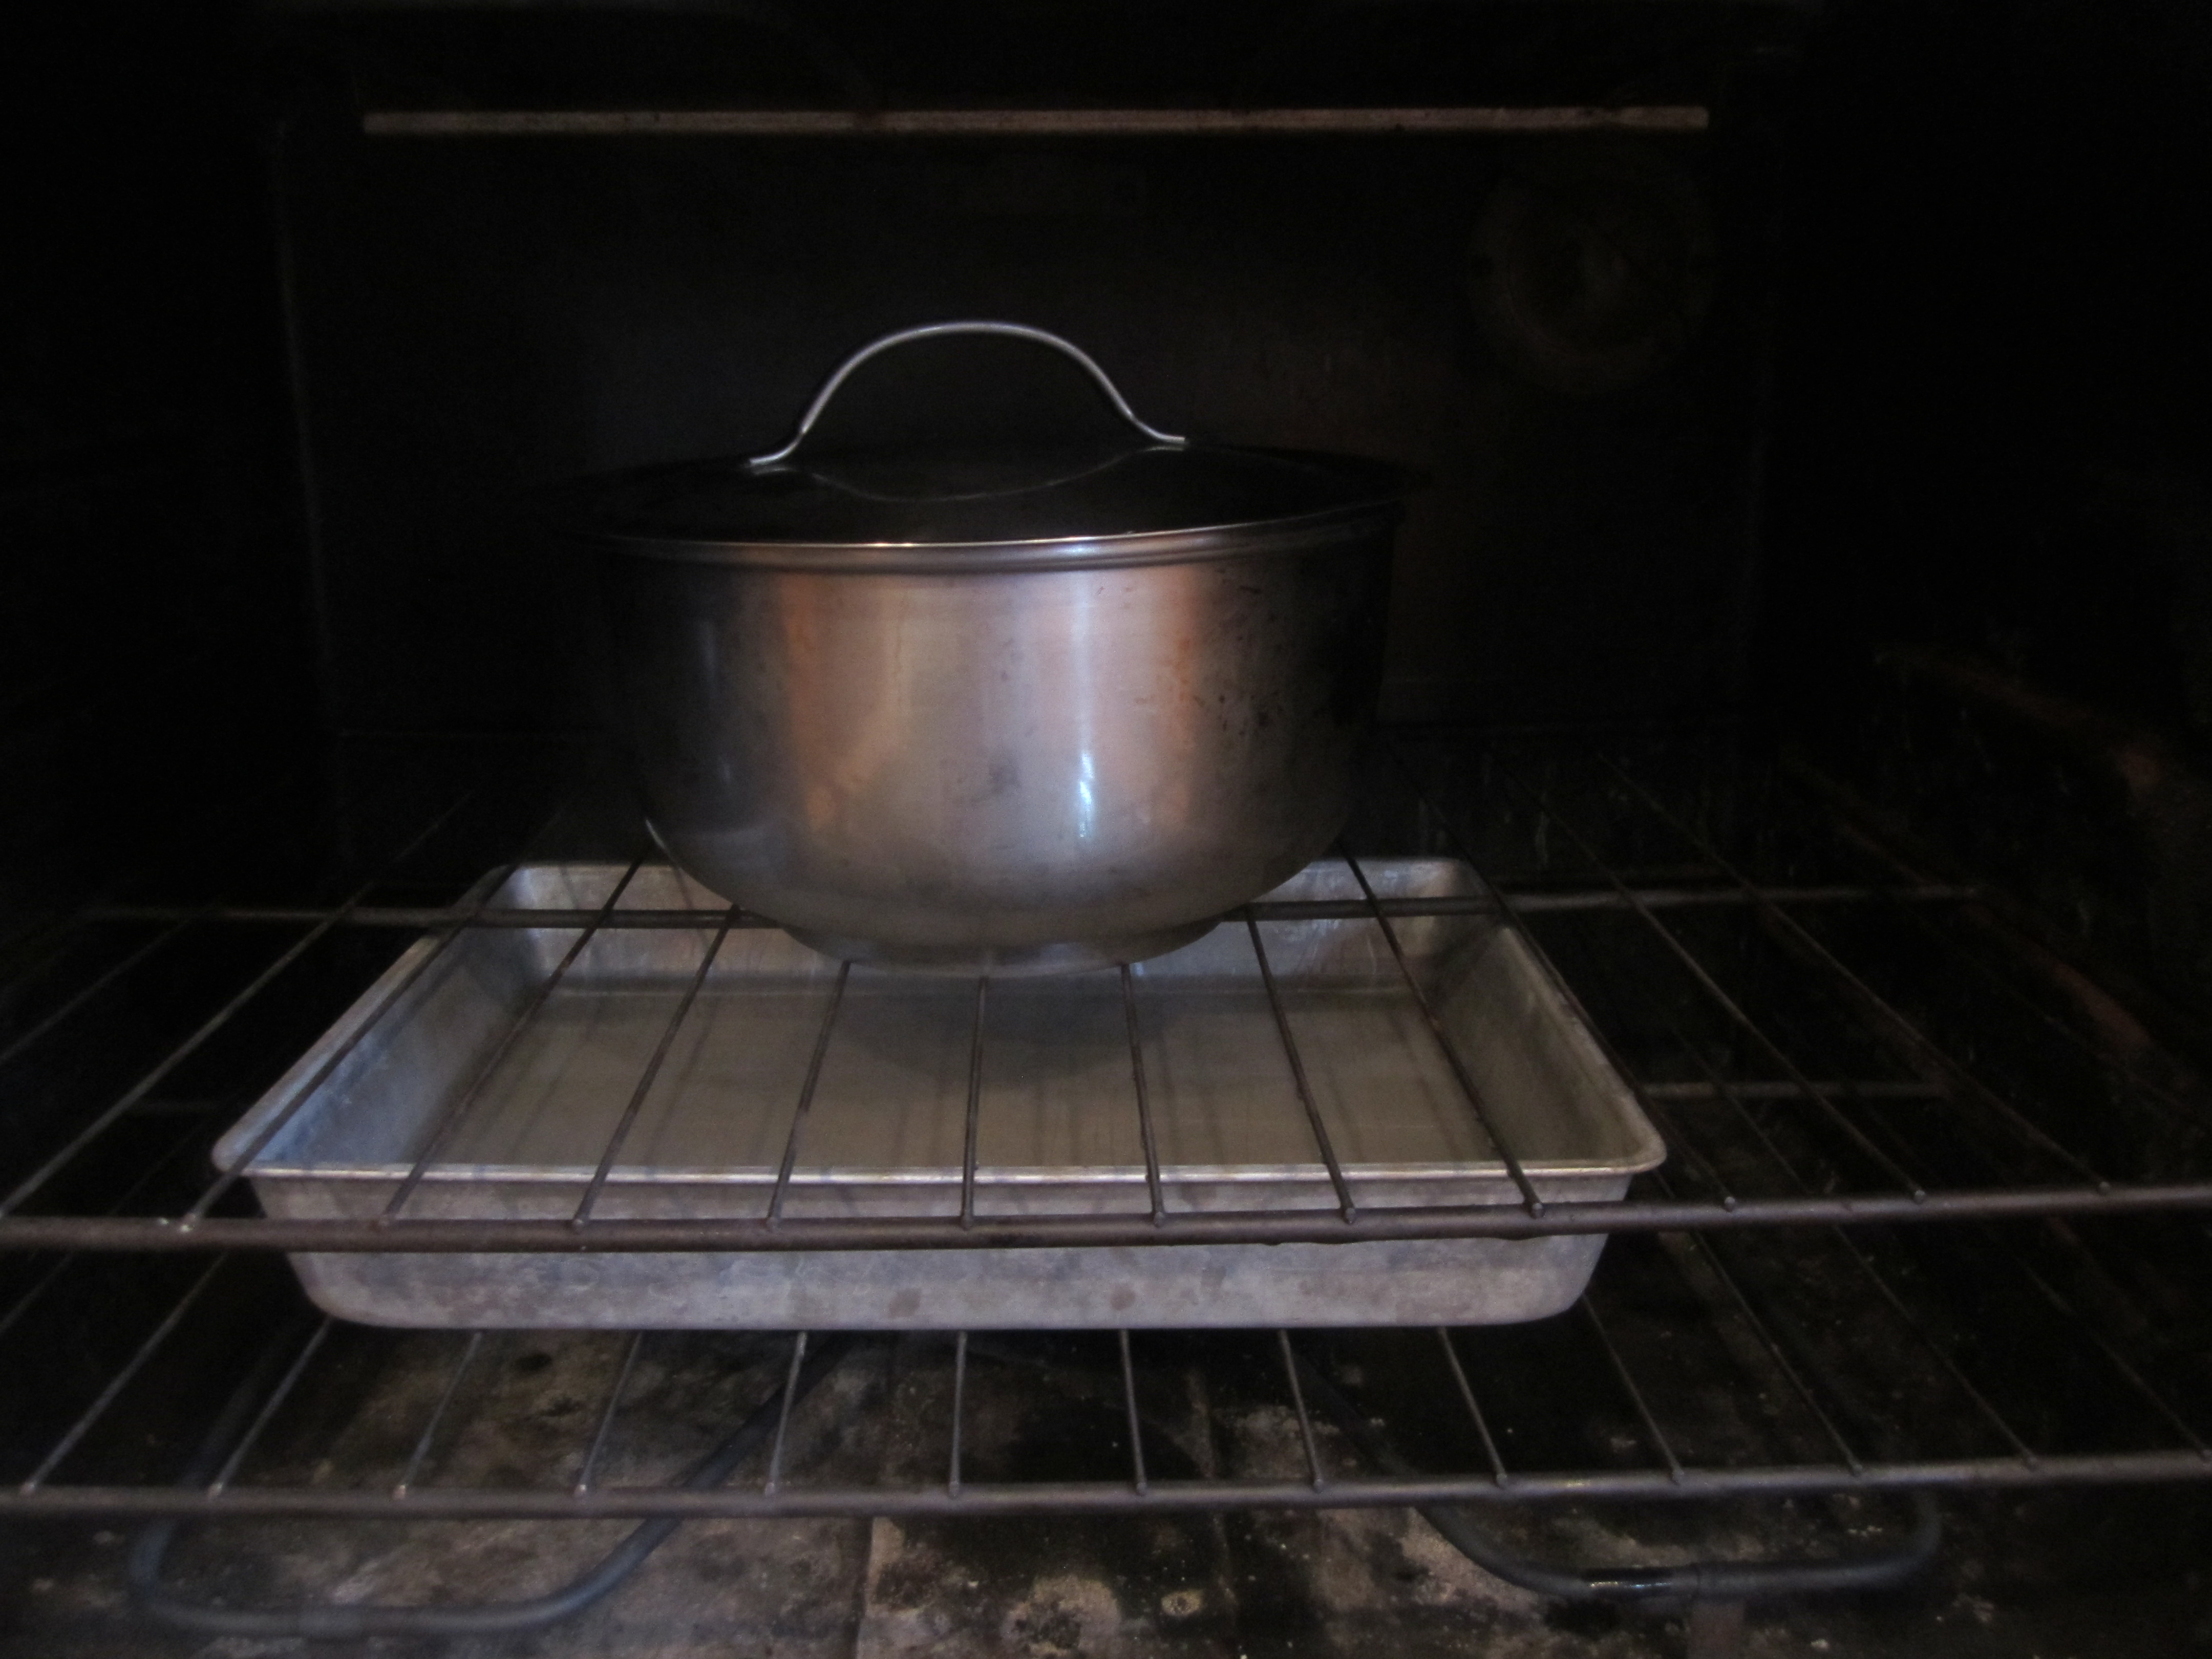
Coat a fairly large bowl with straight sides with butter. Coat the inside top from a pan, that will fit over the bowl, with butter. Put a cup of water on to boil. Put a 13 x 9 inch pan on the lower rack of your oven.
In the bowl of your stand mixer, place warm water (use a candy thermometer to get the correct temperature), yeast and 1/3 cup honey. Add the 5 cups of bread flour and stir with the paddle attachment until combined. Remove paddle but not the bowl and cover bowl with a towel and let sit for 30 minutes. It will get bigger and bubbly.
After 30 minutes, remove towel and put dough hook attachment on your machine. Add to the dough, 3 tablespoons of melted butter, 1/3 cup honey, salt and 2 cups of white whole wheat flour. Mix with the dough hook for one minute until combined. Add 1 cup of white whole wheat flour and beat for 1-2 minutes. The dough should start pulling away from the sides of the bowl. If not add 1/2 cup of flour. Mix again for 2-3 minutes. The dough should still be somewhat sticky. Don’t fret over this too much. If this is your first time, you will begin to see, if you make bread again, how the dough should look and feel. I have pictures below that will help. If the dough seems too sticky, add a tablespoon of flour at a time until it gets to the right consistency.
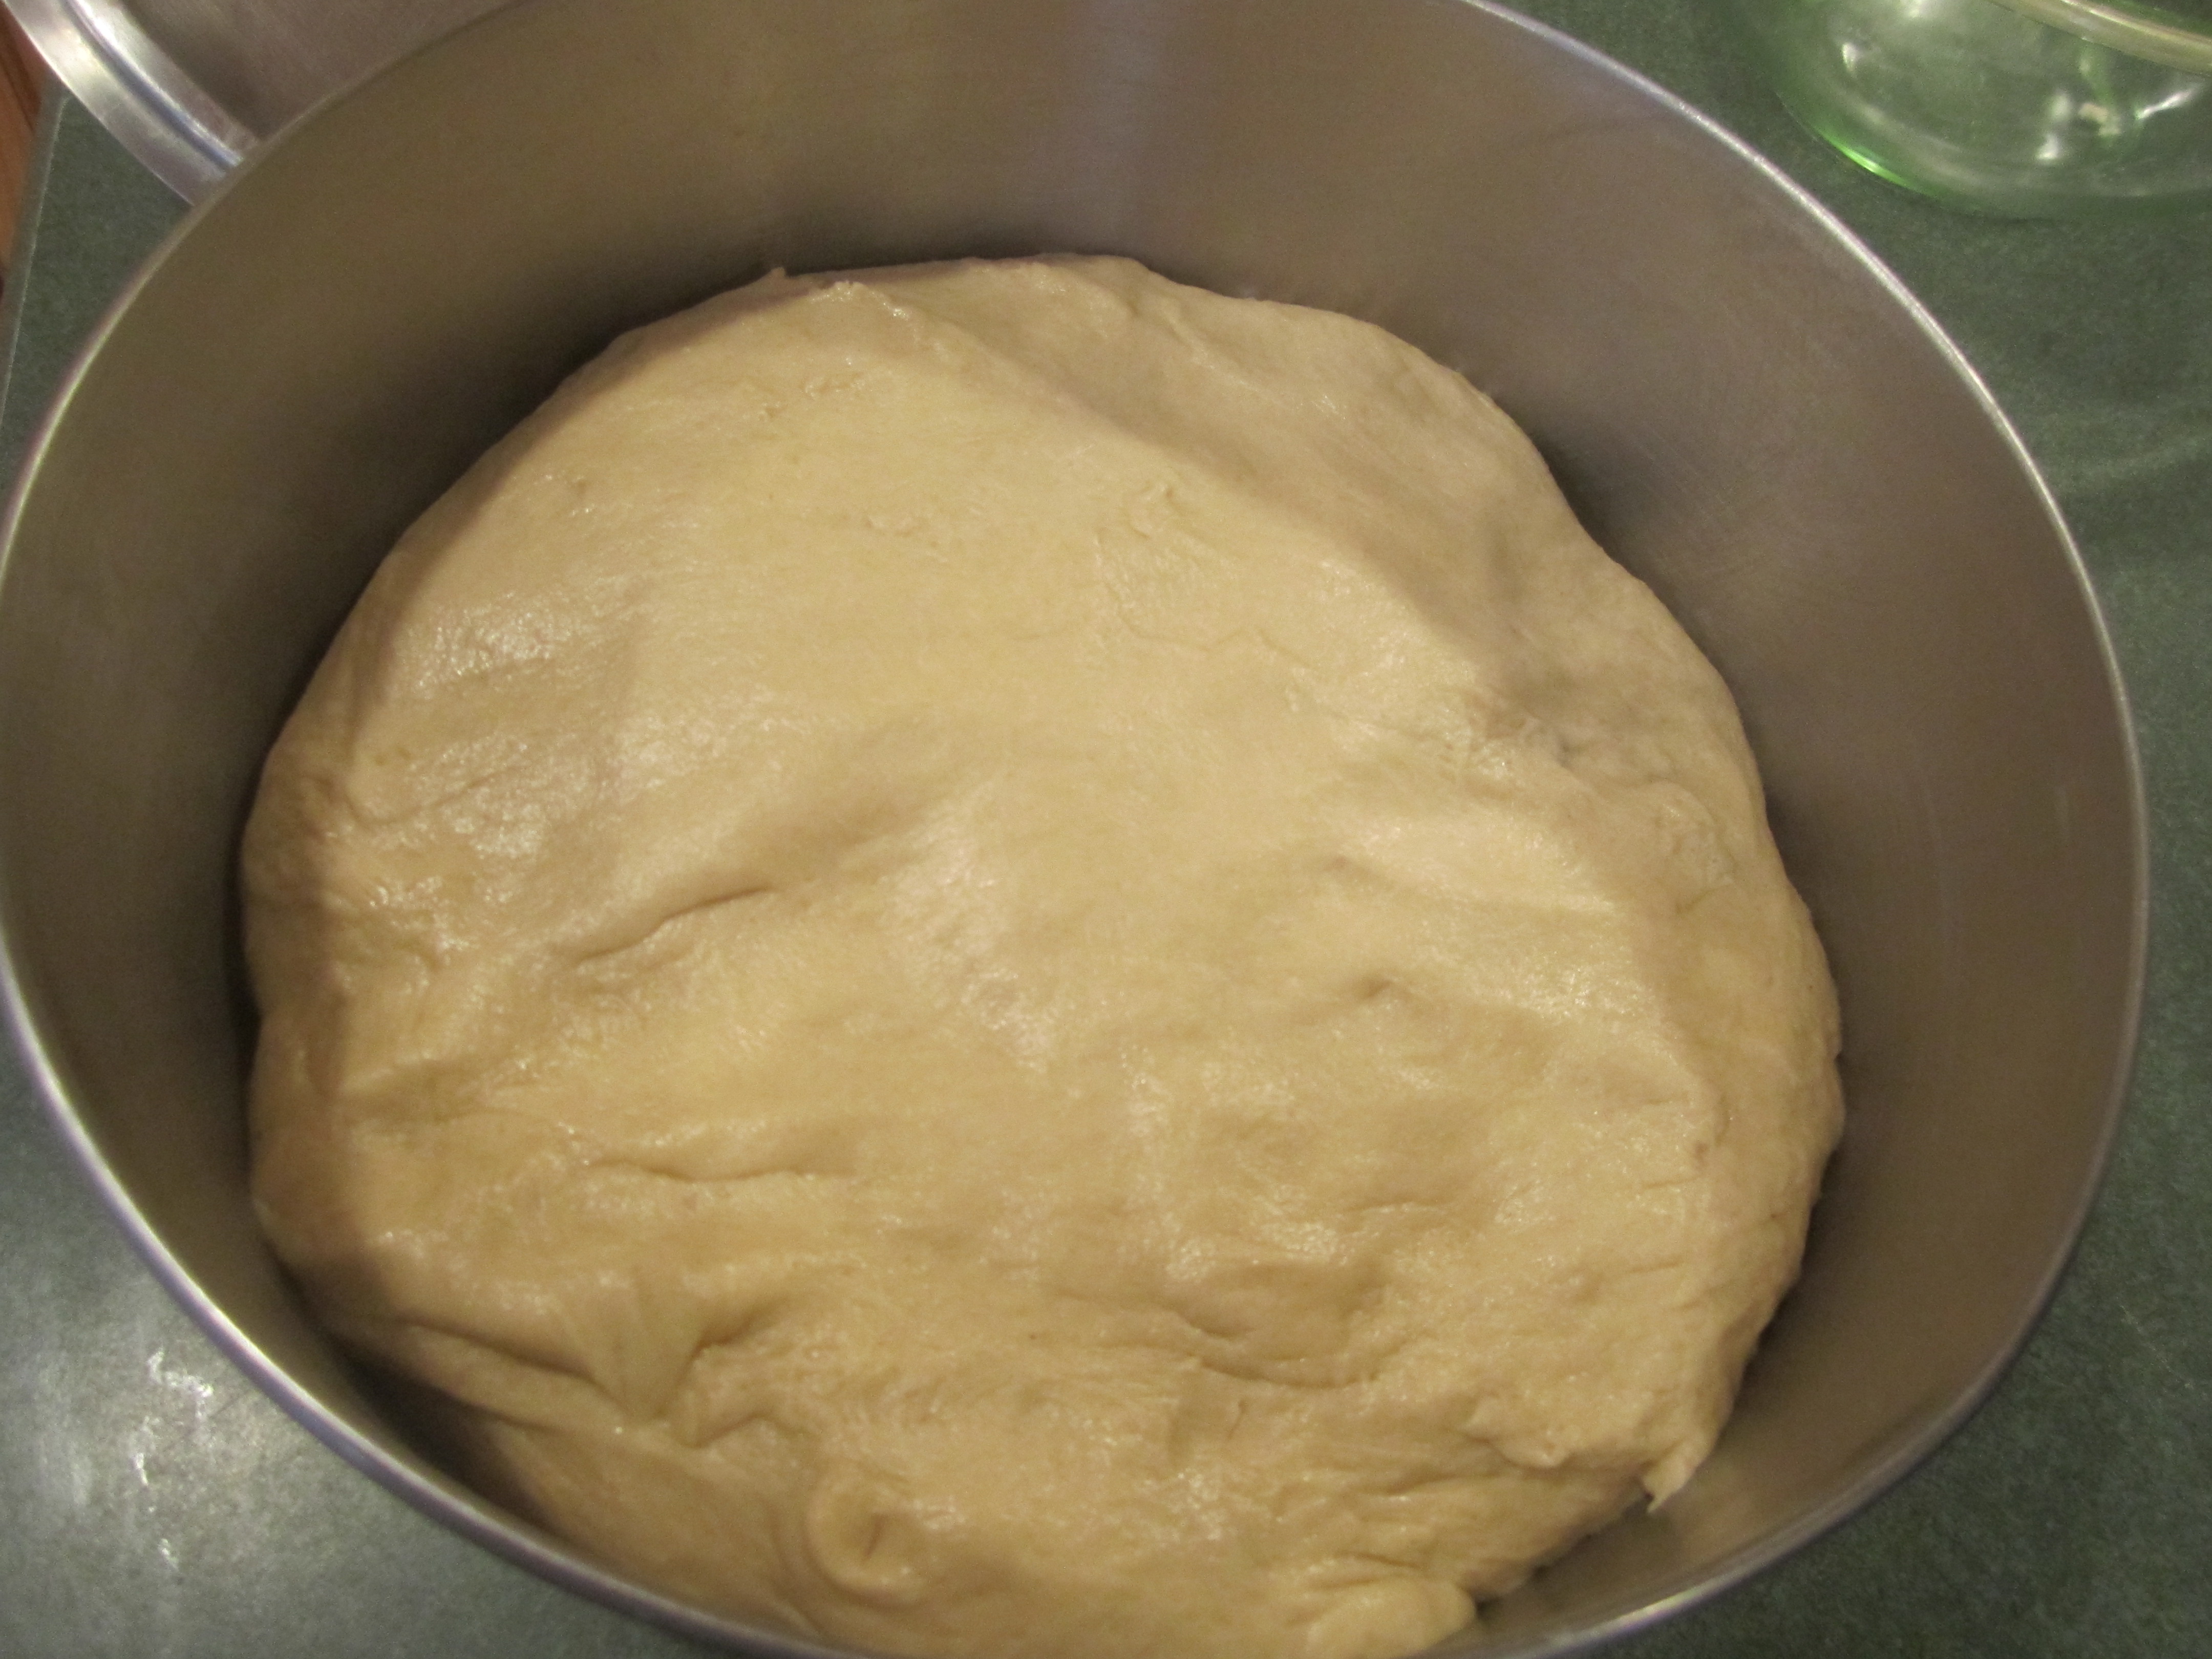
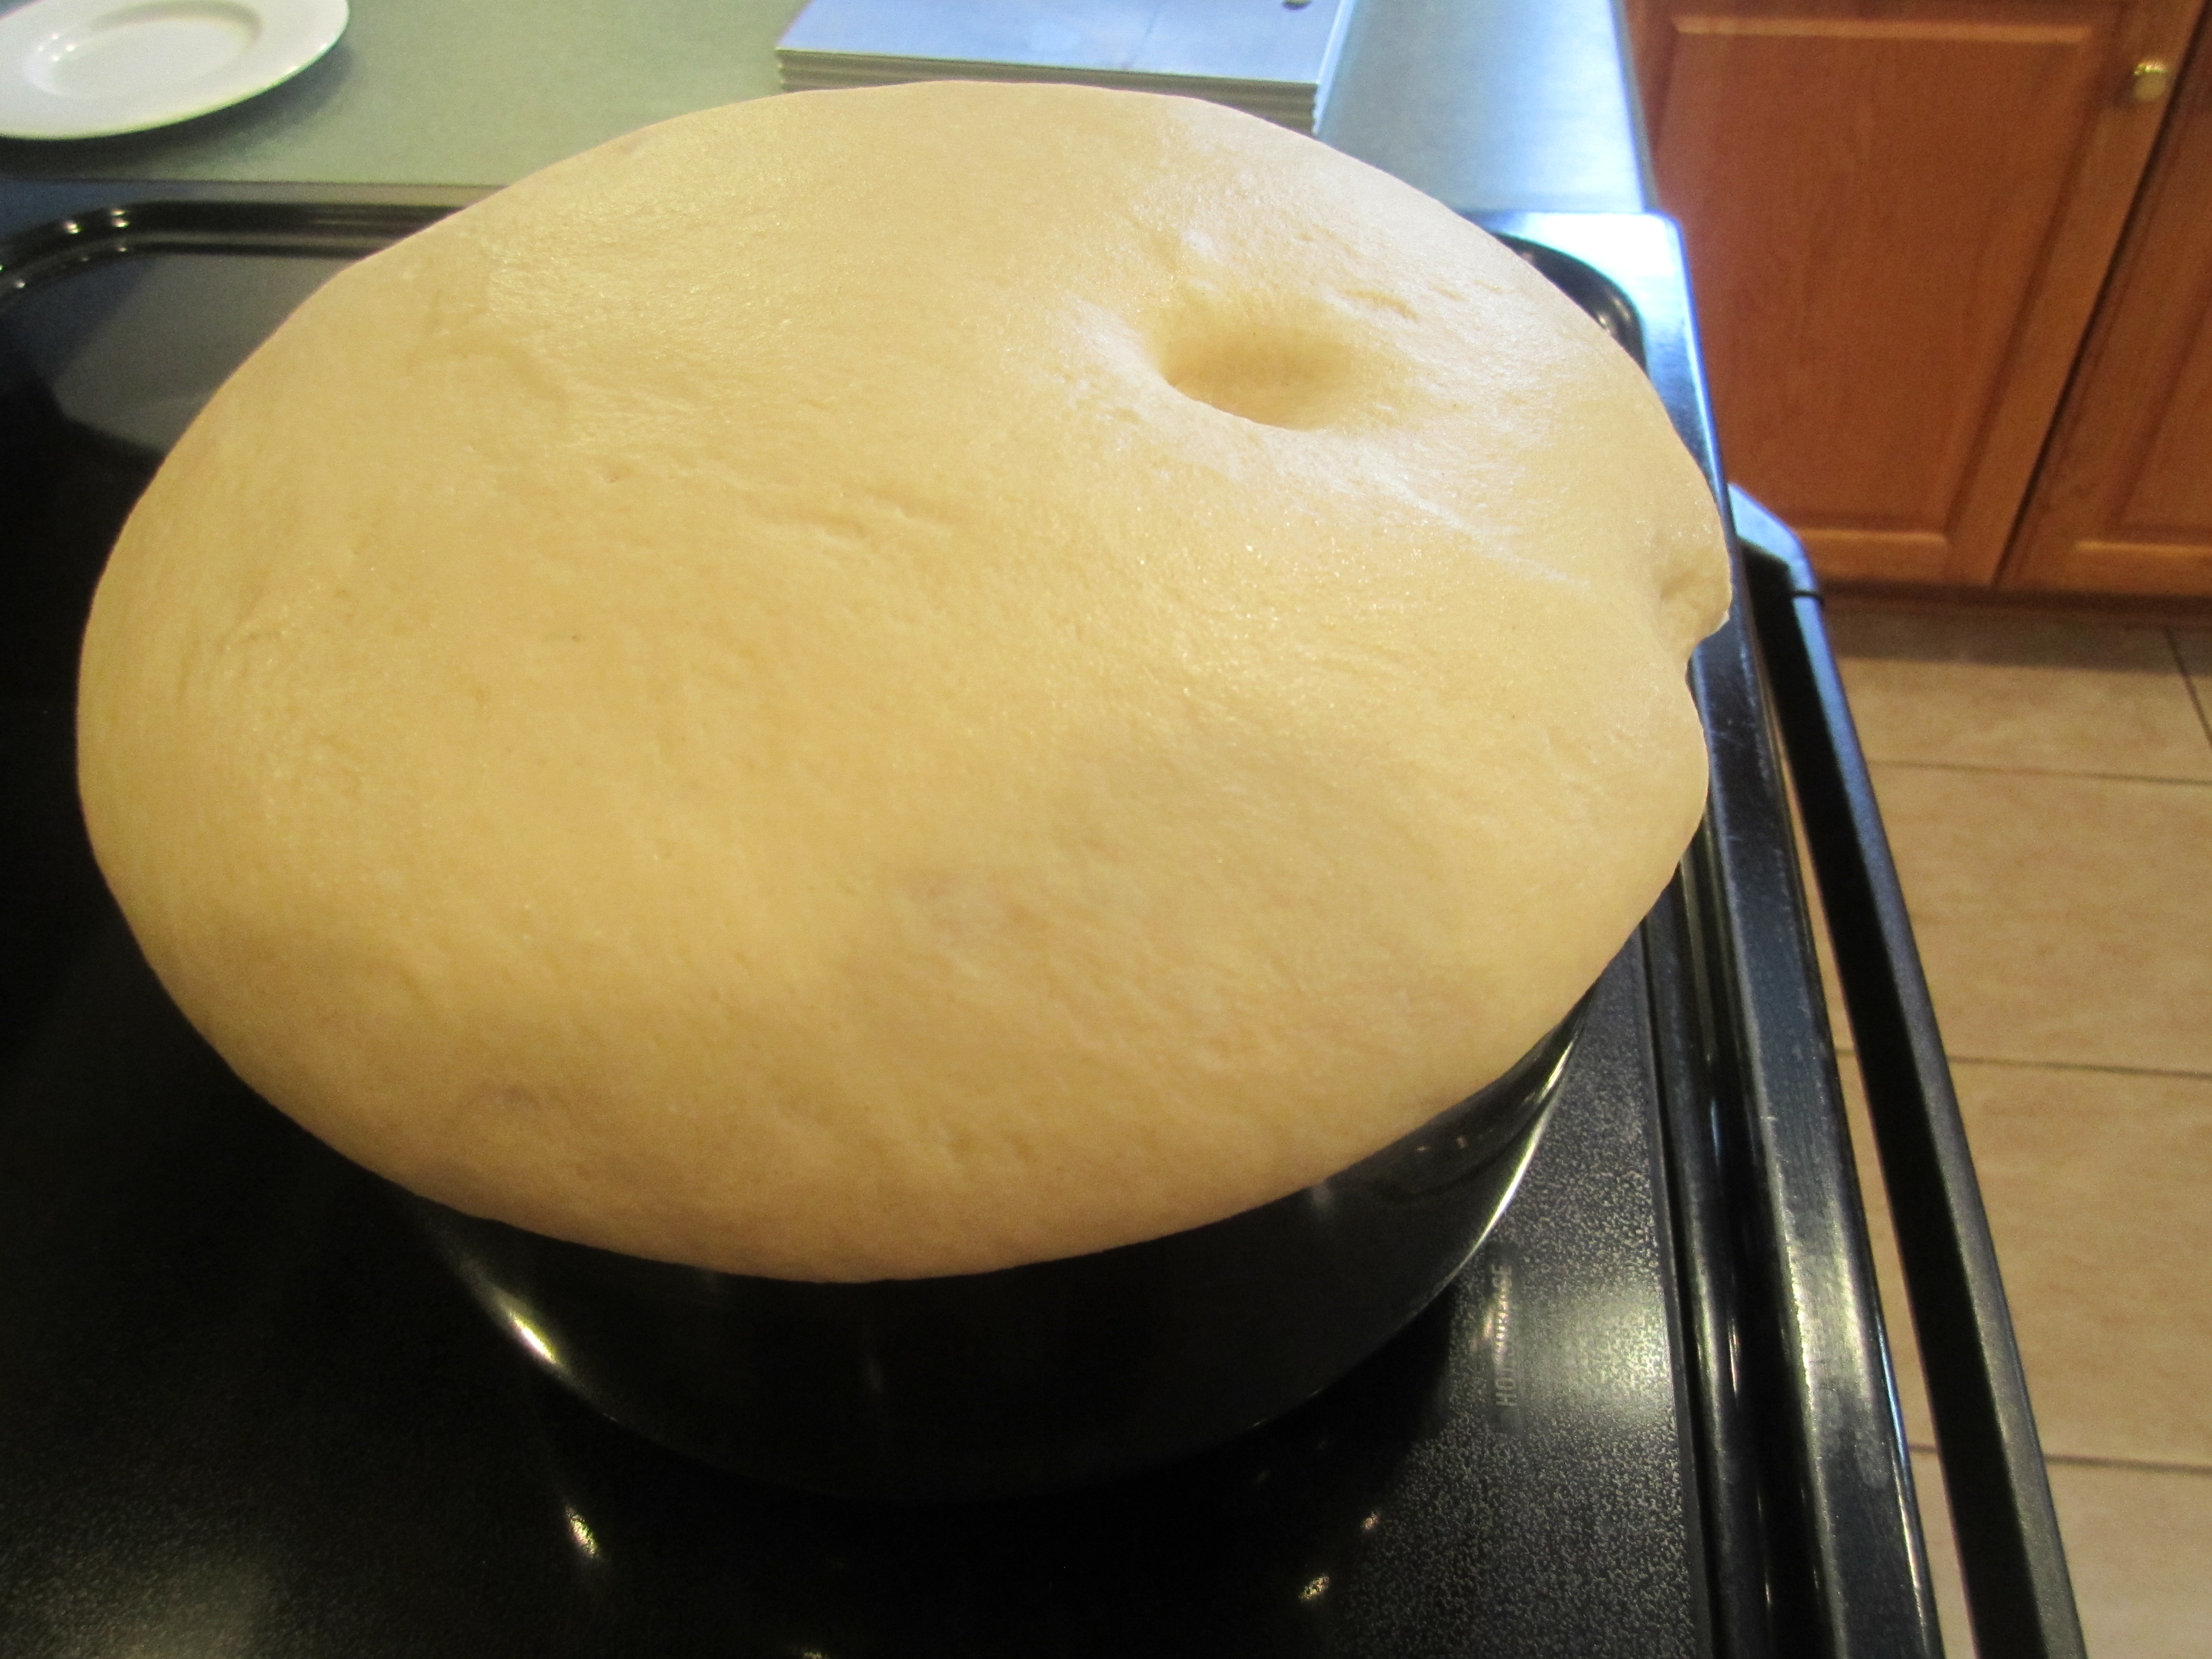
Place dough into prepared bowl, turning once to make sure the top is coated with butter too. Cover bowl with top from pan and place in middle rack of oven. Put boiling water into 13 x 9 inch baking pan that is on lower rack of oven and close door. Let rise until doubled, about 1 hour.
While dough is rising, spray 3, 9 x 5 inch loaf pans with canola oil.
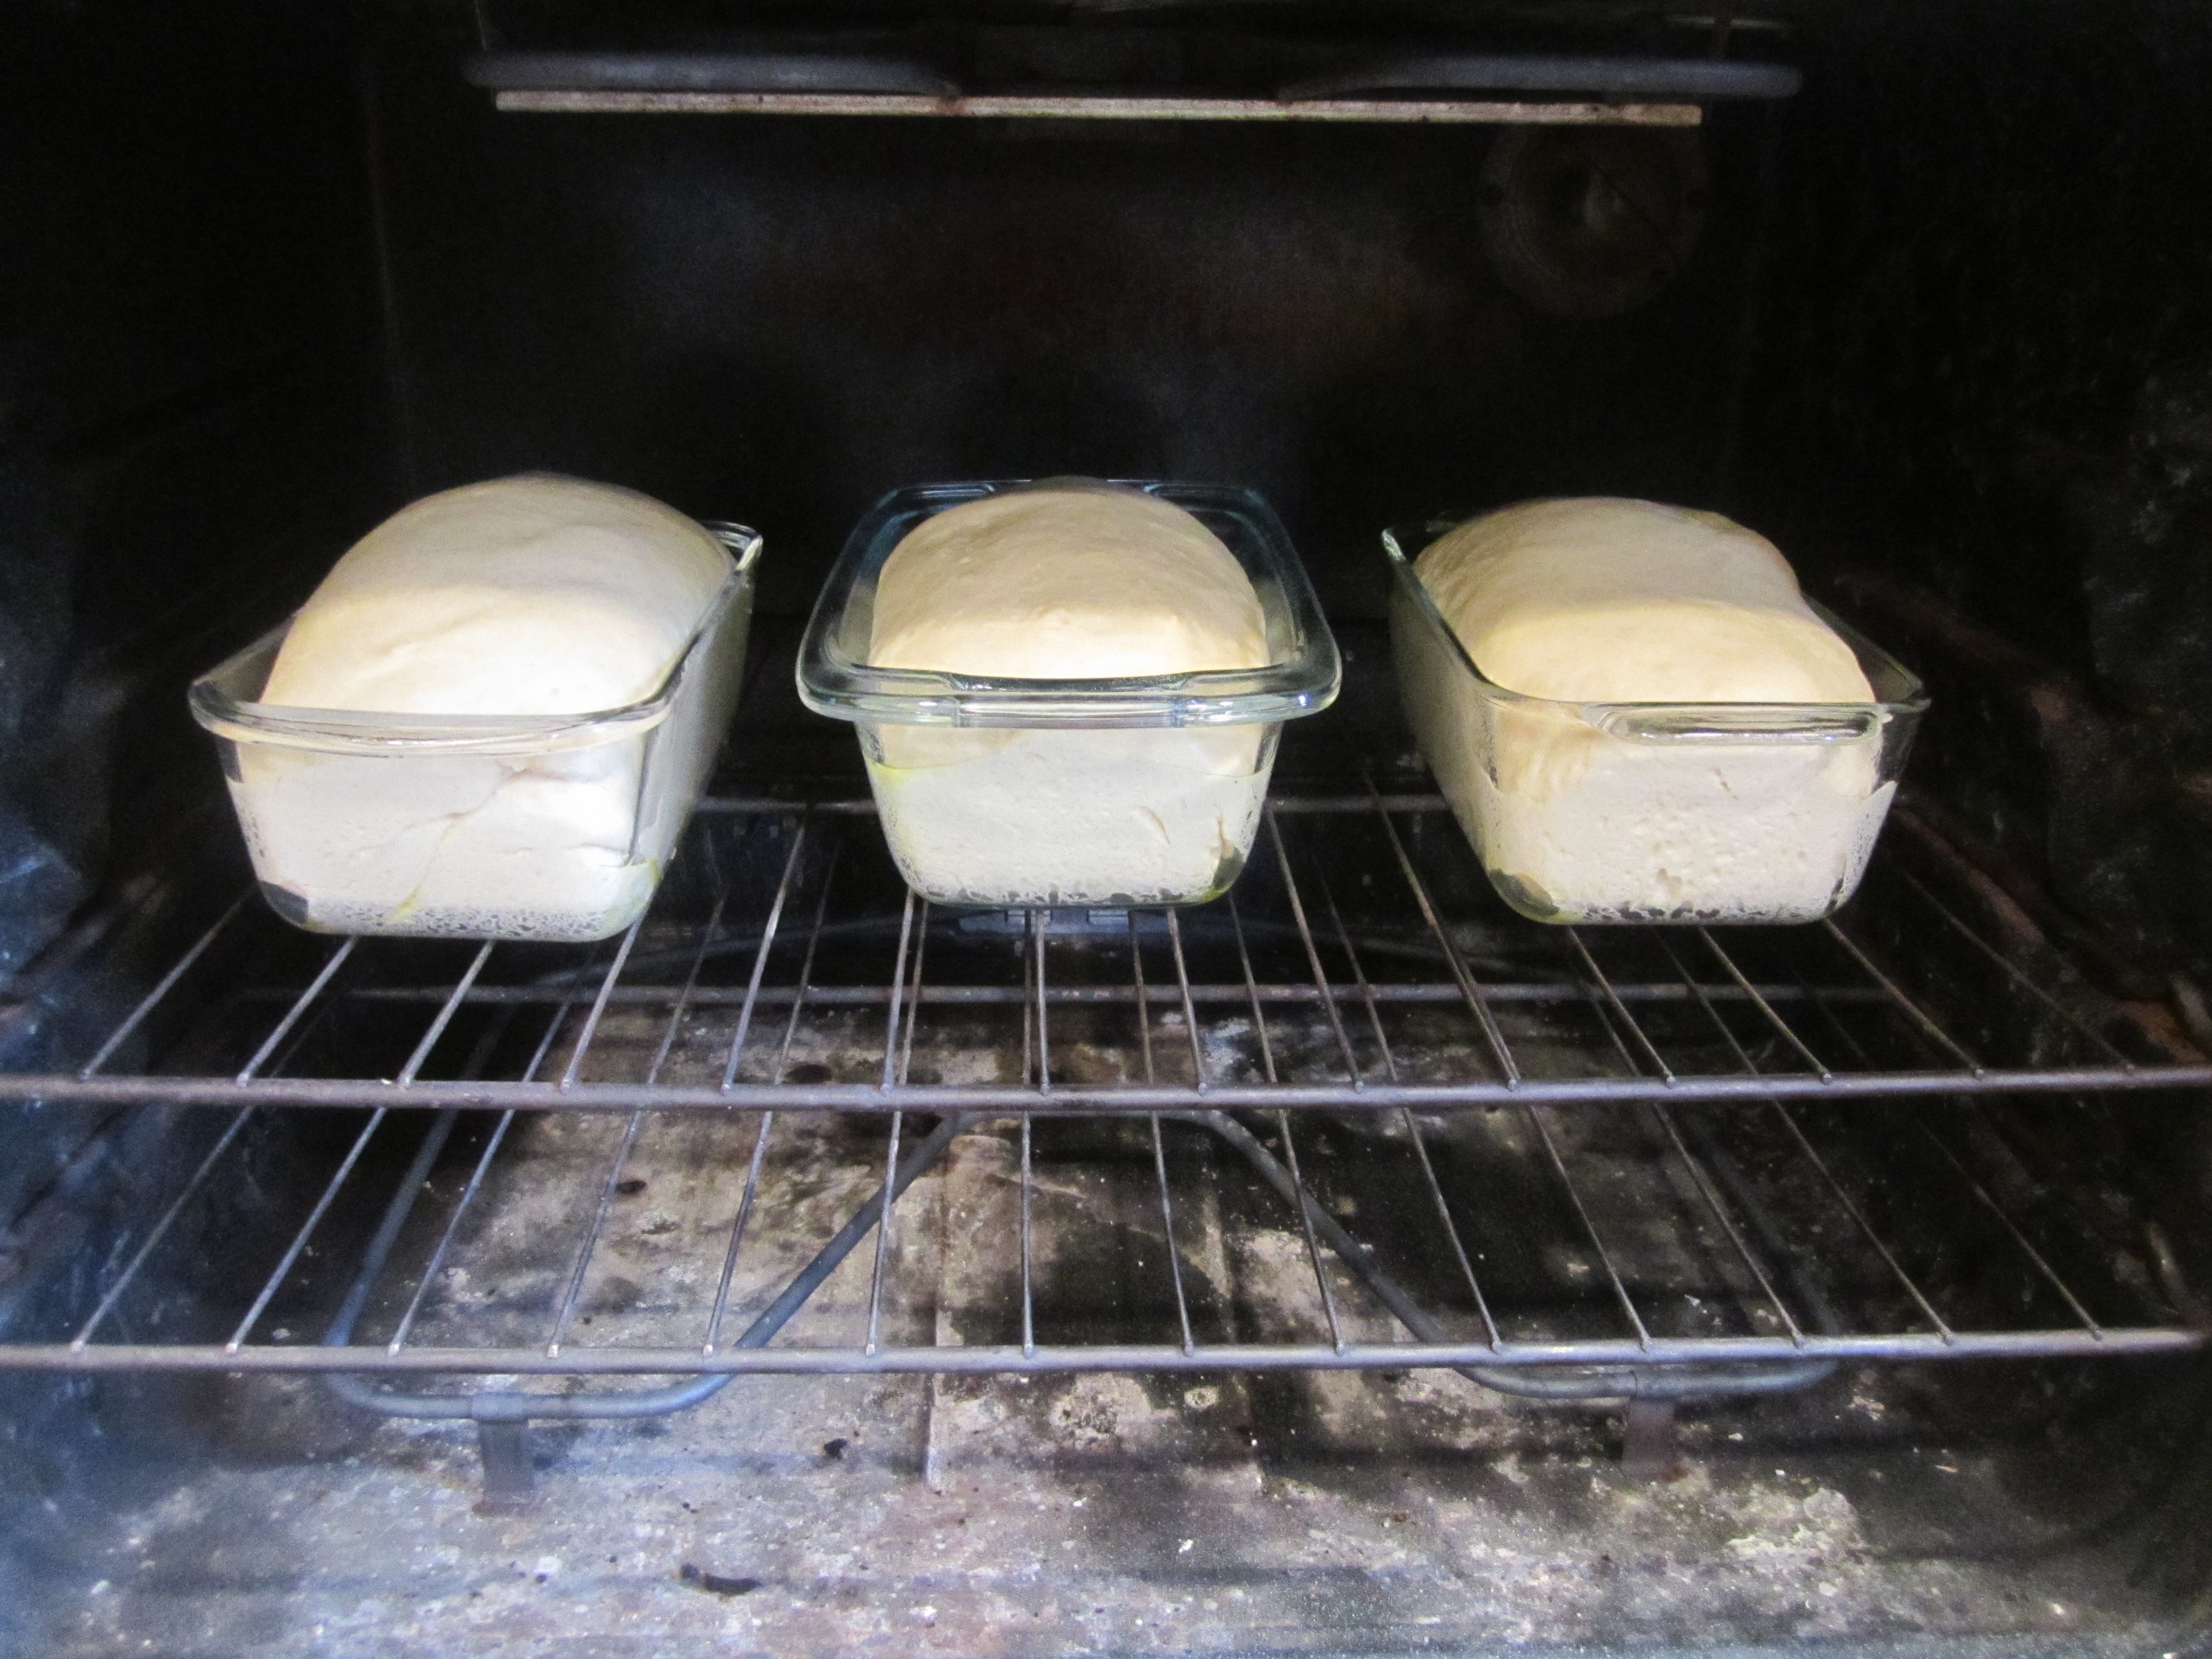
After 1 hour, remove dough from oven. Take baking pan out of oven. Preheat oven to 350 degrees. Punch down dough and divide dough into 3 pieces. I use my kitchen scale to get 3 equal pieces. The bread will bake more evenly if the loaves are the same size. Smoosh each piece in your hands for about 30 seconds to get the bubbles out and then form into a loaf. Place each loaf into prepared pans and let rise for about 50 to 55 minutes. The dough should rise about 1 inch above the tops of the pan.
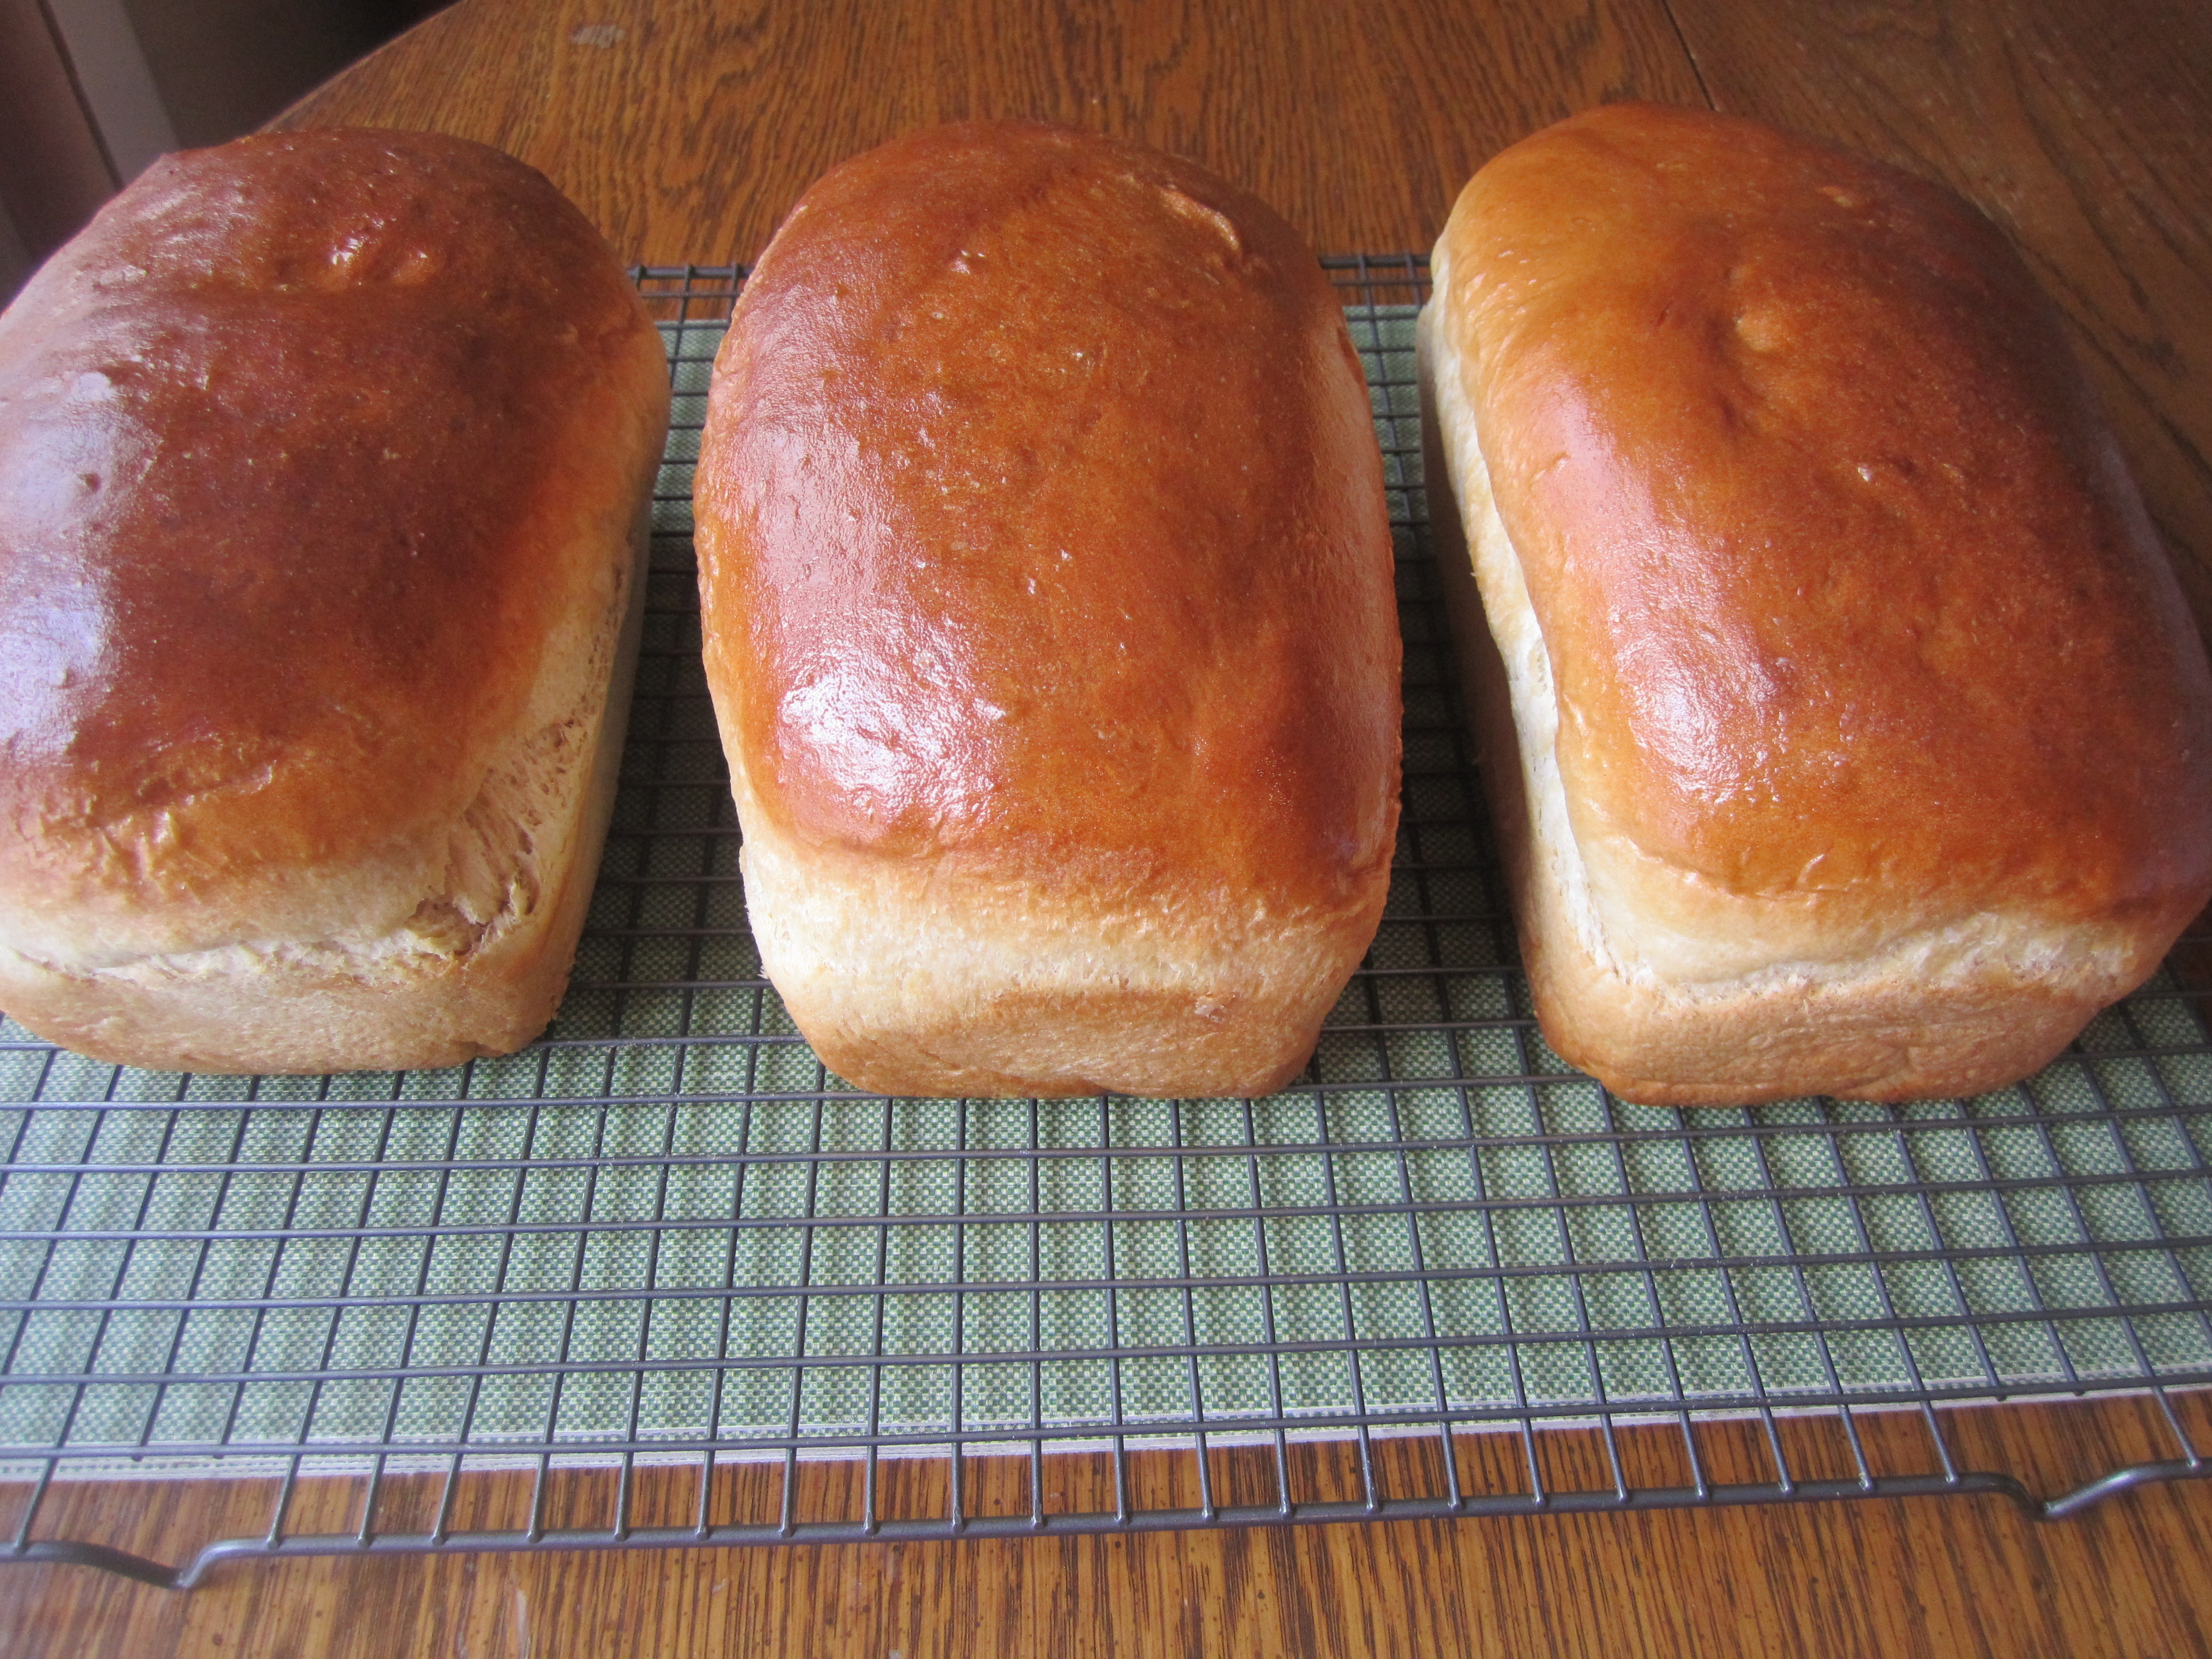
Place loaves in oven and bake for 25 minutes. The bread should be nicely browned and sound somewhat hollow when you tap on it. Remove bread from oven. Brush each loaf with melted butter. This keeps the crust nice and soft.
Cool for 30 minutes. Remove bread from pans and continue to cool on wire racks. When completely cool, cut bread into slices. Place cut bread into freezer gallon bags and store in freezer. The bread is easy to pull apart when ready to use.
using candy thermometer to check temperature of water:

water, yeast, honey and bread flour:

after mixing:
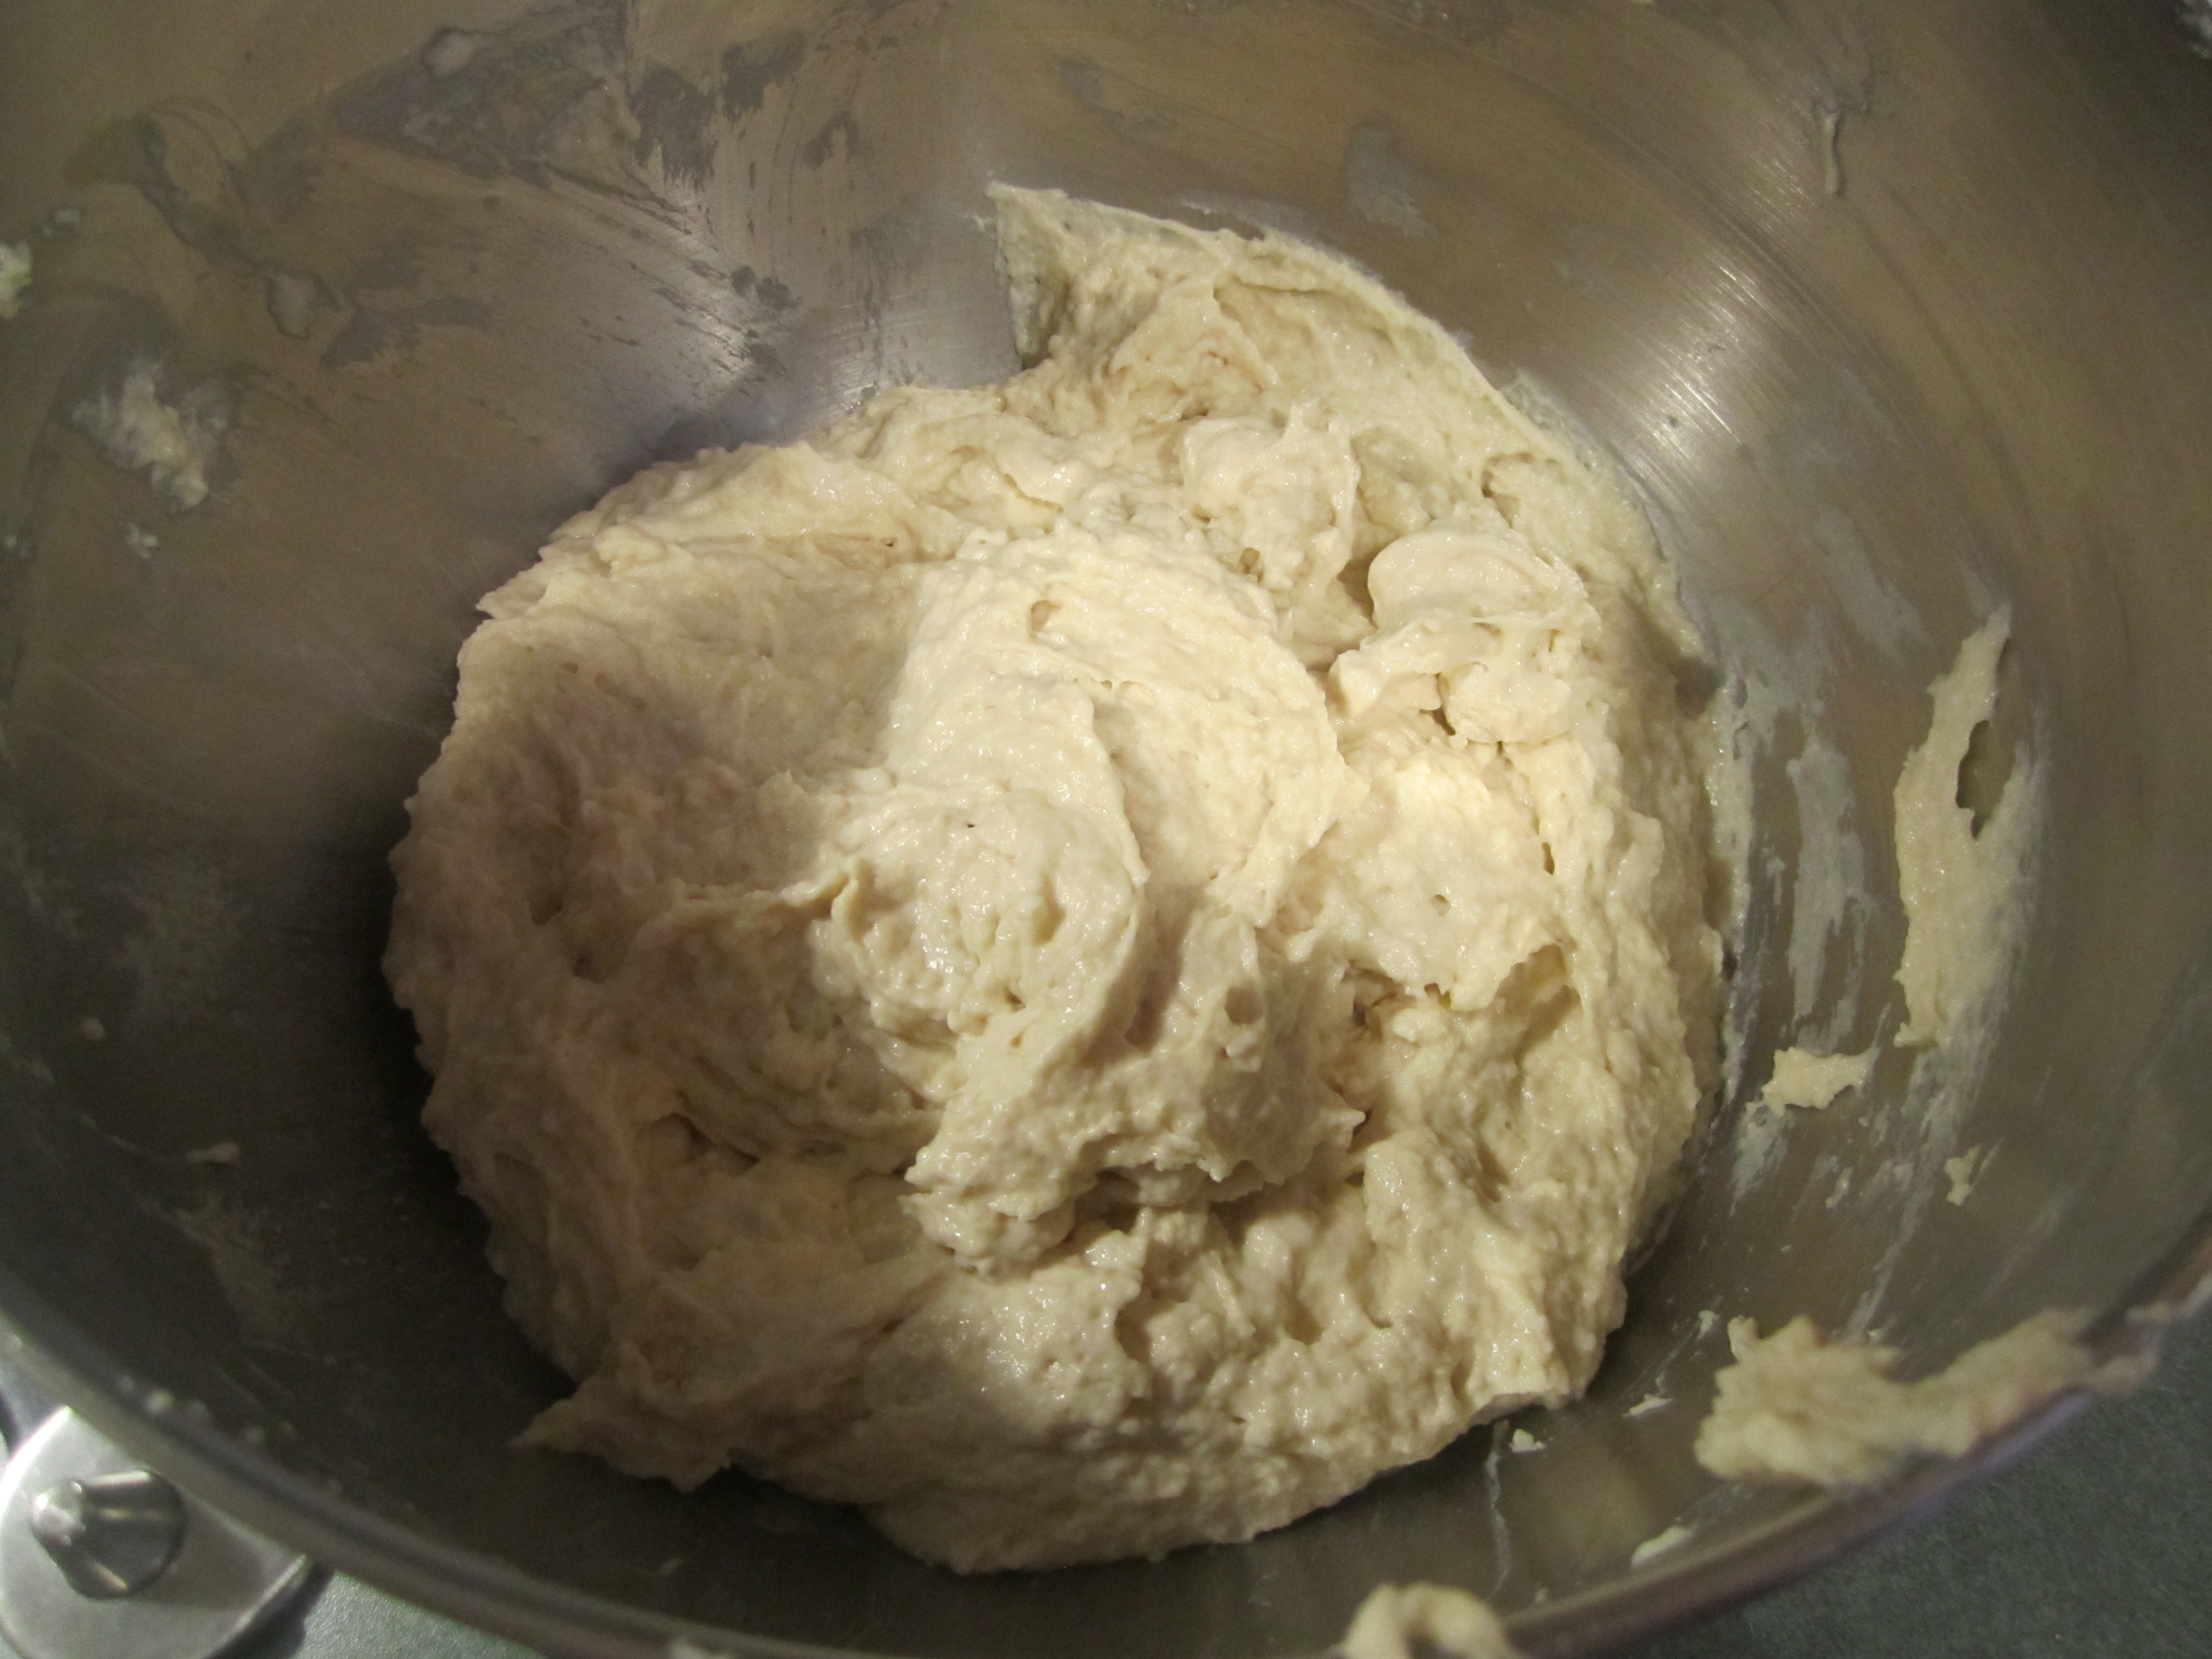
cover with towel and let rest for 30 minutes:

dough after 30 minutes:

the rest of the ingredients added to the dough and mixing in:

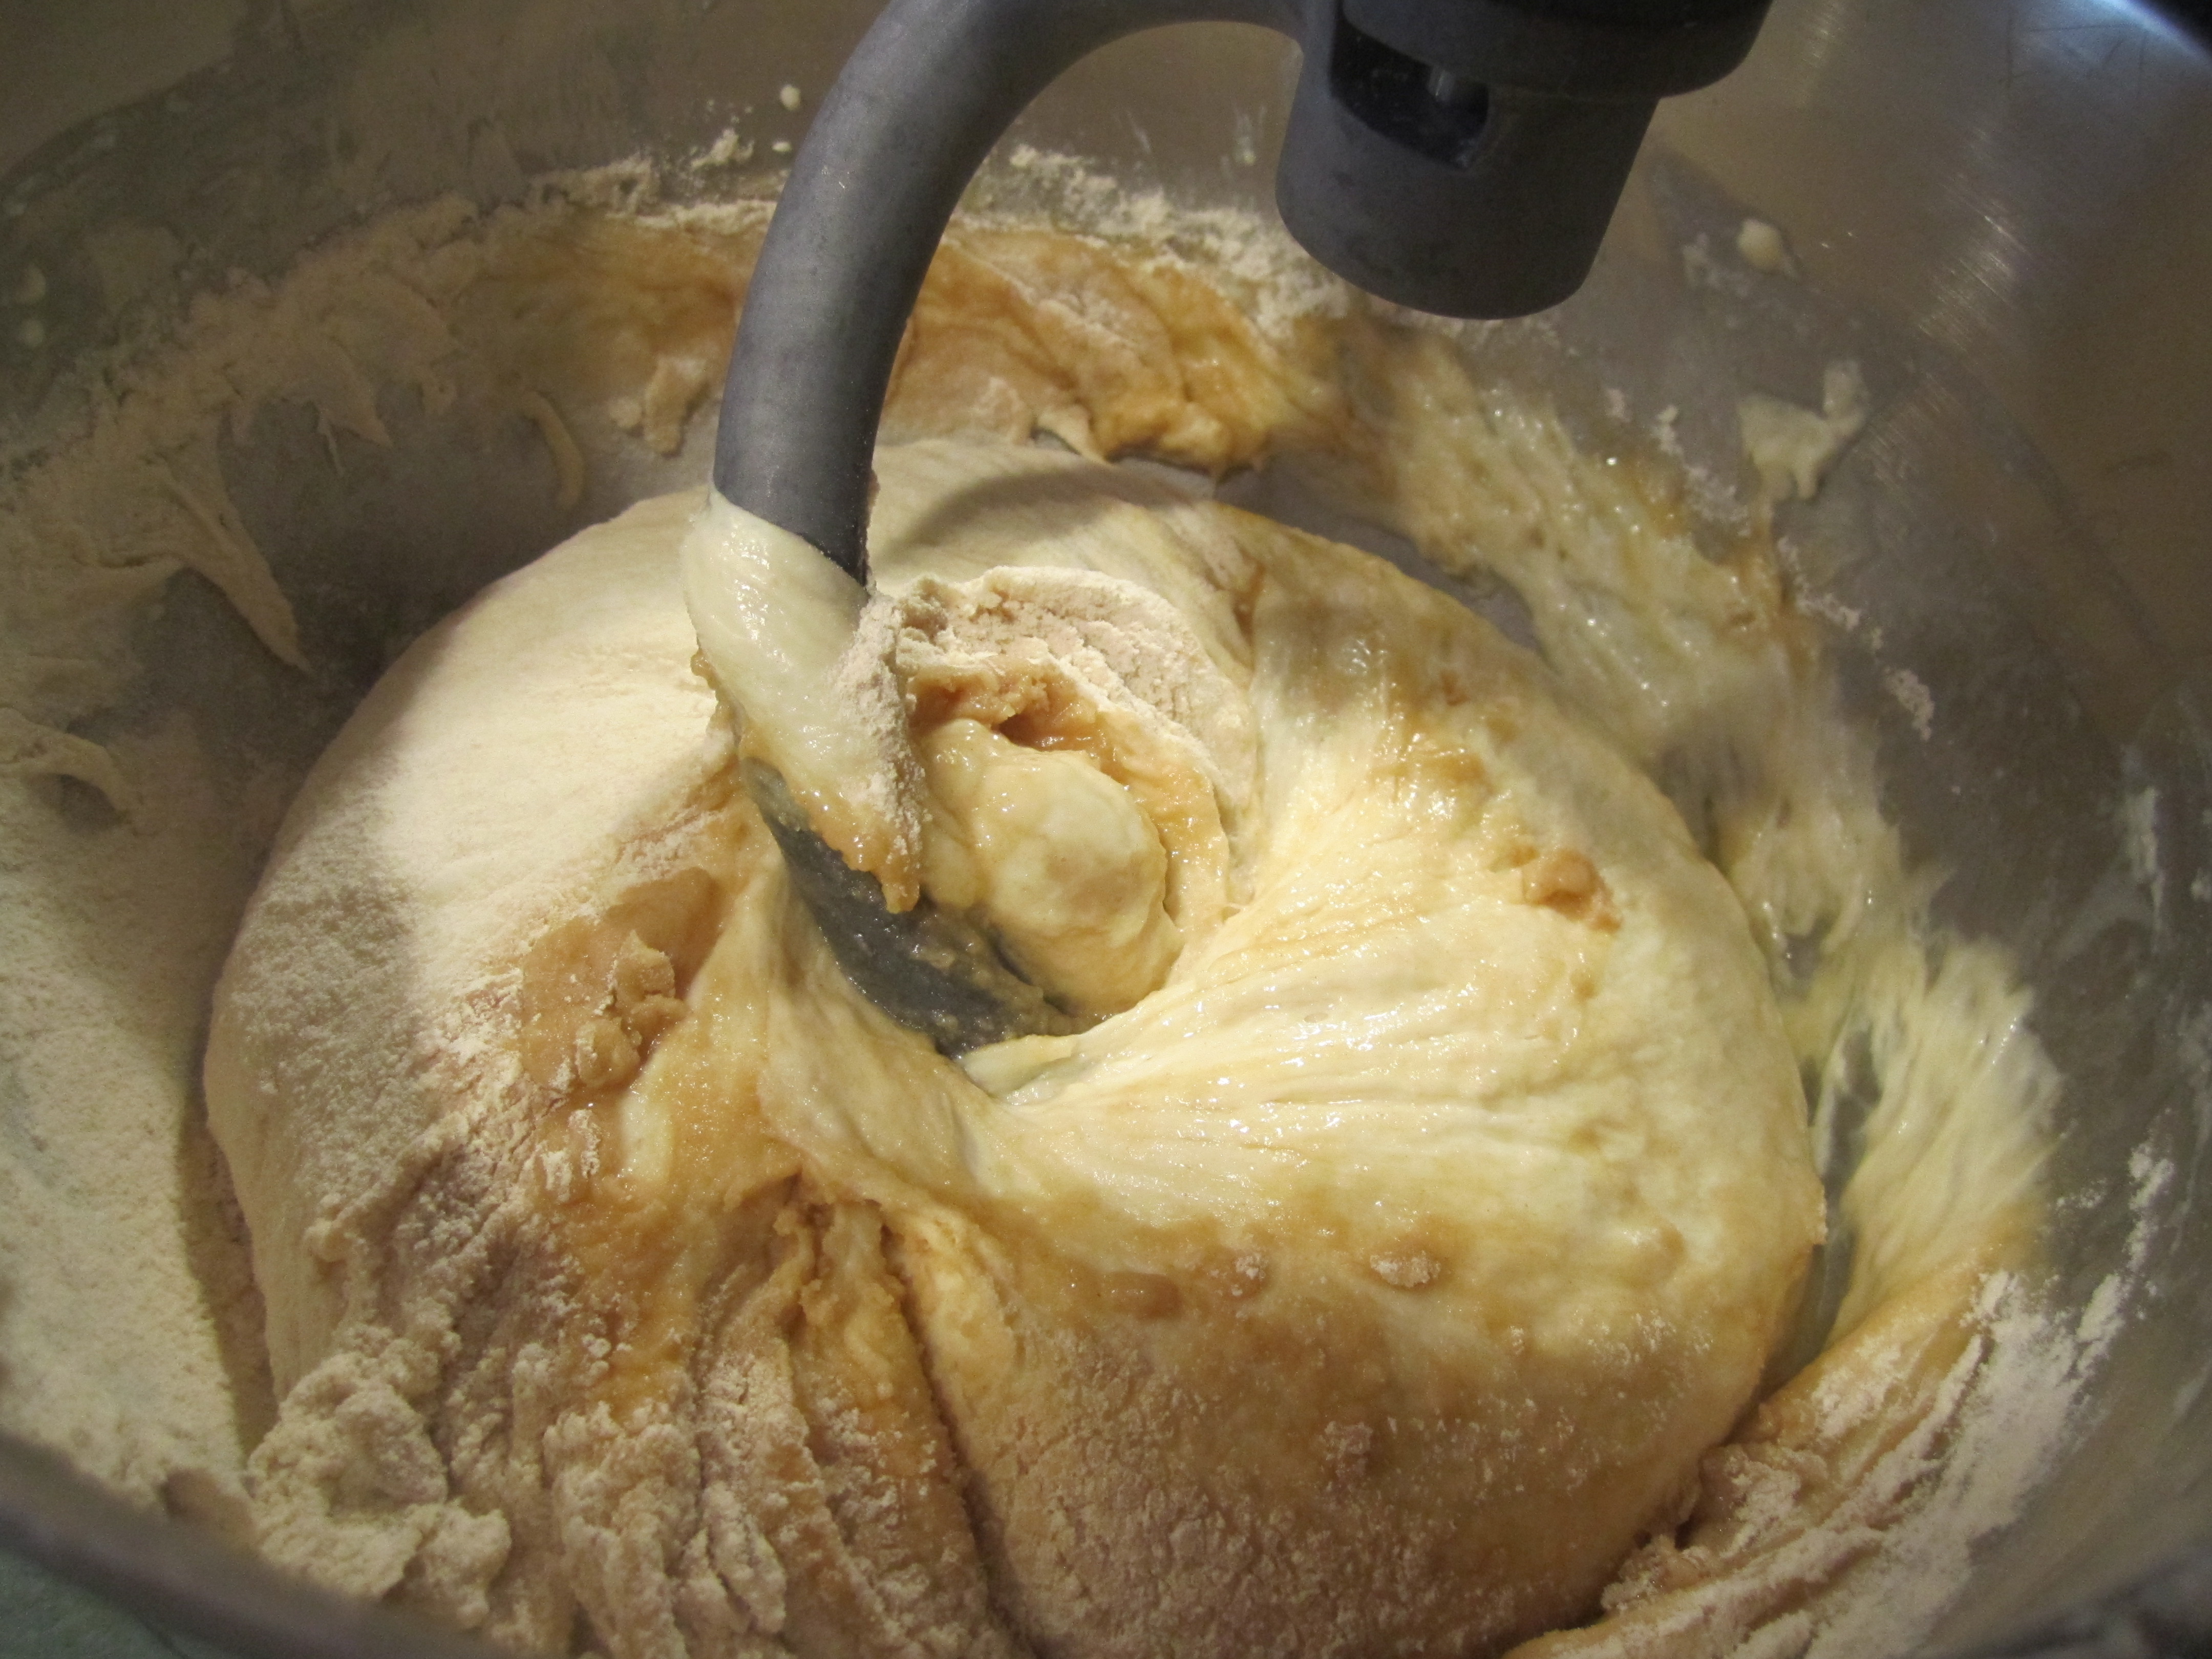
finished dough:

prepared straight sided bowl and top:

dough in bowl:
set up in oven:
prep pans:

after 1 hour of rising:
dough in pans:

after 50 minutes and ready to be baked:
out of oven:

brushed with butter:

cooling on rack:
slicing after cooled:
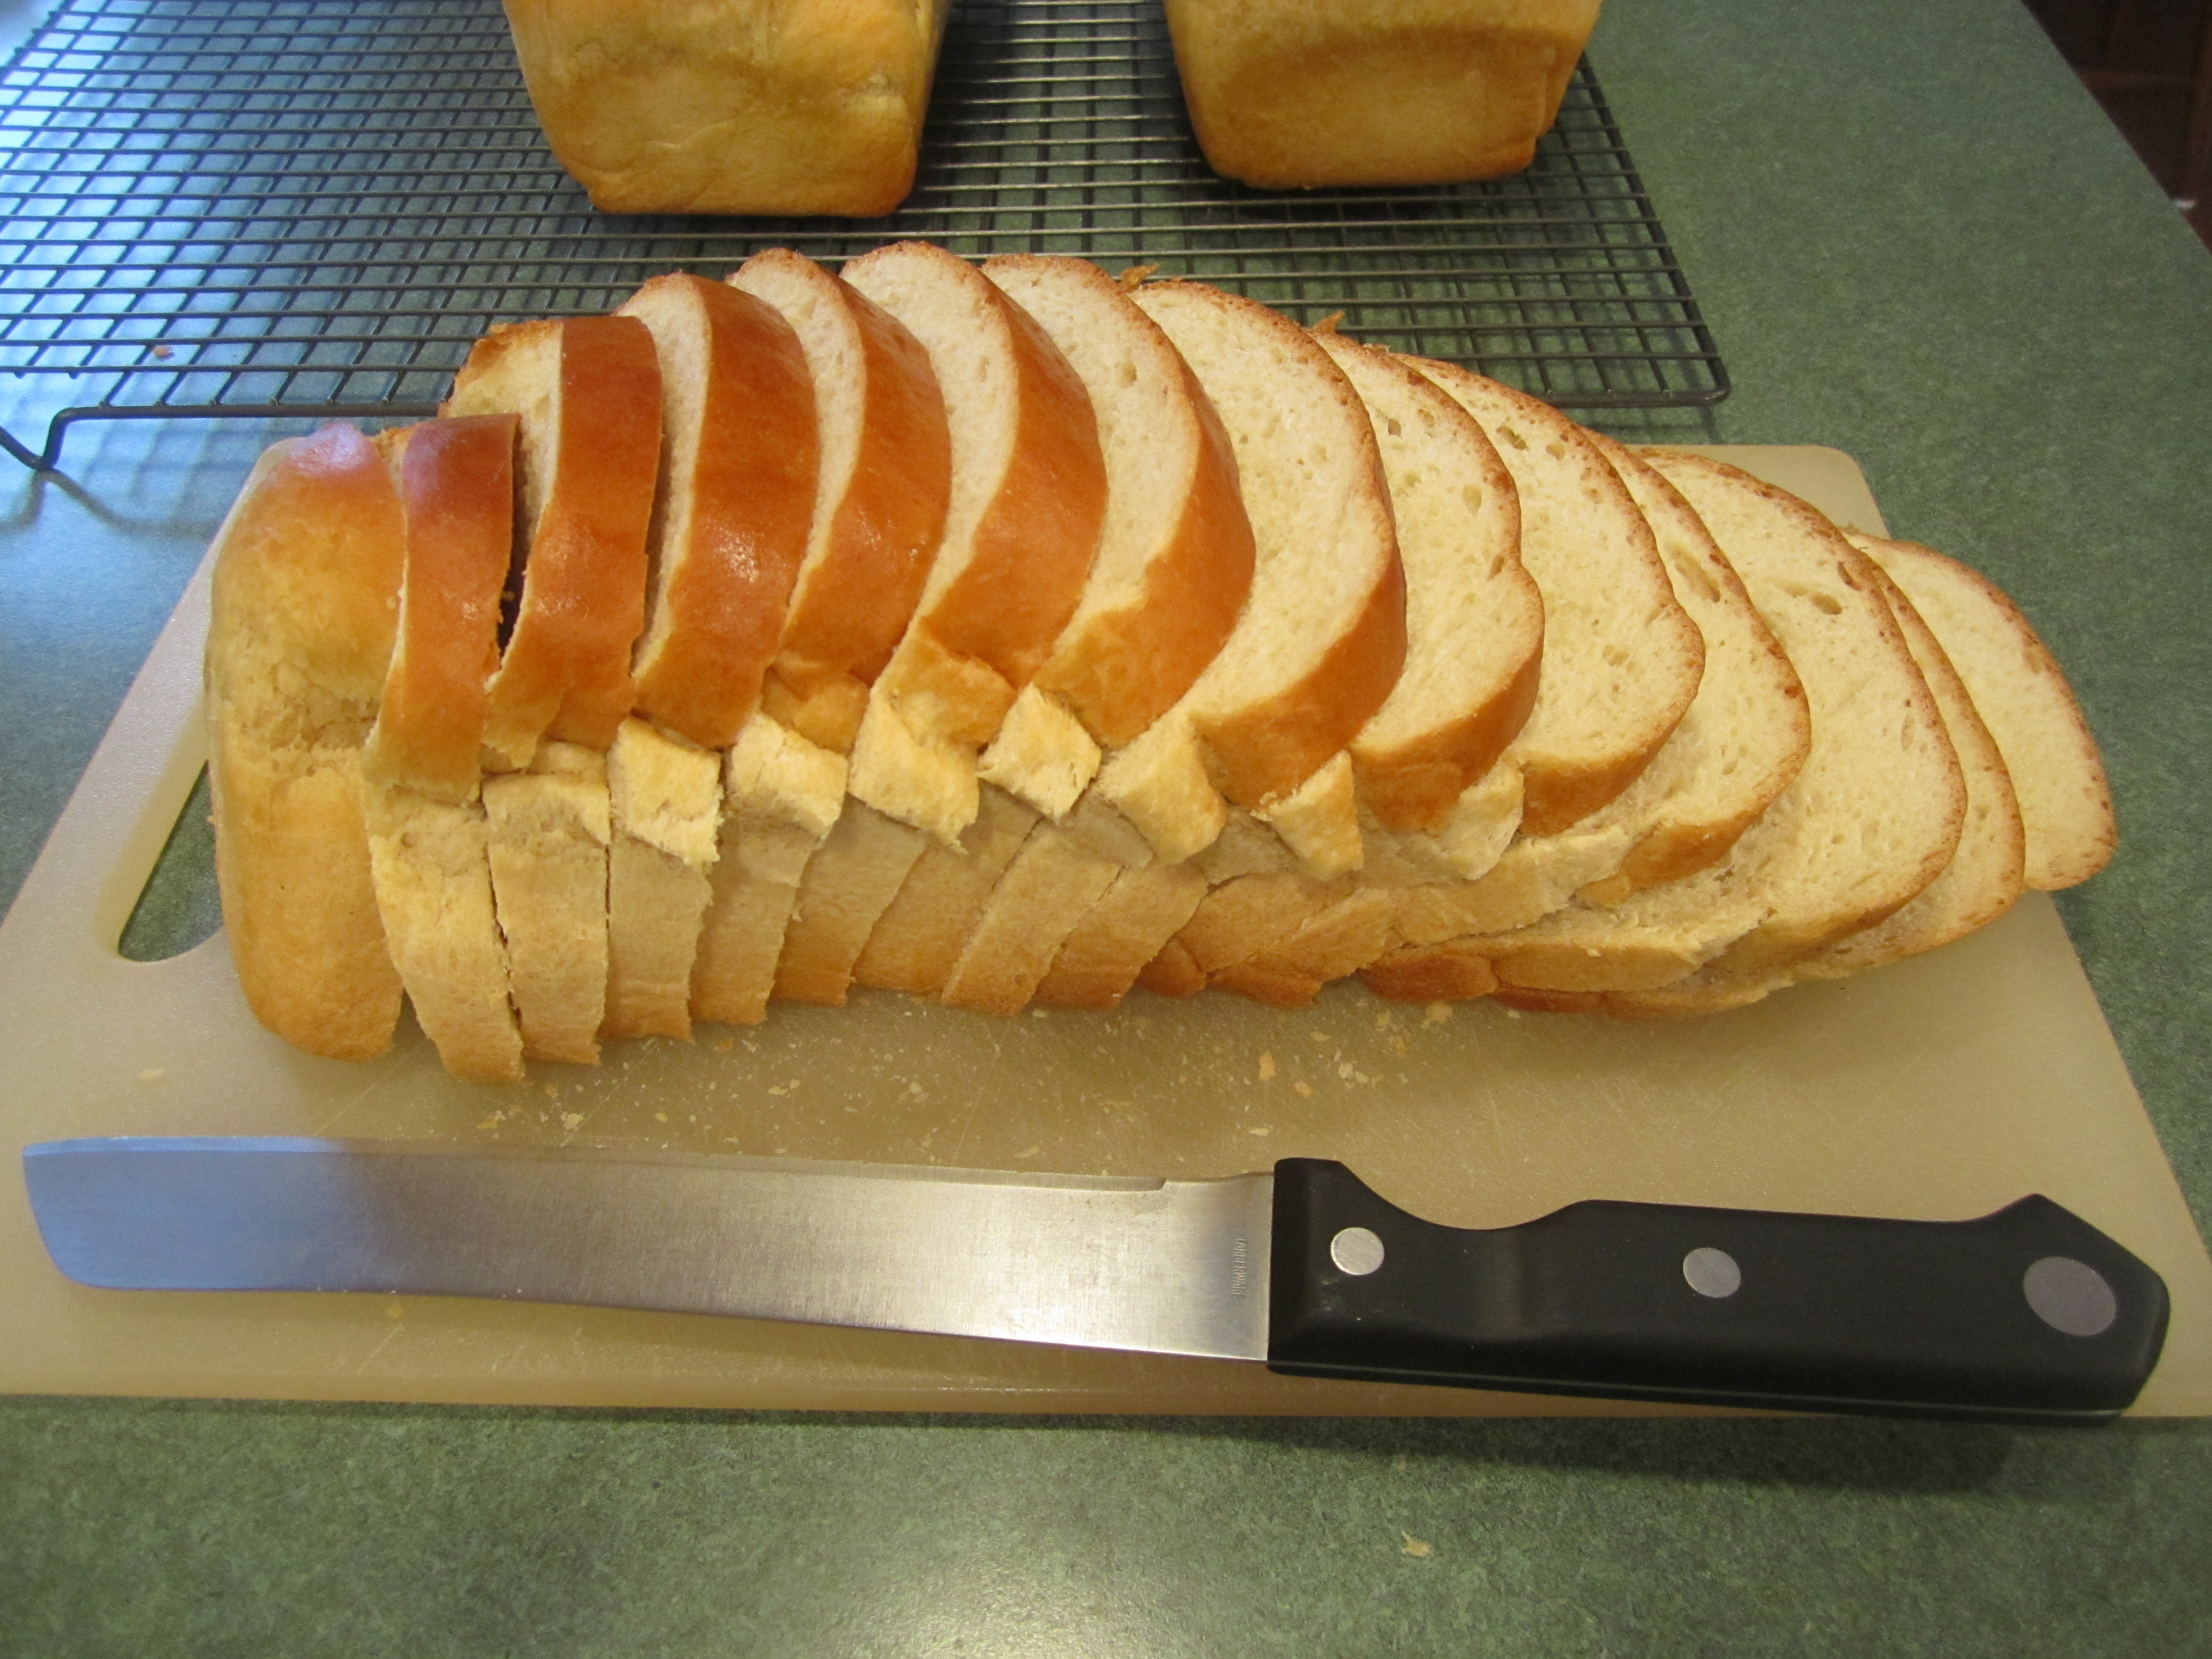
storing in freezer bags:

yum!
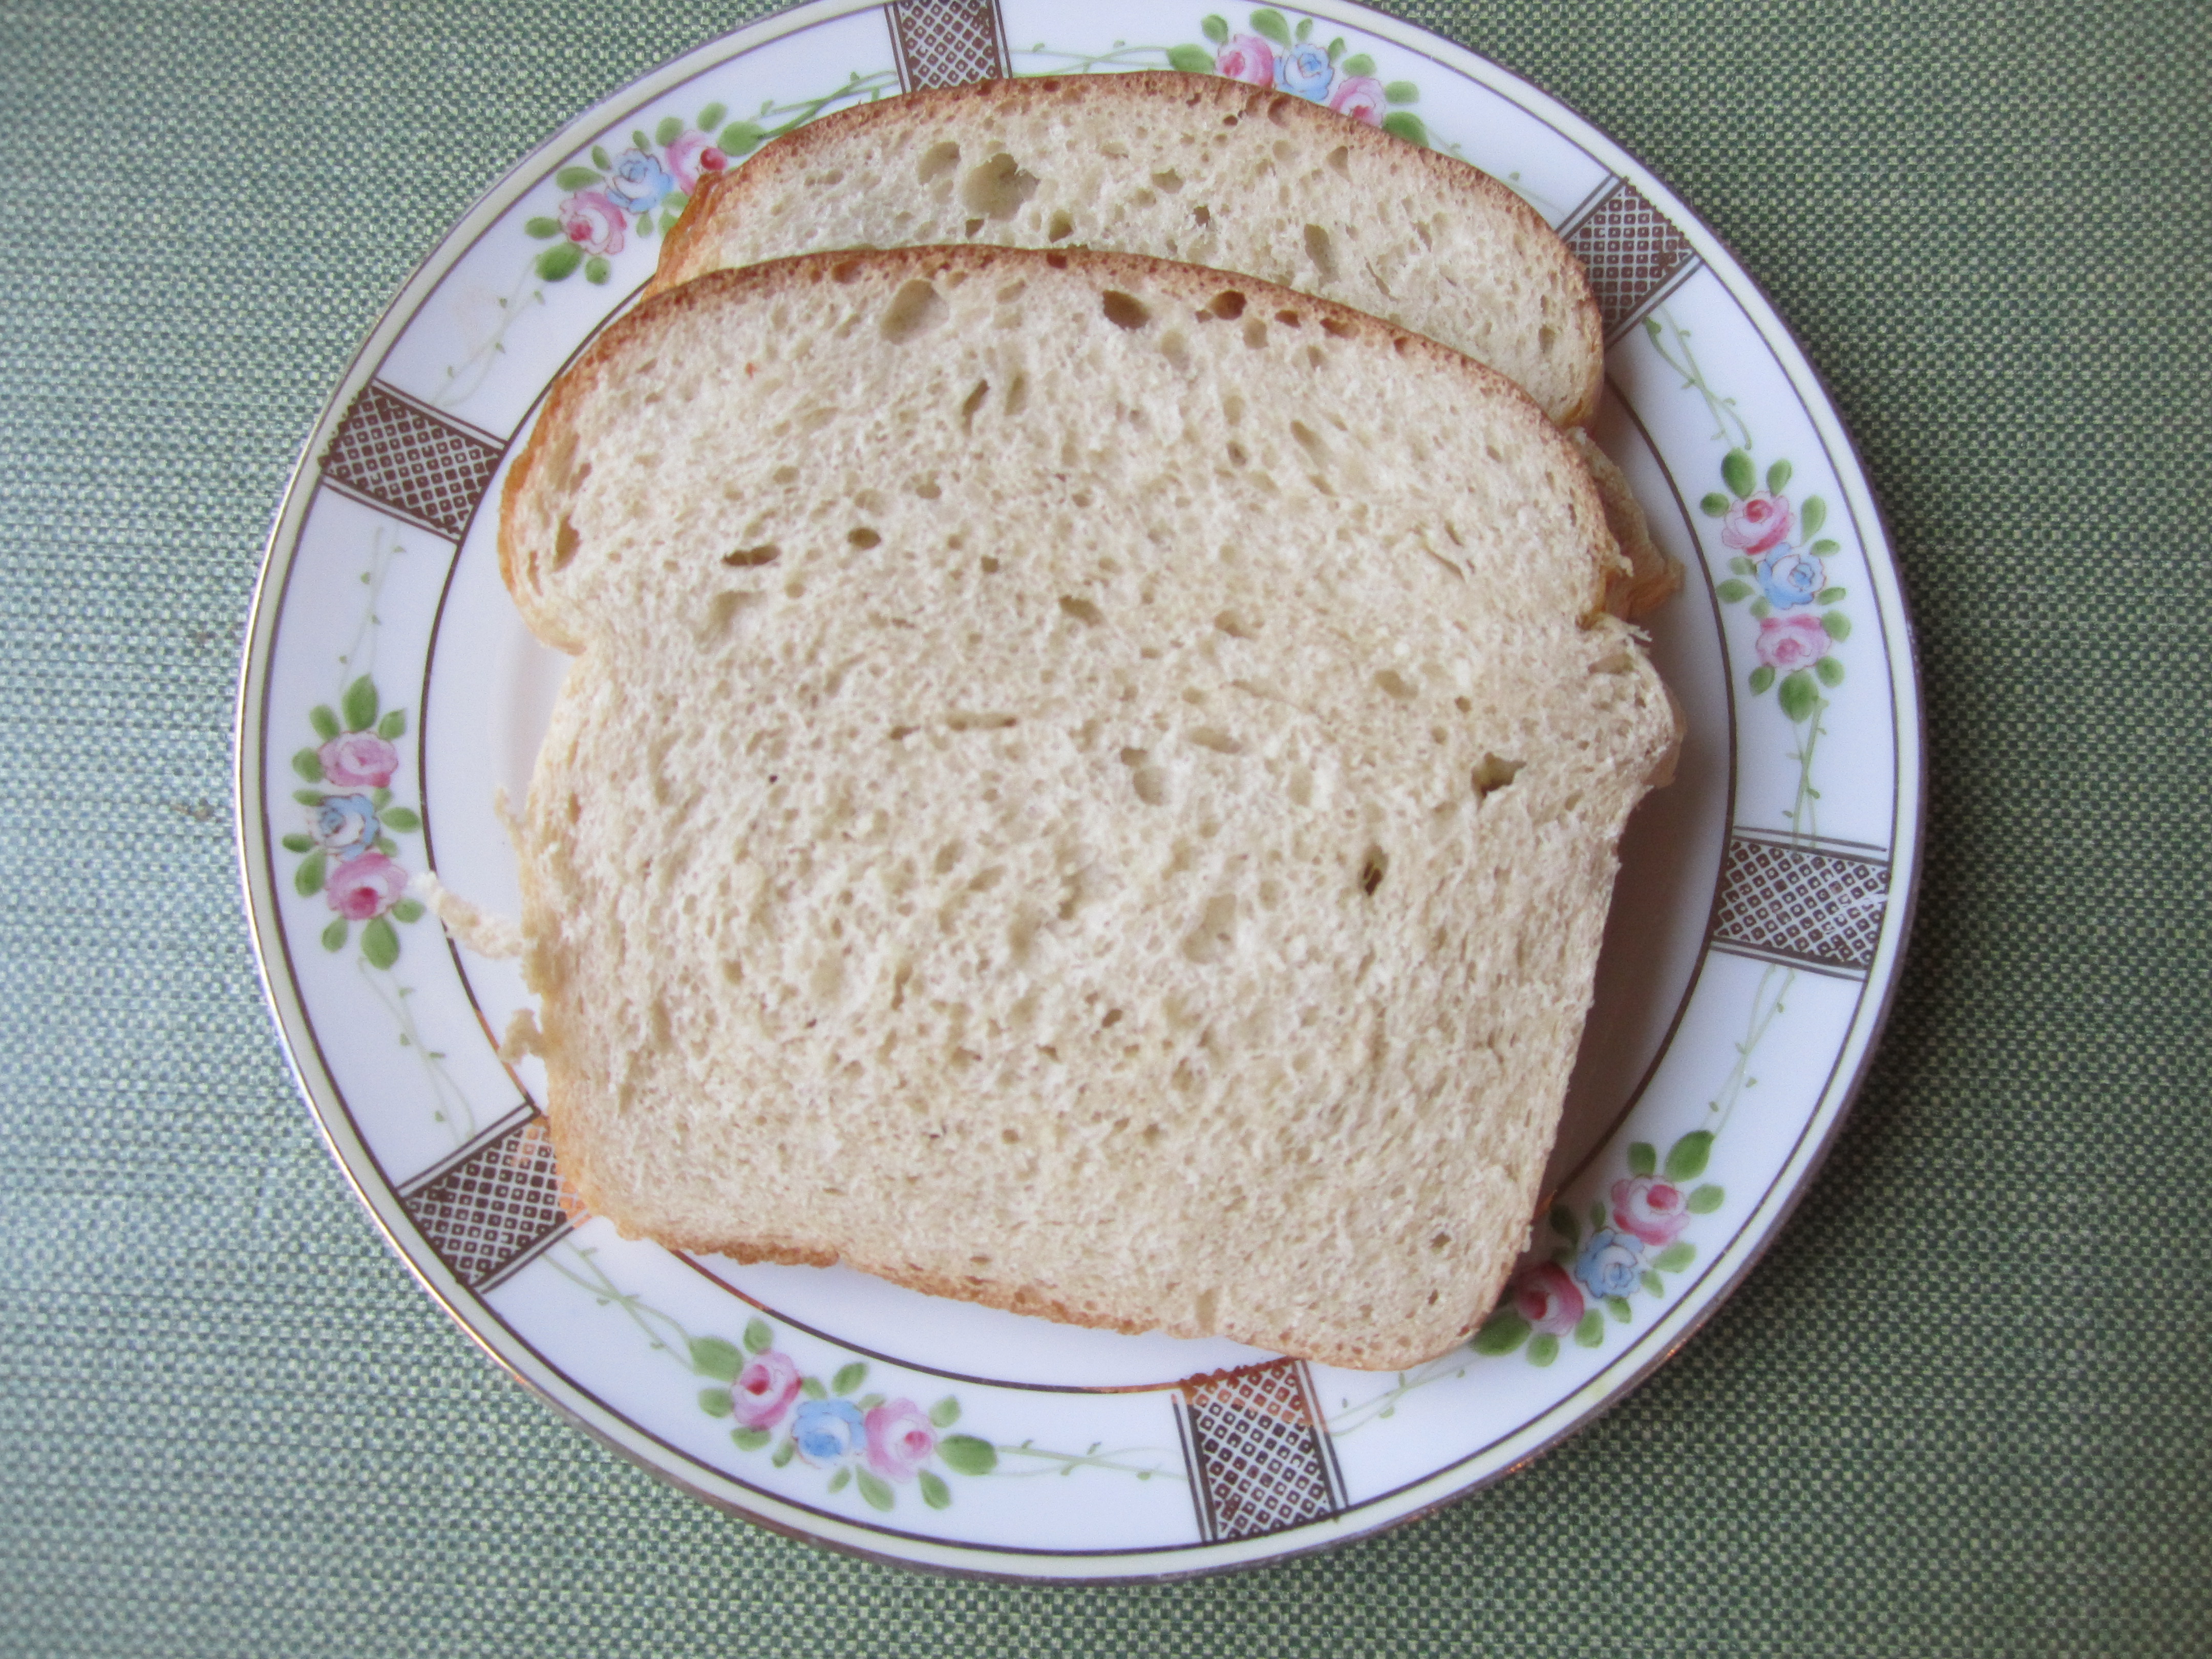
my husband made french toast out of the bread, delicious!

